Botanical Stickers
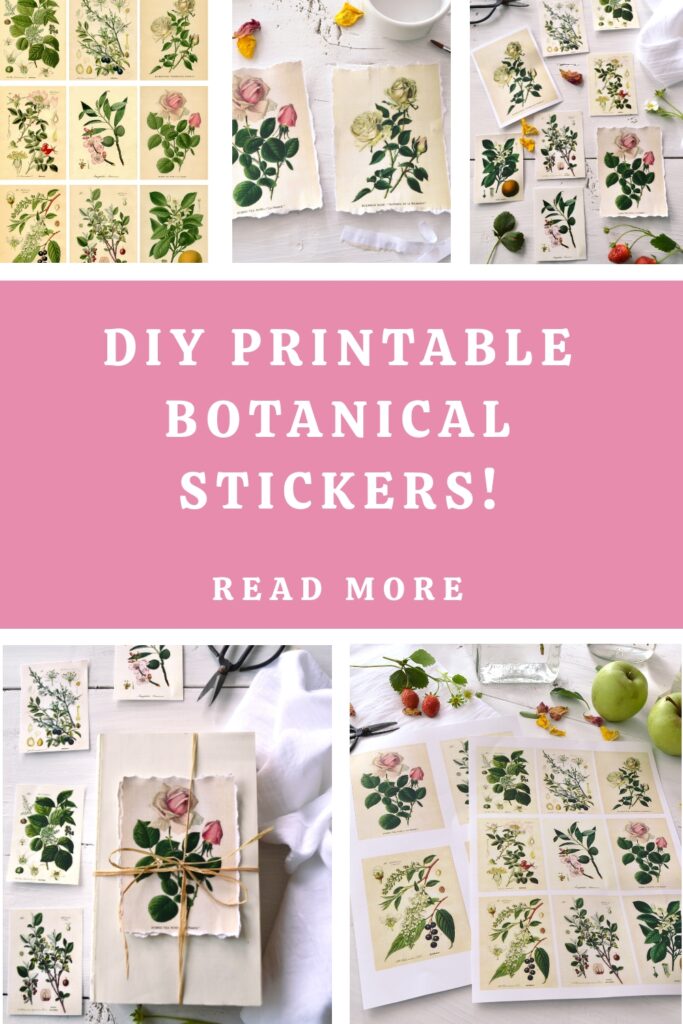
Hello creative friends, today we are making some amazing Botanical Stickers and I’m showing you 3 different ways on how you can finish their borders! This is one of the easiest projects I’ve shared with you on The Graphics Fairy, over the last few months. But at the same time, is the most comprehensive one, if you wish. Botanical Stickers don’t need any introduction when it comes to adaptability to basically any season. Not to mention their aesthetics!
There is something about this type of prints that seems warm and earthy and natural, don’t you think? It almost feels like bringing a little bit of nature indoors!
Again, deciding on which botanical images to use when creating these beauties was the hardest thing! The Graphics Fairy is filled with such amazing images, choosing only a few ones can be quite challenging sometimes. I’m sure you can relate to that.
Free Printable Botanical Stickers
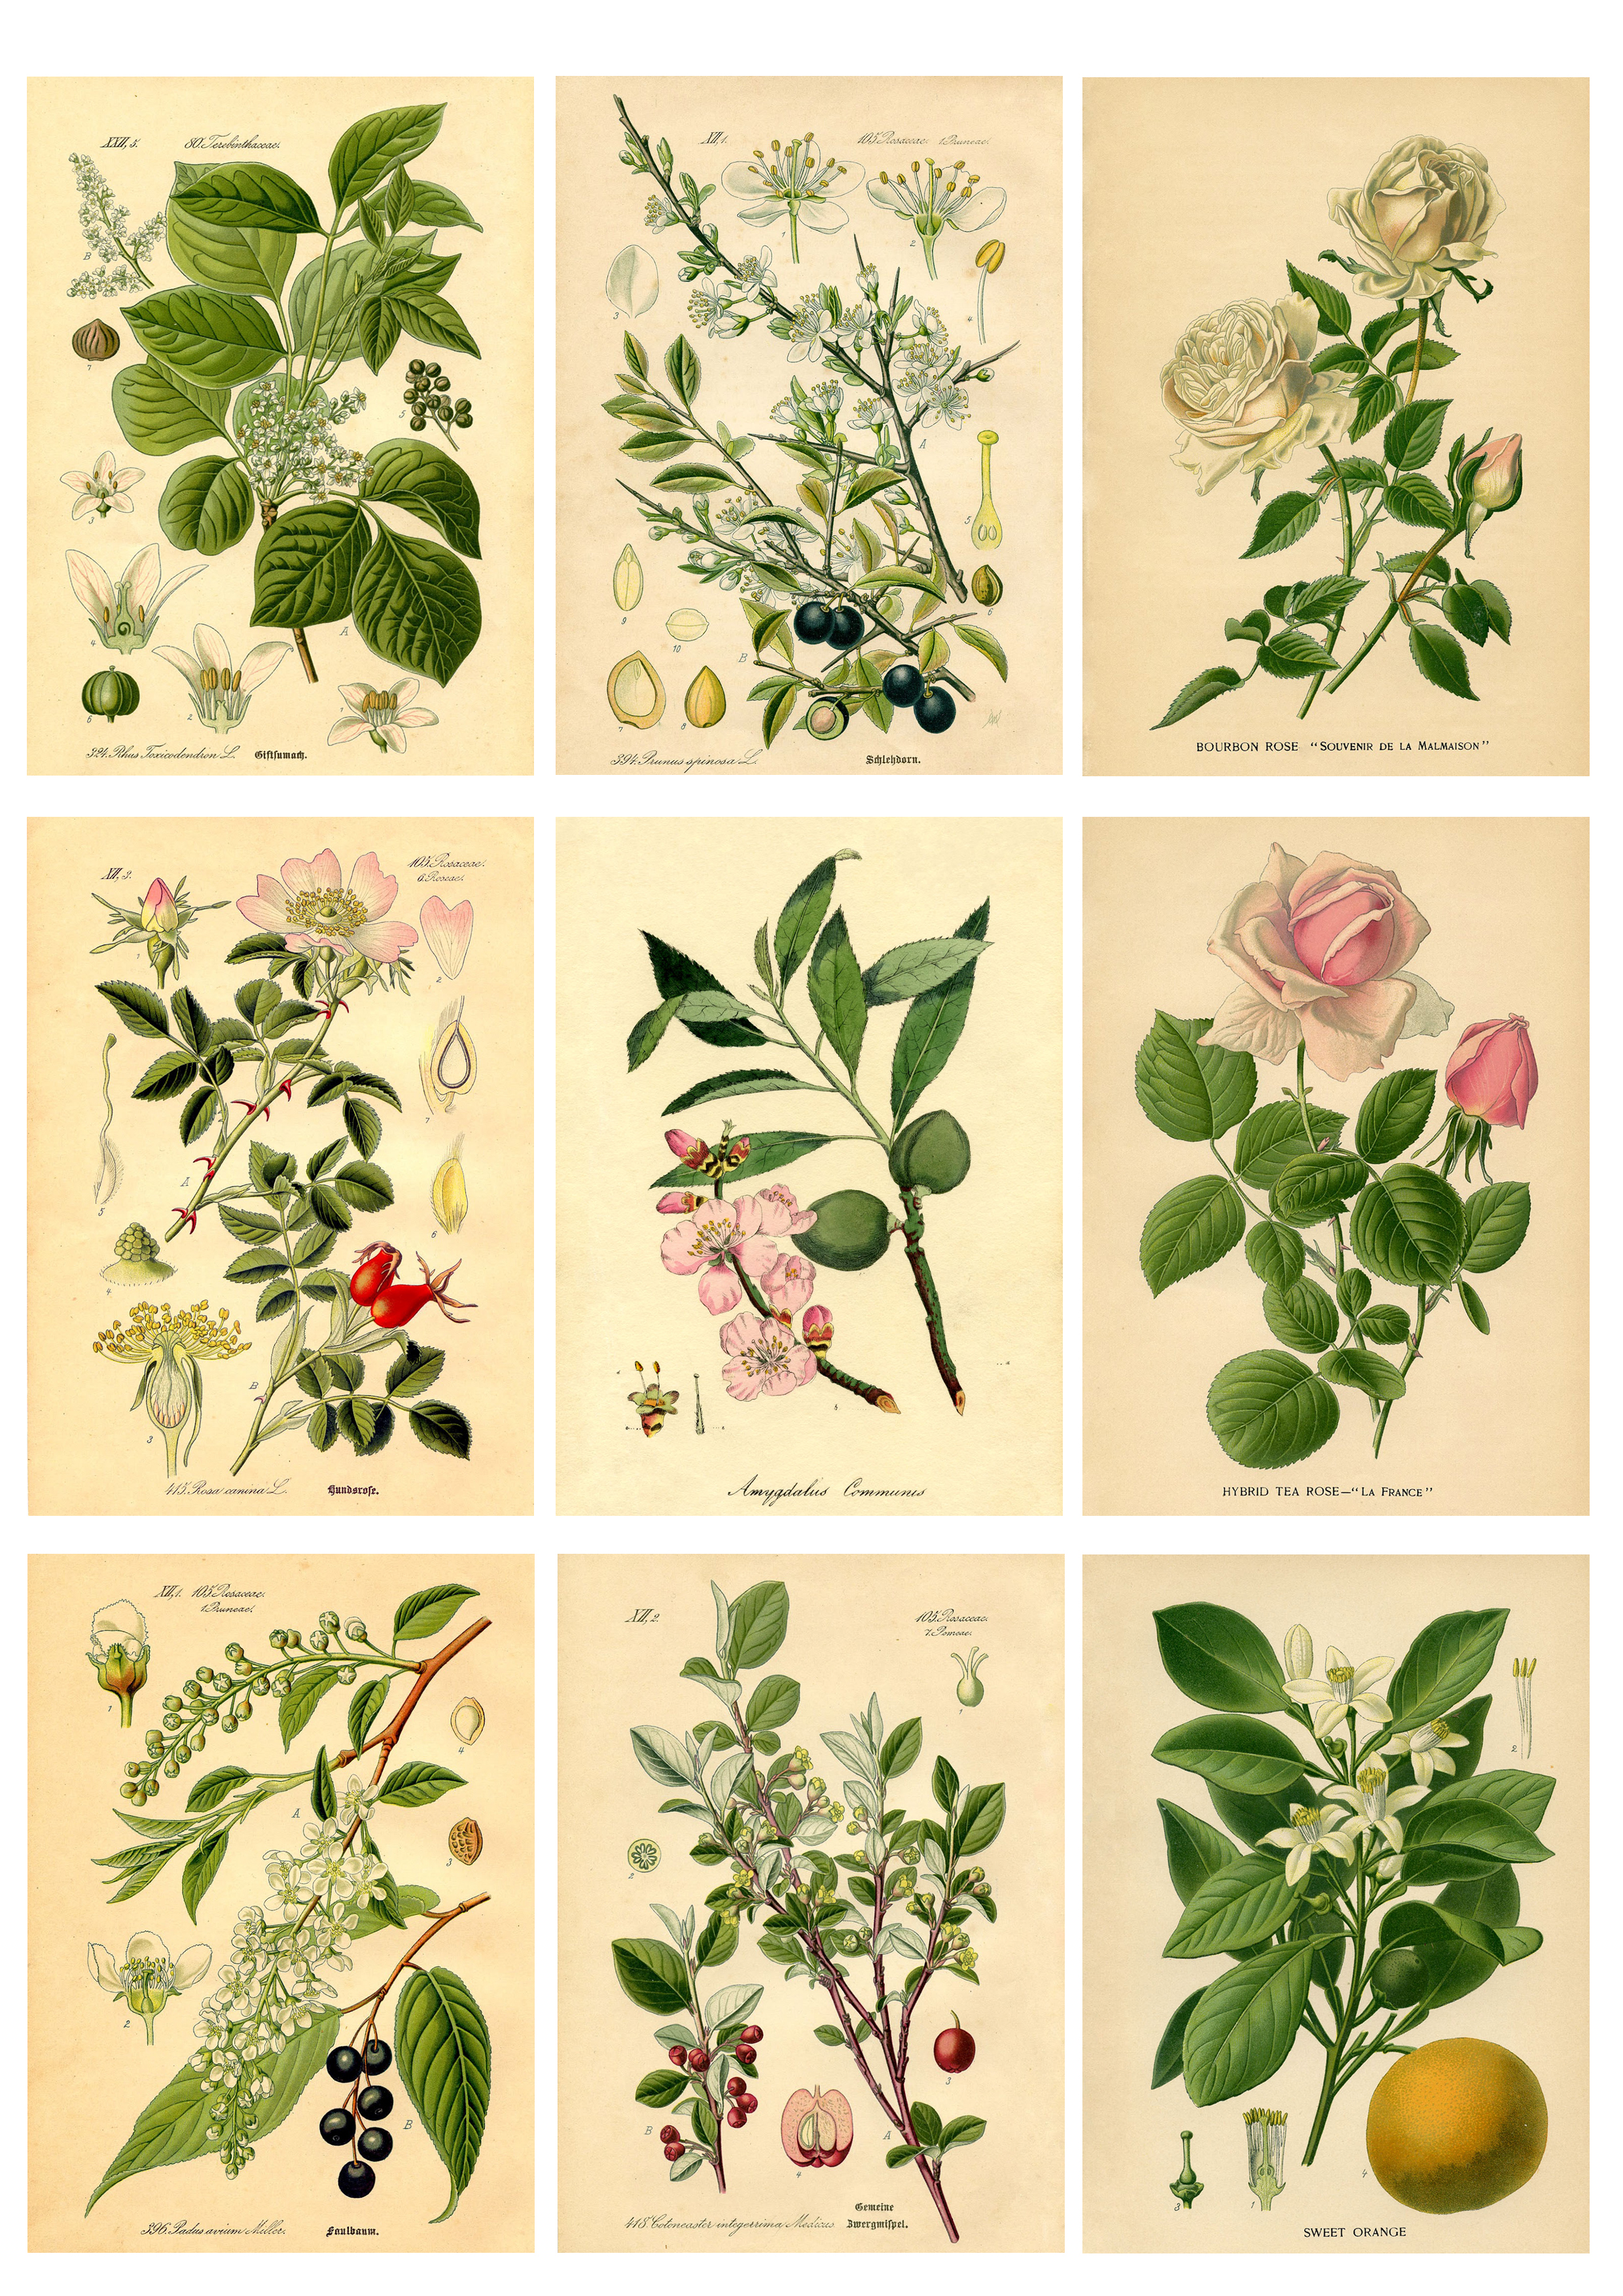
—-> Click HERE to Download the Full Size Printable PDF <—-
(the smaller botanical labels or tags – on the left)
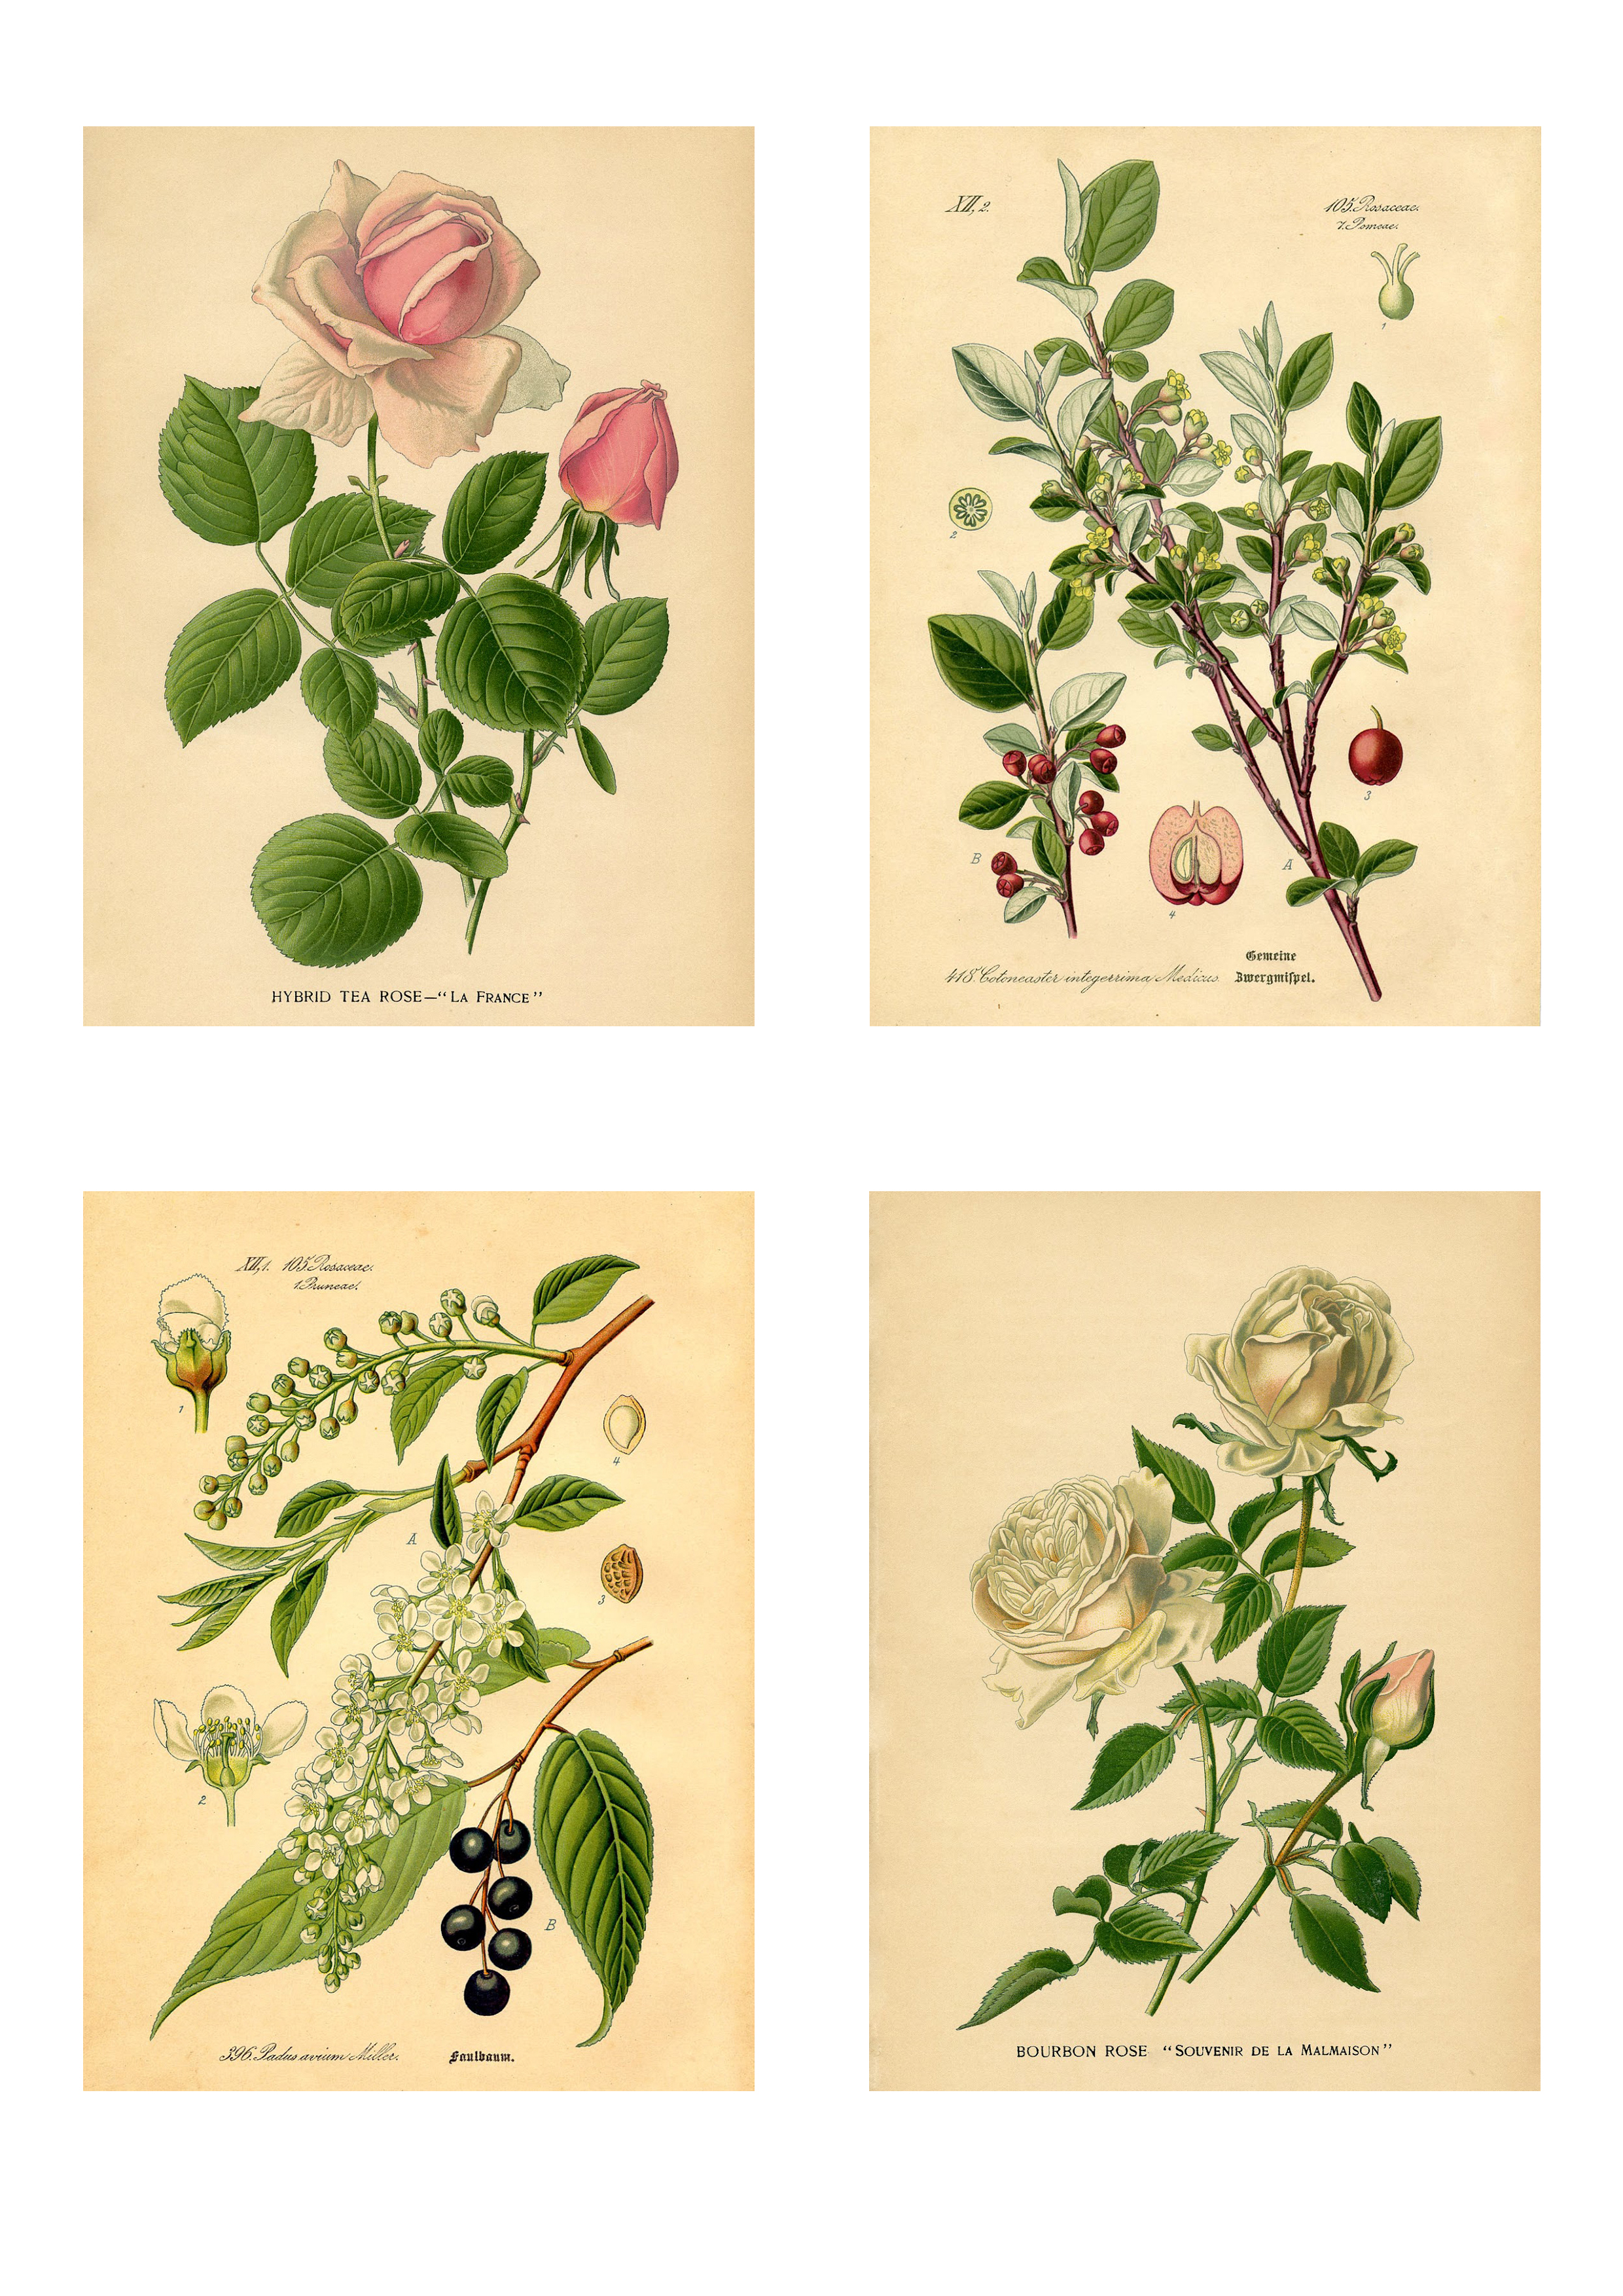
—-> Click HERE to Download the Full Size Printable PDF <—-
(the larger botanical labels or tags – on the right)
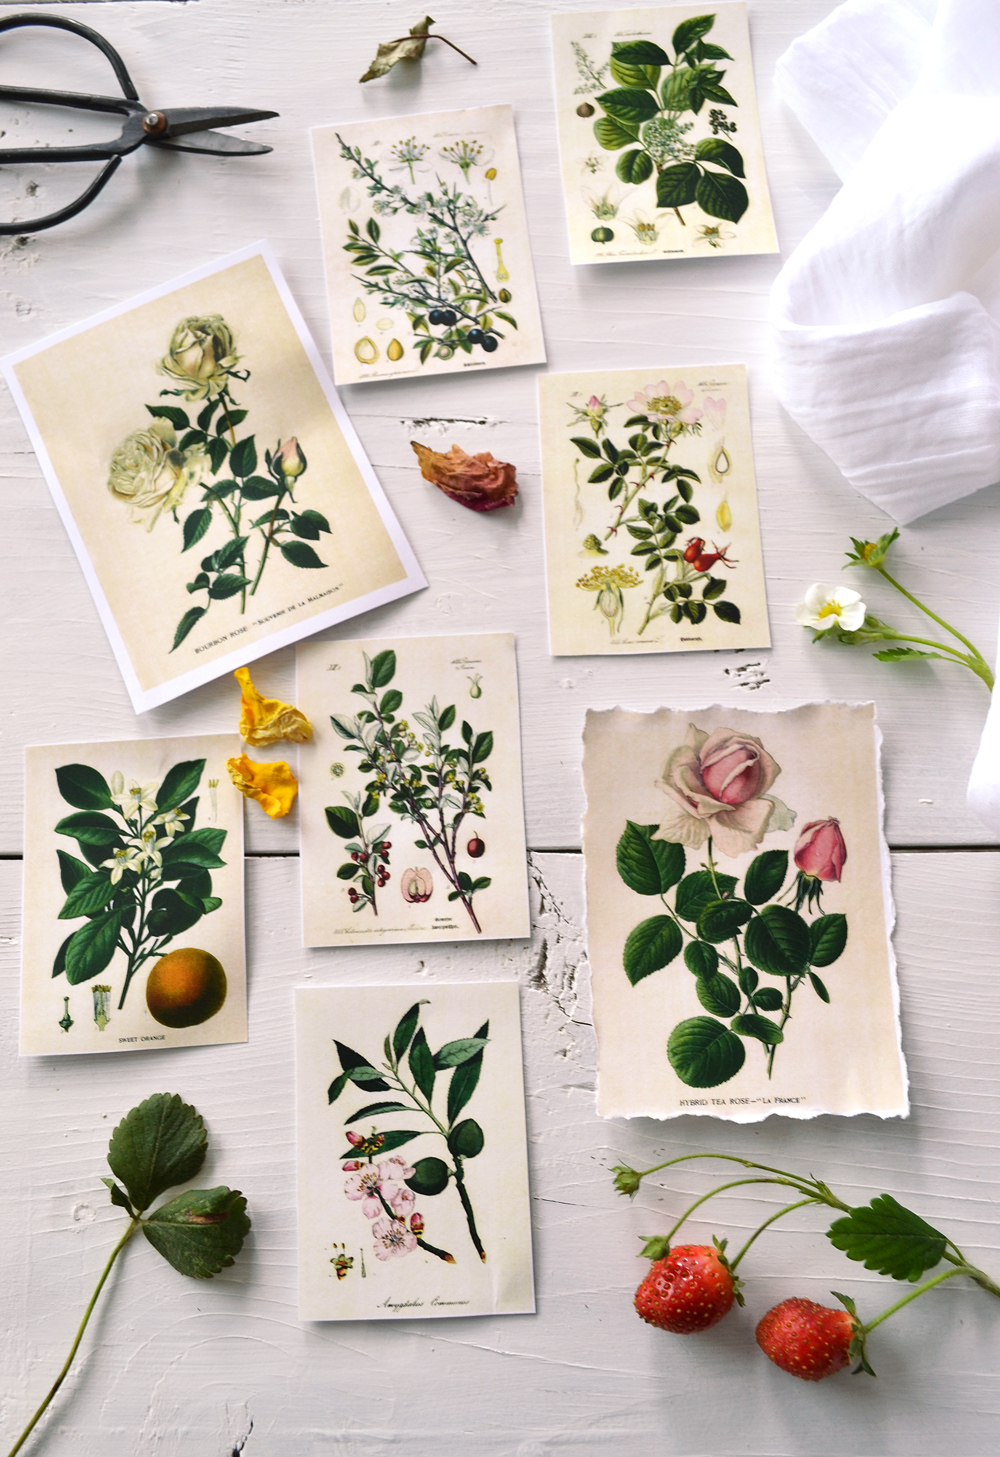
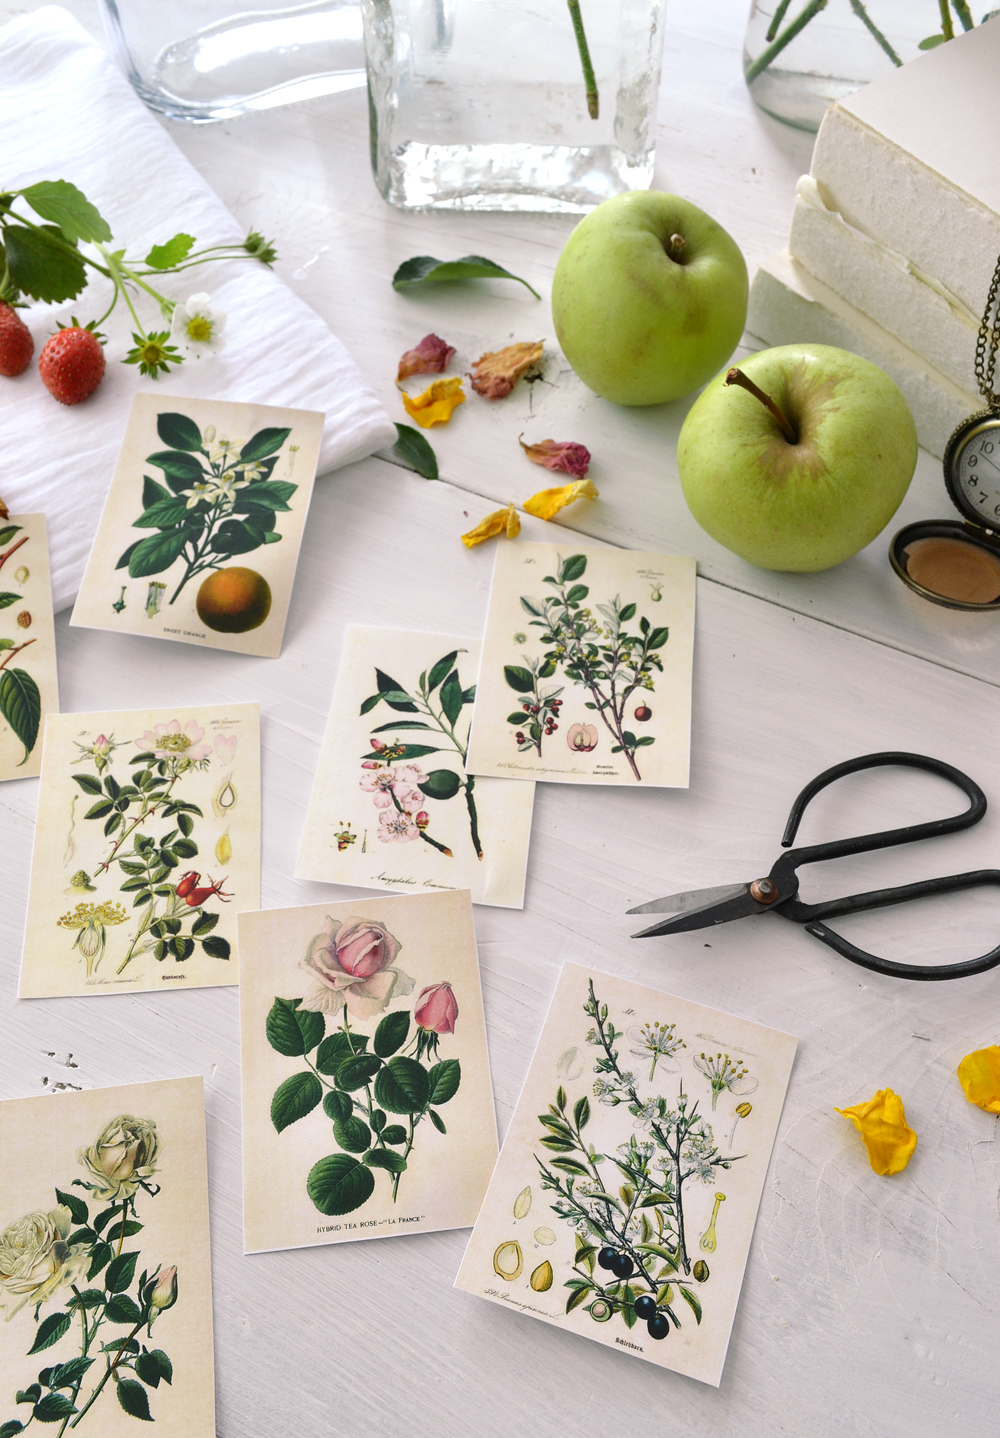
As you can see, I ended up creating two printables for this project! One with 9 smaller botanical prints and one with 4 larger botanical prints.
But that’s a good thing! You will have plenty of room to play with and experiment when using them on different sized objects in your home. You are already thinking on some amazing decorative objects, right?
Botanical Stickers Supplies:
- botanical stickers
- cardstock paper or regular paper
- scissors
- printer (inkjet or laserjet)
- brushes
Optional:
- acrylic paint
- Mod Podge
- jute twine or white twine
- vintage scissors
- clear duct tape or washi tape
- books (old or new)
- organic materials for decorating with (wood scraps, apples or other fruits, small branches, dried or regular leaves and other seasonal things that you can find)
Step by Step Tutorial:
Let’s get started!
Download the two printables on regular or cardstock paper and decide how you want to cut and finish them. I will show you 3 ways to do this.
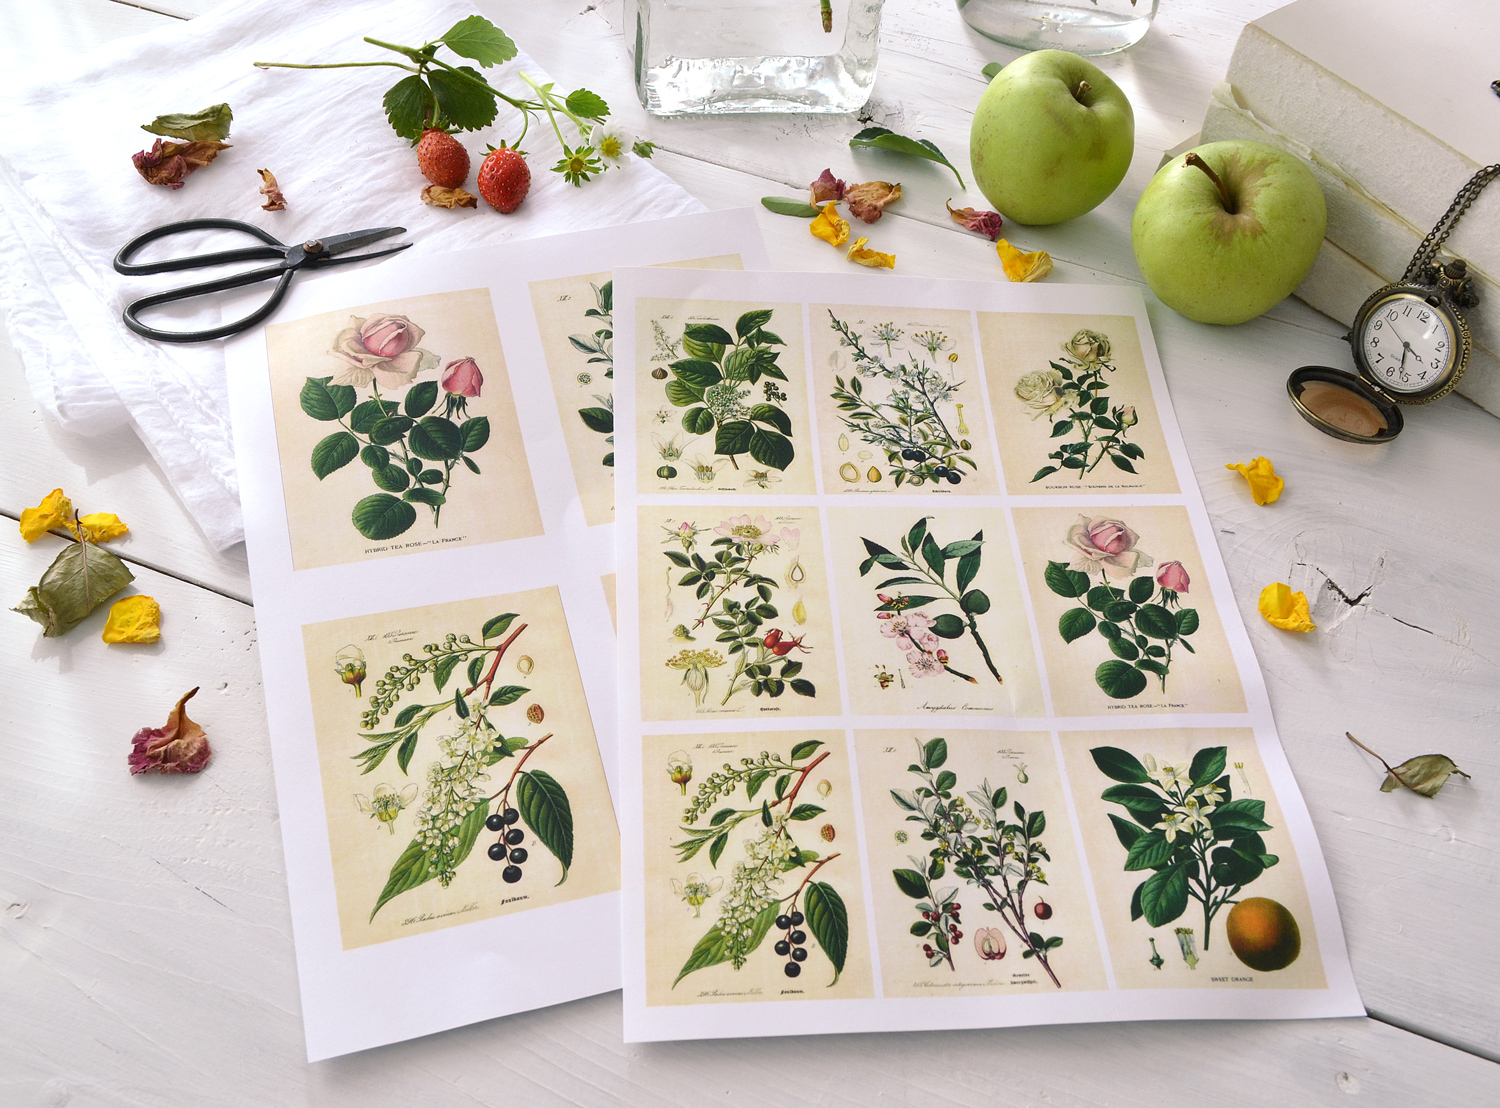
Deciding how to cut and finish their borders will be the hardest part of this project, I promise!
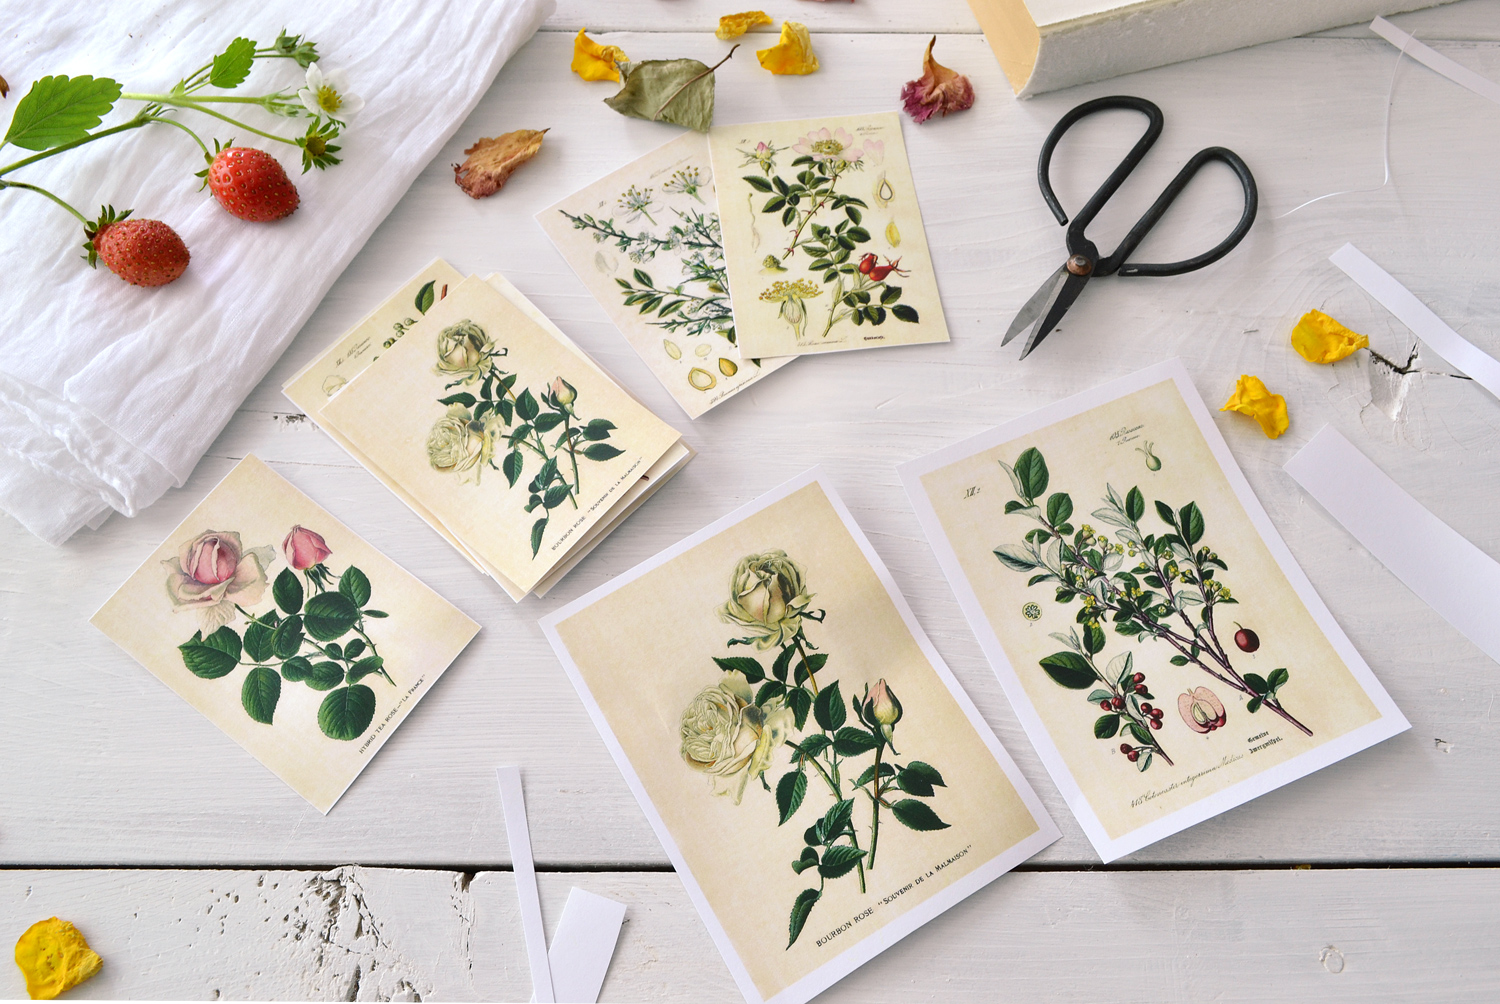
1. The no border method
Use your scissors and simply cut the labels without any white borders.
2. The white border method
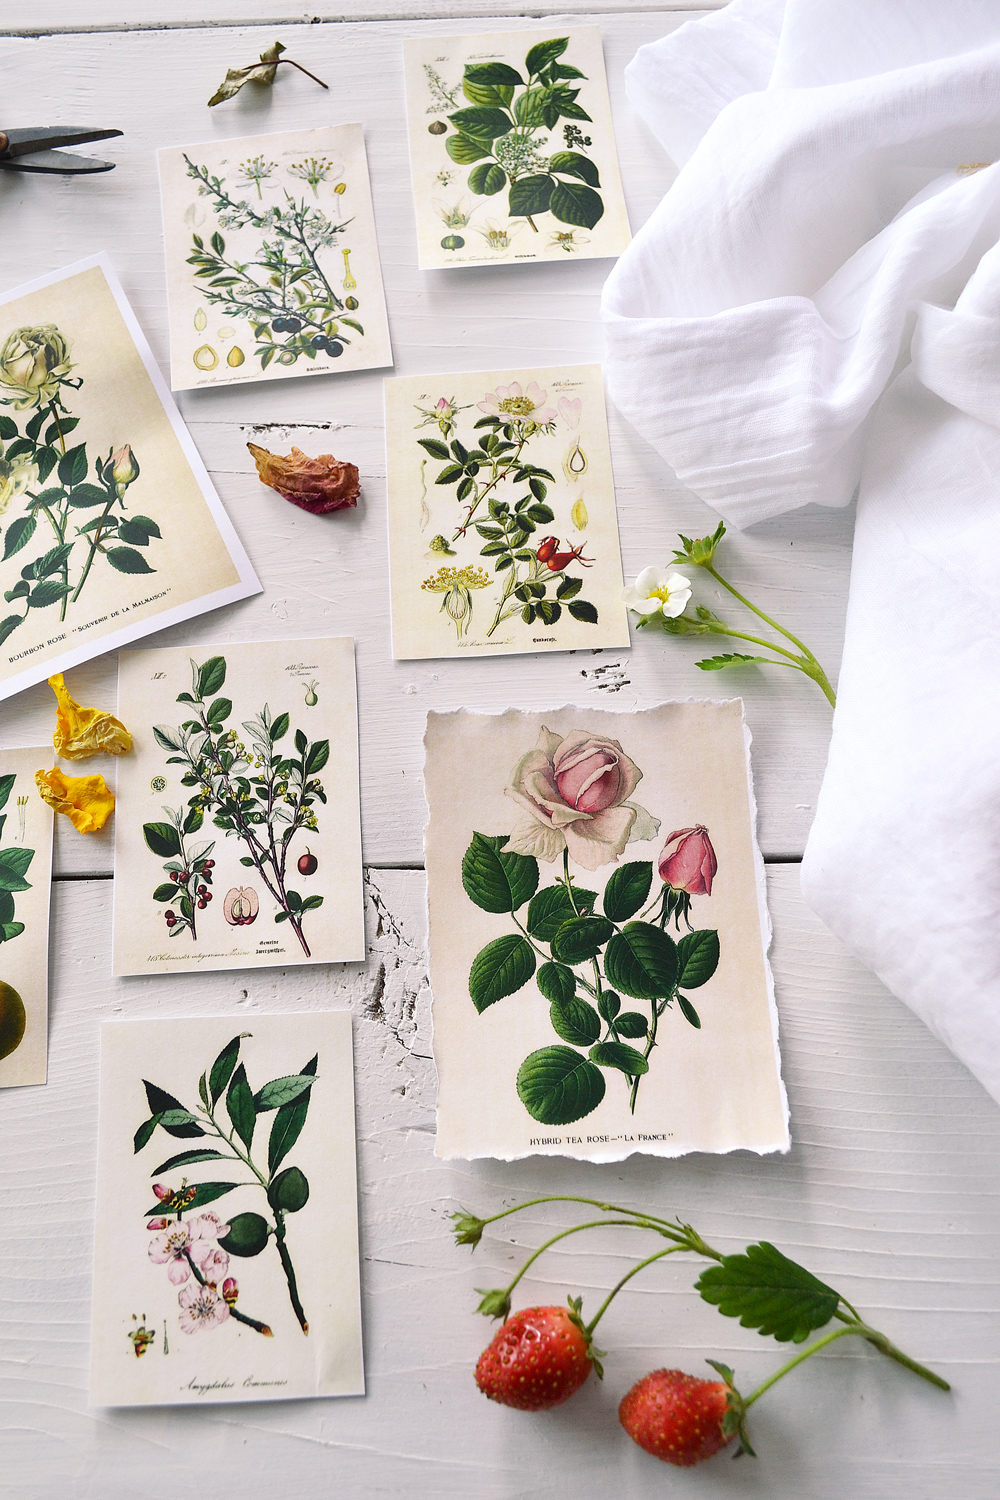
Cut around your botanical labels or tags leaving a small white border. I used this method for two of the larger labels, but of course, you can cut as many as you wish.
3. The torn edges border method
For this method I’ll show you a cool trick I’m using when wanting to get beautifully torn edges.
Just make sure you leave a larger white border when cutting the labels, a larger white border will give you much more options when actually tearing the paper.
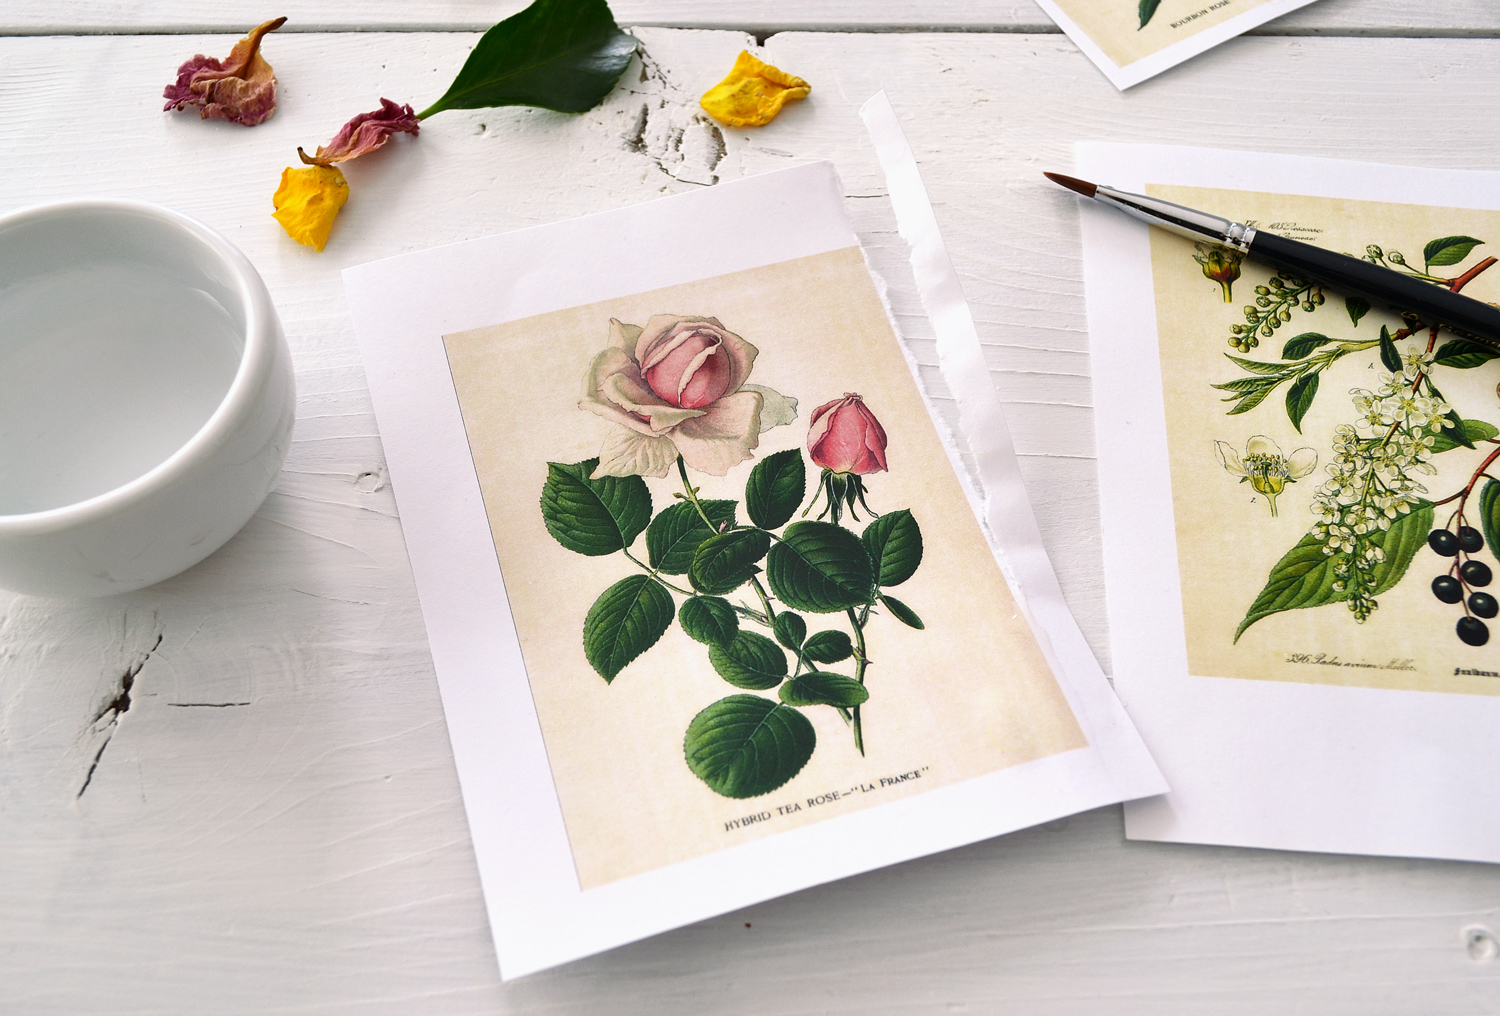
You will need a small clean brush for this method and a cool secret ingredient … water! You simply dip your brush into water and paint an (almost invisible) line following the edges of the botanical print. It’s up to you where you paint your water strokes – inside or outside the label. 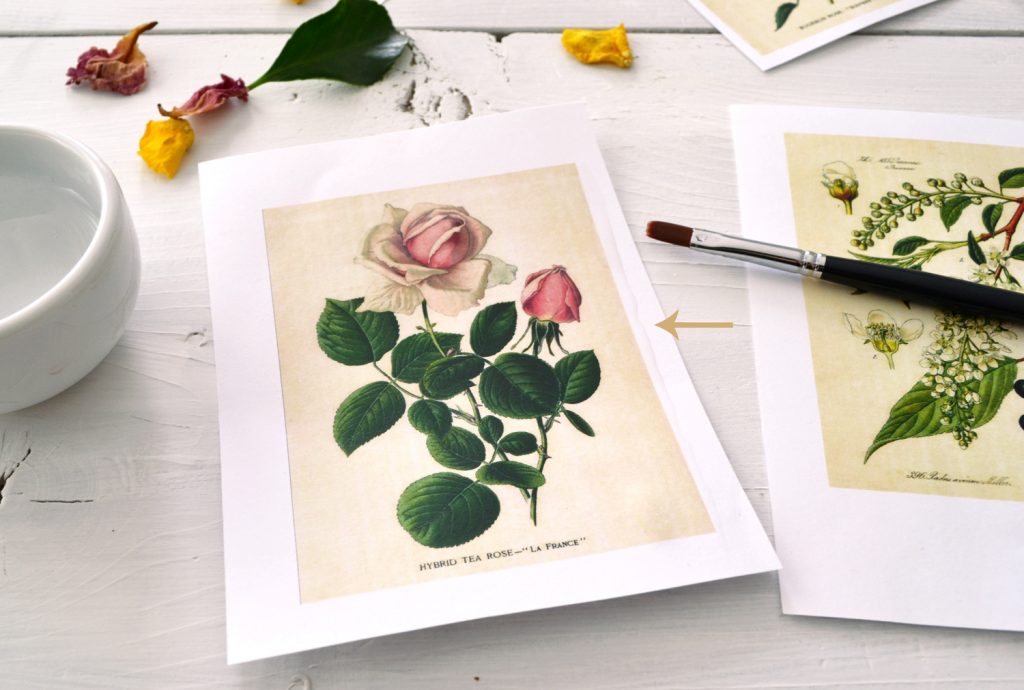 Wait for 20 – 30 seconds and then start to gently tear the dampen edges, following the (almost invisible) line. The paper should tear up quite easily, but if it doesn’t, just add some more water and try again.
You should get some beautiful old looking and unique edges. If you want a more vintage look, insist and tear some more paper on some of the areas.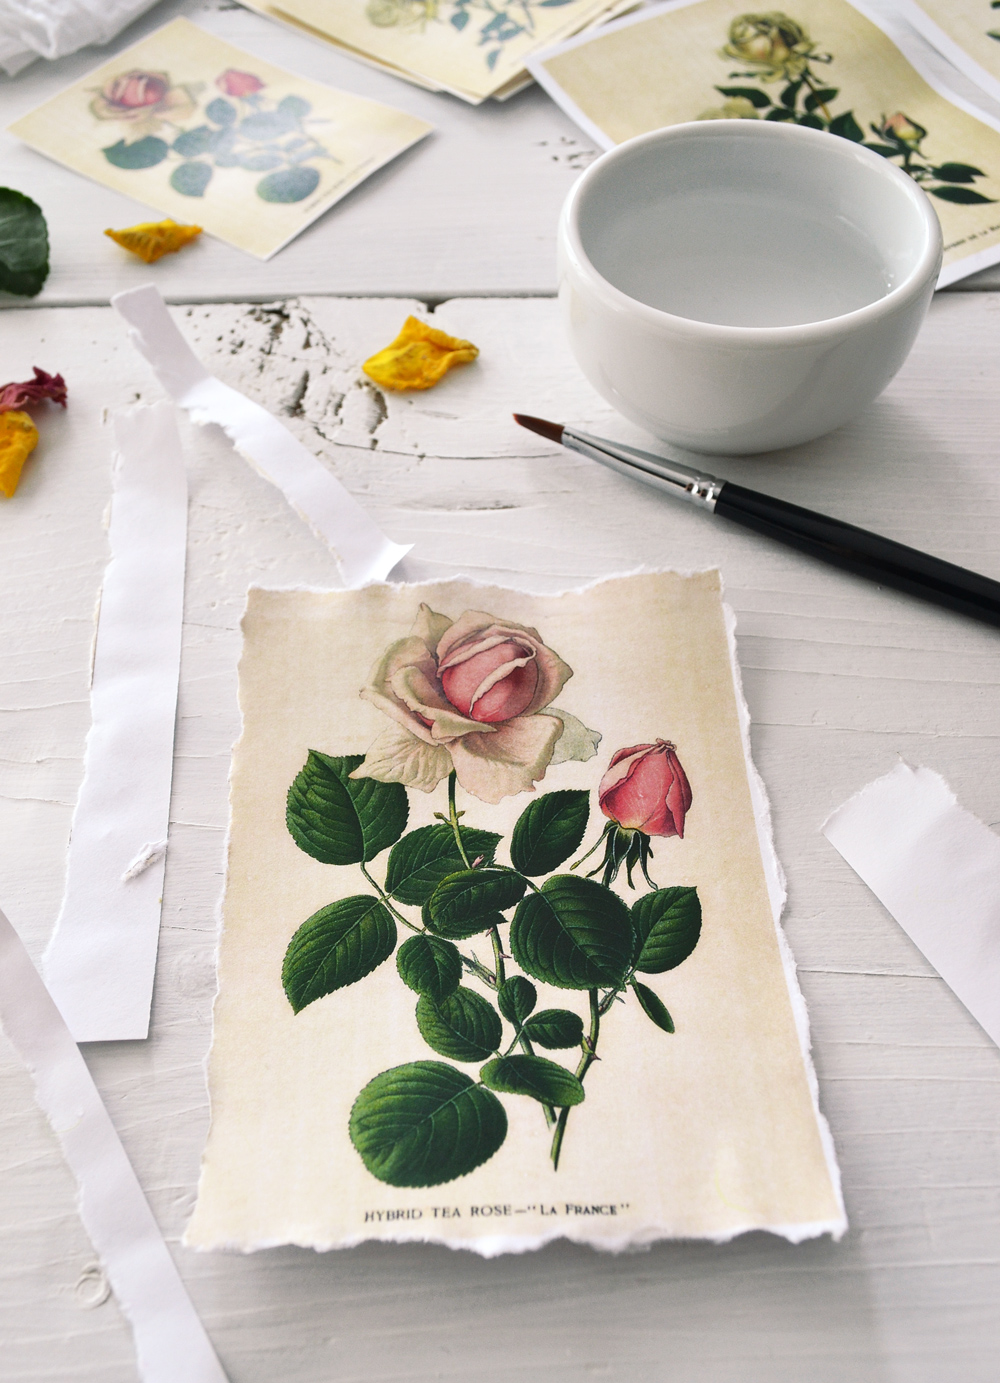 I also printed some botanical labels or tags on regular paper to see how they would look. The results were quite similar. The regular paper got a little bit more dampen and wrinkled when adding the water, so if you are using regular paper, you should let it dry afterwards.
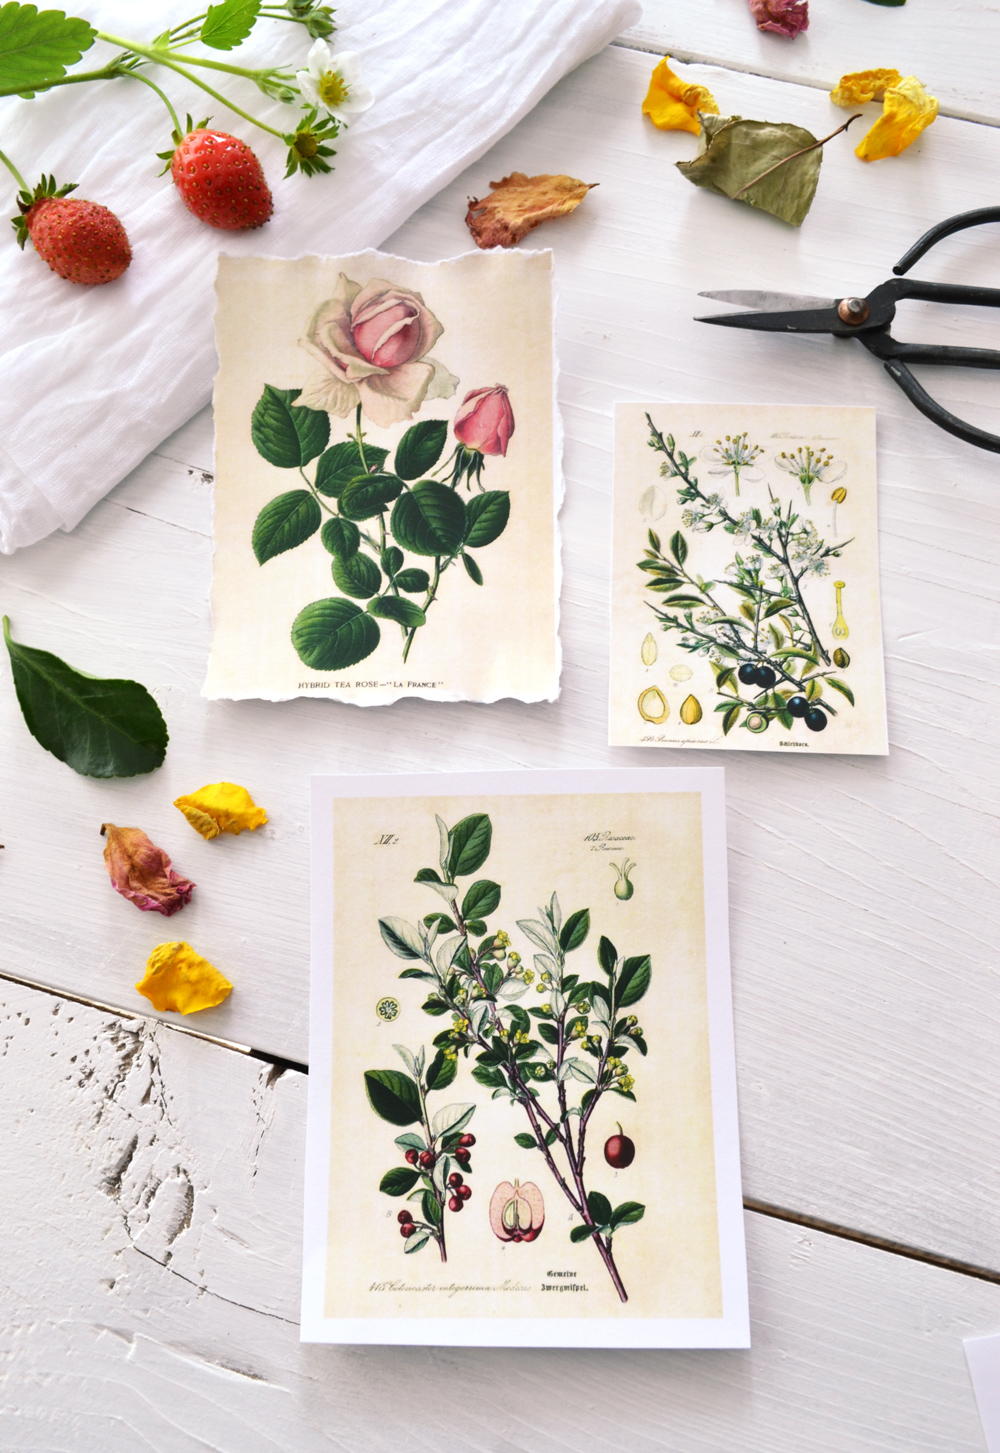
Here you can see the two labels, the one on the left is printed on cardstock paper and the one on the right is printed on regular paper. I loved them both equally!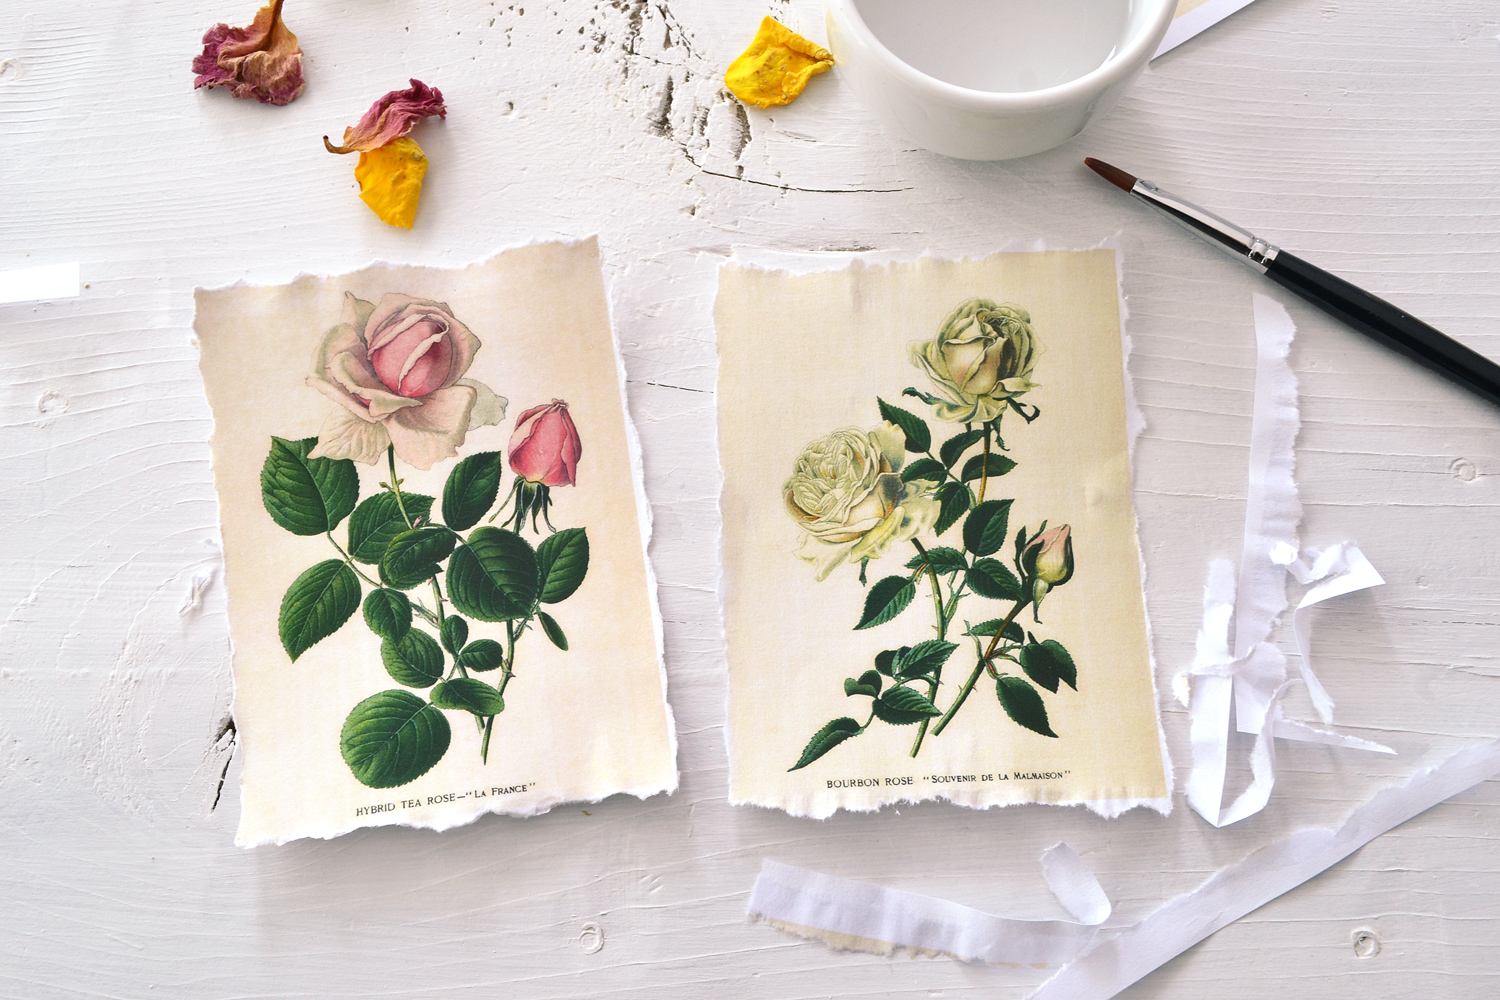 That’s it! I told you it was easy!
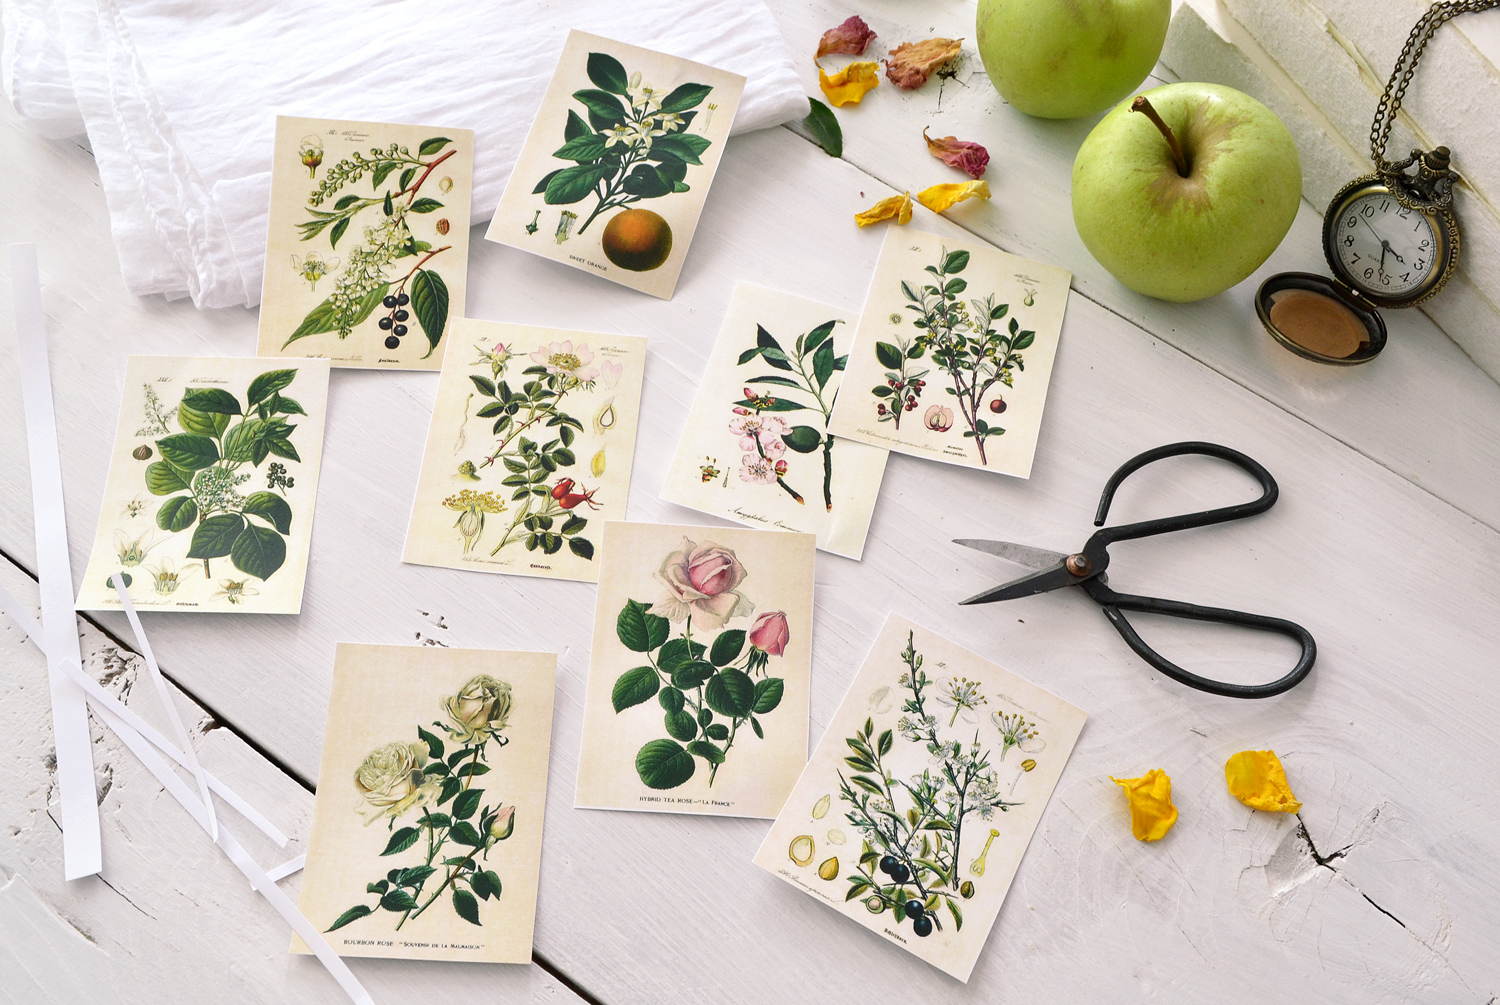
To sum things up, below you can see the final results for all the three methods that I have just shared with you. Depending on where you are planning on using them, you can choose your favorite.
If you simply can’t decide, just try them all, like I did!
Ideas on how to use the botanical labels or tags
So I mentioned before that these beautiful botanical prints are quite versatile when it comes to actually using them. You can try some of my suggestions, I’m showing you below a few ideas. But this could also be the part when you step in and get really creative!
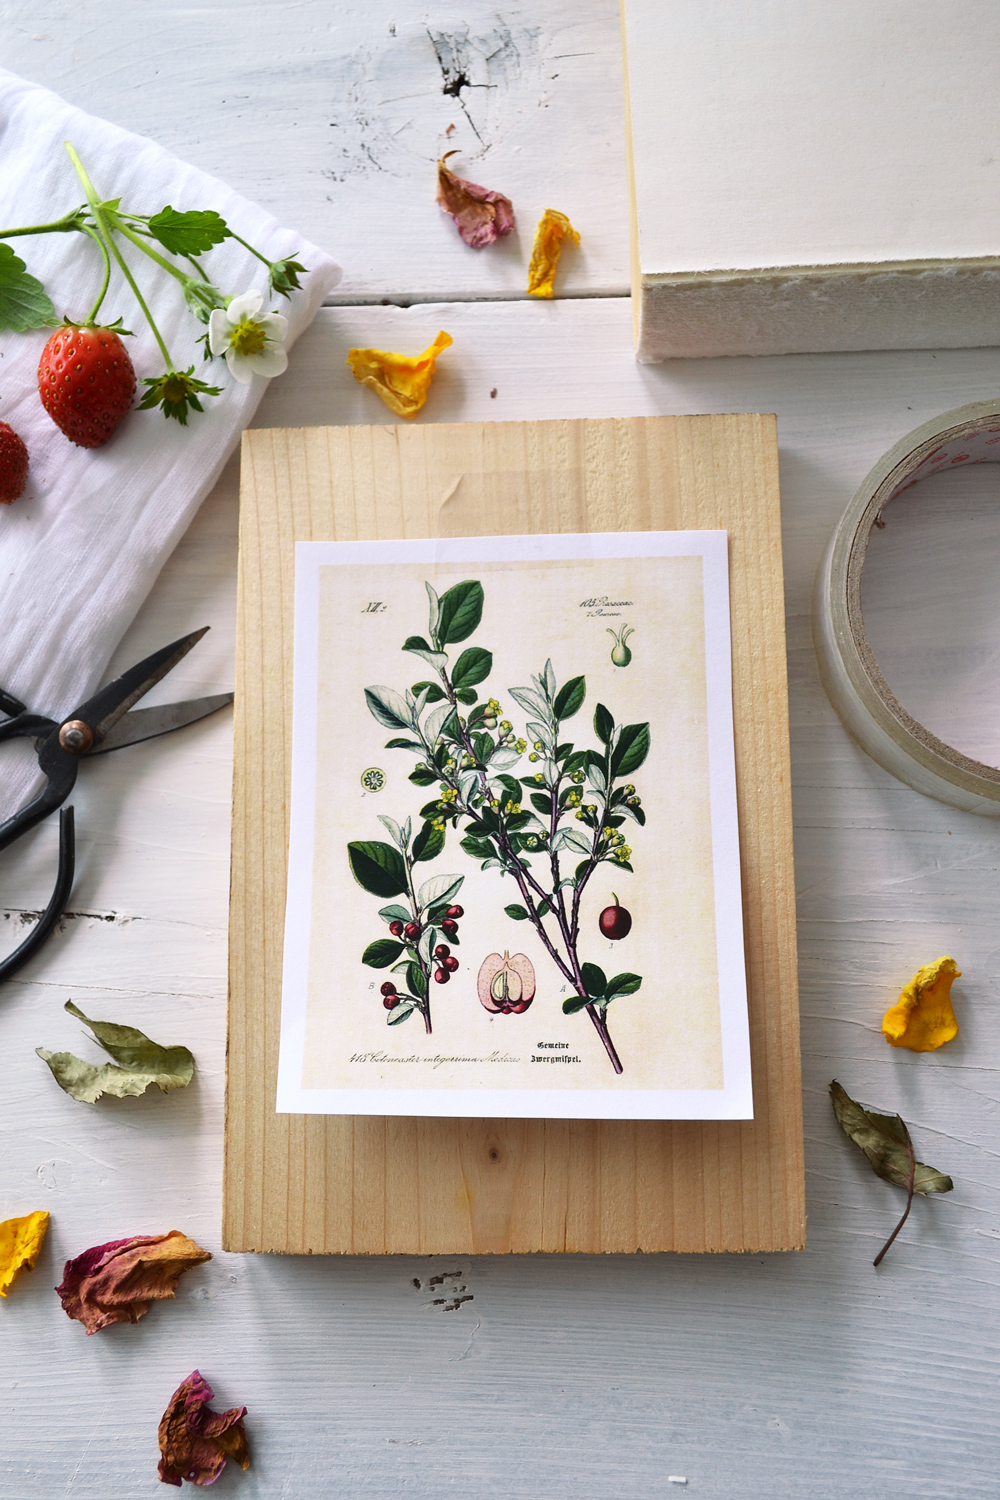
Decorate simple wood signs by applying one of your new botanical labels or tags to a plain scrap of wood. I used a small piece of duct tape to attach the label to the wood but you can also use white washi tape. I just love the whole look! Using this duct tape method will give you the possibility of changing the labels whenever you feel like it and creating an ever changing decor for your home.
Remember my distressed clipboard frame? Why not make some mini clipboards for these beauties? I’m sure they will look fabulous.
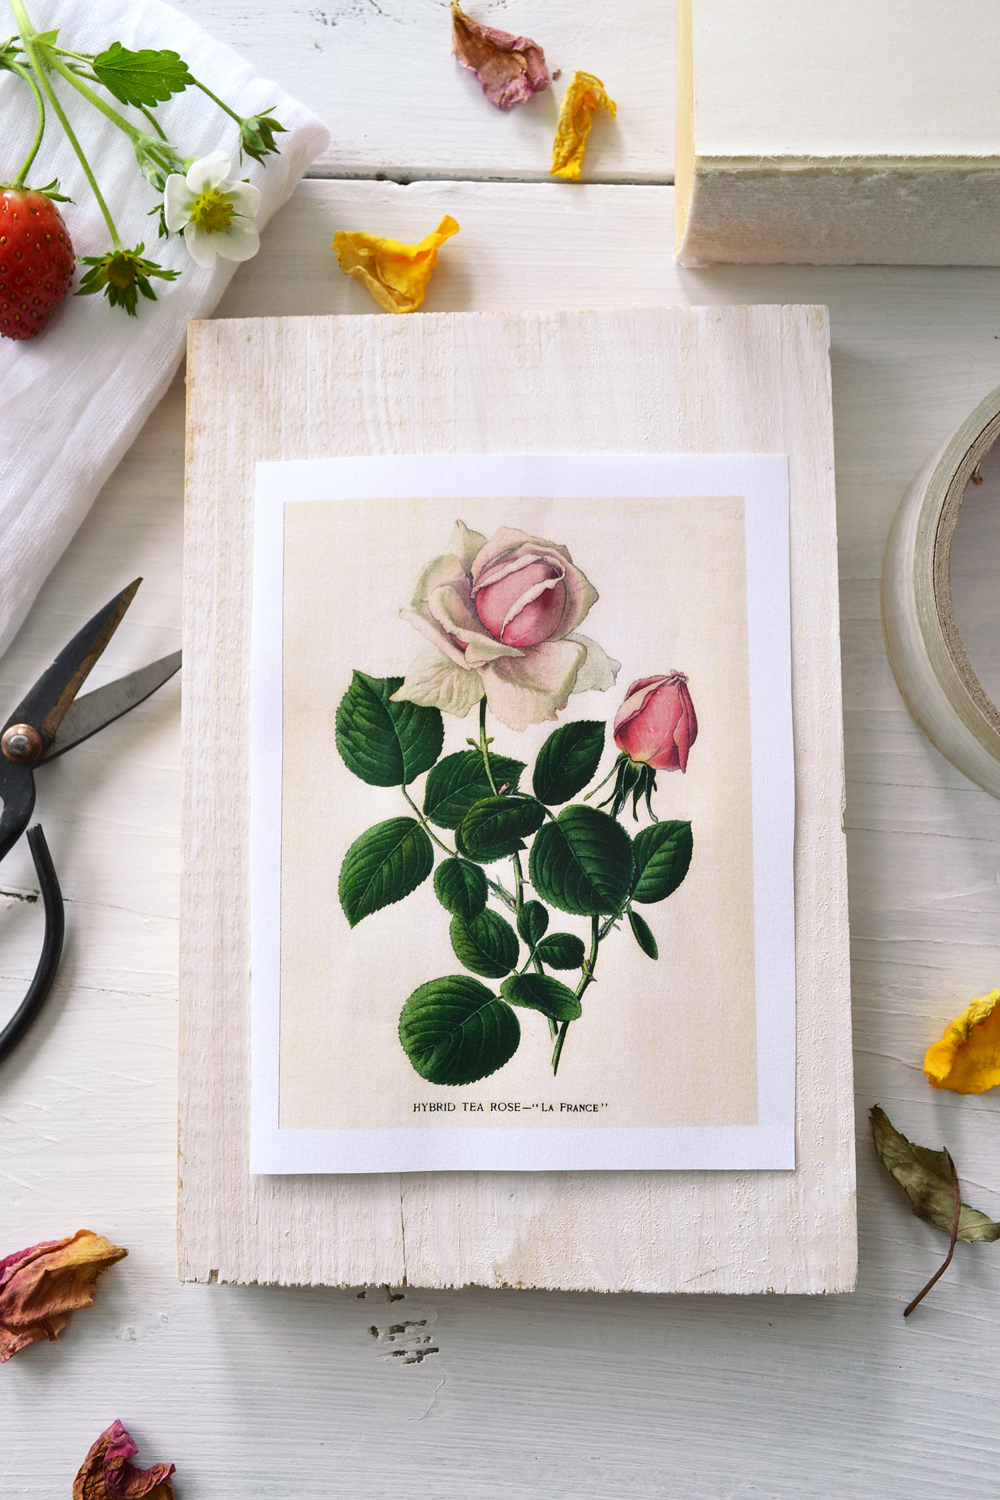
If you are more into painting things (like I am), you can apply a thin layer of (highly diluted) white paint on your wood board. I think I love this version even better.
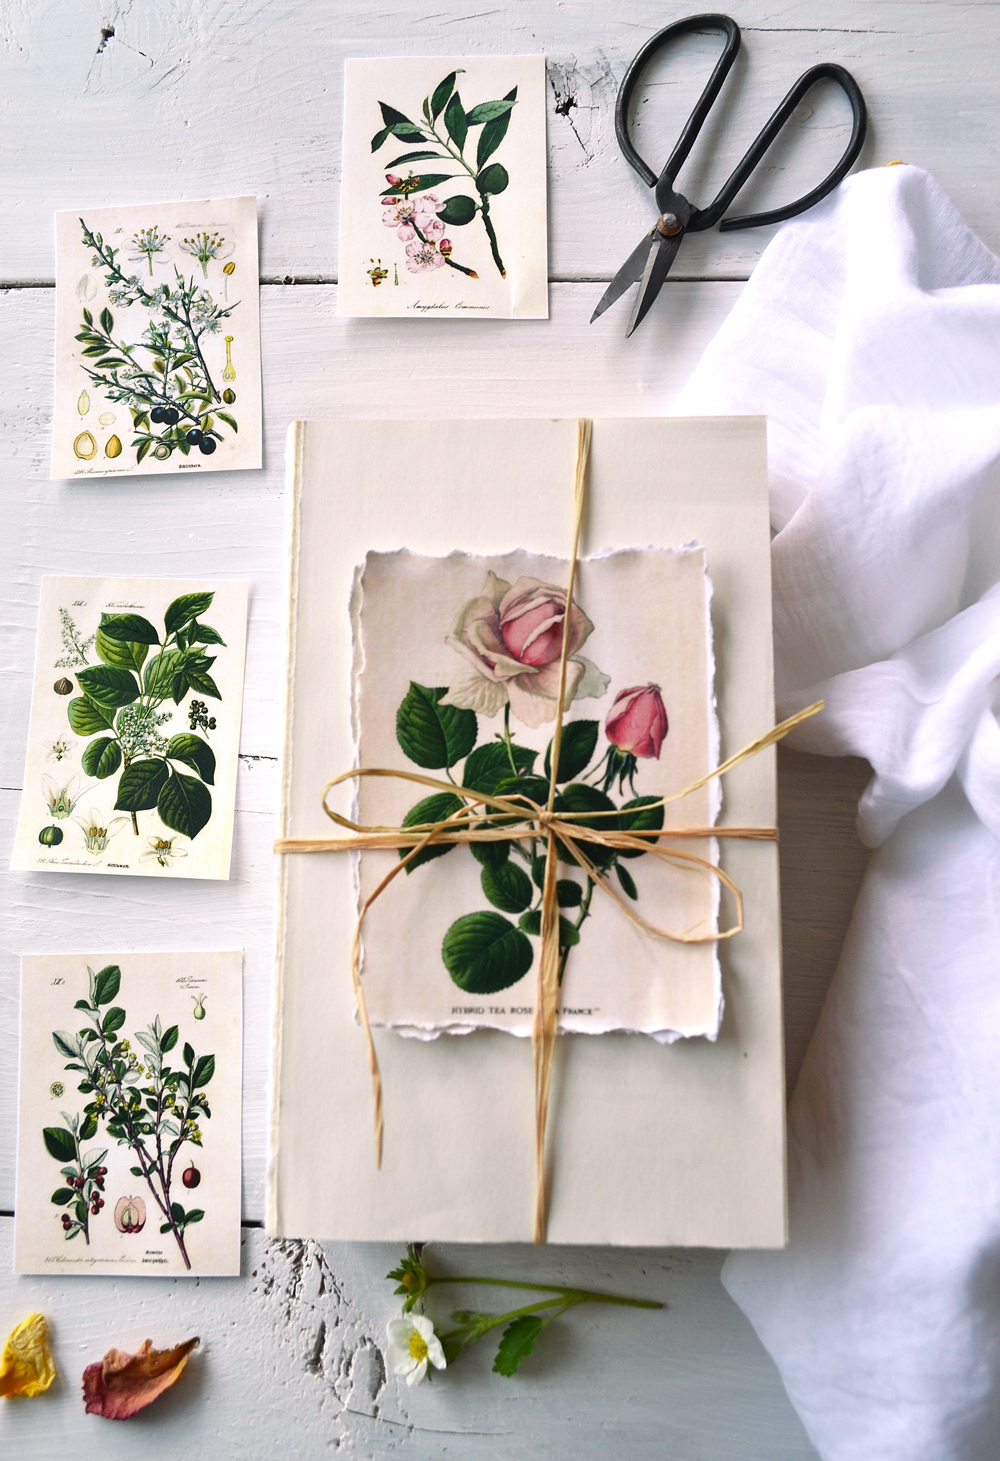
And this marvelous vintage rose might qualify as my favorite when it comes to these beautiful botanical labels or tags!
Then find all kind of objects and use Mod Podge to glue labels on them! White or natural colored wood baskets, boxes, tins, bring them all in! 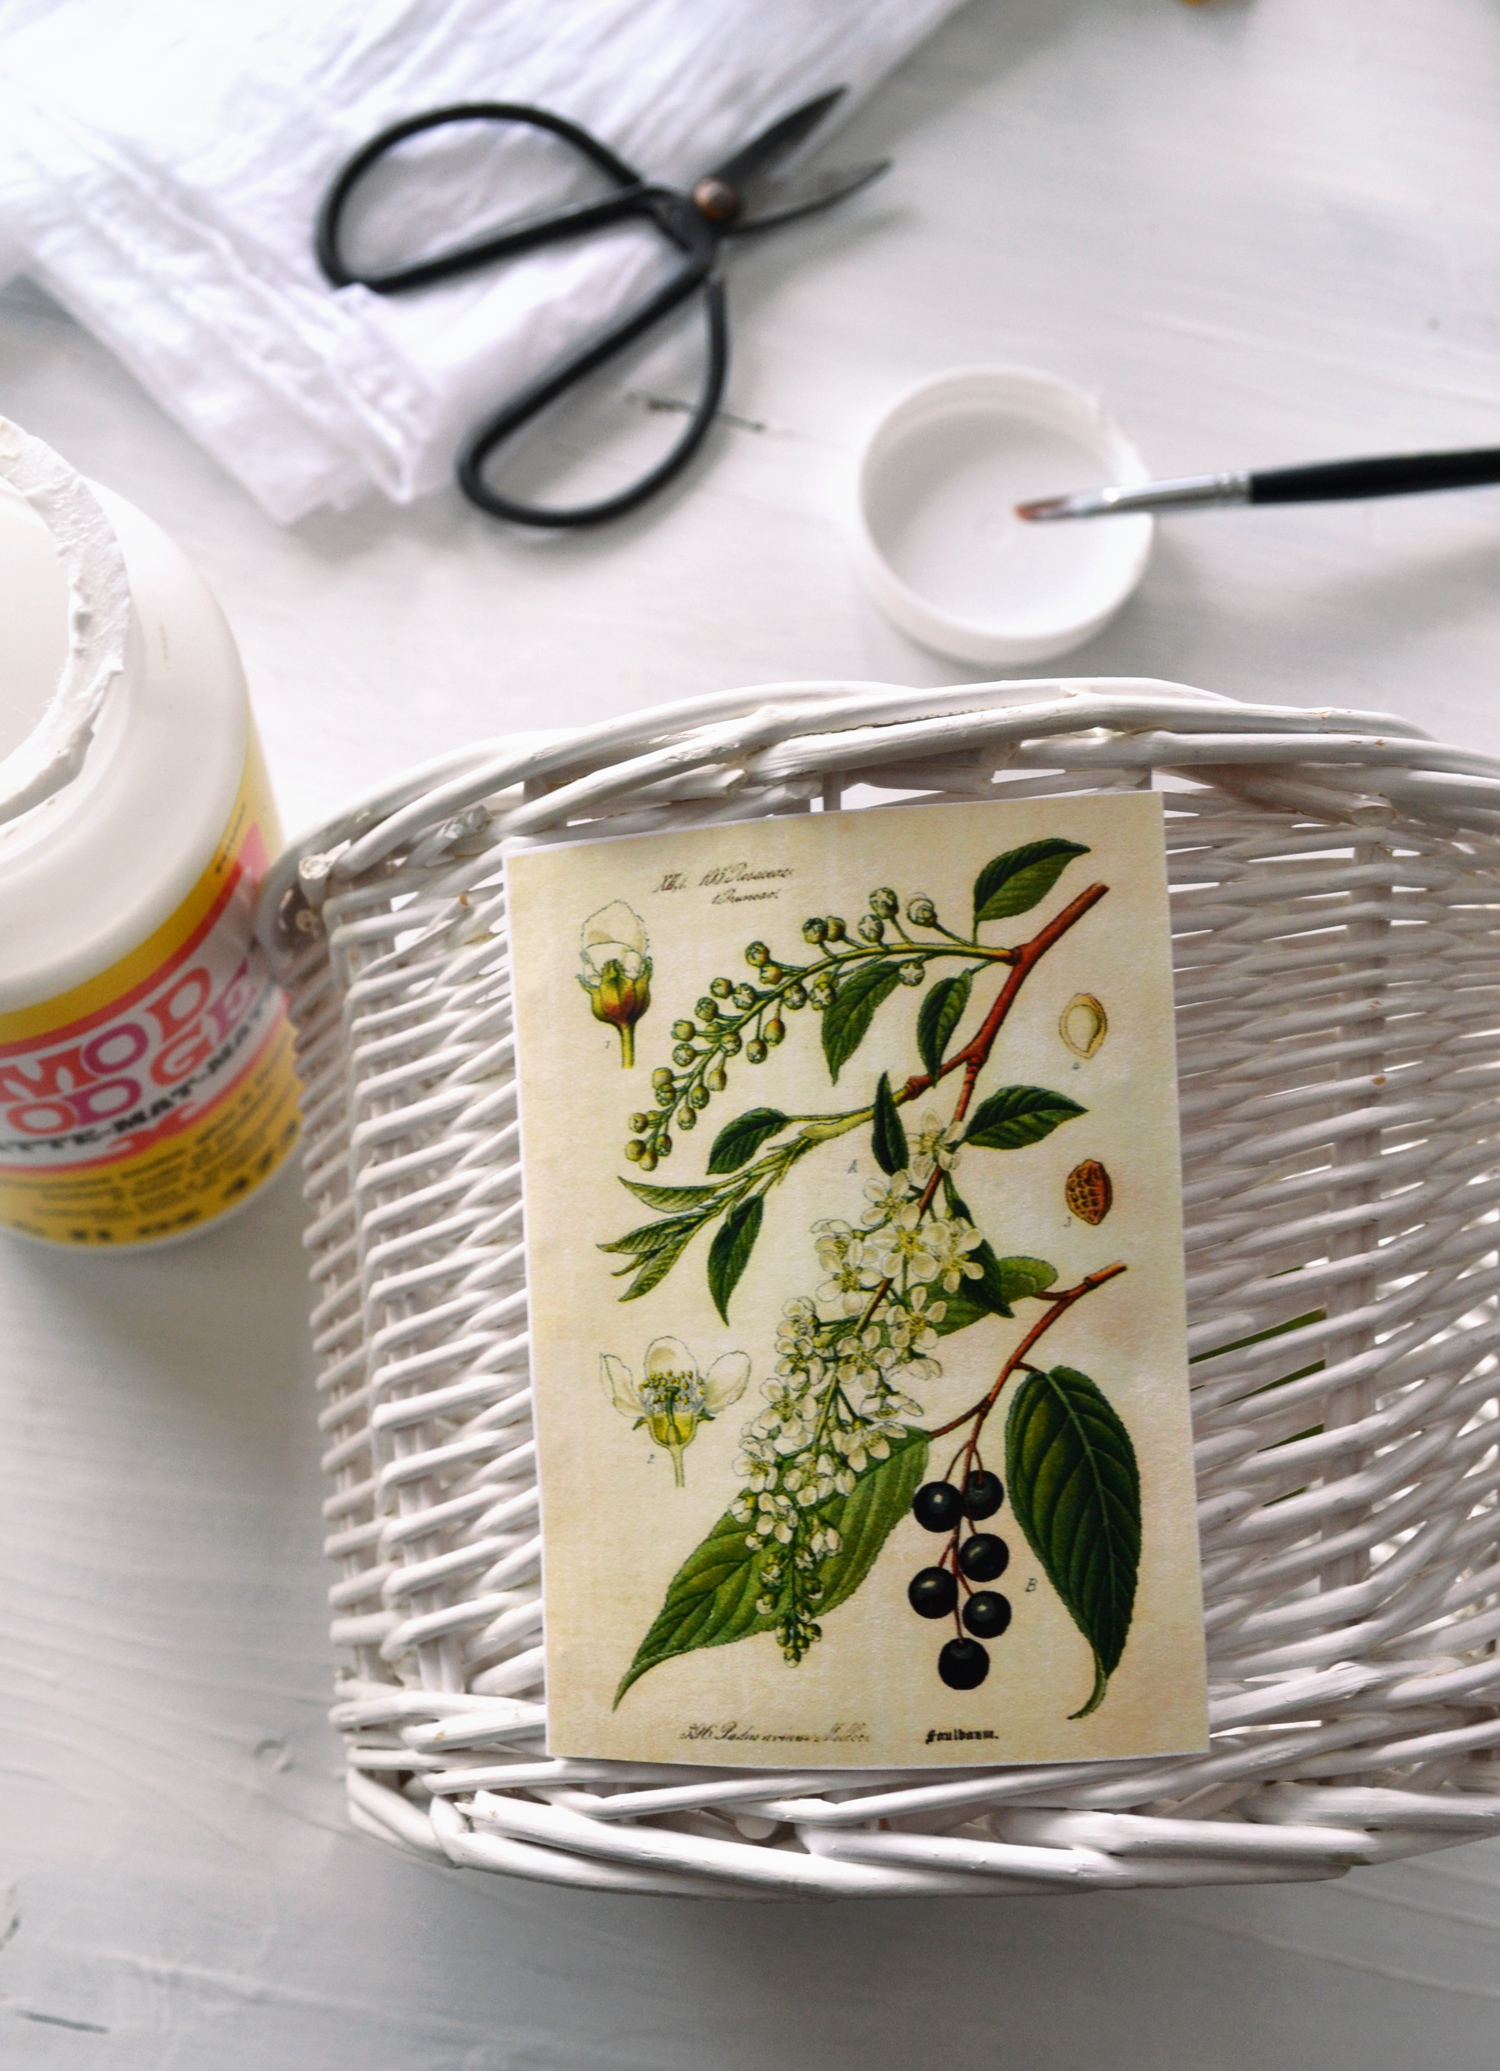
And integrate them into your home decor using other natural, organic materials that you can find outside.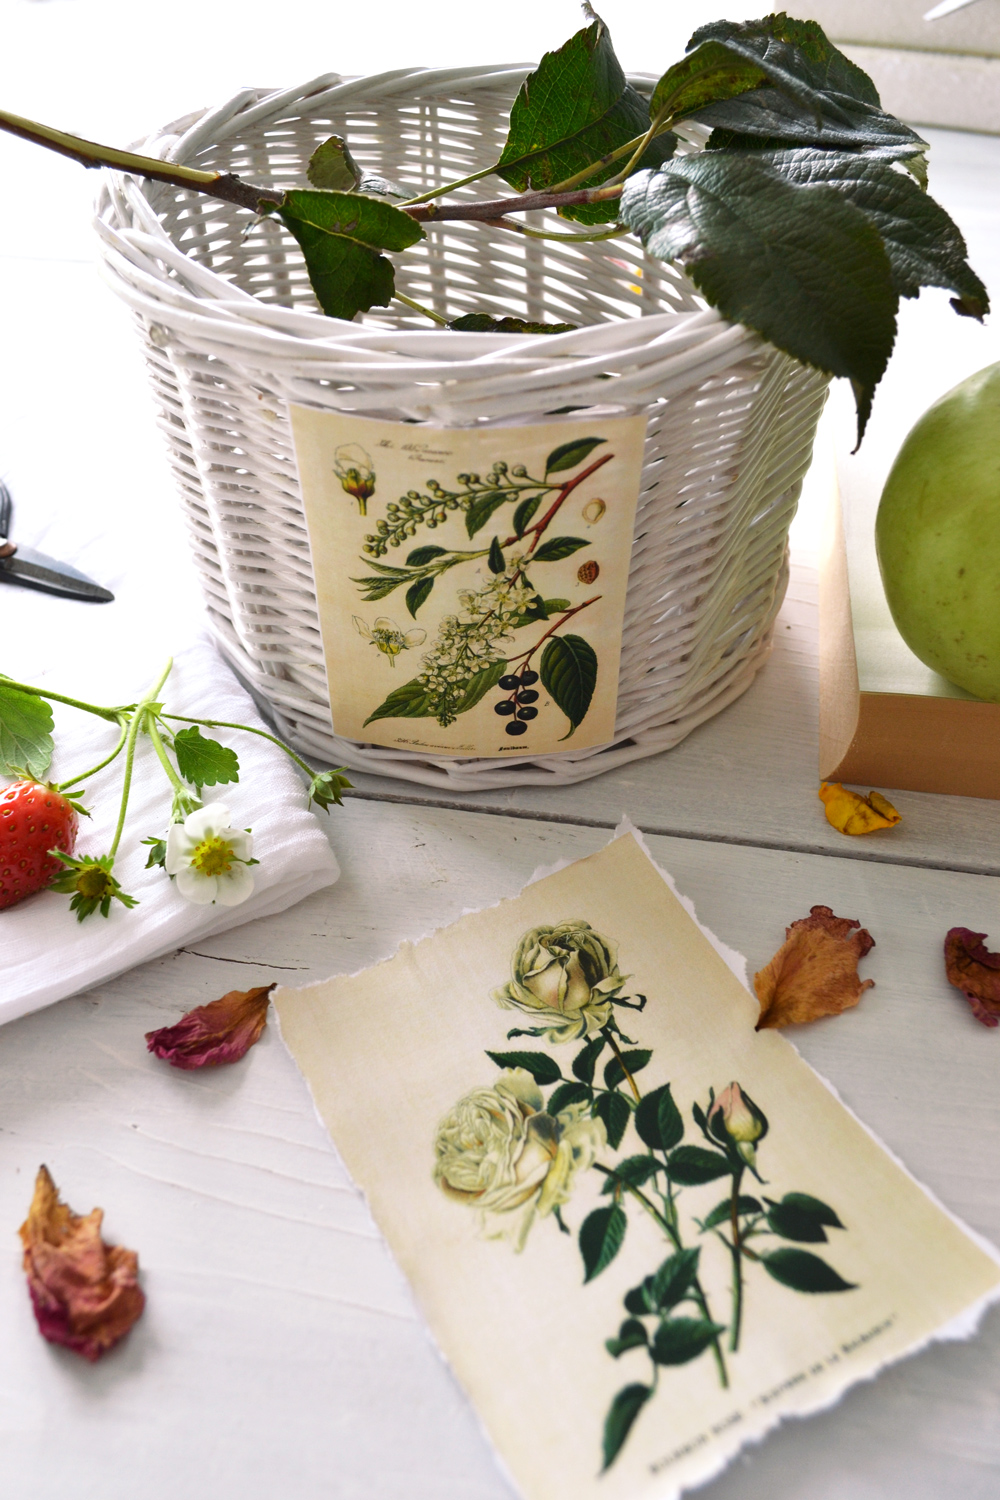
Another amazing way of using the chic botanical labels or tags? Turn them completely into tags by punching holes into them and attaching them to presents and everything else that you can imagine … and find!
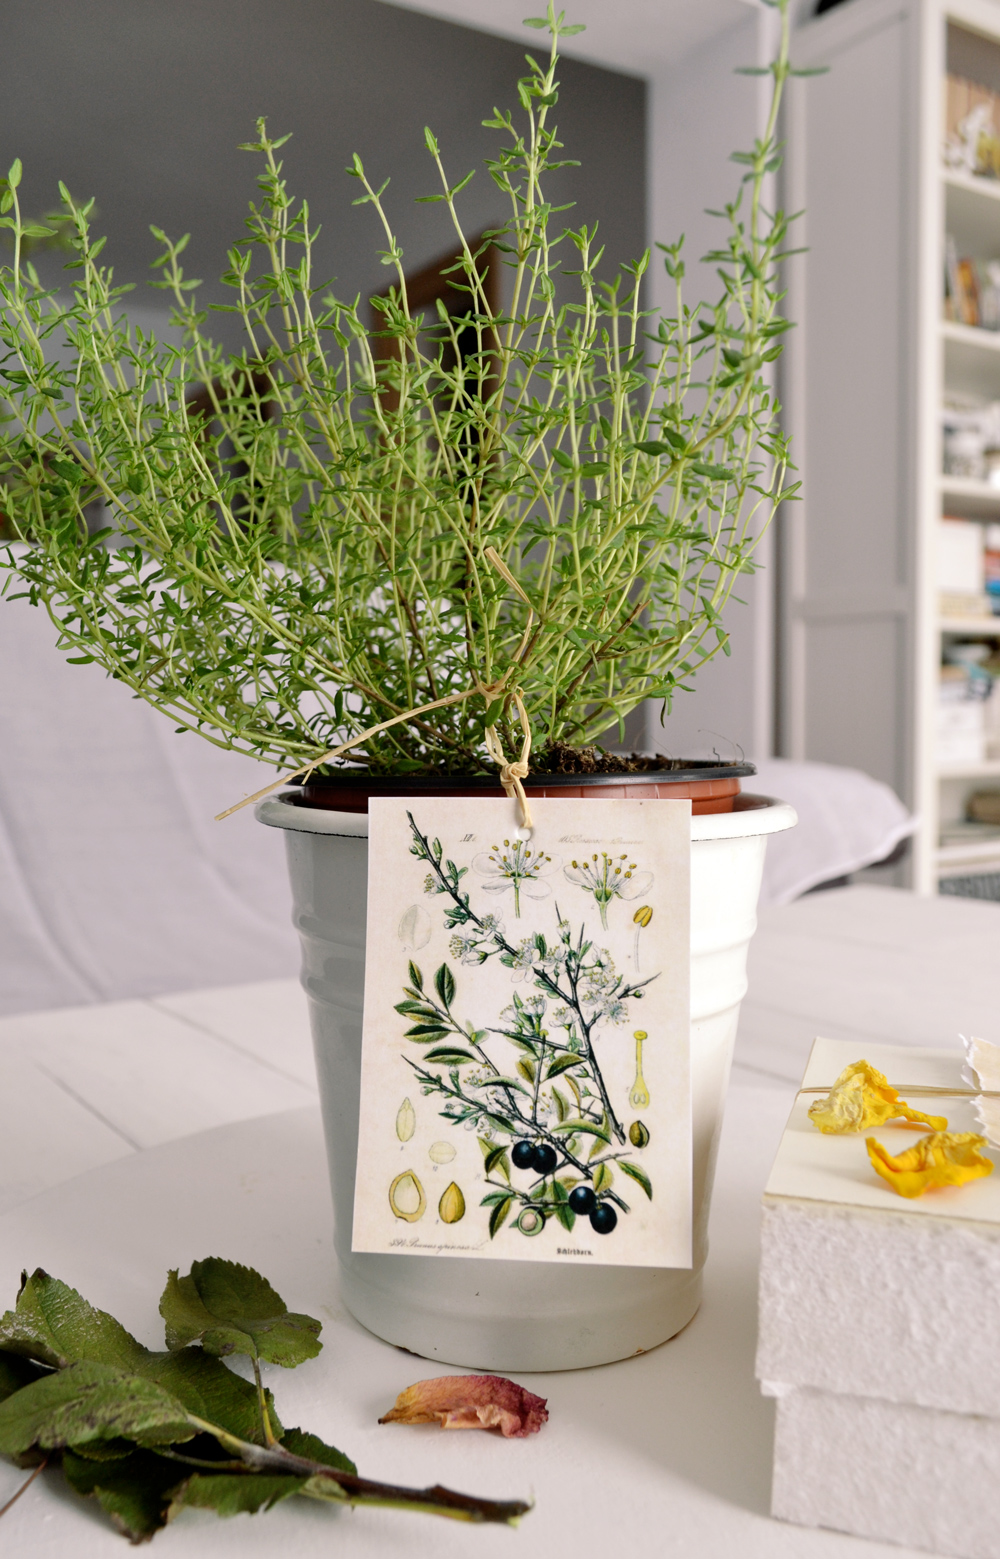
I used one to beautify a lovely pot with thyme. But you can also decorate old jars and bottles by simply attaching a botanical label … now turned into tag.
And speaking of bottles and jars, you can choose my method of just attaching the tags using some raffia or twine, or you can use Mod Podge to glue them on (like I did here with my Vintage French Apothecary jars and bottles).
As you can see, there are so many possibilities when using these simple but amazing botanical labels or tags, you just have to find the ones that work for you. These would all look good whether you are planning on adding a touch of farmhouse, vintage, cottage or Shabby Chic style into your home!
Just make sure you always have a few more of these ready to be used, they would look incredible when attached to (or incorporated into) gifts for all your family and friends!
And if you want to go and check all the large size botanical prints that I used for this projects, I’m adding the links below, so you can easily find and use them on other projects too!
Almond Flower /// Sweet Orange /// Pink Tea Rose /// White Roses /// Poison Ivy /// Cottoneaster /// Blackthorn Plant /// Wild Rose /// Bird Cherry
I hope you love my botanical labels or tags project (as much as I did) and decide to give it a try. Would love to know where and how you would use these beauties! You might also like my Watercolor Stickers HERE.
For more inspiration, don’t forget to visit me on my blog – Dreams Factory.
Have fun creating,
Diana



Nel says
How is the printed paper image turned into a sticker?
Karen says
Hi Nel,
The printed botanical images can be turned into stickers in a few creative ways. While they aren’t traditional peel-and-stick stickers straight out of a machine, they function like stickers once you add a little creativity. Here’s how:
1. Print the images – Start by downloading the botanical printables and printing them on either regular paper or cardstock (for a sturdier feel).
2. Cut them out – You can cut along the edges (no border), leave a white border, or even create torn edges using a damp paintbrush and water for a more vintage look.
3. Stick them down – Once cut, you can attach them to surfaces using:
* Mod Podge or glue (for a permanent look)
* Clear duct tape or washi tape (for a more temporary, swappable style)
* Or even punch a hole and use twine to create tags.
JaneEllen says
Don’t know how I missed these last year but am so happy I didn’t miss this time. All these botanical images are so perfect for gallery walls, labels, however can dream up to use them. Thank you so much for all of these gorgeous images. Been waiting til I could decide what I wanted to do for art after the holidays. Great tutorial also and so helpful.
Now need to get Mr. Furry busy making some perfect frames. Will have such fun preparing these and hanging.
Happy daze
graphicsfairy says
Oh I am so glad you saw these JaneEllen, aren’t they lovely? I am sure you will do amazing things with them 🙂
Vanl says
Wow!!! Thank you for the tutorial and freebie. I love botanicals and i love all that you are about. 🙂
graphicsfairy says
It is my please Vanl 🙂 And thank you!
Lindyb says
These are gorgeous botanical images, exactly what I have had in my mind for a gallery wall in my home. Simply beautiful, thank you very much.
graphicsfairy says
Thanks so much Lindy! That would be a lovely gallery wall 🙂
Connie KITCHENER says
Love the prints and the ideas on how to use them. Can’t wait. I do have one question, before when I tried to use Mod Podge to seal them to the surface of something the color on the print would come off. What was I doing wrong? Thank you again for the ideas and the prints, Connie Kitchener
graphicsfairy says
Thanks Connie! I am not sure what went wrong for you, it may have just been the ink on that particular print? I use waterproof ink in my printer so that may be why I have not had this problem. Perhaps see if your printer has the option for a waterproof ink cartridge?
P Boszko says
thanks so much for tutorial and images!
graphicsfairy says
It is my pleasure 🙂
Linda L Weeks says
Thank you for posting these really lovely images! I hope to find many creative ways to display them!!
graphicsfairy says
Thanks so much Linda, I am sure you will find a way 🙂
Rupa says
Your labels and projects are gorgeous! Simple and elegant! I have been on a seriously botanical kick this year and collecting/pinning them like crazy. I have four large ones already waiting to be printed and hung on a dowel, if I can find an affordable way to print them on canvas…TFS.
graphicsfairy says
Thank you Rupa, you are so kind! Your botanical project sounds perfect!
Ardith says
This is a lovely tutorial, Diana, and the botanicals are gorgeous. Cheers, Ardith
graphicsfairy says
Thanks so much Ardith 🙂