DIY Book Box
Hello, Graphics Fairy friends! I’m Diana from Dreams Factory and I’m happy to be with you again for another one of our creative sessions! Today we are continuing our decorative book saga with a great project – I will show you how to make a chic DIY Book Box, from a Hardback book! There are a few steps involved while painting and distressing the book and we’ll need to pay attention while cutting the hollow interior, then consolidating the whole assemble to give it that faux box appearance. Want to hear the best part? The French decorated exterior and interior! A double French decoration is like a double dose of chicness in my book (pun intended), so I hope you’ll join me in creating this lovely vintage project! Just make sure you pick a book that’s got enough room to hold all of your secret treasures.
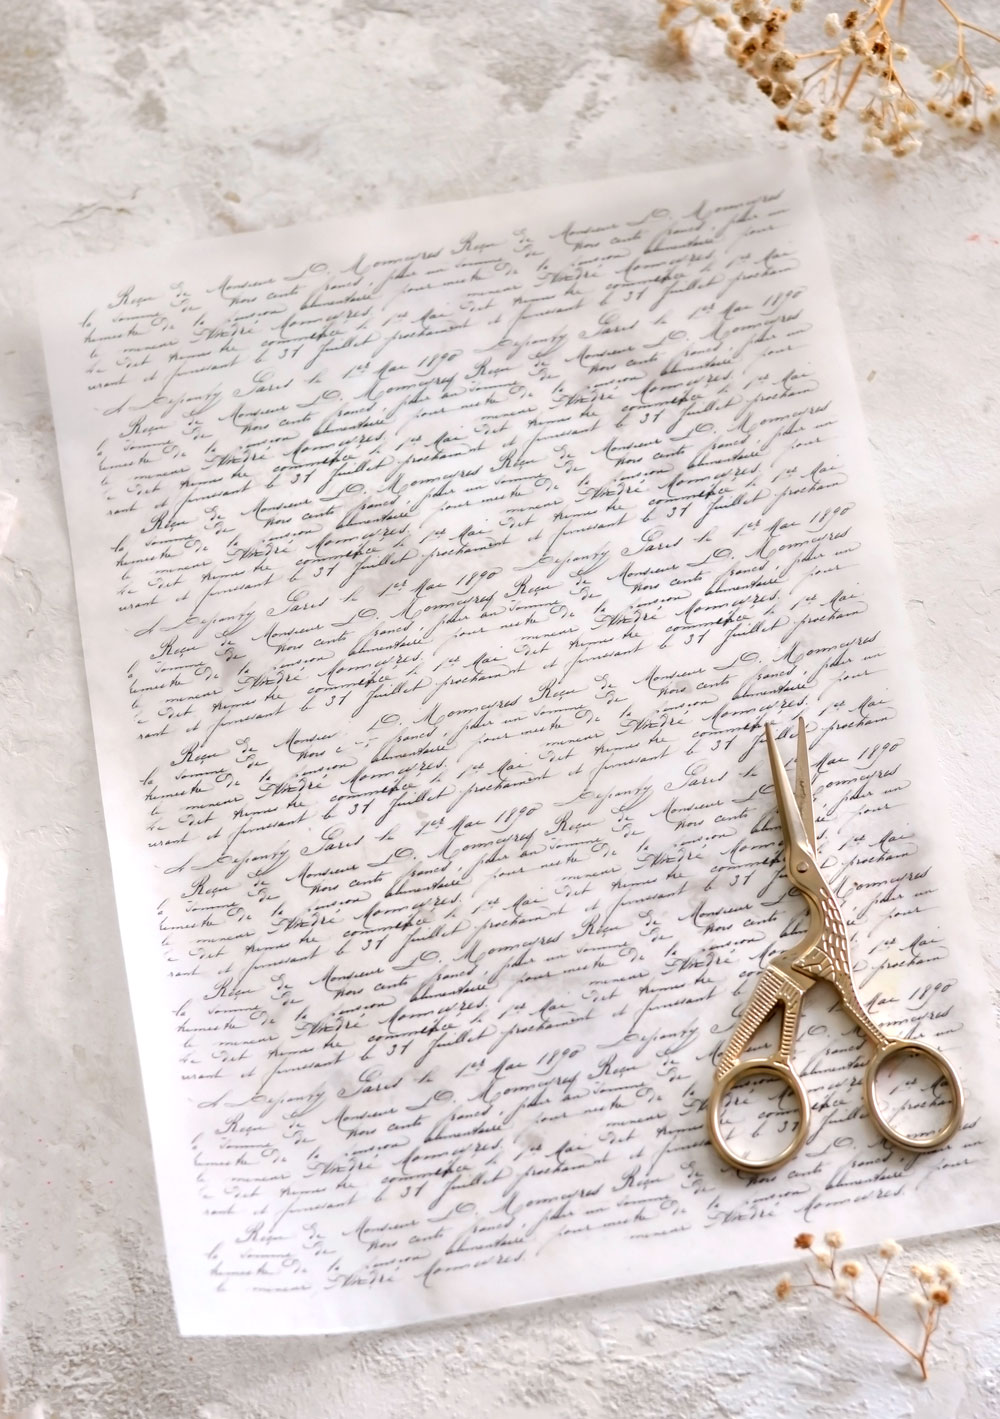
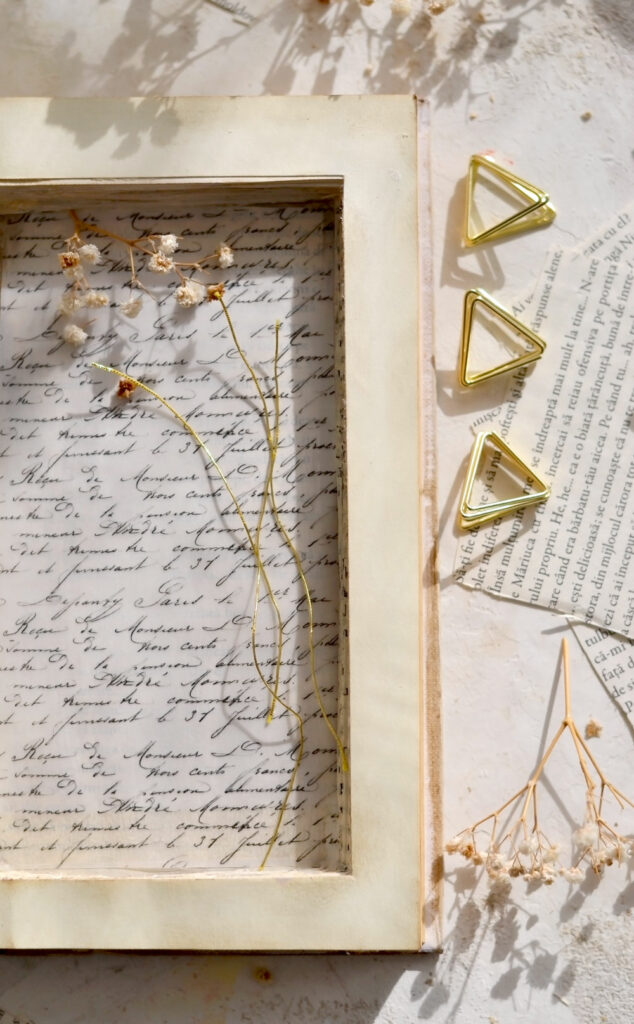
I wanted something subtle for the interior hidden compartment of the book and this amazing handwritten French ephemera letter from 1890 was the first thing that came into my mind! I absolutely love this antique script letter, it brings so much elegance and charm to any decorated piece, don’t you think?
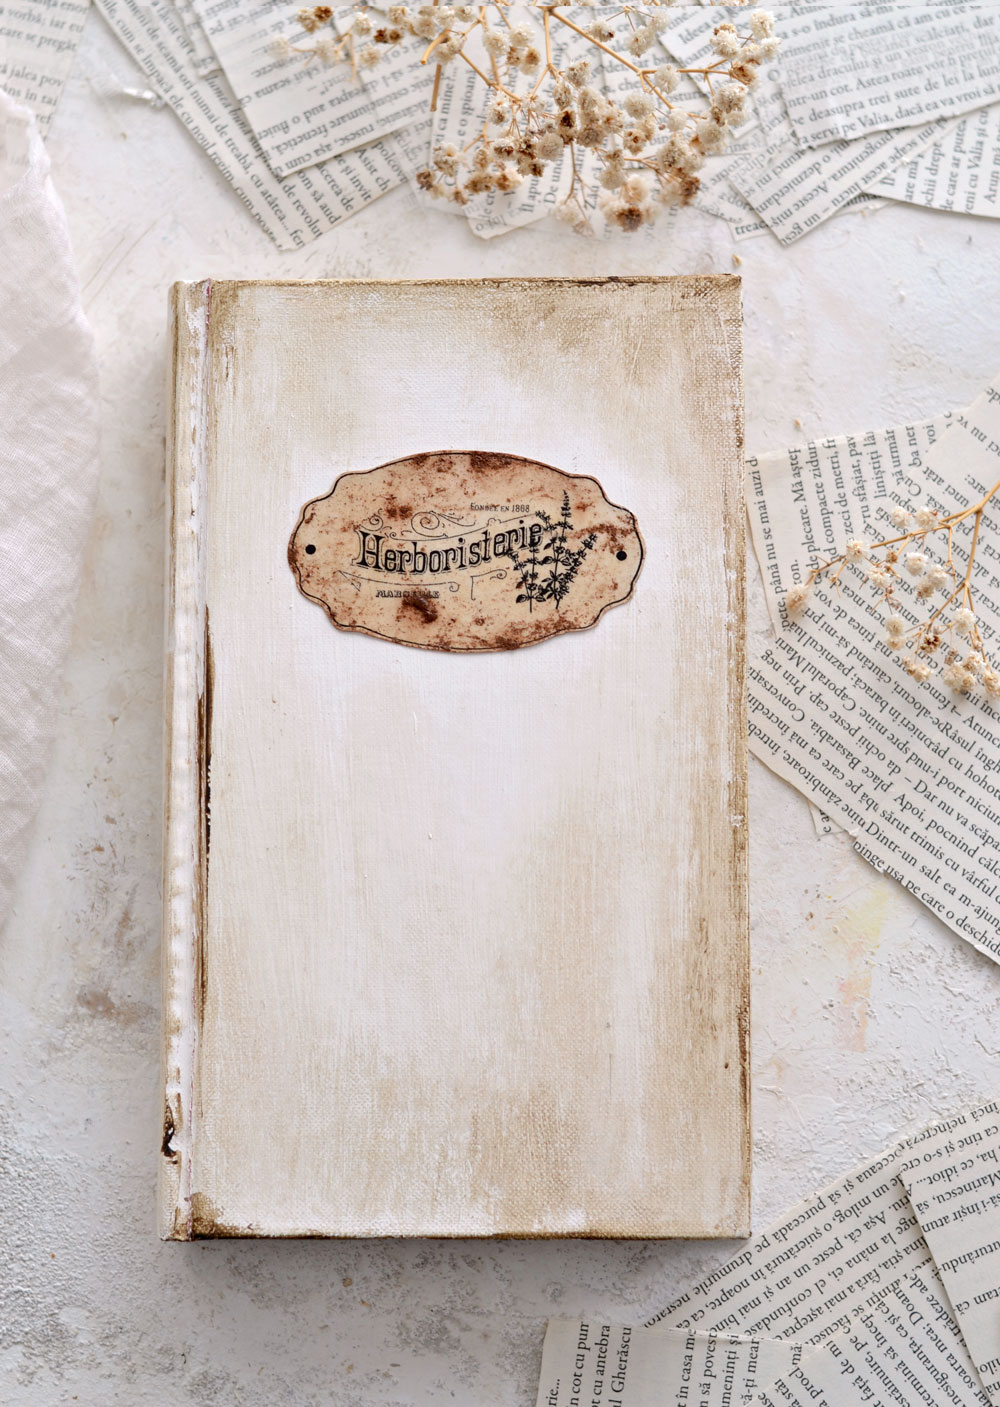
As for the exterior of the book I decided to use one of my DIY Faux Rusted French Labels. Of course, you can use any other French ephemera beauty that you have in your stash.
Here is the printable that I created for this project, you can save it on your computer, then print it. This black and white French script letter can be used to add a little bit of charm to other projects too, you can print it on regular paper or cardstock and further embellish it as you want using your favorite mixed media techniques. I actually printed it on tracing paper for today’s project and used it as it is!
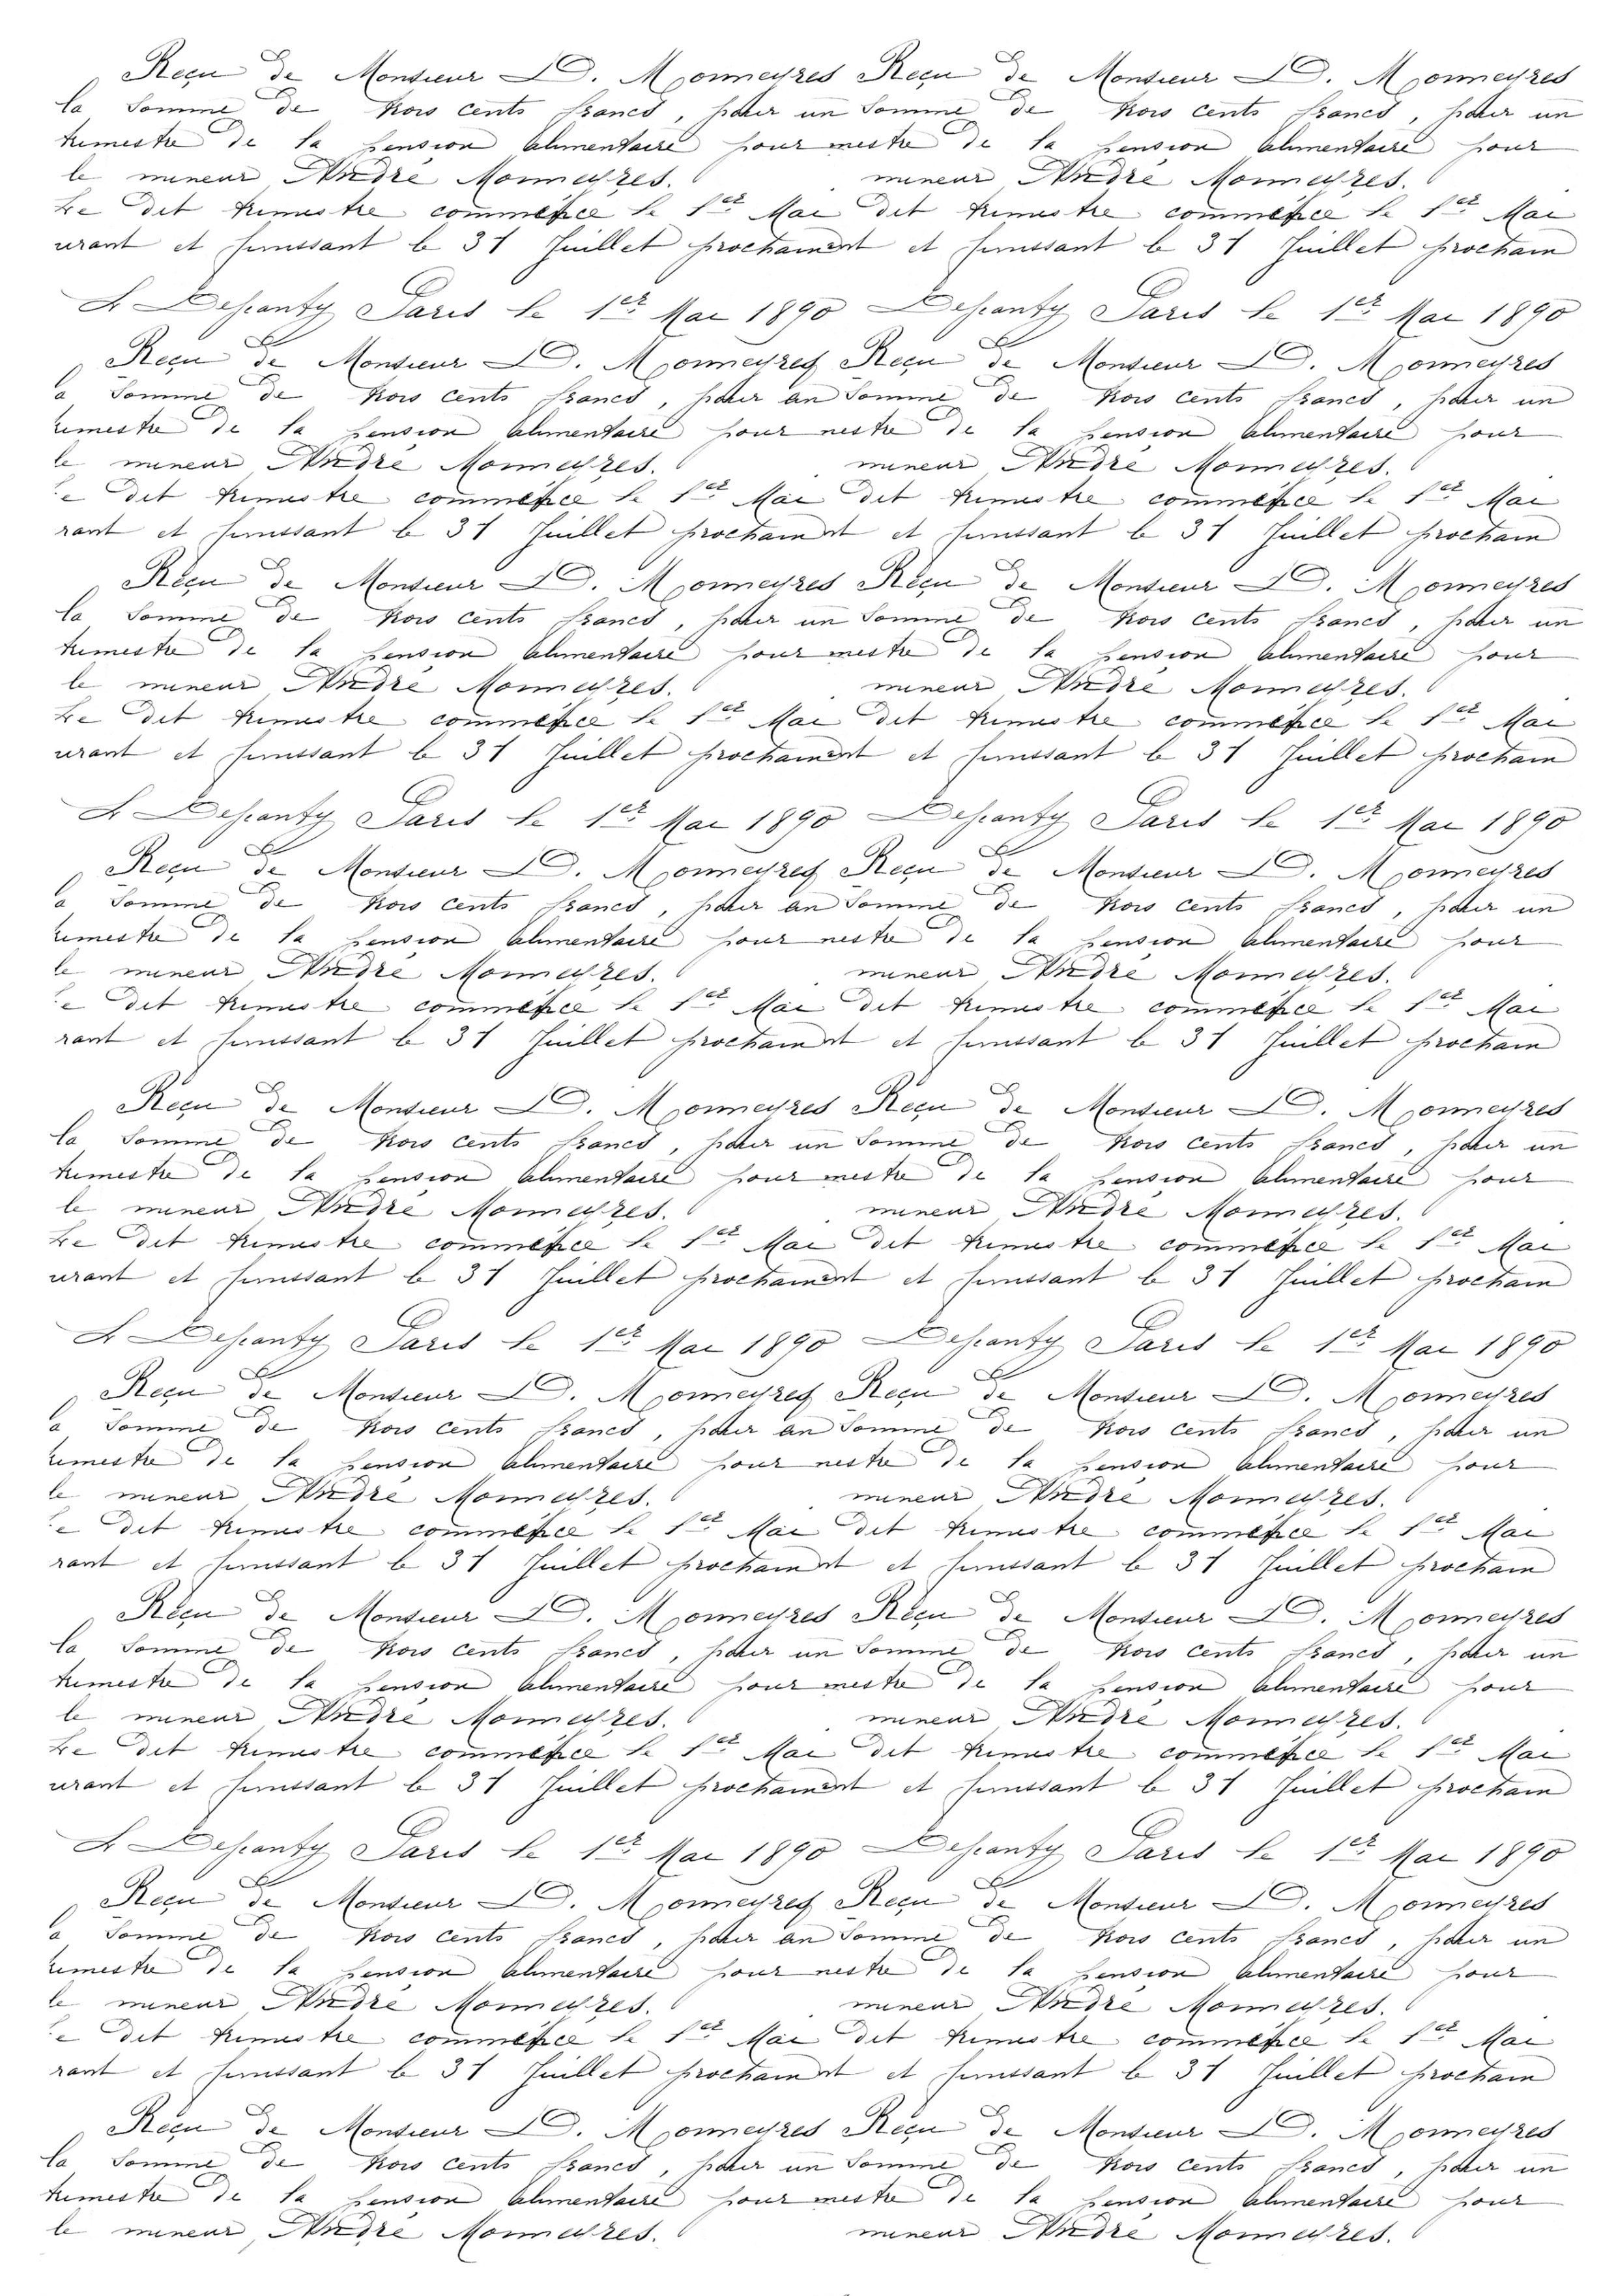
—-> CLICK HERE TO DOWNLOAD THE FULL SIZE PRINTABLE PDF <—-
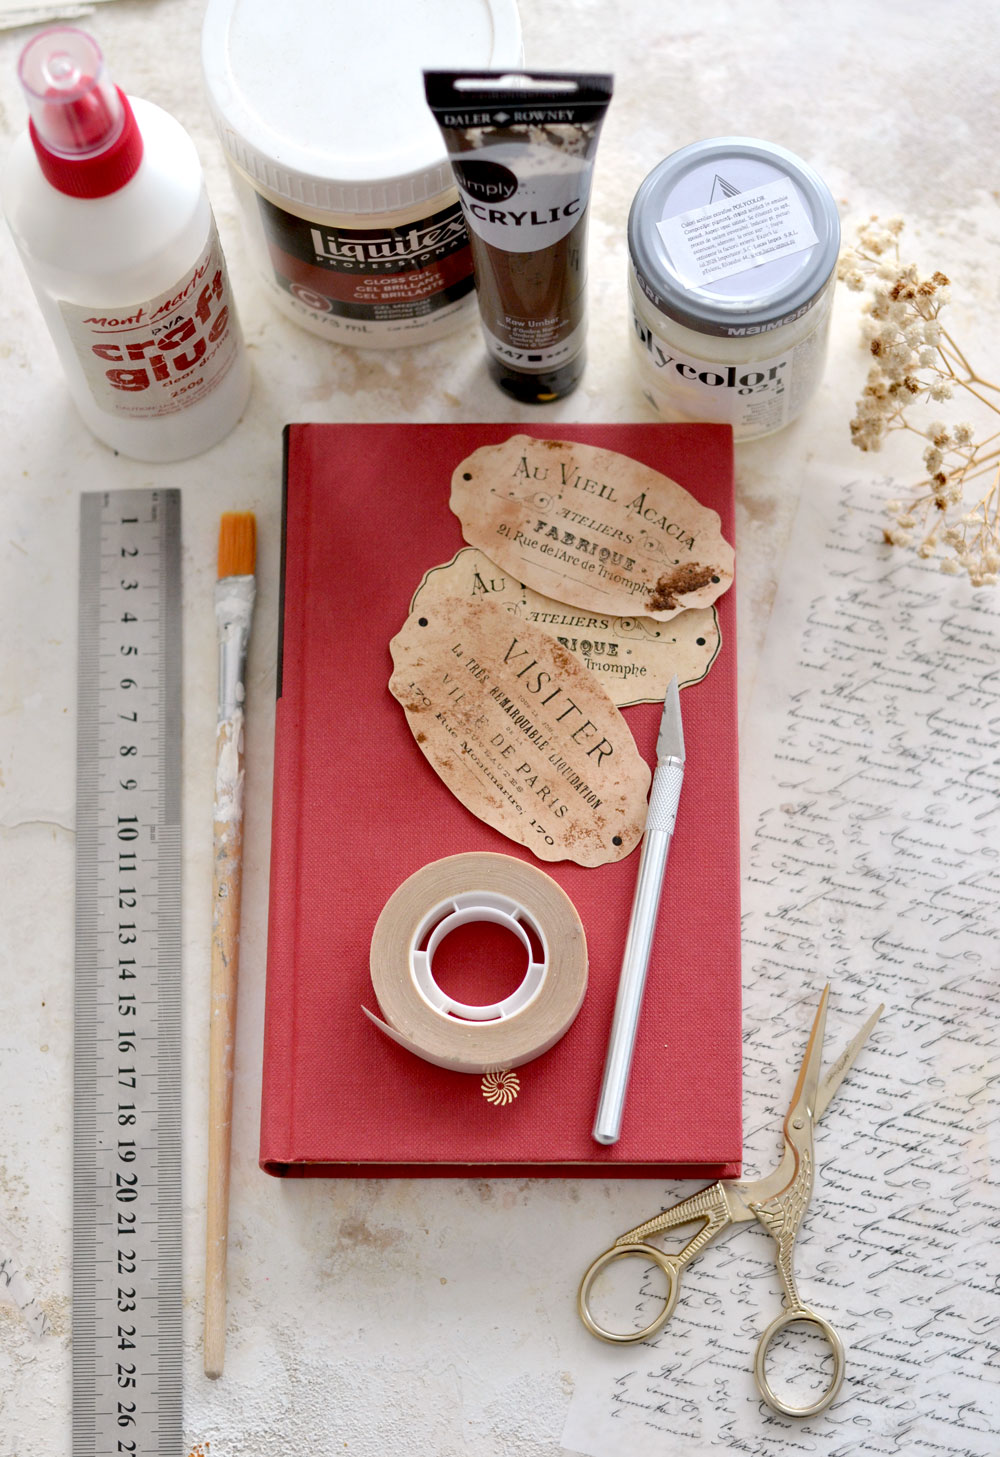
SUPPLIES FOR DIY BOOK BOX:
- French script printable (to decorate the interior of the book)
- tracing paper
- a faux rusted French label (to decorate the exterior of the book)
- laserjet printer (I have this laserjet printer)
- x-acto knife
- metal ruler
- scissors
- book with hardcovers
- white gesso
- acrylic paint (I used white as my main color)
- acrylic paint (I used brown as my distressing color)
- brown distress ink (I used walnut stain)
- small mixing palettes (I used a small plate and a small bowl)
- paper towels
- parchment paper
- brushes
- double-sided tape
- a plastic sheet or a non-absorbent surface (to protect your working area)
- a heat gun tool or a hairdryer (optional, to speed up the drying times)
DIY BOOK BOX – CUTTING THE HOLLOW INTERIOR
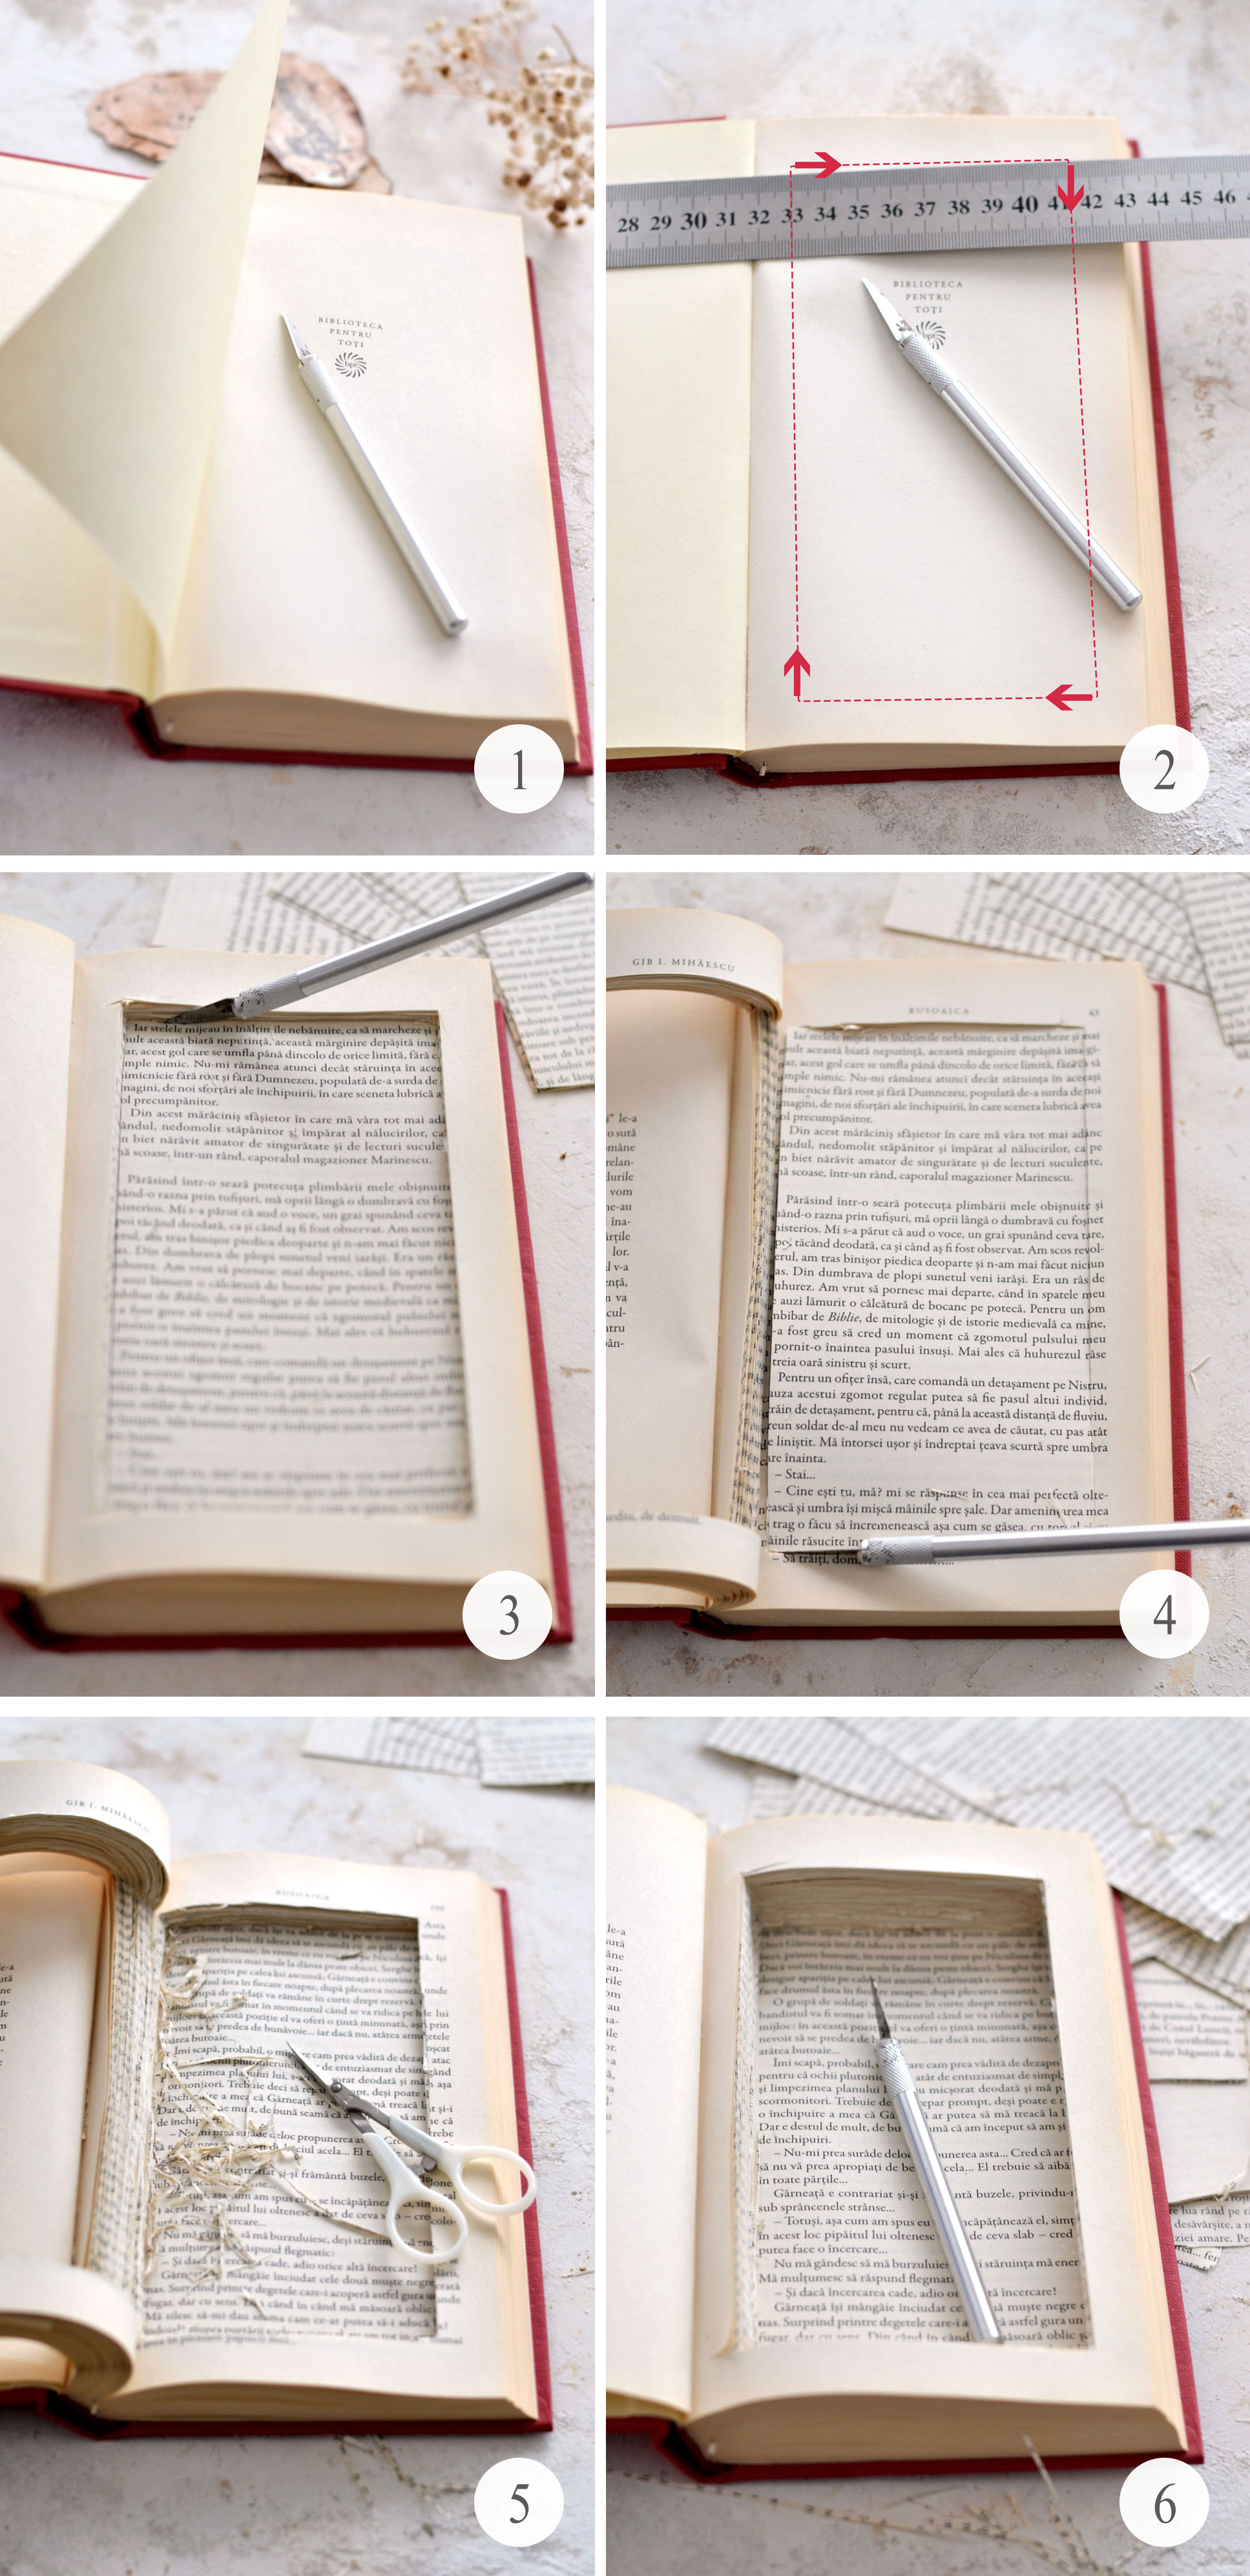
The first thing you’ll need to cut the hollow interior is … a really sharp craft knife! 🙂 Make a few tests before and change the blade to a new or a sharper one if possible, this will make this whole experience so much easier! I have to confess this part will imply a little bit of elbow grease, but I managed to create some decent cuts. I was not 100% pleased, but hey, perfectly imperfect is what we are usually targeting with handmade projects anyway, right?
I wanted to keep the first blank page uncut for now, my idea was to cut it more carefully at the end (1), so I started the cuttings with the second page. You can use a pencil and a ruler to trace a rectangular, leaving about 0.6 inches (1,5 cm) around the edges. I didn’t trace anything, I just used my metal ruler as guidance while cutting with the craft knife. I pressed the metal ruler on the pages, then cut along the lines (2). Make sure the pages are perfectly aligned when doing the first cuts on top, these will act as our guiding lines for all the future cuts. You’ll need to apply a lot of pressure to make an impression when cutting so you’ll be able to remove the cut pages afterwards, then use the hollow out interior as a guide to cut the rest of the pages, working in small batches (3). At some point you might need to flip through the pages and do a few additional cuts here and there so you’ll be able to remove the pages (4). Pay close attention to the cornes while cutting, if not properly taken care of, the paper in that area will build up and will create some not so appealing edges. You might need to even use small manicure scissors to remove some of the excess paper (5), but like I mentioned before, a sharp craft knife will do the most part of the job. You can cut all the way through till the last page of the book or stop when you get a decent hollow, like I did (6).
DIY BOOK BOX – PAINTING, DISTRESSING AND DECORATING THE EXTERIOR
You know I usually love to go for a chic white or neutral finish while painting my projects, for me it’s easier to integrate them in our home decor. But of course you can go for other colors if you want, just use something that speaks to you!
I will quickly walk you through the steps to keep things simple, but if you want a more detailed tutorial on what to consider while painting and creating a vintage distressed look, you can check my DIY Decorative Book Bundles and/or DIY Vintage French Book Flower Press.
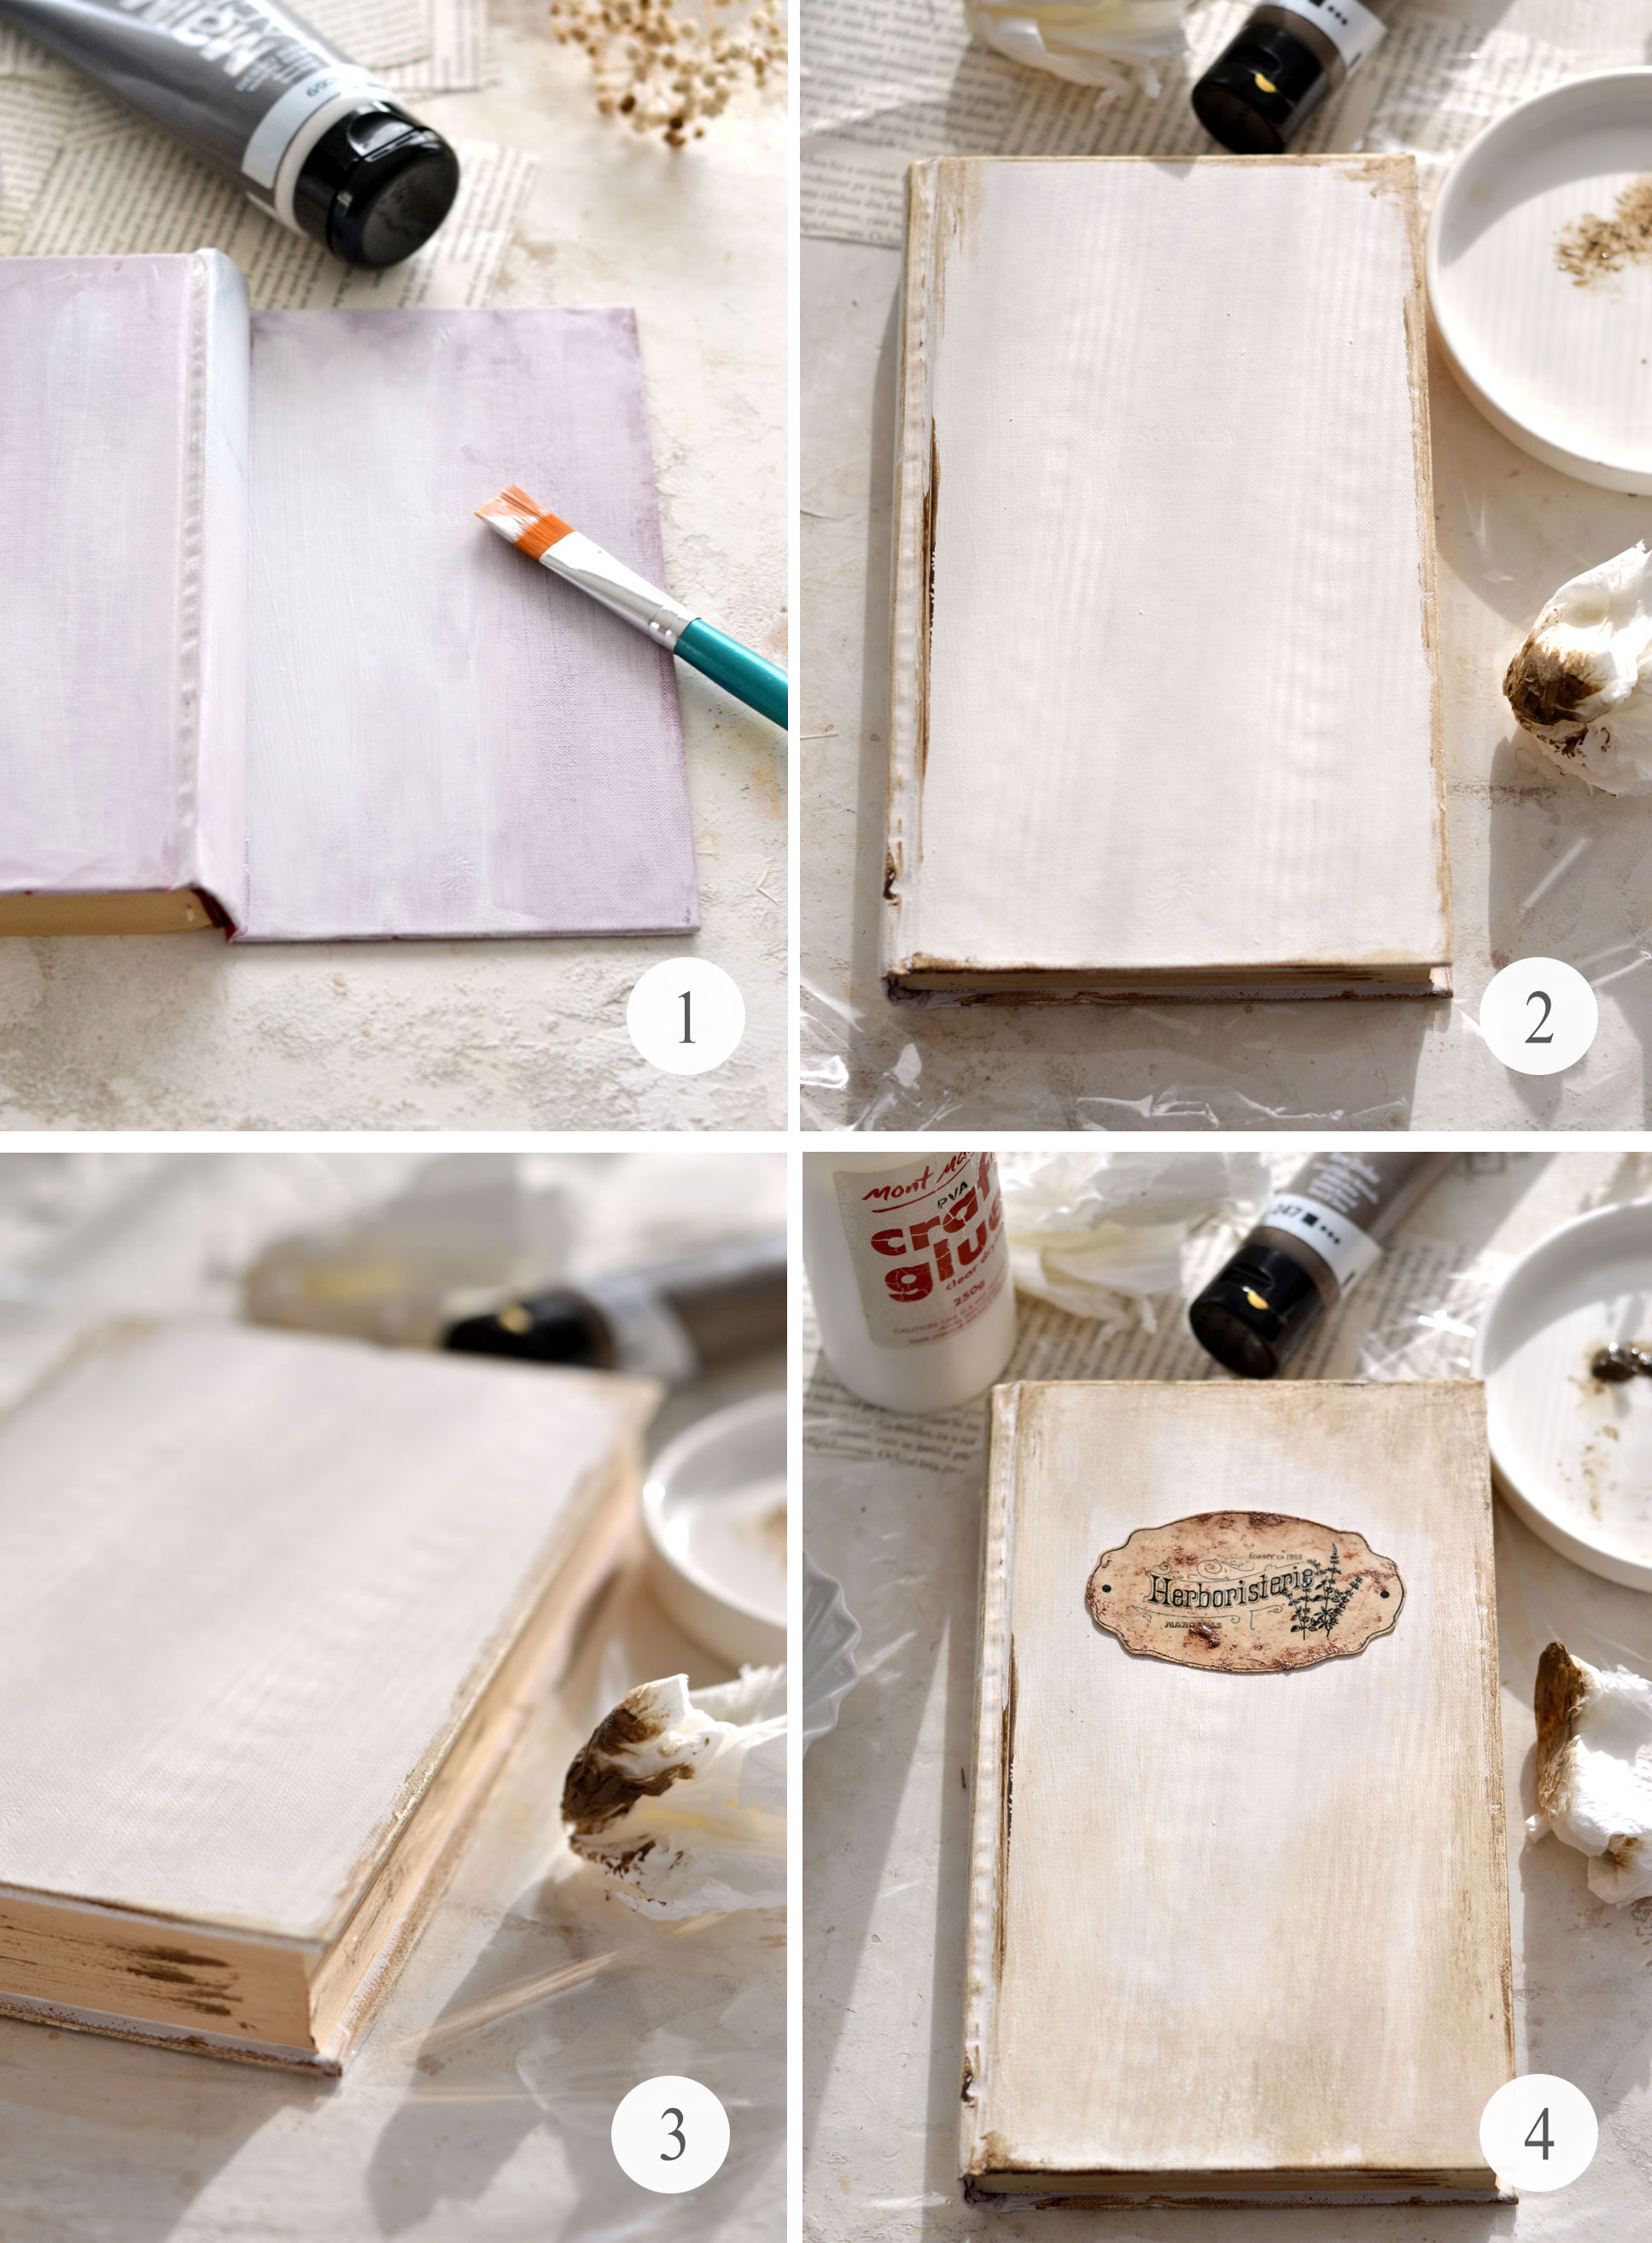
Start by painting with a layer of gesso before applying the white paint, first the interior margins of the book, let it dry, then flip it over and paint the front cover, back covers and spine, while laying the book flat on your (protected) table (1). You’ll need to apply several layers to get a complete coverage, depending on the initial color of your book. Use paper towels and a little bit of water and go all over the edges with brown acrylic paint to create a vintage distressed effect (2). Add some brown paint on the edges of the pages too (3) creating irregular ‘paintbrush’ strokes with your paper towel. Use craft glue to adhere one of your faux rusted labels on your book. If you want, use some more highly diluted brown acrylic paint as a glaze and go all over the white paint using irregular strokes to give it a more distressed feel (4).
DIY BOOK BOX – CONSOLIDATING THE INTERIOR AND THE EXTERIOR
We’ll use glue mixed with a tiny bit of water to consolidate both the interior and the exterior of the book to give it that faux box appearance. The mixture needs to be ‘brushable’ – not too thick but not too watery either.
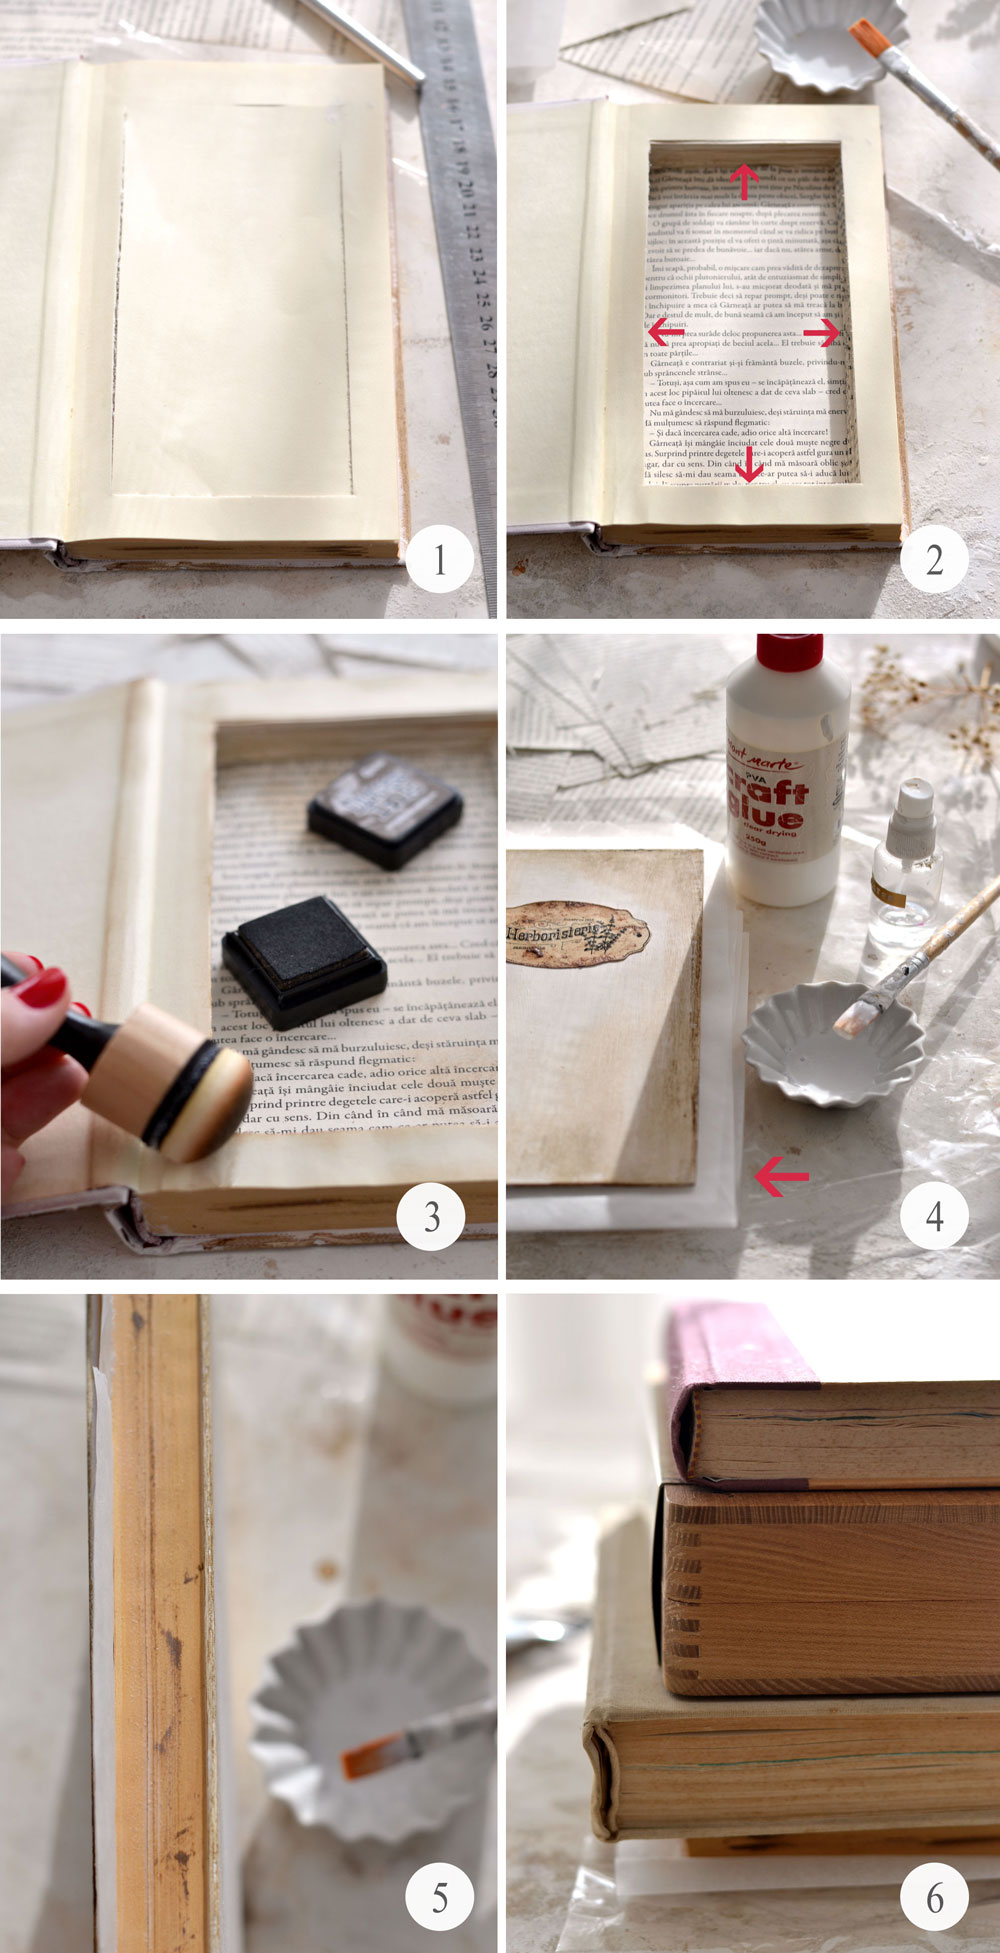
First, it’s time to cut the blank page that we’ve been saving! Use your ruler again and try to make clean cuts (1), this page needs to be pretty, it will be exactly on top.
Use the glue+water mixture and brush it on the inside of the cut pages (2).
You can also use some distress ink to give the paper an antique look (3) if you want – I also applied some on the left paper cover.
Now carefully place a parchment paper sheet between the cover and the first page, making sure the parchment paper is covering all the surface of the book, but is also going a little bit over the edges (4). This step is REALLY IMPORTANT, make sure you do it properly. Now brush some of the glue and water mixture all over the outside paper edges of the book (5), while pressing the book with your fingers. Use other books or something heavy to place on top, then let it dry (6). This last step will basically glue all the pages together creating that faux box appearance.
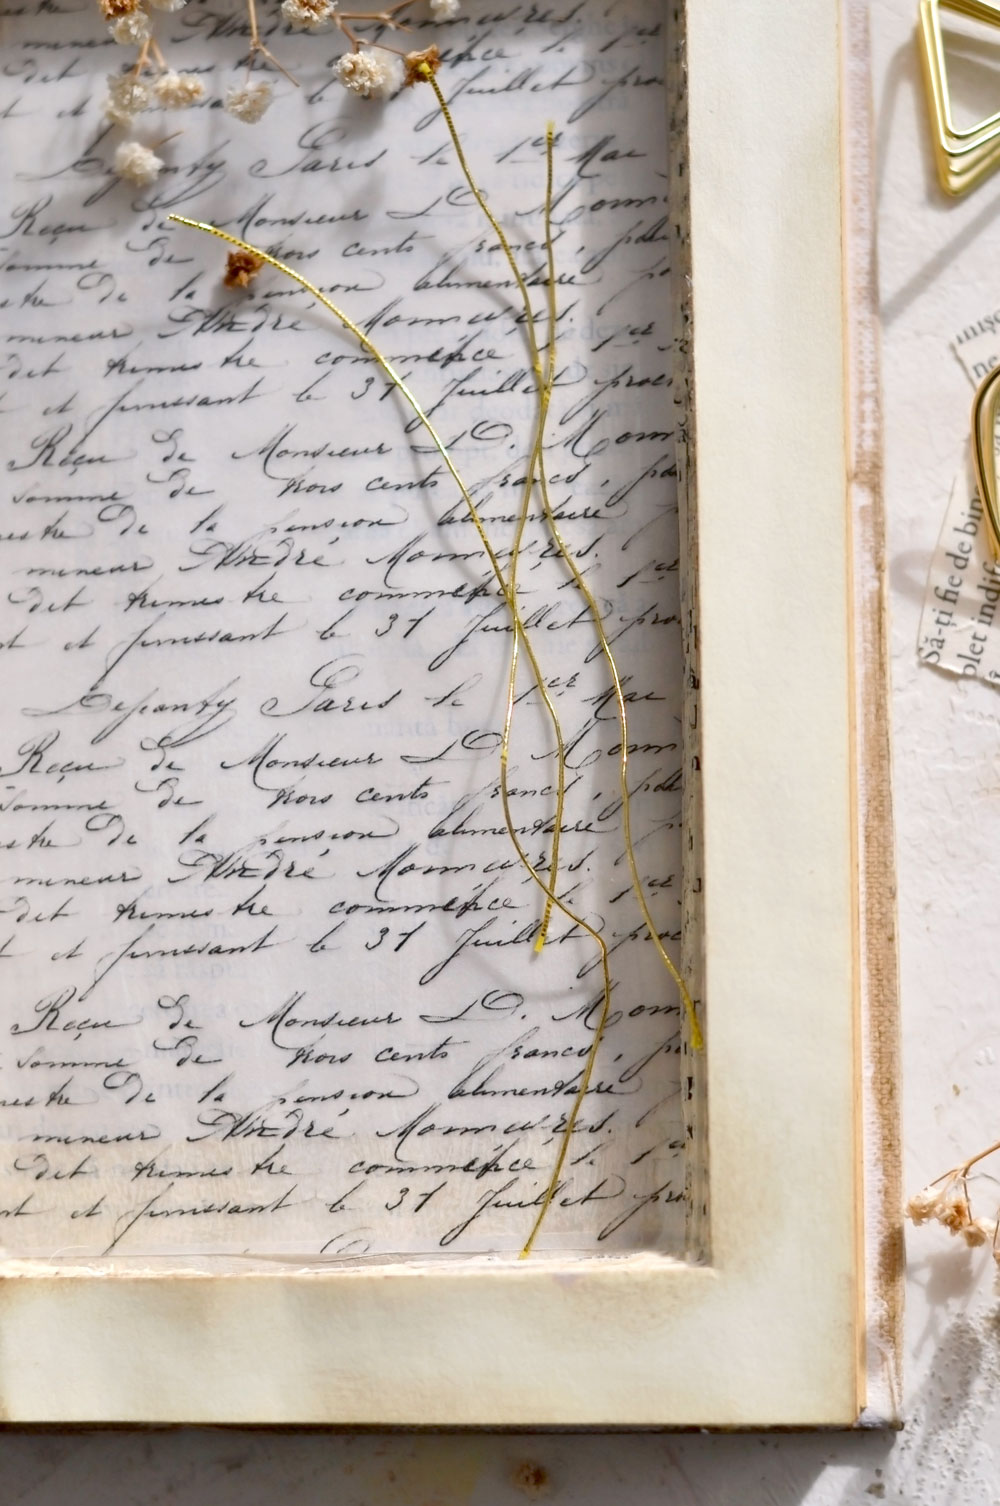
Print the handwritten French script printable on tracing paper, if you haven’t already. This looks absolutely gorgeous, don’t you think!? And the tracing paper is such a nice touch, it can bring sheerness and a touch of delicacy to our projects!
DIY BOOK BOX – FRENCH DECORATING THE INTERIOR
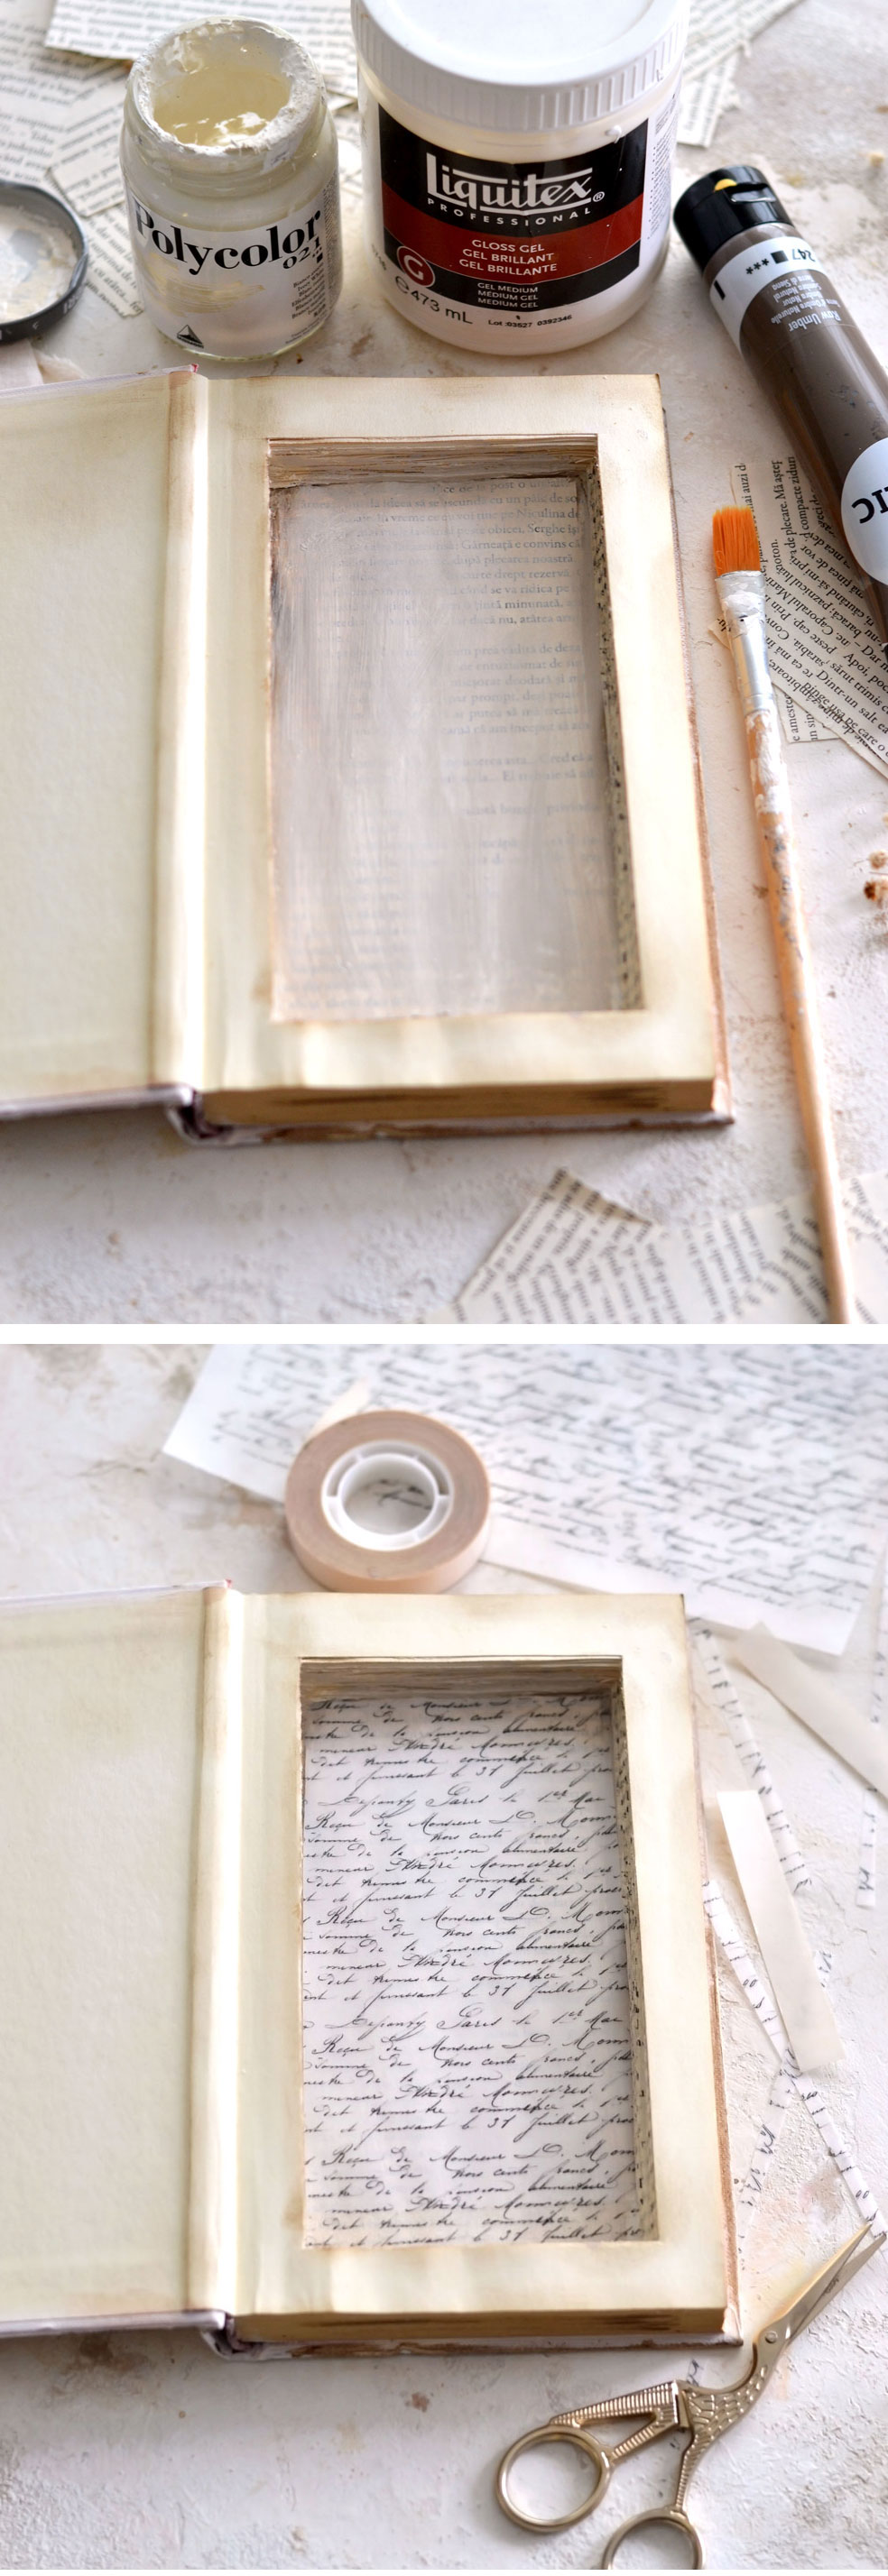
After drying, remove the parchment paper sheet and open the book. You can use some more white and brown paint, mixed with a little bit of gel medium to paint the interior. I chose to paint the interior because of the transparency of tracing paper. If you are using regular or cardstock paper to print your French script letter, you can skip this painting step.
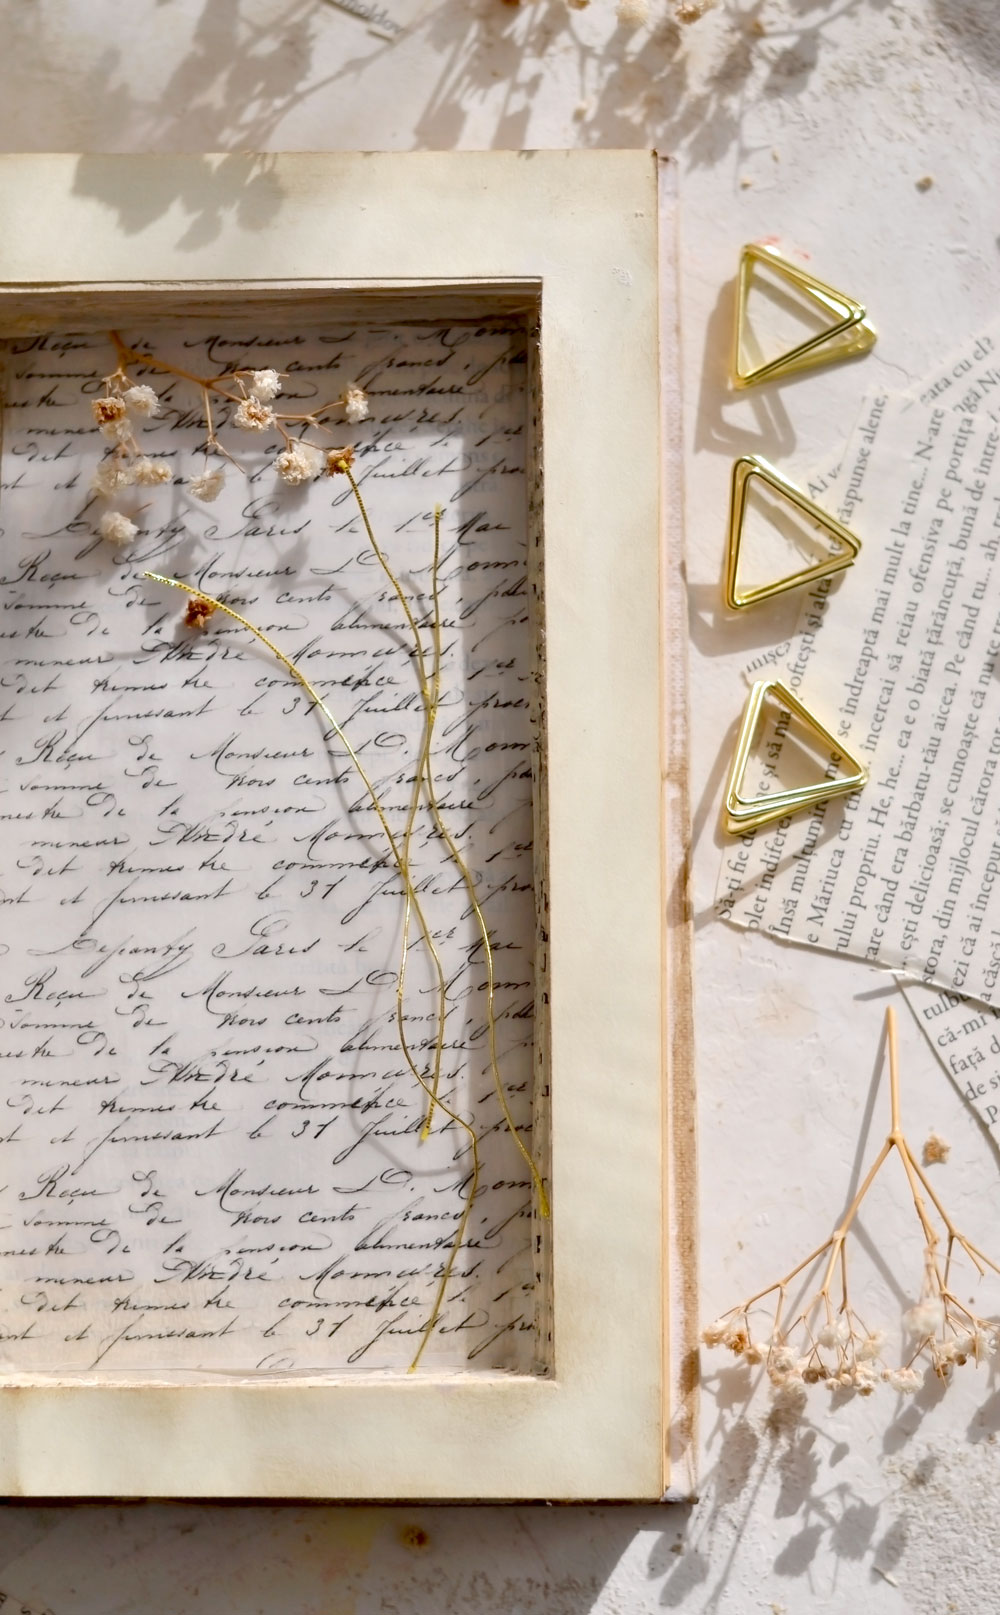
After drying again, I cut my French script printable to size and used double-sided tape to secure it inside the book.
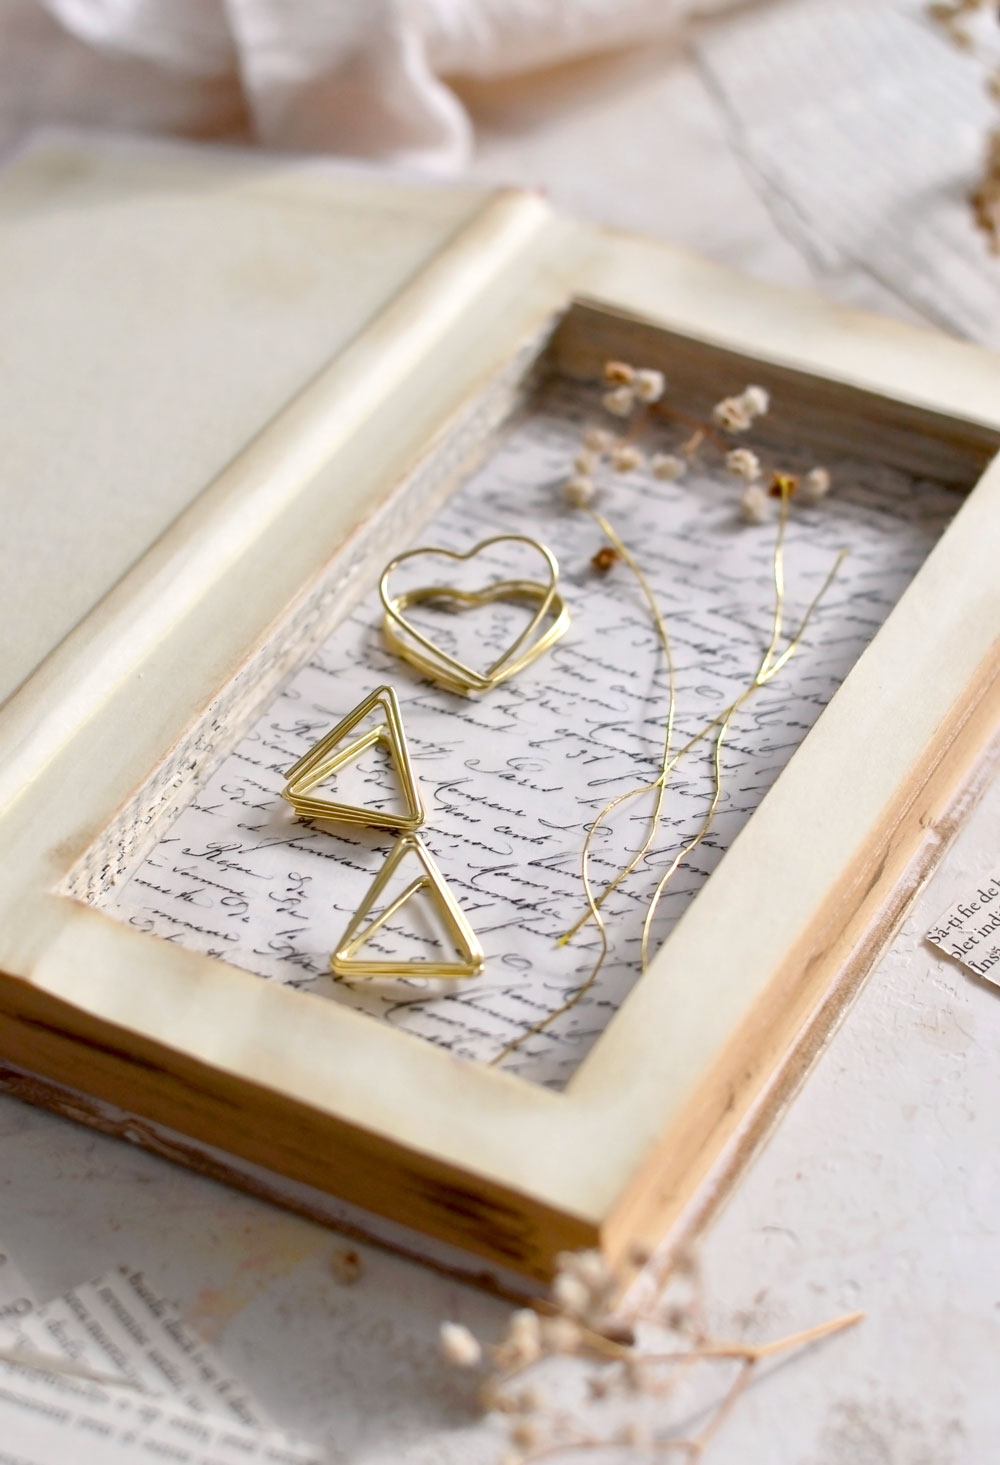
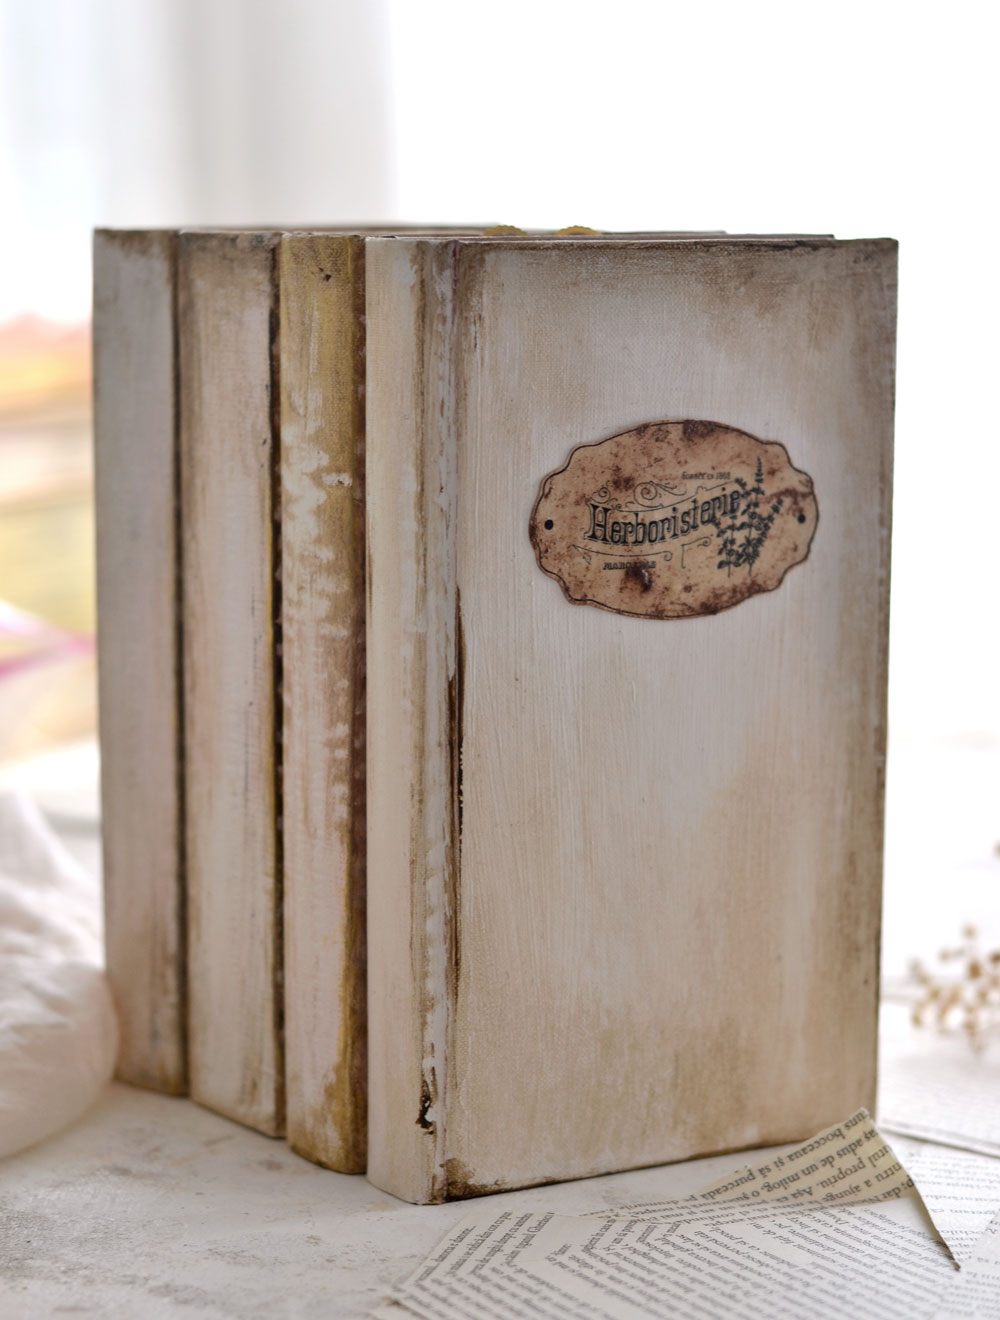
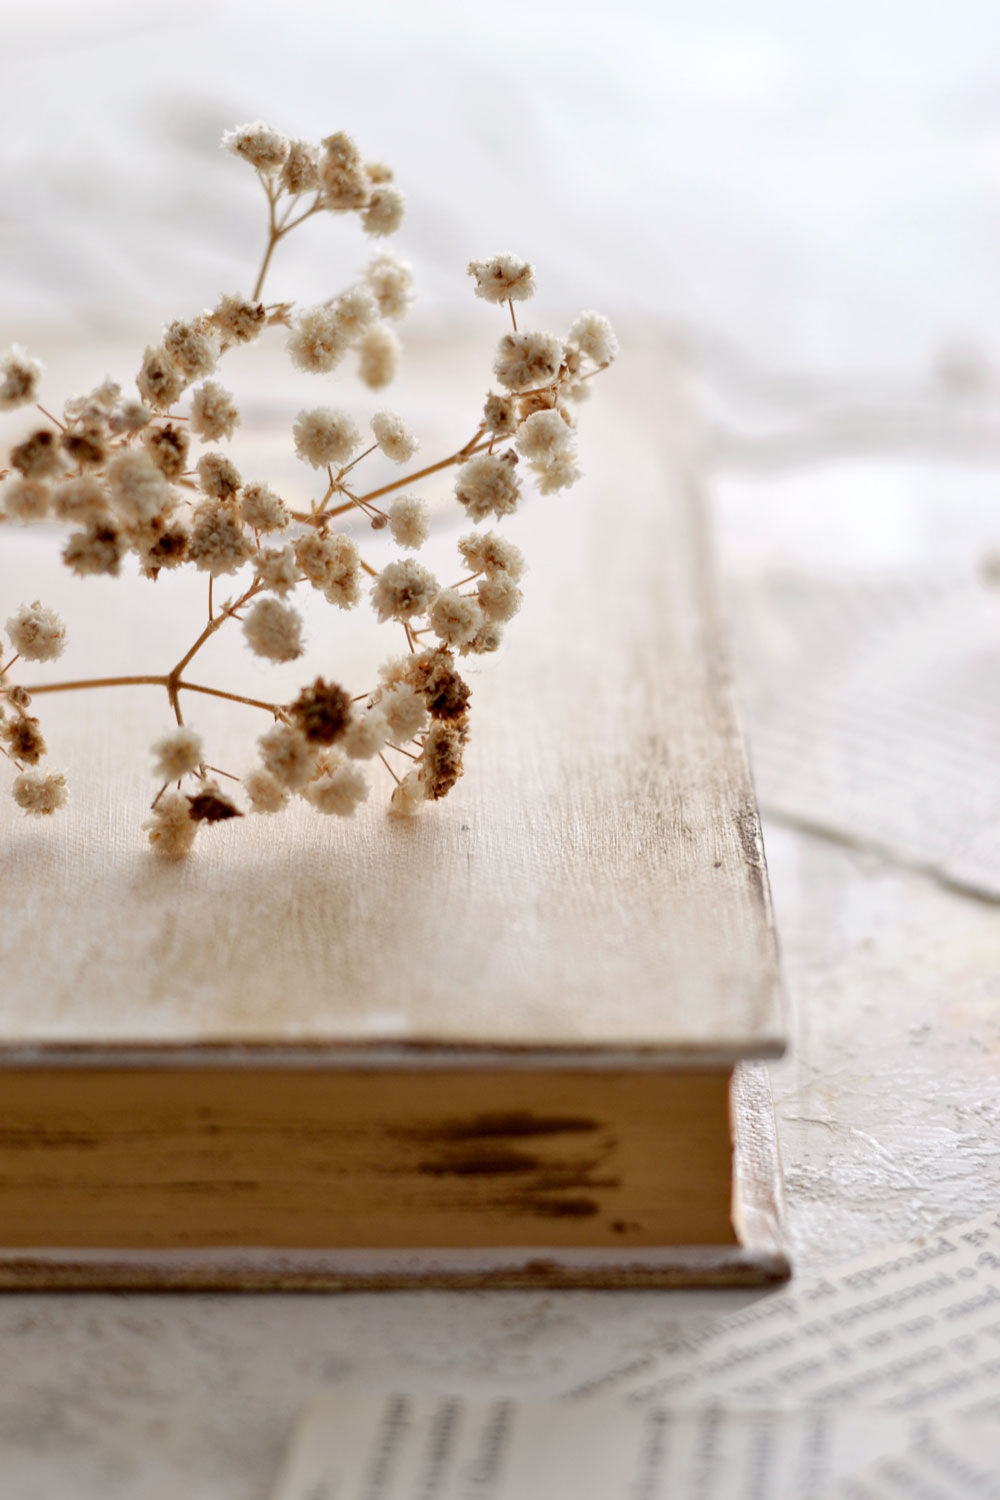
I’m loving how my final DIY Book Box turned out, the faux rusted French label and all that painting and distressing completely turned this regular book into a chic decorative piece! It always amazes me how a little bit of paint can perform such miracles!
The book looks elegant and stylish and the French scripted interior is such a nice surprise, once you open it! Now I’m thinking a DIY Book Box like this could make a great handmade gift for friends or family members, you could even slip some chocolate inside as part of the surprise! 🙂
You can keep small family valuables inside like jewelry, trinkets, coins, pens, old photos or letters and let the book box ‘mingle’ with some DIY Decorative Book Bundles on your shelves. You can further embellish it with scrap pieces of lace or fabric if you want, even some raised stencil flourishes, these hardcovers are really amazing when it comes to decorating. I would suggest using two small magnets or gluing two small pieces of ribbon if using the DIY Book Box vertically, especially if storing something inside.
Another idea would be to use the book box as a decorative piece on your table, this time placed horizontally. This way you’ll be able to store small things that you use on a daily basis (even your TV remote, why not) in a stylish way! 🙂
Hope you’ll love this project and decide to give it a try, I think it would make a lovely little gift!
Happy crafting,
Diana | Dreams Factory



Jac says
I love this so much! Did I read correctly that you have to glue every single page down?
Karen Watson says
Yay! No, you only need to brush the glue along the edges of the pages. Similar to post it notes, where the edges keep the whole thing stuck together.
Kimberly S says
I love this! I have saw pictures of this on other crafting sites and wanted to make one but had no idea how to start. This tutorial is awesome! Thanks so much for sharing
Karen Watson says
Yay! Have fun making one of these clever books Kimberly. 😊
Desi says
At our house we love all things Oriole. I didn’t know the Graphics Fairy was from Maryland . Very cool!
Brittany aka Pretty Handy Girl says
What an adorable book/box! And I’m all about the Oriole(s). I miss our trips from DC to watch the O’s play. Many fond memories of watching Cal Ripken, Jr. playing short stop.
Karen Watson says
Thanks Brittany!!
The Prudent Homemaker says
I love the idea of a designated spot for the remote! Very pretty!
Karen Watson says
Thank you PH!!
Amanda says
I love this Karen, it’s fabulous! I love vintage stuff anyway, so I pretty much love anything you do 🙂 🙂
Karen Watson says
Aw! Thanks Amanda!! I loved your coaster project, so clever!!