DIY Copper Pendants
Hello my friends. One of our talented Mixed Media Design Team Members, Tejae Floyde from Tejae’s Art, is sharing this week. She has created some fanciful DIY Copper Pendants with an Alice in Wonderland theme for us. As you know, we feature a new Mixed Media project each week created by one of our phenomenal artisans. Our goal is for you to be creatively inspired by this series! Be sure to check out her Video Show and Tell at the bottom of the page…you will need to scroll all the way down to see it. Are you ready to be inspired? I will let Tejae tell you all about her Mixed Media project in her own words…
Alice in Wonderland DIY Copper Pendants
My goal each month is to share with you unexpected ways that you may not have thought of for using the Graphics Fairy images. I’m excited to share my newest project, Alice in Wonderland Copper Pendants!
For the imagery, I used images from 2 bundles: “Alice in Wonderland” and the “Black and White Apothecary Labels” bundles available with a Graphics Fairy premium membership. If you like the copper pendant look, keep in mind that I’ll soon be sharing a full Video tutorial on The Graphics Fairy premium site.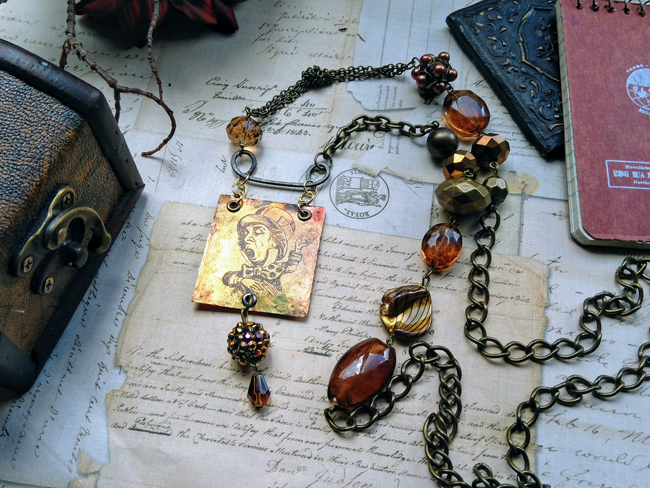
The black and white images are perfect for transferring to a copper piece. I use a process to transfer the images that makes them pretty durable using heat and a toner print. You may notice in the images that there is a slight tint of color in both the pendants on the right. This aged copper effect was created with several different colors of alcohol inks that were put on and then rubbed off after they dried. I like the slight patina that it creates.
Tips for Cutting Copper Sheets
Using metal shears, I cut out each pendant by hand from 24 gauge copper sheet metal. When using thin metal you must be careful to sand the edges. They are super sharp! The sanding process makes the edges dull and safe to handle. You’ll also want to remove any sharp pokey corners by clipping the points with metal shears and sanding. I free hand cut the shapes, so don’t look too closely or you may notice they aren’t perfect. It adds a bit of whimsy. As you may know, I love that they aren’t perfect. ♥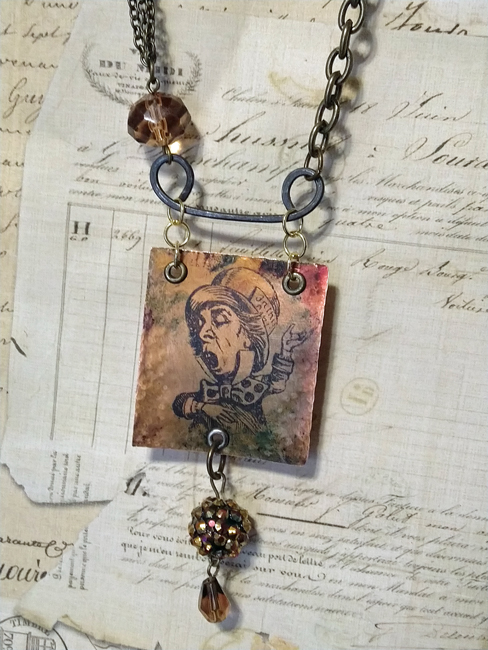
Embellishments
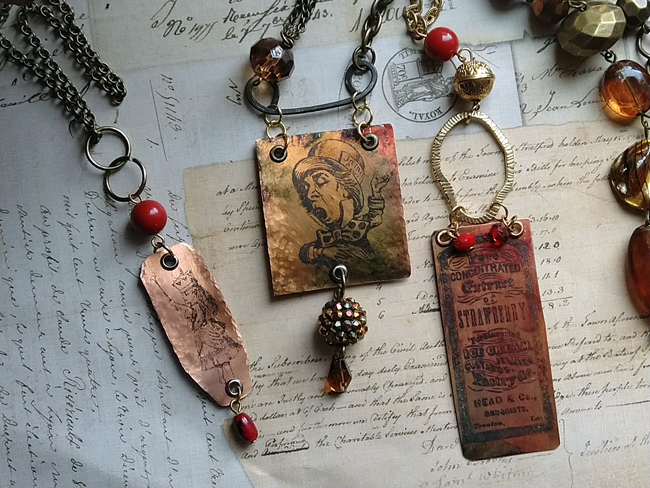
For the strawberry apothecary label pendant, I included two small red beads that dangle from the eyelet holes. I linked 3 gold colored jump rings to attach the pendant to the funky textured ring that was a found object. I then added a variety of different size beads. The metal eyelets create a nice professional finish. The eyelets also give the piece a sense of handmade essence. An antique style chain completes the necklace.
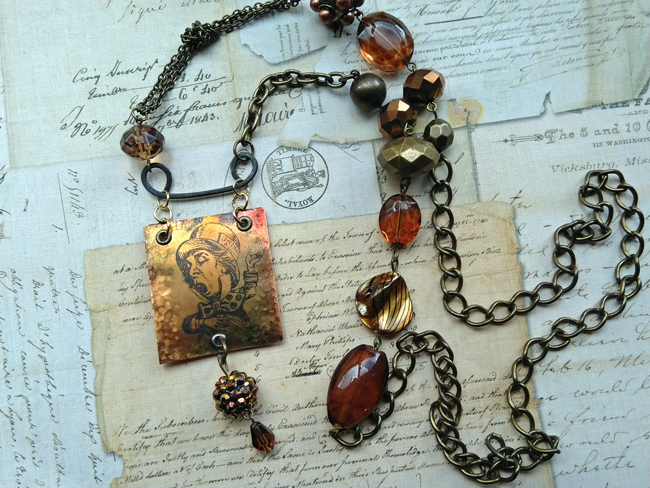
I can almost hear the Mad Hatter’s voice with his lively expression on the next pendant. Like the strawberry pendant, I aged the copper with alcohol ink. I used rounded pliers to shape a piece of wire with two curved ends for the pendant to hang on. Then I hammered the wire to harden and add texture to it. I included a variety of beads and a mixture of vintage style chains. If you look closely you can see indentations on this pendant where I hammered it to add texture.
The last one is the Alice pendant (far left). I experimented with a long tapered copper piece on this one. It’s slightly hammered with two eyelets for the jump rings. I added a couple of red beads hanging from a simple vintage colored chain.
Vintage DIY Copper Pendants Show and Tell
Please watch my video where I share a couple more secrets with you.
Tejae
Please visit me at Tejae’s Art and on Instagram.



Barbara Kaye-May says
Do you have any small vintage look items that would work in jewelry made with bezels filled with resin. Most of the items I make are smaller than 2.5 inches – in squares or ovals or rectangles etc. Thanks
graphicsfairy says
We do not have images that size, you would need some type of editing software to alter the image sizes.
Lisa says
OH my gosh!!! I am so excited to get on some awesome coppery art! Thanks so much for the inspiration-your creations are amazing!
Karen Watson says
Woohoo! We’re glad you enjoyed this one Lisa!