DIY Decorative Ribbon
Hello Graphics Fairy friends! Diana from Dreams Factory here, ready to share another DIY project with you! Today I have a quick and easy tutorial, I will show you how to make some lovely DIY Decorative Ribbon! We will heat emboss ribbon using glitter and your favorite stamps! It’s quite an easy process that can be fun to try in any given day when you feel like doing something creative. We will be stamping our design on the ribbons, so this would be the perfect time to experiment with some of your favorite stamps from your stash. And even though things get quite messy when using glitter, the final results are absolutely gorgeous, so I would say it will be well worth it!
I have an old wooden block script stamp that I’ve decided to use today. I just love this stamp! The text is actually in Italian, but I like using it for quickly adding faded script-stamped elements when in need. The writing on the stamp is rather small and because of that, the final heat-embossed glitter text has more of a vintage vibe, rather than being super visible and neat. But I actually like it this way, I’ve learned to embrace and accept the small imperfections here and there.
Before we jump right in, I want to tell you that I used embossing glitter and not regular glitter for this project. I actually did a few tests before with different types of craft glue and regular or ultra fine glitter, but I wasn’t able to make the glitter stick to the ribbon after stamping it.
I used a Versamark stamp pad that is especially used when heat embossing, you can use this with any type of stamp.
As for the ribbon, I have to confess I’m not a big fan of regular satin ribbons because of their shine. I looked for some matte ribbon and was actually extremely happy to find this double-face satin ribbon with a matte finish – this type can be found online or in craft stores.
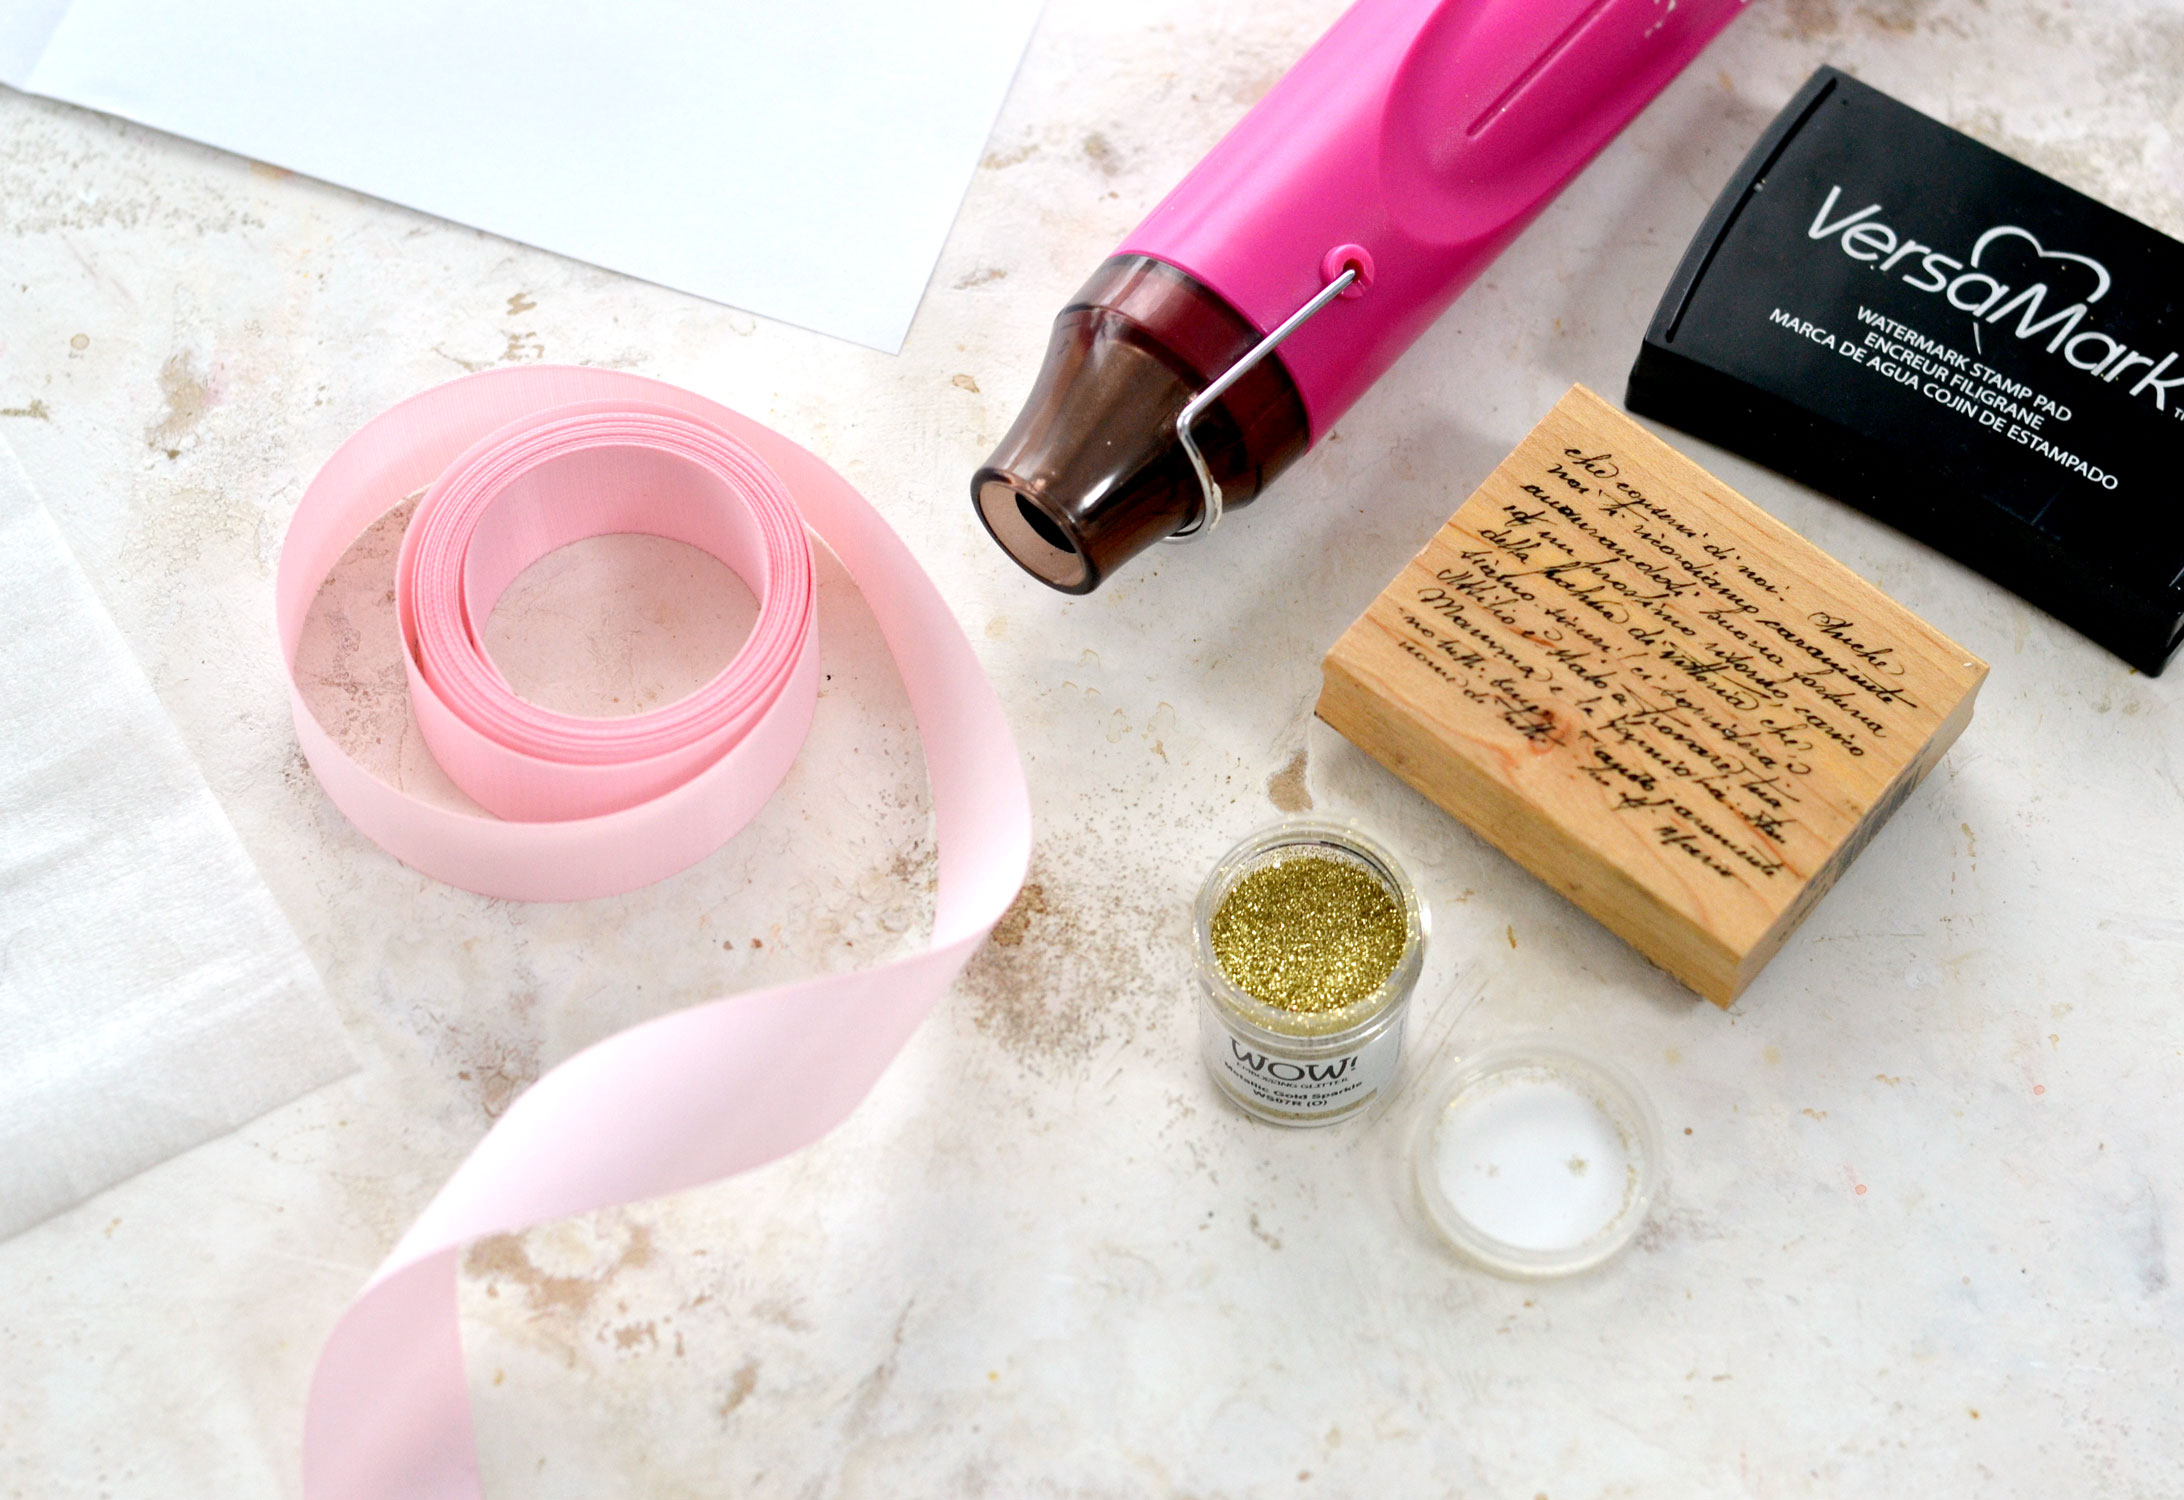
DIY Decorative Ribbon Supplies:
- ribbon
- your favorite stamps
- Versamark clear stamp pad
- embossing glitter
- heat gun
- 3 pieces of scrap paper (1 for stamping, 1 for glittering and 1 for heat embossing )
- anti-static pouch / embossing buddy
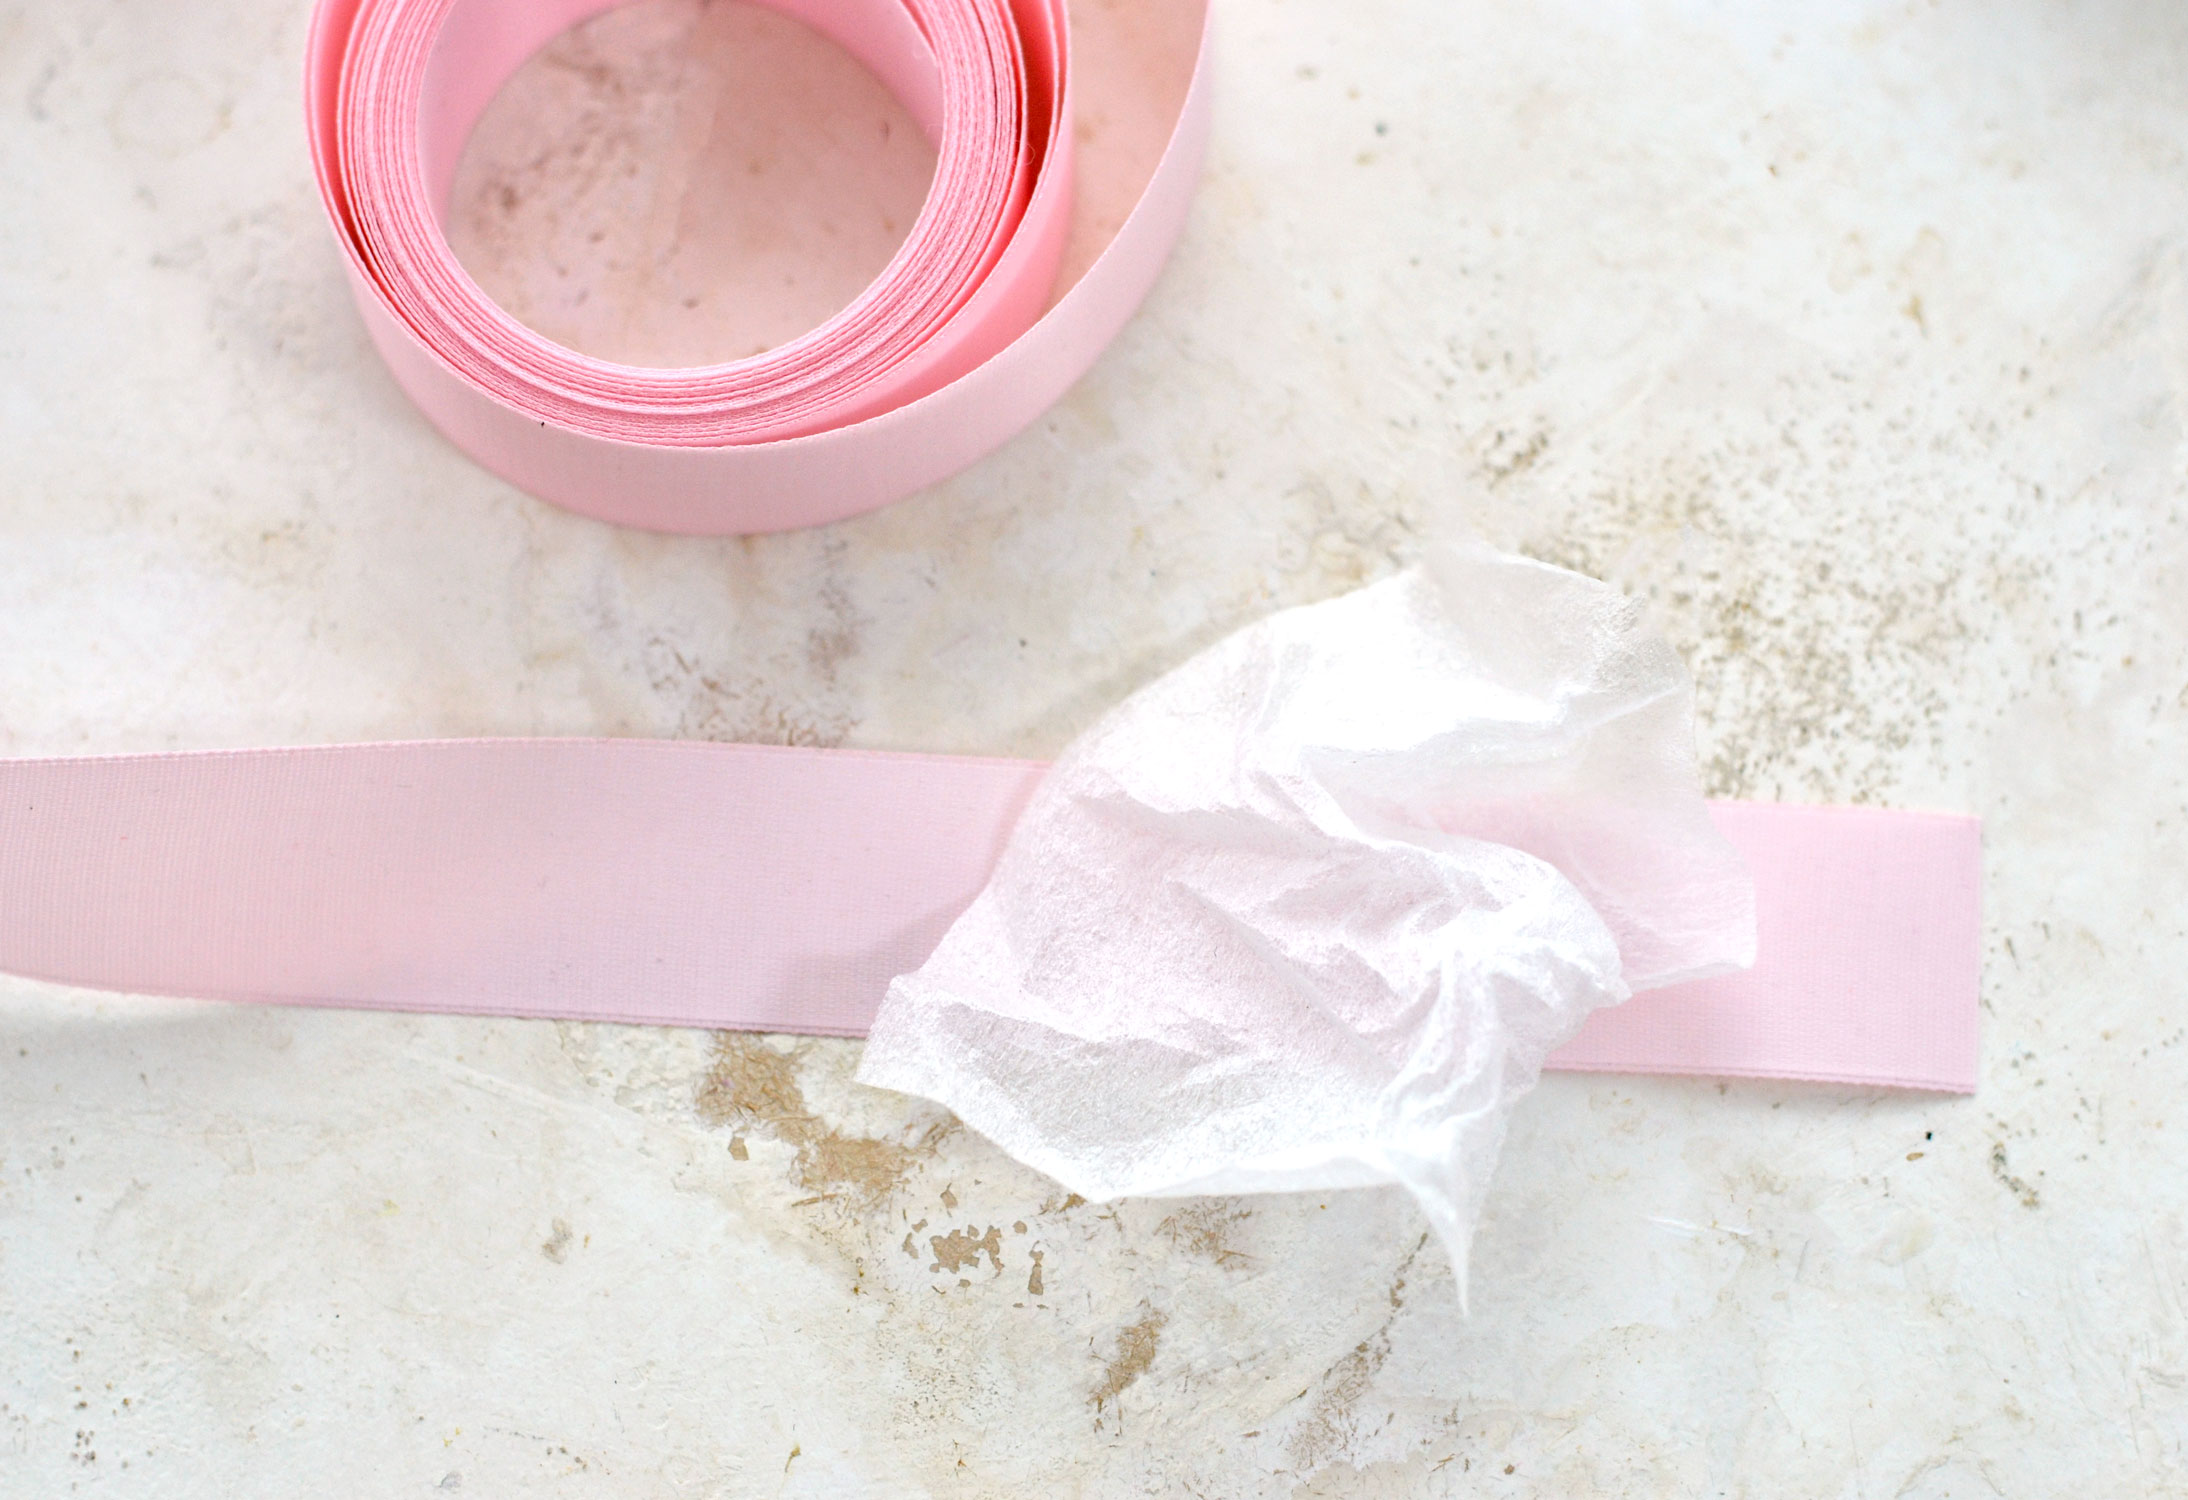
It would be best to start prepping the surface of the ribbon with an anti-static pouch also known as an embossing buddy that will help in removing the static. This will ensure you get a better and clearer embossed image. I couldn’t find mine anywhere, so I just used a scrap piece of dryer sheet that also does a similar job. Just rub it all over the surface that you plan on stamping.
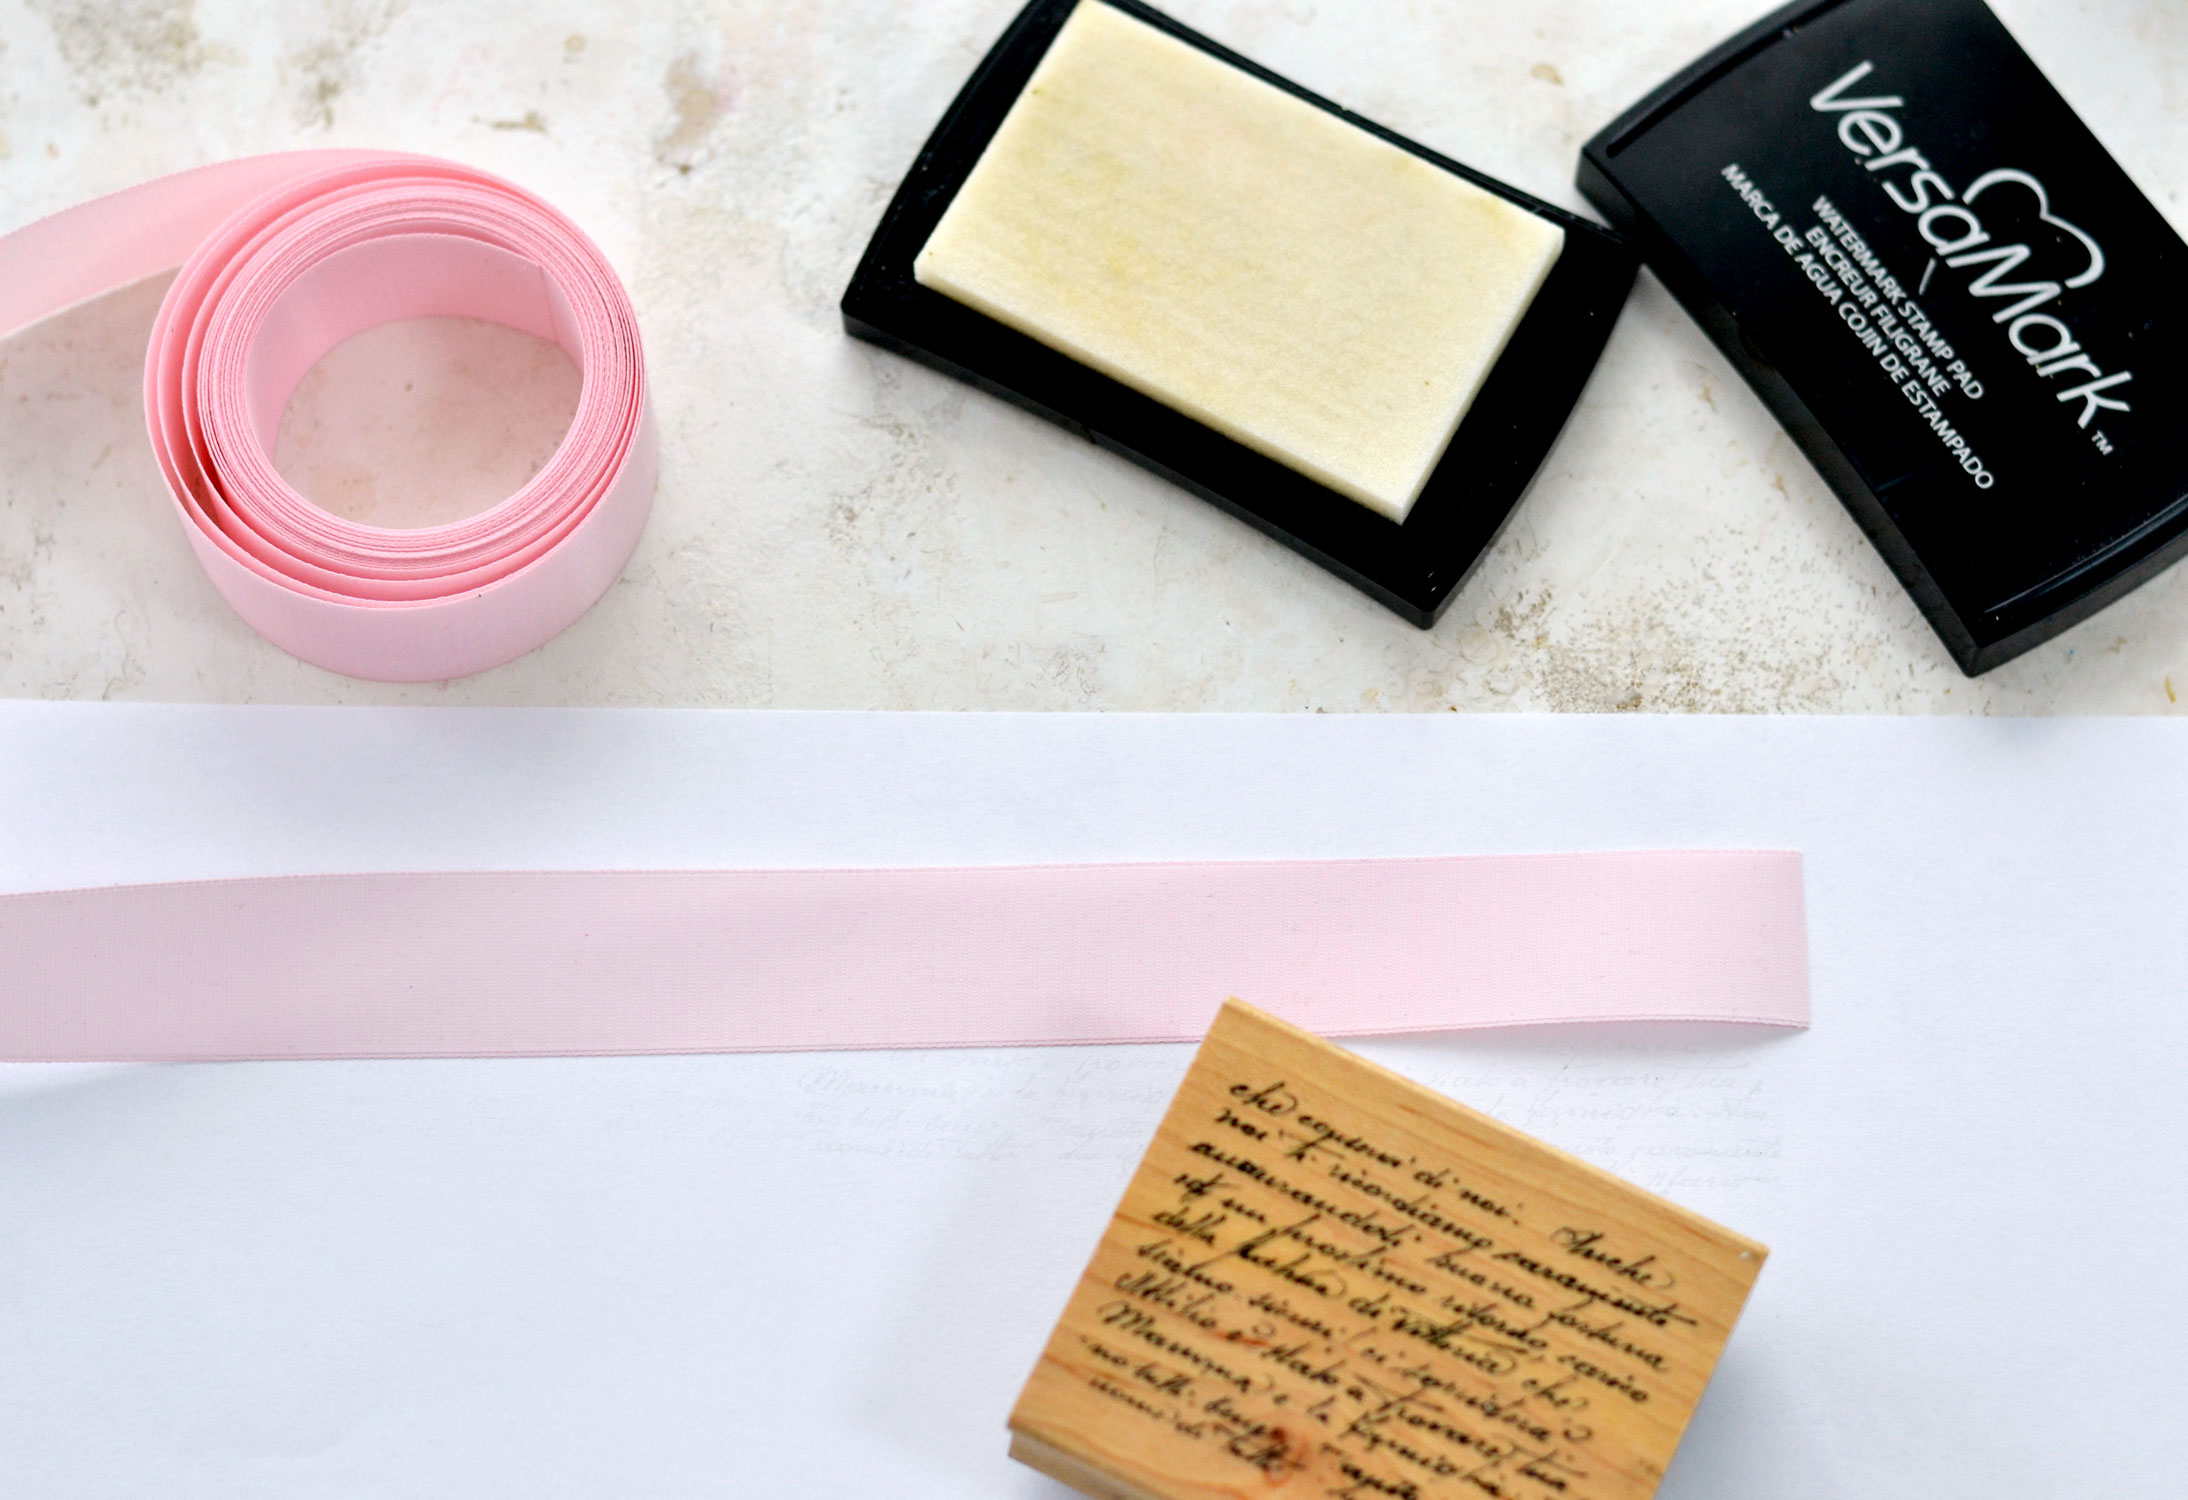
Place one of the paper sheets on your table and place your ribbon on top. Use a Versamark clear stamp pad and your favorite stamp to stamp on your ribbon. If you are using a clear silicone stamp, it’s much easier to see where you are stamping. My wooden block rubber stamp made things a little bit difficult, but I managed to make it work.
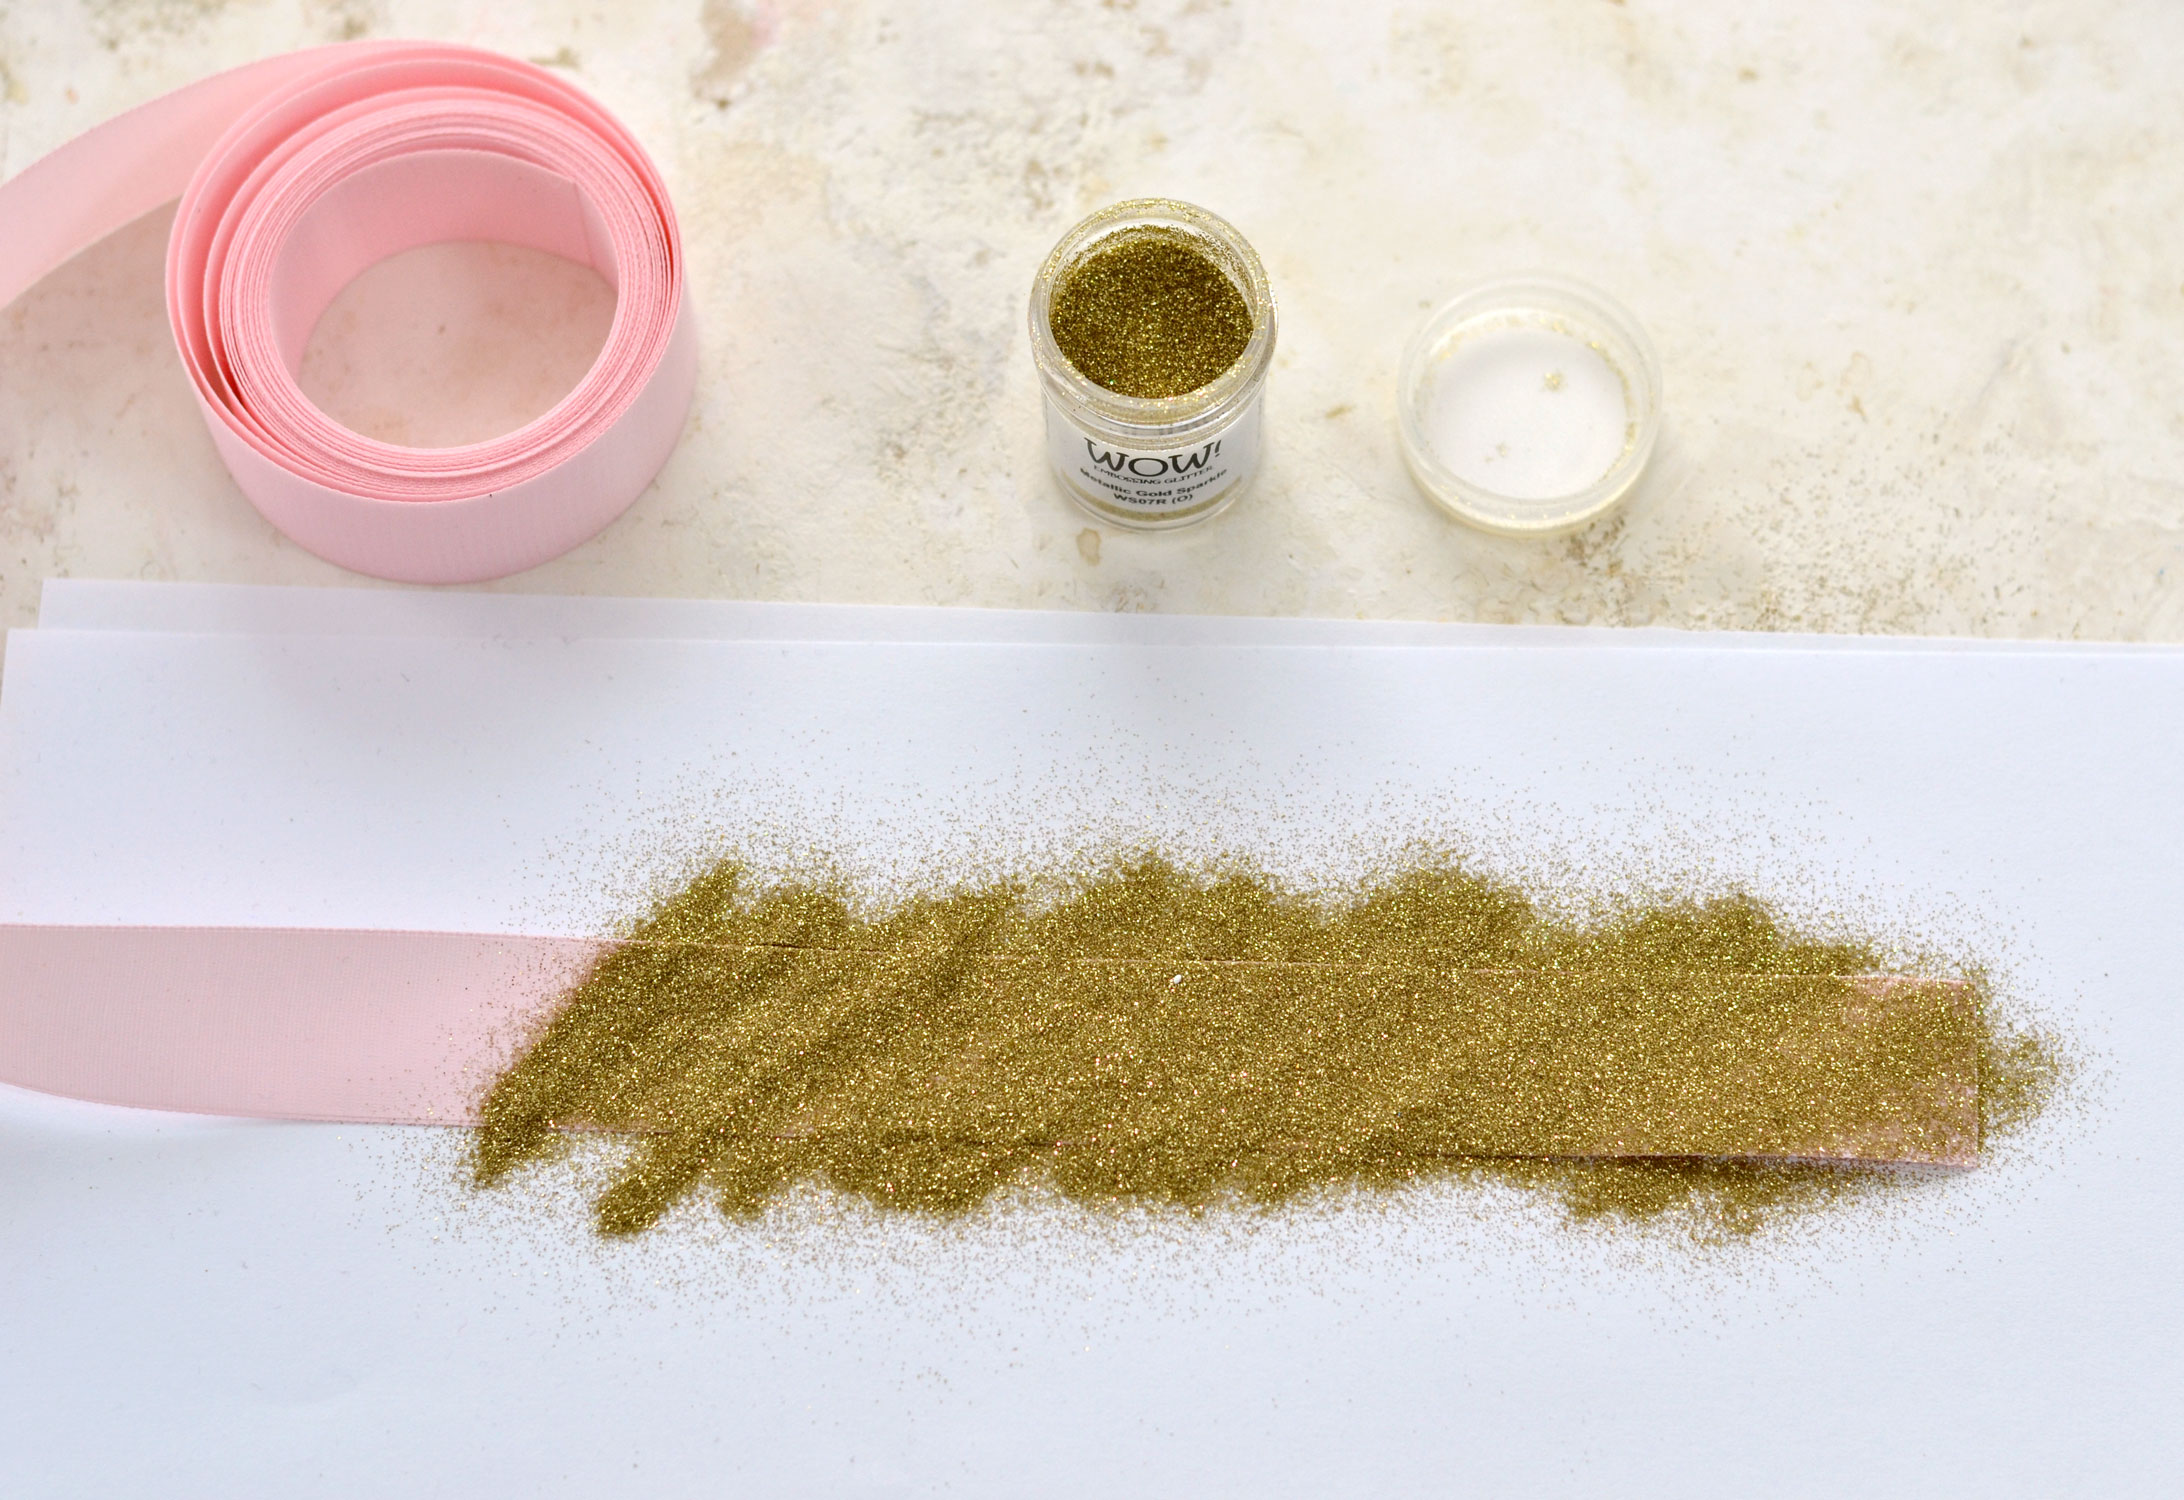
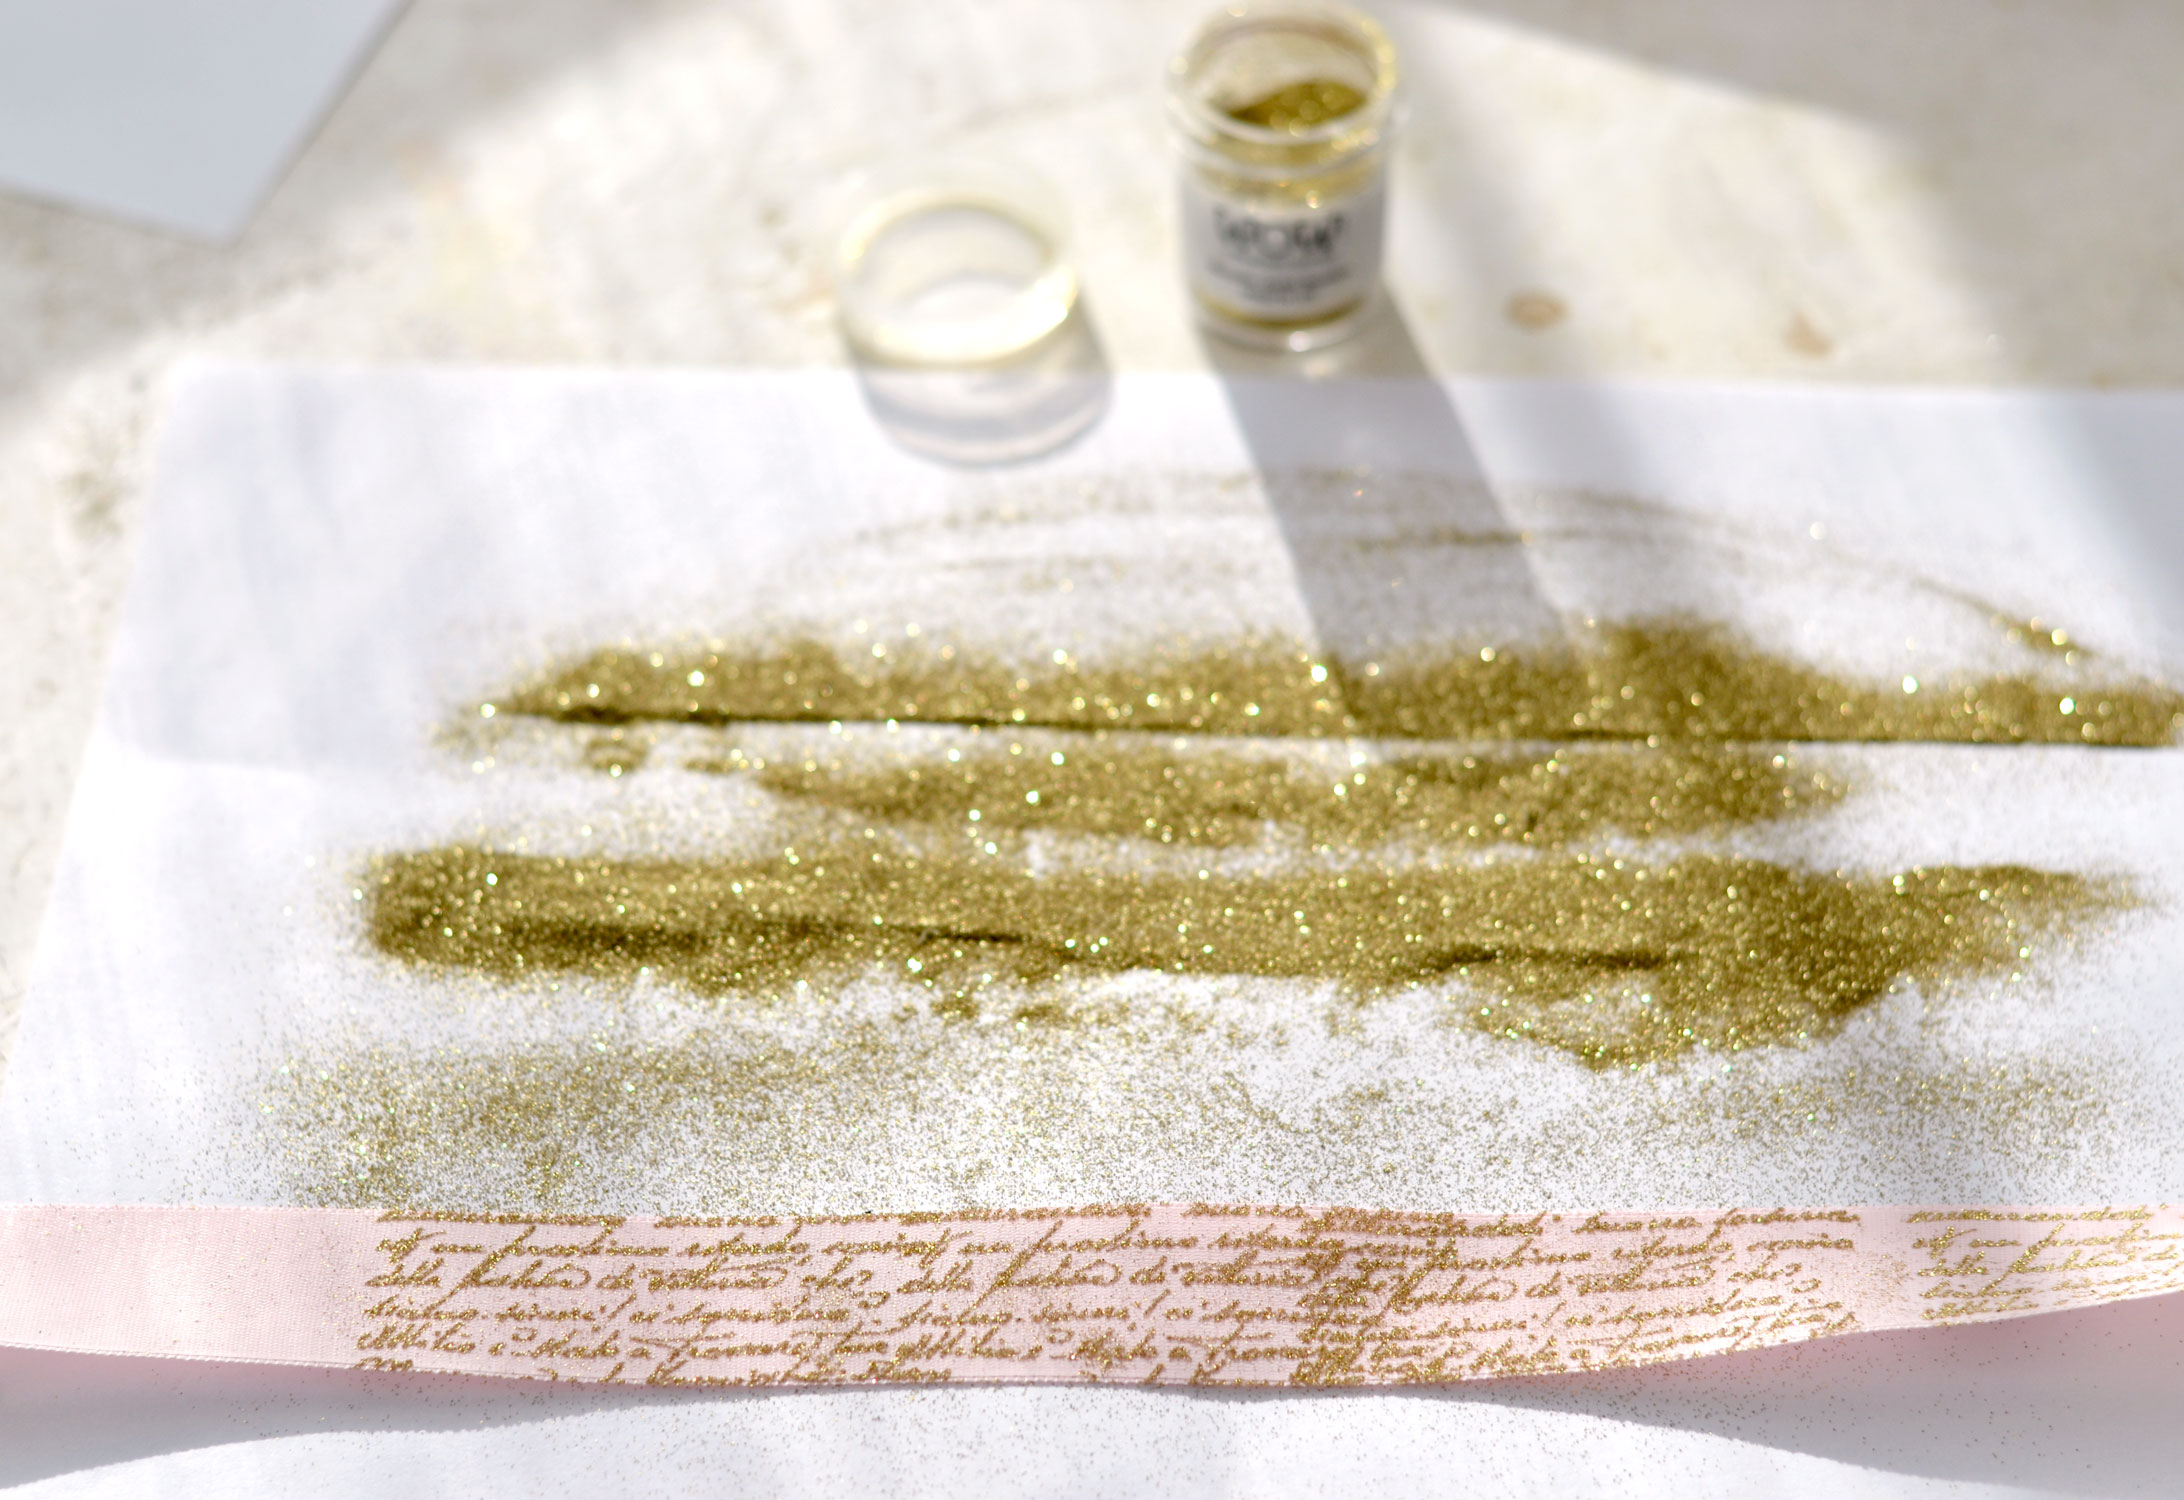
Fold the lower part of another piece of paper in half, then carefully place the stamped ribbon on top. Add the embossing glitter all over the stamped surface.
Tilt your ribbon and let the excess glitter fall onto the paper. Then carefully lift the ribbon while holding it at both ends with your hands. Hold it over the paper and tap on its back so that you remove all the excess glitter. Place the ribbon on the third piece of paper, then carefully pour the excess glitter from the second paper into the glitter bottle again – the crease on the lower part of the paper will help a lot with this part.
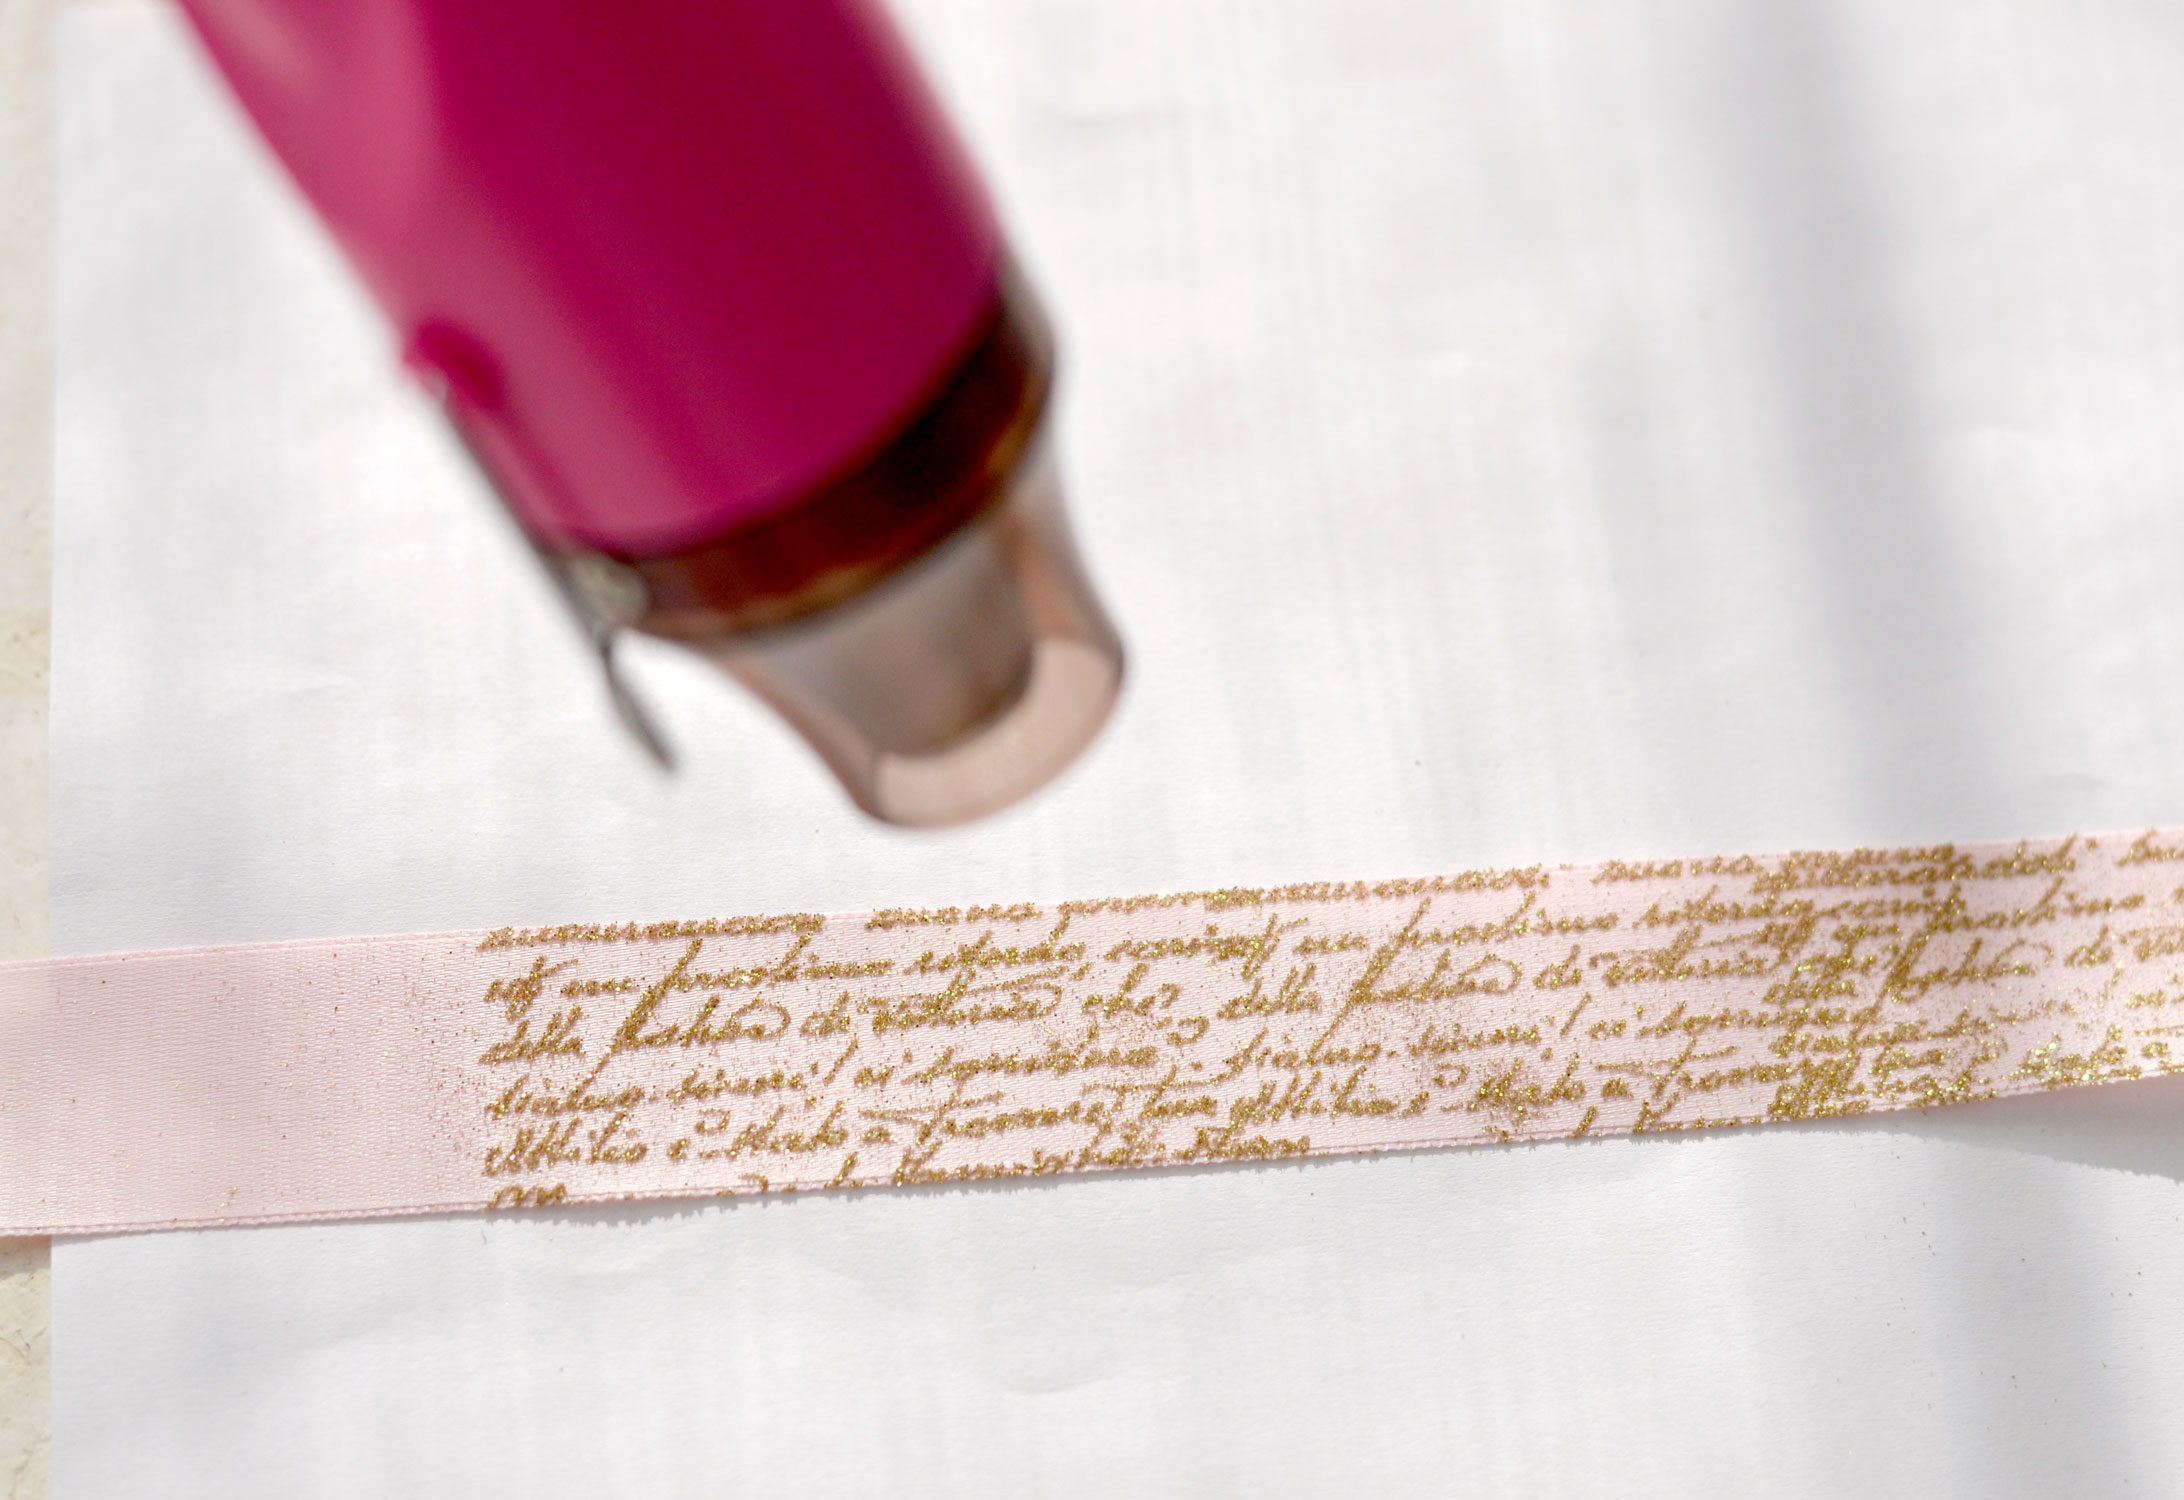
I like to heat emboss the glitter while keeping the ribbon on the paper. I keep the heat gun on top of the ribbon and I gradually go all over the surface.
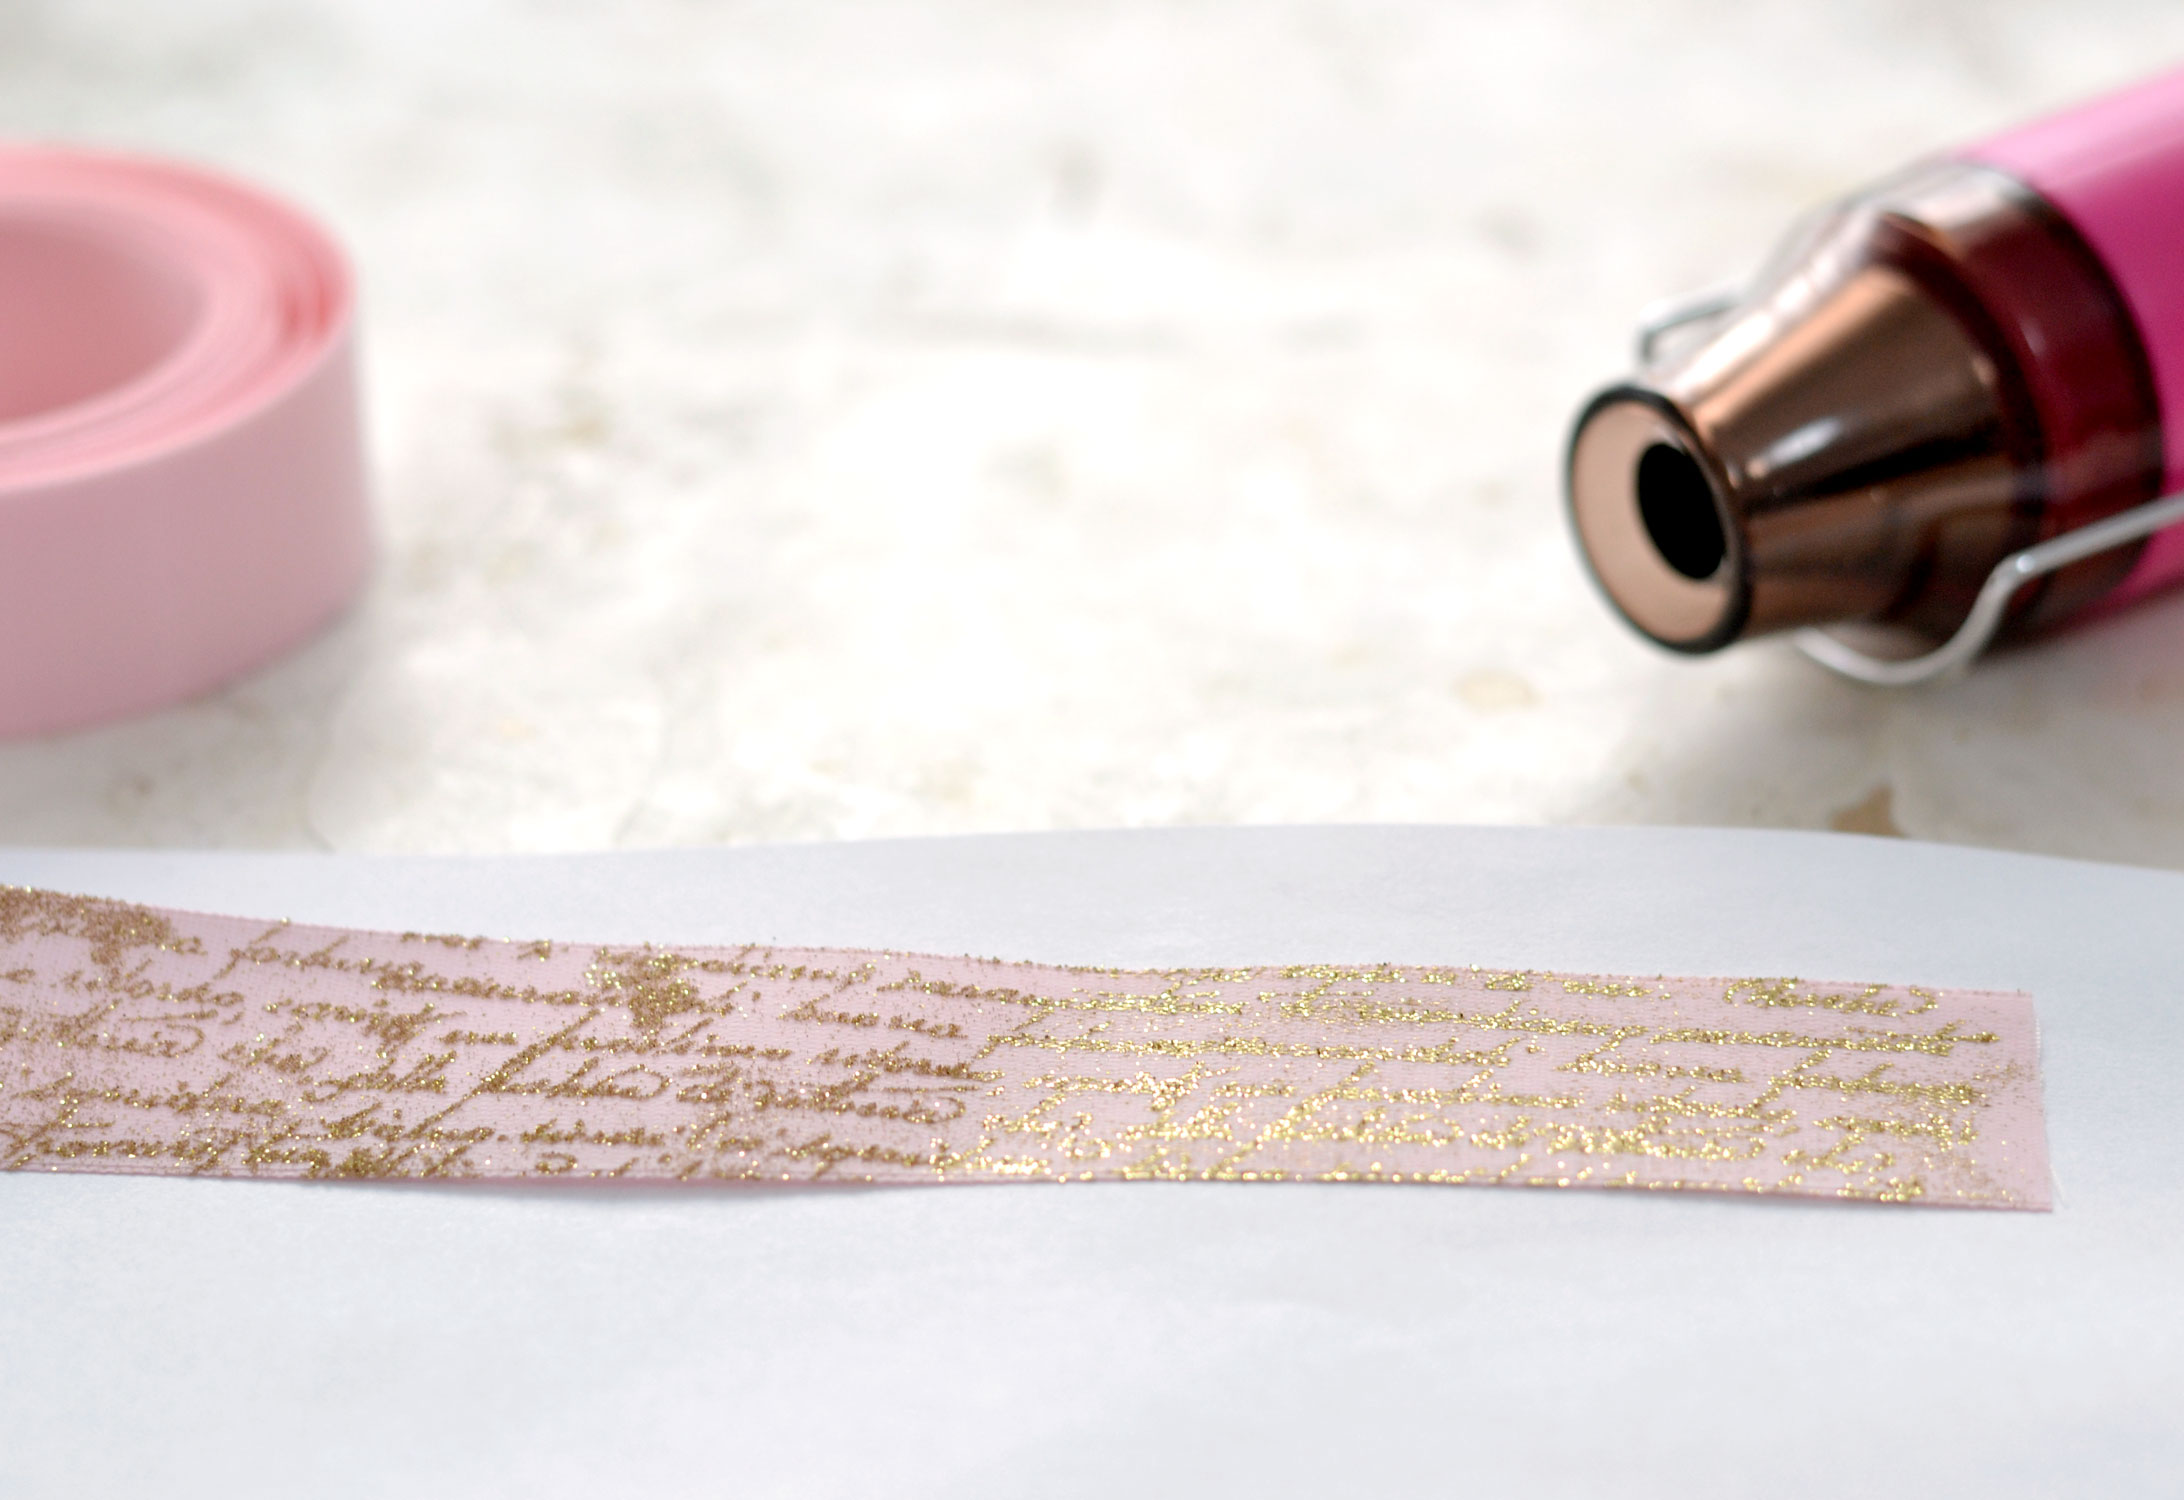
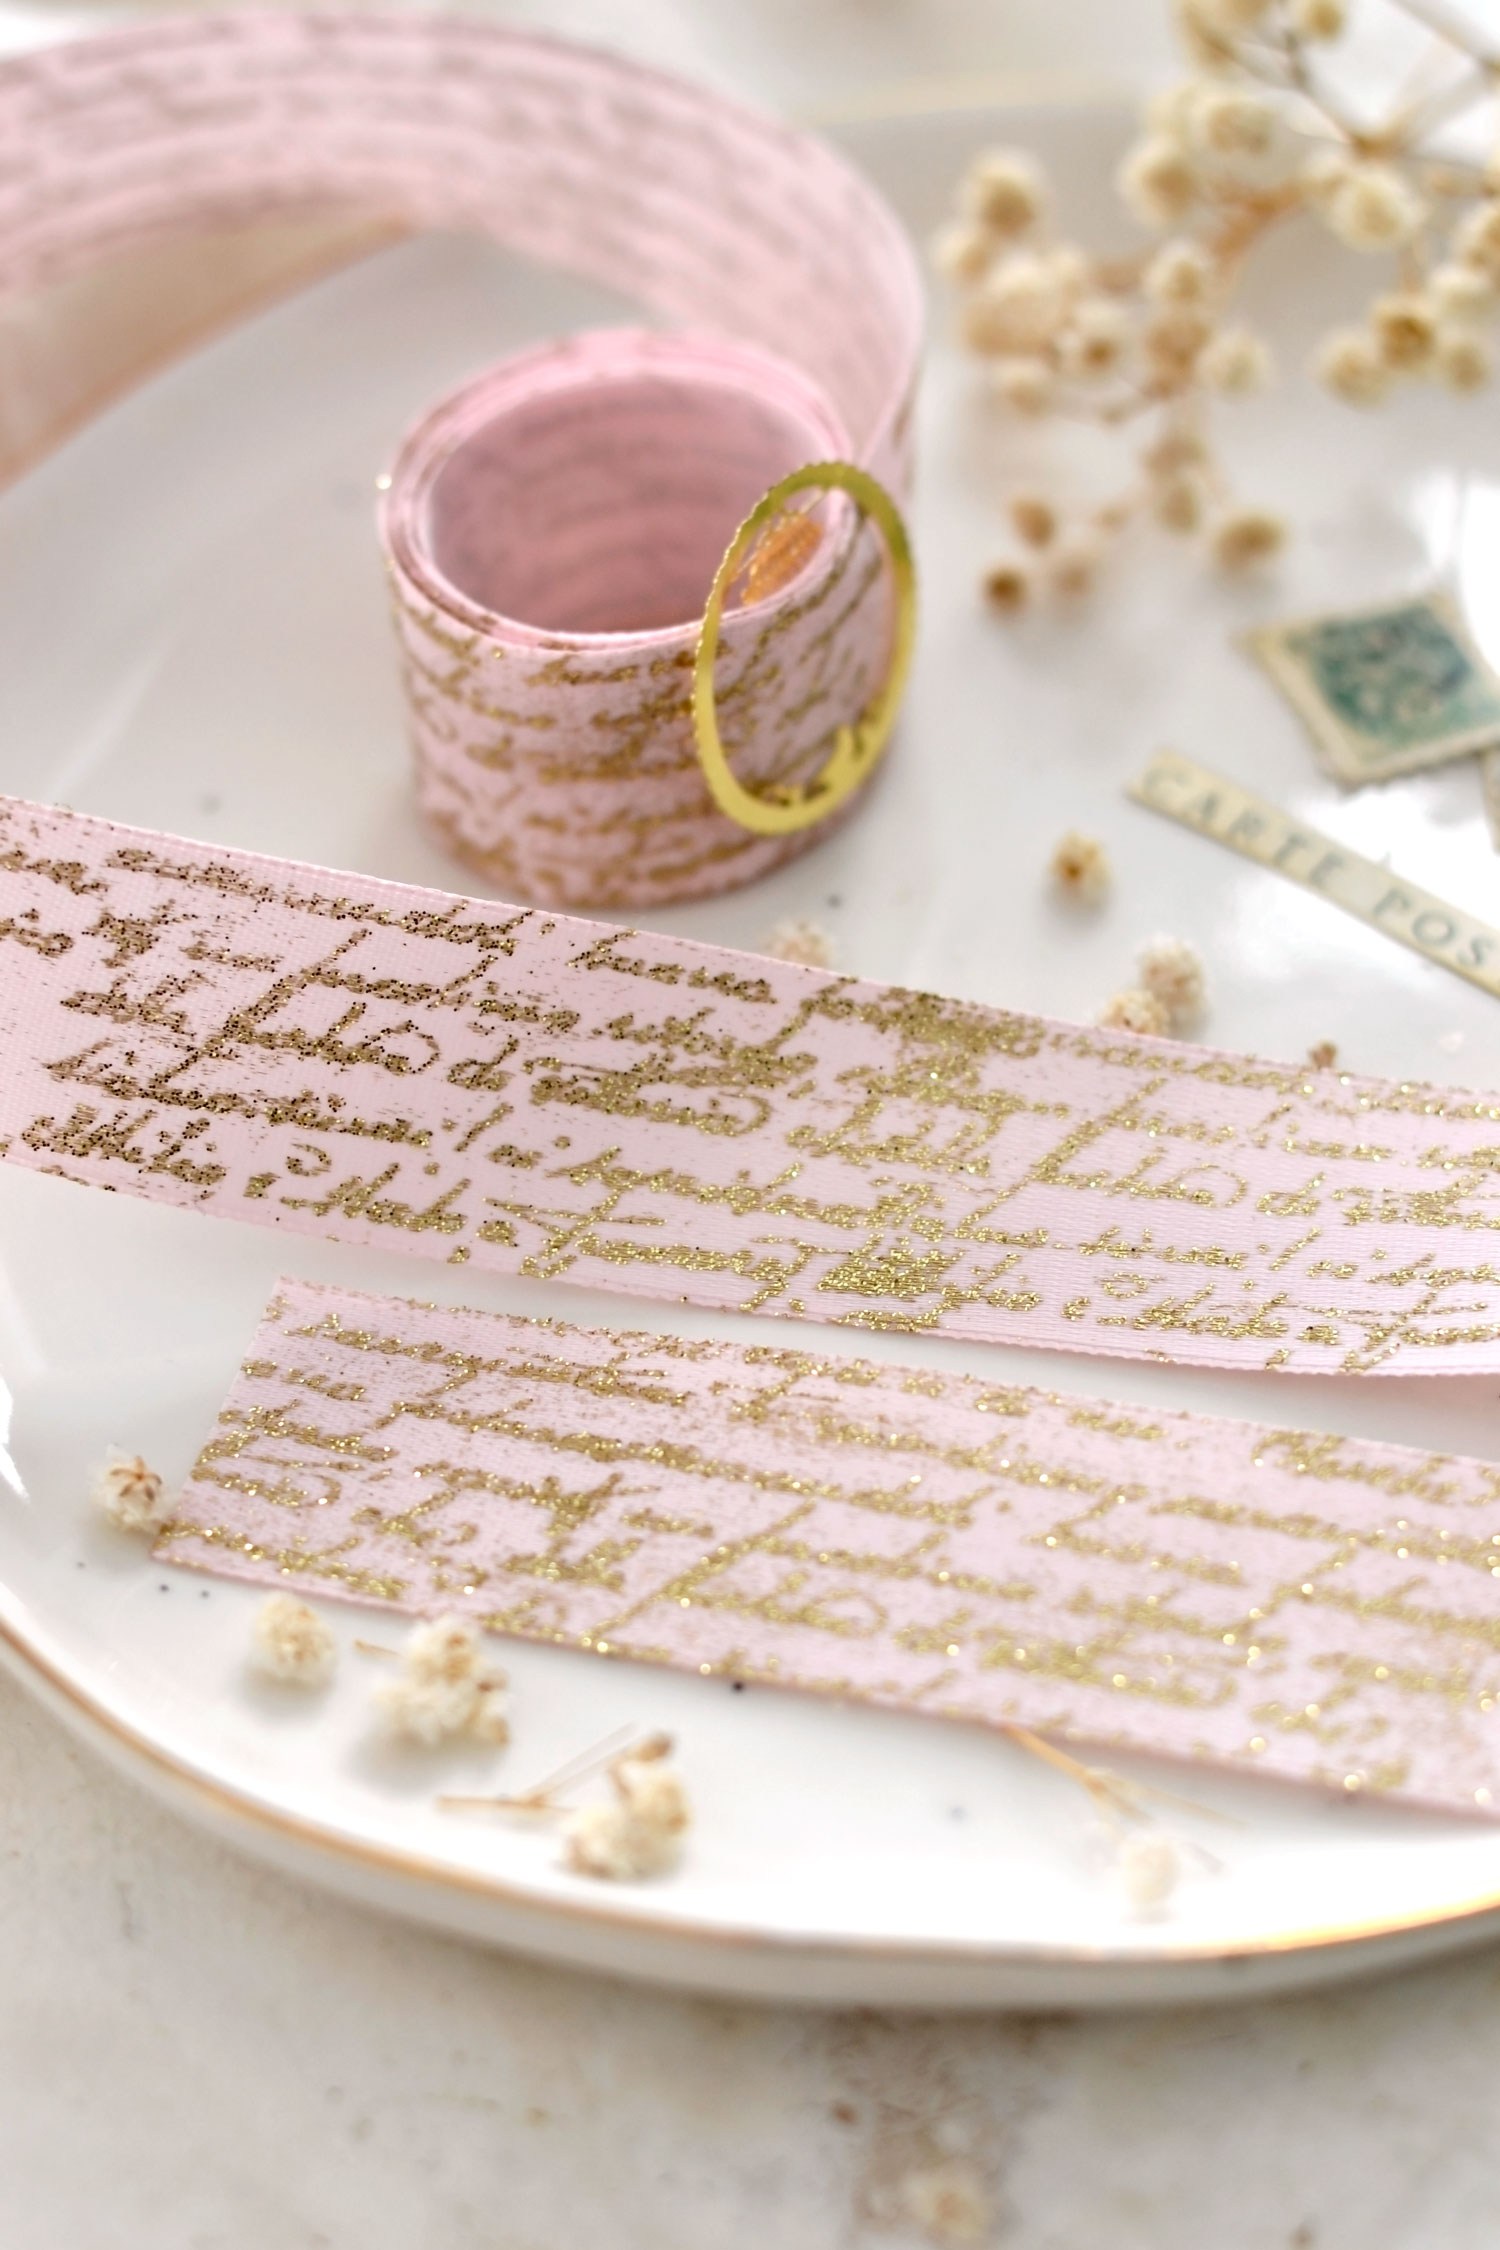
It helps if you try to watch the process from the side – your eyes should be almost on the same level as the ribbon. You will be able to see how the glitter powder is melting and fuses with the surface right before your eyes. You can check the progress in the image below – the right part is already melted and the glitter is much more sparkling. Just make sure you don’t insist on one area too much, you don’t want to burn the embossing powder or the surface. Start from one of the edges then gradually work your way throughout the whole surface.
When you finished embossing a section, just repeat the whole process to create other sections. You can create as many sections as you want!
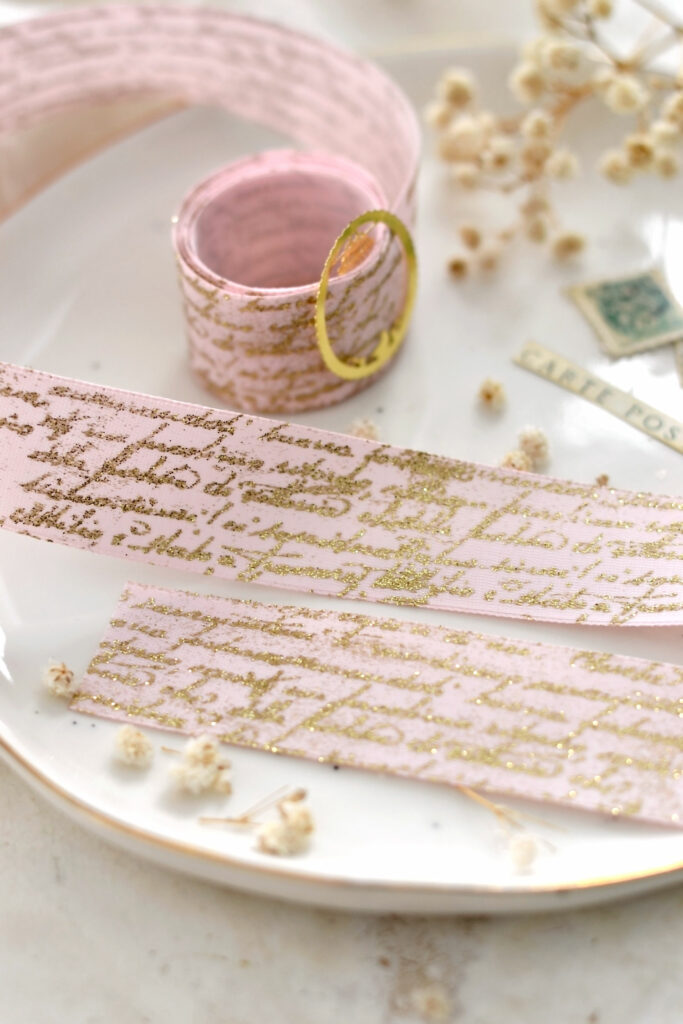
What I noticed while heat embossing glitter on the ribbon is that the stamped script looks almost perfect when watched from above, but has small stray specks when looked at from the side. But I really don’t mind, I think the final results are really beautiful even with these small imperfections!
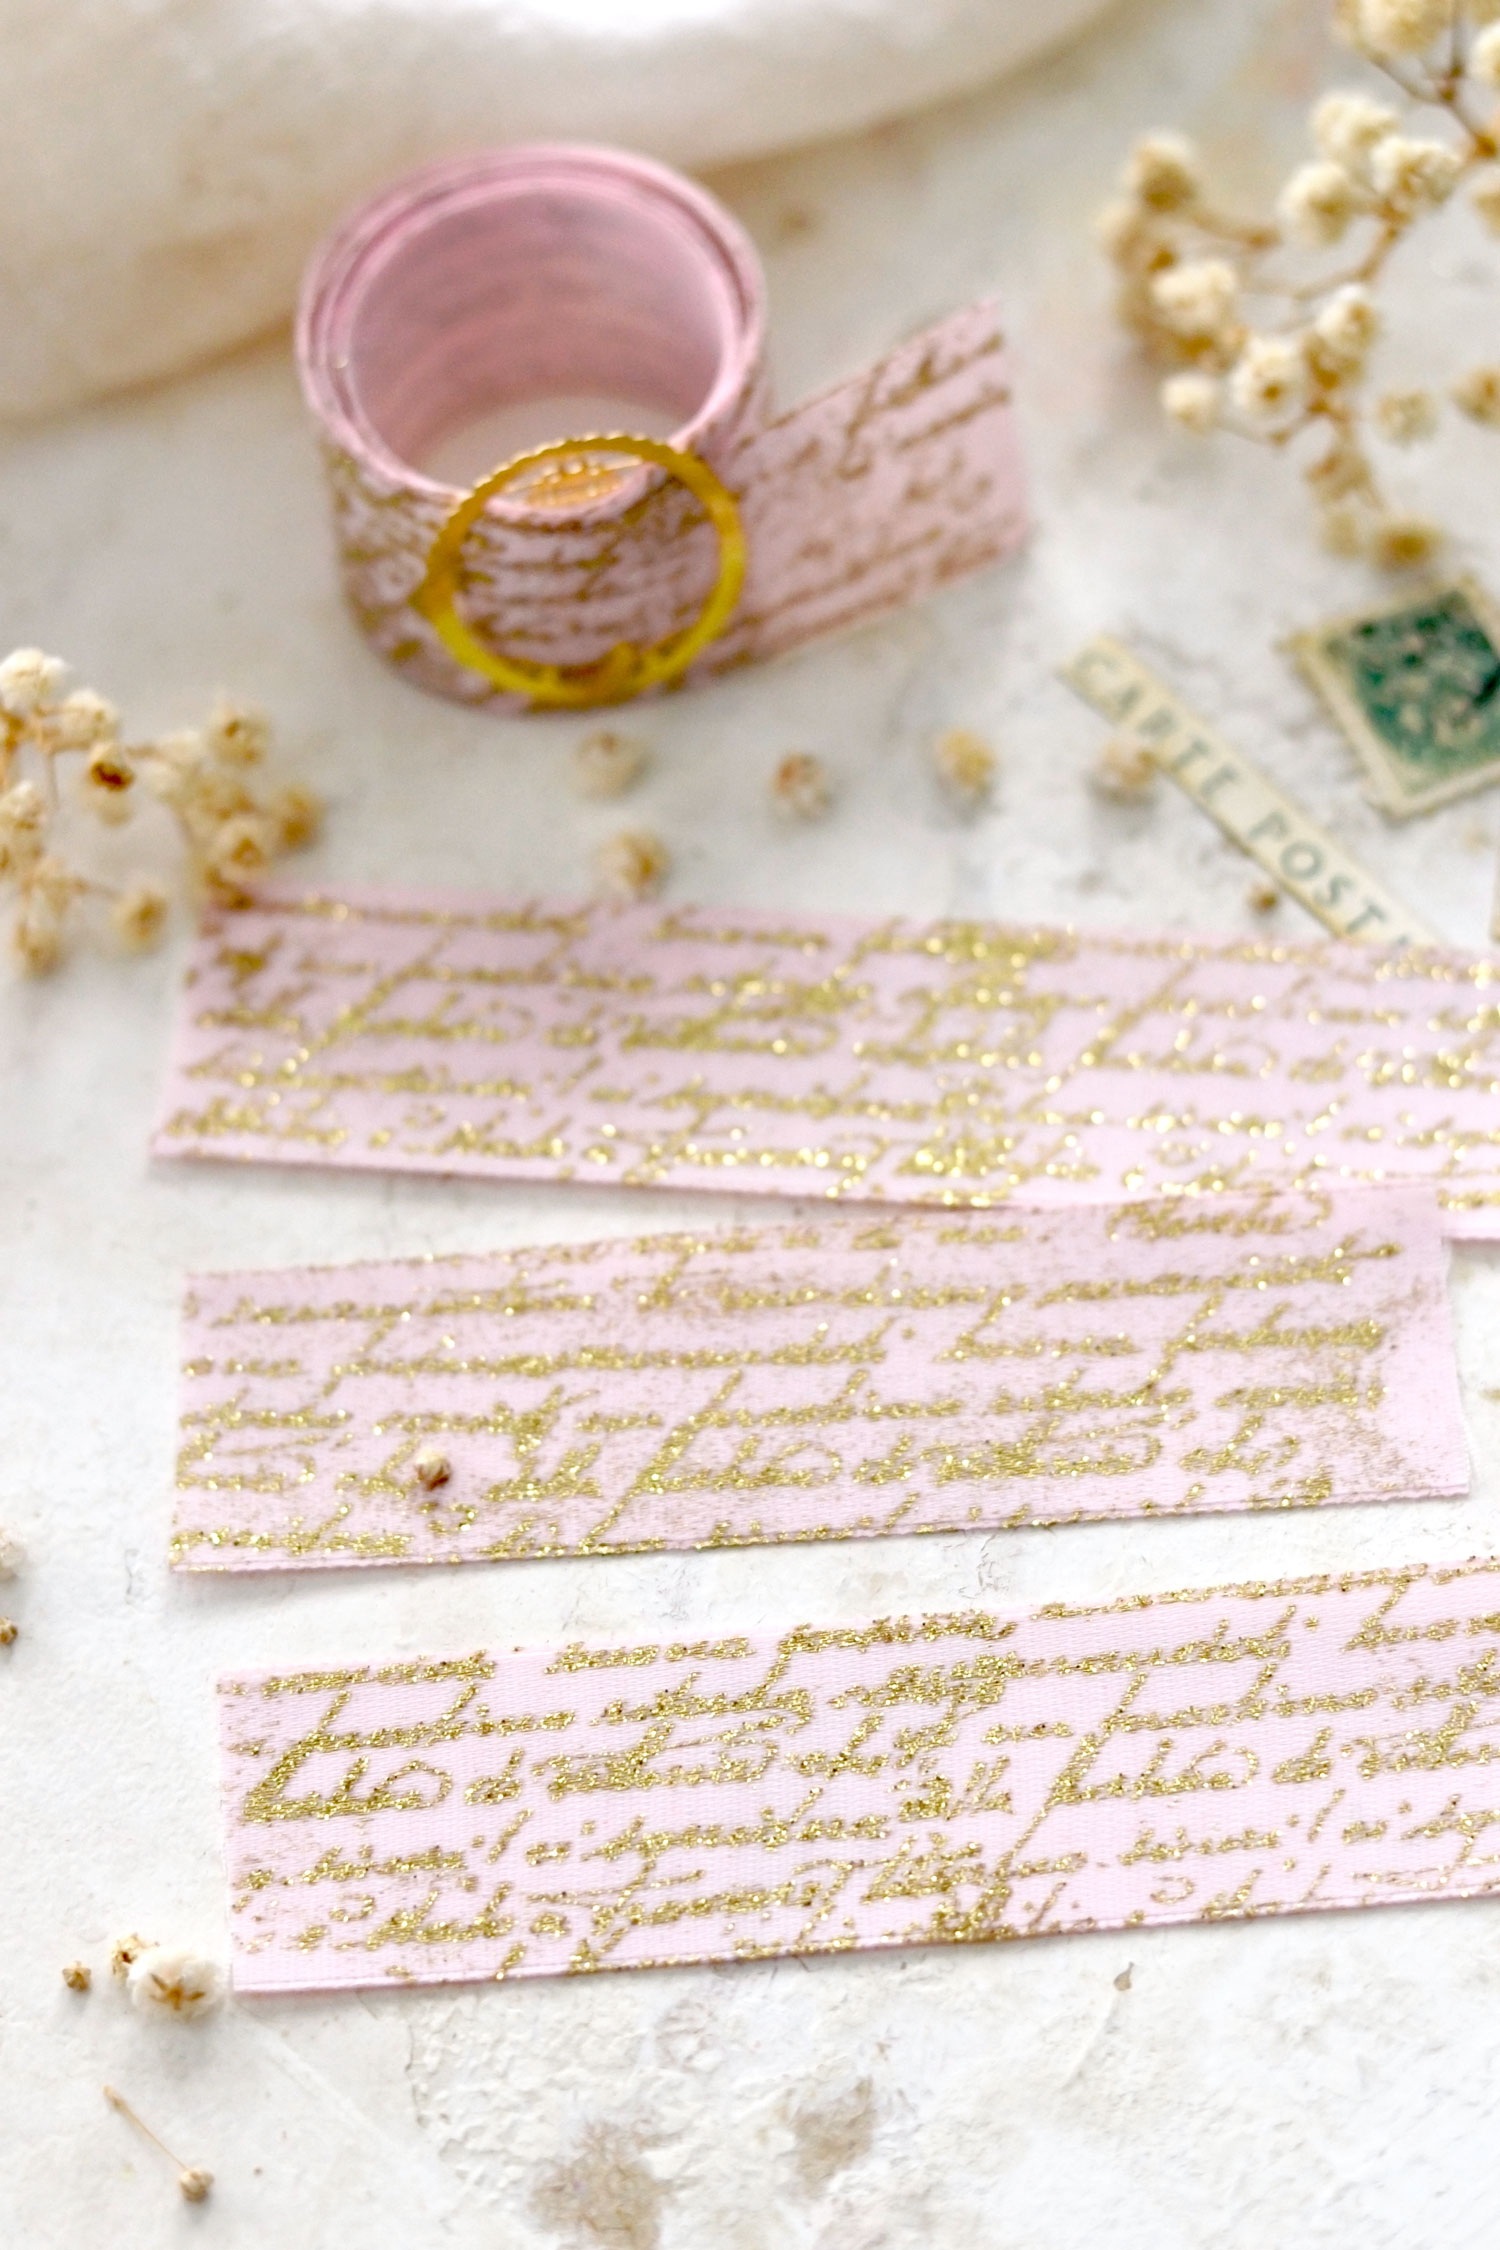
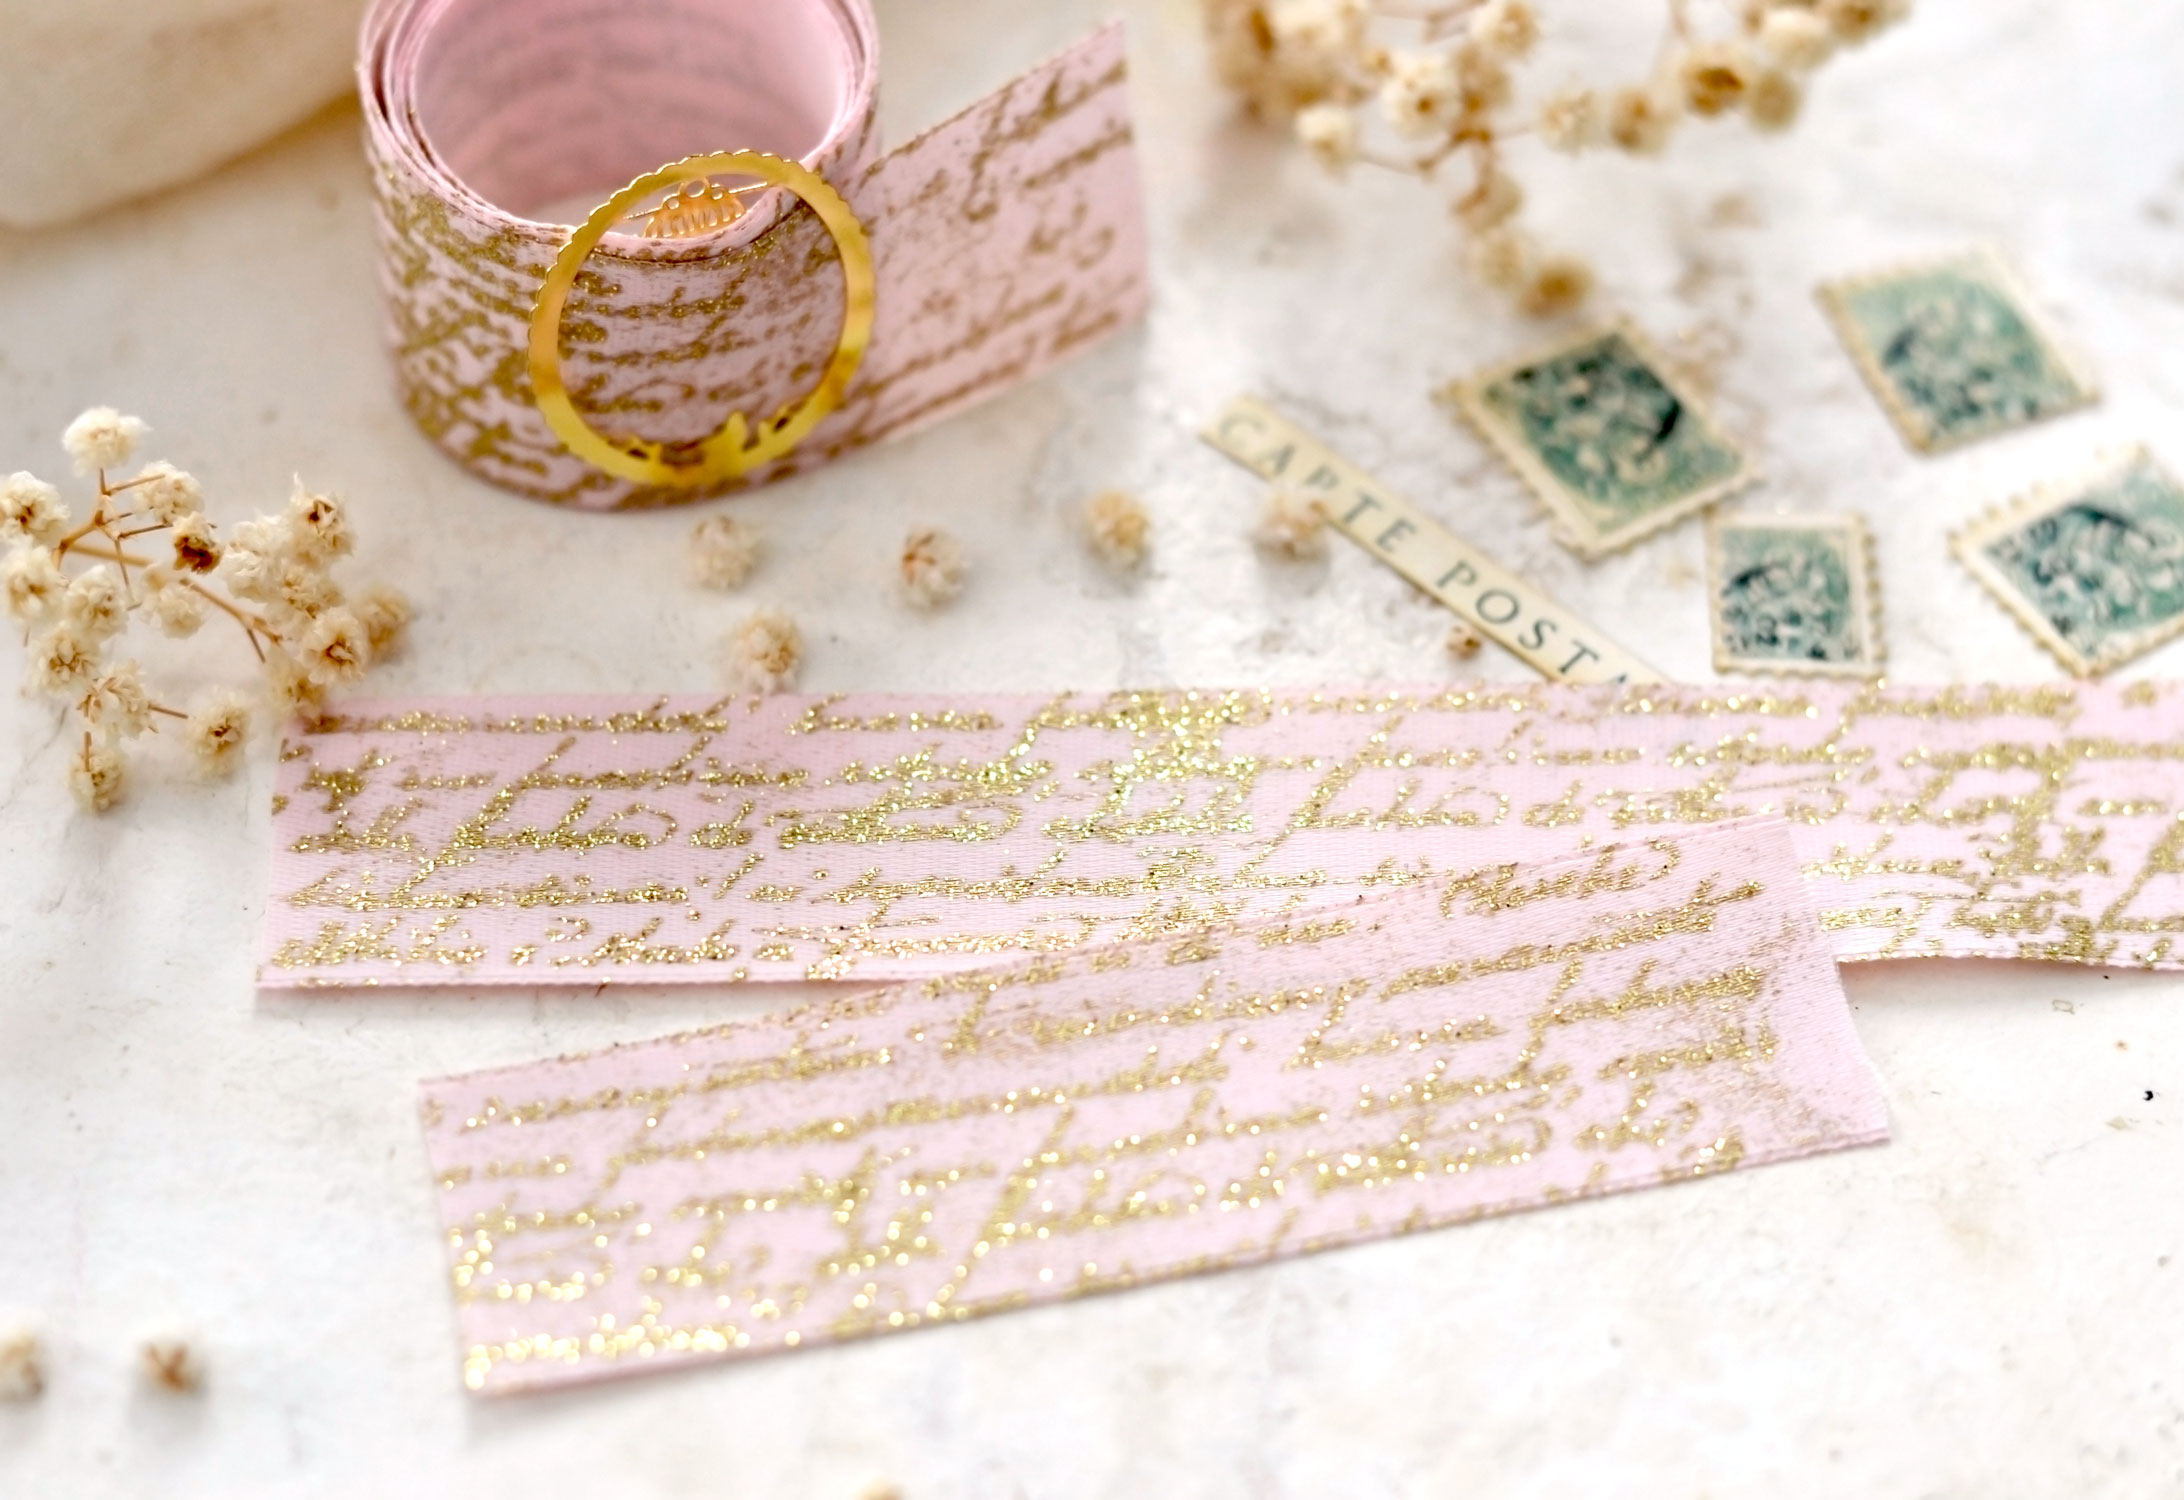
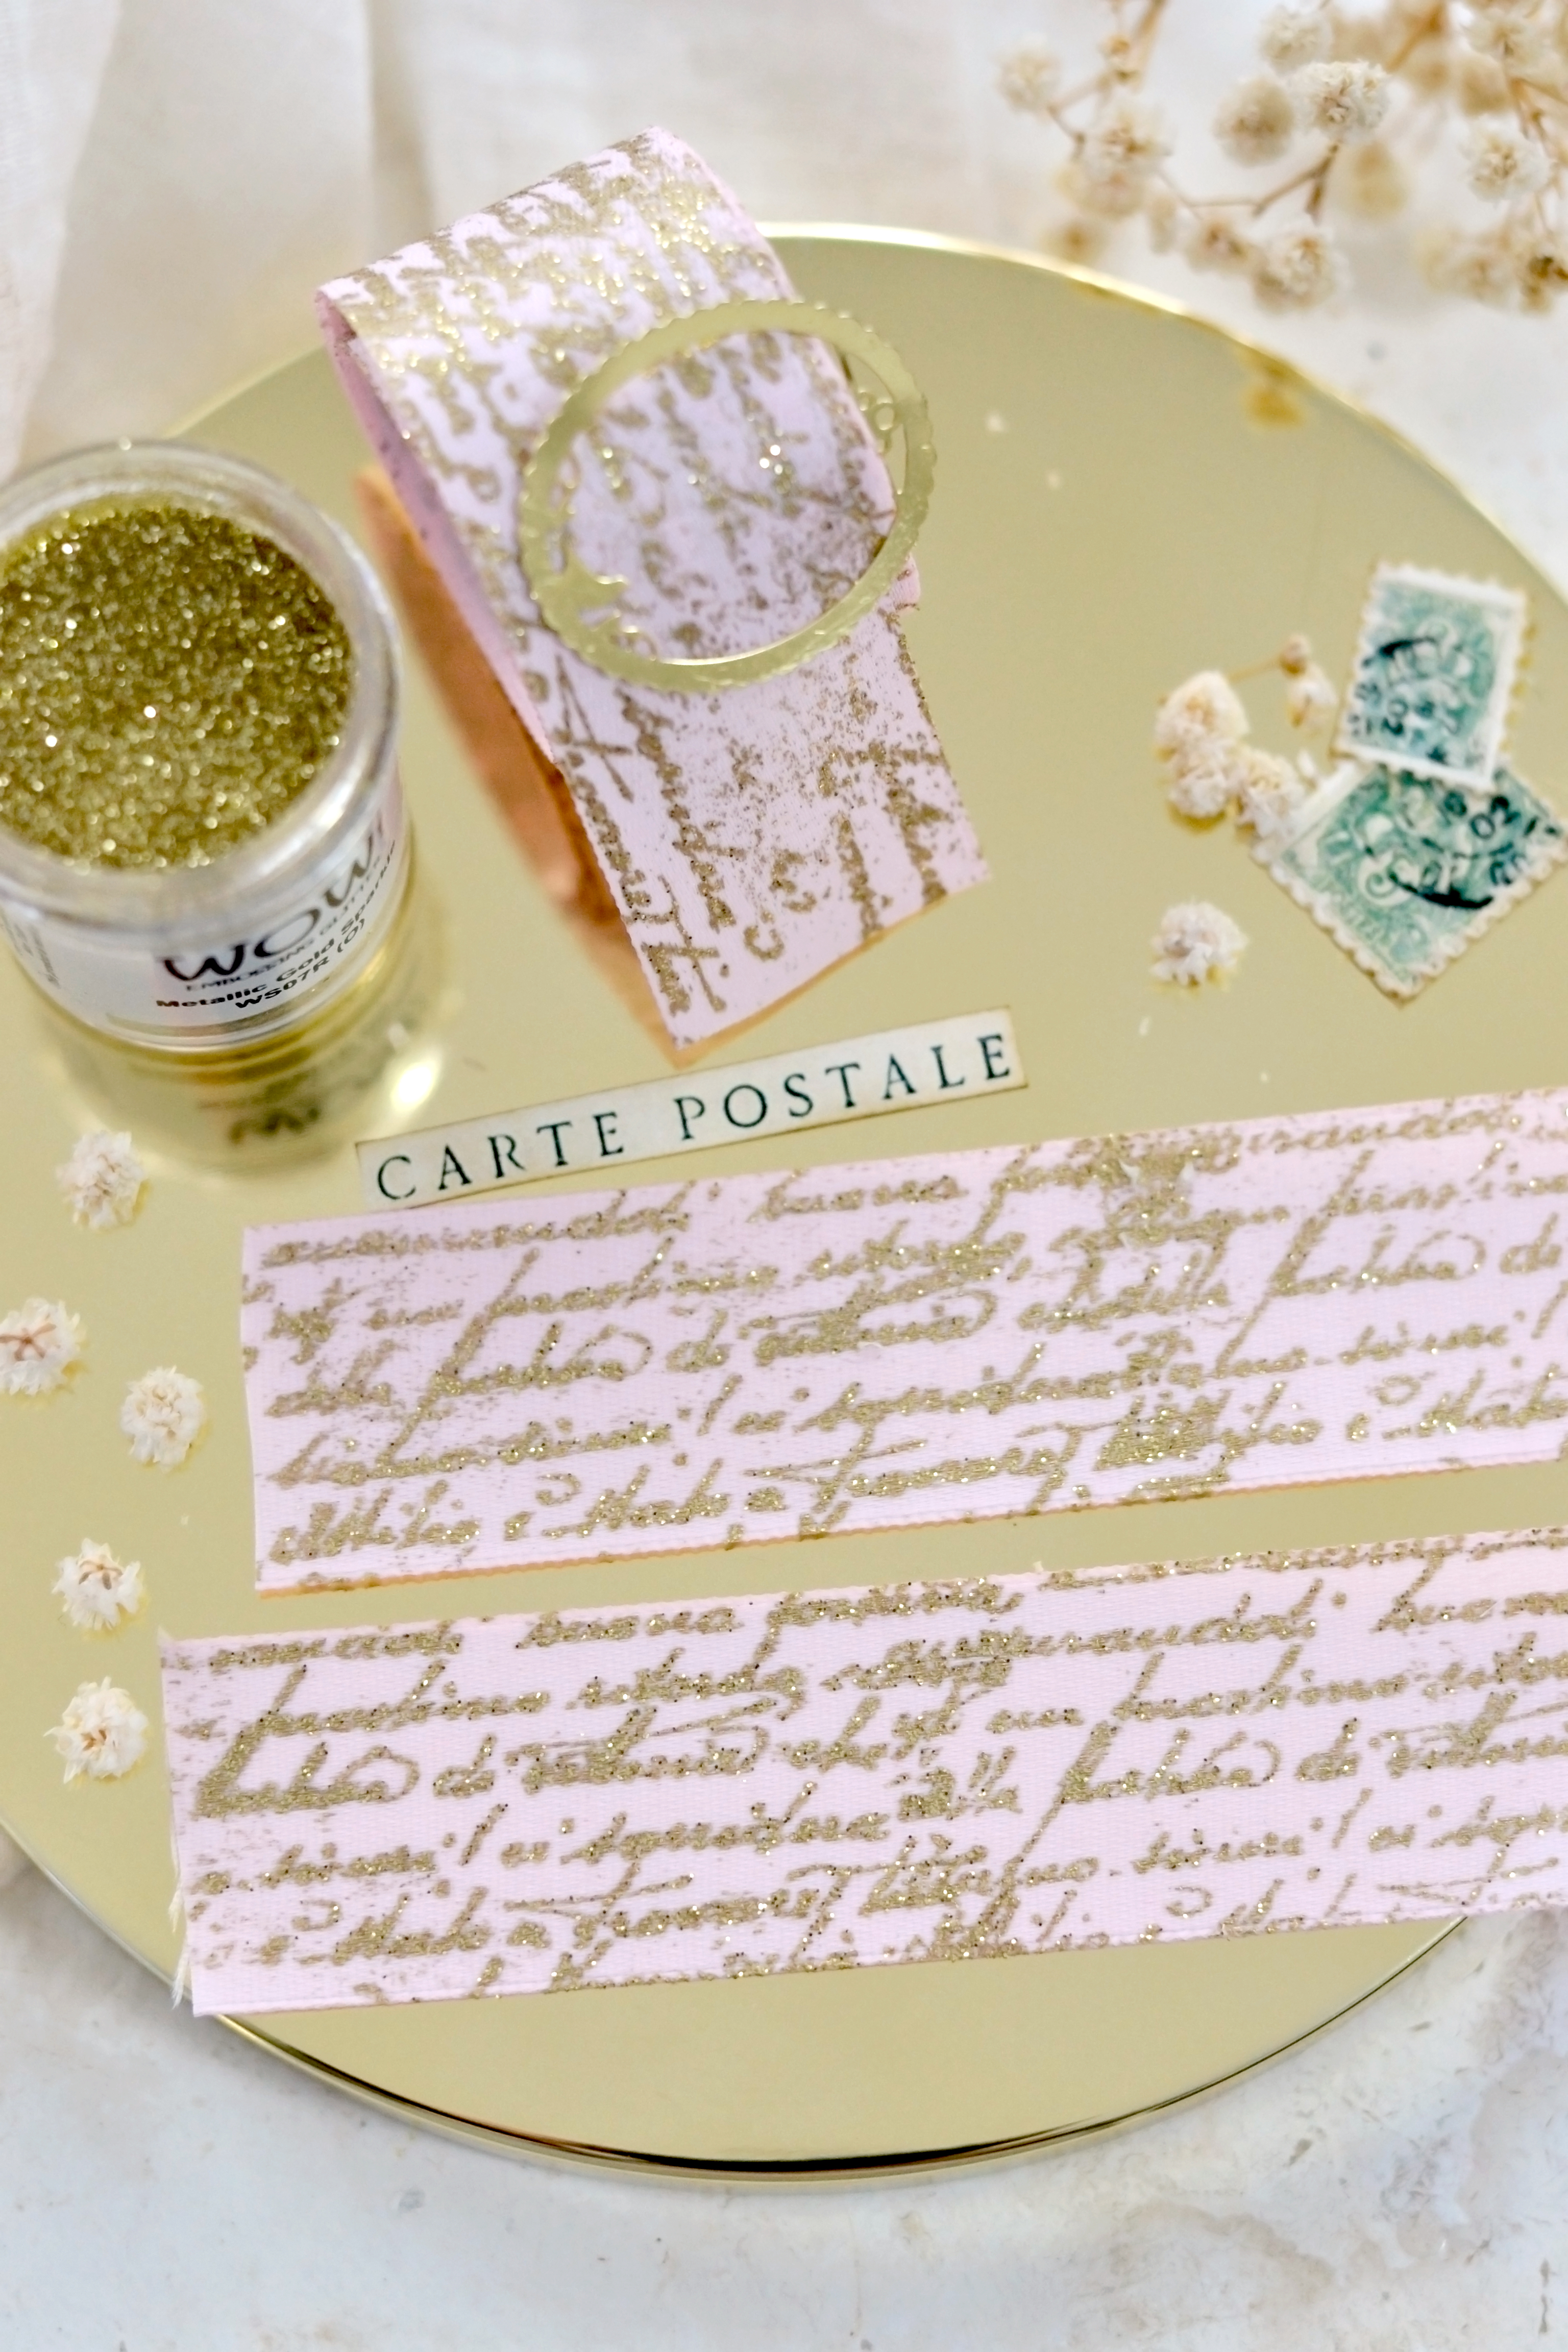
The lighting plays a huge part when looking closer at these beauties. Sometimes the stamped image looks like a regular image but when tilted or looked from a different angle you can admire the metallic gold sparkles in all their beauty.
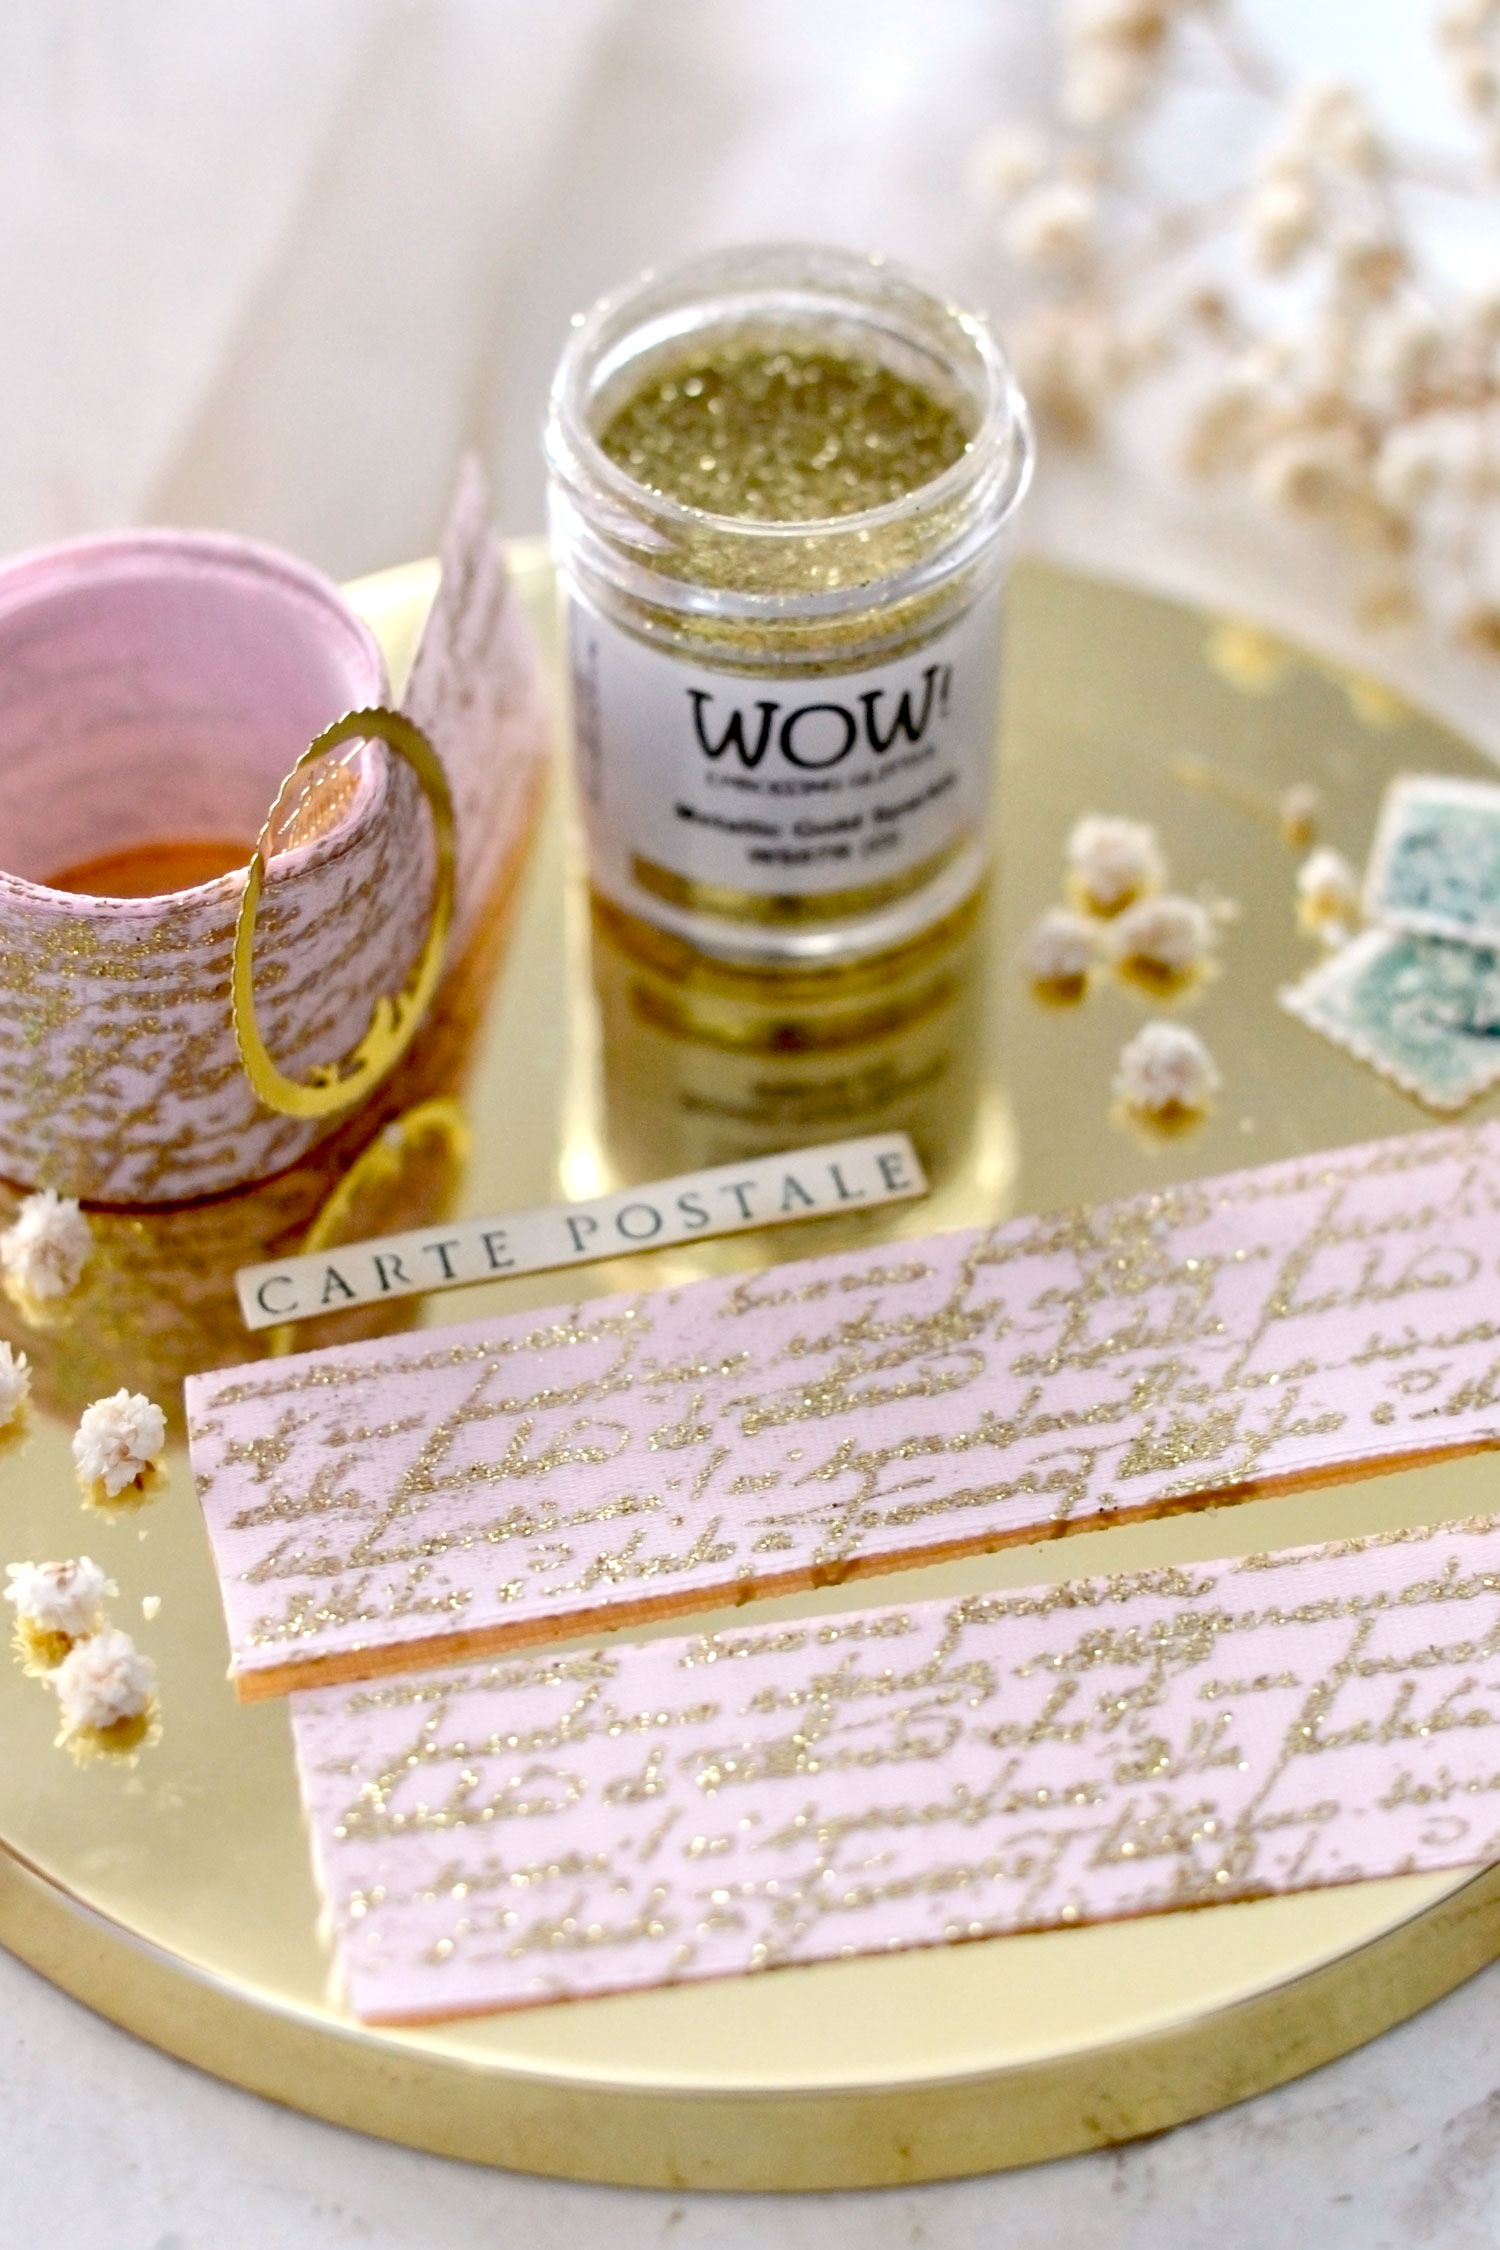
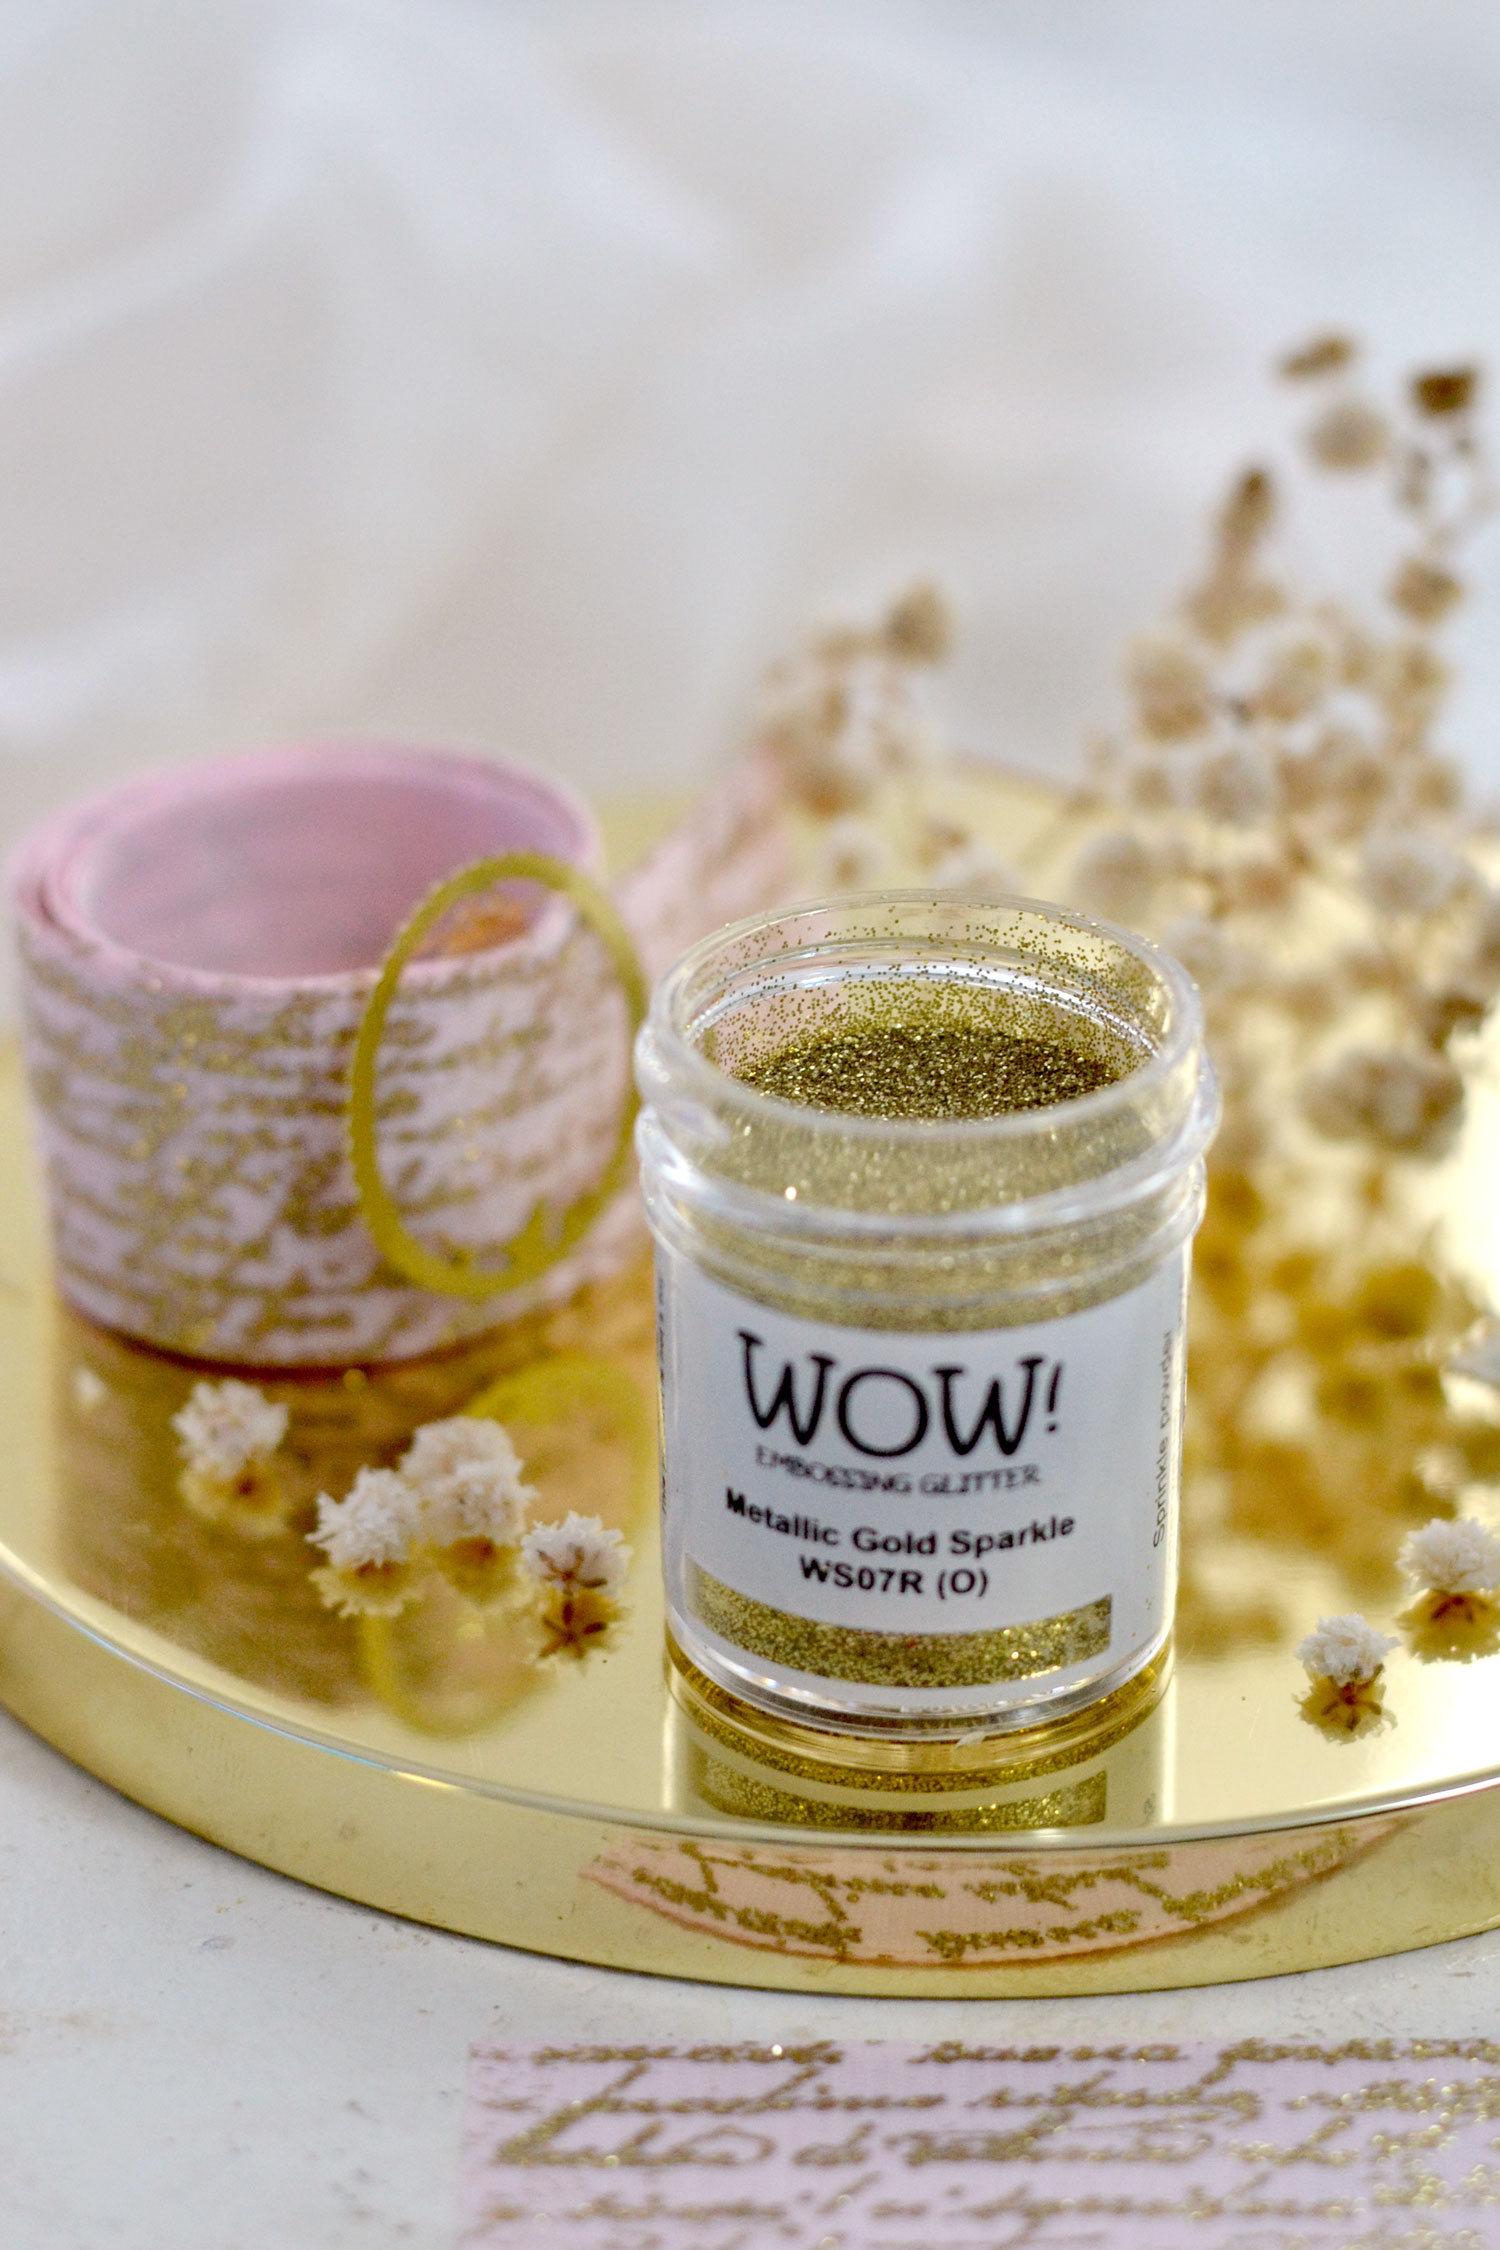
This is the embossing glitter that I used for this project, I think it did such an amazing job! There were a few specks of glitter that came off before finishing the project, but after heat embossing it, it stayed in place really well! I actually couldn’t believe how well it performed especially if compared with the tests I’ve made before while using regular glitter and regular glue! Such a huge difference!
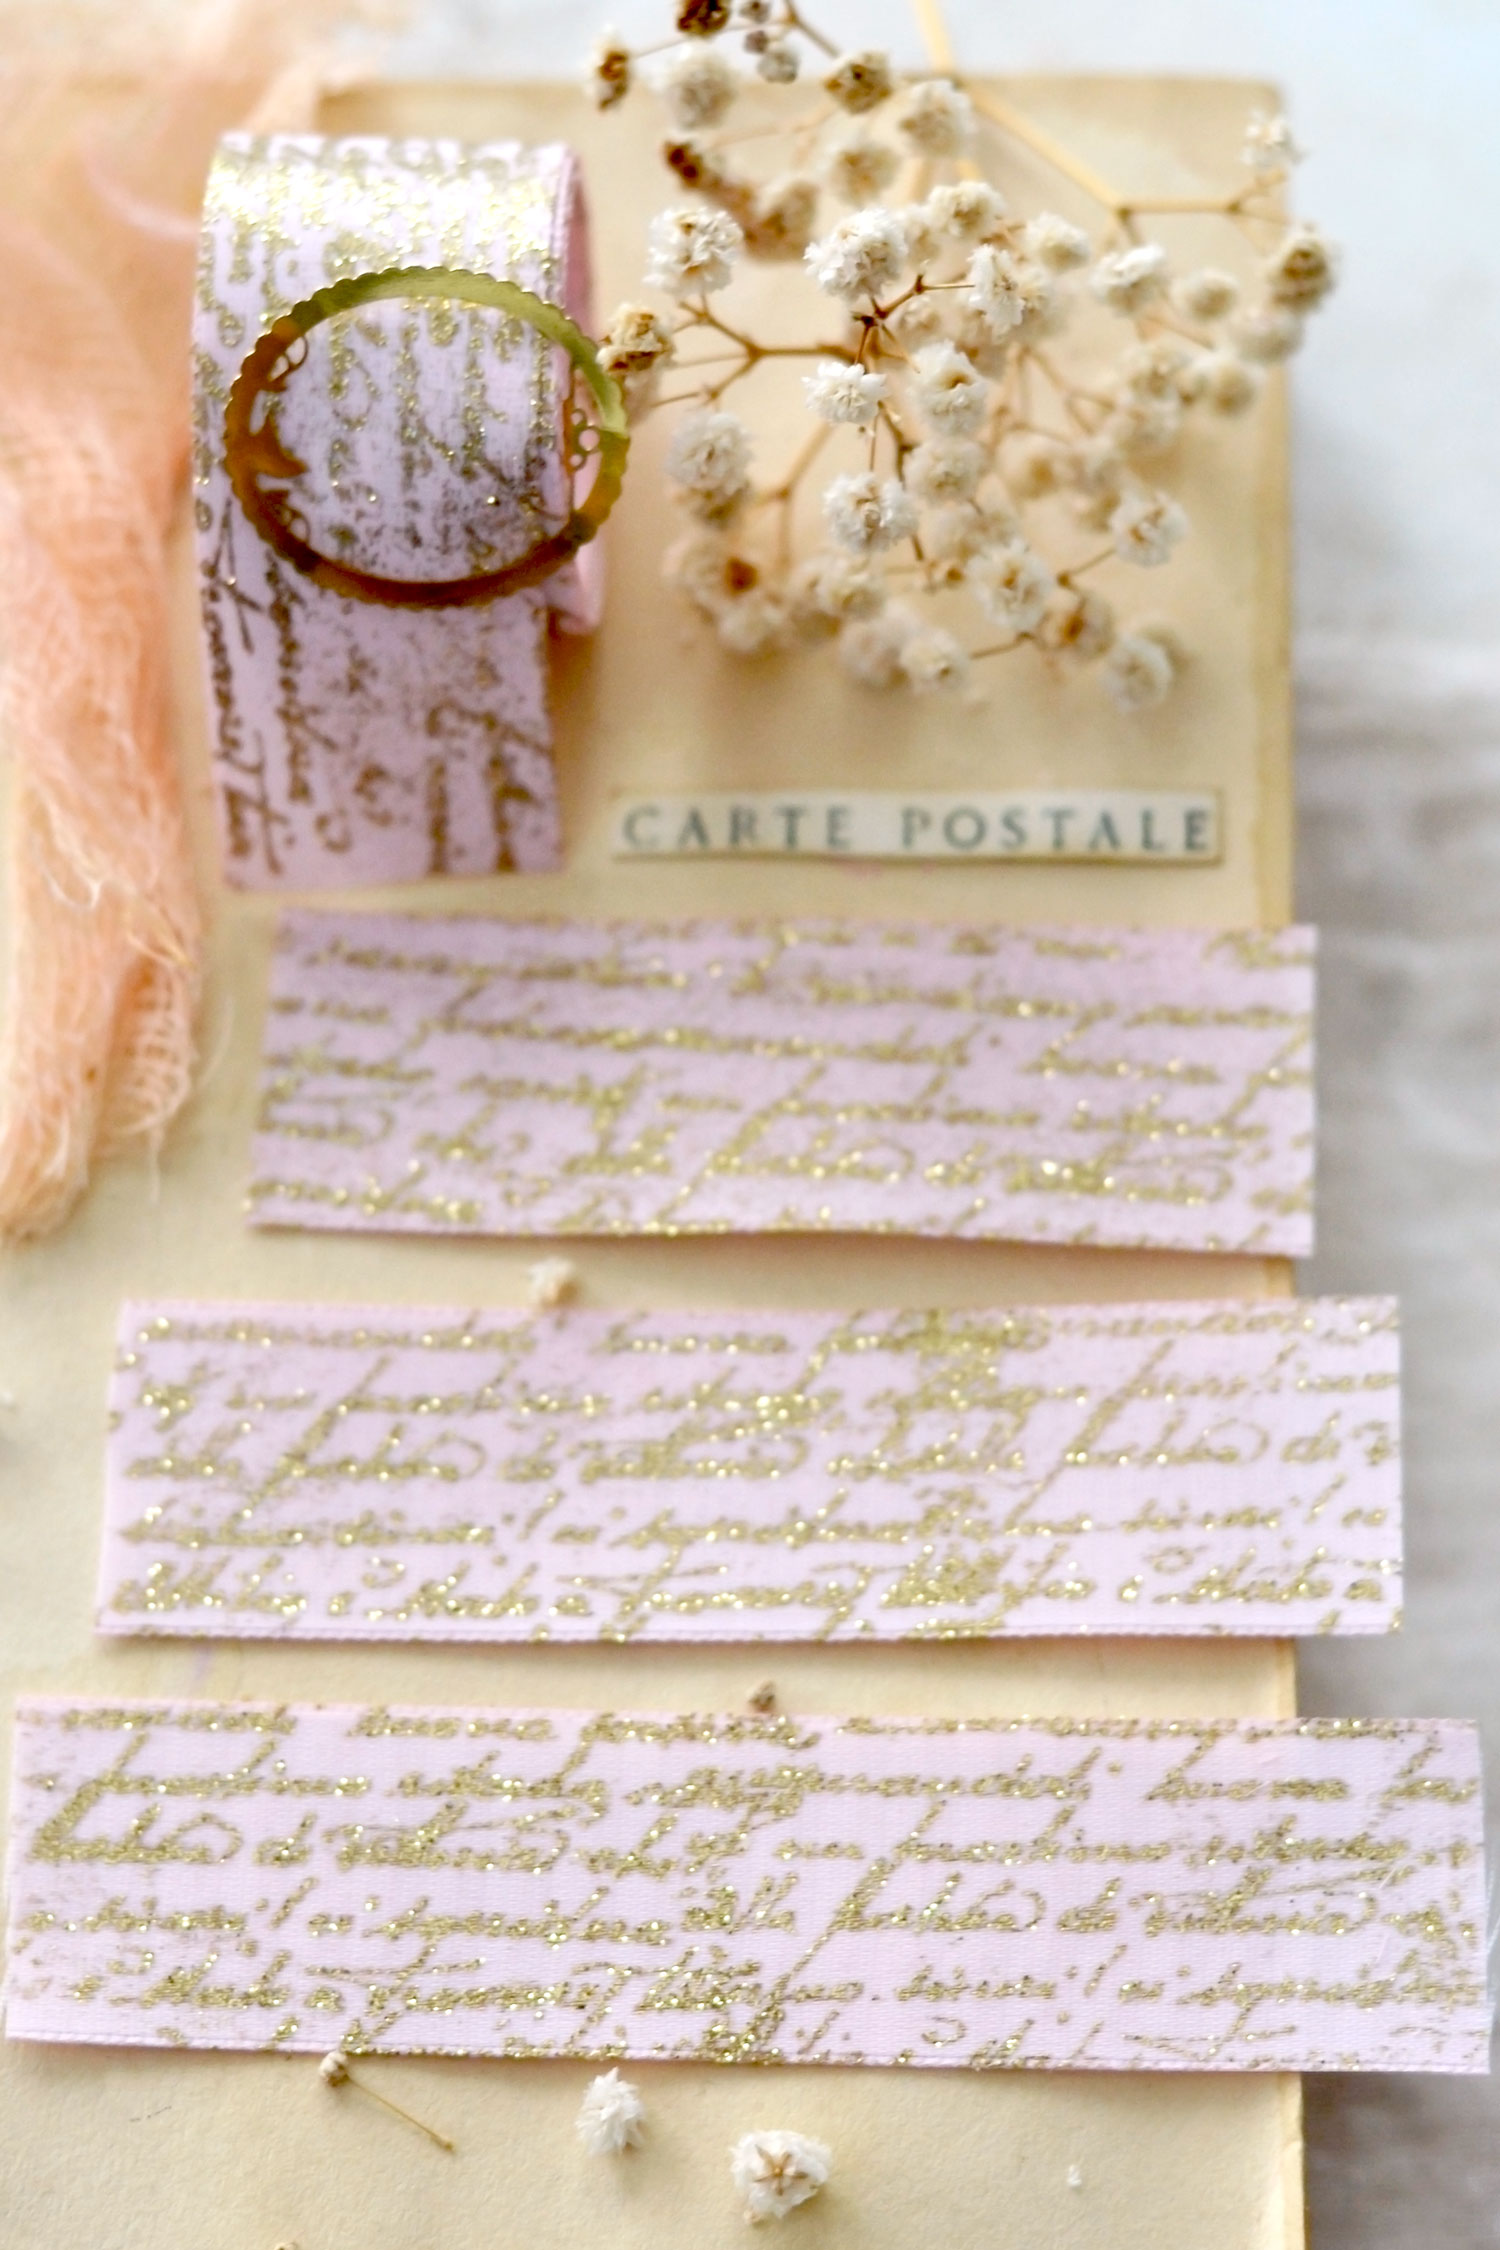
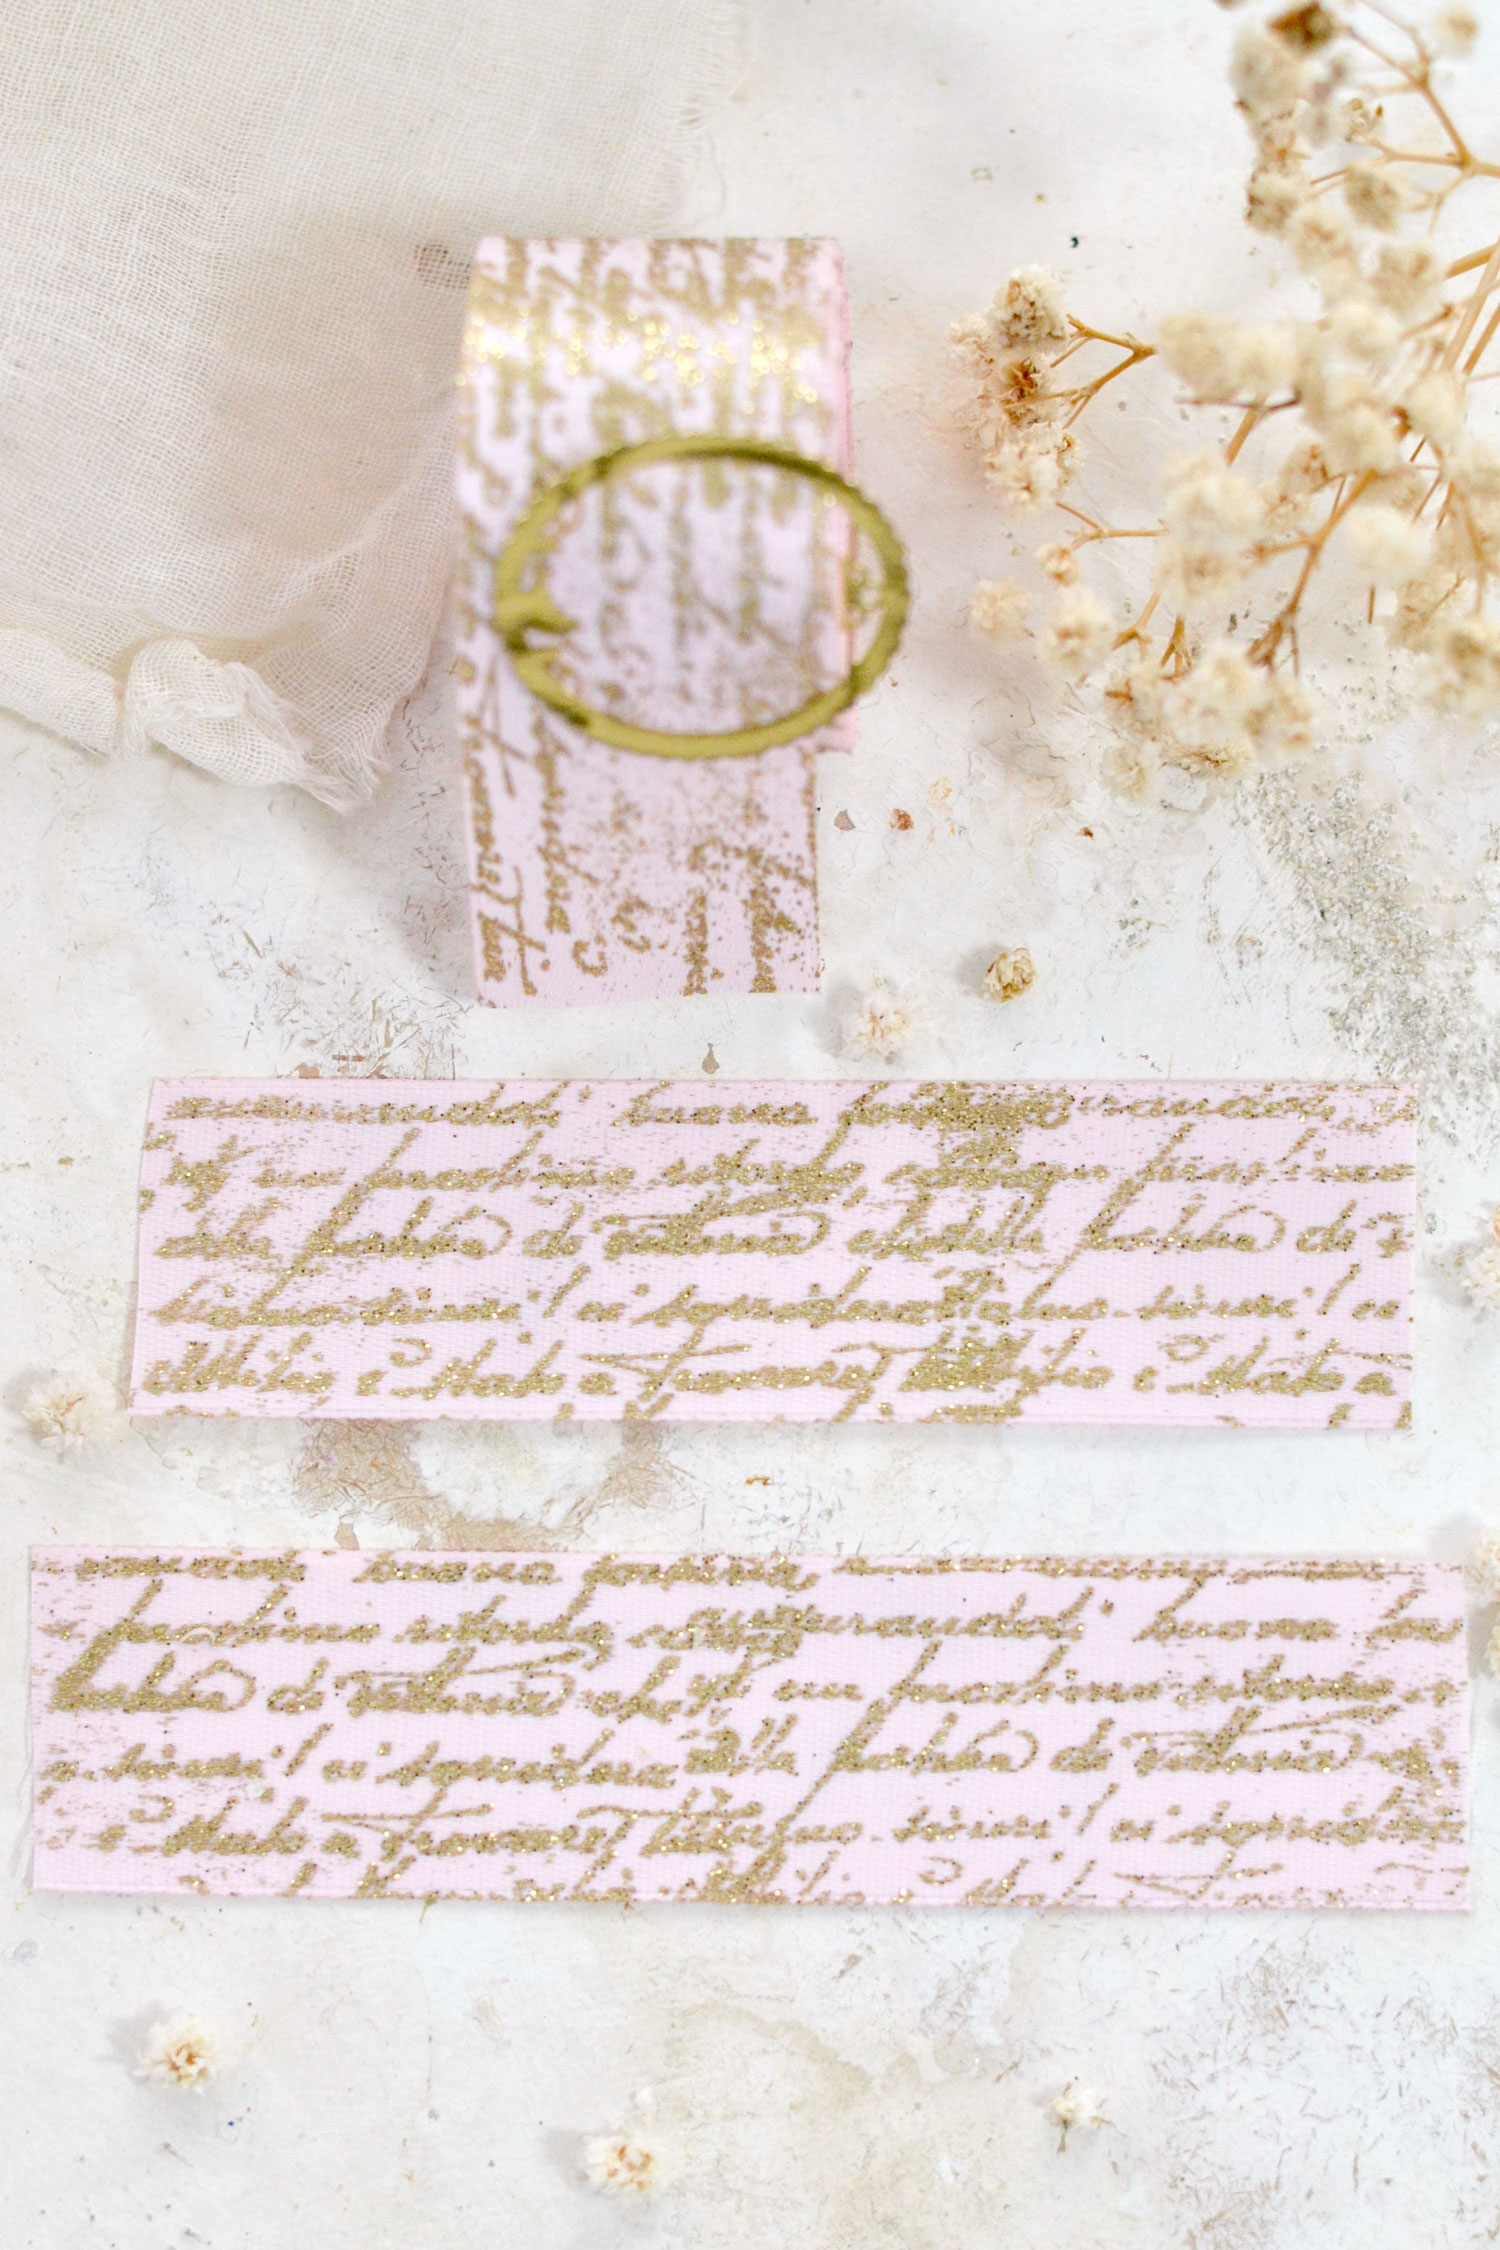
You can keep the glitter embossed ribbon in a large roll until you are ready to use it or you can decide to cut it into smaller pieces, depending on your needs.
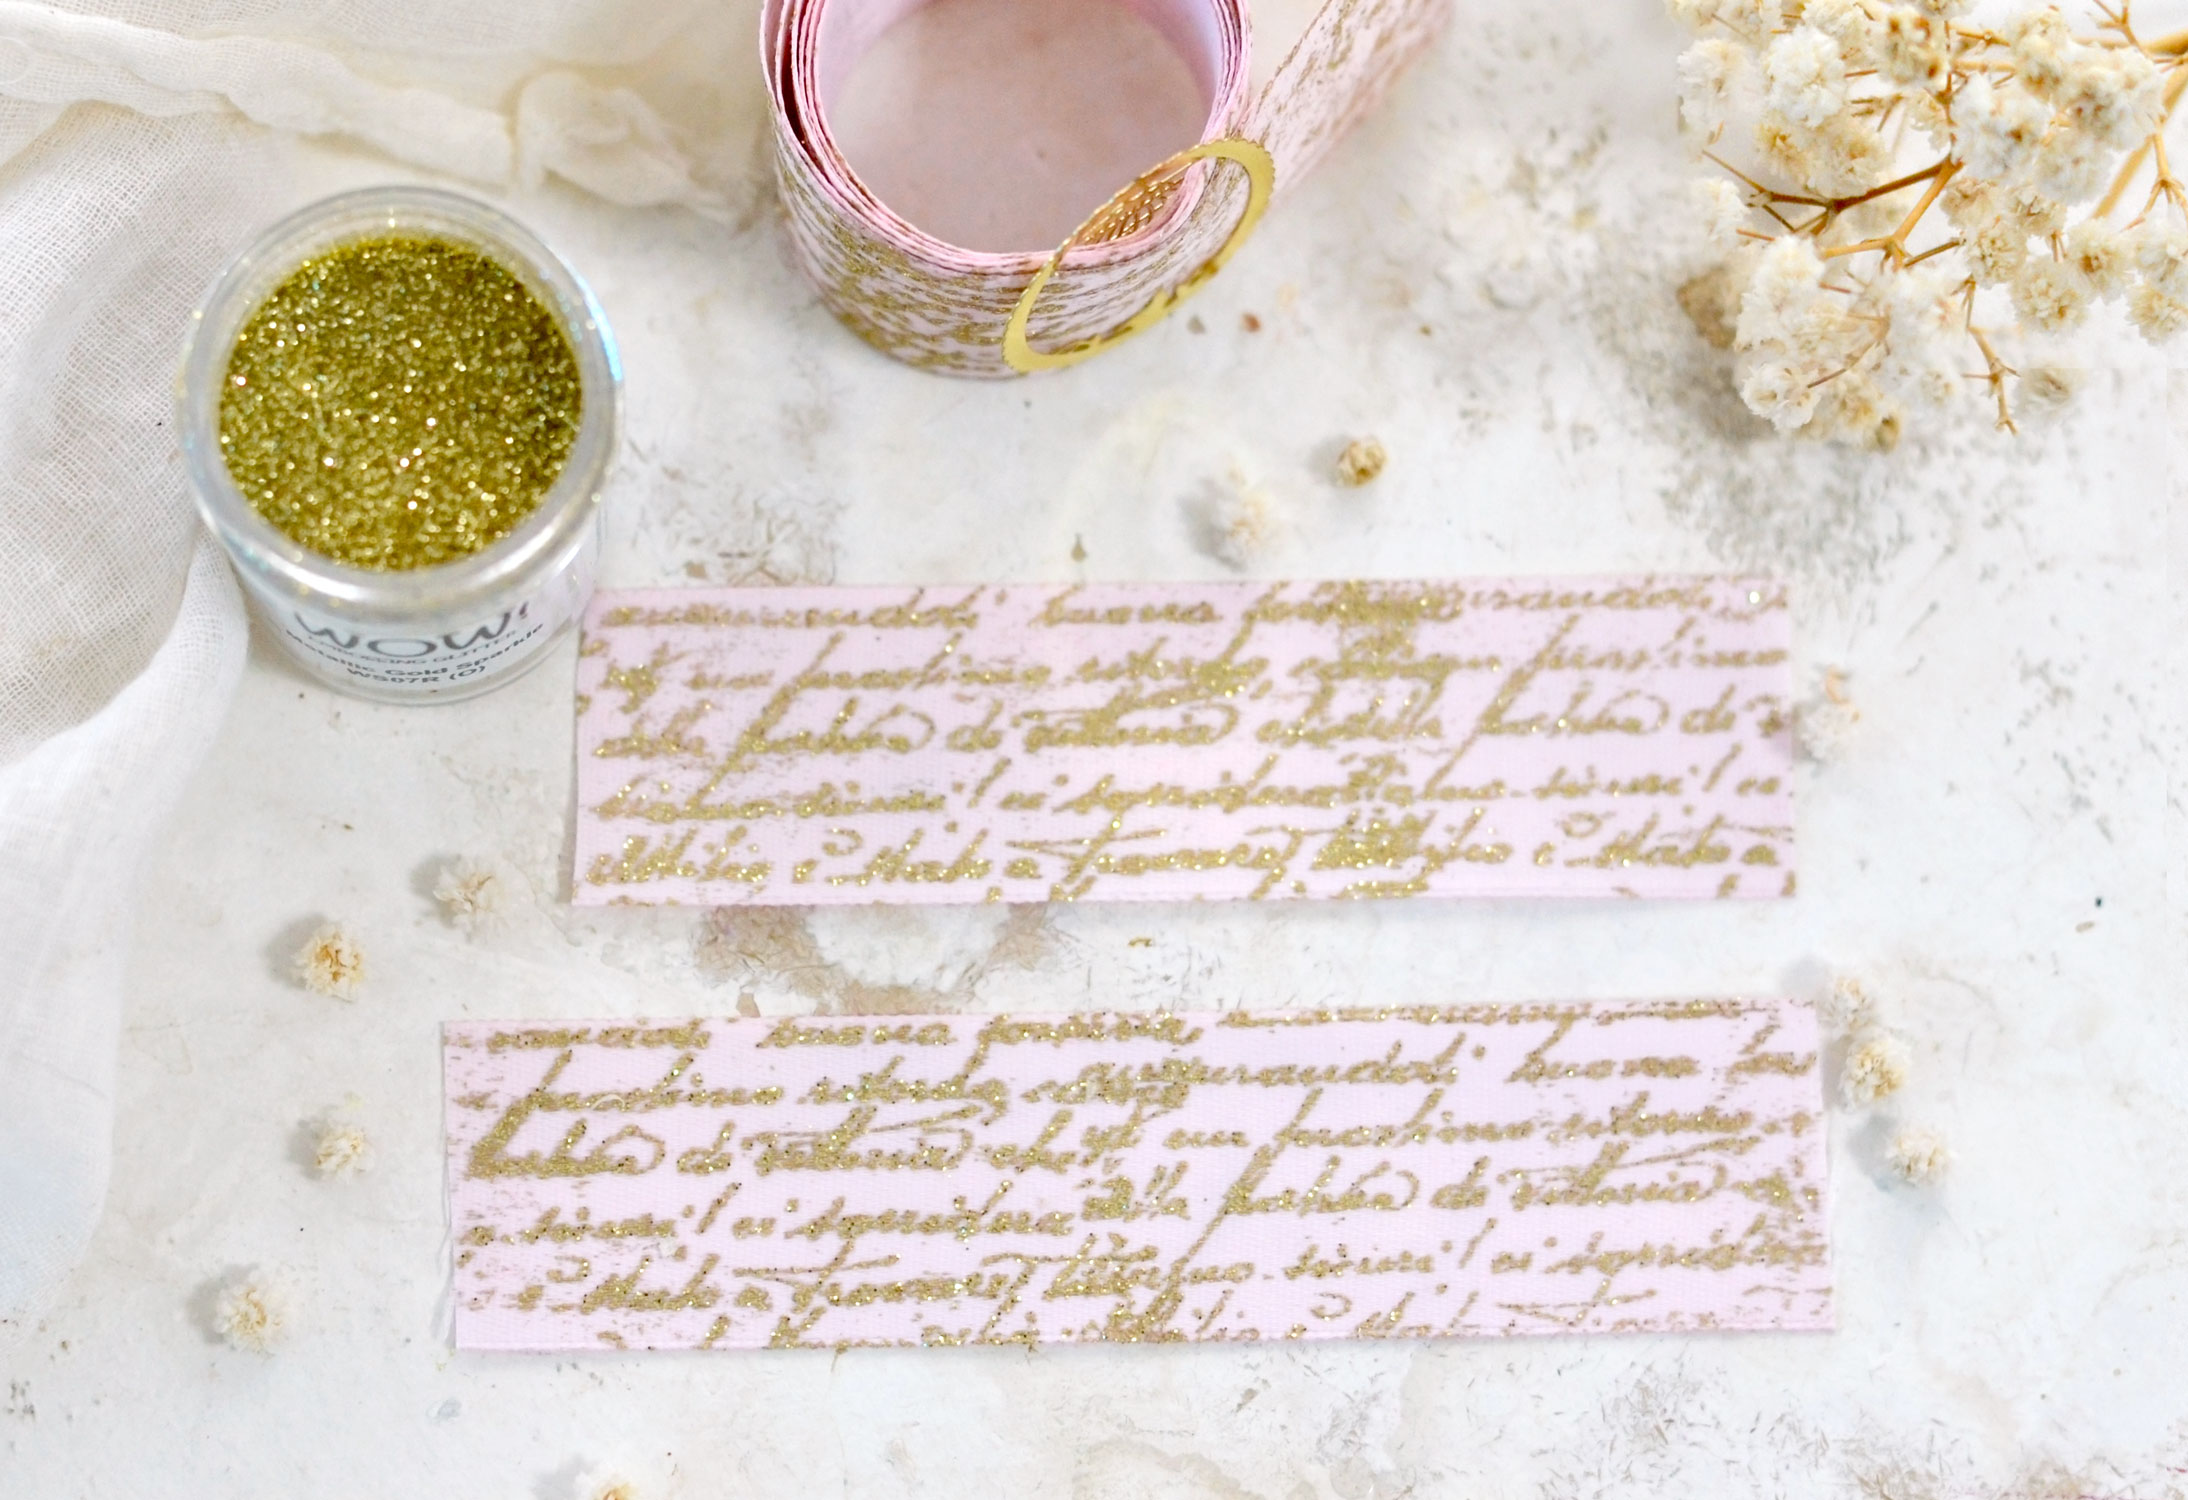
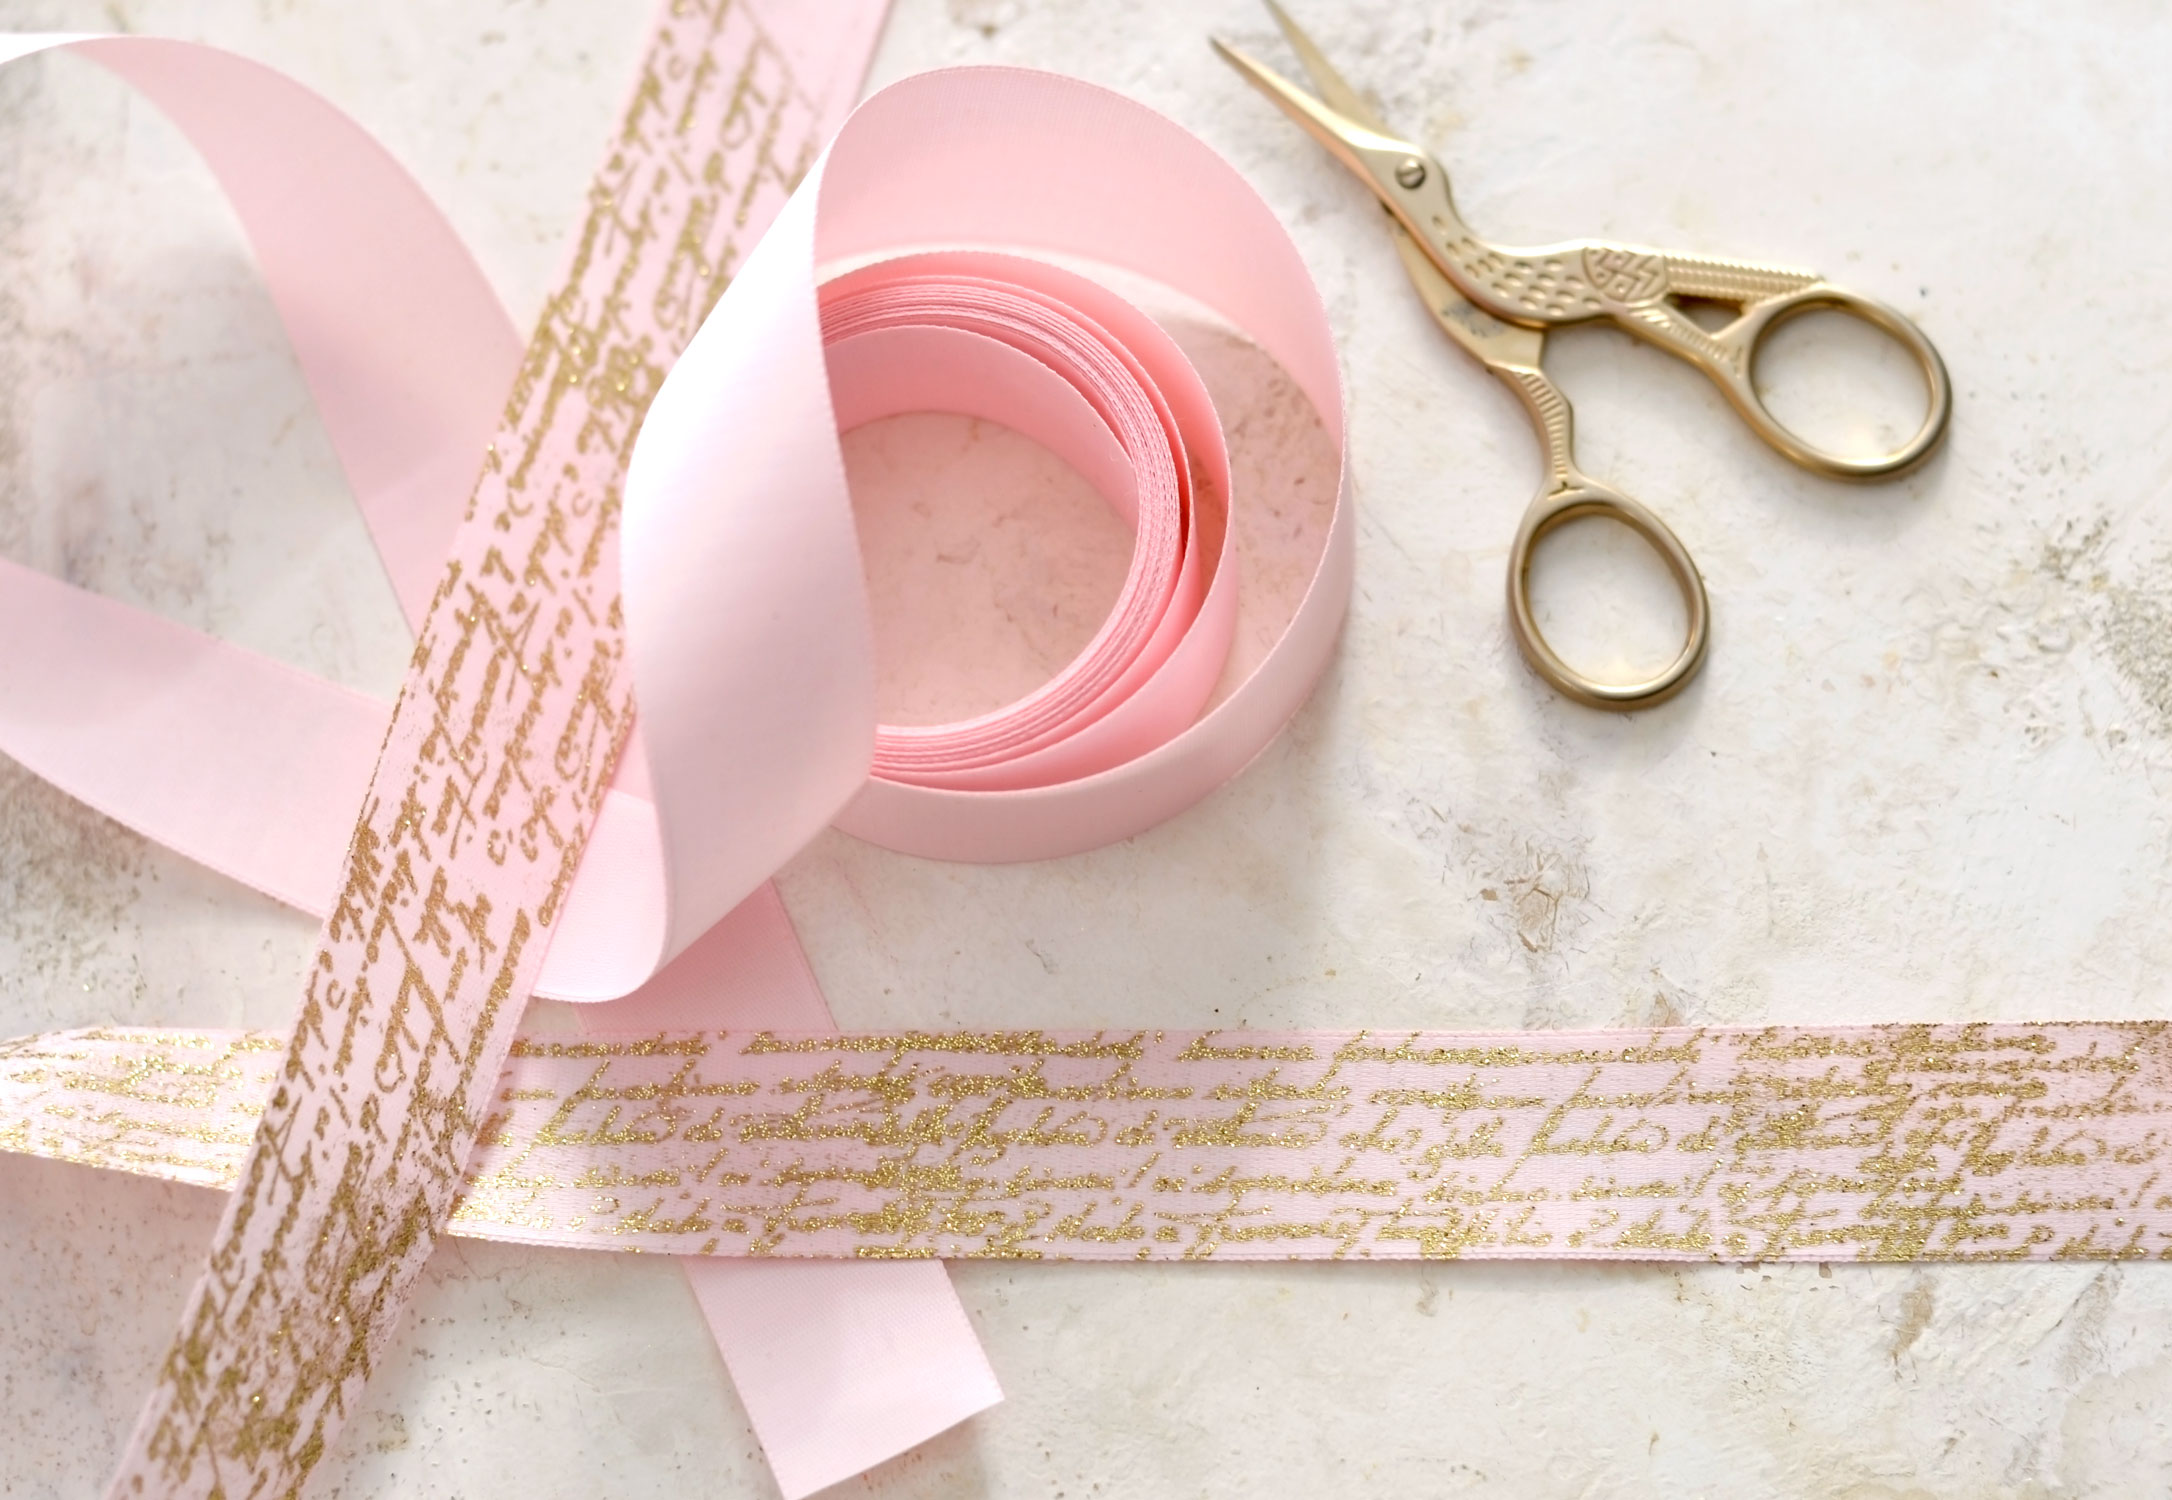
I was happy with the perfectly imperfect results I was able to achieve while heat embossing glitter and using one of my favorite script stamps! Some sections turned out better than others, depending on the stamp you will be using you might get even better results.
You can give this technique a try just for the sake of experimenting! Spend a fun afternoon using scrap pieces of ribbon and heat emboss them with glitter and your favorite stamps. Then find unique ways of including them in your creative projects – you can use them to embellish gifts, or you can include them in your junk journal. You can even use them to decorate vintage jars, bottles or other small recipients that you have around, then use them as flower vases in your home! The heat-embossed ribbon can also be used as a super chic bookmark, can be attached to dream catchers, and can even be turned into ribbon garlands or ribbon flowers!
 I hope you enjoyed making your own DIY Decorative Ribbon! You might also like How to Wrap Flowers in Brown Paper you can add some of this pretty ribbon as well!
Happy crafting,
Diana / Dreams Factory



Bonnie Cooper says
Thank you! what an awesome idea, and I have so many stamps and different embossing powders and I never thought of this..All while always wishing I could customize ribbons sometimes, haha. Perfect, I am helping with a Bridal shower with a slight Alice in wonderland theme.. I think I will try writing with an embossing pen on some ribbon, and see if that works. ( Something like ‘we’re all mad here’) You’ve totally inspired me. Thanks again, the ribbon is lovely!
Karen Watson says
Hi Bonnie, I’m so glad you enjoyed Diana’s project. I think customized ribbon would be wonderful for a bridal shower!!
Jan Kinman says
Absolutely Beautiful!! Thank you for ALL your wonderful tips, projects, tricks & free prints! You are the Bestest!
Karen Watson says
Isn’t this one so super pretty Jan?! Have fun making your own Decorative Ribbon from Diana’s tutorial.