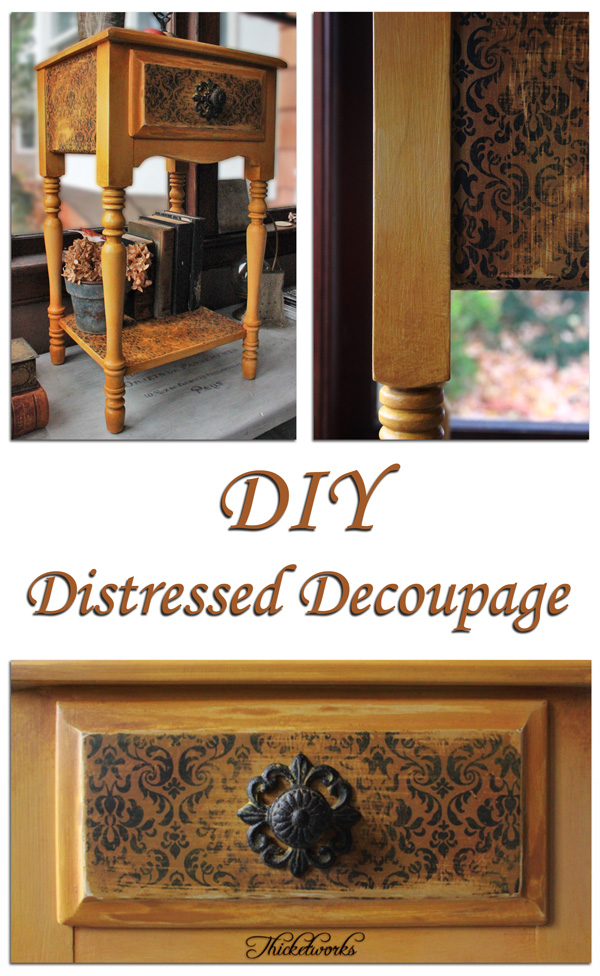
Hello, fellow DIYers – Heather from Thicketworks here with a fun technique to add the beauty of Distressed Decoupage to your furniture projects!
Here in the Northern Hemisphere, November is a time of decreasing sunlight and colder temperatures. One way to capture a bit of that fleeting autumnal gold is to give it place of honor in your home decor…
This post is sponsored by the creative folks over at Heirloom Traditions.
In order to replicate this look, you’ll need the following supplies:
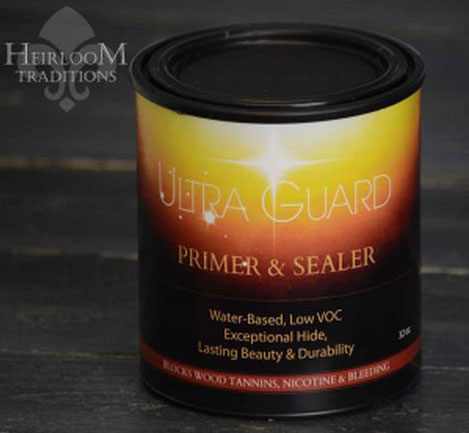
- Heirloom Traditions Ultra Guard Primer & Sealer
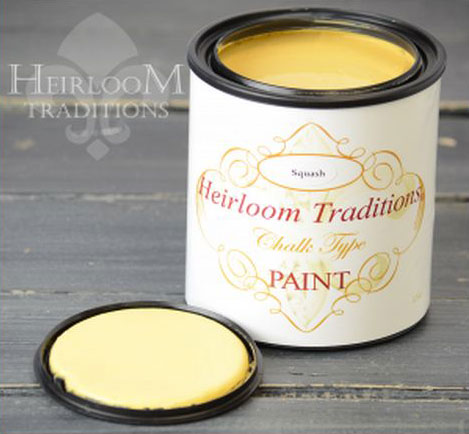
- Heirloom Traditions Chalk Type Paint in Squash
- Heirloom Traditions Chalk Type Paint in Kingdom Gold
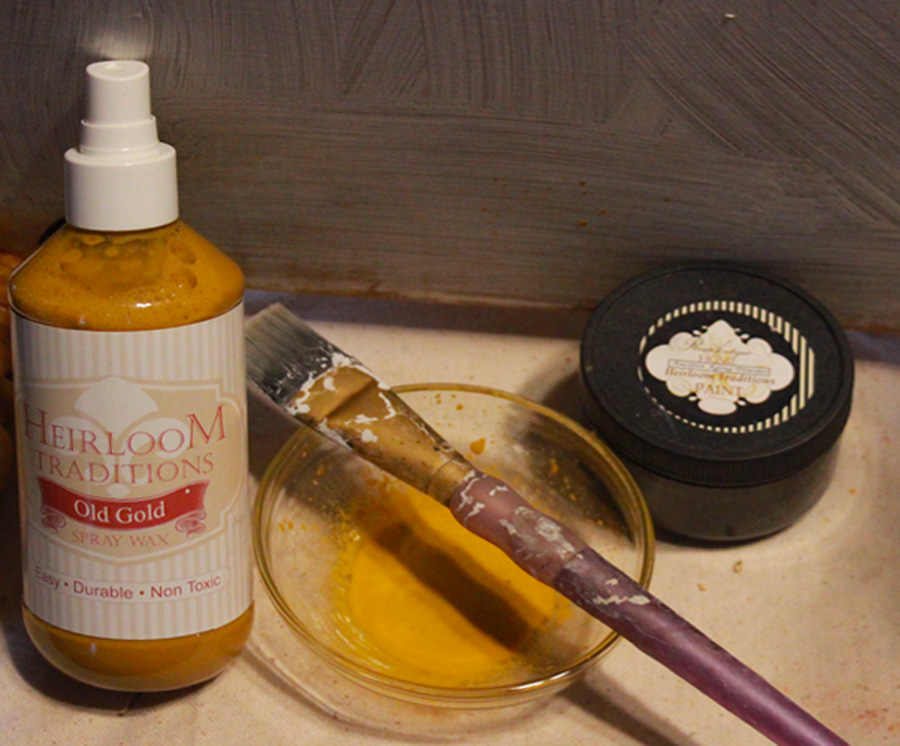
- Heirloom Traditions Old Gold Spray Wax
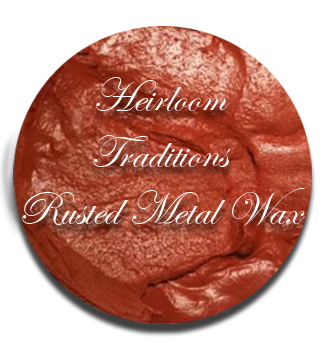
- Heirloom Traditions Rusted Metal Soft Wax
- Heirloom Traditions Ancient Aging Powder
- Medium Oval Paint & Wax Brush (Best Chalk Brush)
- Clean rags to wipe back the color washes, and to burnish the waxed surface
- A smooth bristled paint brush
- A medium sized artists paint brush
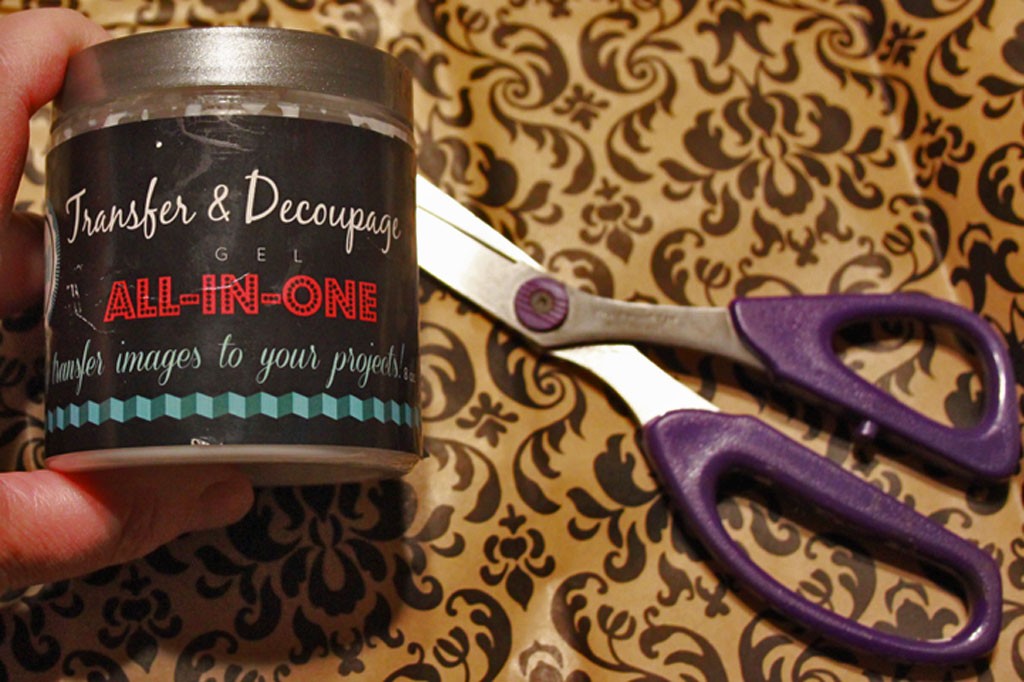
- Patterned tissue paper (I got mine at Hobby Lobby)
- Scissors
- A rubber brayer or Bondo Spreader to smooth the tissue paper
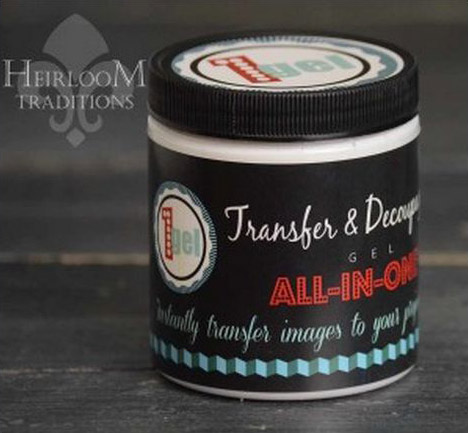
- Heirloom Traditions 1Gel Instant Transfer Medium & Decoupage
- Sandpaper in coarse & fine grits
- Optional: Fine gauge steel wool
- A decorative drawer pull (I got mine at Hobby Lobby)
- A protected work surface
1. To begin, clean the surface of your furniture with a damp rag.
If you are working on a piece that was previously stained, I recommend a coat of HTP Ultra Guard to seal and prime the surface. If the piece is already painted, you needn’t bother.
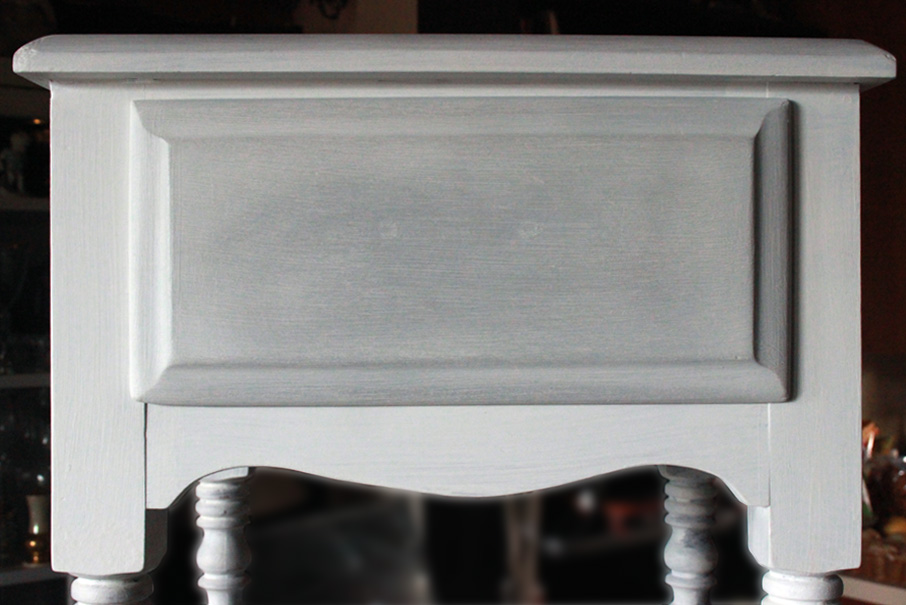
2. After priming, allow to dry and either sand the surface lightly, or smooth it with steel wool.
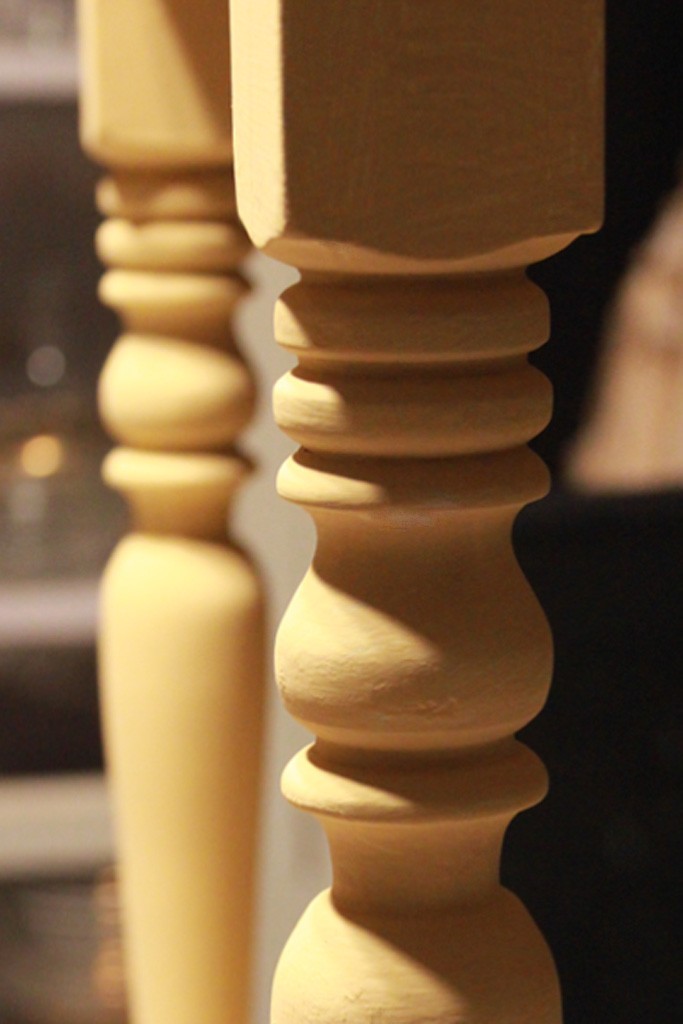
3. Apply one or two coats of HTP Chalk Type Paint in Squash:
4. Once the paint has dried, roughly cut the tissue paper into sections that are slightly larger than the surfaces to be decoupaged. Don’t try to trim the edges of the tissue paper to exact dimensions – we’ll take care of that in just a bit.
5. Apply a generous coat of Heirloom Traditions 1Gel Transfer & Decoupage Medium to the surface where the tissue will be applied with a smooth brush.
6. Carefully place the tissue paper onto the wet surface and smooth it out. I used both a rubber brayer and a Bondo spreader to remove wrinkles and ensure good contact. It’s important to apply gentle pressure in order not to tear the tissue.
Note: Don’t worry about any paper that overhangs the edges of your chosen surface. Allow this to dry thoroughly. Overnight is best.
7. Once the tissue/1Gel layers have cured, trim the paper by sanding carefully along the chosen edges. This will perfectly blend the layer of paper into the surface of the wood, and make for a seamlessly smooth surface at the final stage.
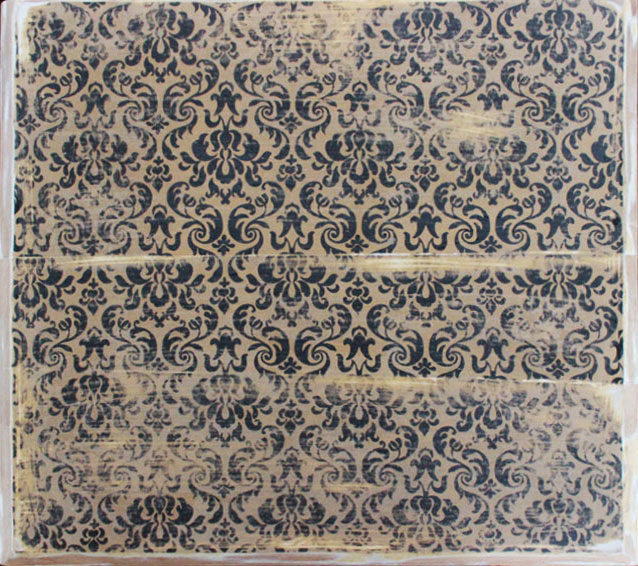
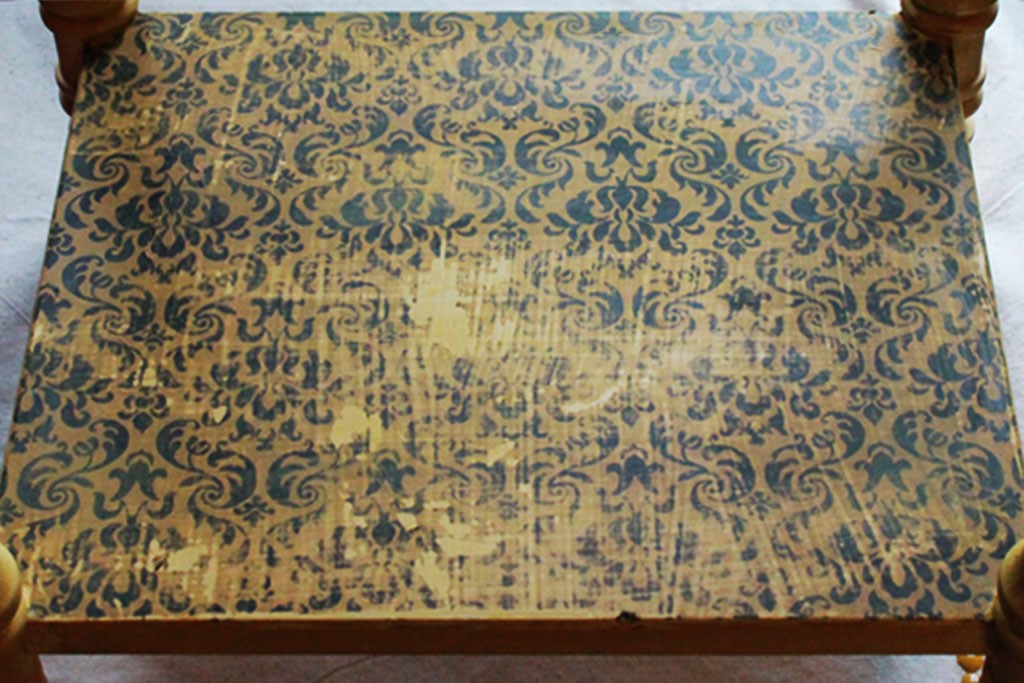
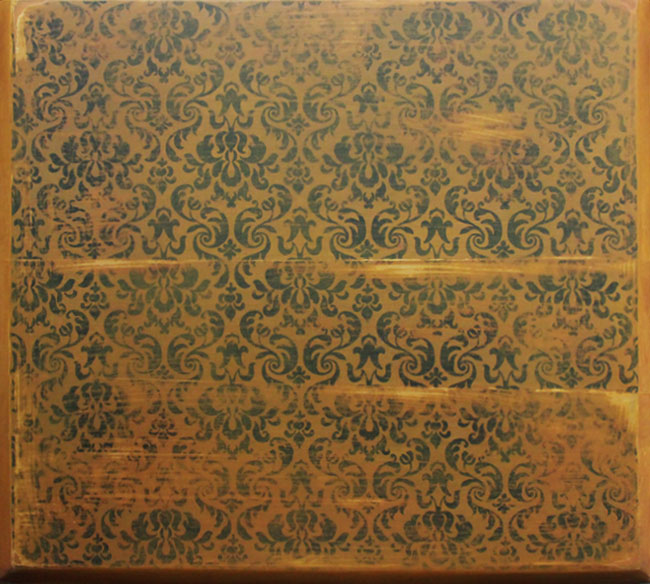
8. Distress the surface of the paper with coarse grit sandpaper, creating variation in the intensity of the patterning. Concentrate on areas that would have received extra handling over the ages. This process also primes the paper to accept deeper intensity of color in the upcoming steps…
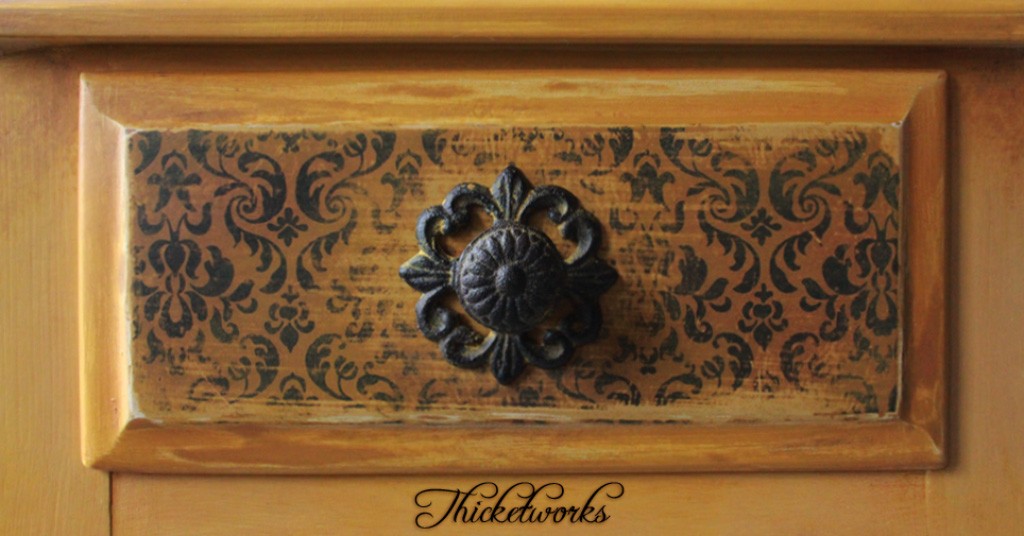
9. You can see that the drawer-front was sanded back to bare wood in places. This will help to ‘sell’ our antiqued finish in the long run.
Try to create weathering patterns that reflect long years of usage:
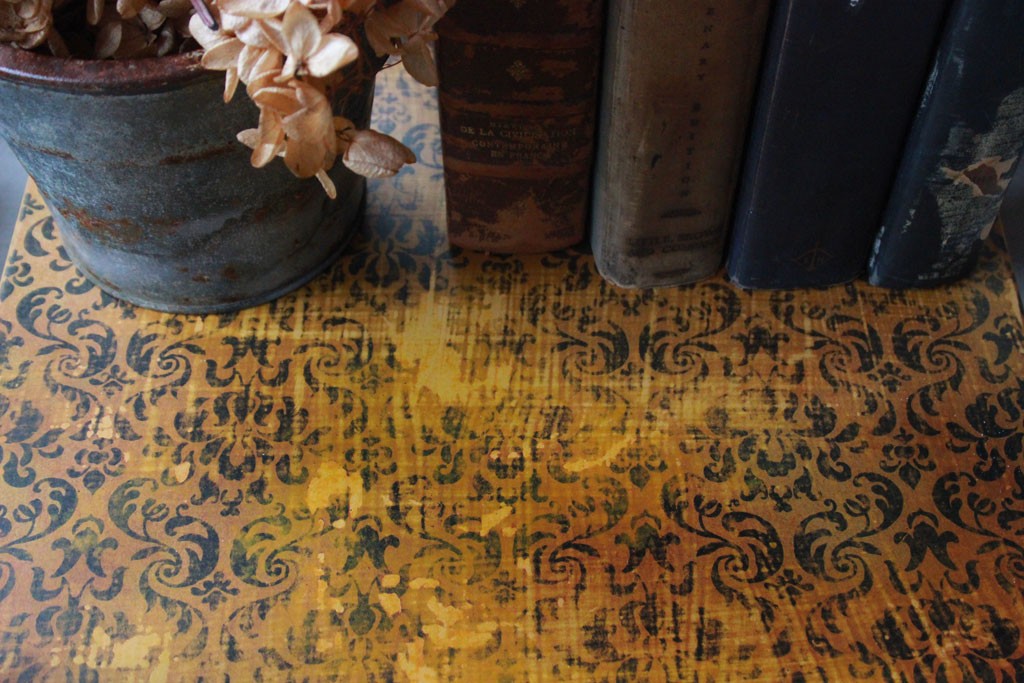
The tabletop receives extra attention in order to simulate generations of wear and tear:
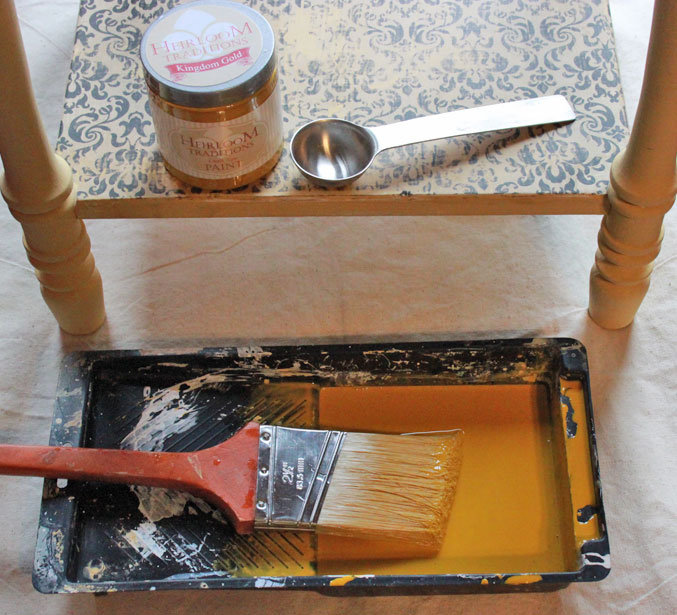
10. Now, it’s time to begin aging the piece with layers of color. Mix equal amounts of HTP Chalk Type Paint in Kingdom Gold and water. Mix thoroughly.
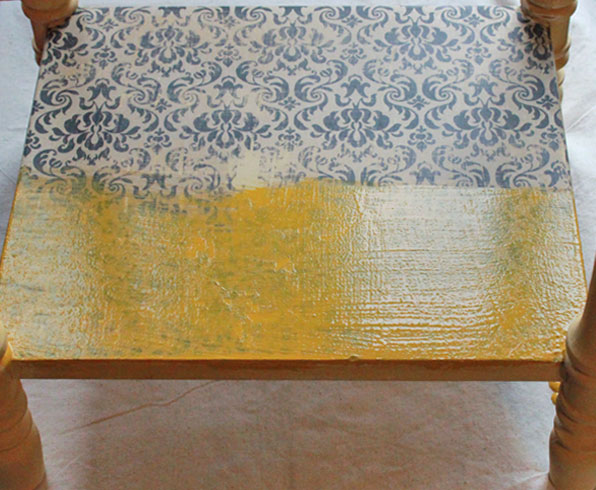
11. Be ready with some clean rags, and brush a generous layer of the color wash over the patterned paper. It will be runny, so work on a protected surface!
12. Wipe the surface to remove the majority of the paint, leaving a rich and varied tint to the paper:
13. Working in sections, paint the wash of deeper color over the entire piece. Wipe back before it dries, allowing the color to gather in the nooks & crannies. Rinse your rags as needed.
Stipple the darker color in the areas that would naturally have darkened over time:
14. Allow the first layer of wash to dry. Add as many layers as required to create the depth of color you desire.
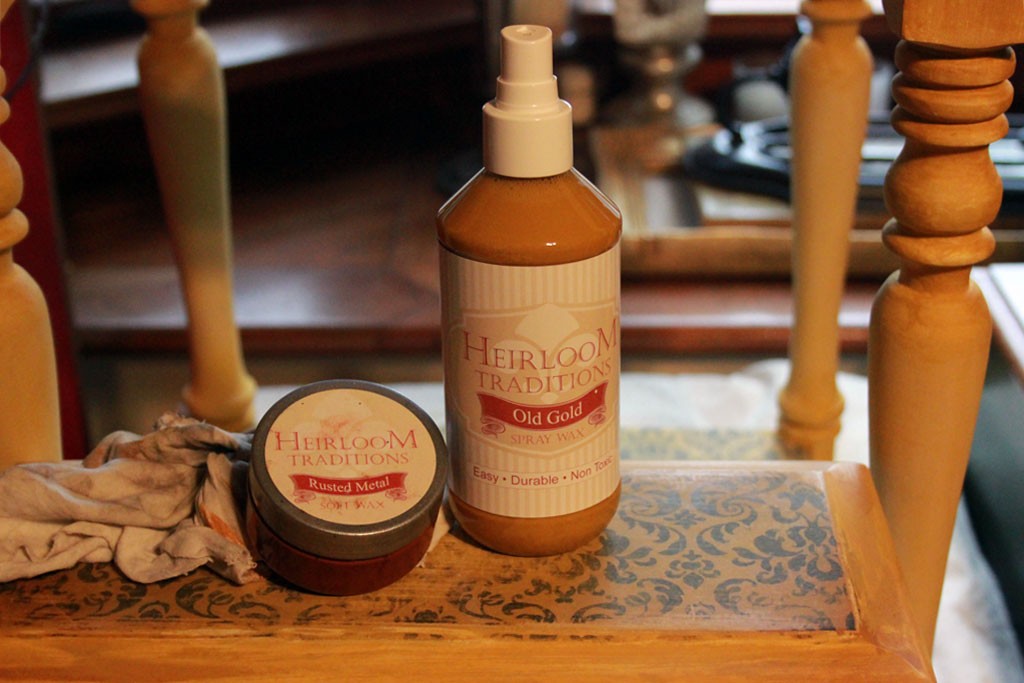
15. When all is dry, it’s time to add more depth and color with waxes. To begin, gather clean dry rags, the Old Gold Spray Wax, and the Rusted Metal Wax, along with your Best Chalk Brush and an ordinary artists brush.
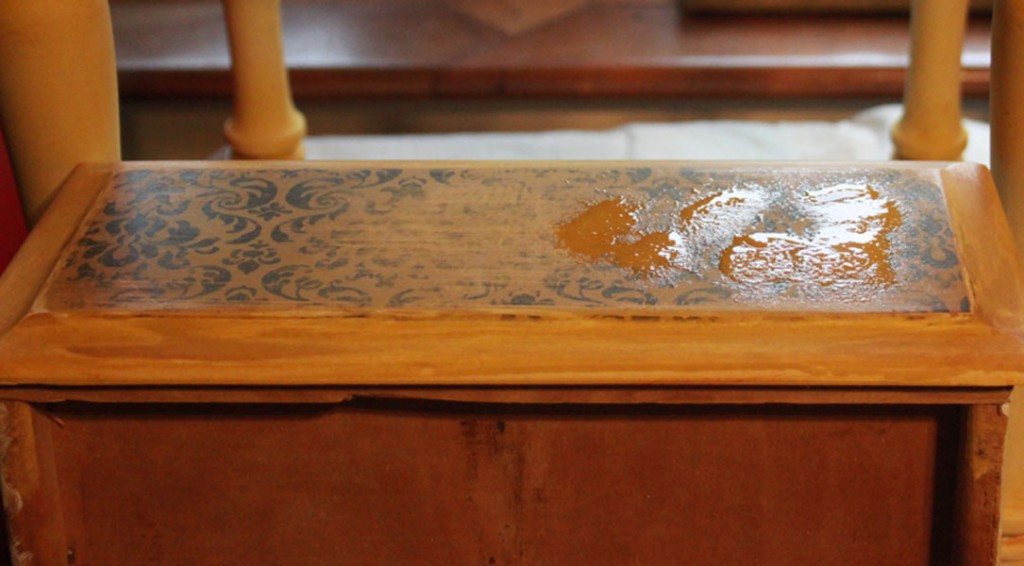
16. Spray the surface of the piece with the Spray Wax:
17. Smooth the Spray Wax with a brush, then wipe it back while still damp. This does not require the same kind of elbow grease that the solid waxes do. It also cleans up with water, making it a wonderful alternative to most solid furniture waxes.
18. Use the Best Chalk Brush loaded with HTP Rusted Metal Wax to add deeper intensity of color to selected areas of the piece. I concentrated on the nooks & crannies, and random areas of the patterned paper. Wipe back with rags to burnish the waxed surfaces.
19. To add even more character, moisten various parts of the piece with another coat of HTP Spray Wax using a small brush:
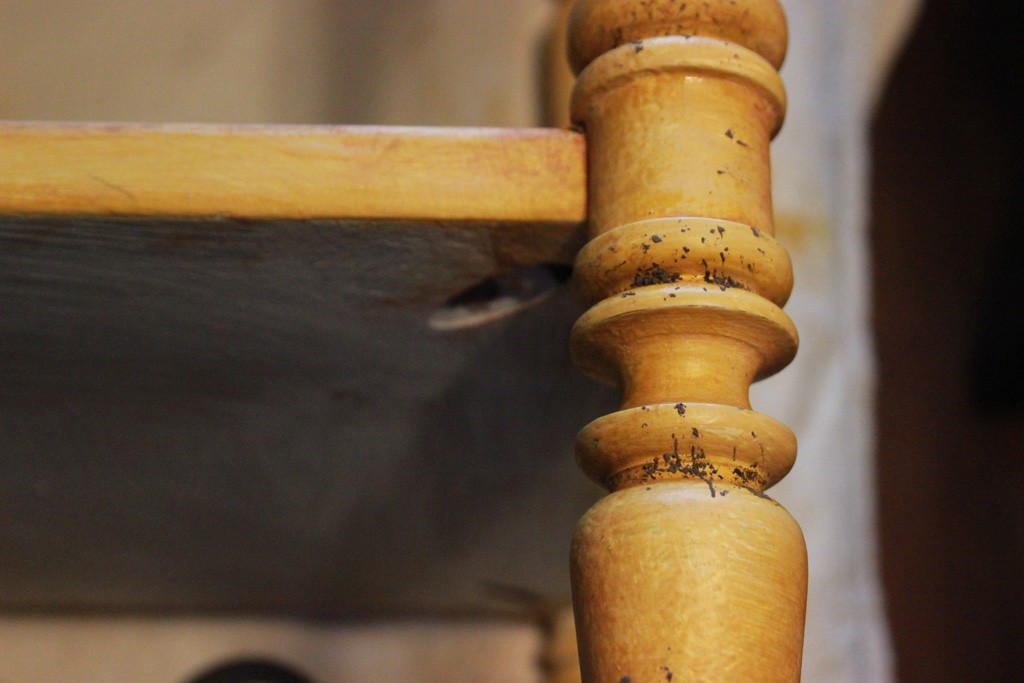
20. Sprinkle Ancient Aging Powder on the damp surface:
21. Work the pigment into the surface with a brush.
22. Wipe away the excess with rags, then burnish.
23. Install a drawer pull. This one (from Hobby Lobby)was coated with HTP Kingdom Gold, then wiped back.
24. Coat the tabletop with a layer of HTP 1Gel for extra protection. It will dry quickly, leaving a smooth satin finish.
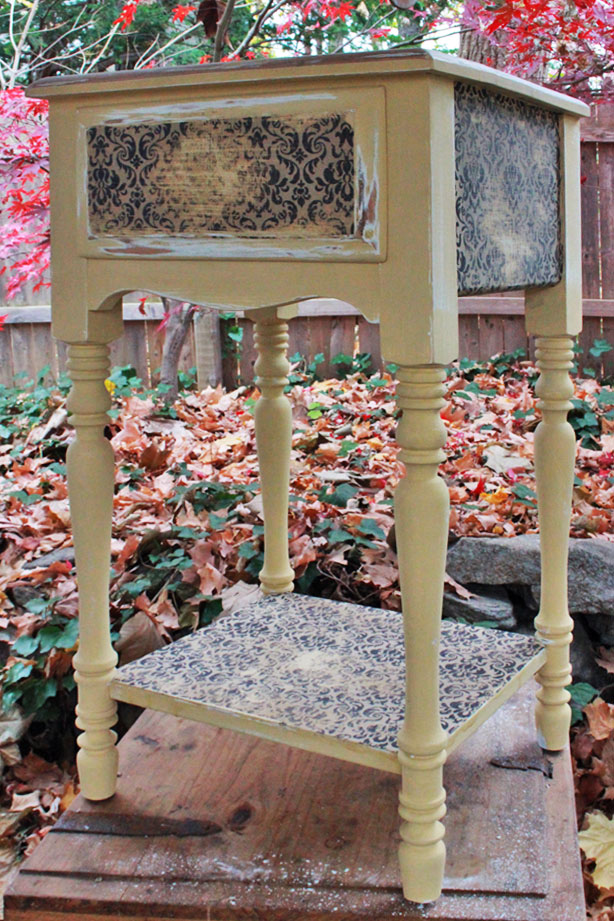
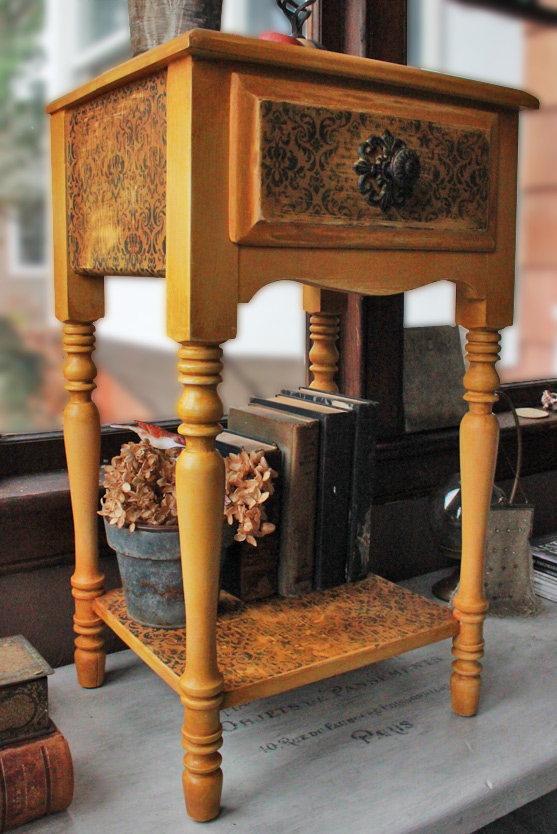
You’re finished! Enjoy your one-of-a-kind treasure…
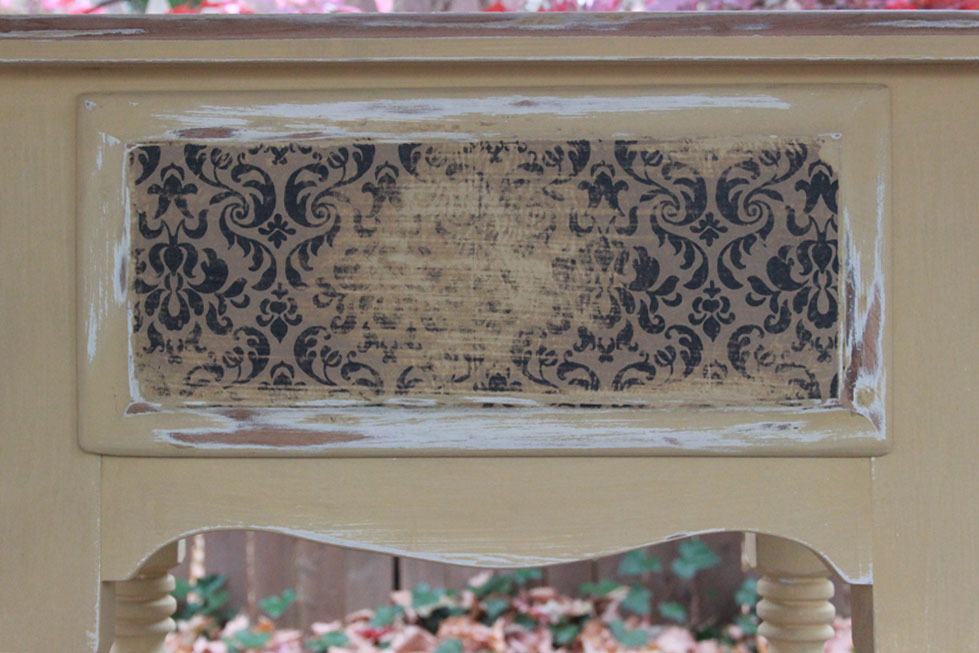
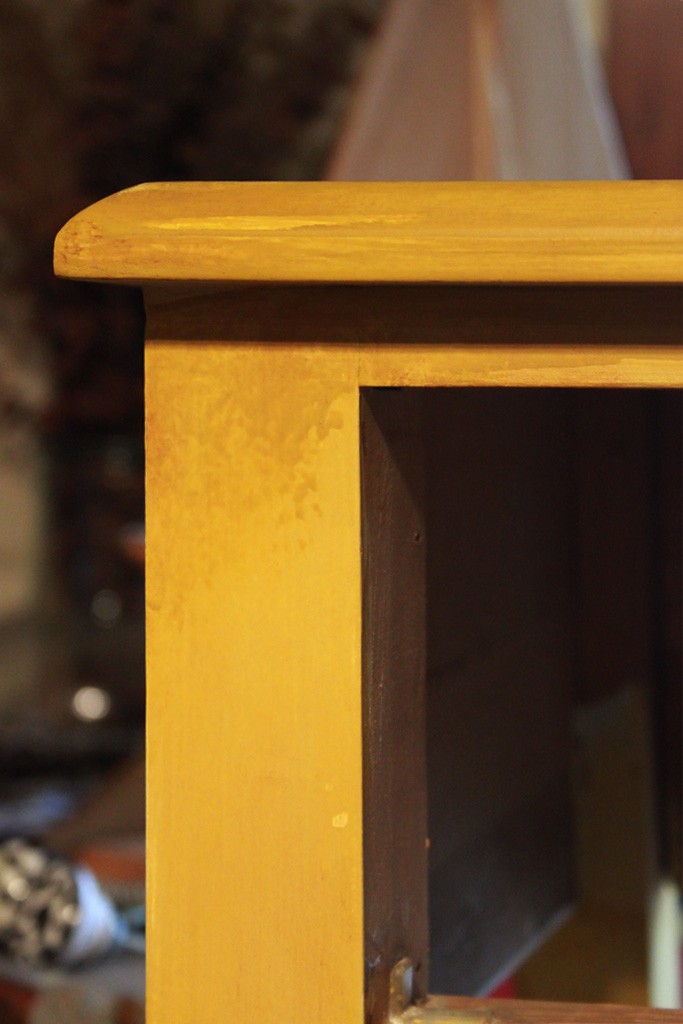
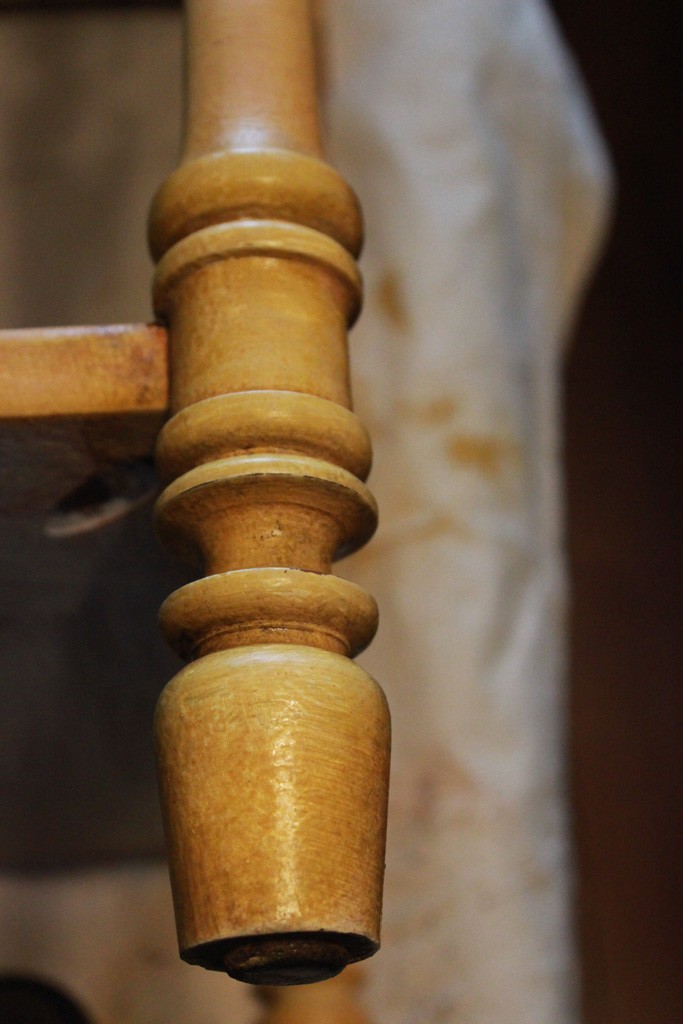
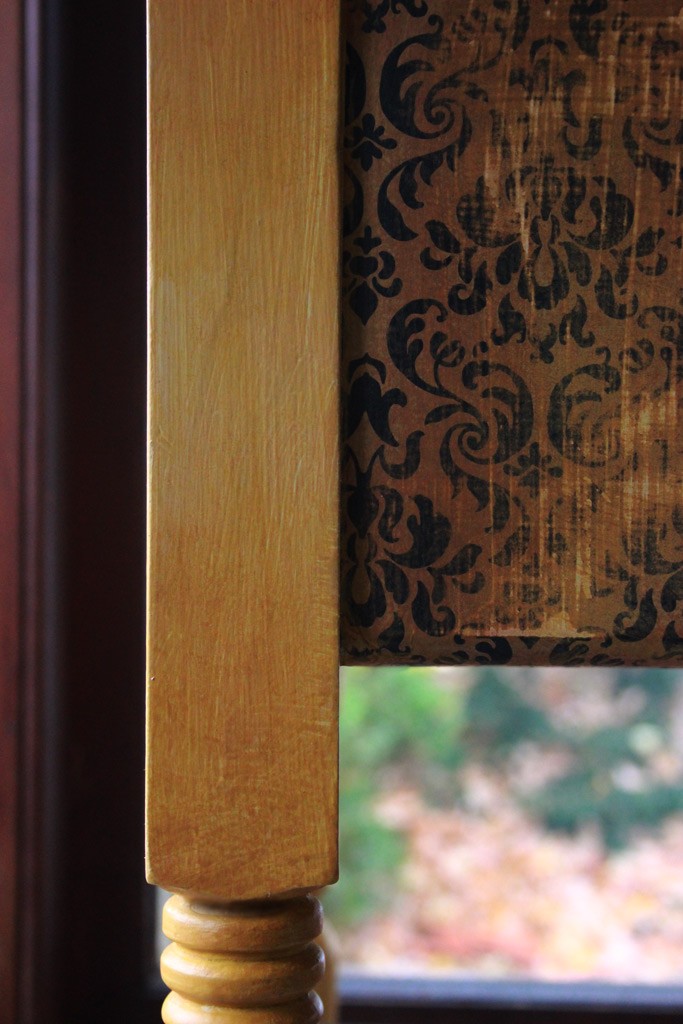
I love the mellow glow that this treatment creates:
For more information on Heirloom Traditions Products, please visit www.heirloomtraditionspaint.com
*Full Disclosure: Heirloom Traditions supplied their products to be used in this project, and they sponsored this post – however, I supplied the elbow grease, rescued furniture, design concept, and opinions! All of which reflect my own point of view, regardless of affiliation…
Thanks for joining me for this tribute to the golden hues of autumn, and the charm of timeworn surfaces!
If you crave the depth of weathered finishes and the glamor of grunge, stop by Thicketworks to add more techniques to your artistic arsenal! You’re always welcome there!
Take Care,
Heather


Denise says
OMG, this is gorgeous! I want to try this on my grandfather’s old trunk~it’s in terrible shape on the outside, though the inside still has its original lining. The outside is painted a bright yellow and the straps are painted shiny black, ugh. I think my Mom did that~~Mom how could you?!
Heather Tracy says
Hi Denise – sounds like you have a real treasure there! I had to laugh when you described how it was ‘transformed’ by your Mom…I think we can all relate to those not-so-awesome design choices by our parents! I hope you try this method – I love the way it brightens up our old cast-offs!
Monica W says
I LOVE it! I didn’t realize how much work went into creating a piece like this, but it was worth it.
Heather says
Hi Monica – thank you so much for your lovely comment! It wasn’t really that much work – just several processes, layered one over the other. My biggest challenge is knowing when to STOP! : )
GFLambert says
I love her stuff. Went to her website, she is so talented and creative.
Karen Watson says
I’m so glad you stopped by her blog, she really is so talented!!
gabrielle says
Wonderful detailed tutorial and fabulous end product! I was not aware of spray waxes (this could be a great thing for me, as I smashed my dominant wrist 11 years ago and cannot put weight on that hand in the flexed position needed for sanding and waxing. I am sure there are others out there with arthritis, etc., that would find a spray wax much easier).
I love so many of the things you show along with the Graphic Fairy; I do have one small quibble that I do get that many North Americans would not notice: your tissue paper on the drawer front is upside down! If you look, you will realize it integrated in the design a fleur de lis – the lily, symbol of France – nodding upside down! Don’t forget to step back occasionally to look at how your project is coming together!
Heather says
Hi Gabrielle! Spray wax is definitely less taxing on the hands than solid waxes…I hope it makes it possible for you to seal your projects without sacrificing your hands.
re: the fleur de lis – I actually studied the design on this paper very carefully before ‘deciding’ which way was ‘up’. I then studiously made certain to orient it all the same way. Oops! Thank you for your keen eye!
lynn cockrell says
That is a really lovely little table redo. So glad you shared the photos and how you achieved the aged, golden patina!
Heather says
That’s so sweet of you, Lynn! This piece turned out to have a really sunny disposition : )