DIY Double-sided Envelopes
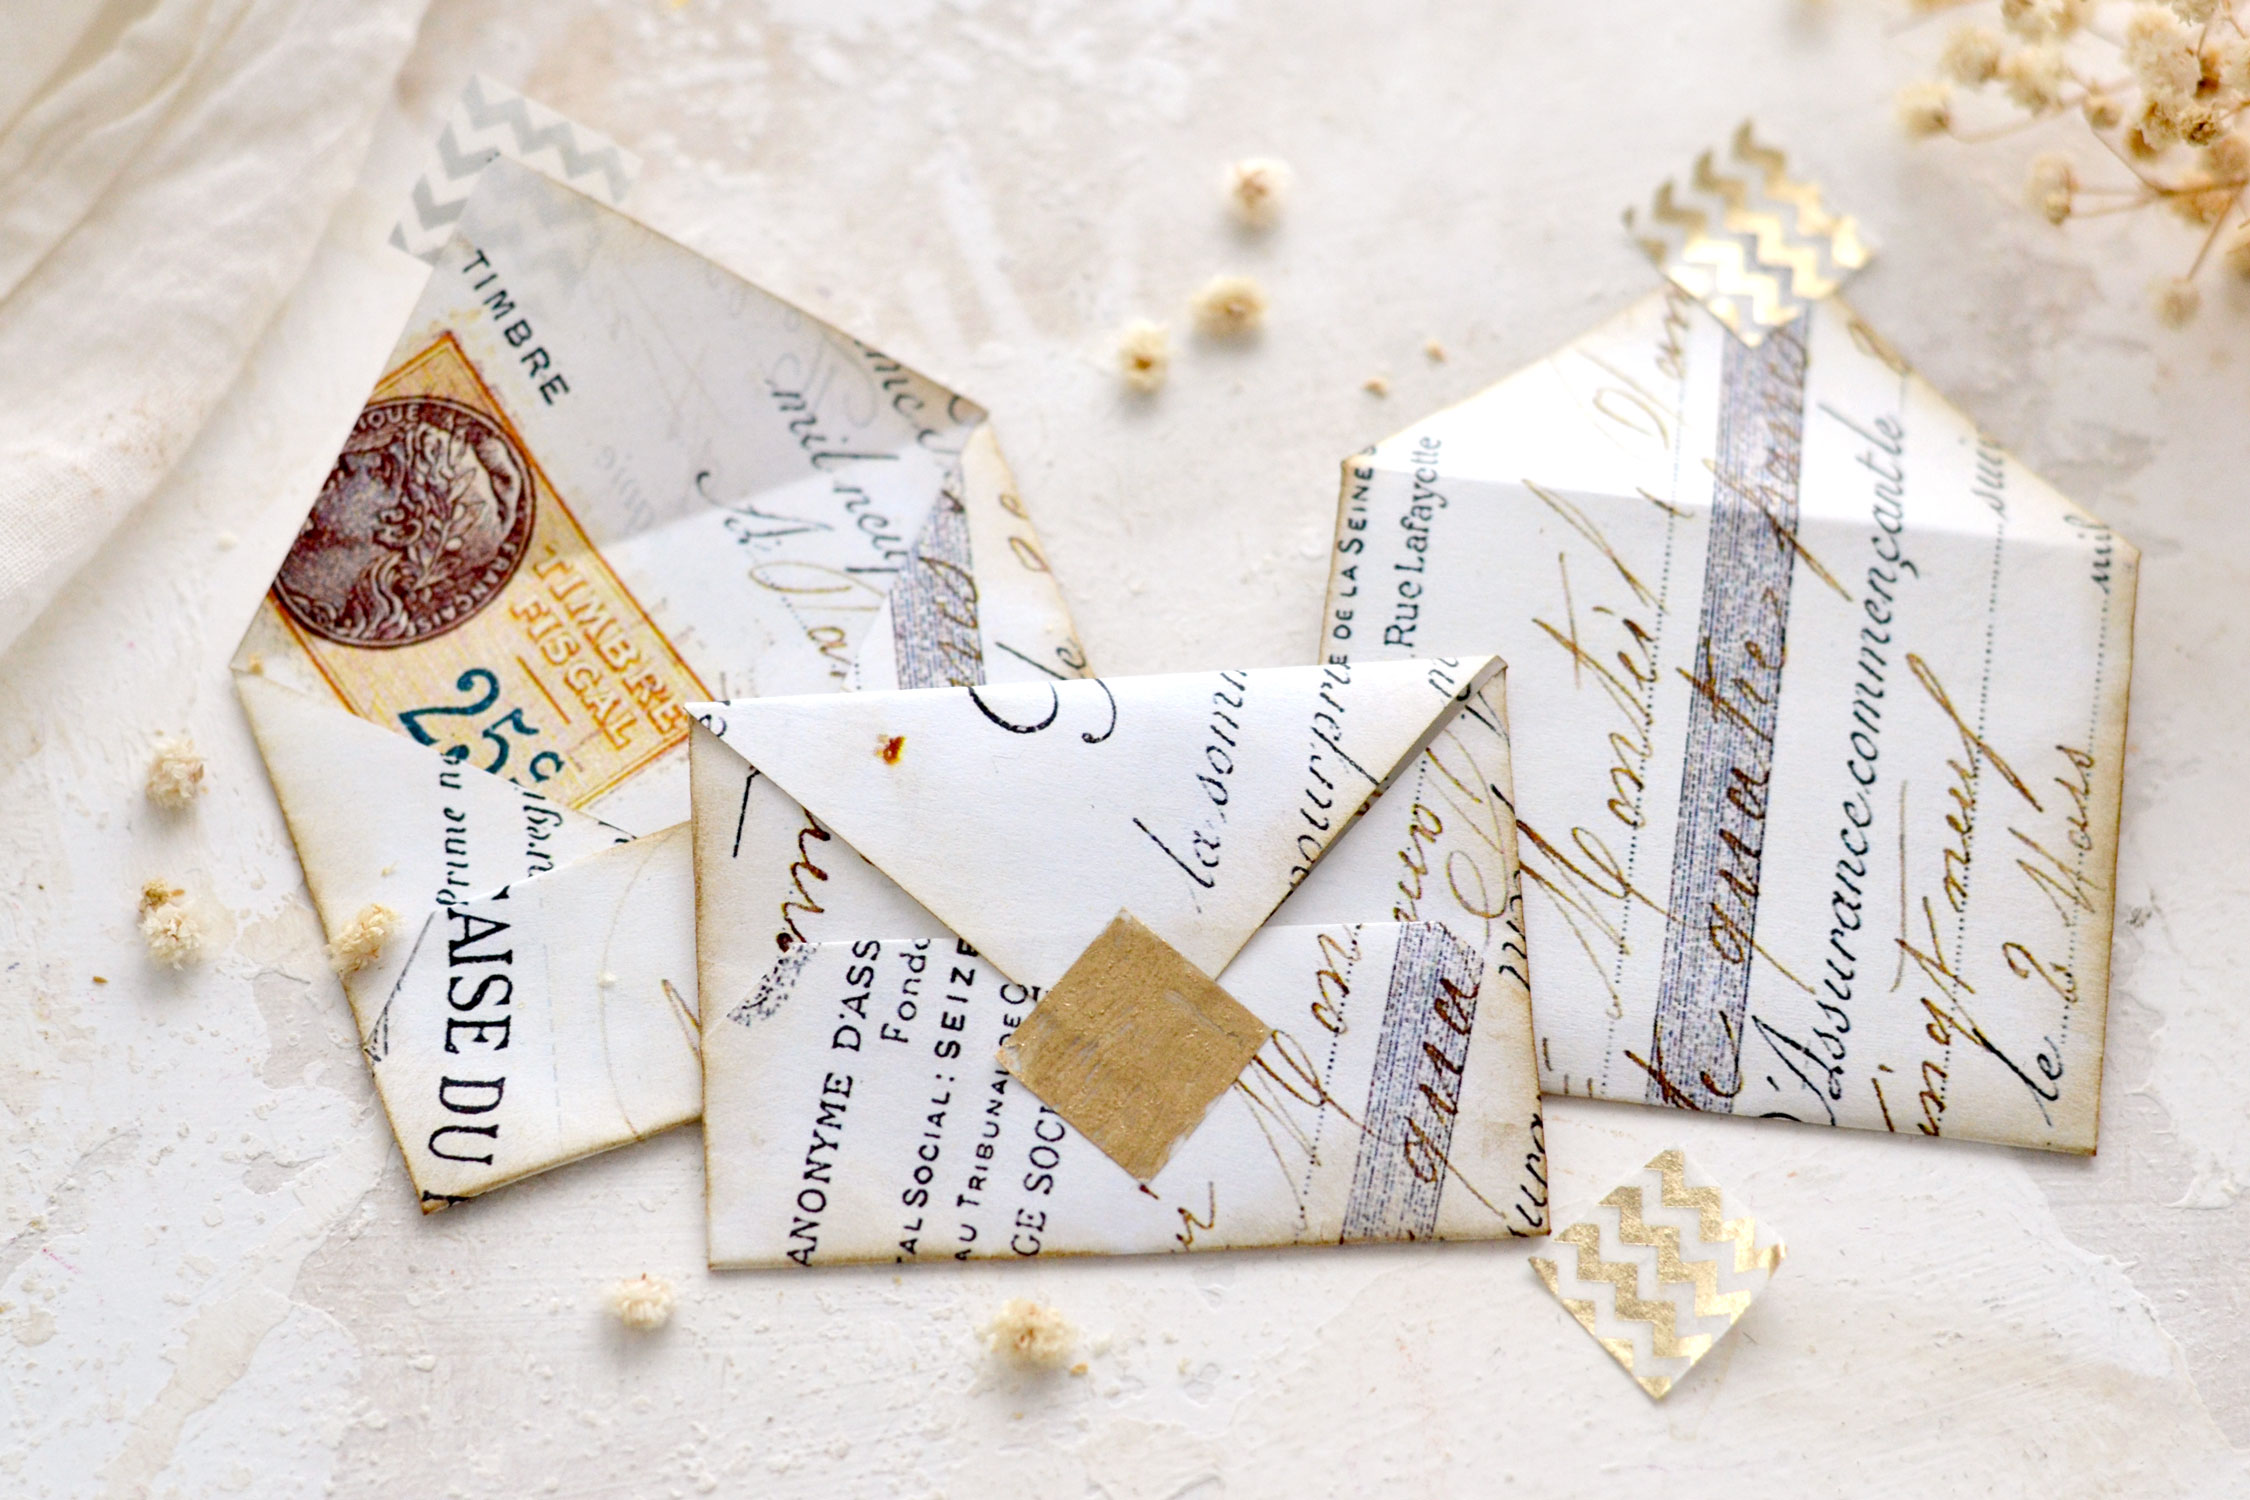
Hello Graphics Fairy friends! I’m Diana from Dreams Factory and I’m happy to be here again to share another DIY project with you! Today I will show you how to make these super chic double-sided envelopes with a lovely vintage vibe! I wanted to keep the envelopes on the neutral side so I used a beautiful French ephemera image to design them. So we could say that these have a more universal feel that will give you the chance to easily integrate them into your vintage projects, no matter the theme.
I envisioned my ephemera envelopes to have a double side, so I will give you a few suggestions on how to easily print your paper to achieve this lovely look!
Free Printables:
I’m sharing two printables for today’s project:
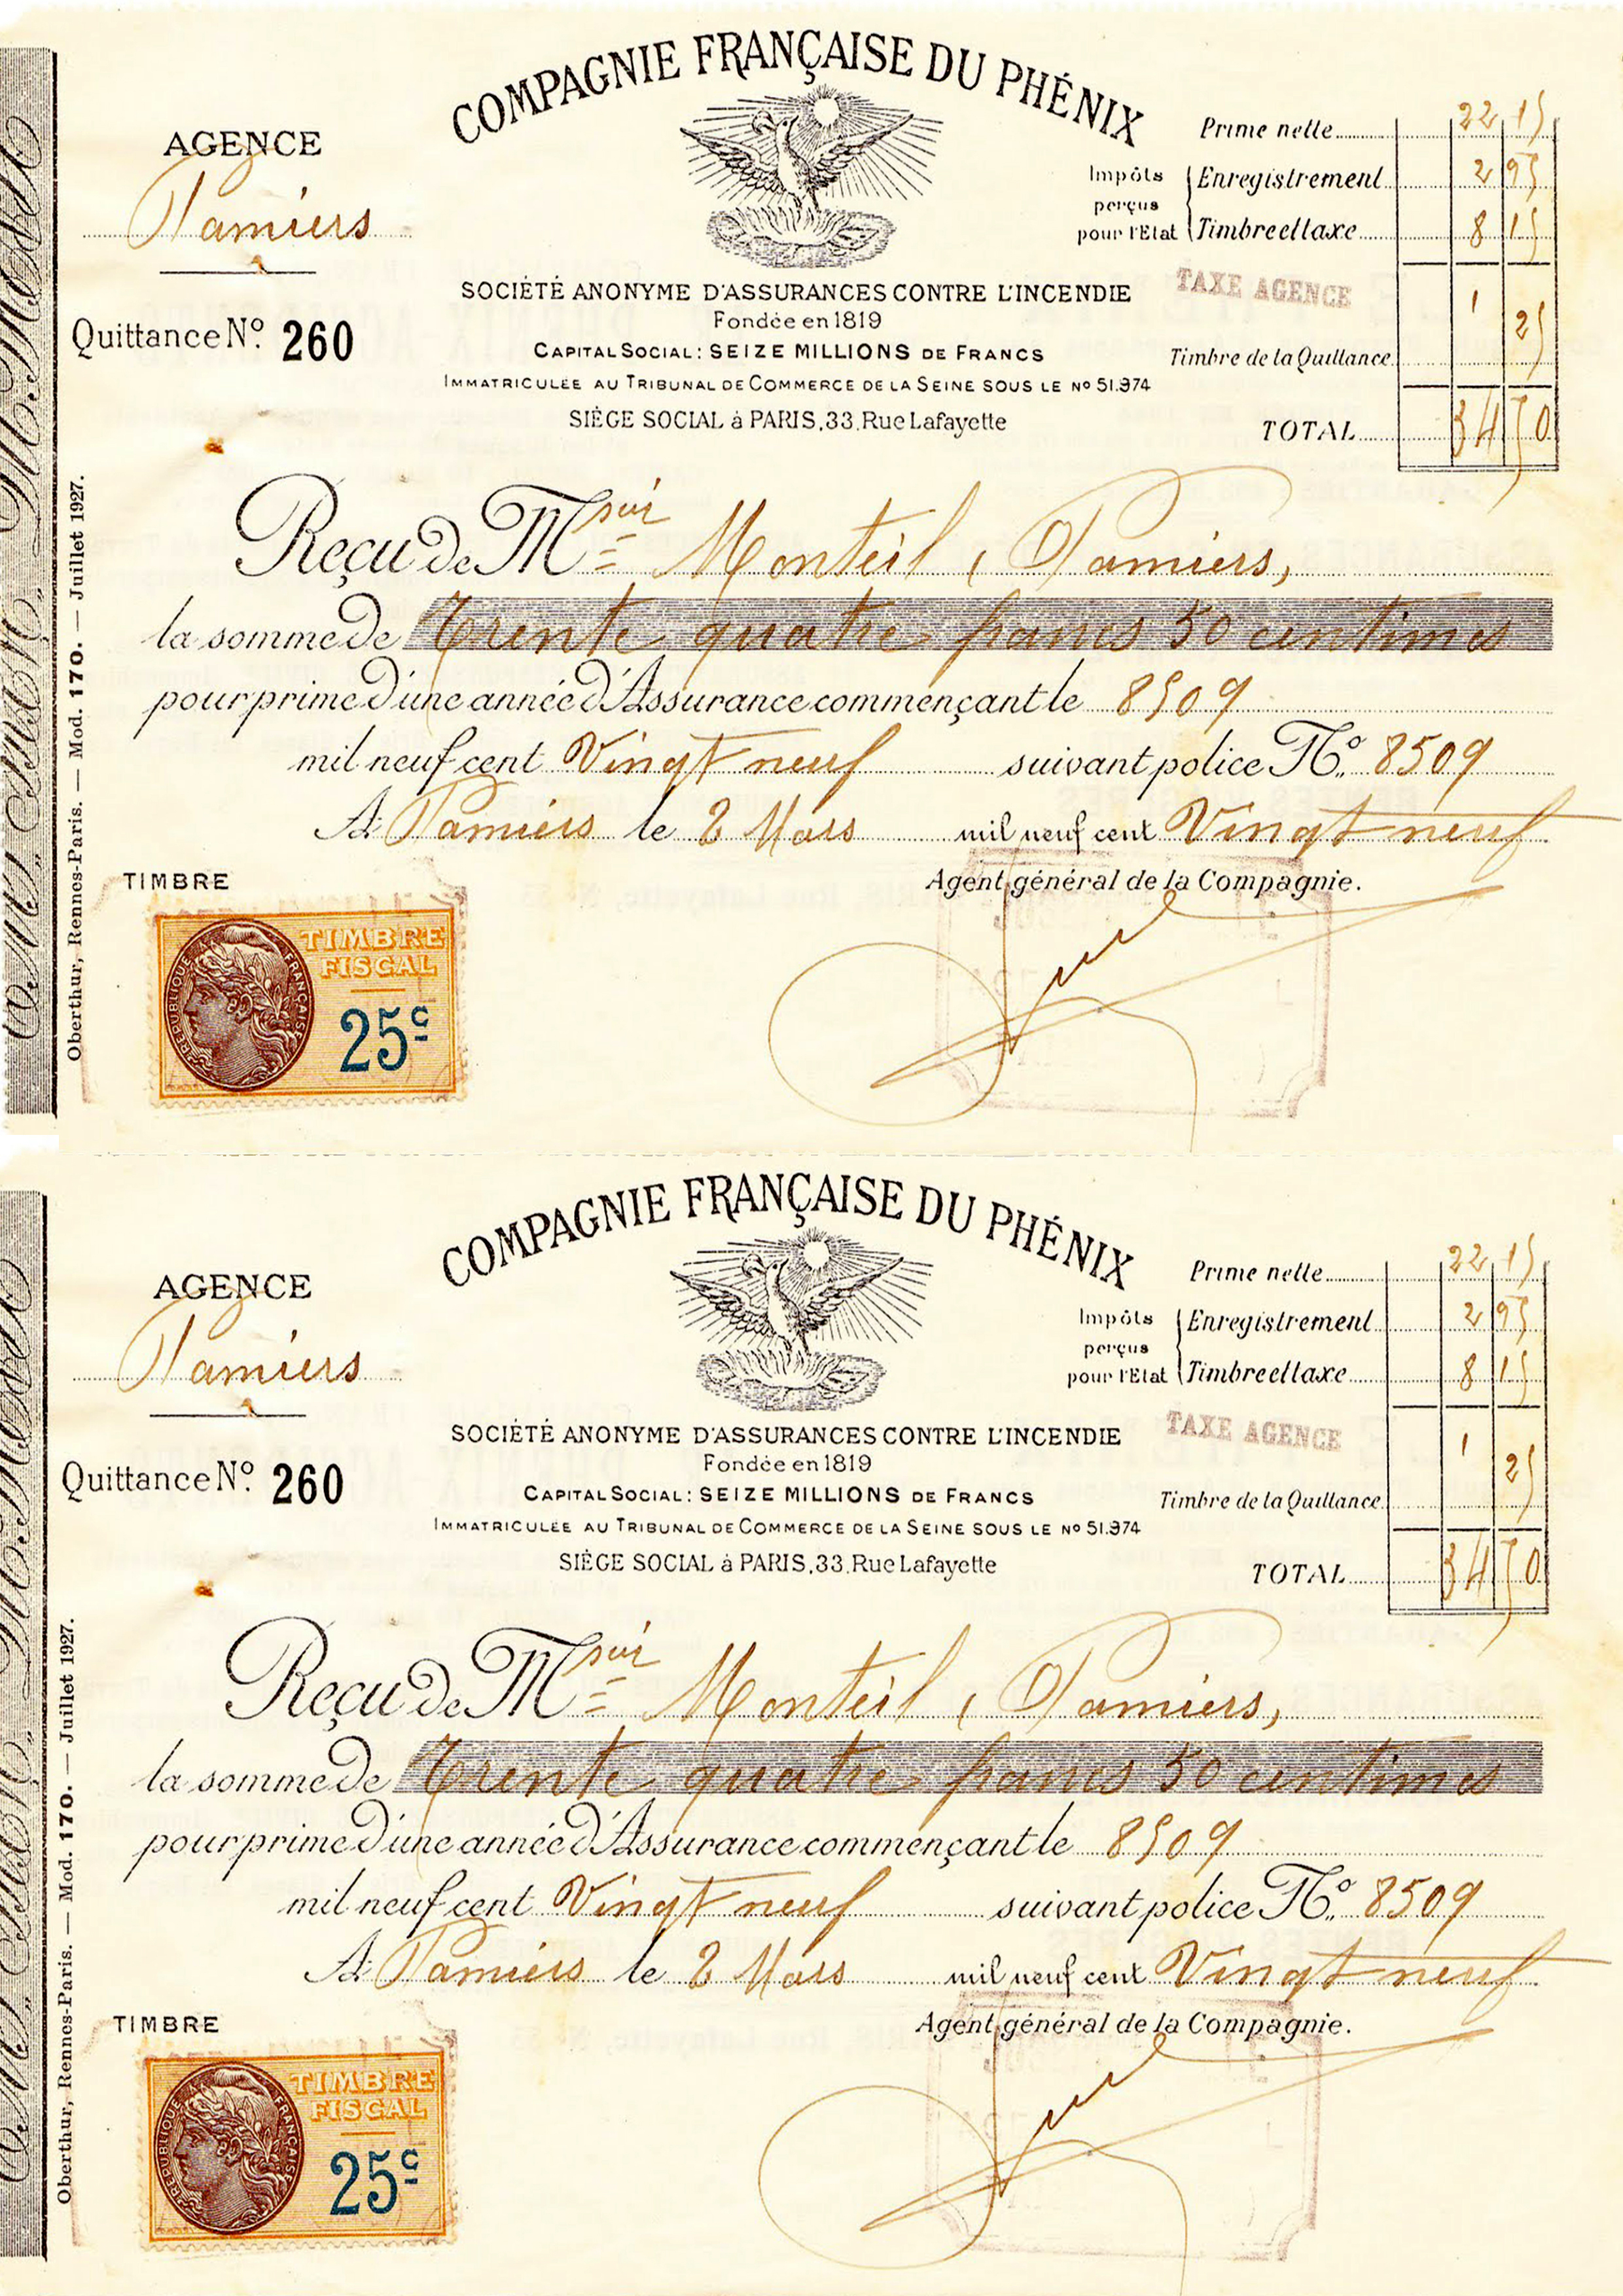
– a beautiful French ephemera printable;
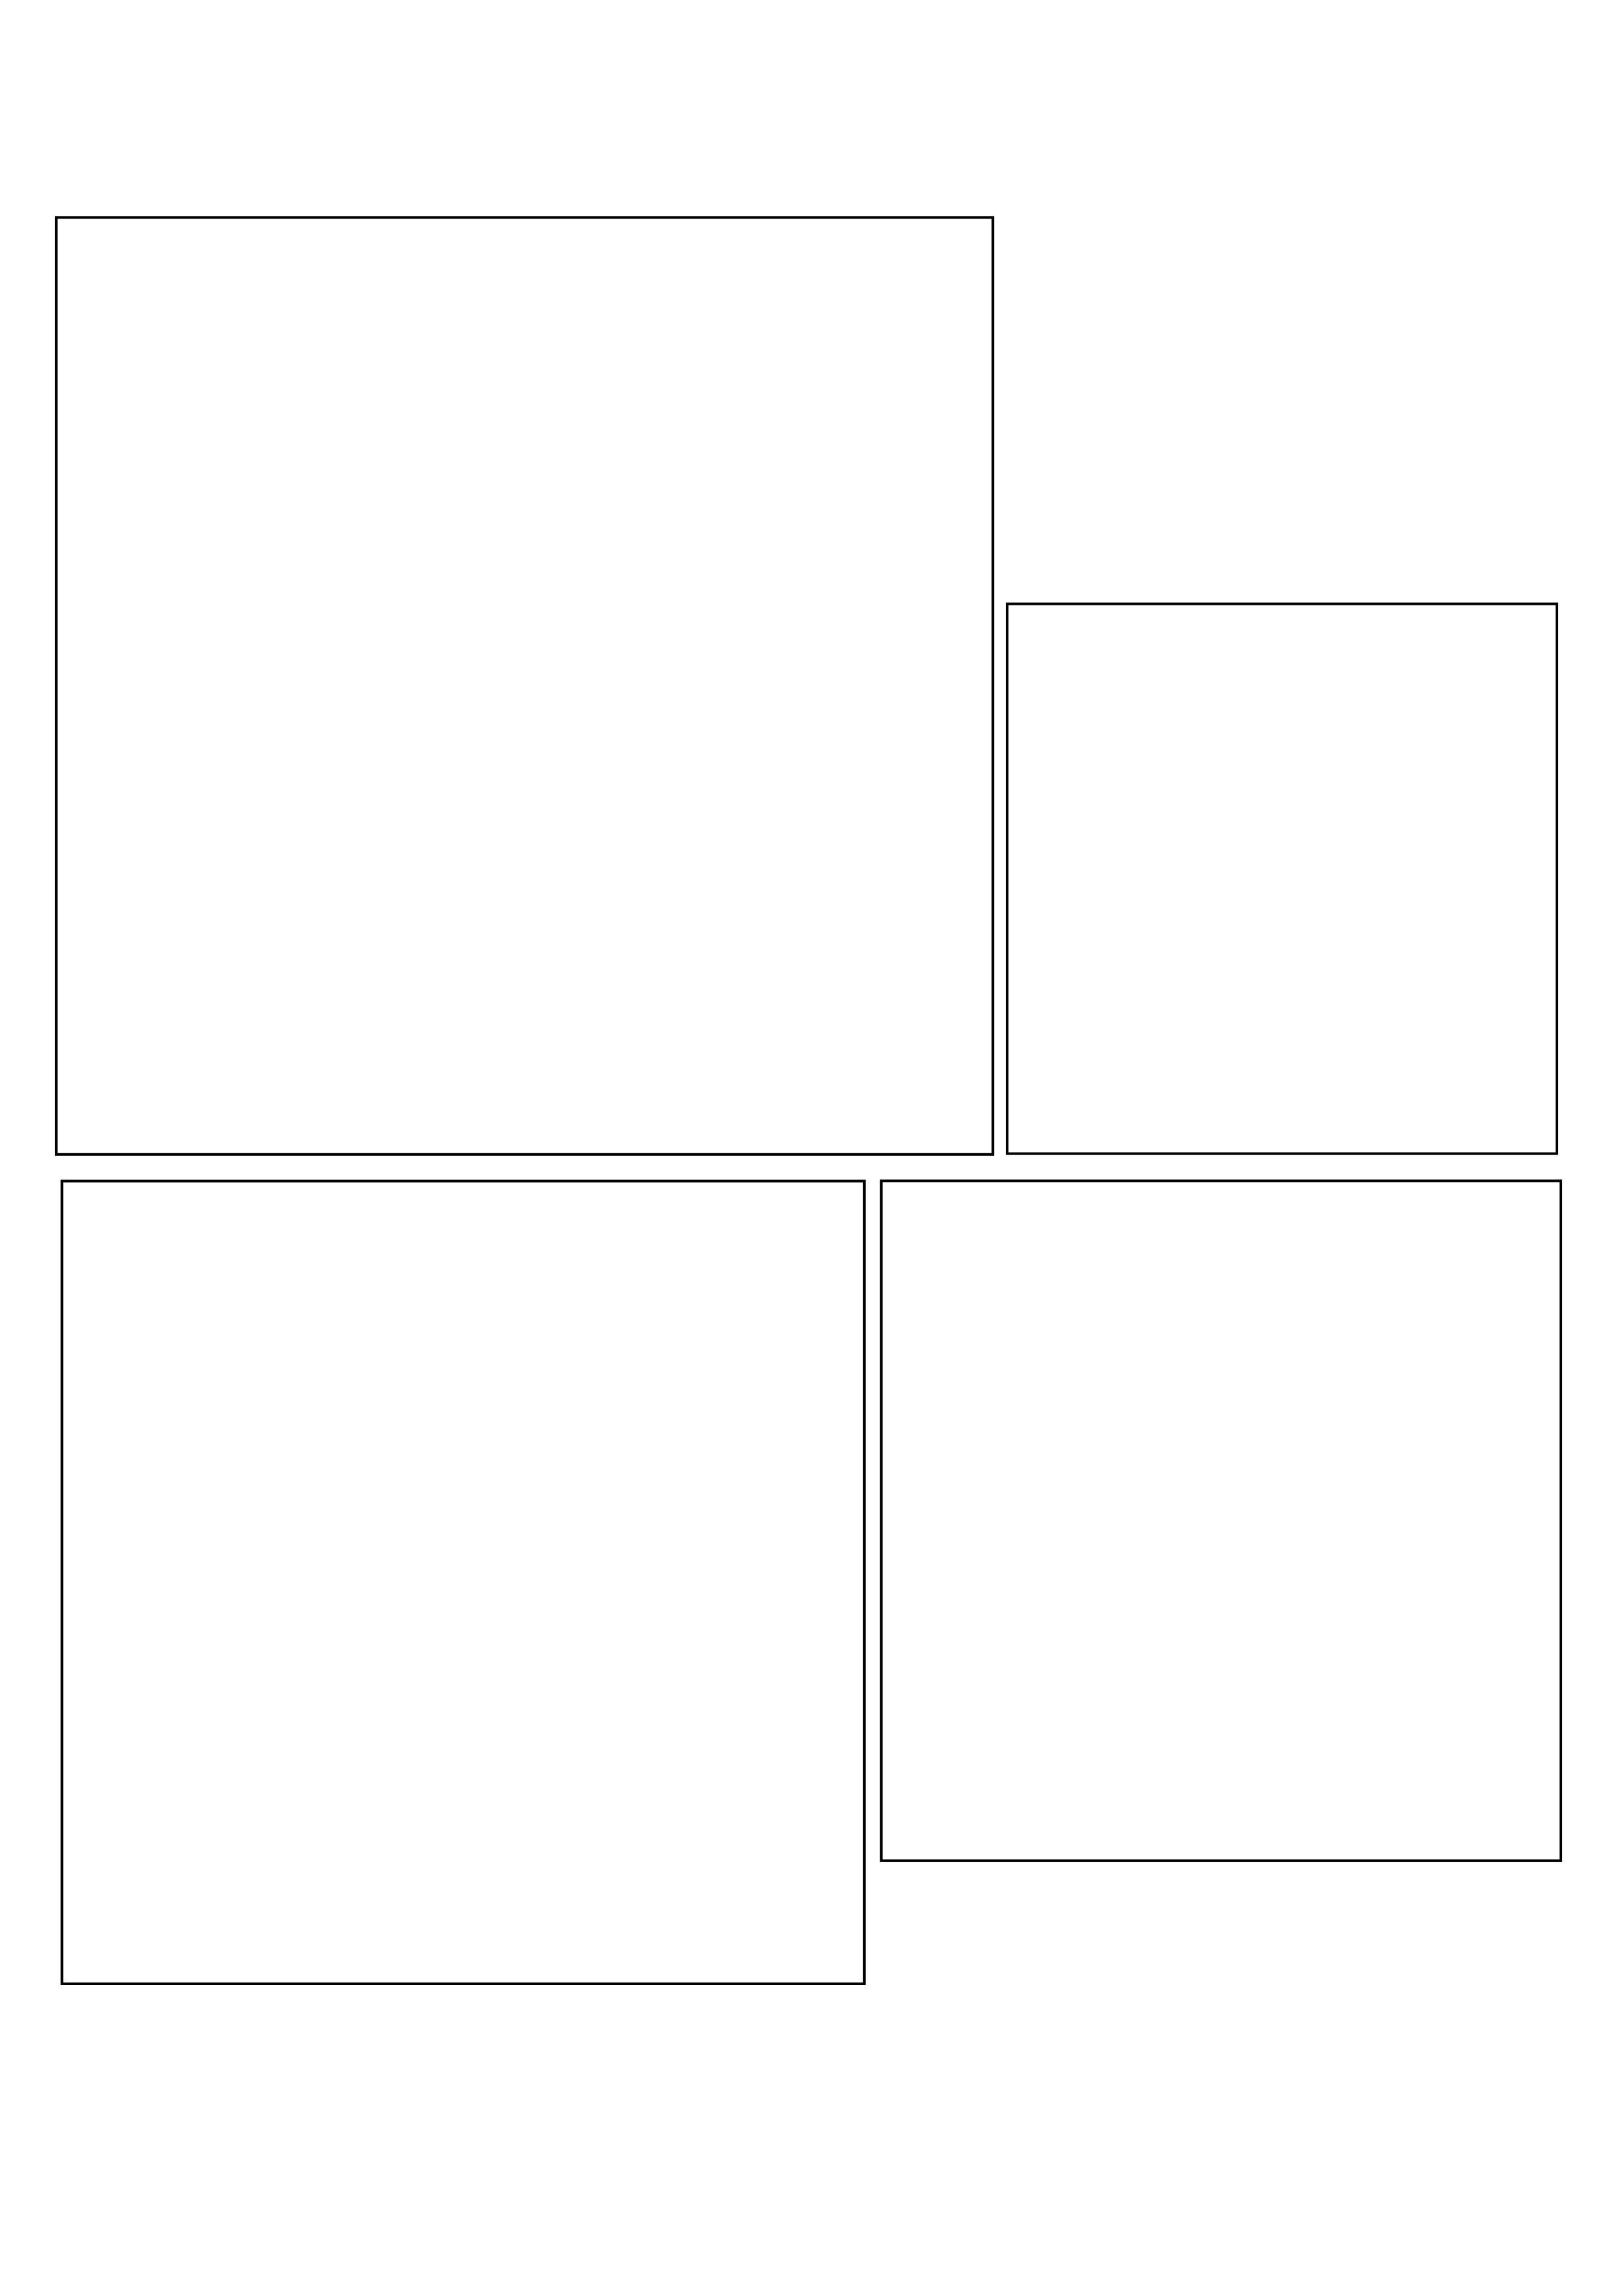
– a template with different-sized squares so you can make the envelopes on your terms, depending on your needs!
—-> Click HERE to Download the Full Size Printable PDF <—-
—-> Click HERE to Download the Full Size Printable PDF <—-
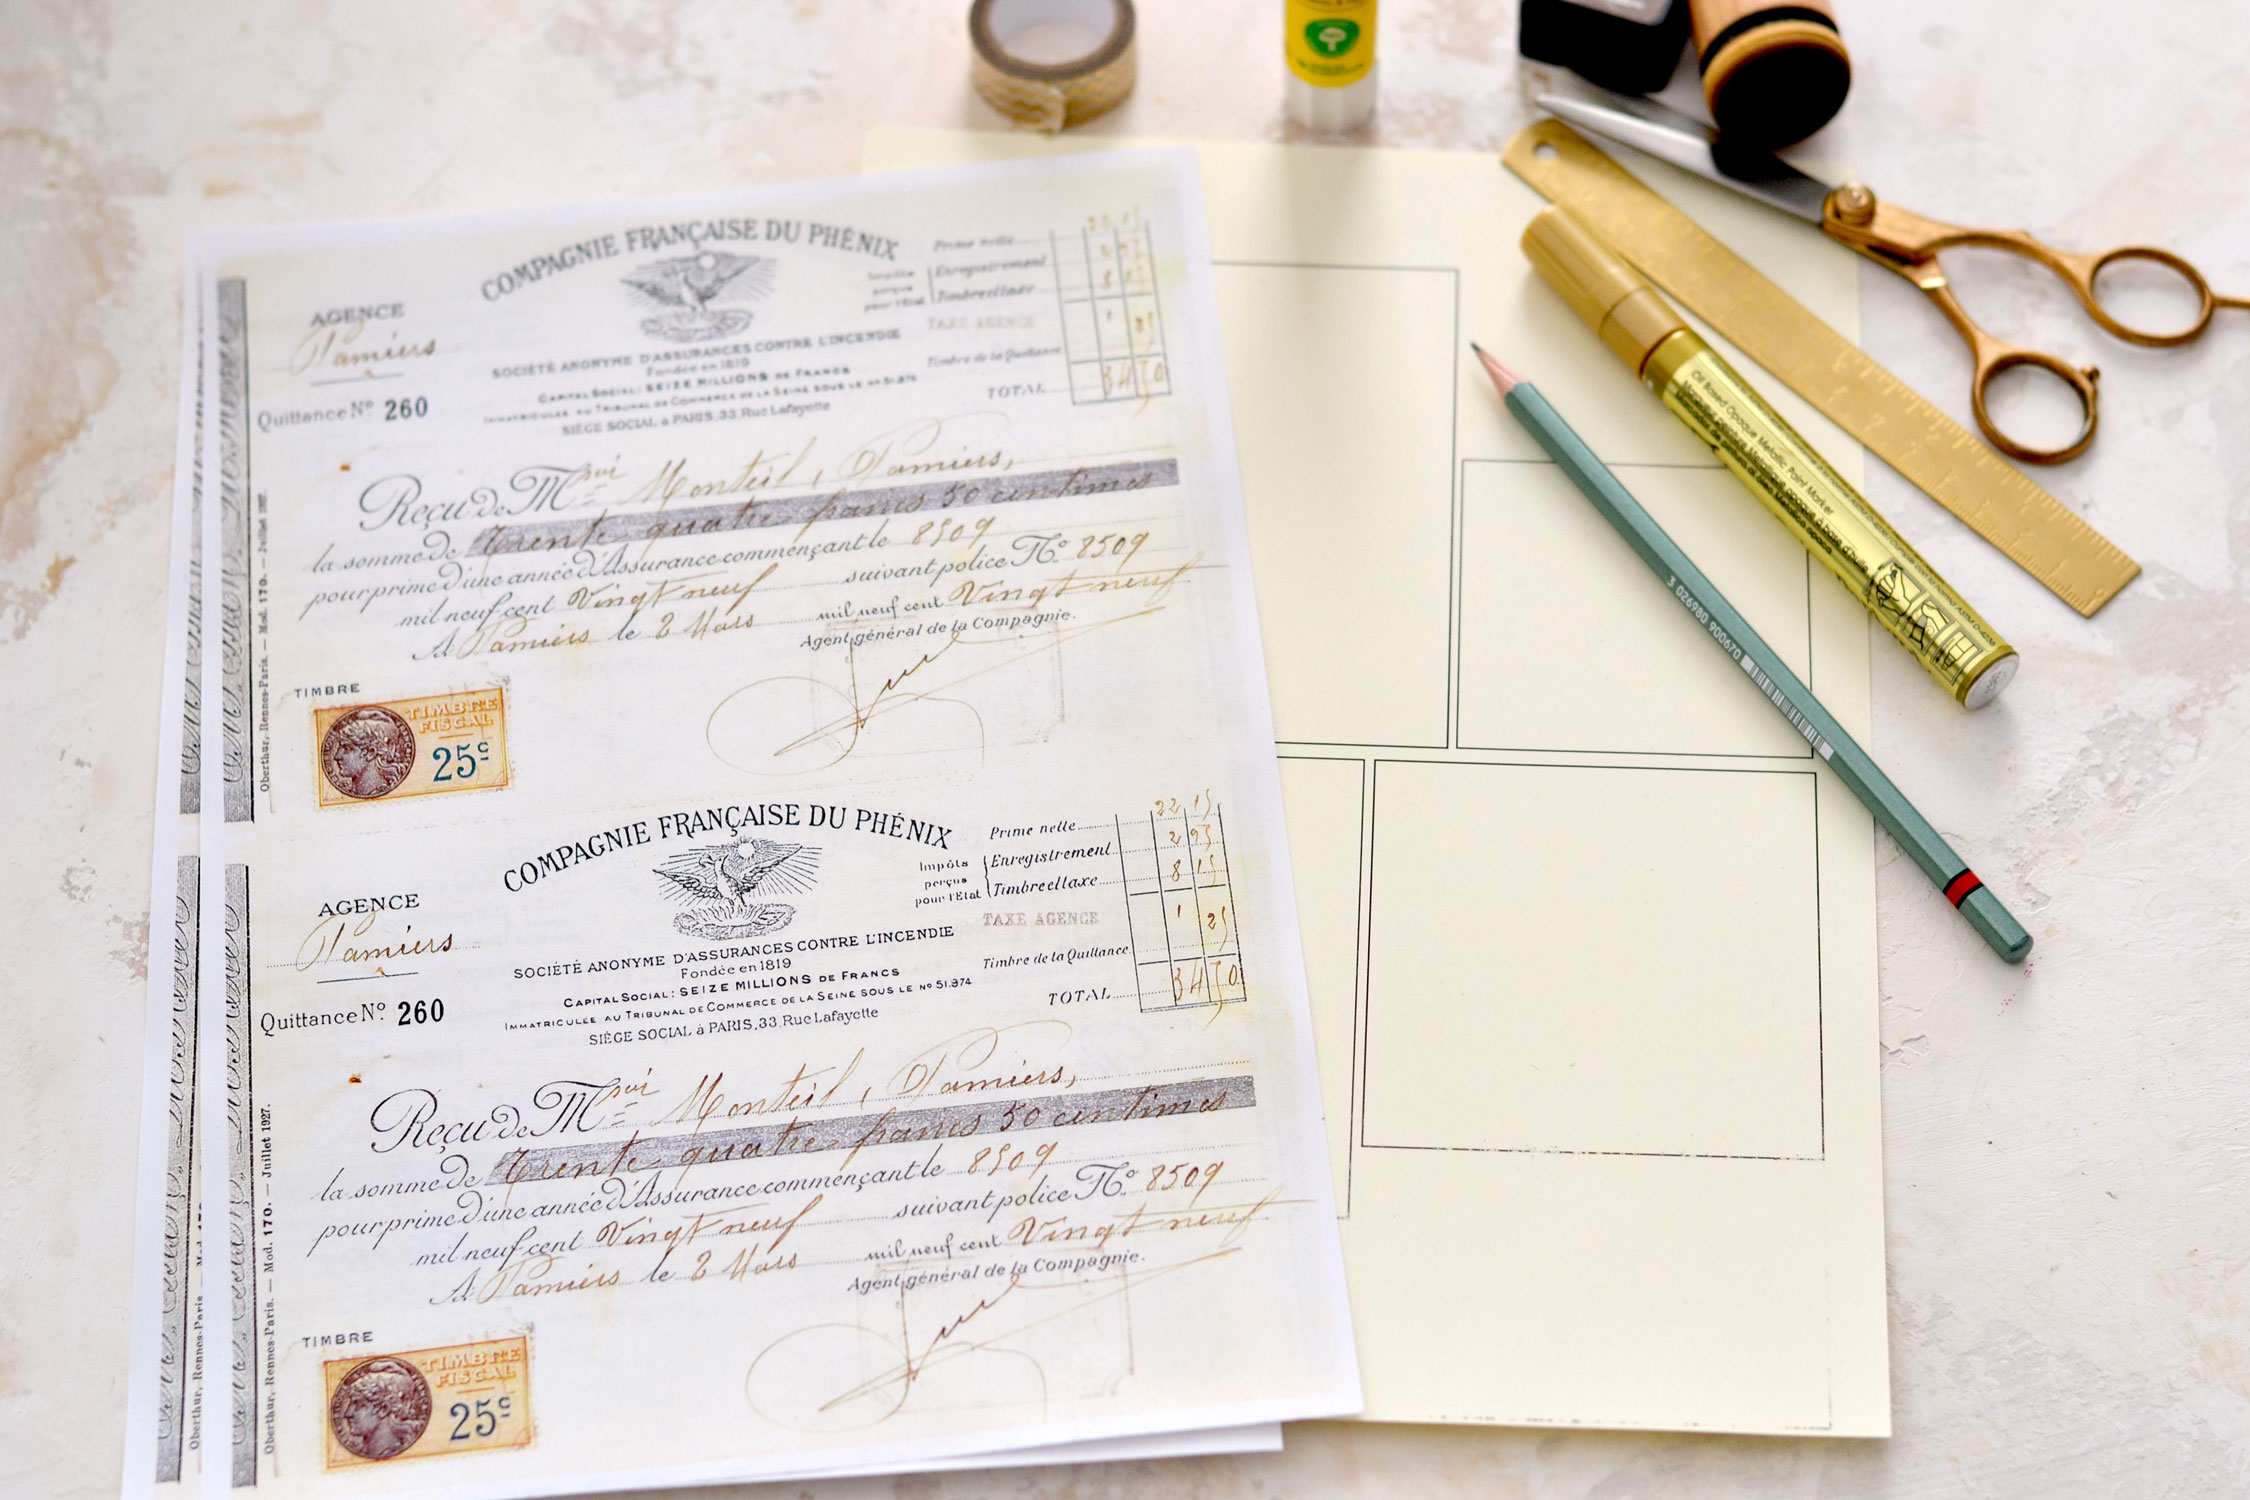
DIY Double Sided Envelope Supplies:
- regular printing paper or cardstock paper (to print the envelopes – I used regular)
- cardstock paper (to print the templates)
- home printer
- scissors
- ruler
- regular pencil
- Mod Podge, paper glue stick or any other craft glue
- gold accents washi tape (to embellish the envelopes)
- gold marker – I used my favorite gold Decocolor (optional)
Step by Step Tutorial:
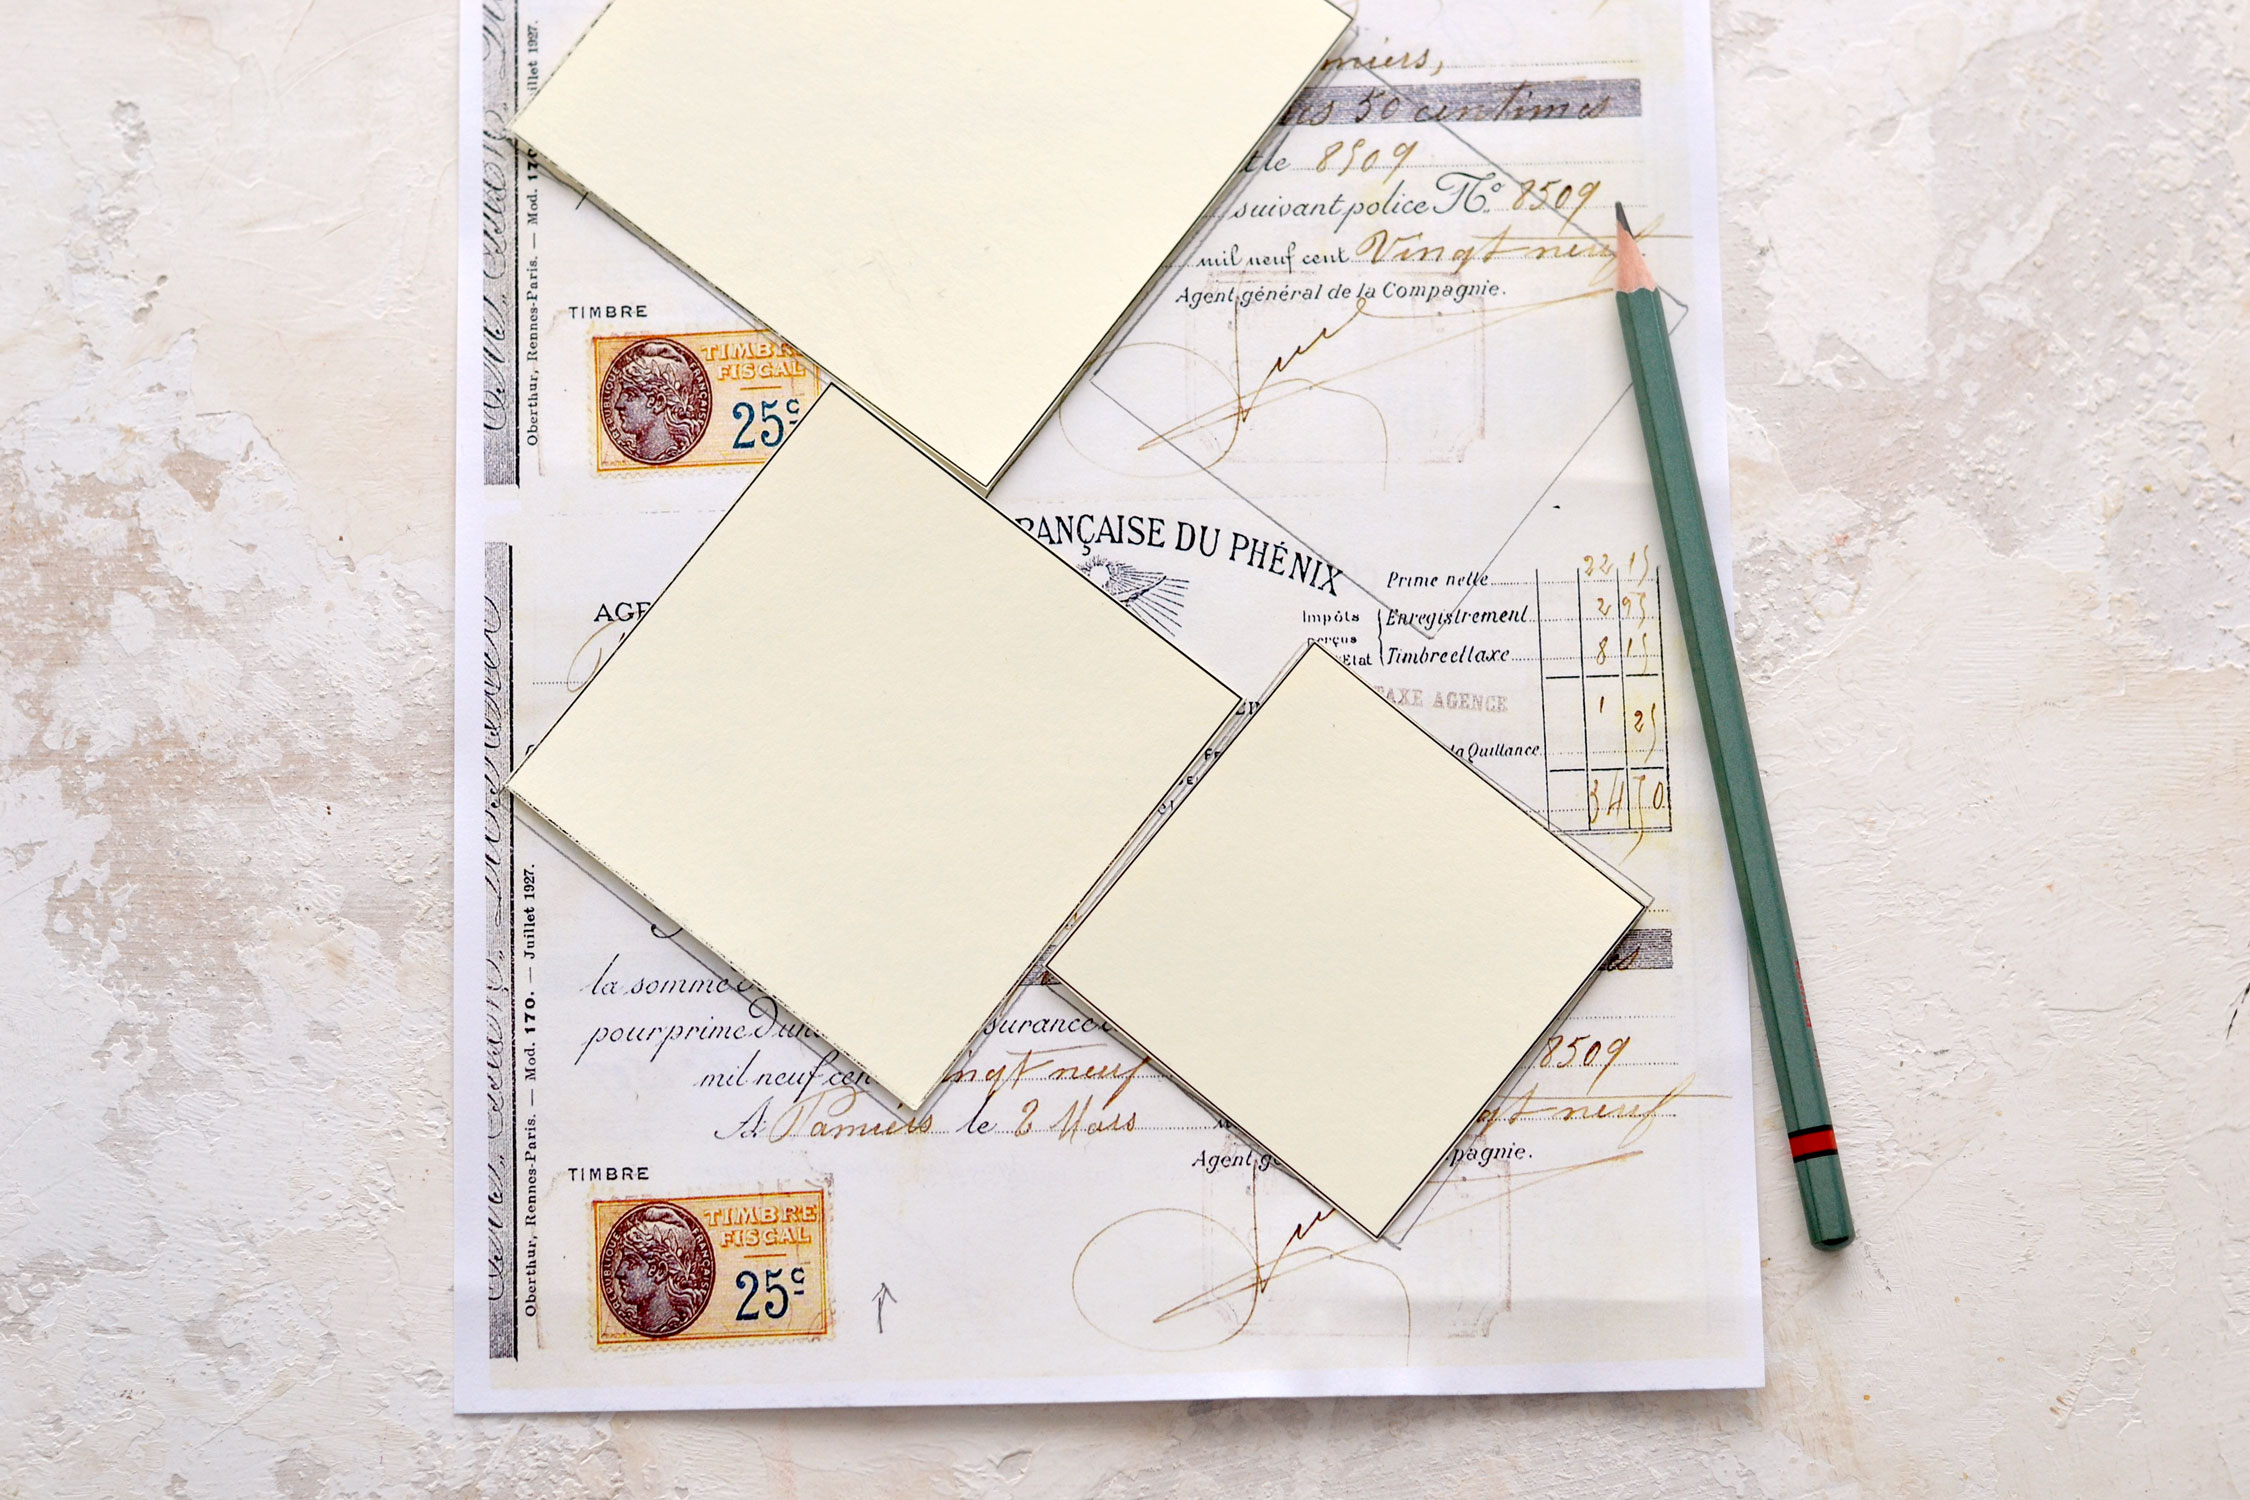
Use cardstock paper to print the templates, the heavier the cardstock, the better. I had some ivory cardstock lying around so I’ve decided to use it here. I just fed it through my printer and that was it!
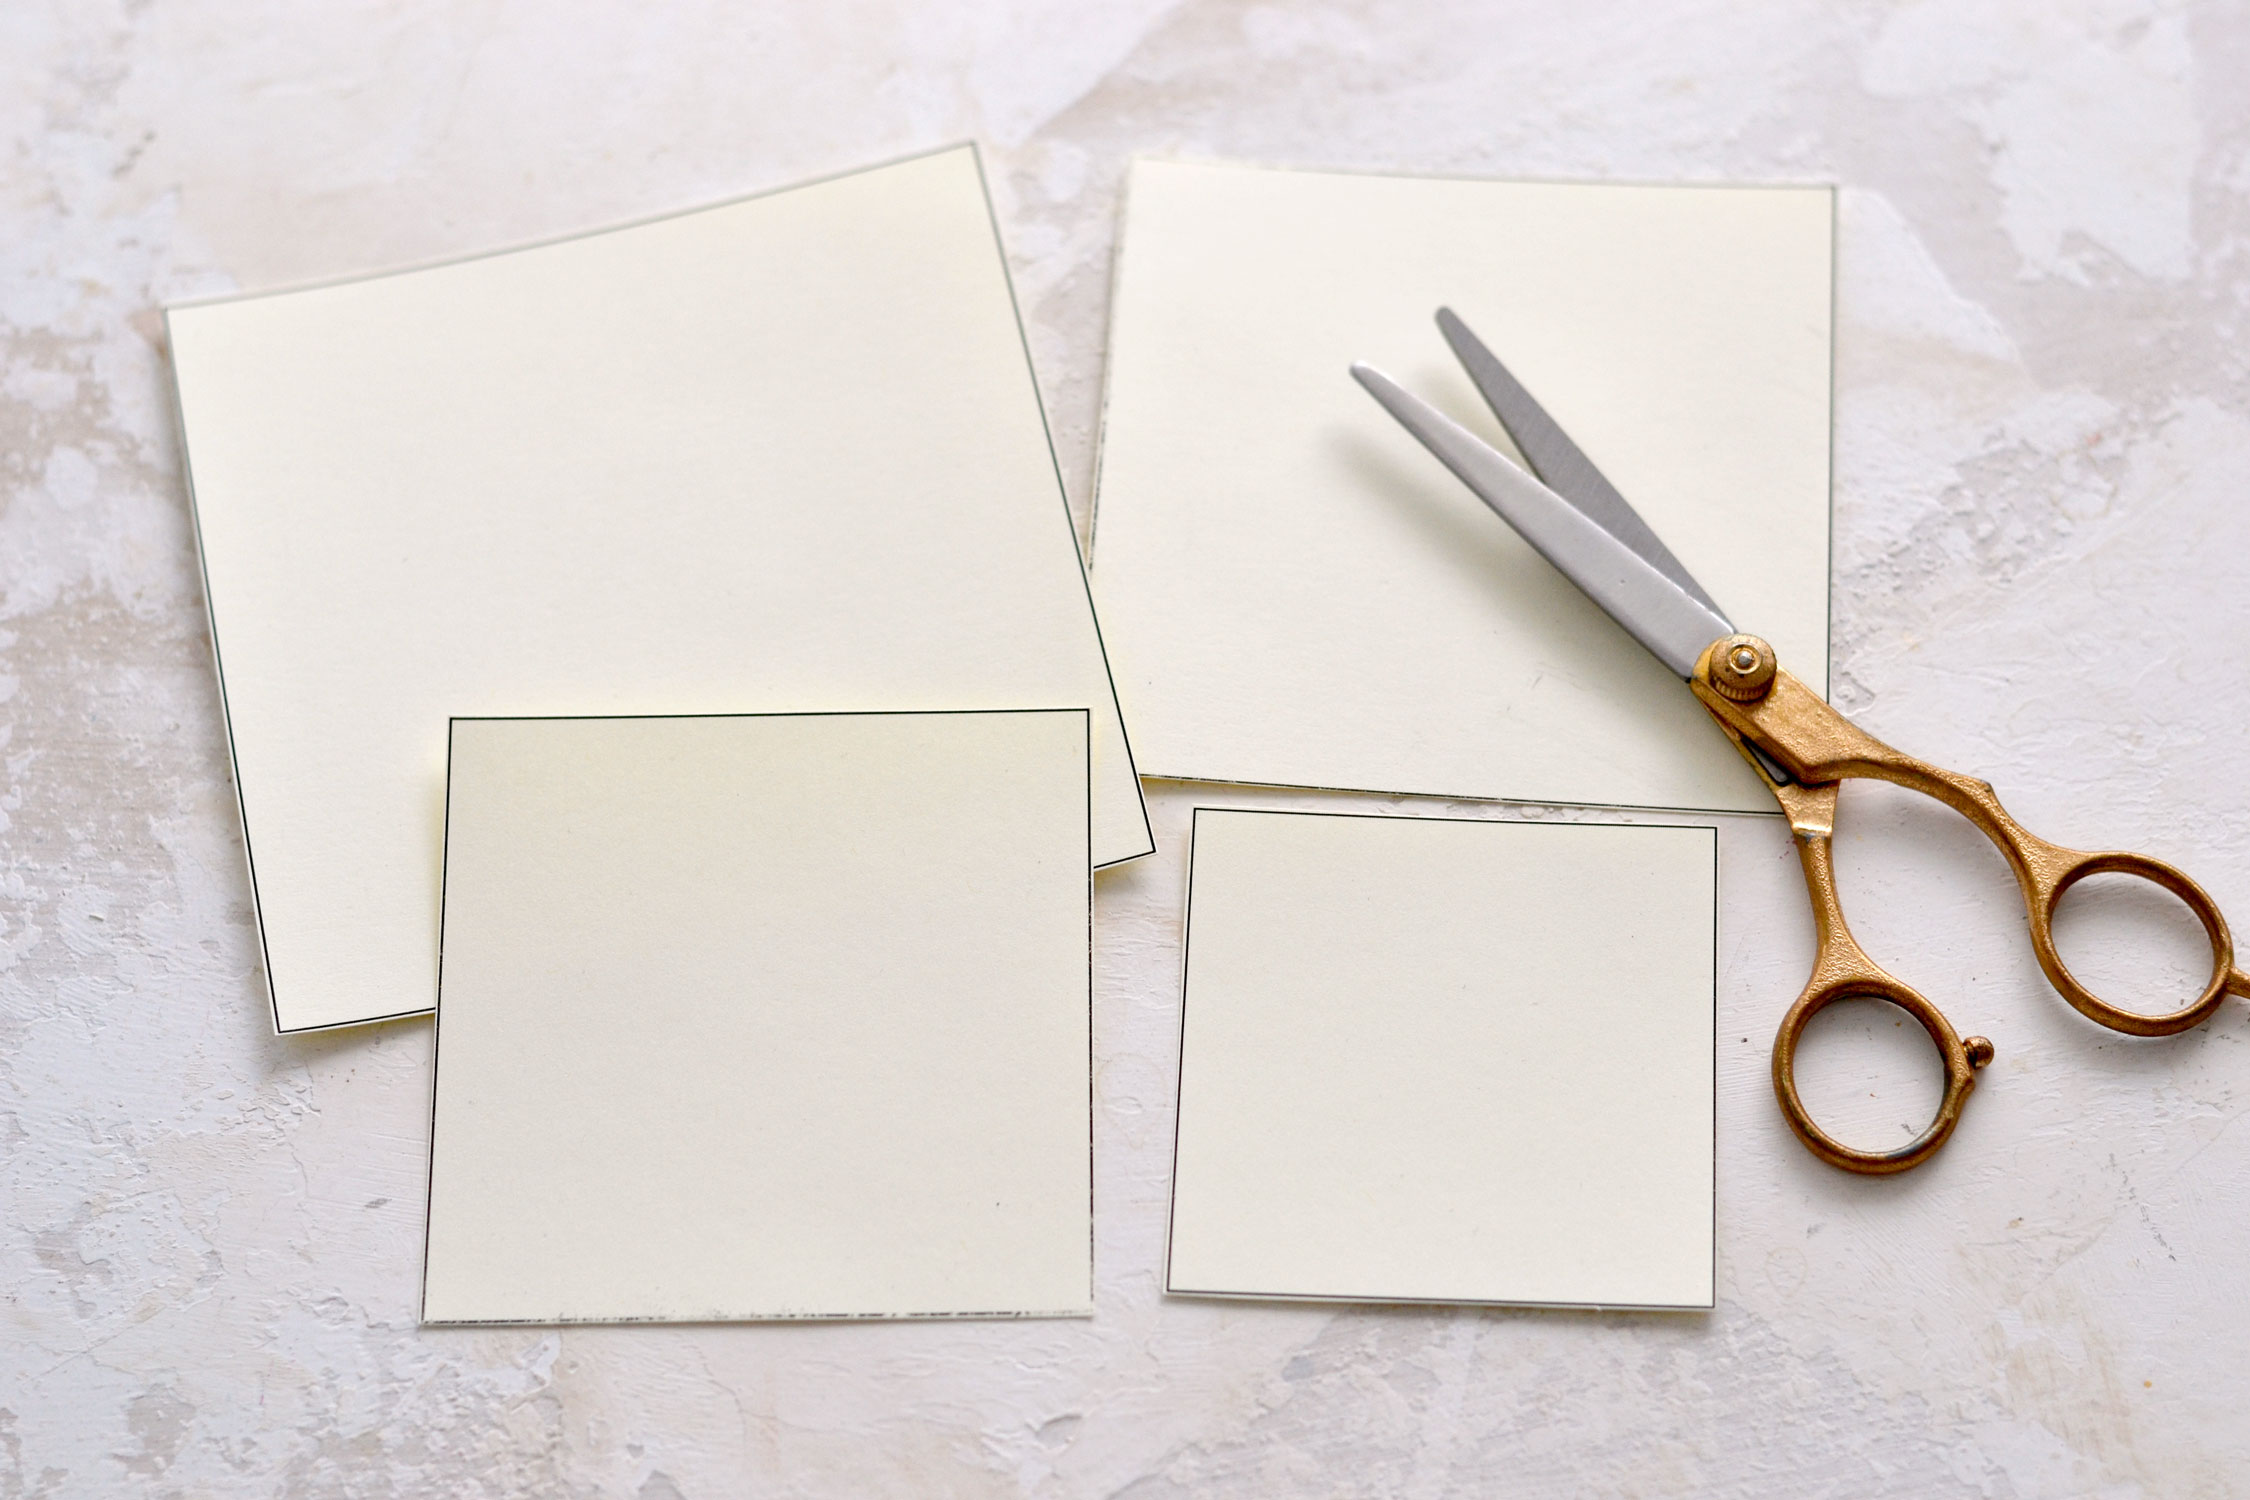
Then I used my scissors to cut each square template. Take your time to do this as well as you can, these squares will dictate the final shape of your envelopes.
P.S. You only need to print the square templates one time, they can be used over and over again.
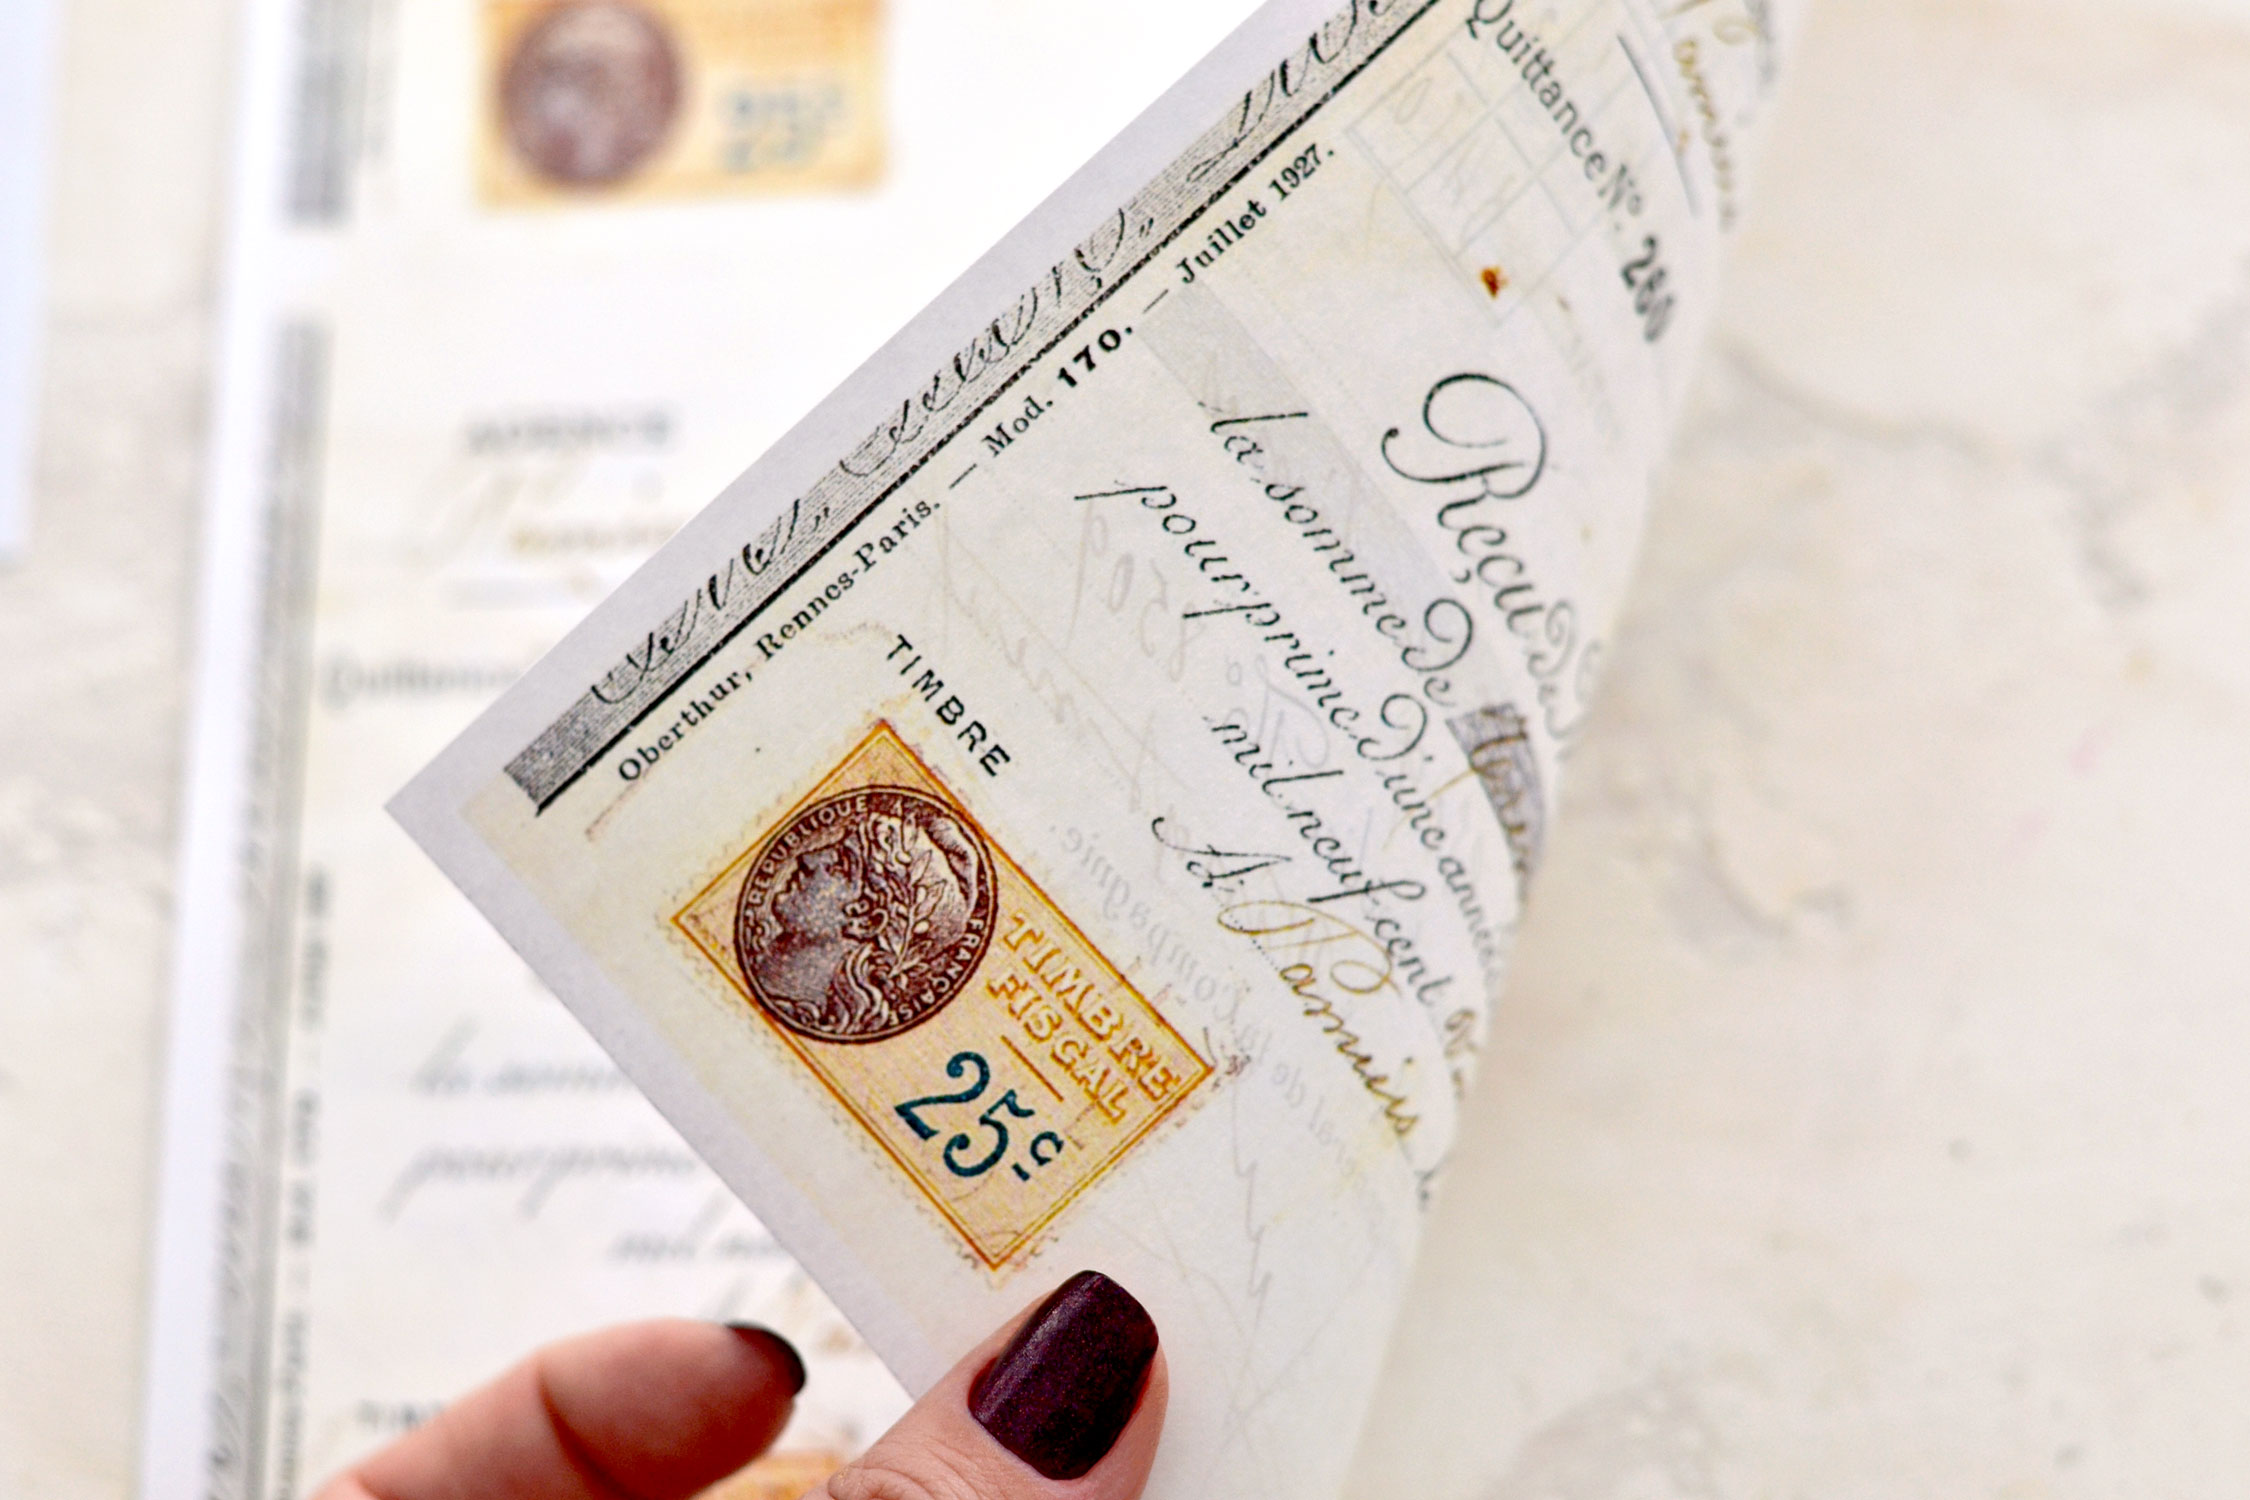
Print the ephemera printable on your preferred paper. I used regular paper for this because the envelopes are not that big and I thought it would be easier to fold them afterward. If you prefer to use cardstock, you definitely can just use some lightweight cardstock to keep things smooth!
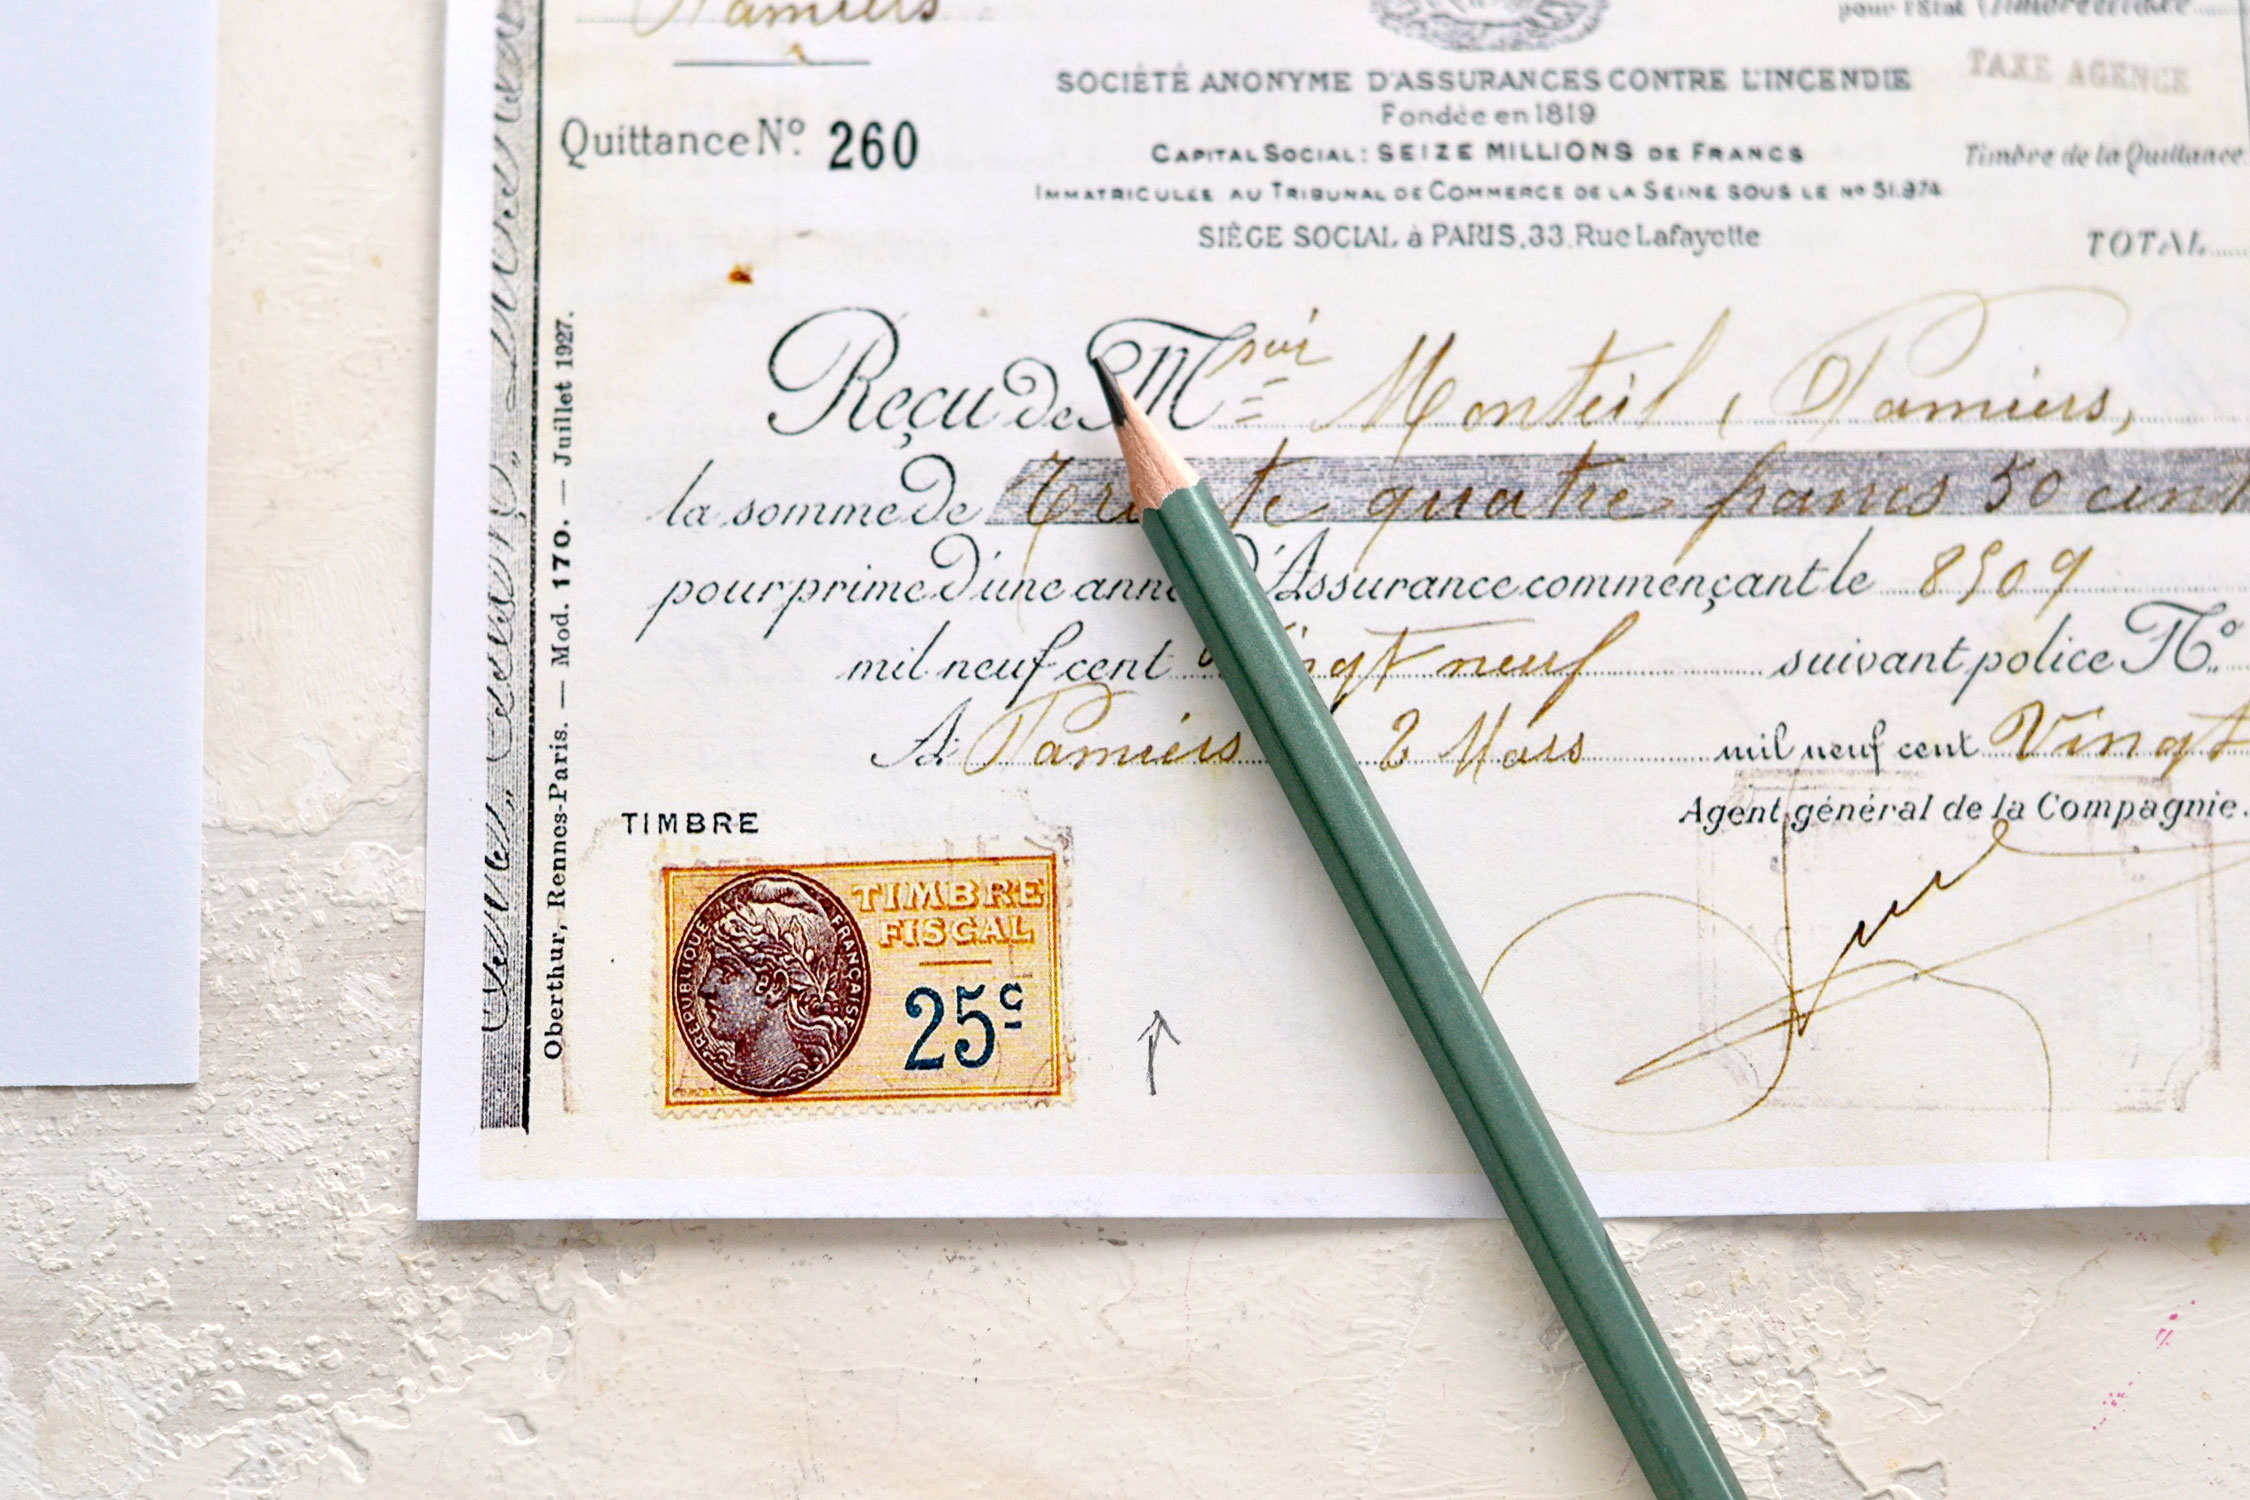
If you are not sure how to orientate the paper to print on both sides, here is a little trick that you can try. Use a pencil to draw a small arrow on the left side of your white paper. Feed the paper through your printer – the arrow should be pointing up before printing. Print the first side and let the direction of your arrow guide you through on how to flip the paper and place it in your printer’s tray so you can also print the other side. As you can see below, my printer printed the first side on top of the arrow, so I just flipped the paper (without rotating it) and then placed it in the tray to print it one more time.
You now have your double-sided printable ready, your design should be oriented in the same direction on both sides!
P.S. Print the double-sided ephemera printable as many times as you want to create as many envelopes as you want!
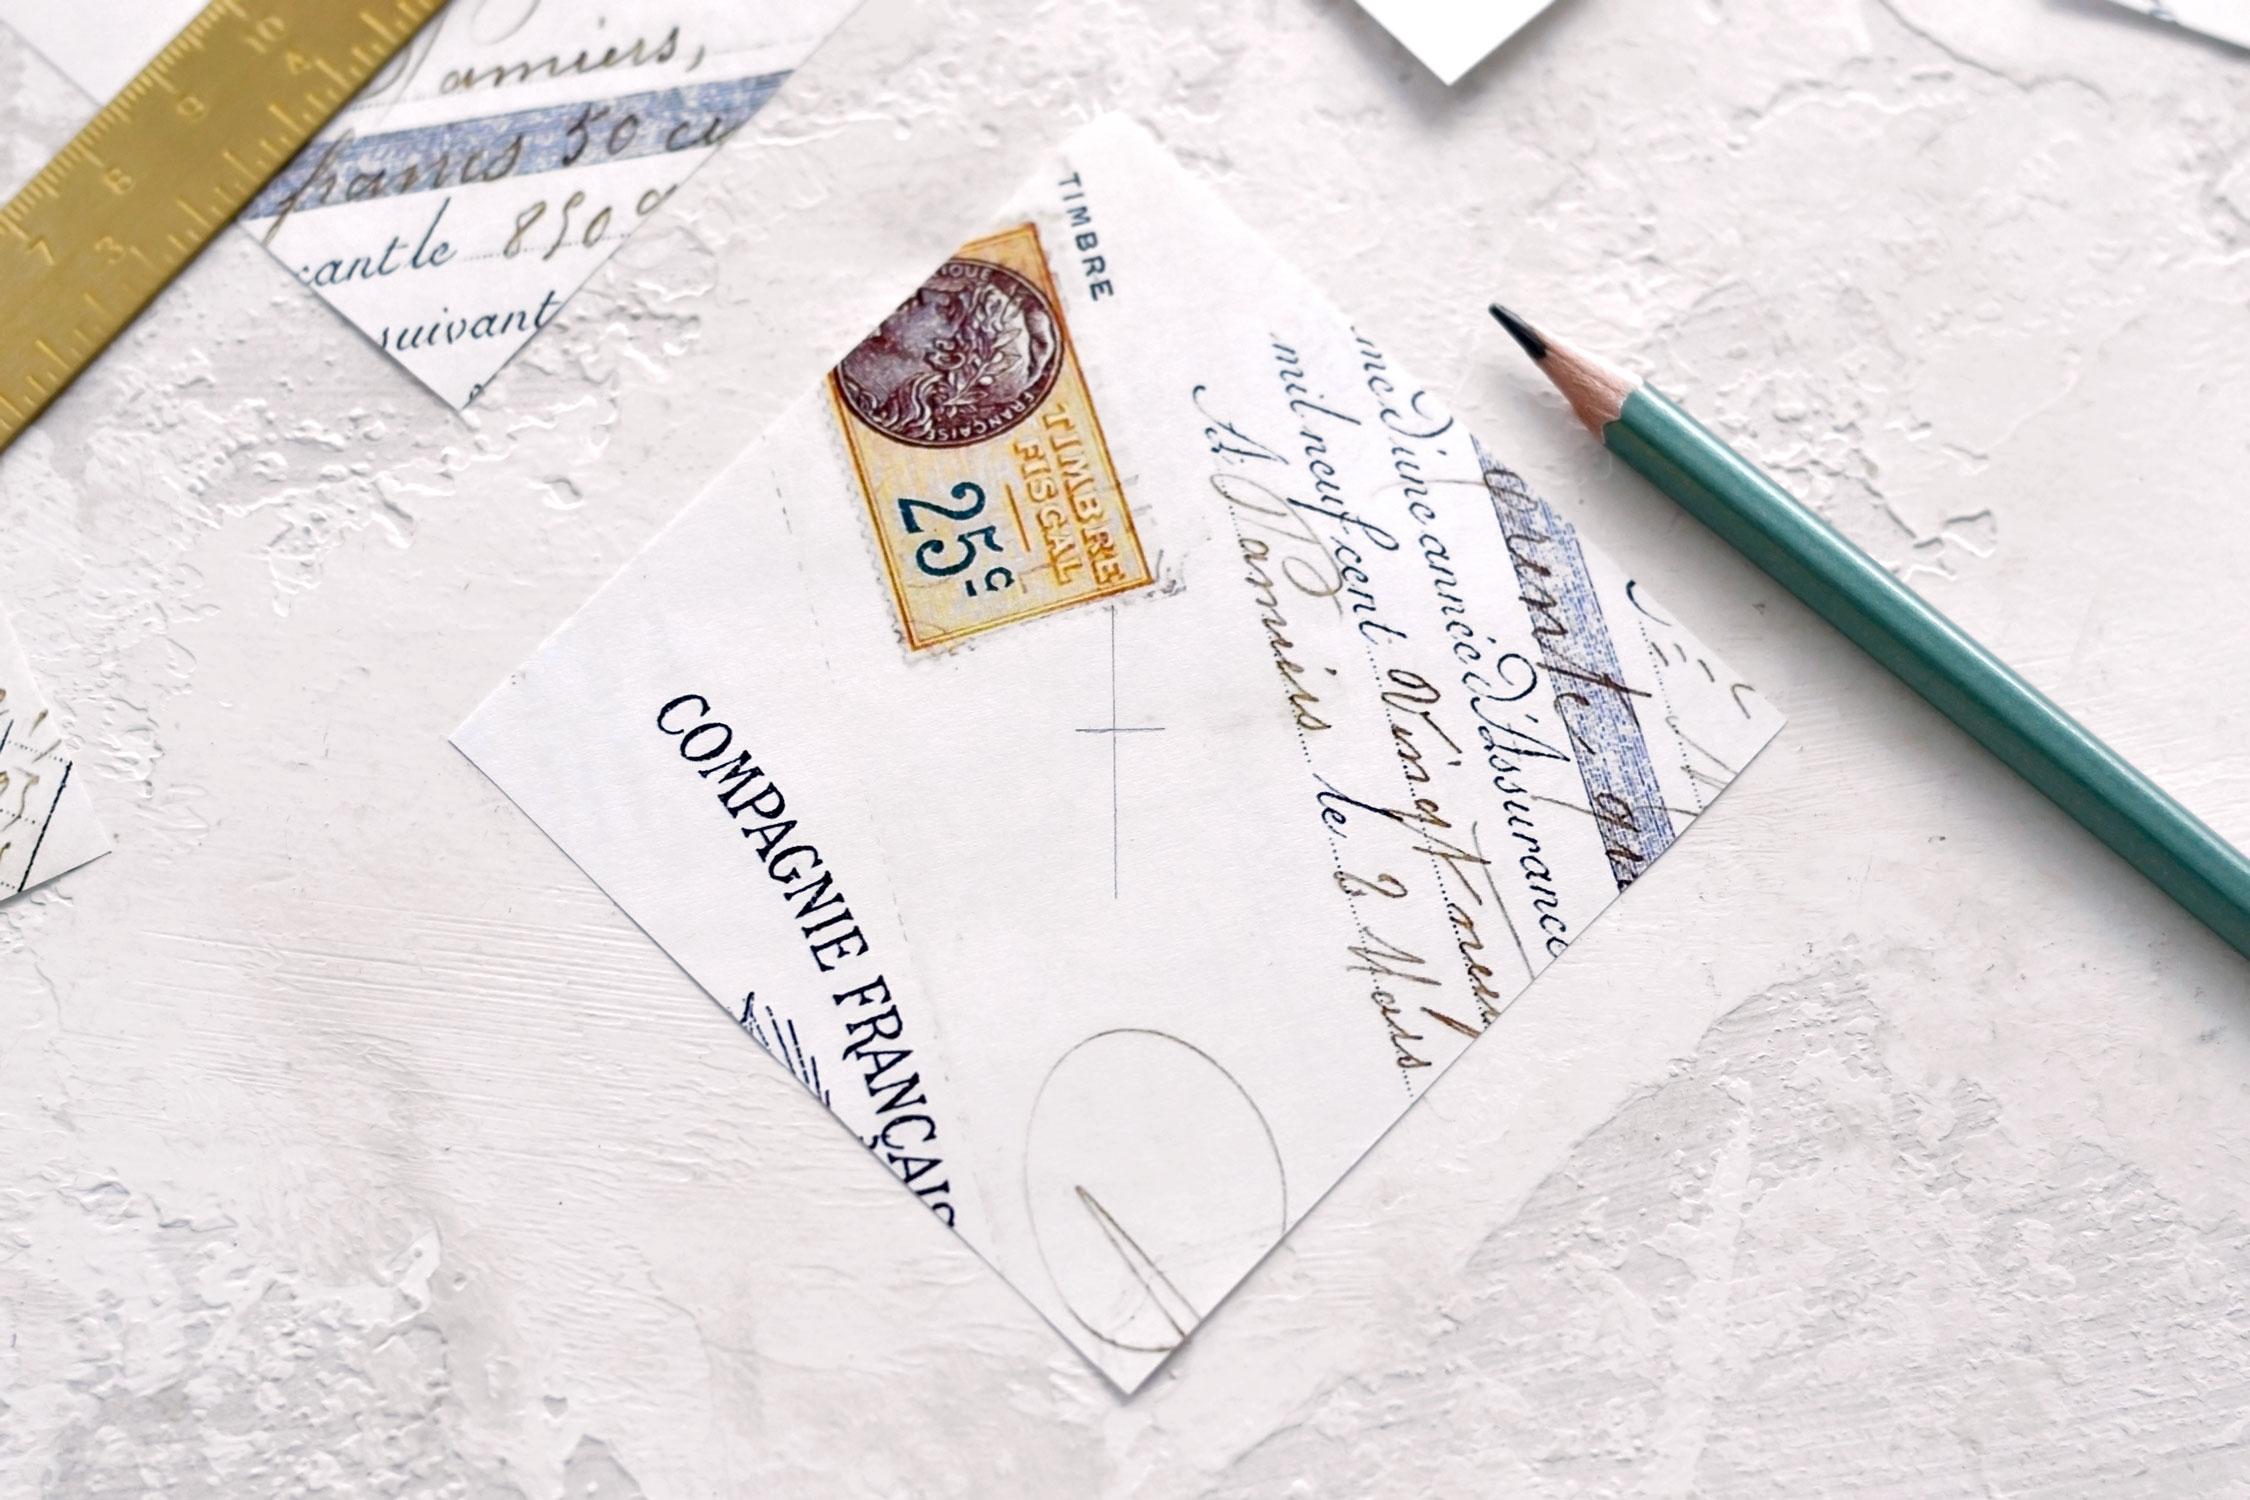
Use the square templates and place them on your ephemera printable. You can choose to place them as they are, like a square or you can 45 Degrees rotate them like a diamond, as I did. It would be best to try to align the writing on the printable with the left/right corners of the template if using them as diamonds if you want to create a more put-together look when assembling the envelopes.
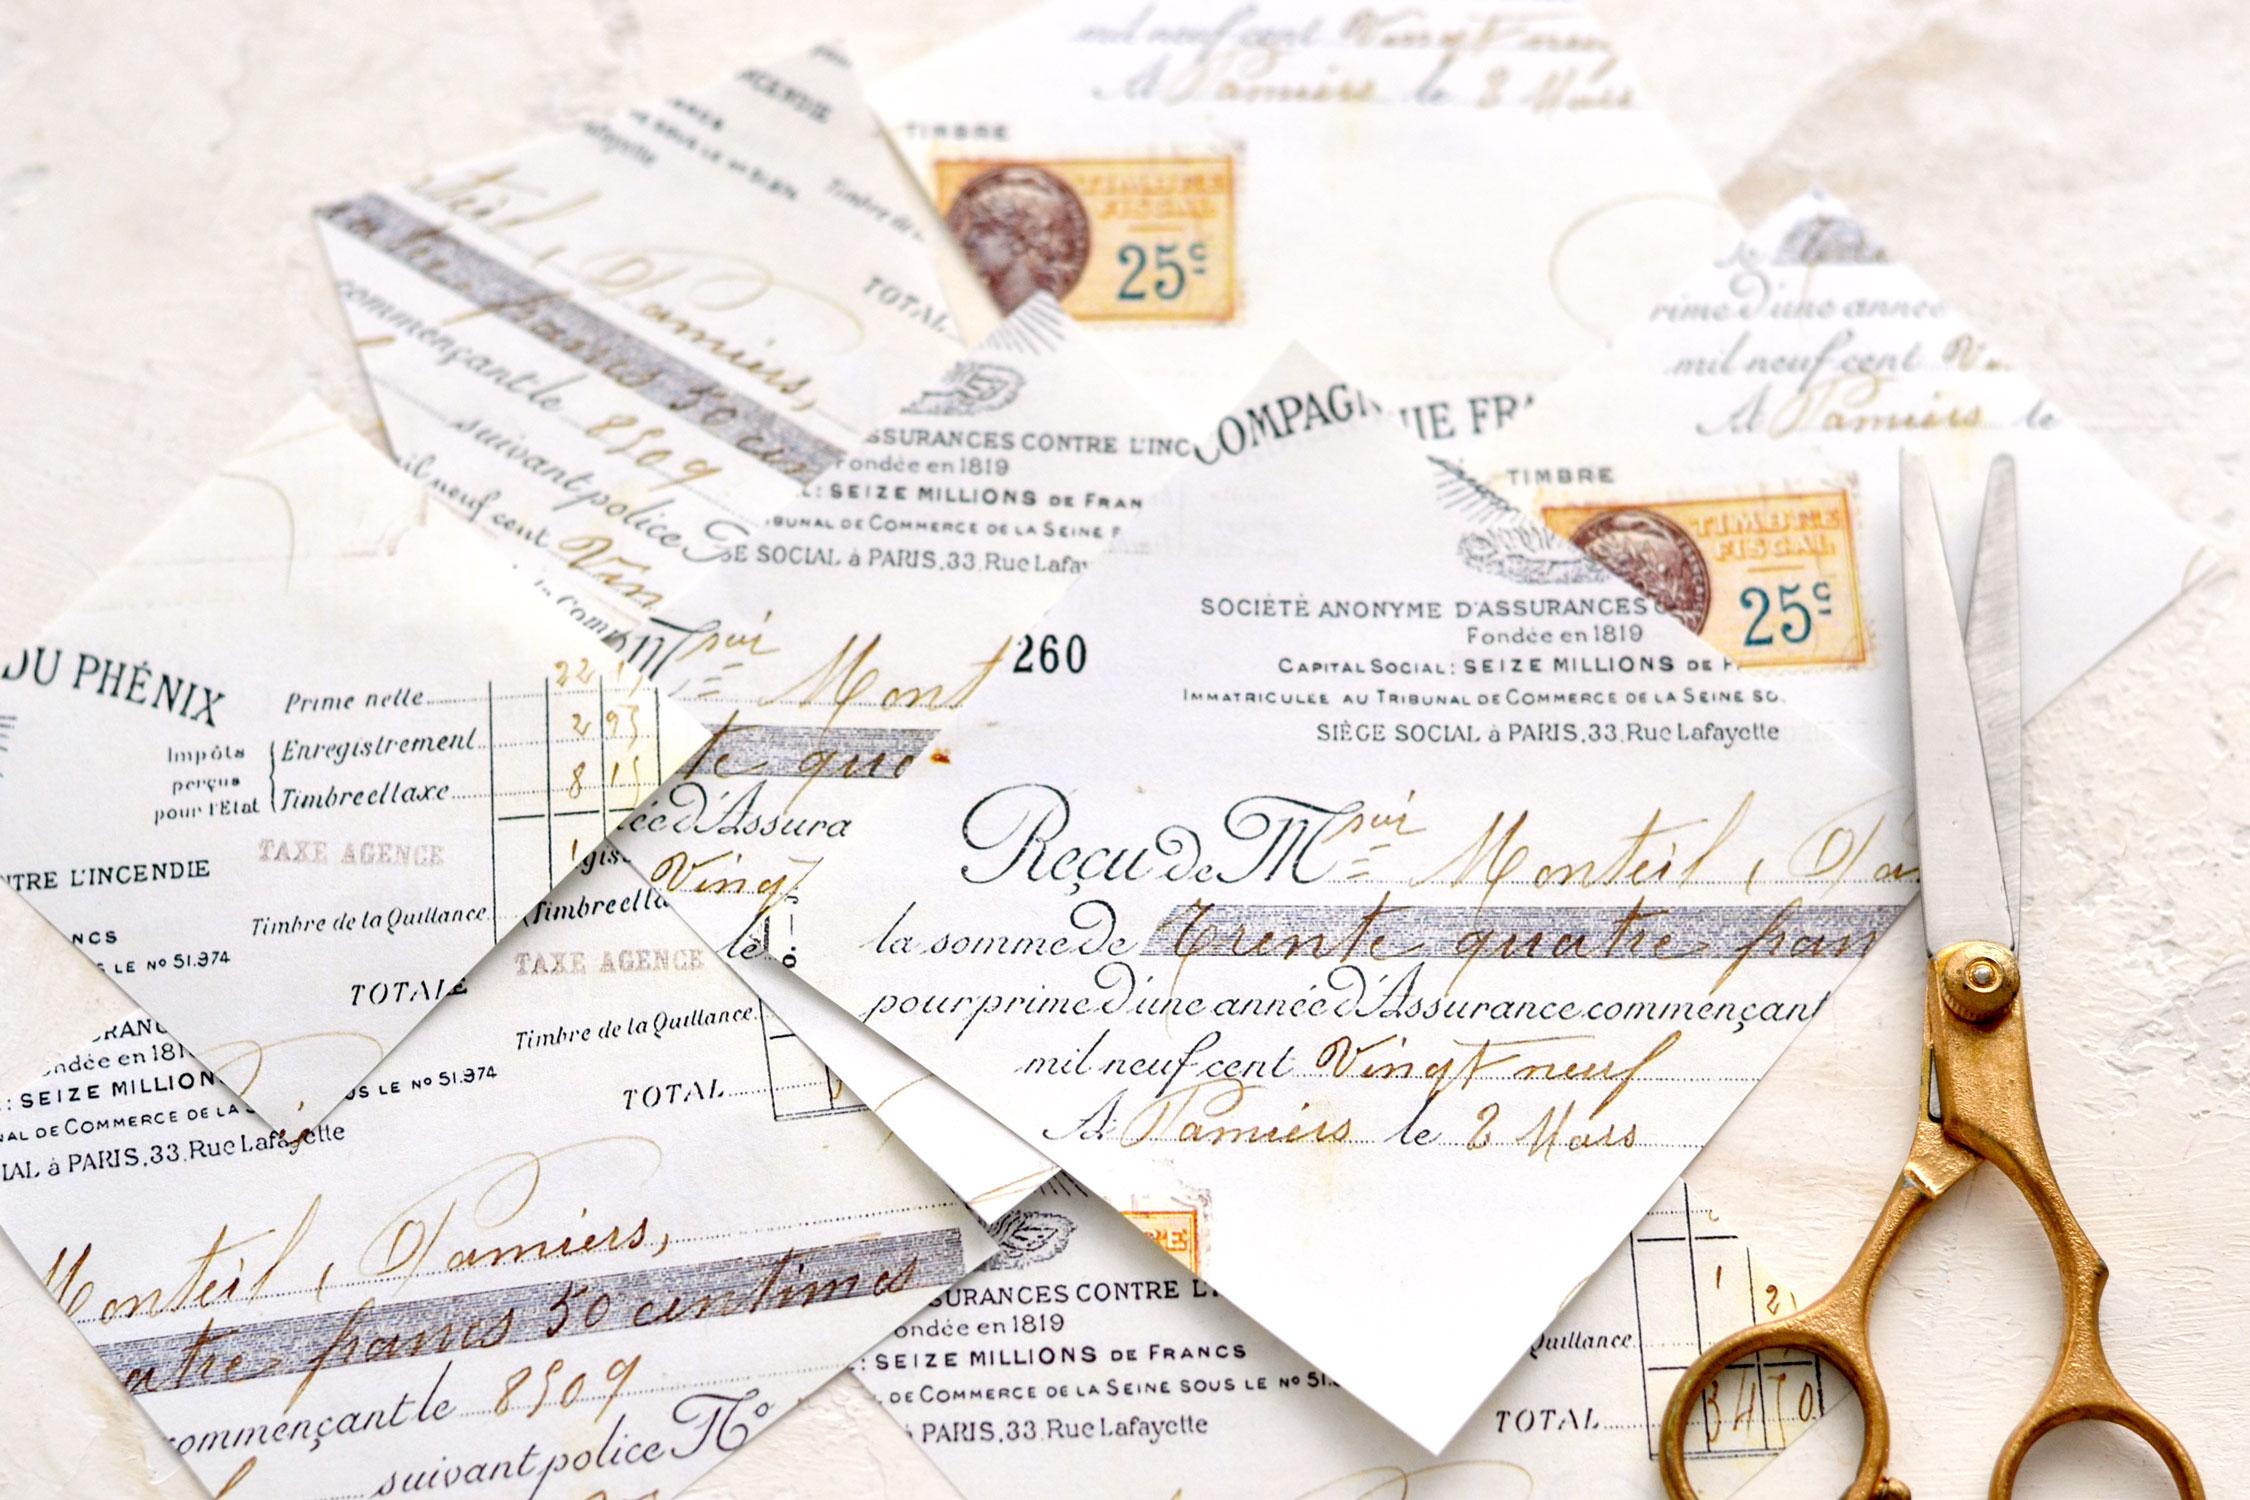
Now you can use your scissors to cut each ephemera square. Cut inside the border that you traced with your pencil and remove it completely.
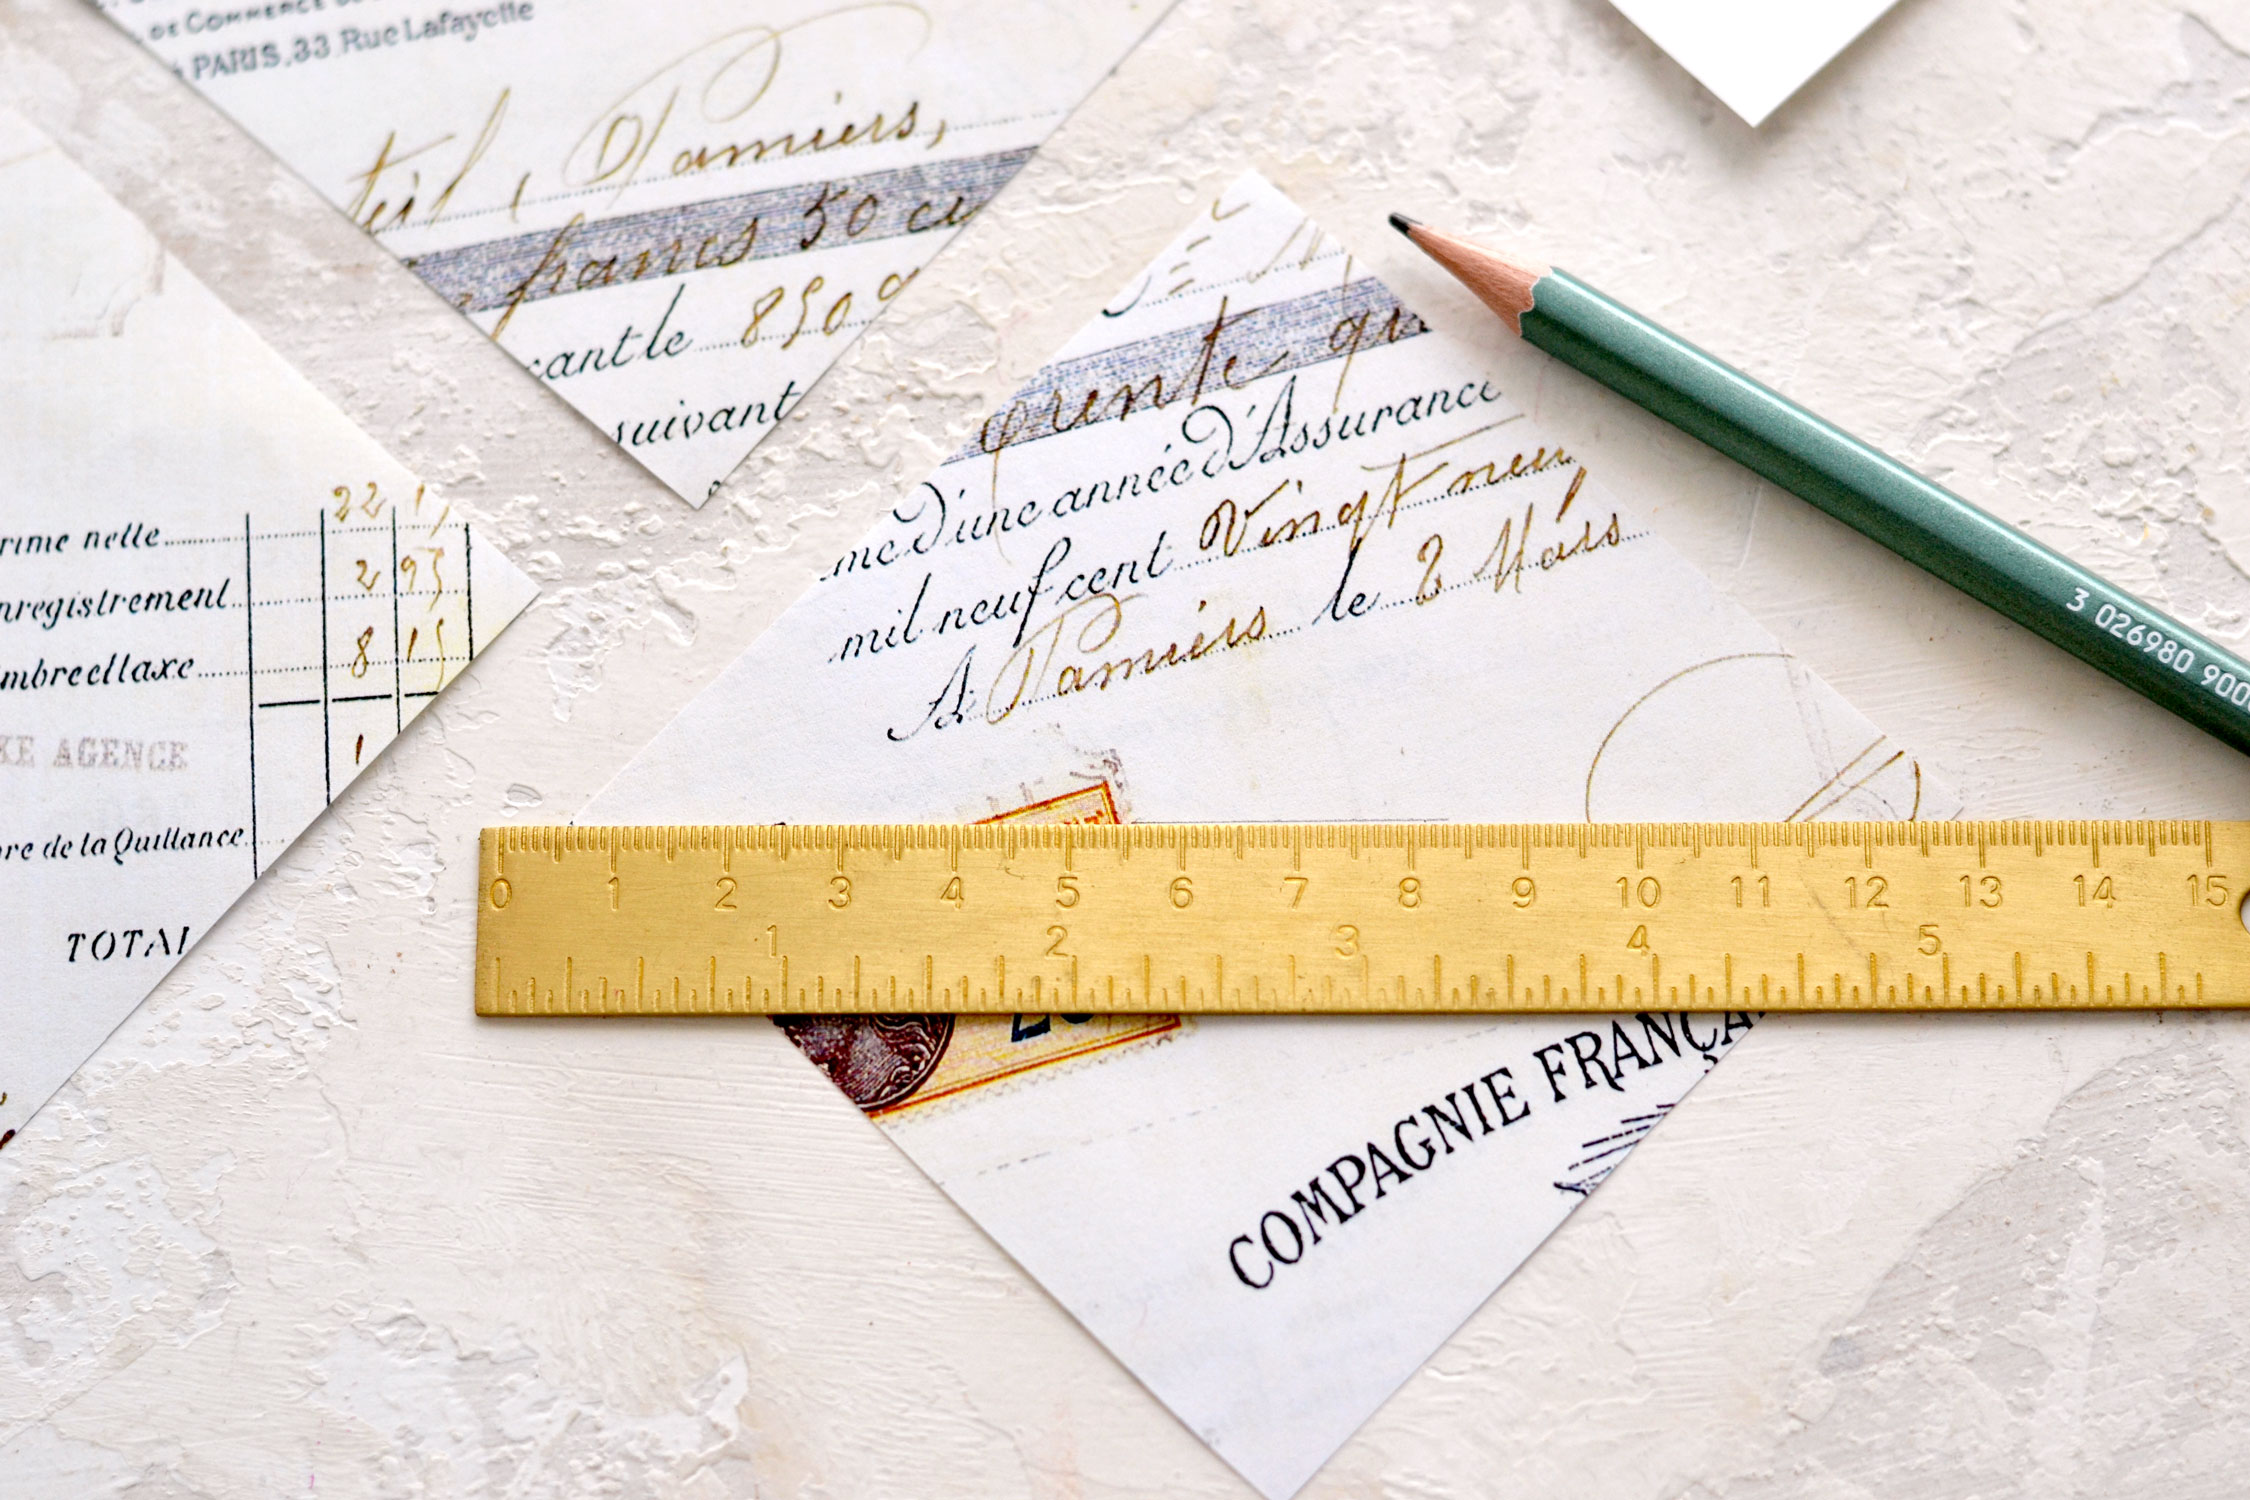
Use a small ruler to connect the left and right corners, then use a pencil and trace a small line in the middle.
Rotate the paper and follow the same step on the opposite corners, you will see that the two pencil marks will create a small intersection that looks like a cross.
The intersection point of this small cross will determine the exact center of our envelope and it will help us fold it.
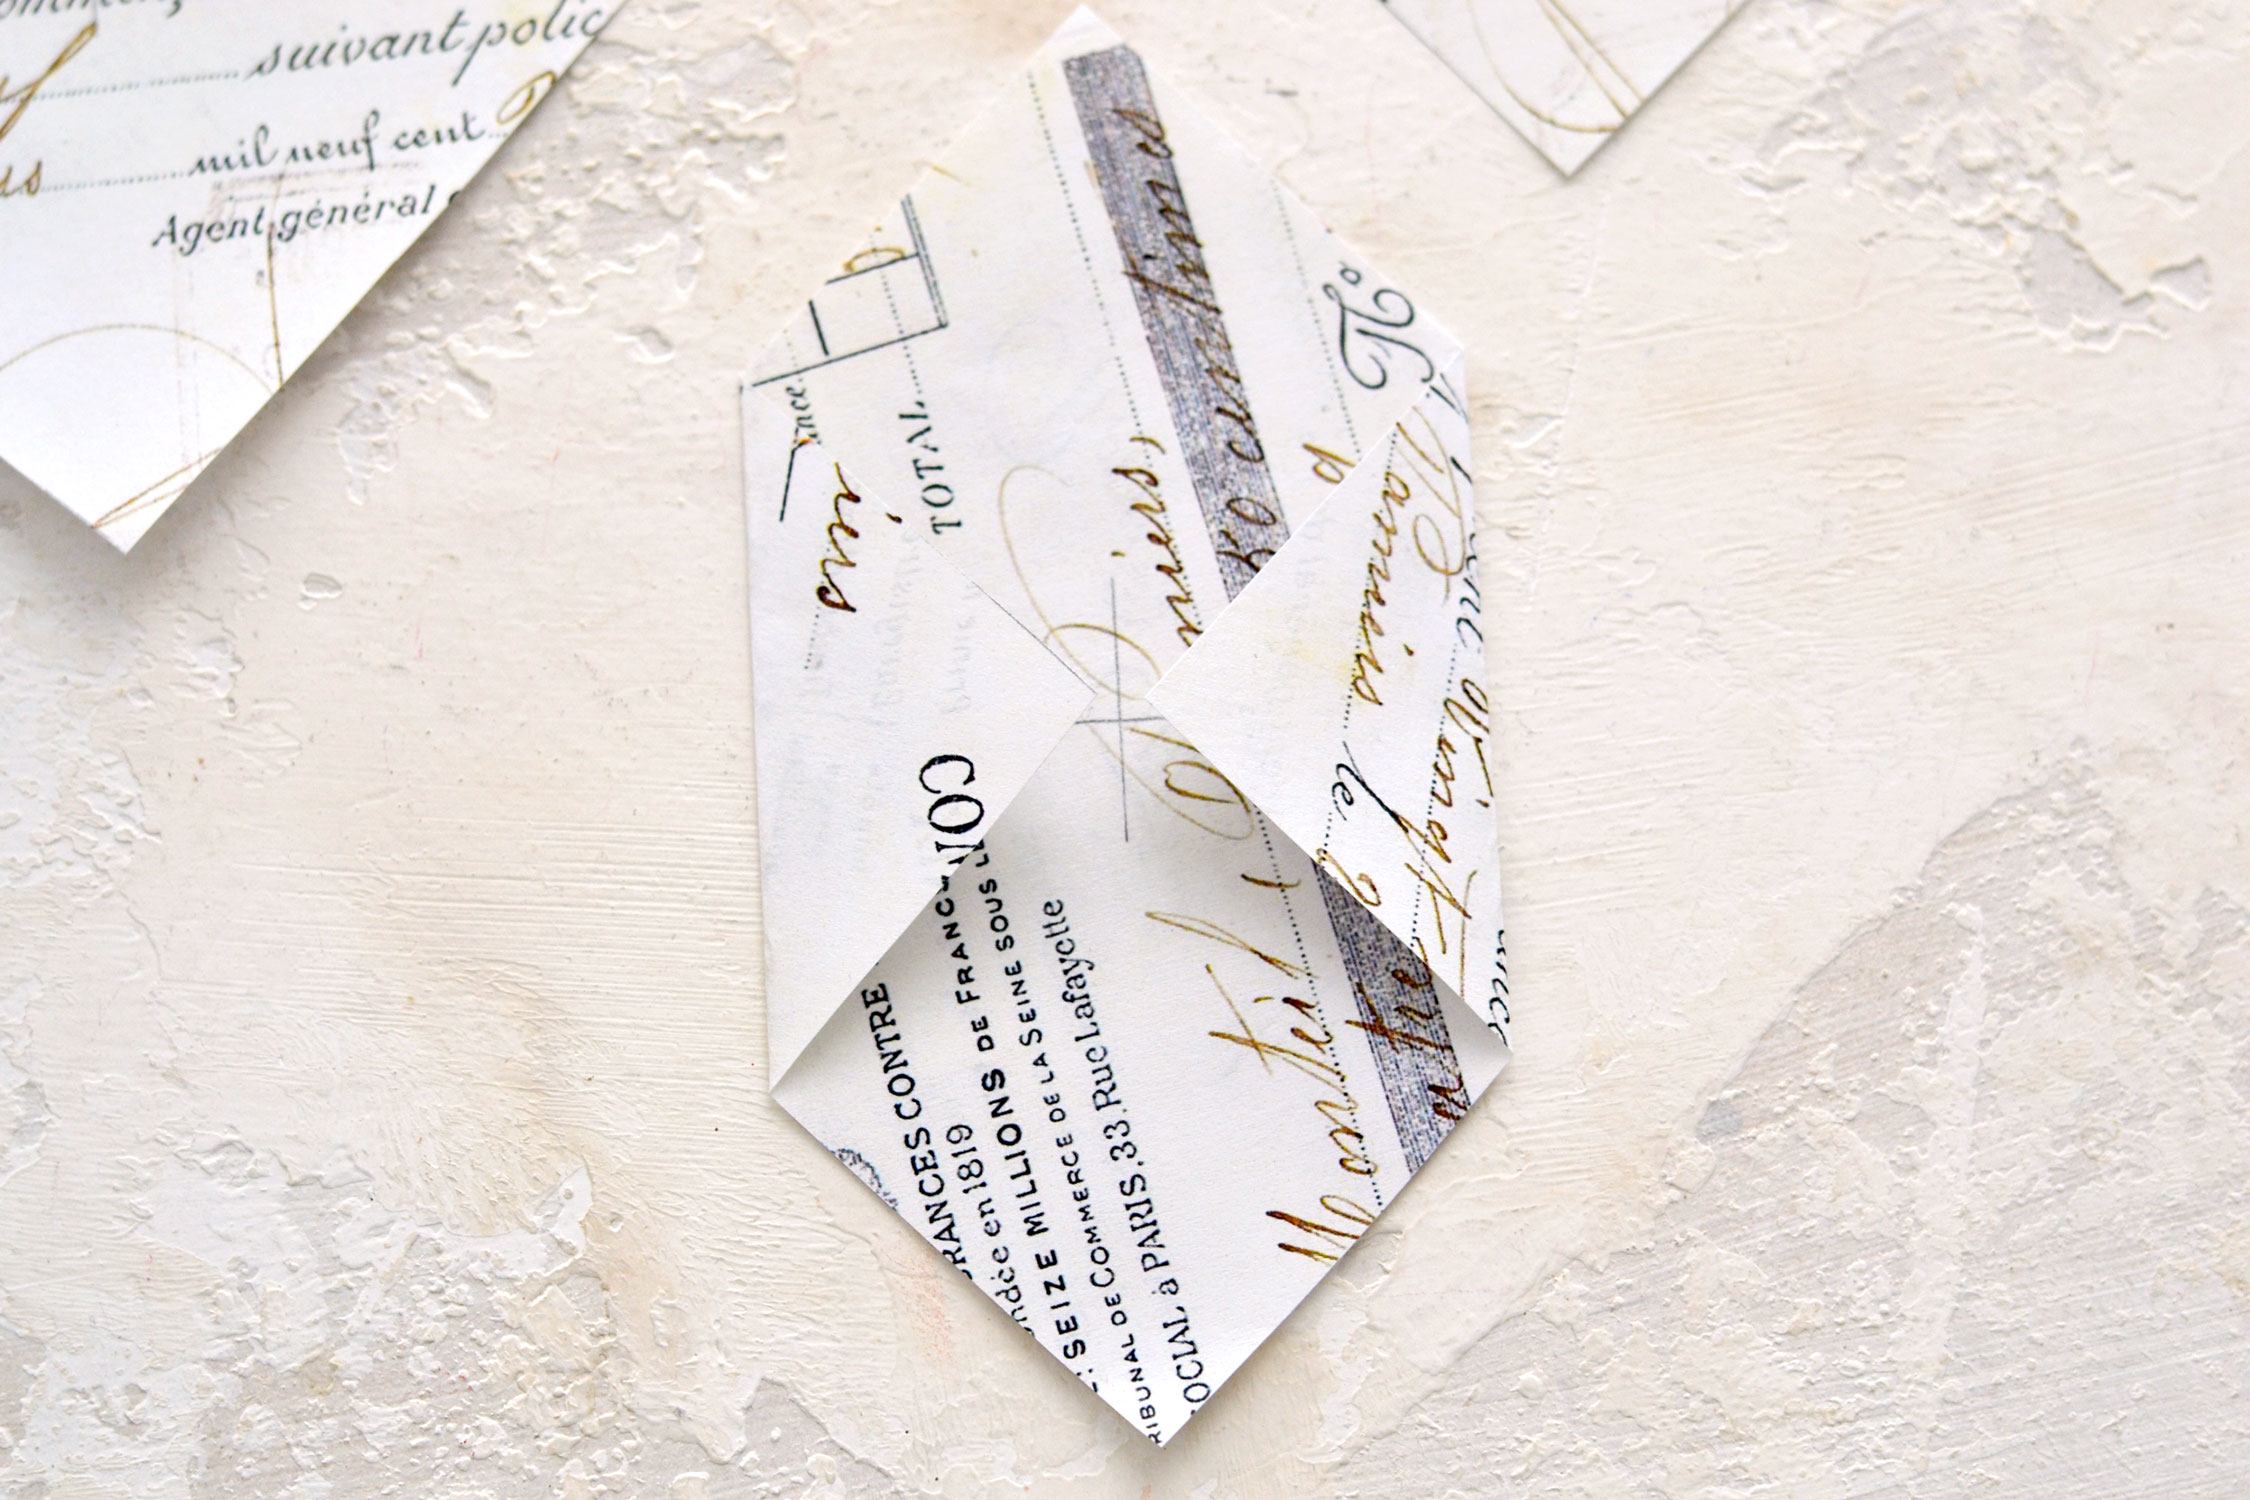
Fold the left and right corners inwards using the intersection point in the middle as guidance to create the left and right flaps.
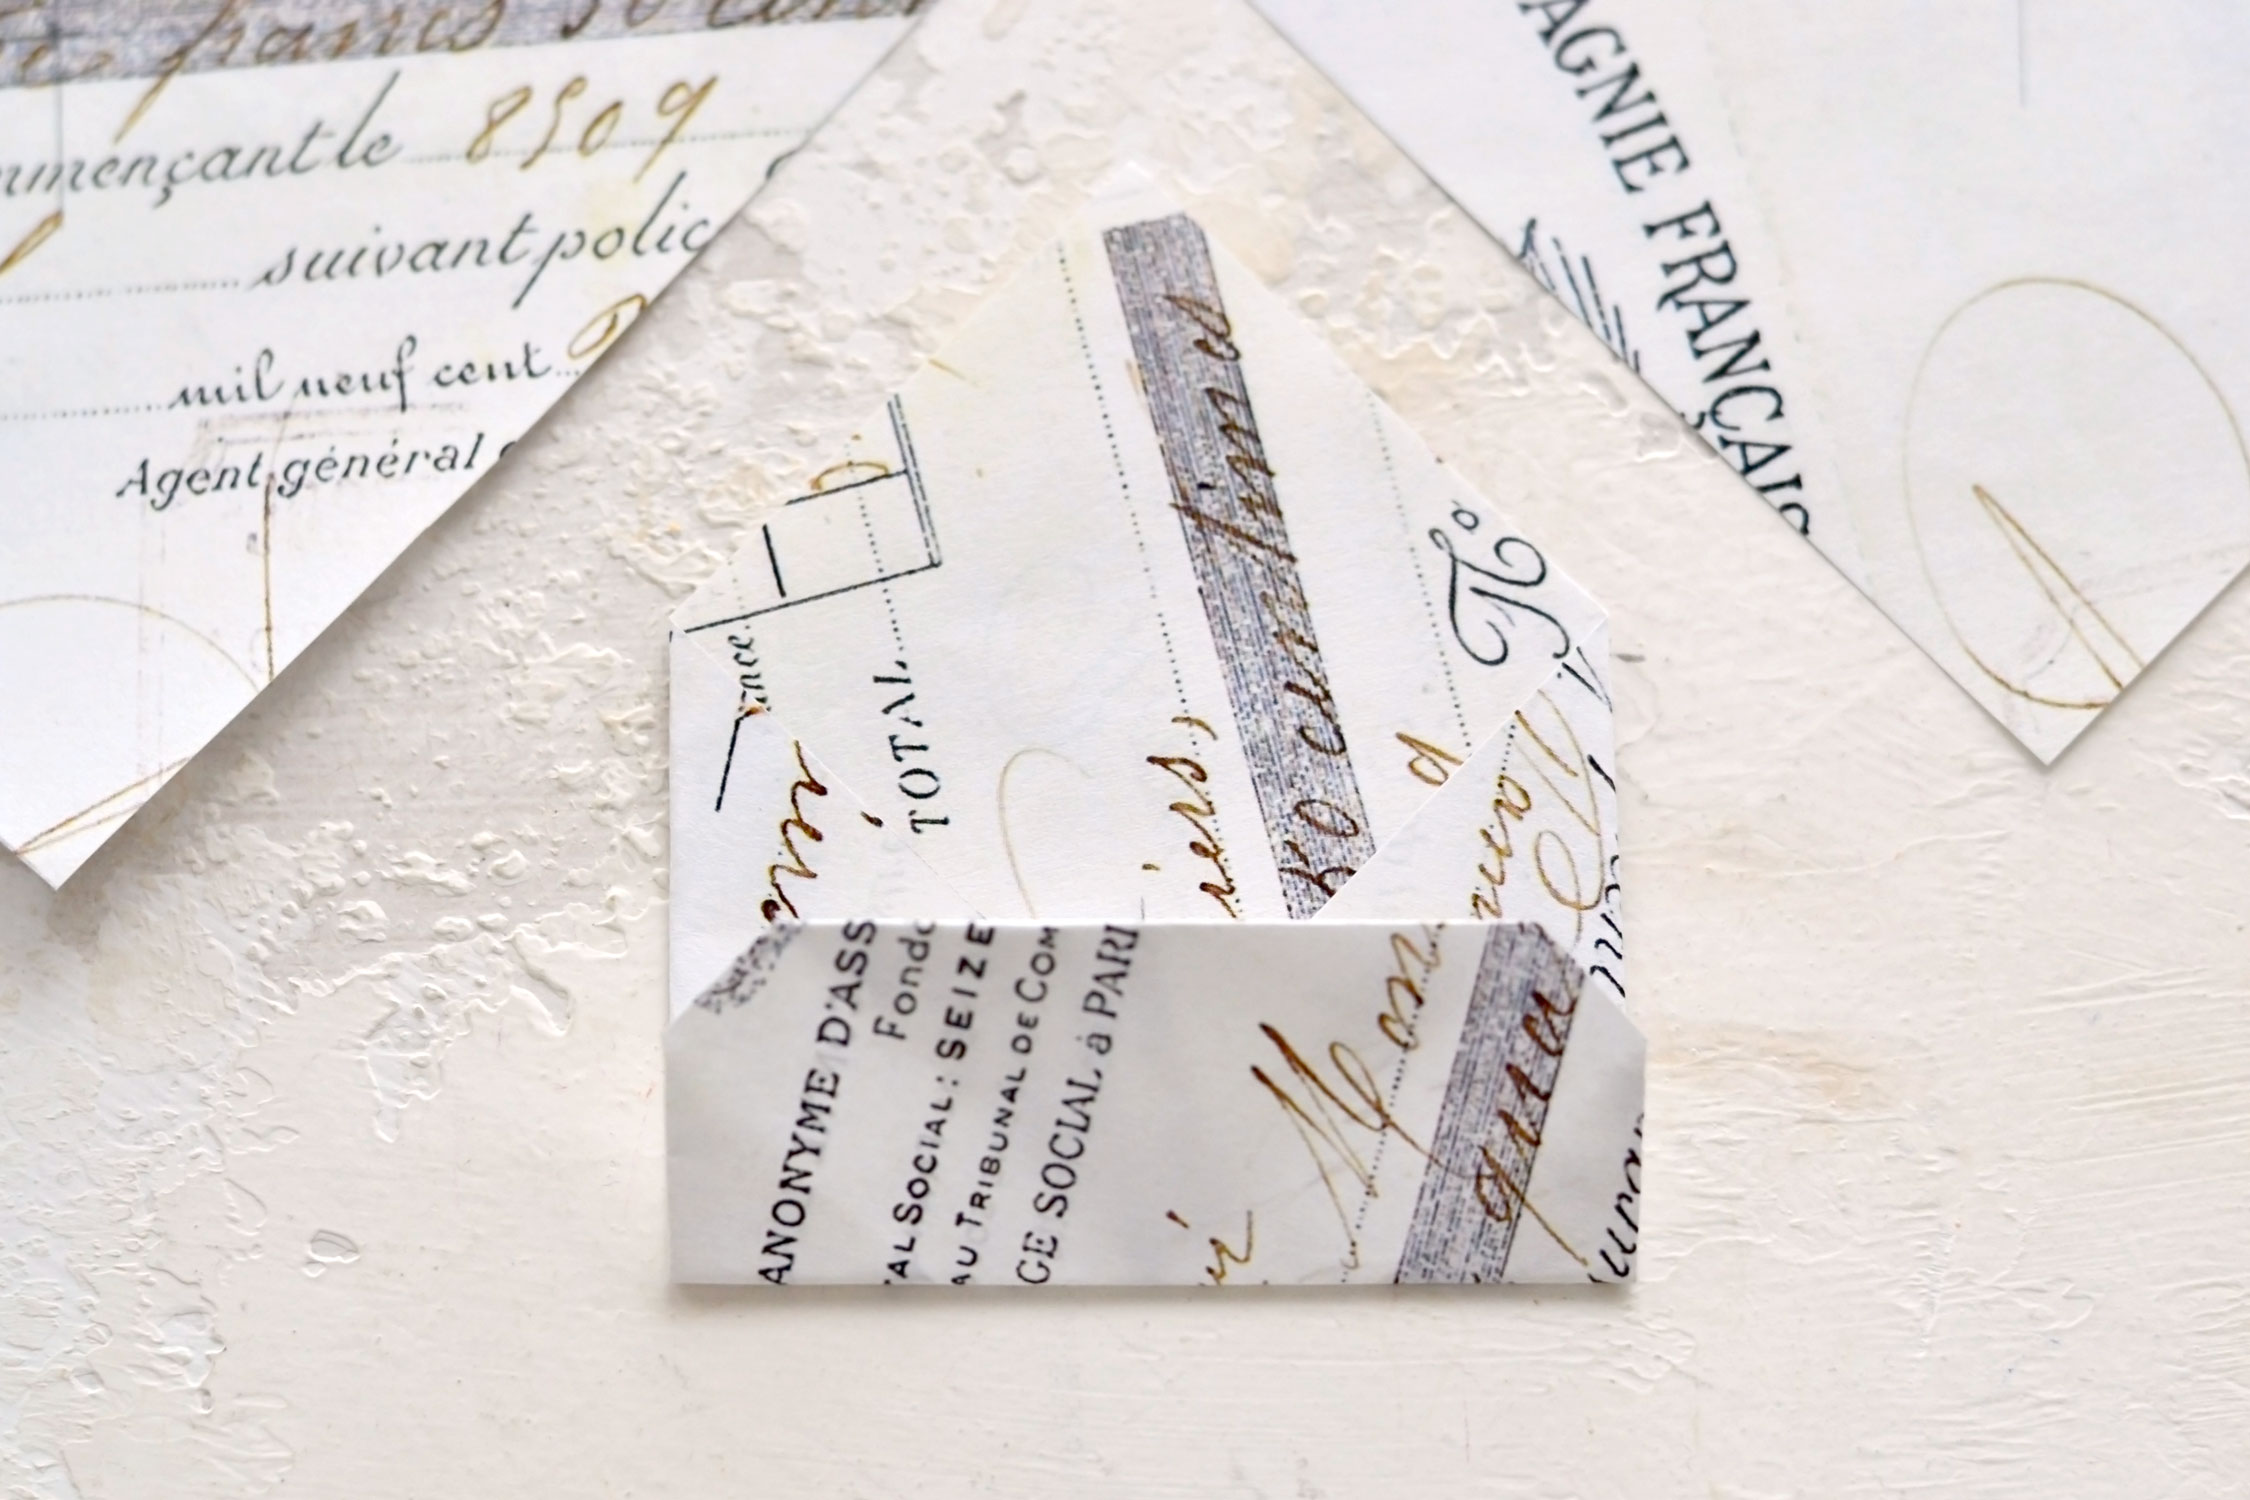
Fold the bottom of your envelope upwards as you can see in the image below.
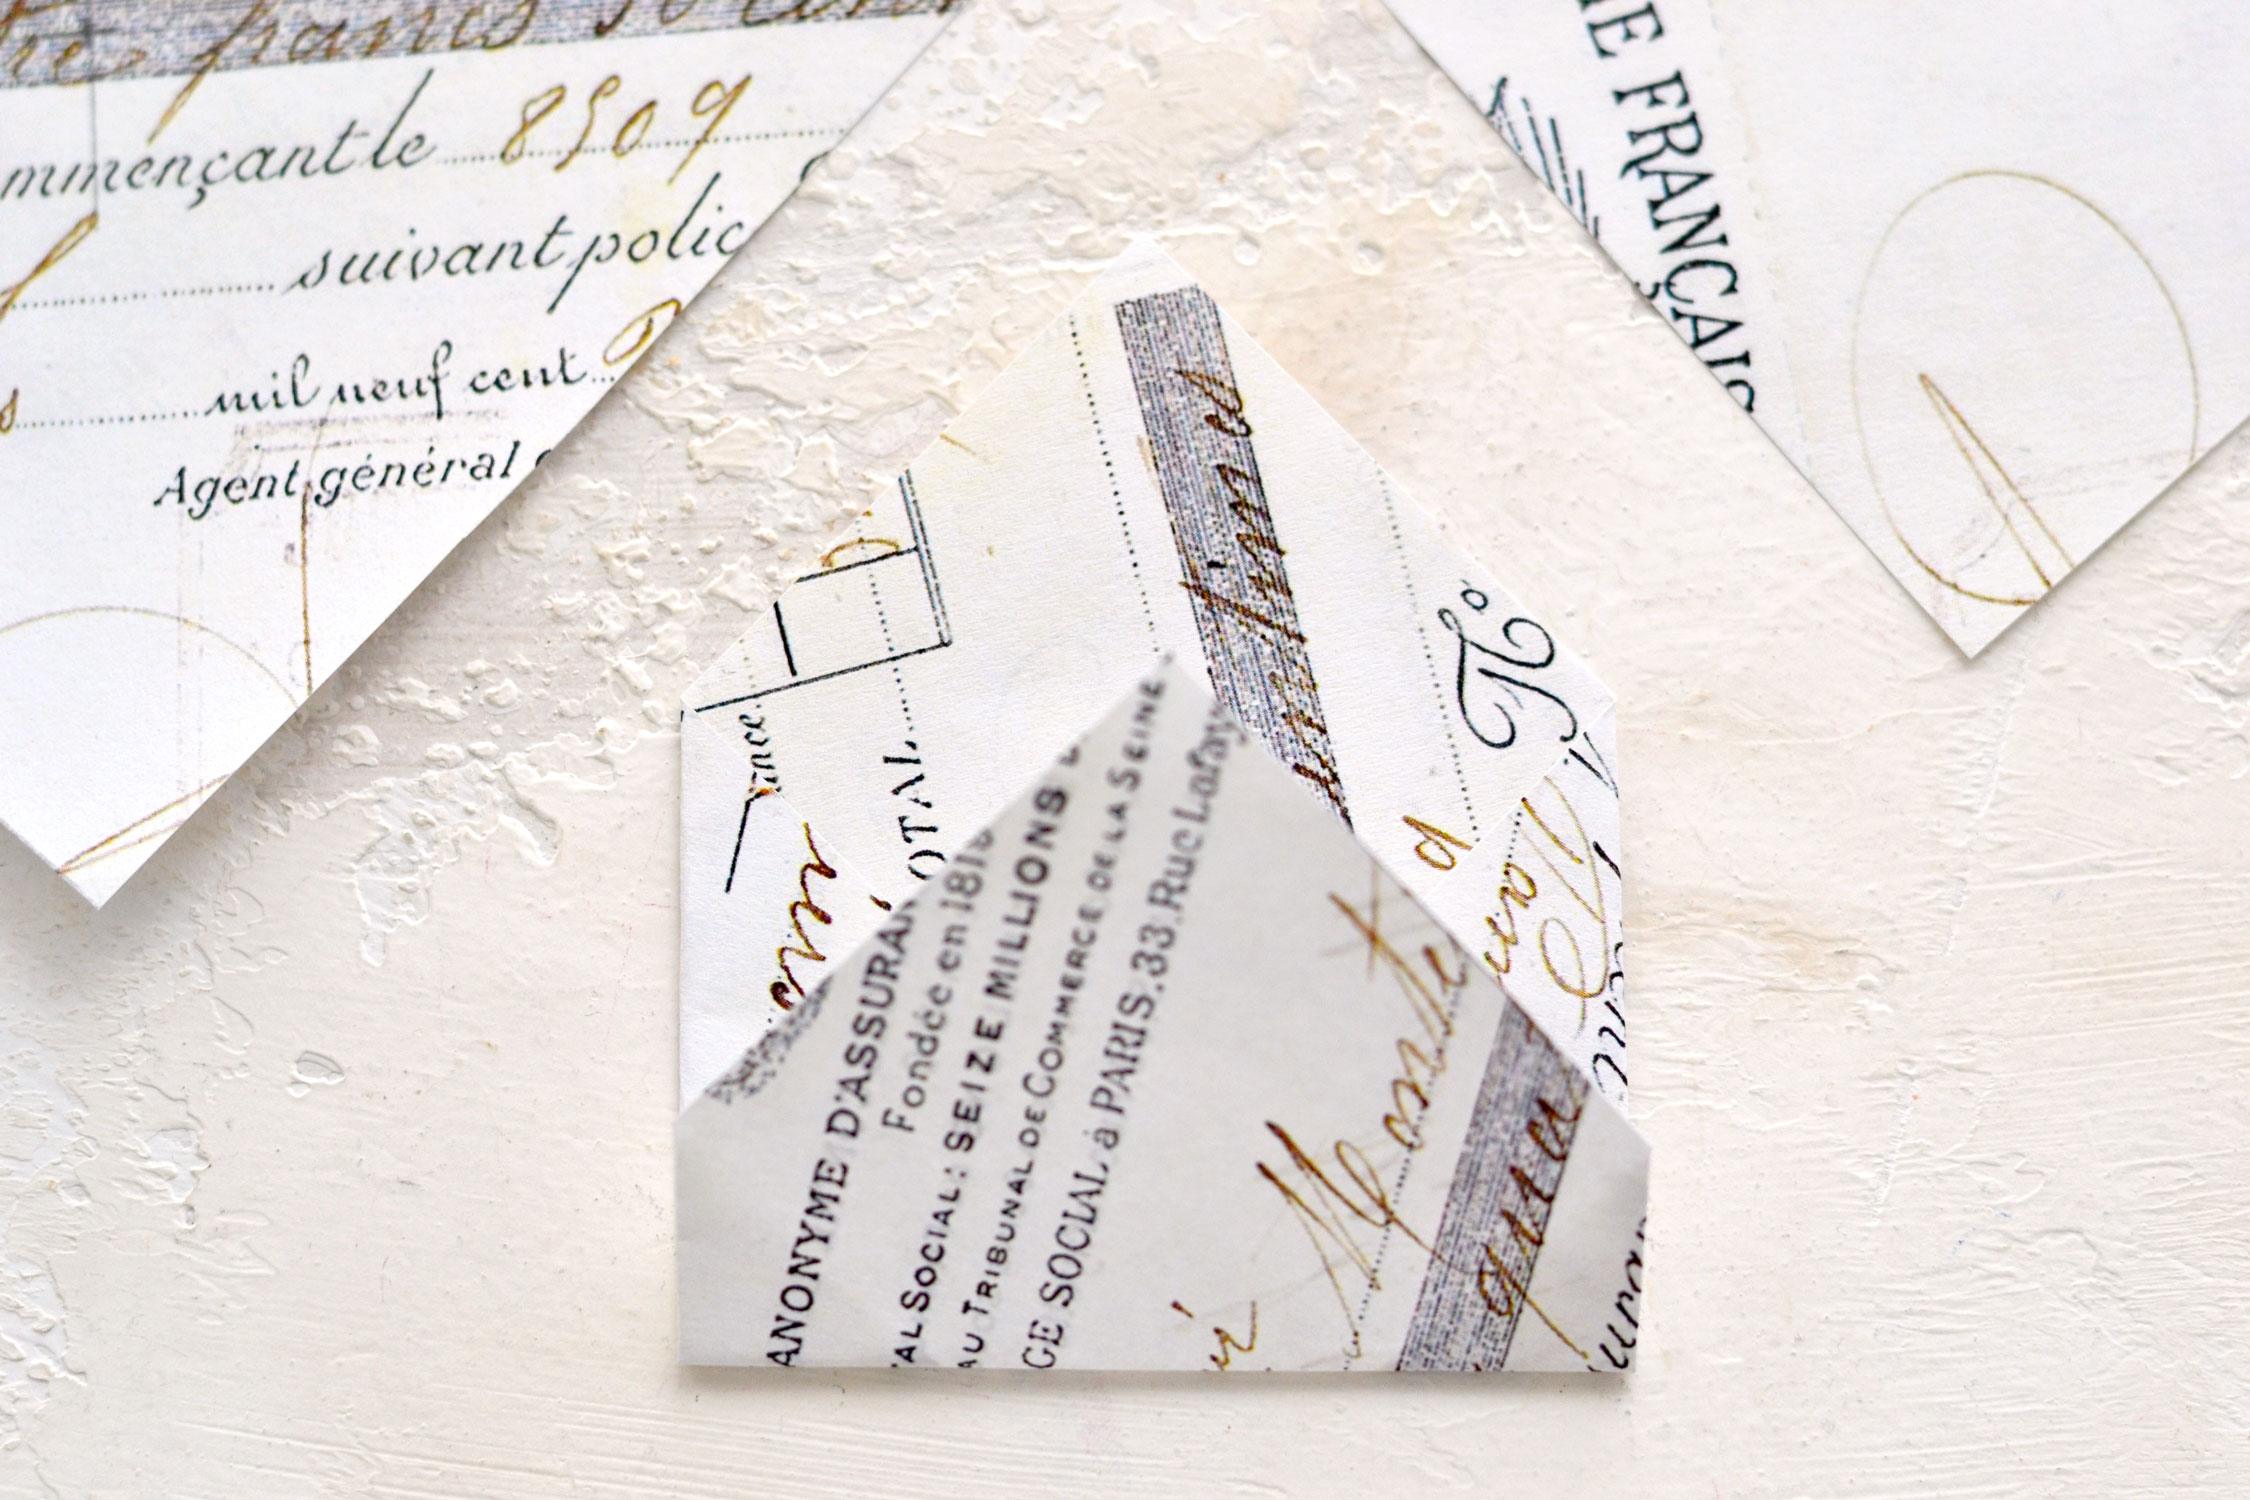
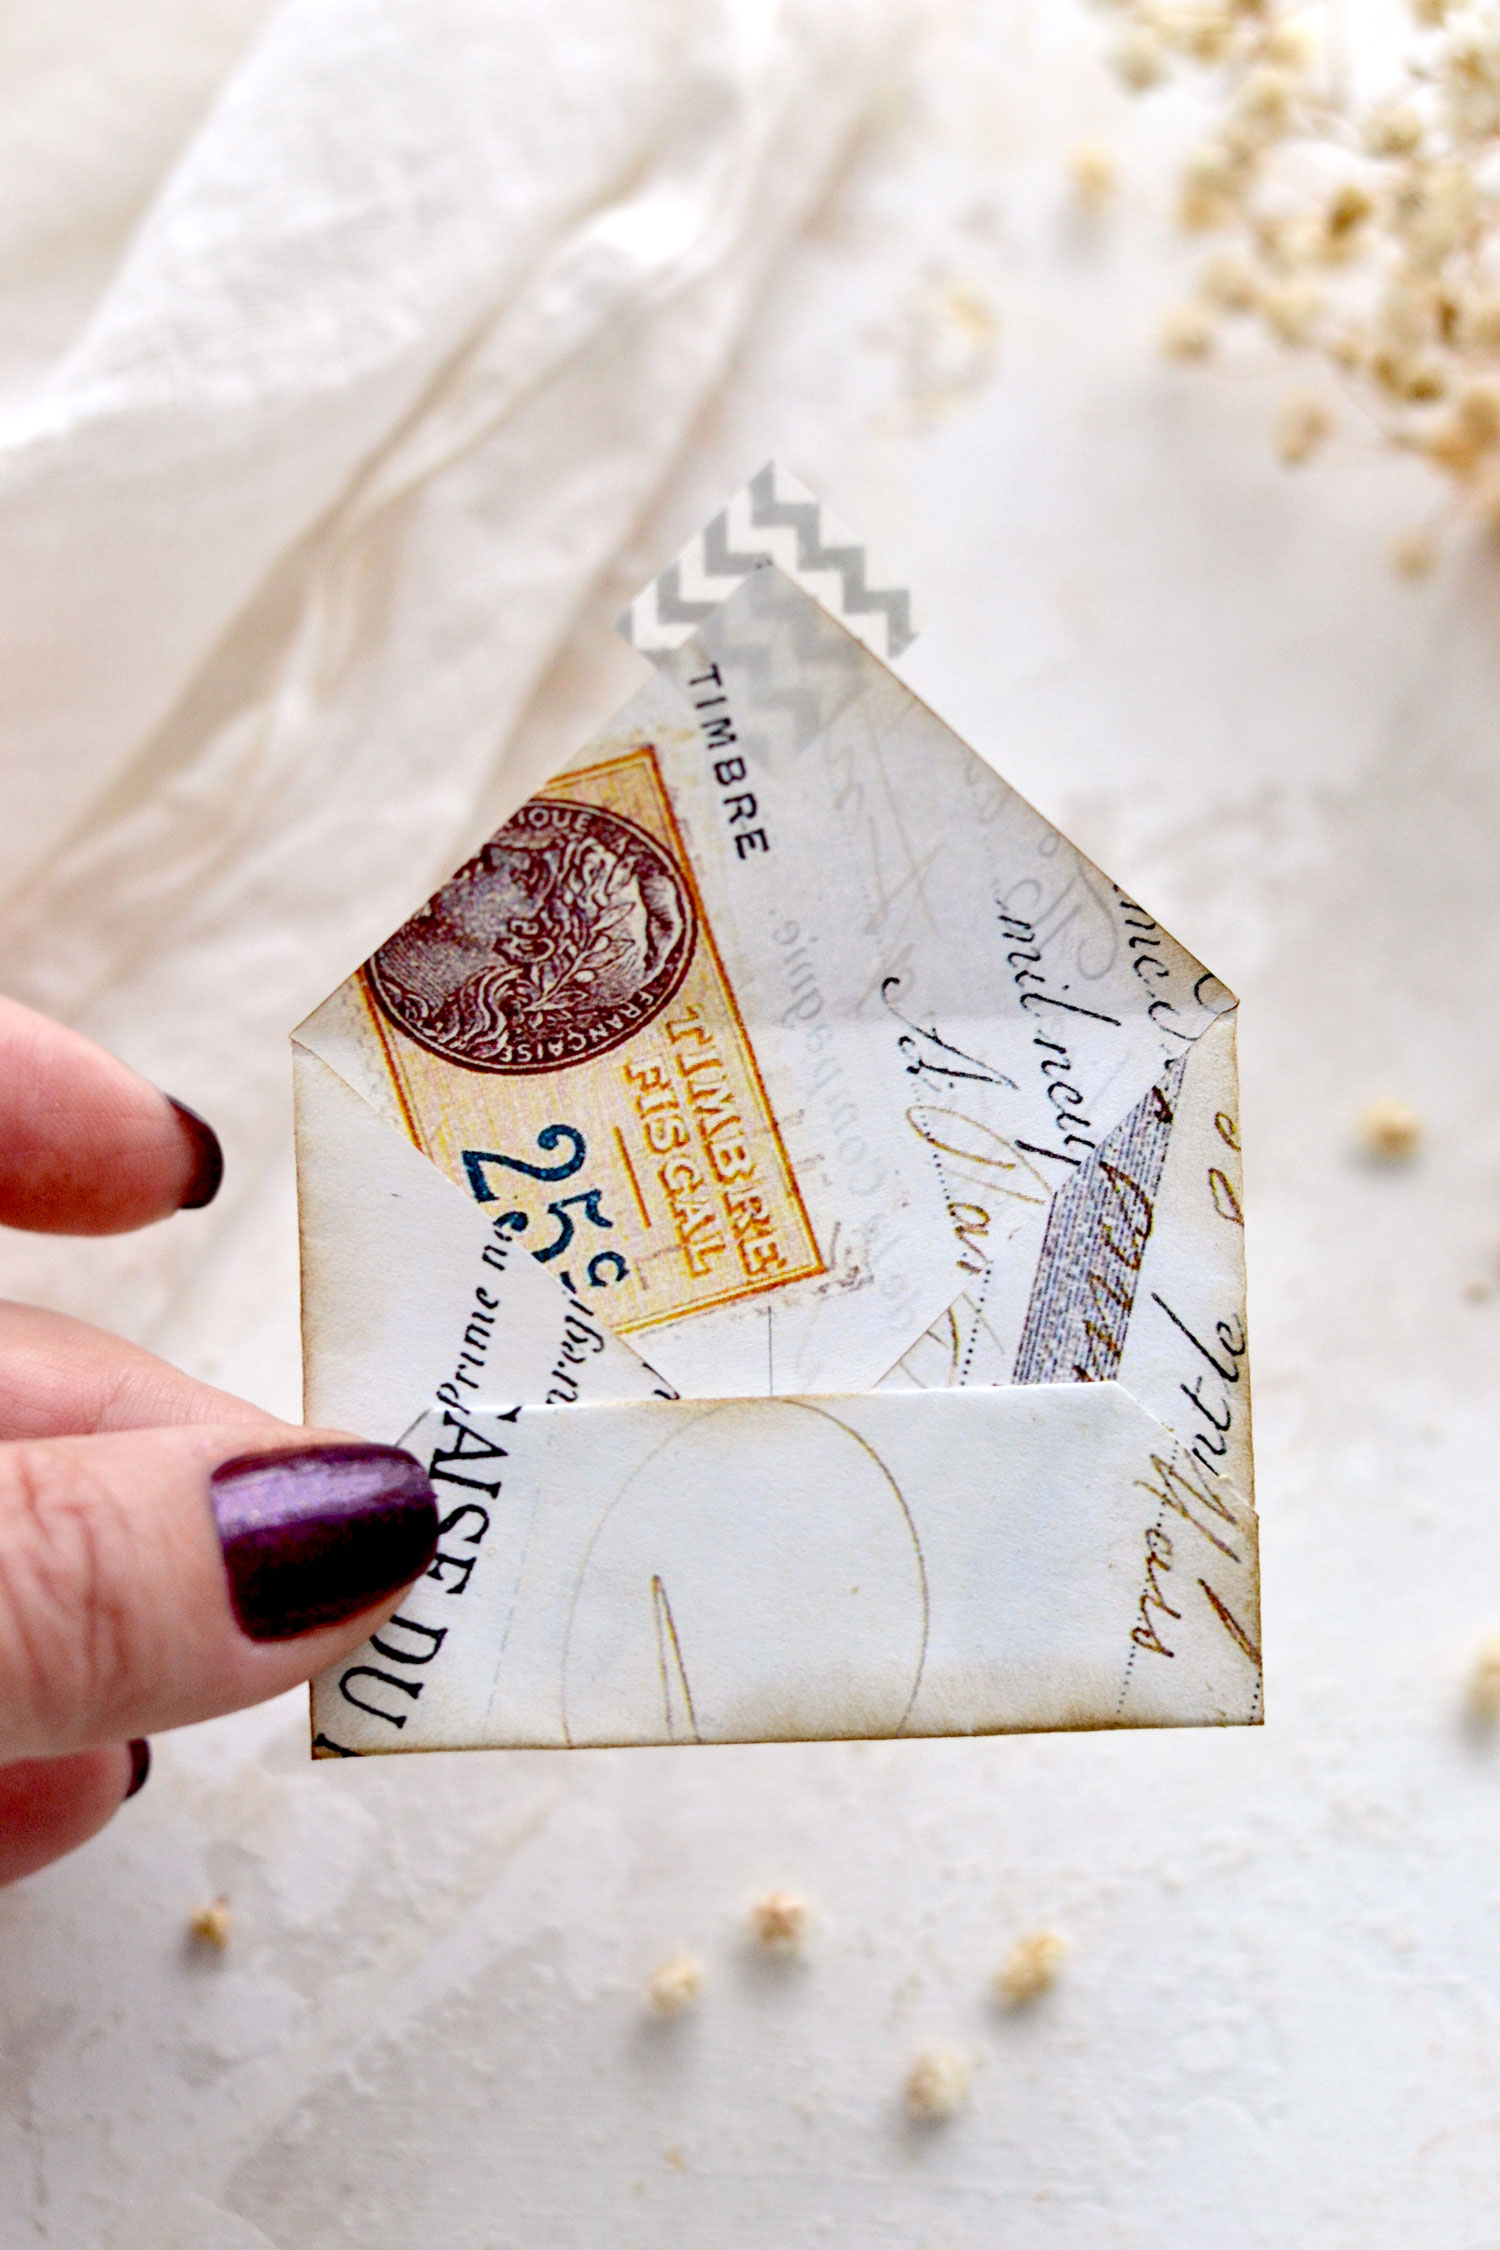
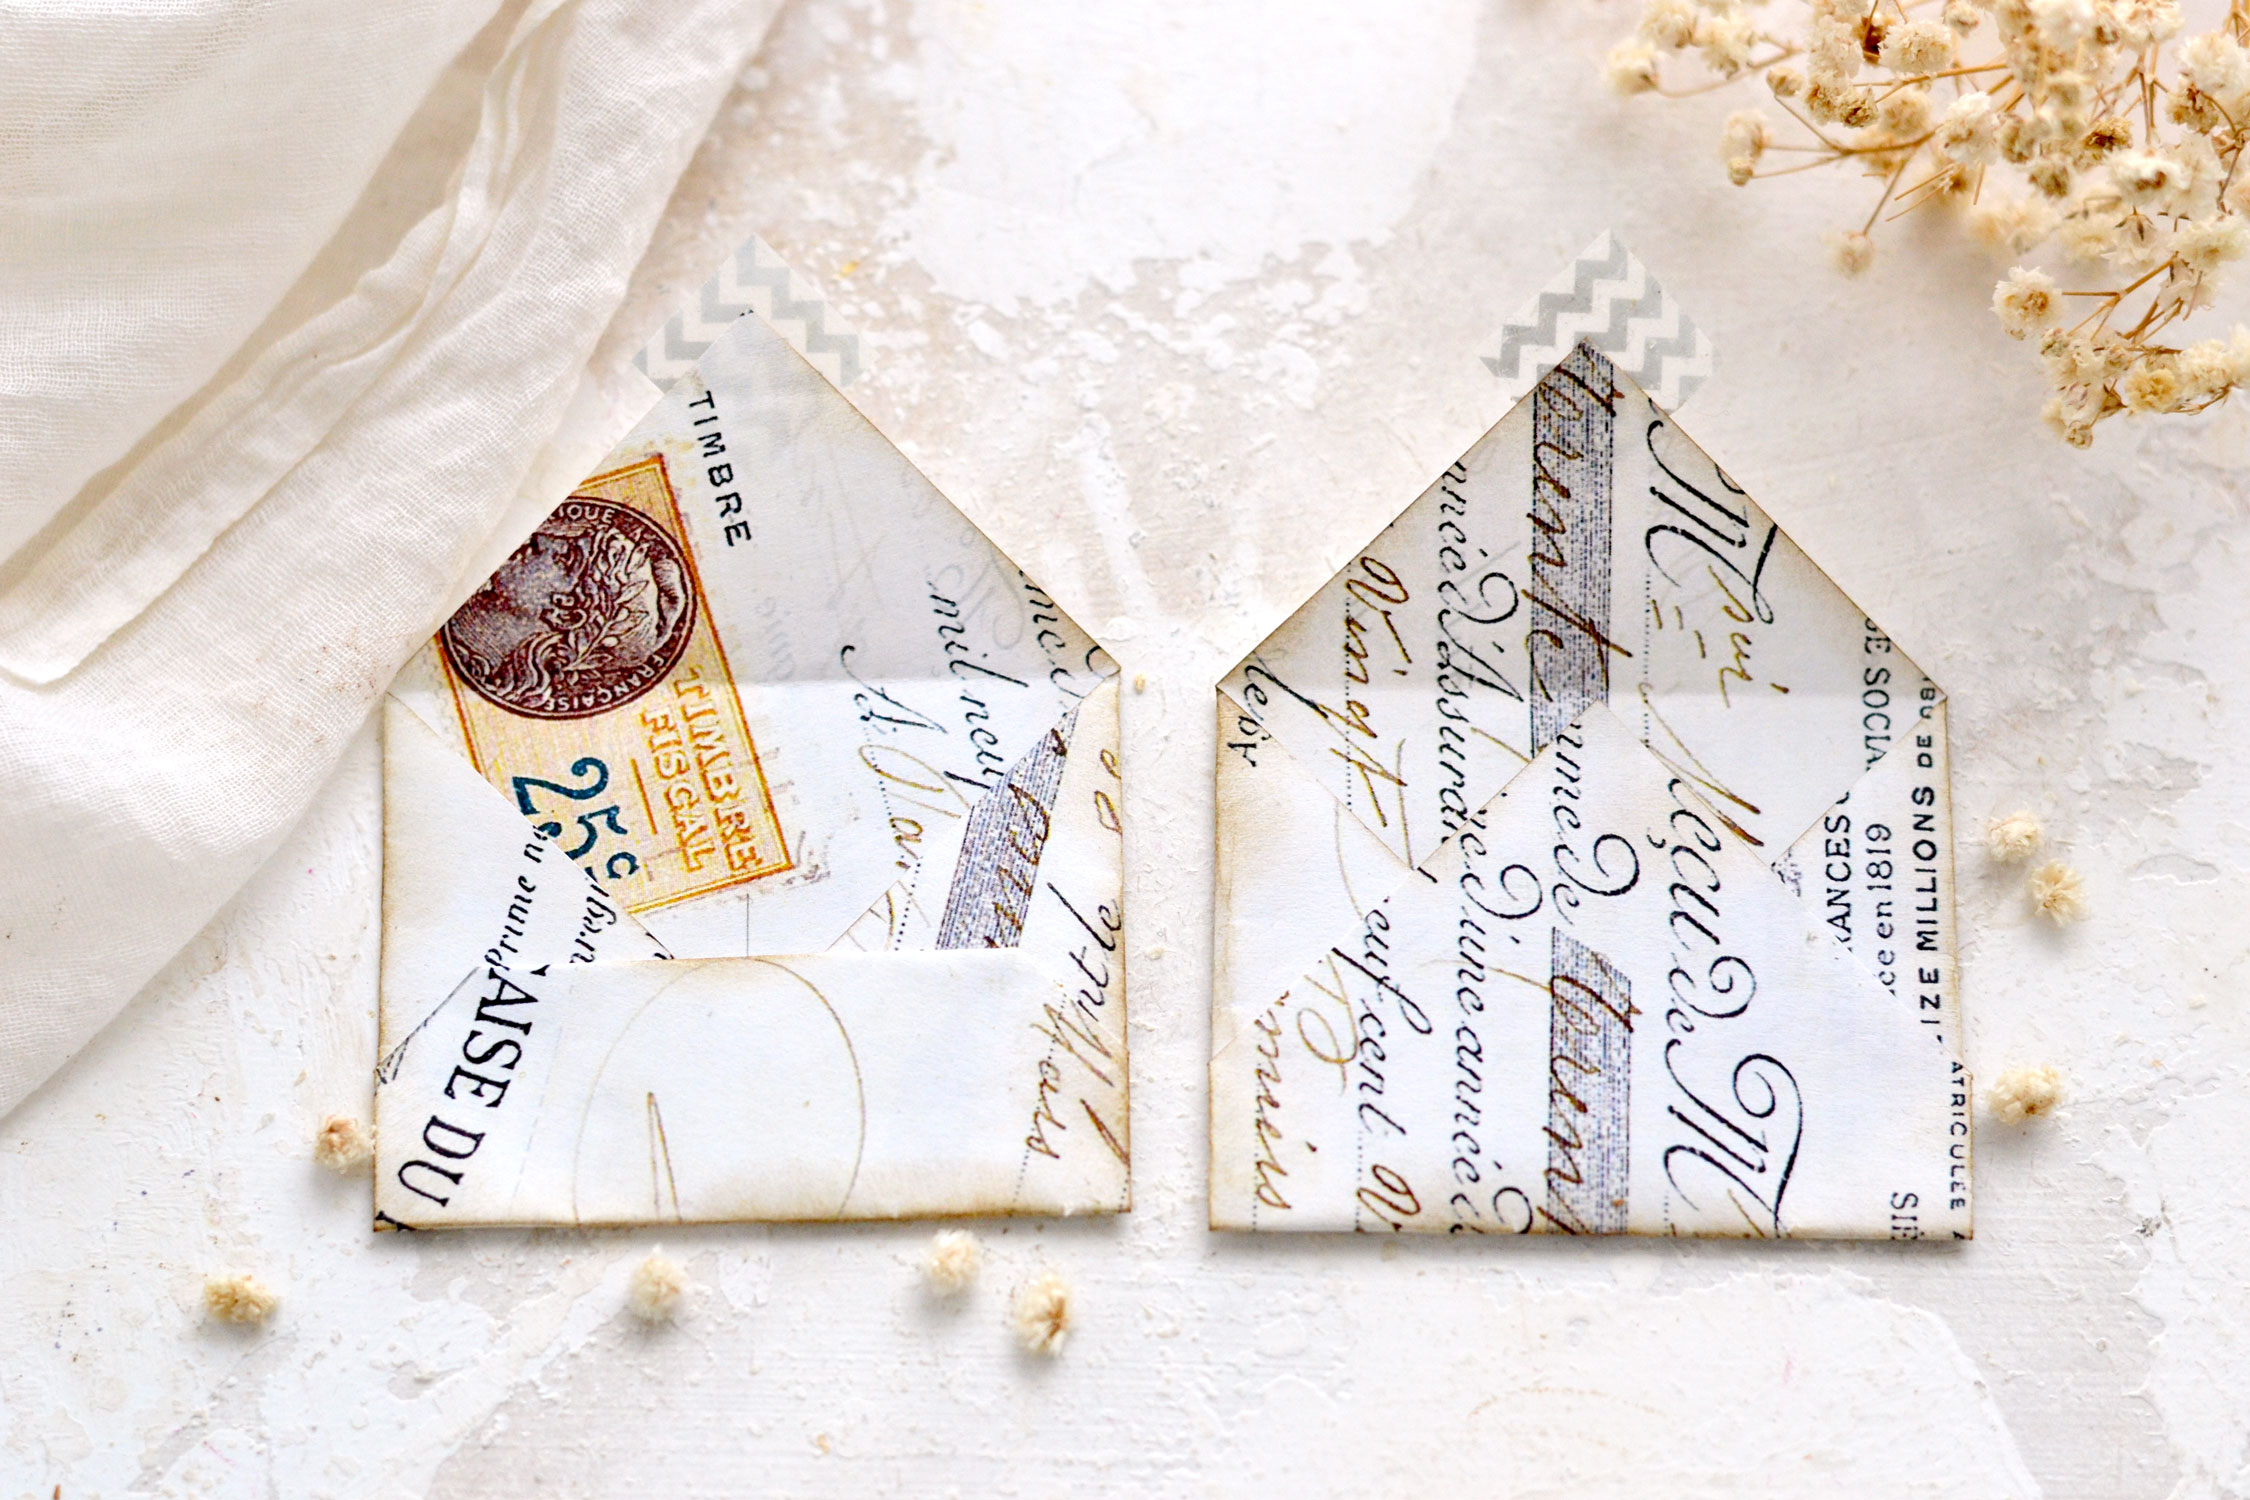
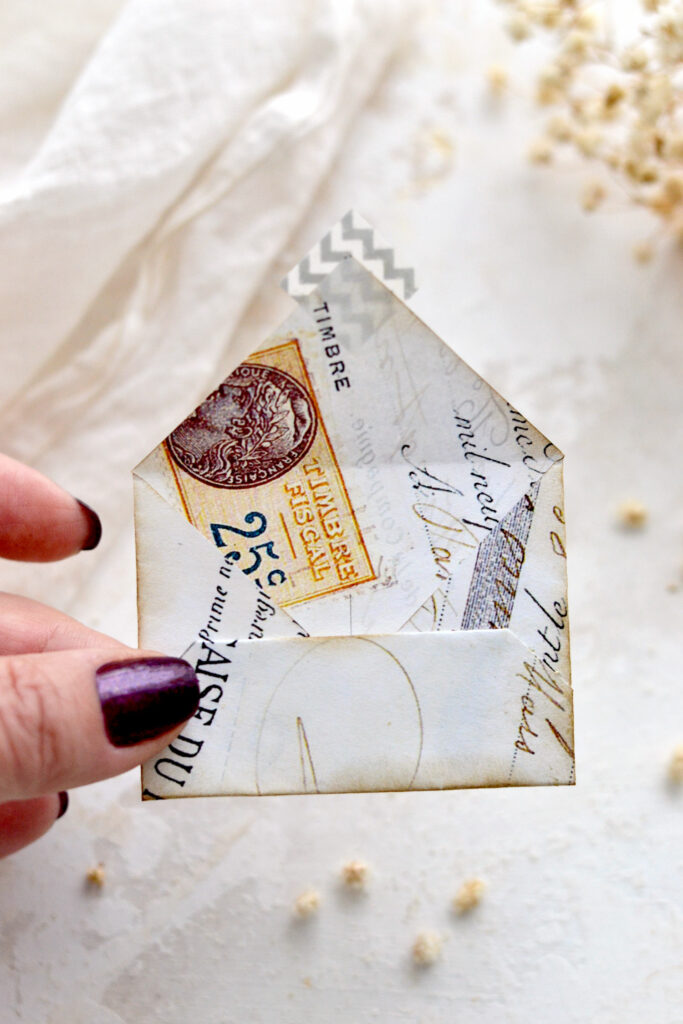
You can choose to leave it as it is, this will create an interesting look for your envelope.
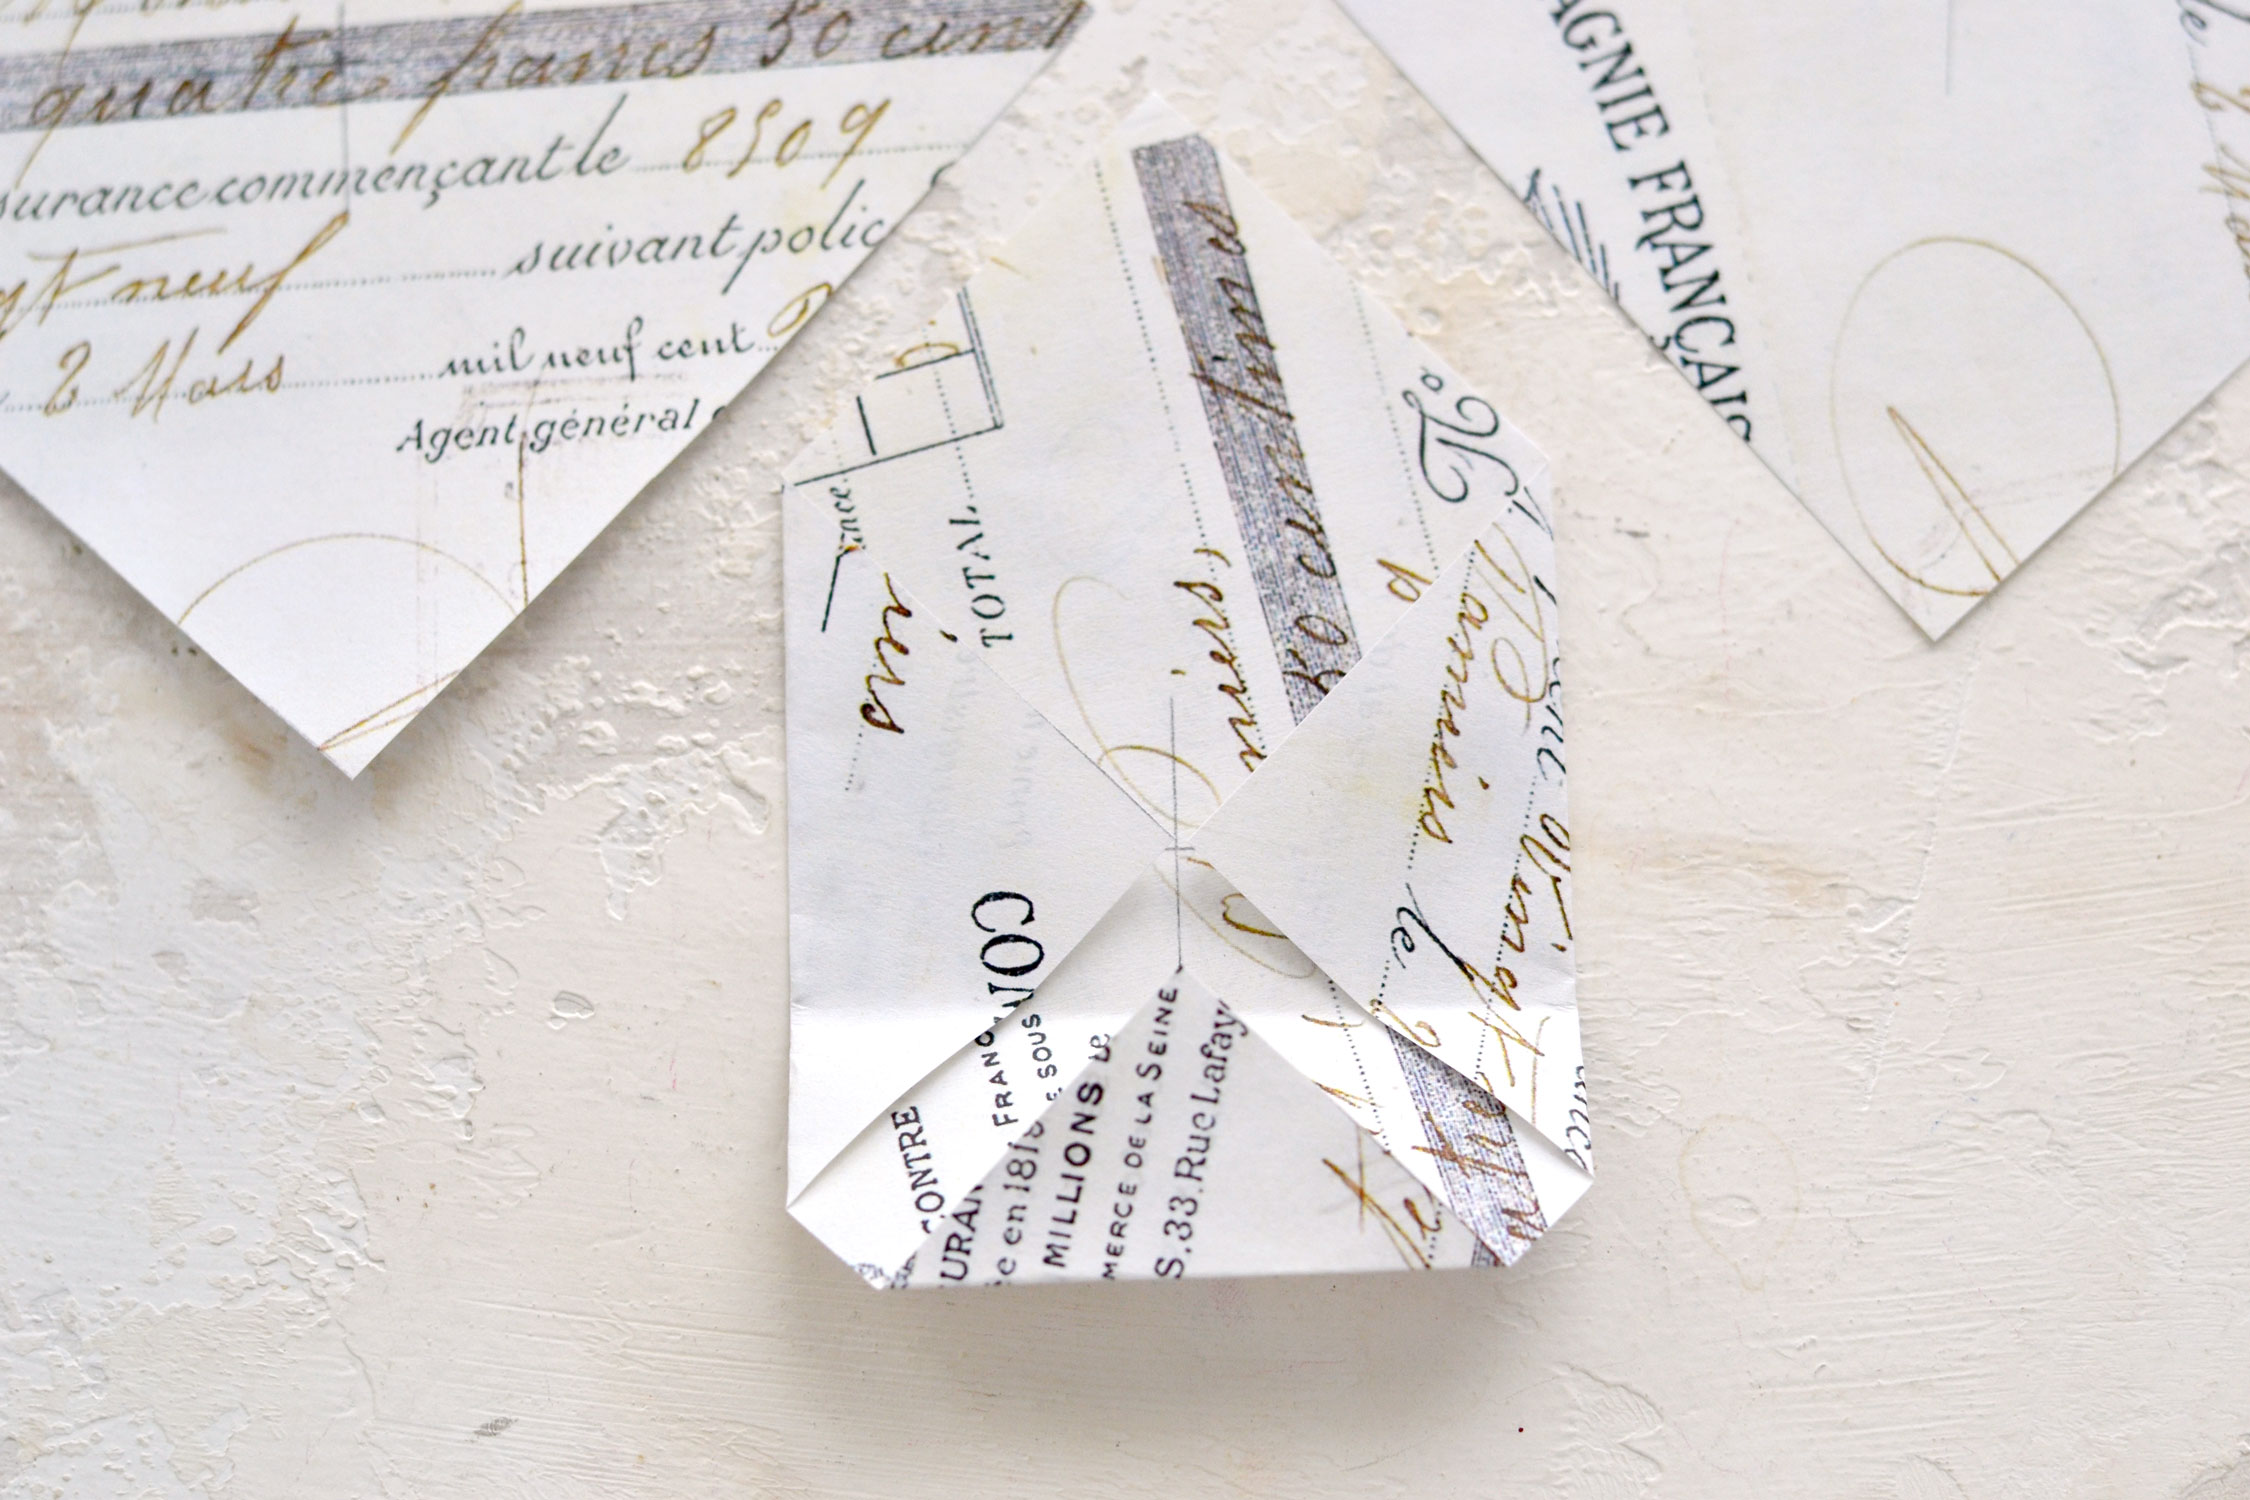
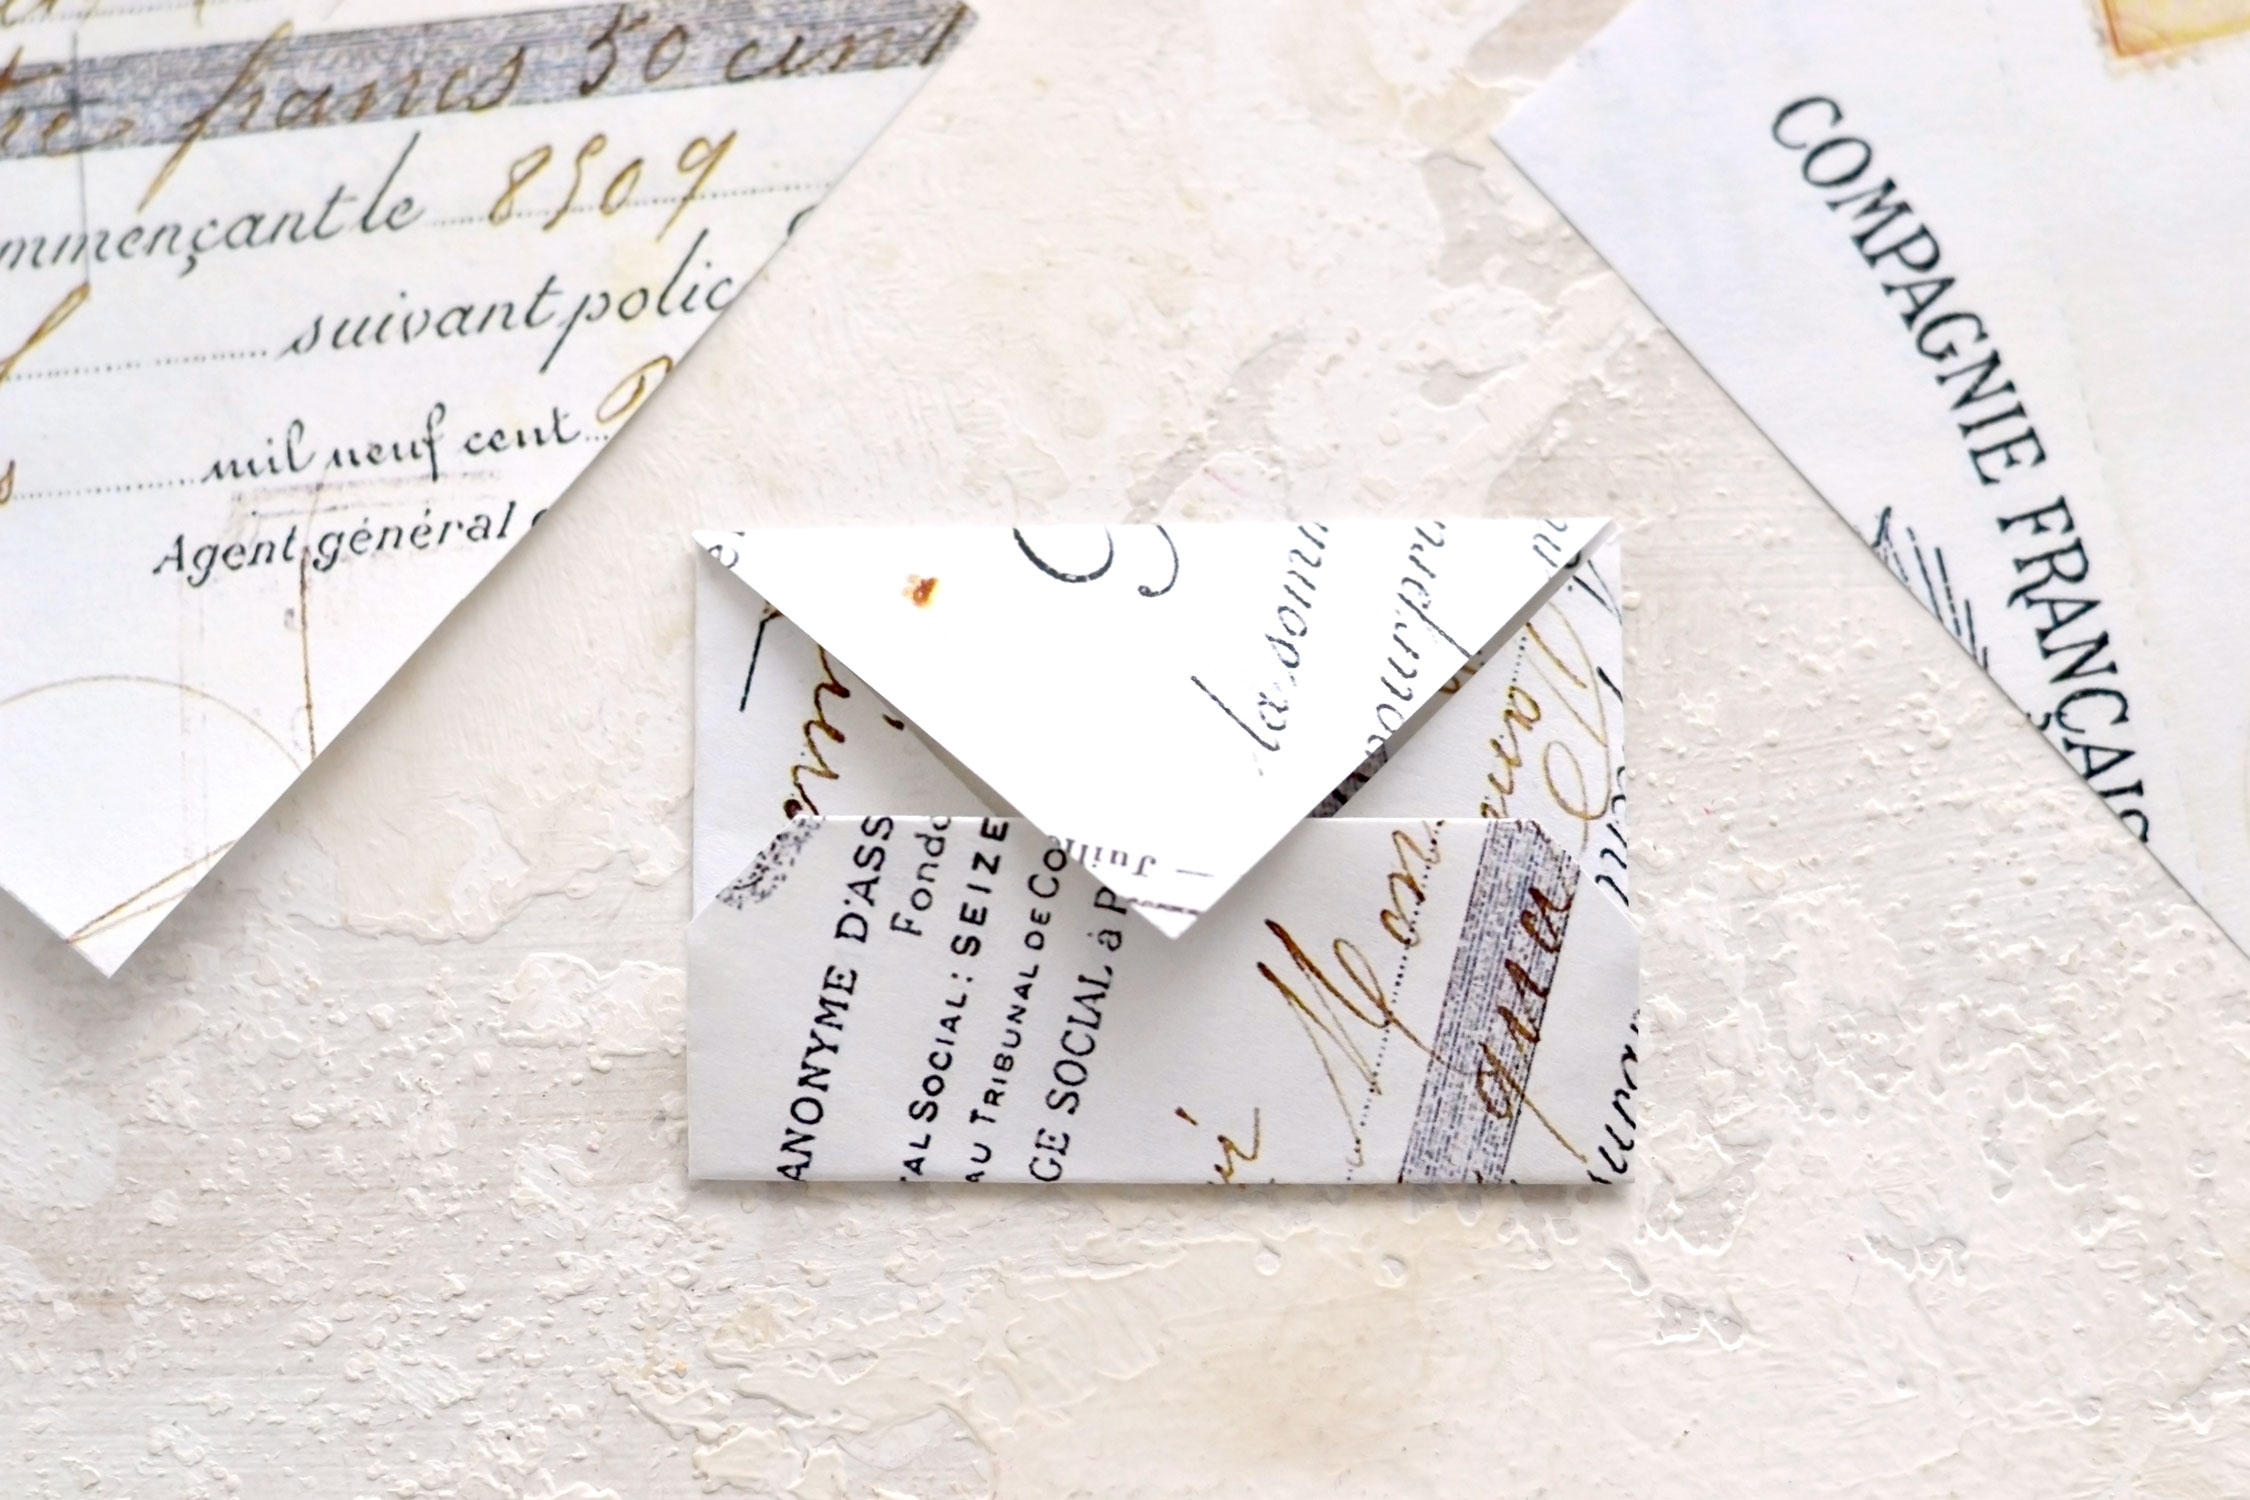
But if you want, you can unfold the bottom, fold it halfway through and then fold it again as you initially did.
This will create another lovely look for your envelope.
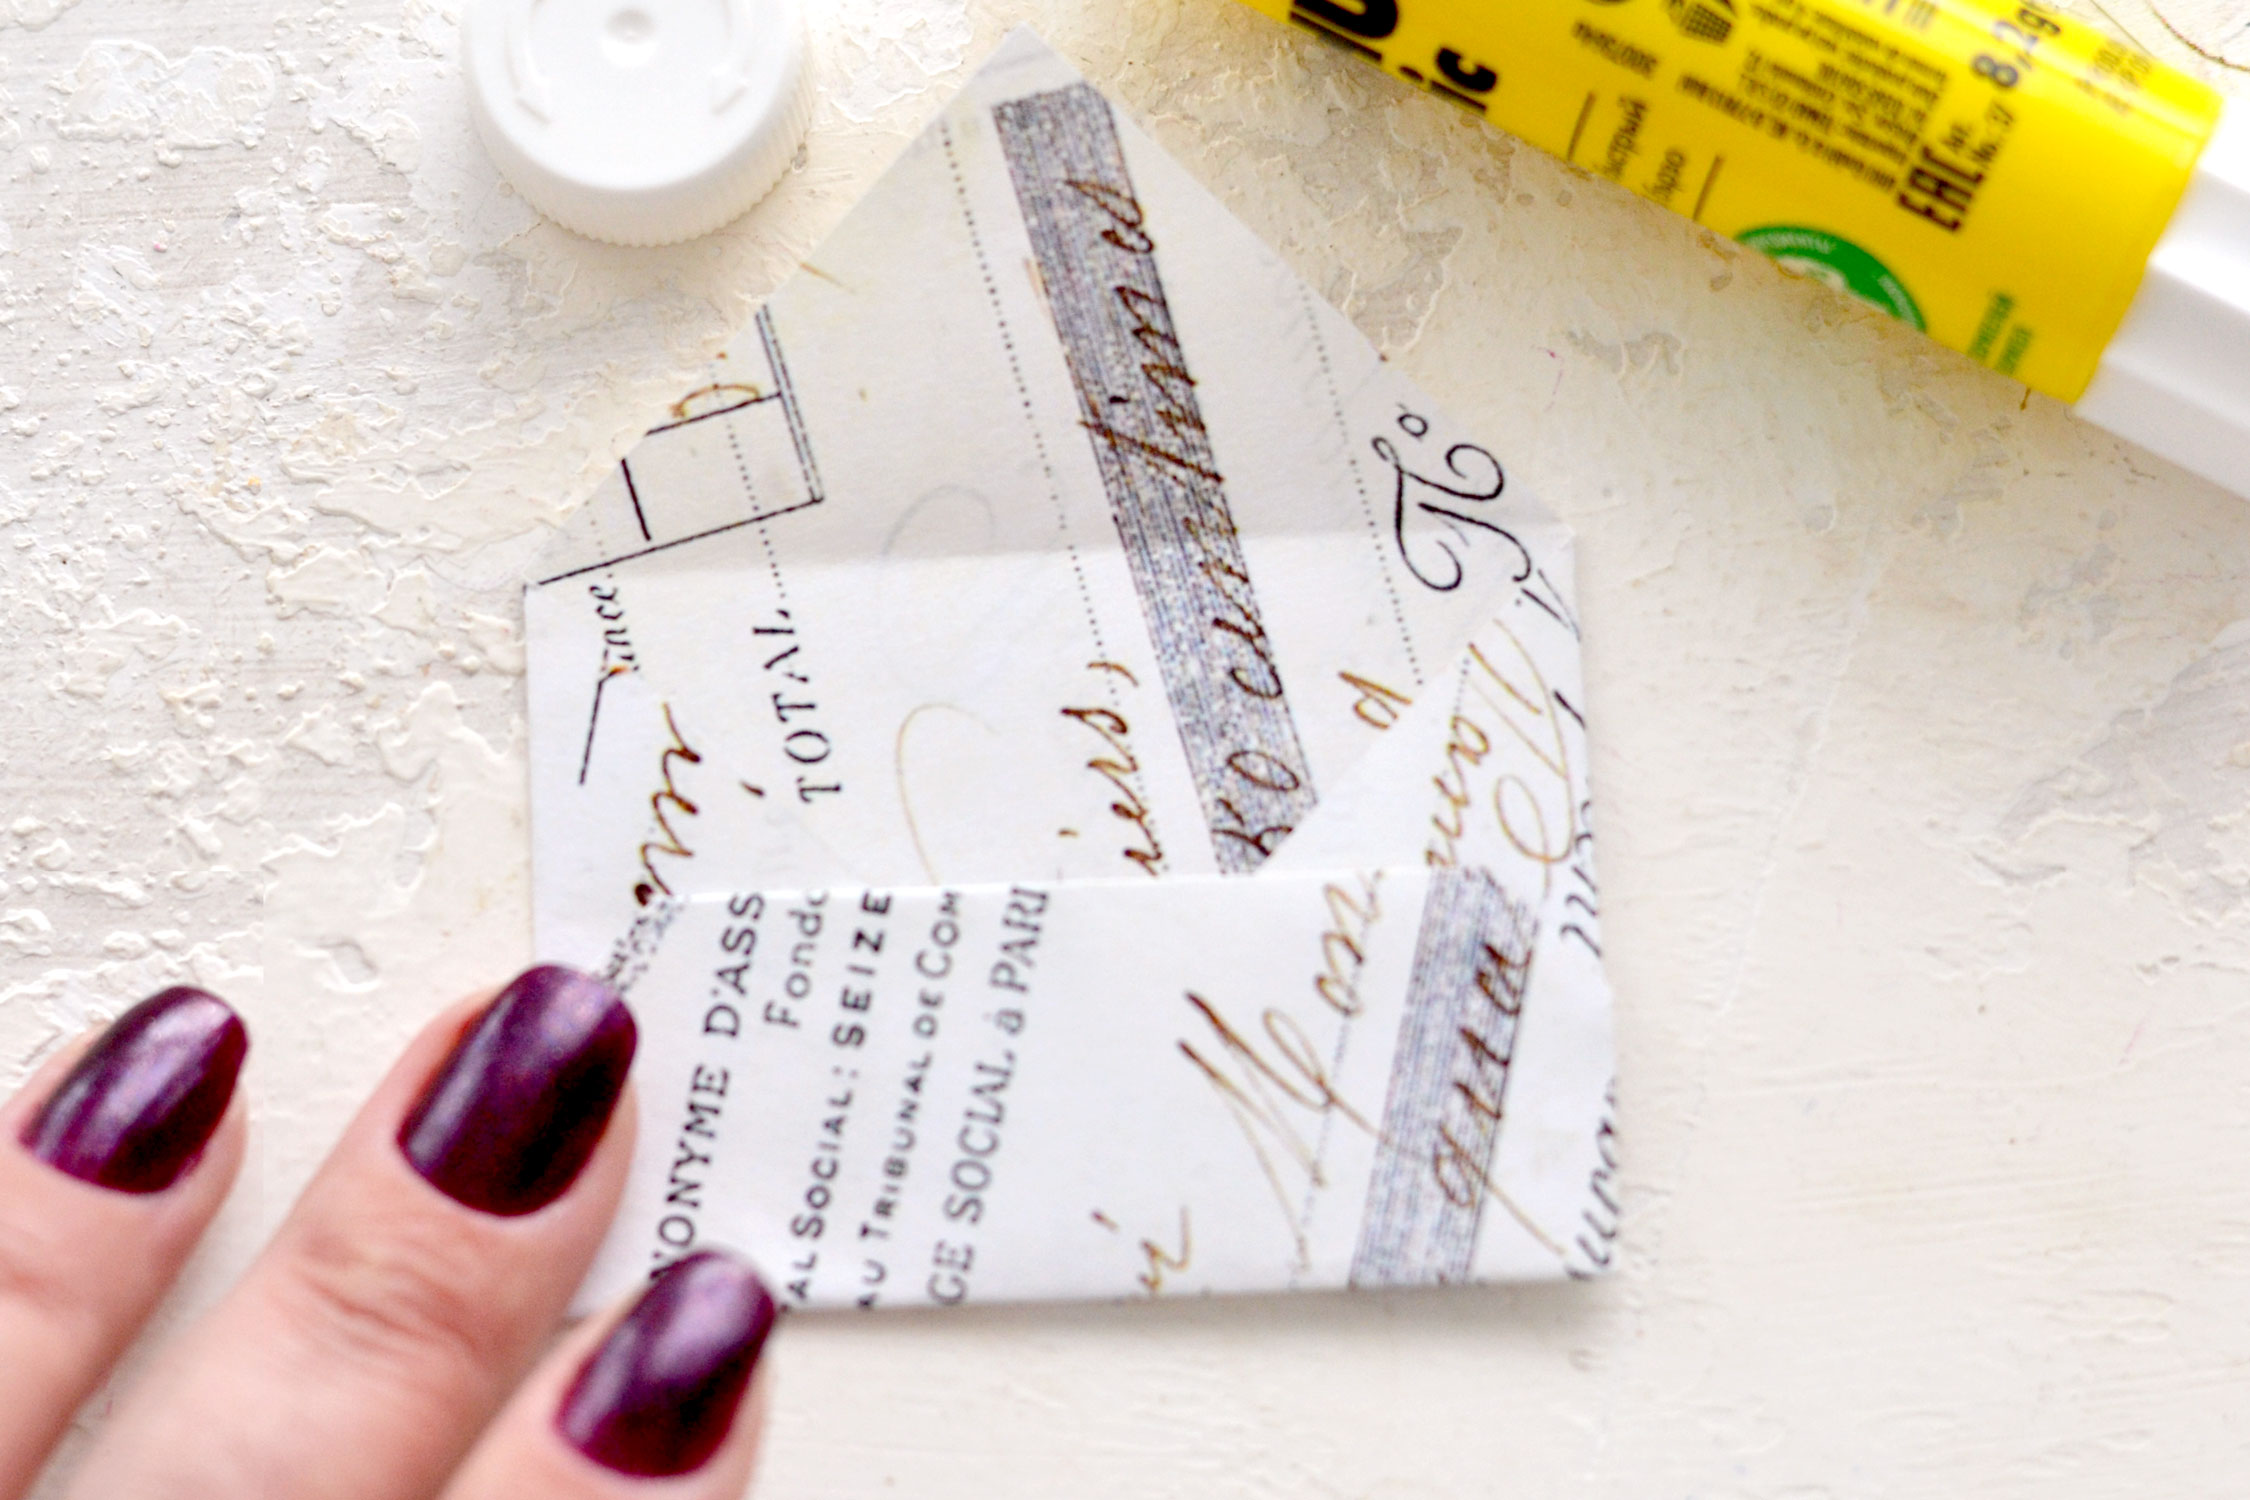
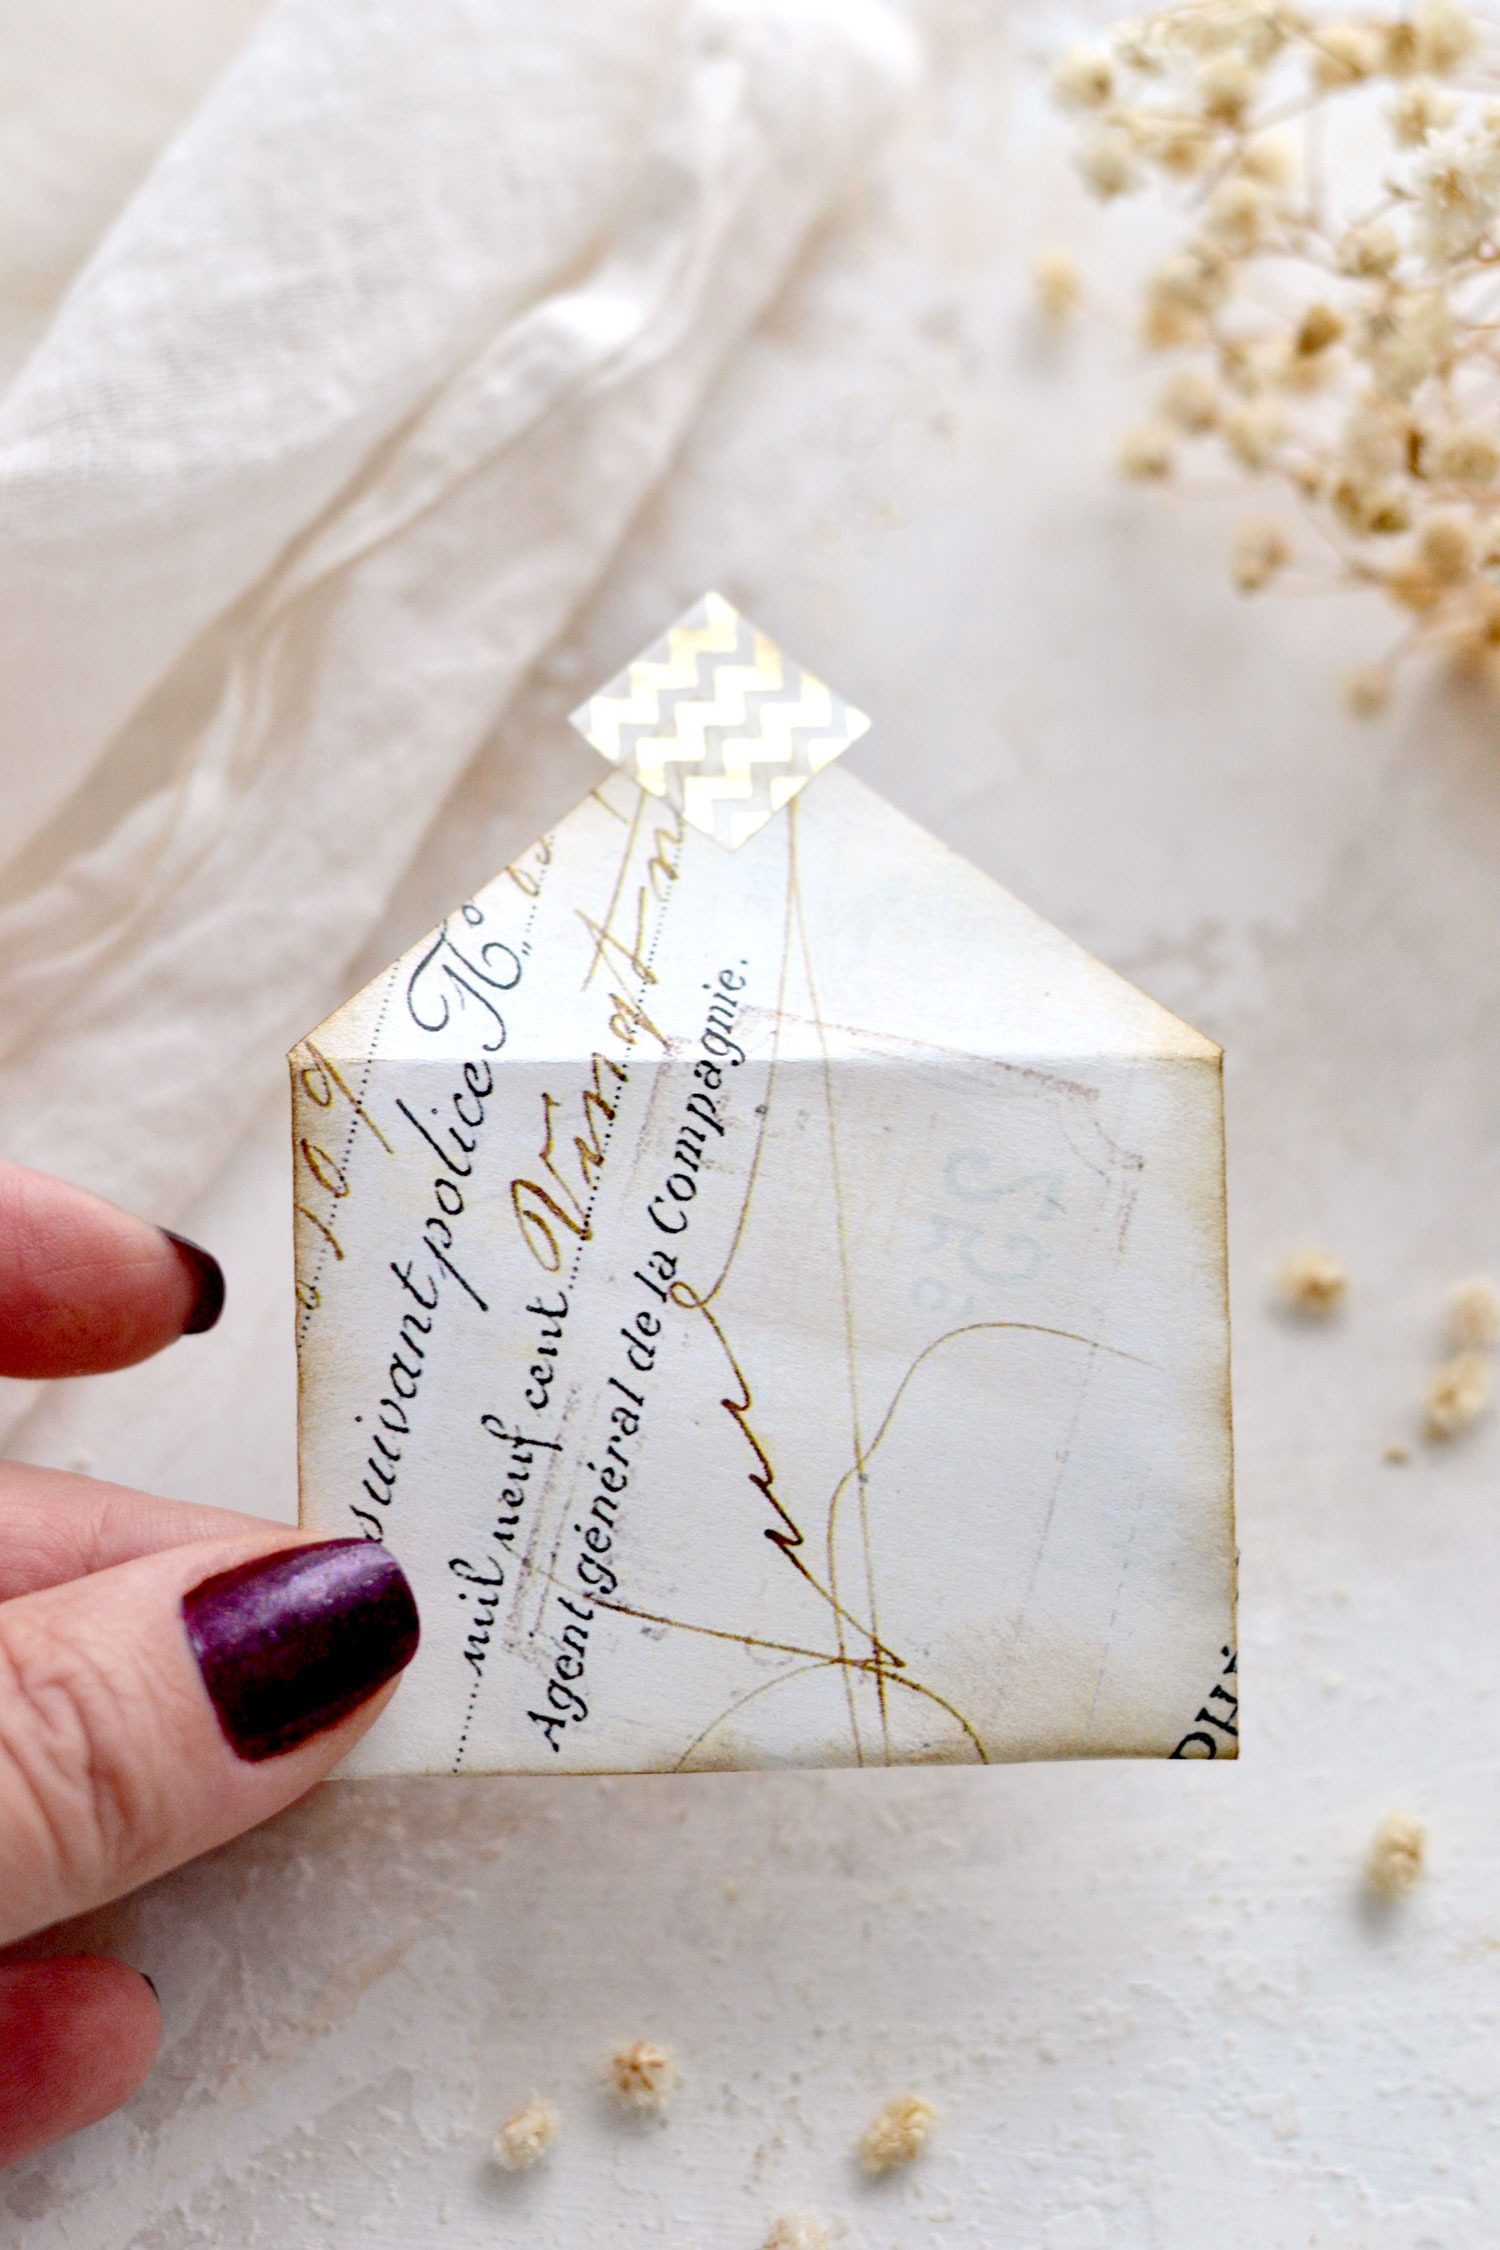
Fold the top flap downward and make small adjustments if you need to. Don’t worry if your first envelope is not perfect, you will get better as you start making more and more, I promise!
Unfold the bottom again and use glue on the sides to adhere it to the middle section of our envelope. Try to observe how the envelope is overlapping before adding the glue so you’ll know exactly where to add it and you don’t accidentally glue any wrong parts. Then use your fingers to press for a few seconds, just to make sure everything stays in place.
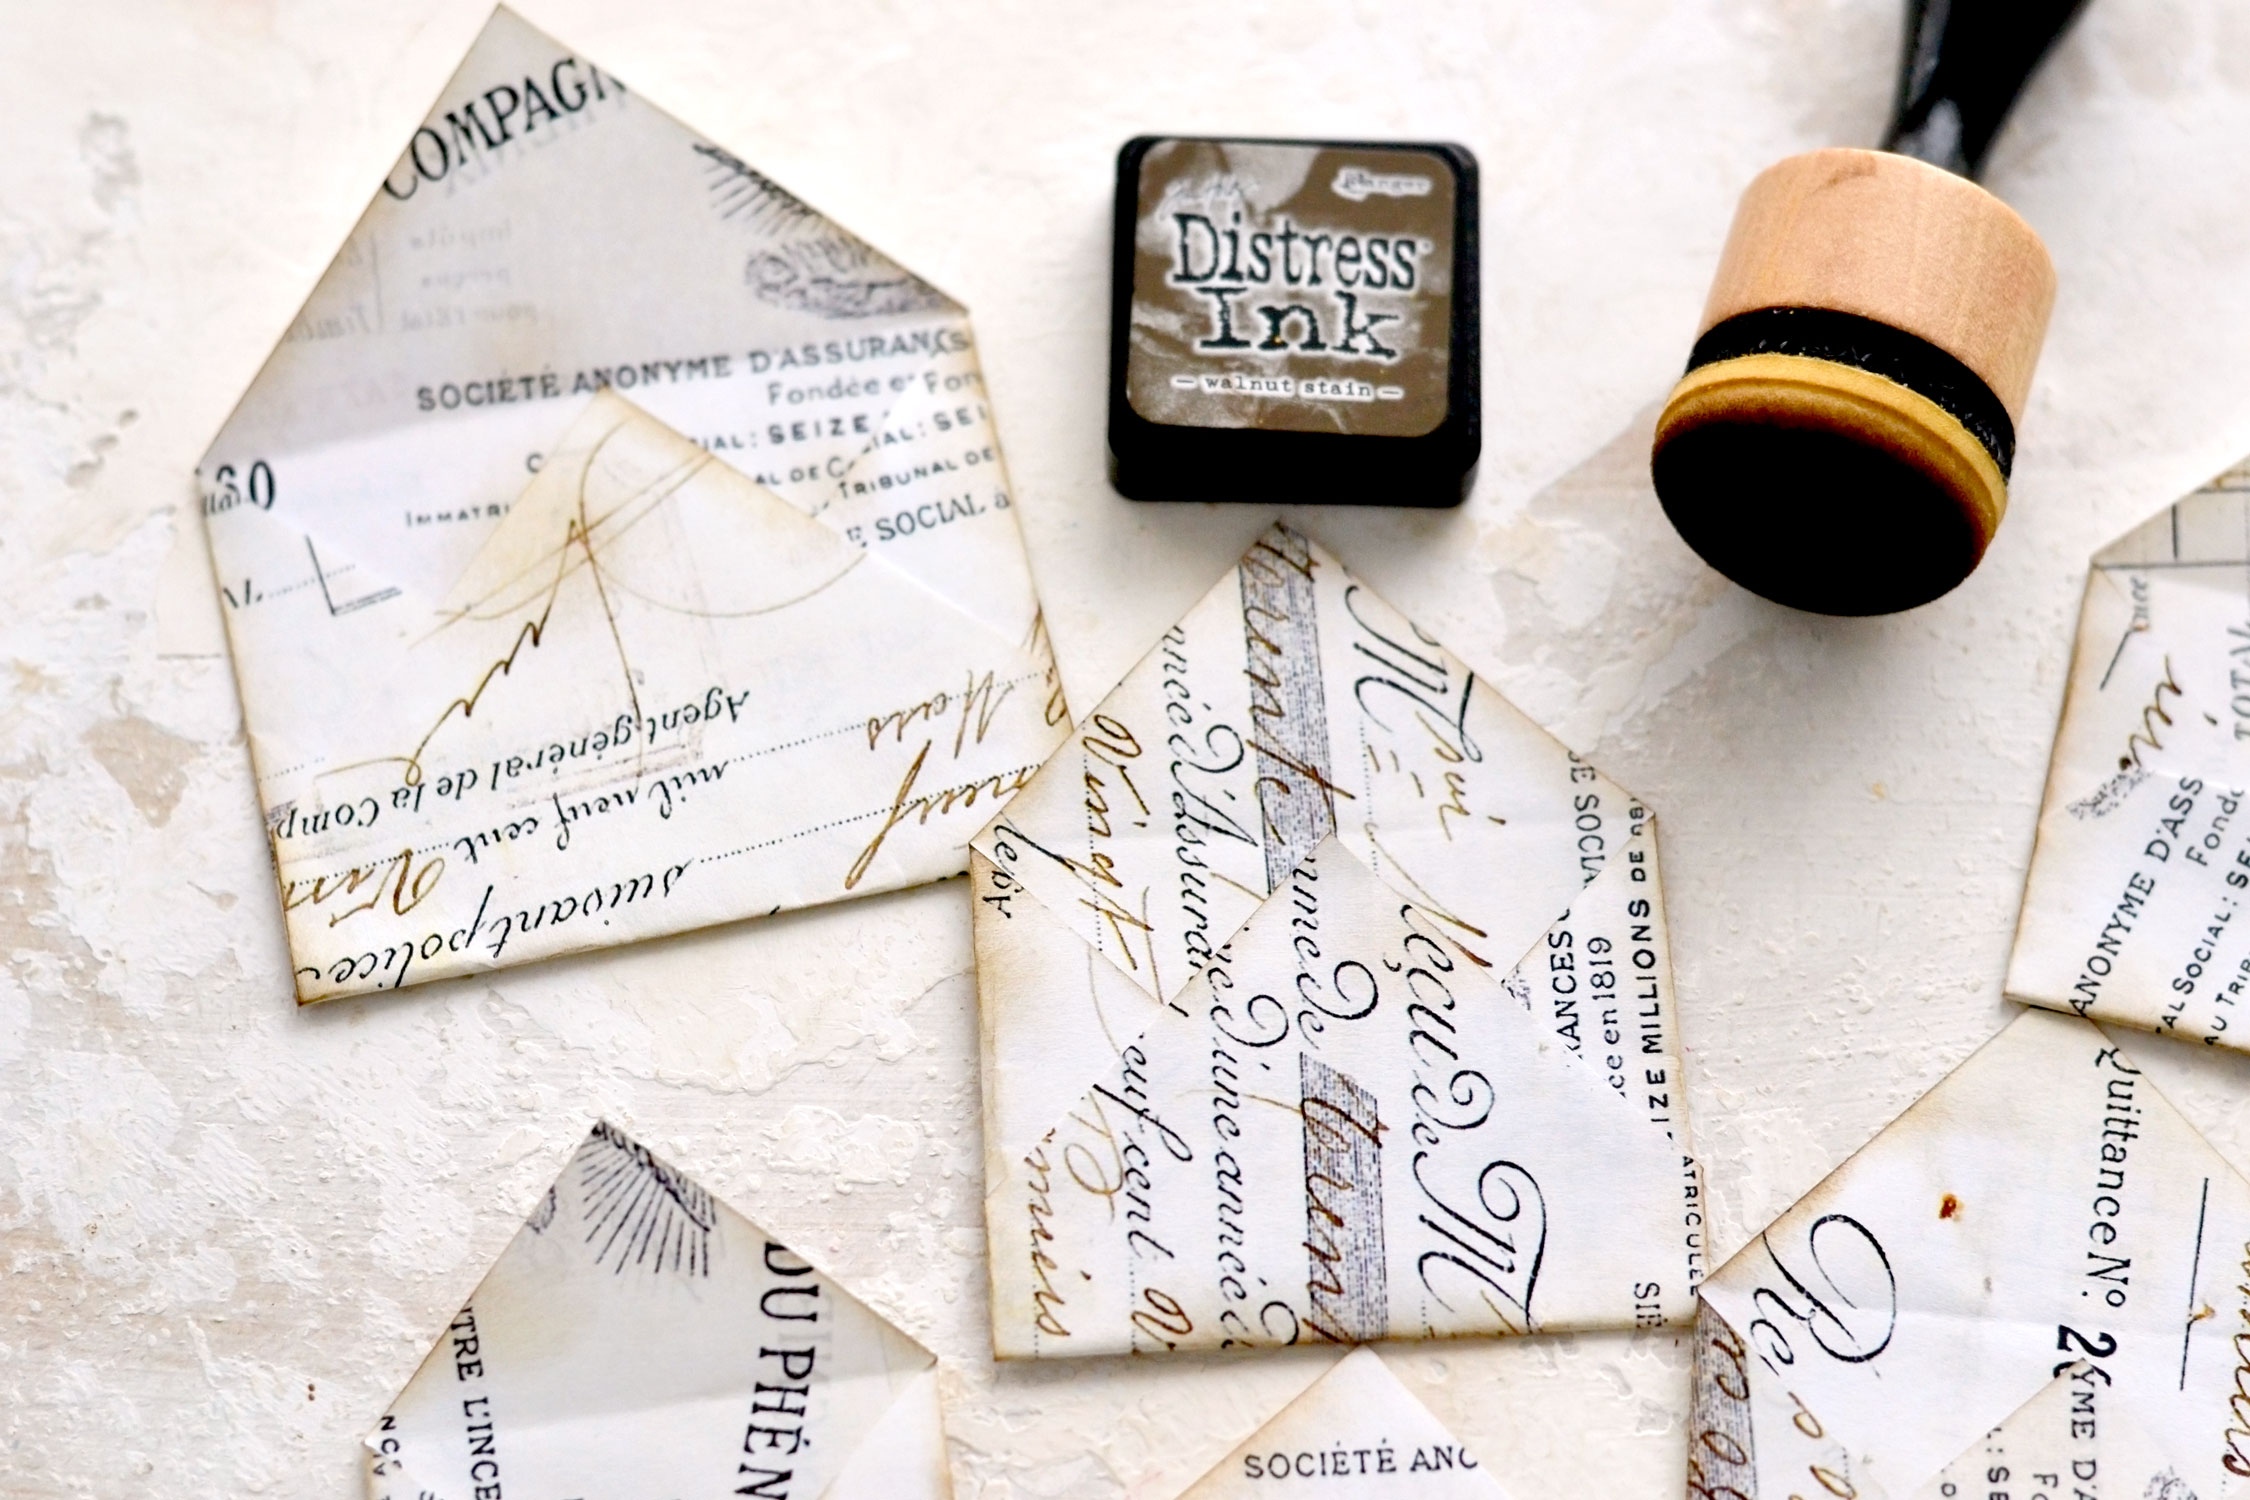
Use mini distress ink to lightly distress your super chic envelopes on the edges. I went with Walnut Stain, but you can choose any other browns like Vintage Photo or Antique Linen. And of course, if you feel like imprinting them with a more colorful direction, you can just use your favorite colored distress inks!
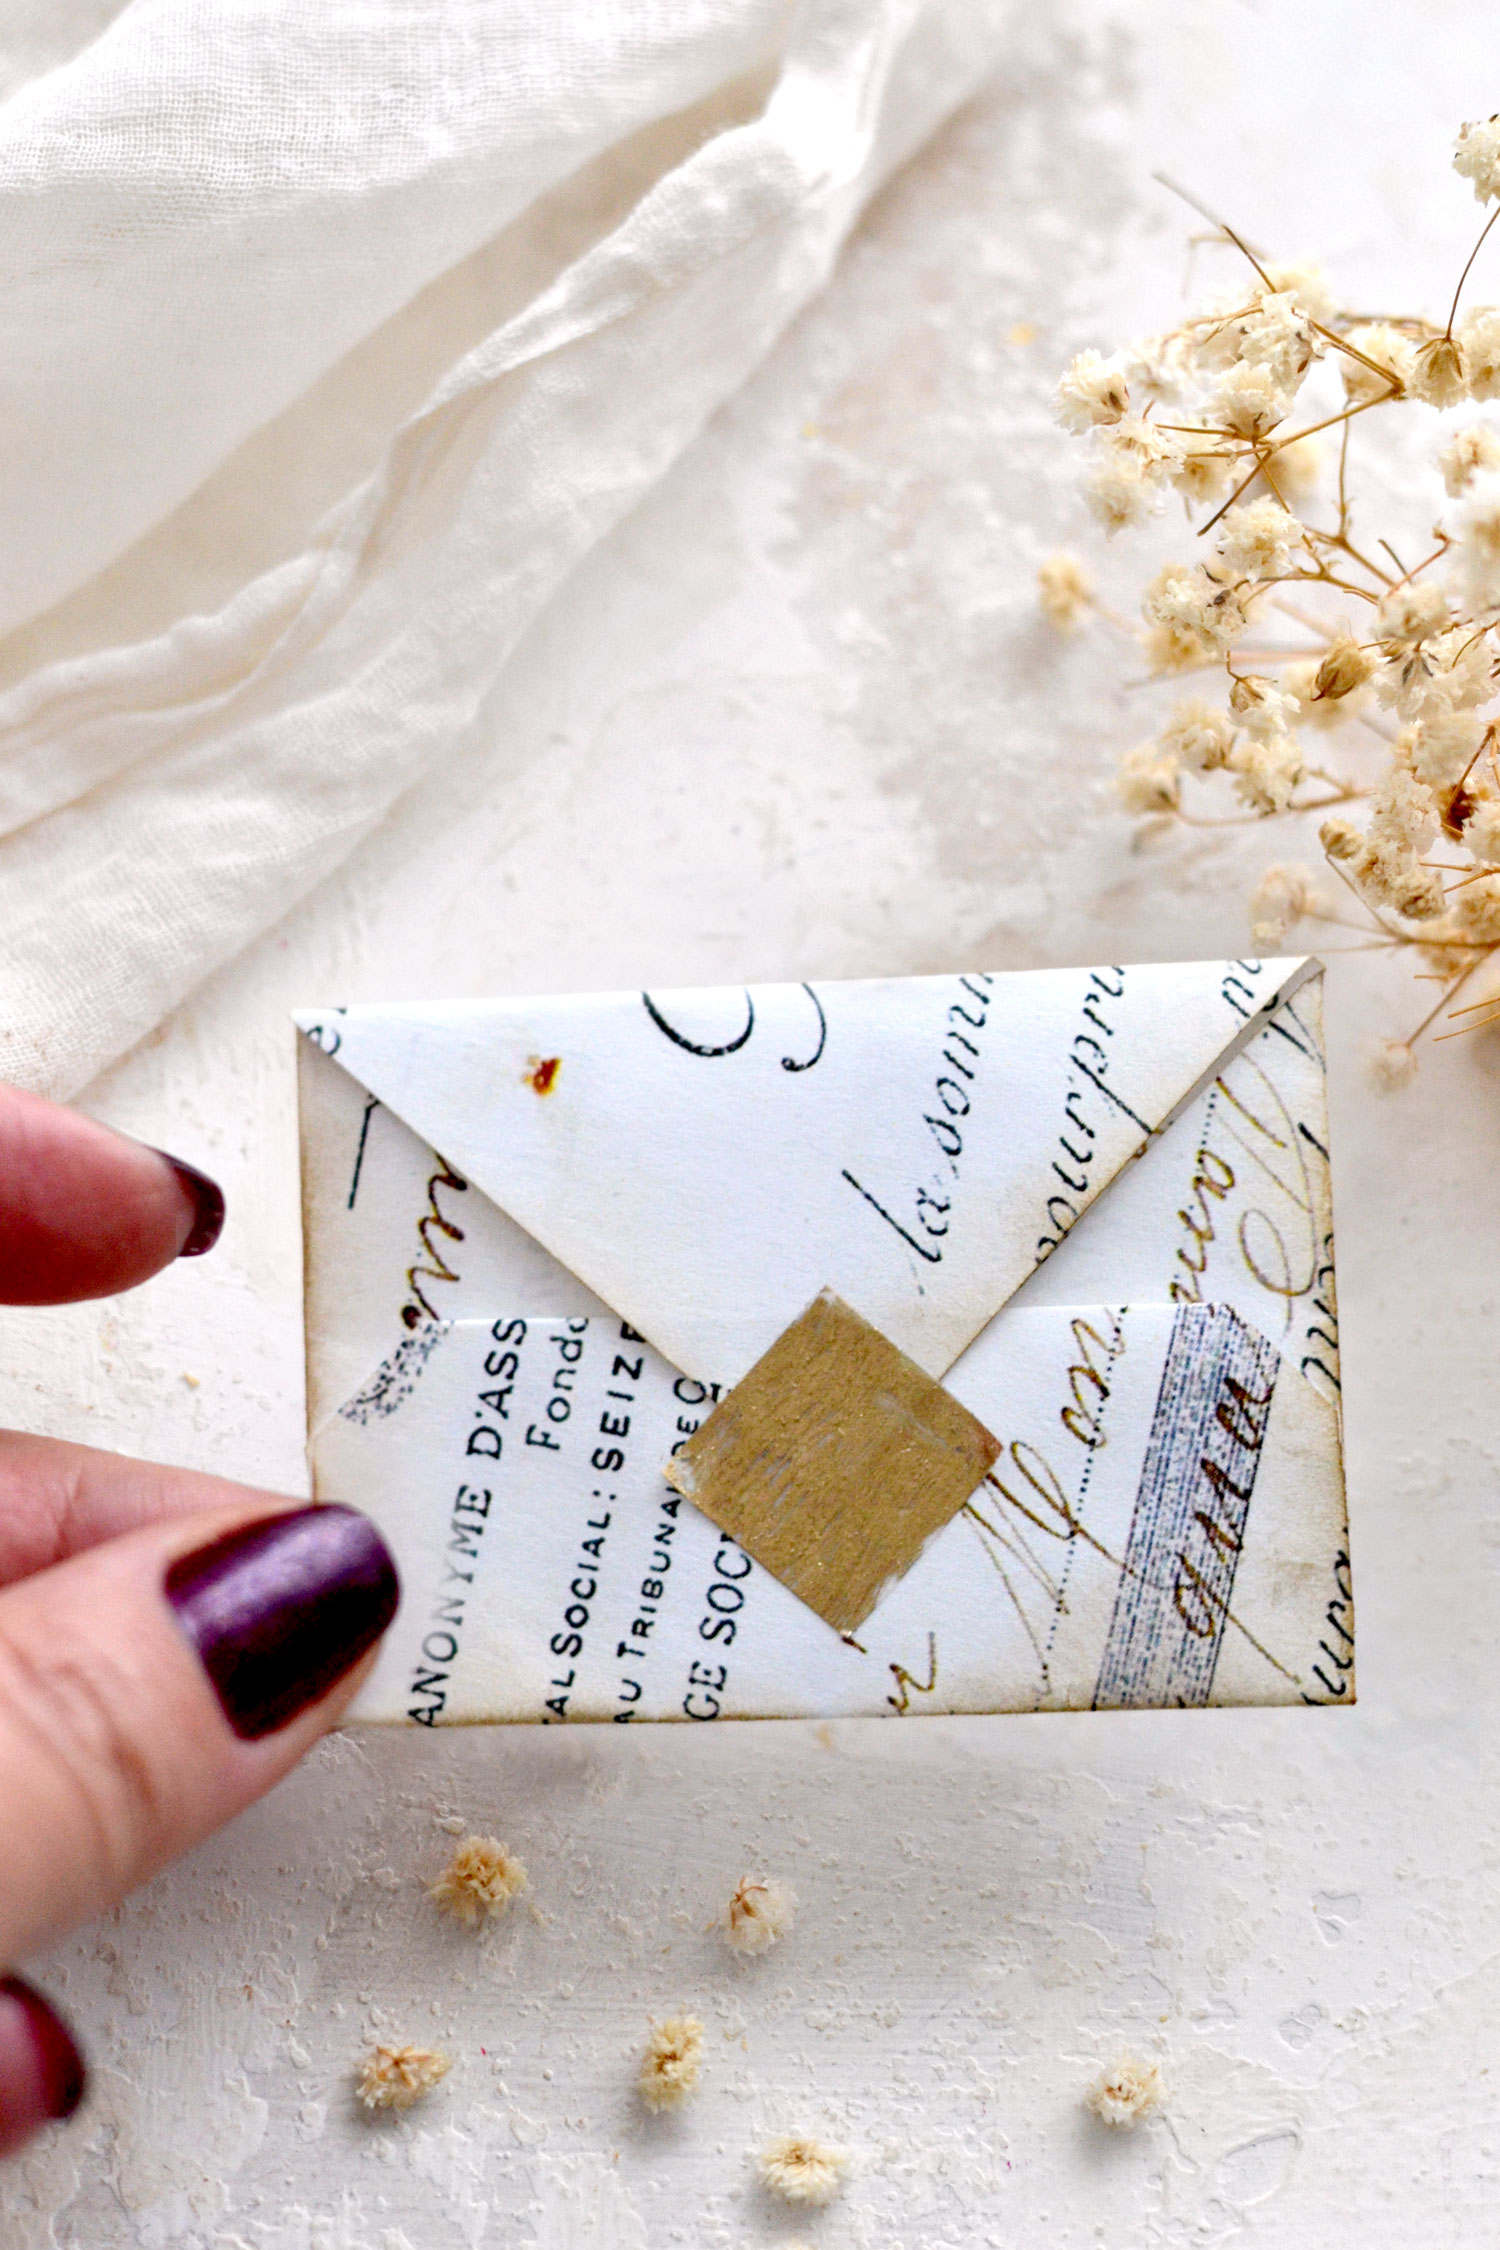
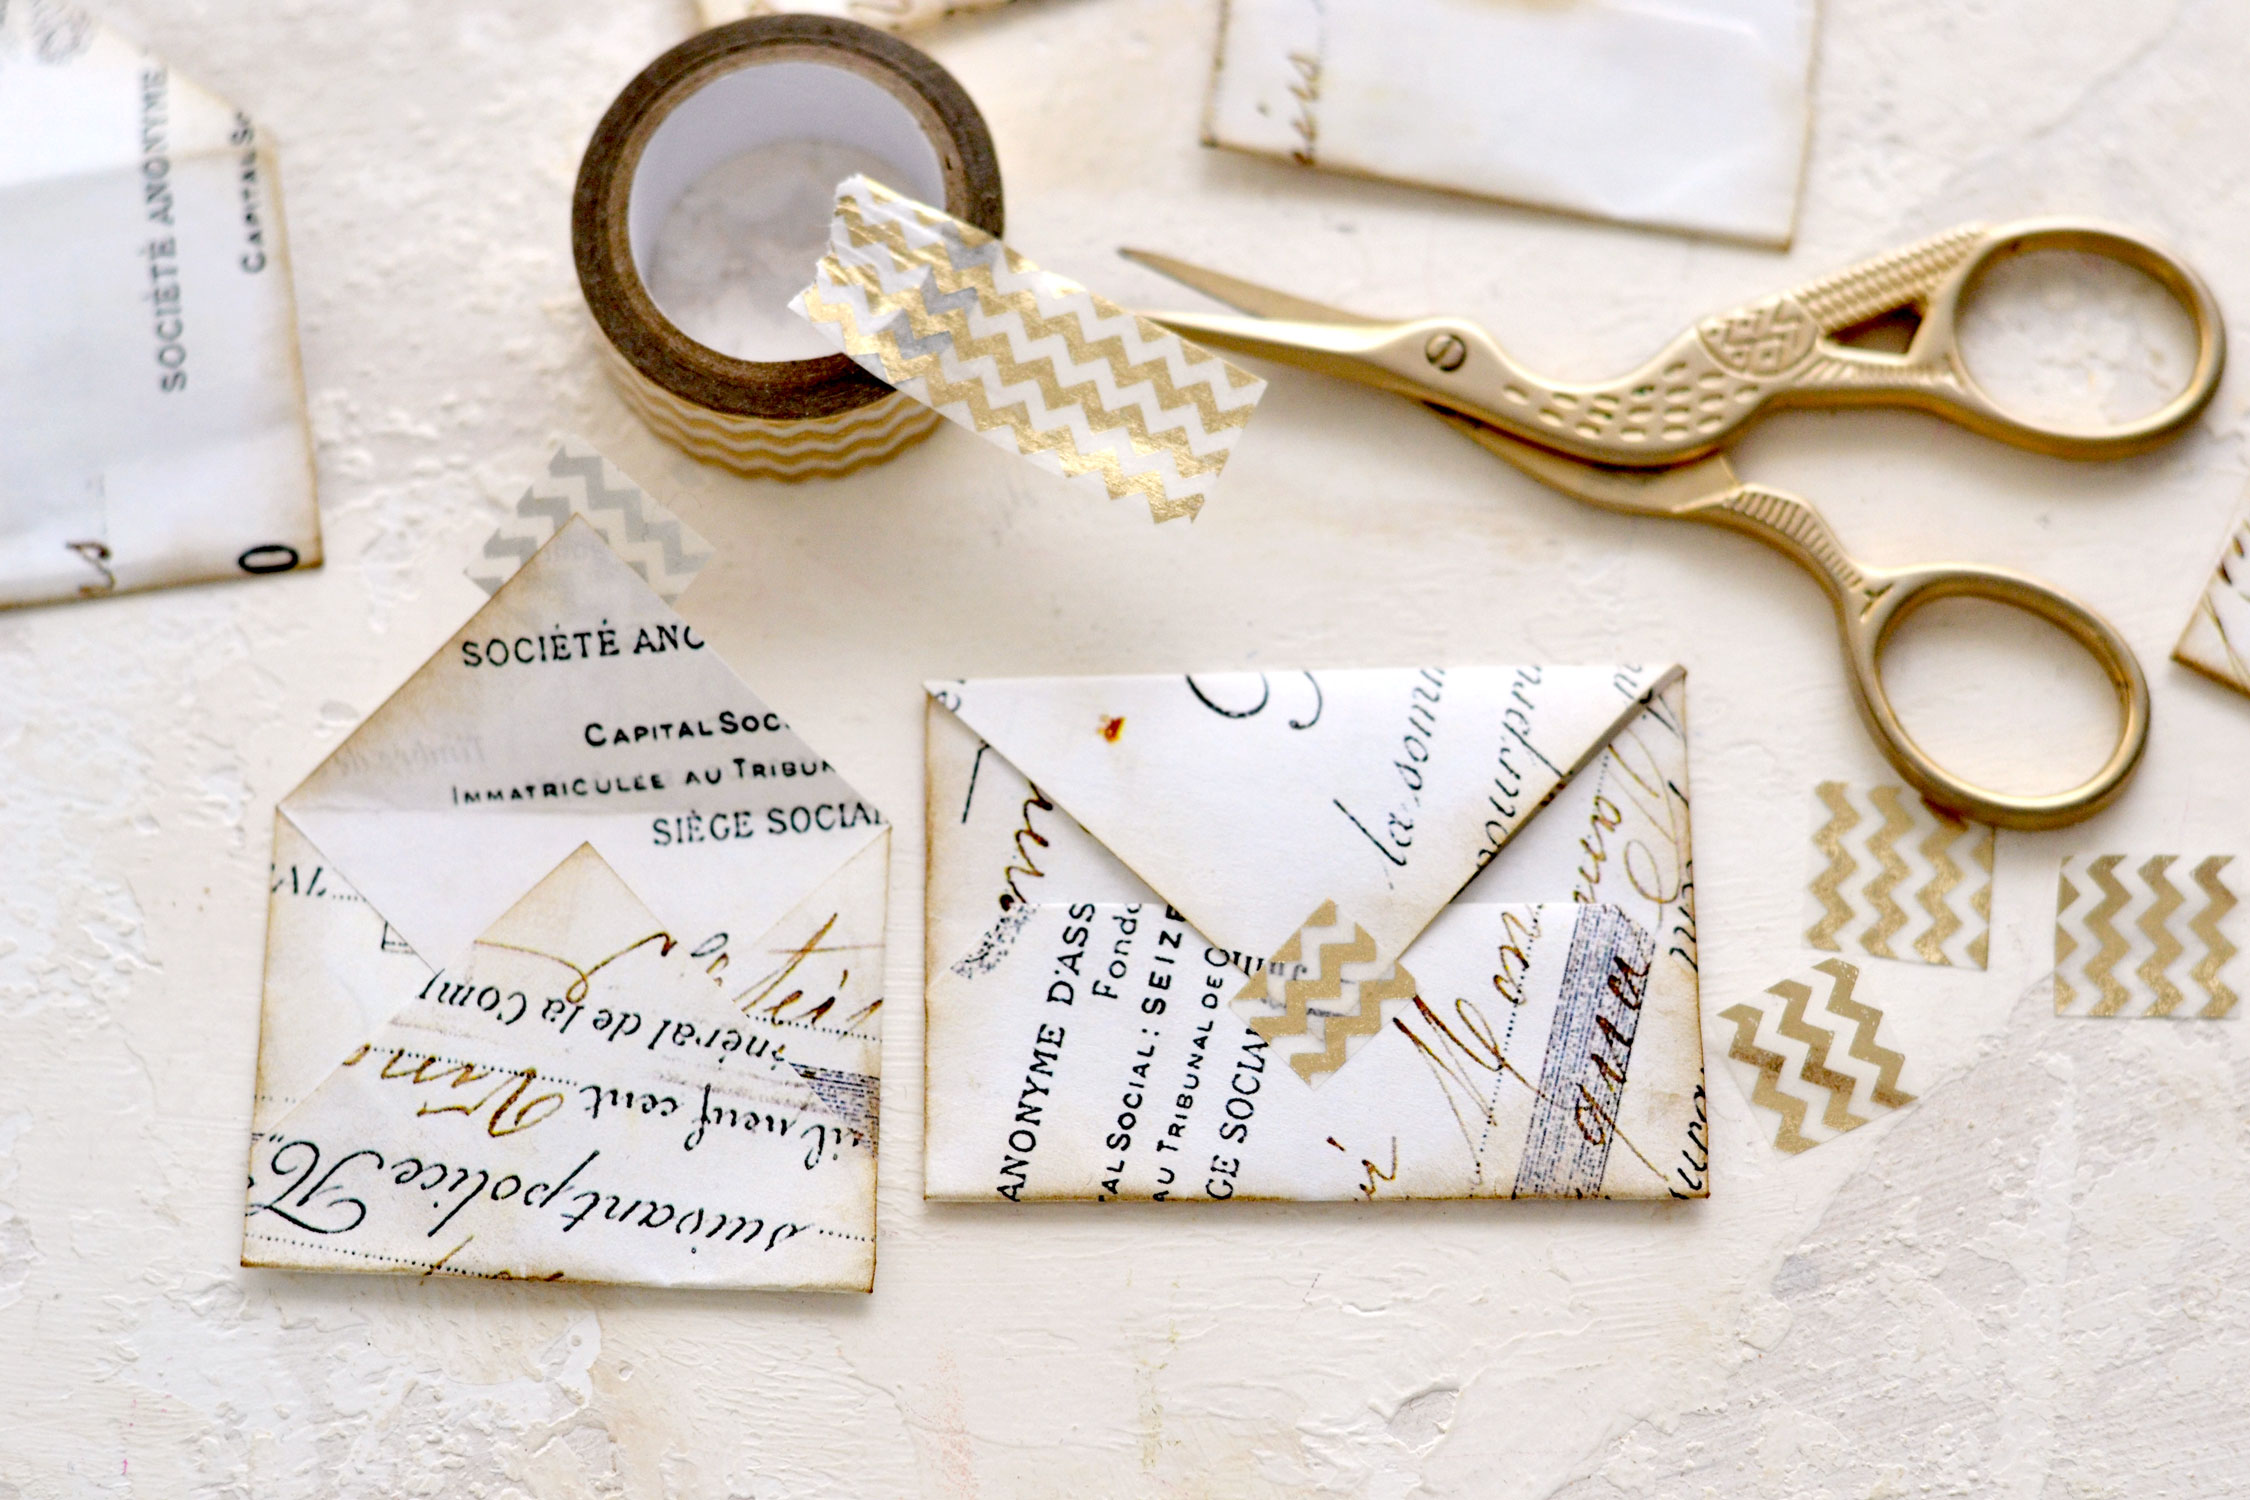
You can cut small square pieces of gold accent washi to further embellish the back of the envelopes if you want. Besides its decorative role, the washi will also hold them in place if closing them, so it also has a functional role. I love using washi here because it doesn’t tear the paper if deciding to open the envelopes afterward.
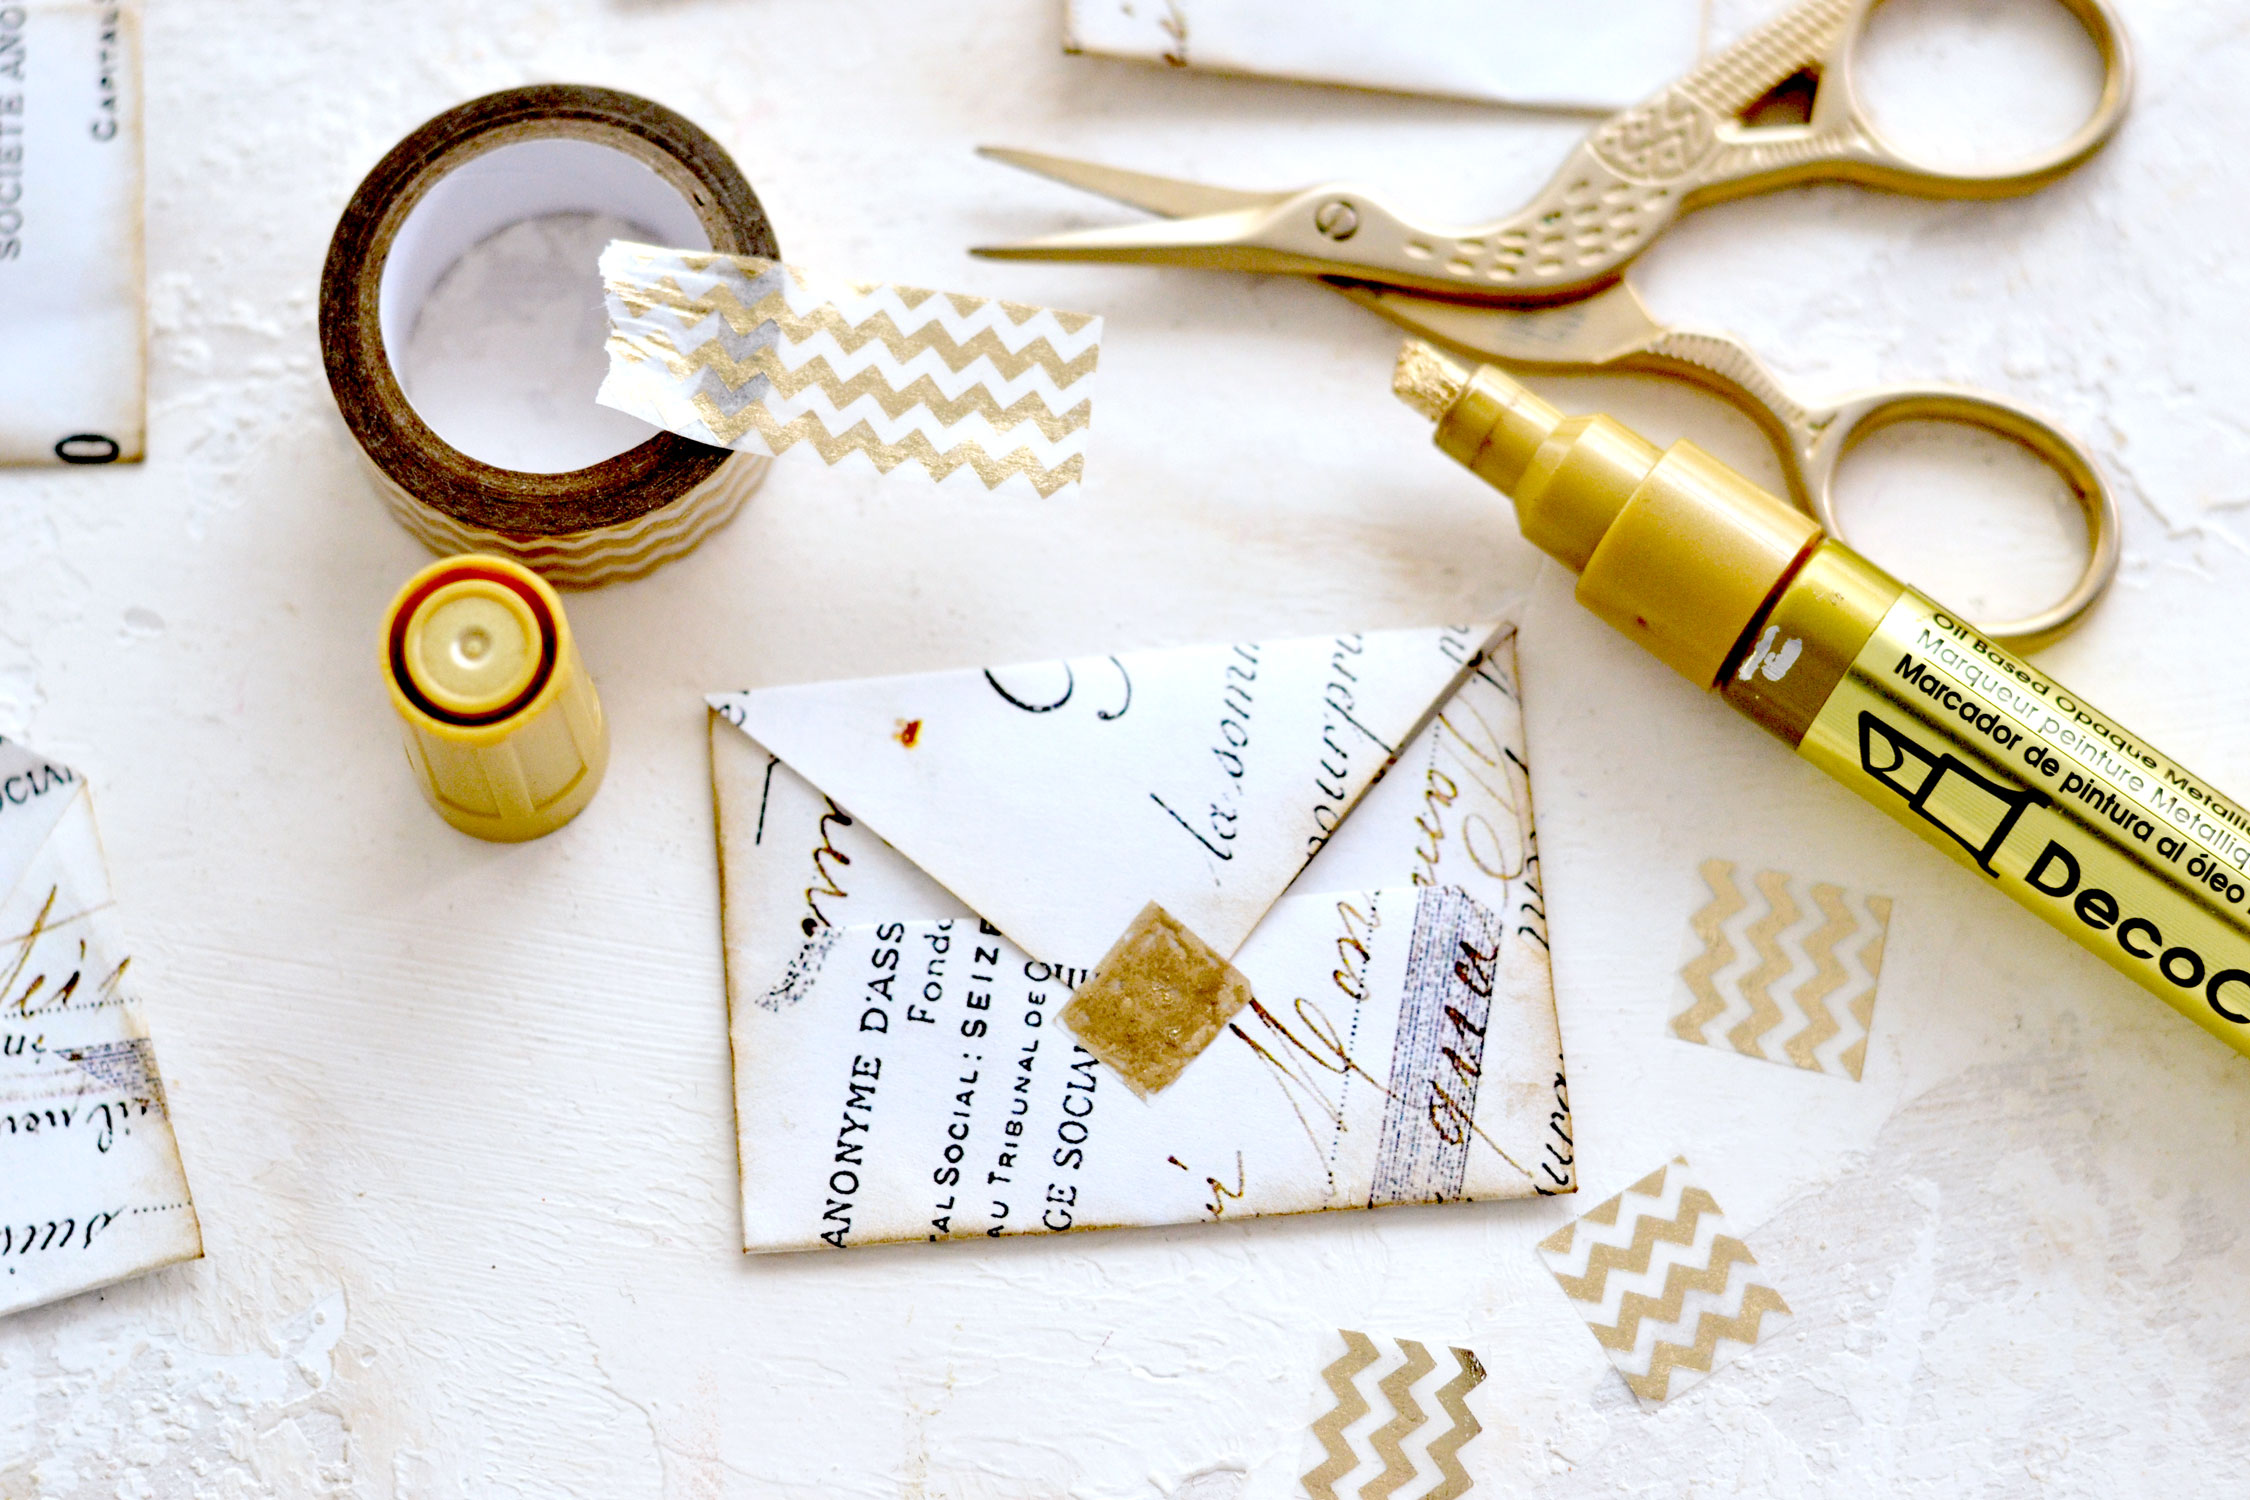
You can also add a touch of gold over your small squared washi – my favorite is this Decocolor gold marker, I just love using it to add some gold metallic highlights here and there.
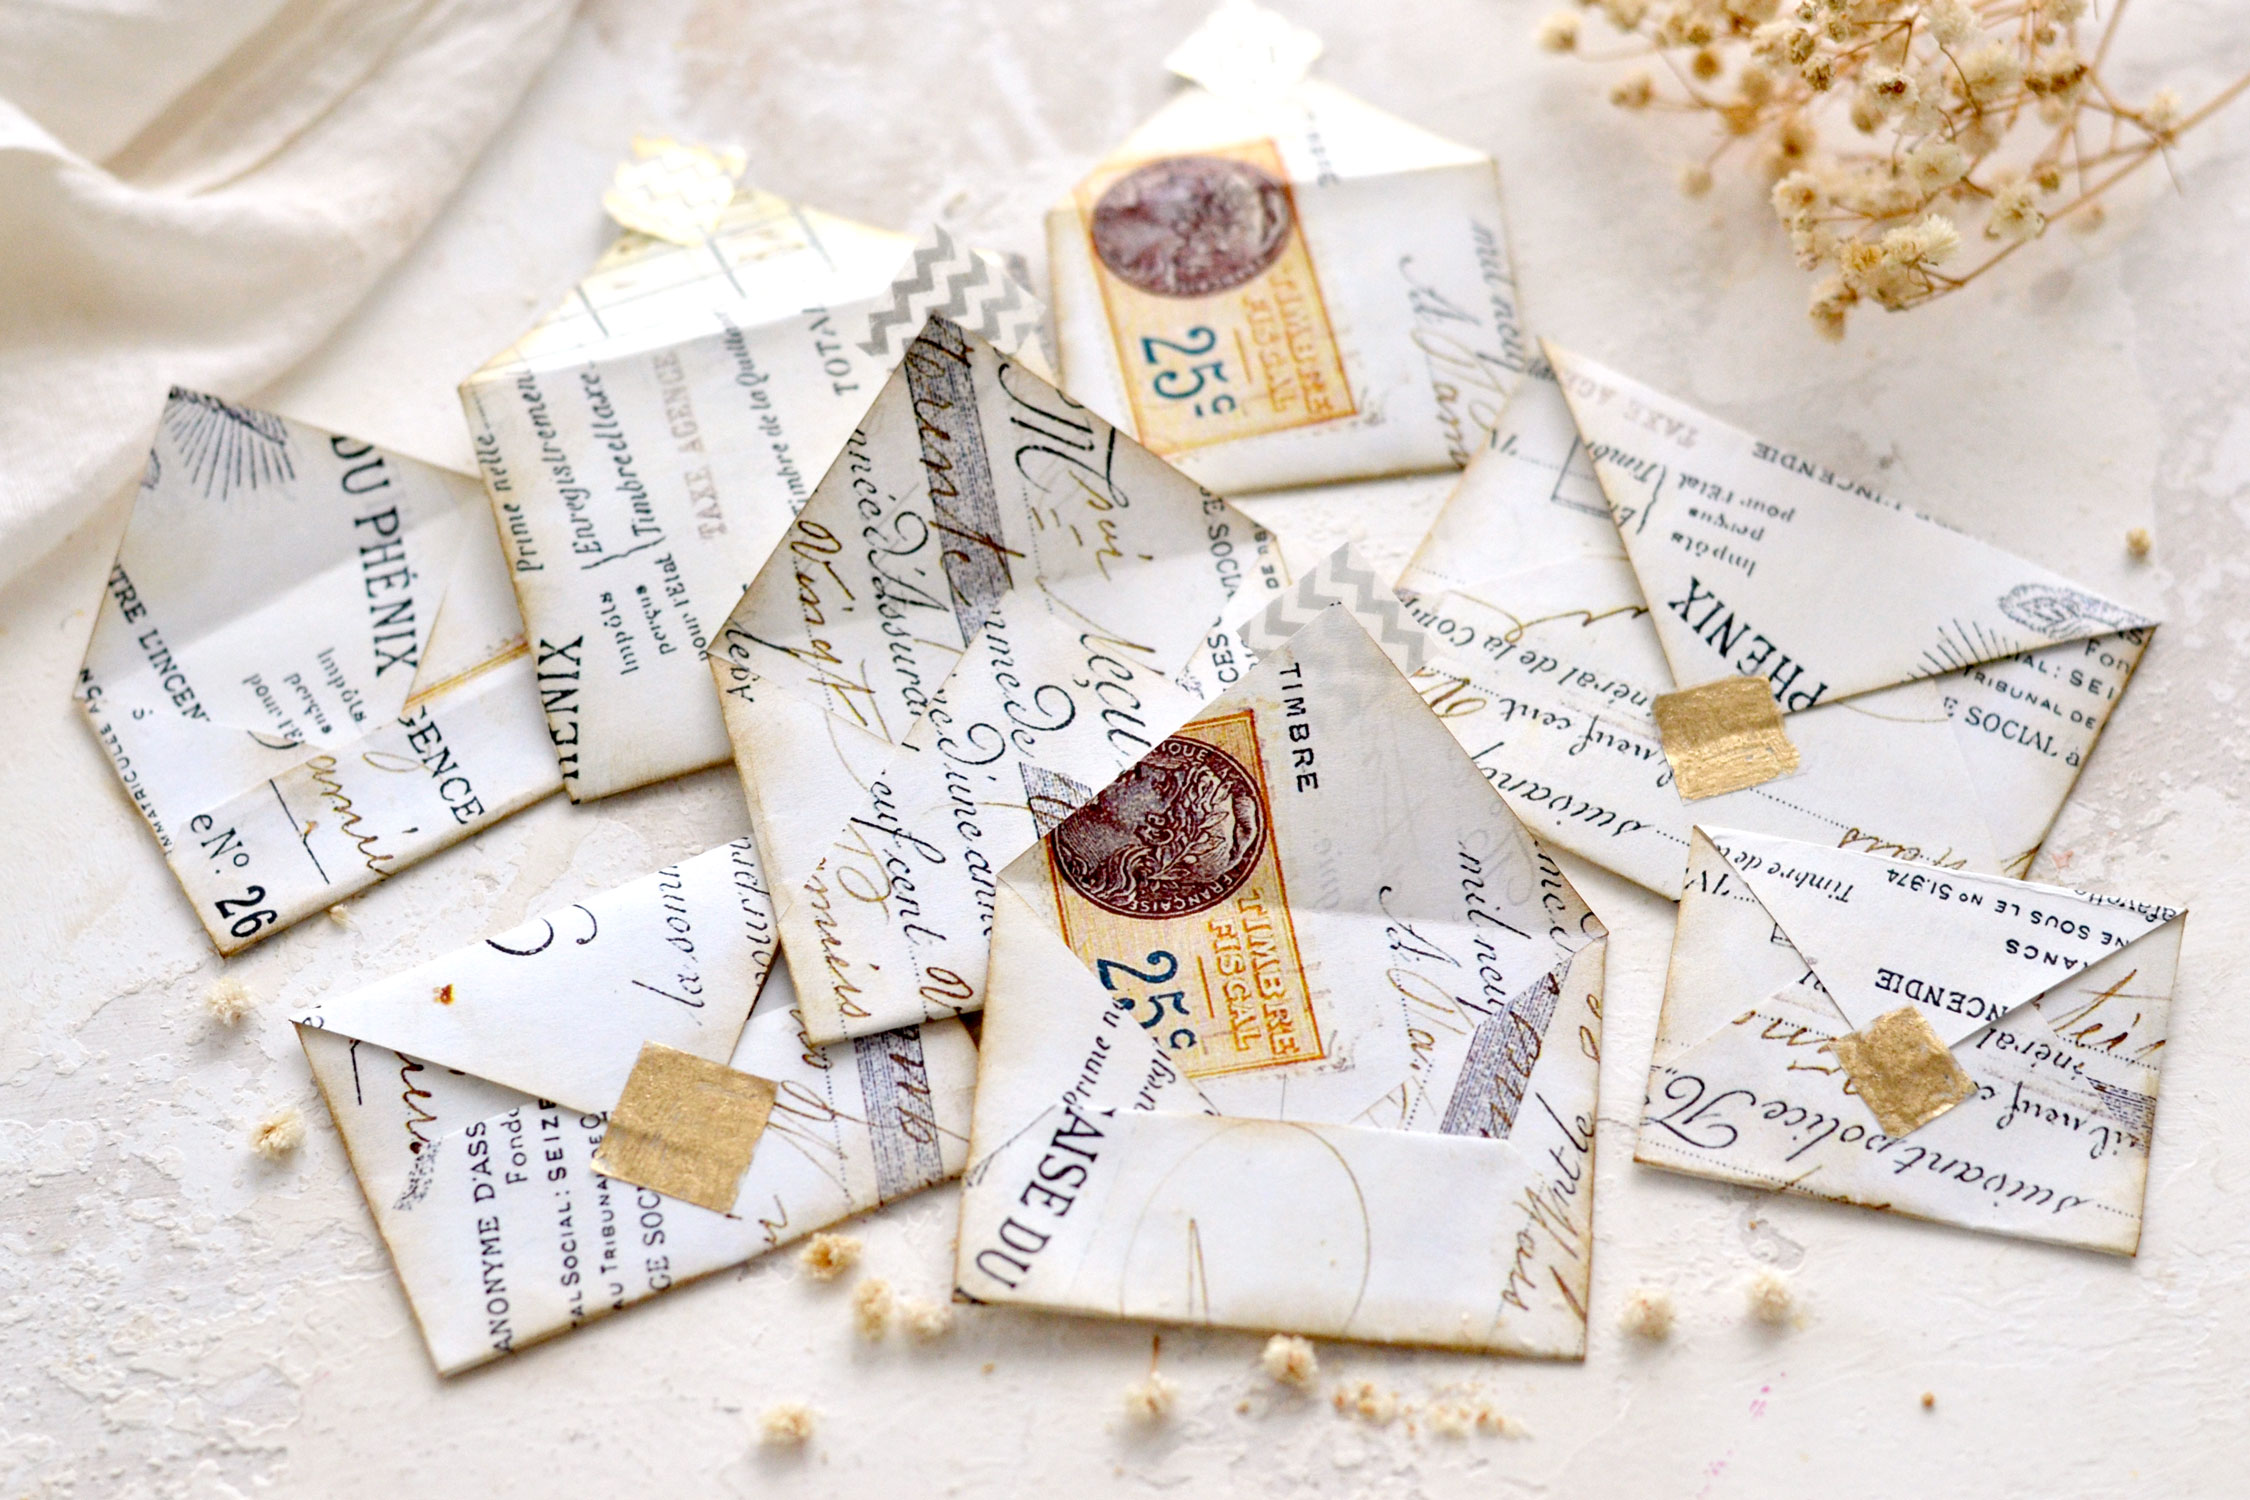
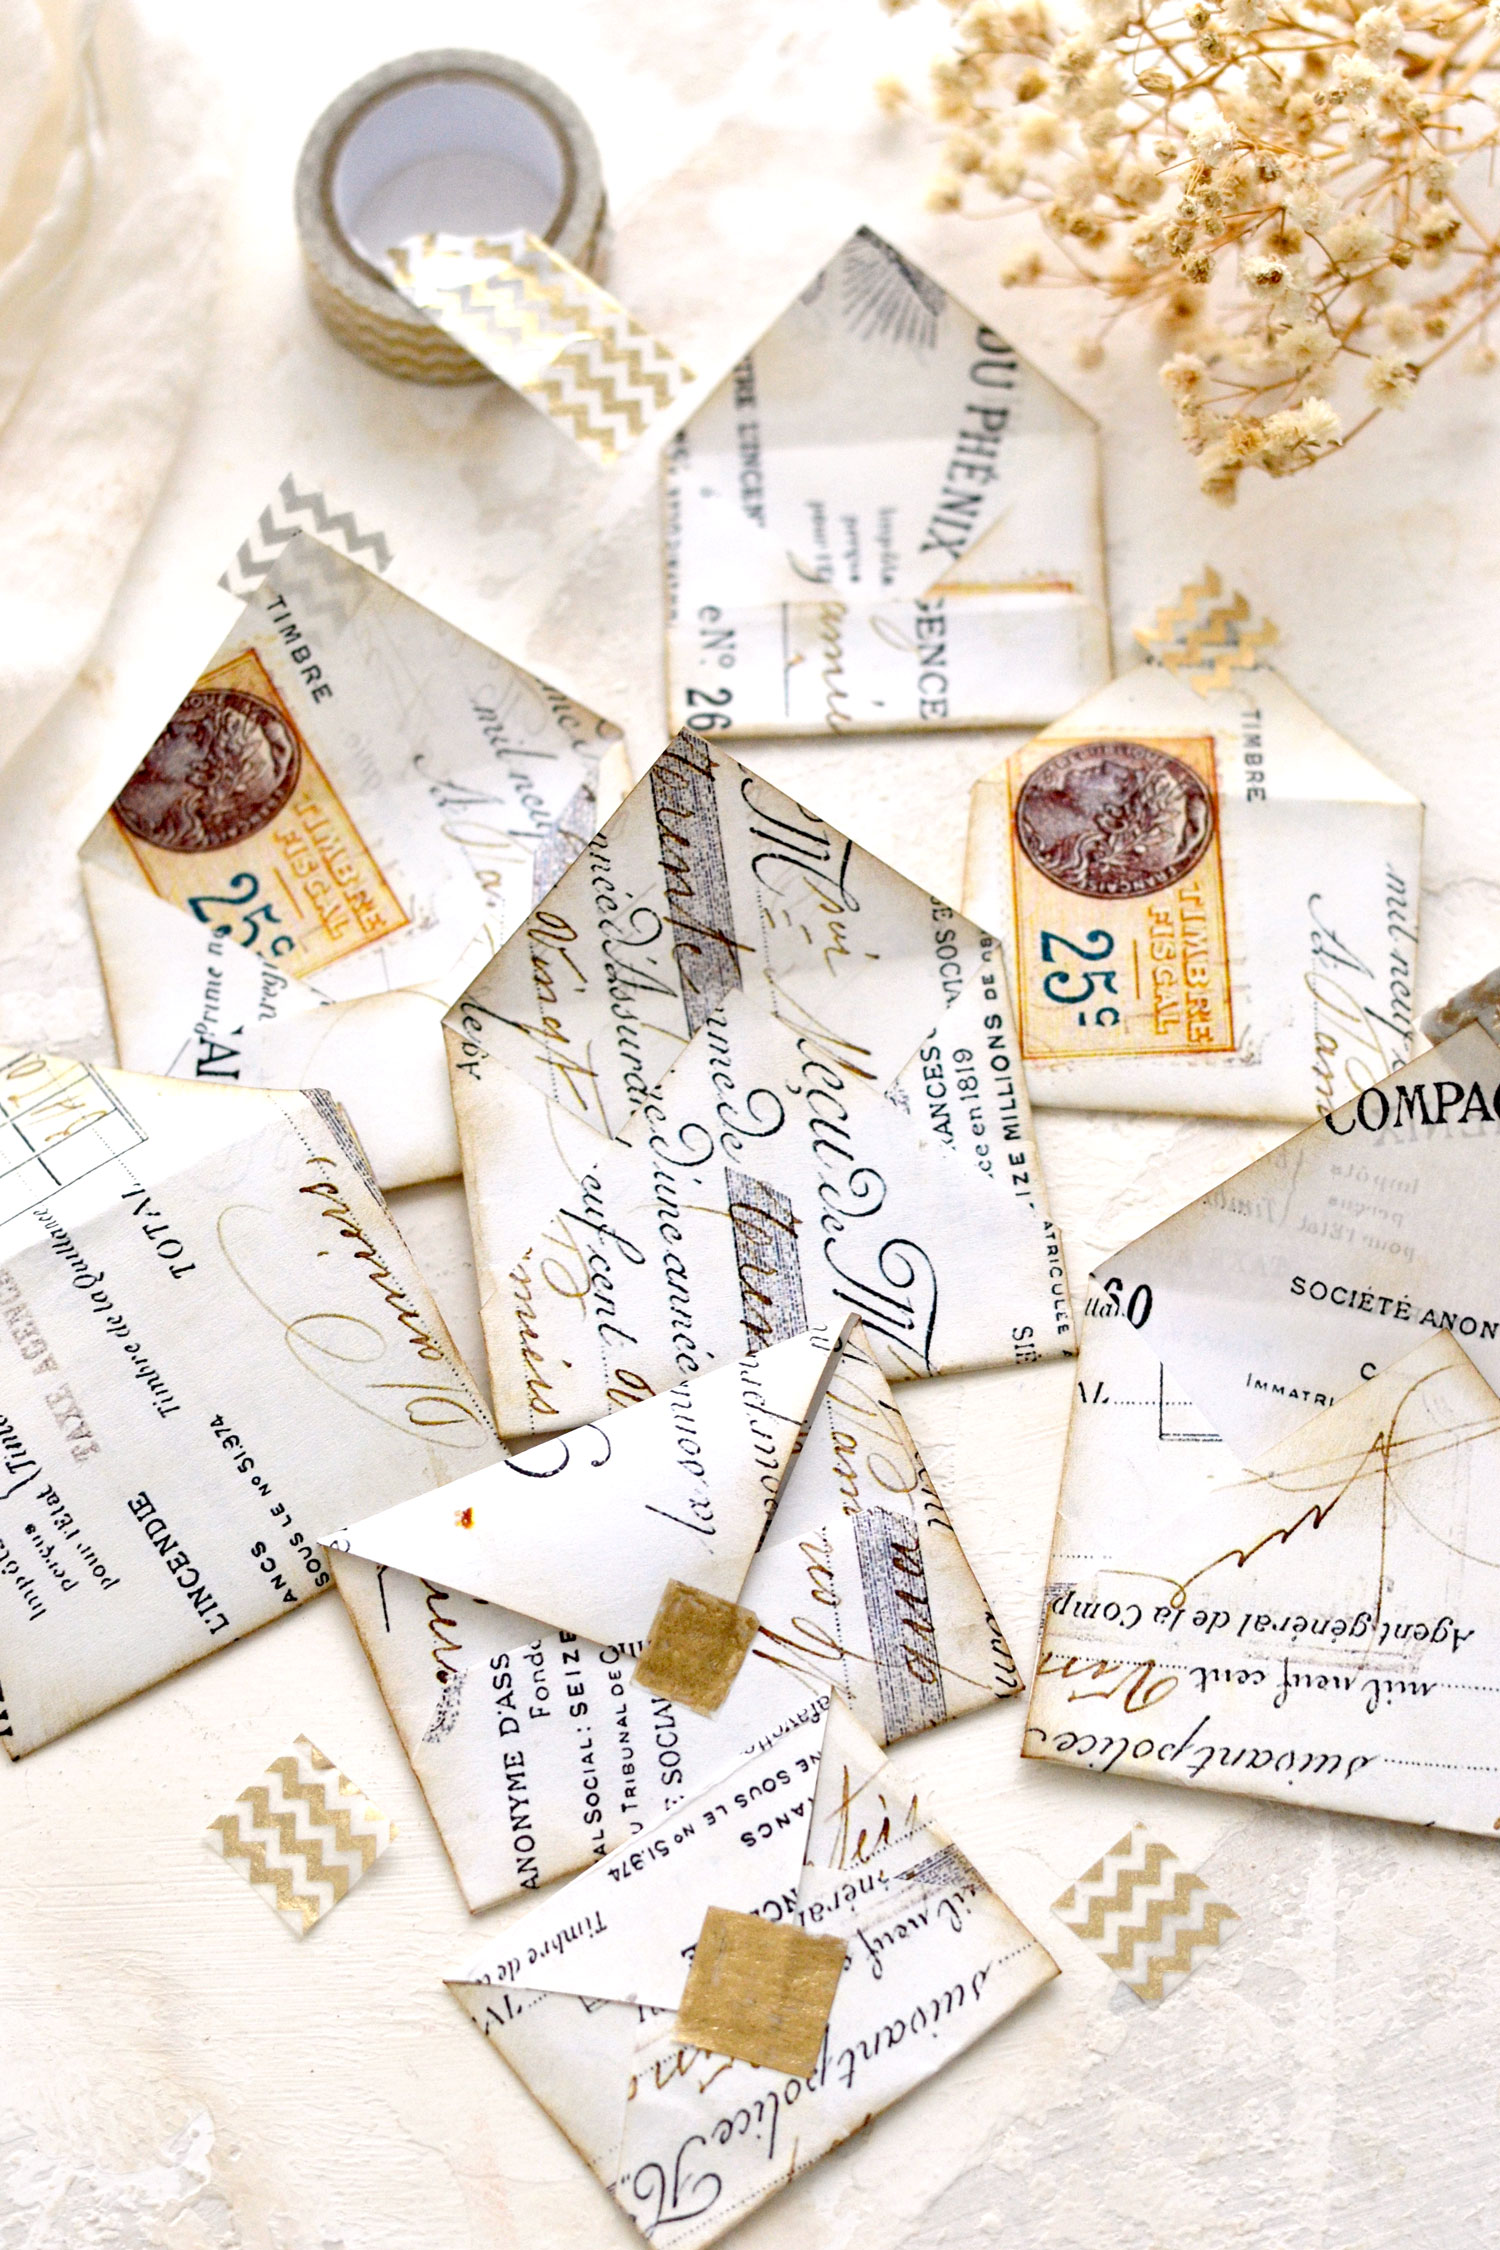
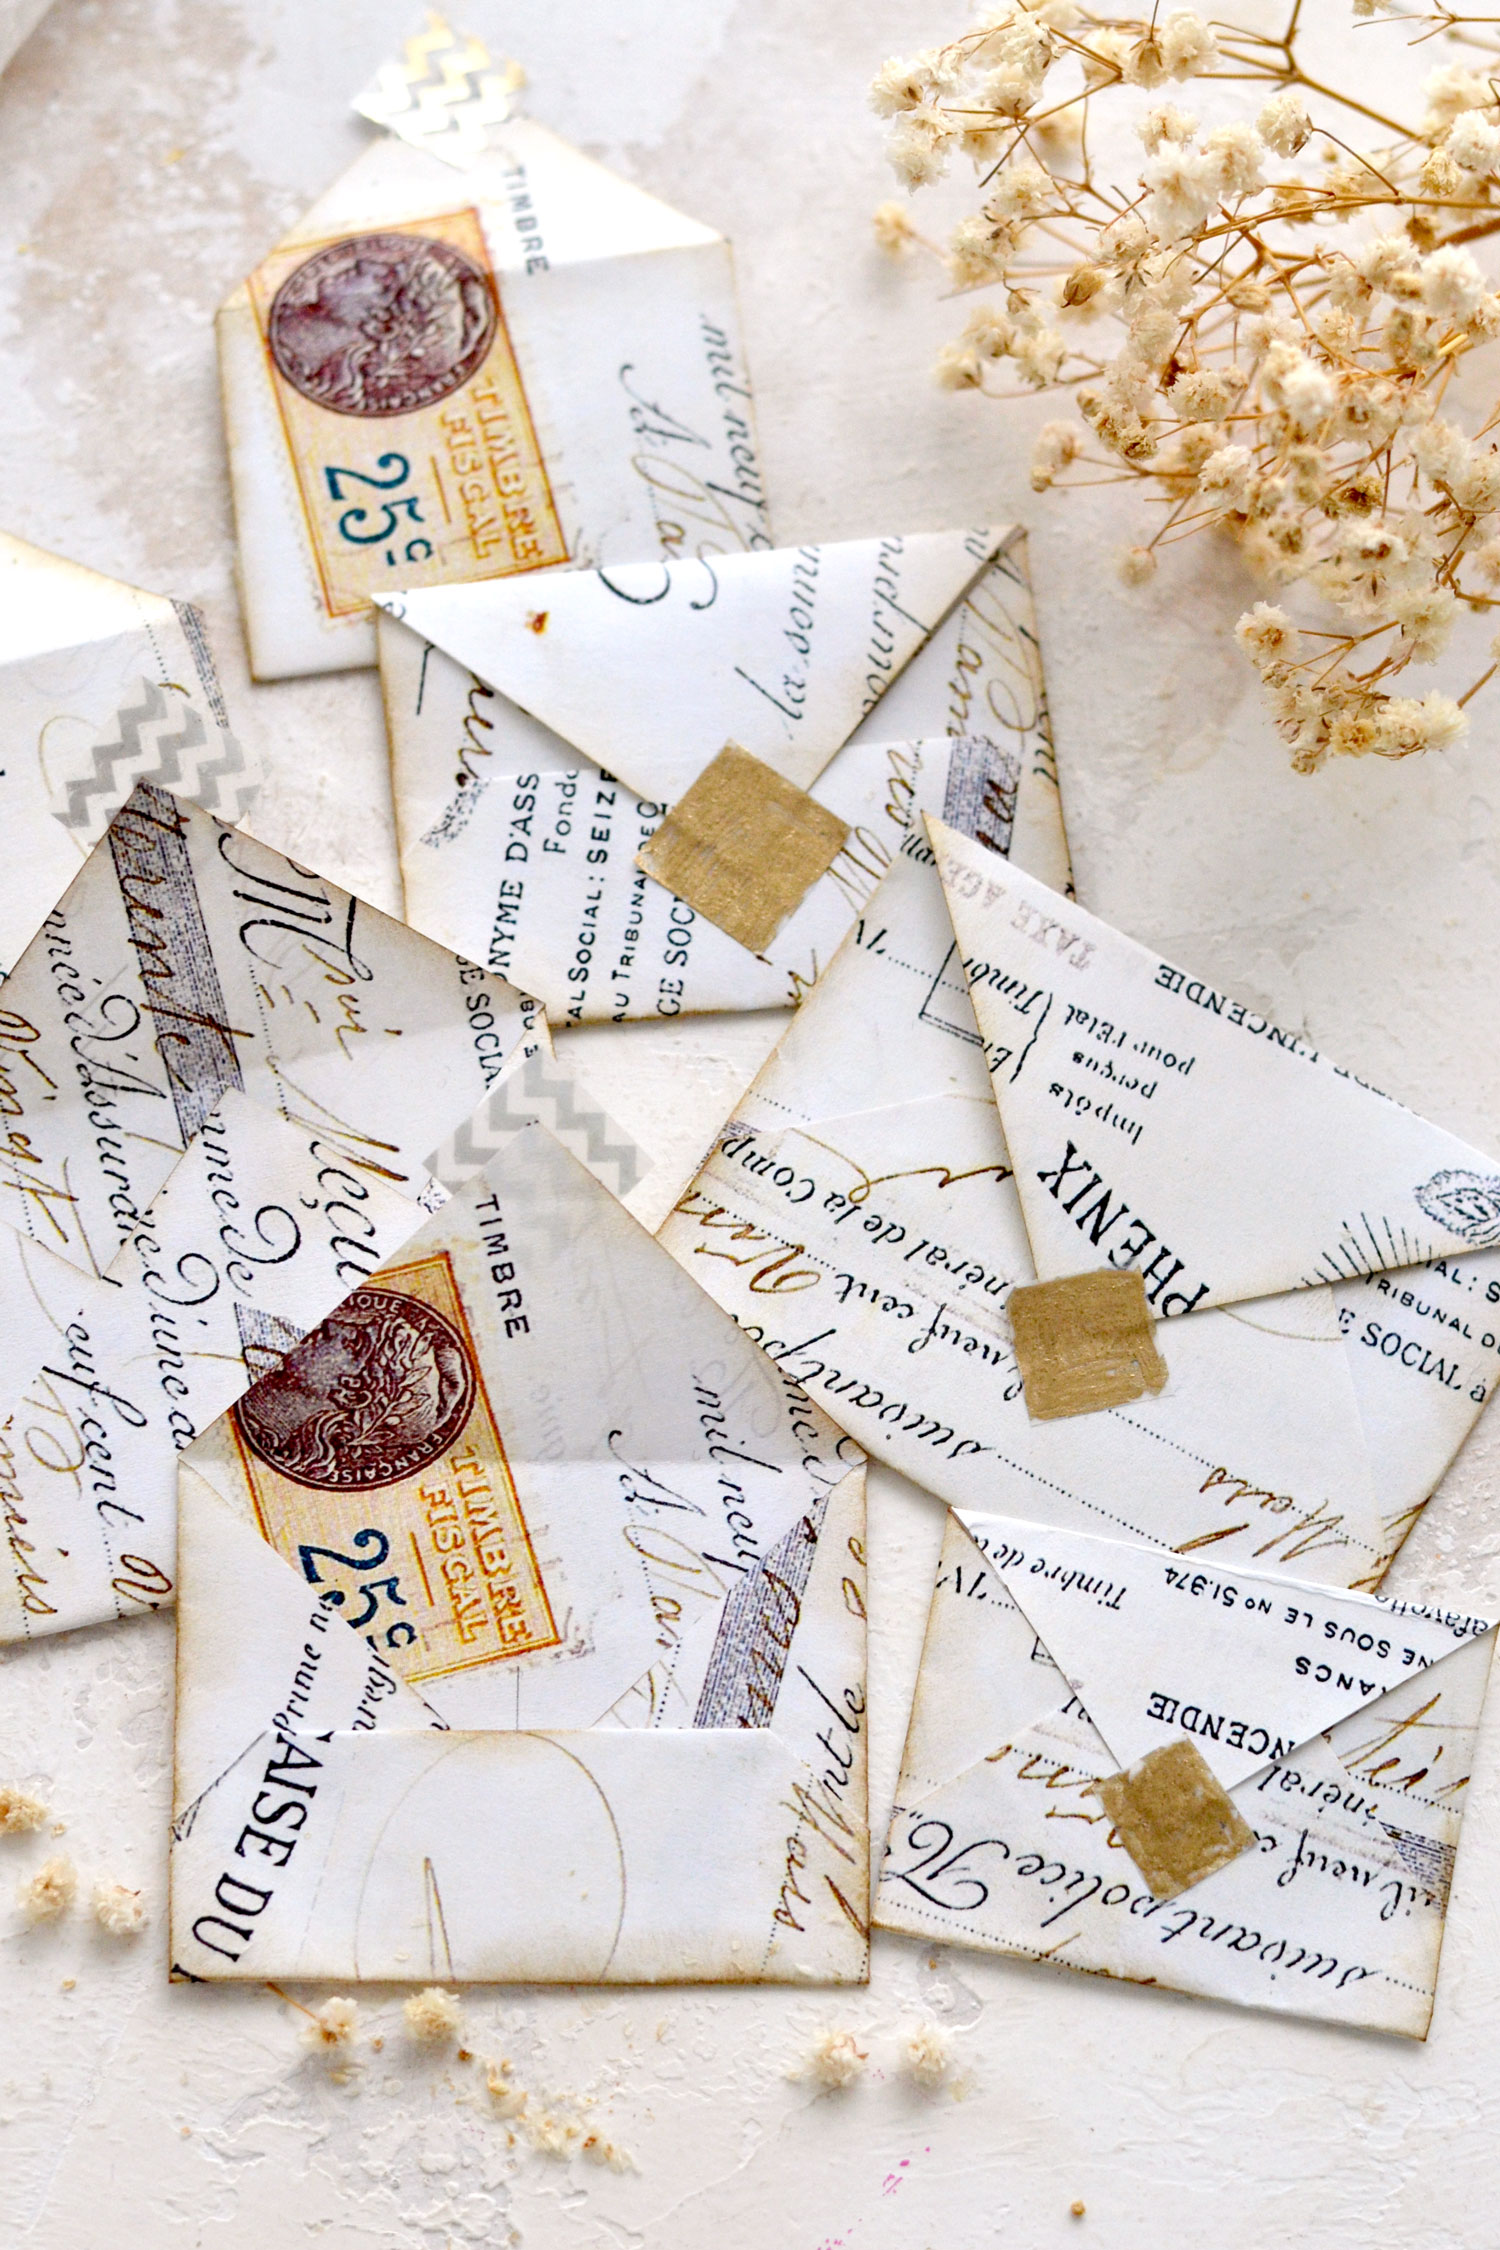
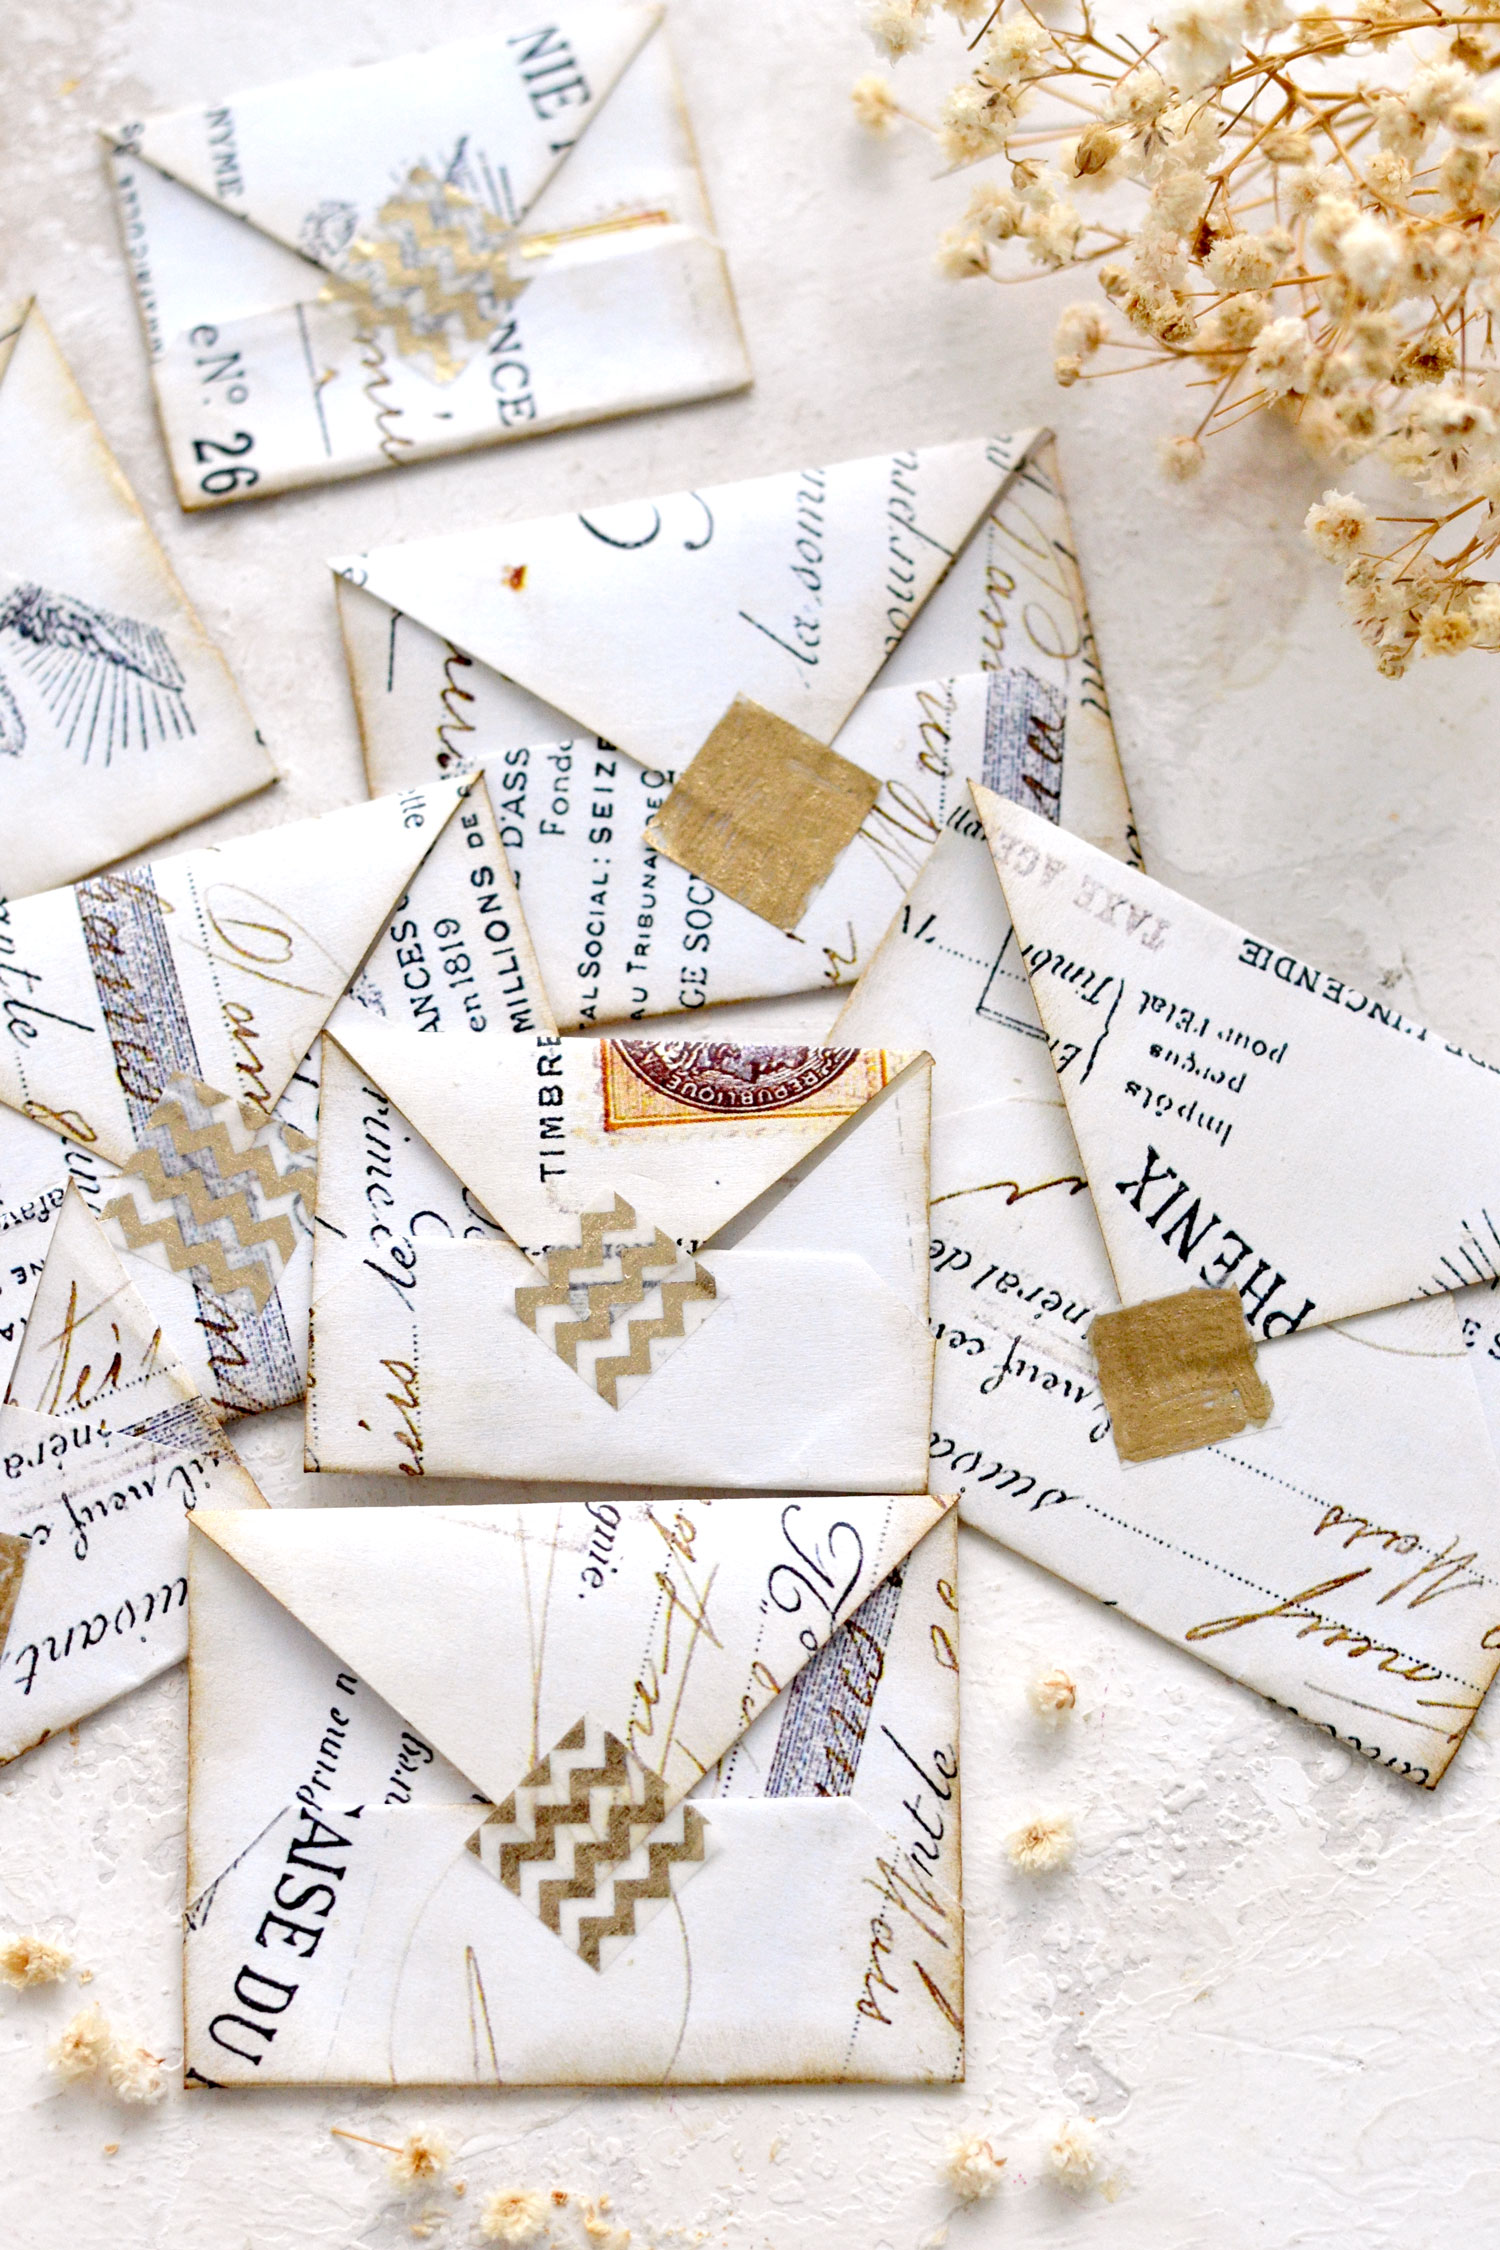
I managed to create eight different-sized envelopes after printing the ephemera two times, you will love how easy these are to make once you get the hang of it!
Depending on how you choose to fold the bottom flap, you might need to use an eraser to remove all the little cross-shaped pencil marks that we traced to determine the center early on.
The orientation of your blank templates when you trace the shapes on the printed paper and the orientation of the writing when you fold the paper will dictate the final look of your gorgeously looking ephemera envelopes.
I love the neutral vibe of these beauties, I’m sure you’ll find unique ways to integrate them into all sorts of creative projects!
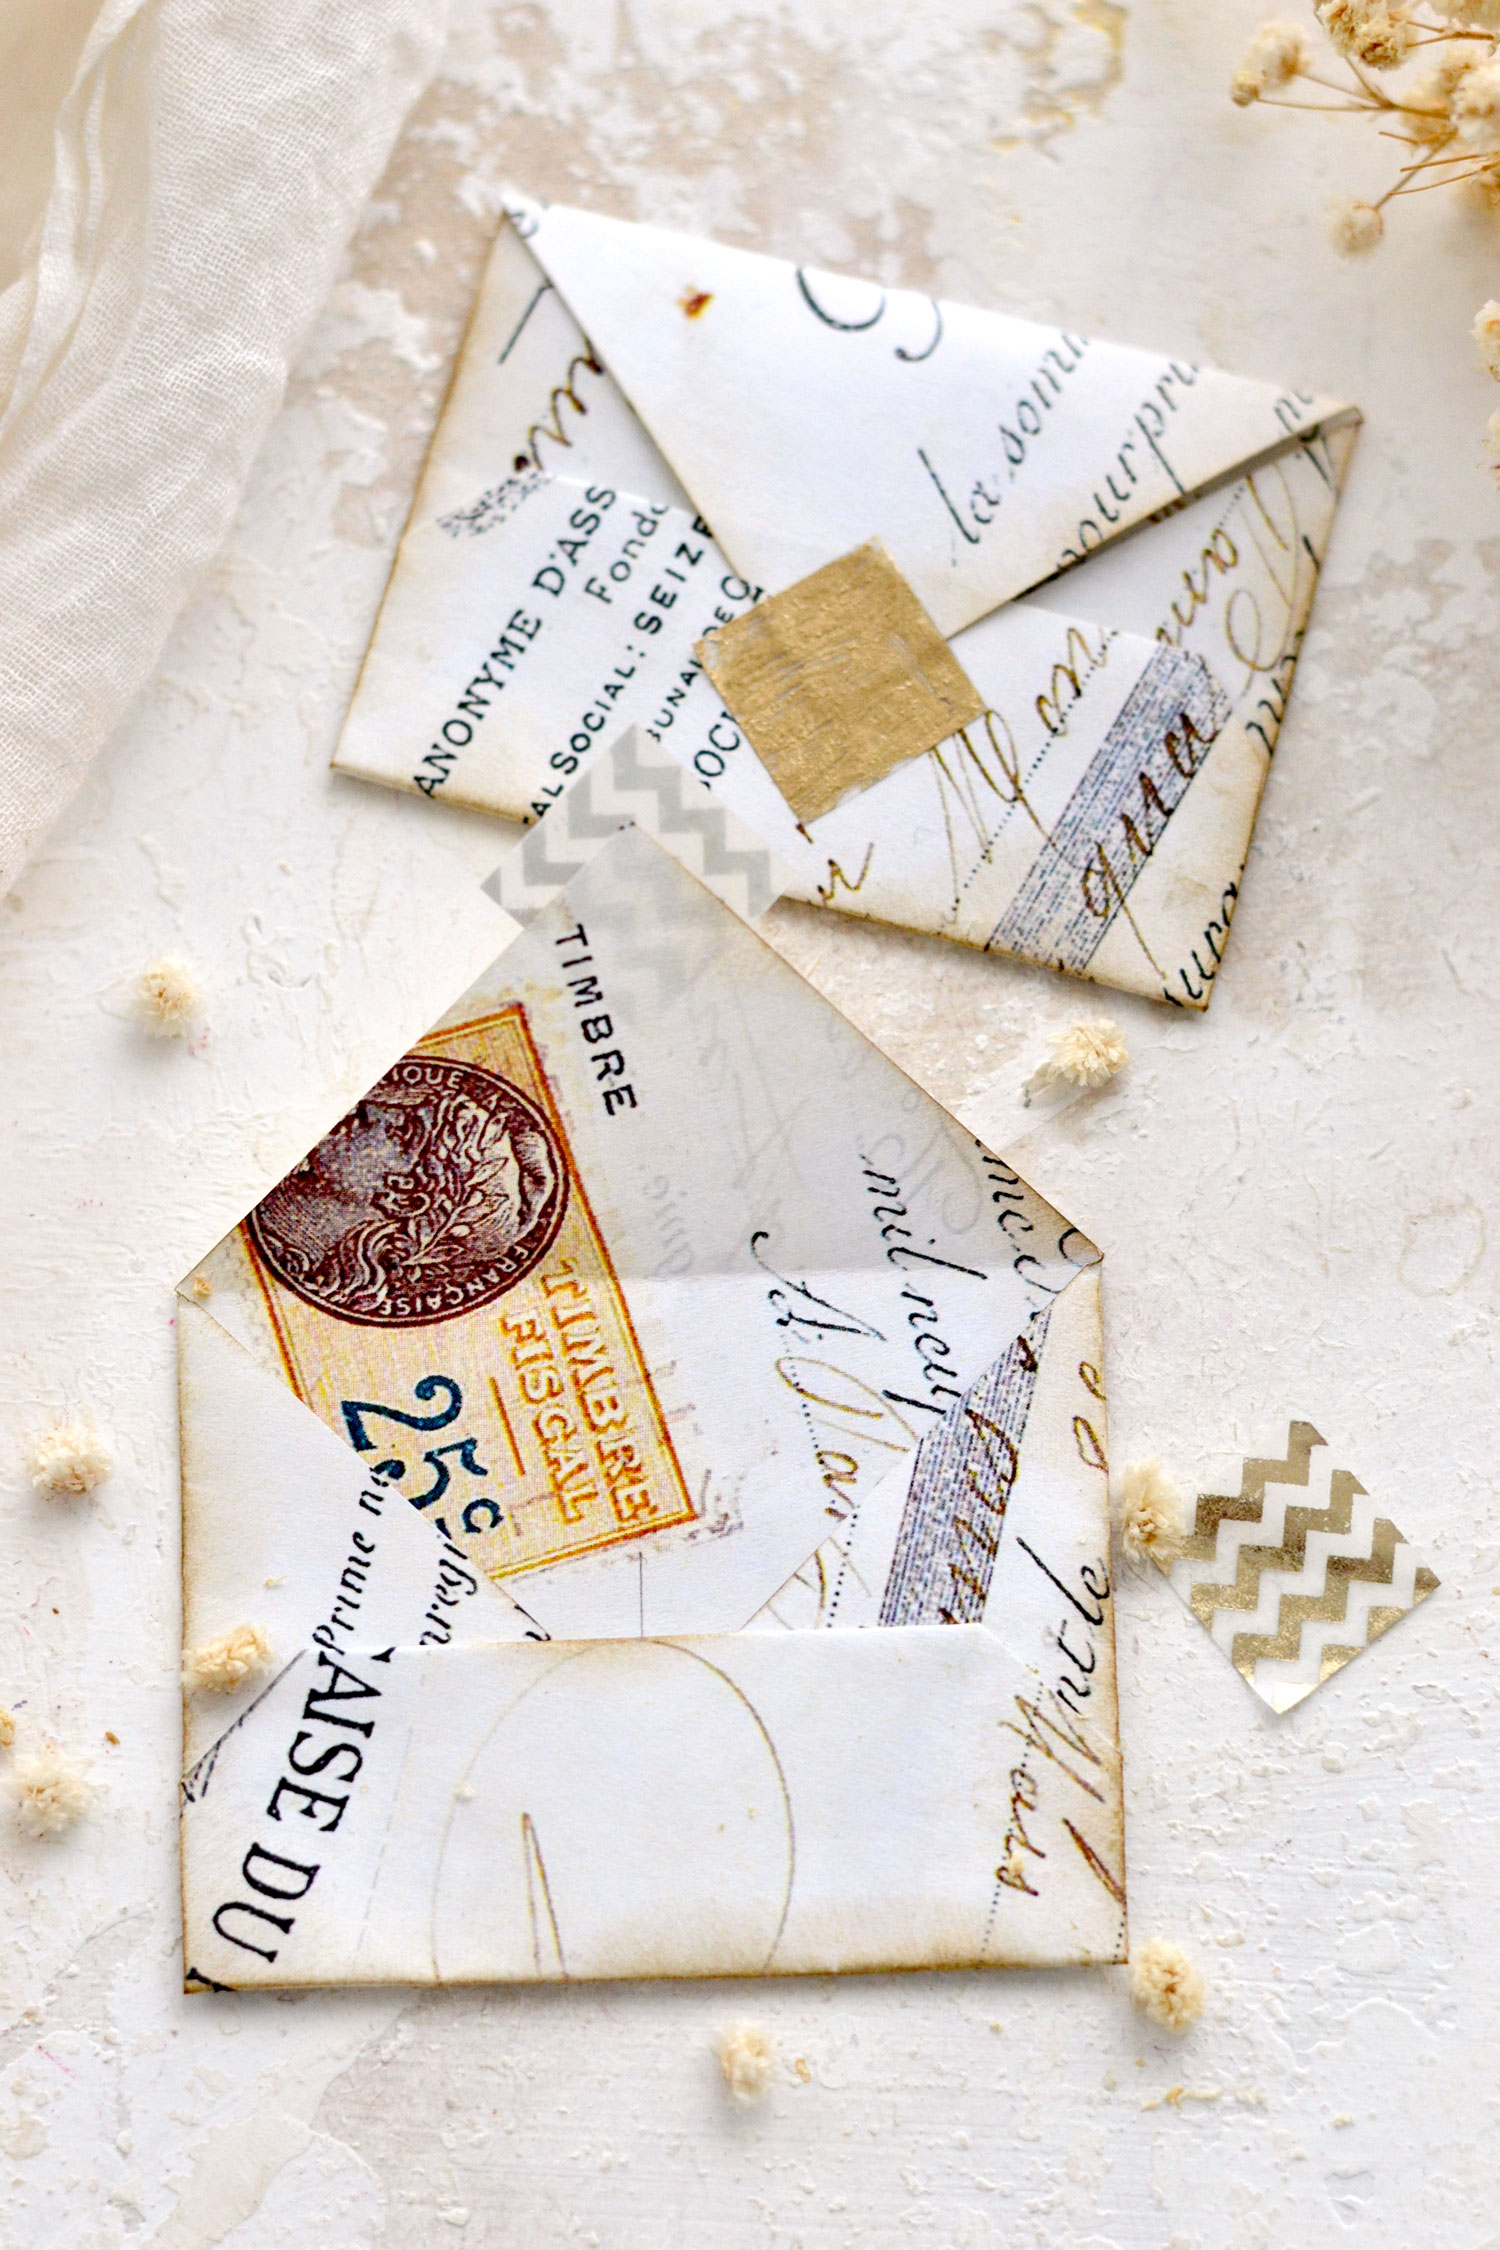
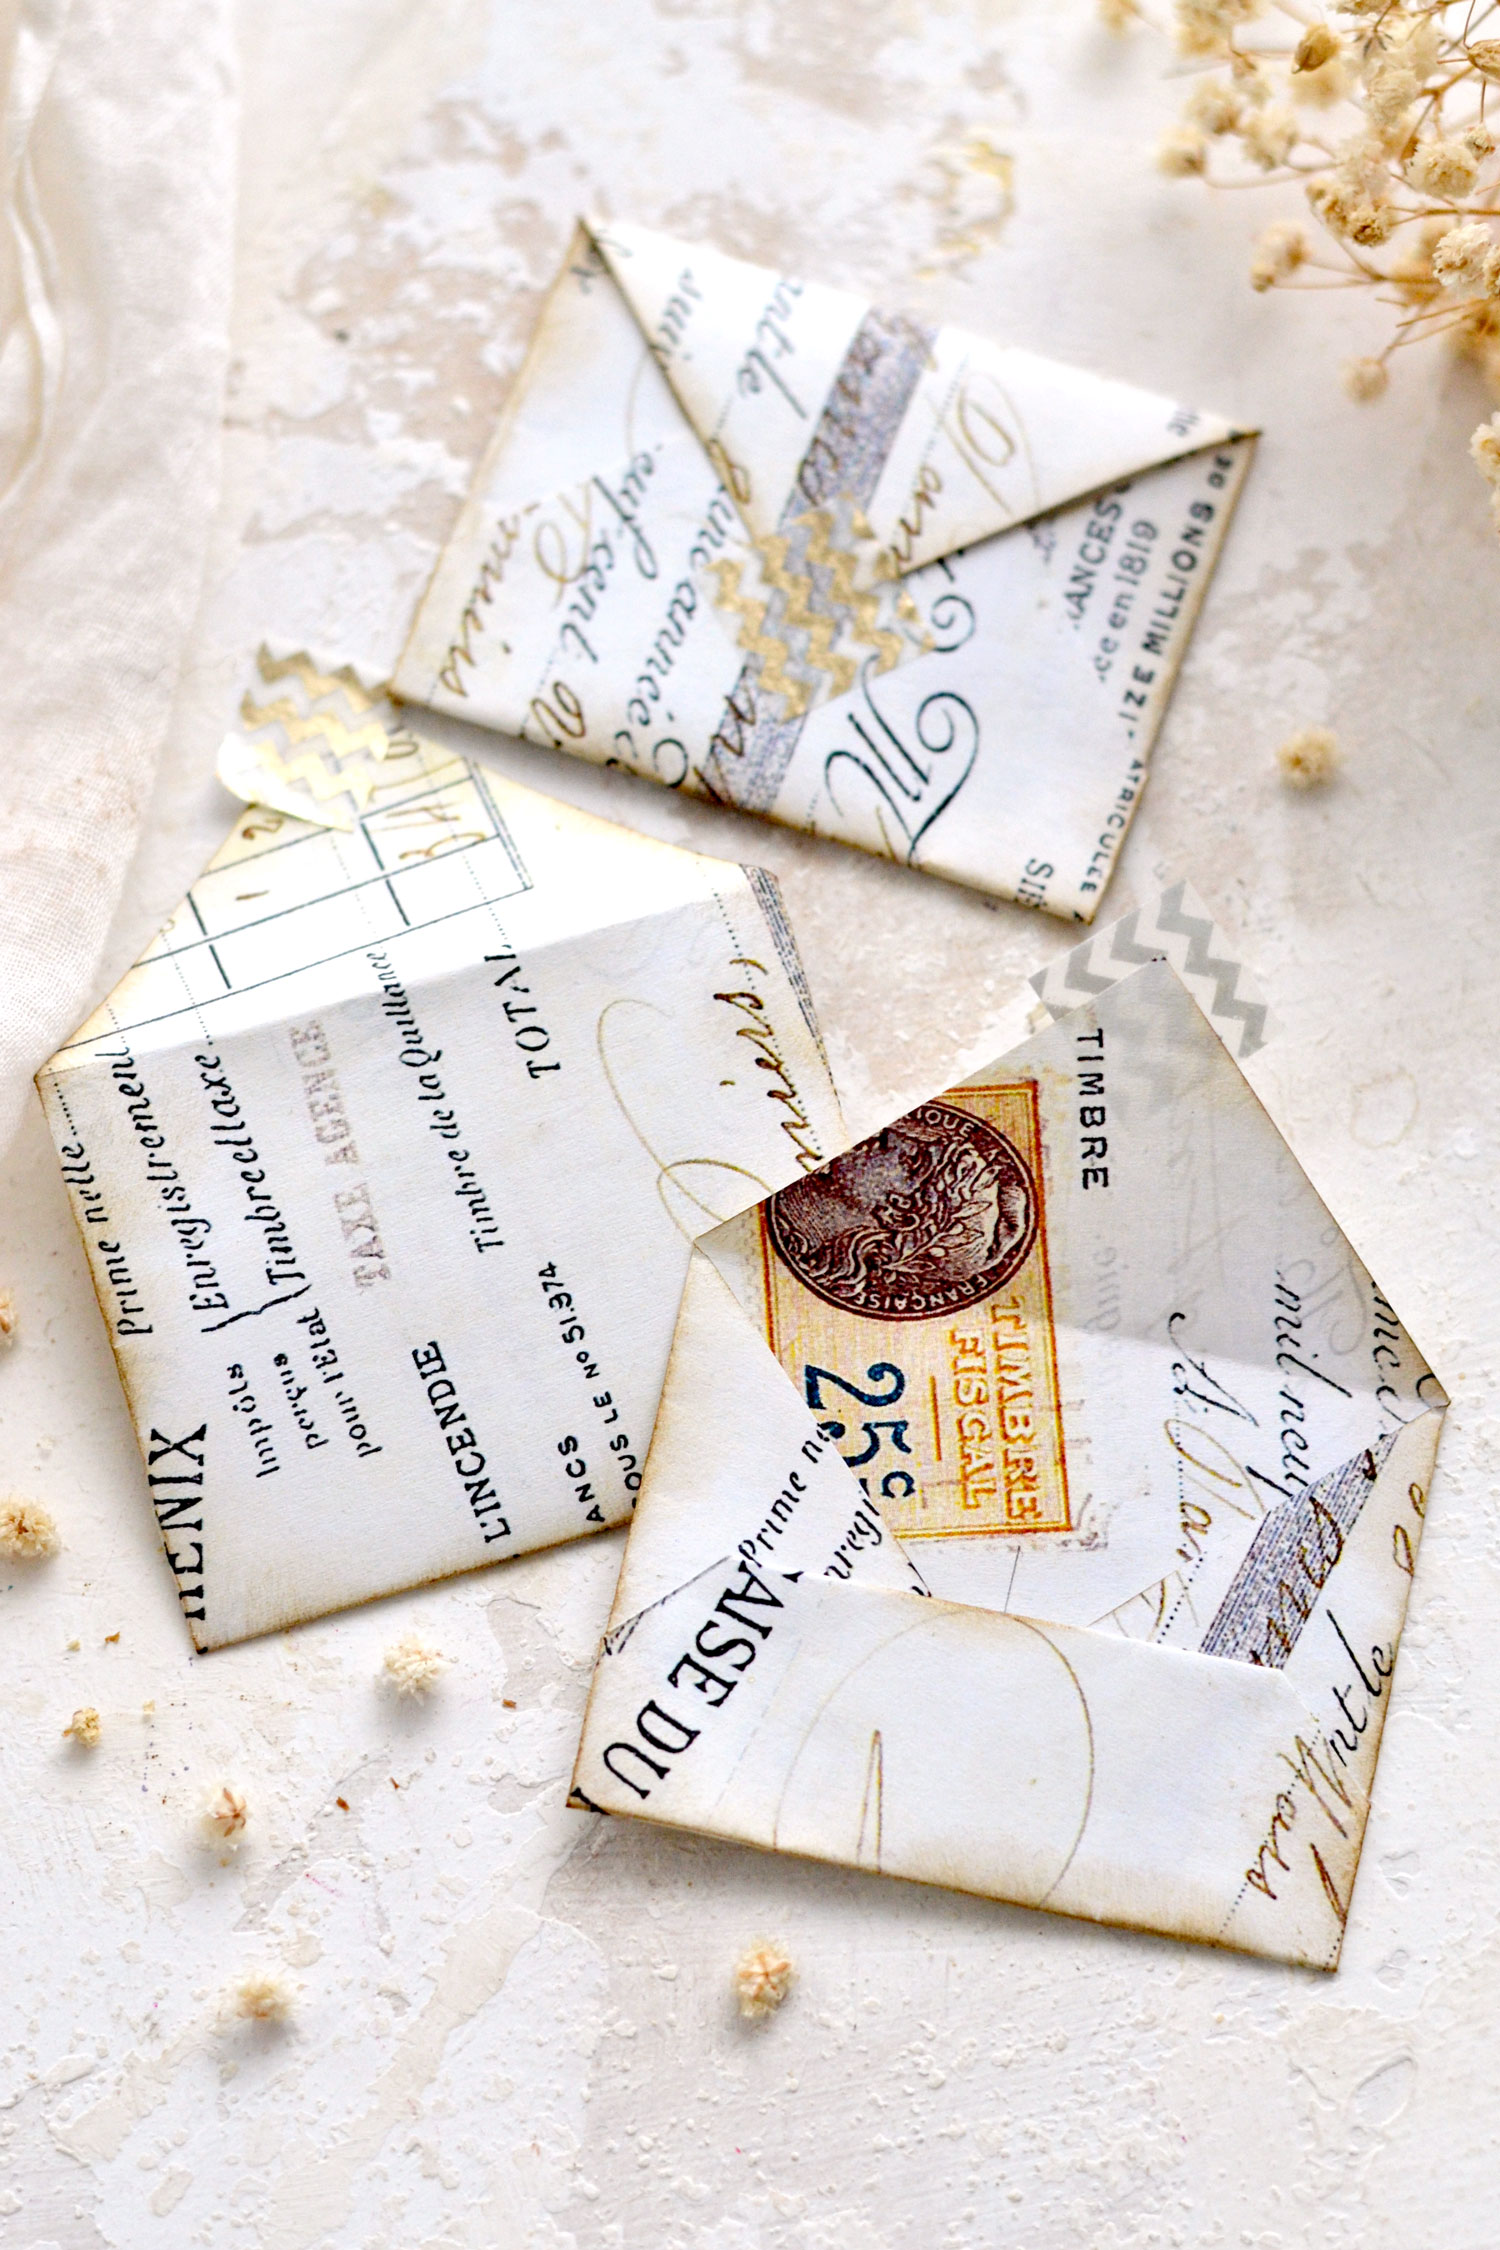
Below you can get a better look at how the two methods of folding the bottom flap look, I feel each of these has so much charm! So in the end, I guess it would be a matter of personal taste which of these two you choose. Or you can just choose them both if you can’t simply decide!
As you can see, each ephemera envelope is quite unique! And even though they have their small imperfection, they still look absolutely stunning!
I love the look of gold accent washi with our closed ephemera envelopes, but I think the improvised gold marker washi looks amazing too. If you don’t have a gold marker, you can also use gold acrylic paint, gold wax or even gold nail polish, just improvise and adapt to things that you already have around!
You can keep the neutral vibe that I envisioned for these, but feel free to personalize them as you want if you feel like going that extra mile! Use coffee or avocado to dye the paper, watercolors or highly diluted acrylics, or even your favorite spray inks! If trying any of these wet techniques, it would be best to do them before assembling the envelopes, so the paper has the chance to dry completely.
I hope you will love this sweet project as much as I loved creating it for you! Give it a try and make as many of these unique pieces as you want! You cannot have enough ephemera envelopes if you ask me, so having these beauties on hand for when in need might be an excellent idea!
 You might also like the Envelope Templates HERE and the Printable Vintage Envelopes HERE.
Happy crafting,
Diana / Dreams Factory


Nancy G says
These envelopes are awesome! Easy to follow tutorial. I printed double sided on parchment paper which gave the envelopes an elegant look. I’m new to junk journaling, so these are perfect for my already made first journal. Thank you. I appreciate all of the talent and gifts of Graphics Fairy.
Karen Watson says
That’s great to hear Nancy! I’m so glad you could make these for your journal. And congrats on making your first one!
lyndell says
i am a crafty lady and looking for different styles
Karen Watson says
That’s great Lyndell. I hope you can find some tutorials here that you would like to try!
Jude H. says
These envelopes are gorgeous and I can’t wait to make them. Thank you so much for the tutorial 🙂
Karen Watson says
Have fun making Diana’s pretty Envelopes Jude!