Faux Rust Paper Technique
Hello dear Graphics Fairy friends! I’m Diana from Dreams Factory and I will show you how to make some beautiful French Labels with a Faux Rust Paper Technique. This technique uses 3 key ingredients that you already have in your kitchen -to add some patina and ‘rust’ to our regular paper labels and turn them into perfectly imperfect aged beauties. I can’t wait to share the “Secret” ingredient that I discovered for creating this effect!
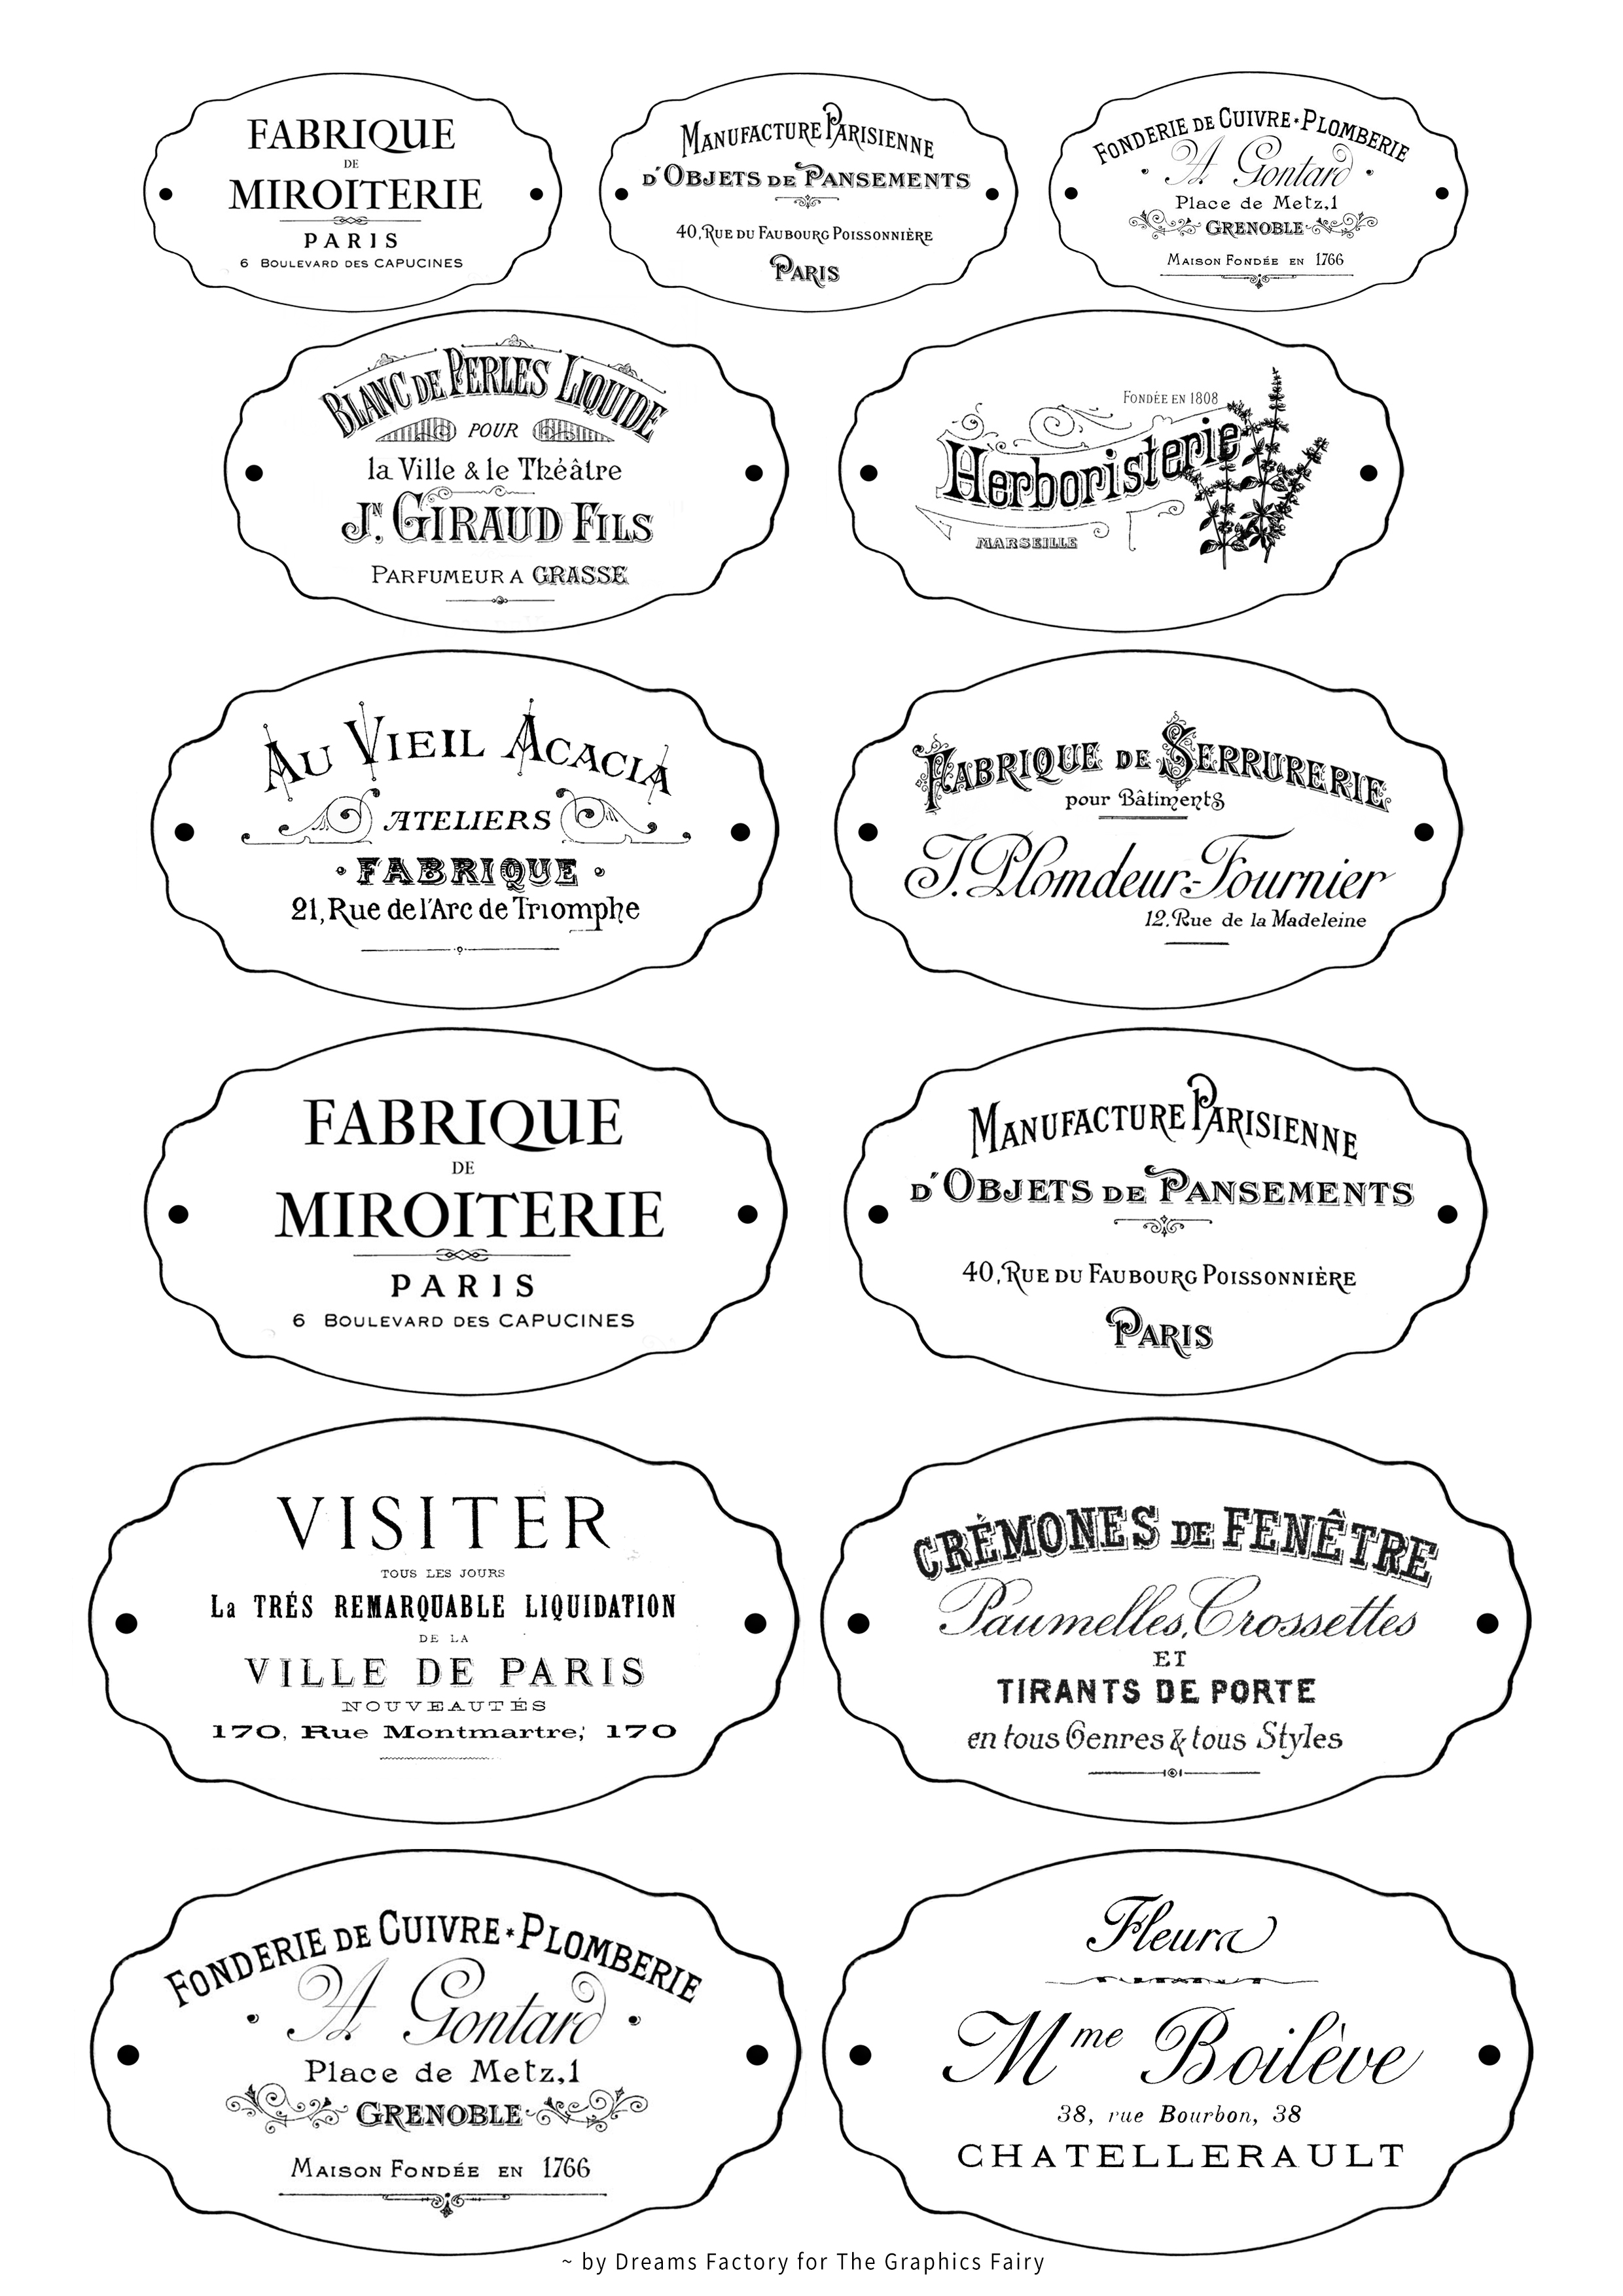
Of course, it all starts with the French labels that I designed especially for this project. I just love coming up with new ways of using the beautiful graphics from The Graphics Fairy and sort of reinventing them over and over again for specific projects. The labels have a beautiful rounded border and some ‘nail’ marks on the sides, that will help enhance the rusted vintage feel I was envisioning.
You will also see that the labels pictured in the post are a little bit different than the ones from this printable. That’s because I made a few changes on the road, when I realized I would have loved some smaller sized DIY Faux Rusted French Labels to decorate a particular smaller items. (You’ll see in a while what I’m talking about.
Free Printable Faux Rust Paper Technique
Click HERE to Download the Full Size Printable PDF of the French Labels
Let’s talk about the 3 key ingredients for a second.
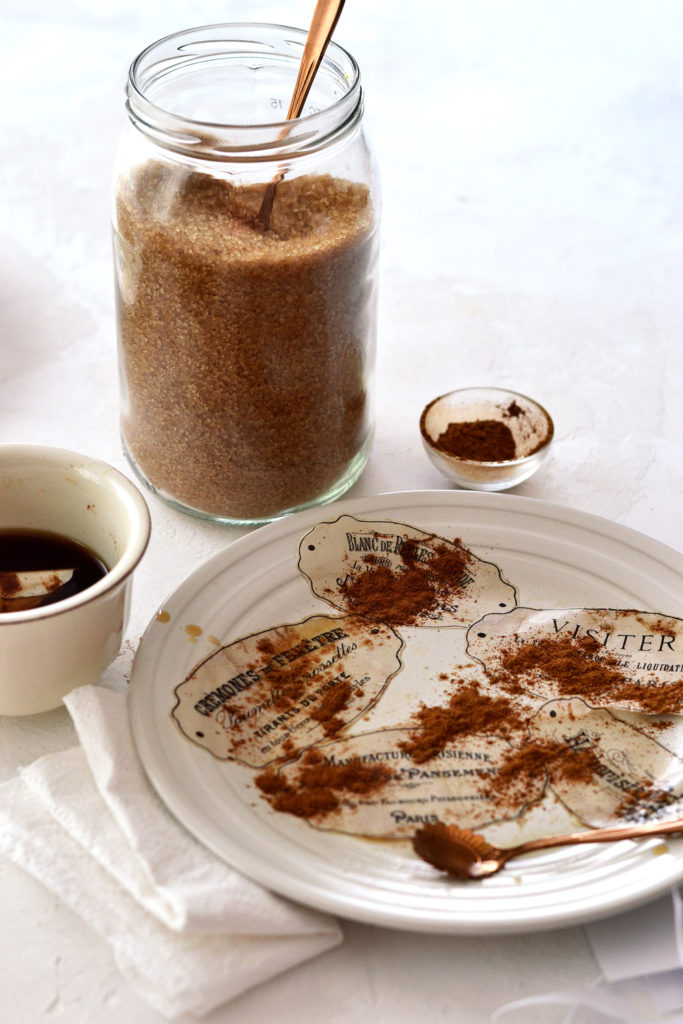
Coffee will act as our ageing agent -> will naturally add patina, some beautiful brown hues and wrinkles to the paper, making it look vintage and worn.
Cinnamon will become our ‘rust’ -> will create some amazing textures and will add dimension.
The stickiness of the sugar -> will help us ‘arrange’ and control the rust as we want.
Chances are you might be using all these 3 ingredients on a regular basis, but who knew they have such hidden properties when it comes to crafting, right?
Are you ready to unleash their hidden supper powers?
Let’s get started!
Supplies for Faux Rust Paper Technique:
- cardstock or regular printing paper
- home printer
- scissors
- magic elixir: coffee (about 1/2 measuring cup) + sugar (2 teaspoons) + cinnamon (1/2 teaspoon)
- cinnamon (about 2-3 teaspoons) for sprinkling
- plates
- a teaspoon
- paper towels
- a brush
- Mod Podge
Optional
- jars, bottles, containers, cups, pots or other decorative pieces to beautify with the labels
Print the labels using a laserjet printer or, if you don’t own a laser printer, copy them on a memory stick, take them to a copy center and print them there. The laser printer part is really important for this project because we will be soaking the paper next and ink printers simply won’t work!
As for the paper, you can use regular paper or cardstock, with a few minor differences (when it comes to texture and color). Depending on where and how you are planning to use the labels afterwards, you can use either one of the two.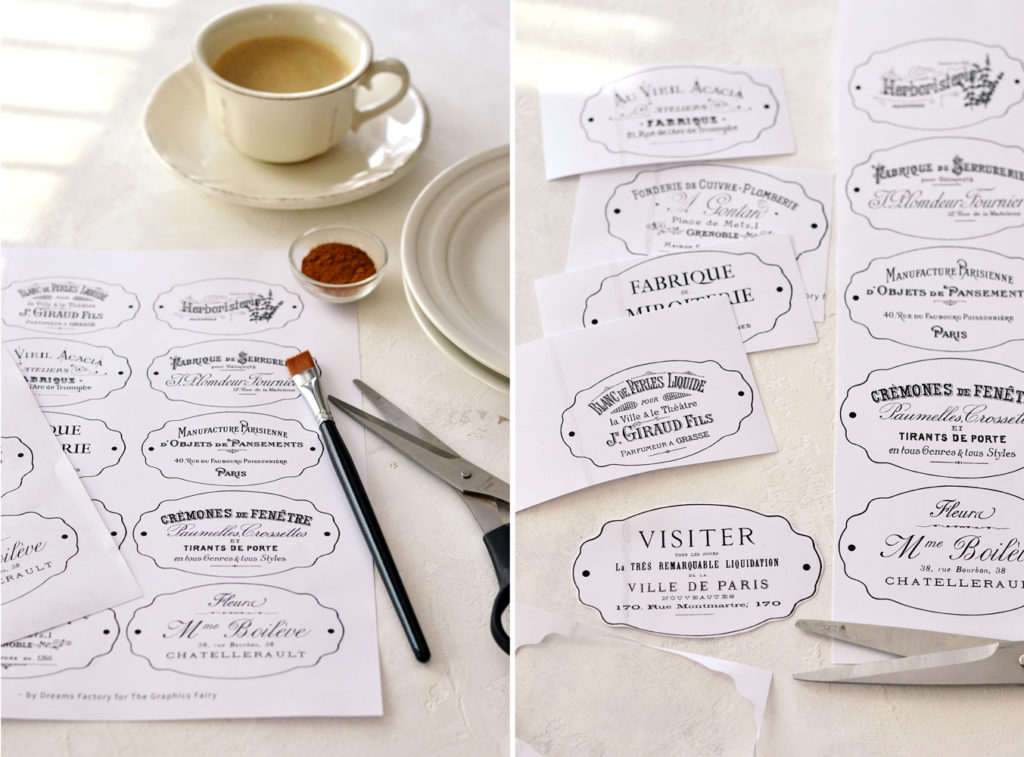
Cut the labels as close as you can to their beautiful borders, leaving some small white space around the black borders. Try to make smooth cuts following the exterior rounded shape of the borders.
I initially tried adding the cinnamon ‘rust’ to the labels using only coffee, while the labels were wet, but after the labels have dried, most of the cinnamon just came off.
So I experimented a little bit and created the magic elixir mentioned above by adding some sugar and cinnamon to the coffee and trying to naturally ‘glue’ the cinnamon to the paper. It worked great, the stickiness of the sugar helped me achieve great results!
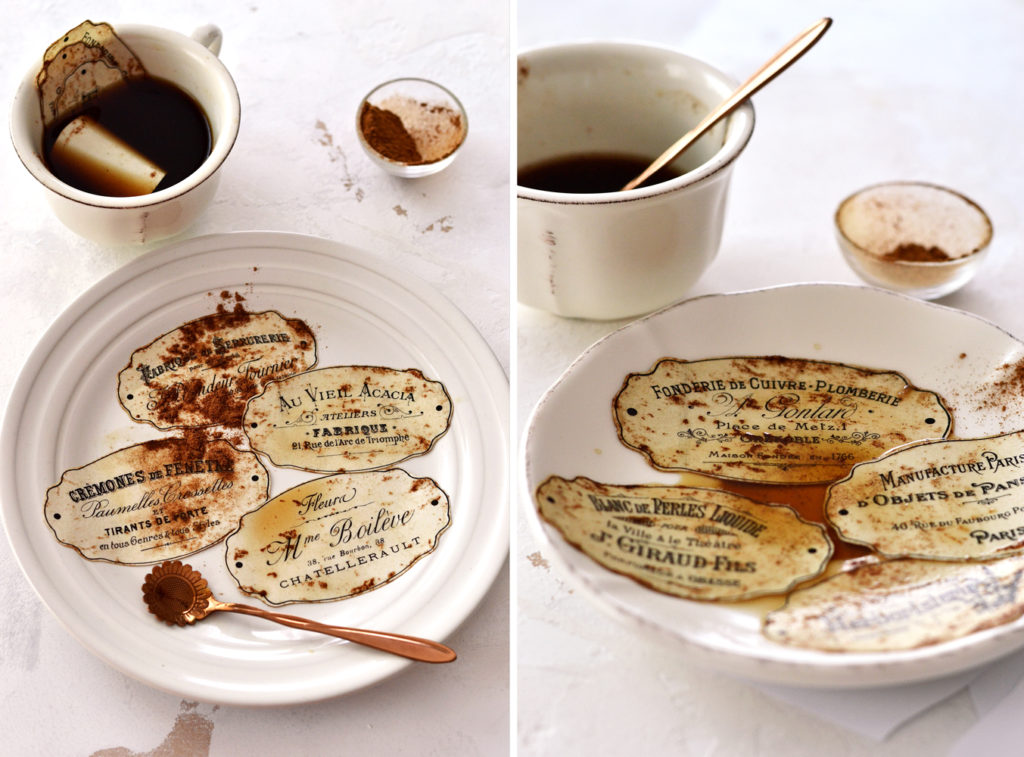
When I was finishing cutting the labels, I added them, one by one, into the cup that was holding the magic elixir, stacking them on top of each others. 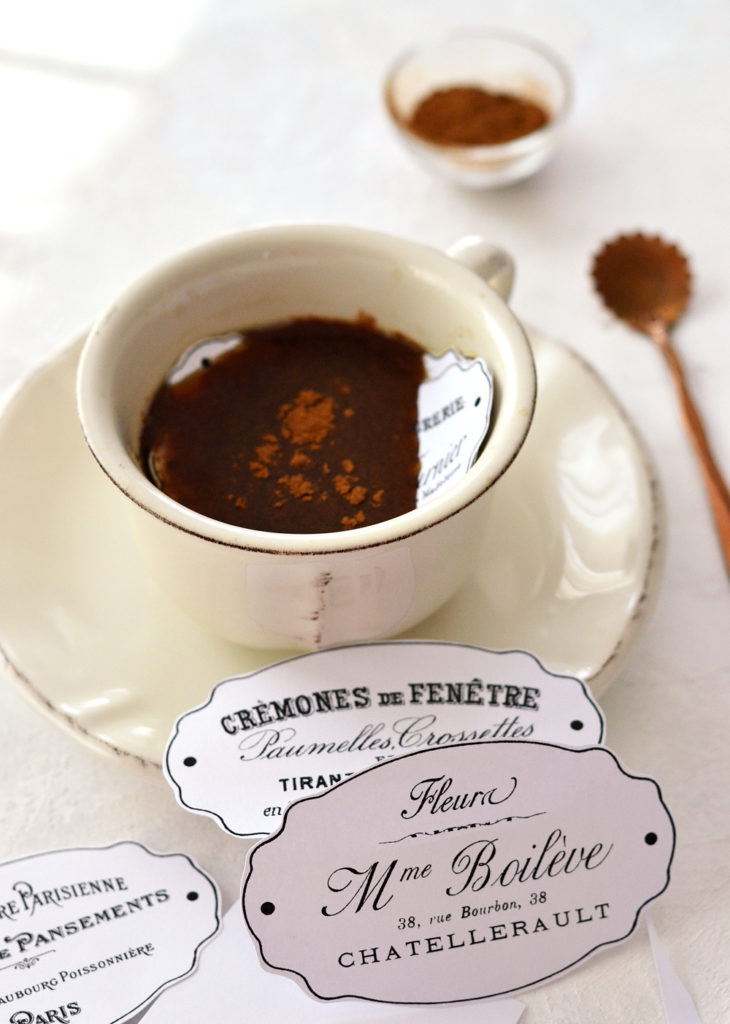
I used a small spoon to press them into the coffee, I let them soak for about 10-15 minutes and then removed them from the cup. Be carefully not to tear them, the paper will be quite fragile at this point.
I arranged them on plates making sure they are not overlapping (at first).
Then I sprinkled some cinnamon and added a few more tablespoons of coffee.
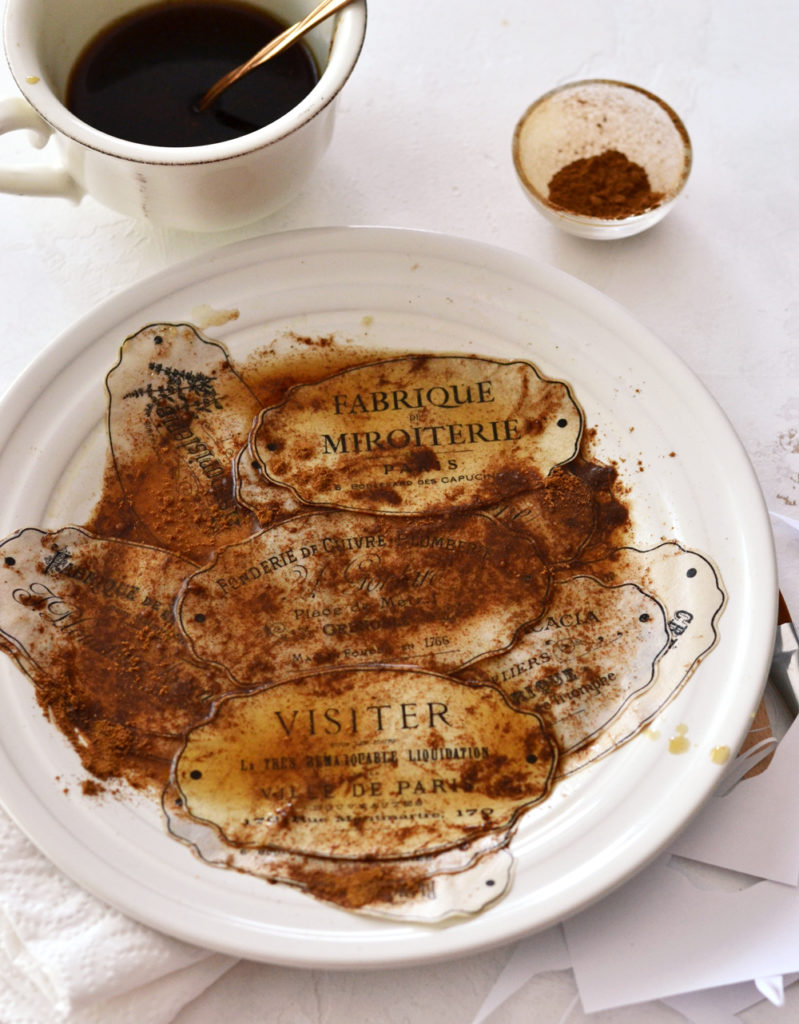
You will have to work on layers for this project and just add coffee and cinnamon until fully satisfied. Just keep in mind that the color of coffee will fade after drying and it will be more subtle.
Then things got a little bit messy. I added a few labels on top of each other, on the plate, after sprinkling lots of cinnamon and adding a little bit more of that magic elixir between each ‘layer’.
I let them sit like that for about 10 minutes more.
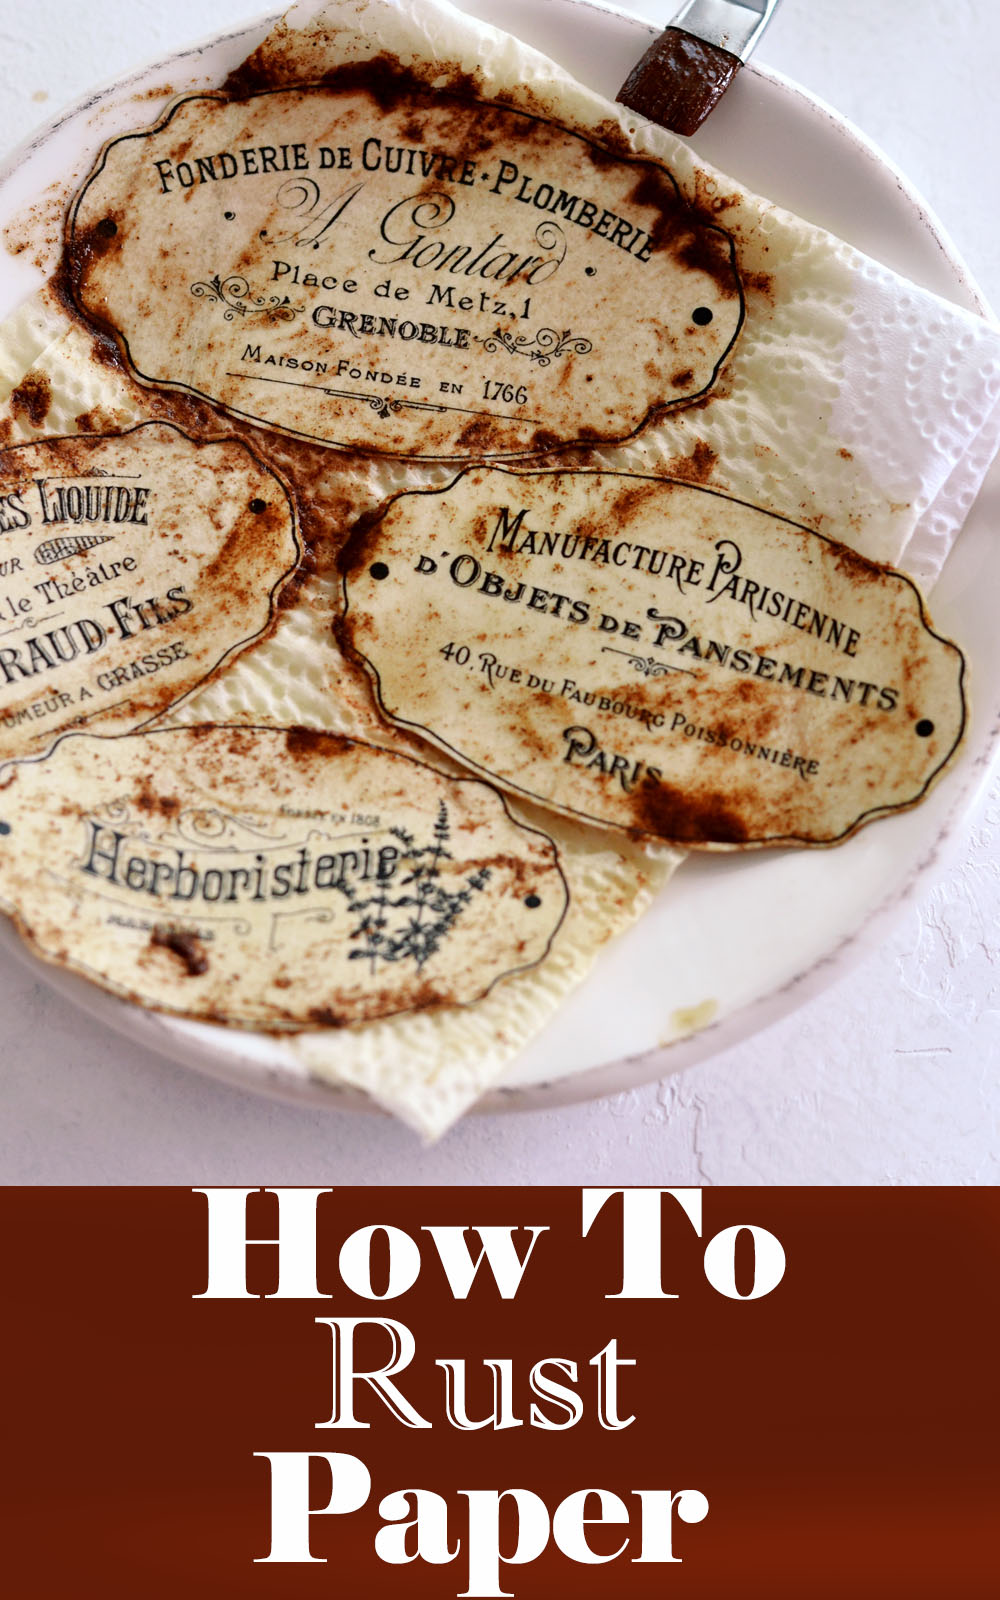
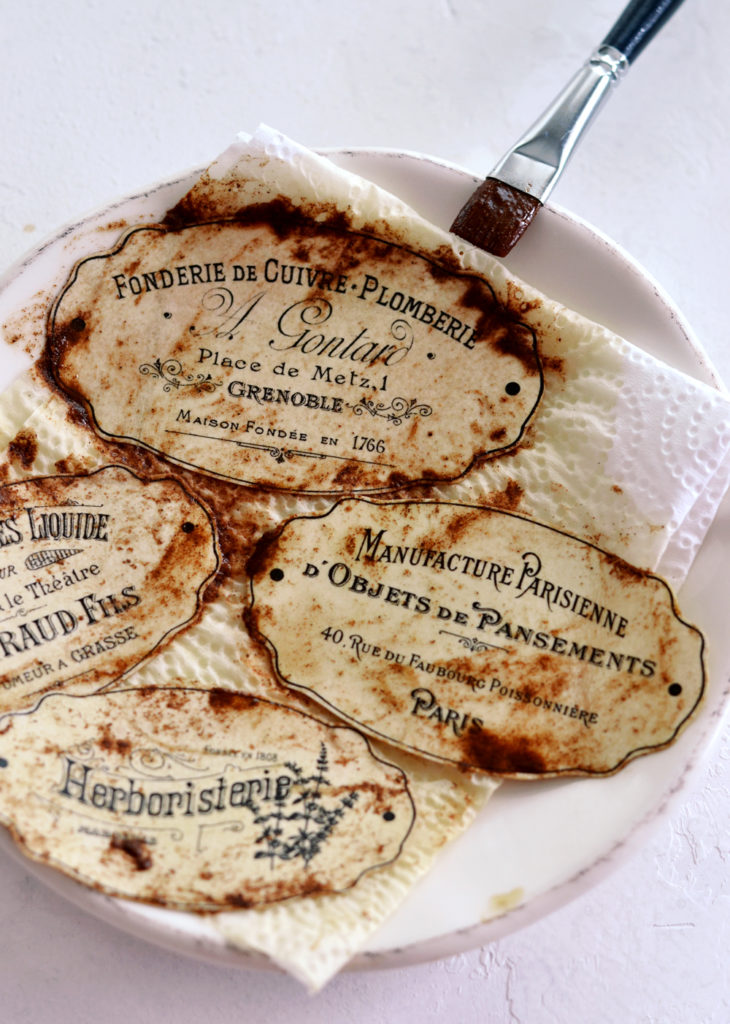
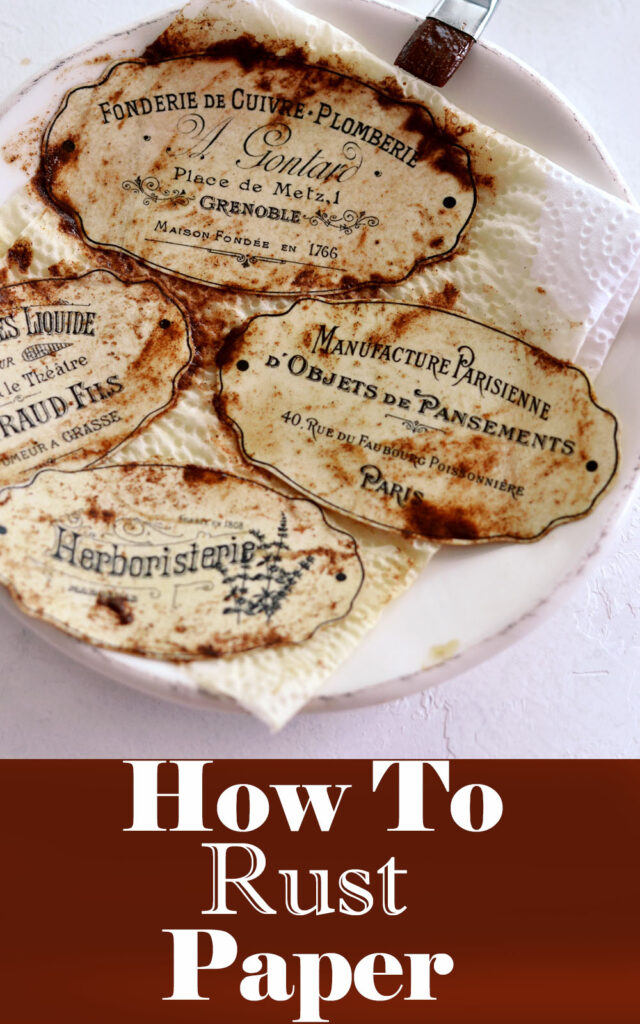
Then I added paper towel to a few clean plates and moved the labels there – this time not overlapping them. I used a brush to ‘guide’ some of the cinnamon rust to the edges of the labels (where you would normally find more rust), but I also loved all those organic shapes cinnamon and coffee created on their own.
You can remove (with your brush or with a paper towel) some of the cinnamon rust – if you feel like maybe you went overboard and added too much earlier.
But if you are a vintage lover at heart, you can always … add some more rust!
And by the way, your house will smell amazing by now, from all that coffee and cinnamon!
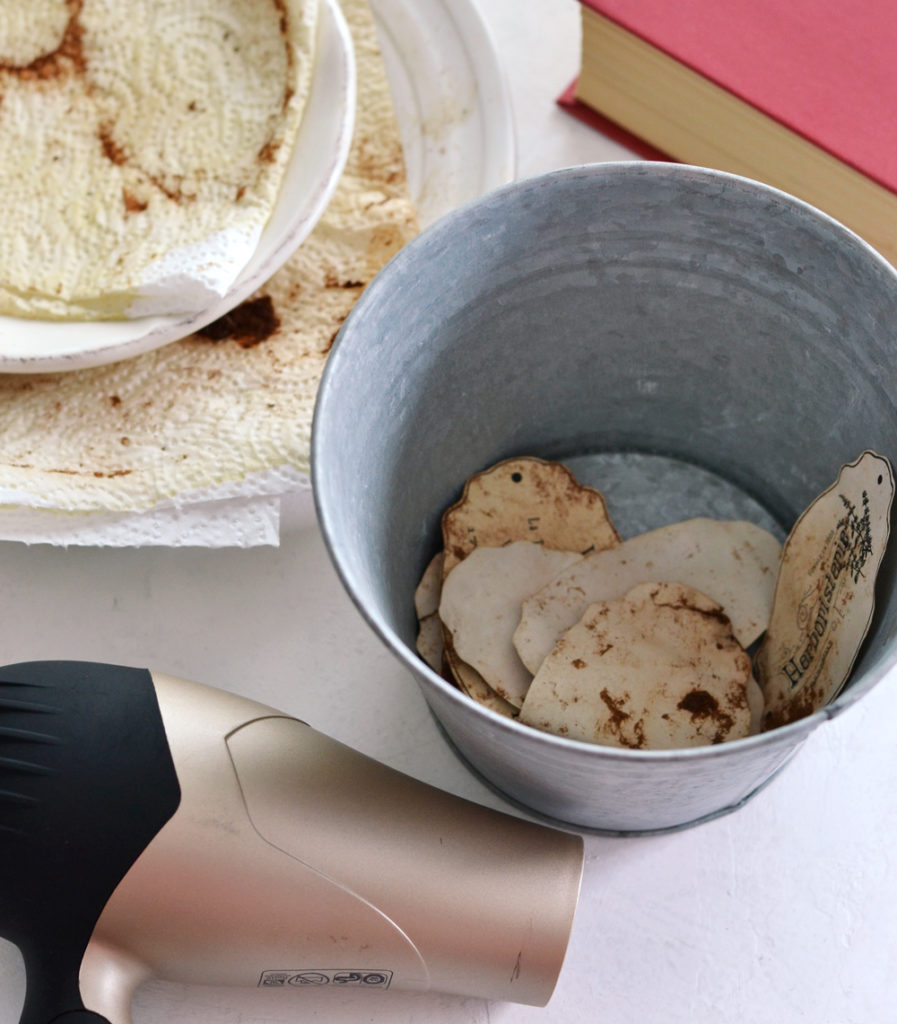
Leave the labels to dry on their own or use your hairdryer (like I did) if you want to hurry up the process….or you are just feeling anxious to see how they look afterwards.
Dry the labels on the plates a little bit at first (go with your hairdryer gently over their surface so they are not soaking wet) and then toss them all in a bucket (or other recipient that can handle some heat) and dry them all together. They will be moving and flying everywhere, so try constraining them into your bucket…
TAA -DAAAA! All done!
Some pretty amazing results when you’re thinking we only used coffee, sugar and cinnamon, wouldn’t you agree? 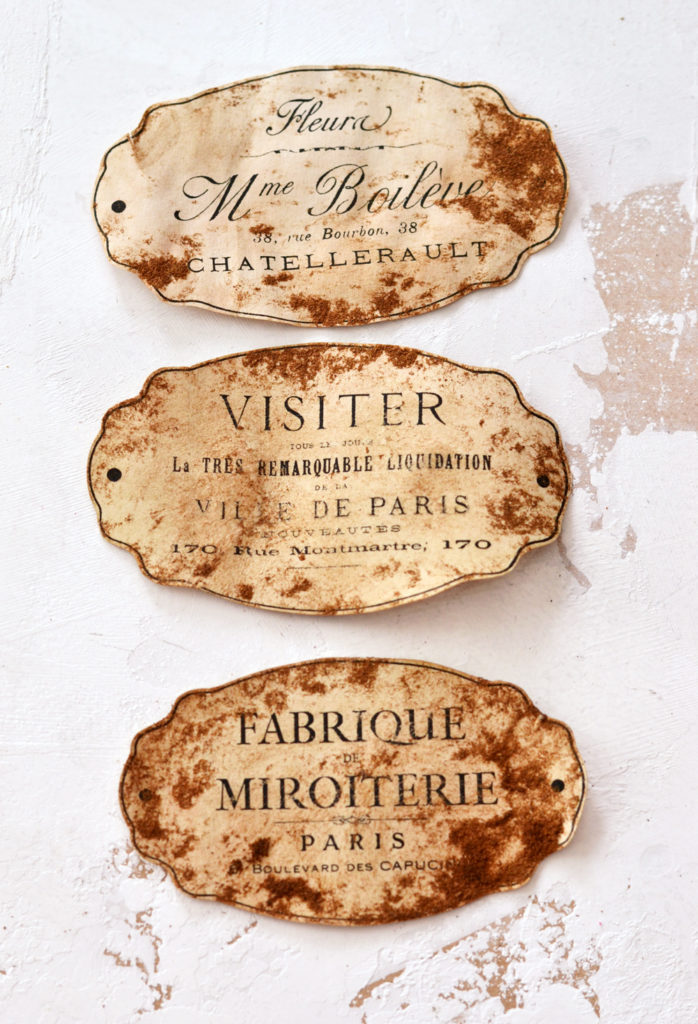
Do you guys remember that I mentioned earlier when talking about regular paper and cardstock paper that there are a few minor differences when it comes to the final results?
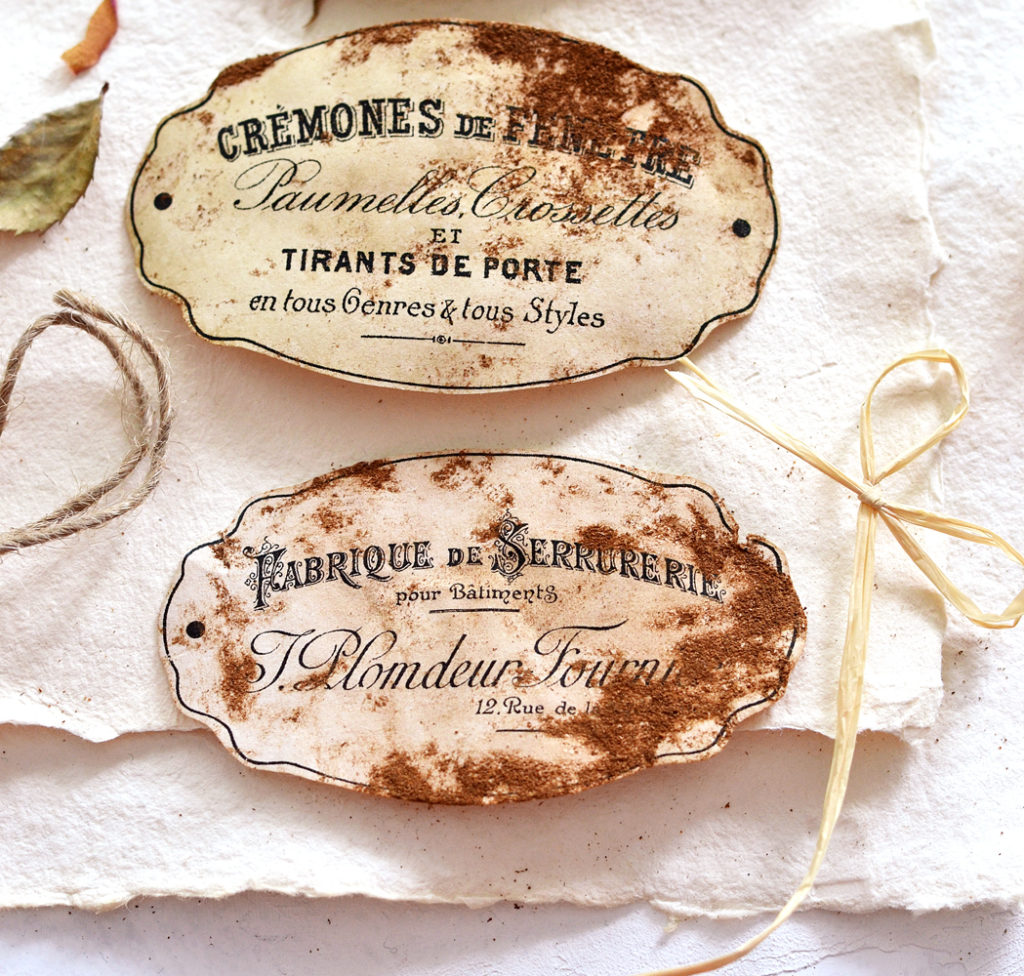
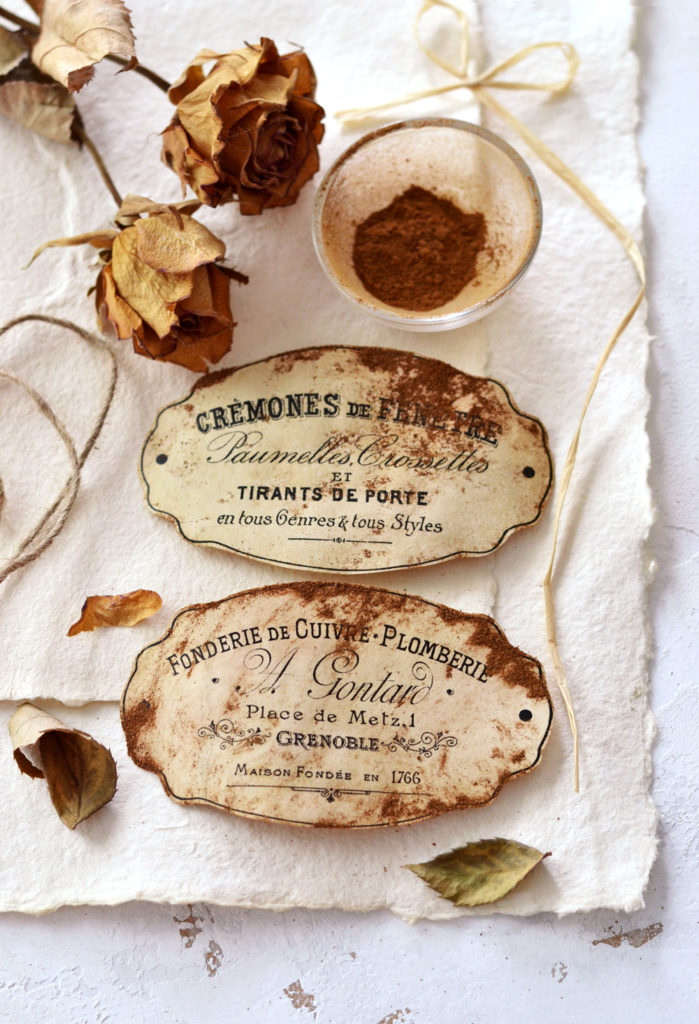
In the picture below you can see them if you look real close …
The label from the top is made from regular paper and it has a more wrinkled texture. After drying, the coffee gave it a more brownish color hue.
The label from the bottom is made from cardstock paper and it has a more curved than wrinkled texture. The coffee gave it a more of a brown-yellowish color hue.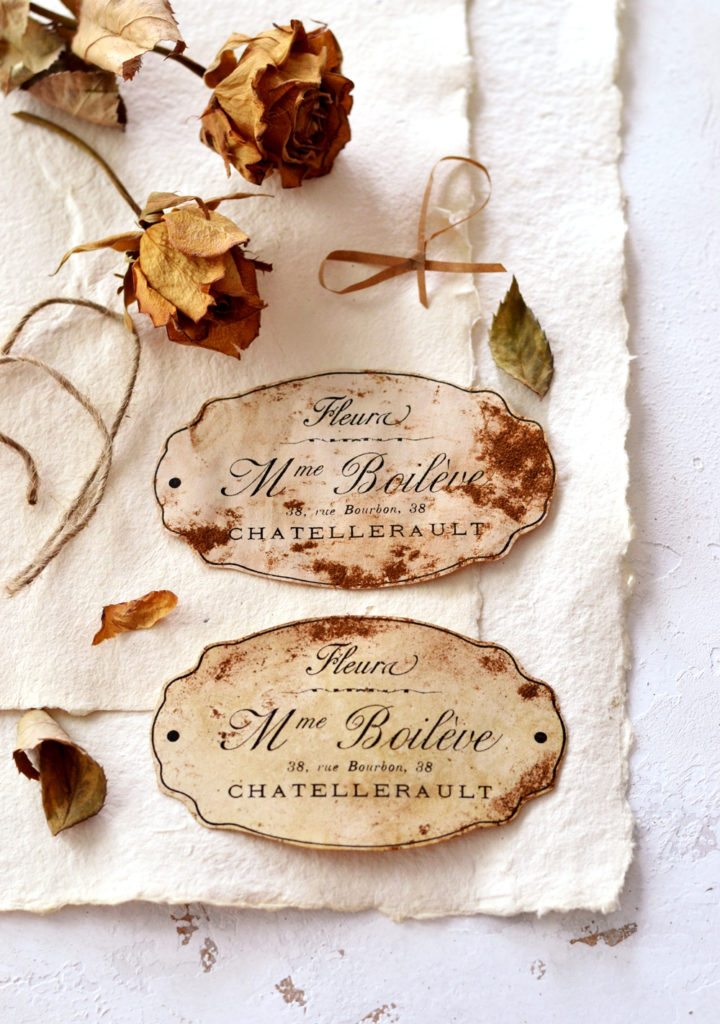
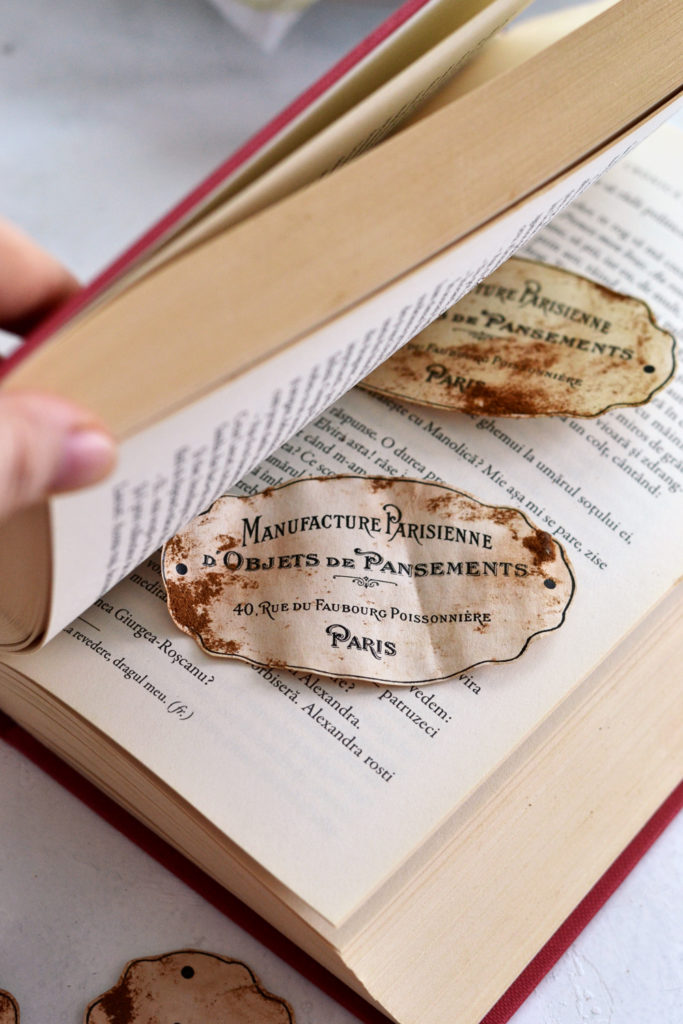
If you feel like your labels are a little bit too wrinkled, you can arrange them between the pages of a book and put something heavy on top.
Each of your new (but old) DIY Faux Rusted French Labels will be truly unique, I just love how realistic all that rust looks!
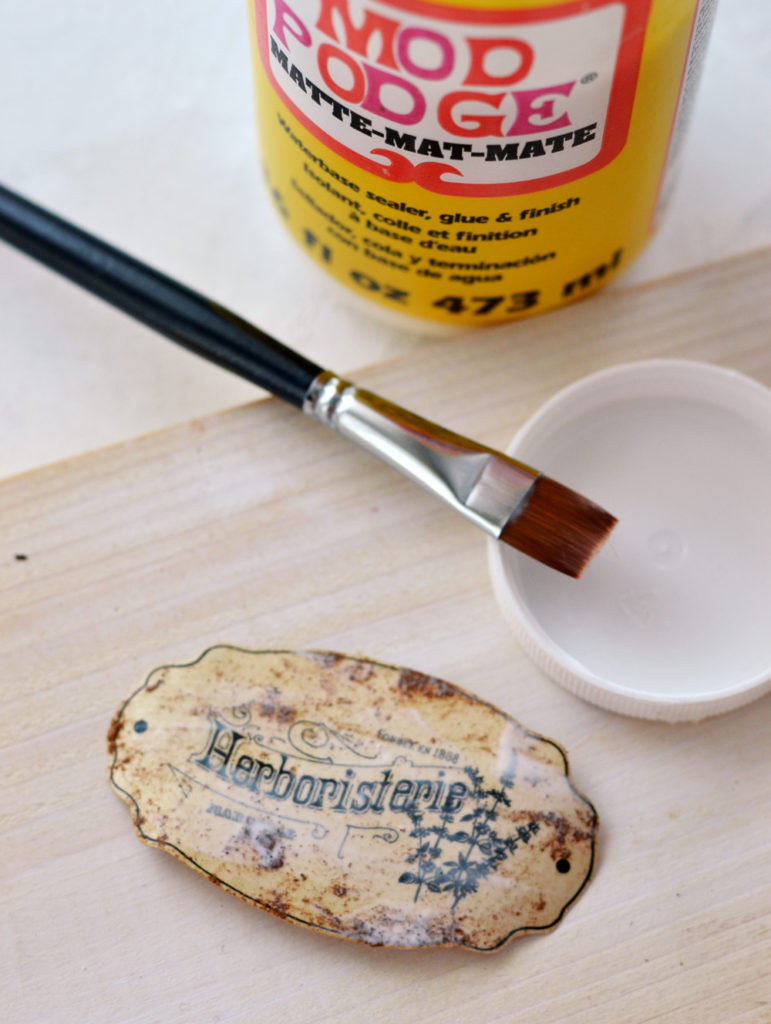
The cinnamon should stick to the paper, but if you really want to further seal it in, you could brush a thin layer of Mod Podge on top of the labels.
Let them dry completely before using – the Mod Podge will form a thin and (completely clear) protective layer after drying. You won’t even know it’s there, but your labels will feel more … protected.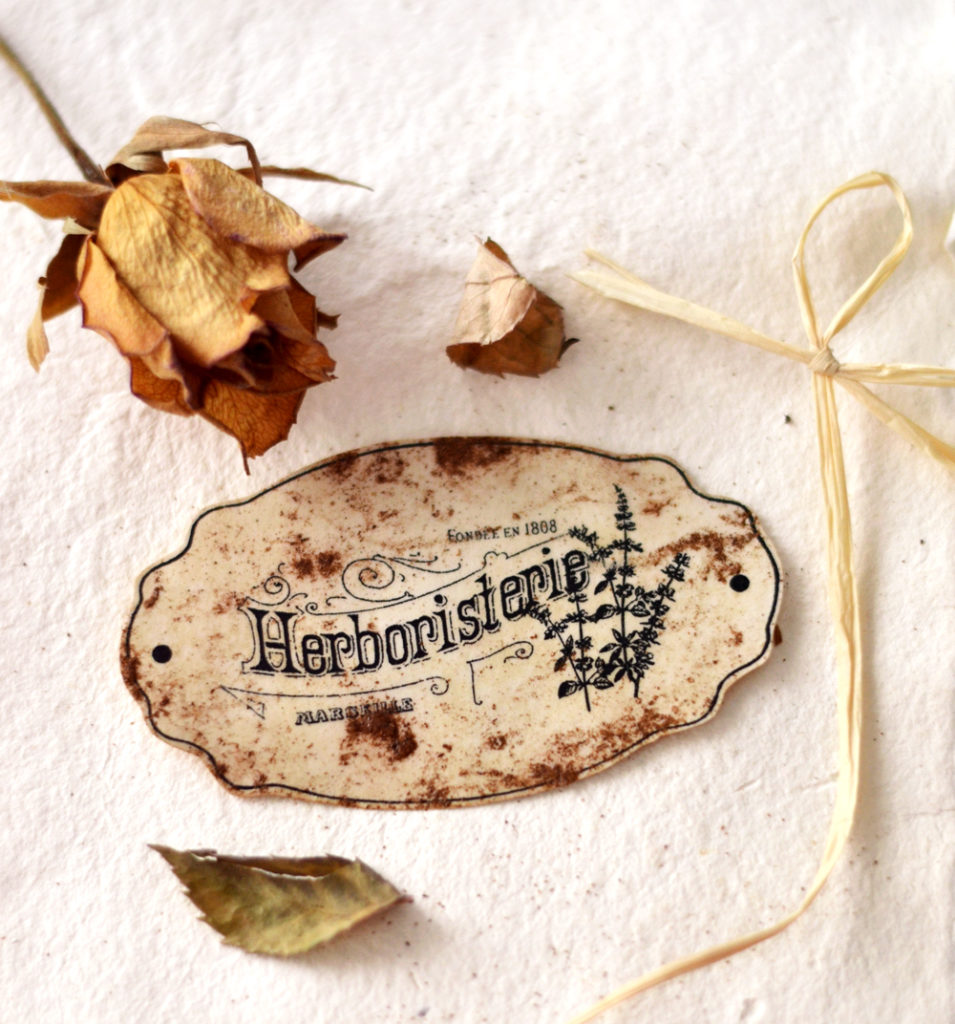
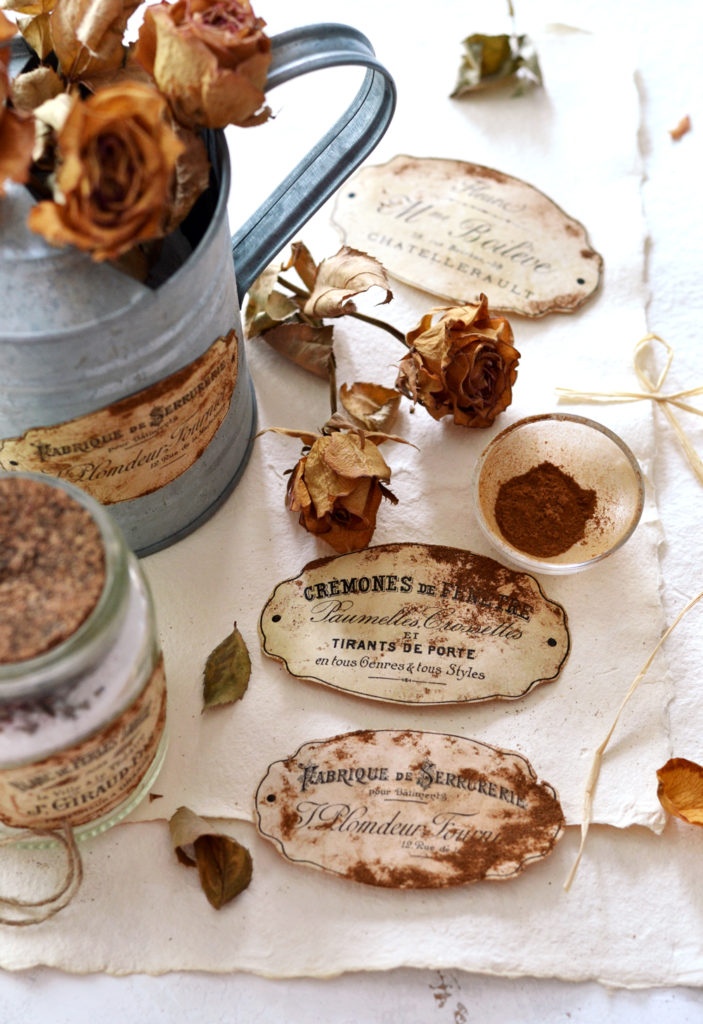
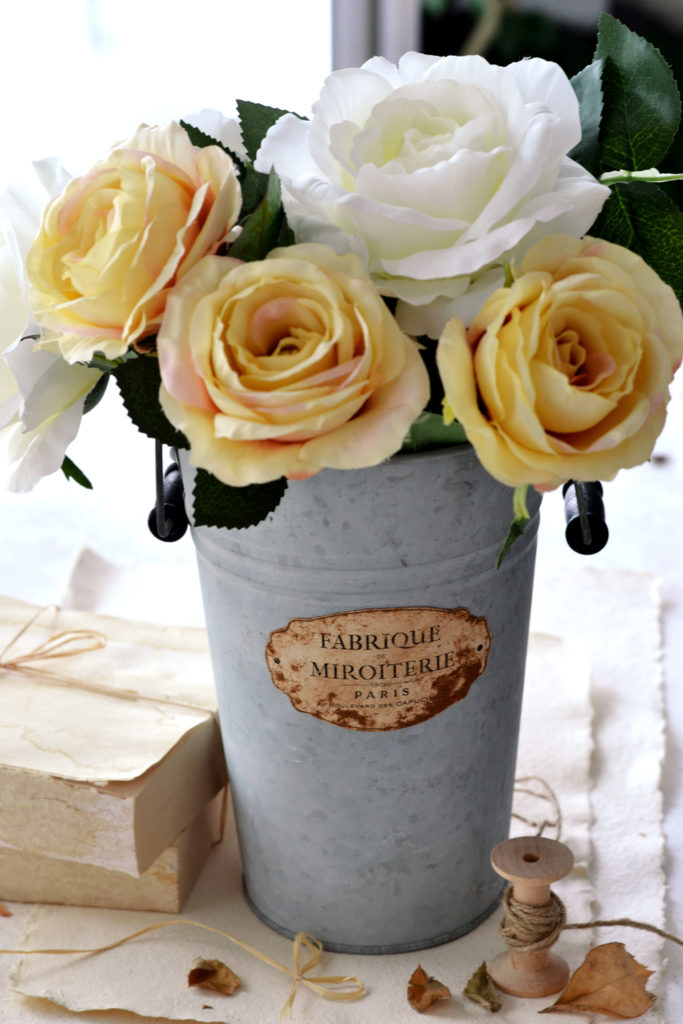
I usually love the idea of creating a project that you can find multiple uses for, I’m sure you already know that by now. There are so many ways you can get creative when using these beauties! For example, I thought the DIY Faux Rusted French Labels would look good with these old zinc pots I found online.
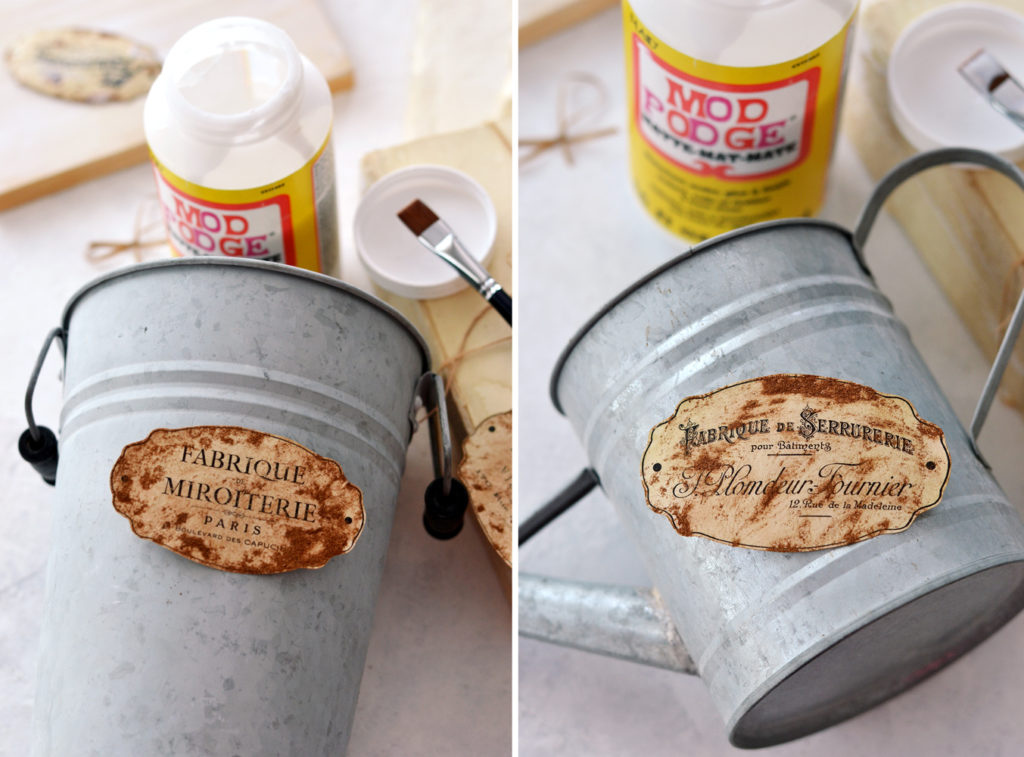
But I was wrong… they didn’t looked good.
The looked simply AMAZING!
The old zinc somehow enhanced the colors and texture of the labels, making them pop!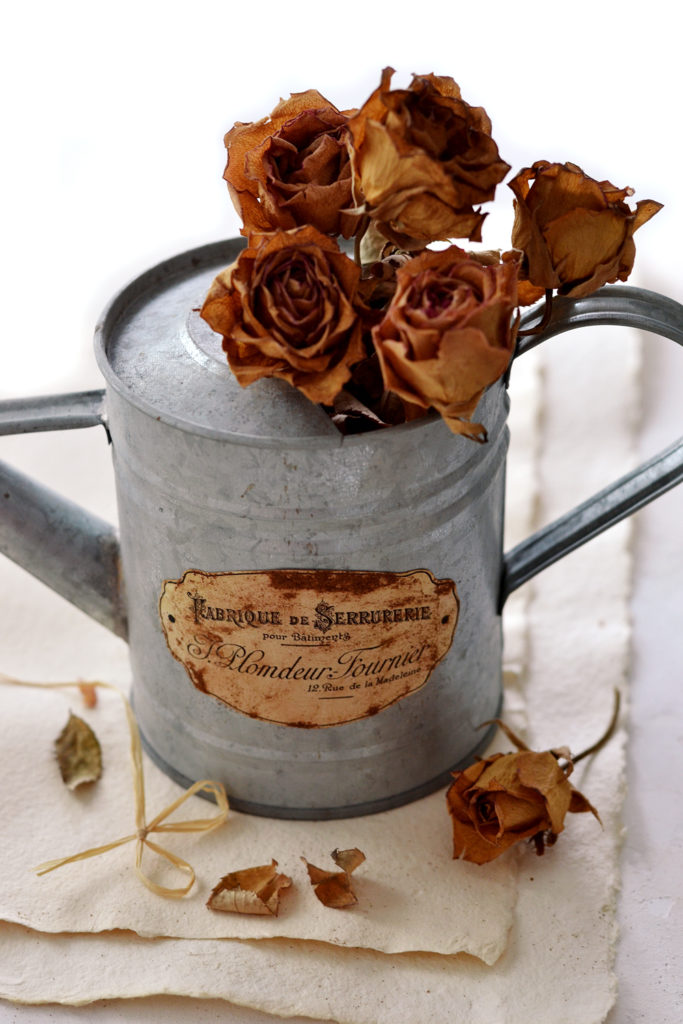
I loved how beautiful they looked when paired with these naturally dried roses that I had around, creating a quick and perfectly vintage scenery for fall. I was ecstatic!
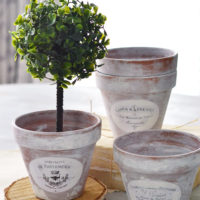
But I was amazed how lovely they looked with a little bit of color too!
You can use the DIY Faux Rusted French Labels to beautifully decorate apothecary jars (or bottles), but you can also use regular jars (or bottles) in different sizes and shapes. Just look around your home or in thrift stores or antique markets, I’m sure you’ll find plenty other interesting recipients or containers that would be perfect for these labels. If you are planning on using the labels on gifts (you can glue them to wrapping paper or punch them and use as tags) I would suggest keeping them in closed paper bags until ready to use, so you would preserve some of that amazing cinnamon fragrance…that will eventually fade over time.
NOTE: And just to give you an idea .. you can use the same process, following all the steps to create a faux rusted effect on any other type of paper, not just on these labels. You can also integrate the labels into vignettes using ceramic plates, dried leaves, small branches or other neutral items. Style a chic decor, perfect for fall … or for any other season!
And, la piece de resistance that sort of inspired me to create a few smaller labels for smaller decorative pieces.
I hope you like my project and decide to give the Faux Rust Paper Technique a try! Would love to know where you are planning on using these beauties … you are already contemplating all the amazing possibilities, right? You might also like this Rust Pastes Recipe HERE.
Have fun creating!
Diana / Dreams Factory


Jayne Smith says
I love the vintage look
Karen Watson says
I hope you will give this one a try Jayne!
Mendy says
Can’t wait to try this….are there printable directions anywhere???
Karen Watson says
Hi Mendy, No I’m sorry they are not printable. But you could screen shot them on a computer and print them out that way if you like. I hope that helps. Have fun rusting up your paper!
Marie says
Loooooooove this. Thank you so much for the tutorial,Diana.
Karen Watson says
Isn’t it fun?! I’m glad you enjoyed it Marie!
C says
I used one of your large sized French graphics on a wooden serving try. I used white school glue thinned with a little water to adhere it. (Didn’t have any Mod Podge at the time.)
How did I get an authentic old appearance as if it had rusted? I merely accidentally spilled coffee on it and Voila! It looks pretty much like these labels.
But Ooooo am I keen to try this method 🙂
graphicsfairy says
Well that sounds like a happy accident C, thanks for sharing 🙂
Karen Gouvas says
Hello Karen, thank-you for adding me to your wonderful site, i have loved the French look for ages, now thanks to you I have lots of craft materials for projects, bye for now from Australia ????
graphicsfairy says
Welcome Karen, so glad you found us, enjoy 🙂
Ingrid says
Marvelous, thank you!
May I ask which fonts you have used?
graphicsfairy says
Thanks Ingrid but I didn’t create the label fonts, they are available on the blog and there is a link to the printable in this post. Have fun!
Linda Edkins Wyatt says
Lovely results…I can’t wait to try it! thanks for the great tutorial and photos!
graphicsfairy says
Thank you Linda, good luck to you!
Maria Laura Maron Pot says
Hello there
Love your work.
You’re a creative person. I will try and tell you later.
Greetings from Bazil
graphicsfairy says
Thanks so much Maria 🙂
Irena says
serdecznie dziękuję za tutorial, serdecznie pozdrawiam
graphicsfairy says
You are very welcome Irena, so glad you enjoyed it 🙂