DIY Faux Vellum Labels
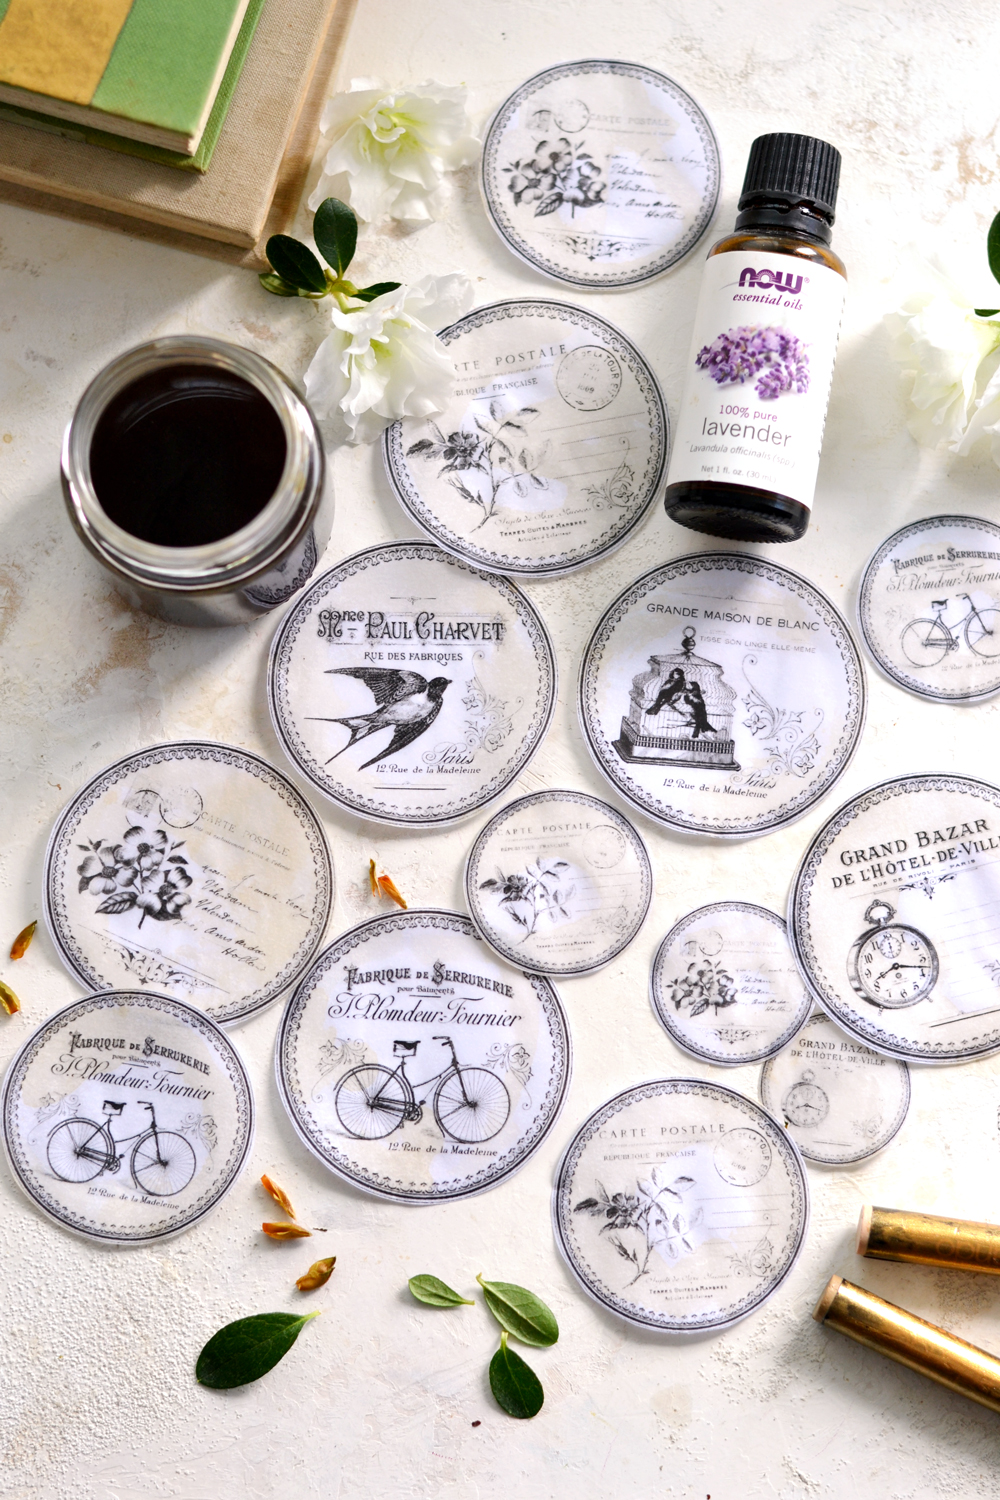
Hello Graphics Fairy friends! Diana from Dreams Factory here, and today we are making DIY Faux Vellum Labels. Today’s tutorial is a playful mix of beautiful French ephemera graphics, vintage images and a lovely vintage frame, regular paper, coffee, almond oil and … heavenly scented essential oils! A word association that you don’t usually find together and might even sound strange at first, but I know you love trying new things as much as I do, so I hope you’ll join me in this adventure – creating these scented lovelies.
Again, this will open a whole new world of further experimenting, because you can easily use this technique to turn any images printed on regular paper into vellum paper scented images.
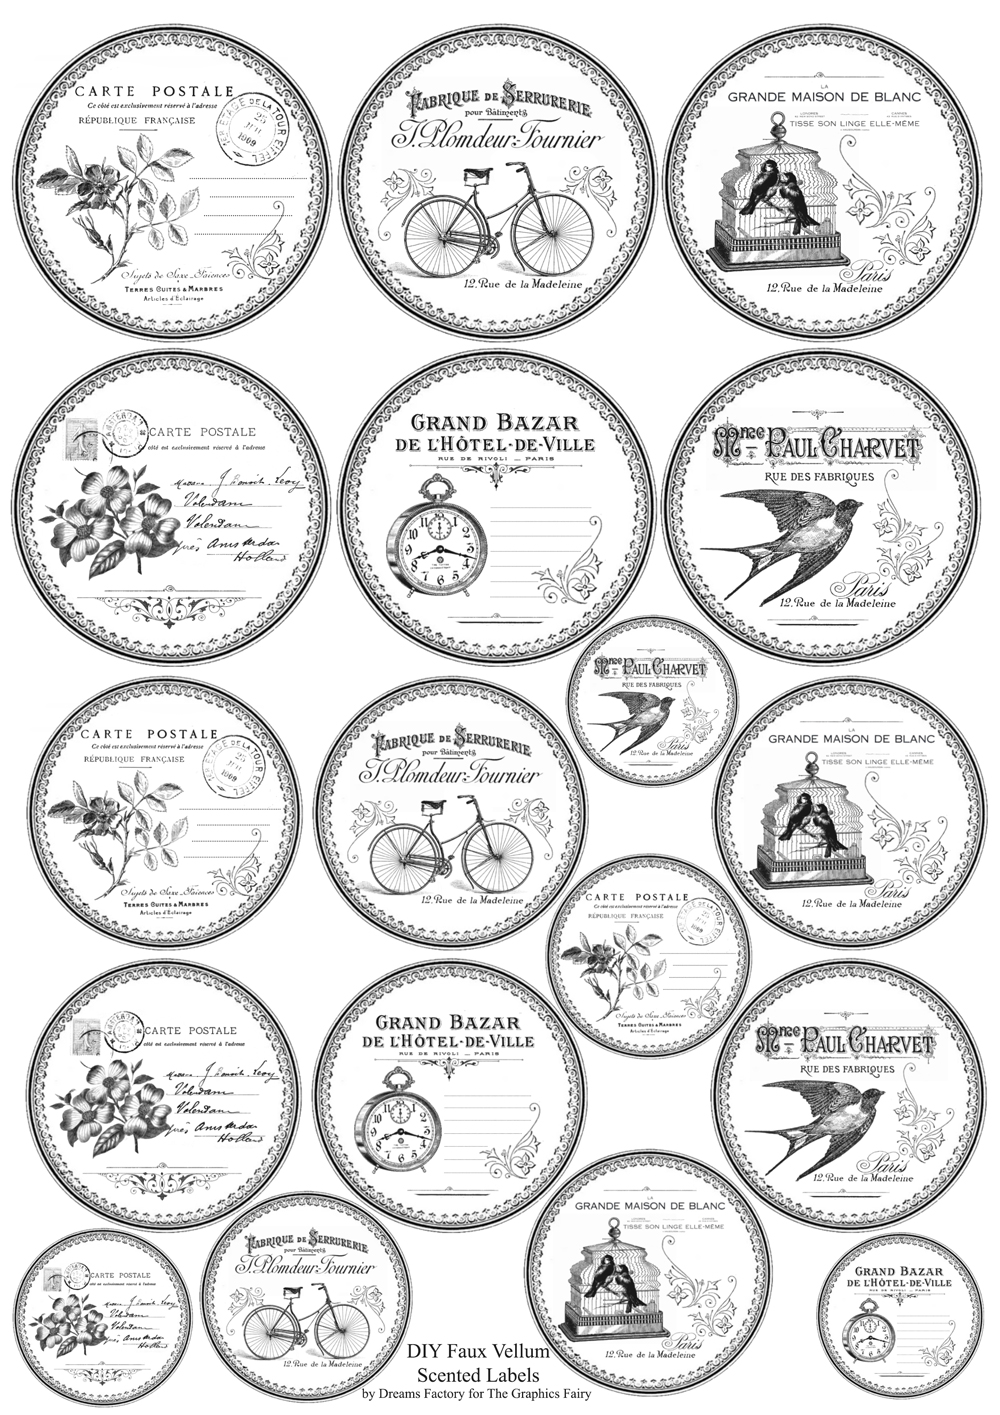
Inspiration comes from everywhere, and I remember first seeing this technique a while ago here on The Graphics Fairy in one of Heather’s tutorials for DIY Vellum Paper HERE. I really loved it and decided I needed to add my own spin to it! First I created some chic French ephemera labels with a lovely round vintage frame as my base for experimenting – I chose birds, flowers and bicycles having spring on my mind.
I used almond oil to turn the regular paper into faux vellum paper, but you can use other types of oil – vegetable oil, baby oil, castor oil, vitamin E oil, grape seed oil, etc. While I was deciding which oil to use, I realized that most of these are actually used as carrier oils when combined with essential oils on the skin. The decision was made quickly – I should add a few drops of essential oils to make the most amazing DIY Faux Vellum Labels ever!
Vellum paper looks great with it’s white sheer frosted look, but if you want to add just a touch of vintage to the whole idea, coffee can be a great addition too! And it serves a double purpose here because it will help you give an antique feel to your paper, but it will also enrich the essential oils fragrance, so it’s definitely a win-win situation!
Free Printable DIY Faux Vellum Labels
—-> Click HERE to Download the Full Size Printable PDF <—-
DIY Faux Vellum Labels Supplies:
- regular white paper
- ink or laserjet printer
- scissors
- two small brushes
- almond oil (or vegetable oil, baby oil, castor oil, vitamin E oil, grape seed oil, etc.)
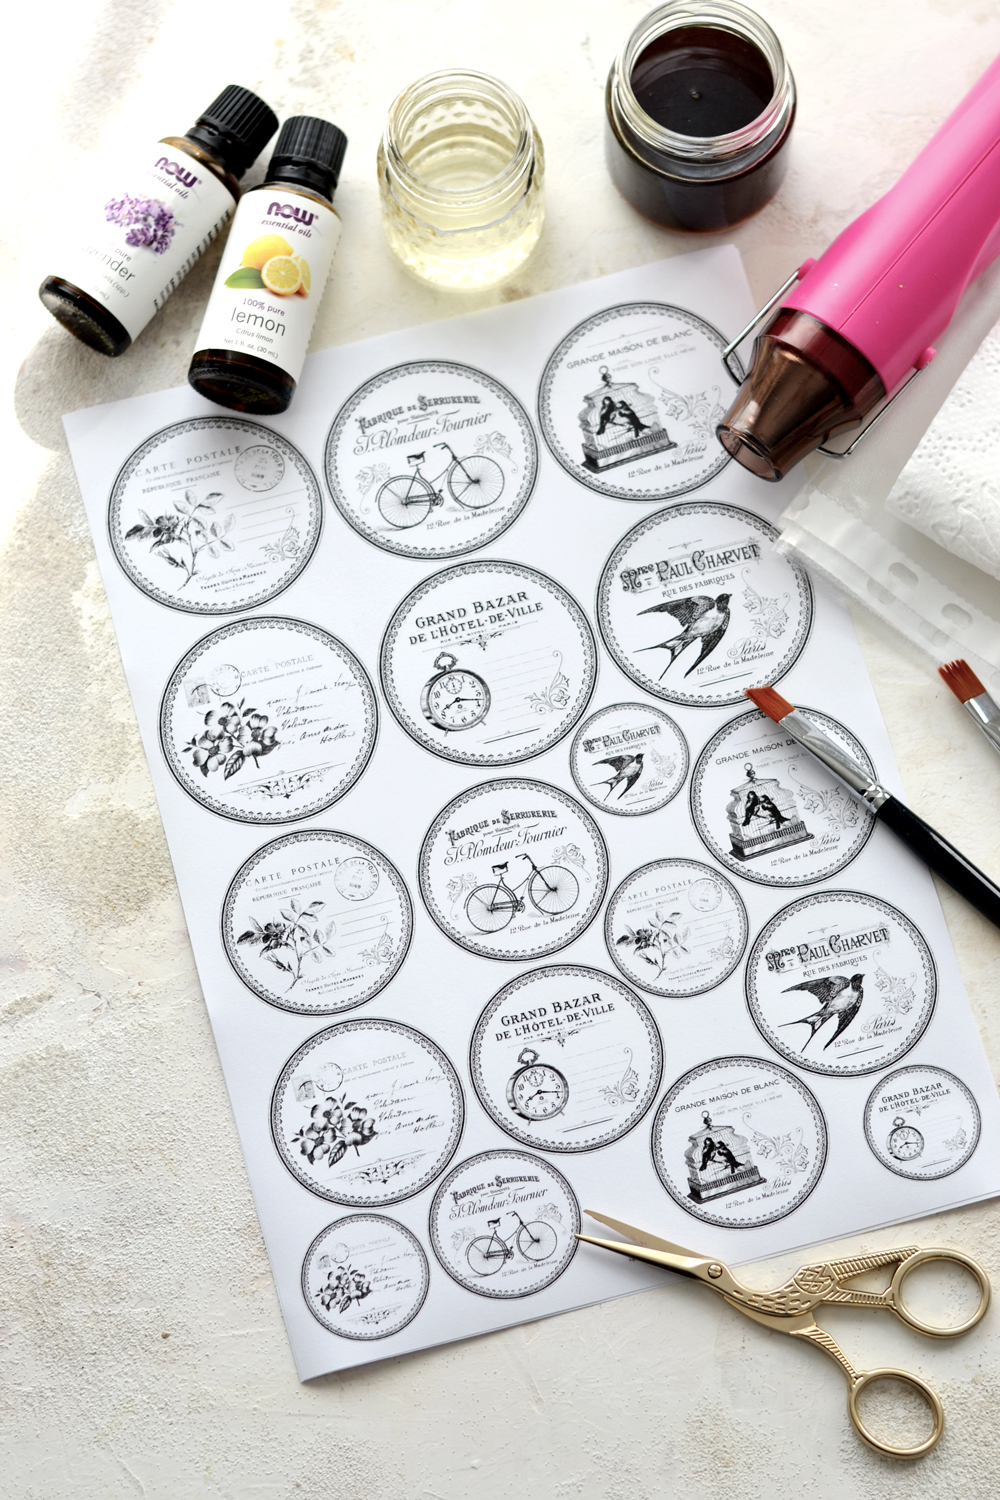
- essential oils (lavender, lemon, jasmine, orange, etc.)
- paper towels
- pocket binders (or anything else to protect your working area)
OPTIONAL
- heat gun
- glue applicator
- Mod Podge
- Pretty Gold Clips (just for fun!)
Gather your supplies and let’s get started!
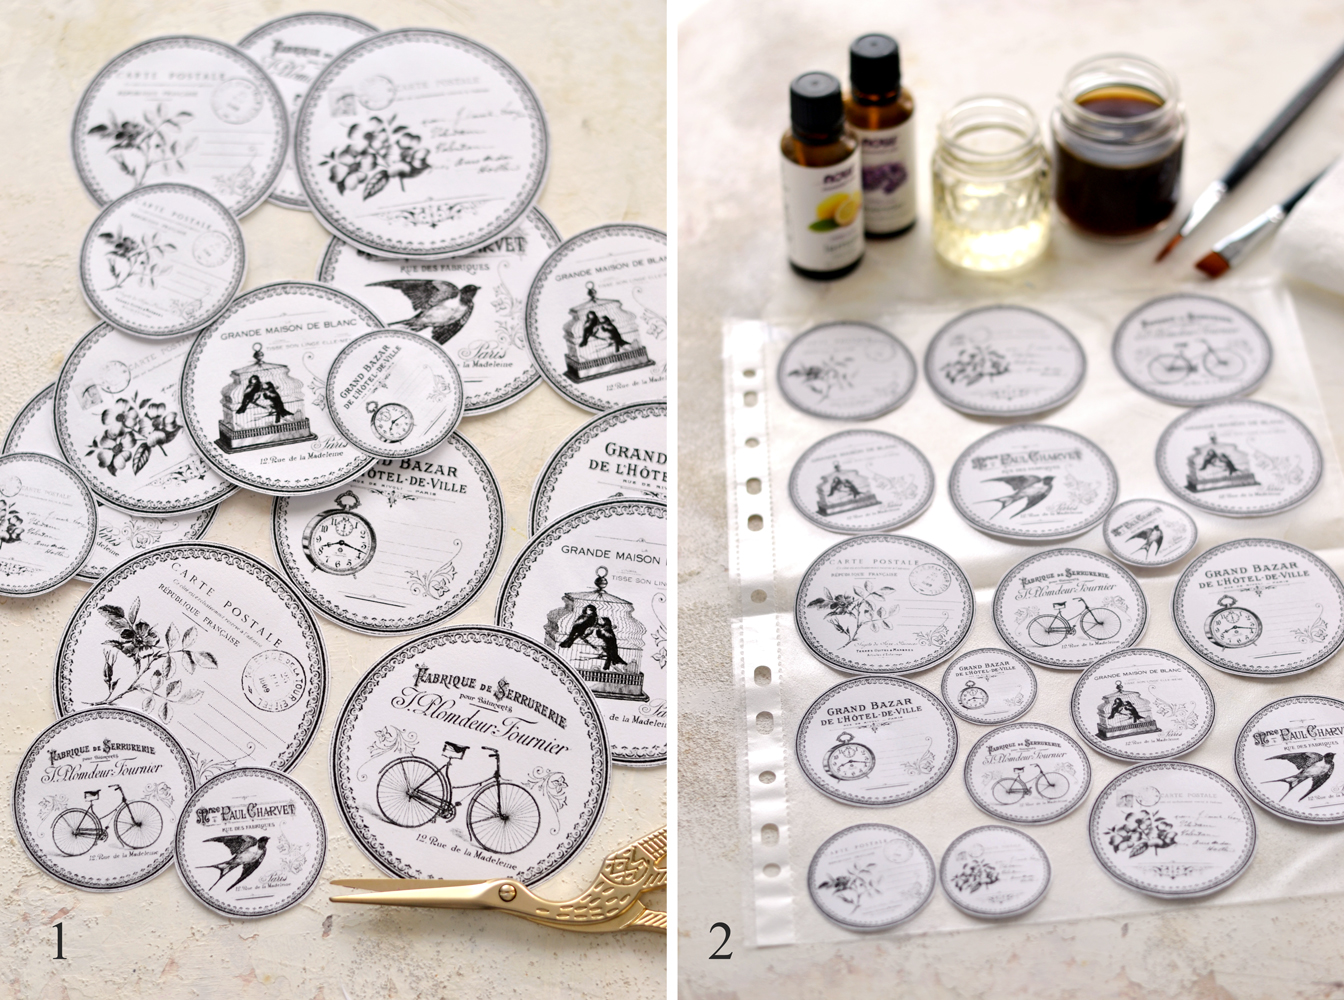
1. Print on regular paper the French ephemera printable that I created for you and using your scissors, cut the images following the outside vintage round frame.
2. Arrange the labels on a piece of plastic sheet. This step is really important, you need to protect your working surface from any spills or stains.
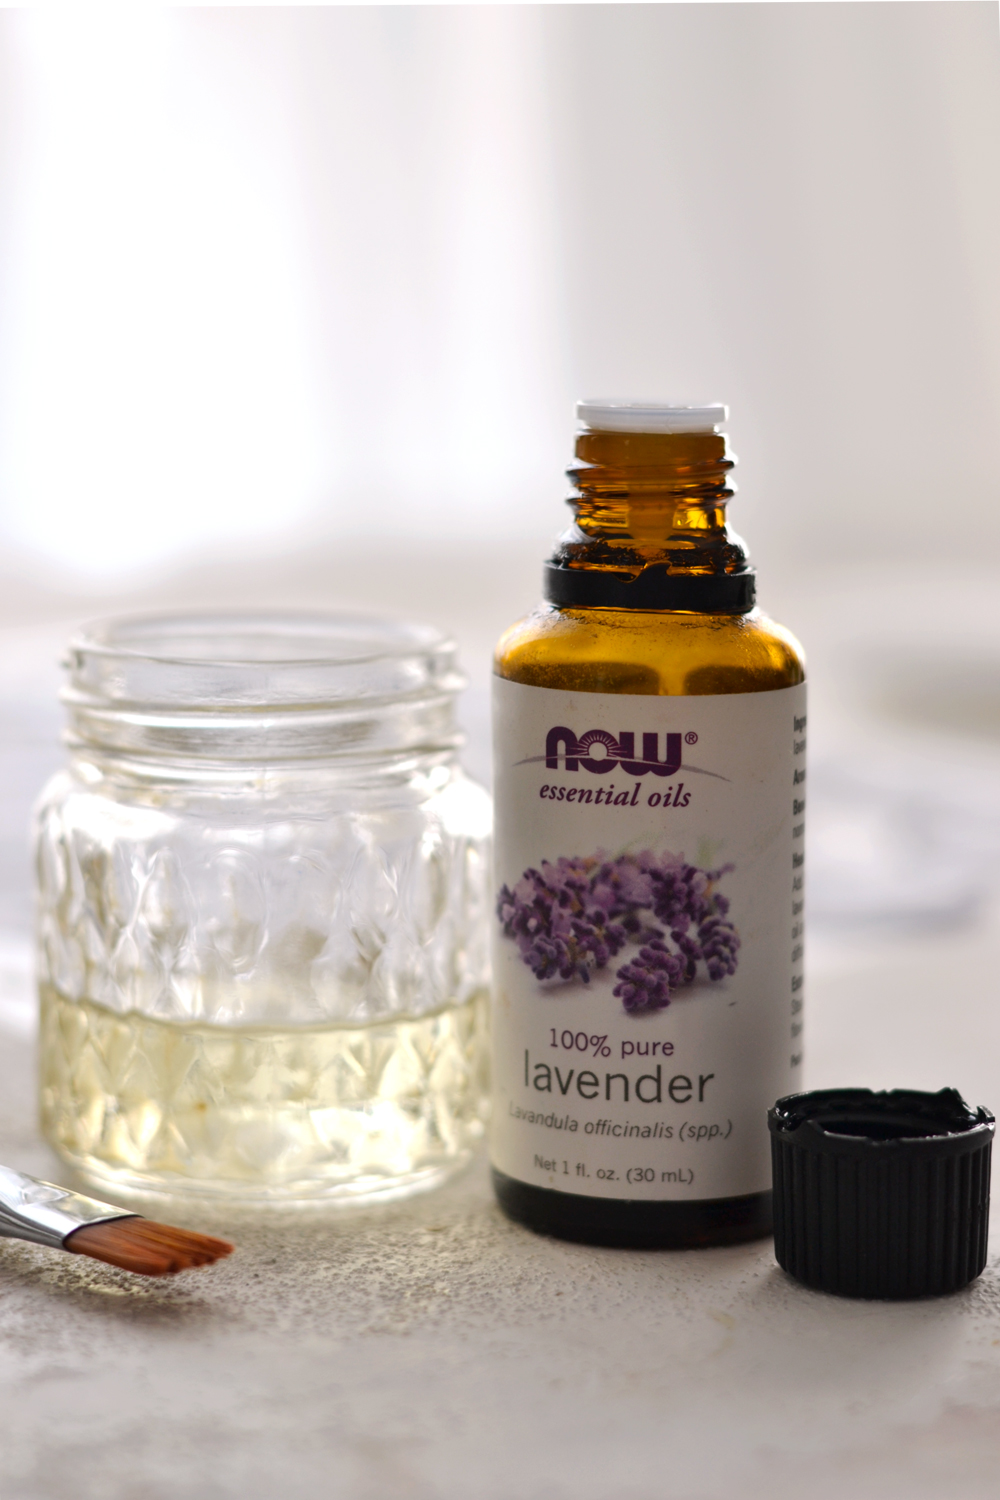
3. I initially wanted to use lavender and lemon essential oil because I thought they would be the perfect choice for this project, but then I went with lavender only. You can choose any fragrance you like, I added about 10 drops of essential oil to 2 tablespoon of almond oil, but feel free to create your own ratios. You can pour the oils into a small jar and just mix everything with a small brush. If you have any leftovers after making this project, you can close the jar with a lid and store it for future use.
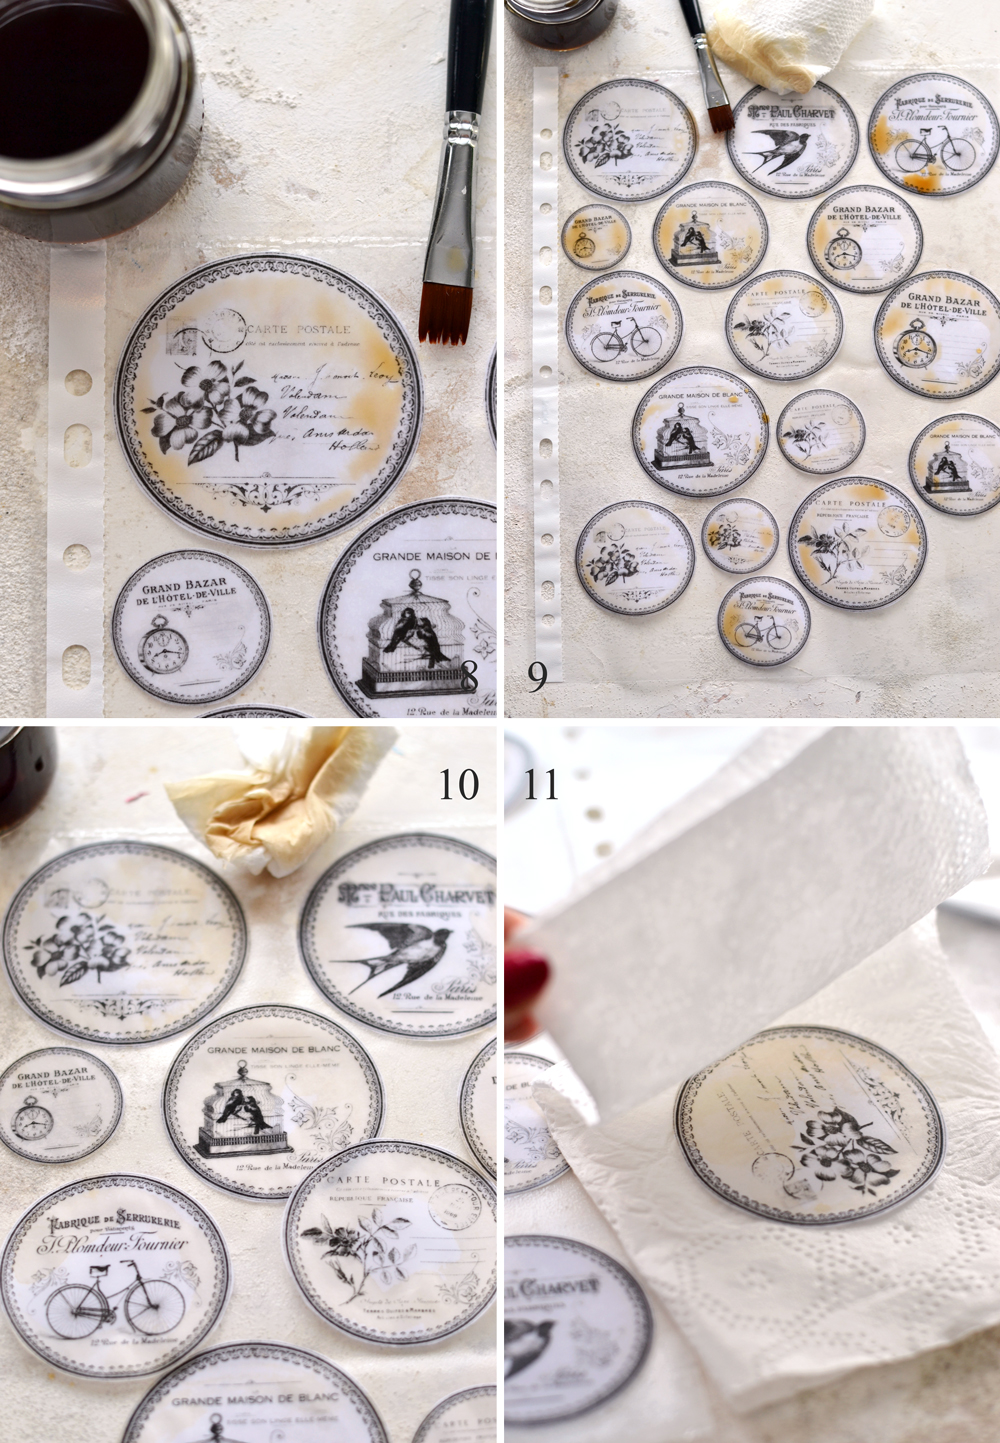
4-5. Brush the oil concoction onto the regular paper labels and watch the magic happen! The opaque paper will instantly turn into sheer, smooth, almost translucent paper. Even the images will look more delicate, not completely see-through, but more with a frosted glass feel to them. You can keep the labels with your fingers while applying the oils or you can let them on the table and brush the oils on top.
6. Proceed with all the other labels and make sure the oils are completely covering the surface of each label. Your house will be smelling amazing by now! Your senses will be activated and you’ll feel like you are taking a long walk through a lavender field in Provence – if you used the lavender essential oil like I did! Experimenting has never been more fun!
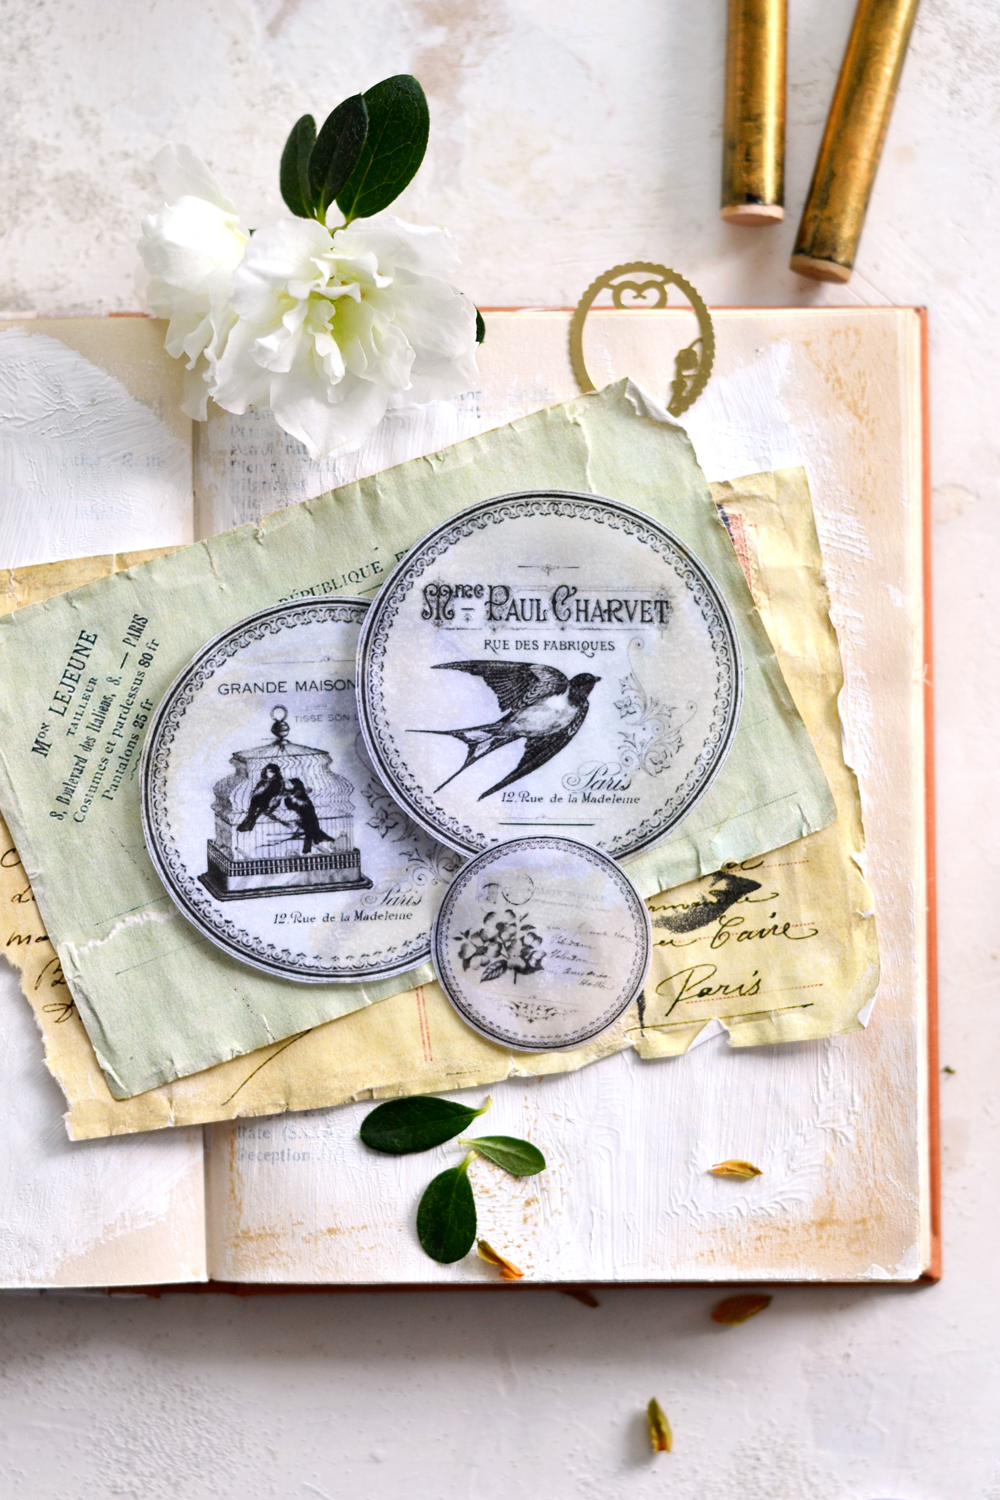
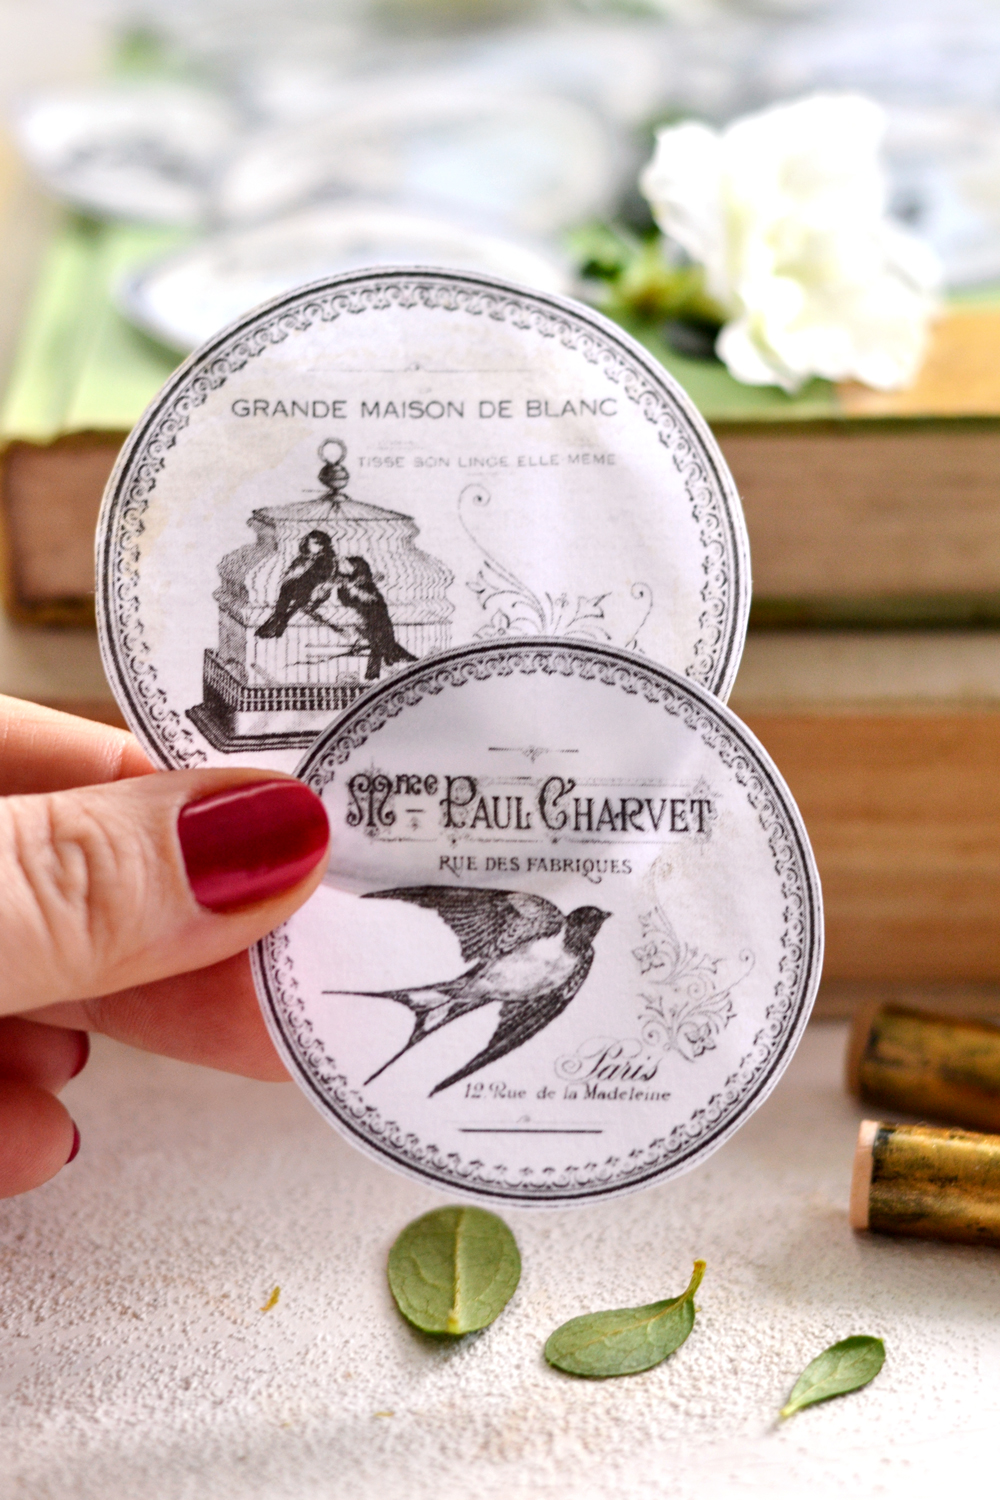
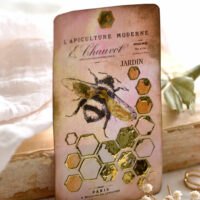
7. There are noticeable differences between the regular paper (the smaller label with the bird, on top) and an already oiled, faux vellum paper wanna be (the larger label with the bird). You will see that the faux vellum paper is more ethereal in appearance and soft to the touch, as opposed to the regular paper. If you are happy with the results, I would totally understand if you would just stop now and use your DIY Faux Vellum Labels like they are! 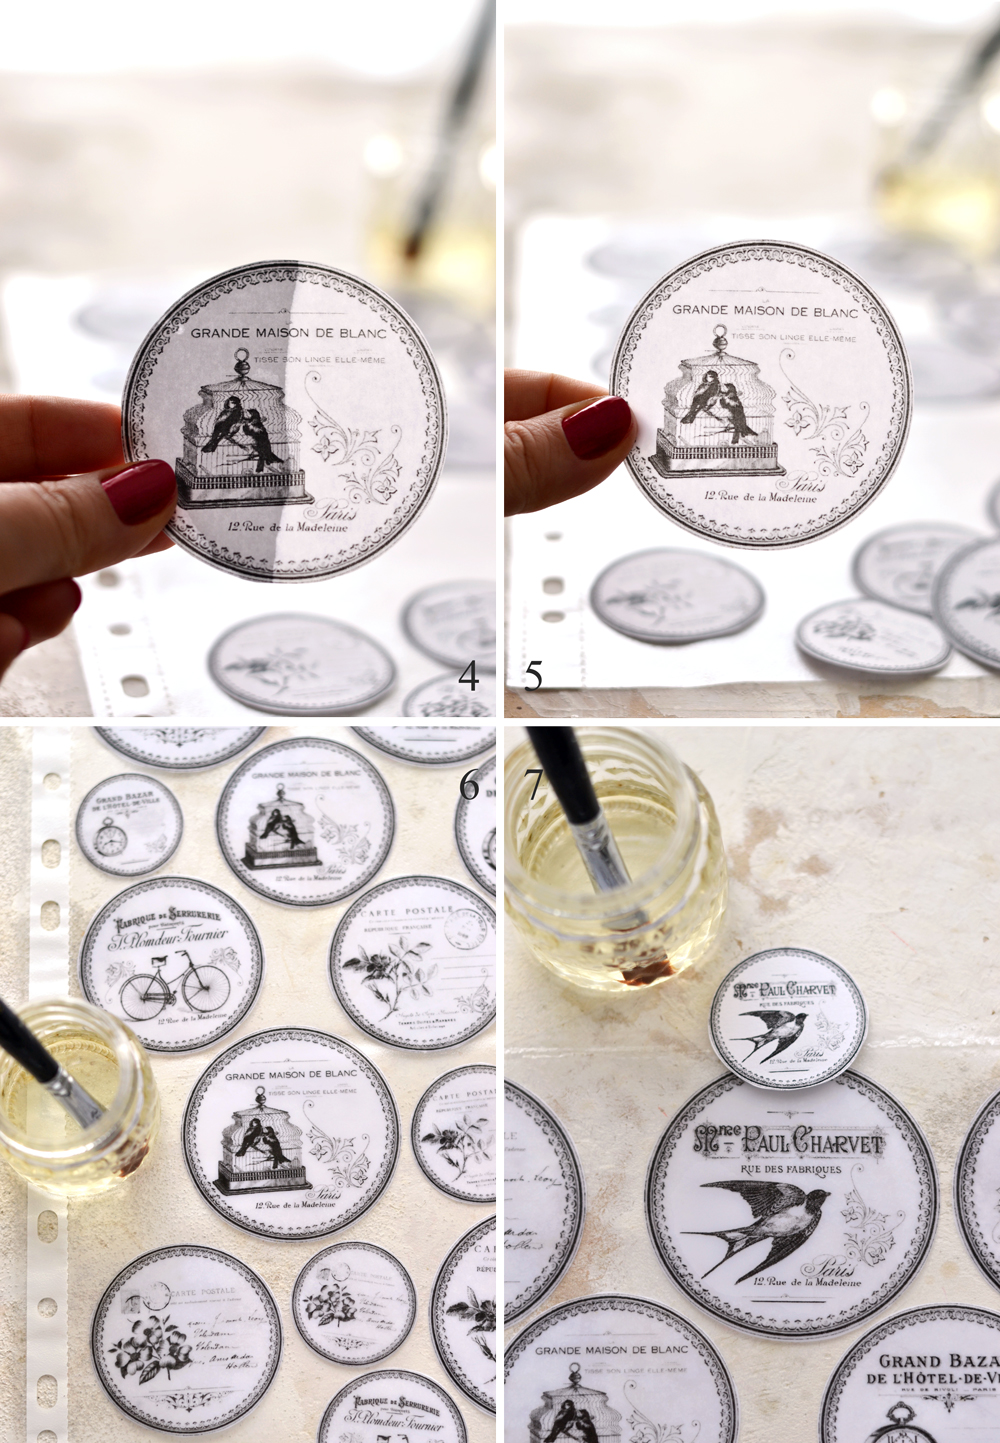
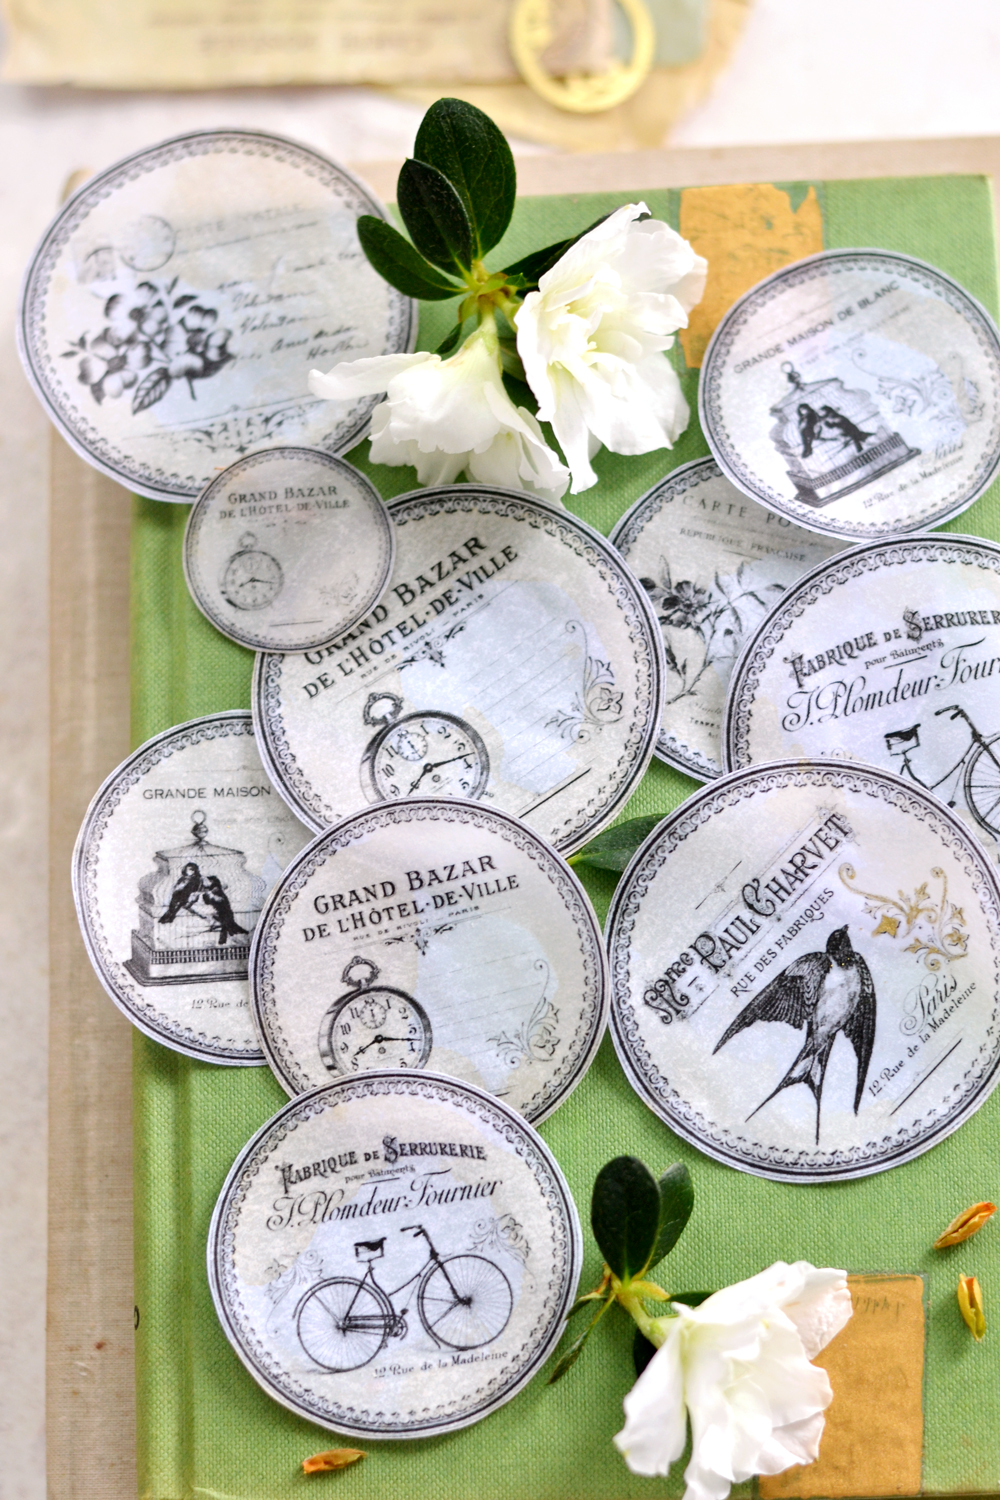
If you want to add more interest to your labels, just use coffee to give them a beautiful antique look. You could also use tea for another natural approach, but I bet inks, watercolors or highly diluted acrylic paint would look great in different colors too.
I applied the coffee stain after applying the oils because I only wanted to achieve a soft stained look. You will see that the oils will prevent the coffee from completely soaking into the paper, but you will still get a chic, diffused look. If you are after a more intense stained effect, you can apply the coffee before applying the oils. Just experiment and see what works best for you!
8. Use another small brush to brush coffee on the labels.
9. You can completely cover the surface of the labels with coffee or you can brush small amounts of the liquid here and there (like I did).
10. While the labels are still on the table, use a paper towel to dab the excess amount of coffee off.
11. Then use another paper towel and sandwich each of your new DIY Faux Vellum Scented Labels in between the layers, gently rubbing and removing the excess oil and the coffee from the front and the back.
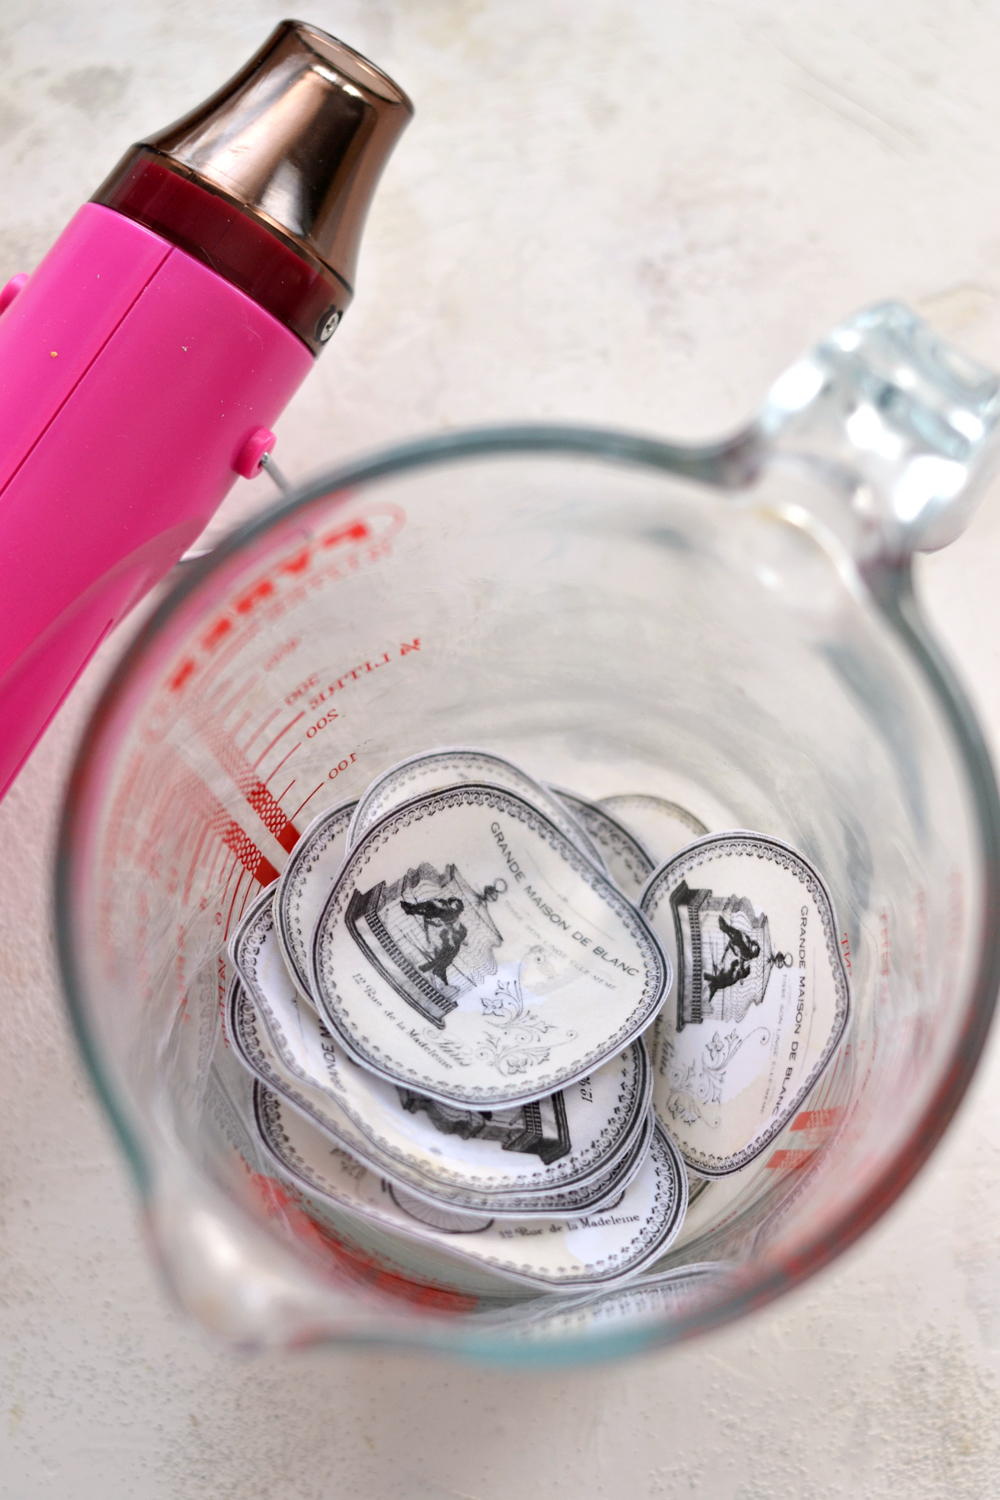
You can transfer the labels onto a new clean sheet and let them air dry or you can put them all into a bowl or a Pyrex and dry them with your heat gun (or your hair dryer). The heat will make your labels curl a little bit more than air drying them, so keep this in mind when choosing your preferred method.
The heat gun might also make your labels ‘sweat’ when heating the oils, you might need to use more paper towels to remove the excess.
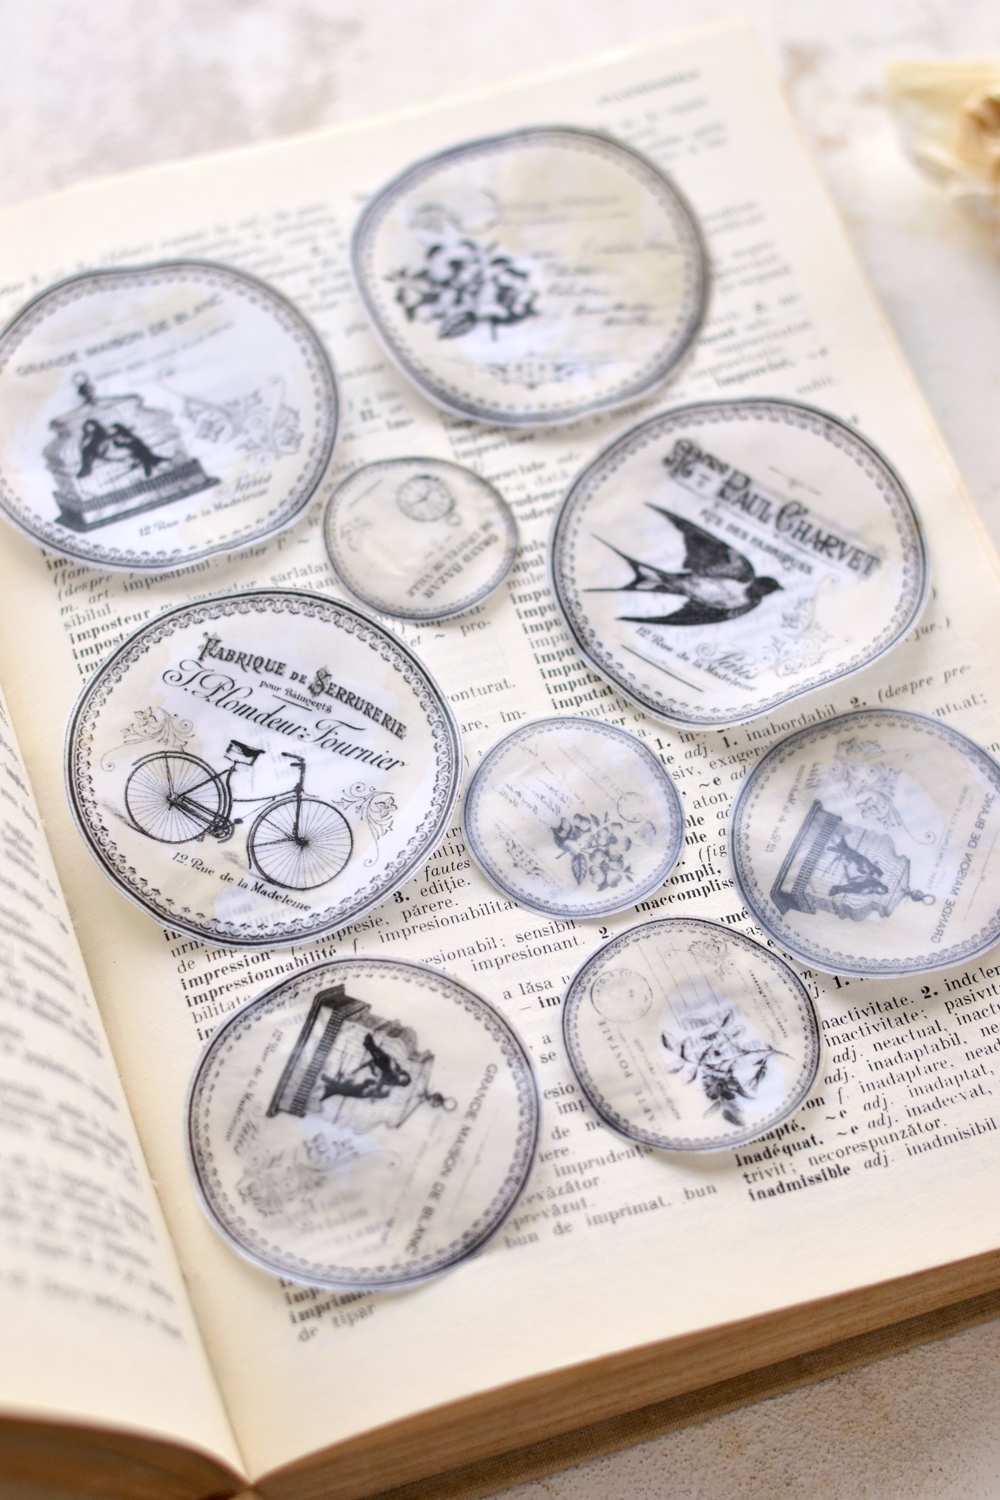
I really loved the curled effect I got using the heat gun, but if you don’t, you can always put the labels between the pages of a book to straighten them.
It’s really amazing to see how a little bit of chemistry can completely transform something so simple as paper, but also managing to engage three of our senses while doing that – giving it a whole new appearance, a totally different feel when touched and such an incredible fragrance!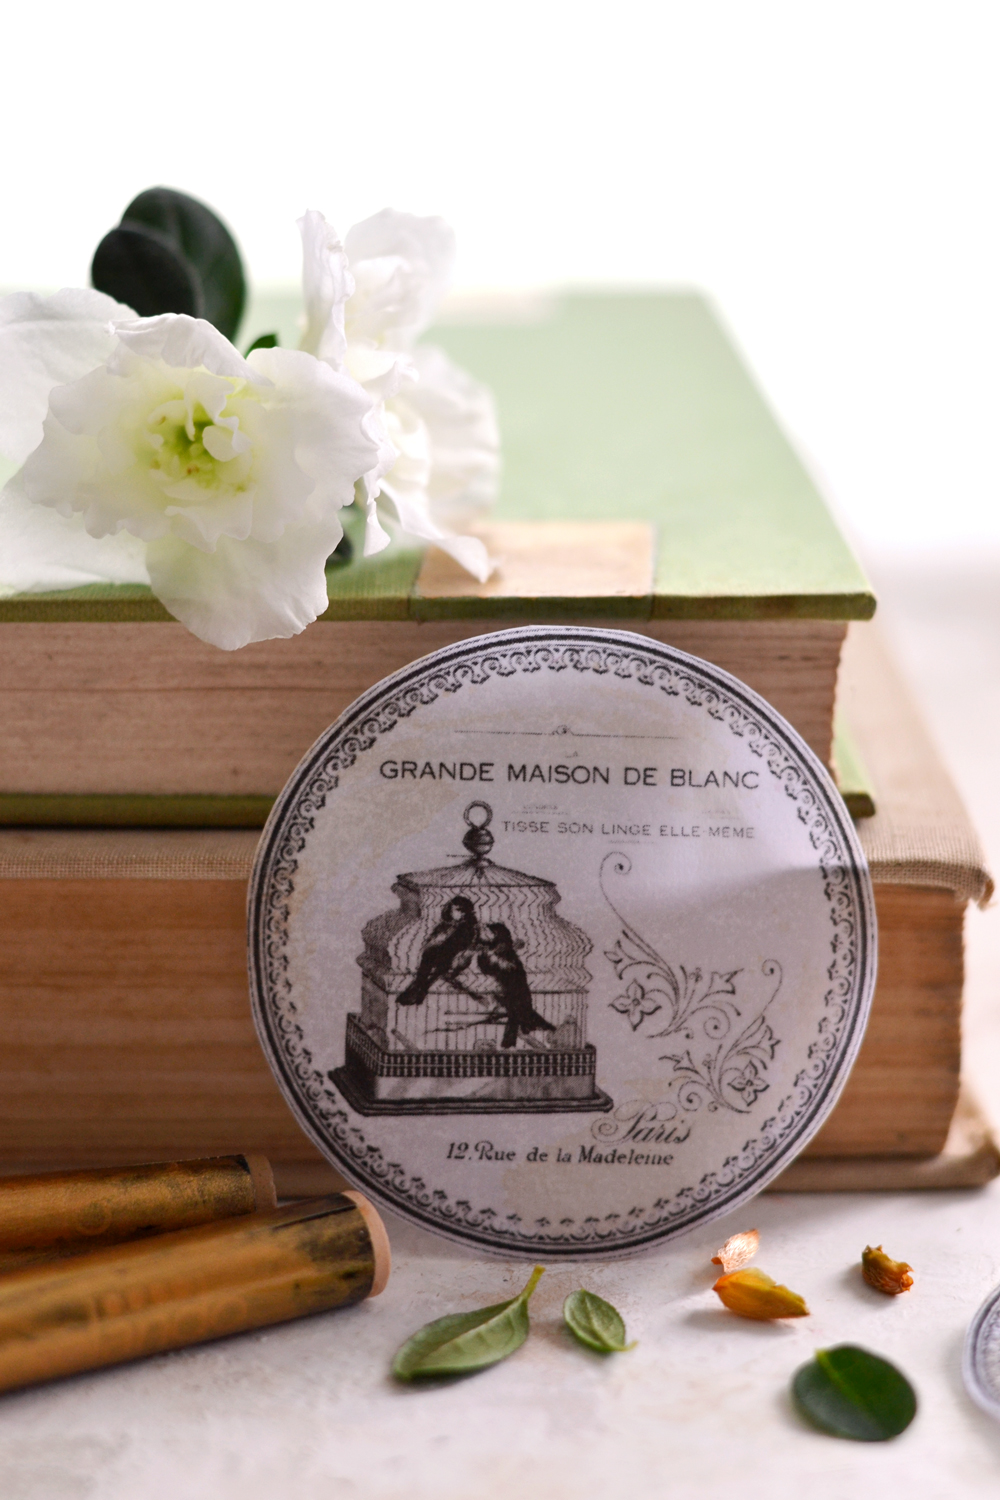
There are millions of possibilities when it comes to using these soft and subtle DIY Faux Vellum Labels. 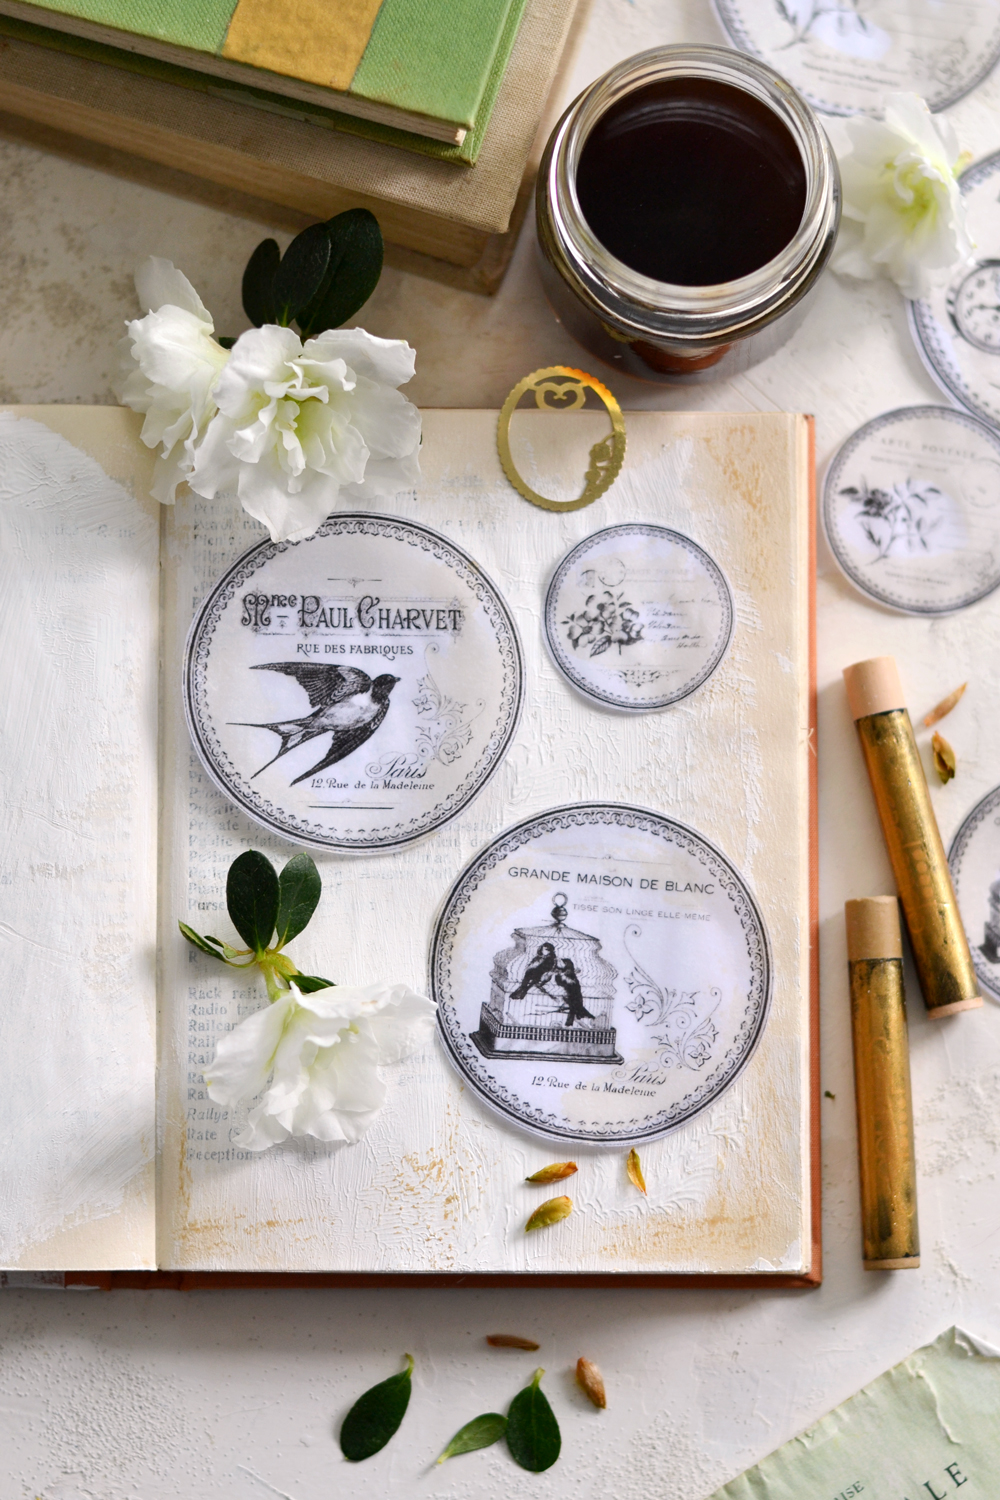
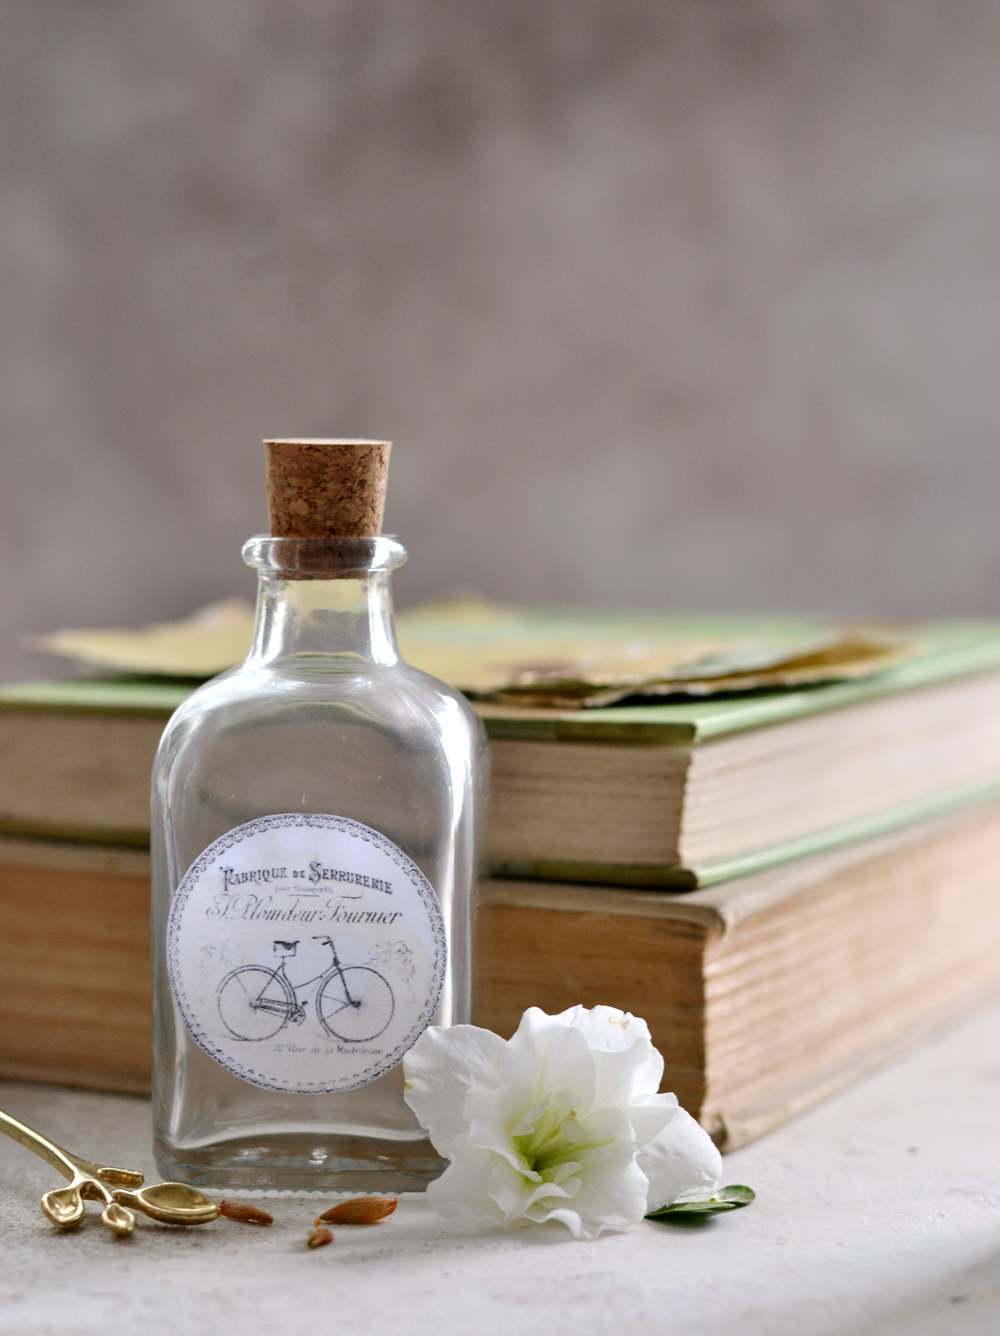
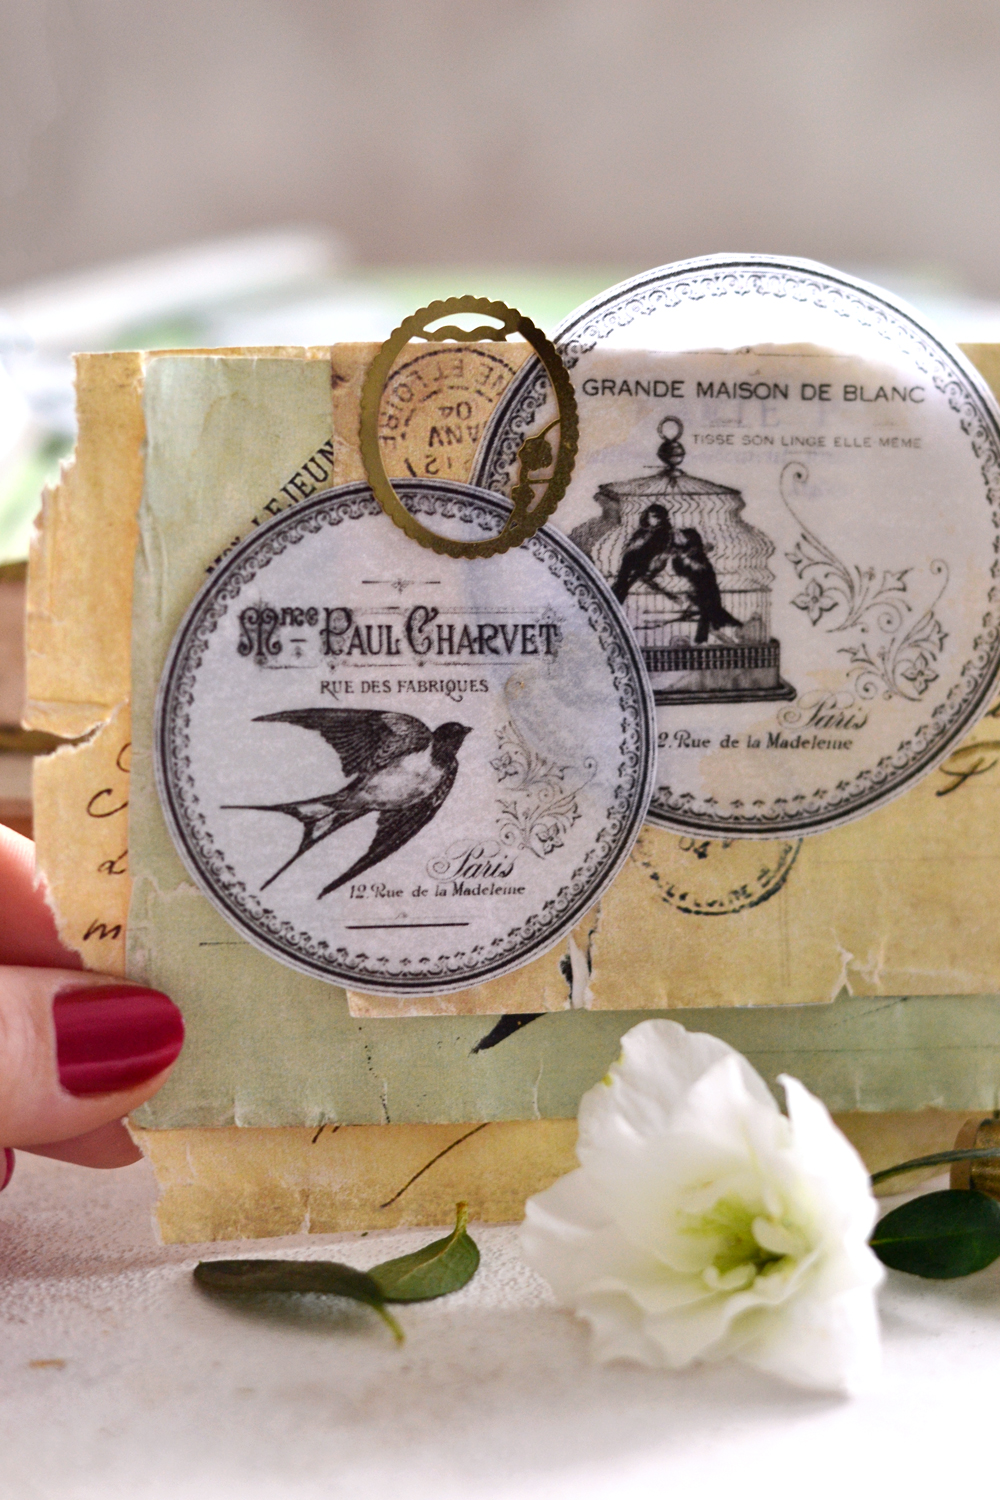
Add them to embellish apothecary jars and use them as home decor favorites all over your home. I applied a thin line of Mod Podge using my glue applicator on the back of the label, following the trace of the vintage frame. I didn’t added glue in the middle of the label because I didn’t wanted to lose the beautiful faux vellum sheer effect.
Use them in your art journals, junk journals or any other scrapbooking, mixed media, gift wrapping or DIY activities. I’m sure you won’t have any trouble integrating them into your life!
The delightful fragrance of the essential oils will gradually dissipate over time, but you can always refresh the labels with a few more drops when that happens!
P.S. You can also check my DIY French Script Feathers, another project where I used the essential oils.
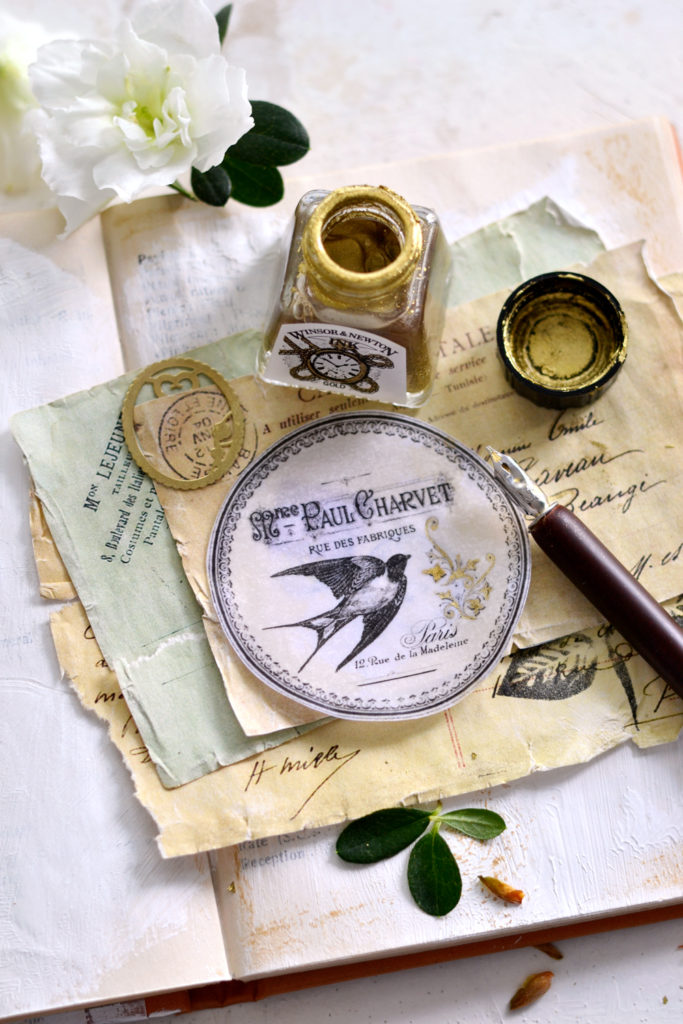
If you want to play even more, you could also use gold ink to accentuate some of the features. It’s the small details that count, you will be able to create something truly unique!
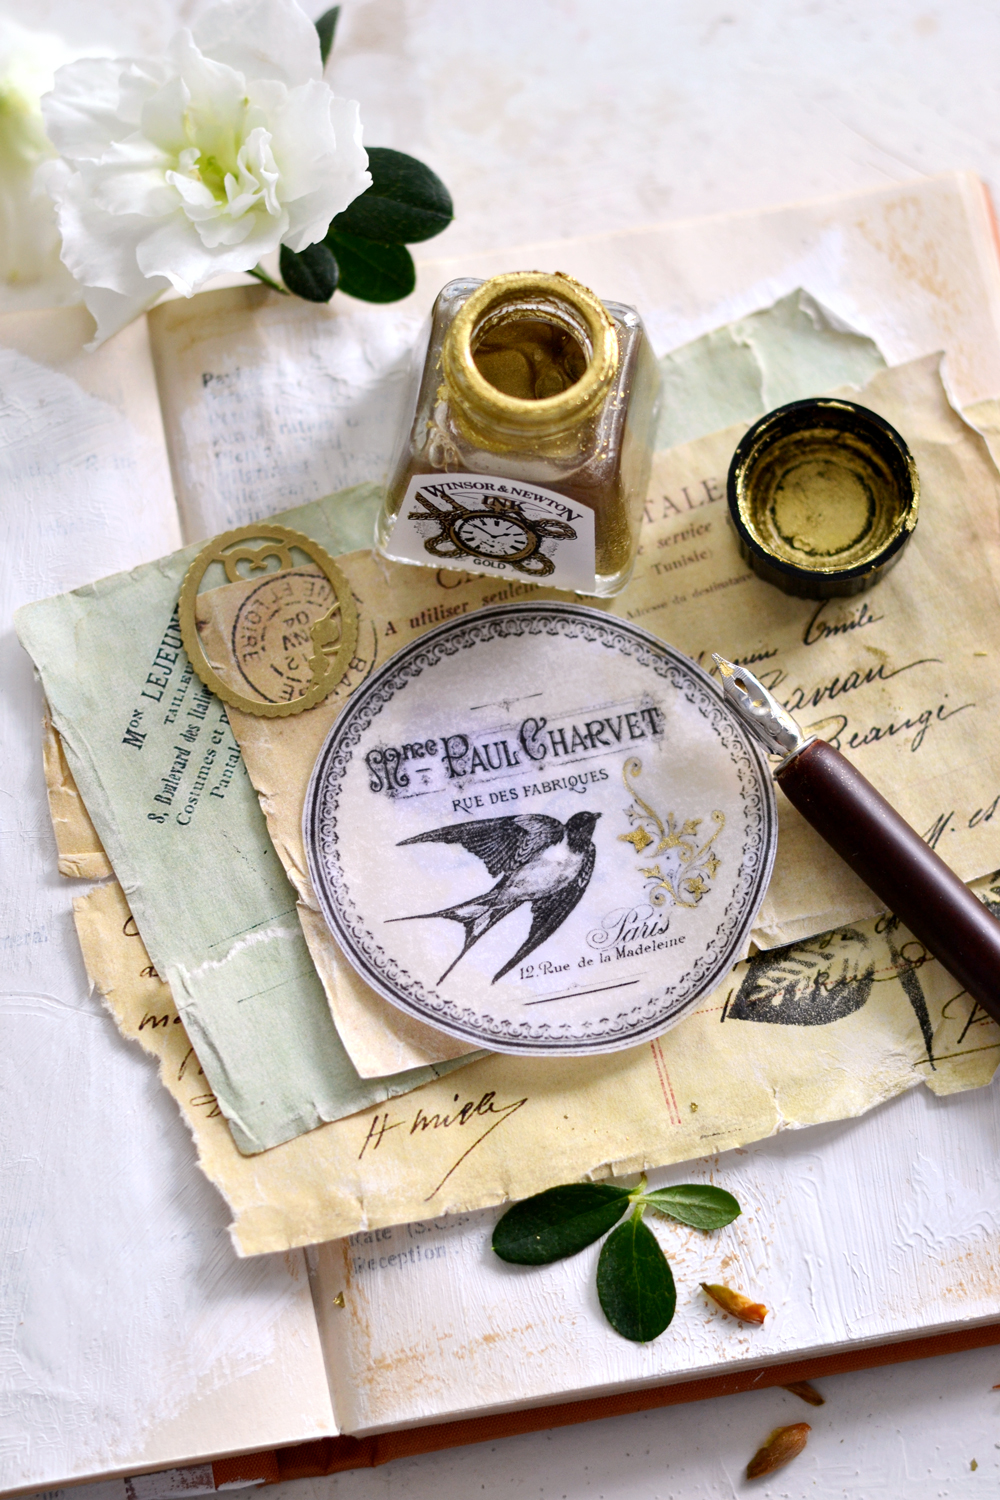 I’m really loving the faux vellum technique combined with the essential oils and I’m pretty sure I will use a lot in the future. You can try it with any other of my projects and the free printables that I created for my projects, please report back if you do! Also, you might like my tutorial for DIY Vintage Apothecary Jar Labels HERE.
Happy crafting,
Diana / Dreams Factory


LuAnn says
I always love your posts and I copy and same them all! Where did you get those wonderful paperclips? They are beautiful.
LuAnn says
Save them all. Typo!
Karen Watson says
Hi LuAnn, I don’t think they are still making the exact clips that Diana used in this post. But I have linked a similar version in the “optional supply list” on the post. I hope that helps!
Rk says
Beautiful images and a wonderful idea! I had seen this faux vellum effect occur totally by accident when some baby oil had spilled on to my papers lol! This is a more creative/controlled technique that’s beautiful! I was lucky to get my hands on printable vellum paper, so I’ll be using these images to put on some round coasters I got on clearance a while ago. Thank you for this simple yet beautiful ideas and the gorgeous images as always! We all need this beauty and creativity in our lives right now. Be well everyone!
graphicsfairy says
Thanks so much Rupa, yes beauty and creativity are so needed 🙂
Cynthia Murphy says
Thank you. A new project to keep me busy.
graphicsfairy says
Oh yea! So glad to hear that Cynthia, have fun!
Katherine Hawkes says
This is a wonderful project. Is it possible to use an inkject printer or will the inks smear? I’d love to try this but don’t want to have it be a flop. 🙂
Karen Watson says
Katherine, you could try sealing your prints with a spray on sealer like Krylon first, and see if that works. Let us know if you give that a try!
Lyn Moses says
Katherine, I had exactly the same thought of inkjet smearing, we can try using the oiling technique from the back of the paper, I would think we would get the same result without spreading the ink around. I will try it. Thanks Diana, love this.
Karen Watson says
Great idea Lyn! Thanks for sharing that tip!
Karen Gouvas says
Beautiful, i have tried for fun doing this technique, on a gardening,magazine page using make-up brush and baby oil, it looked transparent after many days, but you took it totally up another level.Thank-you for sharing, especially now am self isolating due to times, i am ok it is better for me to be at home heath wise I fit in Australia in the High Risk Area and this will be fun to do.
graphicsfairy says
So glad you like it Karen, have fun and stay safe 🙂
Gail @Purple Hues and Me says
This is amazing! What a creative idea to use essential oils!
graphicsfairy says
Thanks so much Gail 🙂
Janine says
What a beautiful, idea – it worked really well on ink jet printed paper as well
Thank you for sharing
xx
graphicsfairy says
Thanks Janine, so glad it worked out for you!