DIY Mixed Media Collage Tutorial
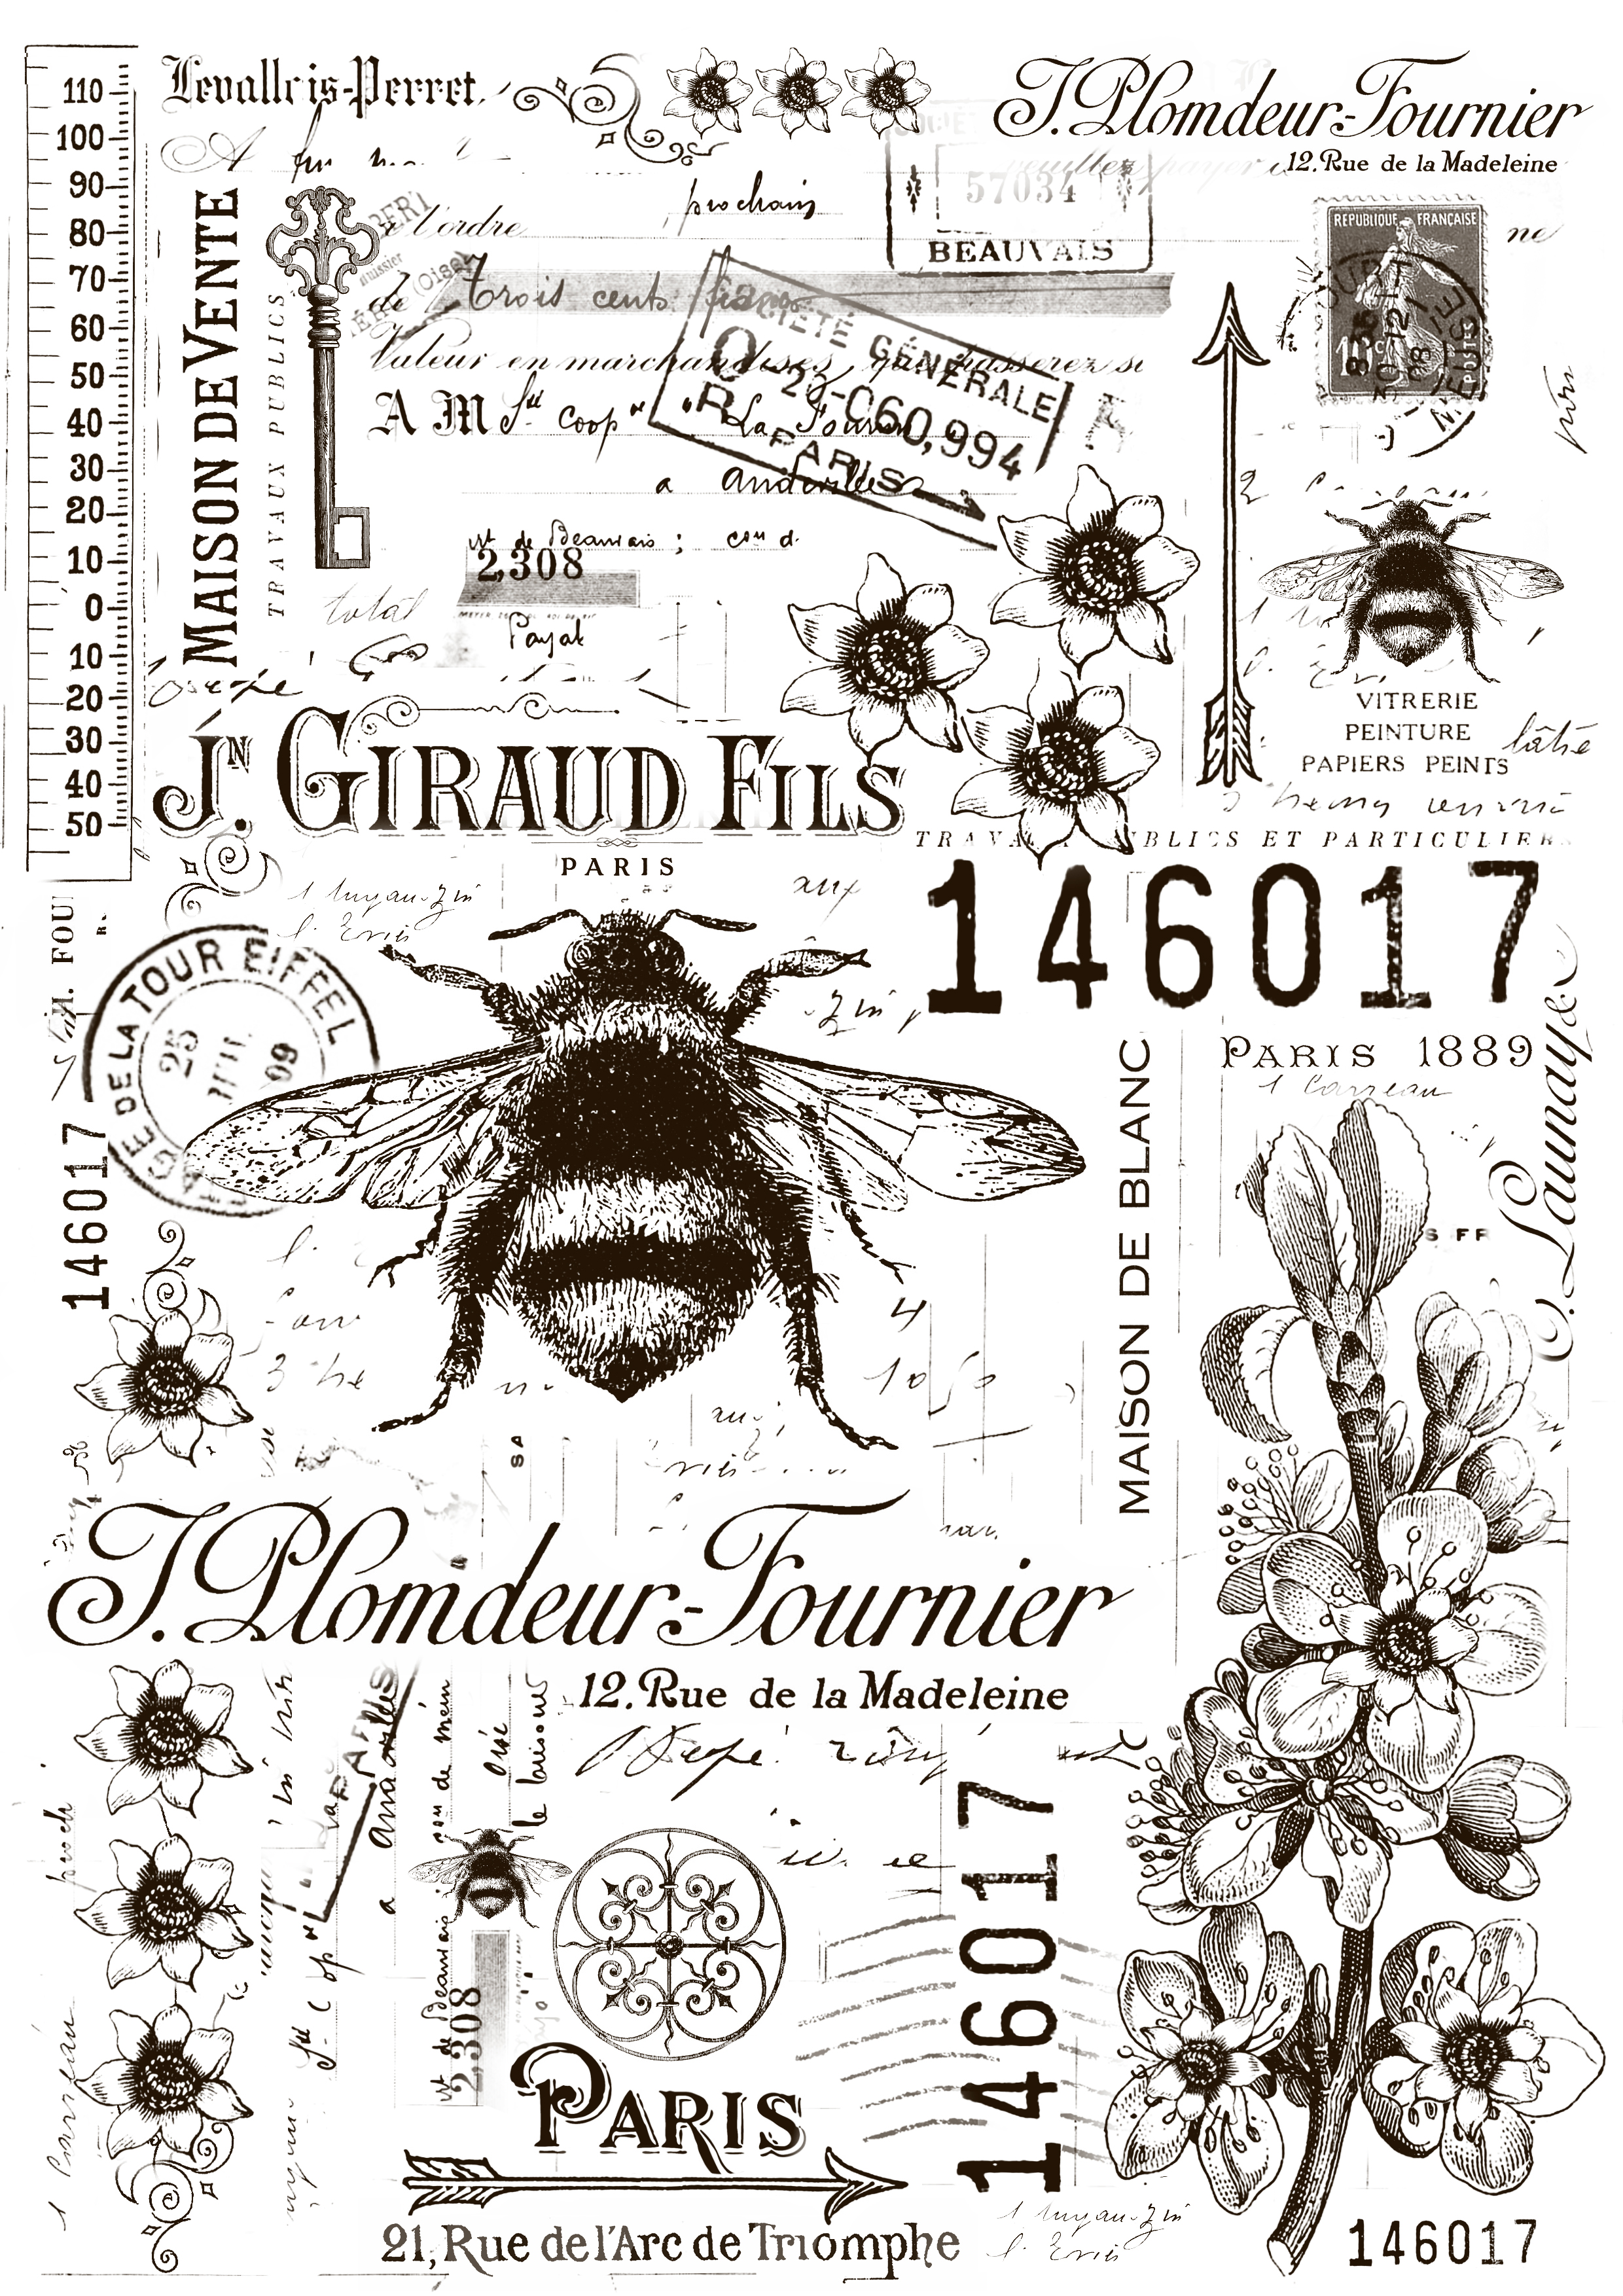
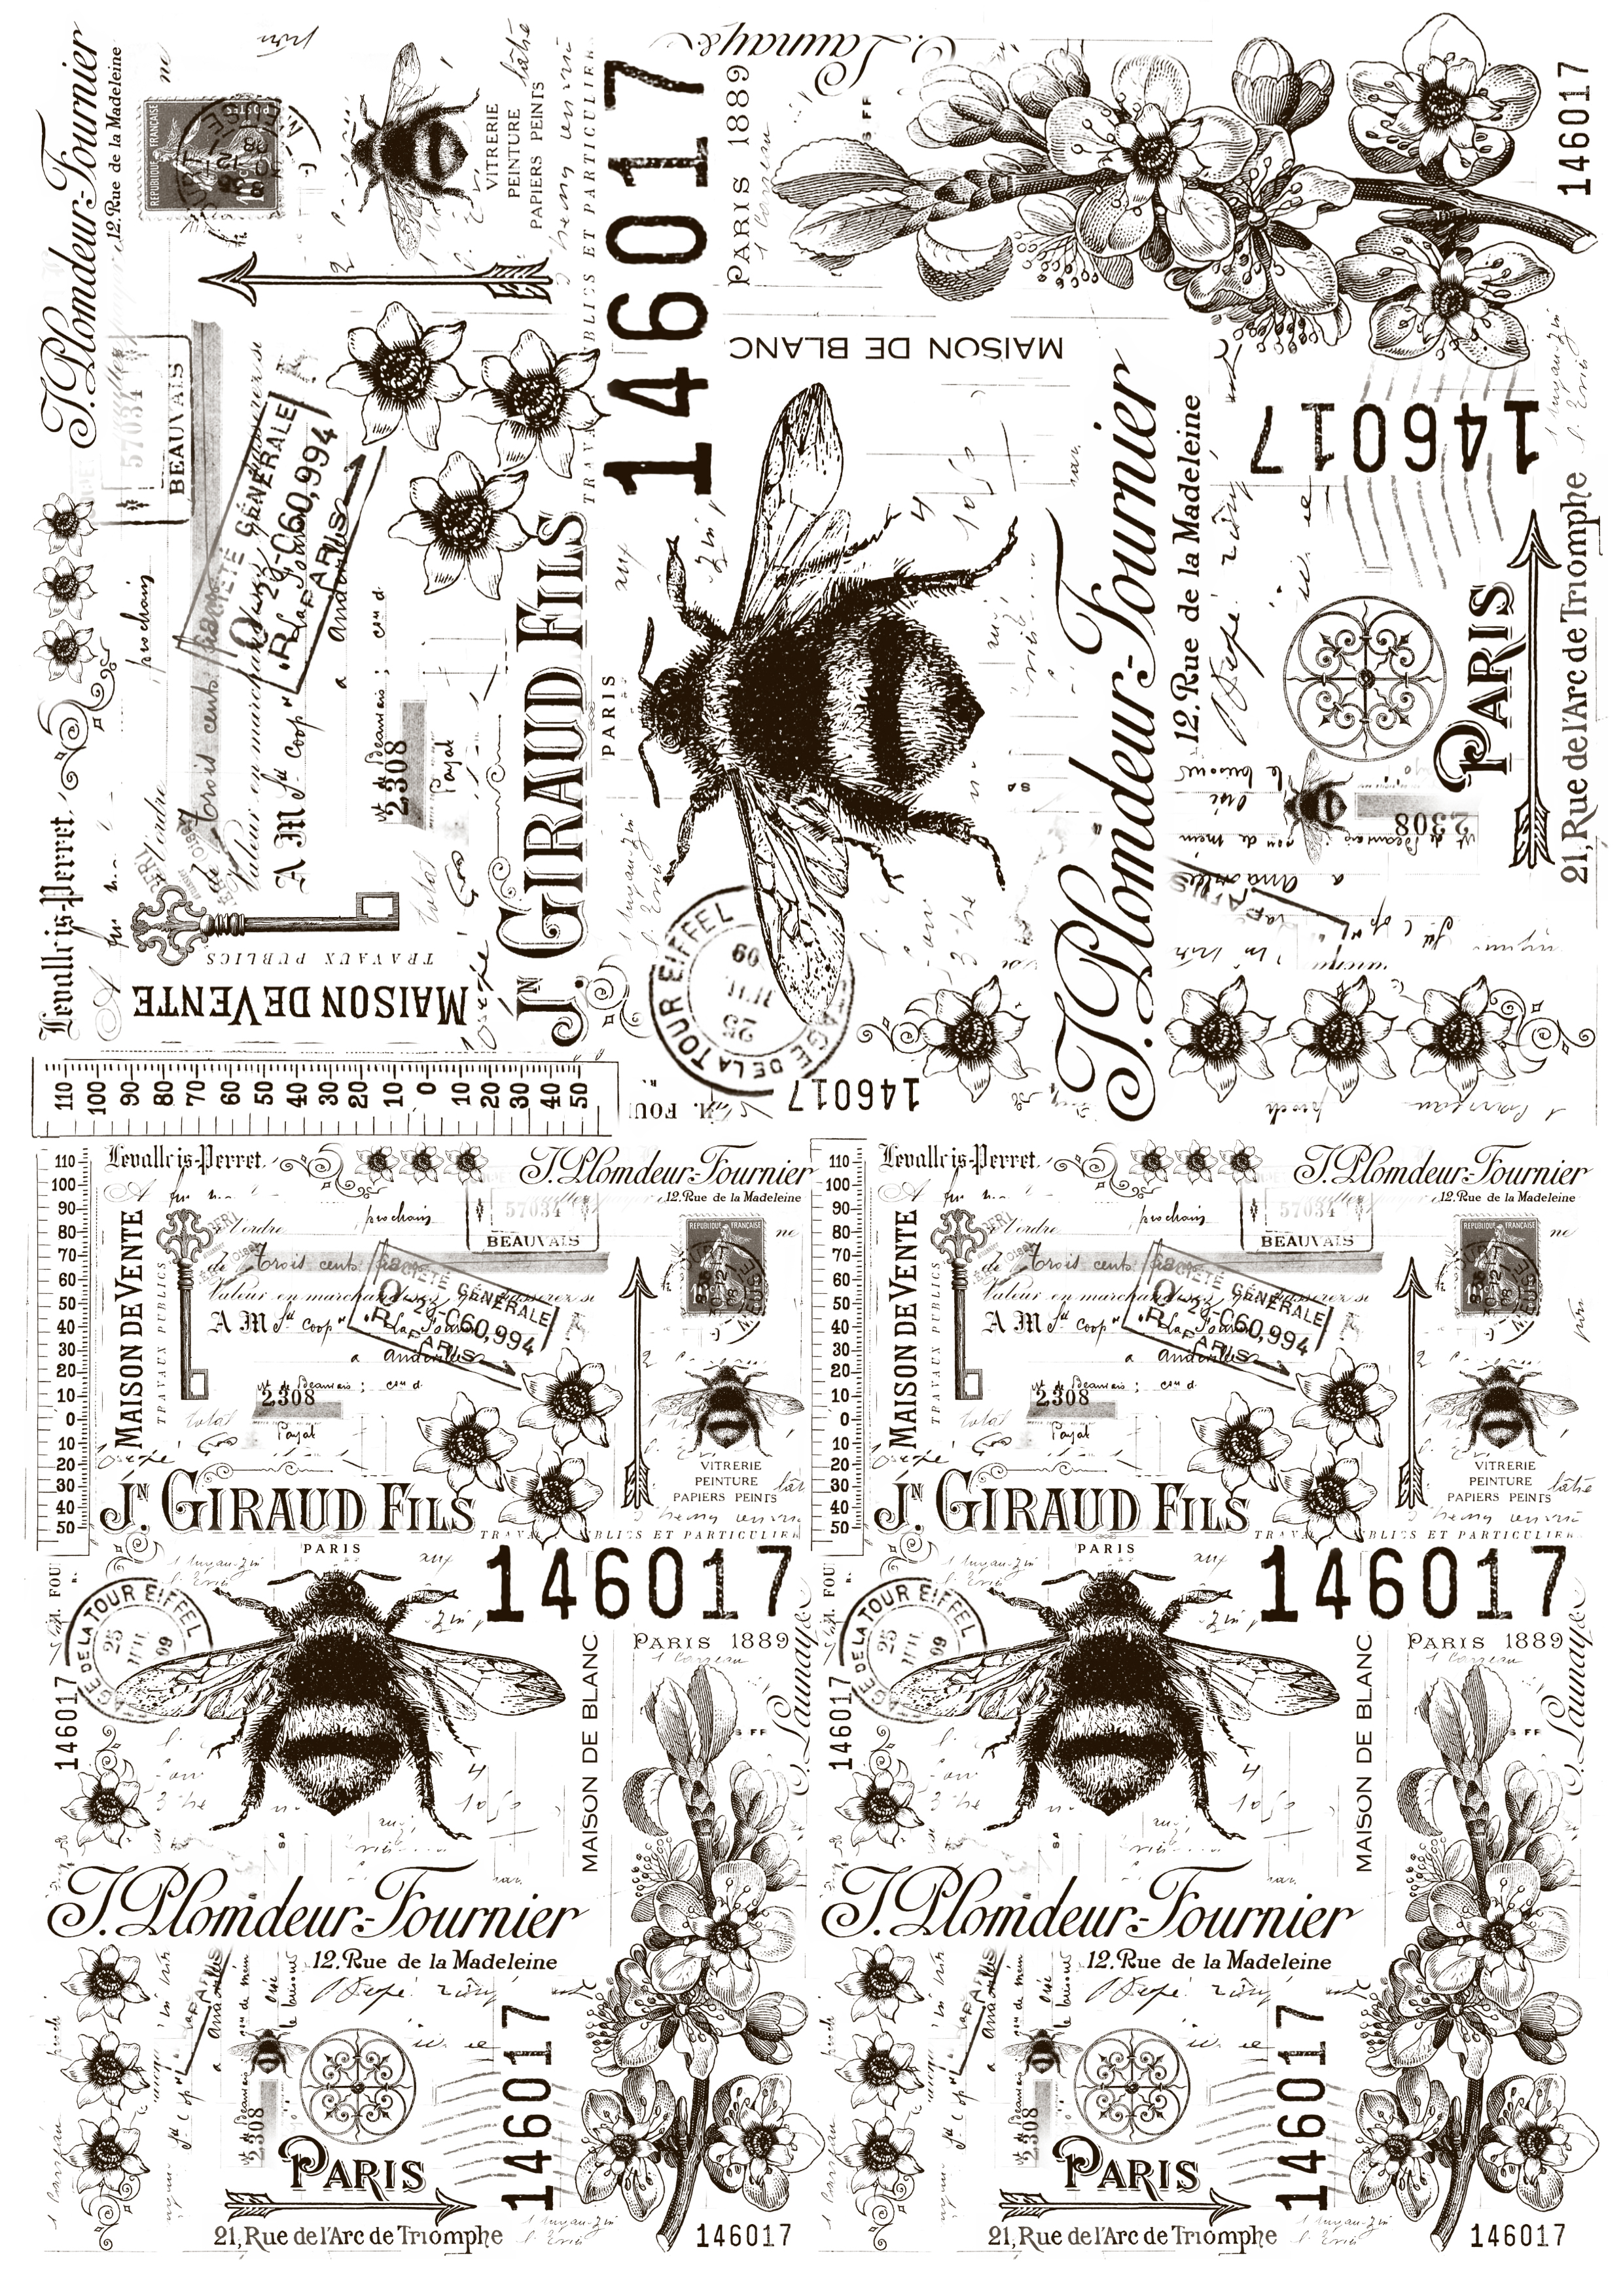
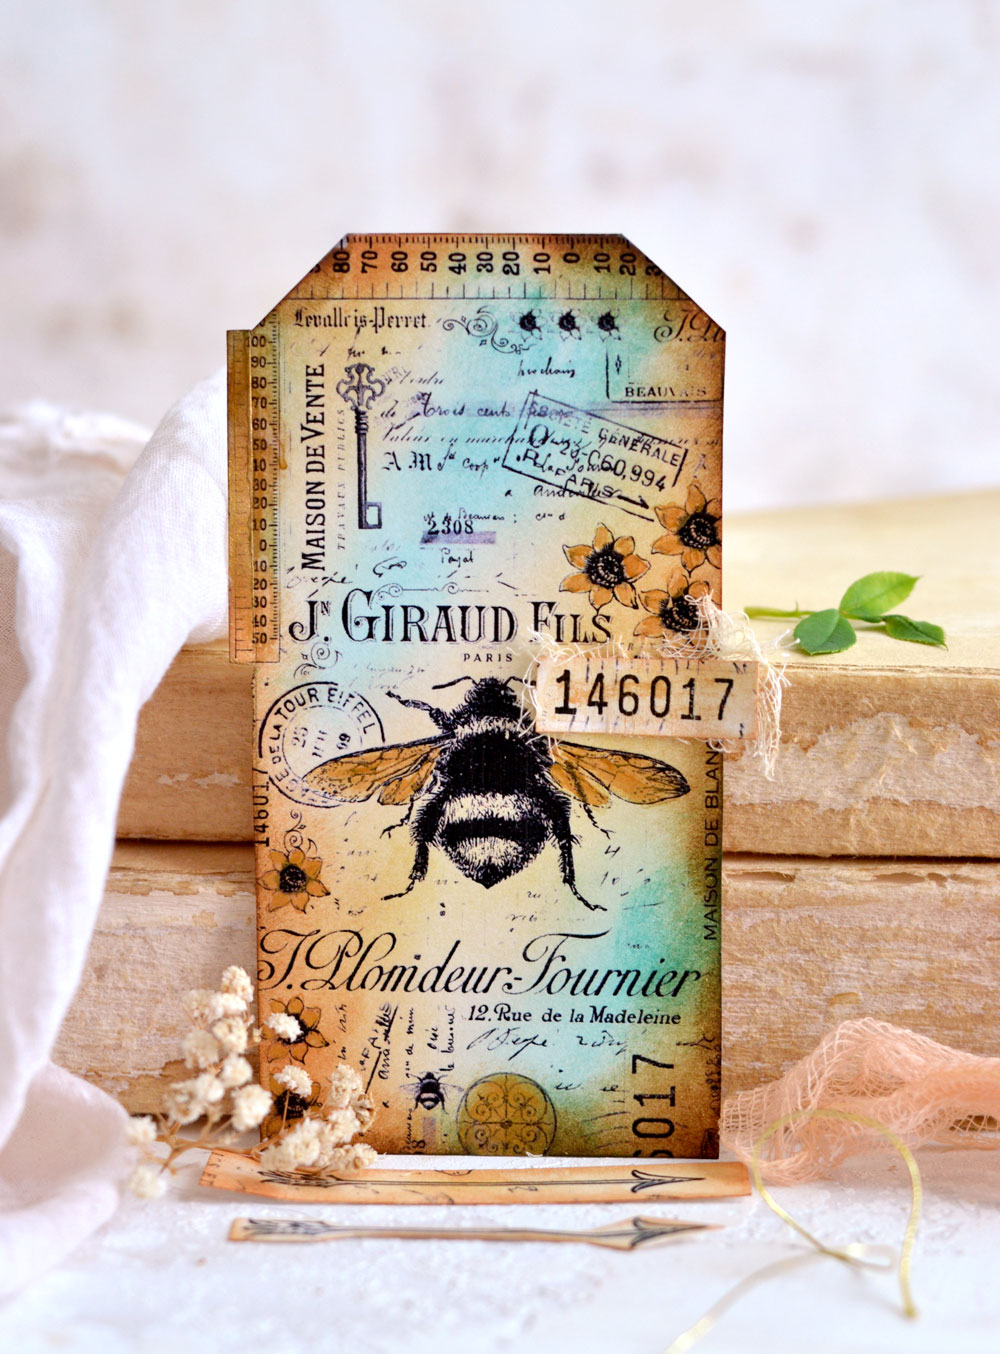
Hello, Graphics Fairy friends! Diana from Dreams Factory here, happy to share another DIY project with you, a Mixed Media Collage Tutorial! Today we are experimenting with different mixed media techniques and we are creating the most amazing Vintage DIY French Collage Paper Tags! The collage paper we will be using is not just any collage paper, but one that I created especially for you! French ephemera elements, quirky rulers, stamps, ticket numbers, vintage keys, arrows, flowers and bees, all are waiting impatiently to be discovered and integrated into your creative adventures!
What I love most about this project is the freedom it gives you to conduct your own experiments. The printable comes in different sizes – you can choose to draw, then cut your favorite tags if you want, but you can also create other shapes too, depending on your projects. Think regular geometric shapes like circles, rectangles or squares to keep things somehow simple, but feel free to also try more specific shapes using punchers or cutting dies. If you love one specific area from the collage paper you can target that area to make the shape that you want! Even if you decide to randomly cut or punch the collage paper, I added many beautiful elements and every area will create a super chic final result.
Each size of the collage paper that I created for you can be used as an individual piece – if you need a specific size for a specific project. For example, if you need to decorate the covers of a journal, you can choose from the existing sizes one that properly fits your covers. It’s that easy! 🙂 Just download the printable on your computer so you can quickly access it when you need it.
When it comes to choosing the right paper for printing the collages, there isn’t a one-good-for-all choice, because it really depends on your needs … and what you have around. The most obvious choices would be regular paper for a more overall usage and cardstock for tags, cards or die cuts. If you want to create collages with a more sheer background you can choose to print on rice paper, table paper napkins or tissue paper. This part can be a little tricky and it really depends on your printer’s mood! 🙂 I haven’t been able to successfully feed tissue paper through my printer, no matter what I tried, maybe you’ll have better luck! 🙂 I’m planning on testing tracing paper next, will let you know how that goes.
DIY French Collage Paper Tags Printables
—-> CLICK HERE TO DOWNLOAD THE FULL SIZE PRINTABLE PDF <—-
Mixed Media Collage Supplies
- the chic French collage printable
- the tag template (use this or use your own)
- cardstock paper
- laserjet printer (I have this laserjet printer)
- mini distress inks
- blending tool with foams (I prefer the domed ones)
- scissors
- craft glue with a fine tip
- gold acrylic paint and a small brush
- a plastic sheet or a non absorbent surface (to protect your working surface)
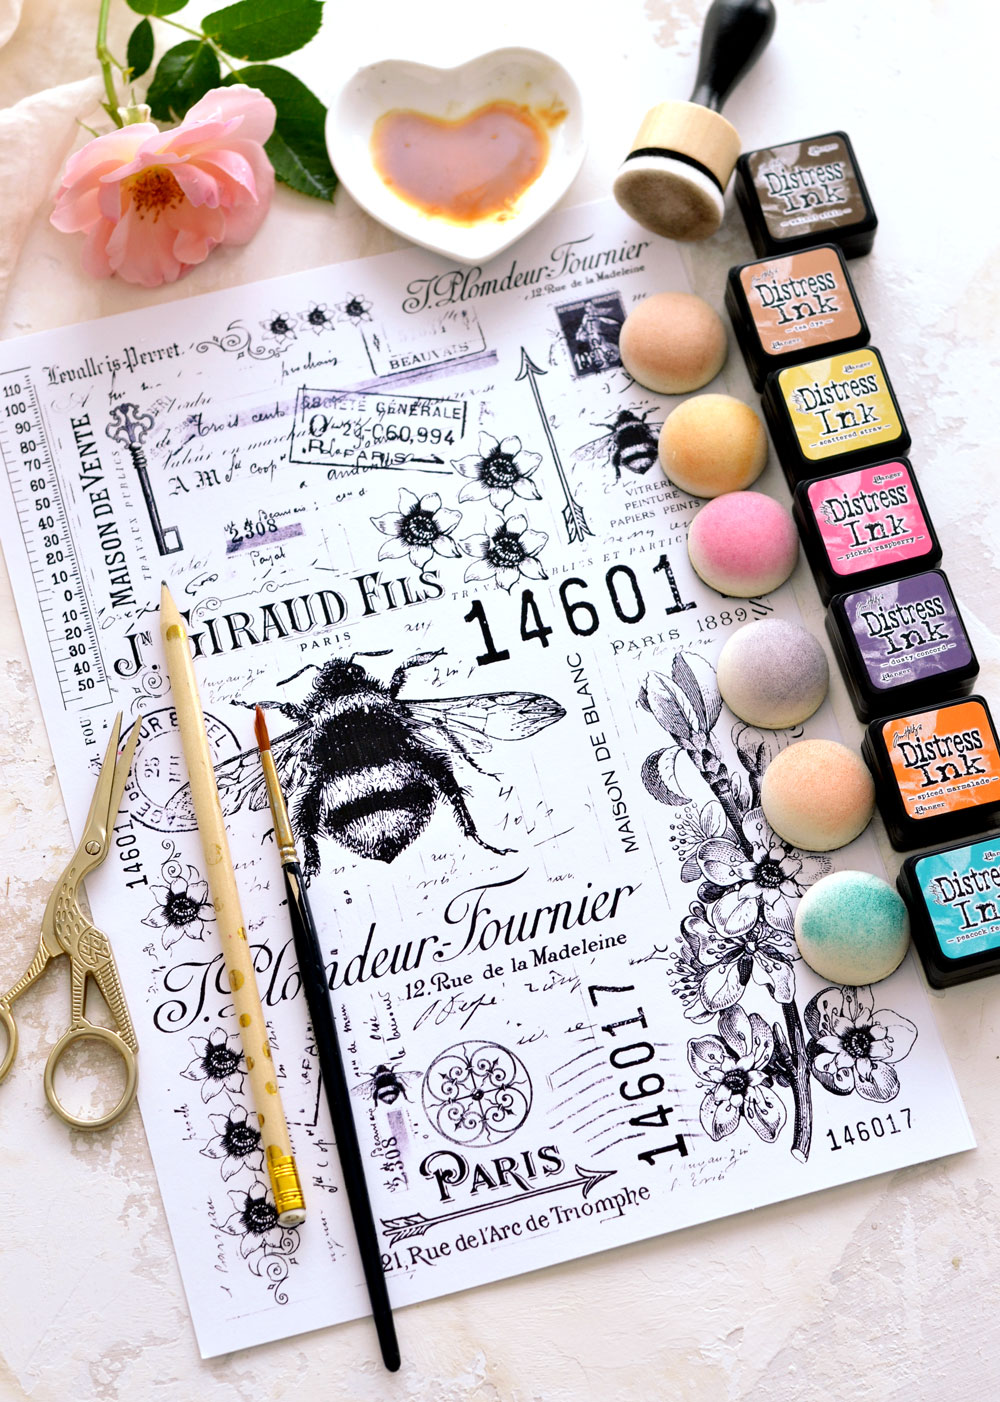 P.S. I used mixed media cardstock to print the collages and regular cardstock to print the tag template on my laserjet printer. I managed to draw and cut 6 large tags and the large rectangle, plus a lot of other shapes or fussy cut images from all the collages.
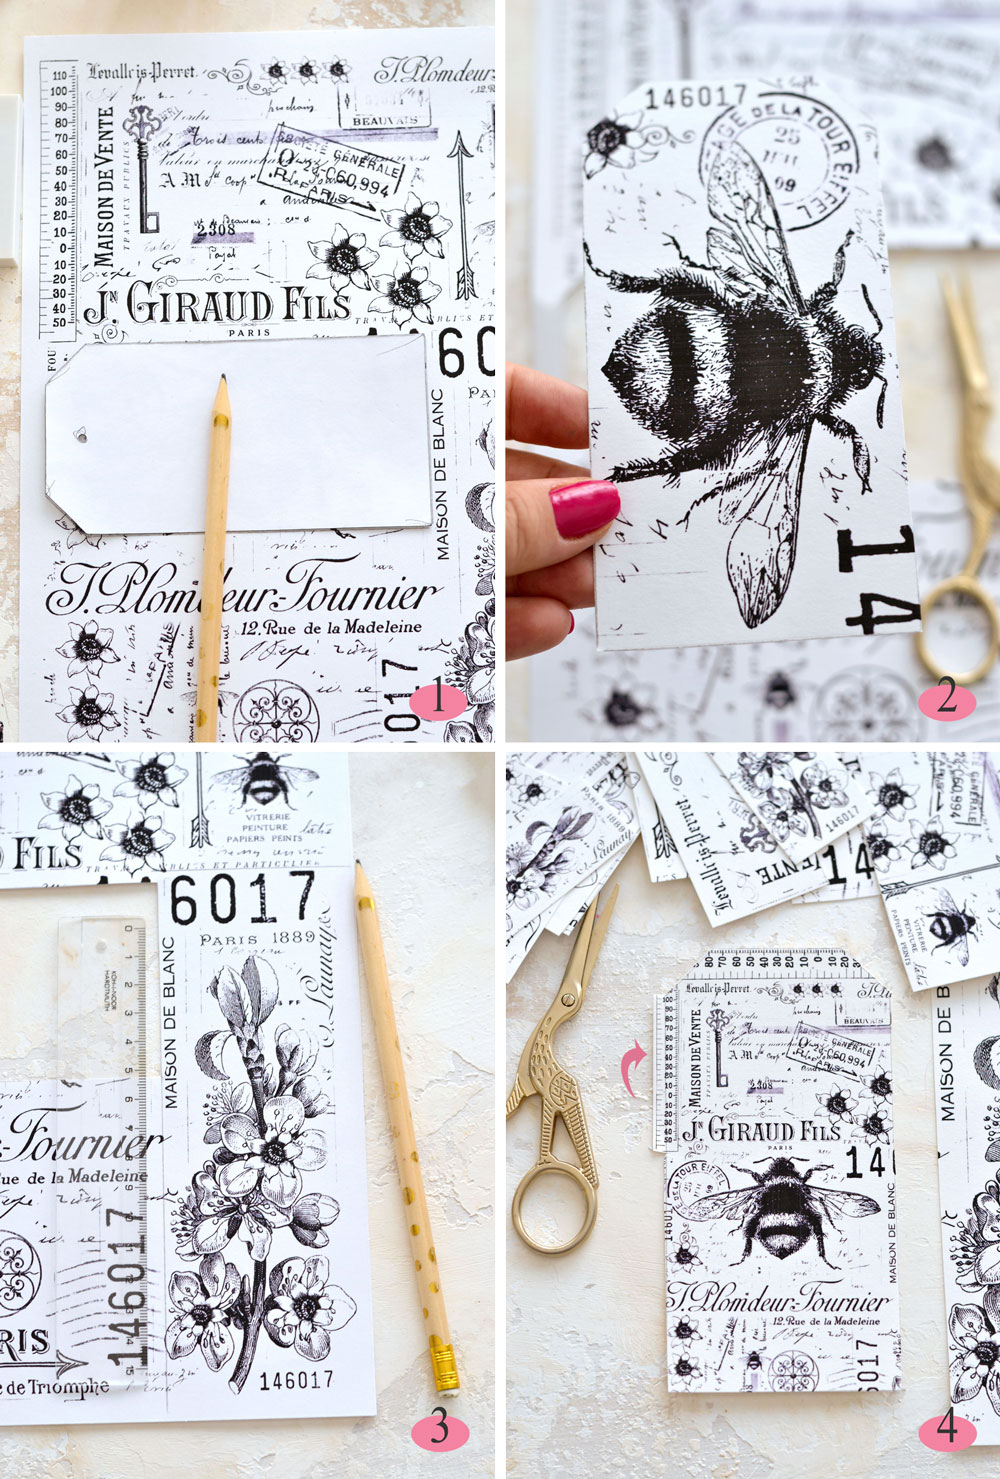
1. Start by printing your collage pages and your tag template (use mine or choose your favorite). Target a specific area from your collage, place the tag template on top and use a pencil to trace the tag shape. The idea is very simple, you just target a specific area that you love or just go completely random and see what you get.
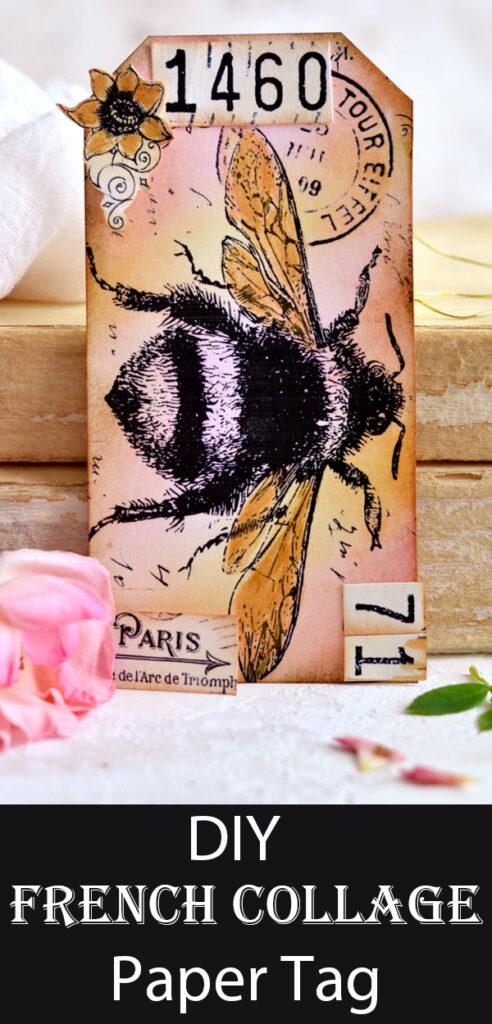
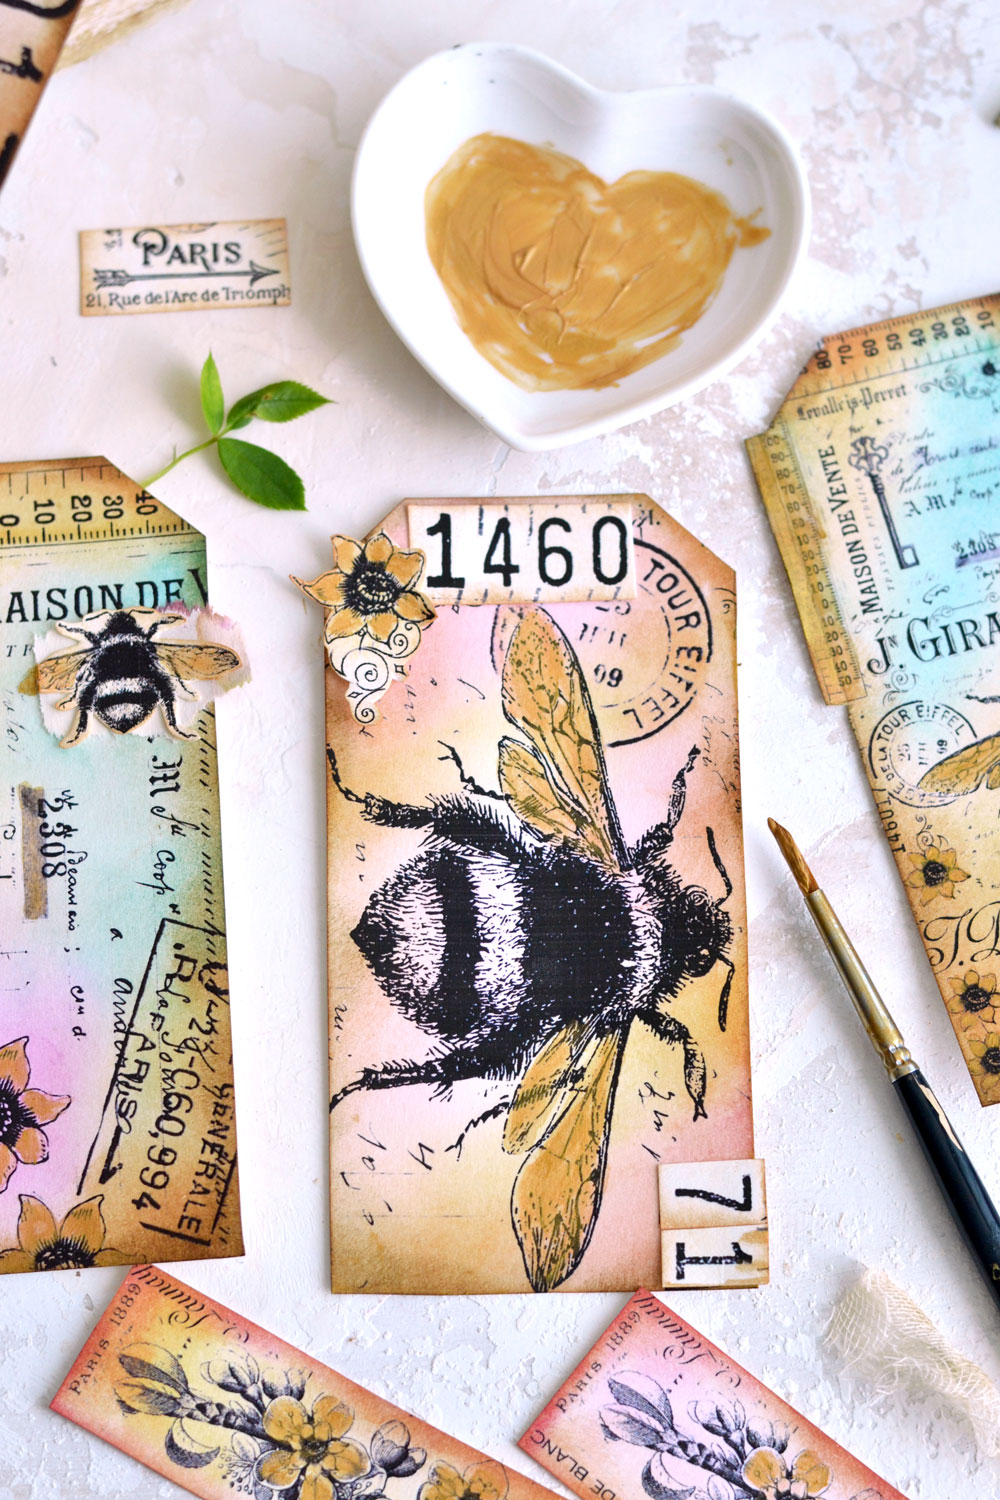
2. Use scissors to cut the tag – I went with this gorgeous bumble bee section (from the largest collage) first. Be careful when cutting and try not to go too much outside the shape.
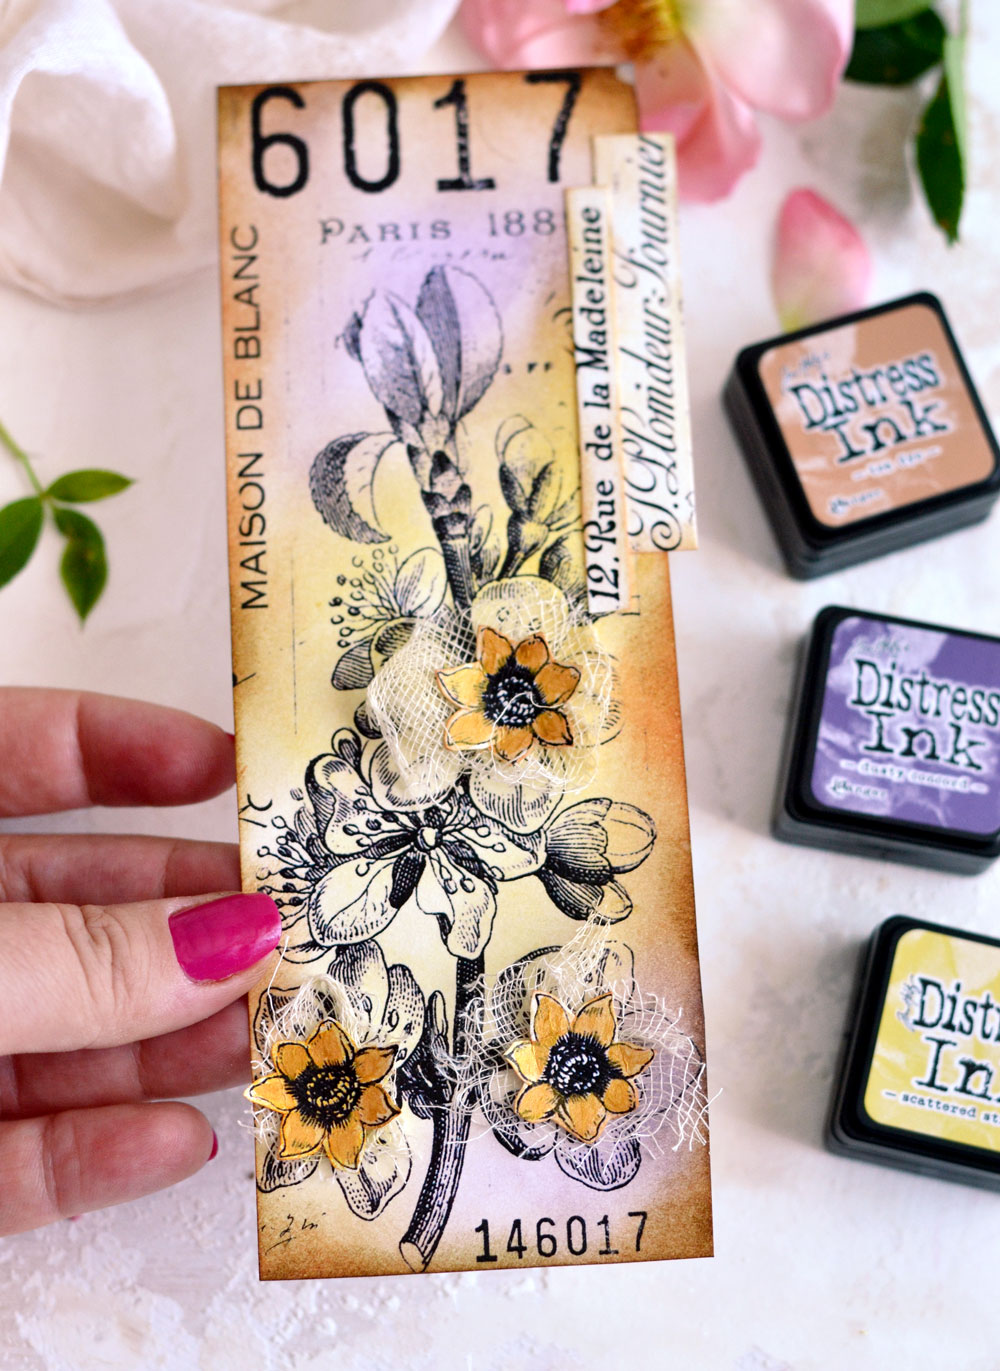
3. Place the template again on the collage to trace another tag or use a small ruler to draw lines and cut other shapes. I really loved the area around these plum blossoms and decided to cut a rectangle of that section to make a bookmark.
4. Move your tag template around, draw and cut until you run out of space! 🙂 When cutting, feel free to leave some elements ‘hanging’ outside the borders to add dimension to your tags.
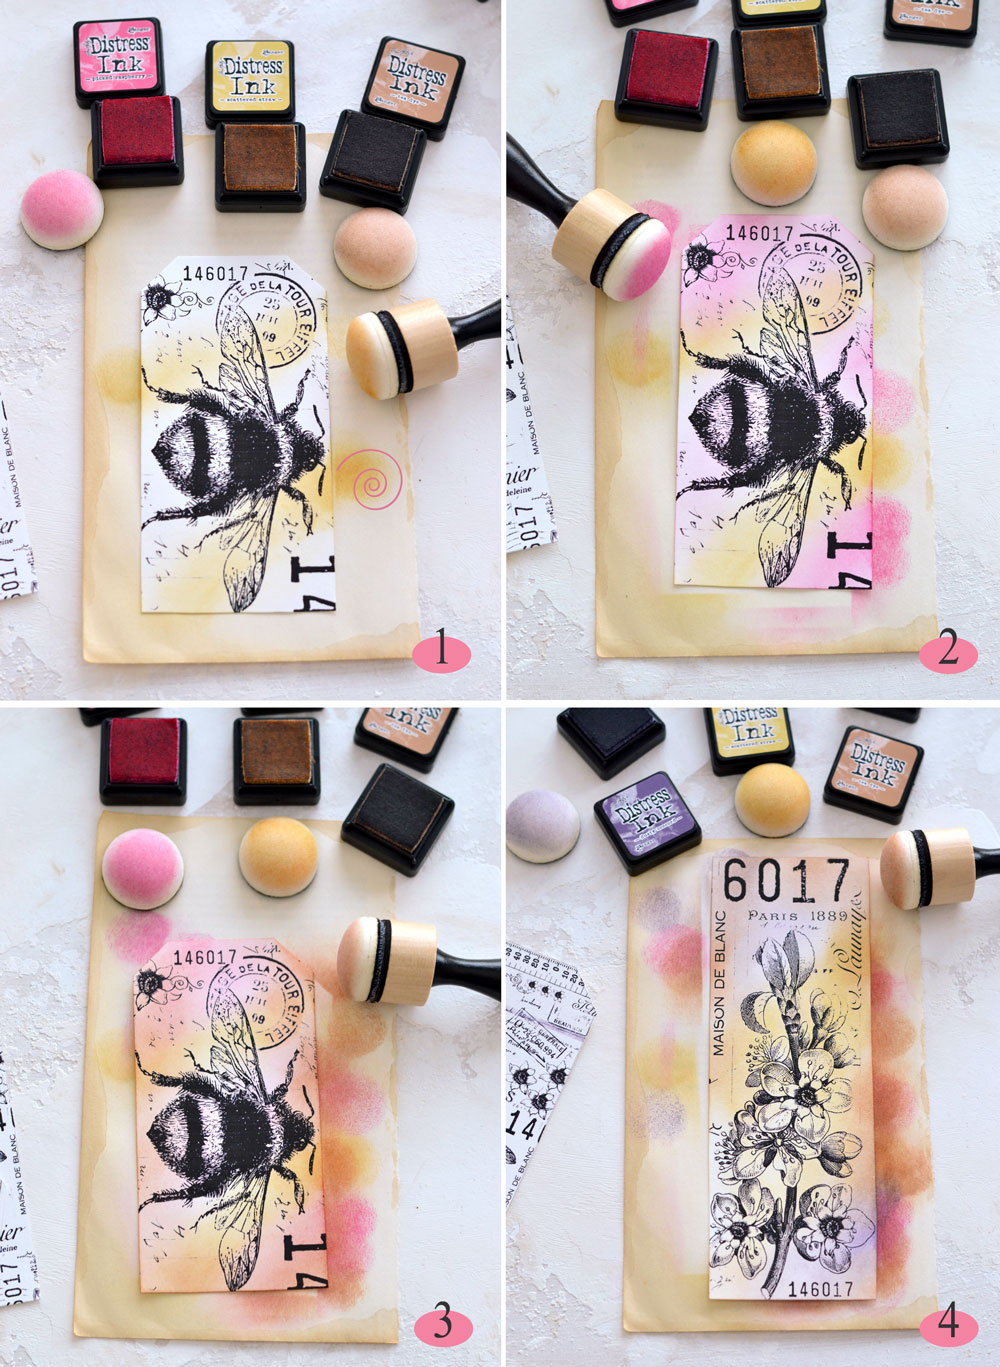
Use your favorite ways to decorate the tags, this time I went with the mini distress inks from Ranger that I absolutely love! I wanted to give that perfectly blended vintage feel to my tags so I placed an old book page on my table first, to protect the surface. I’m sure most of you already know how to use the distress inks and the blending tool, but if you are new to this I would say that the blending tool move is the most important one! You need to start blending in a circular motion outside your tag, then gradually go inside the tag in the direction that you want, keeping the same circular motion. This way you will be able to get beautifully blended strokes, instead of harsh lines or visible circle shapes from your blending tool.
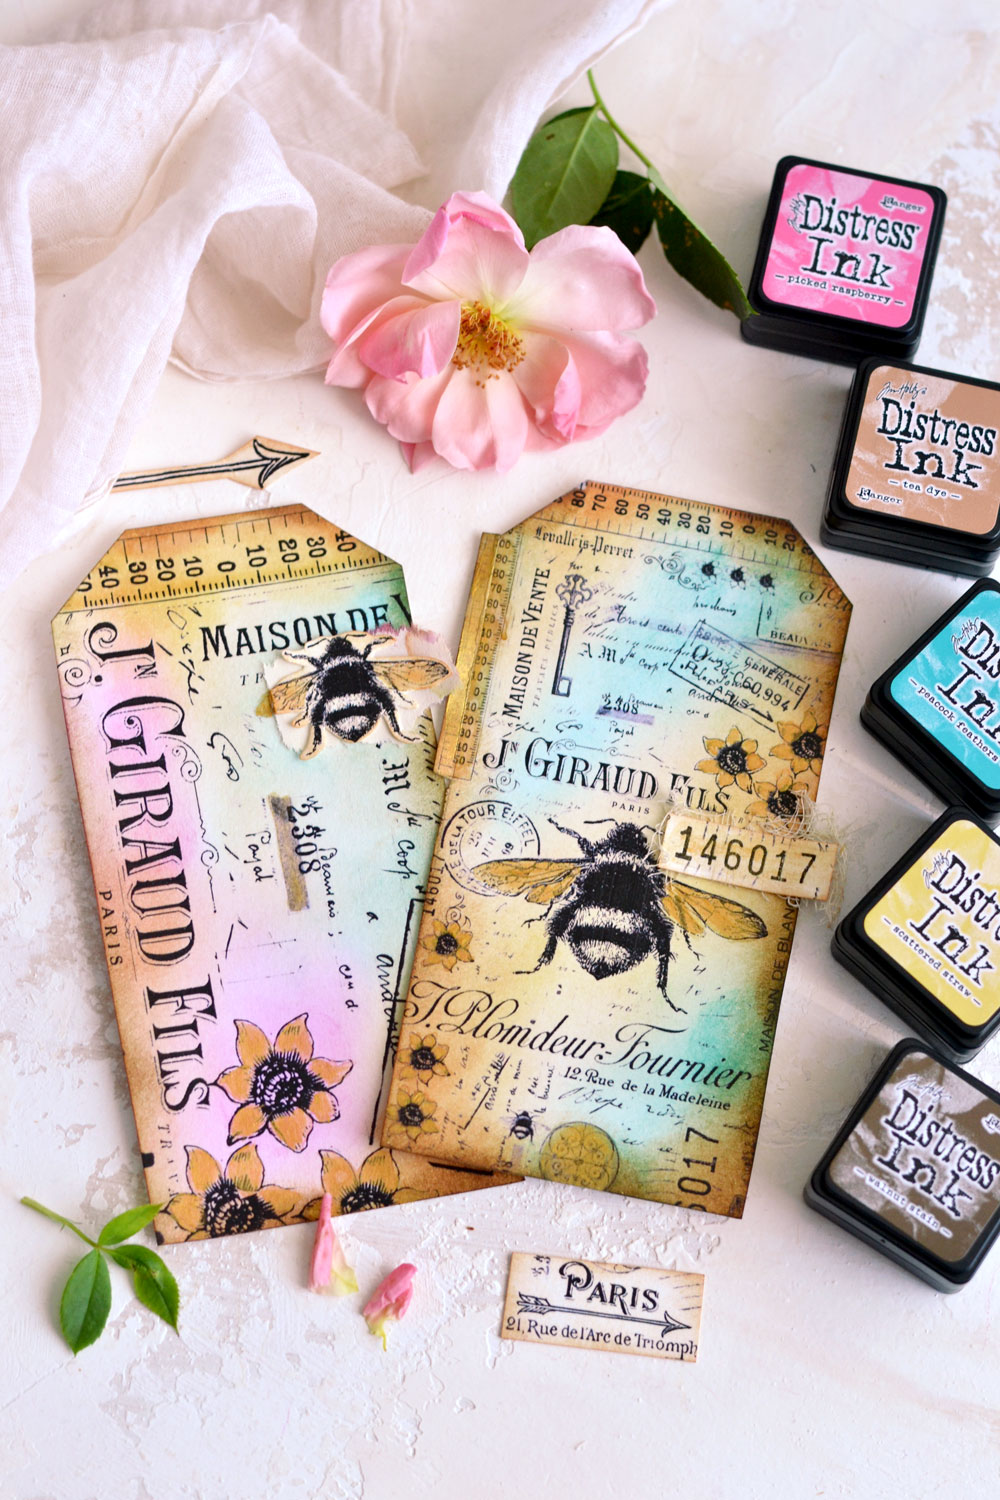
I decided to use yellow (Scattered Straw) on all the tags and to combine it with another color, then use 2 shades of brown to distress them all (my choices were Tea Dye and Walnut Stain). I used this ‘formula’ on all the tags from this project and chose my second color to be pink (Picked Raspberry) for some of the tags, purple (Dusty Concorde) and blue (Peacock Feather) for others.
1. Place the mini distress ink pads that you are using and the corresponding foams on the table. We’ll start with the lighter color (yellow in this case), so stick the yellow foam to your blending tool. Load some color and go with circular motions starting outside your tag. Do this by following an invisible oblique line on the lower part of the tag, gradually work your way through the tag, then go outside, on the opposite side. Do the same on the upper side of the tag with more yellow.
2. Change your foam and follow the same oblique lines / circular motions using pink, until all the white space is inked.
3. Change your foam again and go in with some light brown, to add more interest. I usually insist on the edges and on the corners to get a lightly distressed surface. You can go in with the dark brown too, or you can choose to leave it until all the coloring is done, like I usually do.
4. Choose other colors according to your preferences – here I used yellow and purple, plus the browns for distressing. Decorate all the tags and all the separate elements as you want.
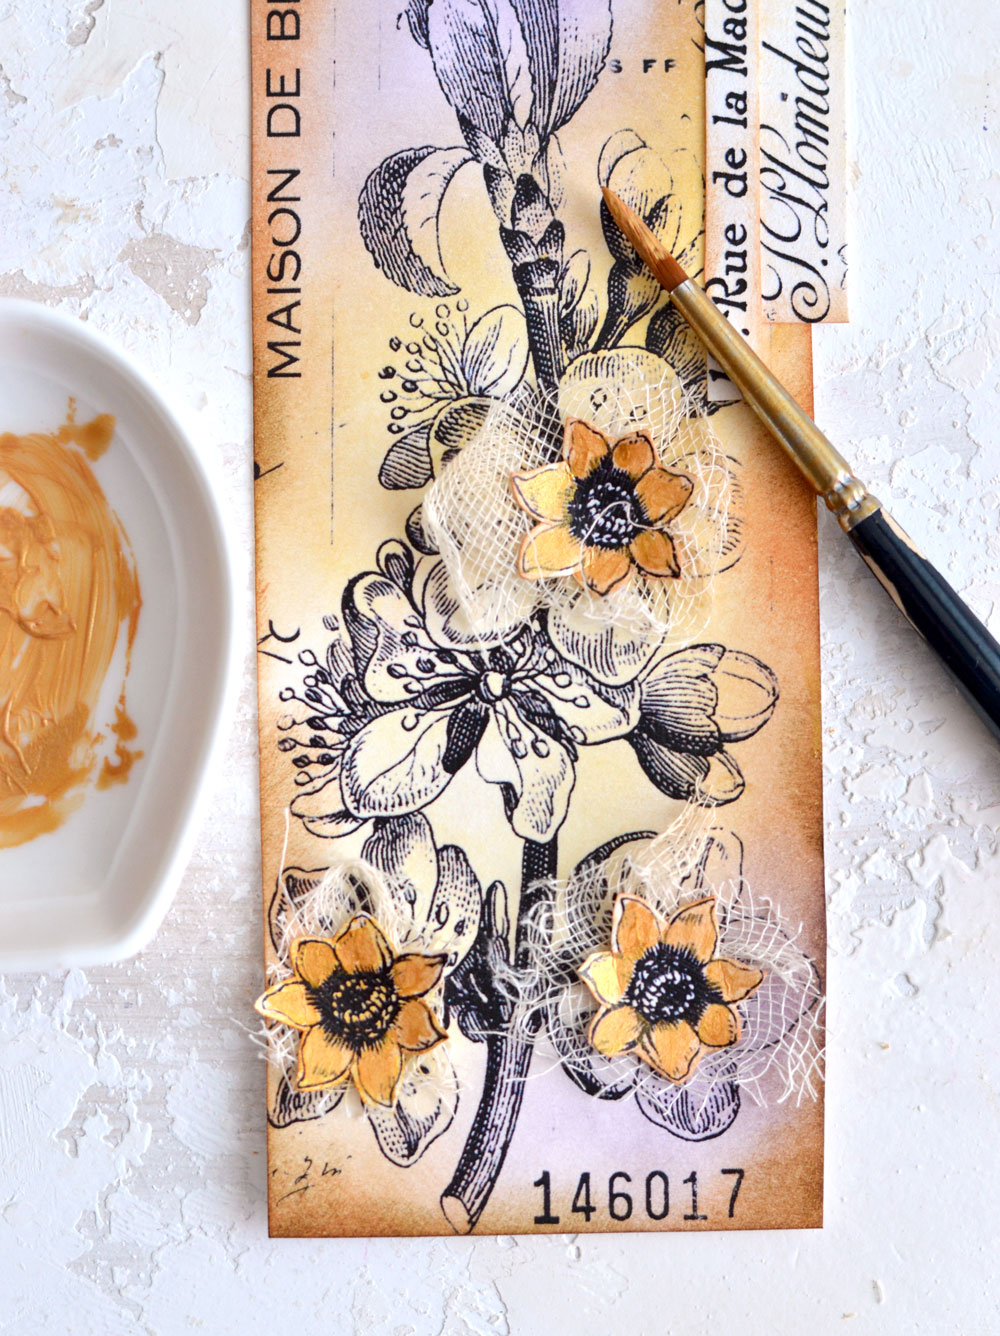
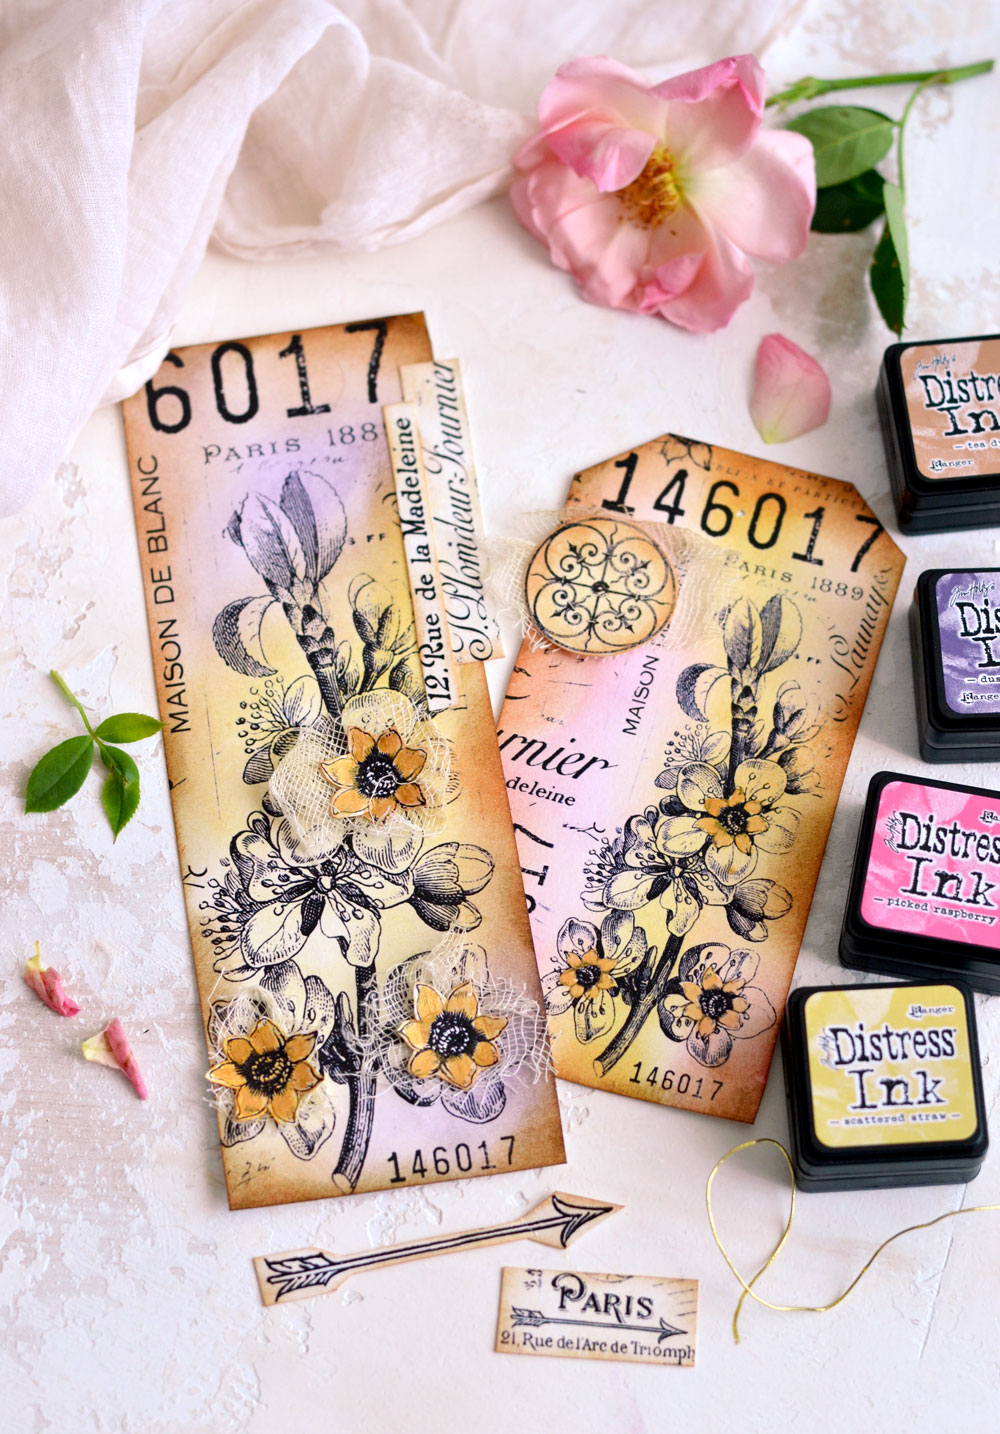
To add more interest, use small pieces of cheesecloth before gluing the separate elements on top of the tags. Fussy cut some flowers from the collages and glue them on the plum blossom with the cheesecloth. Use your scissors to cut other French ephemera elements from the collages and glue them on the tags (on the sides, on top – slightly hanging or not).
As an optional step, you can use gold acrylic paint to lightly cover parts of the tags with a thin layer of metallic paint. Here I painted the separate elements, the flowers that I added on top.
You can also choose gold metallic paint to highlight other elements of the tags – like the wings of the bees, all the flowers, the rulers, etc. Just make sure you don’t use too much paint, we don’t want to completely cover the design.
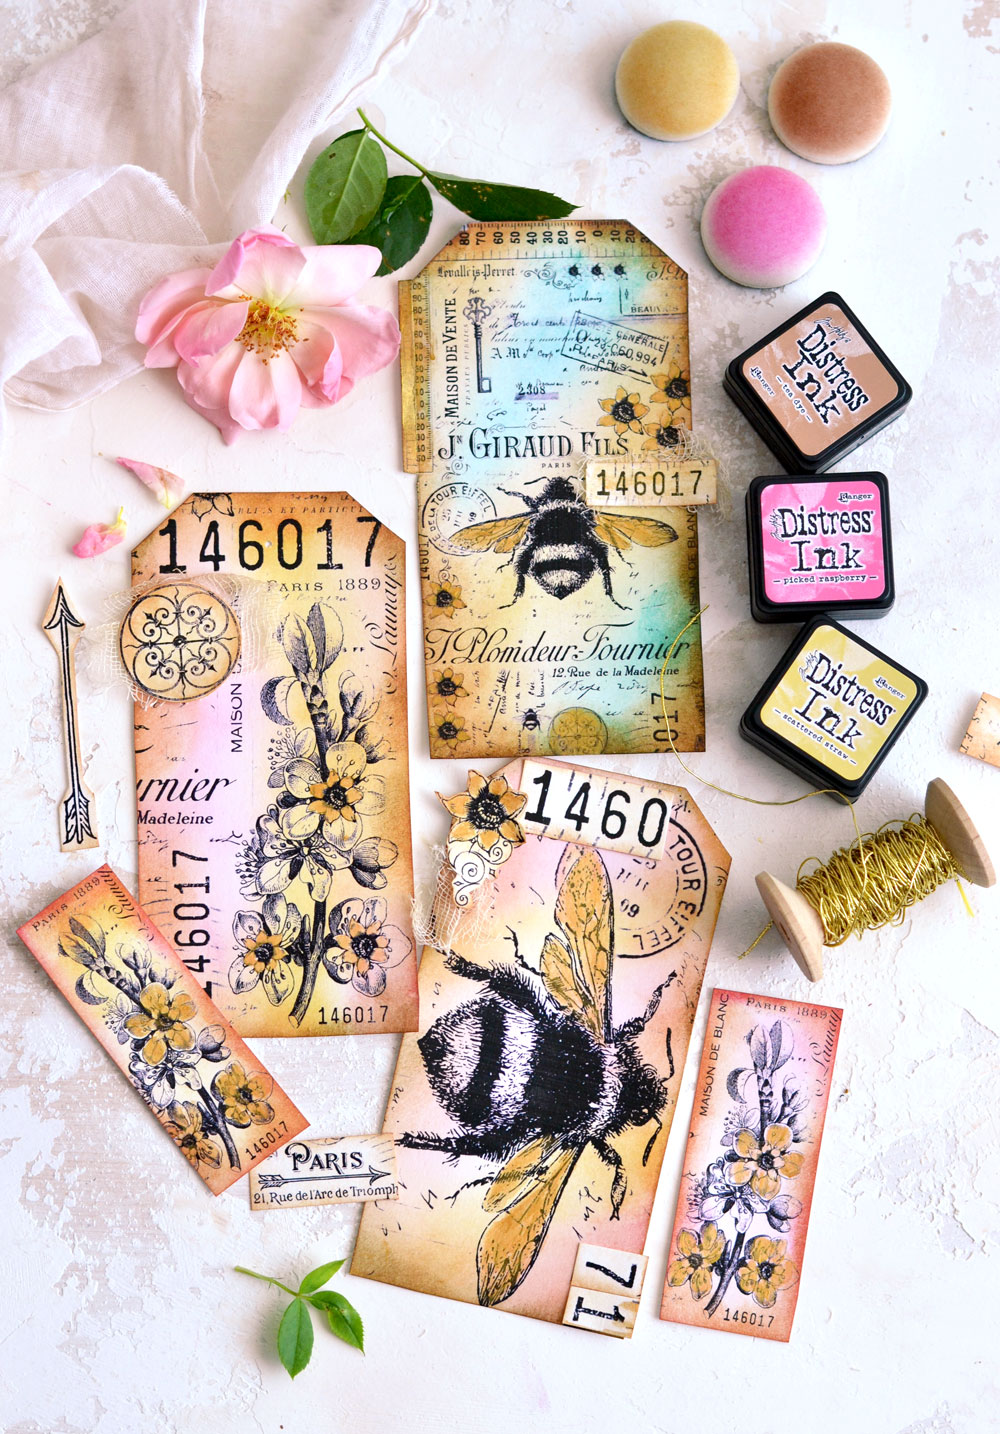
My Vintage French Collage Paper Tags turned out simply amazing, I’m sure yours will turn gorgeous too!
You can’t really go wrong with these, all the small details are making a big statement here! I knew this rectangular tag would make an awesome bookmark, what a cool and unique handmade gift to give to a friend!
I’m already imagining millions of ideas on how to use these Vintage French Collage Paper Tags!
The quirky rulers on the top and on the sides are actually a creation of mine. They are a mix of two separate images from The Graphics Fairy – a ruler and a thermometer. A thermoruler, if you wish! 🙂
I simply love how the distressed ink colors look on the final pieces and I know you won’t have a hard time finding the perfect use for these chic Vintage French Collage Paper Tags! You could display them in your home as unique decorative pieces, include them in your art or junk journals or use them to give presents that special handmade feel. Just have fun while creating the tags and discover many other unique ways of using the chic French collage paper!
Happy crafting,
Diana / Dreams Factory



Lynne says
I’m finally catching up on all the great projects here and this one is fabulous!
French collage and bees – 2 of my favorite things!
I have so many ideas for that collage paper. Thank you so much!
graphicsfairy says
That is wonderful Lynne! So glad you like it, have fun!!
Betty Butler says
Gorgeous
graphicsfairy says
Thanks so much Betty 🙂
Alice says
These are beautiful and so is the collage paper! Thank you for your generosity. Could you please tell us what mixed media cardstock you use? If I’m understanding the tutorial correctly you use that to print the collage and the plain to print the tag pattern. The link only shows the plain cardstock, and I would love to find one that prints well.
graphicsfairy says
We are so glad you liked them Alice, this what what Dianna said in her post as this is her project, ” When it comes to choosing the right paper for printing the collages, there isn’t a one-good-for-all choice, because it really depends on your needs … and what you have around. The most obvious choices would be regular paper for a more overall usage and cardstock for tags, cards or die cuts. If you want to create collages with a more sheer background you can choose to print on rice paper, table paper napkins or tissue paper. This part can be a little tricky and it really depends on your printer’s mood! 🙂 ” I hope that helps 🙂
Maureen says
Thank you so much for the beautiful printable. I can’t wait to play with color combinations and embelishments.
graphicsfairy says
Oh have fun Maureen!
Terri says
I love these paper tags! Beautiful!! Thank you so much. Terri x
graphicsfairy says
Thanks so much Terri, so glad you enjoyed them!
auntie em says
So many pretty ideas for using the lovely papers.
Thank you! 🙂
graphicsfairy says
Oh yea! So glad you will find fun ways to use them!
Cindy says
I just printed the images and I am ready to play! Thanks.
Karen Watson says
Yay! Happy crafting day Cindy! 🐝
Theresa Forge says
they are just beautiful! thanks for sharing. Love the collage sheets. now to find someone who can laser print for me.
Karen Watson says
Have fun making these Theresa! 🐝
Linda Dow says
I absolutely love bees, and these are just gorgeous. Thank you for sharing. xxx
Karen Watson says
Bees are the best Linda! 🐝
Anne Dwyer says
This is truly gorgeous, is there a tutorial on how to make the collage paper? Thank you
Karen Watson says
Hi Anne, no tutorial for that sorry. But you can grab the ready made printable! 🐝
Donna says
Thank you so much for the detailed instructions and for the templates! Great tutorial.
Karen Watson says
Have fun making these Donna! 🐝
Roseanne says
These are some of the most beautiful collages and projects. Thanks so much for sharing them with us.
Karen Watson says
We’re so glad you enjoyed them Roseanne! 🐝
Kimberly S says
I love this! Honeybees are one of my favorites. Thanks for sharing this awesome tutorial and the printable.
Karen Watson says
Honeybees are the best! Have fun making these Kimberly! 🐝
Terri Swift says
Very nice! Thank you!
Karen Watson says
We’re glad you liked this one Terri! 🐝
MarieS. says
These are gorgeous. Thanks for sharing, Diana.
Karen Watson says
We’re so glad you enjoyed Diana’s charming tutorial Marie! 🐝