DIY Large Wall Clock
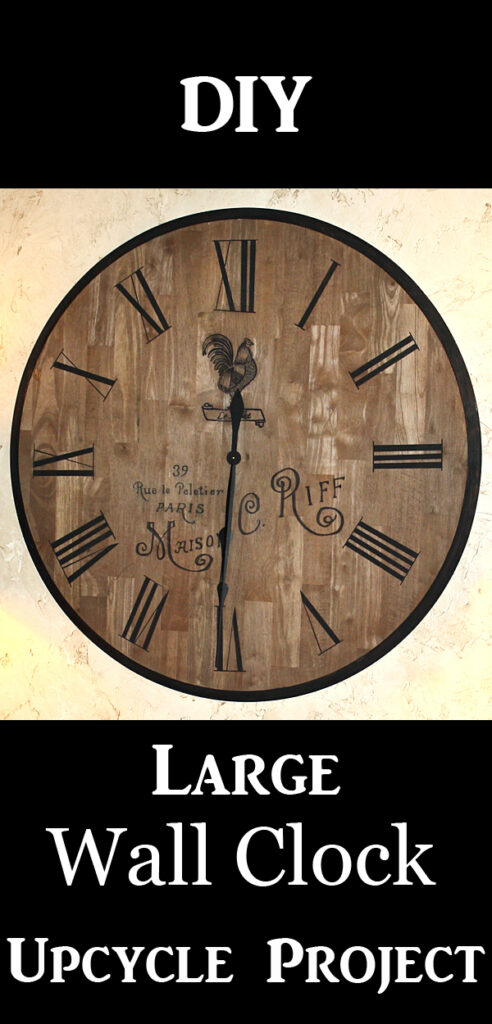
Today I’m sharing another fabulous reader feature Tutorial! This one was submitted by reader Susan Gizinski. Susan created this gorgeous DIY Large Wall Clock that she made from a wood table top! How clever!! I’m sure you’ve seen these fabulous oversized French Country Clocks in stores or catalogs. How fun would it be to customize your own to fit your personal decor style? And maybe you have an old round table that you can’t use anymore? Well, than this is the perfect upcycle project for you! But if you don’t have a round table, you can always check at Yard Sales, Thrift Shops, Auctions, or check on Craig’s list like Susan did. Used ones are pretty common and not too hard to find at a pretty reasonable price. Susan got a great deal on her table at just $20! In fact she was able to make this entire project for well under $50. Woohoo!
Here is what Susan had to say about this project “This is a 48 inch wall clock made from a wood table top purchased on Craigslist. The table cost $20.00. I used 3 different graphics on this project. The hardest part of the project to me was making sure I had the numbers lined up correctly and the hands centered in the clock. The clock parts cost about $20.00 so the total cost was approximately $40.00. This was a fun project and the clock is a real statement piece in my living room.”
DIY Large Wall Clock Supplies:
1)Wood Table Top
2) Sander and sand paper
3) Black Paint
4) Vinegar and steel wool
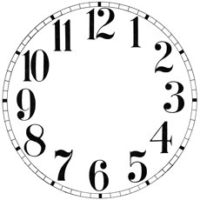
5) Clock Face with Roman Numerals
6)Clock Parts (I purchased mine online from Coastal Tide Clocks and Clock Parts.)
8) Paris Maison Typography Printable
Steps to Make the Oversized Clock:
Step 1)
I did not plan on posting directions for this project so unfortunately, I don’t have step by step pictures. But you should be able to follow along with the instructions pretty easily. The first step was to remove the legs from the table and then sand the finish on the table top. I didn’t completely remove the finish from the sides because I planned to paint that part black. I did sand the sides enough to scuff up the surface.
Step 2)
Since I have an overhead projector, I printed the three graphics on transparency film. The image was projected onto the clock face and I traced it with a pencil. I repeated this process with the chicken and the French Maison graphic. Alternative Tip: You could also enlarge the Roman Numerals on a printer and transfer them with carbon paper. I then used black paint and went over the pencil lines. I tried using a marker on parts but that ended up being a mistake. The marker bled some when I did the final step so I would recommend sticking with paint.
Step 3)
I drilled a hole in to the center of the clock face. There are directions on line for finding the center of a circle. I had to route out a square in the back of the clock to hold the movement box. The shaft that the hands are attached to is not long enough to go through the thickness of the table top without routing the back. The clock parts come with instructions on how to install the parts.
Step 4)
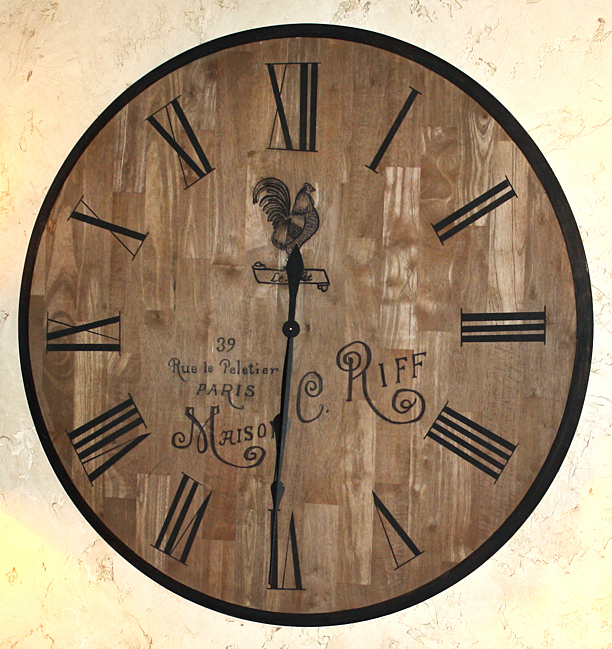
Almost finished. The clock looked clean and new and I wanted a more aged type look. I mixed vinegar and steel wool in a jar and let it soak for 24 hours. Then I painted this solution on the clock face. It instantly gave the wood an aged appearance. Now the last step was to hang it on my wall and enjoy it. This is a closer picture of the clock face.
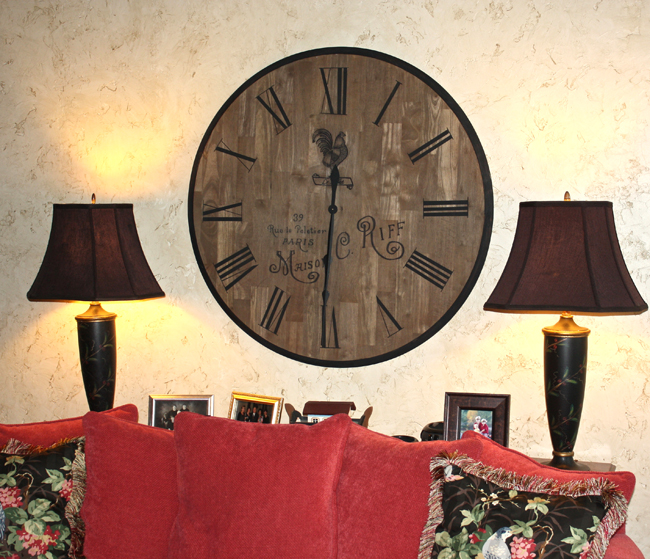
Here a photo of how it looks in Susan’s living room. Isn’t it stunning?! It really makes a statement and I think it looks perfect with her decor! You could even create a larger clock if you have a larger tabletop (And of course if you have enough Wall space to hang it on) or a smaller version using the top from a small round side or occasion table. And you can customize the center motif with whatever type of images that you like. I could see using a French Bee, maybe a lovely Bird Silhouette, or even some monogramed initials in that center portion of the clock to make it your own. Thanks so much for sharing this wonderful Tutorial for your DIY Large Wall Clock with all of us Susan! I hope that you guys enjoyed this one as much as I did.
You might also like these Step by Step instructions for painting a Clock Face found HERE.
*************************************************************************************************************************



Anne says
Gorgeous! Thank you so much for the tutorial!!!