Gold Foil Postcards
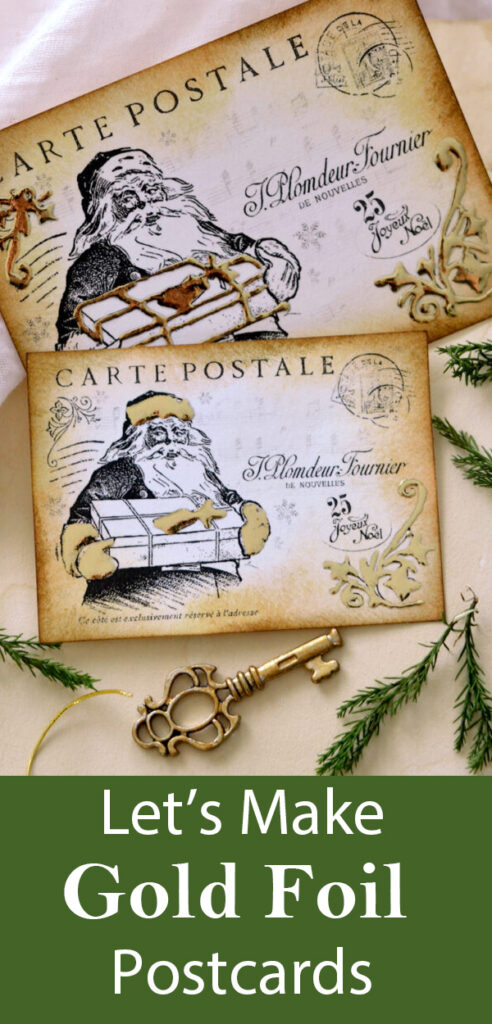
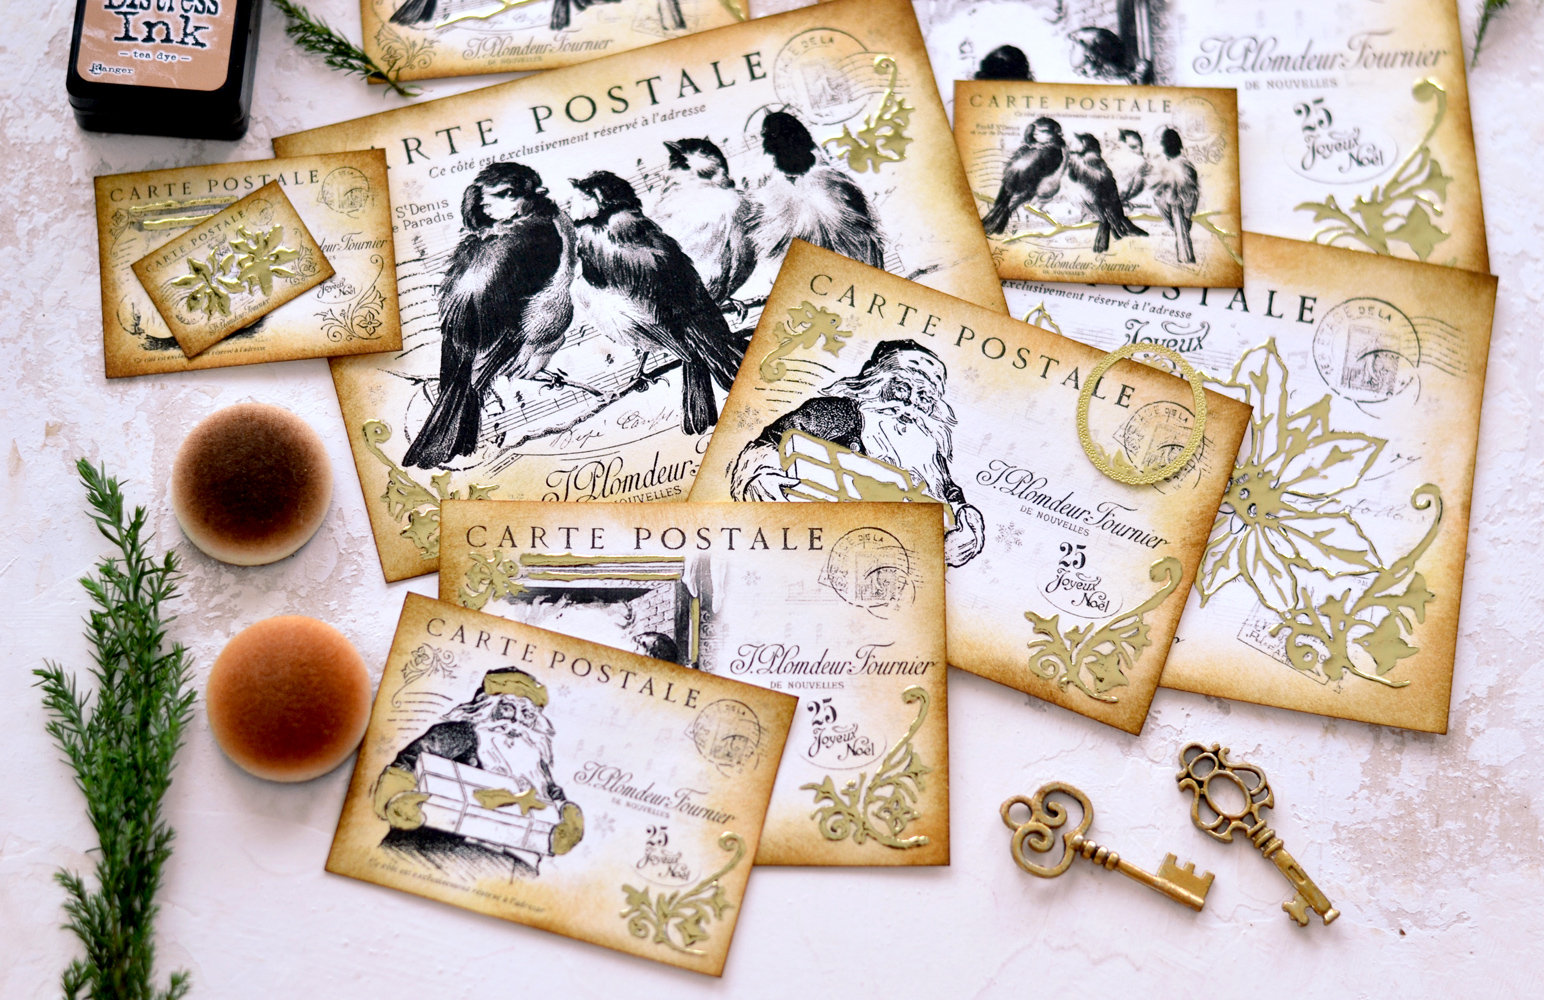
Hello, Graphics Fairy friends! I’m Diana from Dreams Factory and I’m happy to be here again to share another DIY project with you! We are kicking off Christmas decorating earlier this year with these gorgeous Gold Foil Postcards. This way, you’ll have plenty of time to prep for the upcoming holidays and have these postcards ready to include in your projects. Or just turn them into tags or cards for Christmas gifts! We will be using distress inks to give the paper a classical, vintage vibe and we will be adding some gold foil that will turn these into unique beauties!
If you are familiar with gold foil, feel free to jump ahead to the project itself. If not, I would suggest checking these posts first -> DIY Gold French Rose Tags and ->Easy Gold Foil Decor where I mentioned all the differences between gold foil (the one we will be using today) and gold leaf, what type of adhesive to use and how I love to apply it.
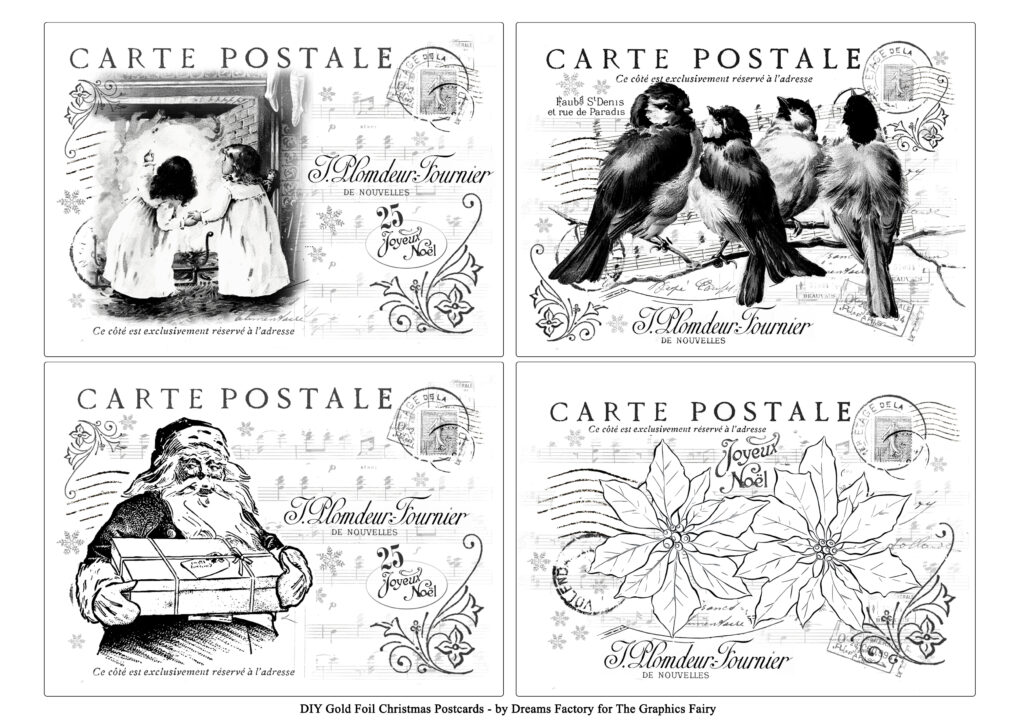
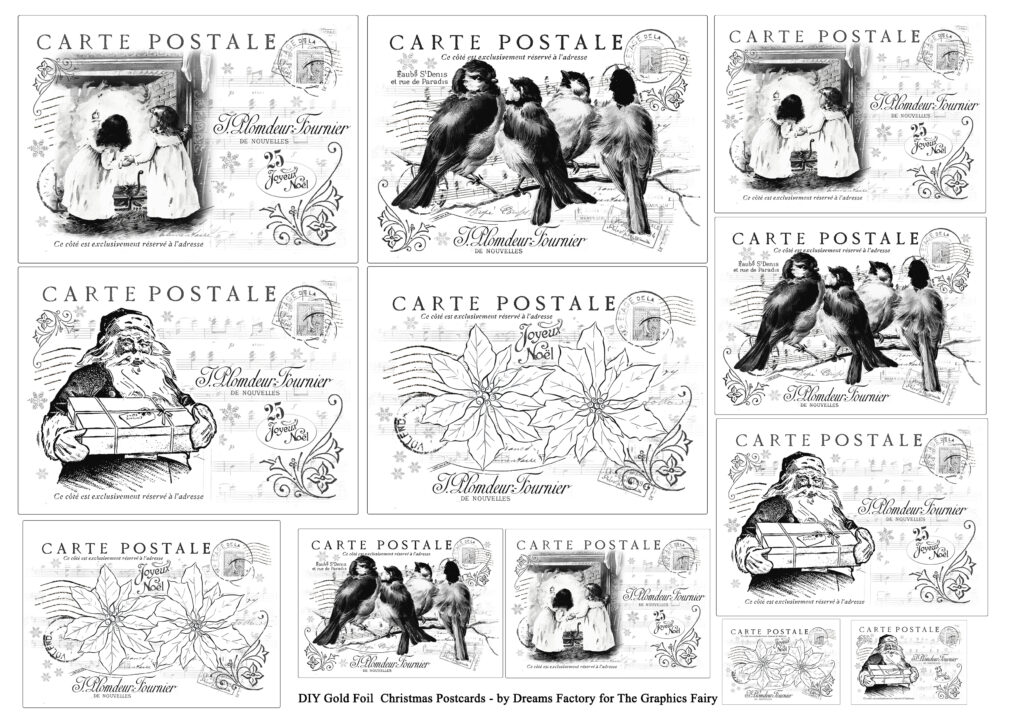
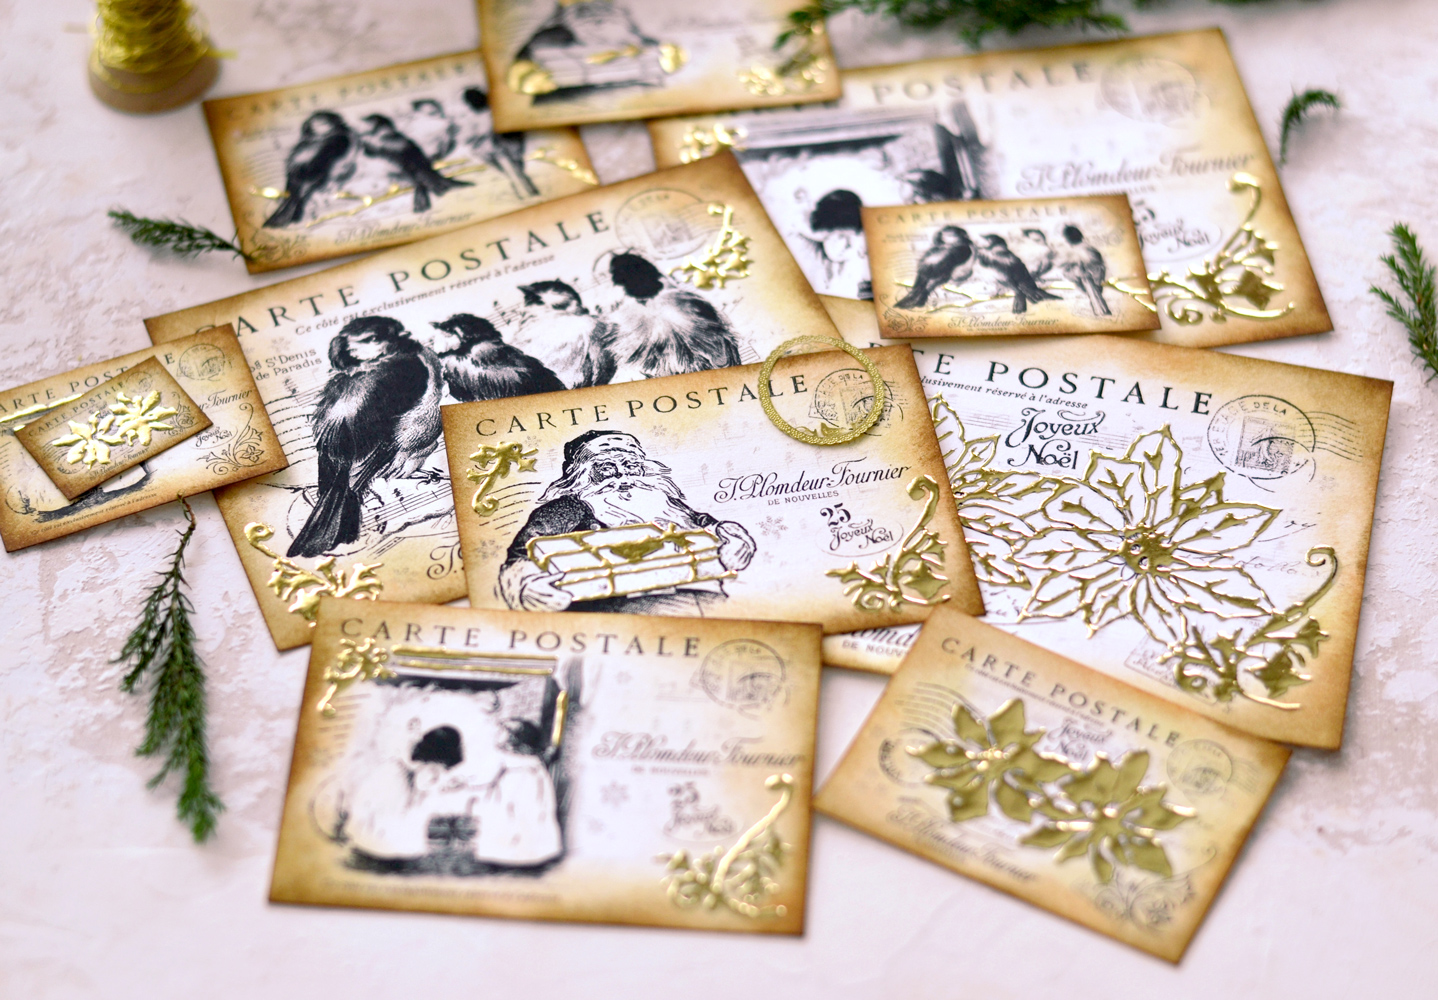
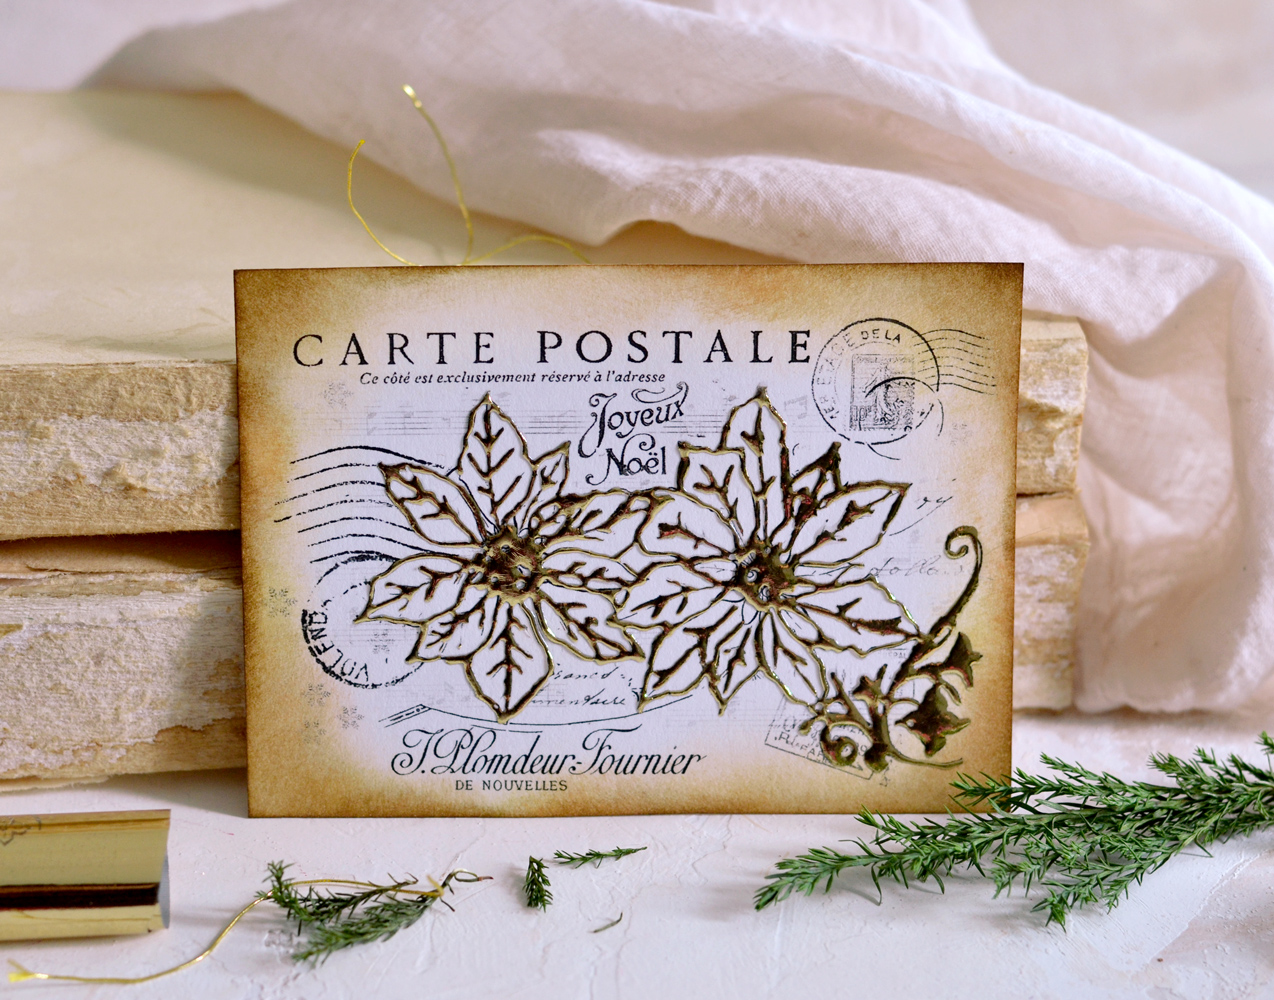
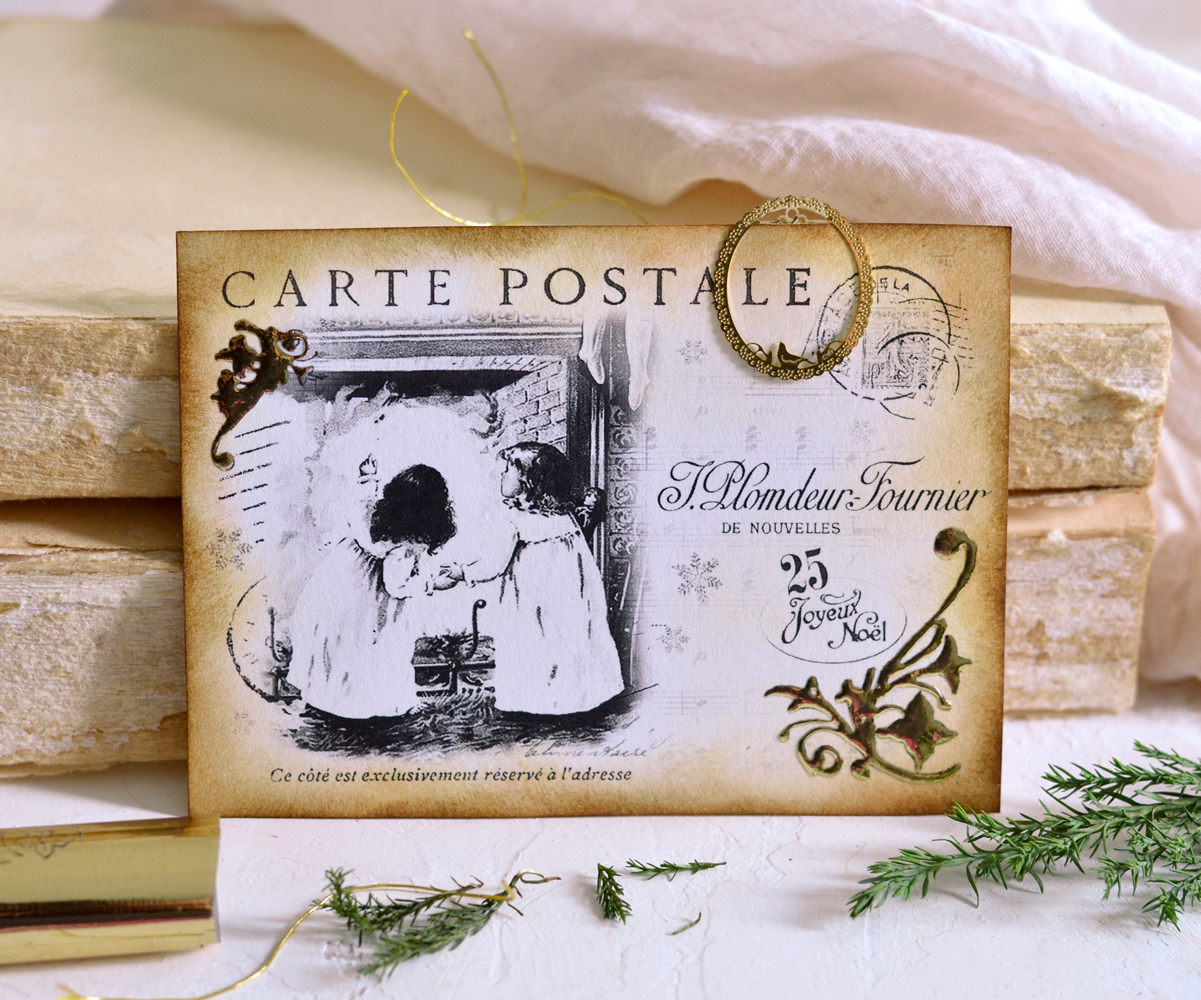
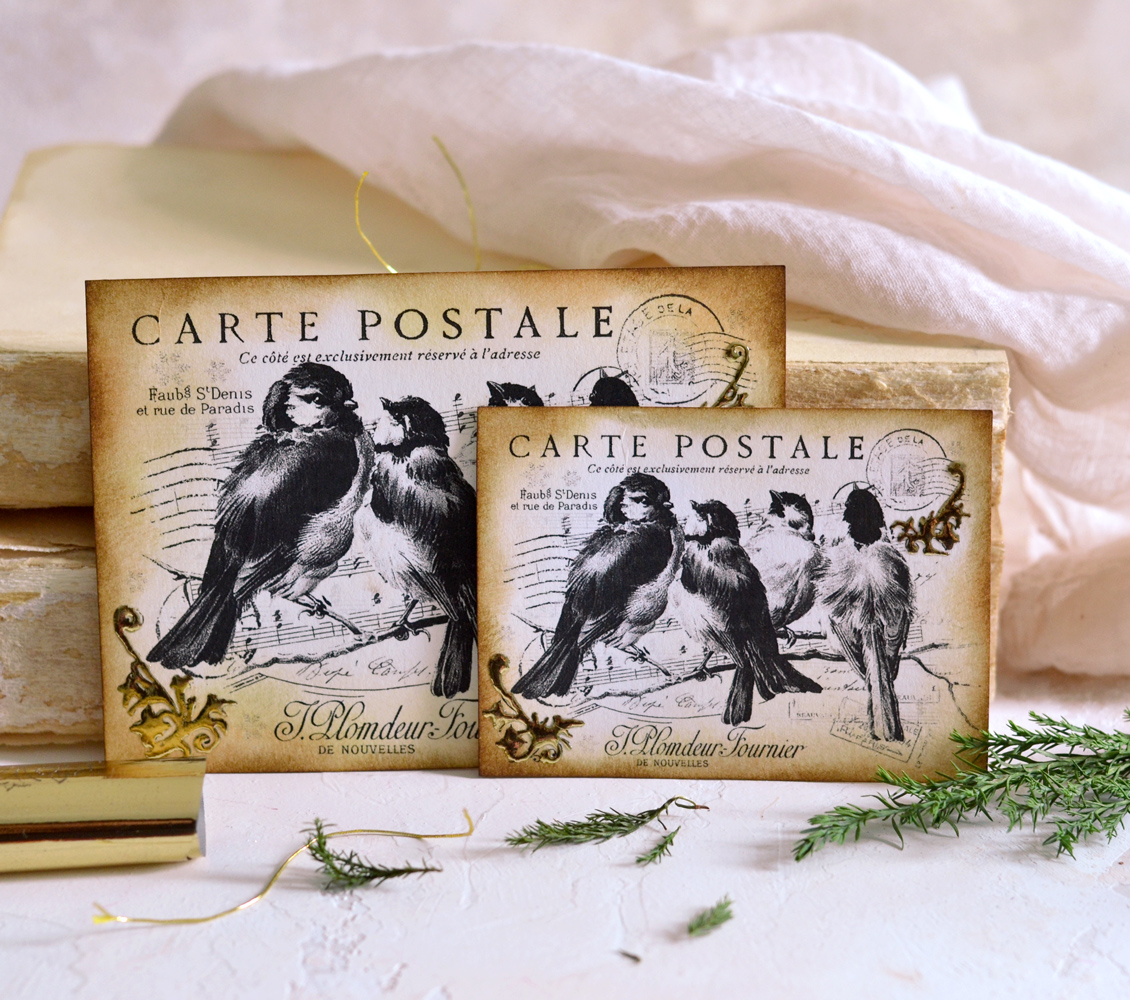
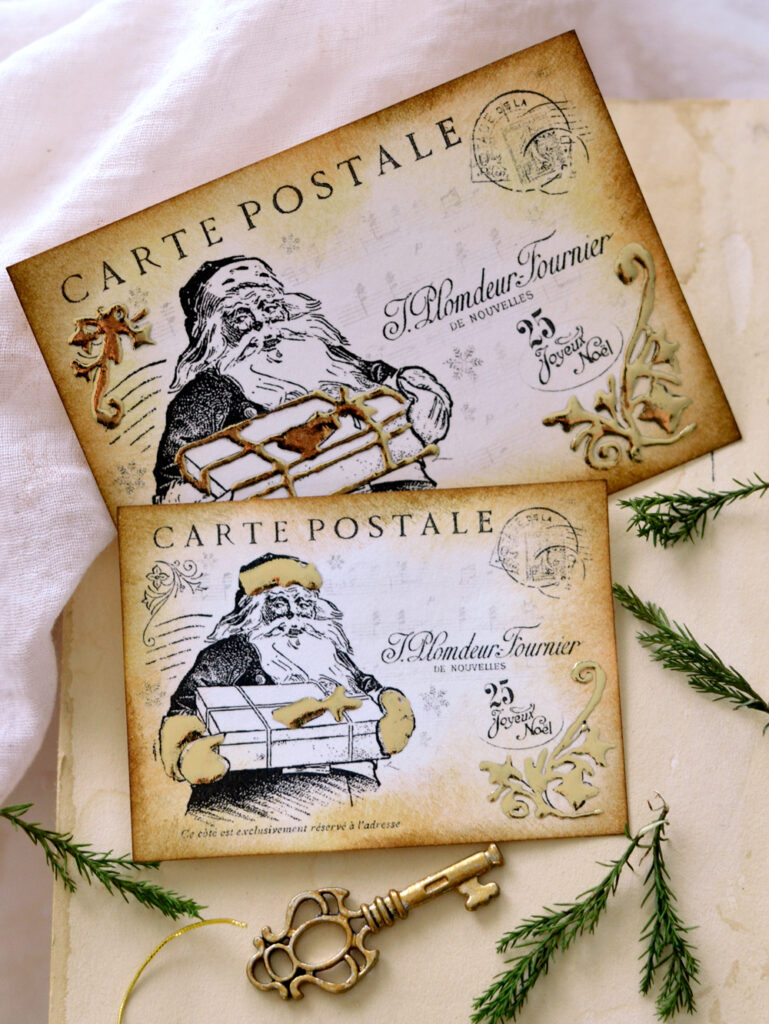
The two printables that I created for you are simple, but absolutely beautiful on their own and are highly adaptable to one’s needs! To your needs! You will have 4 stunning postcards that come in different sizes, just save them on your computer and print them in as many copies as you want, the more the better. I included a few of my favorite French elements along with small Christmas-y details (like 25, Joyeux Noel and snowflakes ). The highlights are a few focal point images that will instantly help us get into the holiday spirit! The main stars of these postcards are a vintage Santa with a gift, two lovely Poinsettia flowers, two cute sisters waiting for Santa by the chimney and these absolutely amazing birds on a branch. I actually left out the Christmas-y elements from the bird postcards, and only added a few snowflakes, to make it more universal – just in case you want to use it on more winter-y rather than Christmas-y projects!
The postcards can be used as they are or can be personalized according to your own preferences. Use distress inks (like I did), oxides, watercolors, highly diluted acrylic paint, coffee or tea, avocado dye, the sky is the limit.
Free Printable Gold Foil Postcards
—-> Click HERE to Download the Full Size Printable PDF <—-
—-> Click HERE to Download the Full Size Printable PDF <—-
NOTE:
If you are not familiar with gold foil (which is different than gold leaf), don’t forget to check these projects first:
DIY Gold French Rose Tags and
Easy Gold Foil Decor
You will find more valuable information about what to take into consideration while working with this type of foil.
Gold Foil Postcards Supplies:
- the lovely Christmas postcards printables
- cardstock paper
- Printer
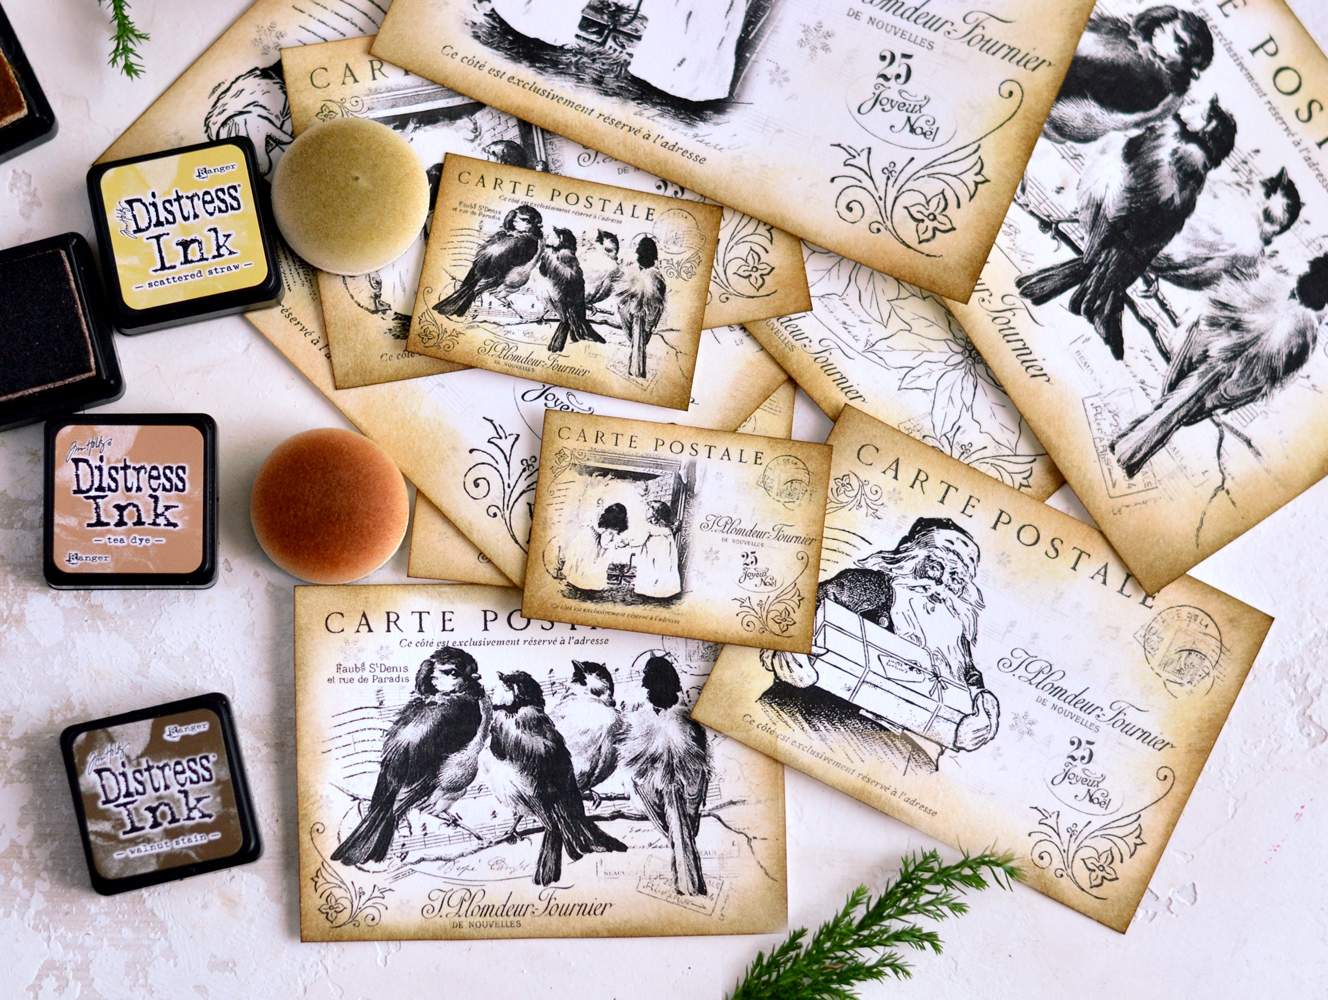
- mini distress inks – I used Scattered Straw, Tea Dye and Walnut Stain
- blending tool with foams (I prefer the domed ones)
- gold foil
- scissors
- gold foil glue
- fineline glue applicator
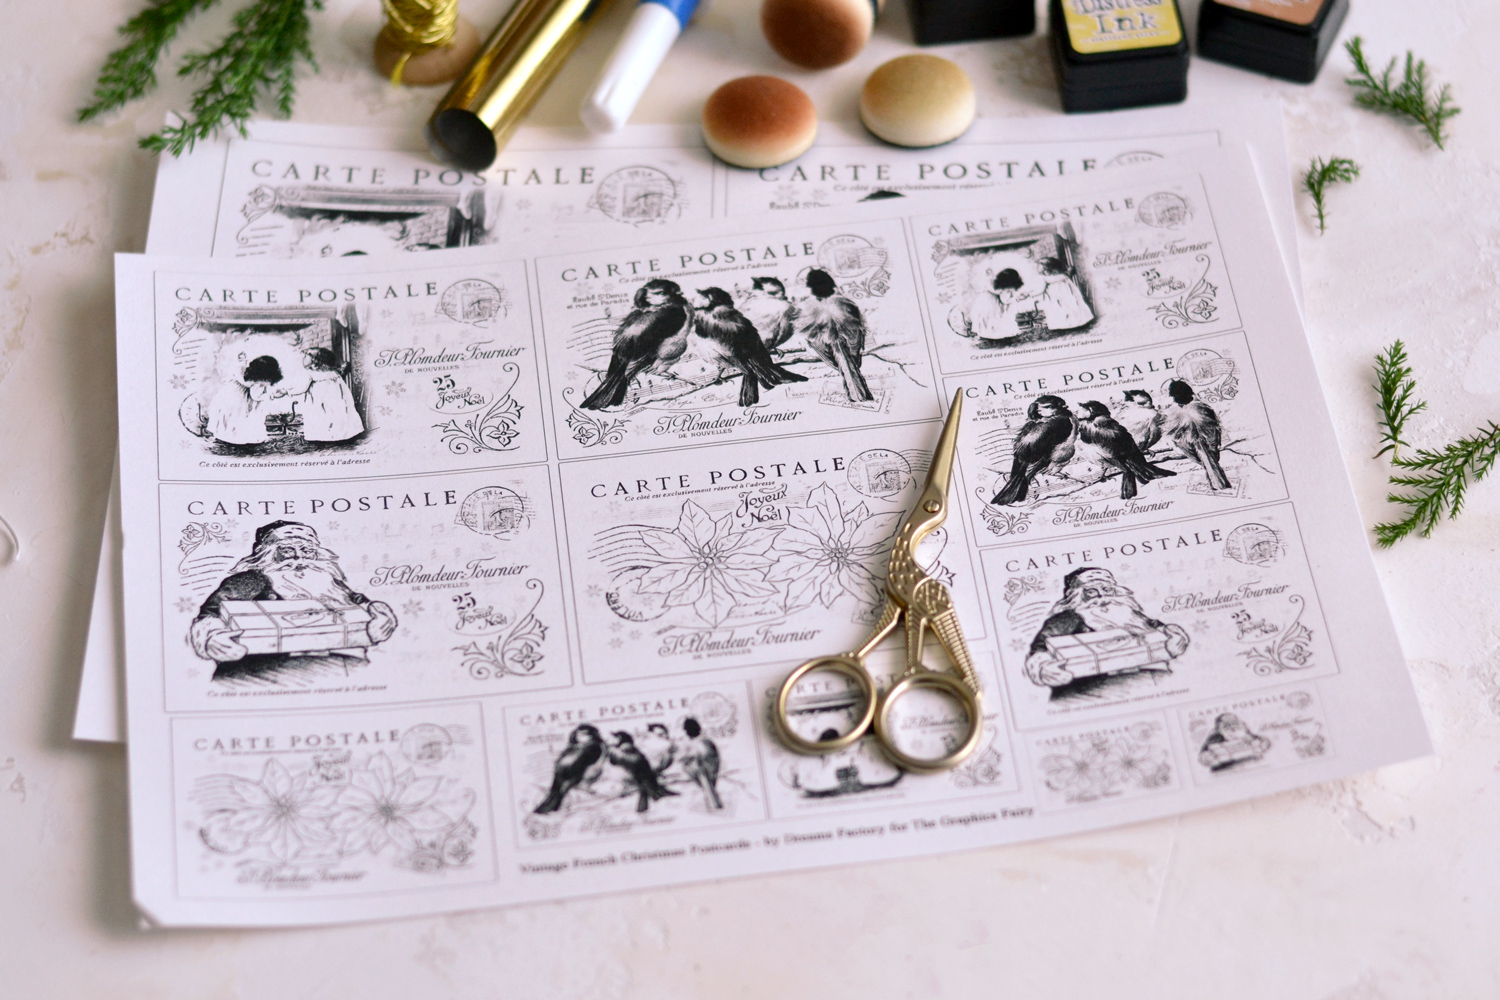
1. Start by printing the two printables and gather all the other supplies.
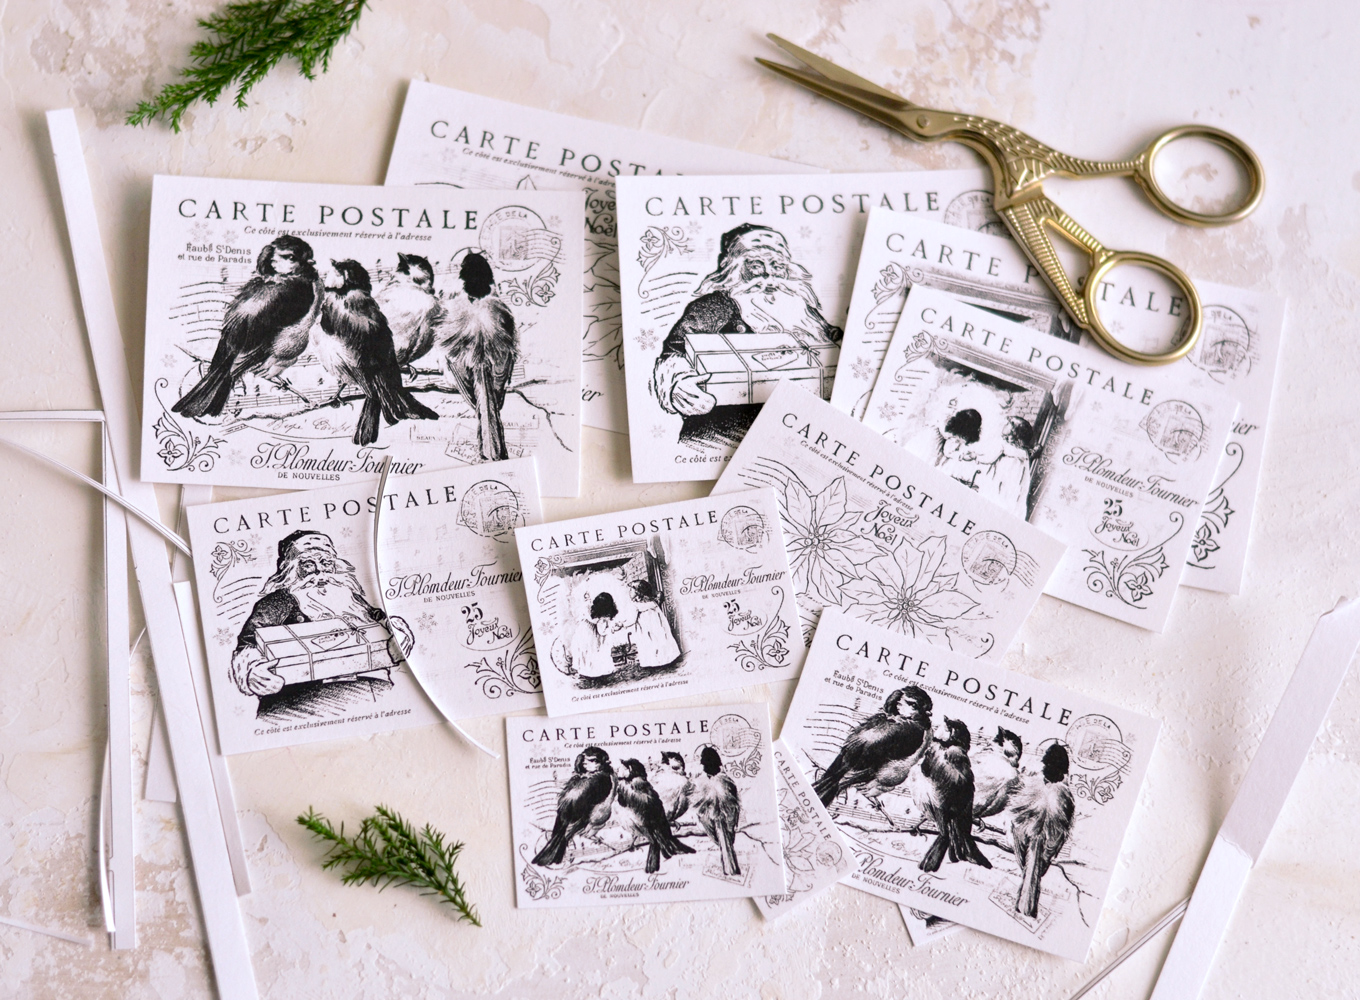
2. Use your scissors to cut each postcard, making sure you completely remove the black border around them. The black border is only for guidance, it should not be left in.
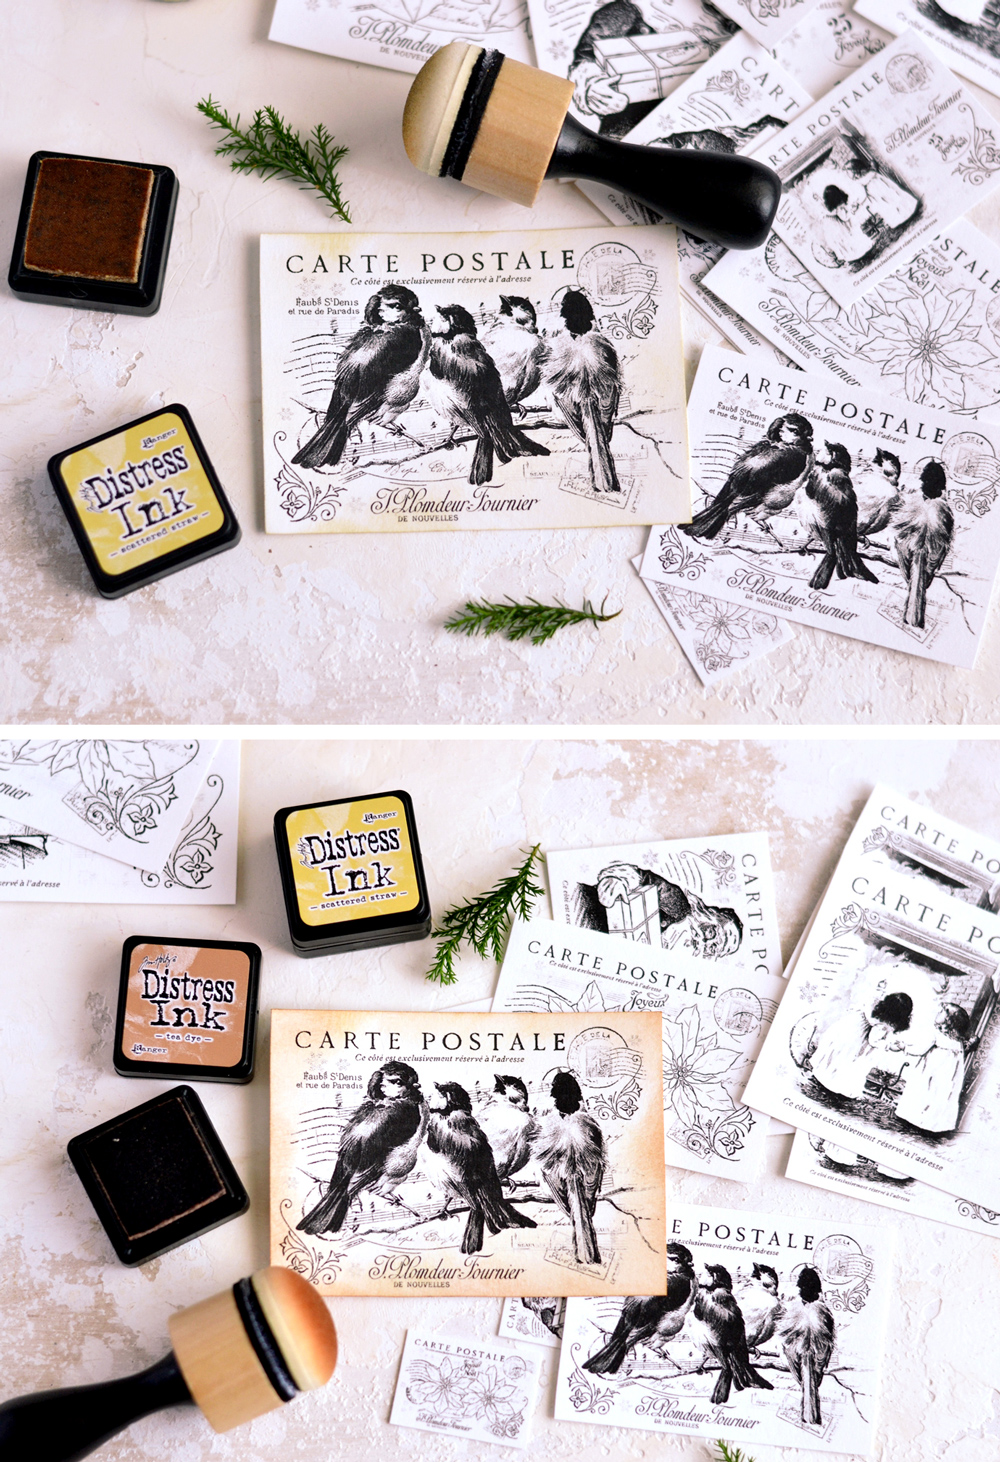
3. Start distressing with your lighter color – I used Scattered Straw distress ink first and went all around the edges, then gradually moved towards the middle. I love using this color mostly to lightly cover the paper and remove its whiteness. You can leave a little bit of negative space (white space) in the middle if you want – this will create a beautiful vignette effect after applying the other colors too.
4. Move on to the other color and follow the same steps – start from the edges and lightly go towards the middle – but this time only go halfway through when applying this distress ink. You can stop now if you want a more light distressed effect or you can move to the next step and apply a third, even darker color.
5. To give the paper a really beautiful vintage look, I used Walnut Stain distress ink, but this time I only lightly brushed it on the edges and on the corners. I was really happy with their beautiful distressed vibe, I wanted something visible, but not too overwhelming. You can stop when you are completely happy with the results!
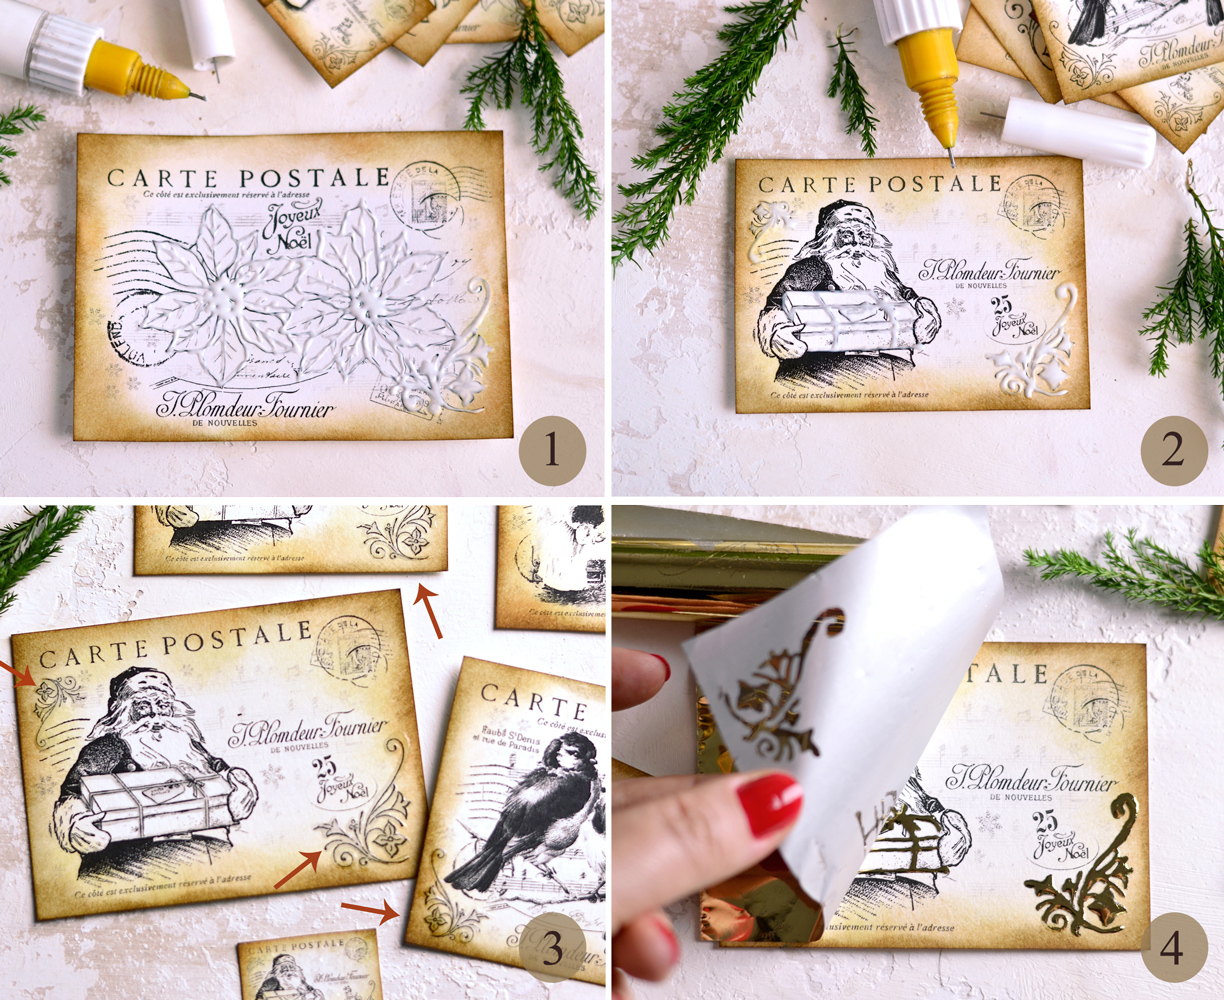
6. Use your fine tip glue applicator (filled with gold foil glue – this won’t work with regular craft glues) to draw some of the details on your postcards. It would be best to use a really small glue applicator to be able to perfectly sketch the details that you want, especially on the smaller postcards. You can choose the details that you want but I have to confess I actually included the lovely flourishes on the postcards having this gold foil step in mind! You can choose to sketch the contour of the flowers (1) or completely fill the flowers with glue. I mostly painted with glue over the flourishes on the corners (2), as I mentioned before, but on the smaller postcards, I chose other details – like the branches under the birds. You don’t have to ‘paint’ with glue too many details, you will be amazed to see how just a touch of gold will completely transform the overall look of the postcards.
Let the gold foil glue dry completely – it will turn from white to transparent (3) and will remain tacky even after drying (the main attribute of this special glue).
Apply the gold foil, press it over your glue design with your fingers (until the raised effect of the glue makes an impression on the foil), then lift it.
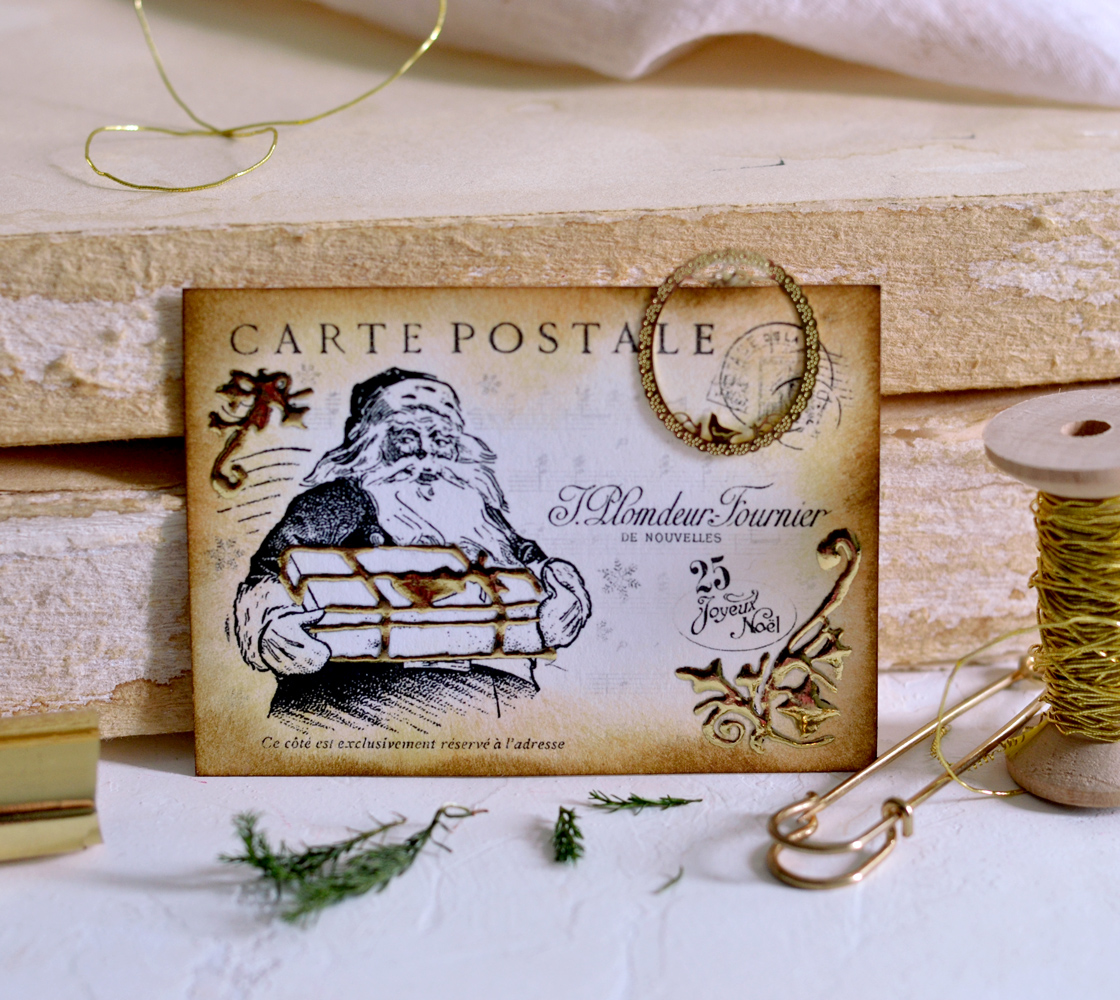
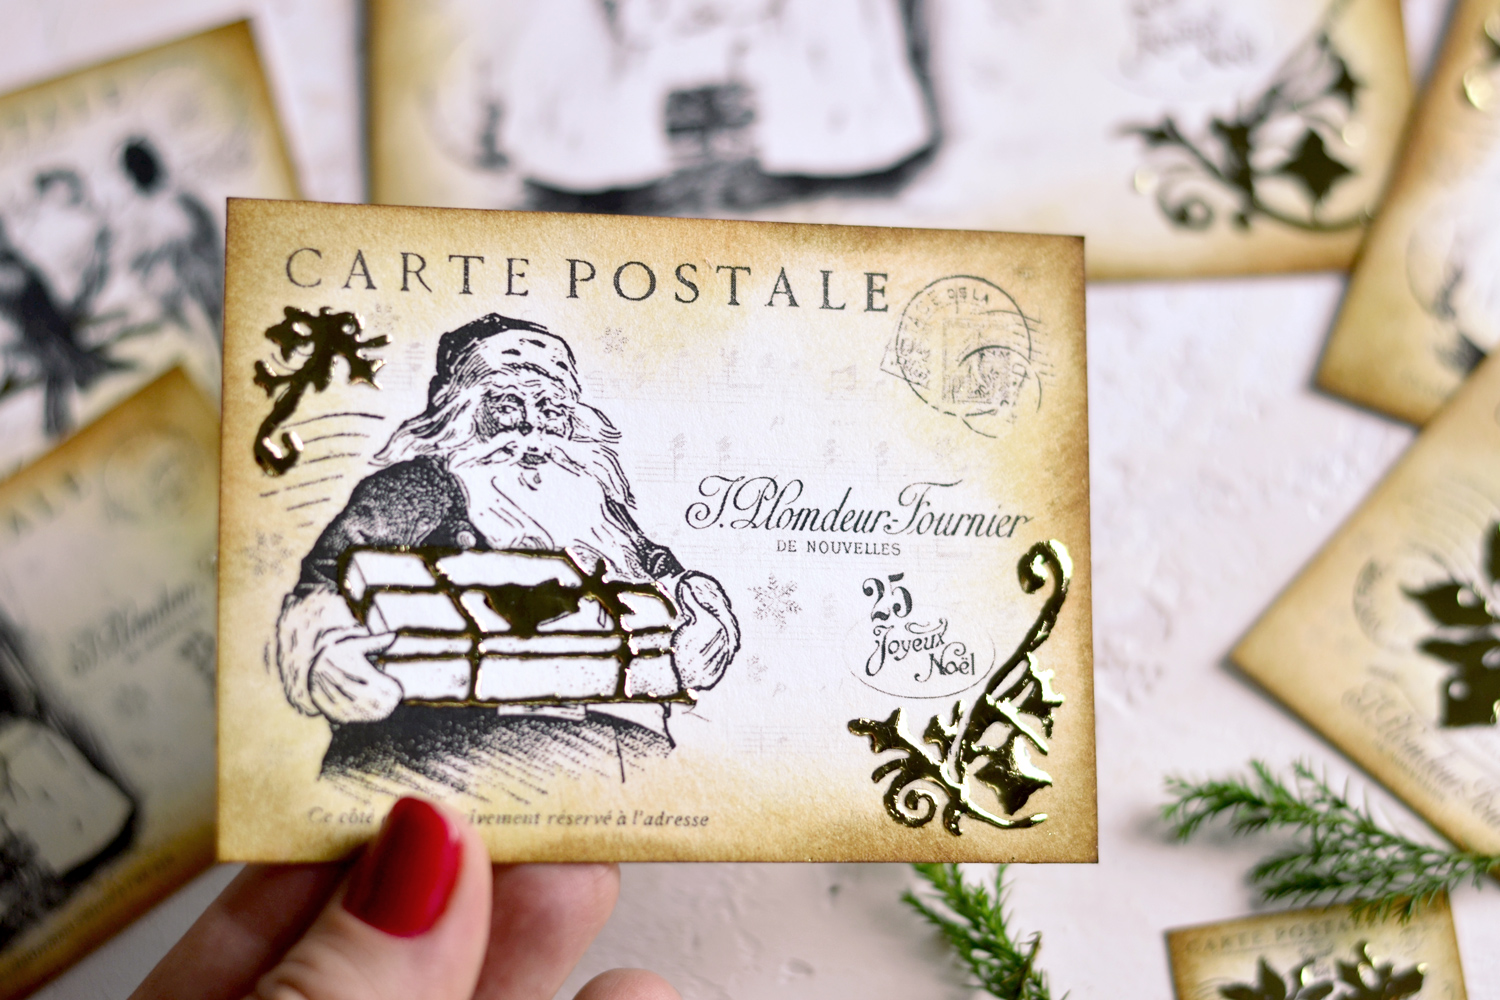
Now you can finally admire your beautiful golden touches!
Don’t worry if the gold foil design is not perfect, small imperfections are OK here and there. The overall look of your gorgeous Gold Foil Postcards will surely mesmerize you!
I’m simply in love with this gold foil technique! I LOVE the final results but I also find the process itself quite fulfilling. There’s something about ‘painting’ all over the details, then applying the gold foil and then enthusiastically revealing the stunning golden effect. You should try it!
The satisfaction you get after completing an amazing project like this is priceless, the final postcards look like small vintage stories from our childhood! This postcard with these lovely sisters is my absolute favorite, it reminds me of my sister and me and all the pure happiness surrounding the holidays. My sister lives abroad now and we don’t get to spend too much time together, so you might understand my tendency of getting a little bit emotional on this one!
But these birds on the branch postcards come in really close, too! And how great it is that they can be used specifically for Christmas, but also for other winter-y projects?! It’s always great to have several options to choose from, right?
Include your gorgeous Gold Foil Postcards in your Christmas crafts this year, they would look amazing as cards (glued on a lightly distressed card base), you can make them in several sizes. Include them in your art or junk journals, turn them into bookmarks, add some metallic thread and hang them in your Christmas tree. I would say that the most beautiful way of using these postcards would be to slip them in your friends and family gifts, along with thoughtful messages coming from the heart. I will surely send one to my sister!
Happy crafting,
Diana | Dreams Factory


Sue Walsh says
Beautiful! Thanks for sharing your tutorial and beautiful graphics.
graphicsfairy says
Thank you Sue, it is always our pleasure 🙂
Kimberly S says
These post cards are beautiful! I love the gold accents. Thanks for sharing this technique and for sharing your lovely cards with us.
graphicsfairy says
Thanks so much Kimberly, so glad you liked them!
Cynthia Murphy says
Thank you Diana. I love all your projects!
graphicsfairy says
Thank you Cynthia!