DIY Sheet Music Christmas Ornaments
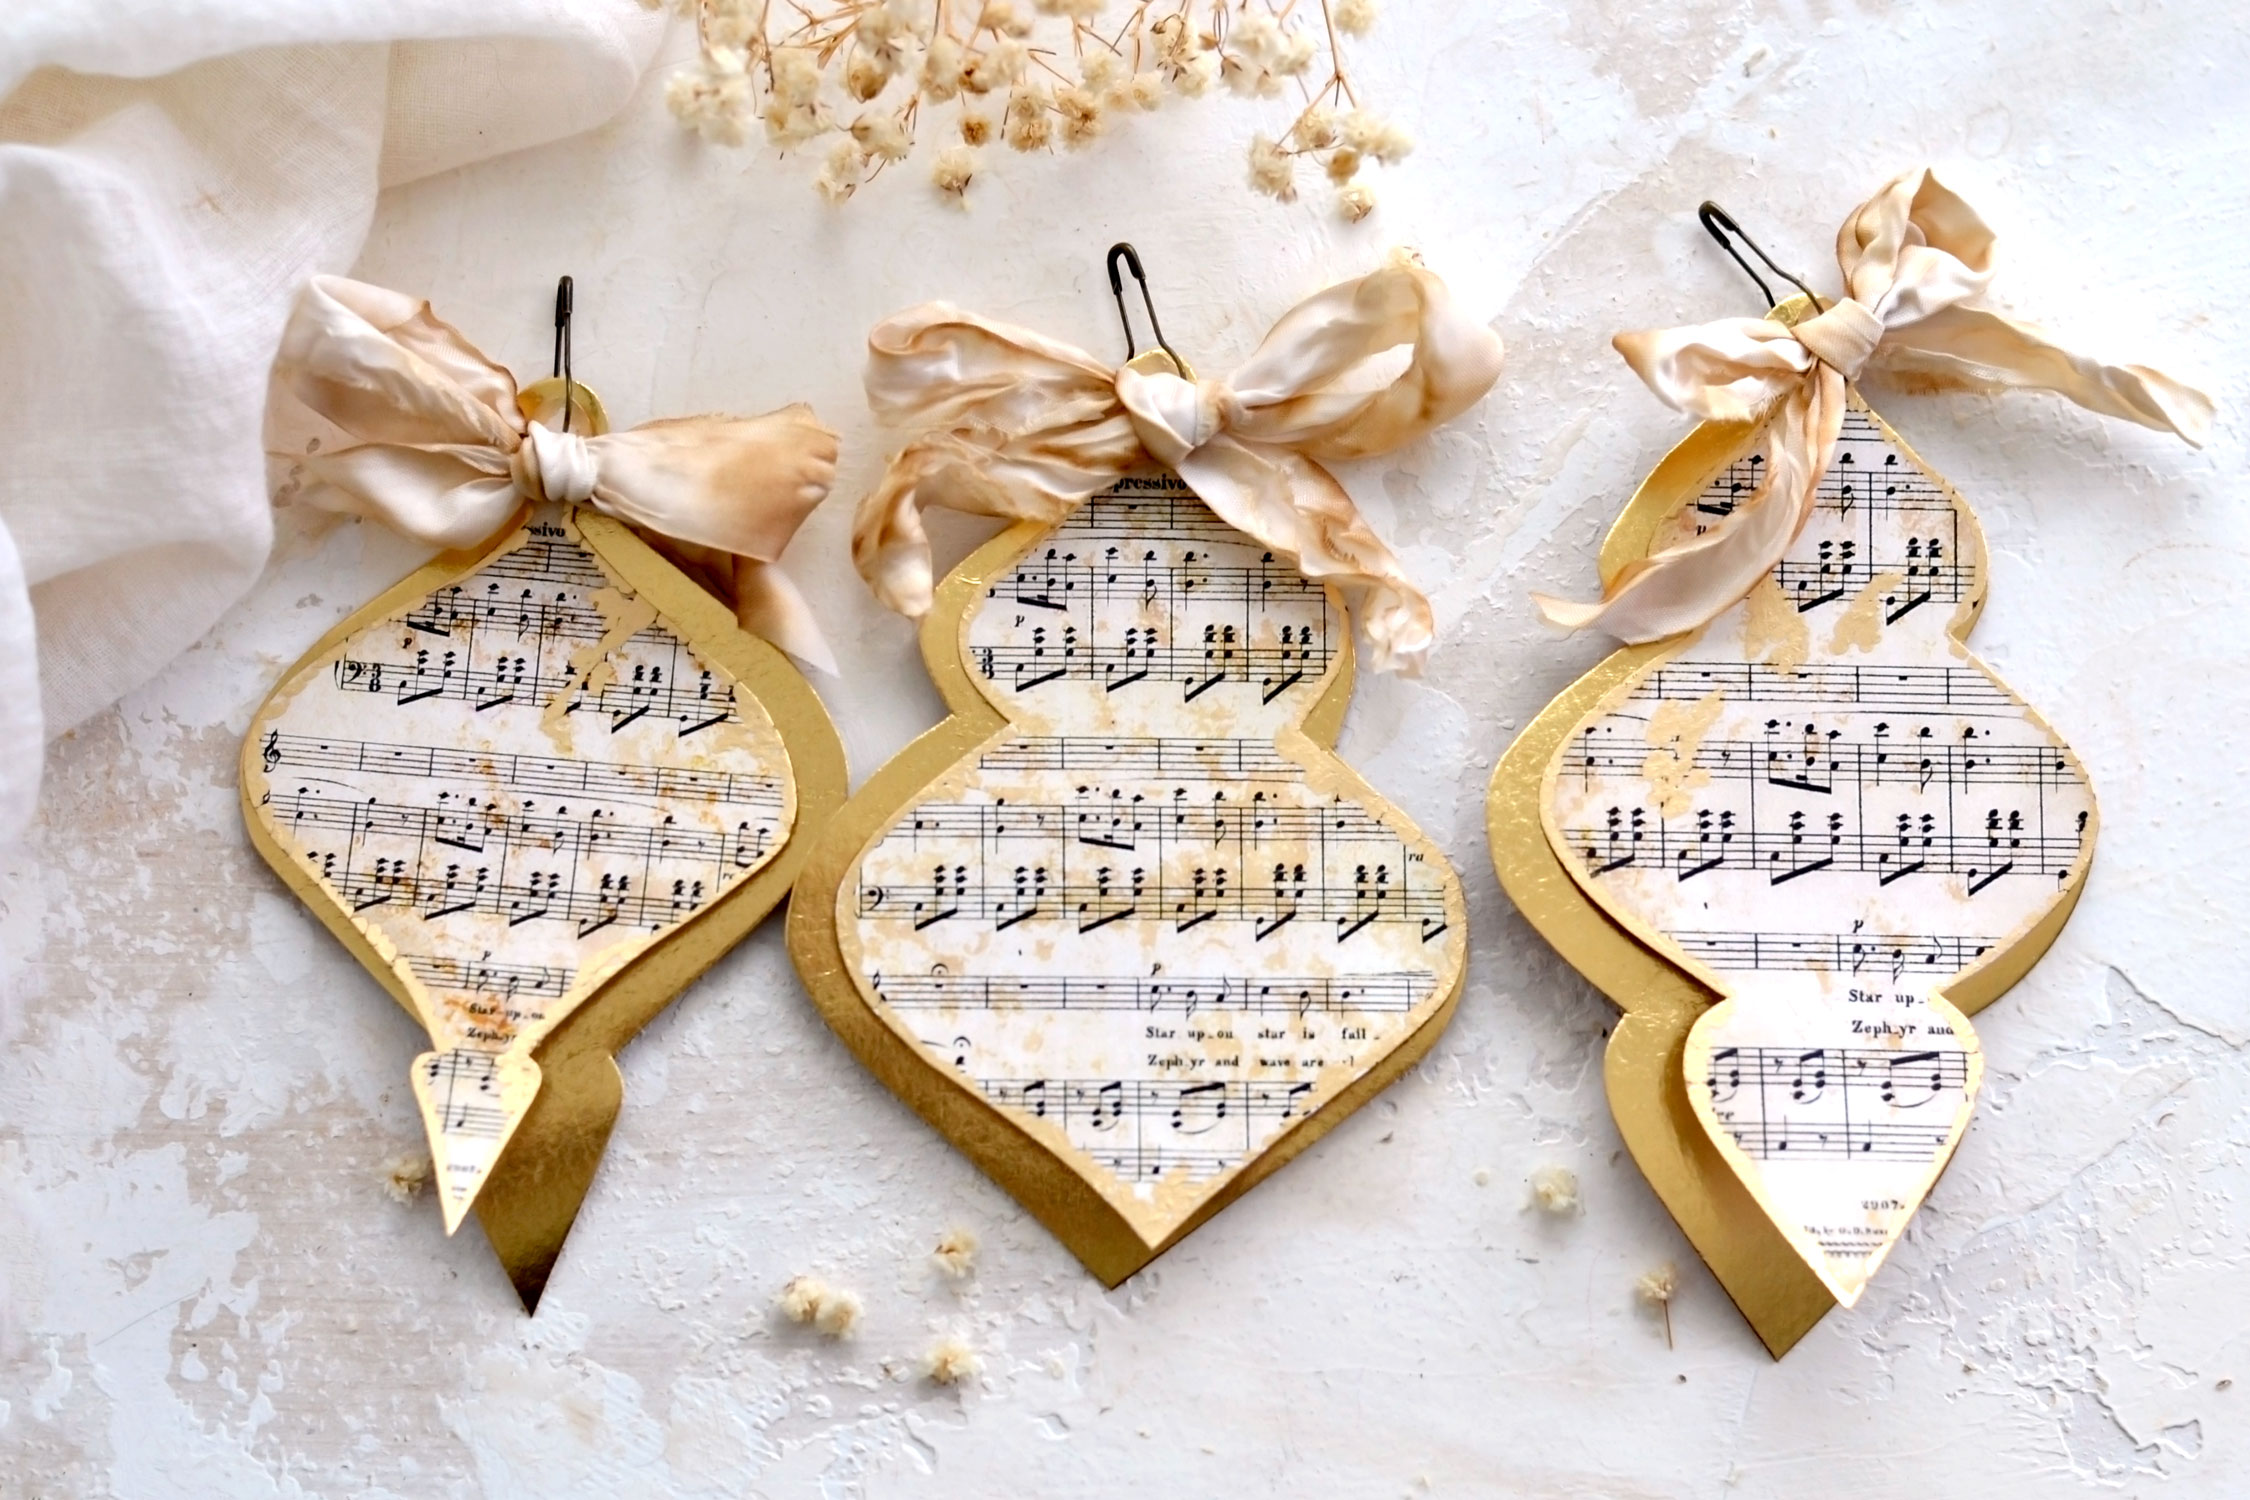
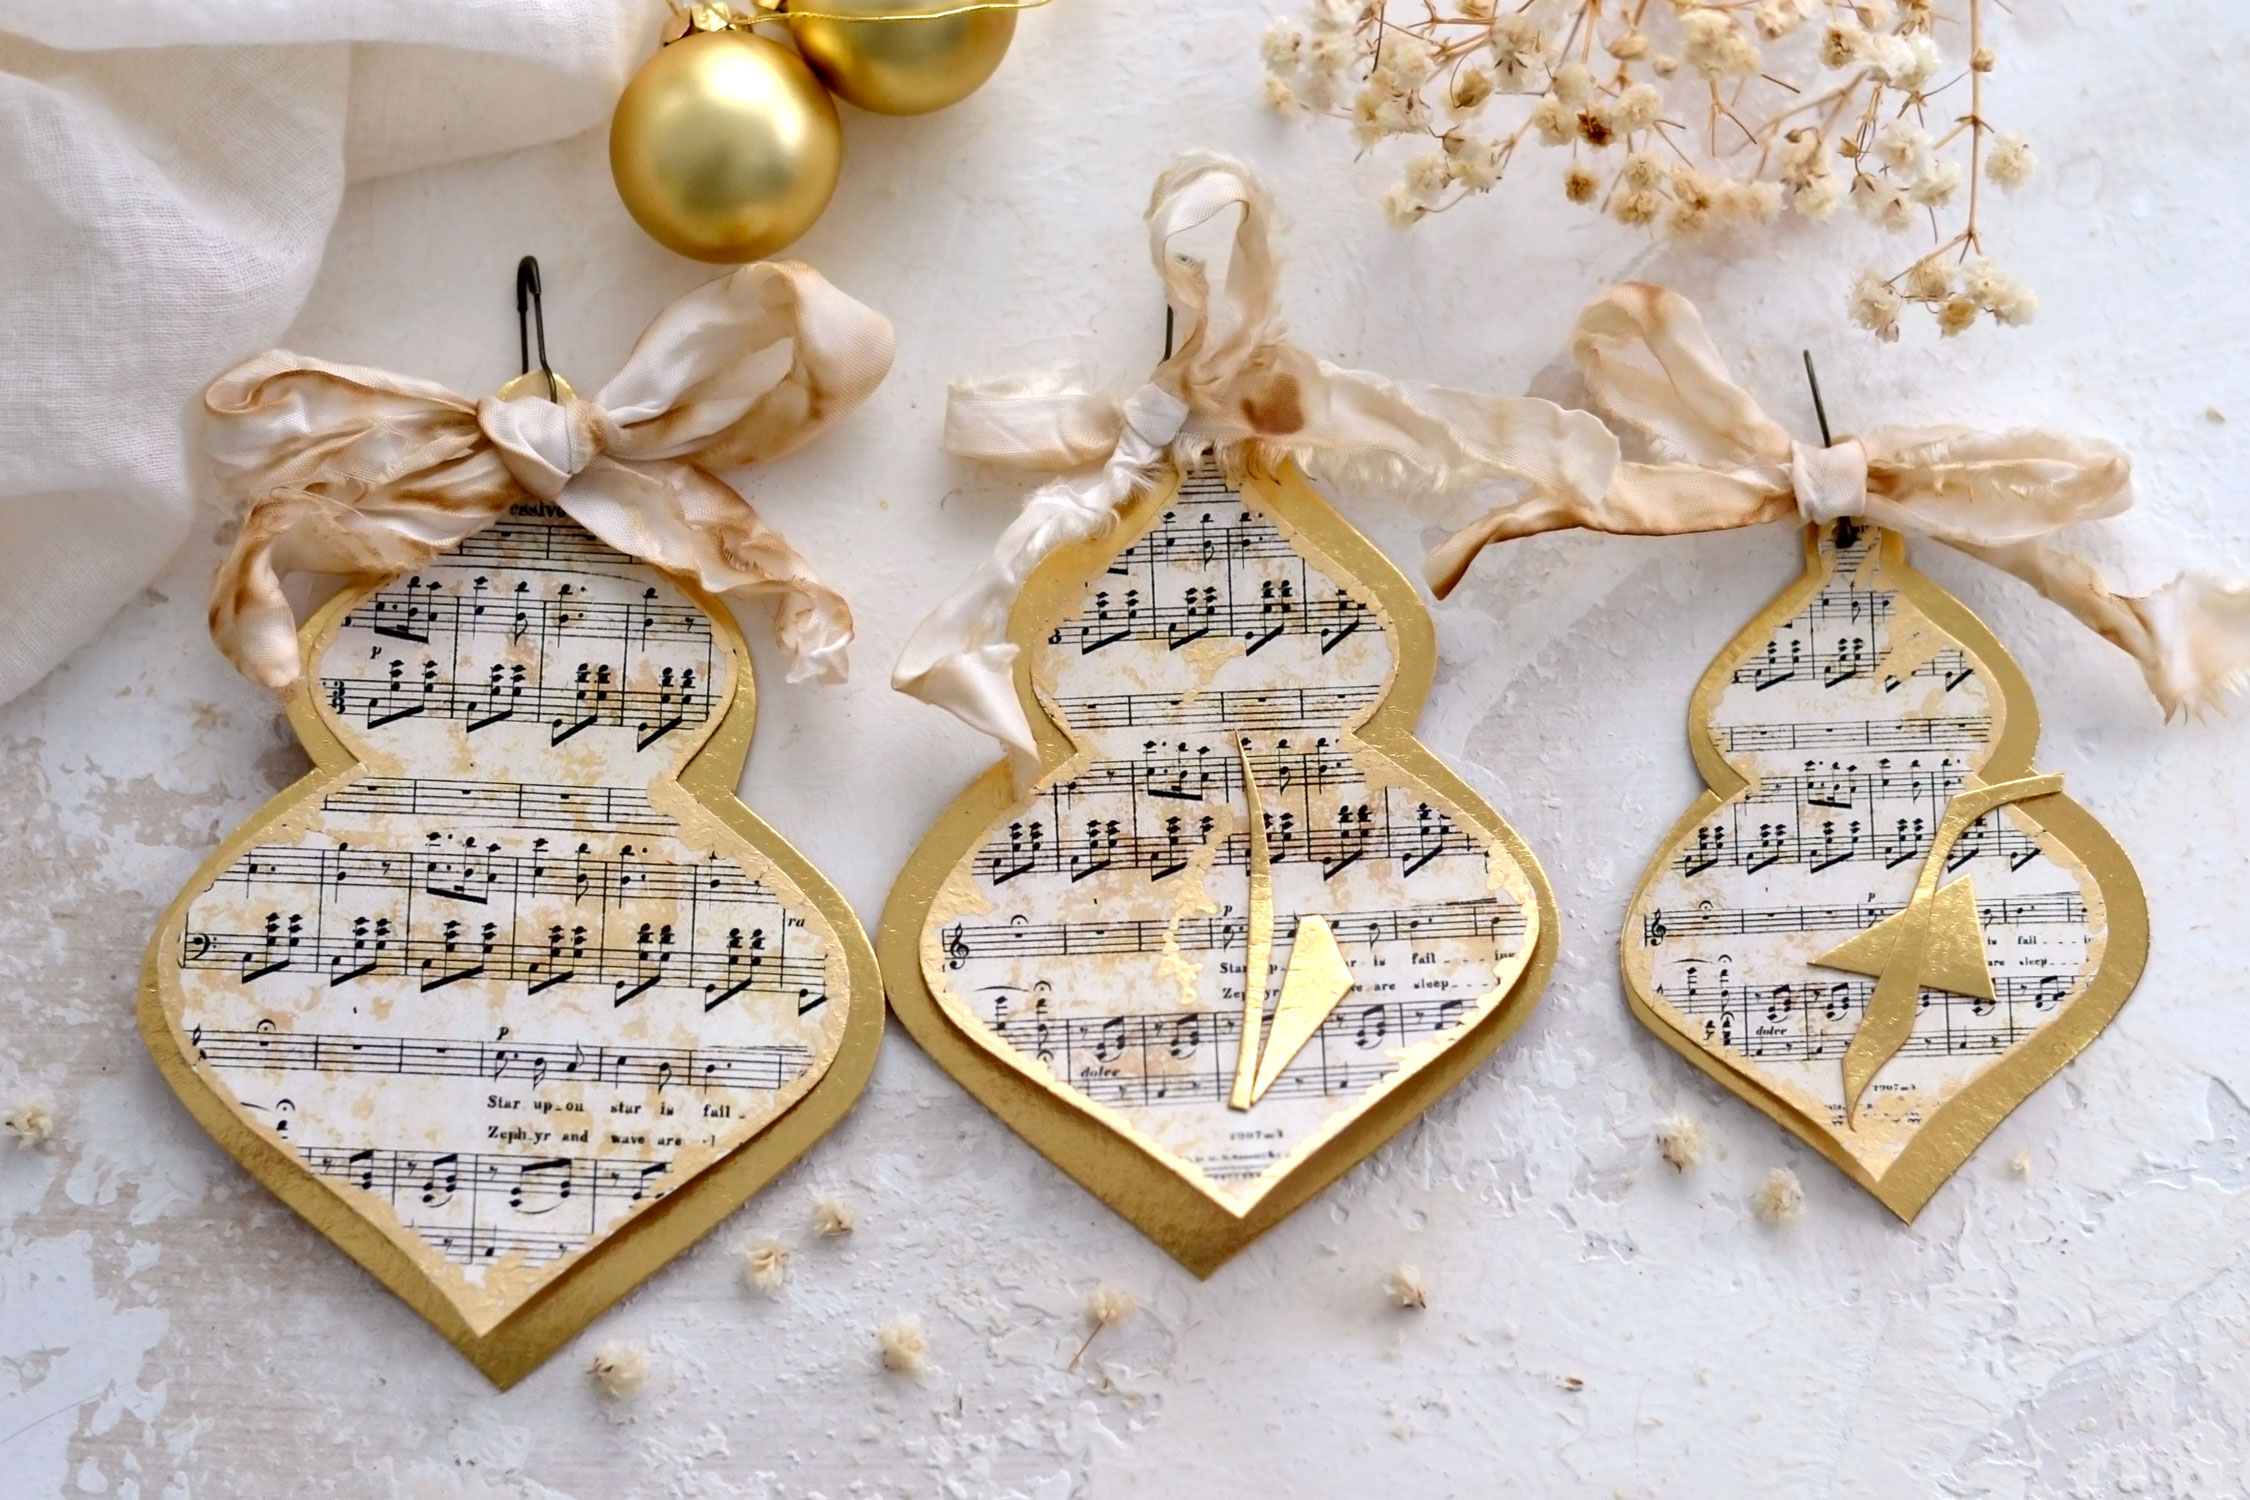
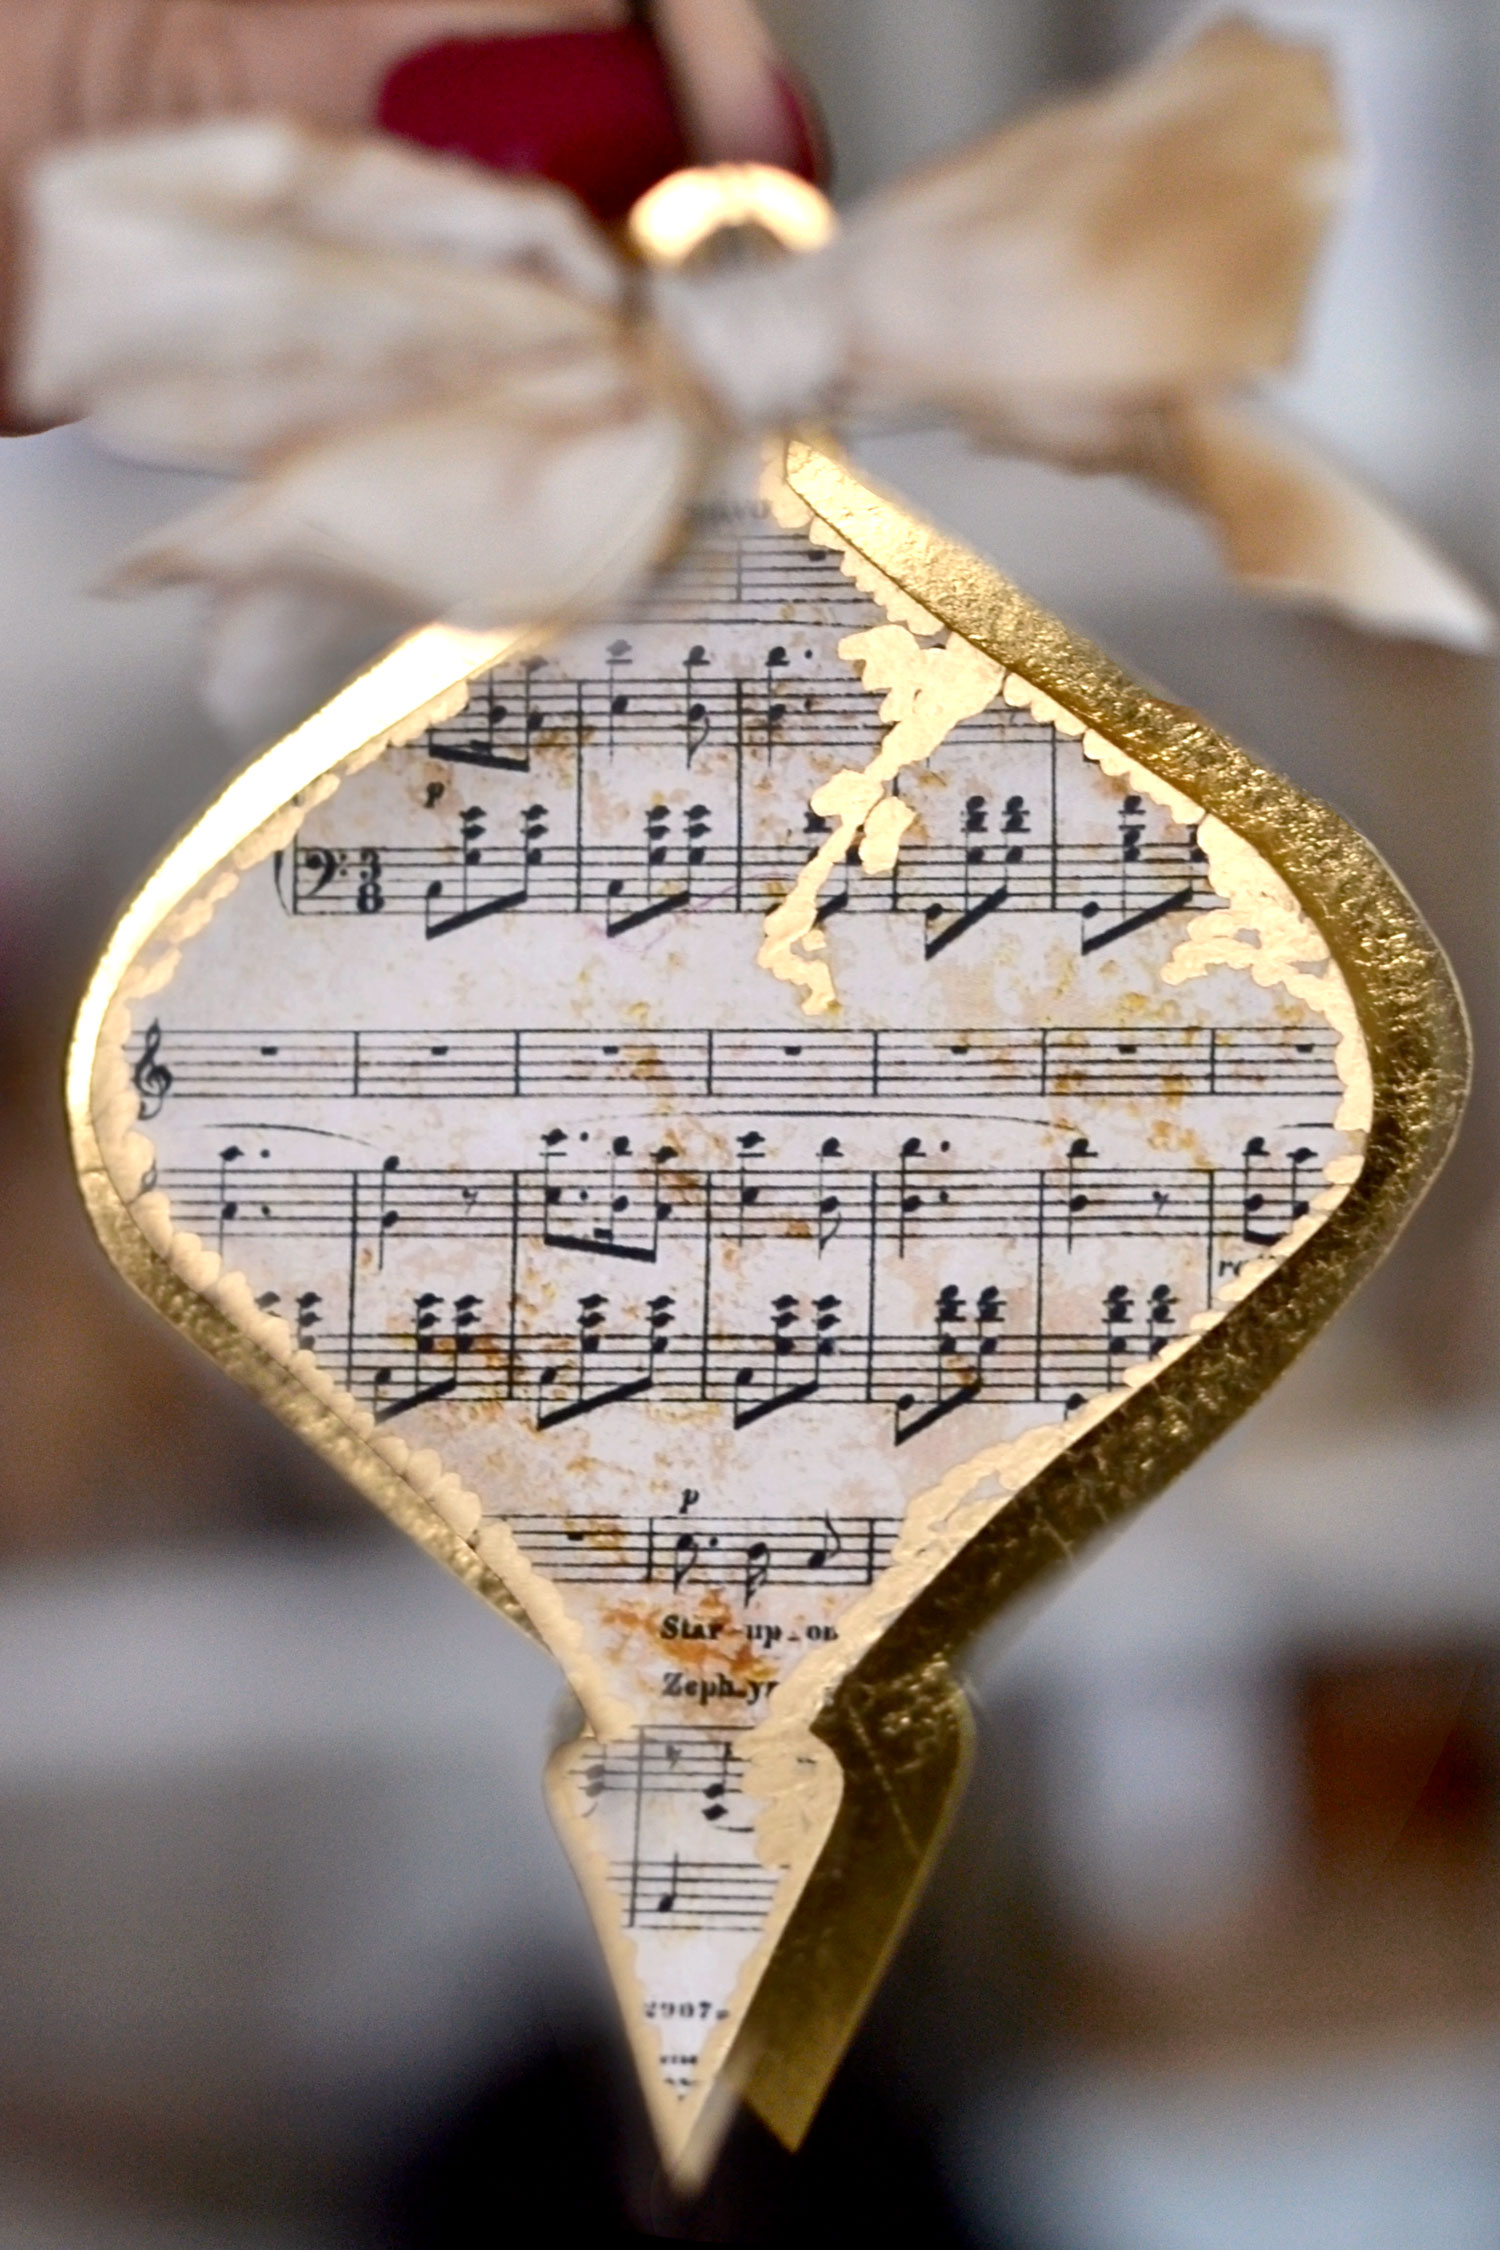
Hello Graphics Fairy friends! I’m Diana from Dreams Factory and I’m happy to be here again to share another DIY project with you! Today I will show you how to make these beautiful overlapped DIY Sheet Music Christmas Ornaments with gold touches that can be ready in no time! I wanted to keep things sweet and simple for this project so I challenged myself not to overcomplicate things and keep the supply list to a minimum. I managed to do that and created these overlapped beauties using gourd safety pins to hold them in place and some lovely ribbons to add some extra charm!
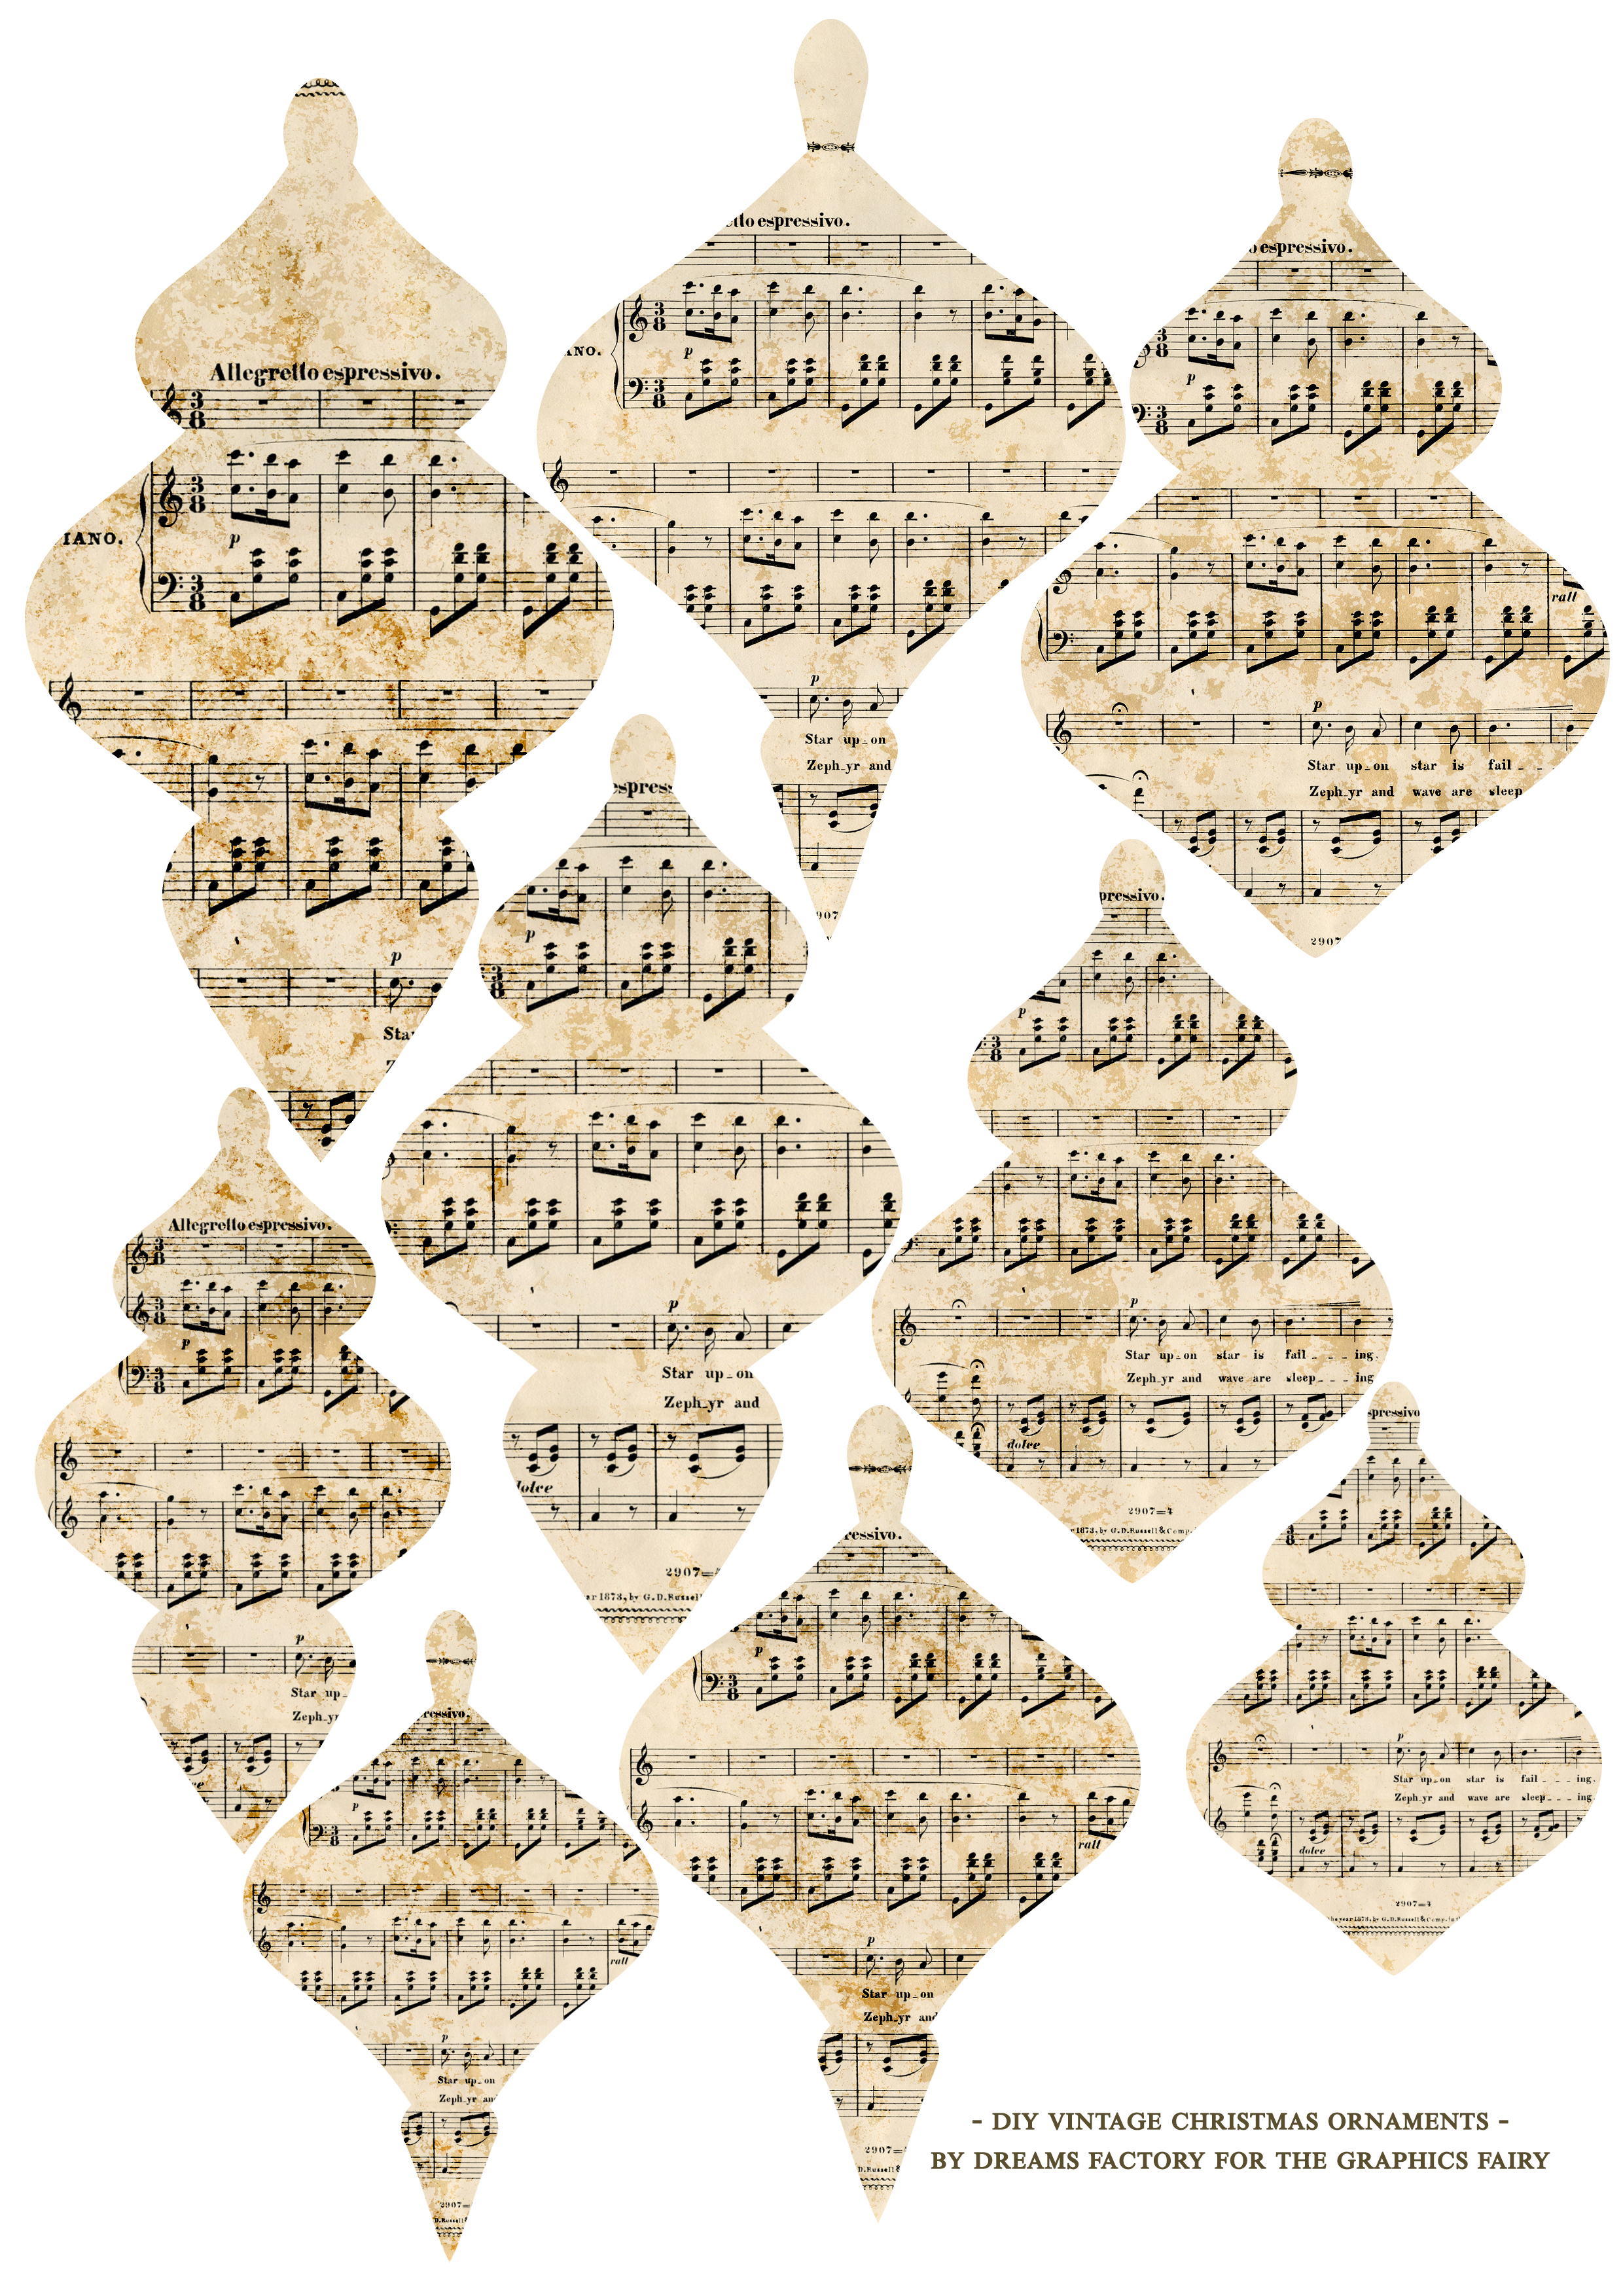
The printable that I created for this project will help you speed things up while preparing for Christmas. We all know we could use some help during the holidays, so you’ll just need to save and print the printable when in need! I created the shapes for the ornaments myself, so we can say that these are truly unique! I used vintage sheet music and added a few grungy stains here and there. This way, you don’t have to spend too much of your precious holiday time decorating them and you can focus on some other Christmasy tasks that also require your attention.
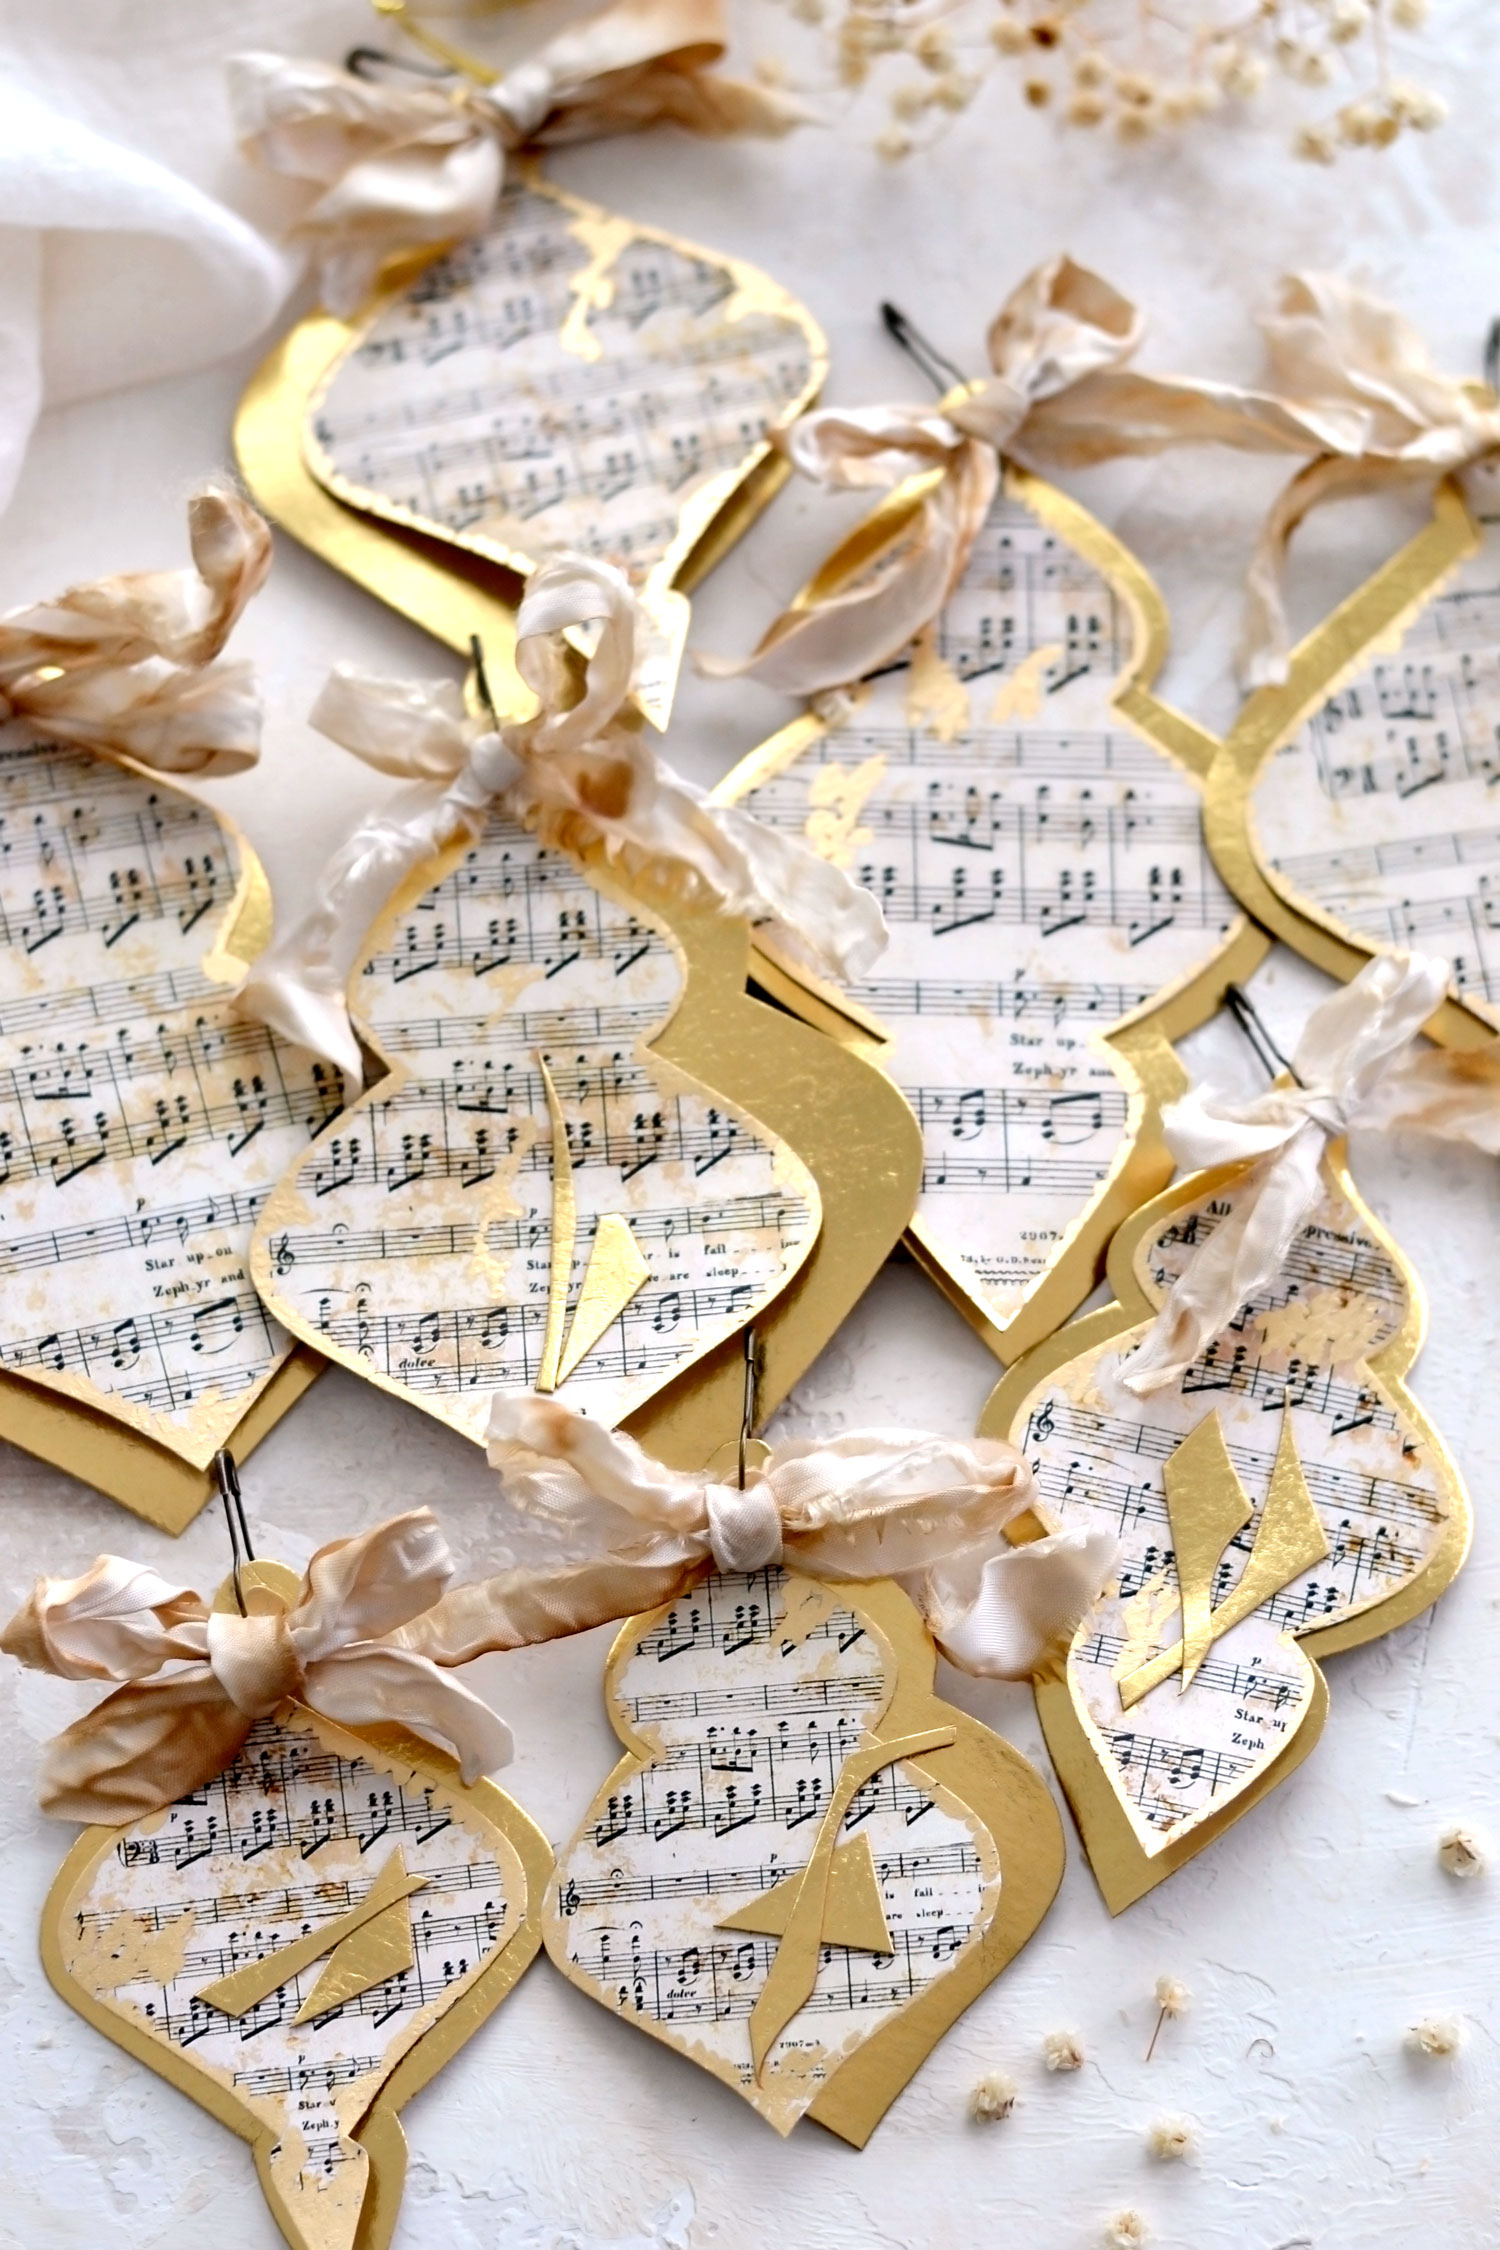
You will find 3 different designs in 3 different sizes, so you’ll be able to make a total of 9 gorgeous DIY Christmas ornaments! Of course, there is the possibility of needing more than 9 ornaments – in that case, print these beauties as many times as you want!
Free Printable DIY Sheet Music Christmas Ornaments:
—-> Click HERE to Download the Full Size Printable PDF <—-
Supply List:
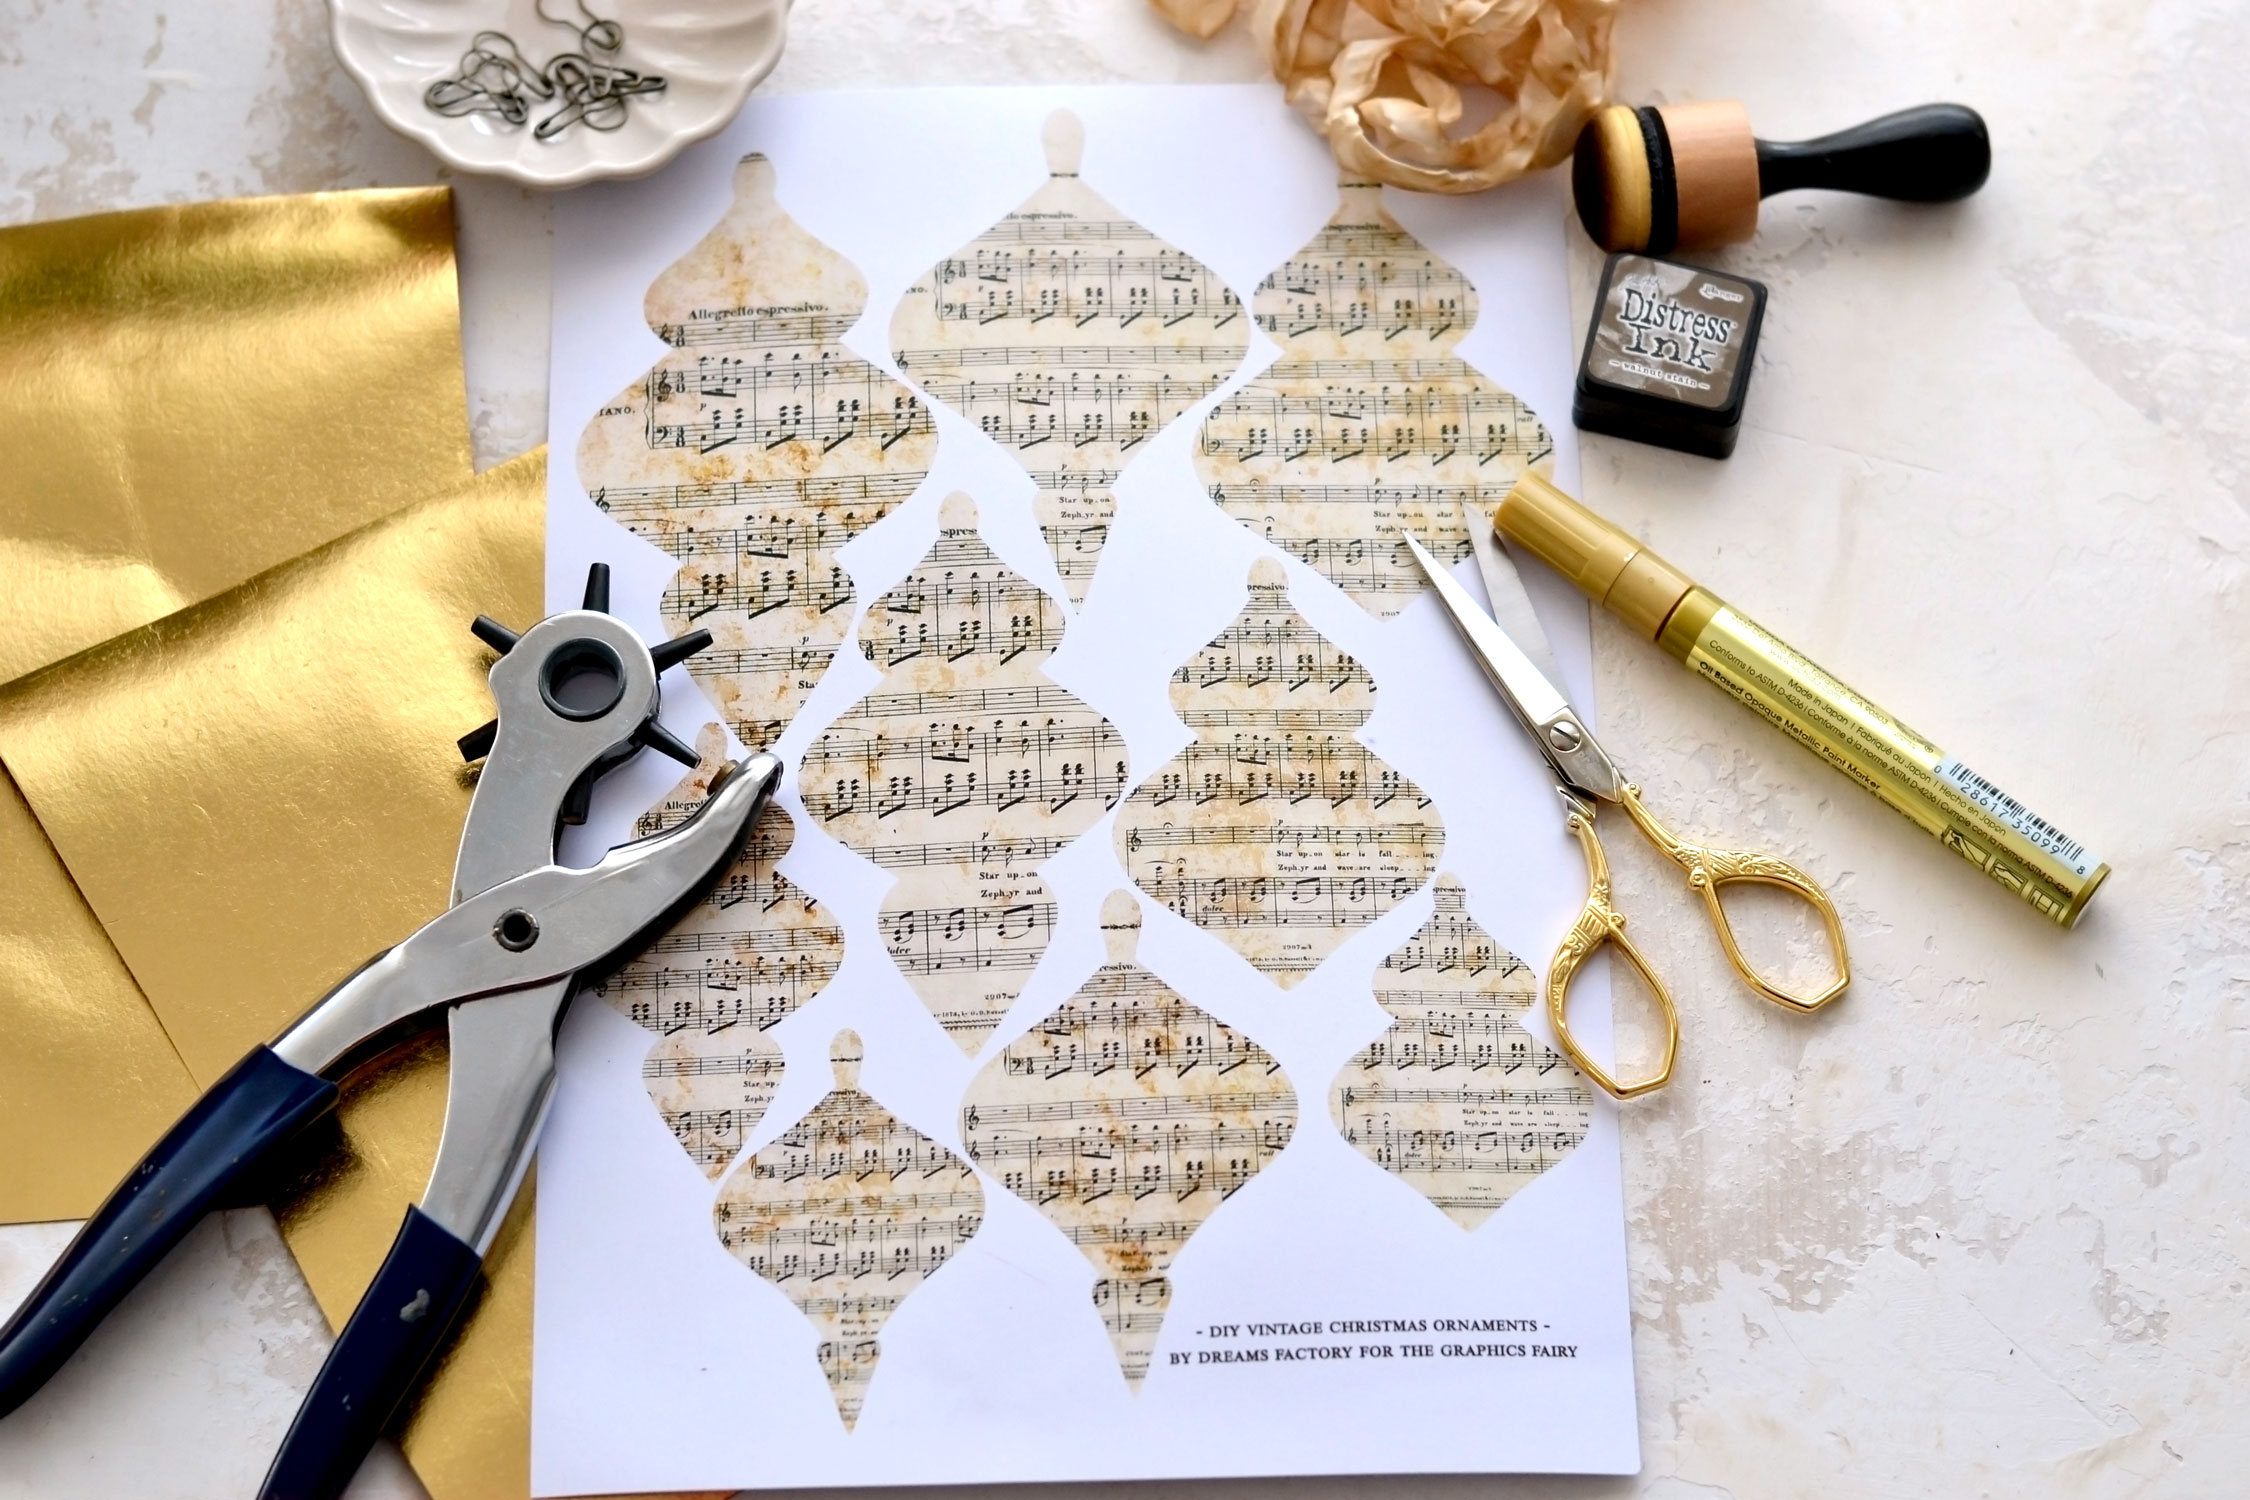
- white cardstock paper
- home printer
- scissors
- mini distress inks
- blending tool with foams
- DecoColor gold marker or gold watercolors, gold acrylic paint, gold wax, gold nail polish
- gold cardstock – I used one that looks like gold faux leather, you can use any gold cardstock that you love
- gourd safety pins – gold or vintage
- glue stick or any other paper glue (optional, to adhere the top embellishments)
- hole punch
- crinkle ribbon or any other ribbon that you love
DIY Sheet Music Christmas Ornaments Step by Step Tutorial:
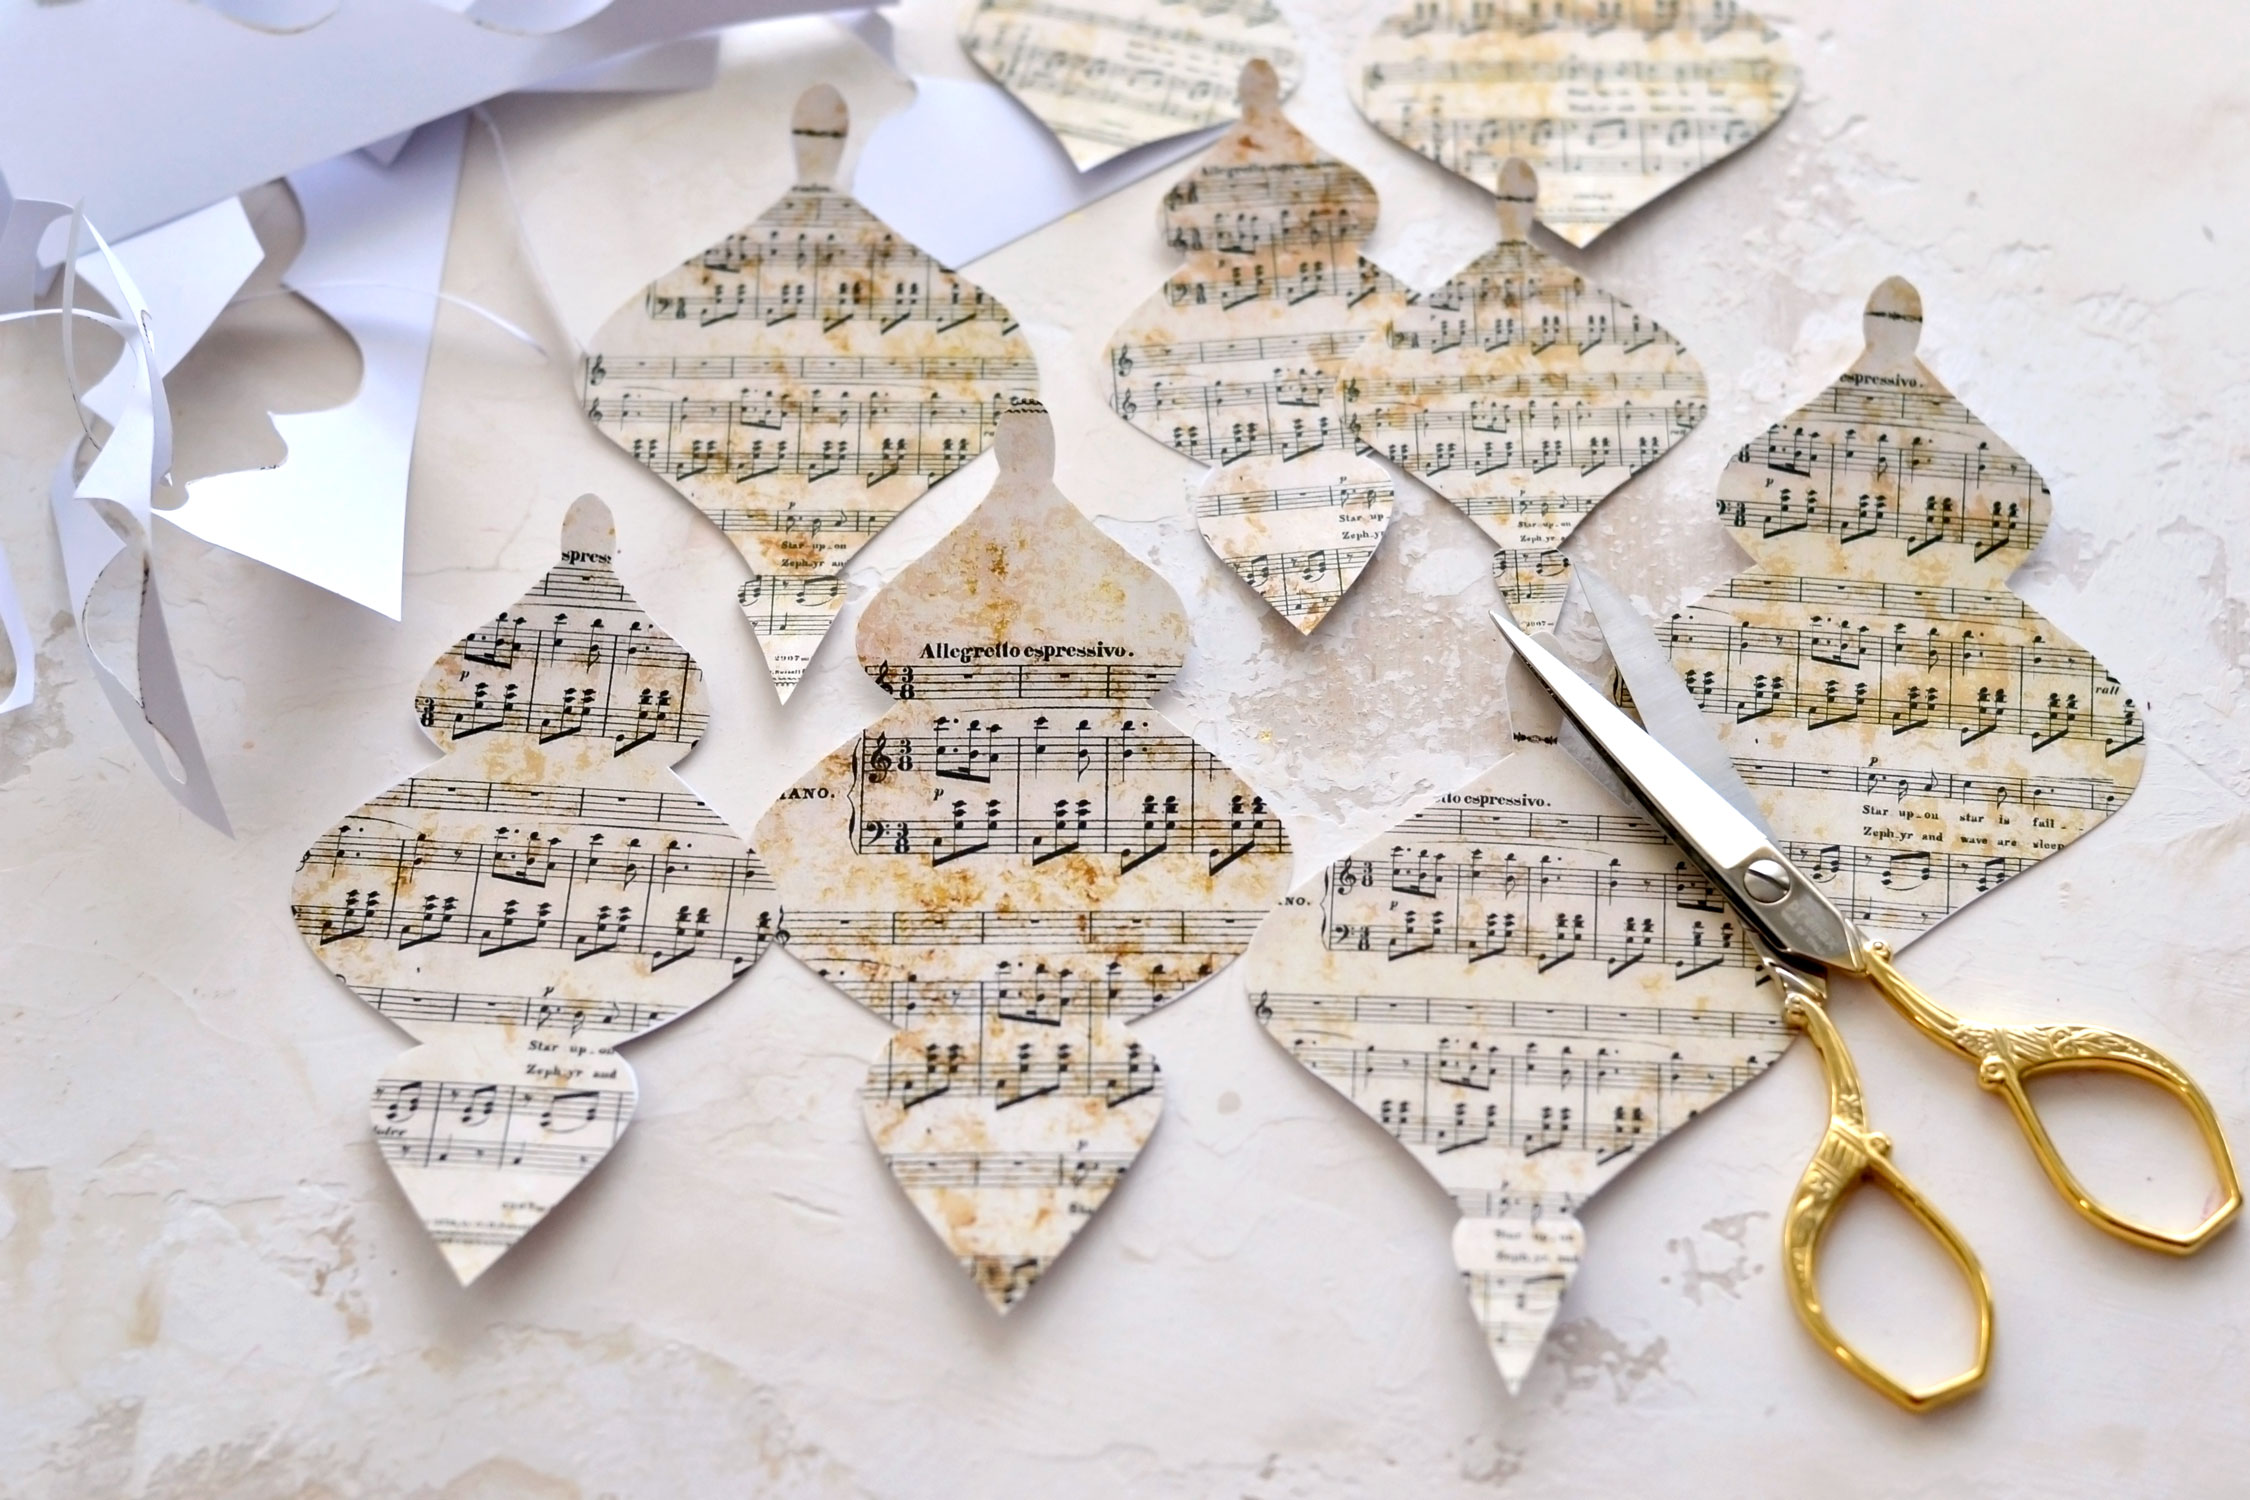
Start by printing your printable on white cardstock paper and use your scissors to cut each of the ornaments following its shape.
For the next step, we’ll need some gold cardstock! I used a lovely one from Clairefontaine that is actually gold sewing paper that looks (and feels) both like cardstock and faux leather. Of course, you can use any gold cardstock that you have around – if you ask me – the more metallic the better!
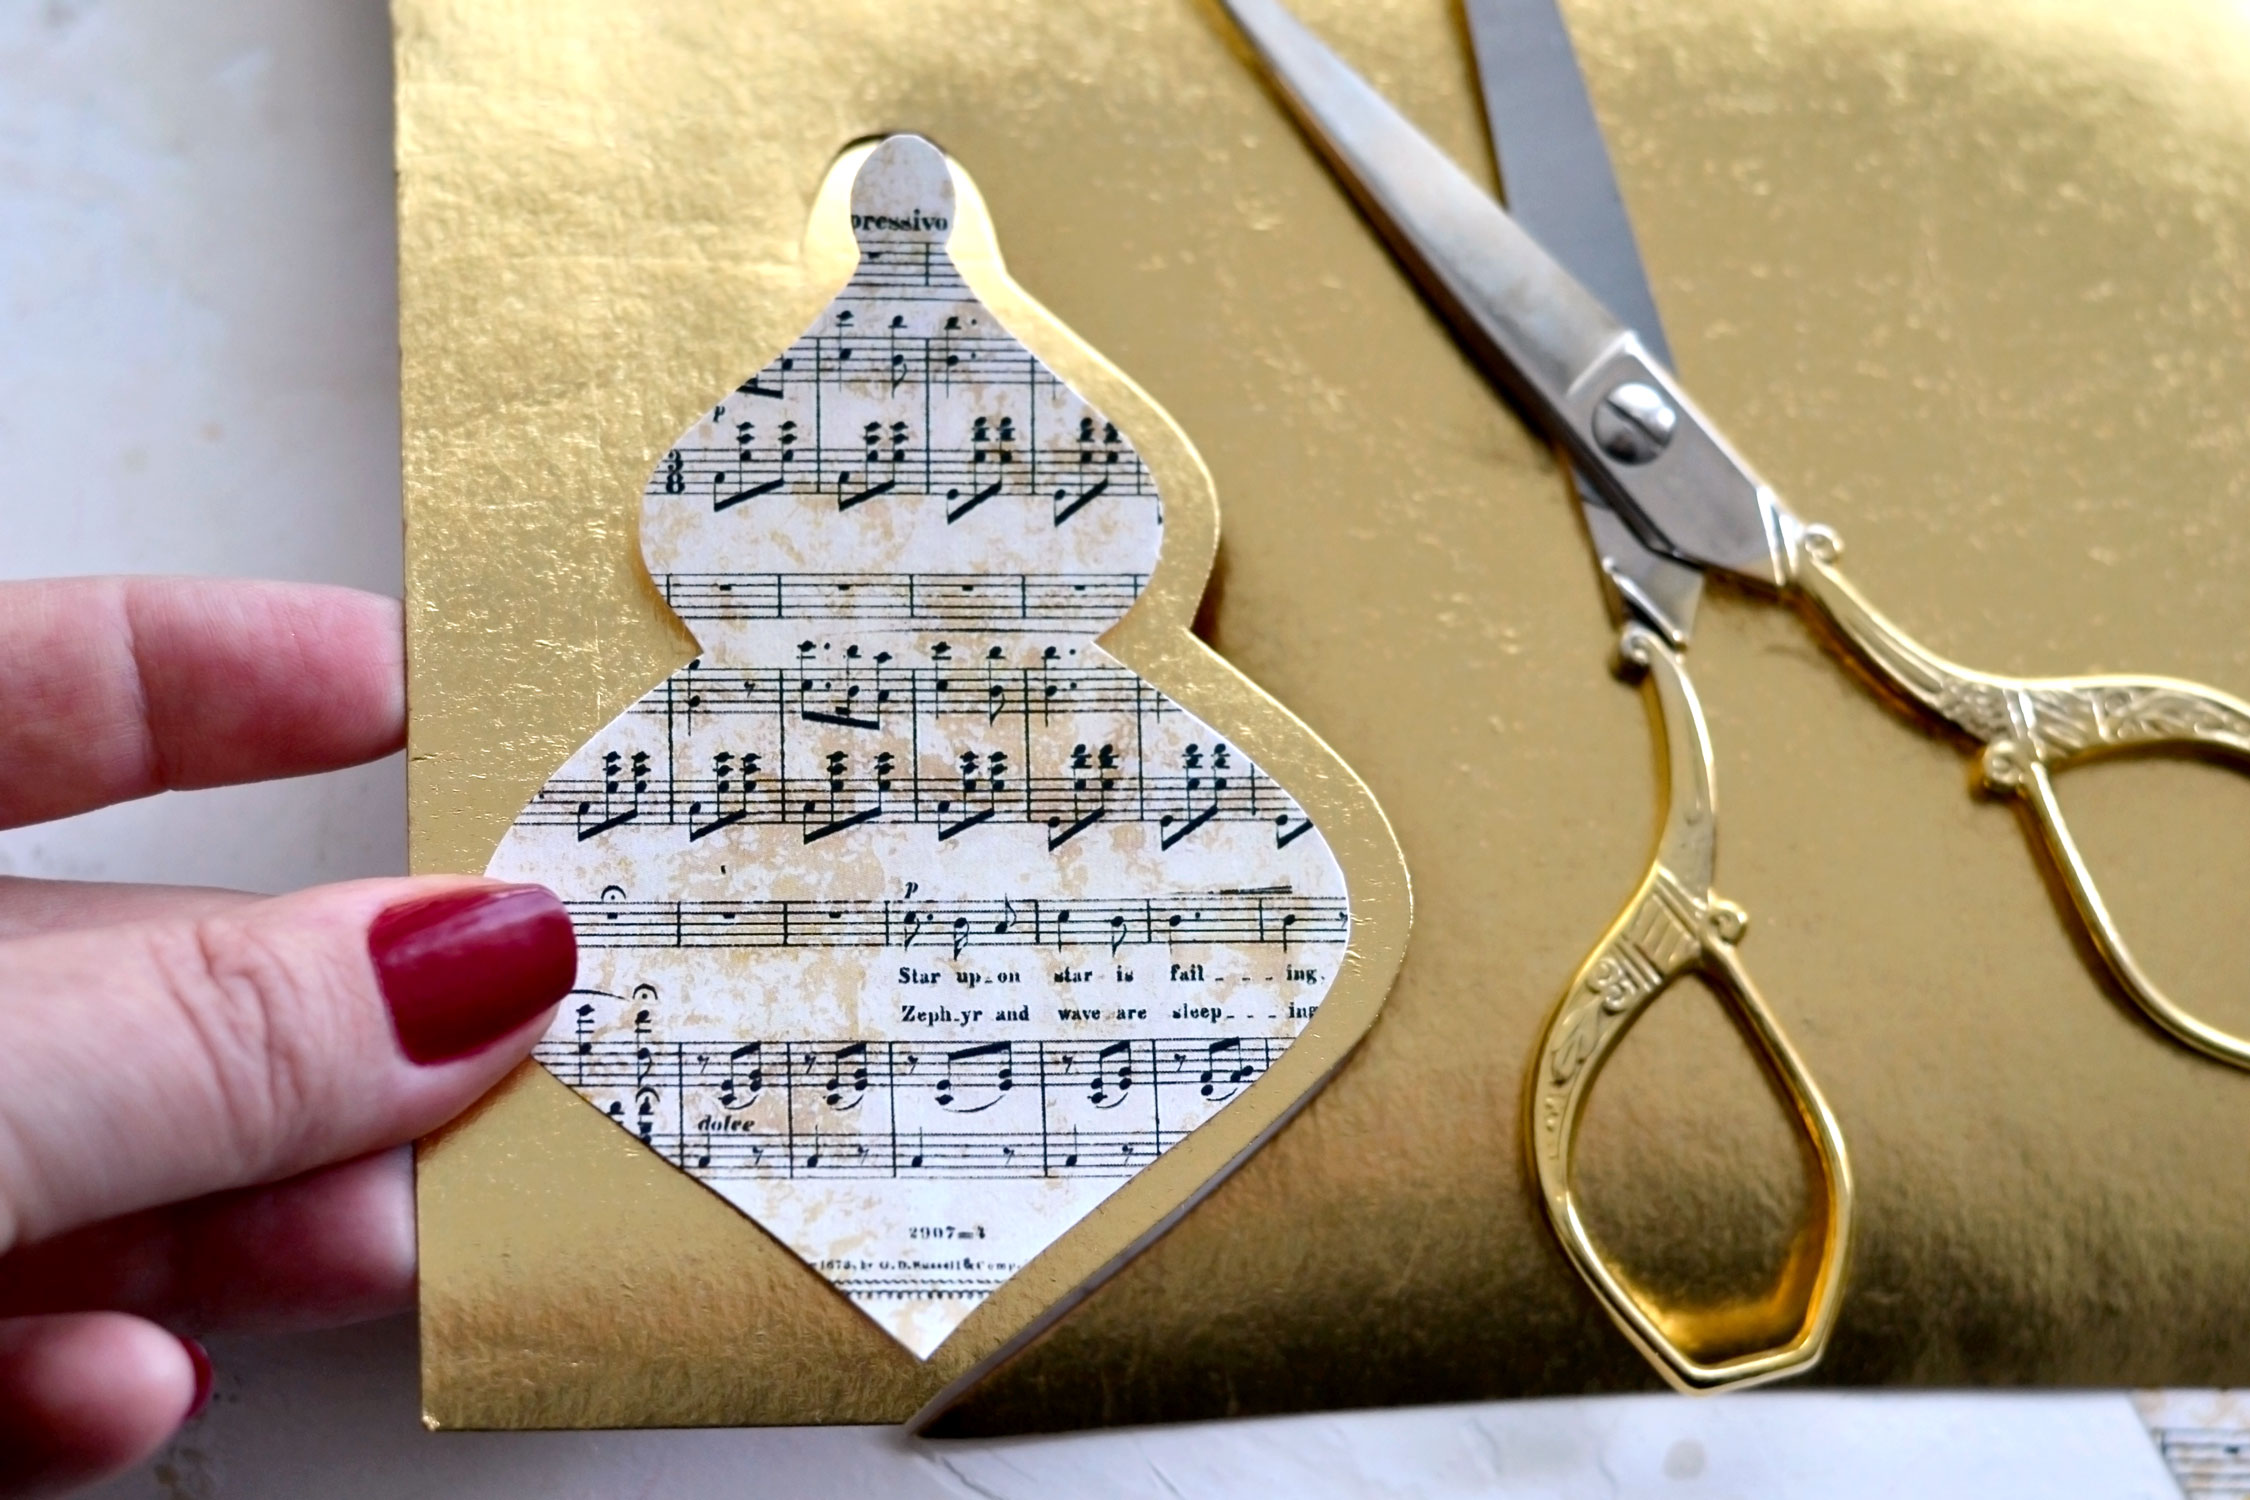
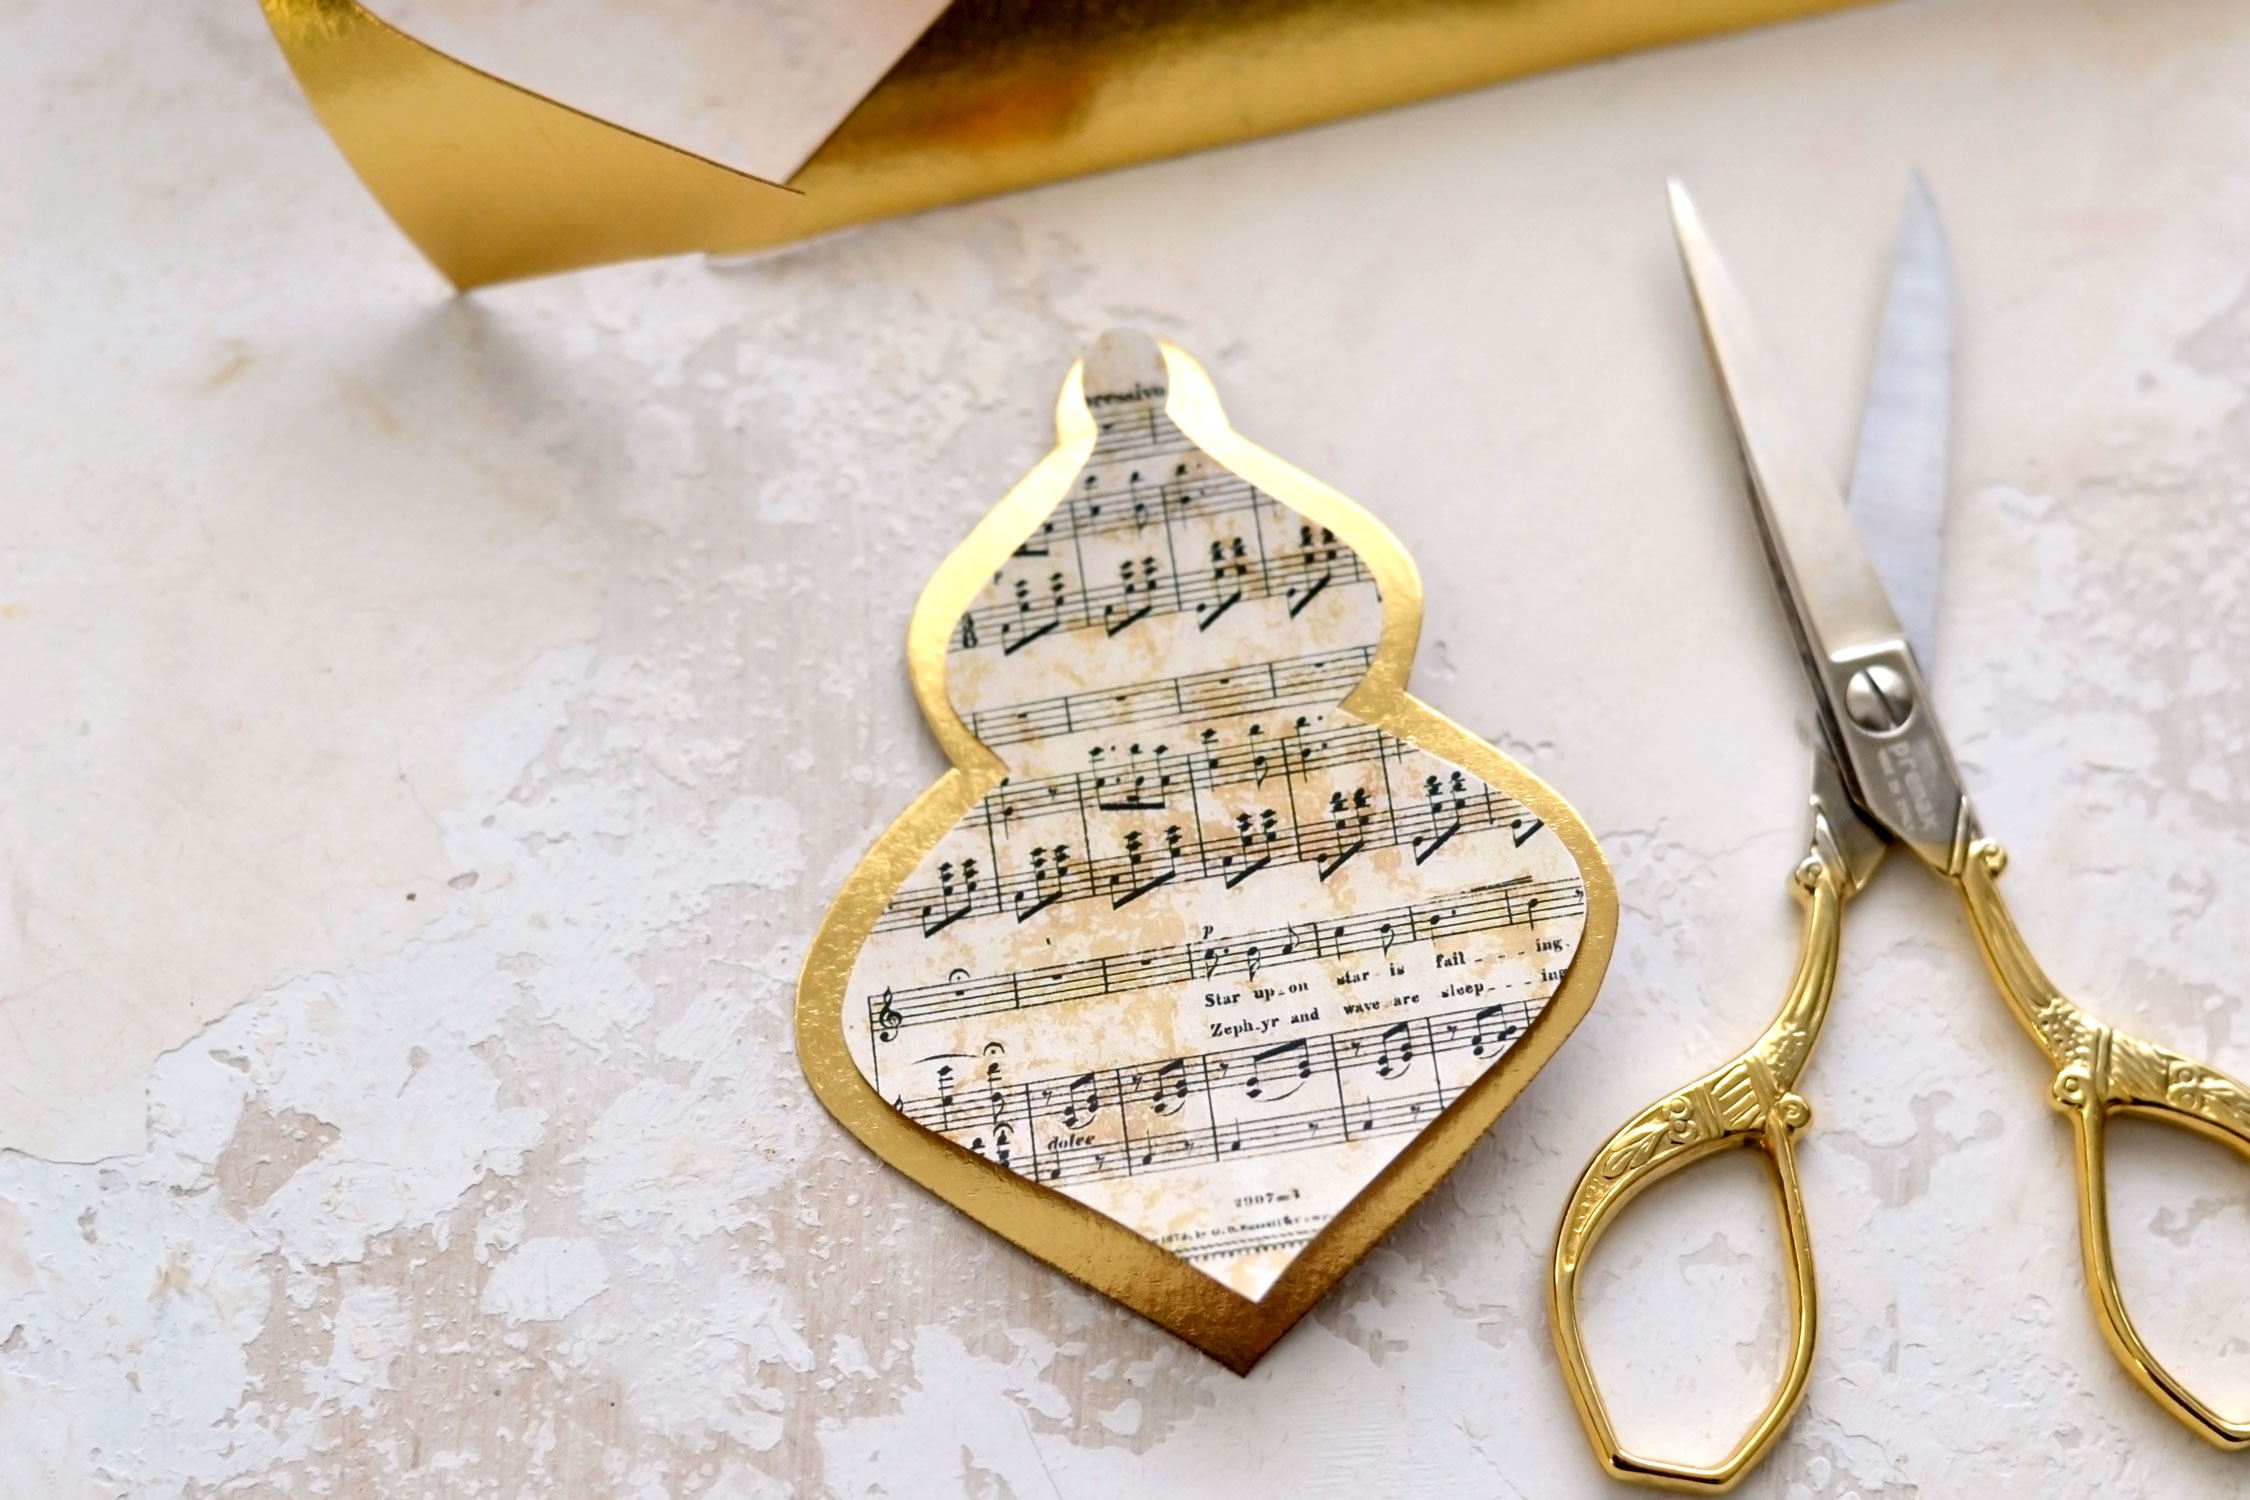
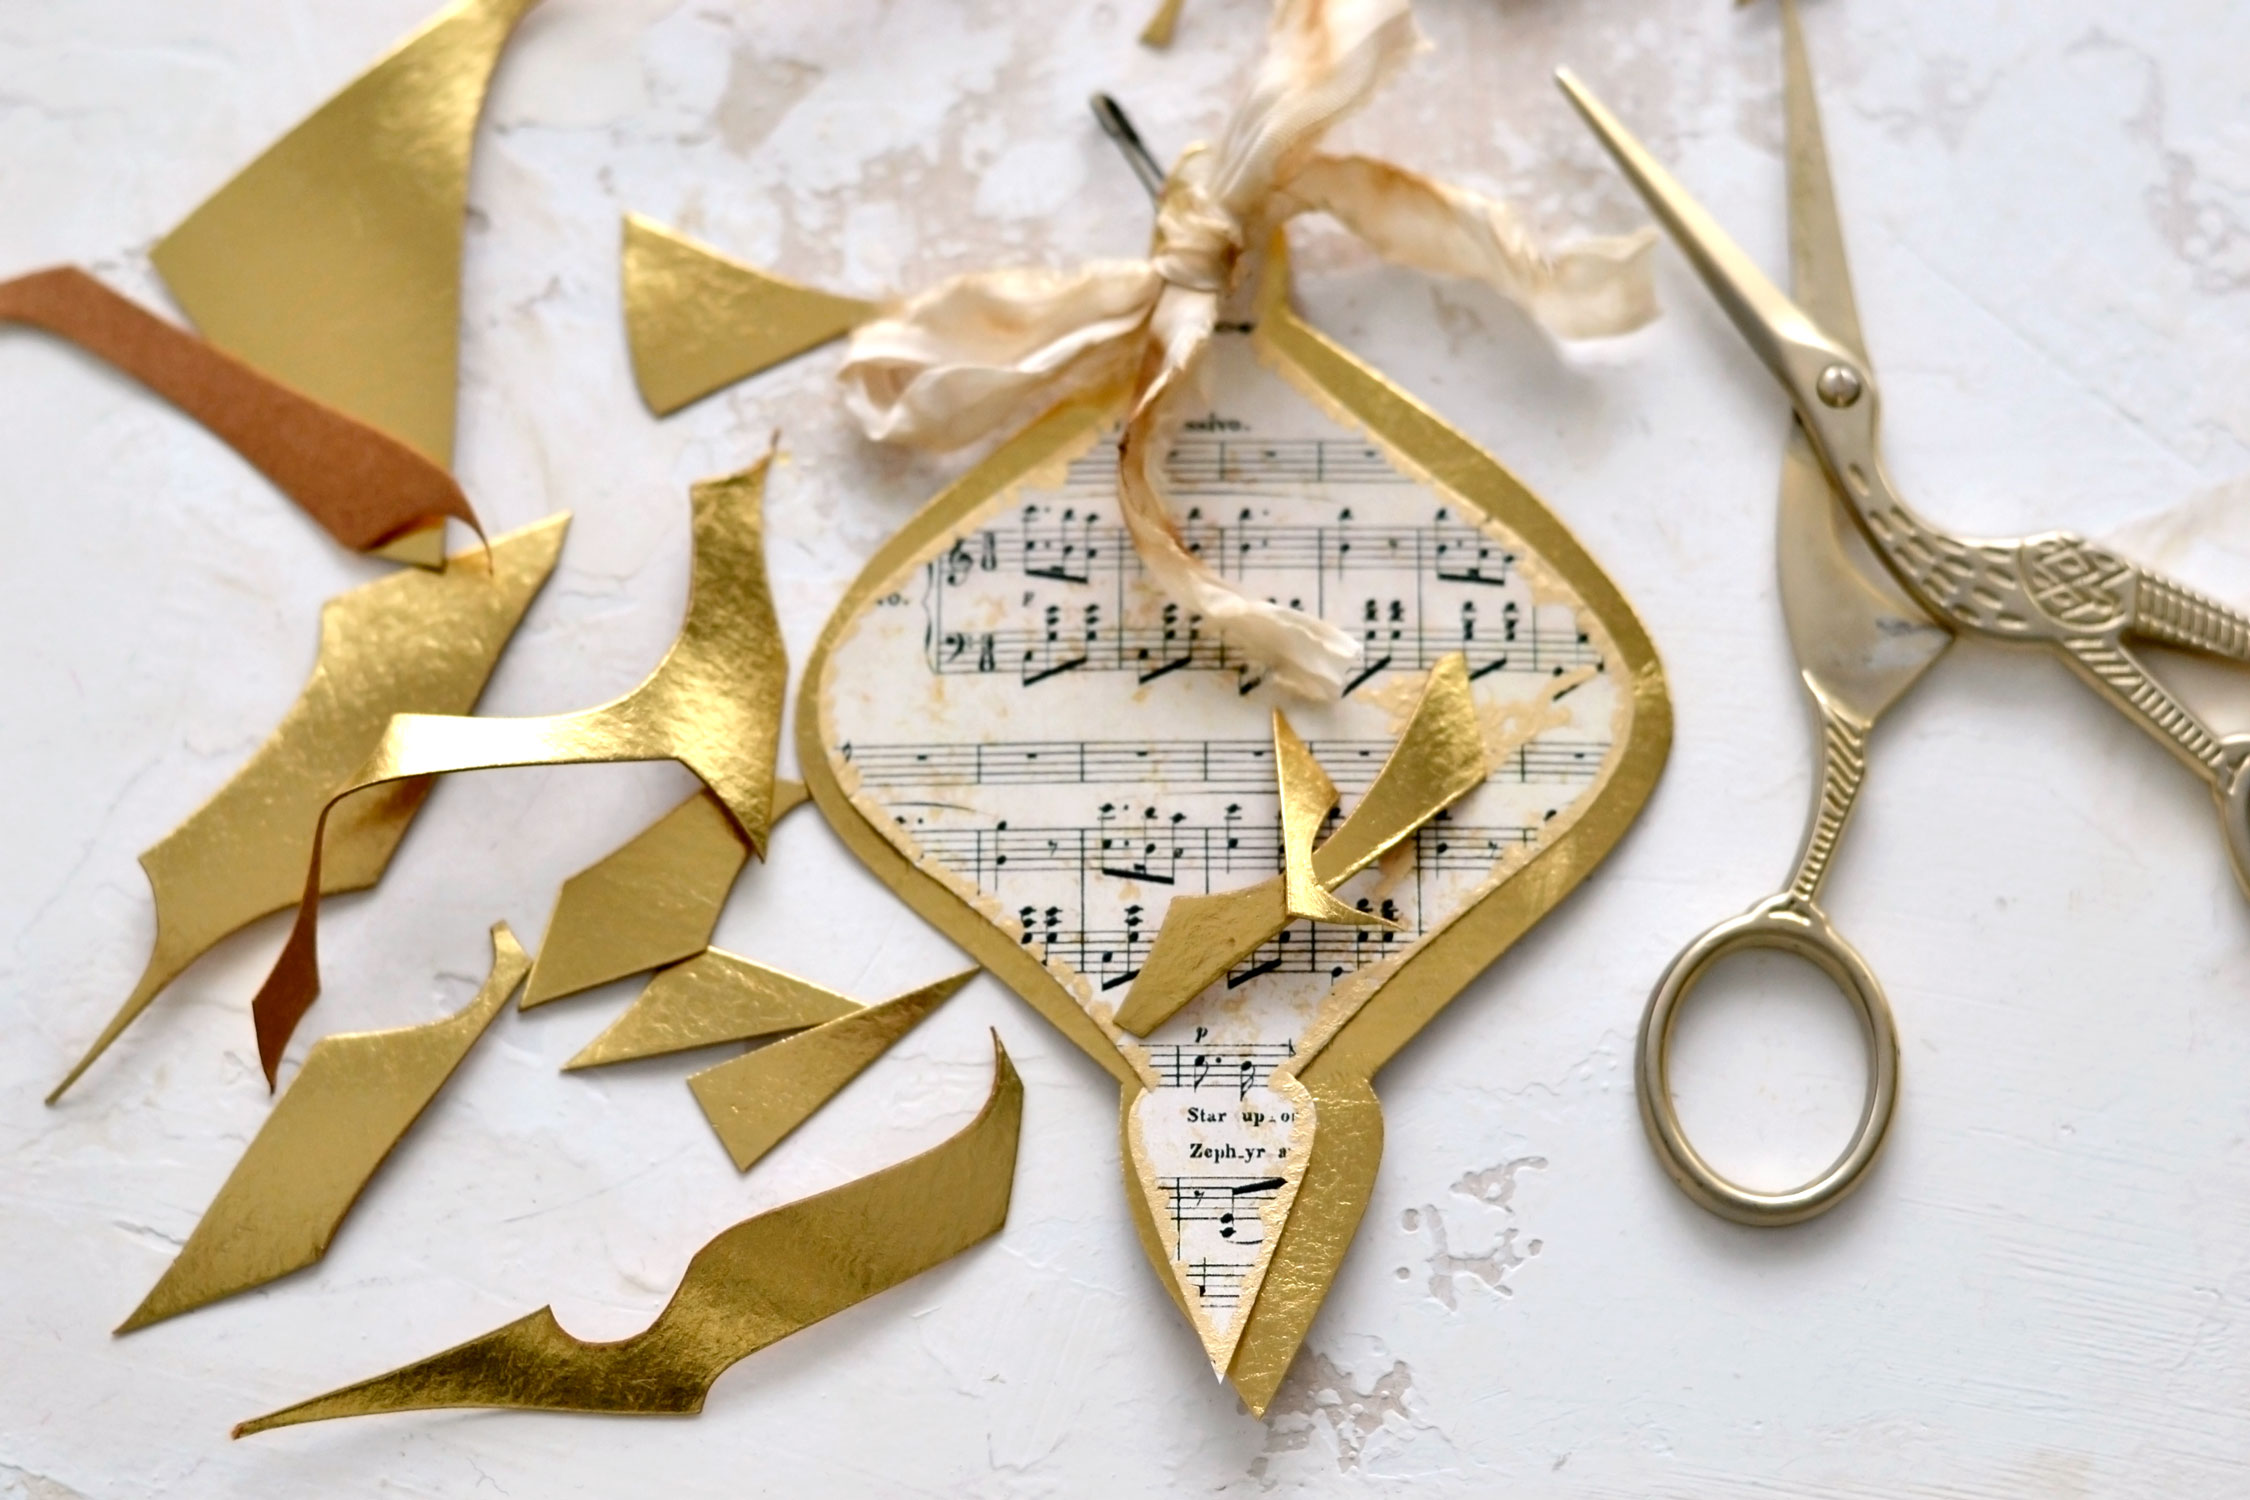
Place your printed ornament on top of the gold cardstock and use your scissors to cut a shadow copy following its shape. Leave a little bit of space around the edges while cutting, we need the gold cardstock to be a little bit larger than our printed ornament. Use your fingers to keep the ornament and the gold cardstock in place while cutting it.
Try to follow the shape of the ornament as well as you can while cutting the gold cardstock underneath, but don’t stress too much about making it perfect – it doesn’t have to be!
My first gold cardstock piece turned out OK, so I just moved on to create lovely gold bases for all the other ornaments too!
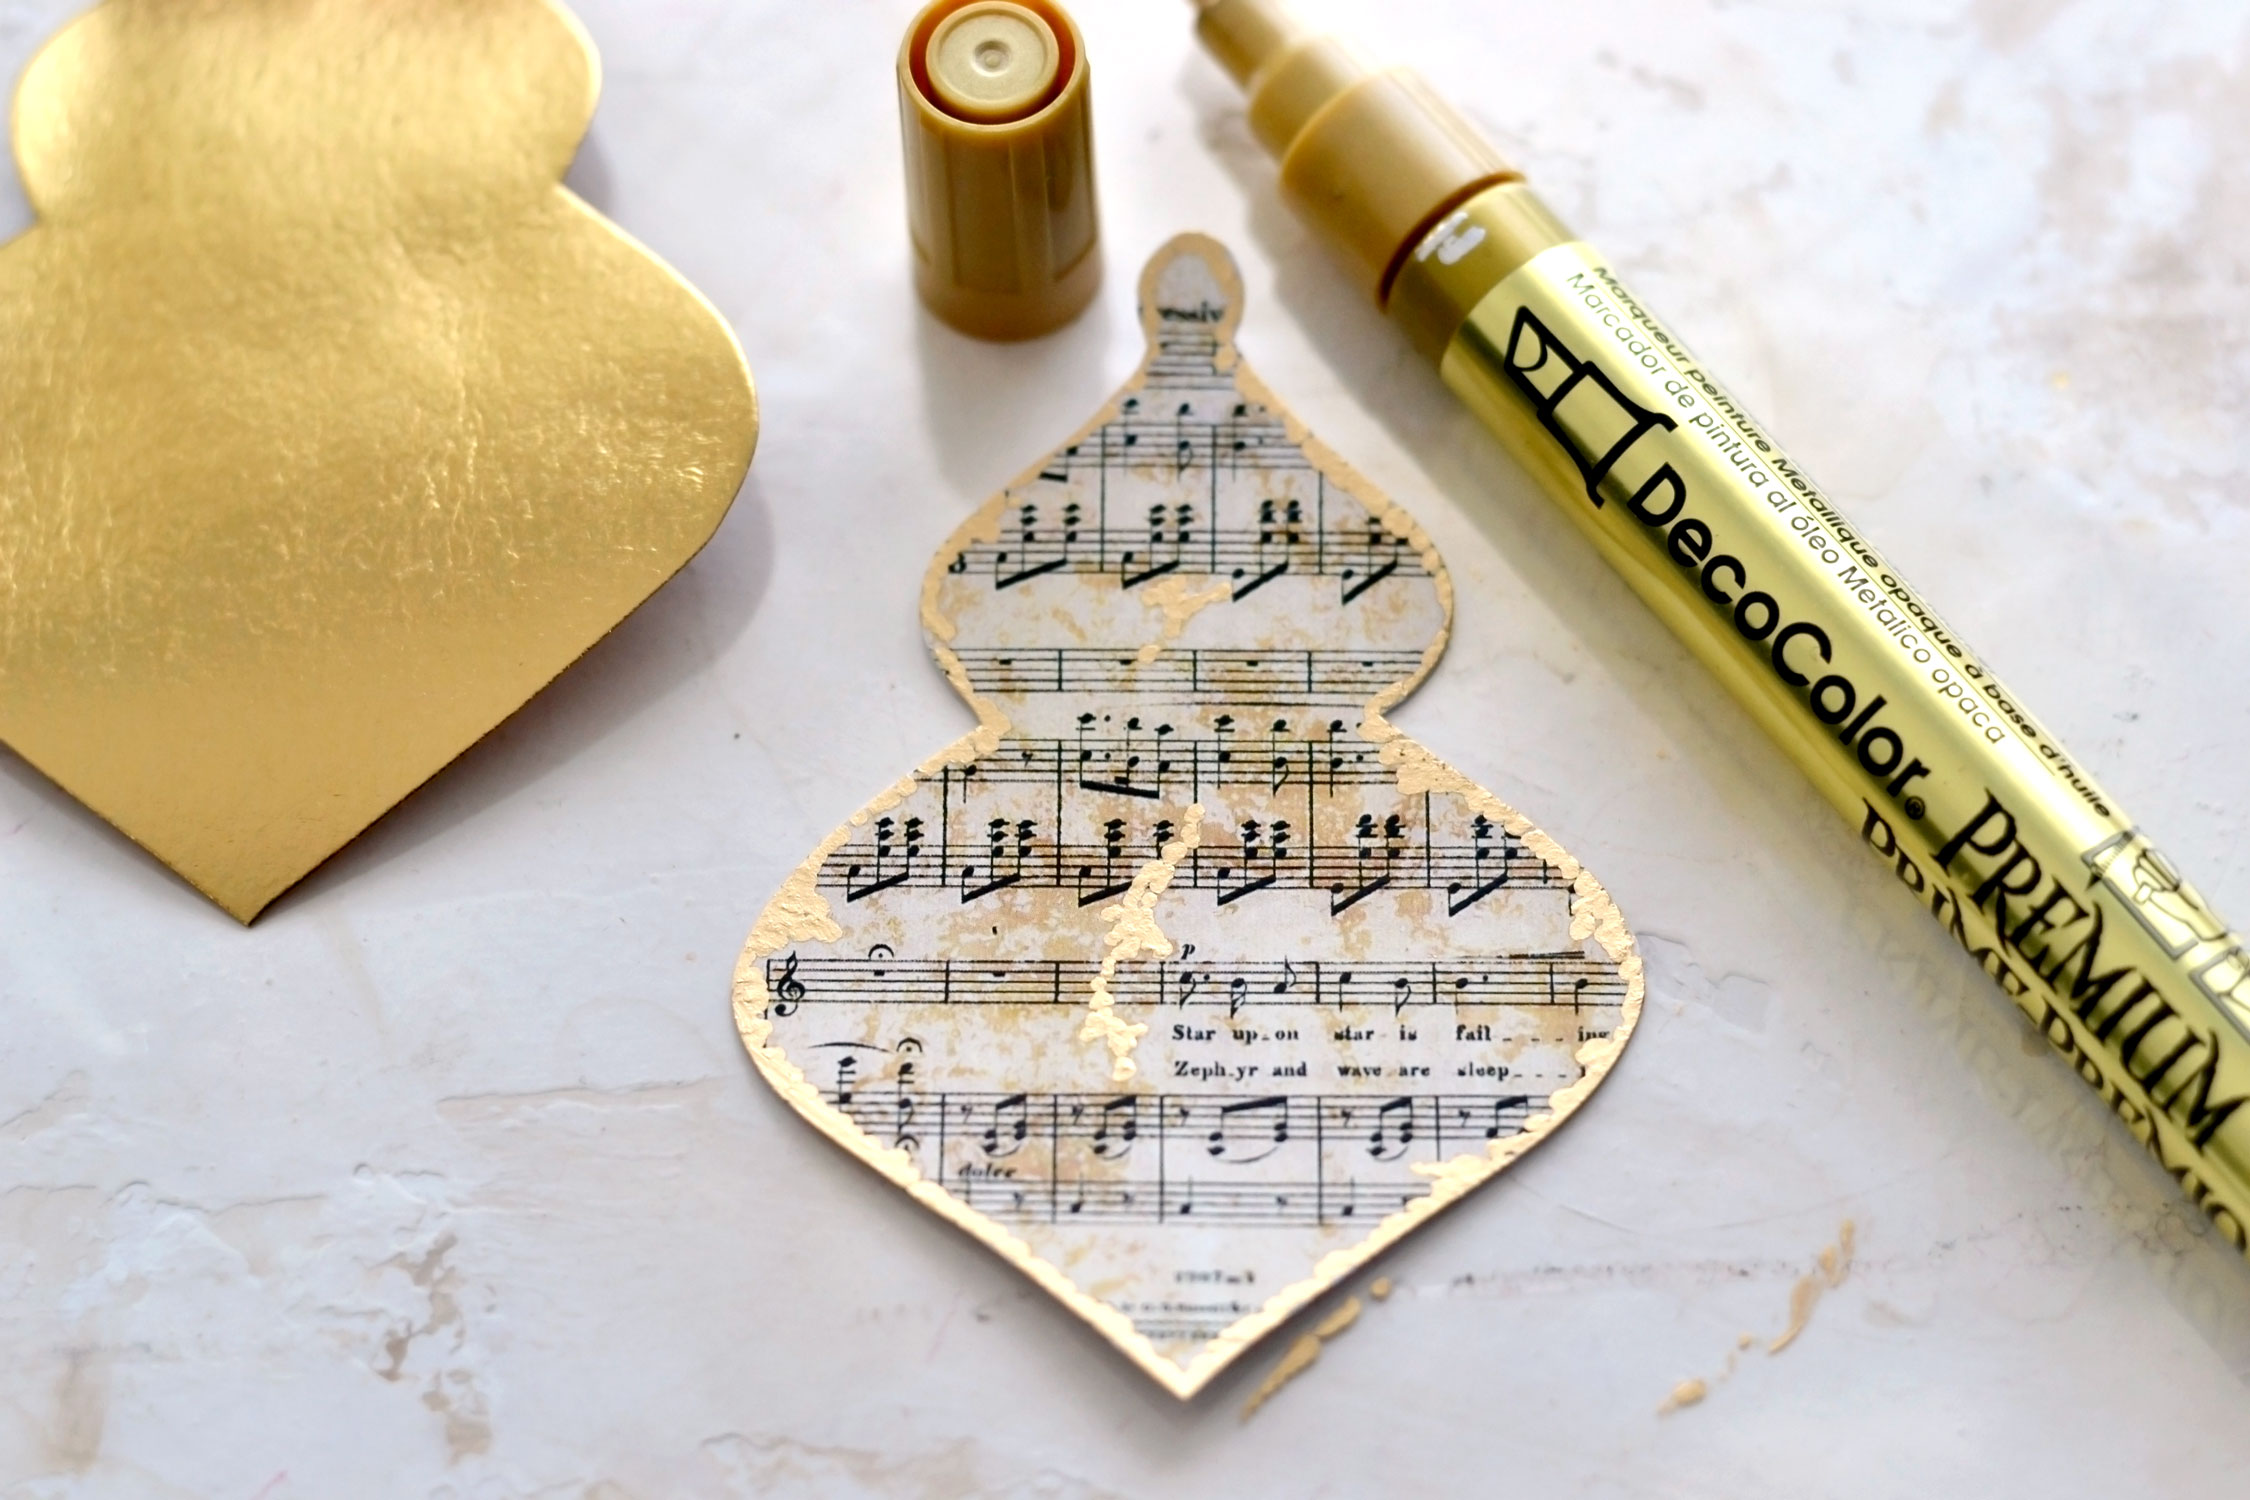
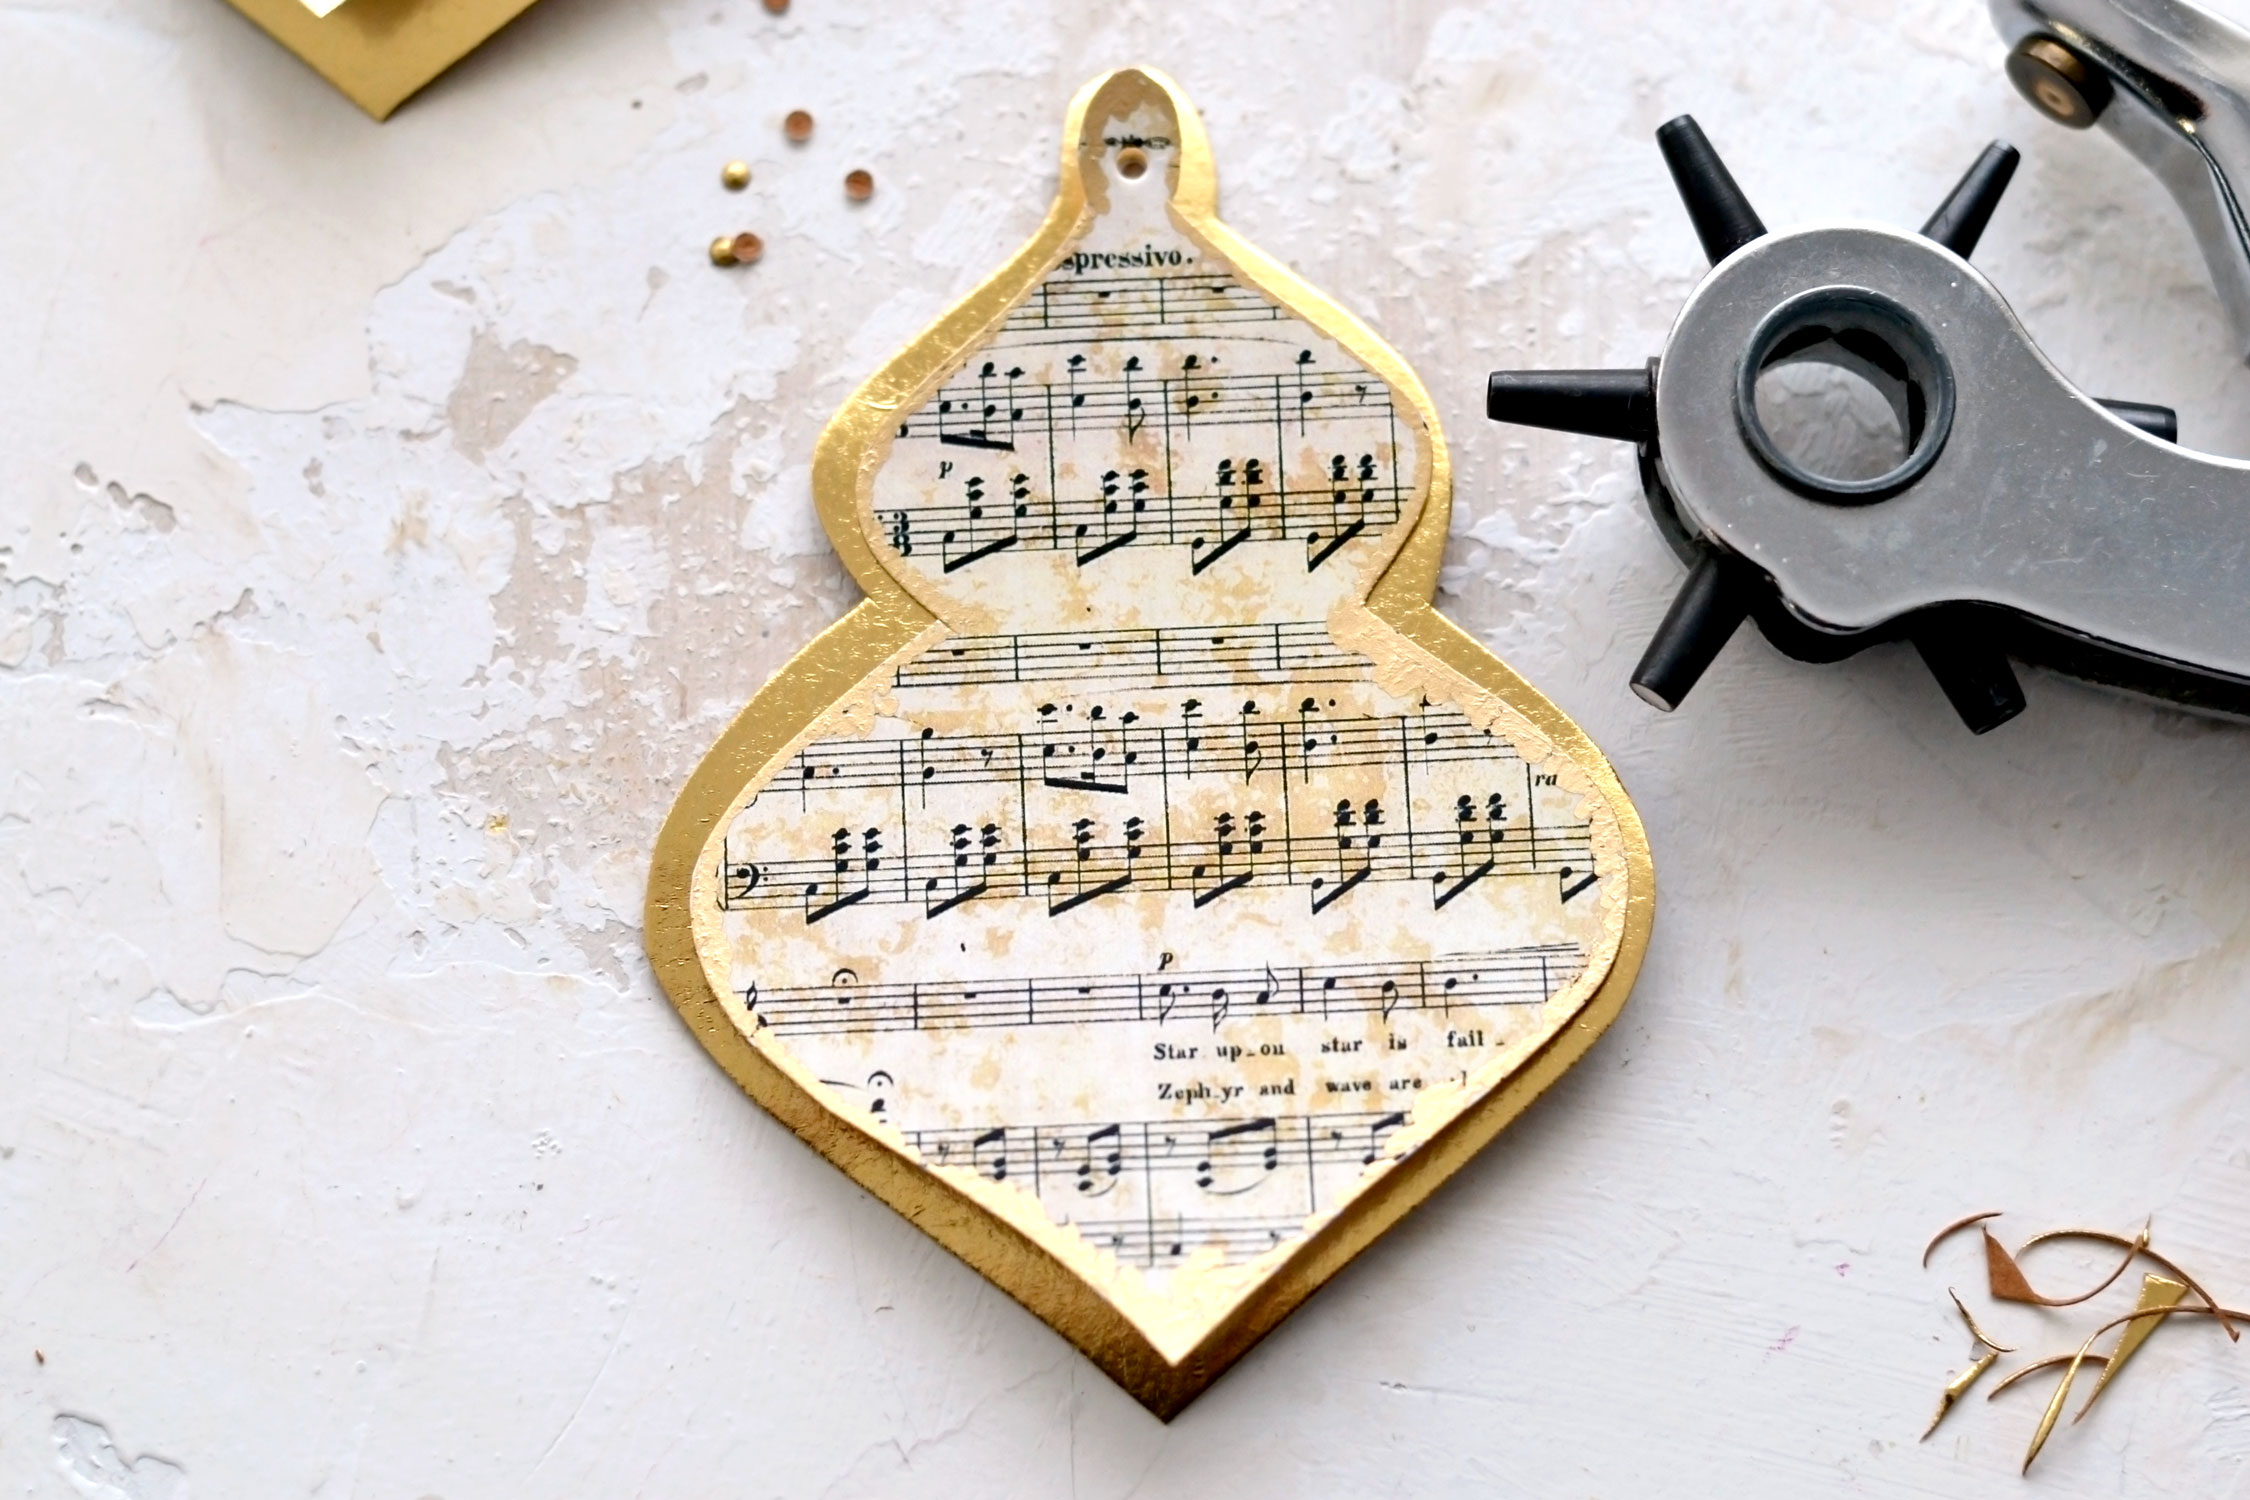
Moving on to painting the ornaments! So to speak painting, because I just used a beautiful gold marker to quickly create a gilded edge on our printed ornament. Make sure you place a plastic sheet or something similar to protect your surface while using the gold marker, then simply use a dabbing motion to create the gilded edges. I went with a dabbing motion instead of just painting straight lines because I wanted to keep the vintage style of my ornaments. I even used the same dabbing motion to go over some of the grungy details from the design to highlight them here and there.
You can use a little bit of distress ink if you want to give the paper even more of a vintage feel. When you are done, you can use a hole puncher to create a small hole while holding the 2 overlapped pieces in your hand.
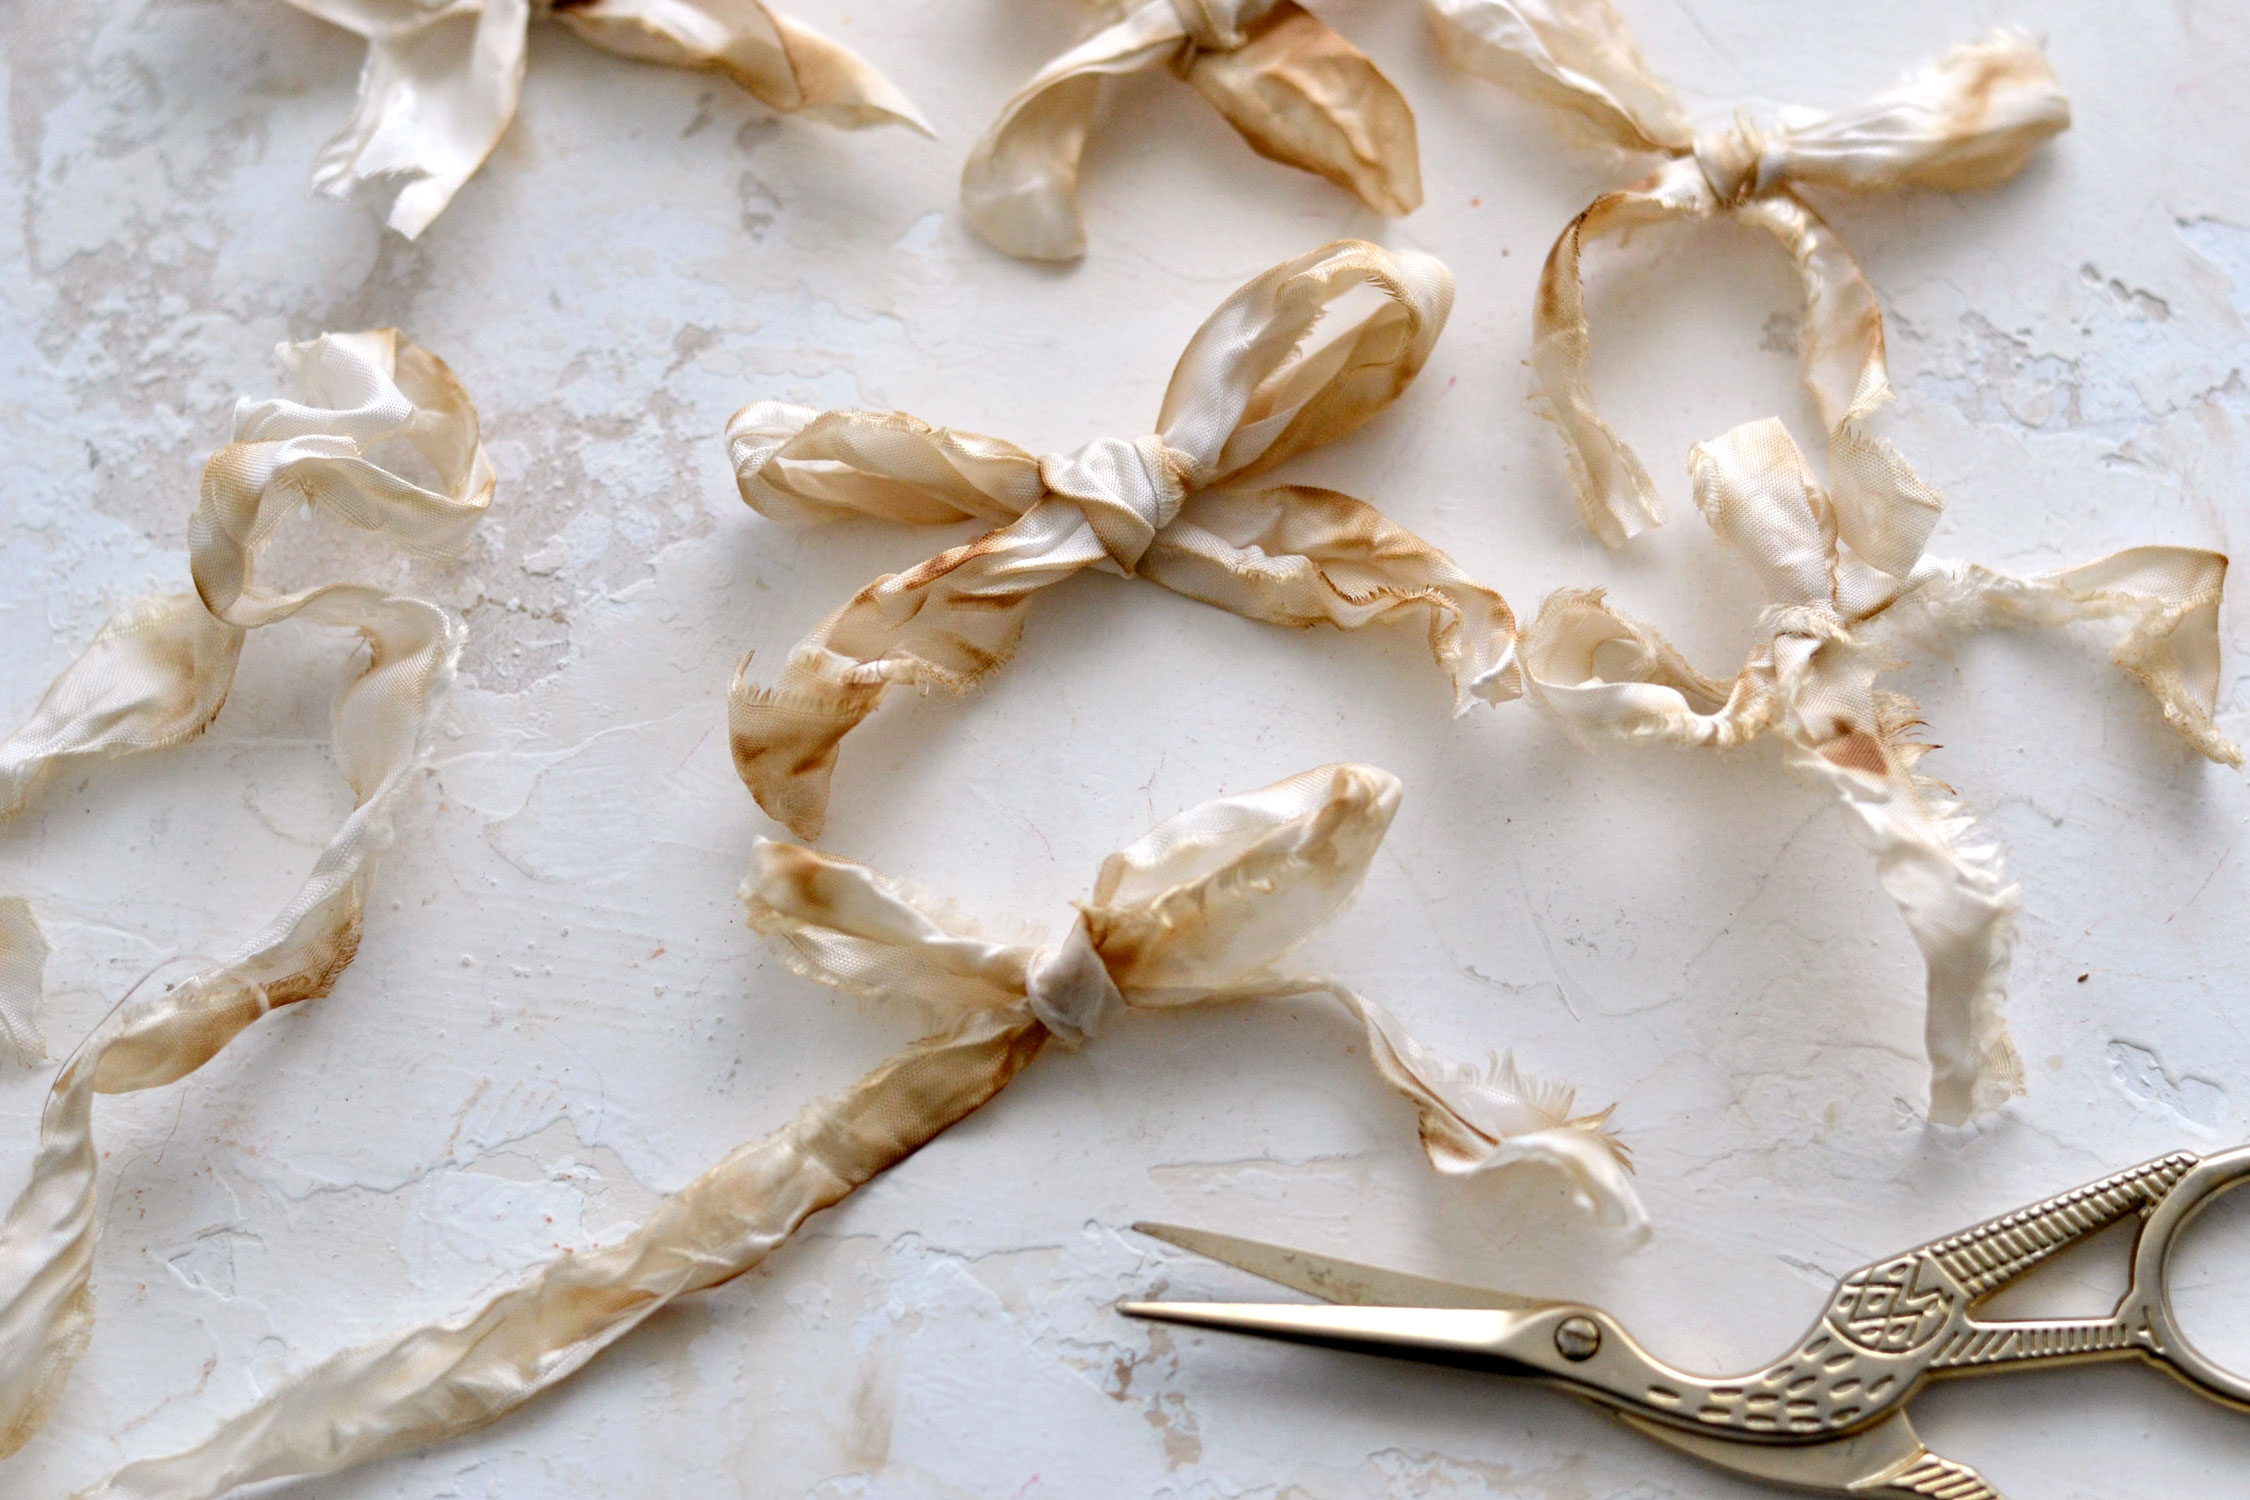
Next, we need some ribbon to create a few lovely vintage bows! I used coffee-stained crinkled ribbons to make the bows, but you can use any ribbons that you love! The ribbons will actually play a role in dictating the overall vibe of our ornaments, so you can decide to use something neutral, like I did, or go with some bolder Christmasy colors if you prefer.
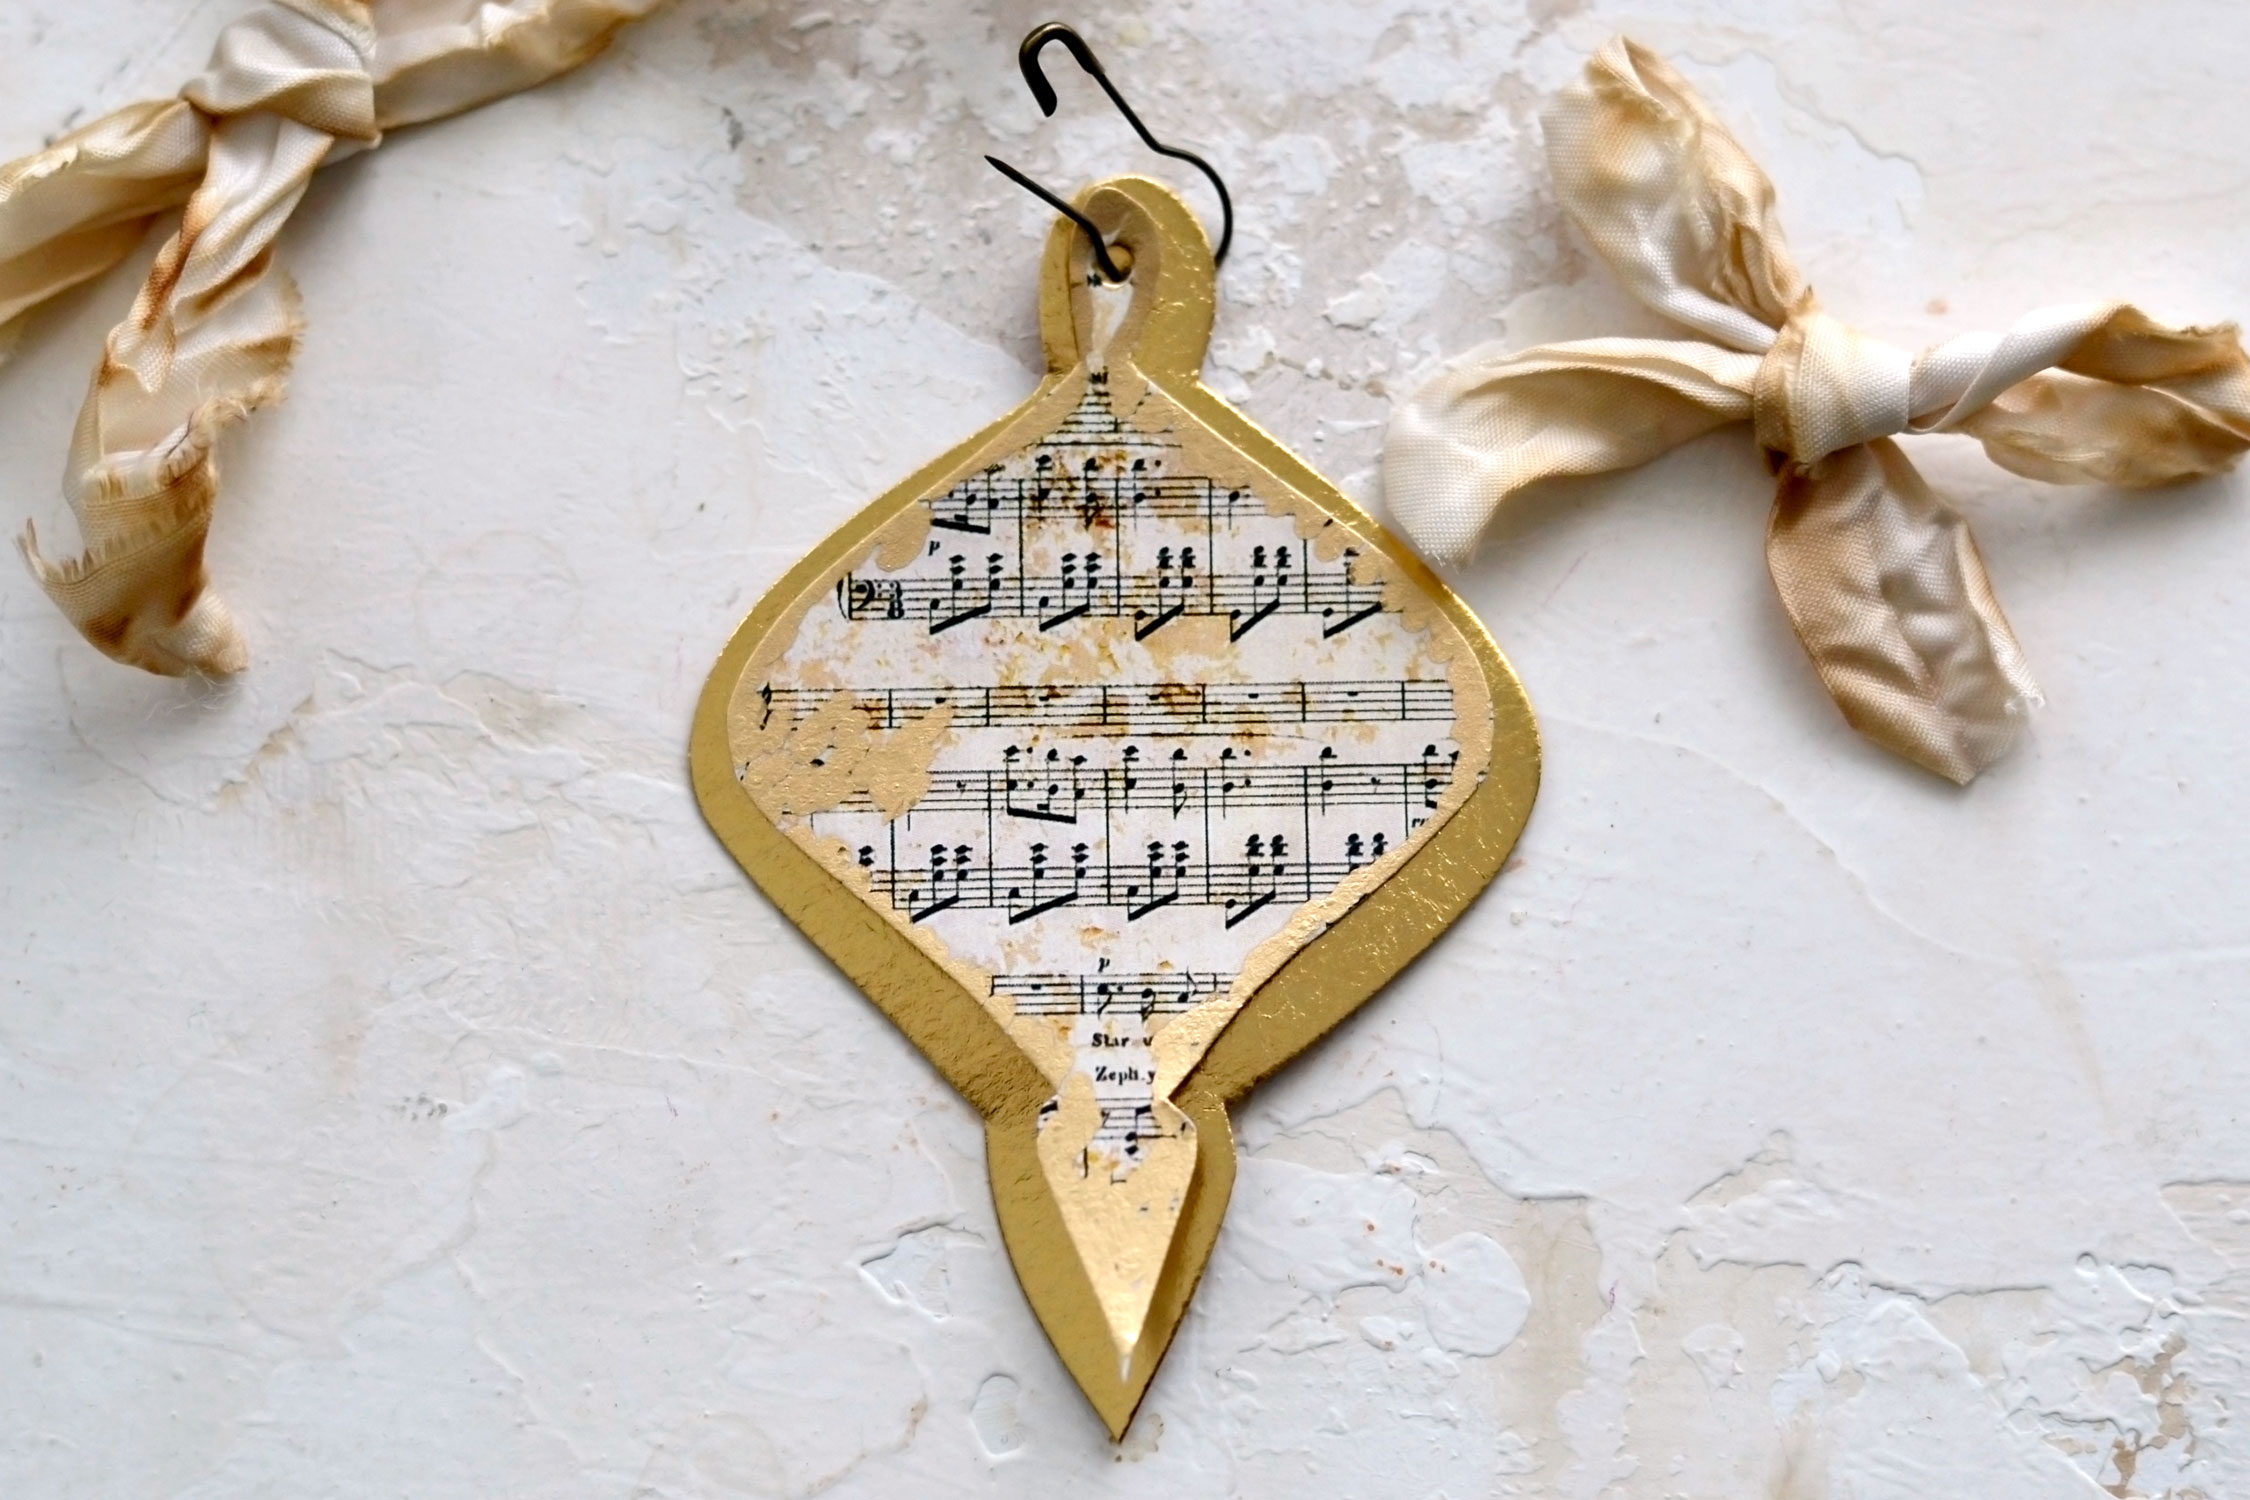
When you have the delicate bows ready, use a small gourd safety pin to hold the overlapped pieces in place. Insert the pin from the back, then simply push the crinkled bow through it (in the front) and close it.
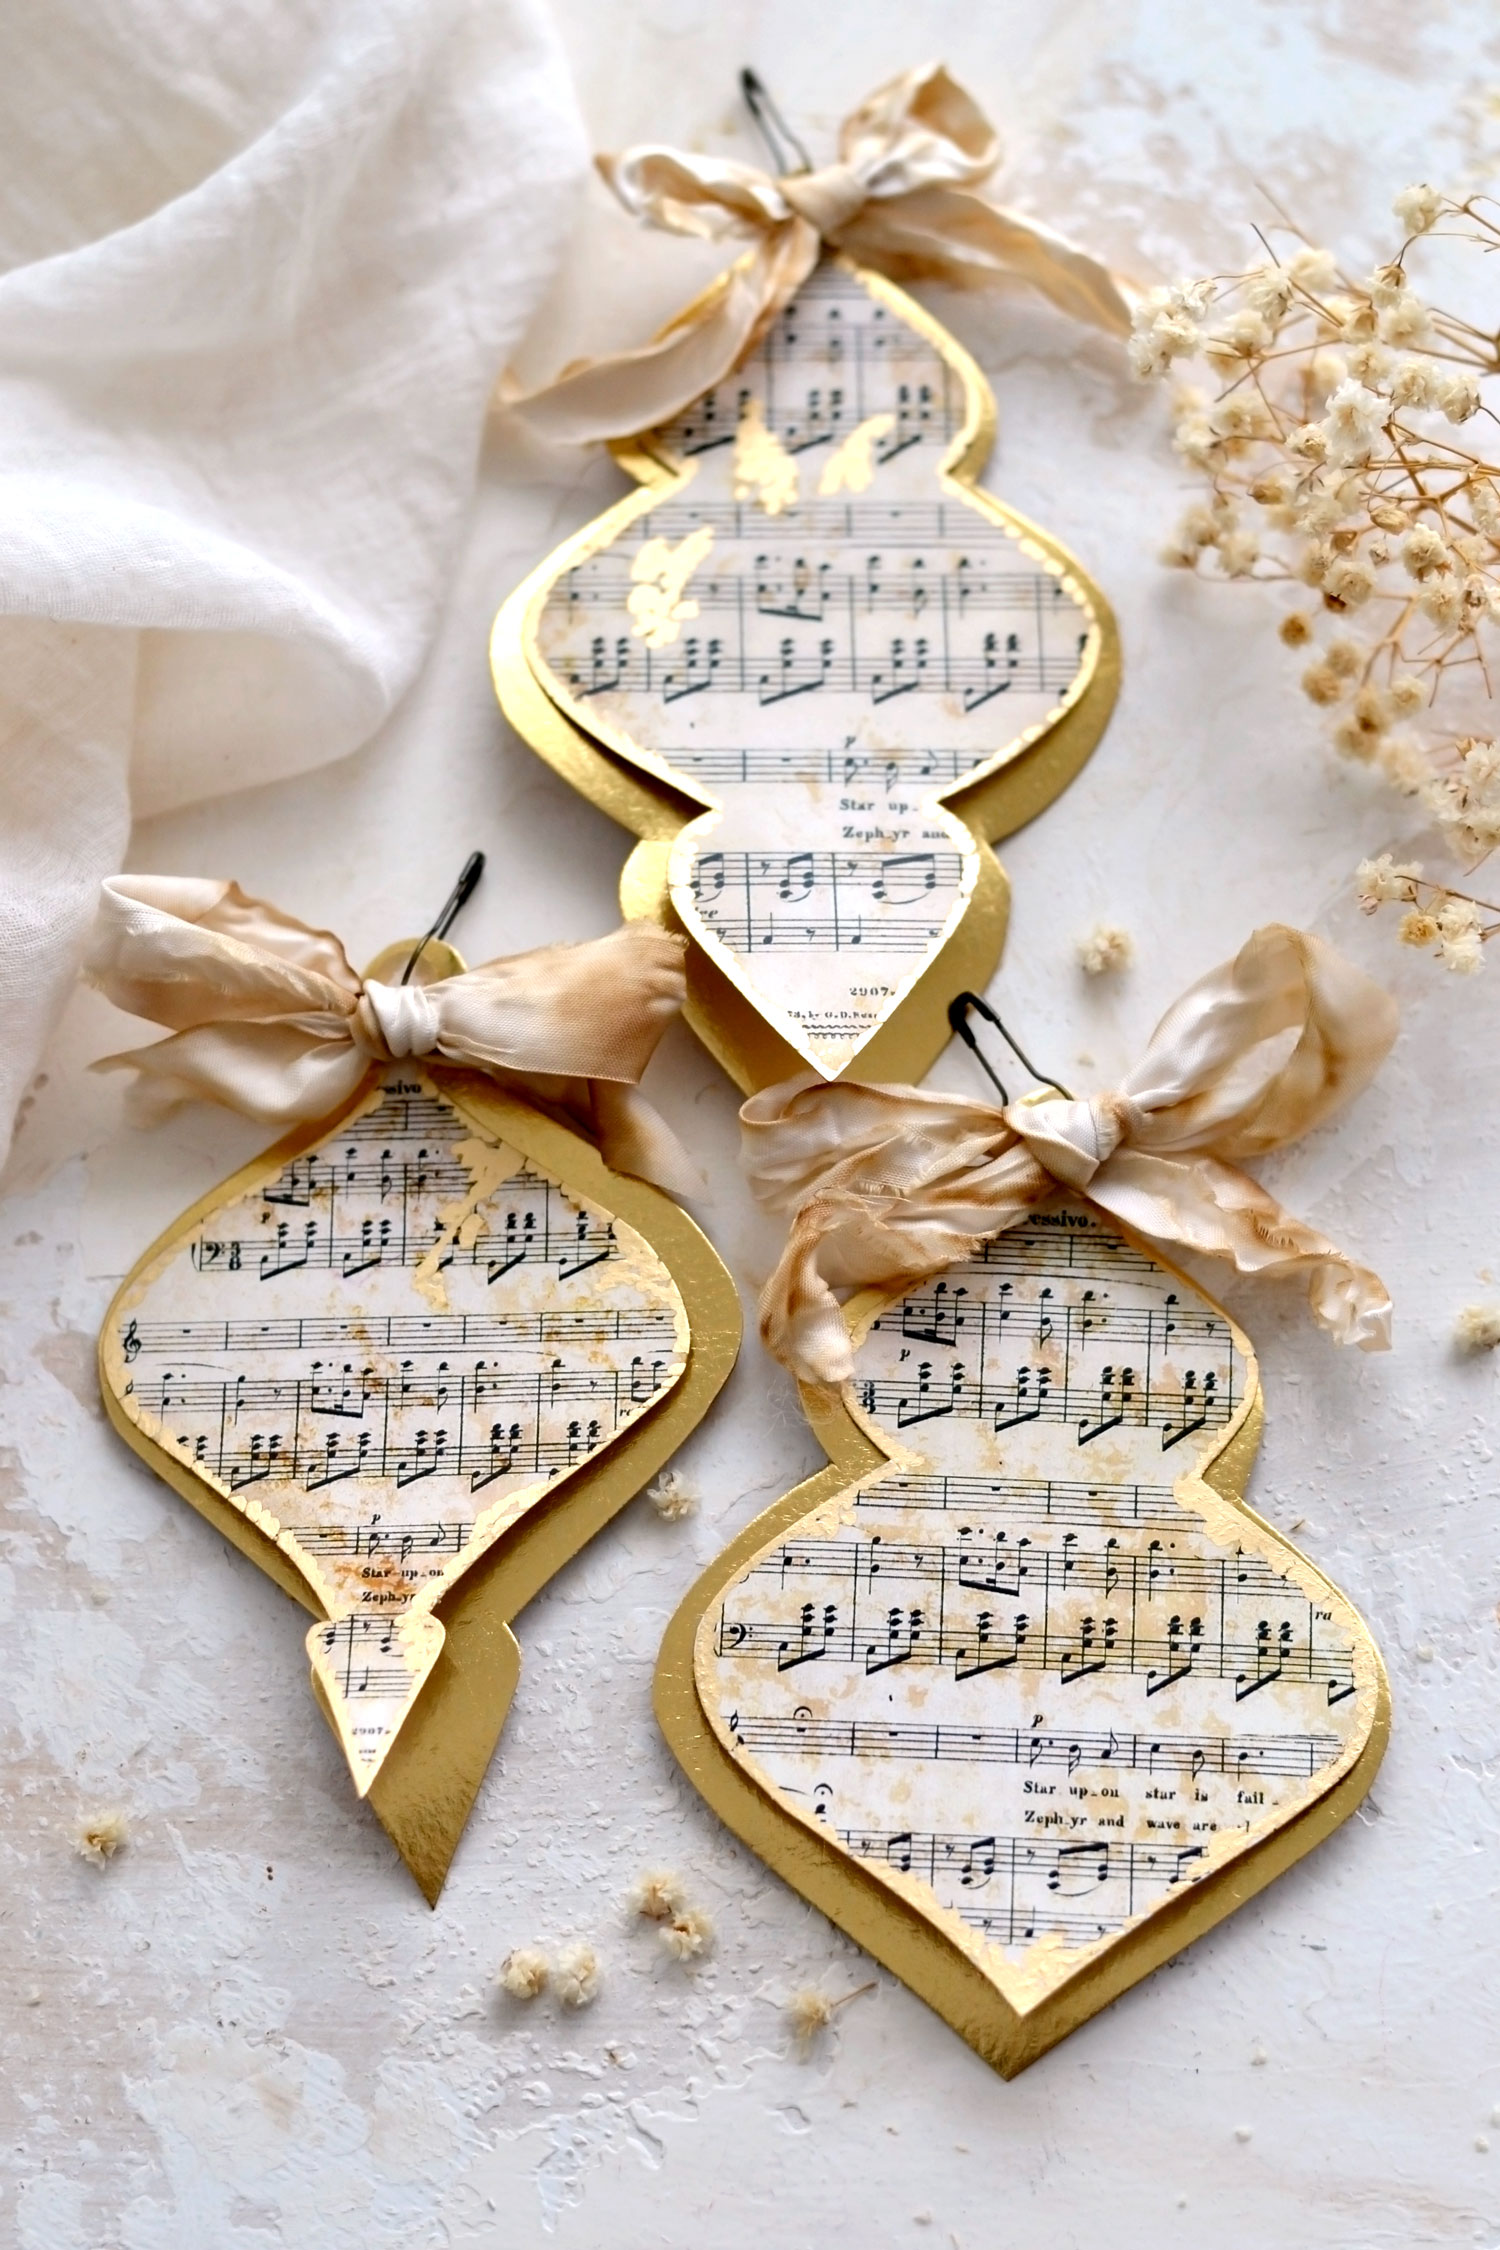
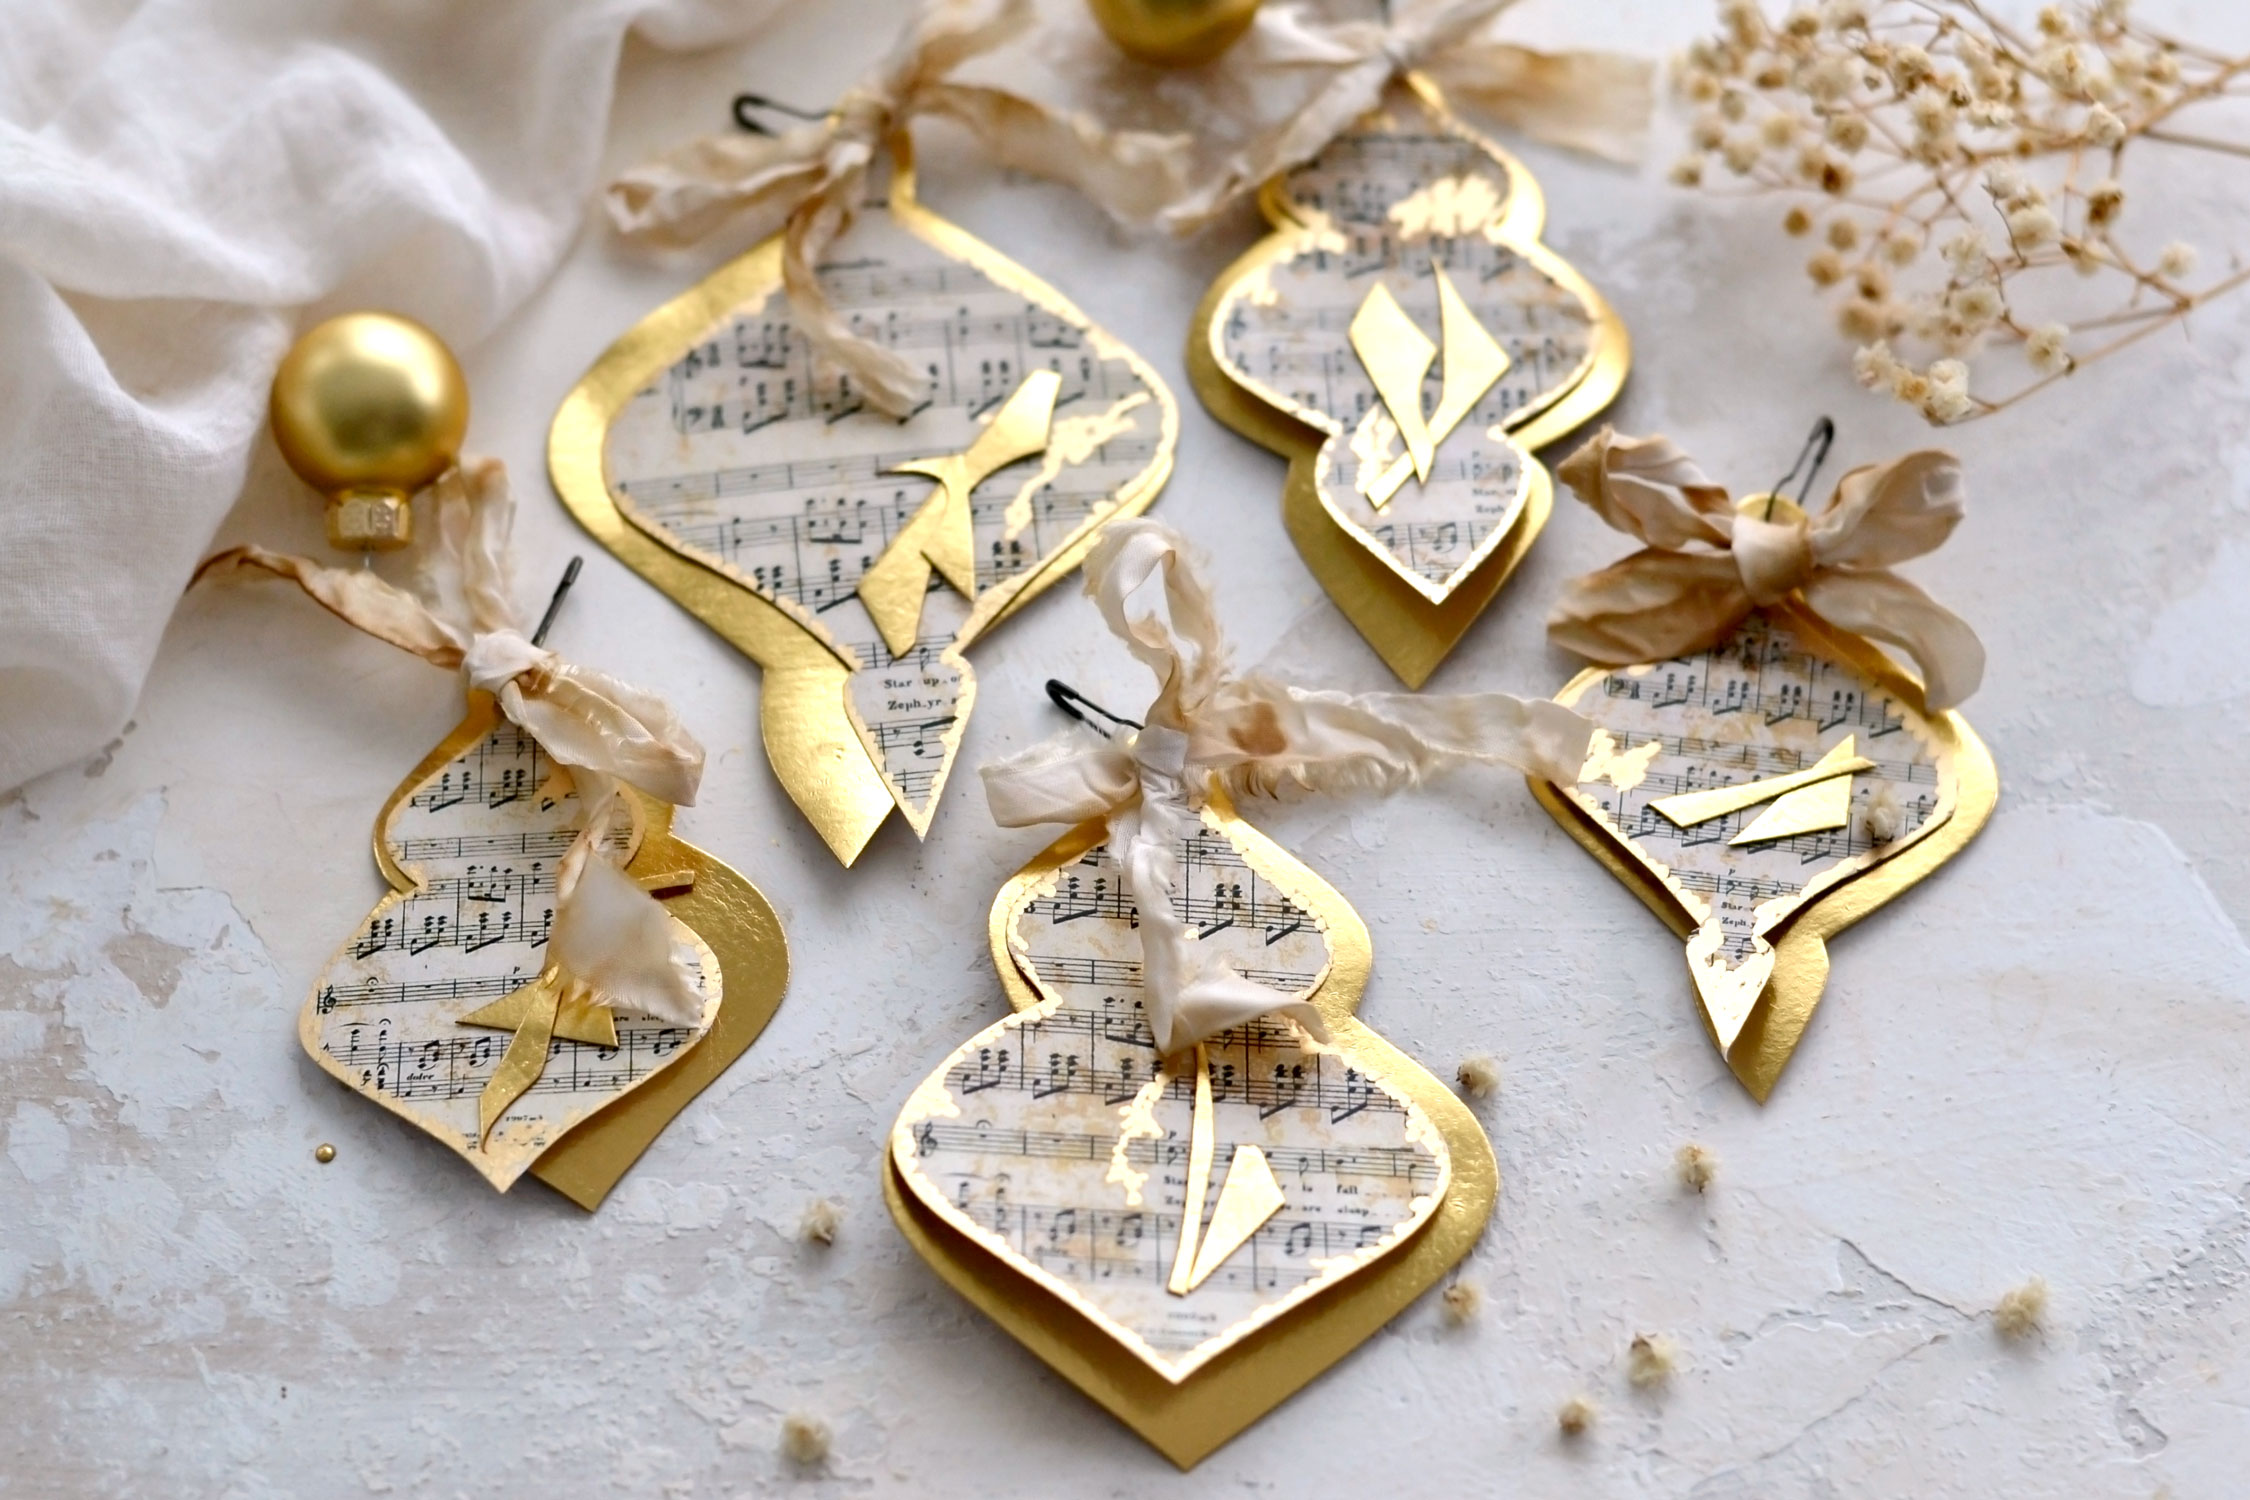
Follow the same steps for all the ornaments and take a minute to admire your gorgeous work, each and every one of these beauties will be quite unique! The fact that we only used safety pins to hold them in place gives them a nice jiggle making them perfectly imperfect, which is exactly what I envisioned!
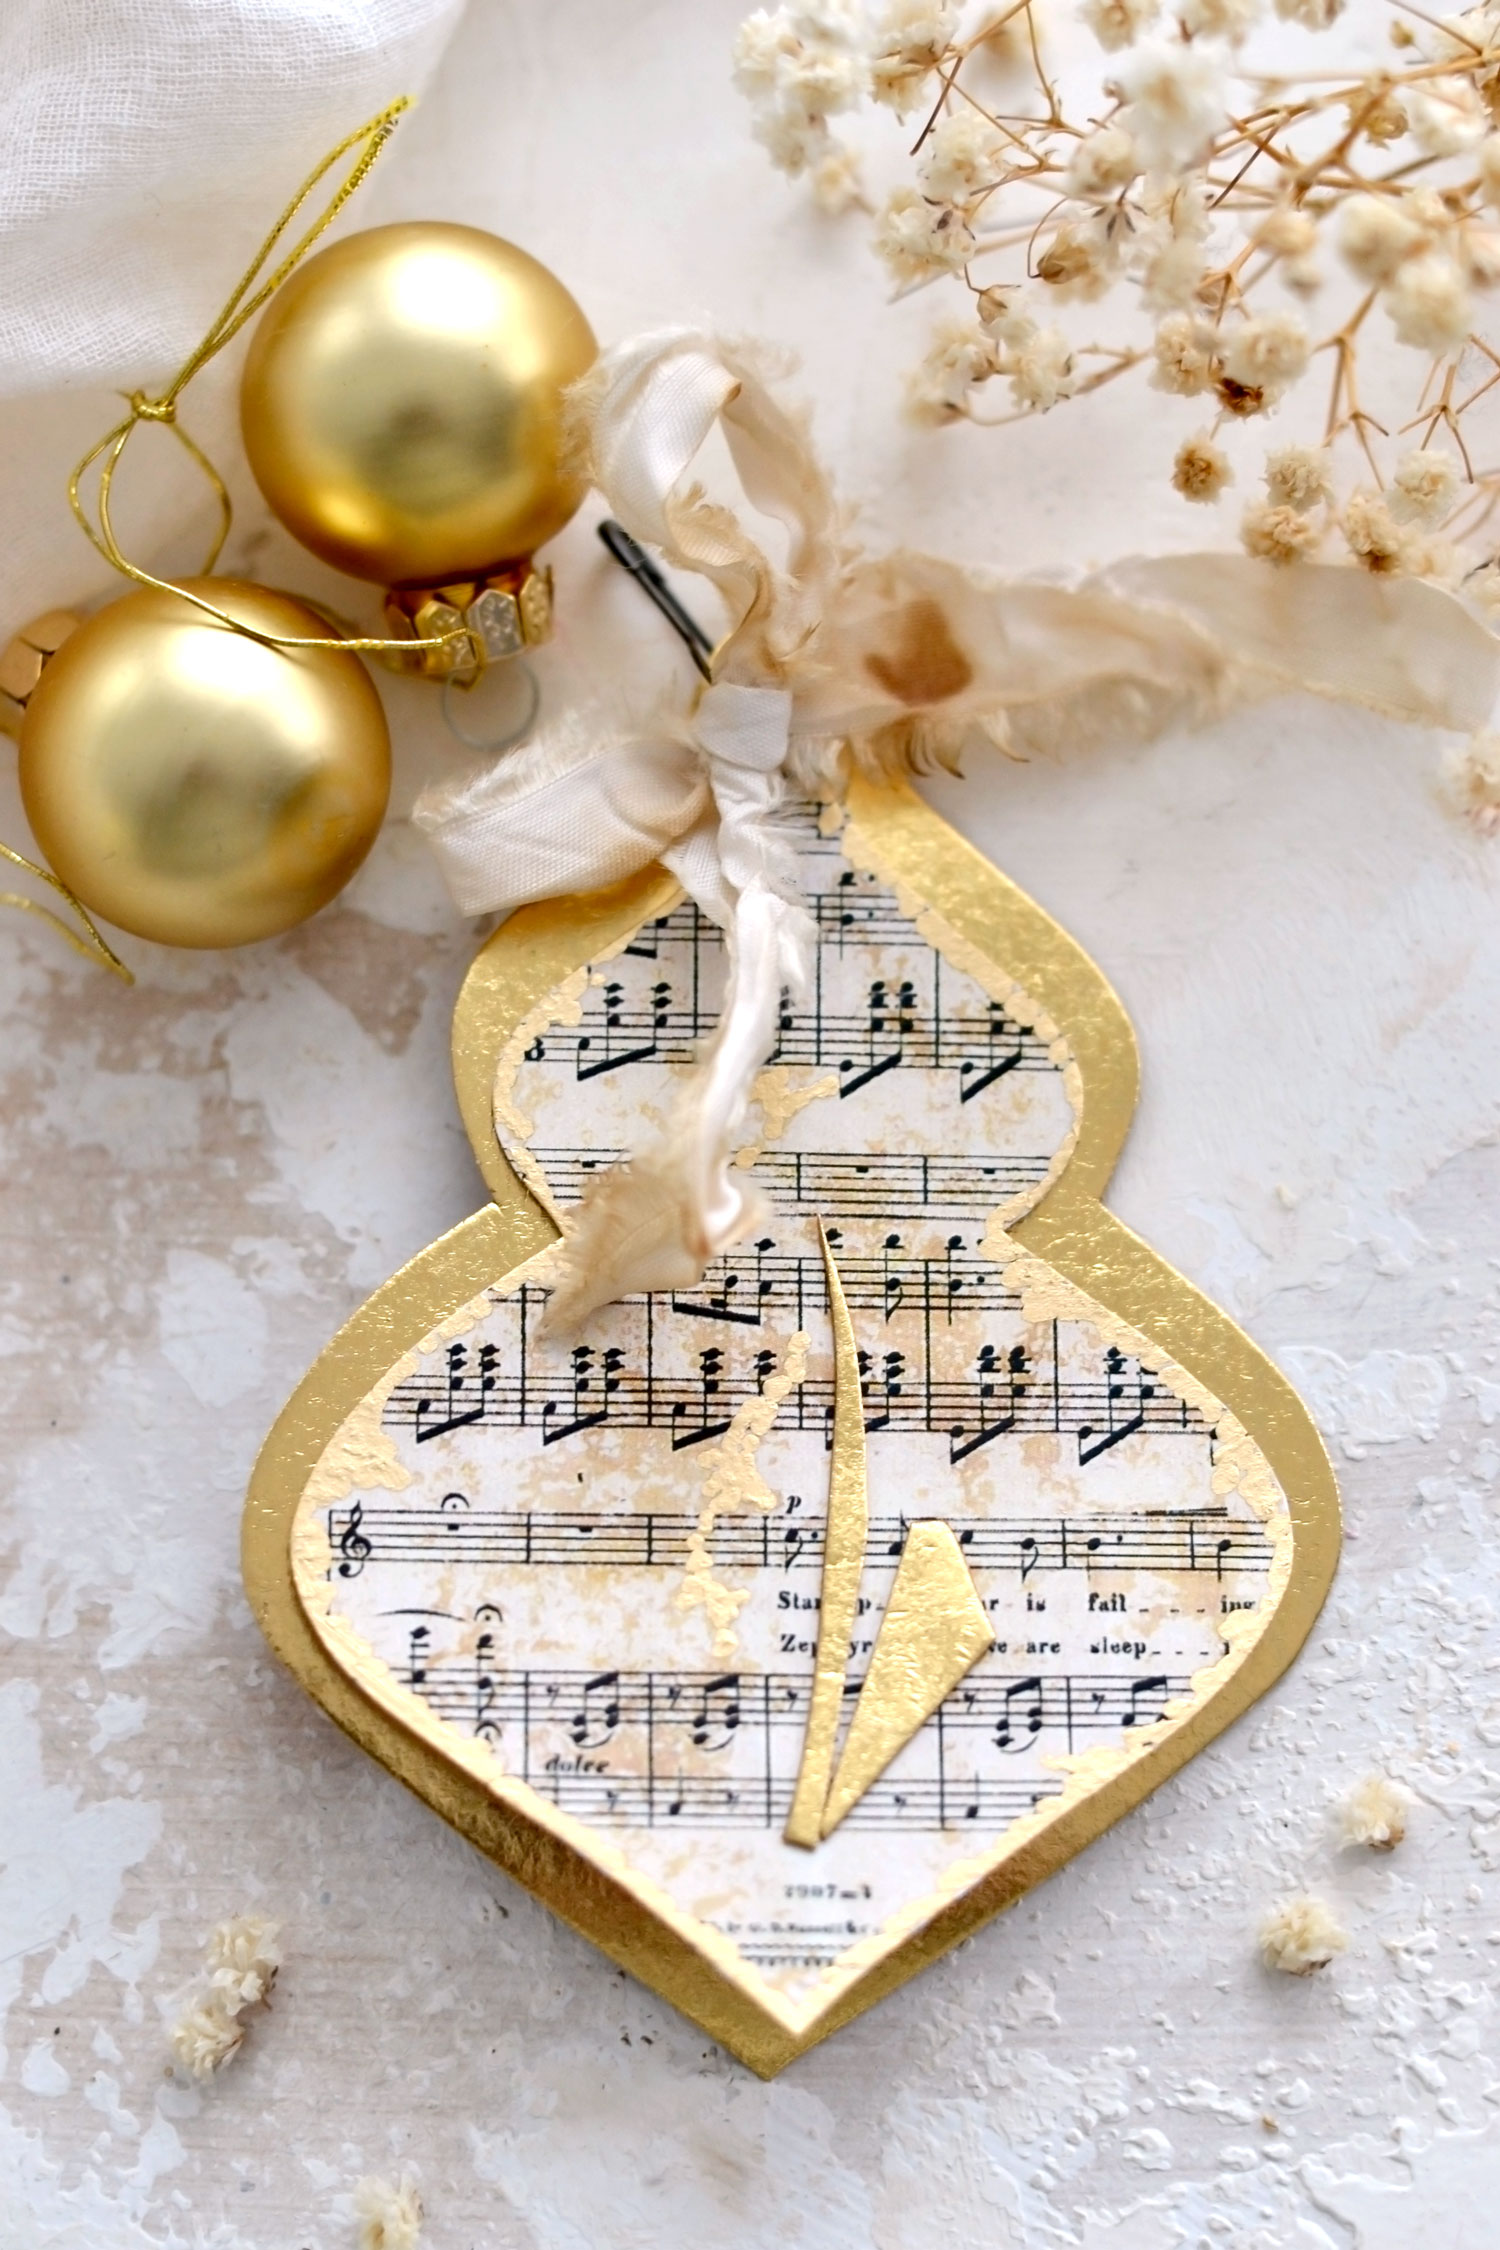
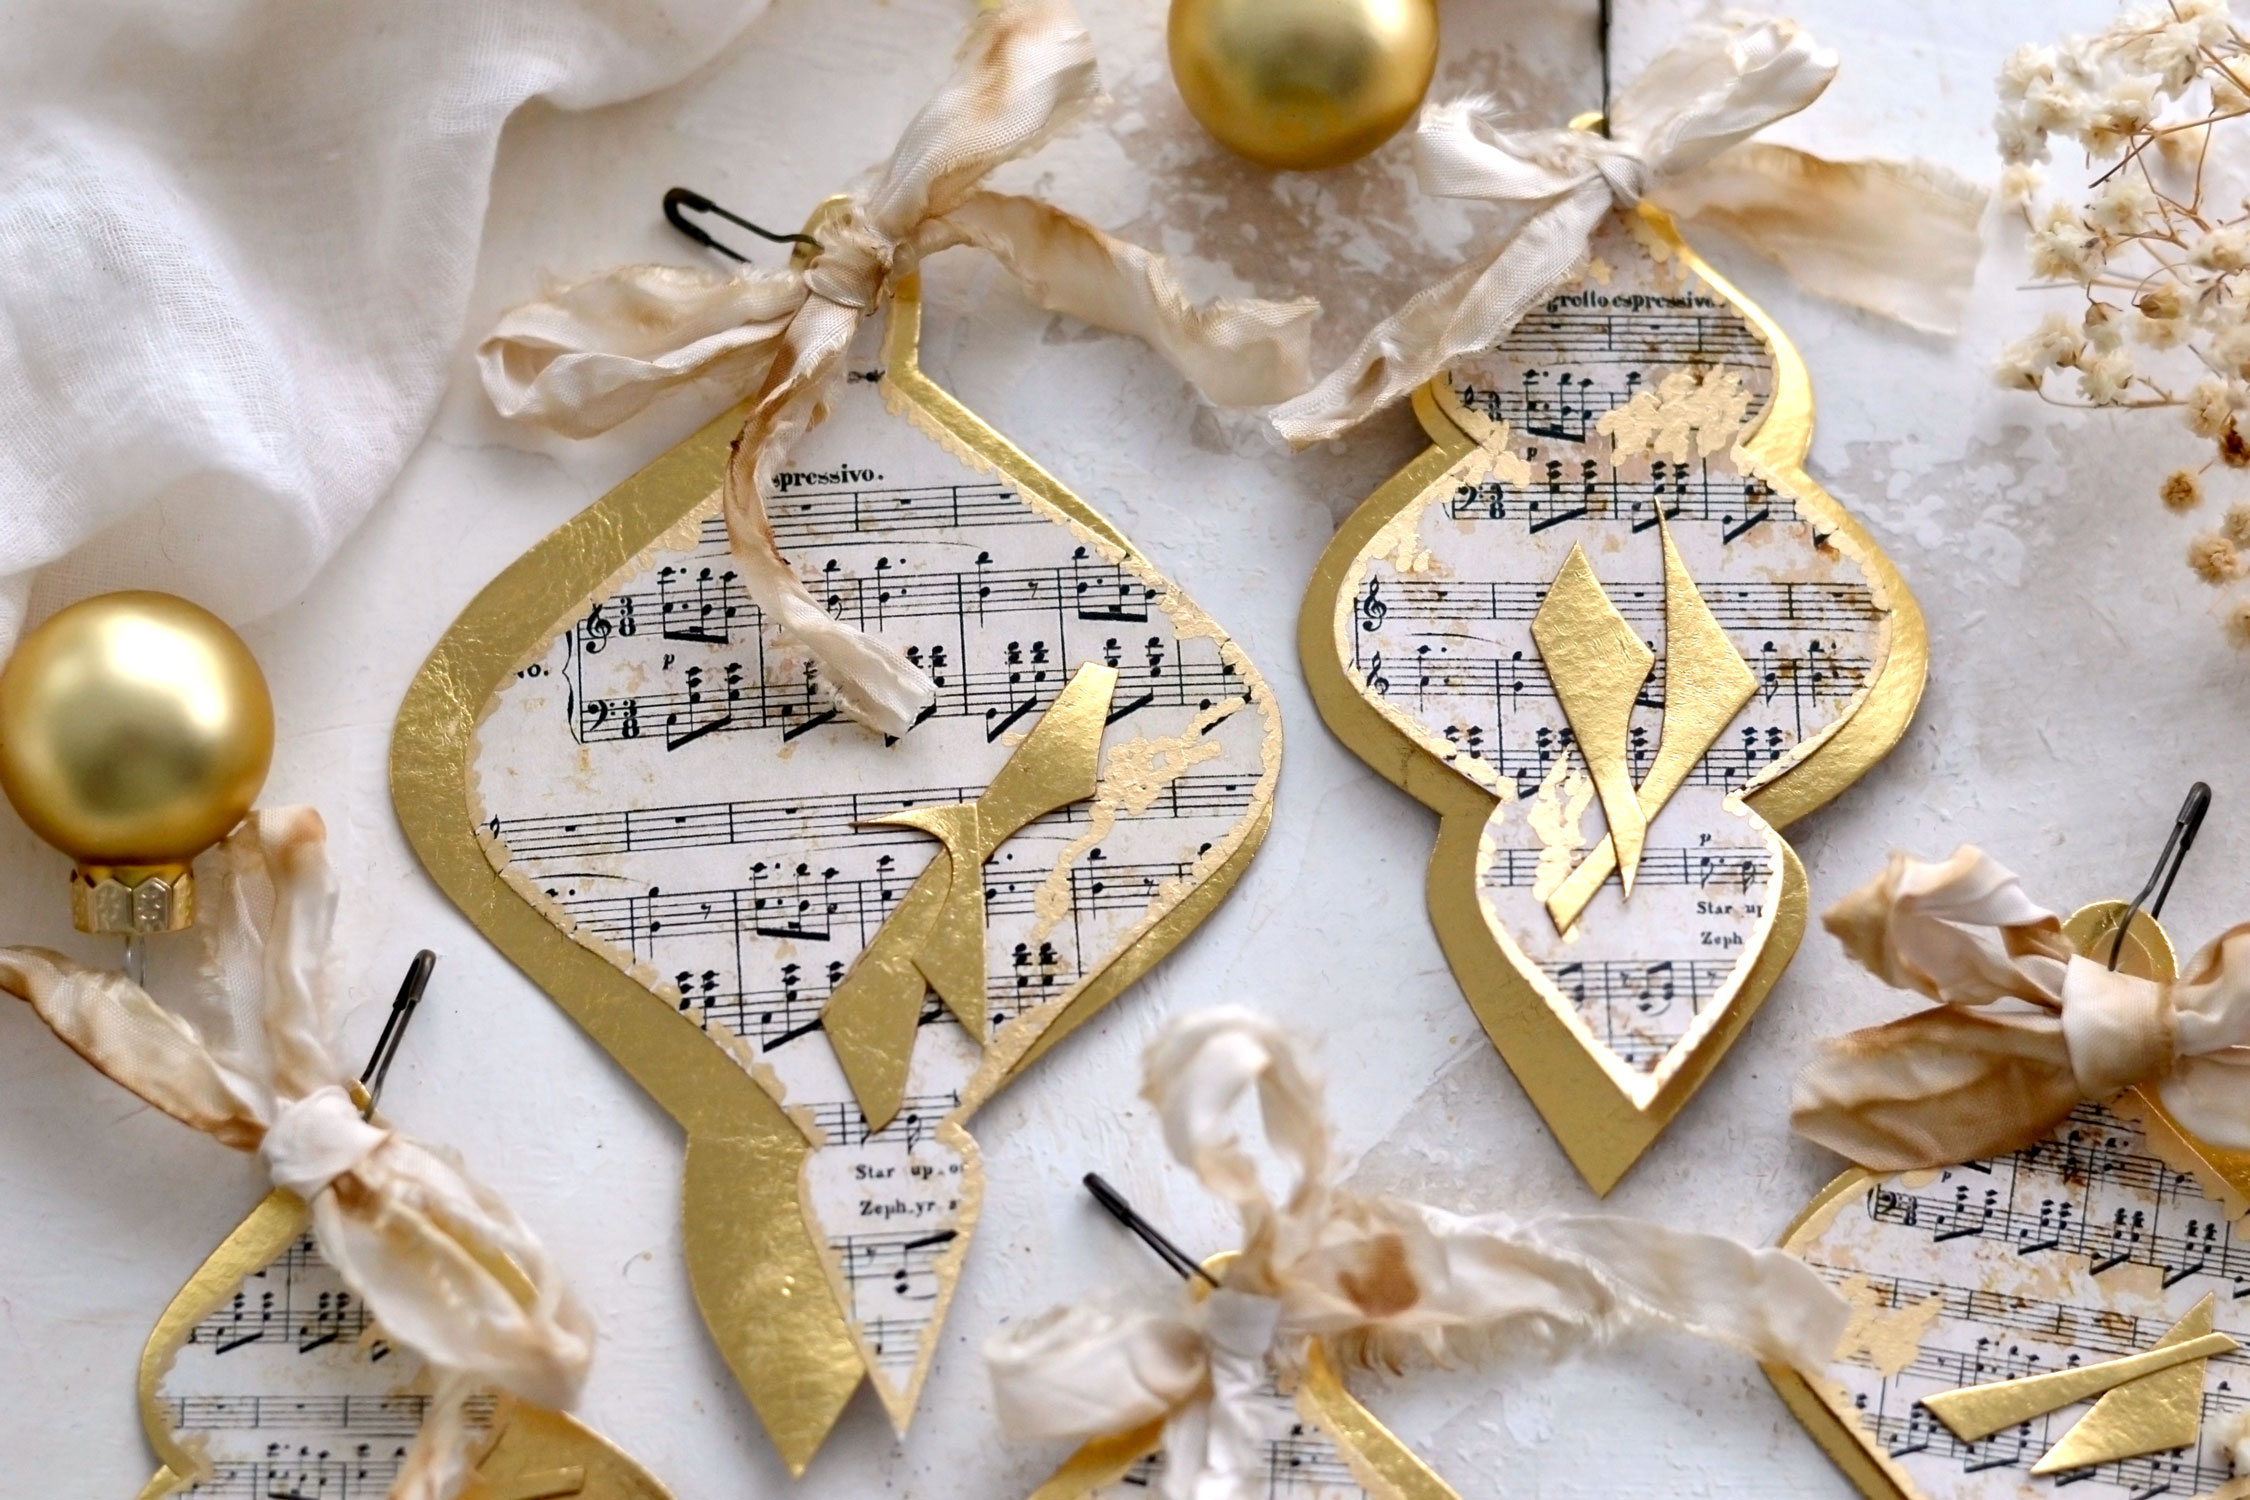
If you want, you can stop at this point or you can further decorate the ornaments to your own liking! I actually had a few scrap pieces of gold cardstock lying around, so I asked myself why not use them to create some ‘abstract’ embellishments on my ornaments.
It was just a moment of inspiration and I decided to go for it!
I really love how they all turned out, I feel like each of these ‘abstract’ designs adds more character and uniqueness to each piece!
And it’s a good exercise that you can try, cutting all these abstract pieces will give you a sense of freedom and will help you relax and clear your mind! Just try not to think too much while gluing the pieces on top and just go with the flow!
Of course, you can use any other embellishments that you want, just follow your inspiration for the moment and see where your creativity takes you!
But just to give you a few ideas, you could punch a few Christmas shapes like stars or snowflakes and glue them on top. Or you could use some gold Christmas stickers if you have some around! Other Christmas images will work too if you want to keep things festive, but I think some birds or flowers will work as well!
This project can be easily adapted to your needs, so feel free to get as creative as you want!
If you feel like completely changing their overall appearance, you can! Simply choose a different cardstock for the back instead of the gold one! As I mentioned before, you can go with more neutral colors or you can choose more Christmasy colors like red or green to give them even more of a festive vibe. But it really depends on your preferences and how you are planning on using them. If you want to hang them in your Christmas tree, you can choose specific colors that would match your color scheme for this year. I actually have the majority of my Christmas ornaments in gold, so I can’t wait to find the perfect place for these beauties in our Christmas tree!
These DIY Sheet Music Christmas ornaments are actually quite versatile and because of their two overlapped parts, they can be easily turned into unique Christmas cards! Just ‘open’ them and write your Christmas wishes inside, the receiver will be able to hold on to them for many years, while also hanging them on their Christmas tree! They can also be used to embellish Christmas gifts or even your junk journals if you are planning on making a Christmas-themed series.
They could be a great addition to your home decor too! Just hang them on door knobs (even drawers) with a little bit of greenery or even some gold mini jingly bells, and hopefully, they will bring a little bit of magic to your home this year! You might also like some other lovely Sheet Music Ornaments HERE and some Cute Paper Music Ornaments HERE.
Happy crafting,
Diana / Dreams Factory






Liz M Gutierrez says
Lovely and simple idea. I have a lot of those pins that I can use for this. Thank you
Karen Watson says
Hi Liz, that’s great that you have the pins already! Have fun crafting these!