Lavender Sachets DIY
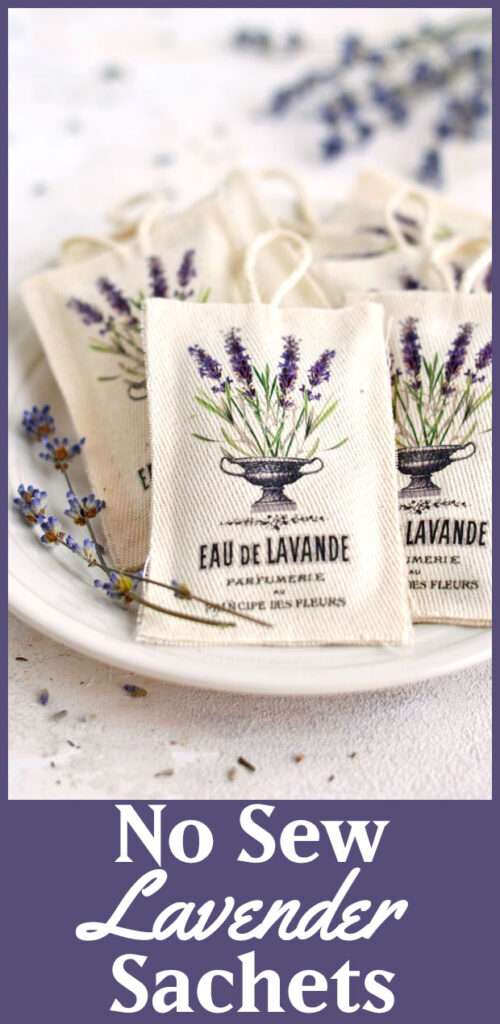
Hello, hello Graphics Fairy friends! I’m Diana from Dreams Factory and today I’m sharing another fun project with you – some Lavender Sachets DIY and they are no sew, so leave your sewing machine in the closet and the needle and thread too! It’s a beautiful and easy diy project that will make your home (and your drawers) smell amazing. The key ingredient for making this project? Some heavenly scented lavender!
Are you in or are you in? Let me start by telling you that lavender has been close to my heart for years! I simply love finding unique ways of incorporating it into our home and into our lives, whether it is its fresh or dried flowers or its more concentrated version – the powerful lavender essential oils. So far I’ve used lavender in body scrubs, detox bath soaks, in my diffuser … to name only a few.
Scent
You could of course make your own version of this project and use any scent that you like (and any graphic image that you like), but since we are doing a Lavender themed project for today, obviously that is the scent that we will be using.
No Sew DIY Lavender Sachets Supplies
We will be needing a few key ingredients – scrap fabric, a glue gun (not my best friend, but the best choice for this no sew project), lavender buds , some iron on paper transfer and this beautiful French ephemera lavender printable that I created for you! The iron on transfer technique might be familiar to you, I’ve used it before in this DIY French Ephemera Fabric Labels project. It’s definitely one of my favorite method of transferring an image to fabric and once you get the hang of it, it can become quite addictive!
Dried Lavender
Depending on where you live, you can grow Lavender flowers in your yard, it’s a beautiful hardy plant if you have the right type of soil and of course you have the added benefit of the scent when you walk past it! If you aren’t able to grow it yourself, you can buy it from many sources online. Amazon has loads of different brands to choose from, but there are lots of small independent growers online as well and you may have a grower near you. Visiting a Lavender farm during Lavender season is a real treat, I highly recommend it! They often have Lavender festivals with all sorts of products that you can purchase and you can learn about the different varieties of the plants. There are so many!
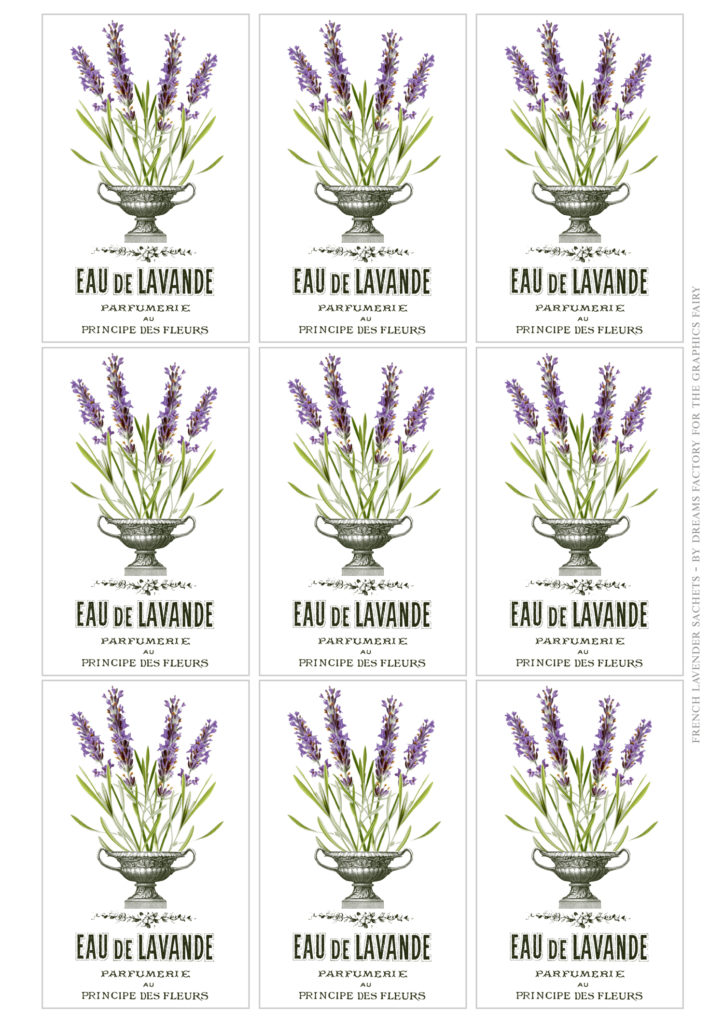
Let’s talk about this gorgeous French Lavender Sachets printable for a second, shall we? 🙂 I created this collage using stunning images from The Graphics Fairy (thank you Karen for all your amazing work!) and I loved the fact that even though each element was quite simple on its own, they all managed to PERFECTLY merge and complement each other so well, when put together. Of course you can use this printable on so many other different projects and I really encourage you to do that! Creativity can open so many doors in so many different ways, for each and every one of us, we just have to open our heart and our mind will follow!
—> Click here to download the full size PDF – regular <—
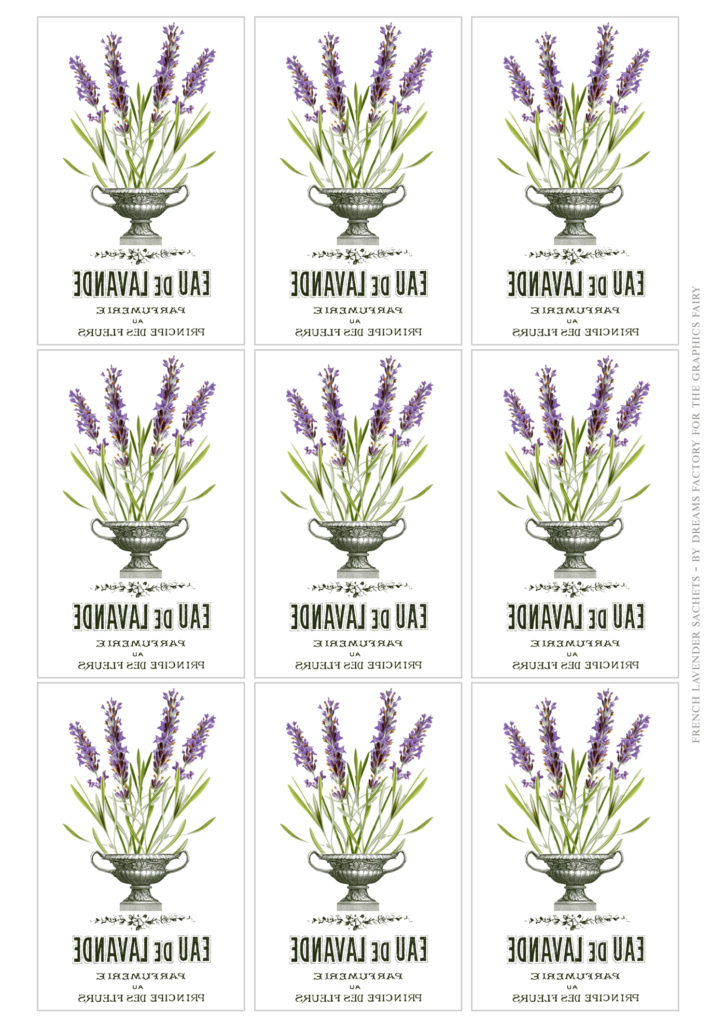
—> Click here to download the full size PDF – mirror image <—
I also created a pattern that will help you when tracing and cutting your DIY No Sew Lavender Sachets to size, just print this on cardstock paper and use it on your fabric.
—> Click here to download the full size PDF <—
How to make the DIY No Sew Lavender Sachets
SUPPLIES:
- fabric
- iron on paper for injket printers OR iron on paper for laser printers
- printer
- pencil
- scissors
- cardstock paper (for the pattern)
- iron
- baking paper
- baker’s twine
- glue gun
- lavender buds
- teaspoon
- small bowl
- French lavender printable (always use the mirrored image for iron on transfers!)
NOTES: The iron on paper I’m using is from a European company called Forever, if you ever find them in your country, I really recommend them. I haven’t tried the iron on transfer paper mentioned above, but from what I’ve heard online from people using it, they got great results.
As a general rule, make sure you always check the instructions on your package when it comes to actually printing the image (you might need to make different settings on your printer) and actually ironing and transferring the image on your fabric.
If you can’t find iron on paper where you live or just want to try other transfer methods, Karen has another great tutorial here – How to print on fabric using Freezer paper.
Lavender Sachet DIY INSTRUCTIONS:
1. Start by gathering all your supplies. Print the MIRRORED lavender printable on the iron on paper, then print the PATTERN on the cardstock paper.
2. Cut the pattern and trace it on your fabric using your pencil. I traced the pattern on the back of the fabric, so if there were some pencil traces left after cutting, they wouldn’t show up in the final product.
3-4. Cut as many rectangular shapes as you want, just keep in mind that for every DIY No Sew Lavender Sachet you will need to overlap two pieces of fabric.
NOTE: If you want to use all the 9 lavender labels that I created for this project and create 9 lavender sachets (decorated on one side), you will need a total of 18 rectangular pieces of fabric!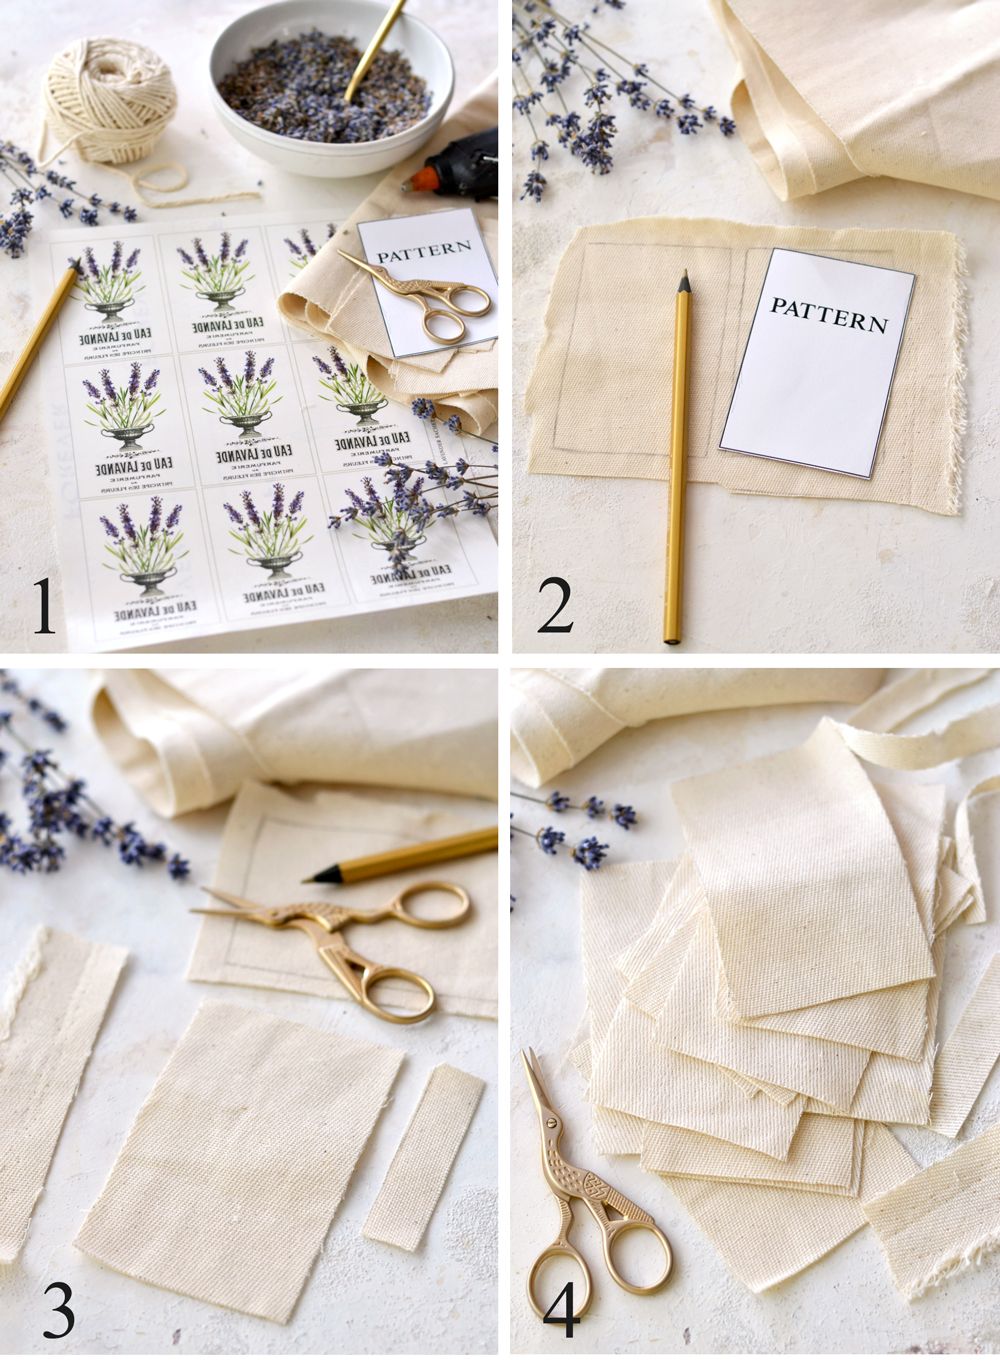
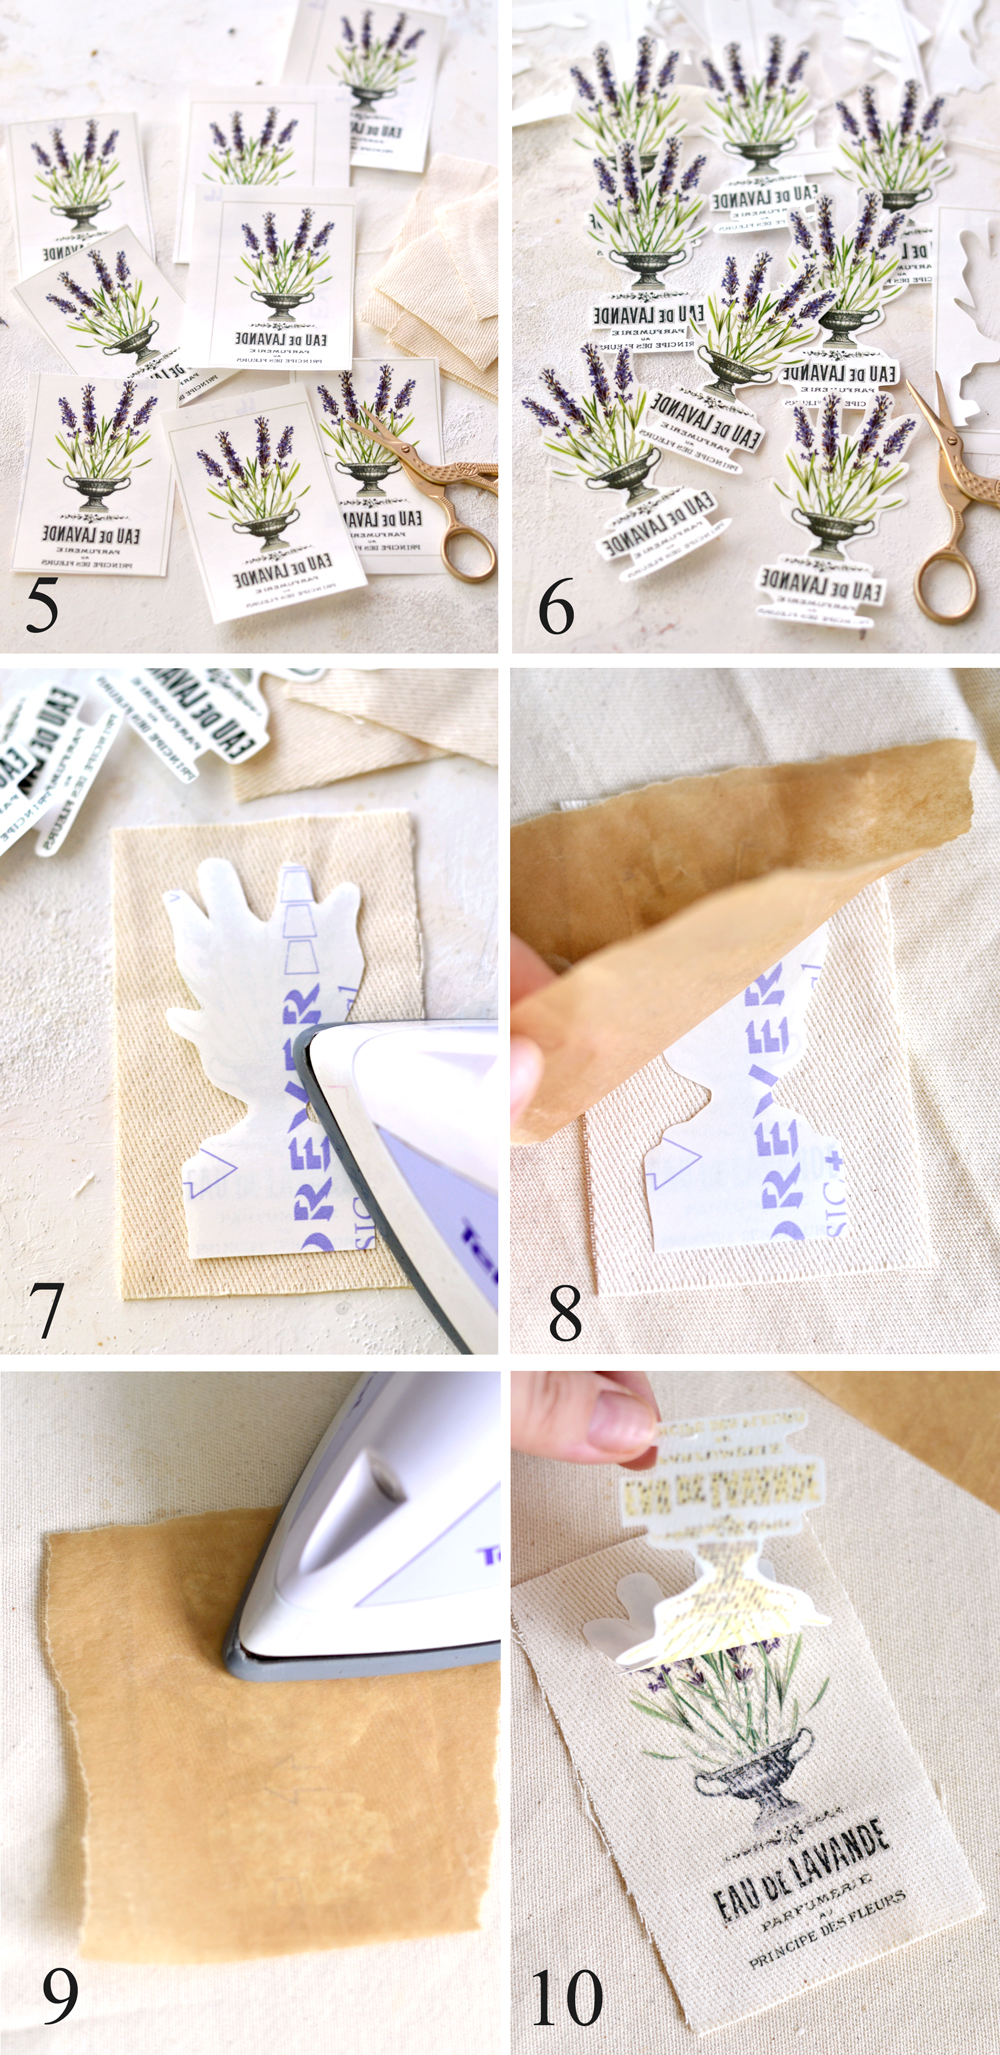
5. Roughly cut the mirrored lavender images first.
6. Then cut and remove most of the white paper around the images leaving a small white paper border around the design. I usually get so much better results when doing this step while performing an iron on transfer!
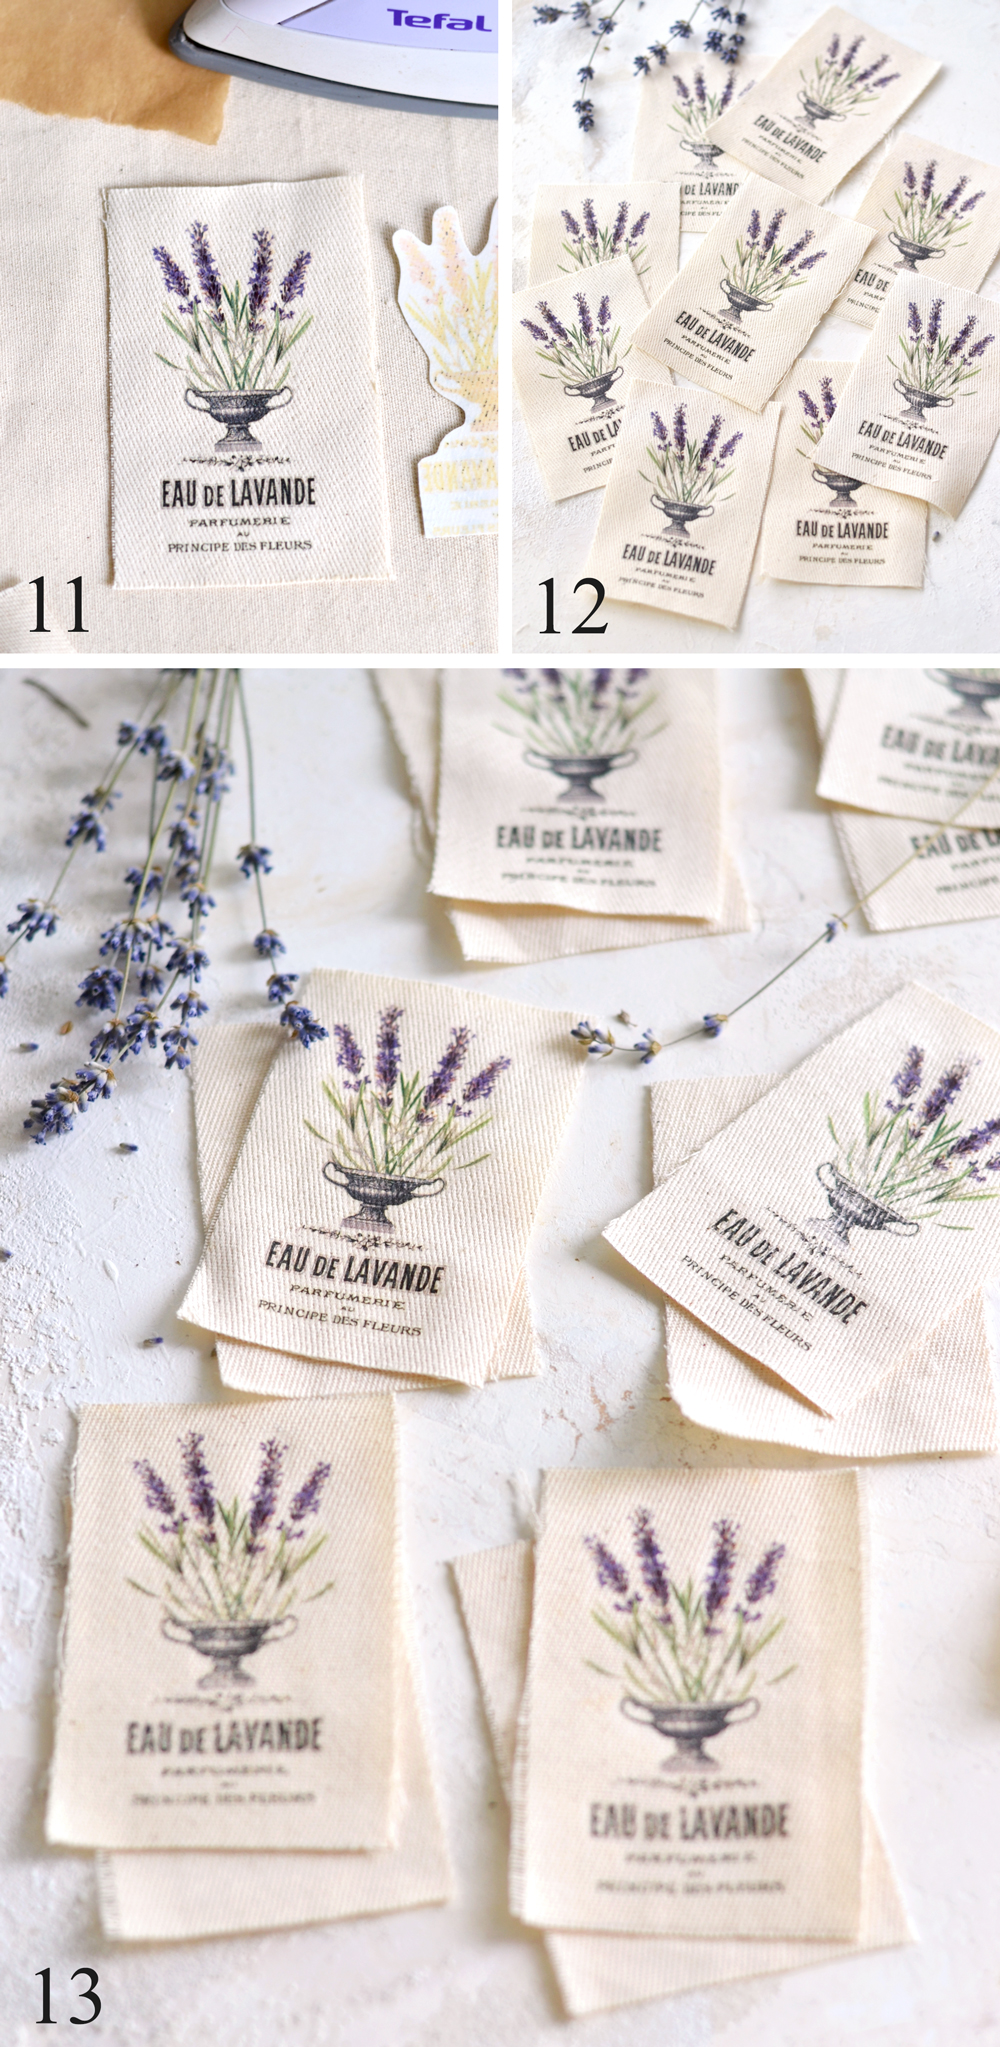
7. Flip the image so that the printed side is facing down and put it on the fabric. Heat your iron on the highest level and switch off the steam function (really important) before starting to transfer the image. I usually try to center the image as well as I can and quickly go with my iron over it to roughly fuse it on the fabric.
8-9. An iron on transfer usually requires to apply quite some pressure from 30 seconds to 1-2 minutes with your iron, so you’ll need to put your muscles to work! 🙂 A trick I’m using for making sure I’m not burning the fabric or the design … is using a piece of baking paper! You’ll need a size that would completely cover the design and the fabric and you’ll get so much better results!
10. Peel the backing paper from your design while still hot but please be careful not to burn yourself! The backing paper should come off really easy, but if it doesn’t, it’s not ready yet! So just place it back exactly as it was and iron on some more! After pealing, you should be left with some lovely lavender images perfectly transferred onto your fabric. If some of them came out not so perfect don`t worry because these are handmade items after all, they are not meant to be perfect all the time! 🙂
11 – 12. Follow the same steps to transfer all the perfect and not so perfect images to your fabric.
P.S. If we were to stop right now, we would be left with all these amazing fabric labels that could be used to decorate million of things, don’t you think?
13. Now gather all the other not printed pieces of fabric and try matching them as much as possible to their newly printed lavender pairs. Don’t expect their sizes to match up 100% (even though you used the same pattern to cut them all), because they won’t! They just won’t!
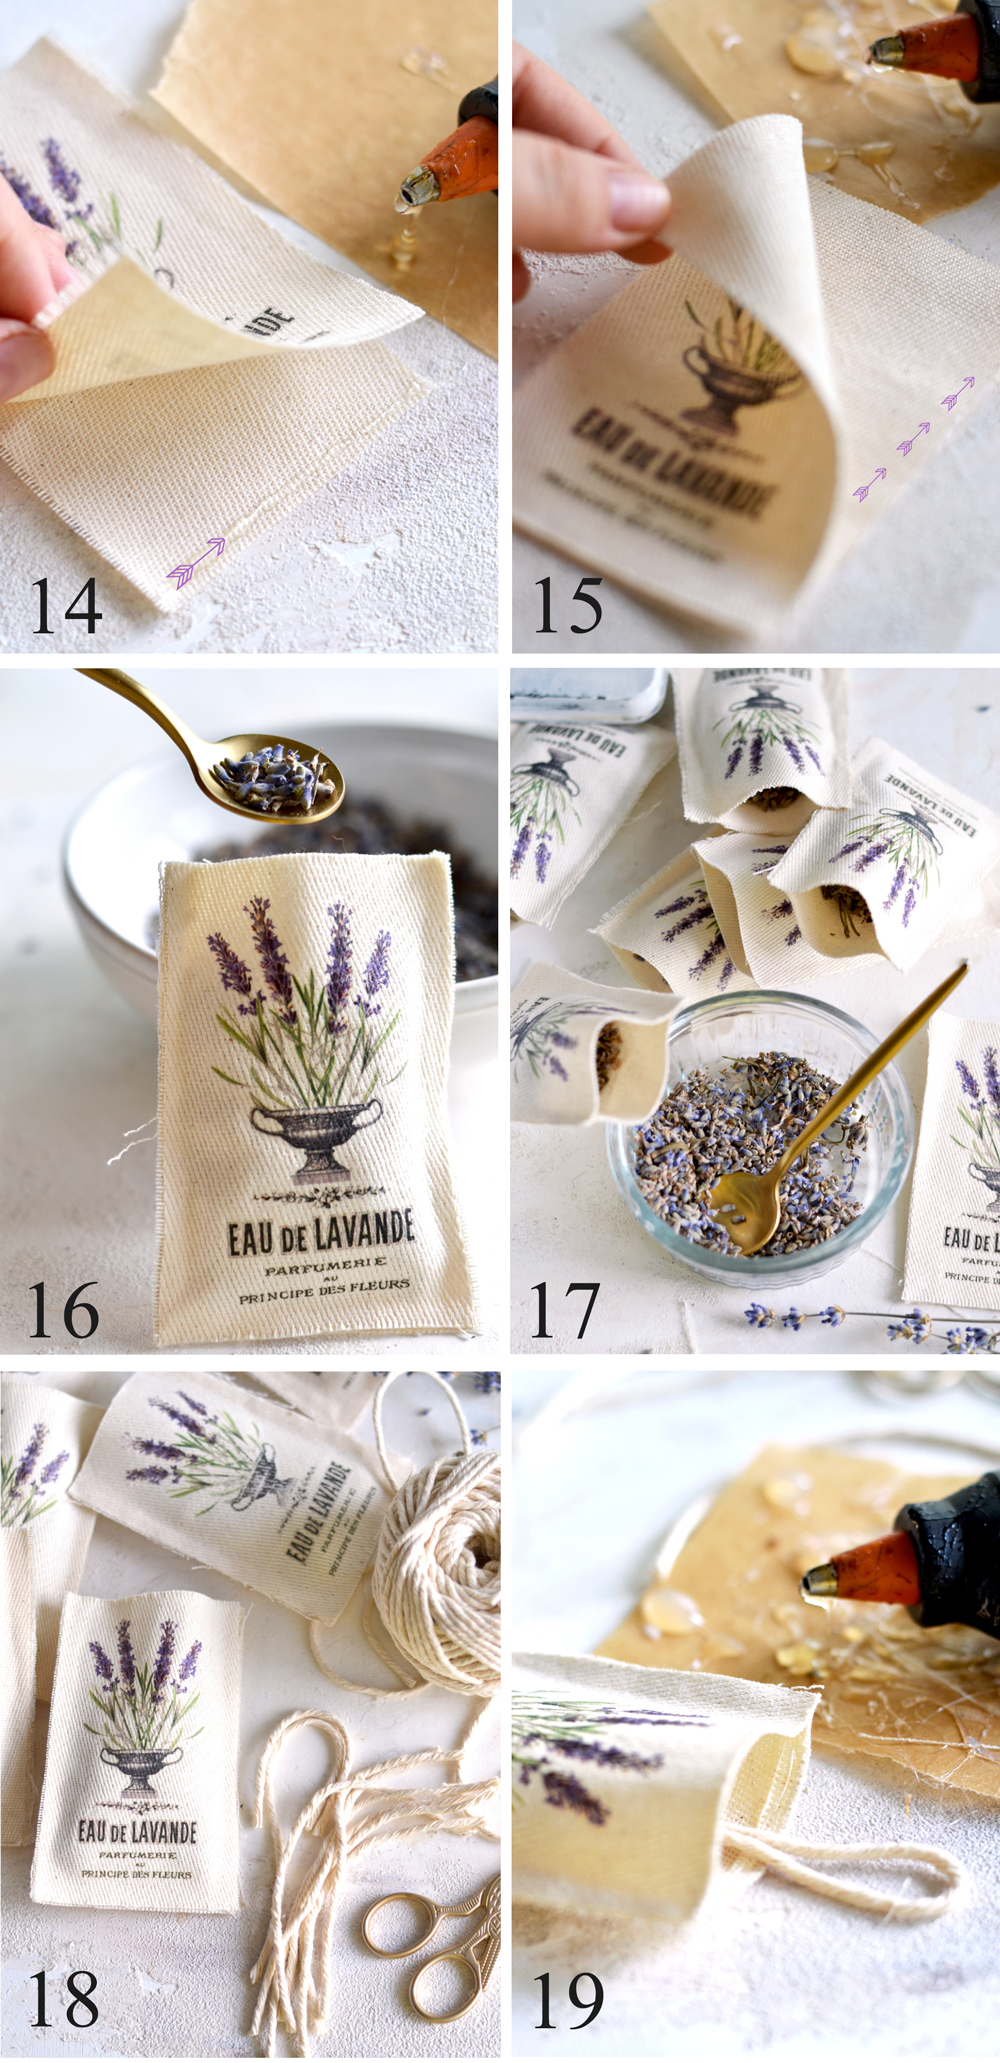
14-15. Heat your glue gun (no stitching required!) and apply a thin line of hot glue on the lower part of a non printed piece of fabric, then use your fingers to press the printed piece of fabric on top – be careful not to have hot glue spills, they will burn your fingers! Do the same on the left and right side, but make sure you leave the top of the sachet unglued. Glue and ‘assemble’ all the sachets this way.
16. Use a spoon to fill each of the little bags with beautifully scented lavender buds. I added about 7 teaspoons to each bag, but looking back in retrospective, I think I could have added a total of up to 10-12 teaspoons, for a more ‘puffier’ final look
17. Fill all the sachets with lavender and try to press it down a bit with your fingers, we’ll need some free space on top when finishing the sachets.
18. Use twine, ribbons, lace or really anything else you think it might look good with your sachets to create a cute hanger for them. This will help hanging the sachets (obviously) but will also add dimension and embellish them even more! Cut pieces of twine to the size you want and have them all ready before moving on, you can tie a knot at the end if you like.
19. You’ll have to move quickly for this final step – closing the lavender sachet bags! Start by applying a thin glue trace on the inside of the sachet, loop your twine and tuck it in, then use your fingers to press the top piece of fabric and seal everything in. Do the same for all your sachets and you are done!
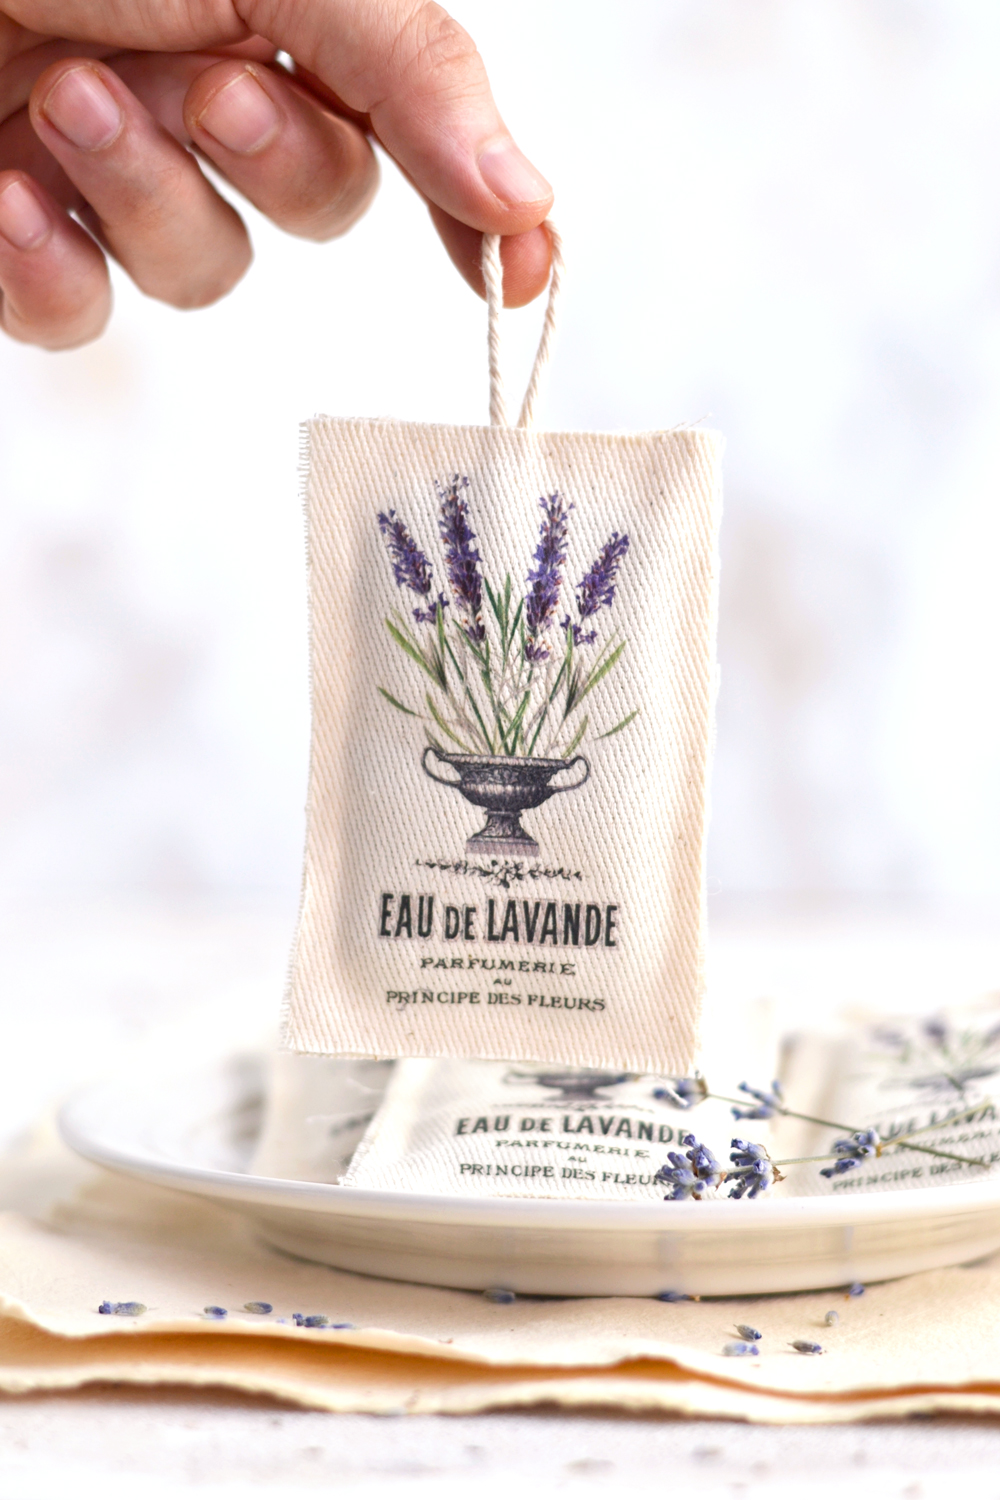
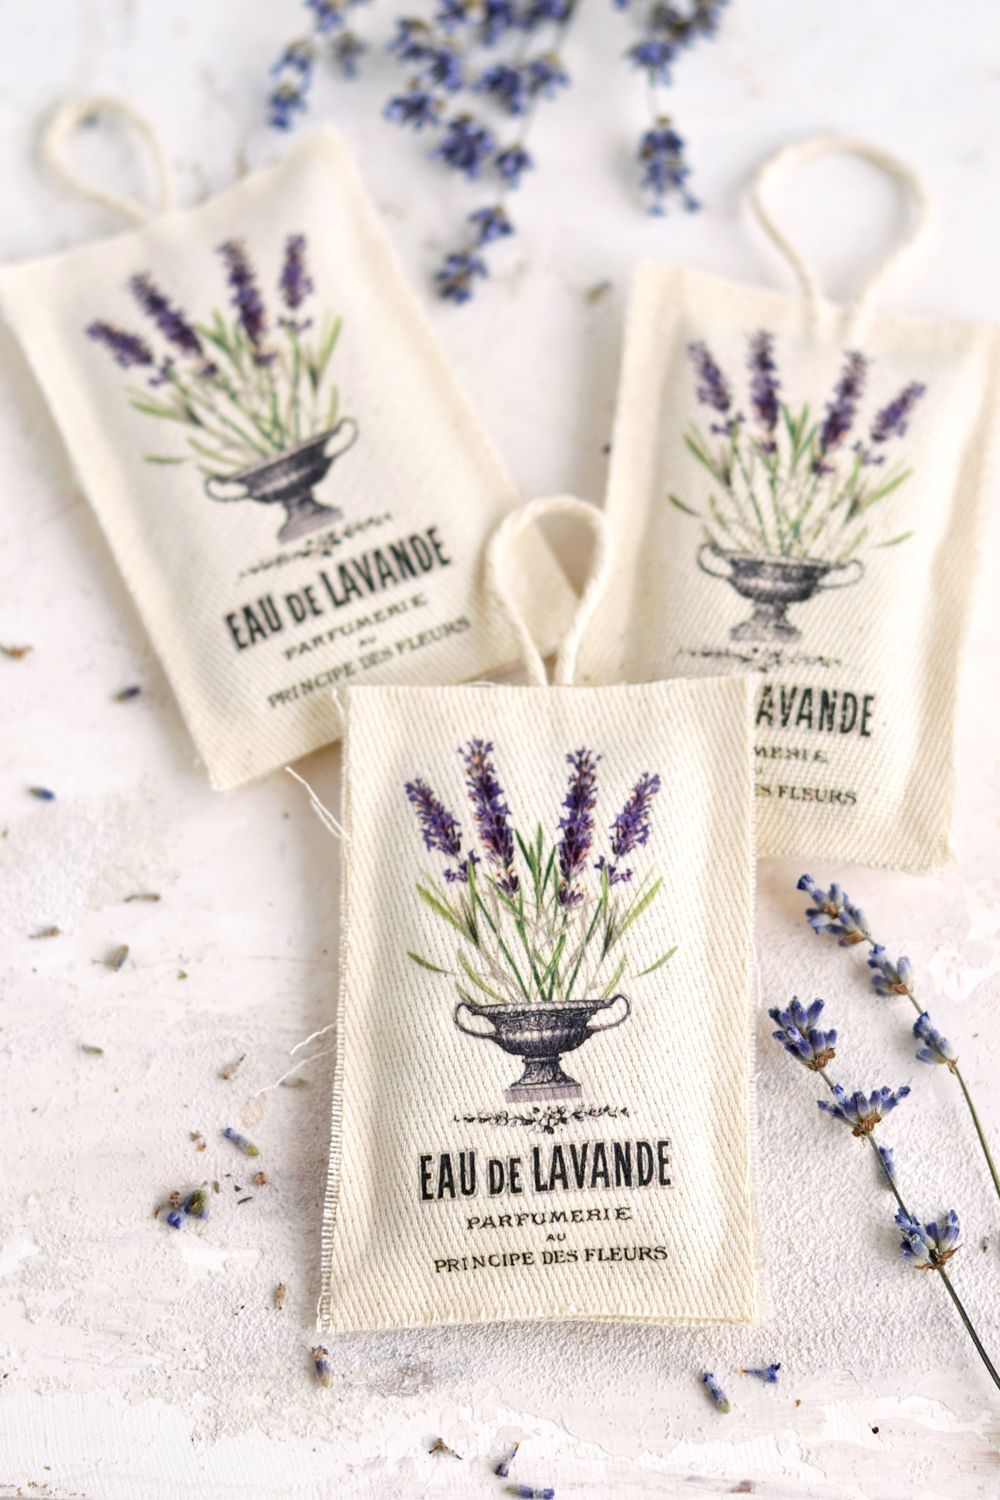
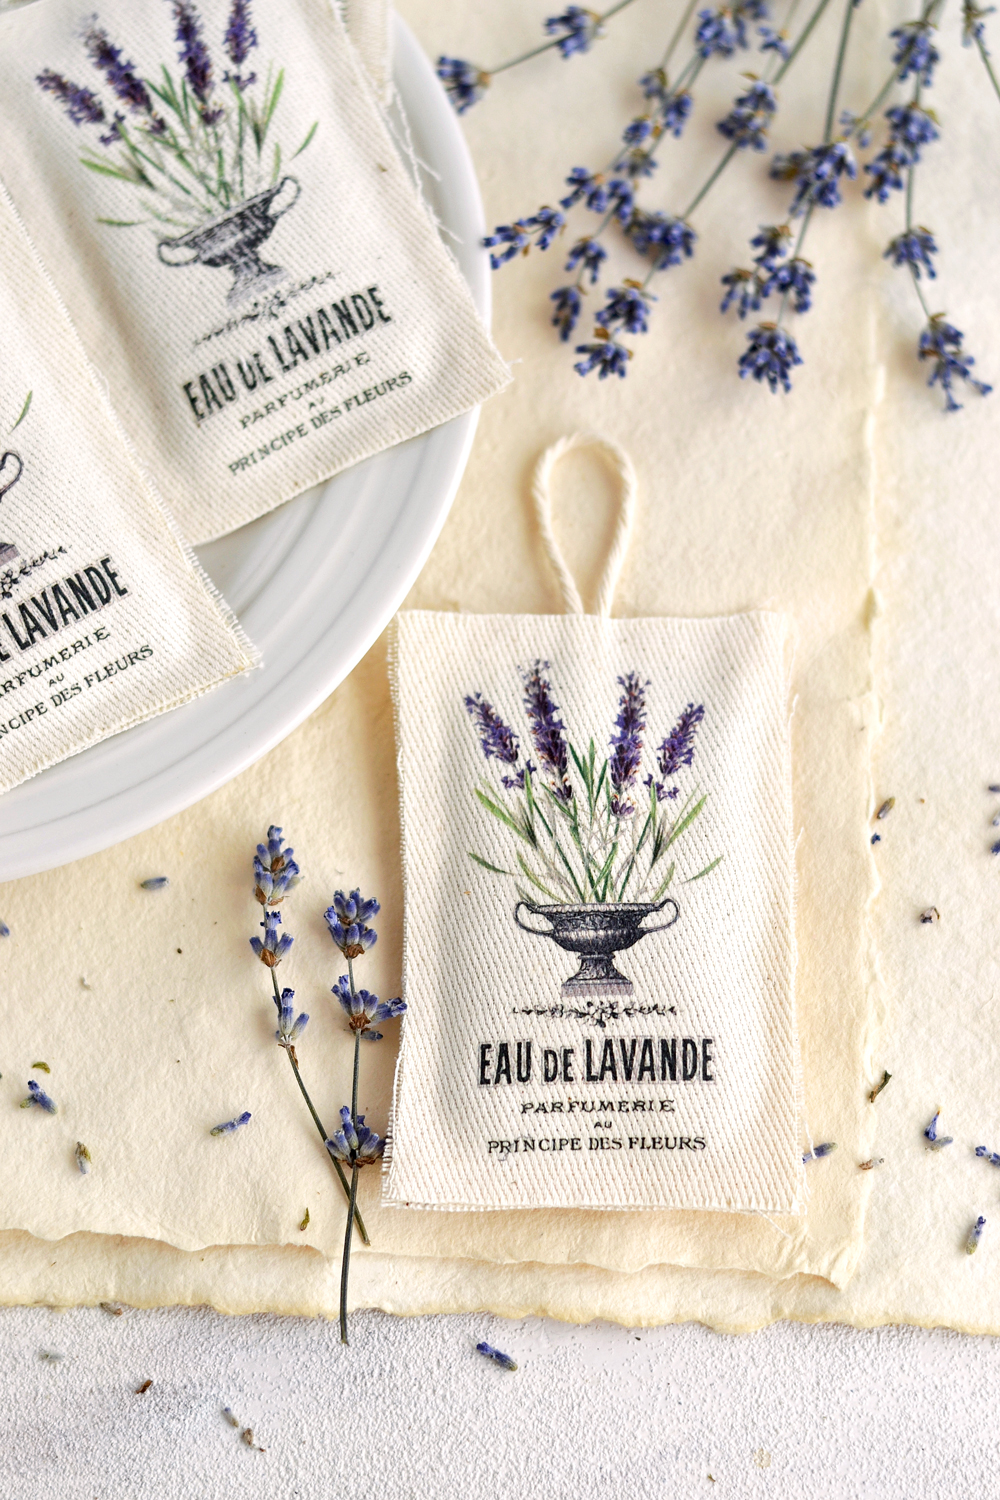
What a fun and easy project, right? Your new heavenly scented DIY No Sew Lavender Sachets are now ready to be used!
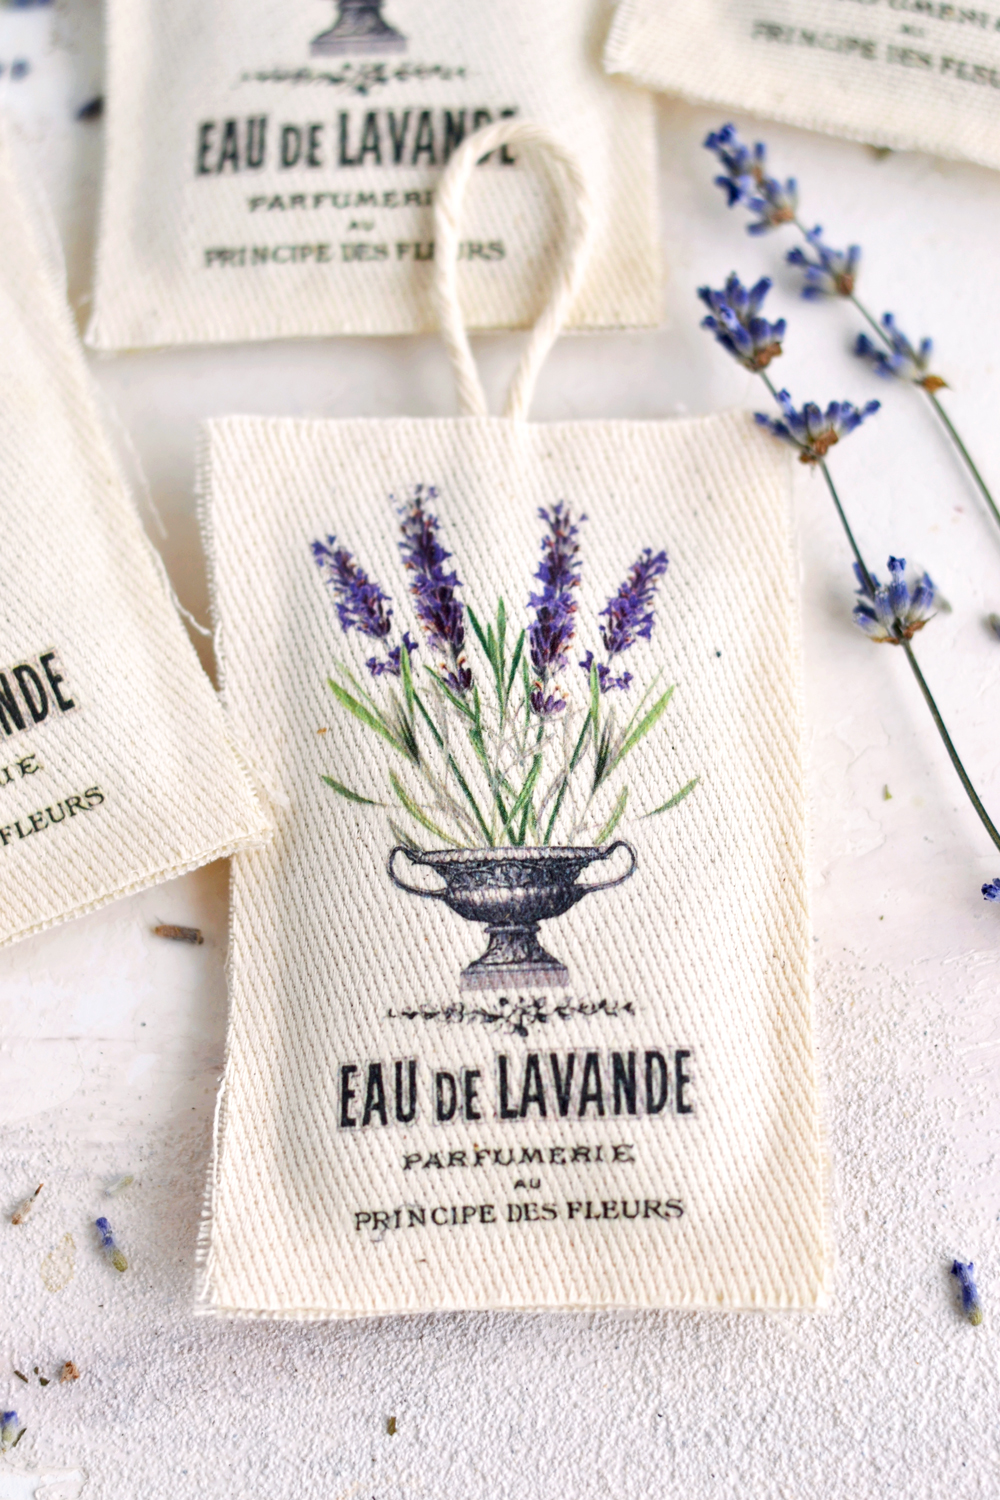
Finished Homemade Lavender Sachet
All their small imperfections and frayed edges? I think they all look simply beautiful and just complete the whole handmade almost vintage look!
Tip: The Lavender scent will fade over time, you can freshen it up by adding a few drops of Lavender Essential Oil to the back of the sachet. Just make sure it’s not touching your clothing directly, so that the oil doesn’t come in contact with your clothing.
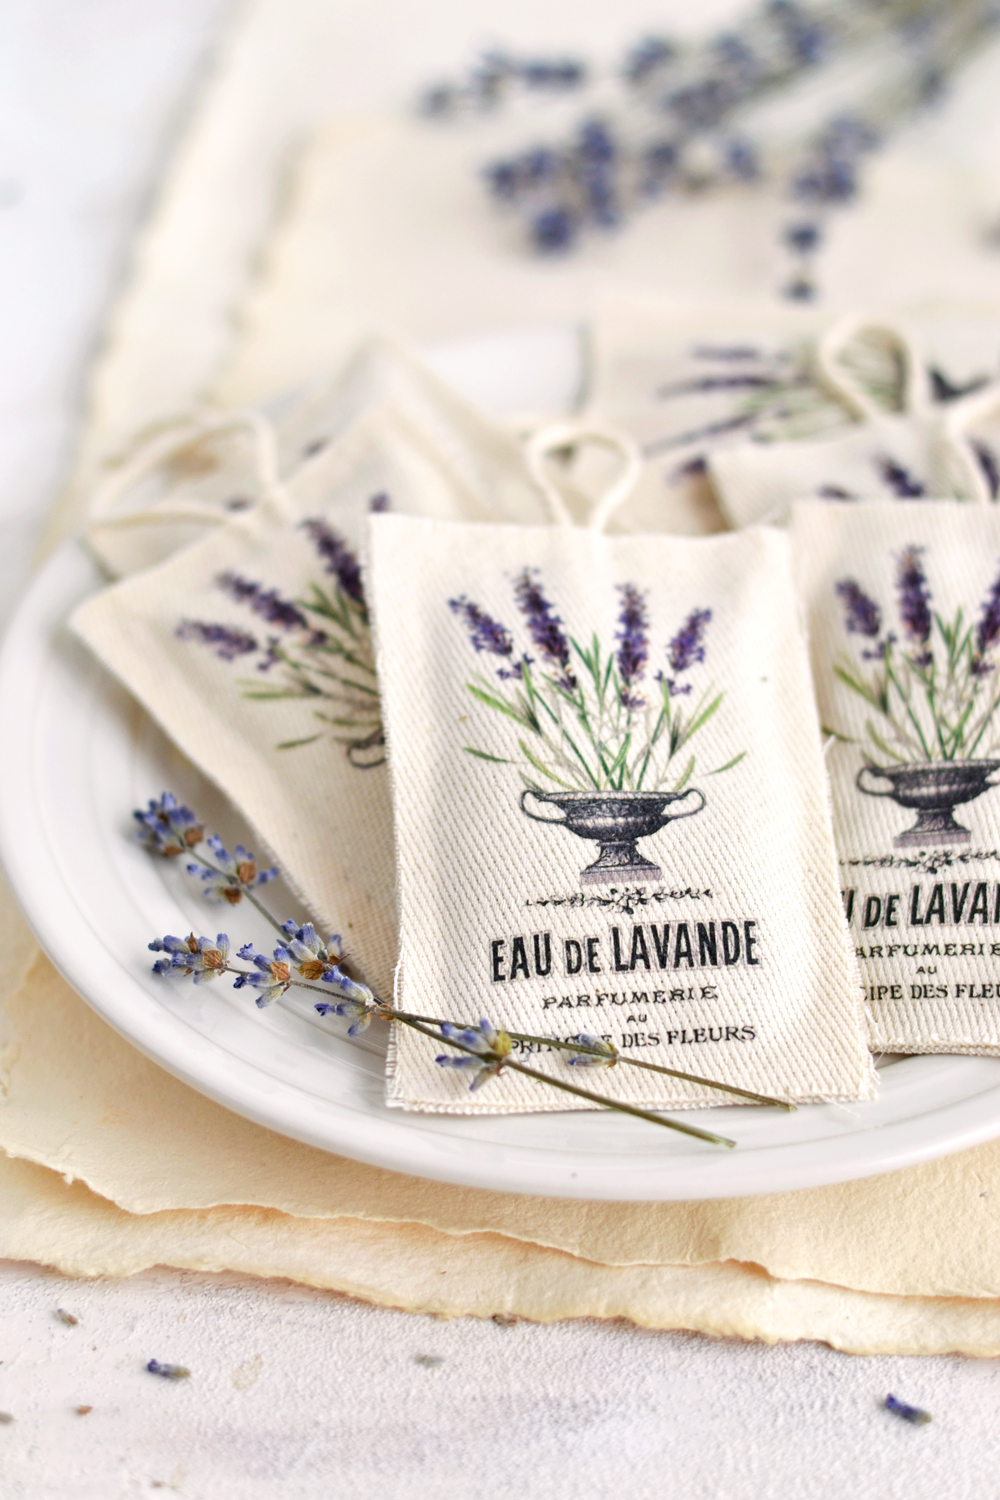
I hope you enjoyed learning How to Make Lavender Sachets. Give these lovely DIY No Sew Crafts a try and hang them all around your home – drawers, closets, windows or cute boxes, to name only a few! Use them to create chic vignettes with other decorative items or put them inside your drawers, even in your car, for an amazing aromatic experience. This way you’ll be day dreaming of Provence on a regular basis and your senses will be gratified!
 Make more and share them with family and friends, they would make the perfect gifts for everyone … because who doesn’t simply adore lavender, right? And if you’re looking for more Homemade gift ideas check out my Lavender Pressed Flower Bookmarks HERE!
Have fun creating,
Diana / Dreams Factory



Marina says
Very cute and clever and easy!
Thanks a lot!
graphicsfairy says
So glad you like it Marina!
Christy Roppel says
What is the best fabric to use that is durable for ironing, yet allows the lavender fragrance to come through?
Oh, and you don’t mention the use of the card stock labels (or, I didn’t notice).
Thanks!
Christy
graphicsfairy says
Christy, you can use whatever you like. Diana appears to be using a thicker almost drop cloth fabric but a nice burlap is often used with sachets. I am not sure what you mean regarding card stock labels?
Christy Roppel says
What is the best fabric to use that is durable for ironing, yet allows the lavender fragrance to come through?
Thanks!
Christy
Carol Westover says
Thanks so much for this!! I happen to have some dried lavender in my stash!
graphicsfairy says
Oh yea! Good for you Carol, have fun!
Debbie Wilson says
I really like to have lavender around and this is such a wonderful idea. THank you so much for sharing.
graphicsfairy says
Thanks Debbie, lavender is so soothing 🙂
Maureen says
Again, thank you. This is just what I needed to finish gift baskets
You guys are amazing!❤
graphicsfairy says
Oh yea! Thanks Maureen and good luck with the gift baskets!