DIY Paper Bird Craft
Hello Graphics Fairy friends! I’m Diana from Dreams Factory and I’m happy to be here once again to share another DIY craft project with you! Today I will show you how to make these gorgeous Blue Bird Cluster Embellishments using only a handful of supplies! We will be using distress ink to give the paper a vintage look and a little bit of gold on the edges to create a charming, gilded effect. Then you’ll have the opportunity to conduct your own experiments and mix things as you go to create some lovely paper clusters.
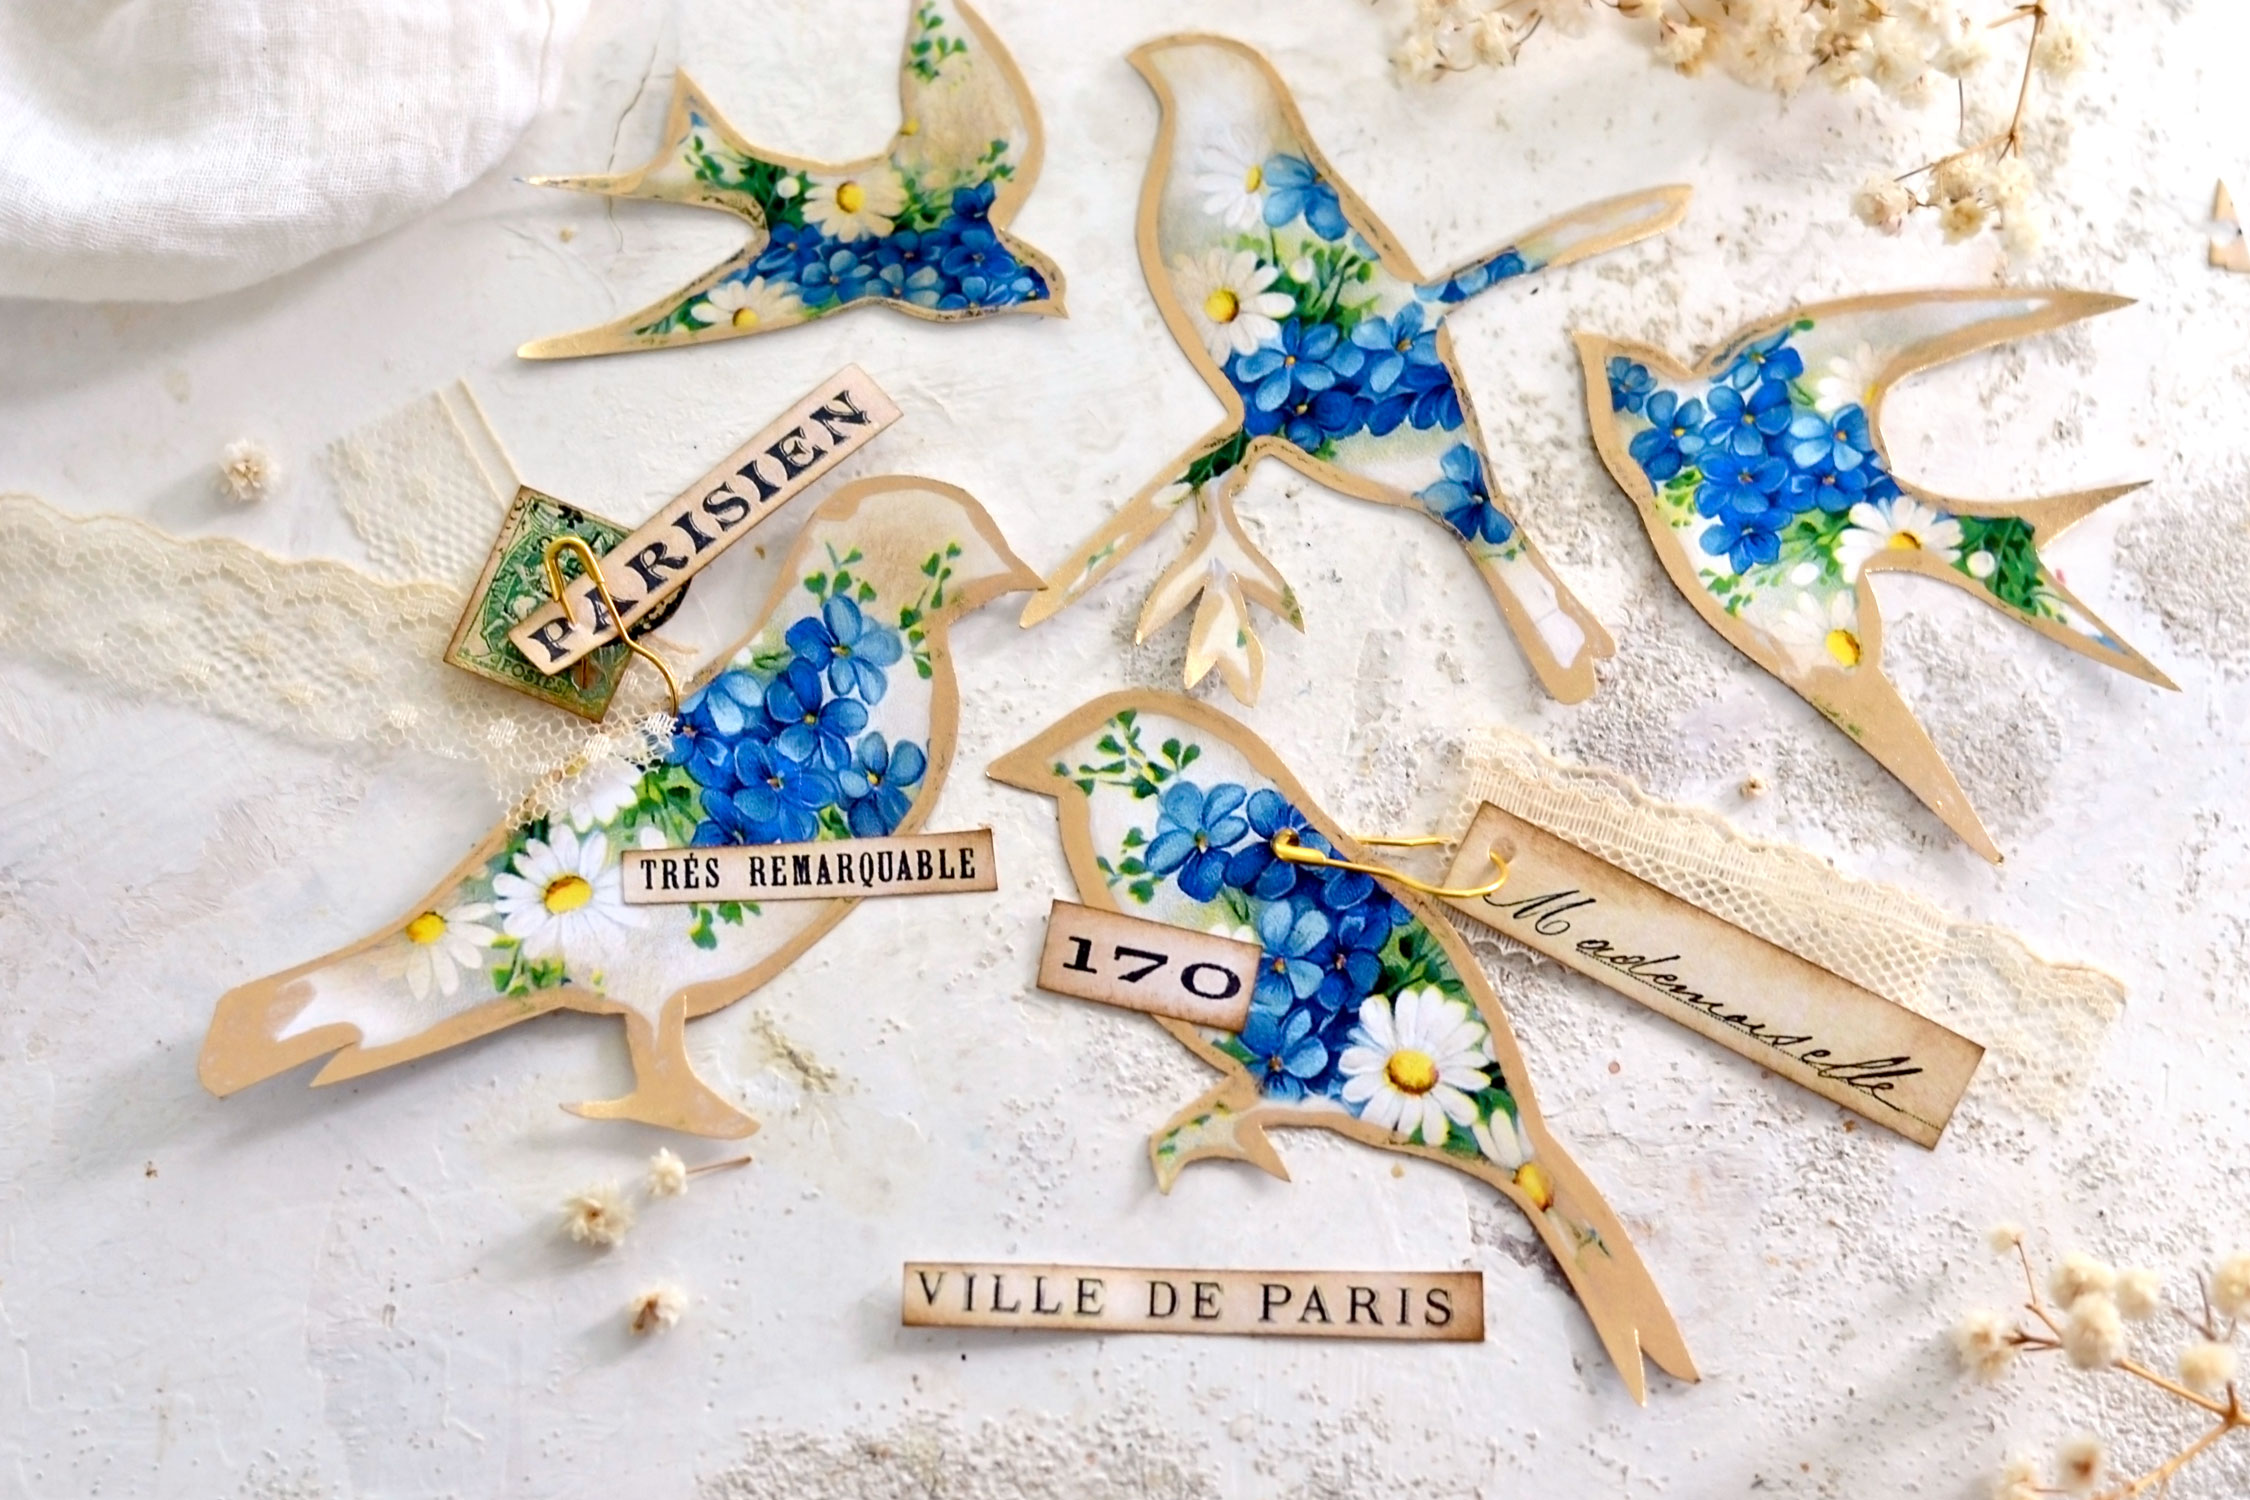
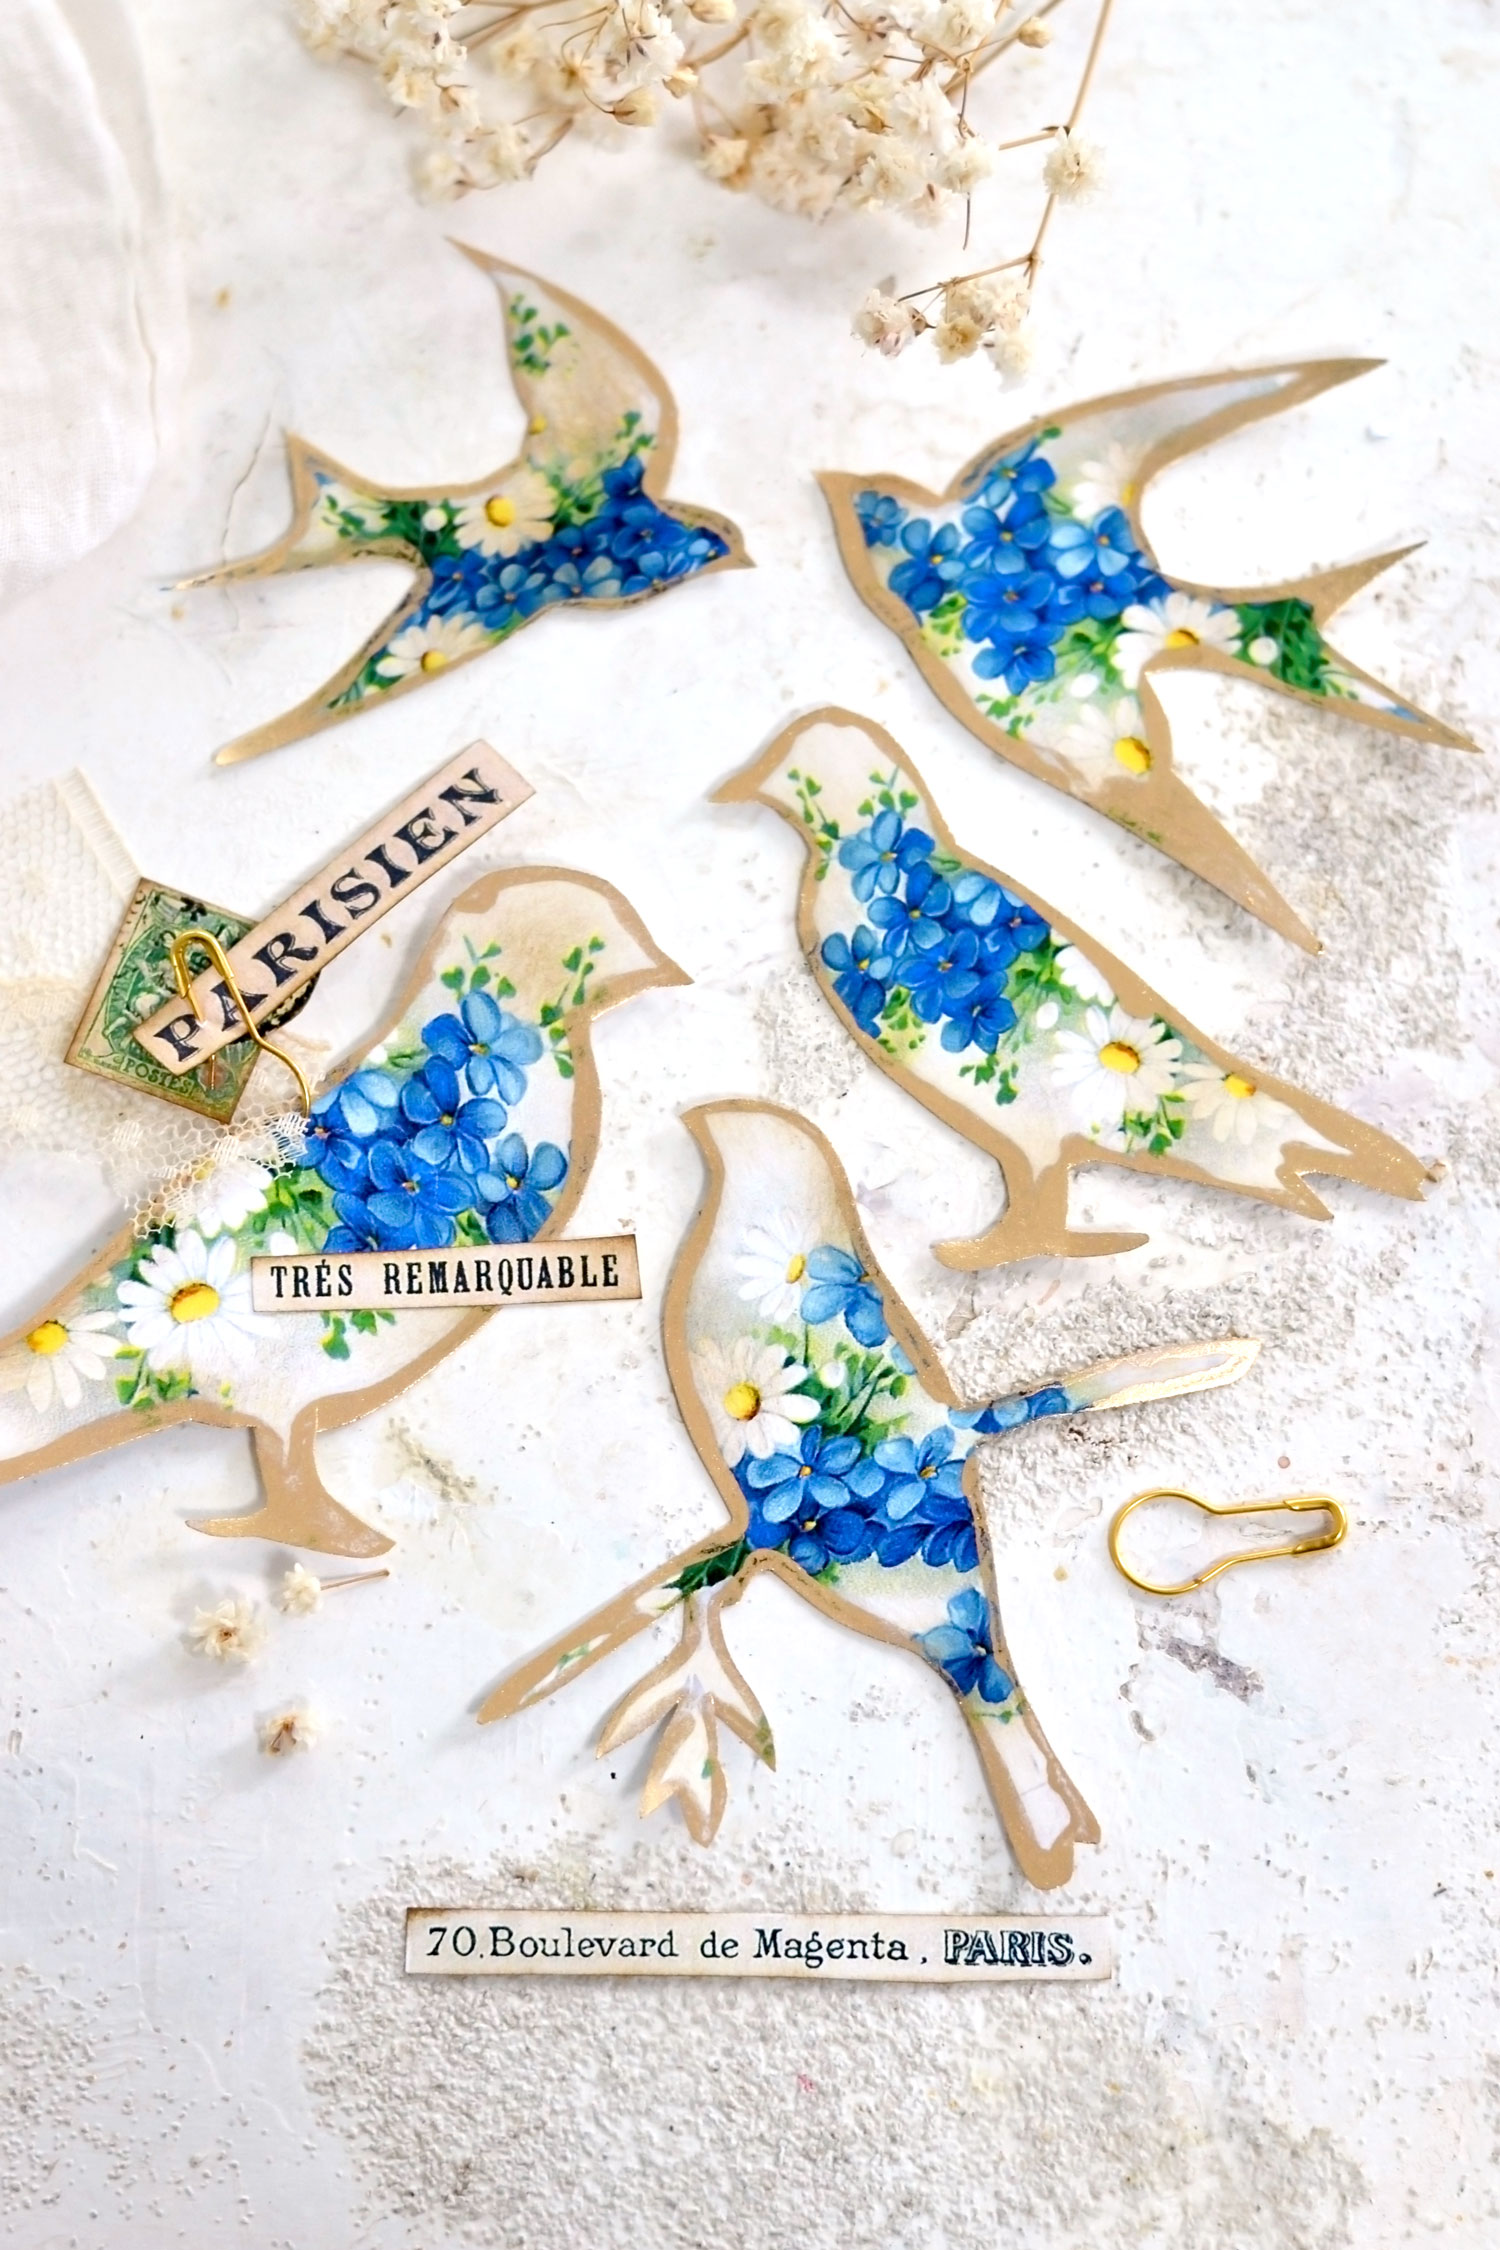
You’ll have plenty of birds and other small French ephemera elements to choose from to create something that you truly love!
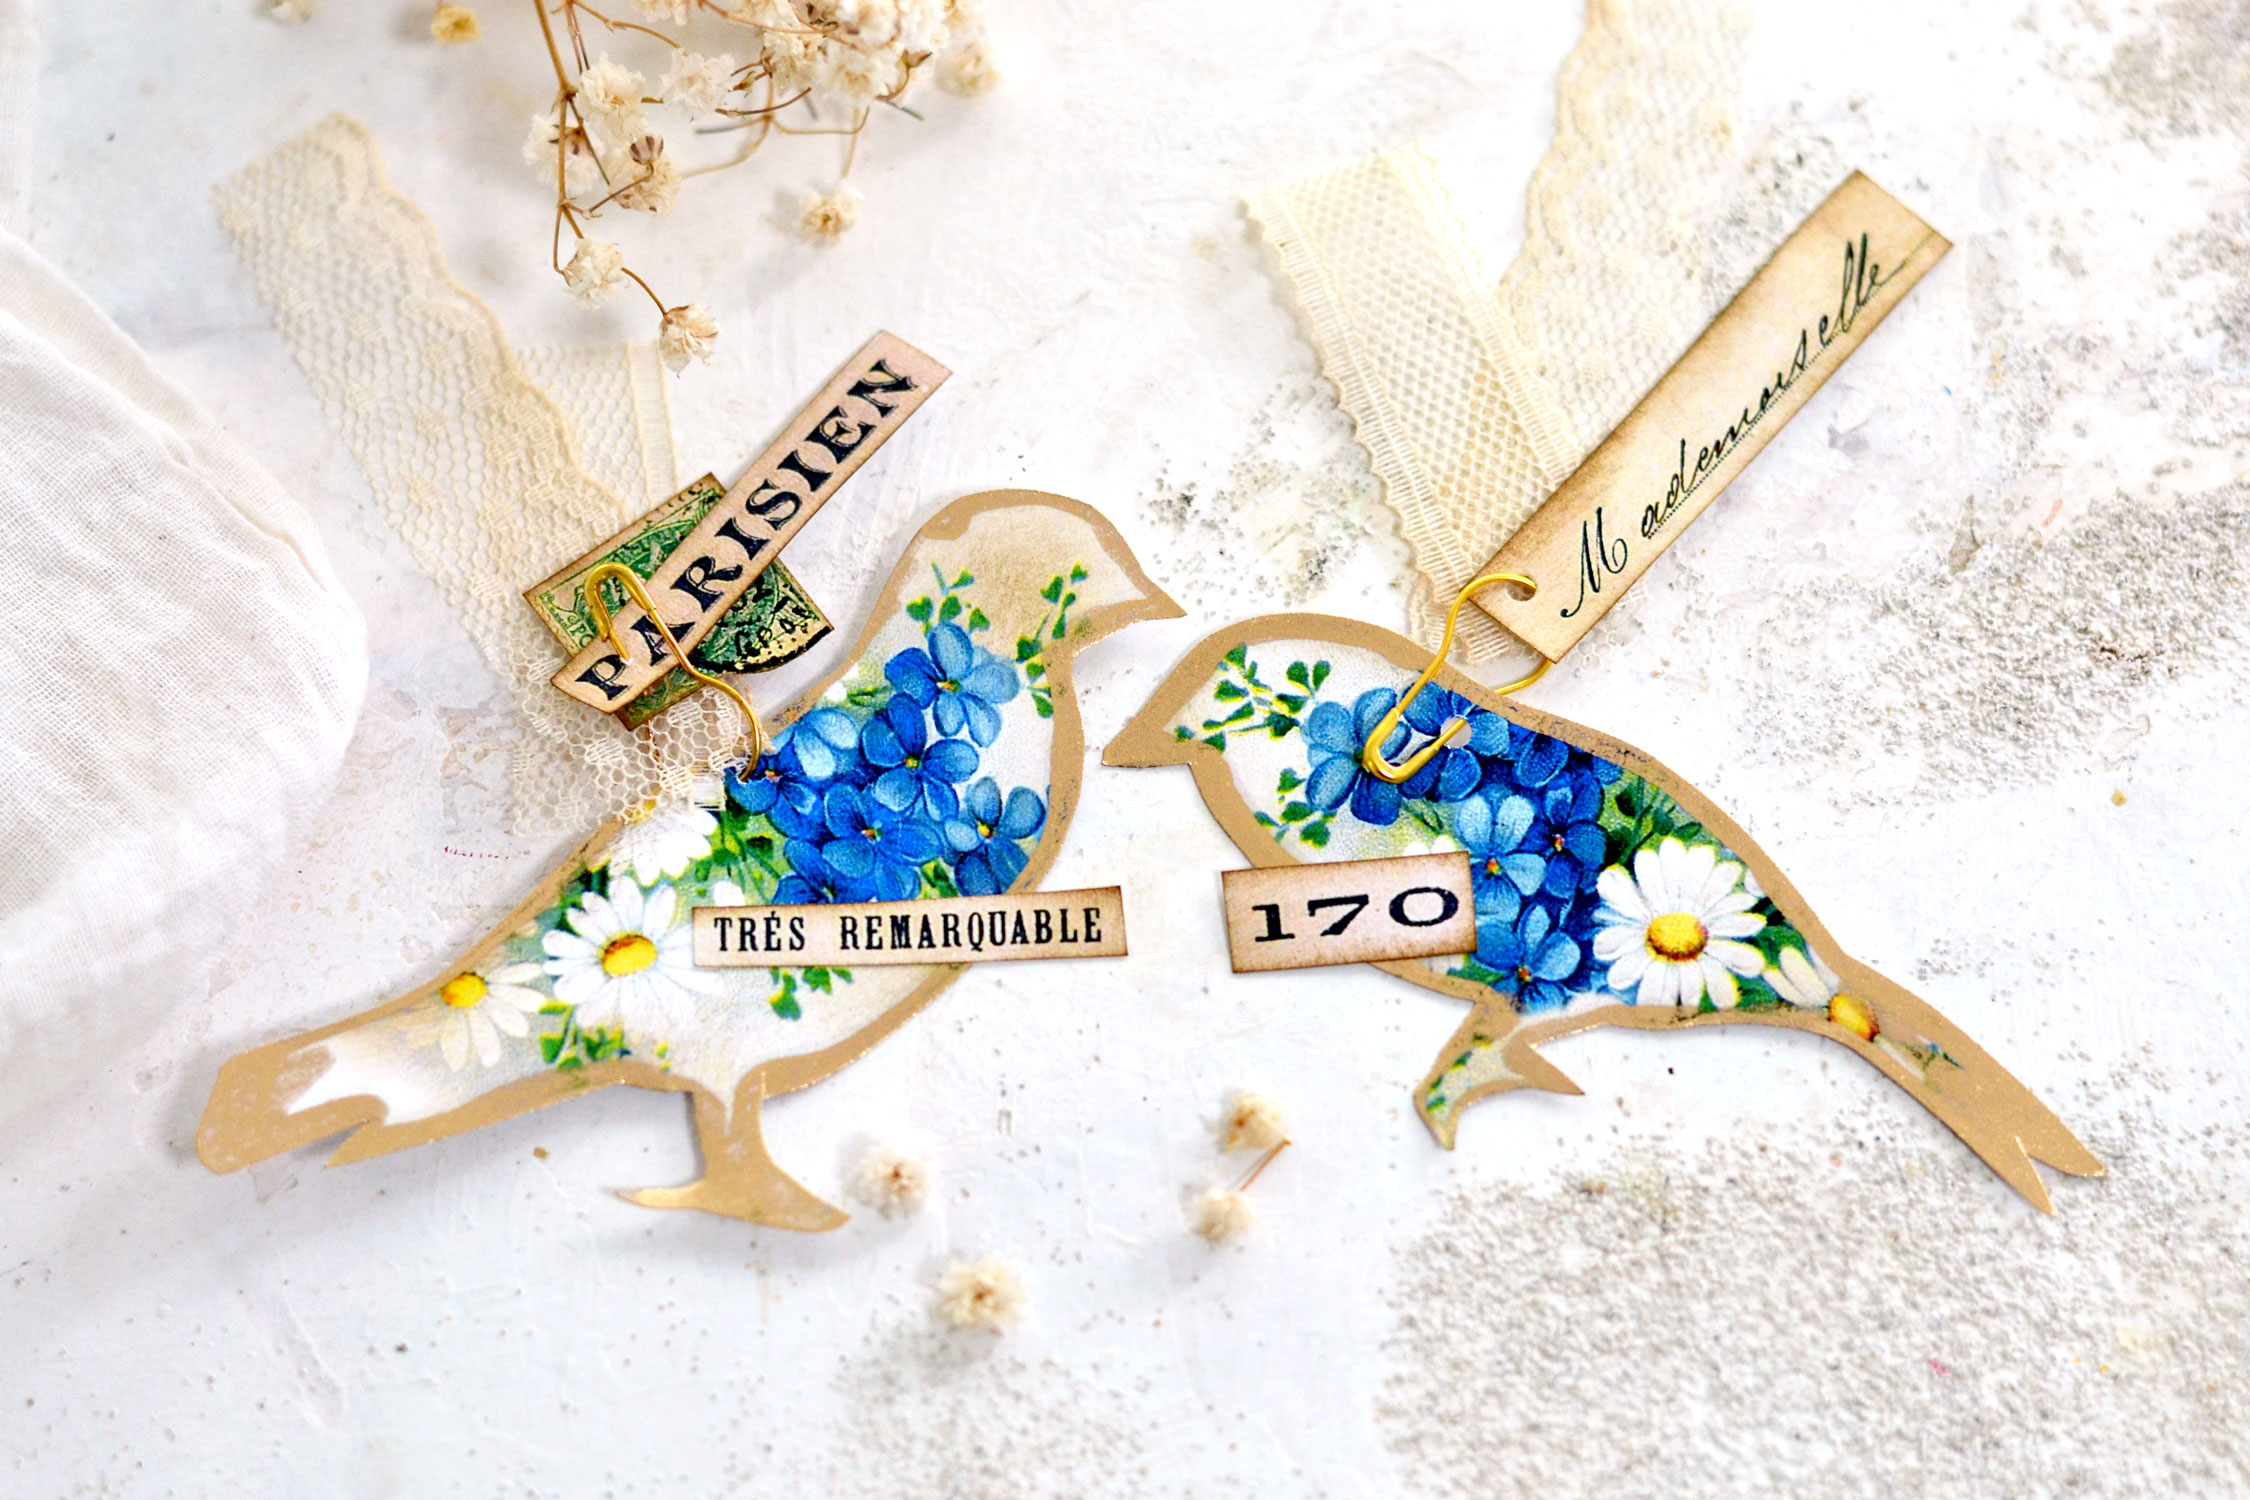
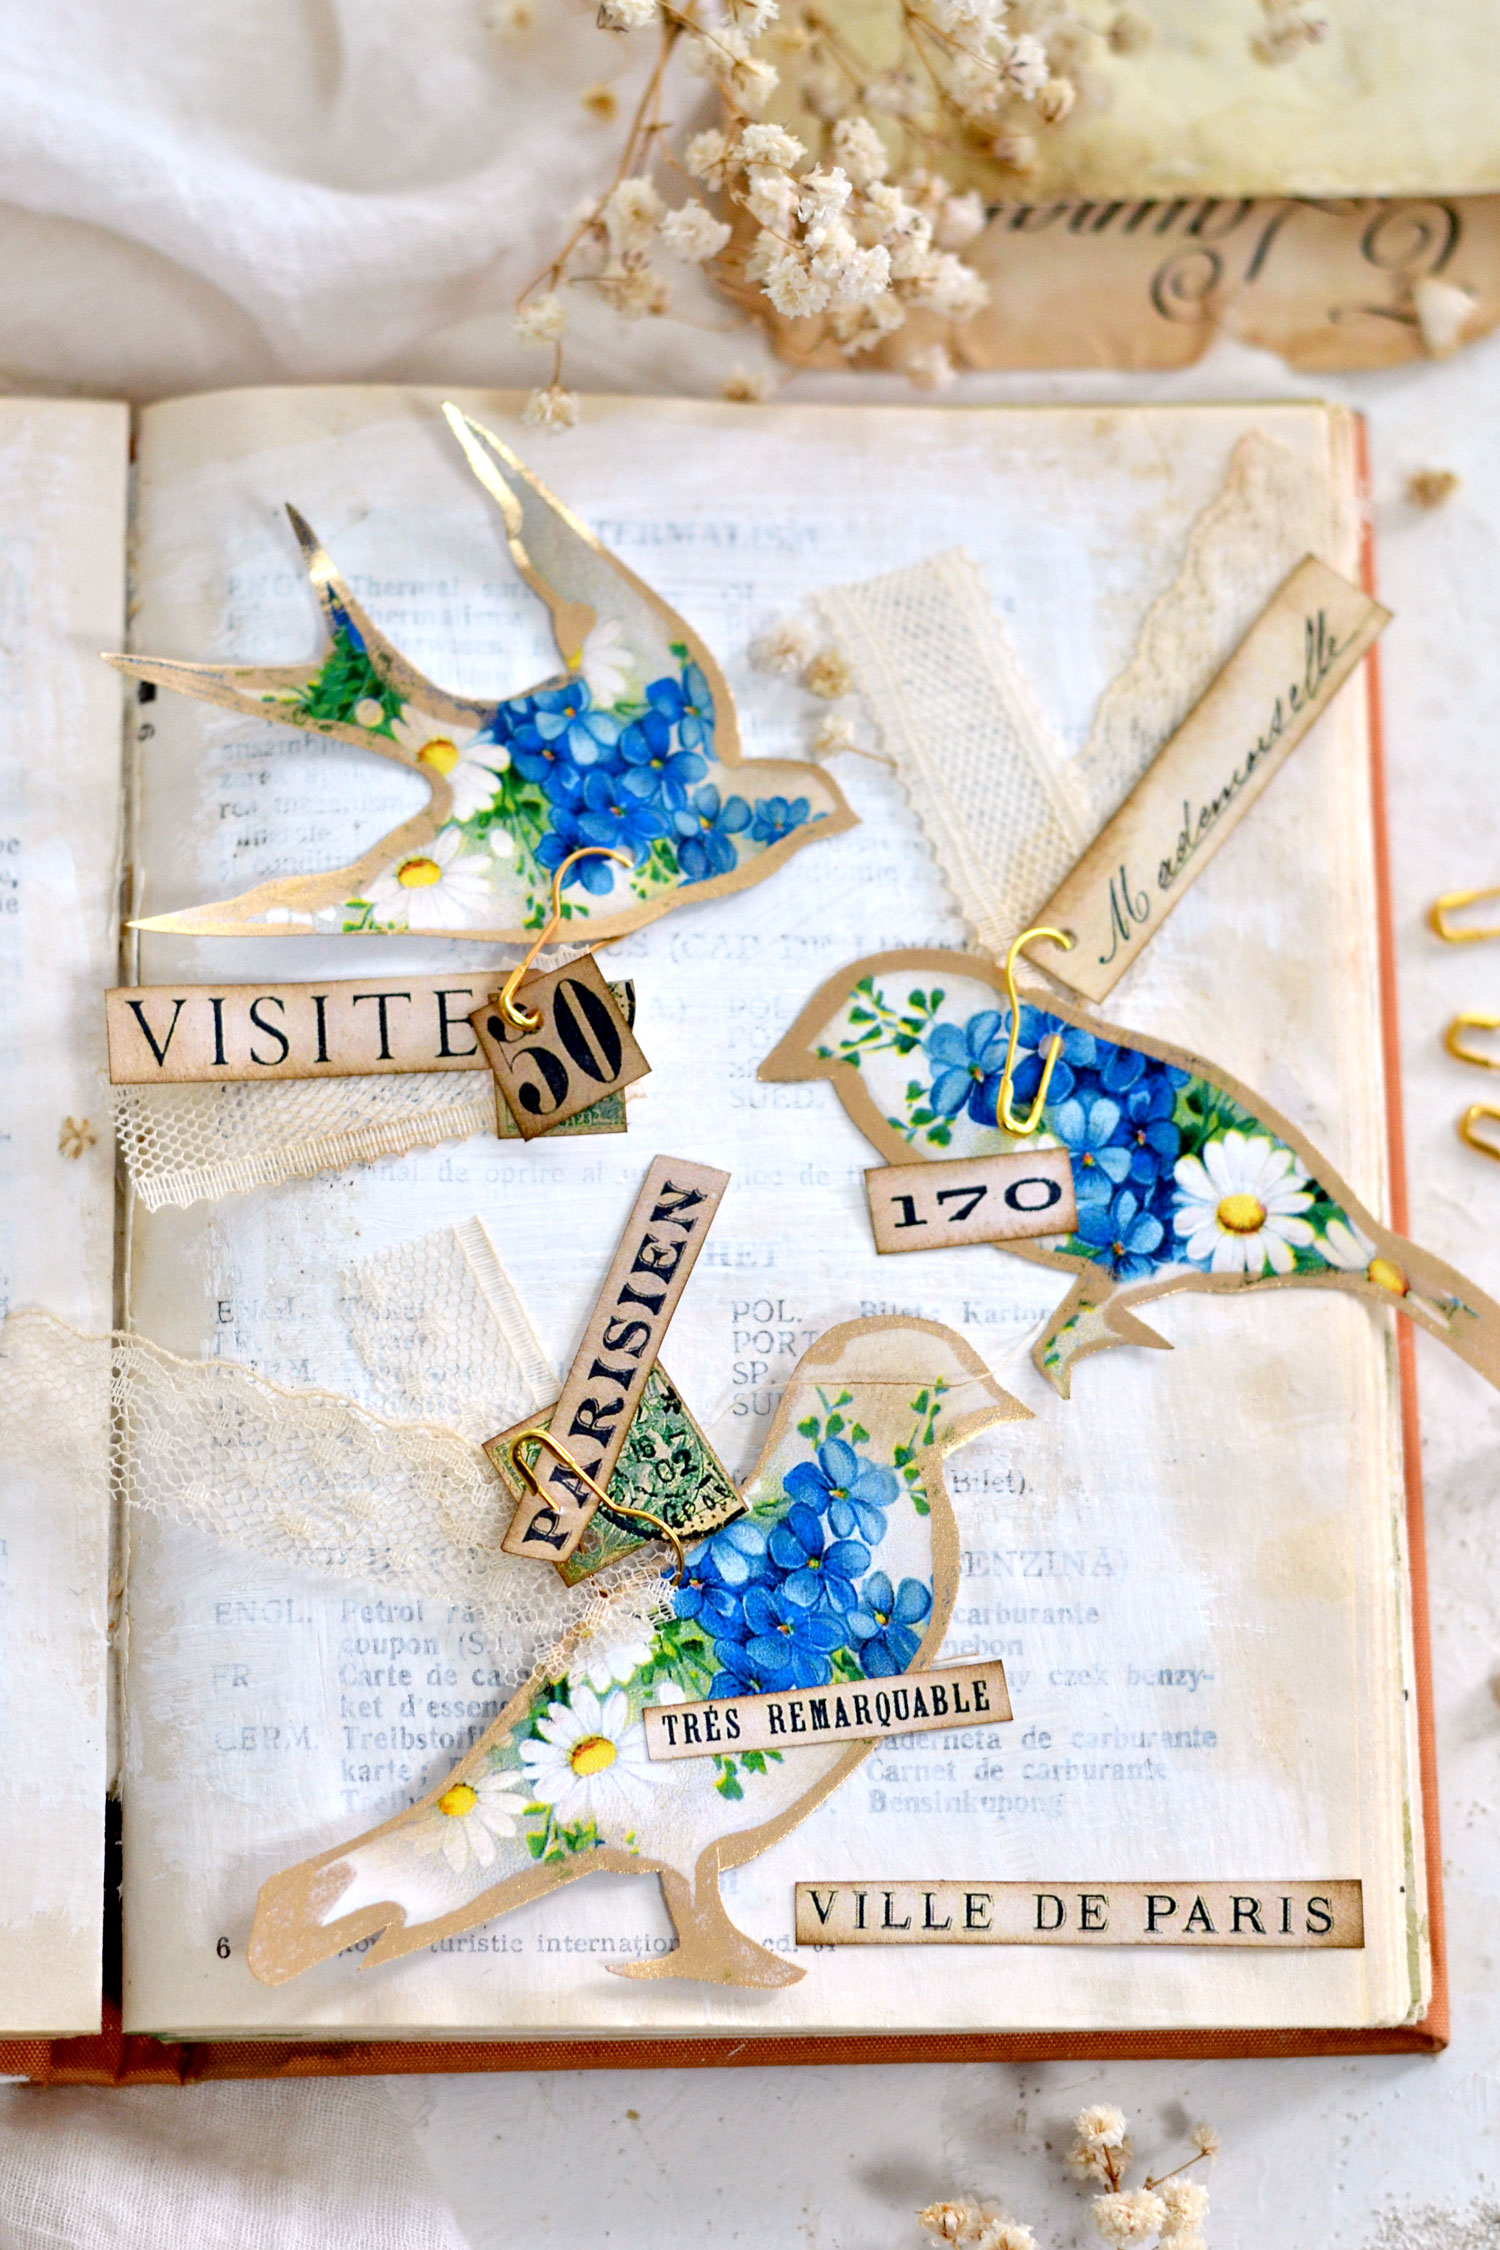
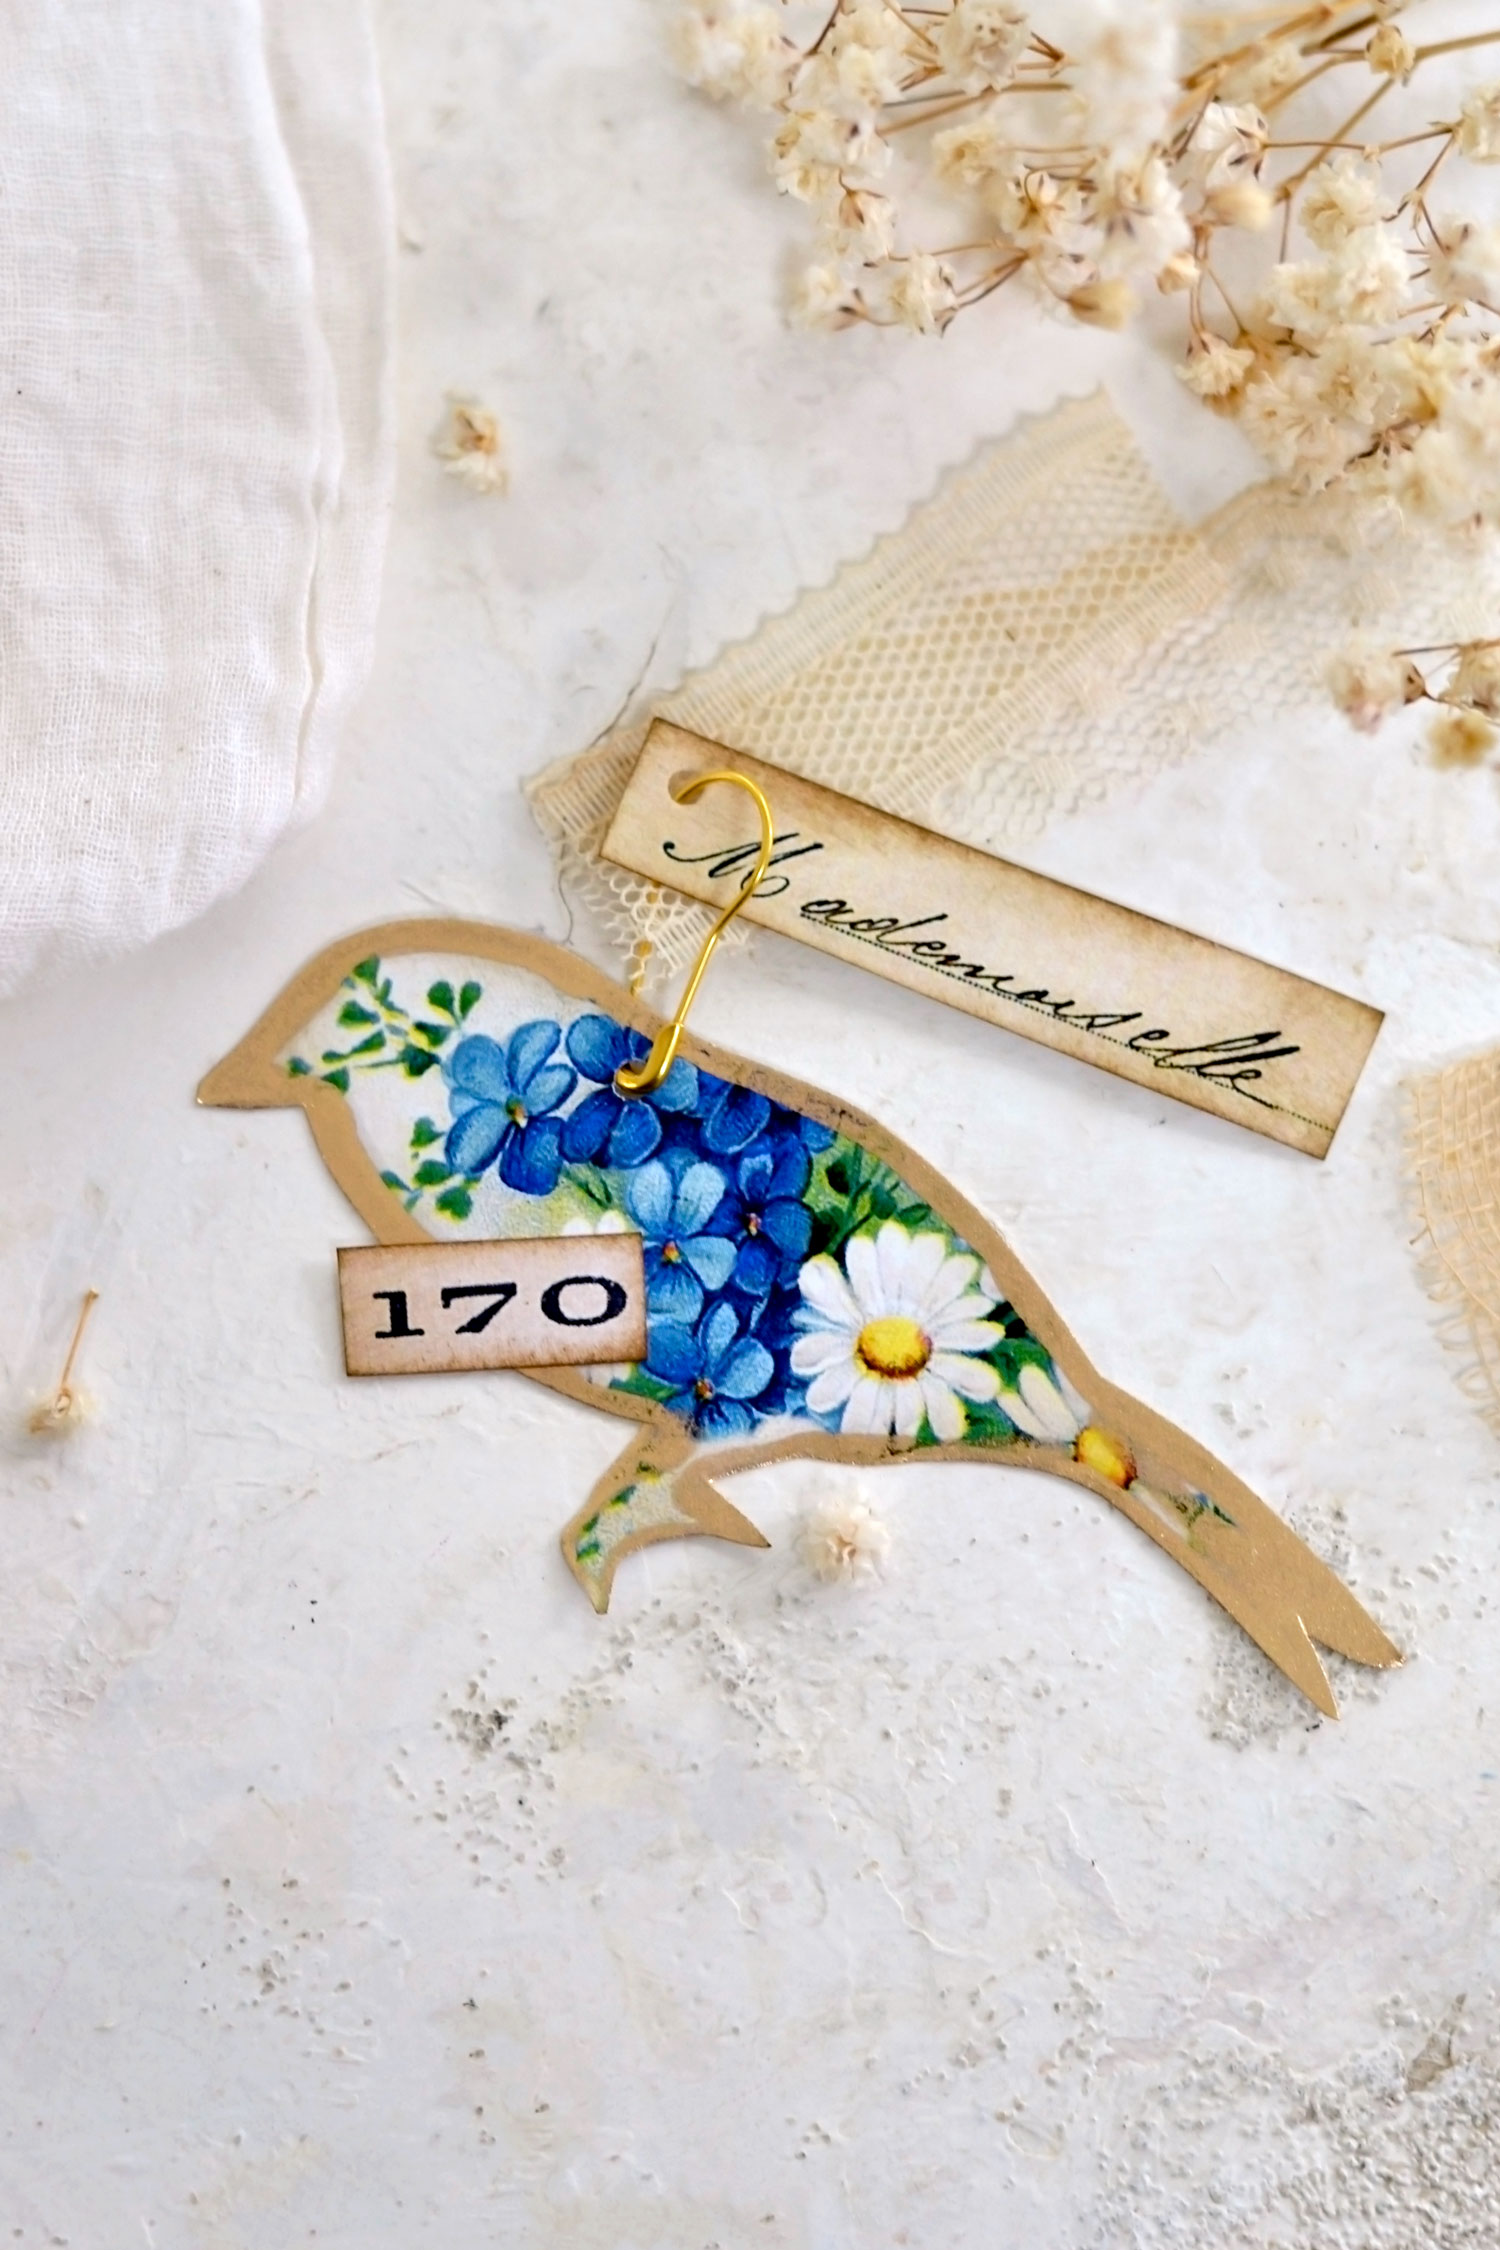
I’m naming my birds ‘blue birds’ to keep things sweet and uncomplicated, but as you can see, along with the blue we actually have a mix of white, yellow and green, all of which work really well together!
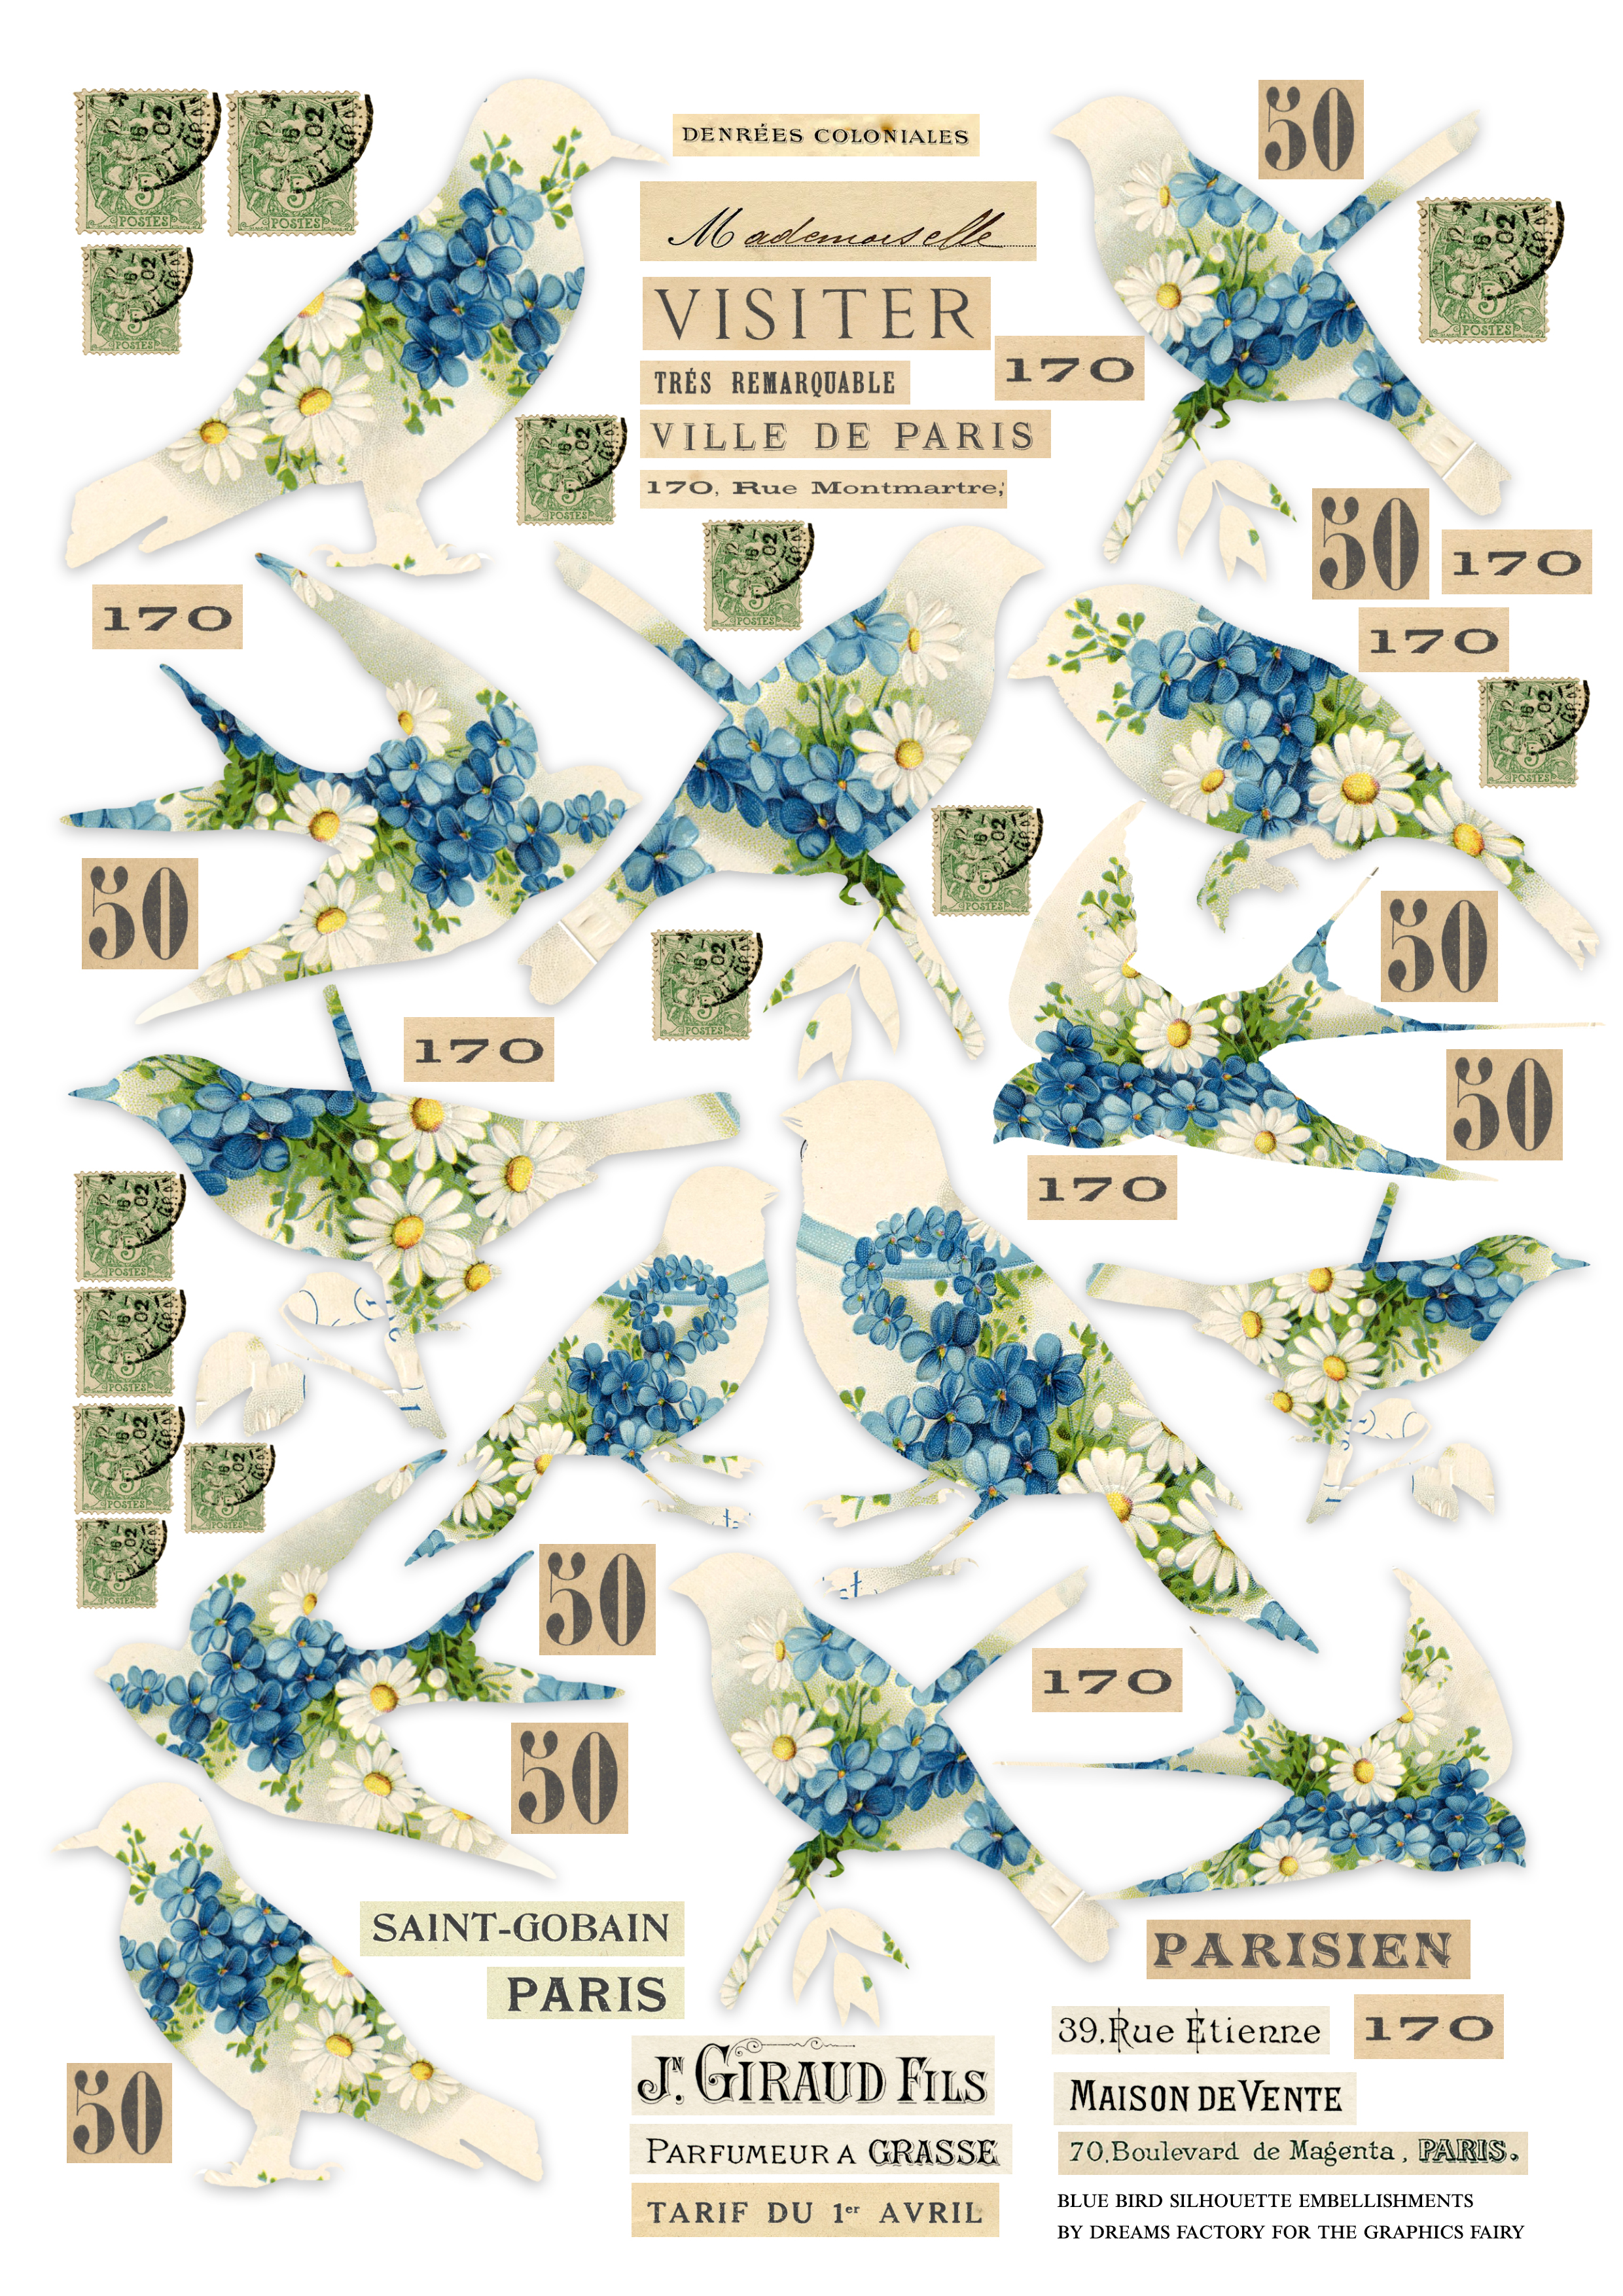
Here is the printable that I’ve created for this project, you’ll need to download it on your computer first, then print it and use it as you want! I included different types of birds, one more beautiful than the other and a lot of French ephemera cutouts, stamps and numbers that can be used interchangeably, depending on your inspiration.
Paper Bird Craft Printable
—-> Click HERE to Download the Full Size Printable PDF <—-
Paper Bird Craft Supply List:
- cardstock paper
- home printer
- scissors
- mini distress inks
- blending tool with foams
- Mod Podge or any other craft or paper glue
- gold alcohol ink (or use gold acrylic paint, gold watercolors or gold gouaches)
- plastic sheet or a non-absorbent surface
- single-hole paper punch
- small safety pins (I used gourd safety pins in gold)
- lace
- washi tape (optional)
Tutorial:
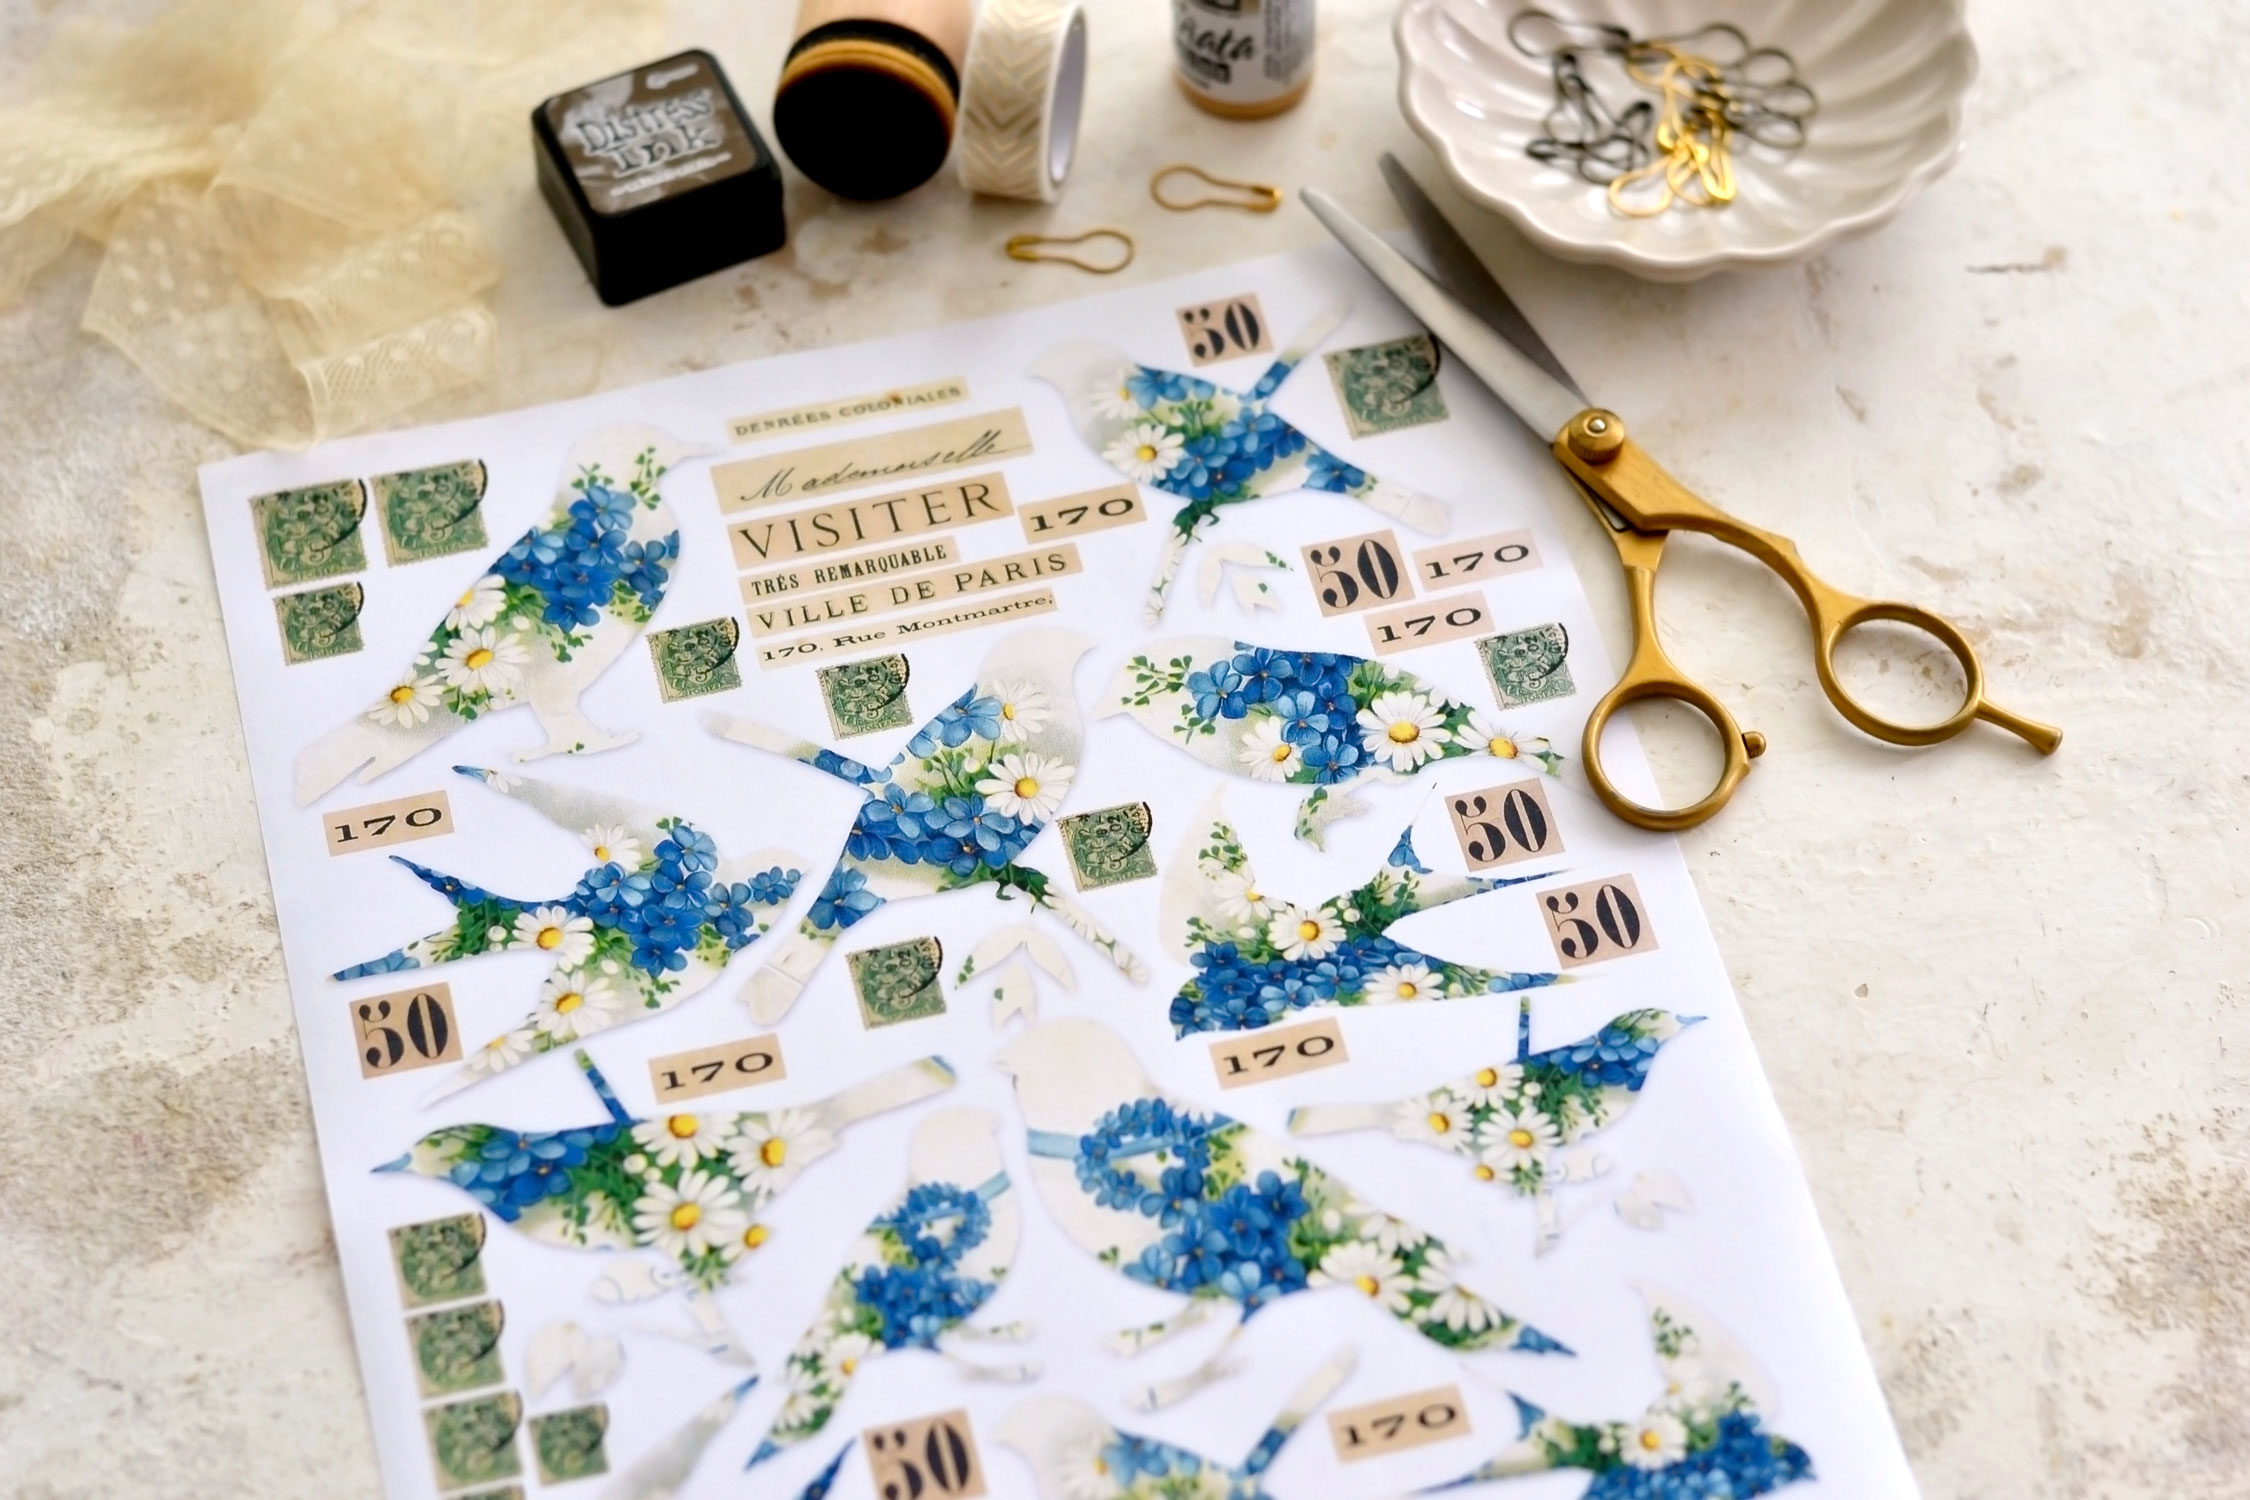
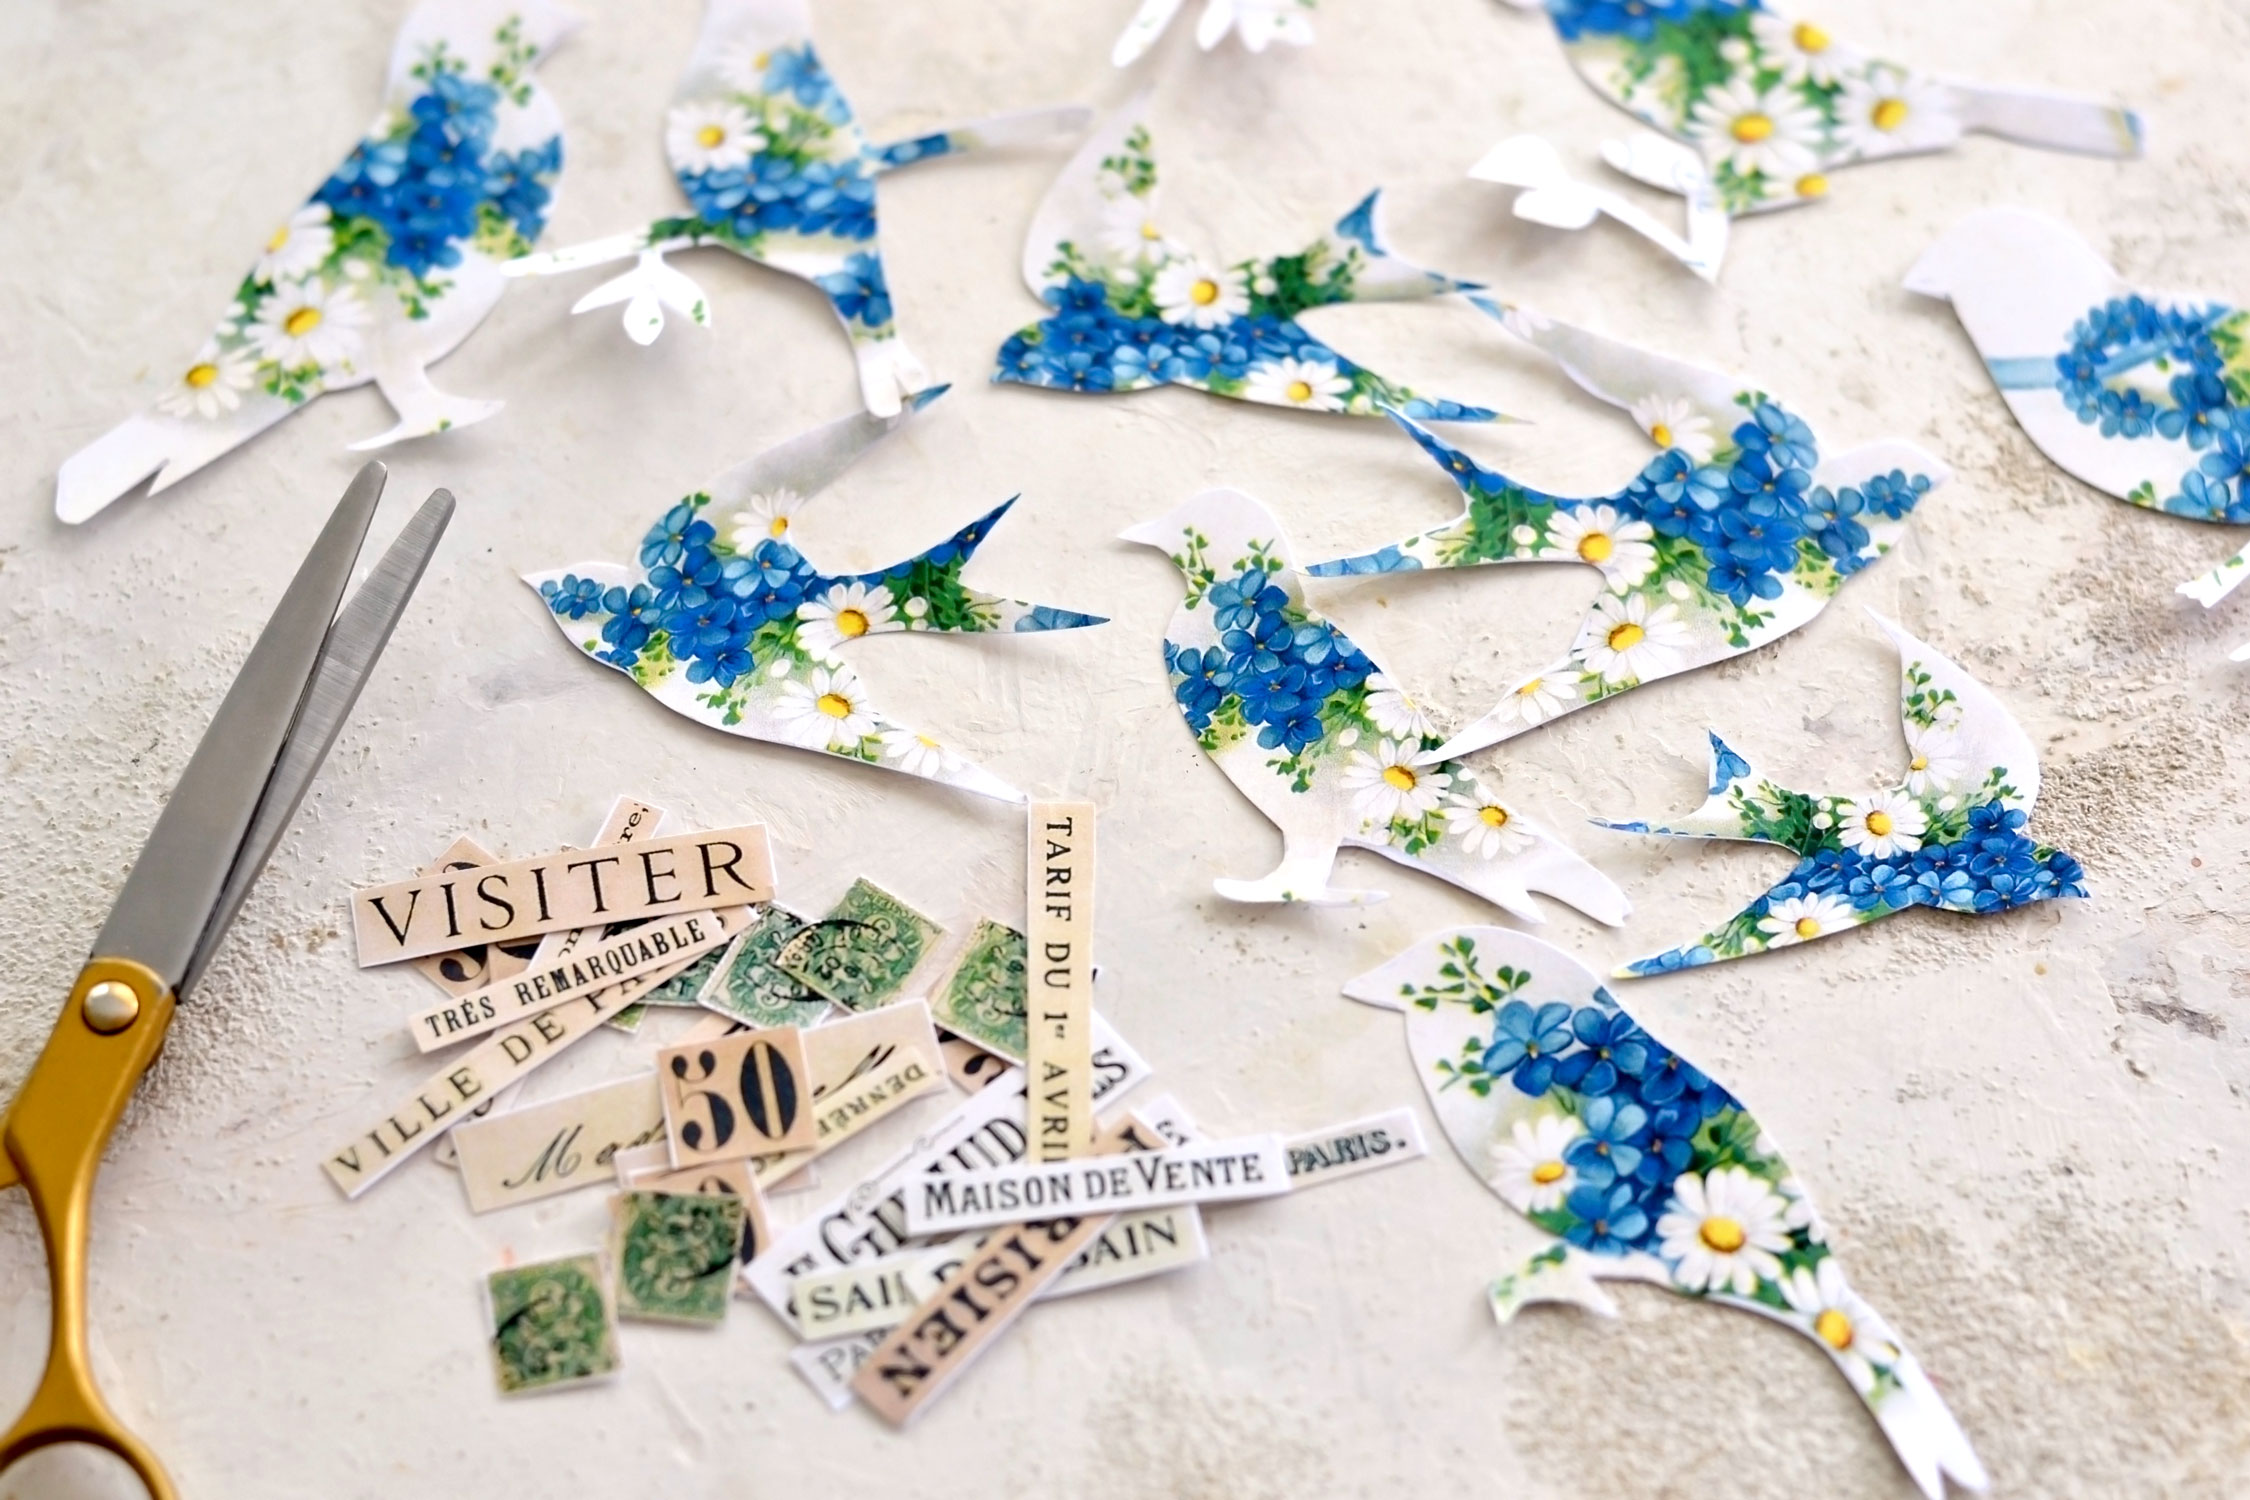
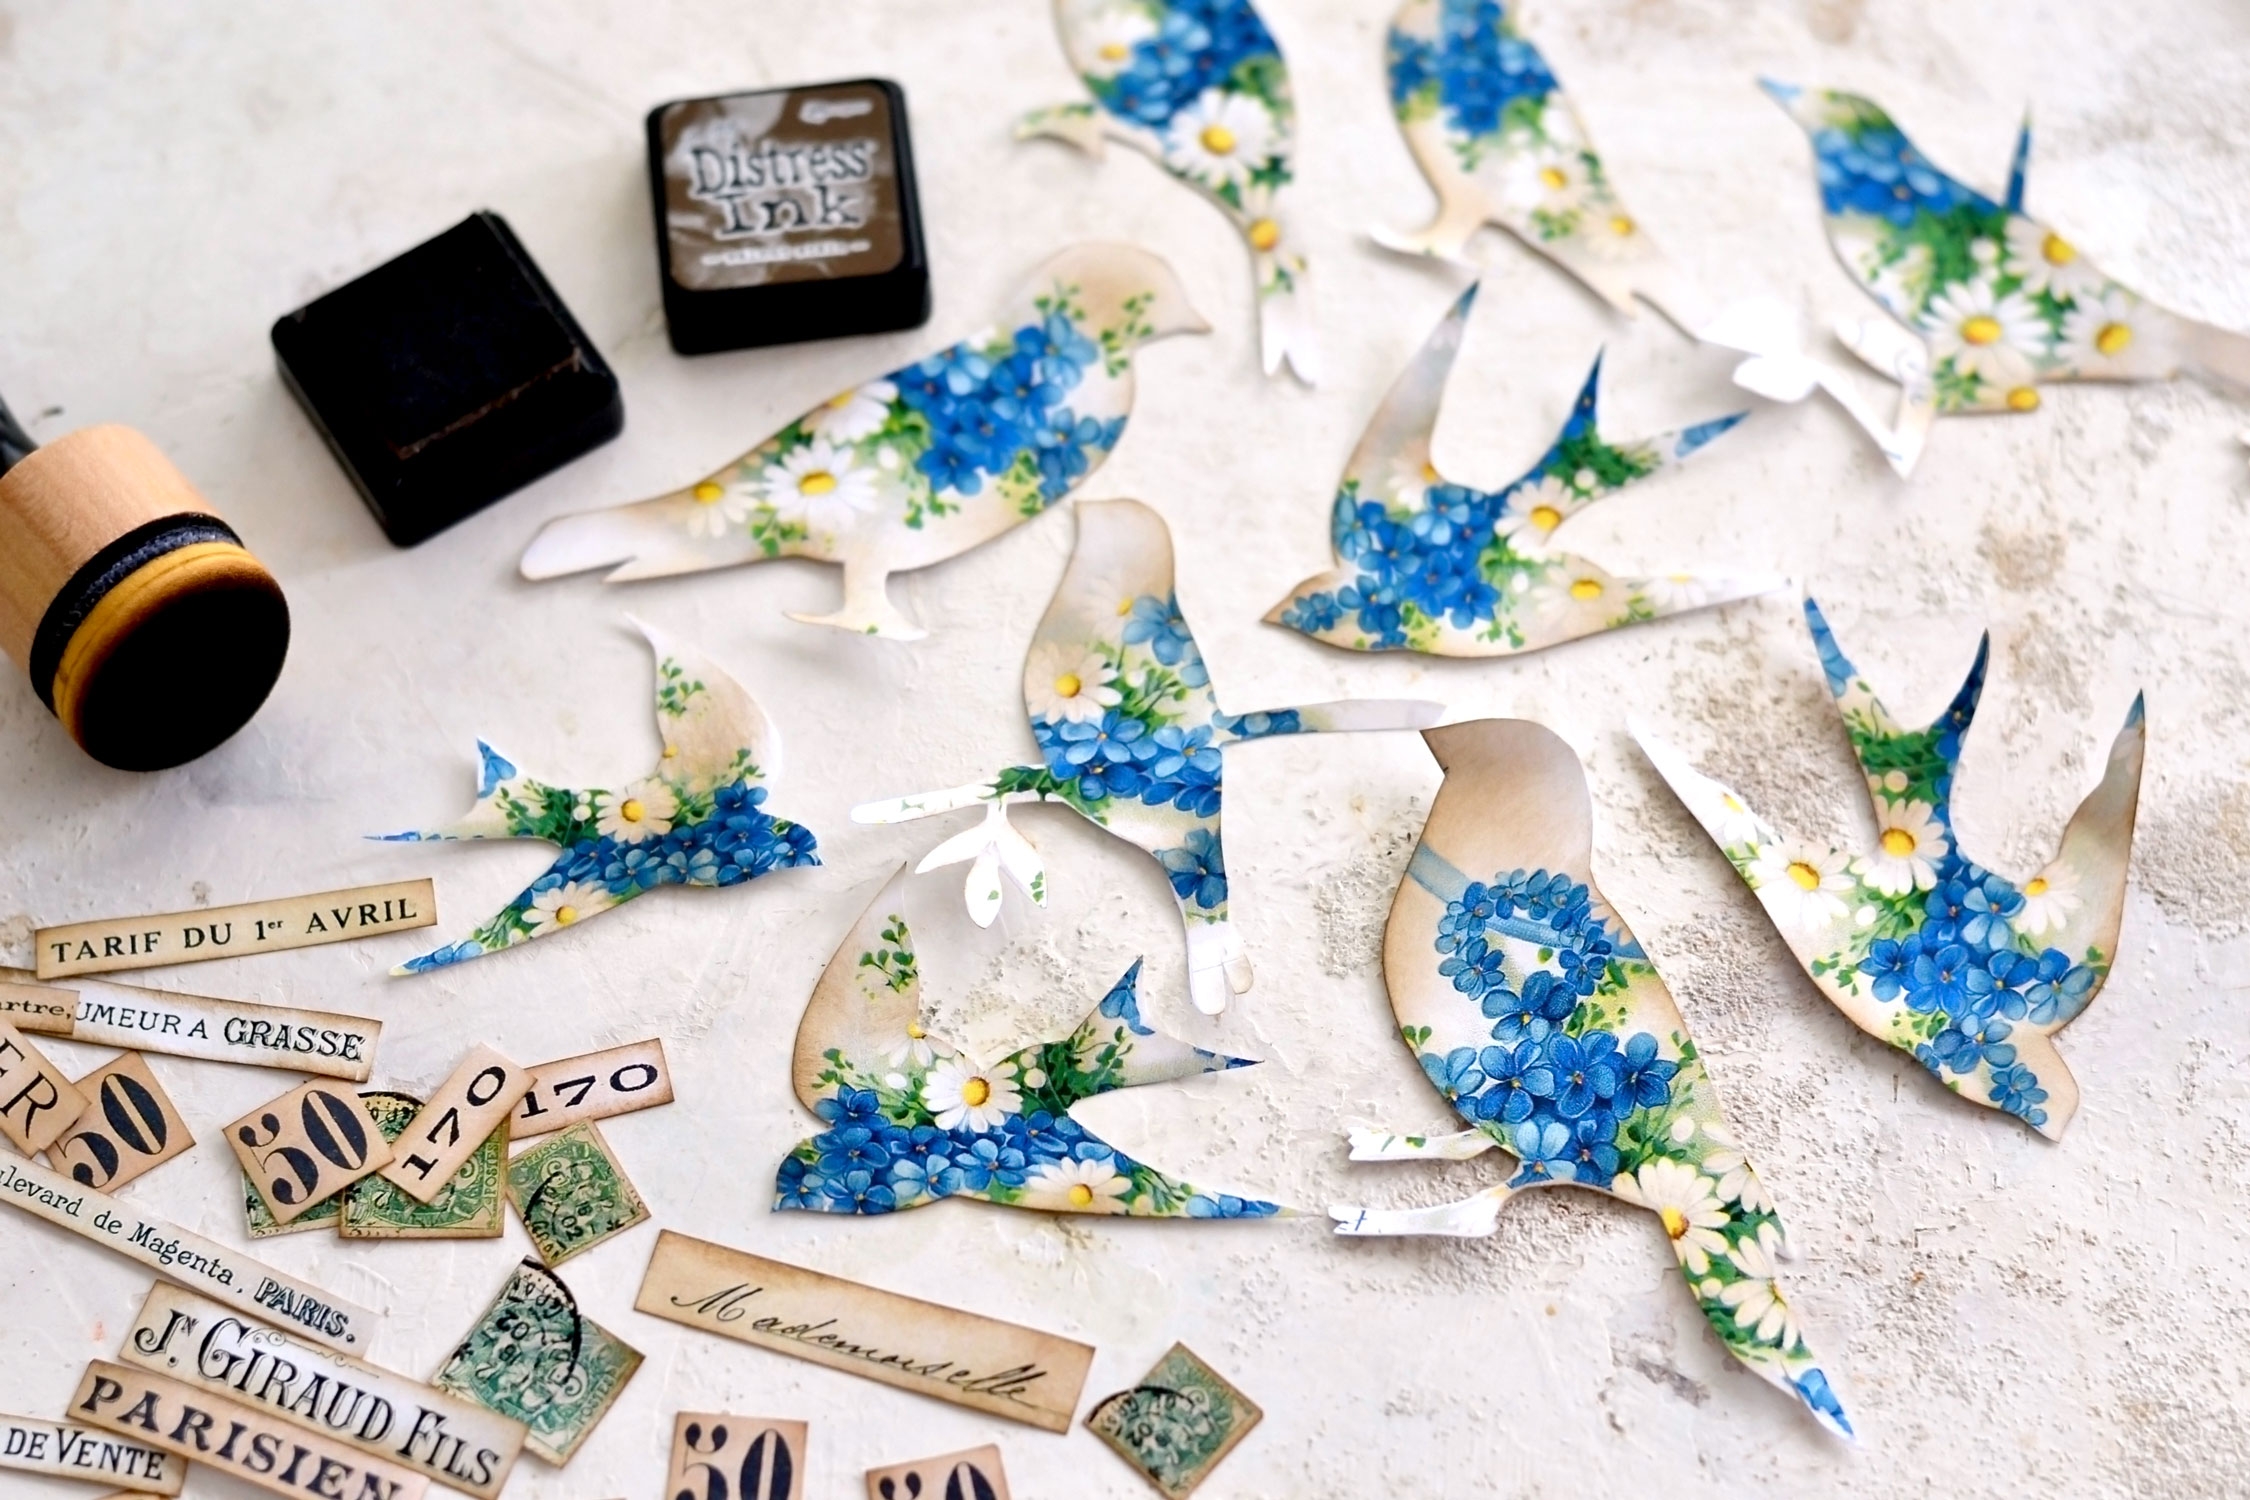
Start by cutting all the gorgeous birds and all the other French ephemera elements.
Use brown distress ink to give the paper a vintage look – I like using the Walnut Stain distress ink from Ranger. If you want to make these more colorful you can use distress ink in one of the colors that you can see on the birds – this will ensure you keep a consistent color palette.
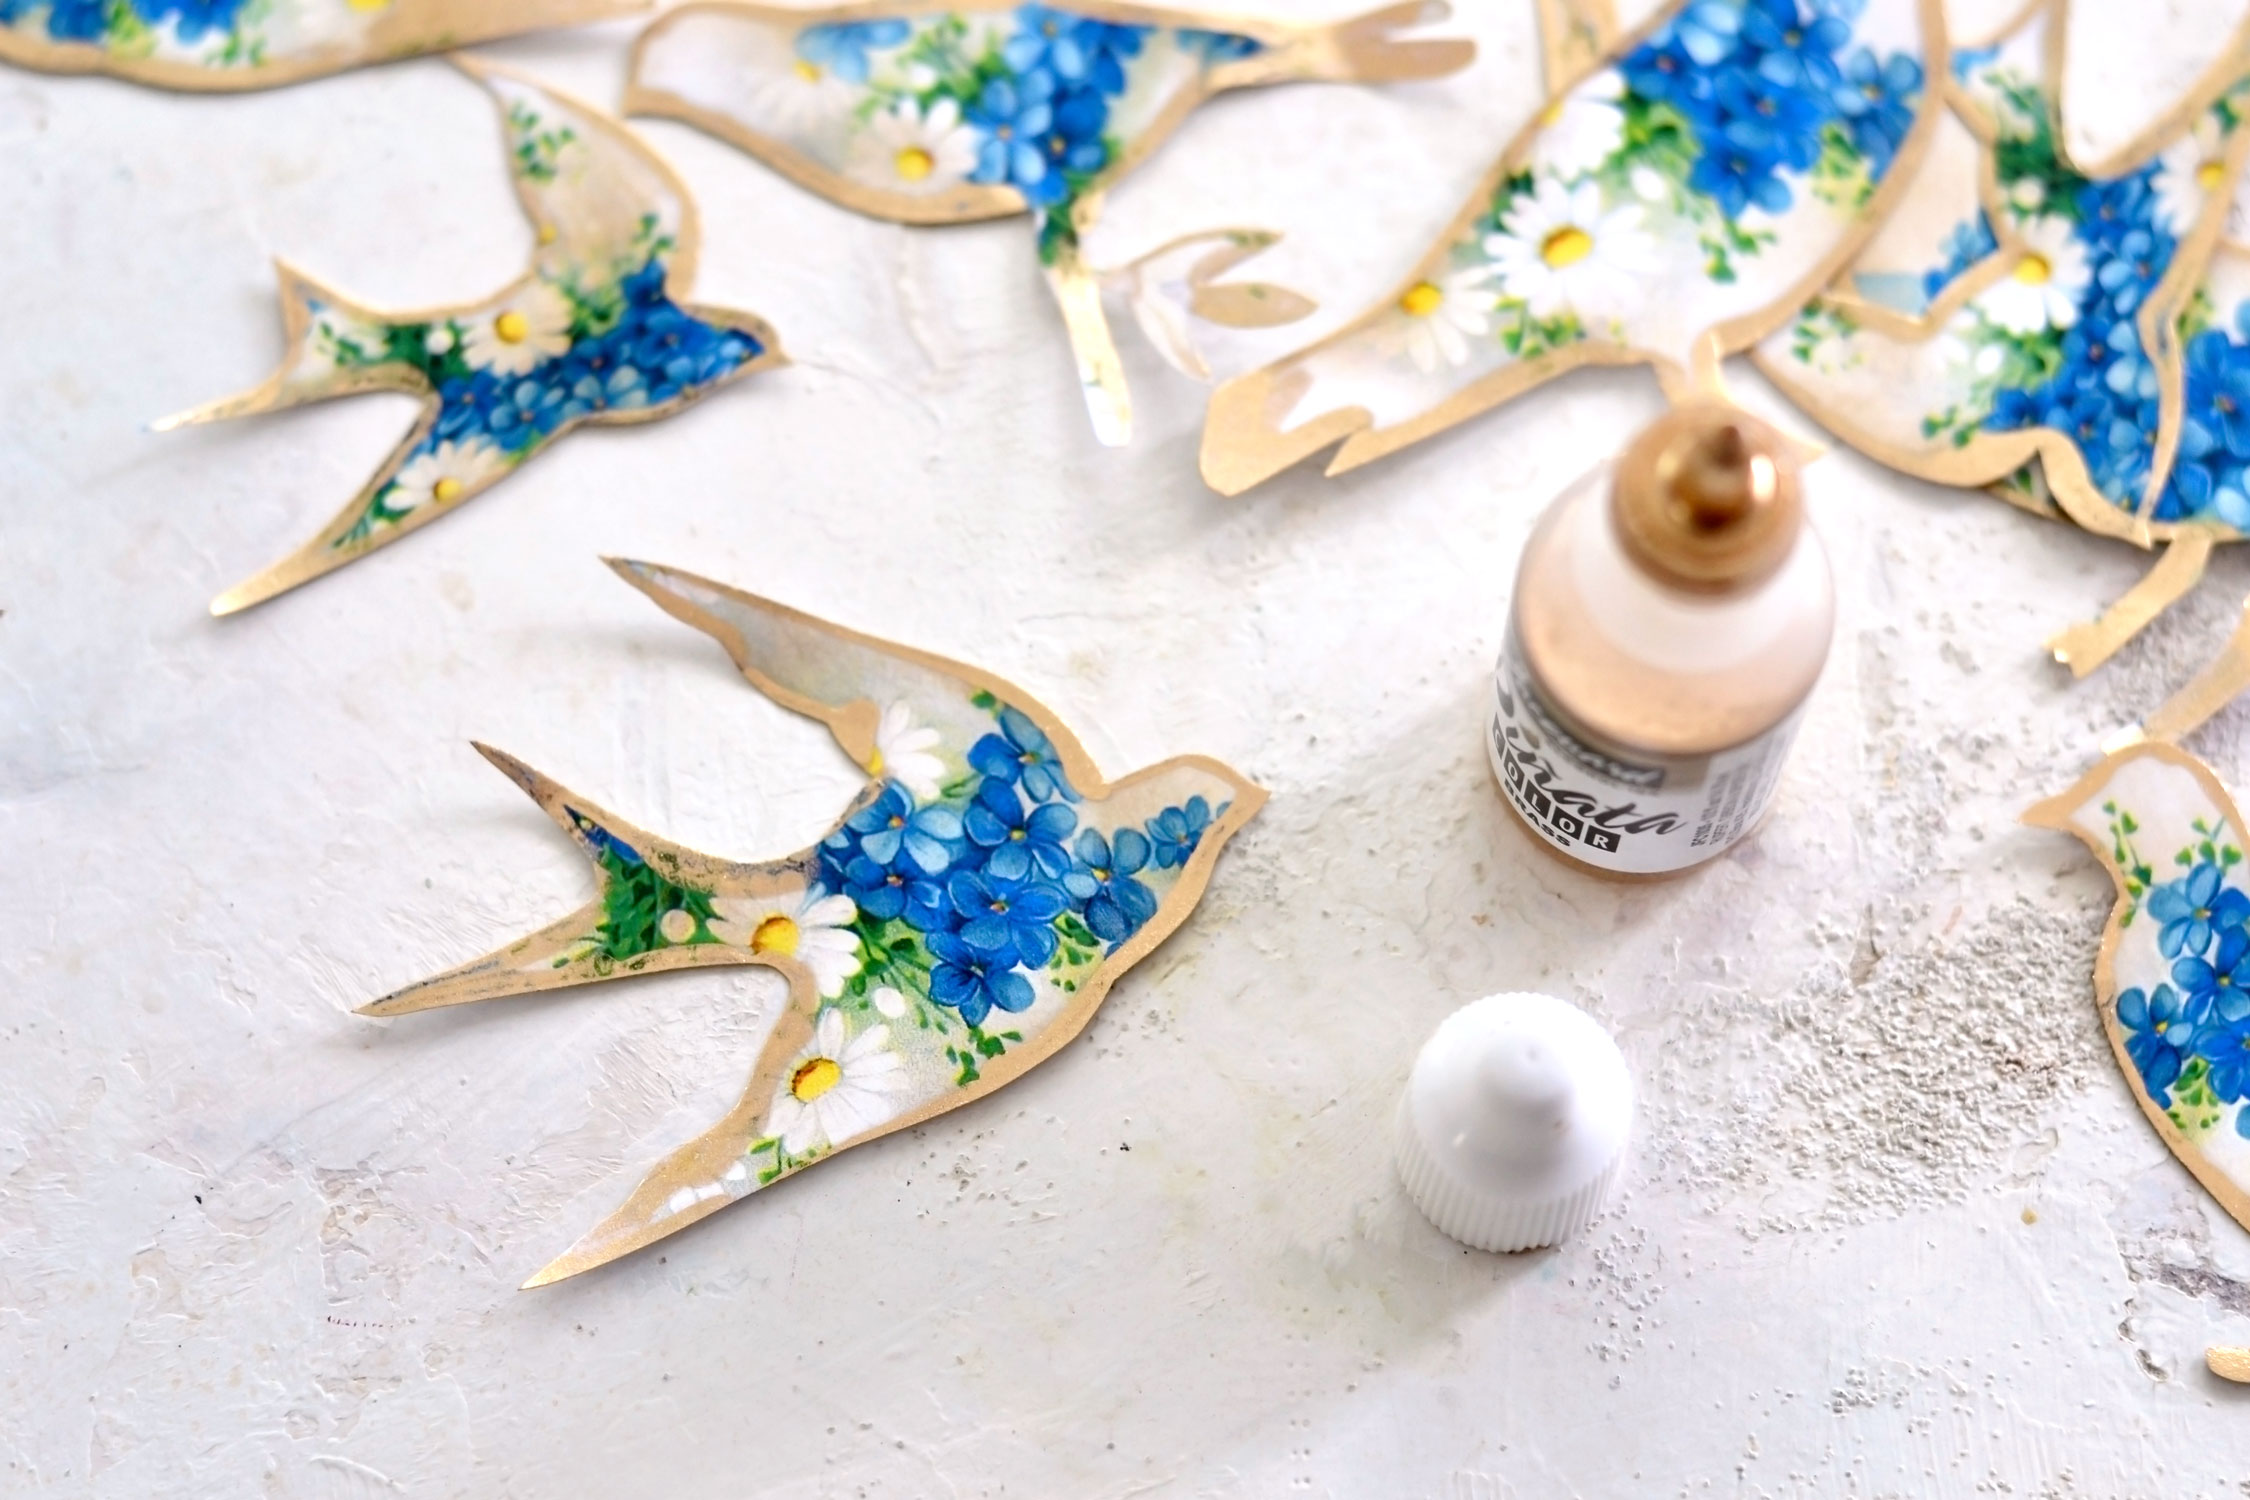
Lately, I’ve been obsessing over this Pinata brass alcohol ink from Jacquard, so I’ve decided to use it again on this project. The ink is highly pigmented and the final results are absolutely amazing! If you don’t have this specific supply, feel free to use what you have around! You can use gold markers, gold acrylic paint, gold watercolors, even gold foil – all will give great results when applied on the edges.
You can keep one bird between your fingers and just go all over the edges with gold while rotating the paper in your hand. Make sure you place a non-absorbent material like a plastic sheet on your table so you can lay the finished piece down for drying.
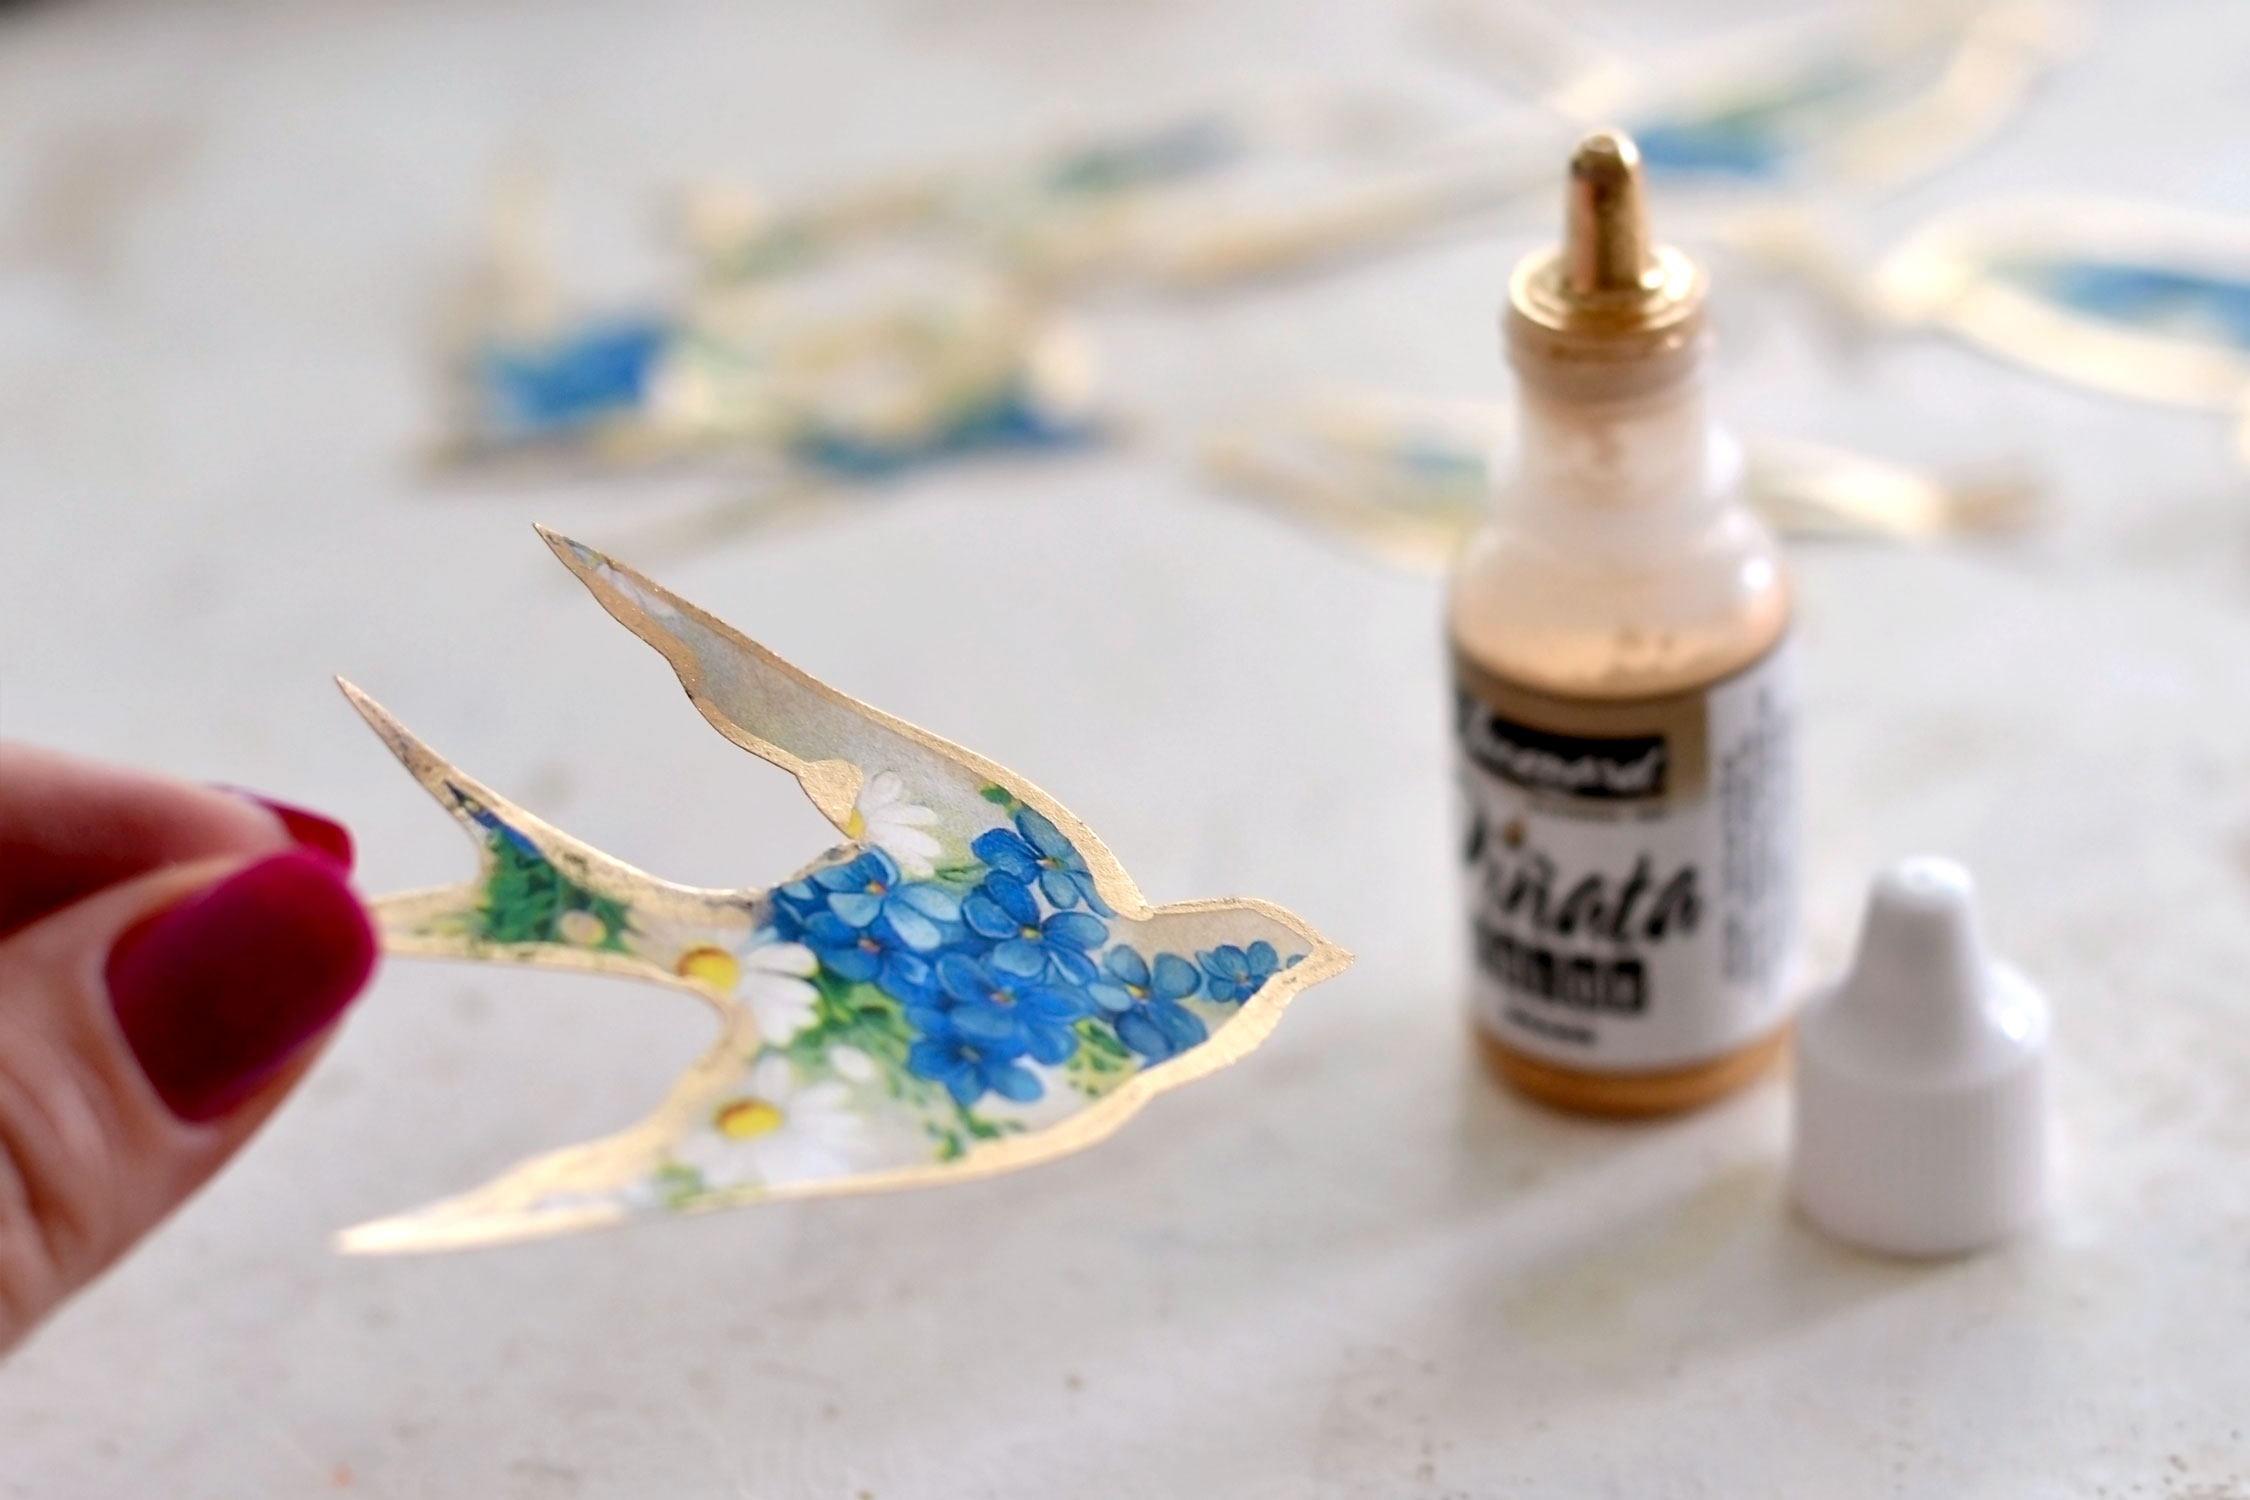
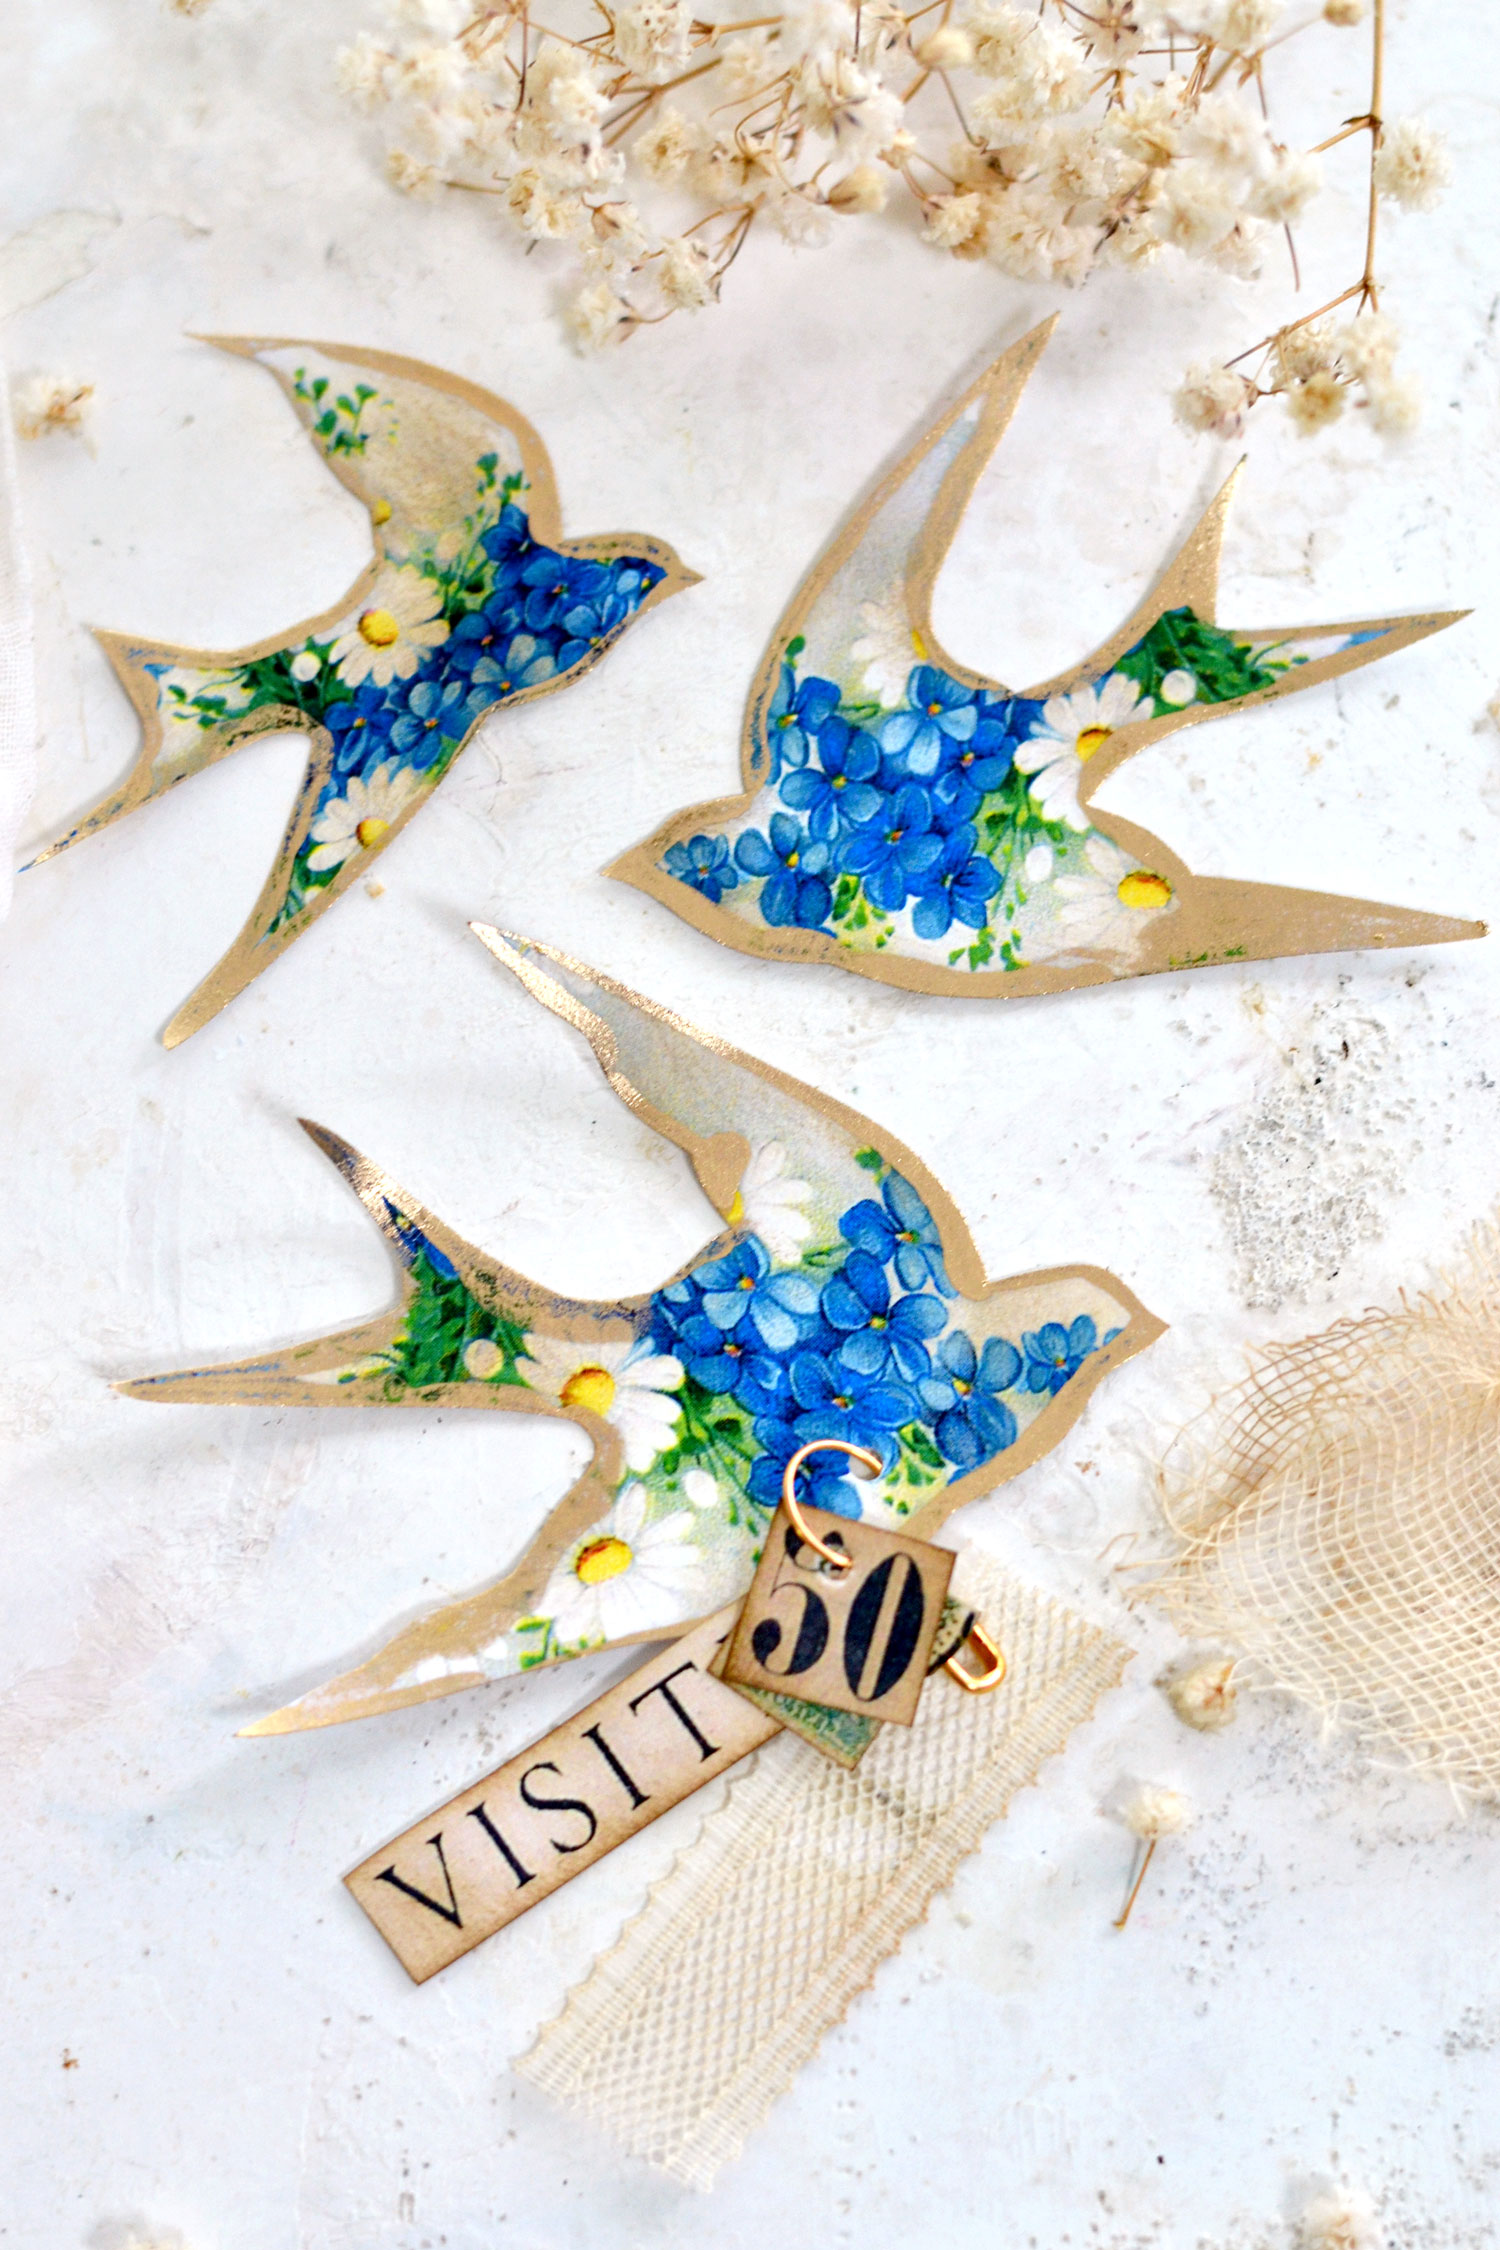
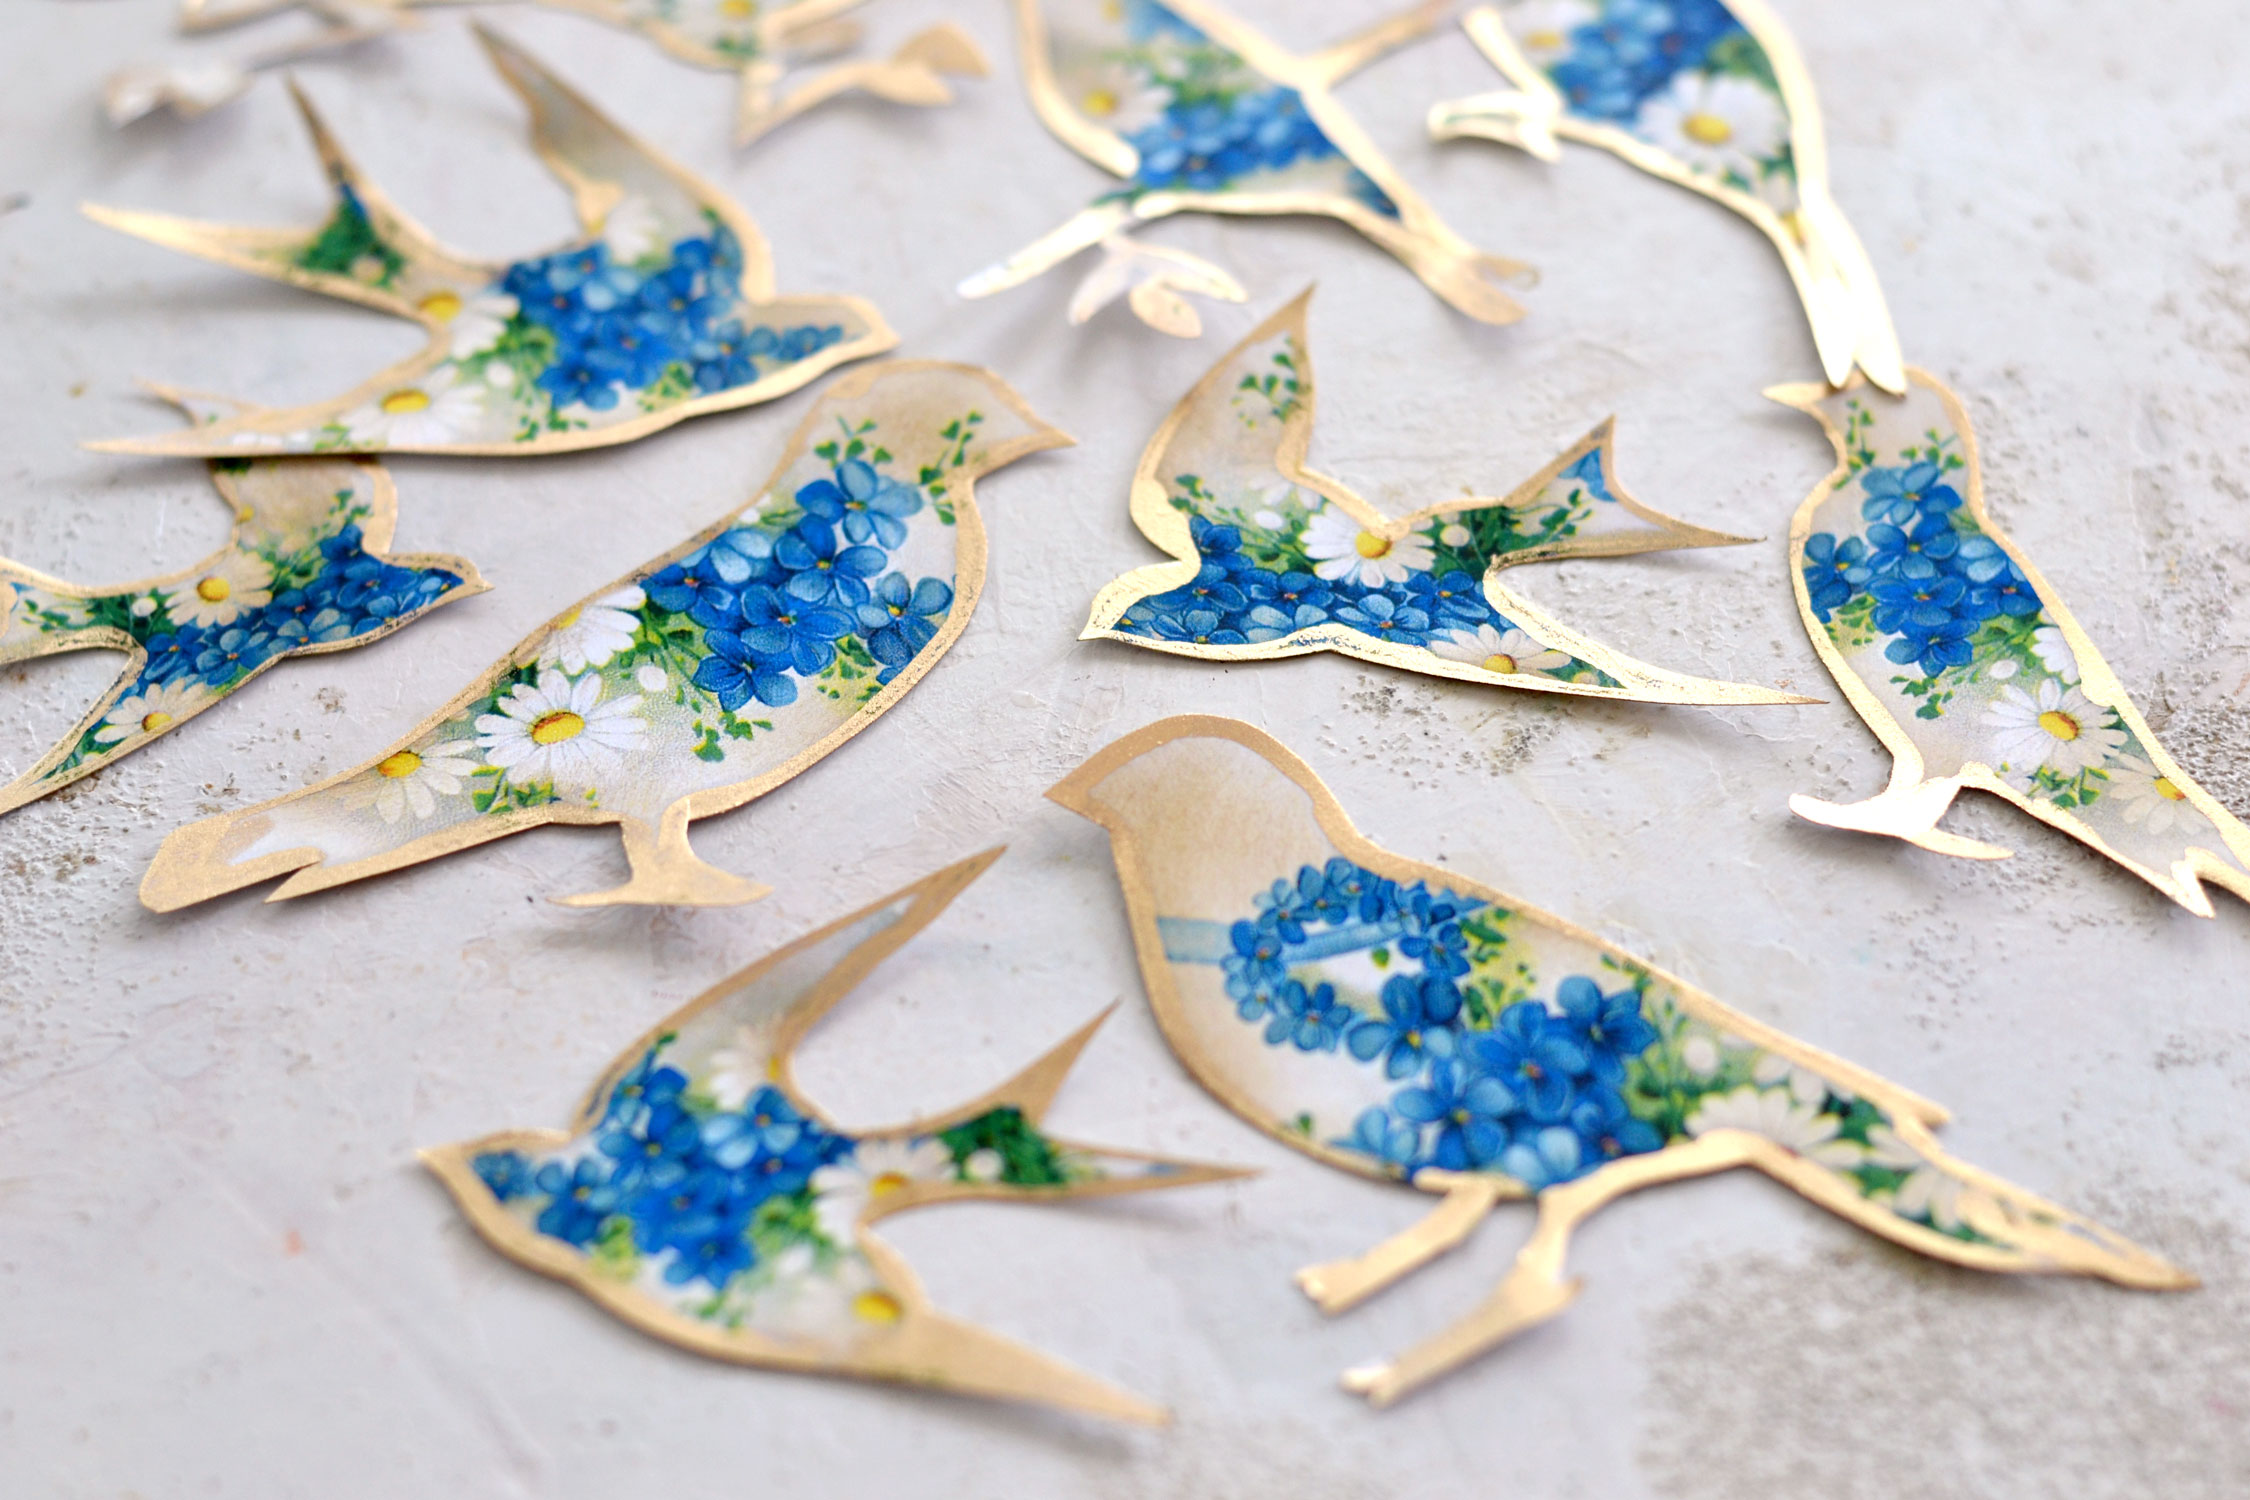
You can already admire your beautiful gilded pieces from the top.
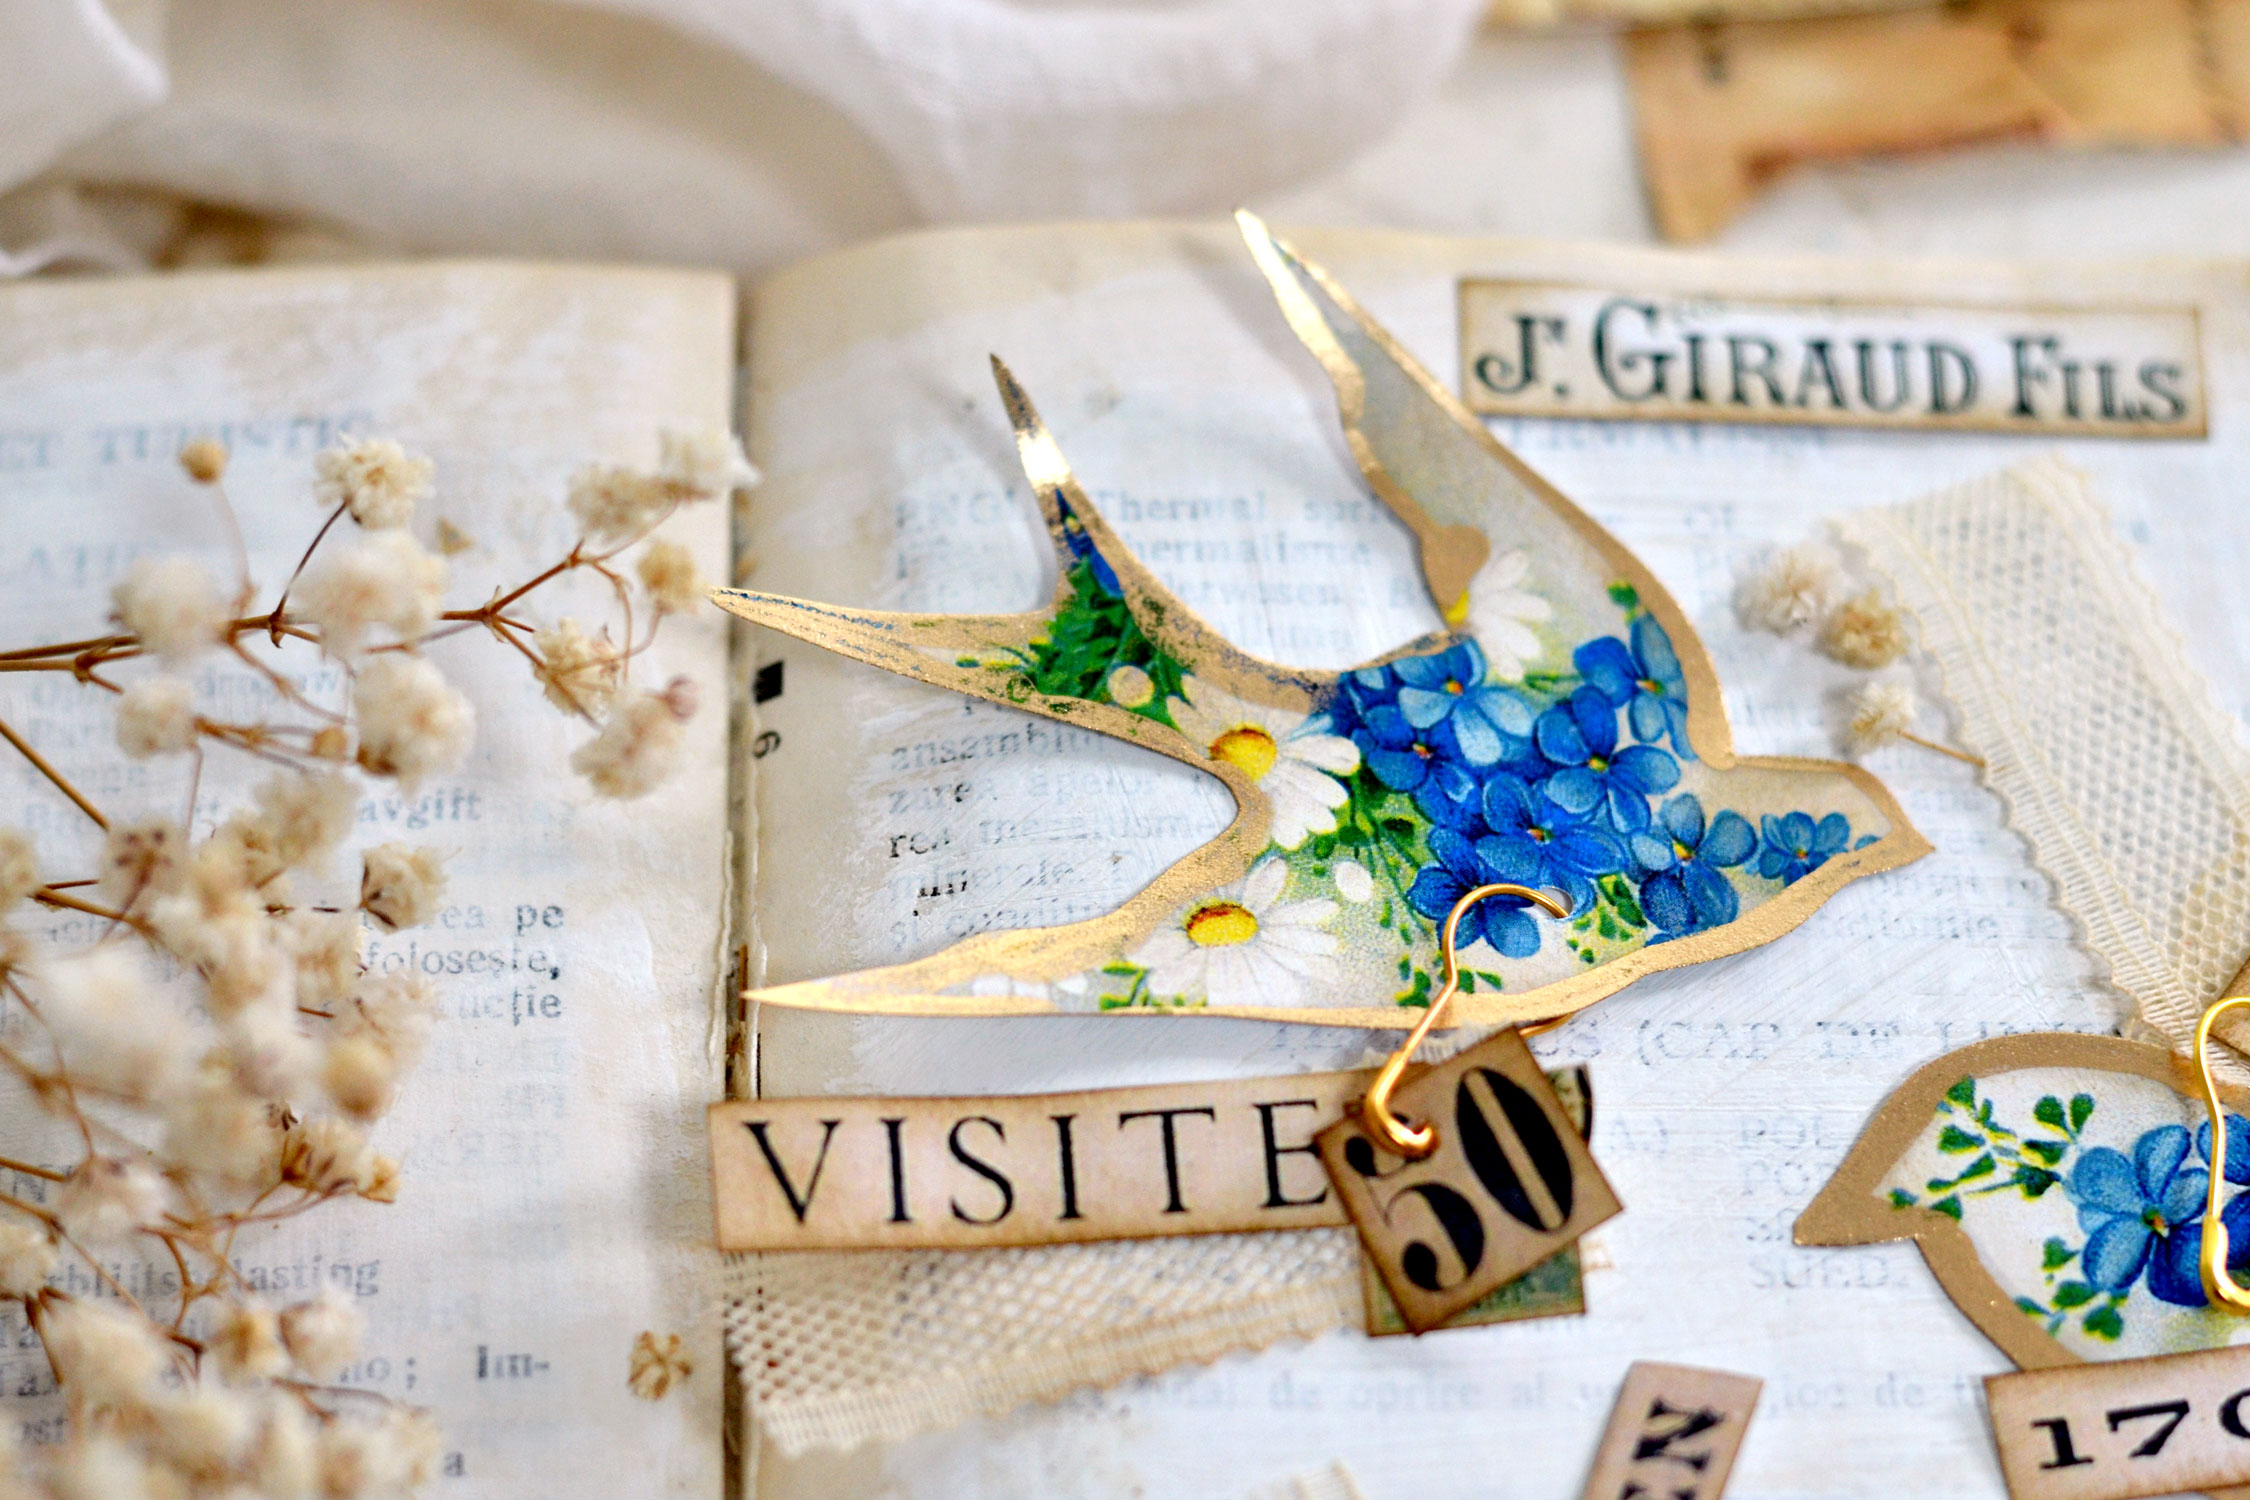
But don’t forget to also admire them from the side, metallic gold usually provides quite a spectacle, depending on the light!
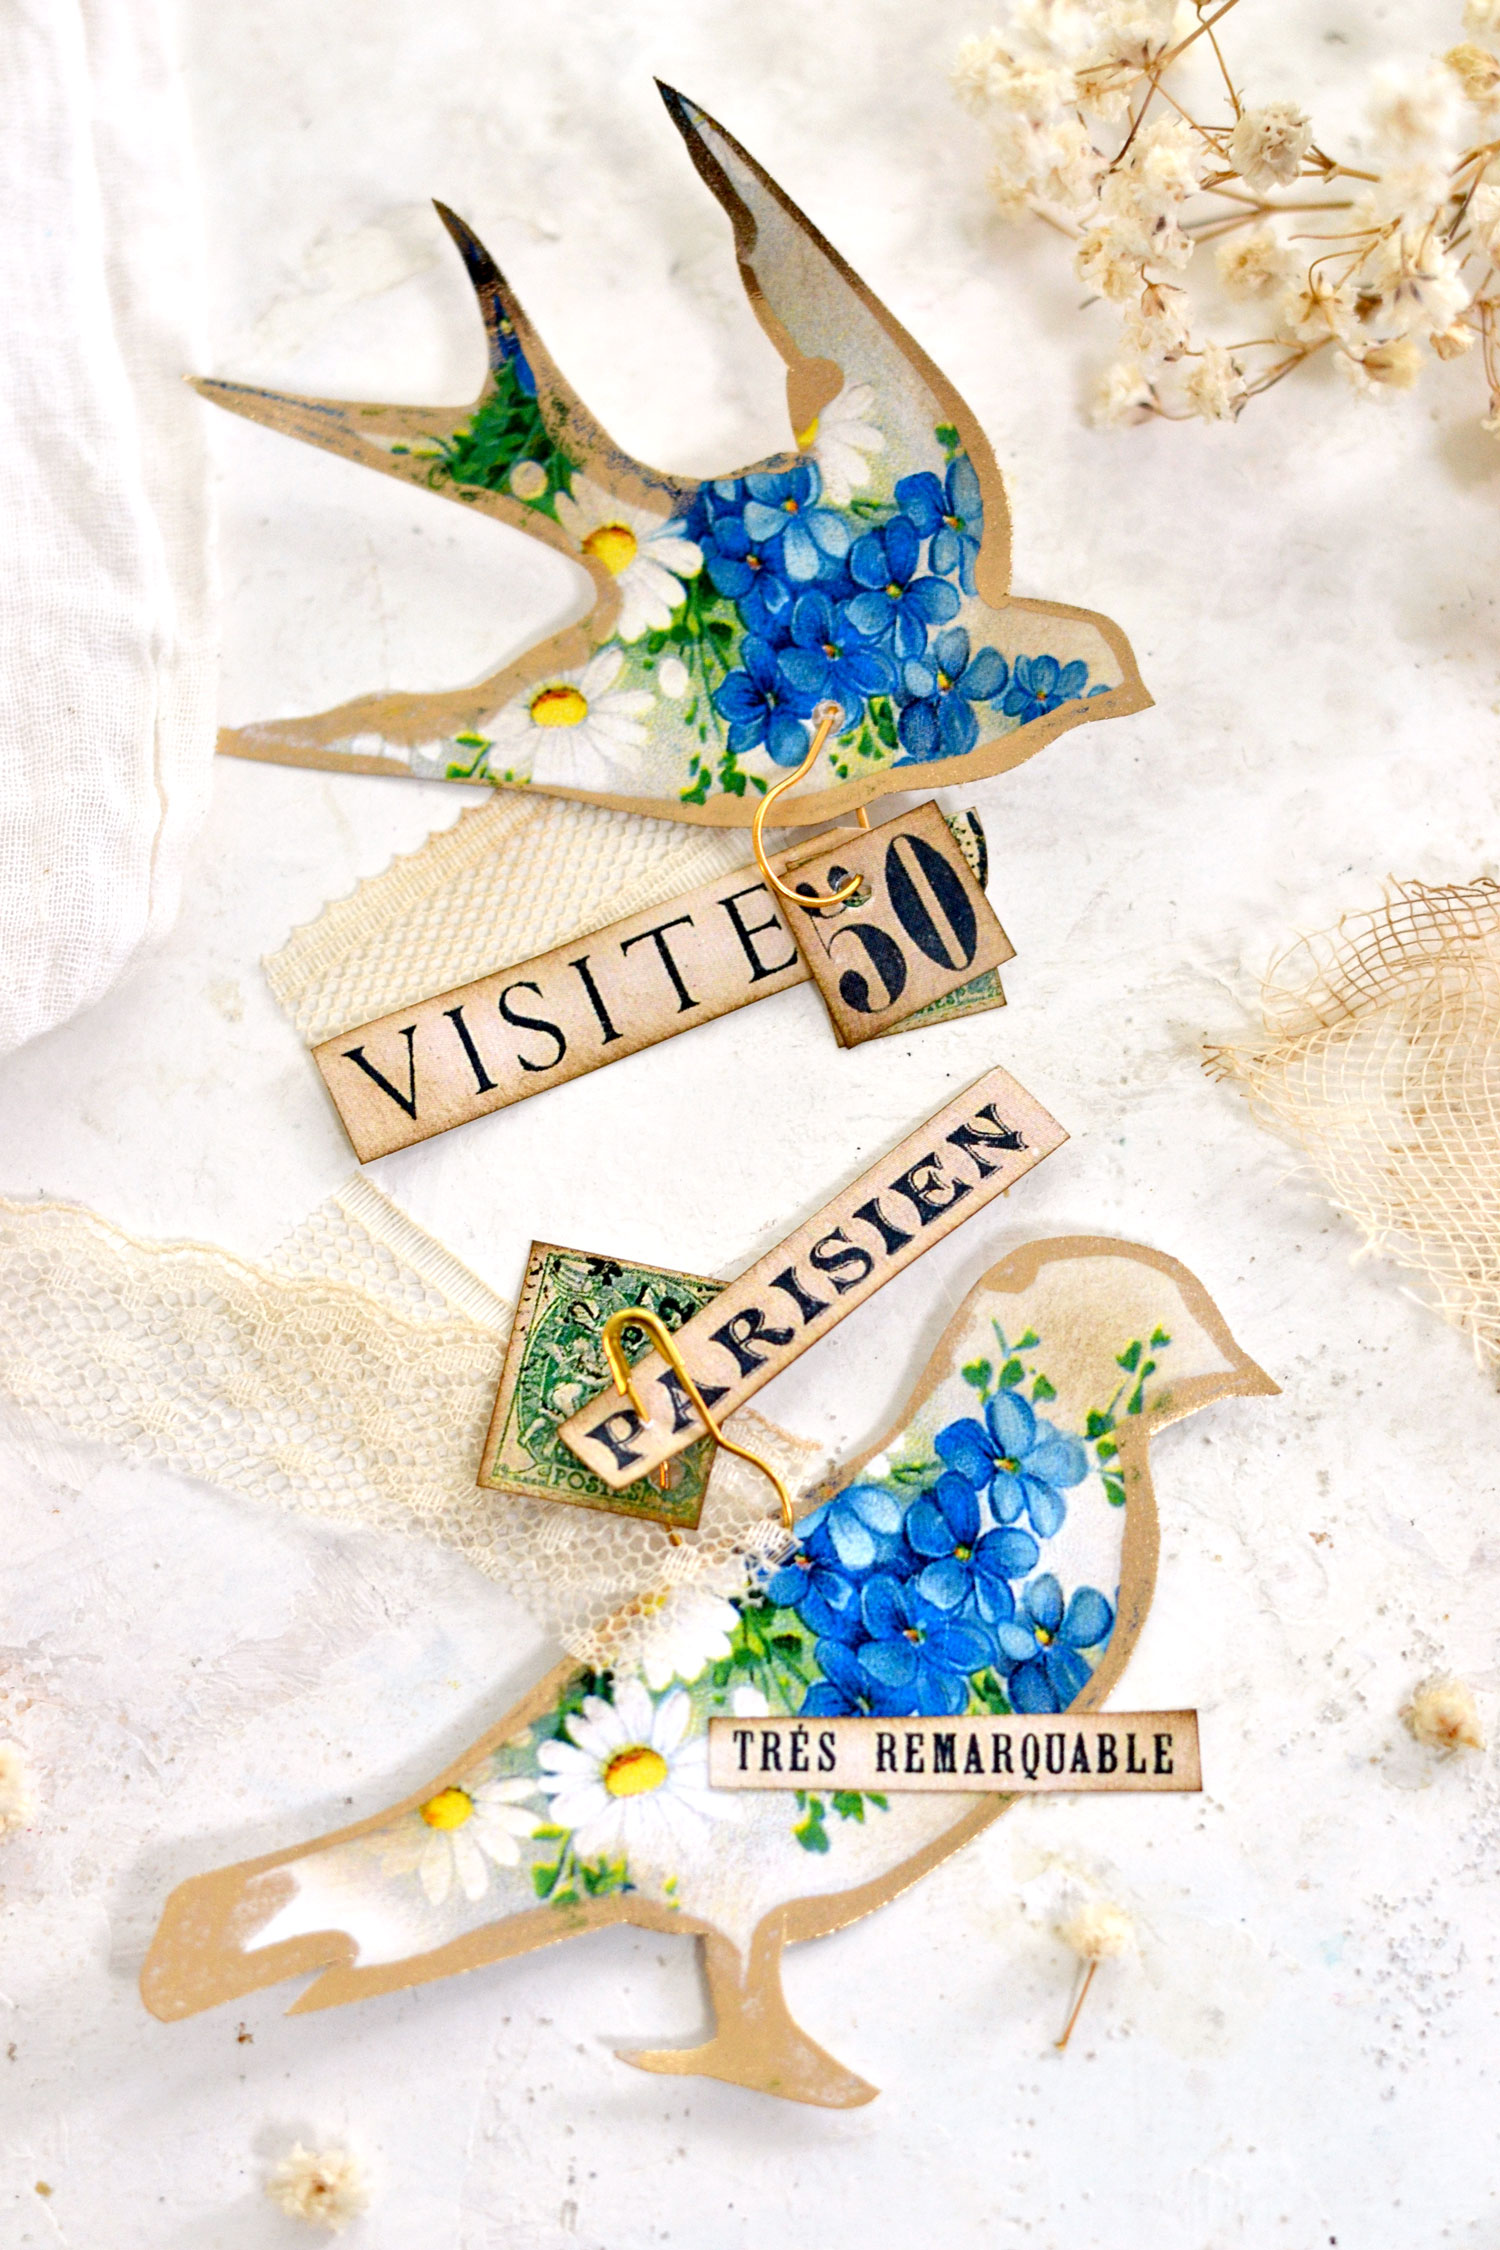
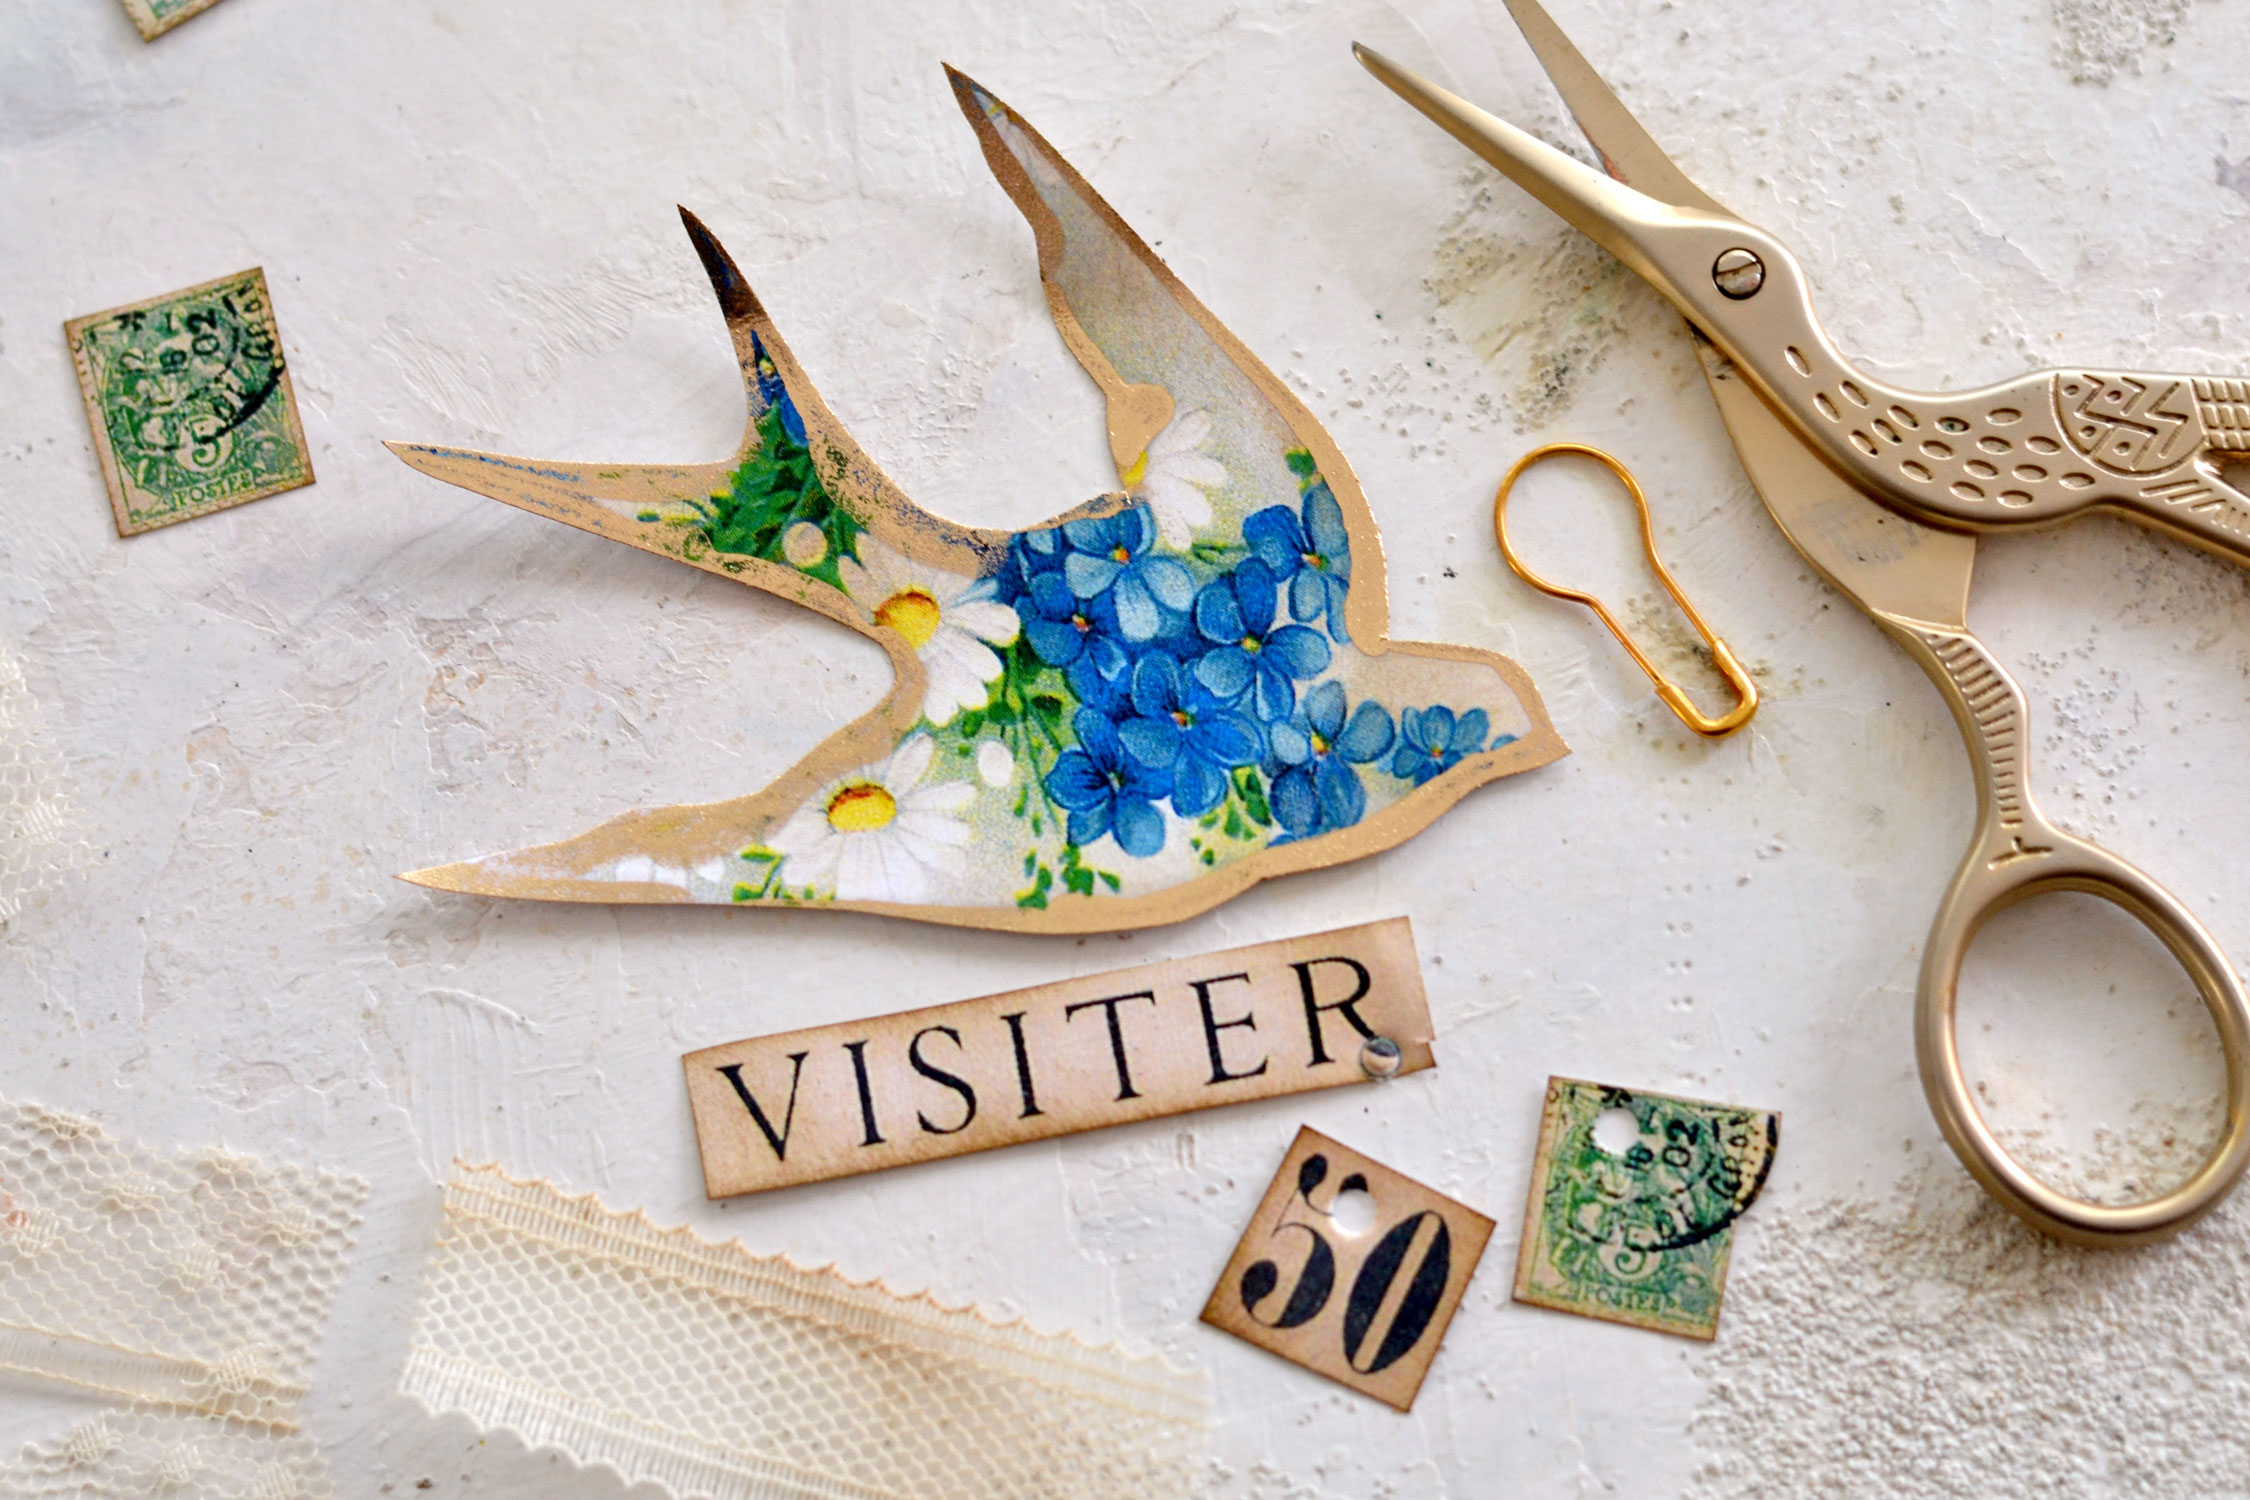
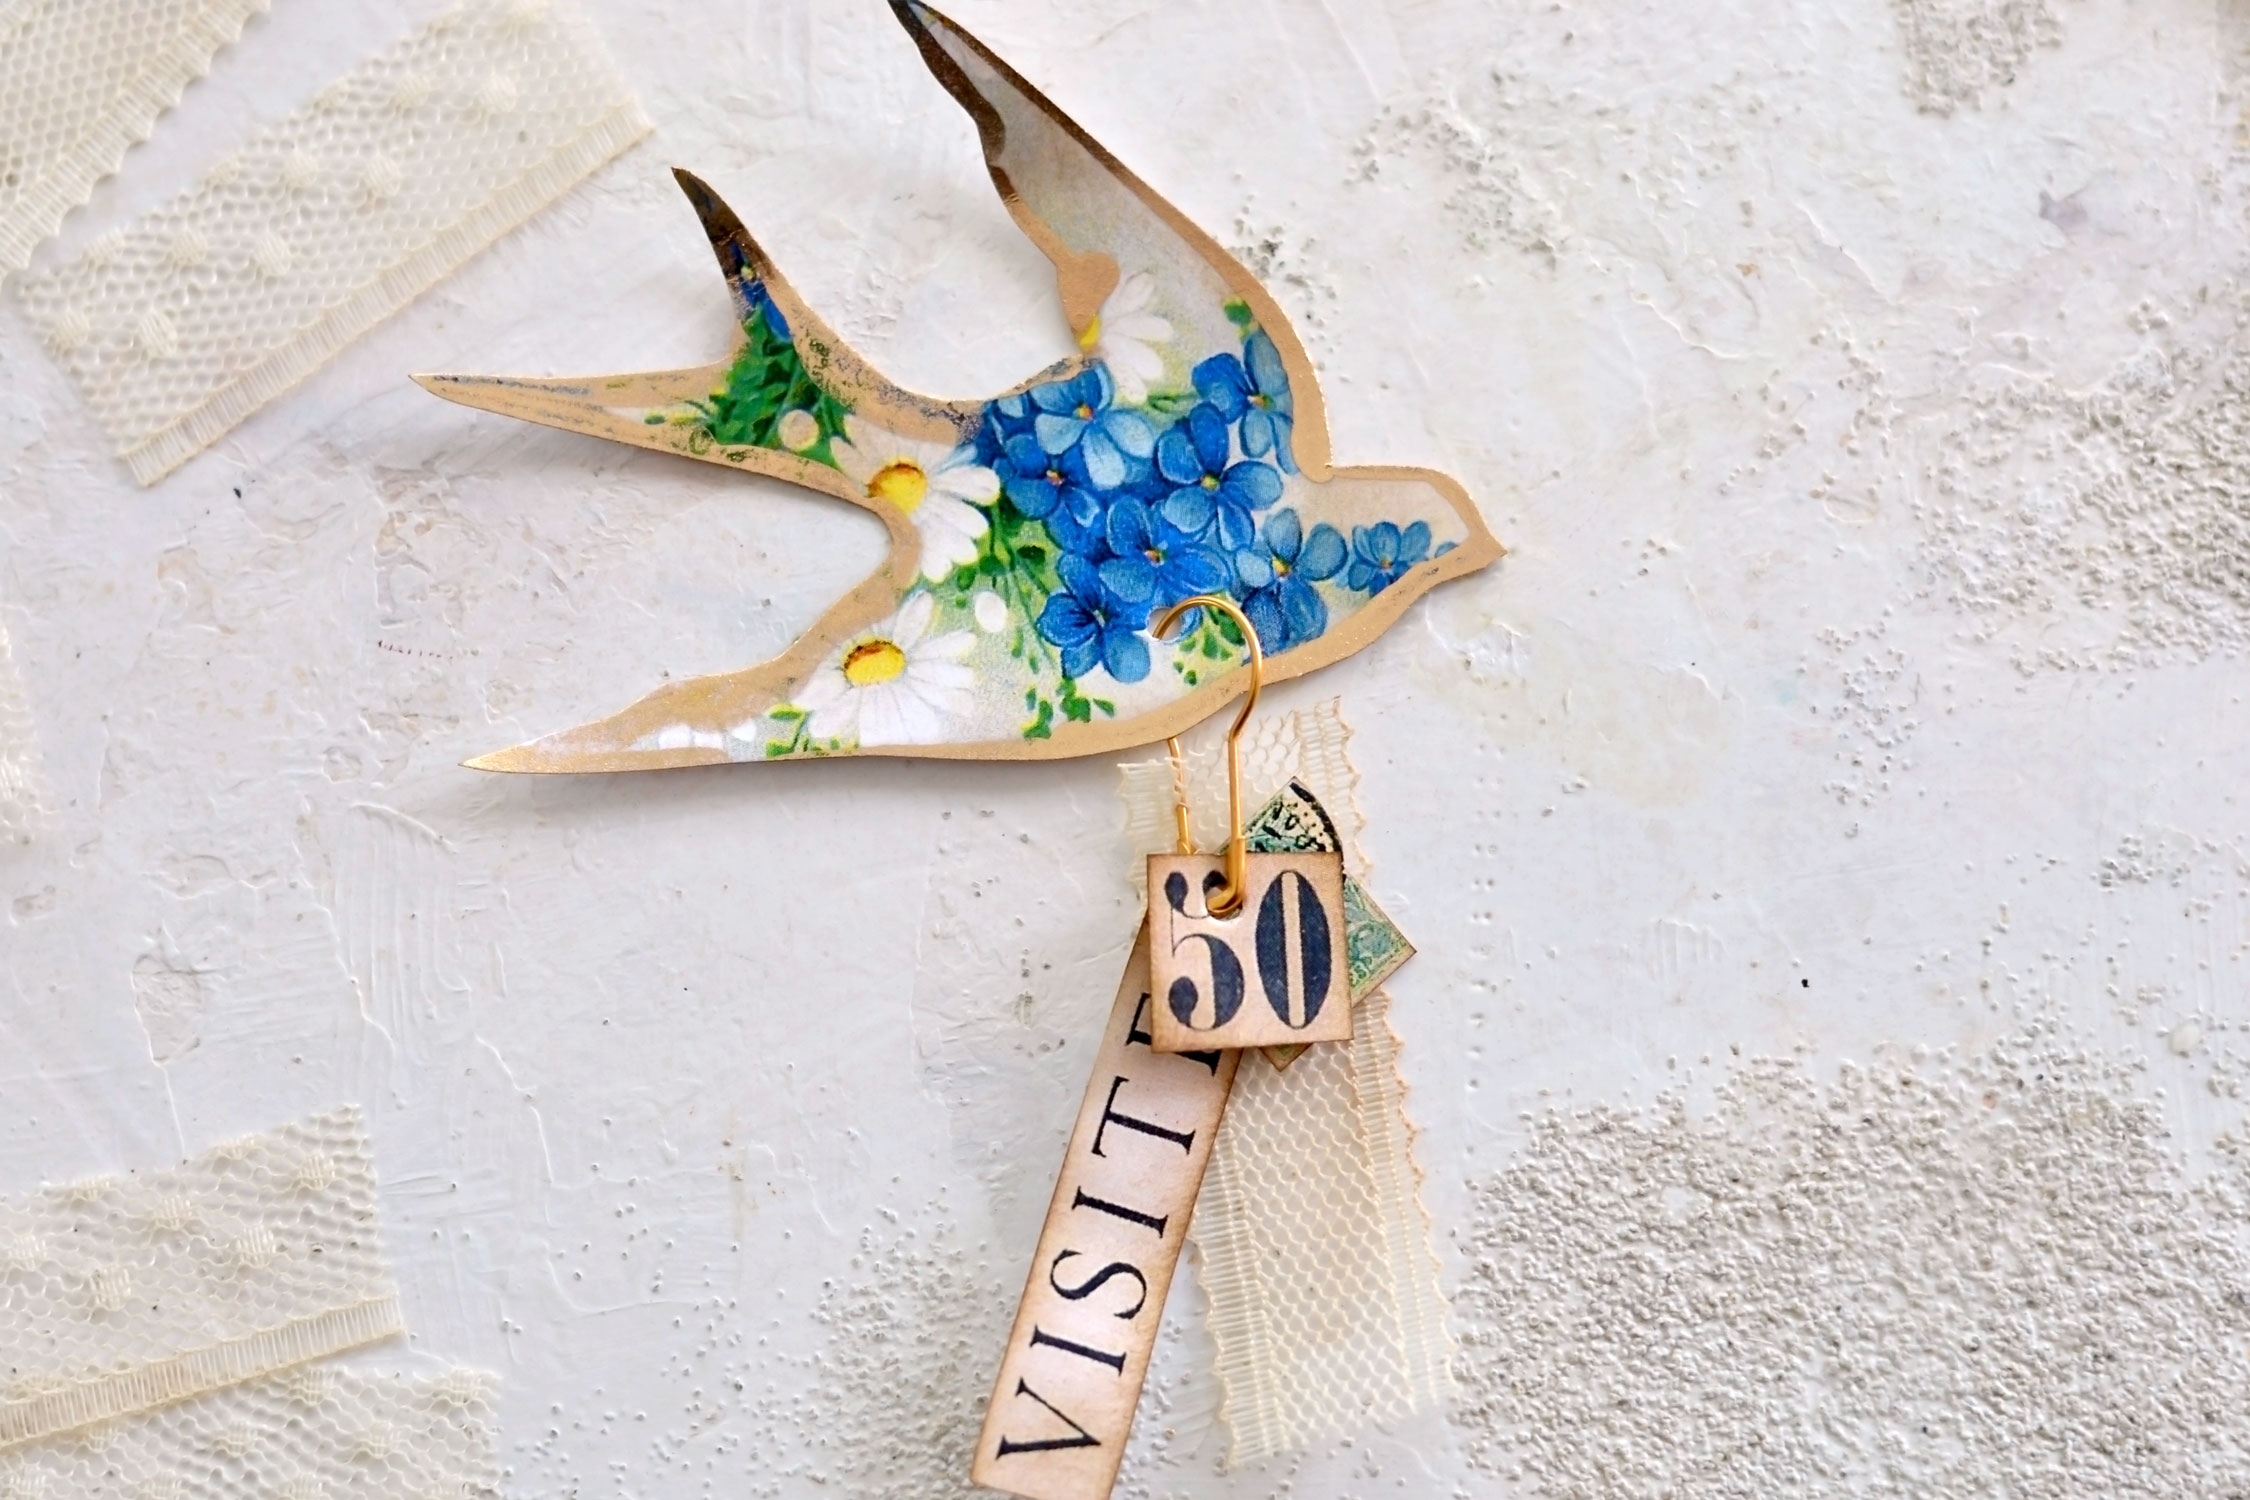
Alcohol ink dries pretty fast, so when you are done with all the gilding, you can move to the next step – assembling the clusters. Decide on your first elements and punch holes in them. Make sure you don’t go too close to the edge – as I did with my VISITER element.
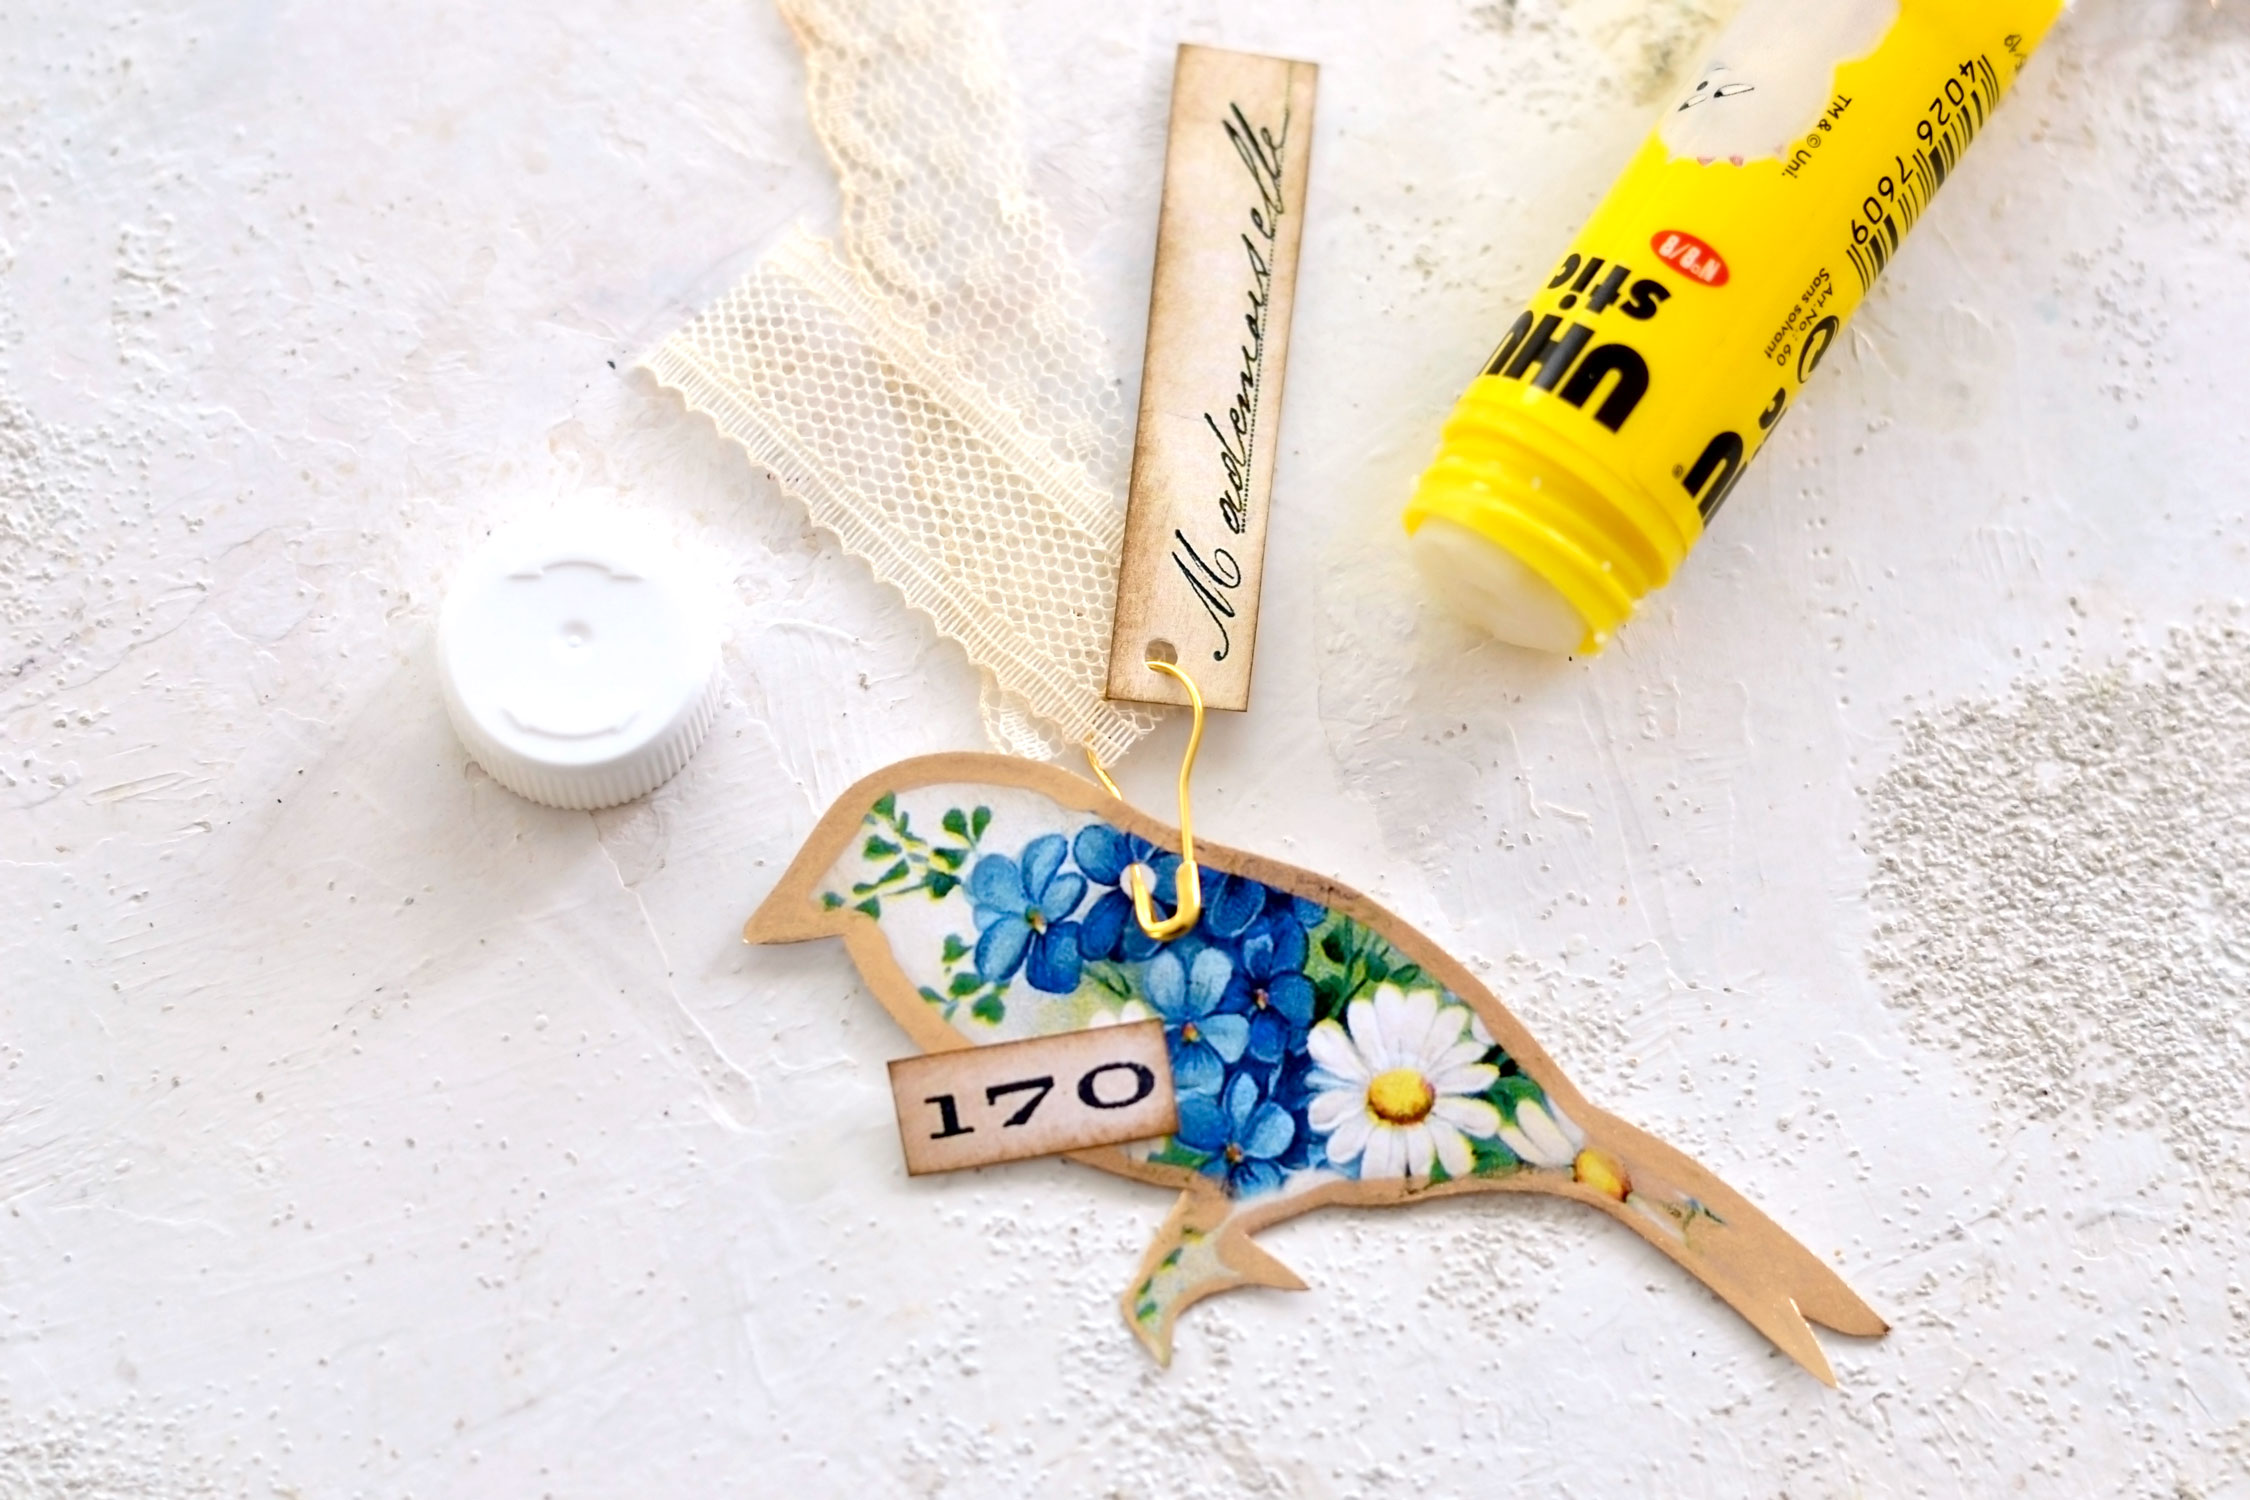
When punching holes, try to imagine where you would like to use them – above or below your bird – and punch them accordingly.
For the paper elements that you will like to place below the bird, you will need to punch a hole on the bird’s lower part and then punch the corresponding elements on their upper part.
If you want to place your elements above the bird, you will need to punch a hole somewhere on the bird’s upper part, then punch the other elements on their lower part.
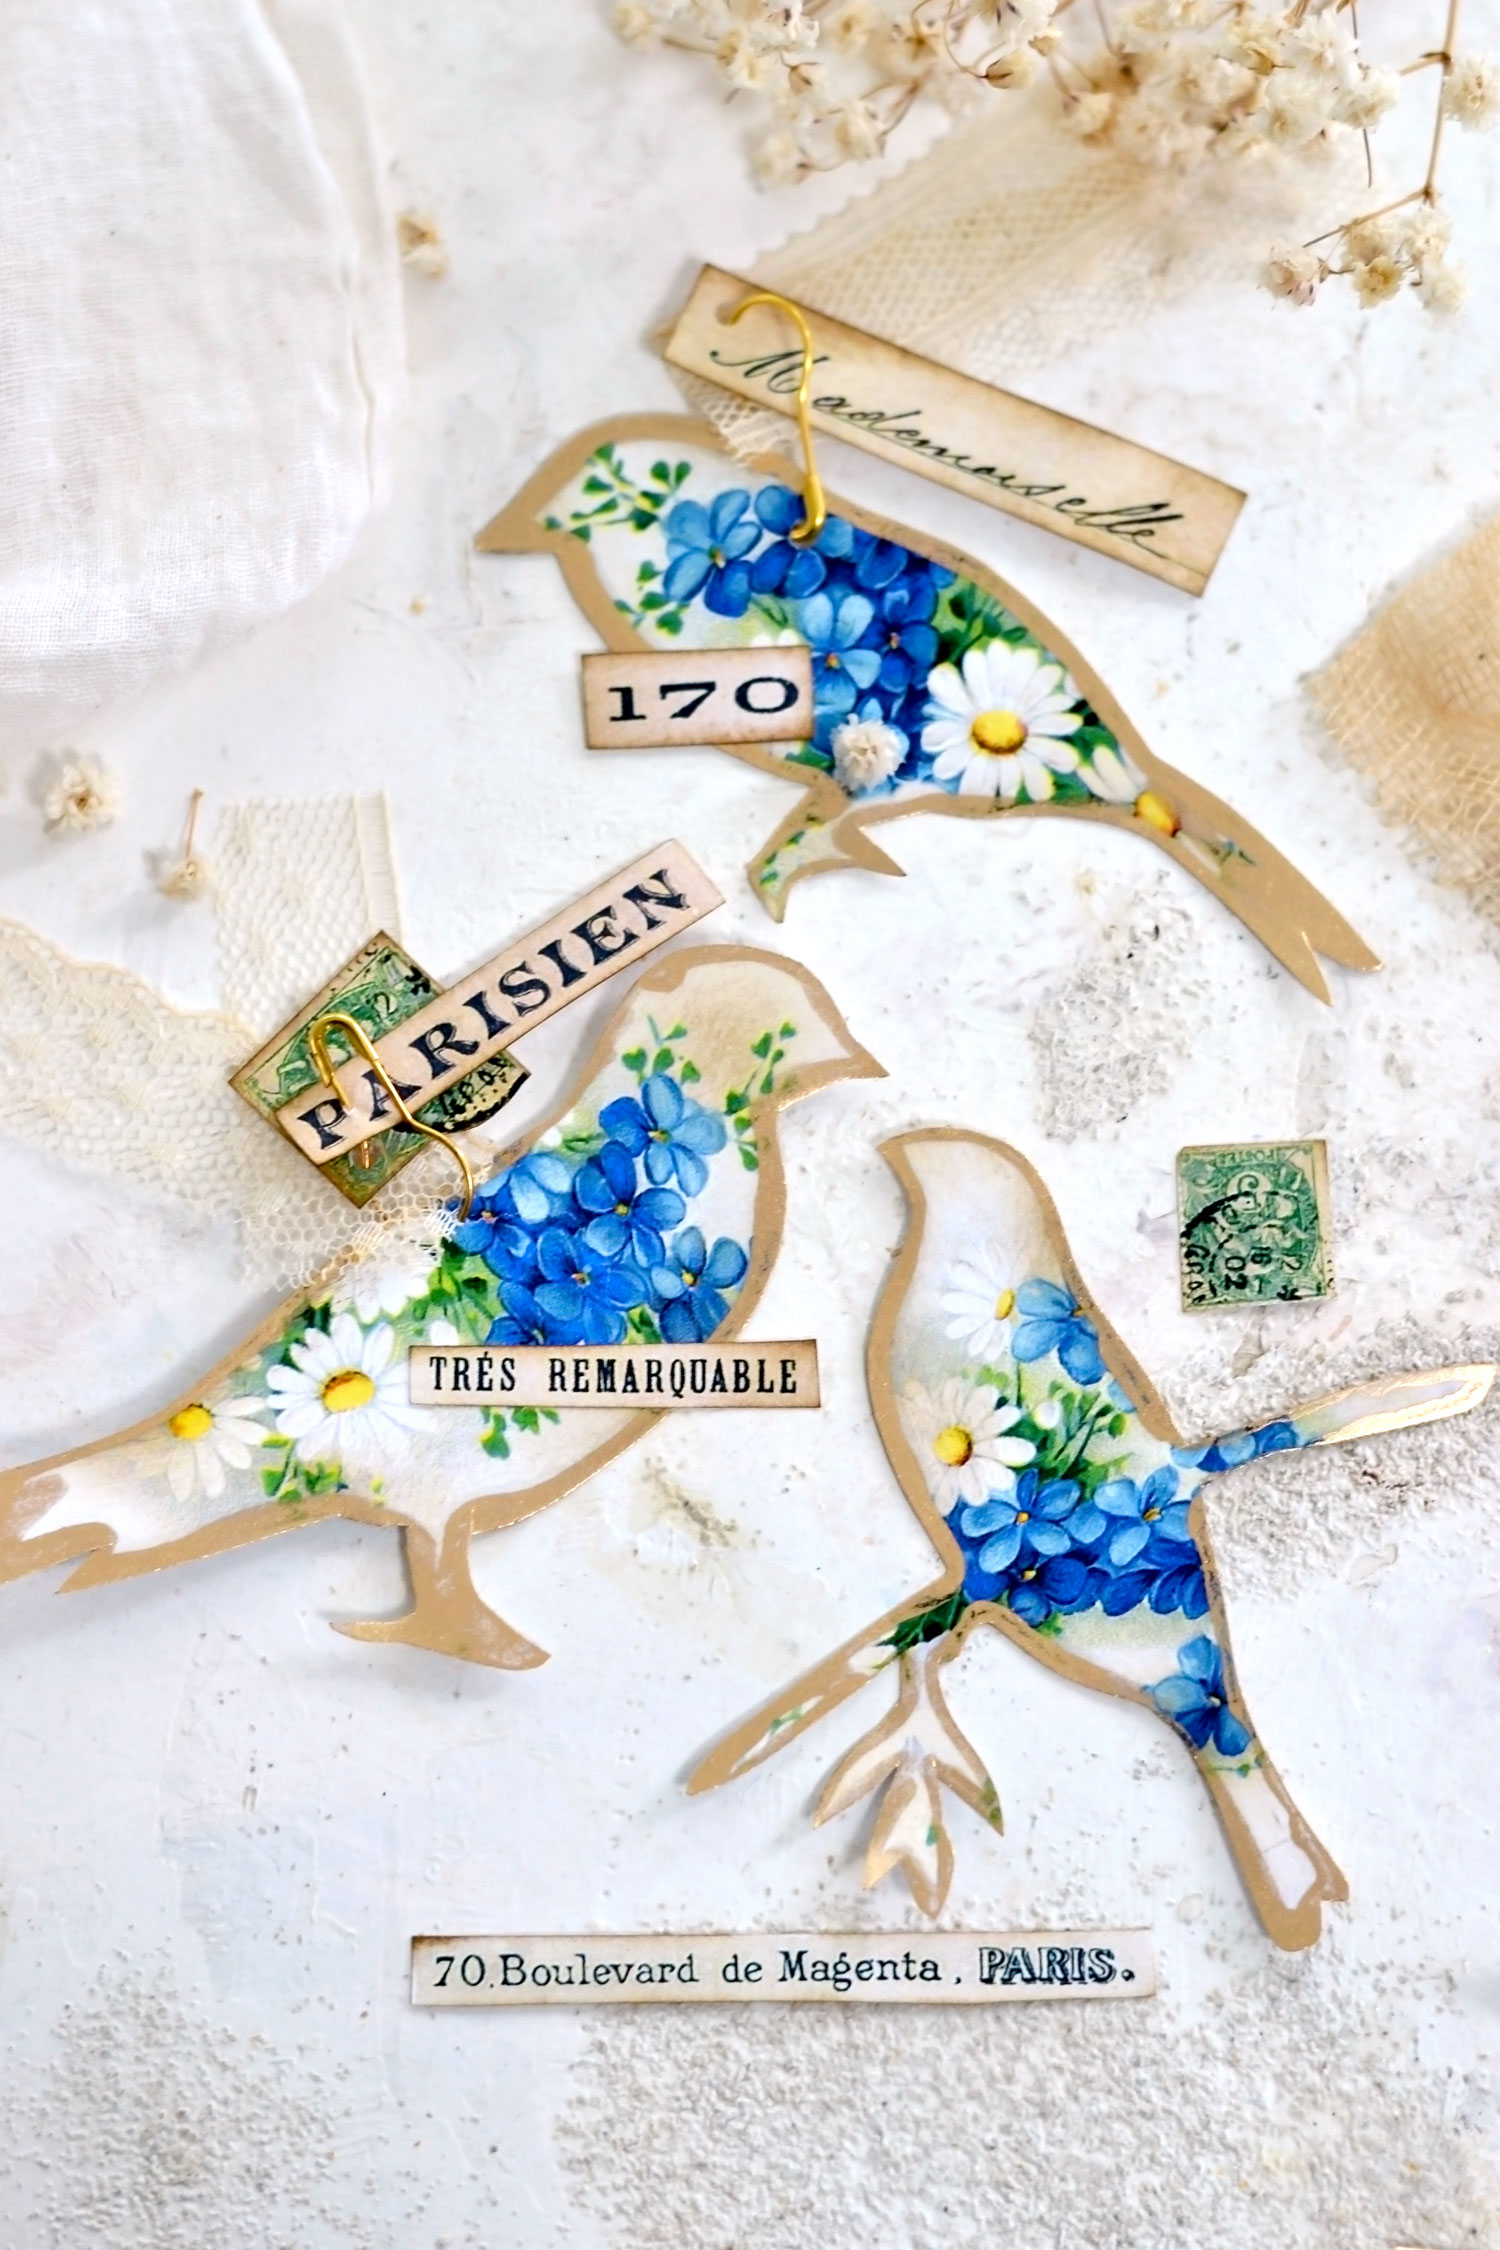
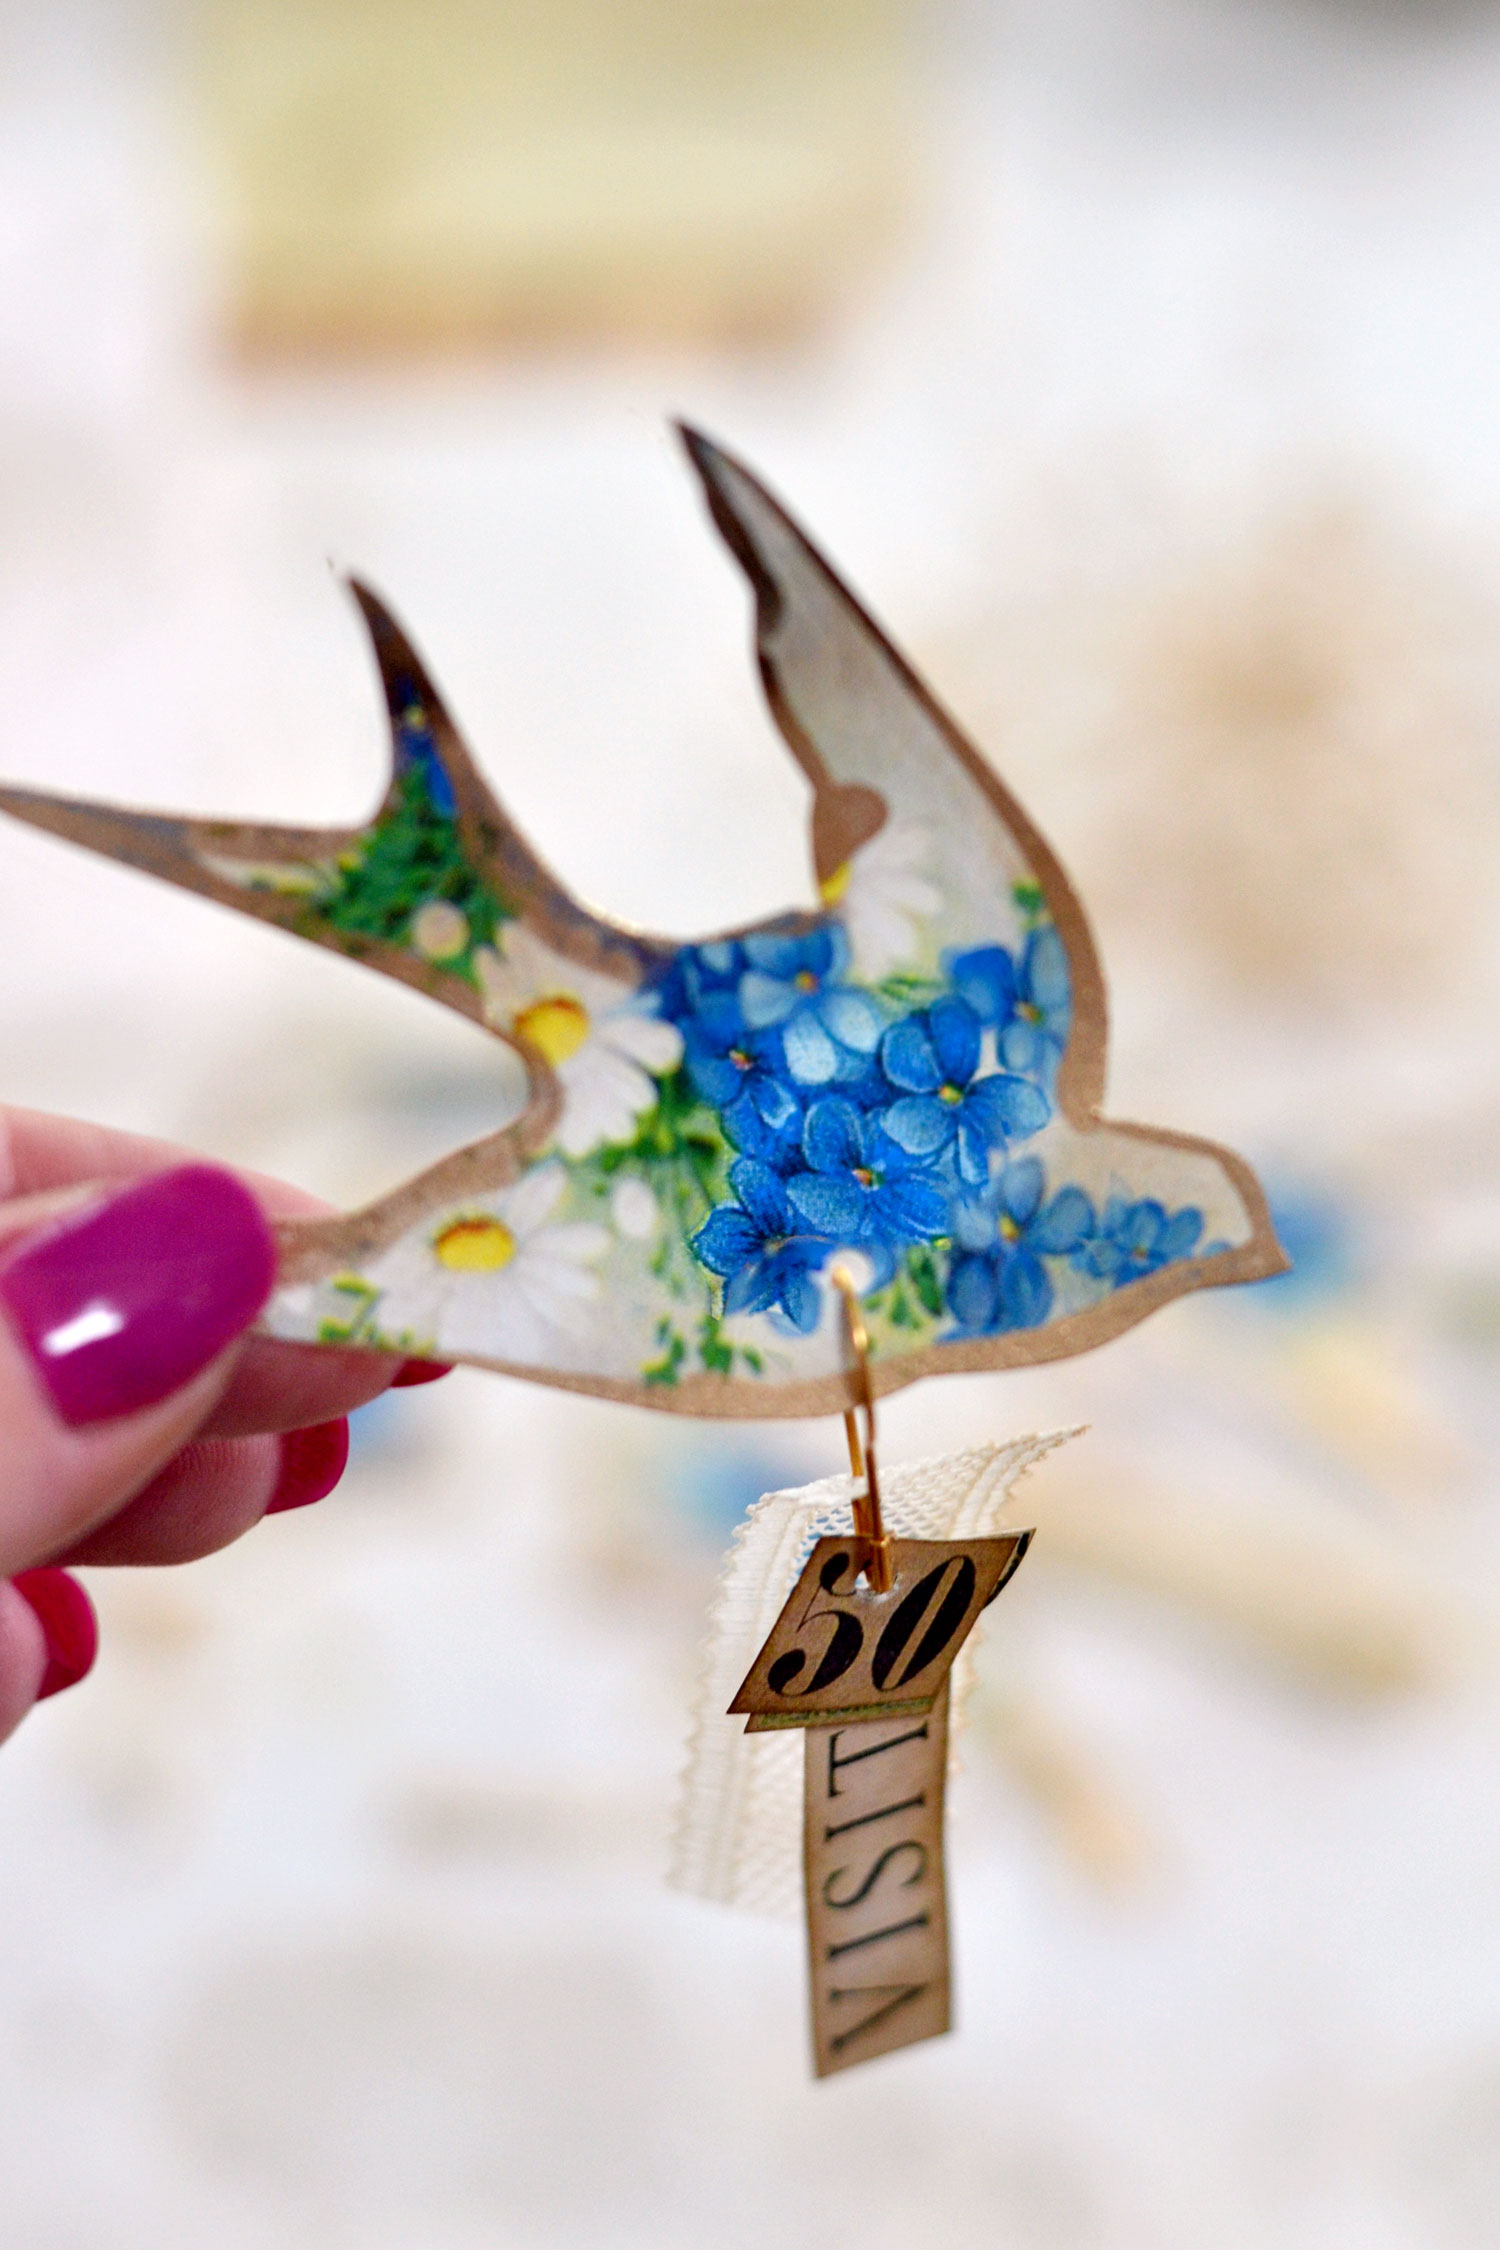
Then you can use a small safety pin to attach the elements to your bird. Use gold safety pins if you want to keep the gold theme going on. You can also use some glue if you want to adhere some of the paper elements on top of the birds.
Your vintage bird clusters will look even more charming if you also add some scrap pieces of lace or gauze that you have around! If you want, you can use coffee to distress the lace or gauze prior to using them – this is such a quick way of removing the newness in any white pieces and giving them more of a vintage vibe.
Of course, you can also add other small embellishments that you have in your stash, these will look great with blue, yellow, white or green scrap pieces of fabric, vintage buttons, metallic thread and many others.
So maybe now would be the perfect time to raid the boxes in your atelier and look for some lovely things to use for our project – ones that will also keep our color scheme cohesive.
You can make as many vintage bird clusters as you want or if you prefer, you can store the elements as separate elements and only make the clusters when in need.
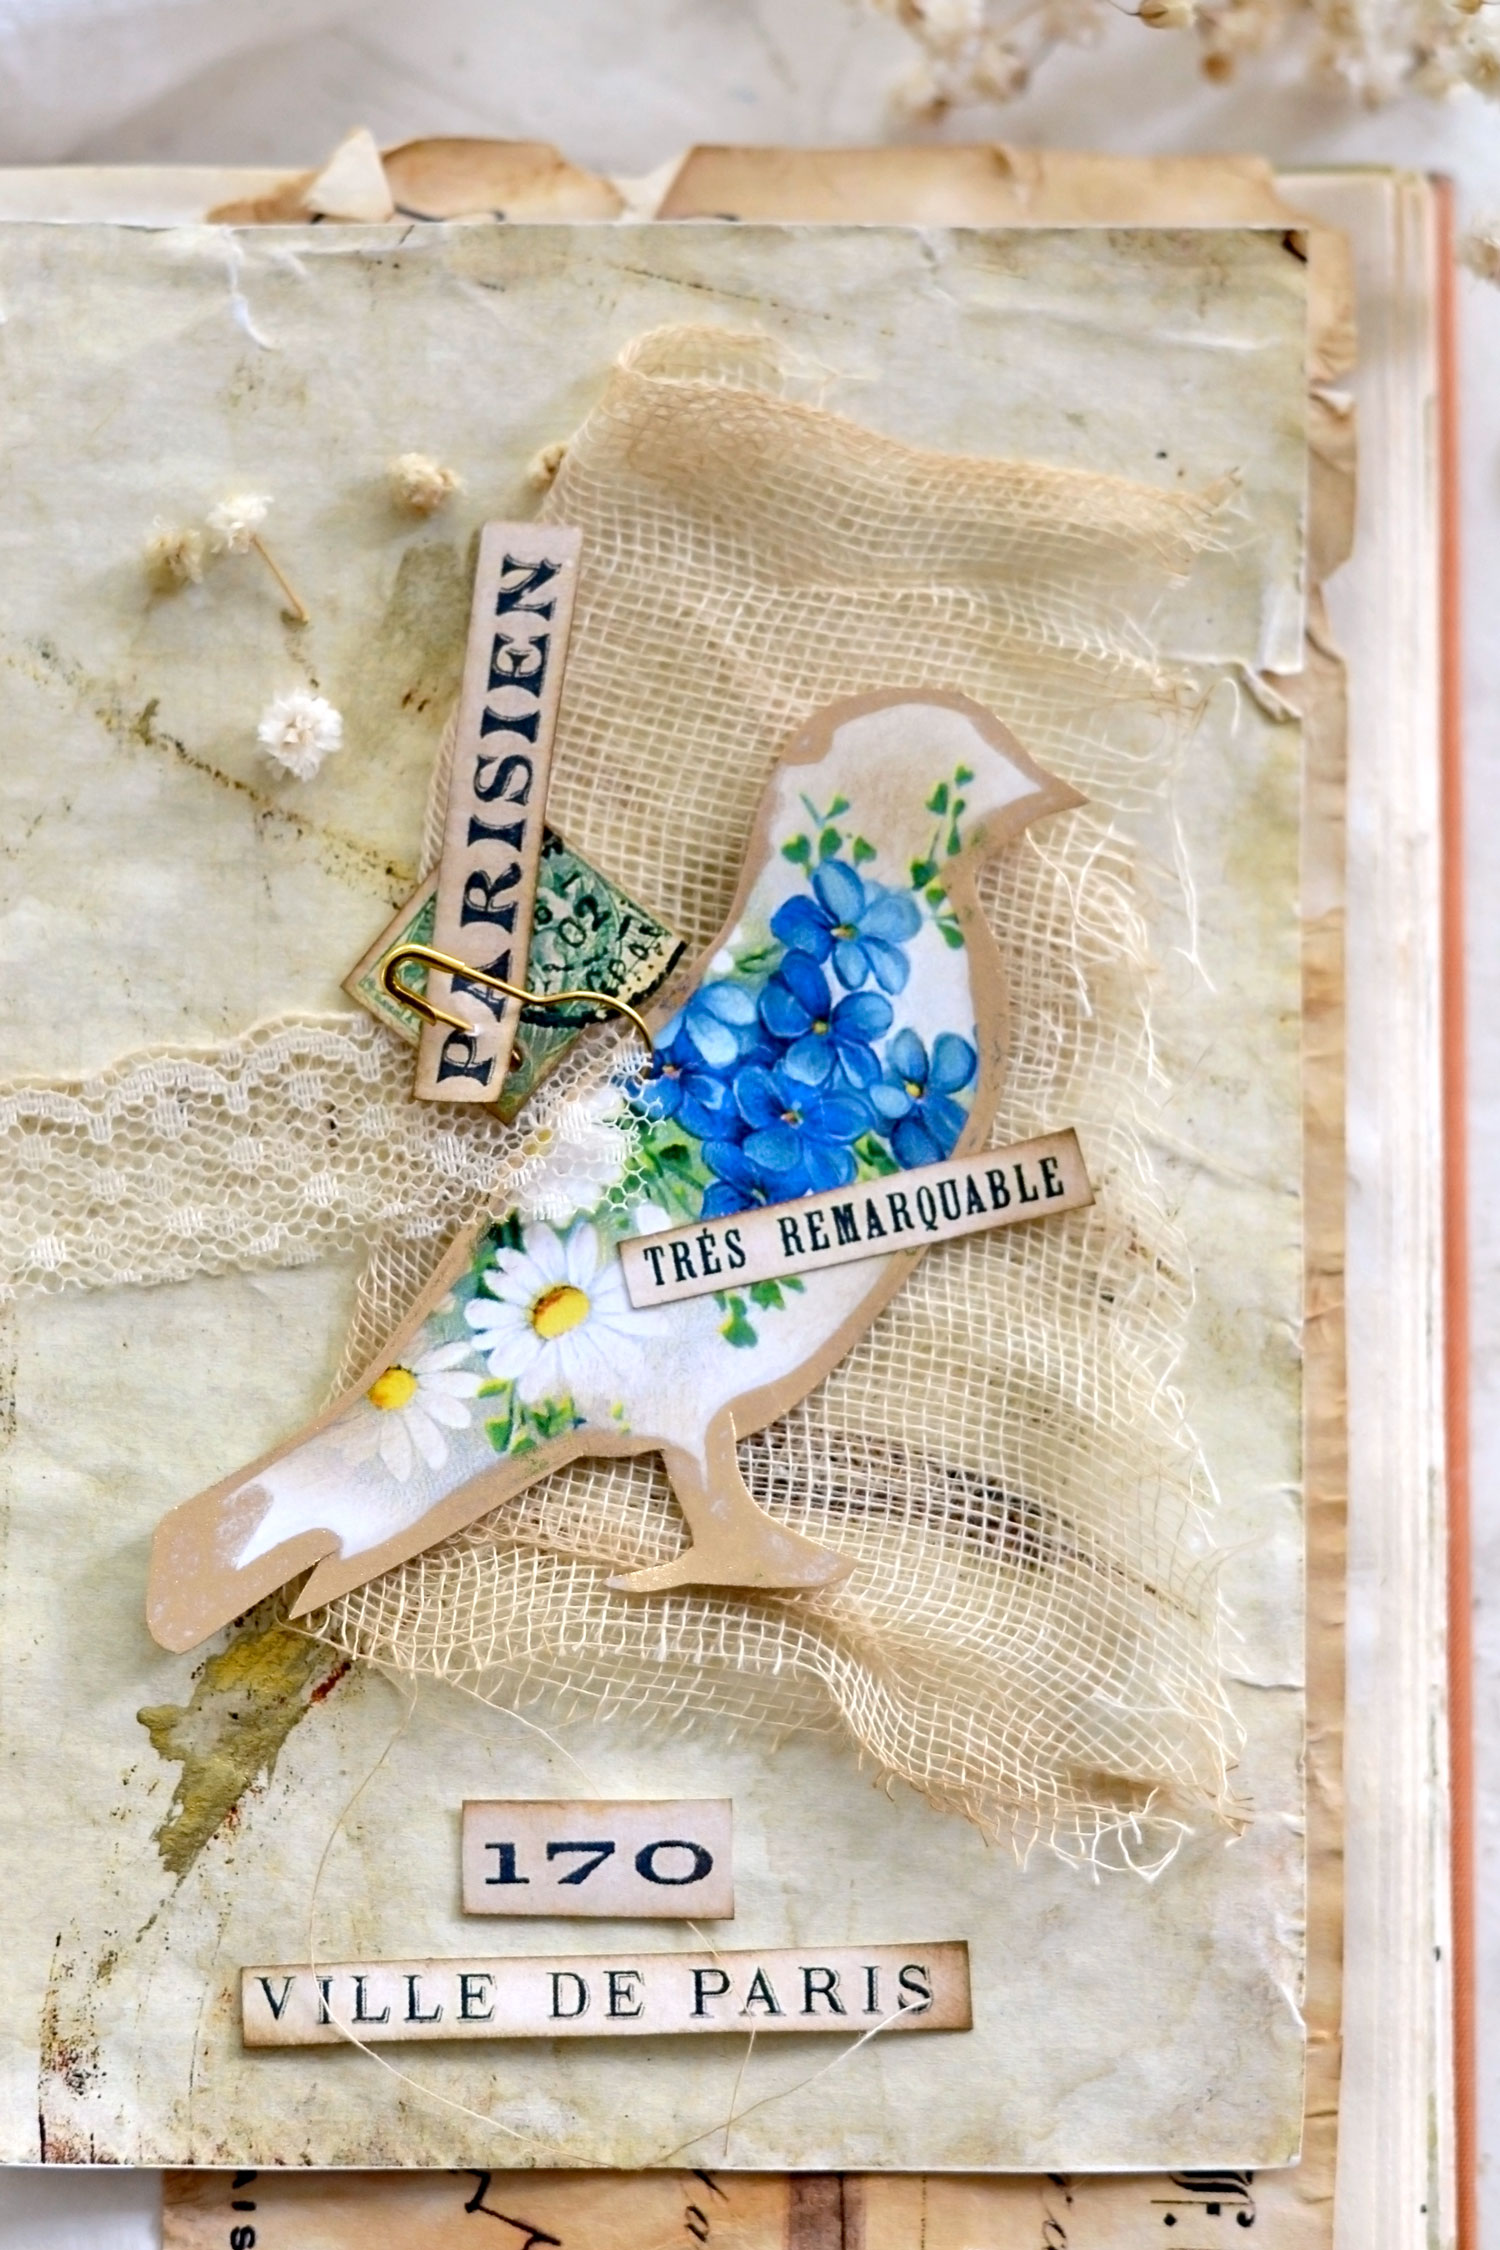
I envisioned the final vintage bird clusters to be used in junk journals, but of course, you can put your imagination to work and find other unique ways of using them!
If you don’t want to make the clusters and prefer to just use the images directly in your journal as separate elements, that will be fine too! Just use some glue to adhere them and you are good to go!
Now I’m thinking that these gorgeous blue birds will also look stunning as stickers! You can simply turn them into stickers if you replace the cardstock with white or transparent sticker paper when printing them. So easy, right?
The bird will also look amazing if included in all sorts of mixed-media projects (maybe some stamped tags), the sky is the limit!
This beautiful vintage swallow cluster turned out to be my favorite, I just want to turn it into a pendant or a keychain so I can use it on a regular basis! Hmmm, that’s not a bad idea, I just need to find a way to do it! Maybe with some resin?
You can also use the bird clusters as small decorative pieces in your home, just hang them on recycled jars or bottles, door knobs or decorative branches. You can also turn them into gift embellishments, especially for friends that love this color combo, there are so many ways of getting creative with these!
So I hope you will love this project and decide to give it a try, the final results are absolutely amazing without too much effort on our part!
 You might also like my Floral Paper Embellishments HERE.
Happy crafting,
Diana | by Dreams Factory



Ada says
Love this!!
Karen says
Thanks Ada!
Sandi says
Gorgeous, gorgeous, gorgeous!!!!
Karen Watson says
Thanks for your sweet comment Sandi!
Connie Griffin says
These are just gorgeous, thank you!!
Karen Watson says
I’m glad you enjoyed Diana’s pretty post Connie!
Gayle S says
I’d love to know the floral design you used for the birds!
So gorgeous!
Karen Watson says
Hi Gayle, I believe Diana used the floral Anchor postcard from here for her design. https://thegraphicsfairy.com/nautical-birthday-image/ I hope that helps!
Gayle says
Thanks!