DIY Recycled Tin Can Planters
Hello, Graphics Fairy friends! I’m Diana from Dreams Factory, and I’m happy to be here again to share another DIY project with you! Today, I will show you how to make these super chic DIY Recycled Tin Can Planters with sheer realistic-looking 3D butterflies. We’ll start with painting and slightly distressing the planters to give them a lovely vintage vibe. Then, I’ll show you how to make these absolutely gorgeous butterflies using a special type of paper that will not only make them look real but also feel real to the touch.
I initially wanted to use cardstock paper to make the butterflies, and I actually started this project that way. But I felt there was room for improvement because you could definitely see the texture cardstock paper usually brings to the table. I remember I used almond oil on one of my older projects to make the paper slightly transparent, but I was afraid they wouldn’t properly stick to the cans if using the oil. Then I had the idea of using tracing paper and let’s just say it was a brilliant one!

I was completely in love with their appearance the minute I printed them! And when I touched the paper, I knew this was the perfect solution to get the sheer effect I envisioned!

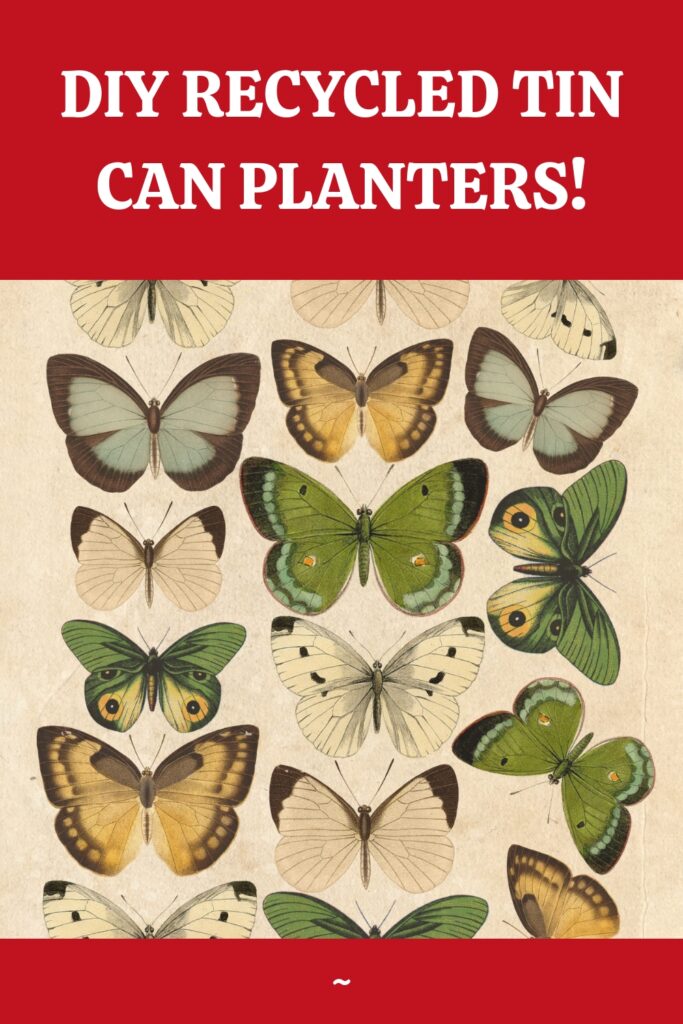
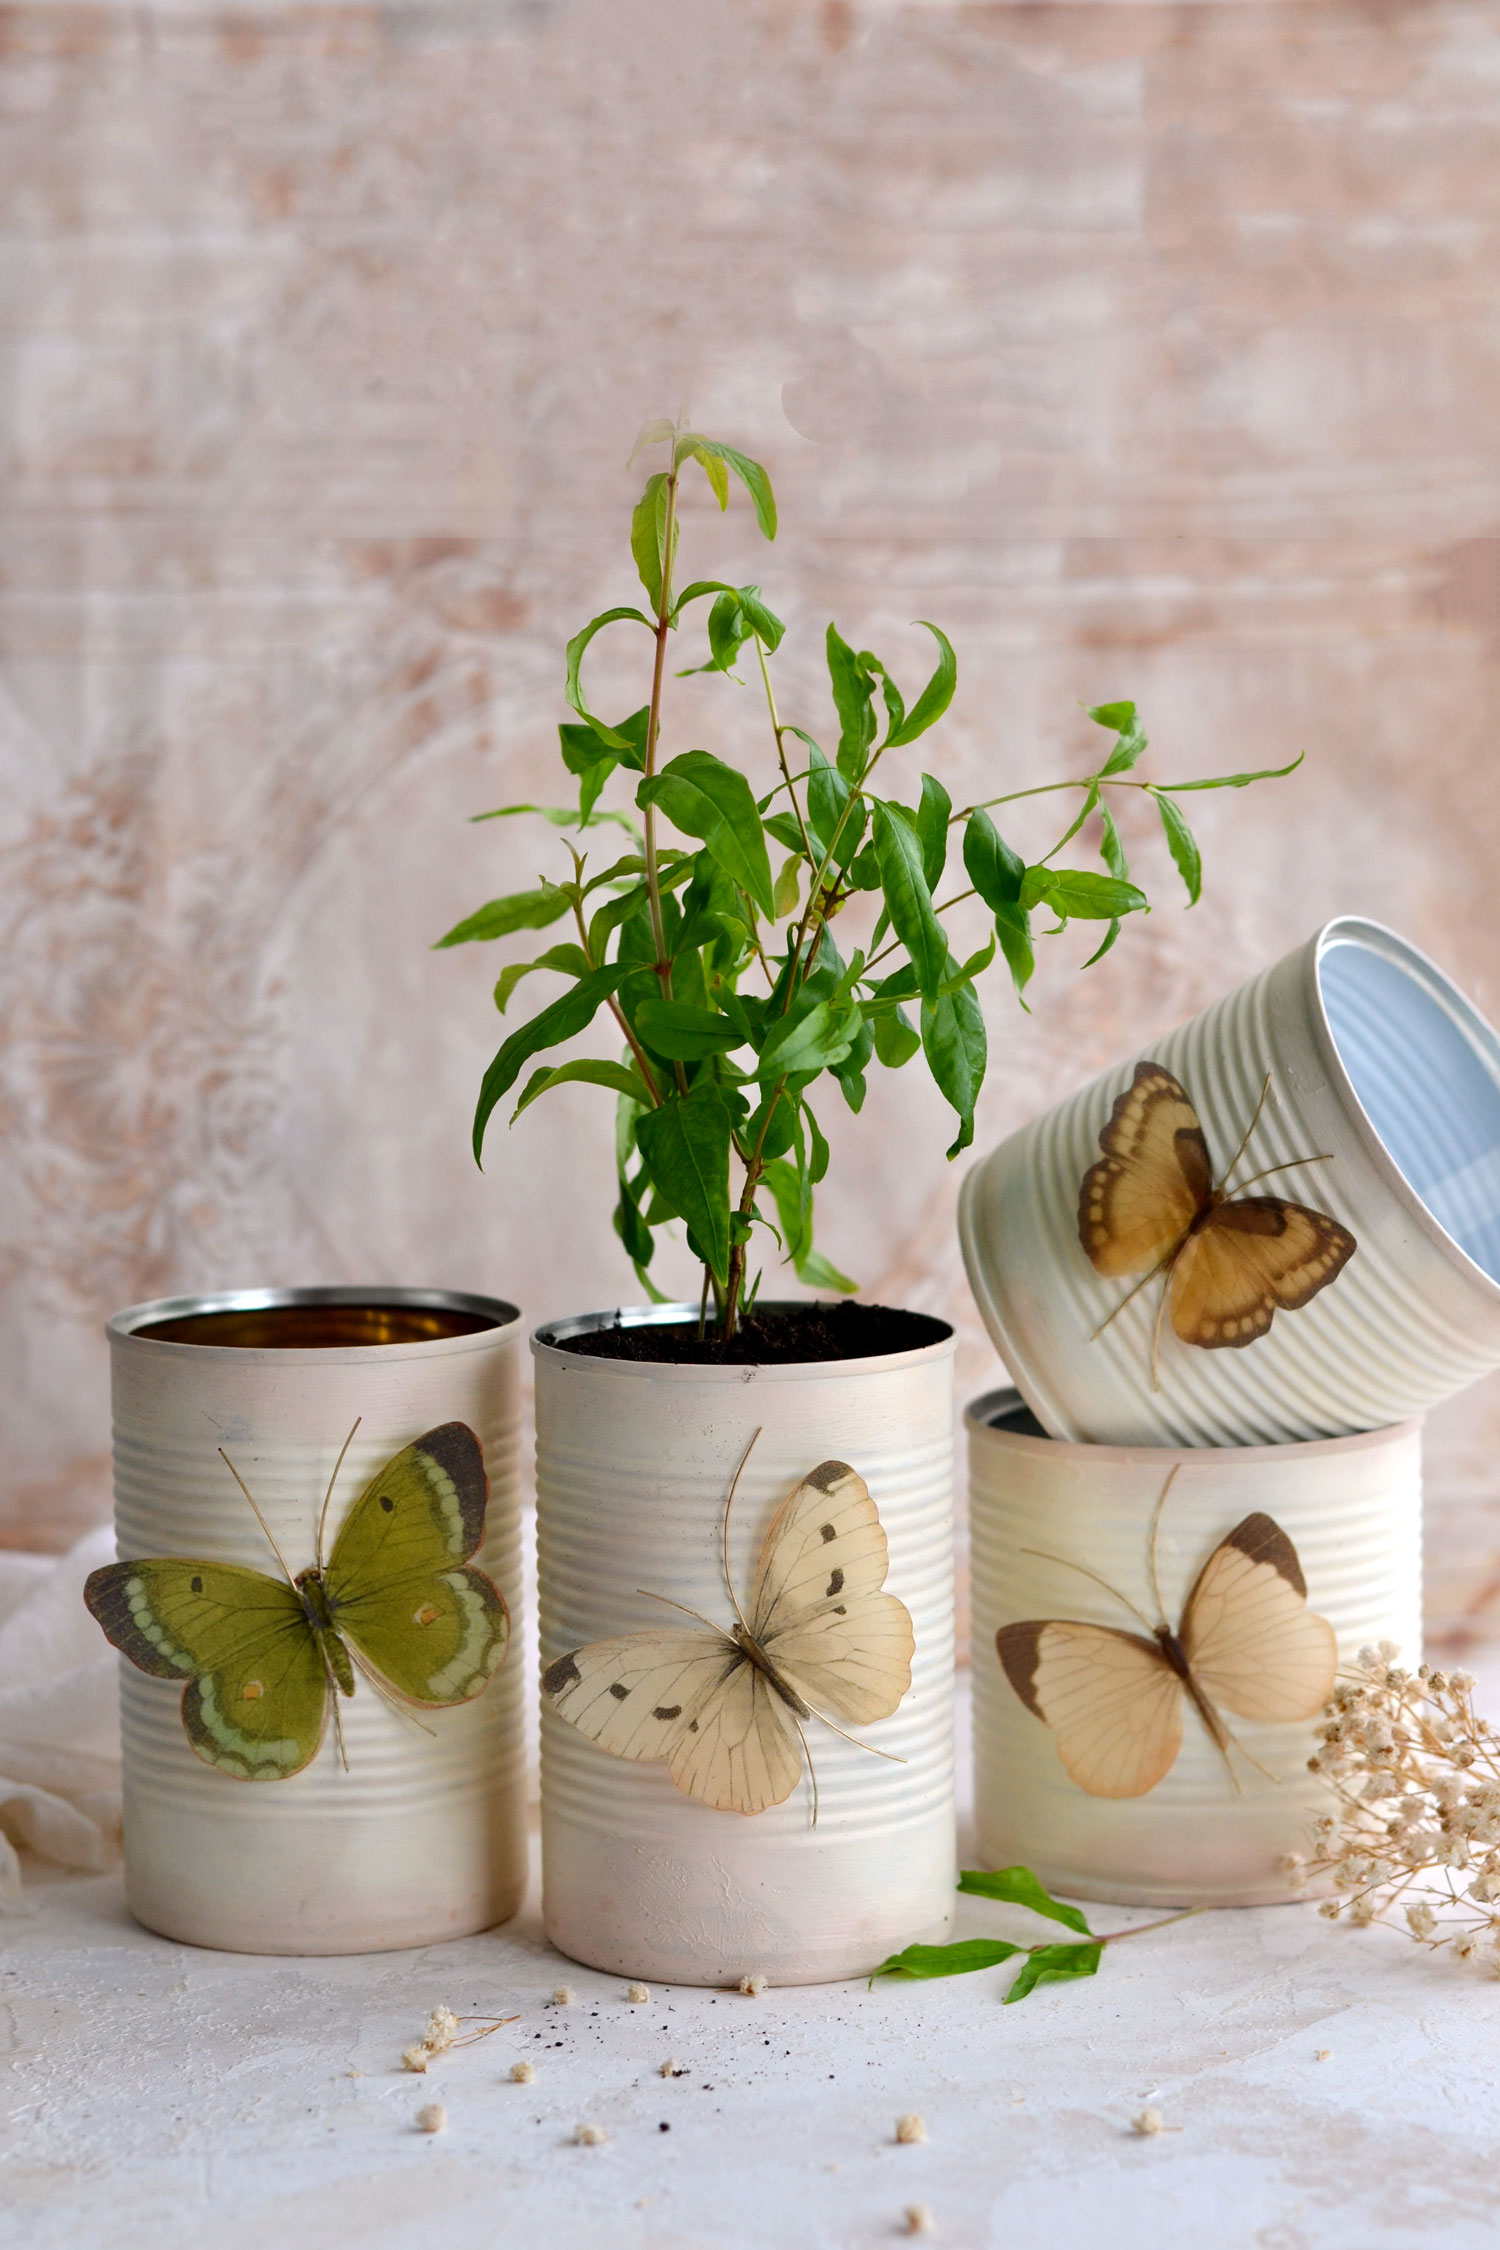
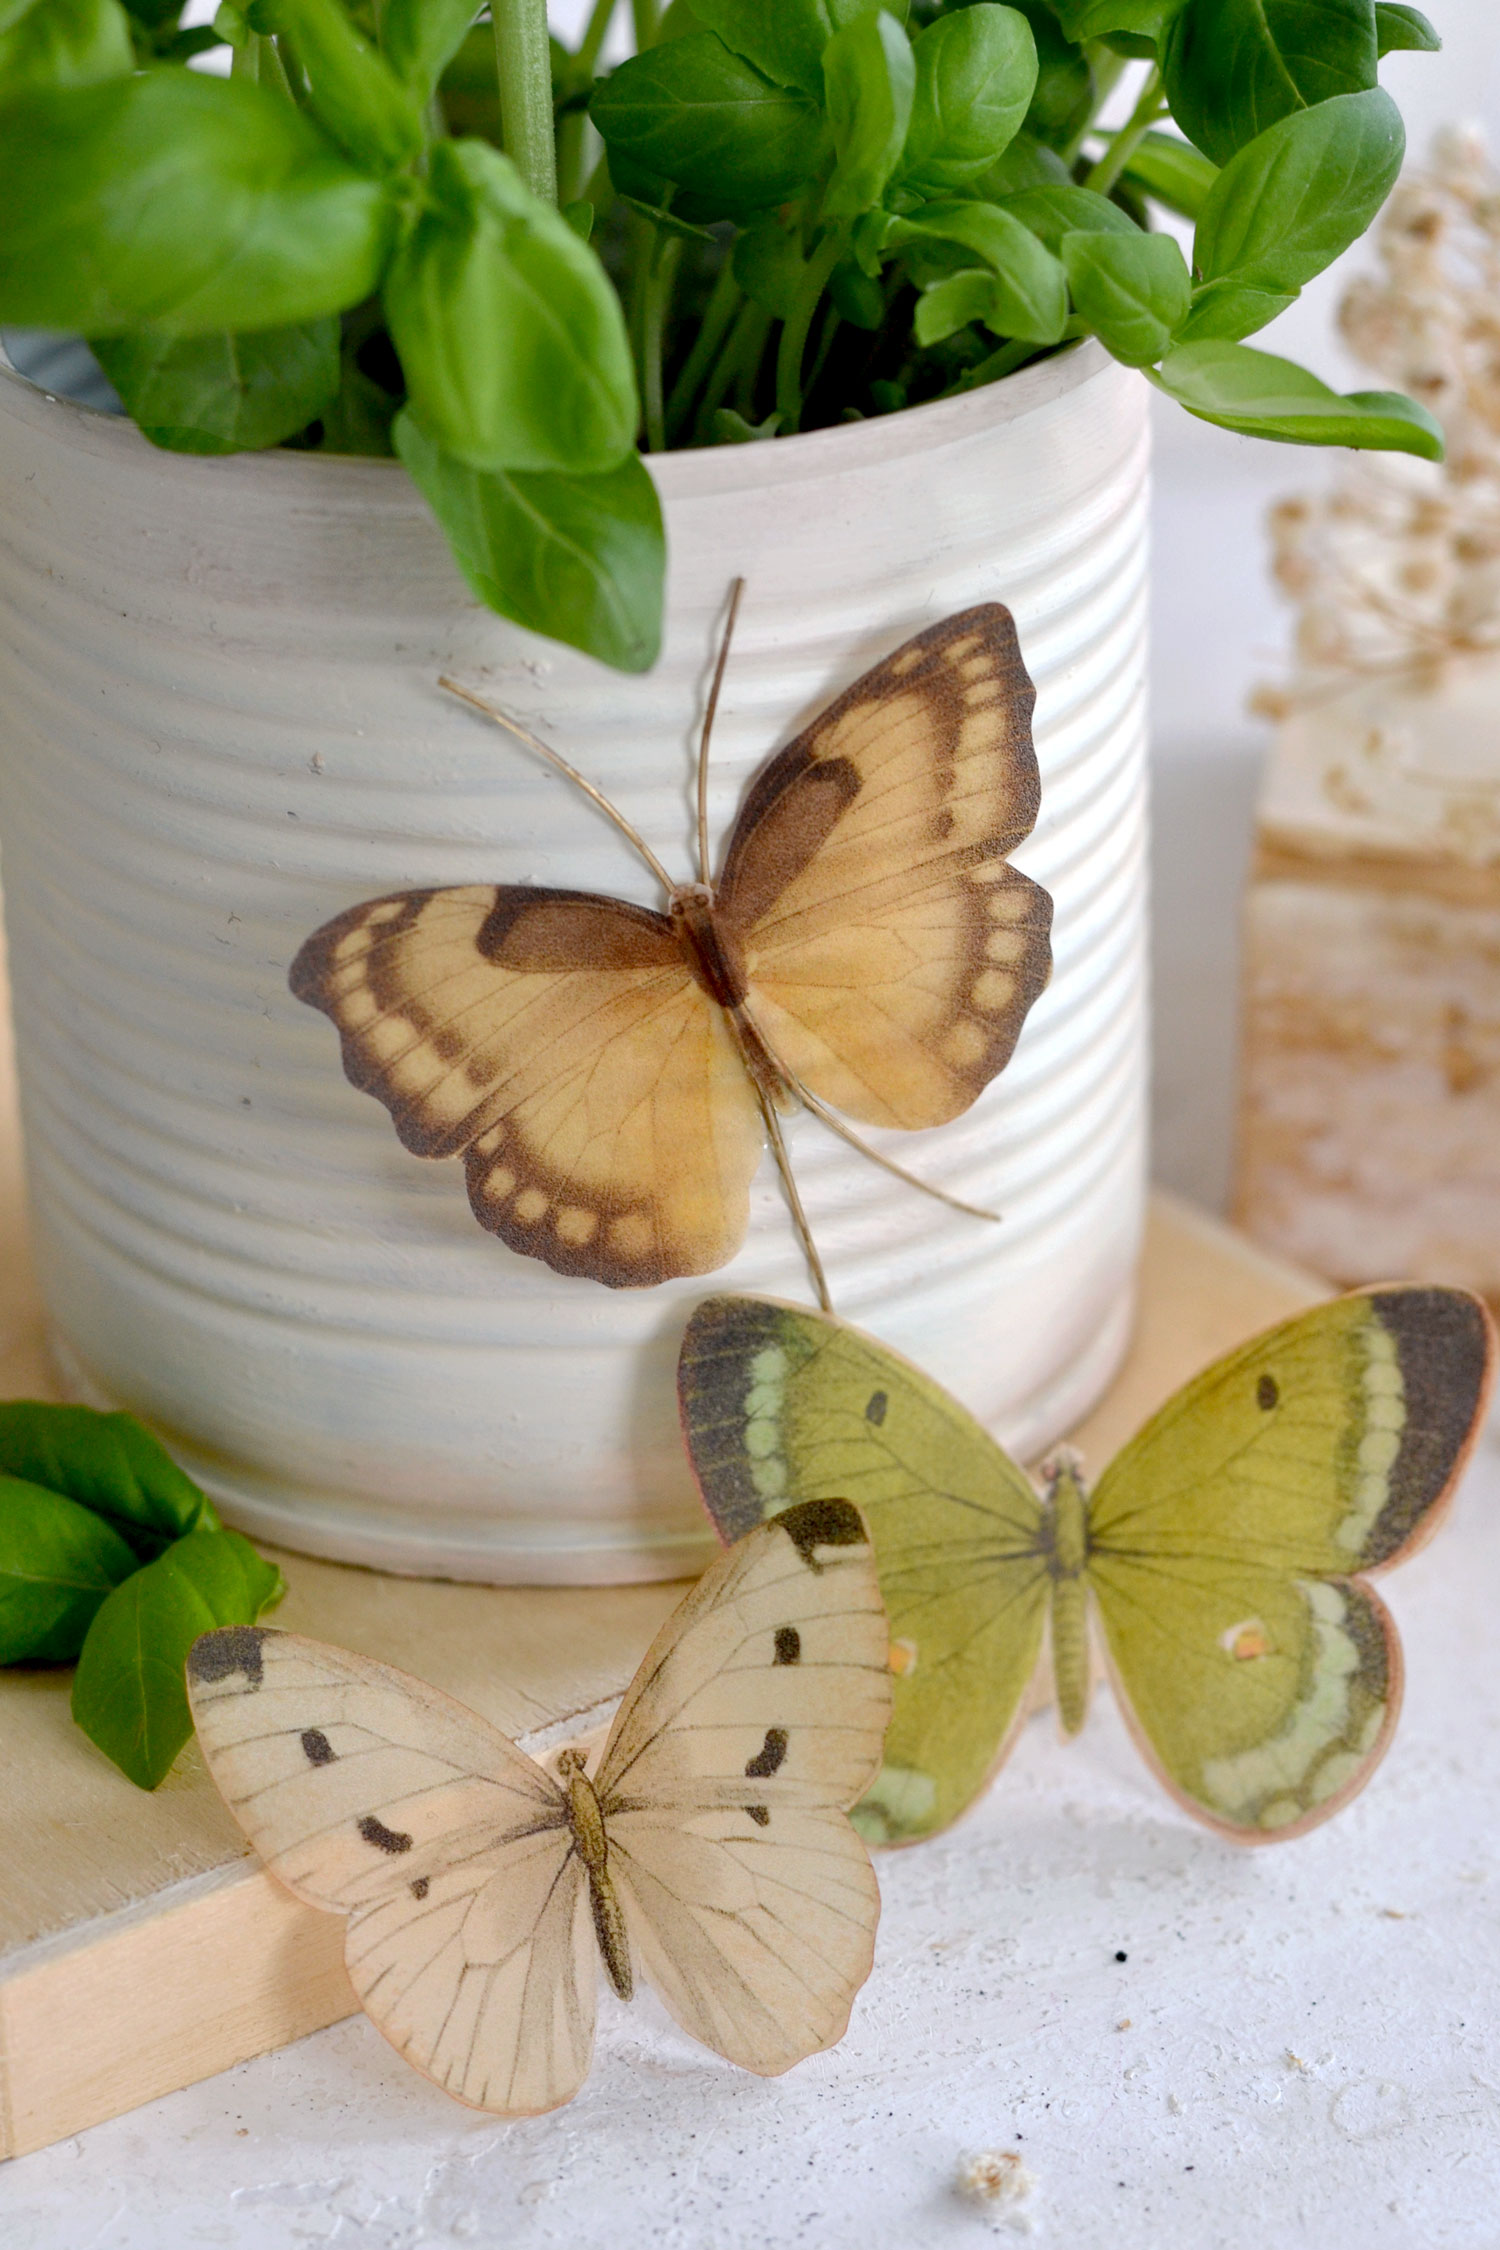
The butterfly printable that I created for this project contains a stunning collection of vintage butterflies, each more beautiful than the other. I selected them having earthy tones in mind because I wanted them to complement the plants or the flowers when used as planters. There are two different sizes, I would suggest using the larger ones for larger tin cans and the smaller ones for smaller tin cans.
Free Printable
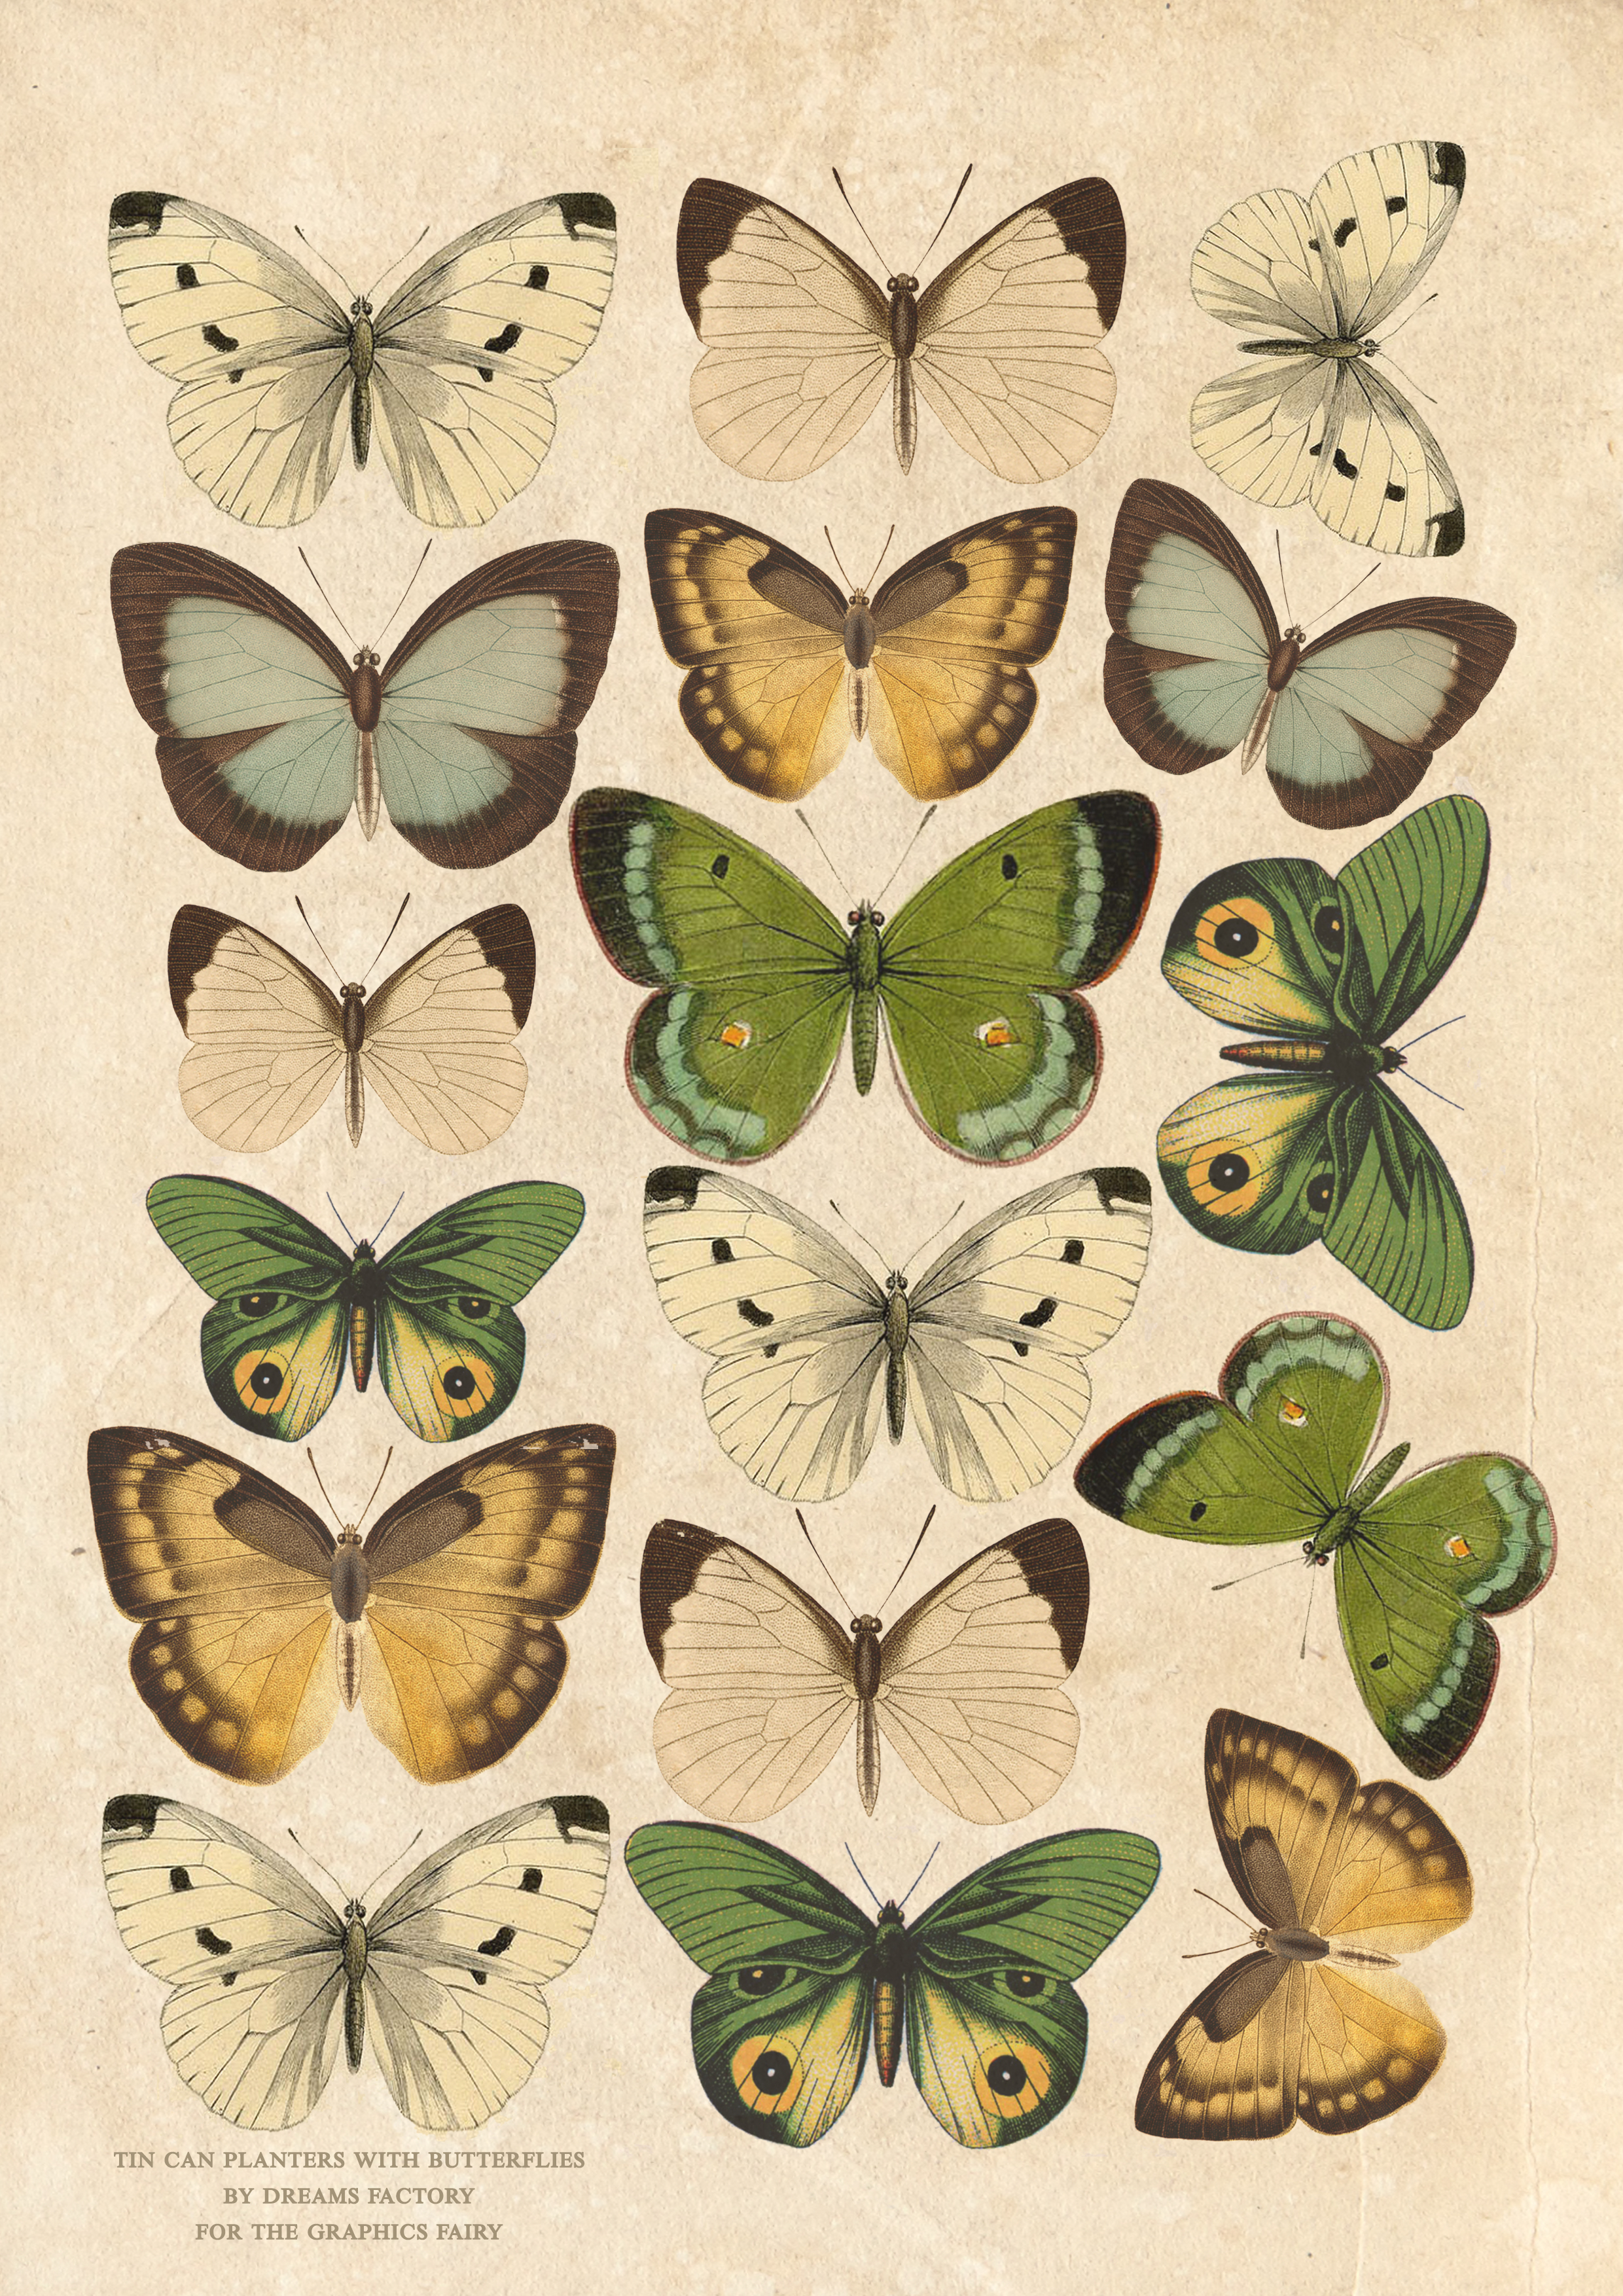
—> Click here to download the full size PDF – the large size <—
Supplies for DIY Recycled Tin Can Planters:
- cardstock paper or tracing paper (this will create a sheer appearance)
- home printer
- scissors
- mini distress inks
- blending tool with foams
- glossy accents medium
- white or cream acrylic paint
- brush
- nylon cord (to make the antennas)
- DecoColor gold marker or gold watercolors, gold acrylic paint, gold nail polish (to paint the antennas)
- Mod Podge (optional, if using cardstock)
- matte finish spray
Step by step tutorial
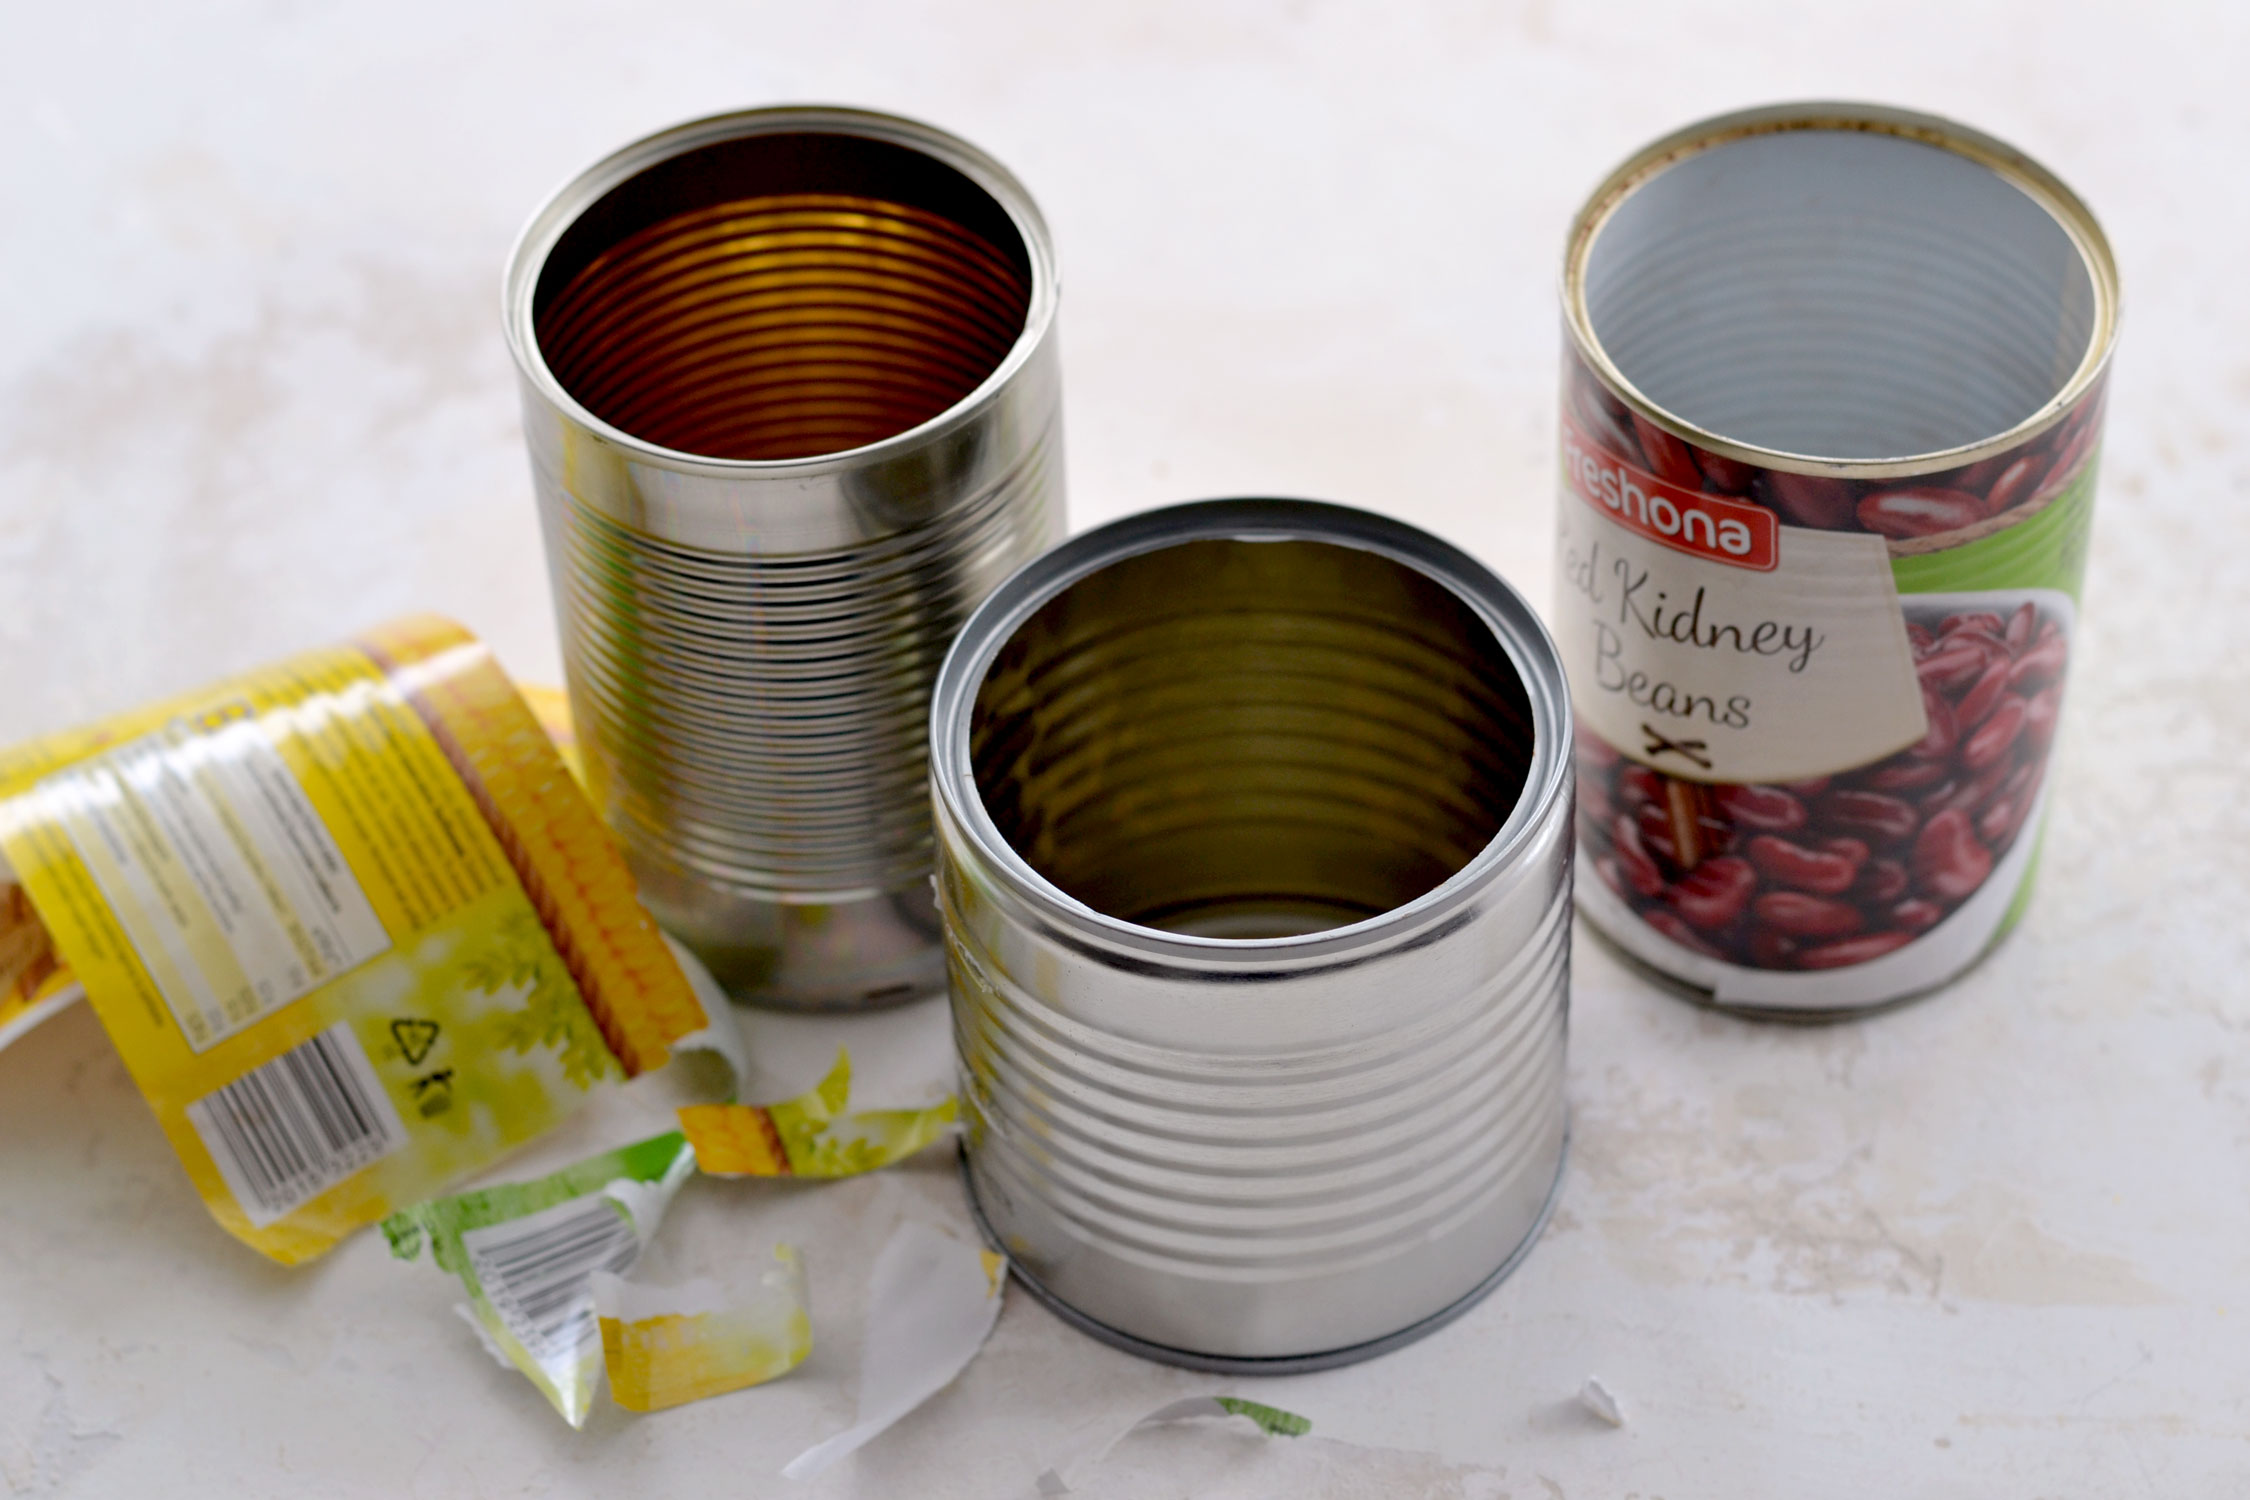
If you are like me, you might already have an impressive stash of tin cans that you’ve been saving for a while. So now would be the perfect time to use them!
Start by peeling the paper off the cans. If you have any glue residue, you can easily remove it with a mixture of 1 part oil to 2 parts baking soda. Leave the mixture to sit for a few minutes, then wipe it off with a paper towel, and you are good to go. Wash and dry the cans afterward and make sure there isn’t any oil left behind.
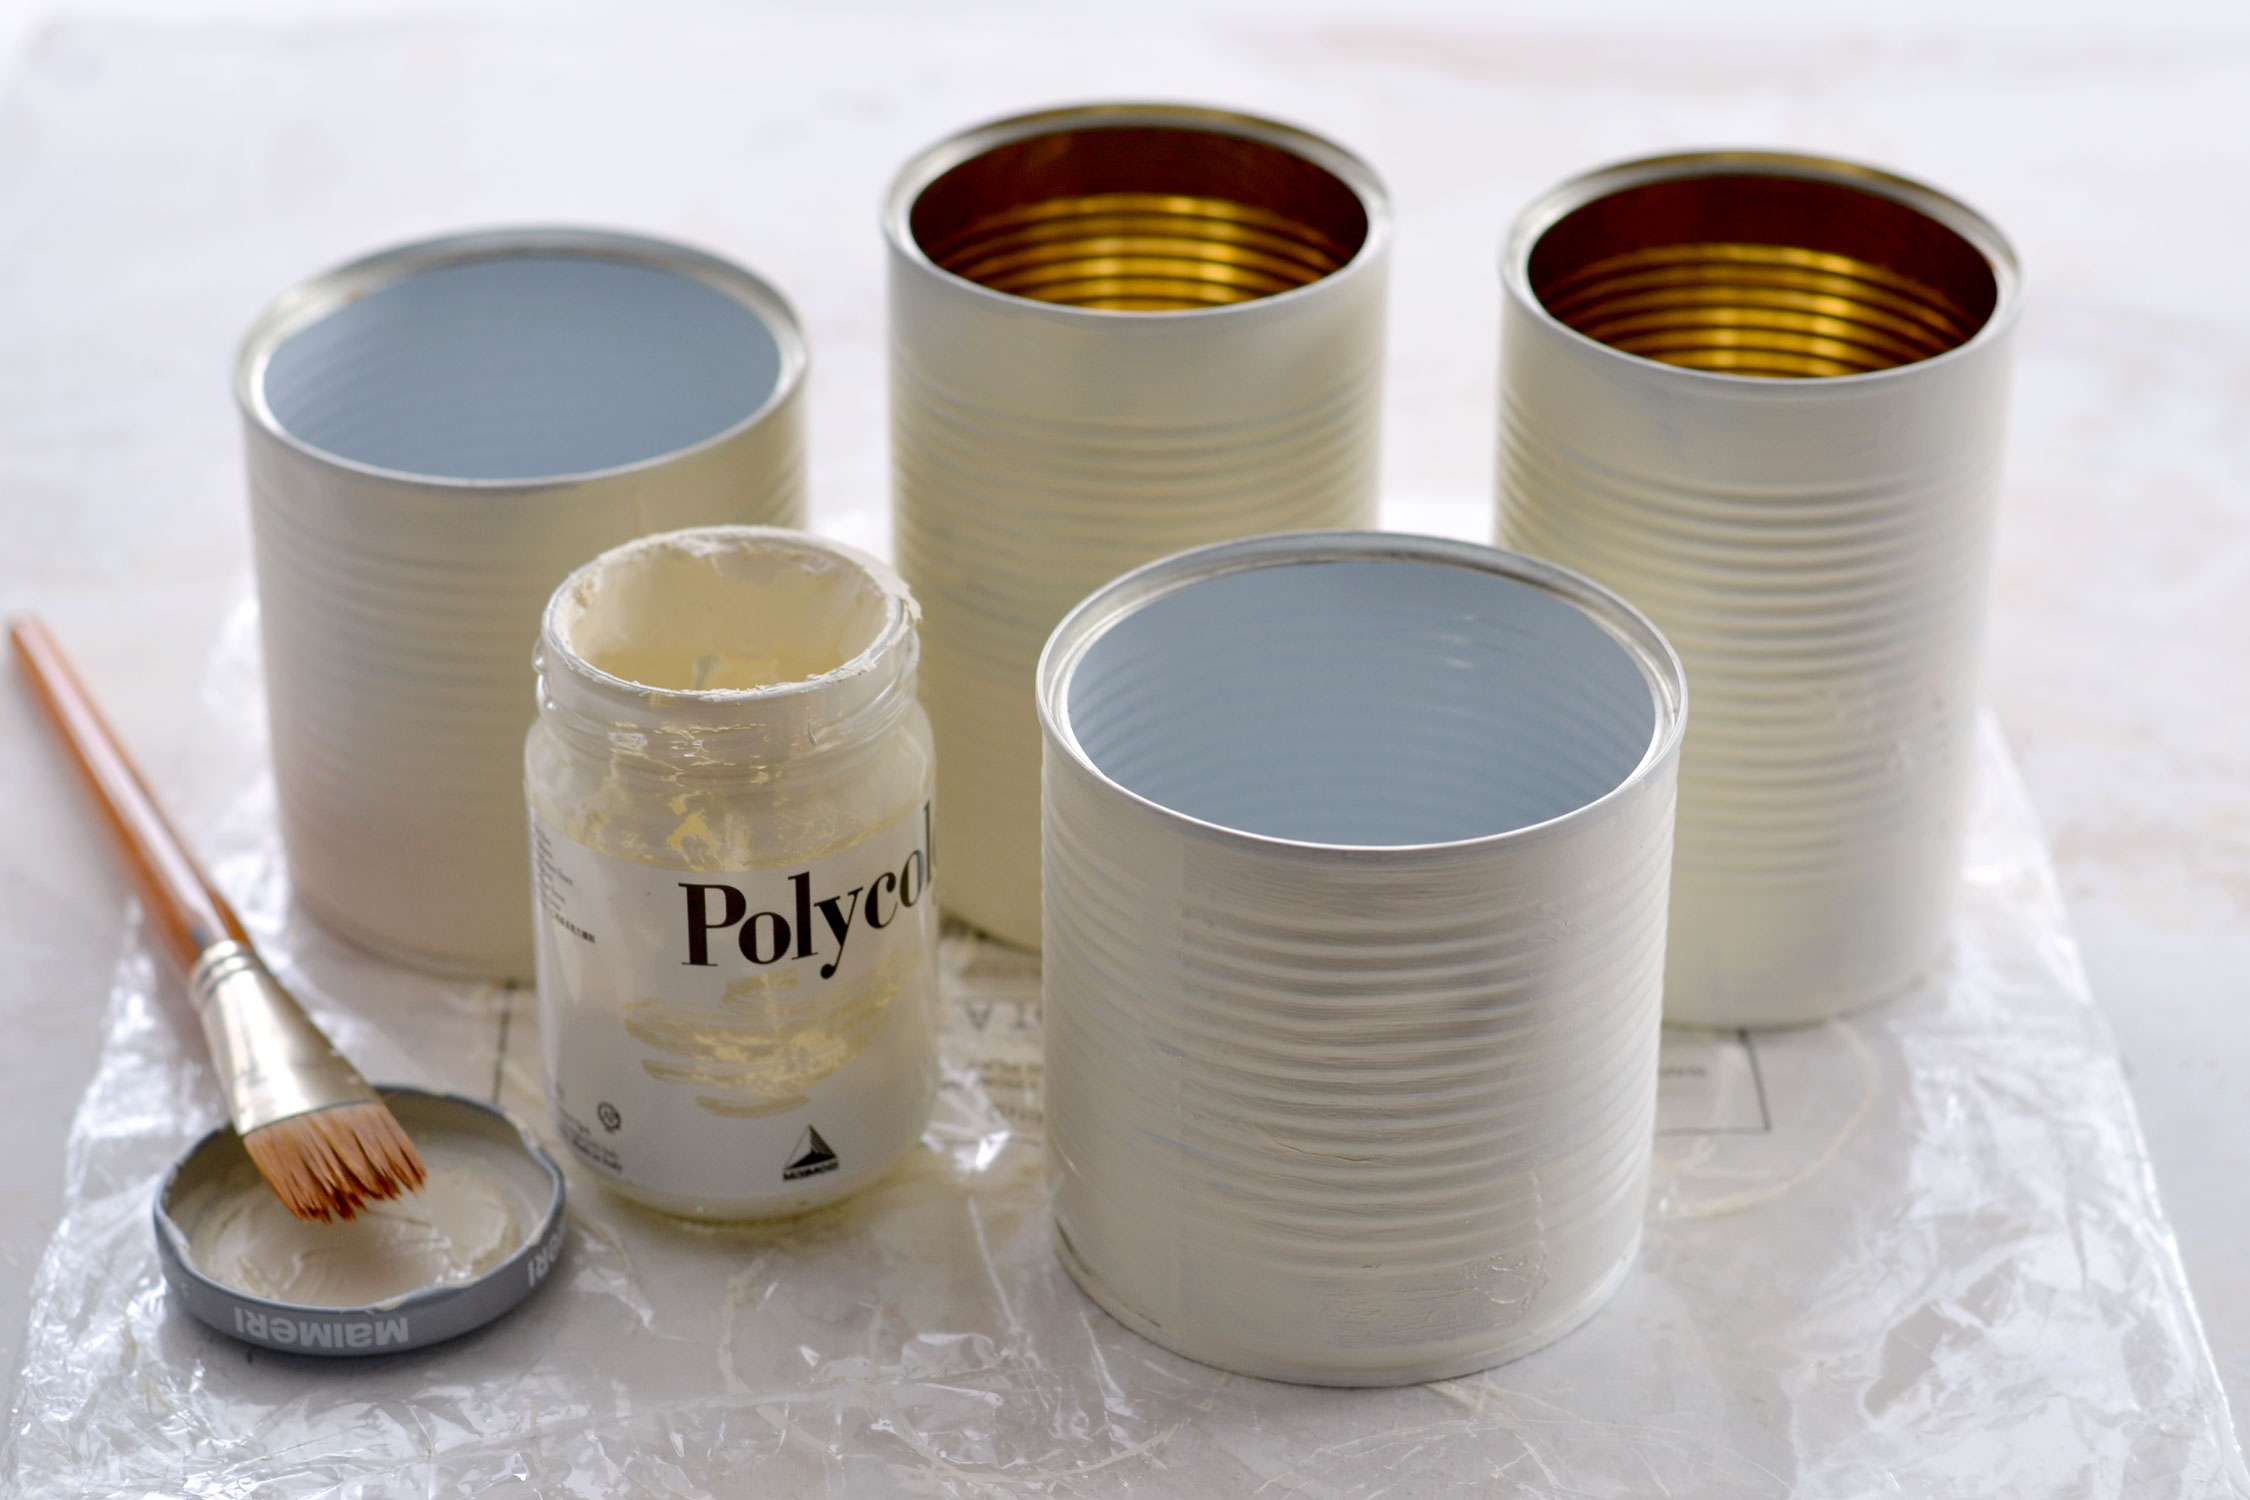
Use a flat brush to paint the cans using white or cream acrylic paint. I chose a lovely cream for today, but you can choose the color according to your preferences. You can also use any other type of paint like chalk paint or mineral paint, just use what you have around.
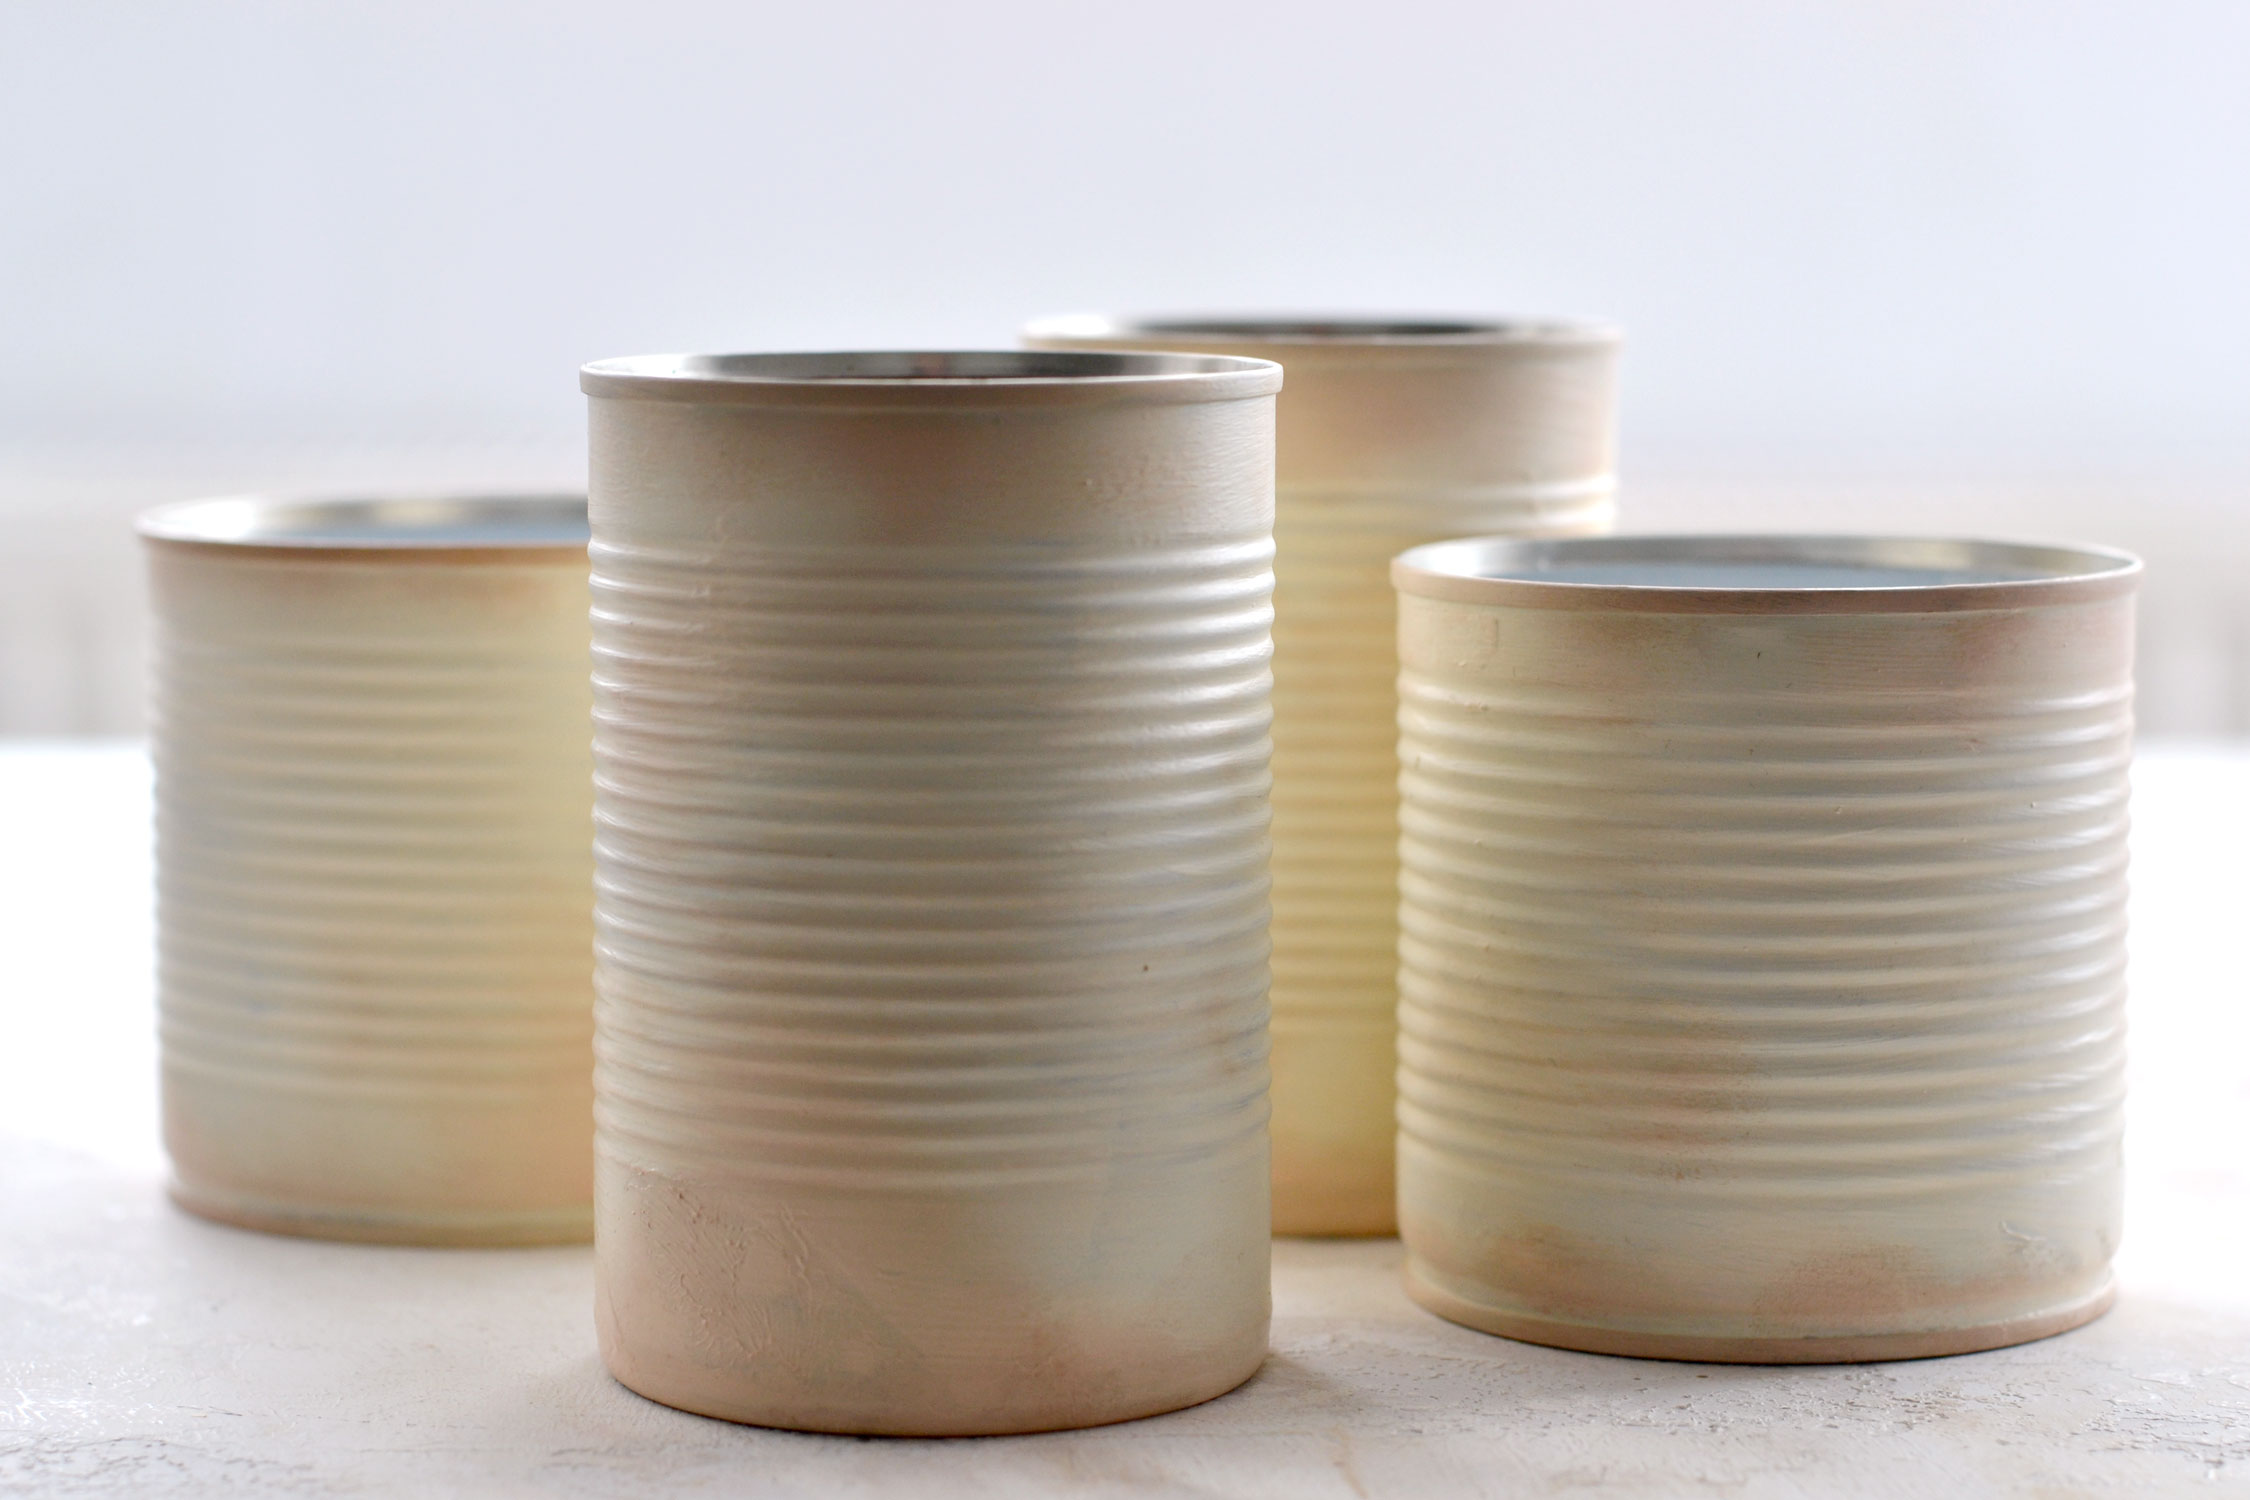
It’s OK if you intentionally create more visible brush strokes or add more paint here and there to give the cans more of a dimensional feel.
Depending on the paint you are using, you might need to do a second coat. Let the paint dry completely before moving on to the next step.
I initially thought about using a highly diluted brown acrylic paint wash to distress the cans. But I wanted to see how distress ink would look on them, so I used that instead! I insisted on the edges a little bit and I tried to create a soft-blended distressed effect on their surface.
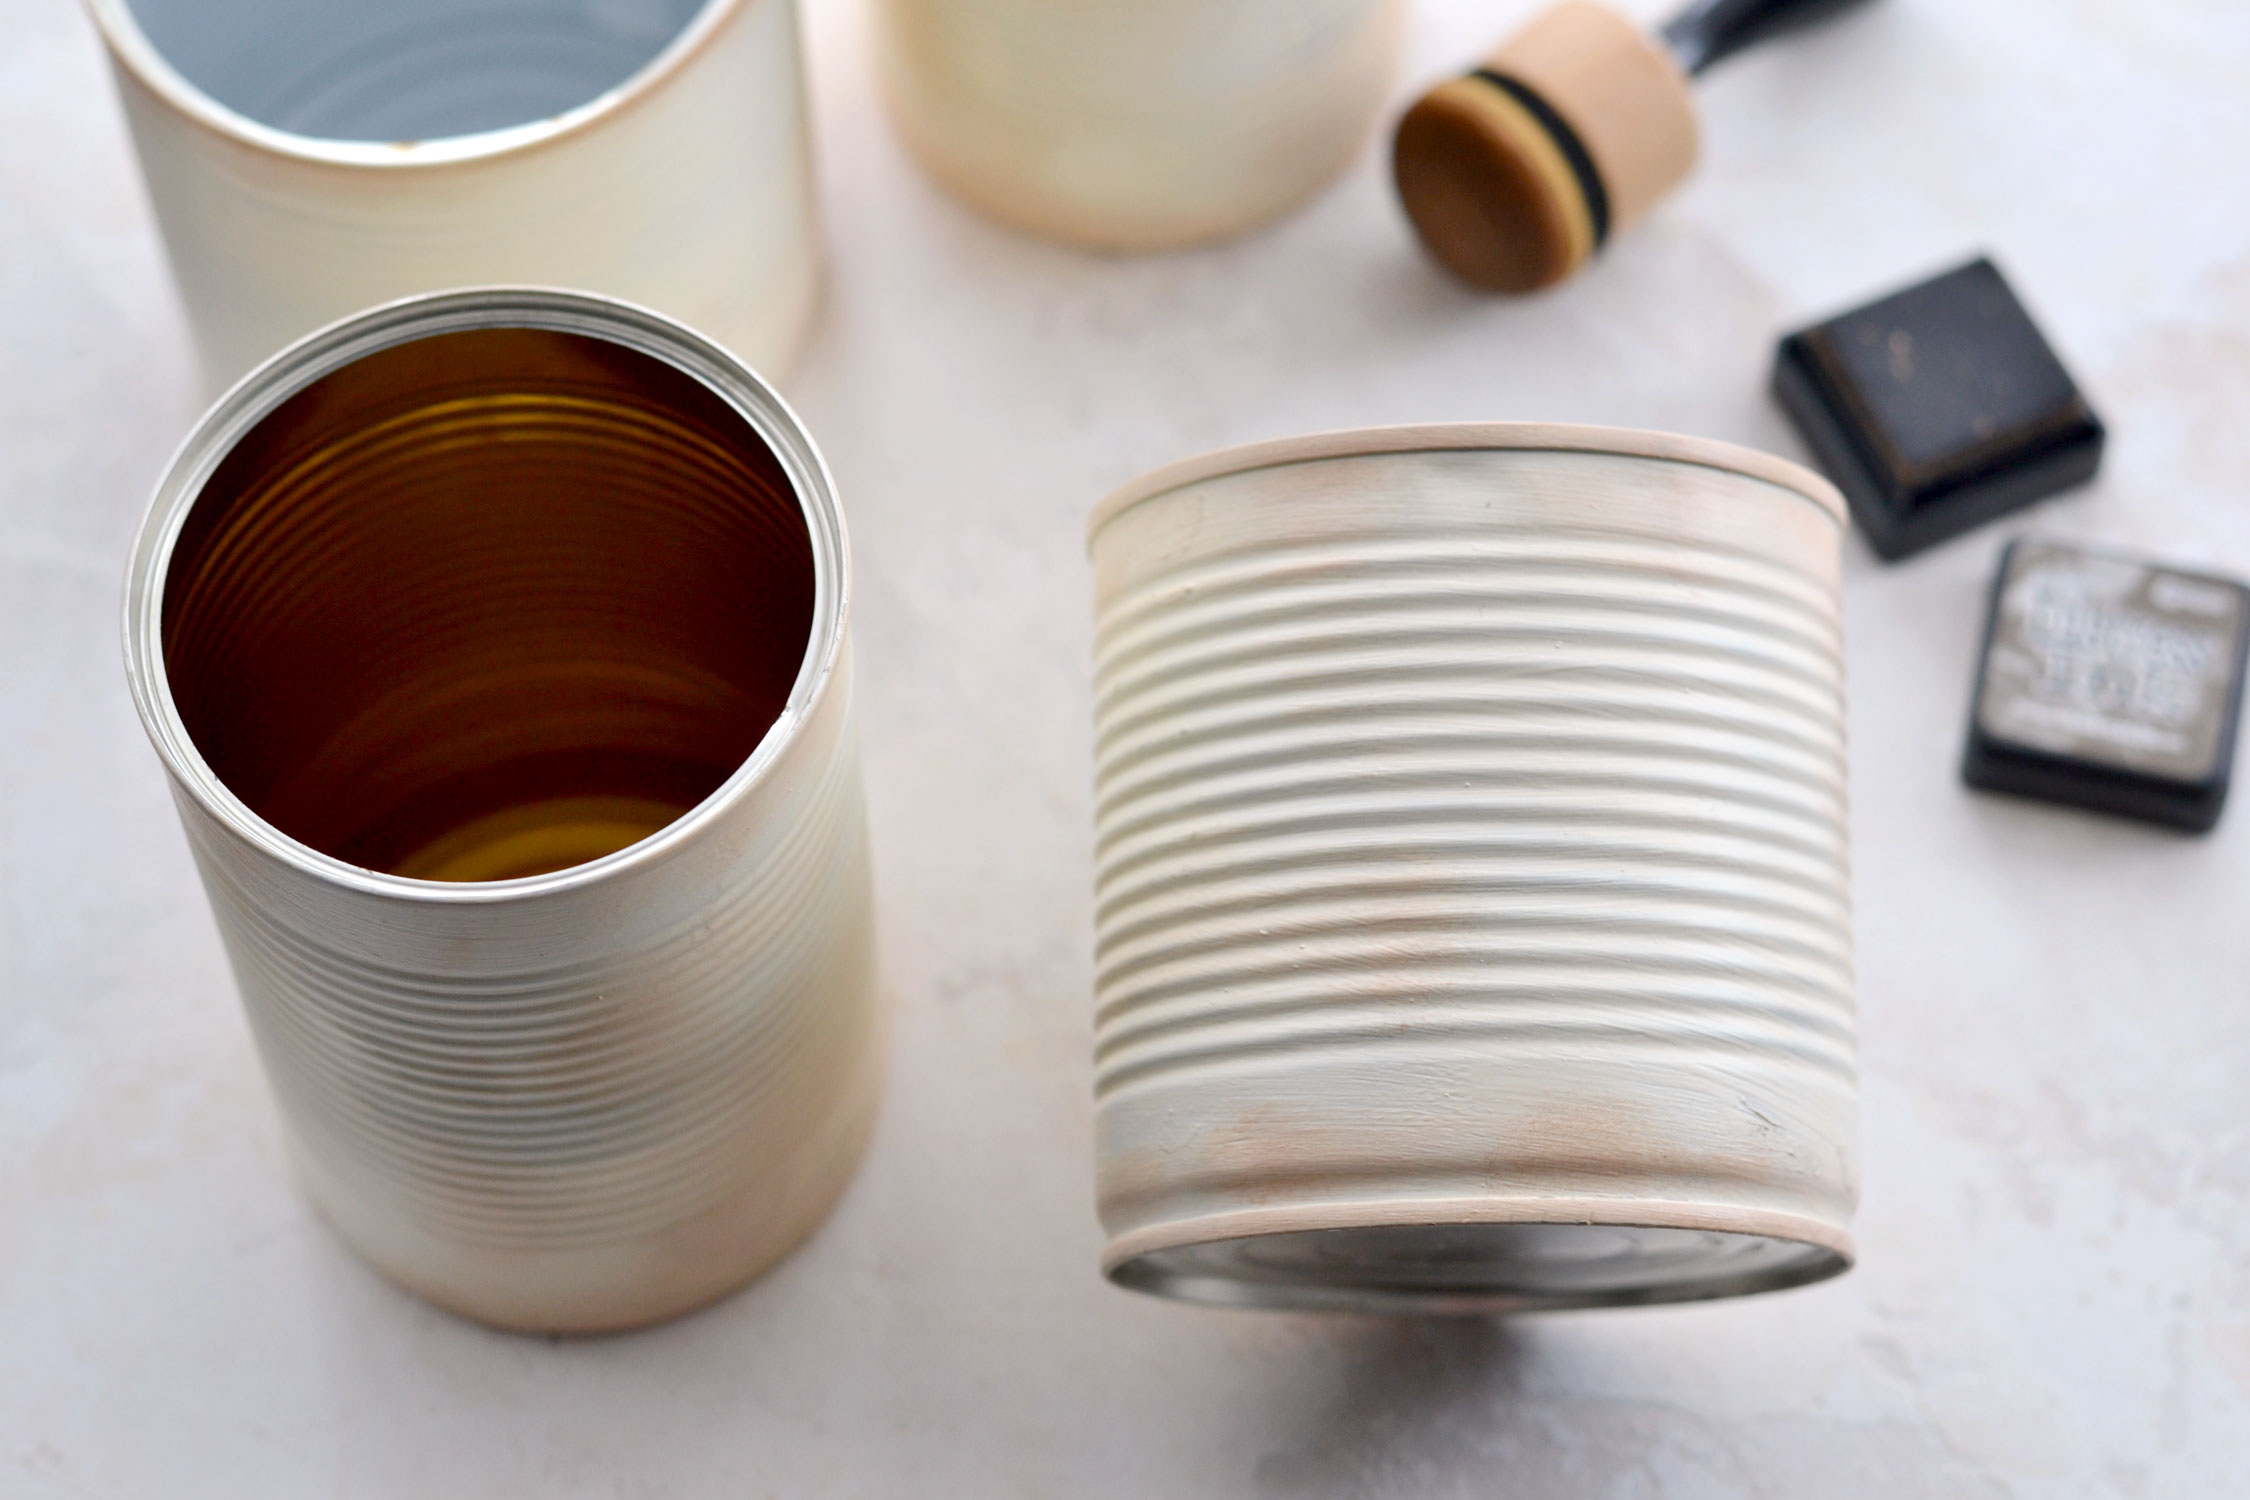
I really liked how the distressed ink looked on the cans!
As a final step, use a clear matte varnish or a matte finish spray to seal the cans.
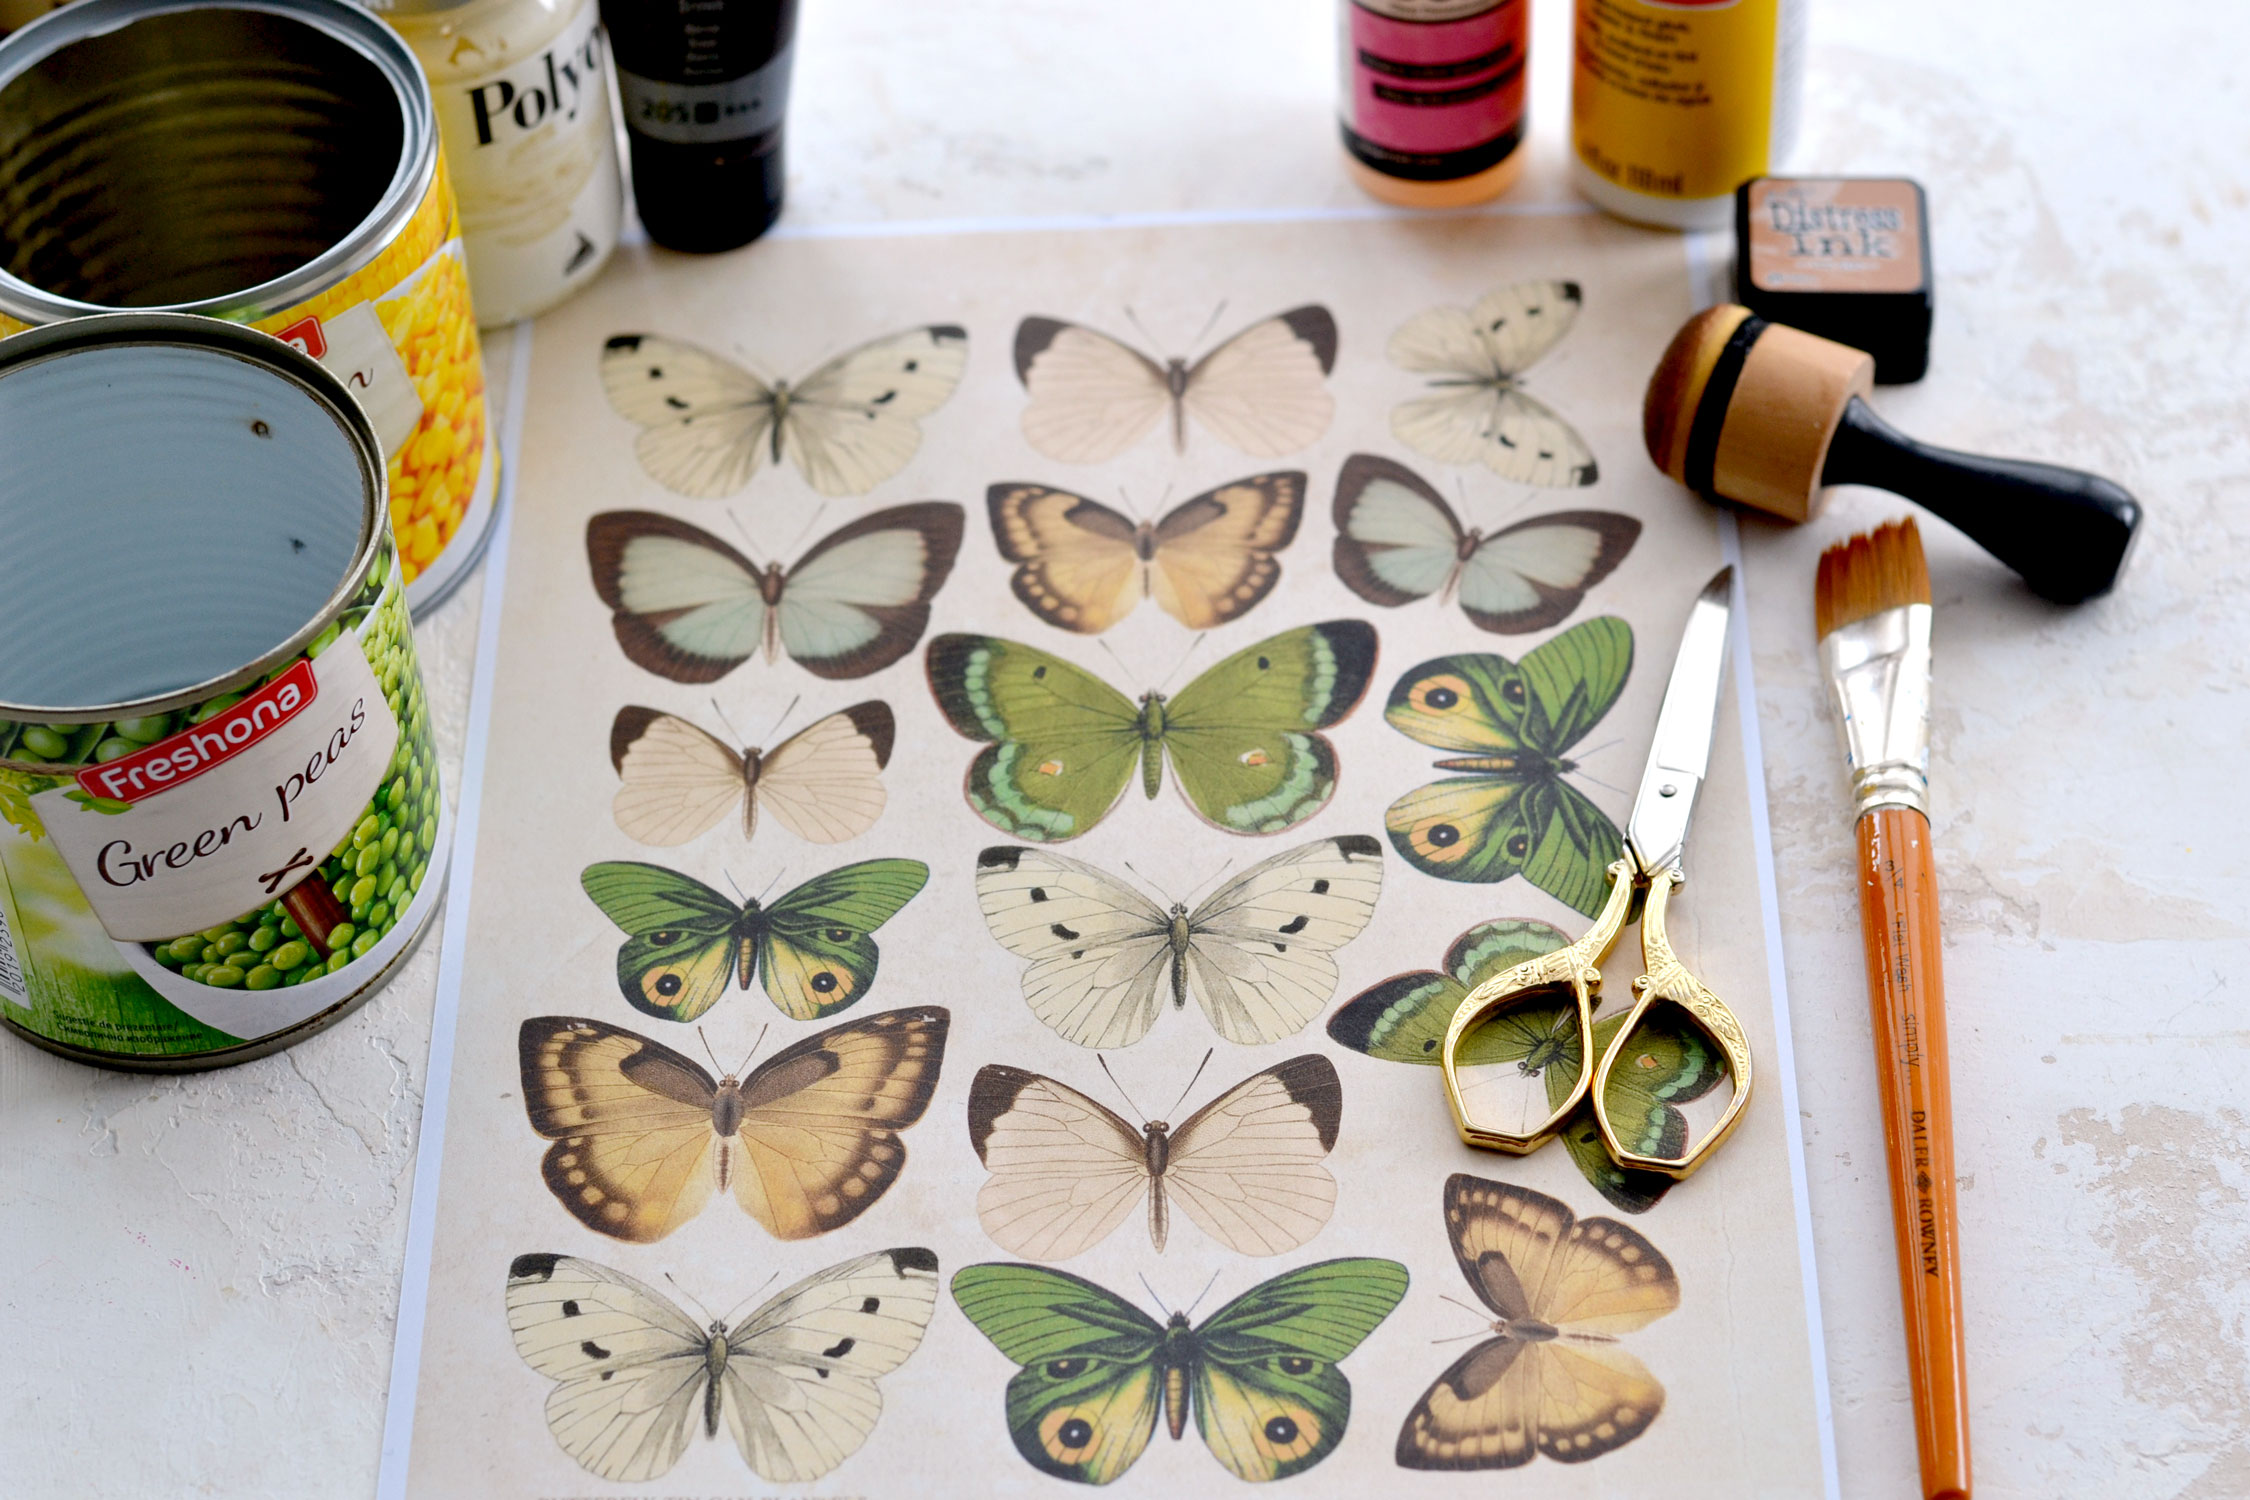
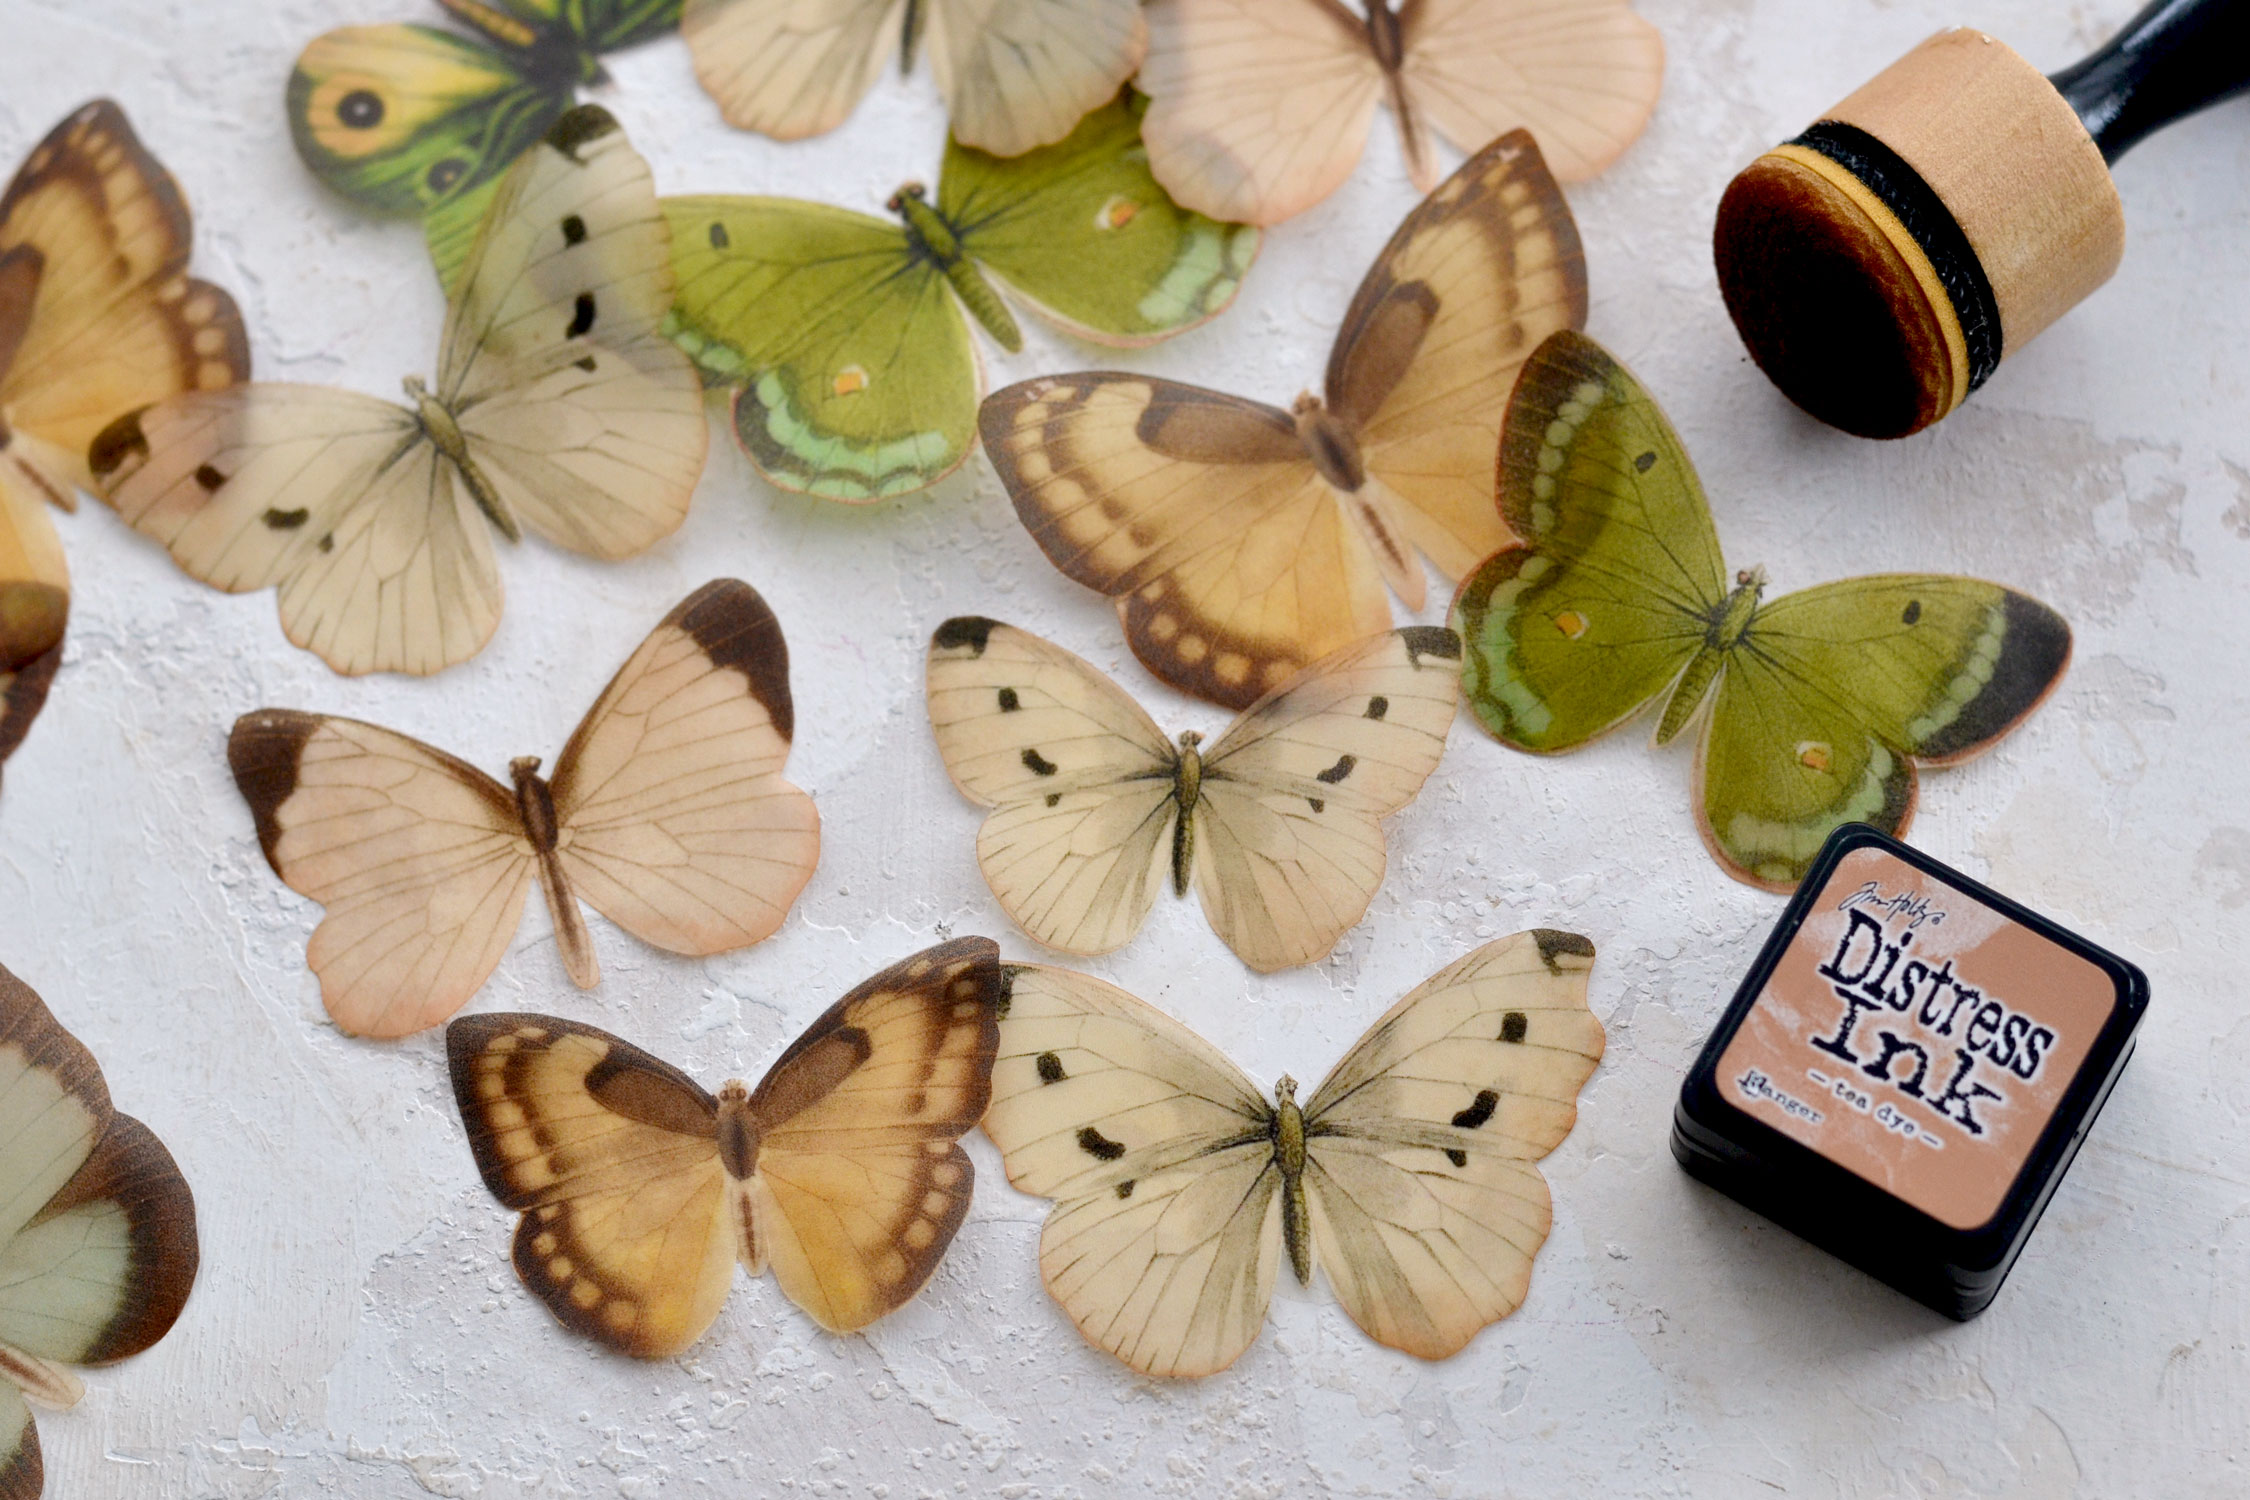
Moving on to our gorgeous butterflies! Print them on tracing paper, then use your scissors to cut them. I removed the antennas while cutting them because I wanted to make new ones. Try to remove the cream background around the butterflies as well as you can to create smooth, well-rounded edges. You can use your scissors to make the wings more wavy here and there to give them more of an artistic feel.
Use a light brown distress ink to distress the wings if you want – I only used a small amount to make sure there was no excess paper from the background showing through.
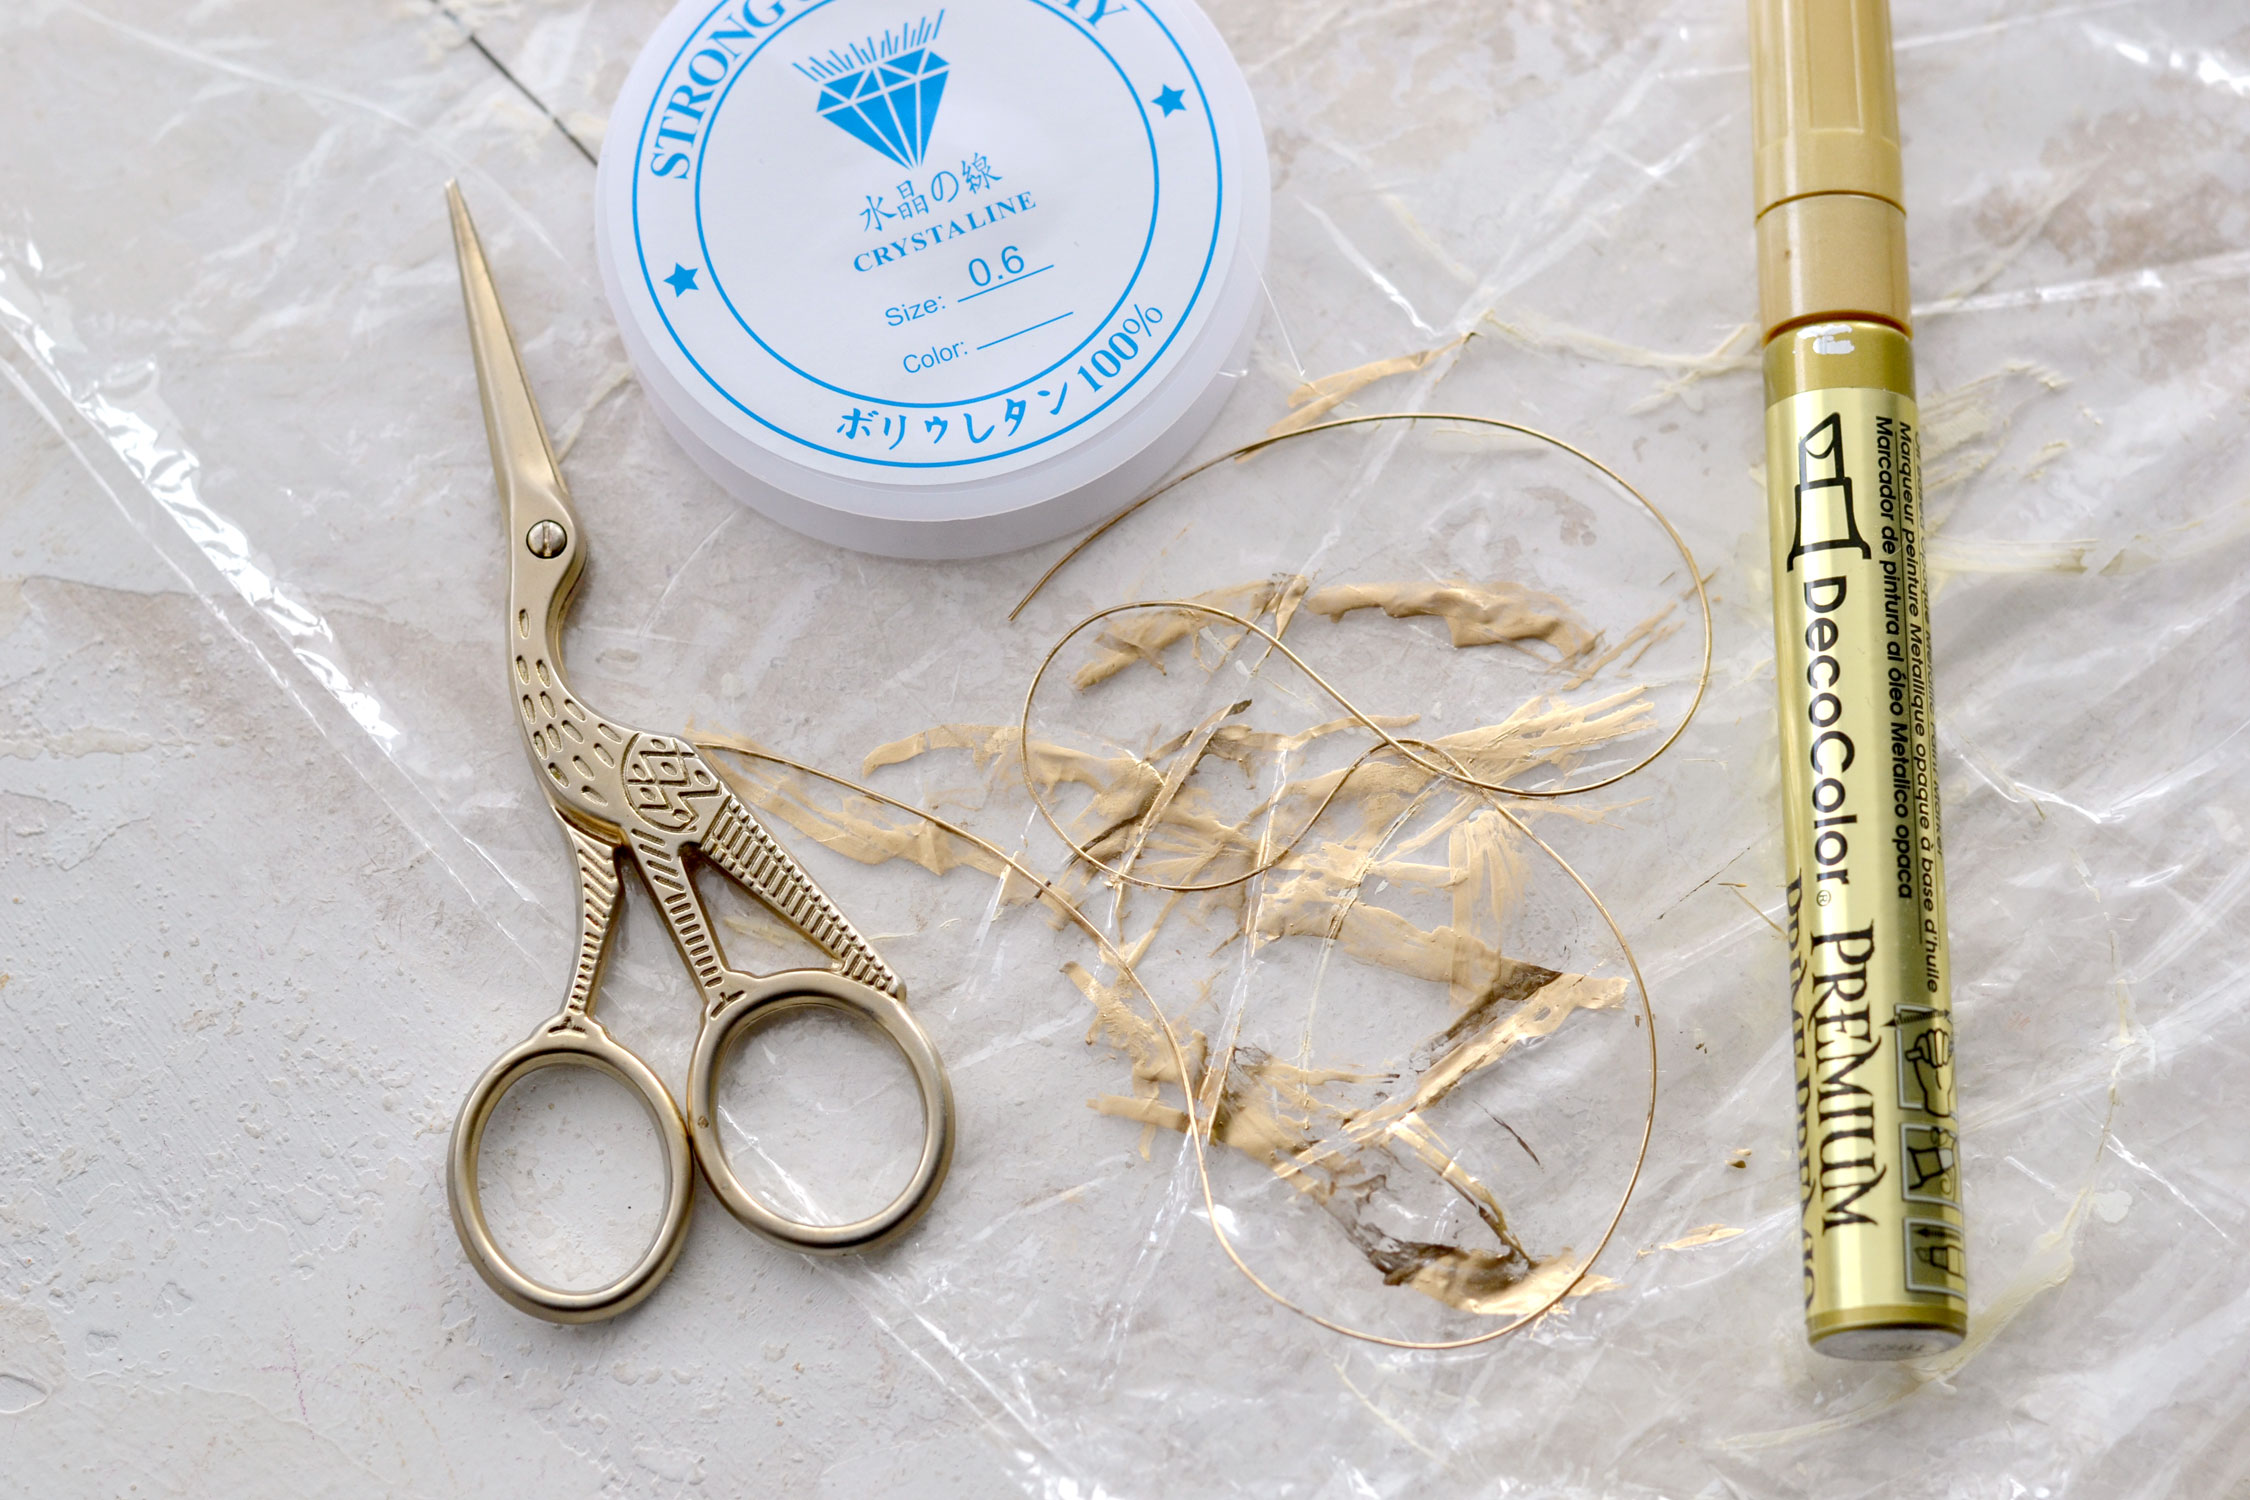
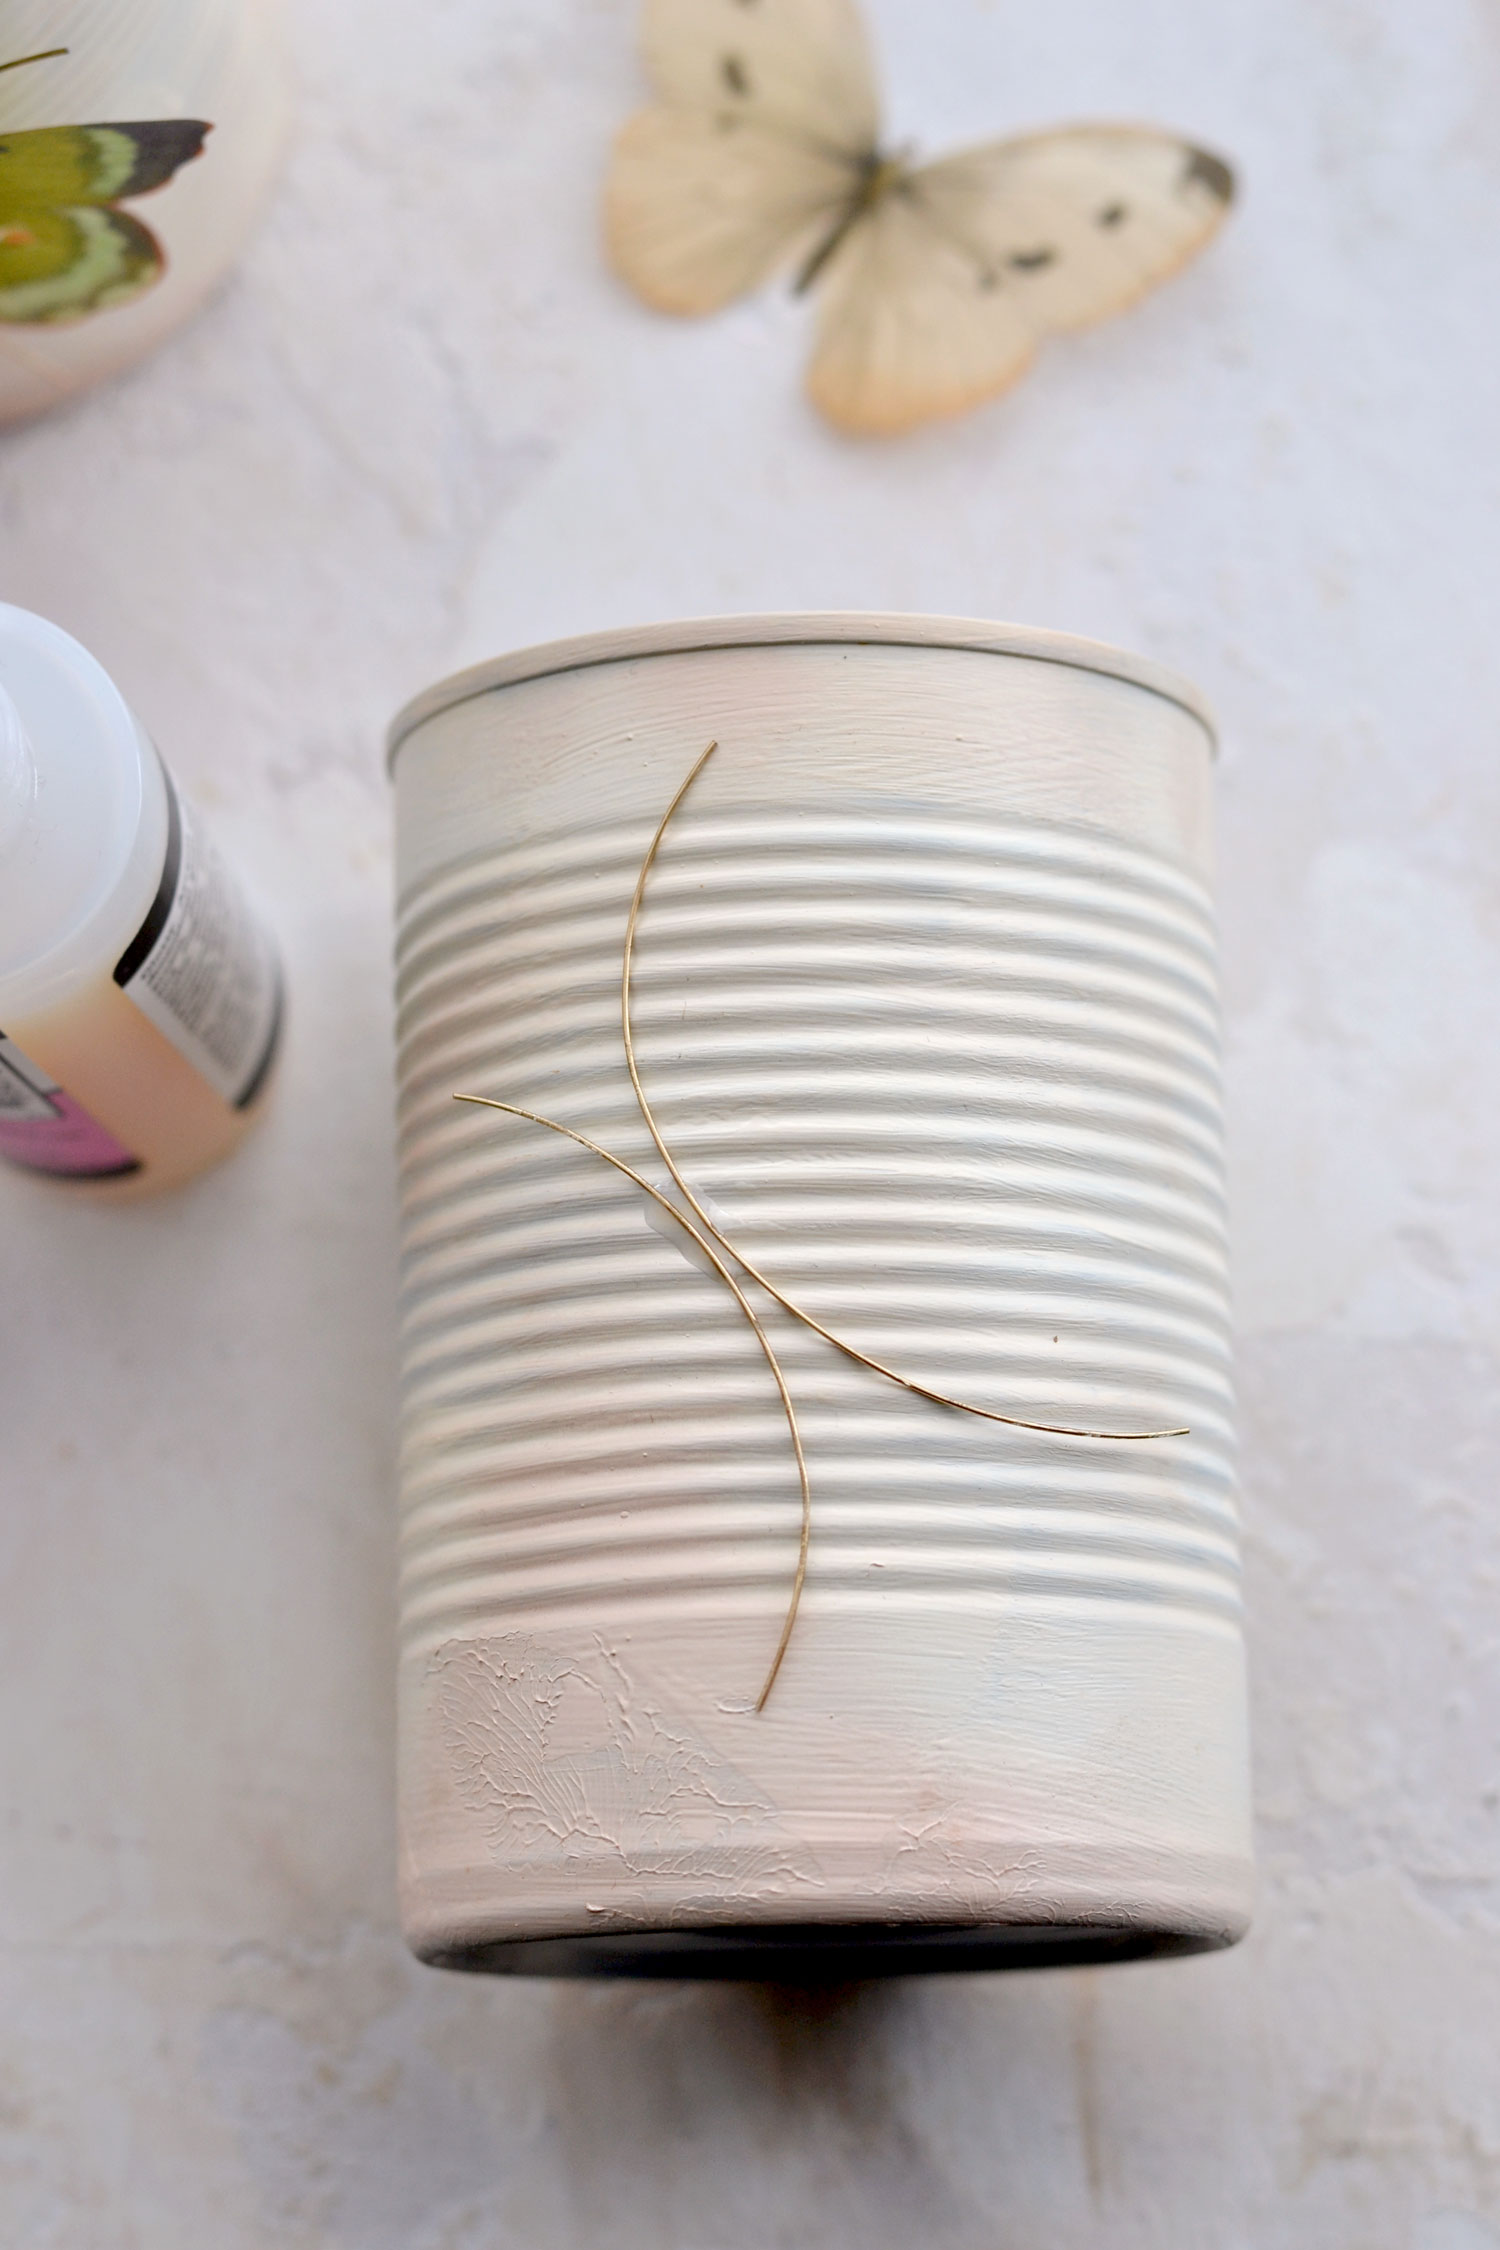
You can use any type of thread or even lightweight wire to make the antennas, but here is another idea that you can try. Cut a small piece of nylon cord (the one that is used for jewelry making) and place it on a piece of plastic bag. Use a gold marker to paint all over the cord. You don’t have to rotate the cord, since this is transparent, just one line of gold over it will do the trick.
Cut and place two pieces of wire on the can so they form the letter X using a tiny bit of glossy accents glue to hold them in place. If you want to place the butterflies slightly tilted, you’ll also need to position the two pieces of nylon cord accordingly. Do a few tests before actually gluing everything in place, just to be on the safe side.
Add a little bit of glossy accents glue in the middle of our newly custom-made antennas and then place the tracing paper butterfly on top. Press it for a few seconds with your finger to make sure it stays glued. The paper curls a little bit when touching the glue, and it’s almost like the butterflies are flapping their wings. Pretty cool, right?
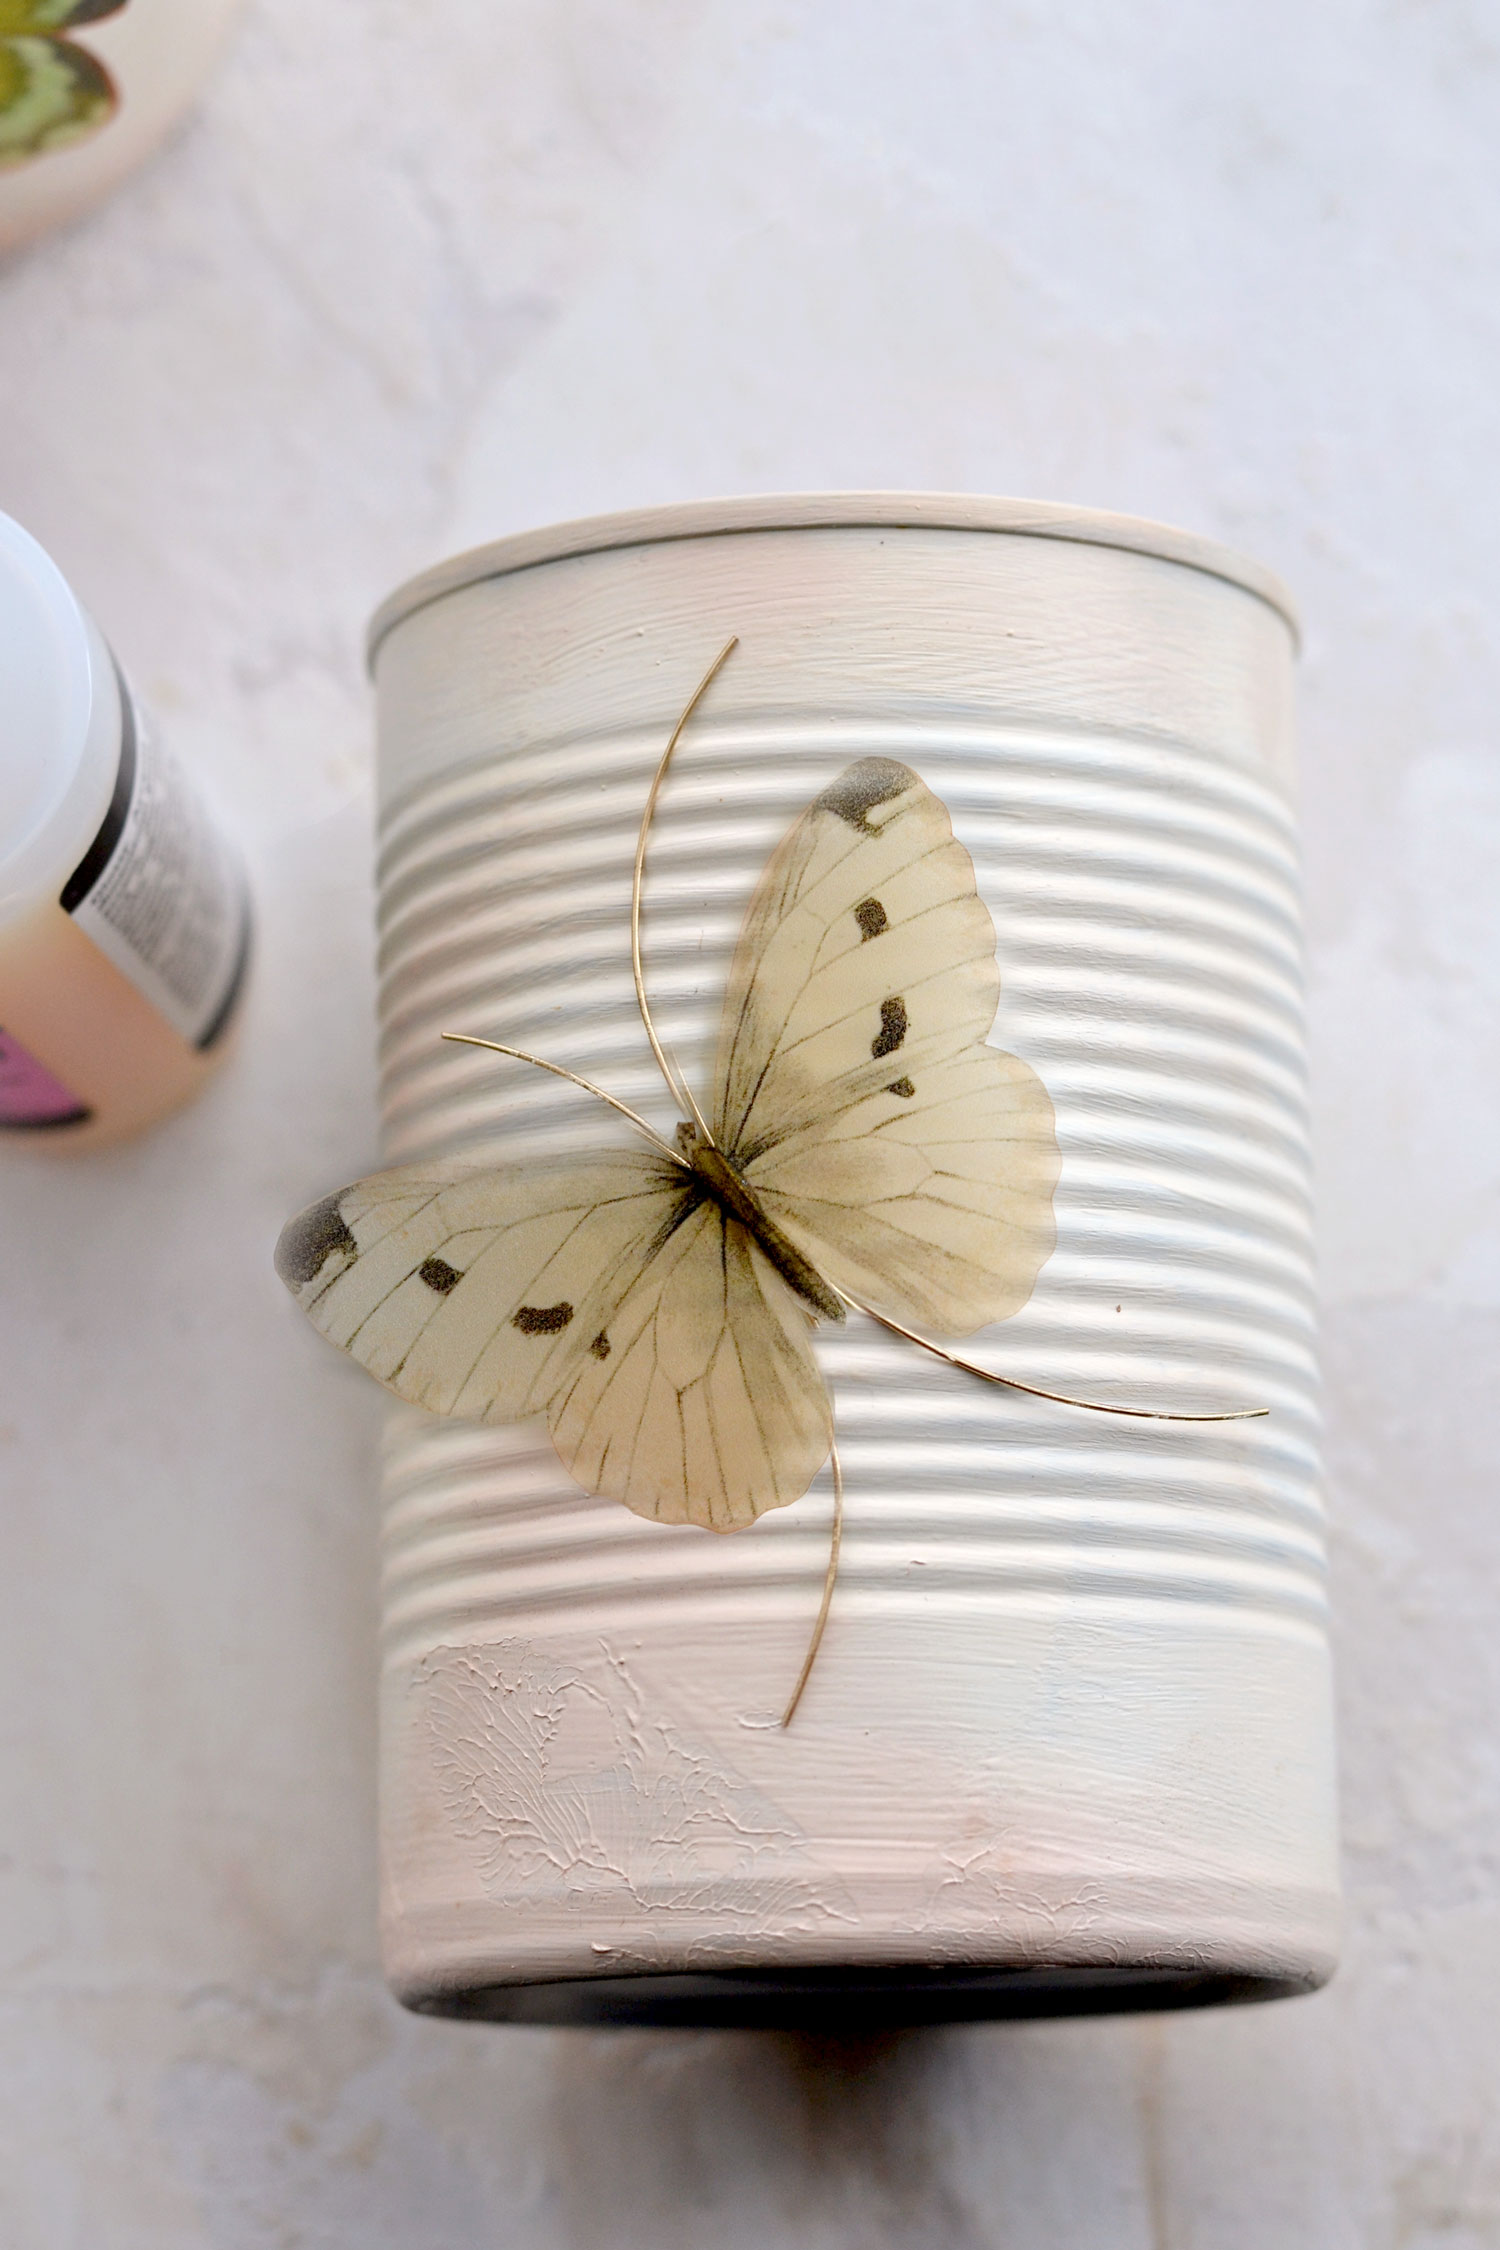
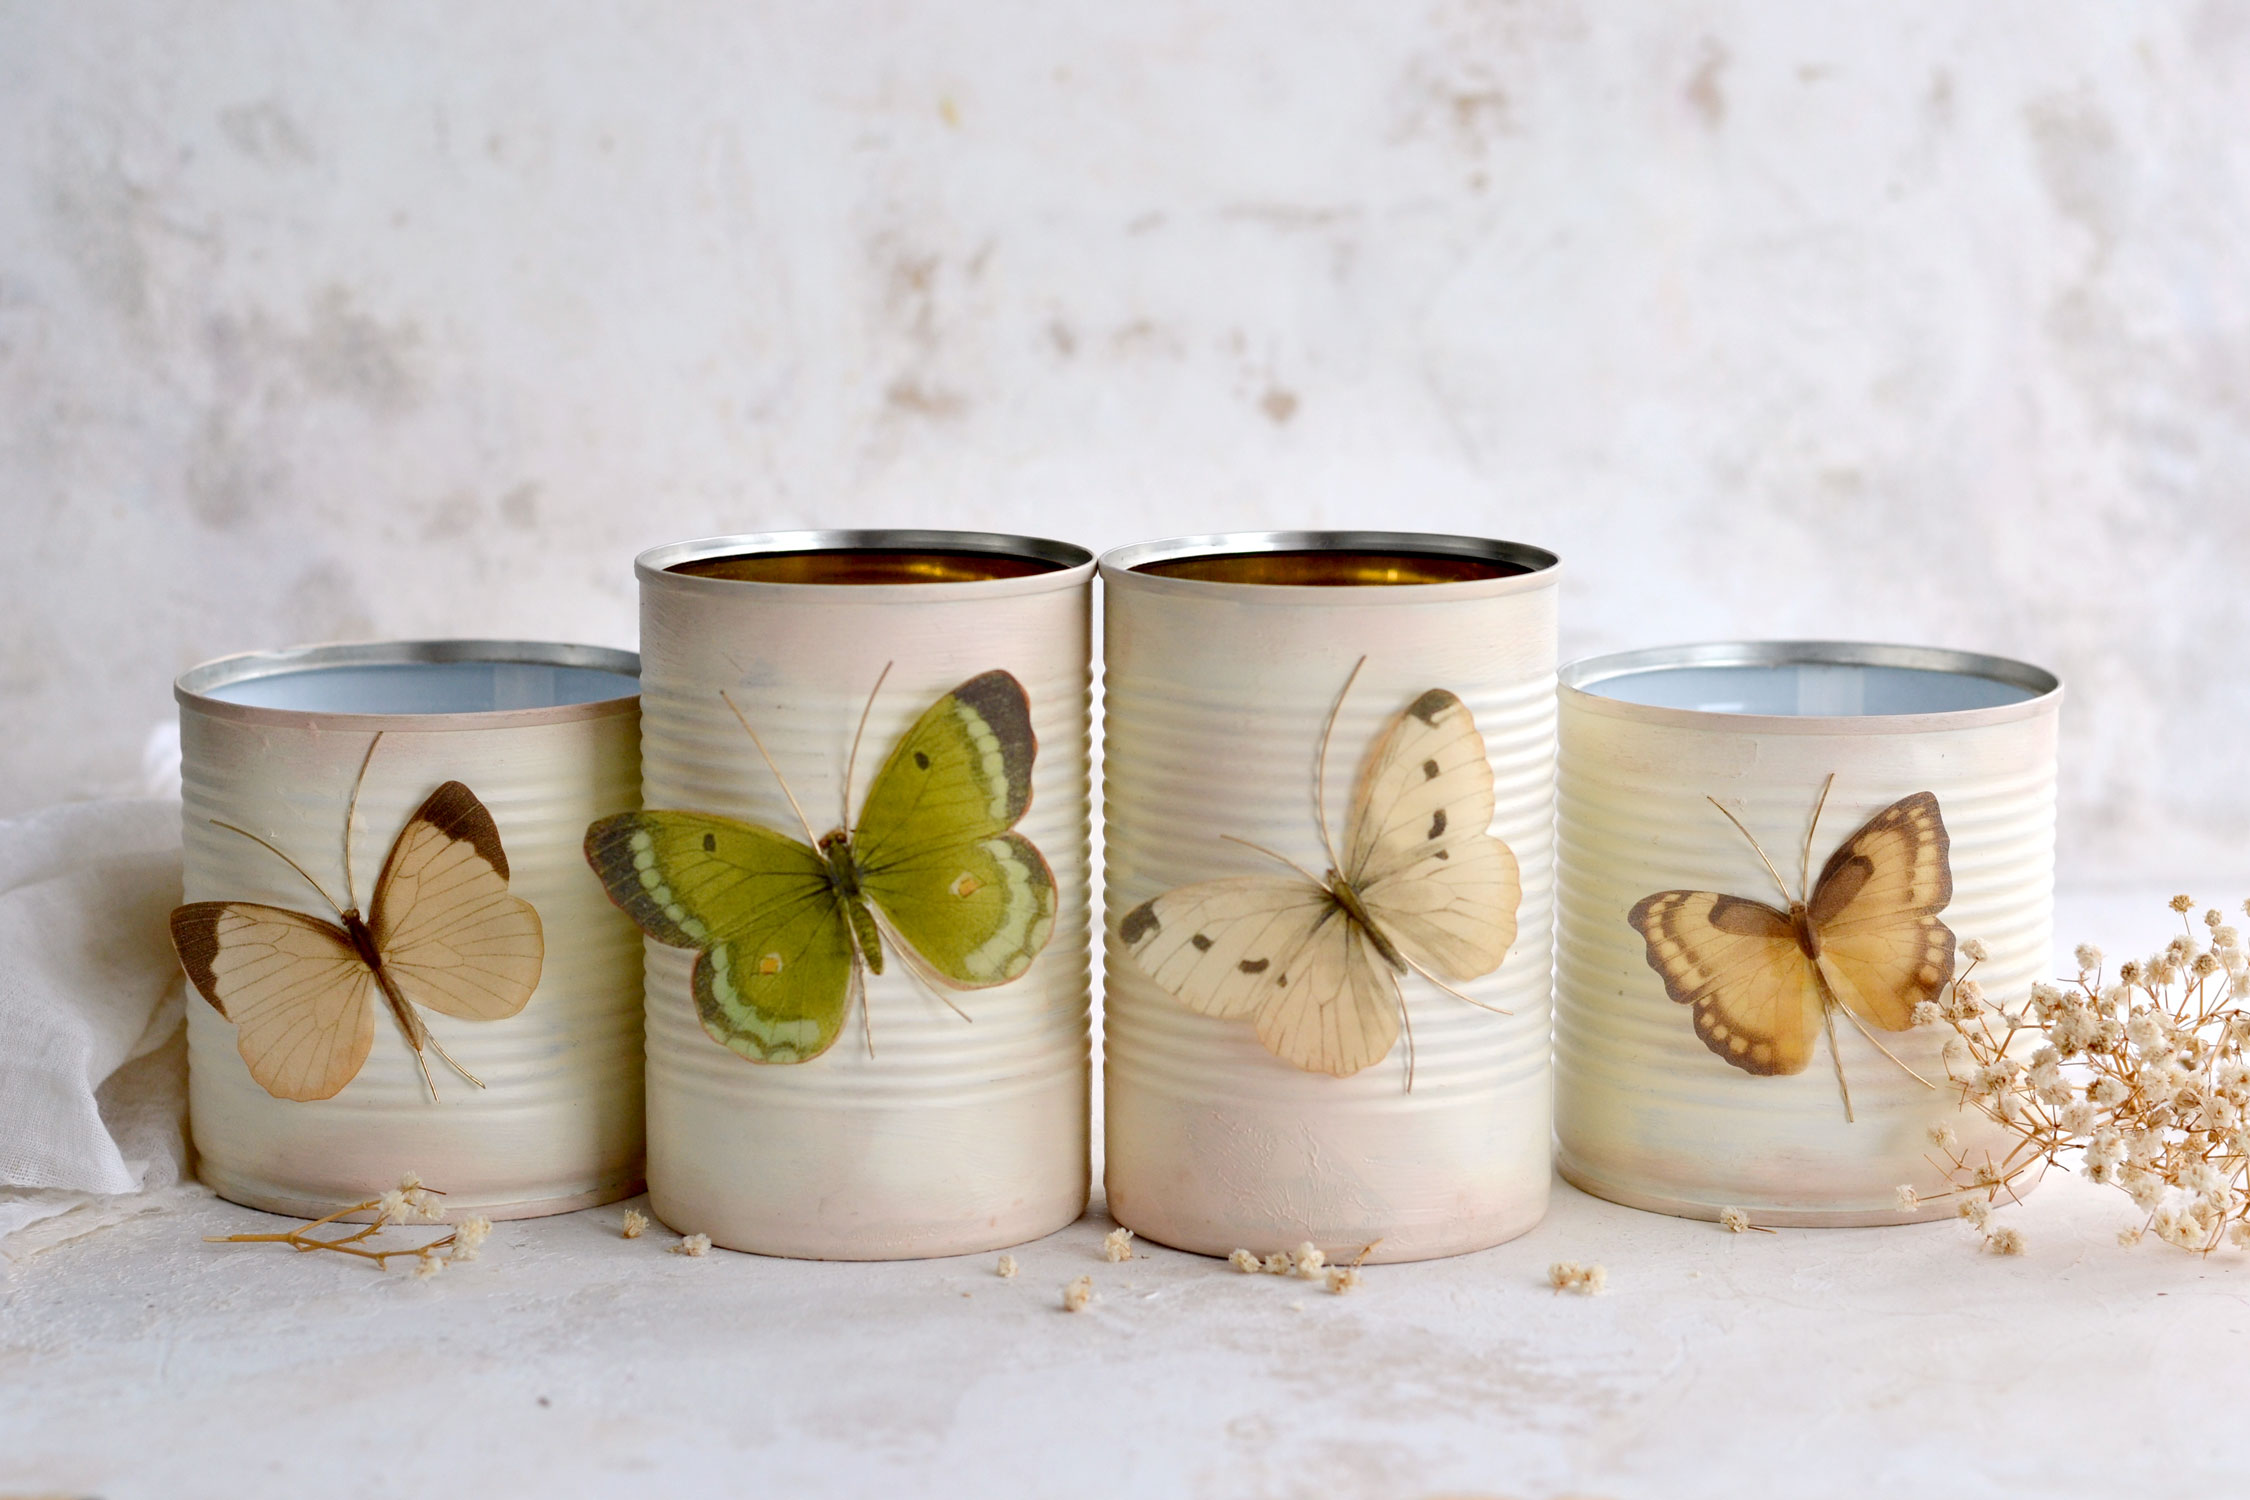
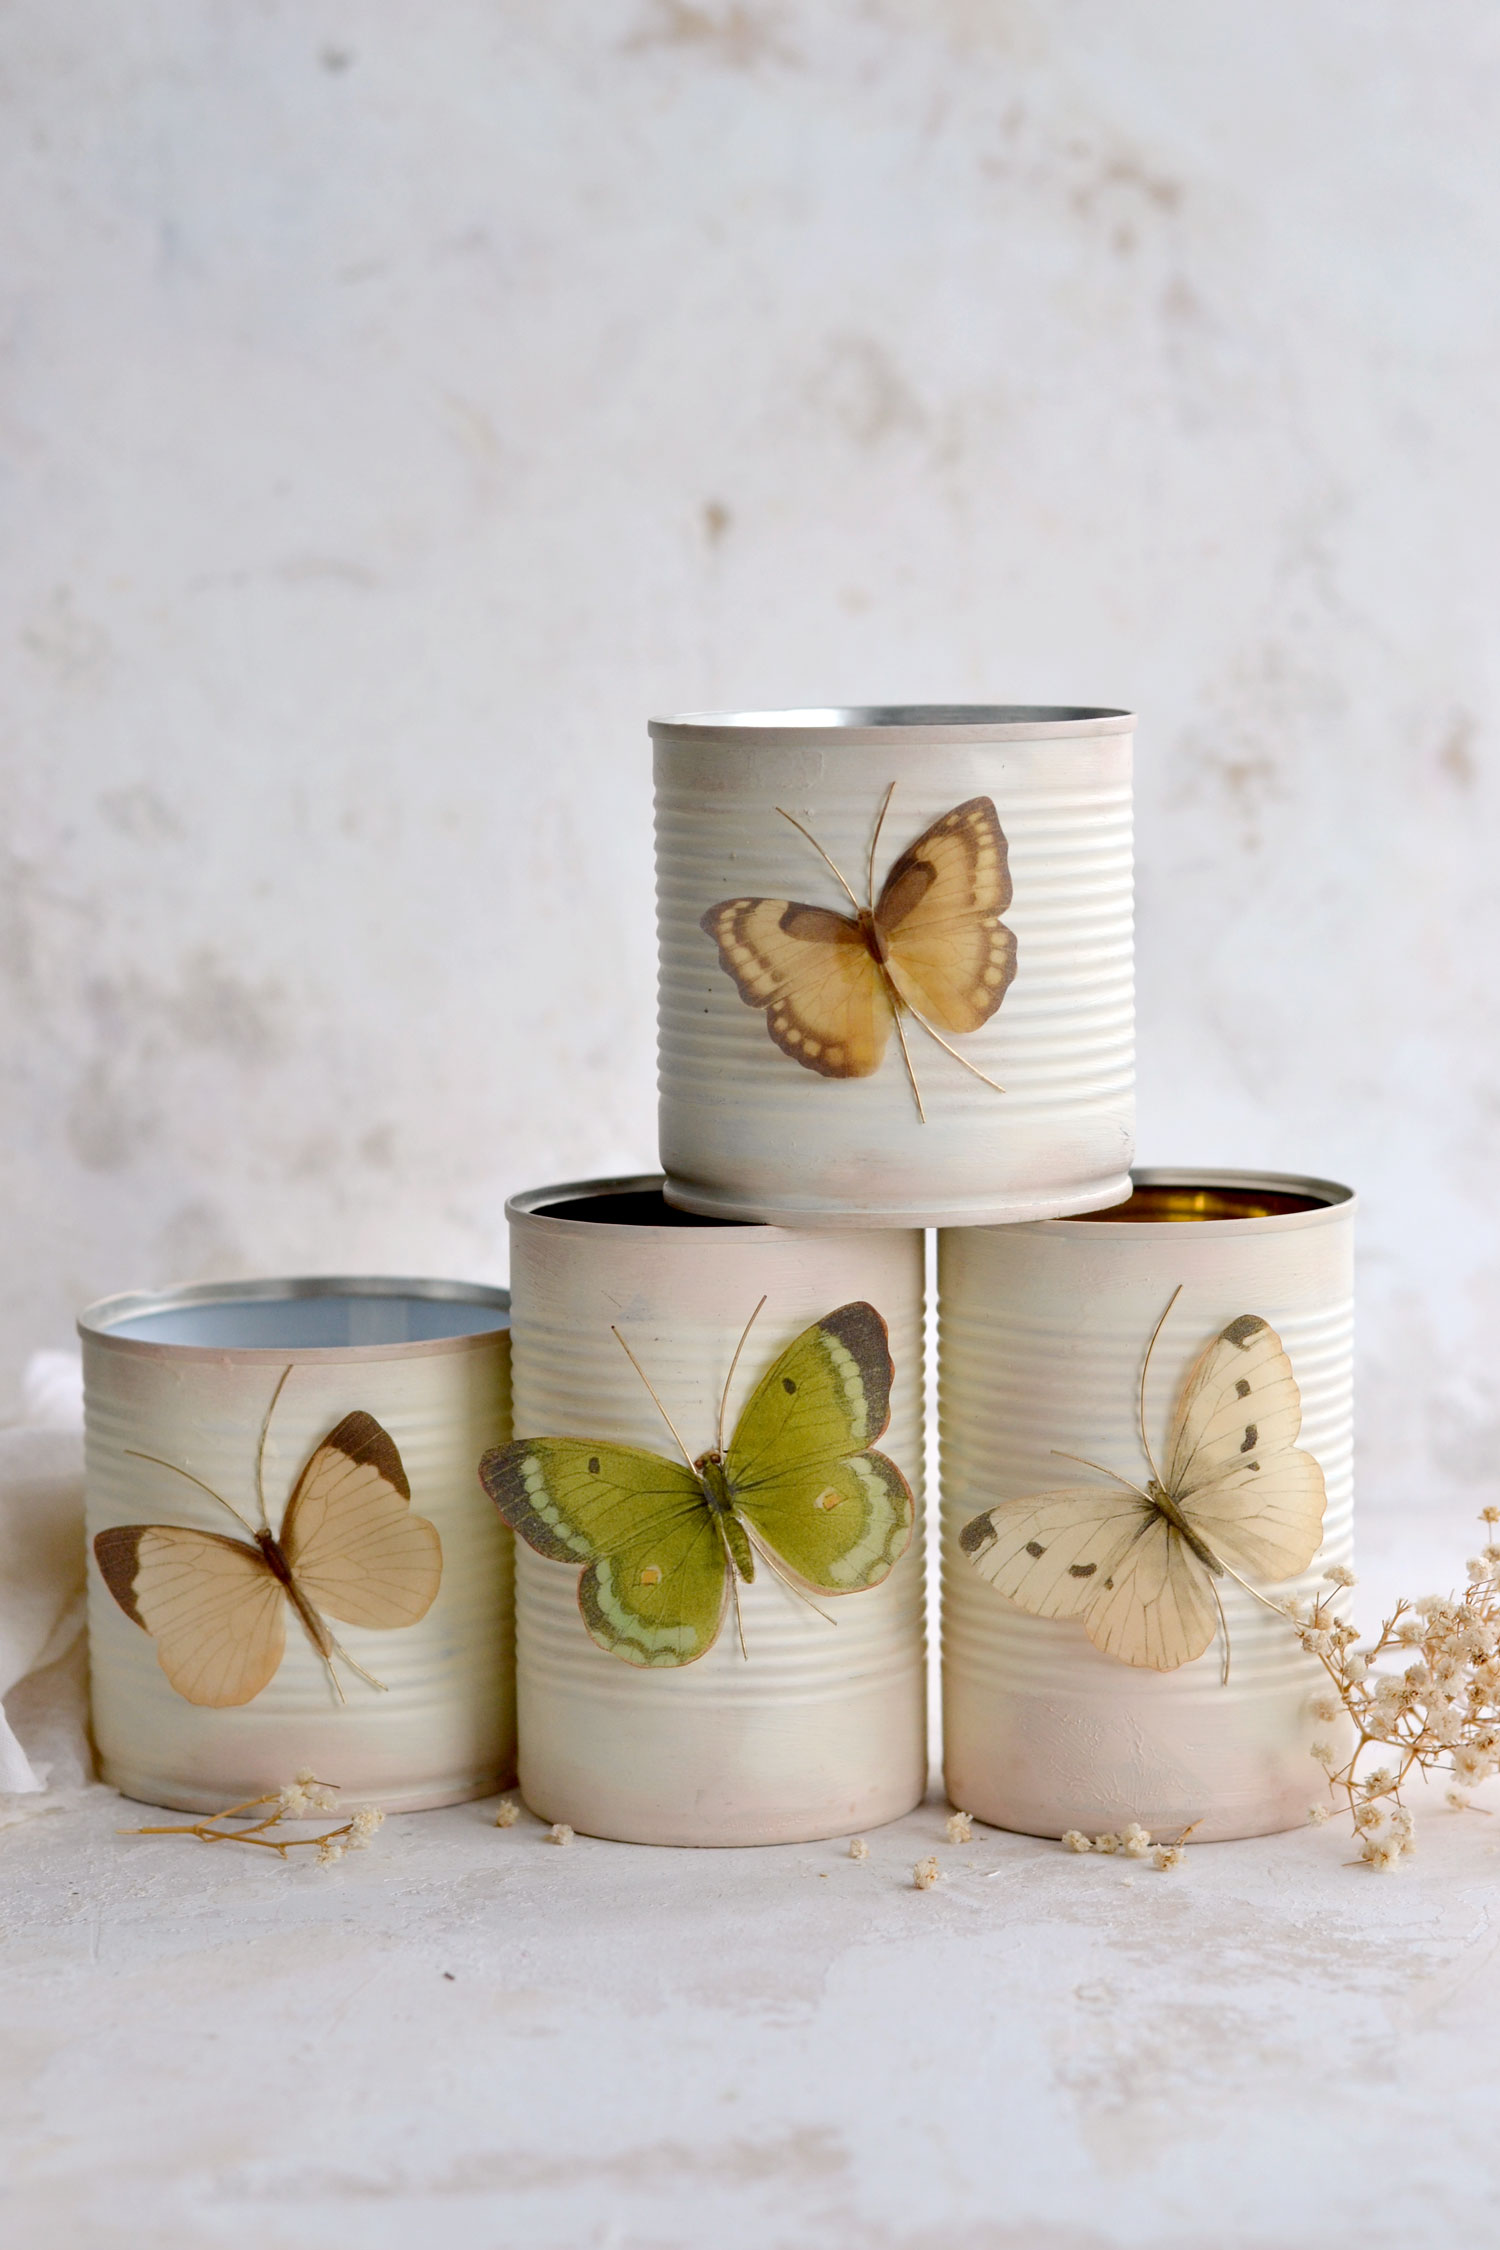
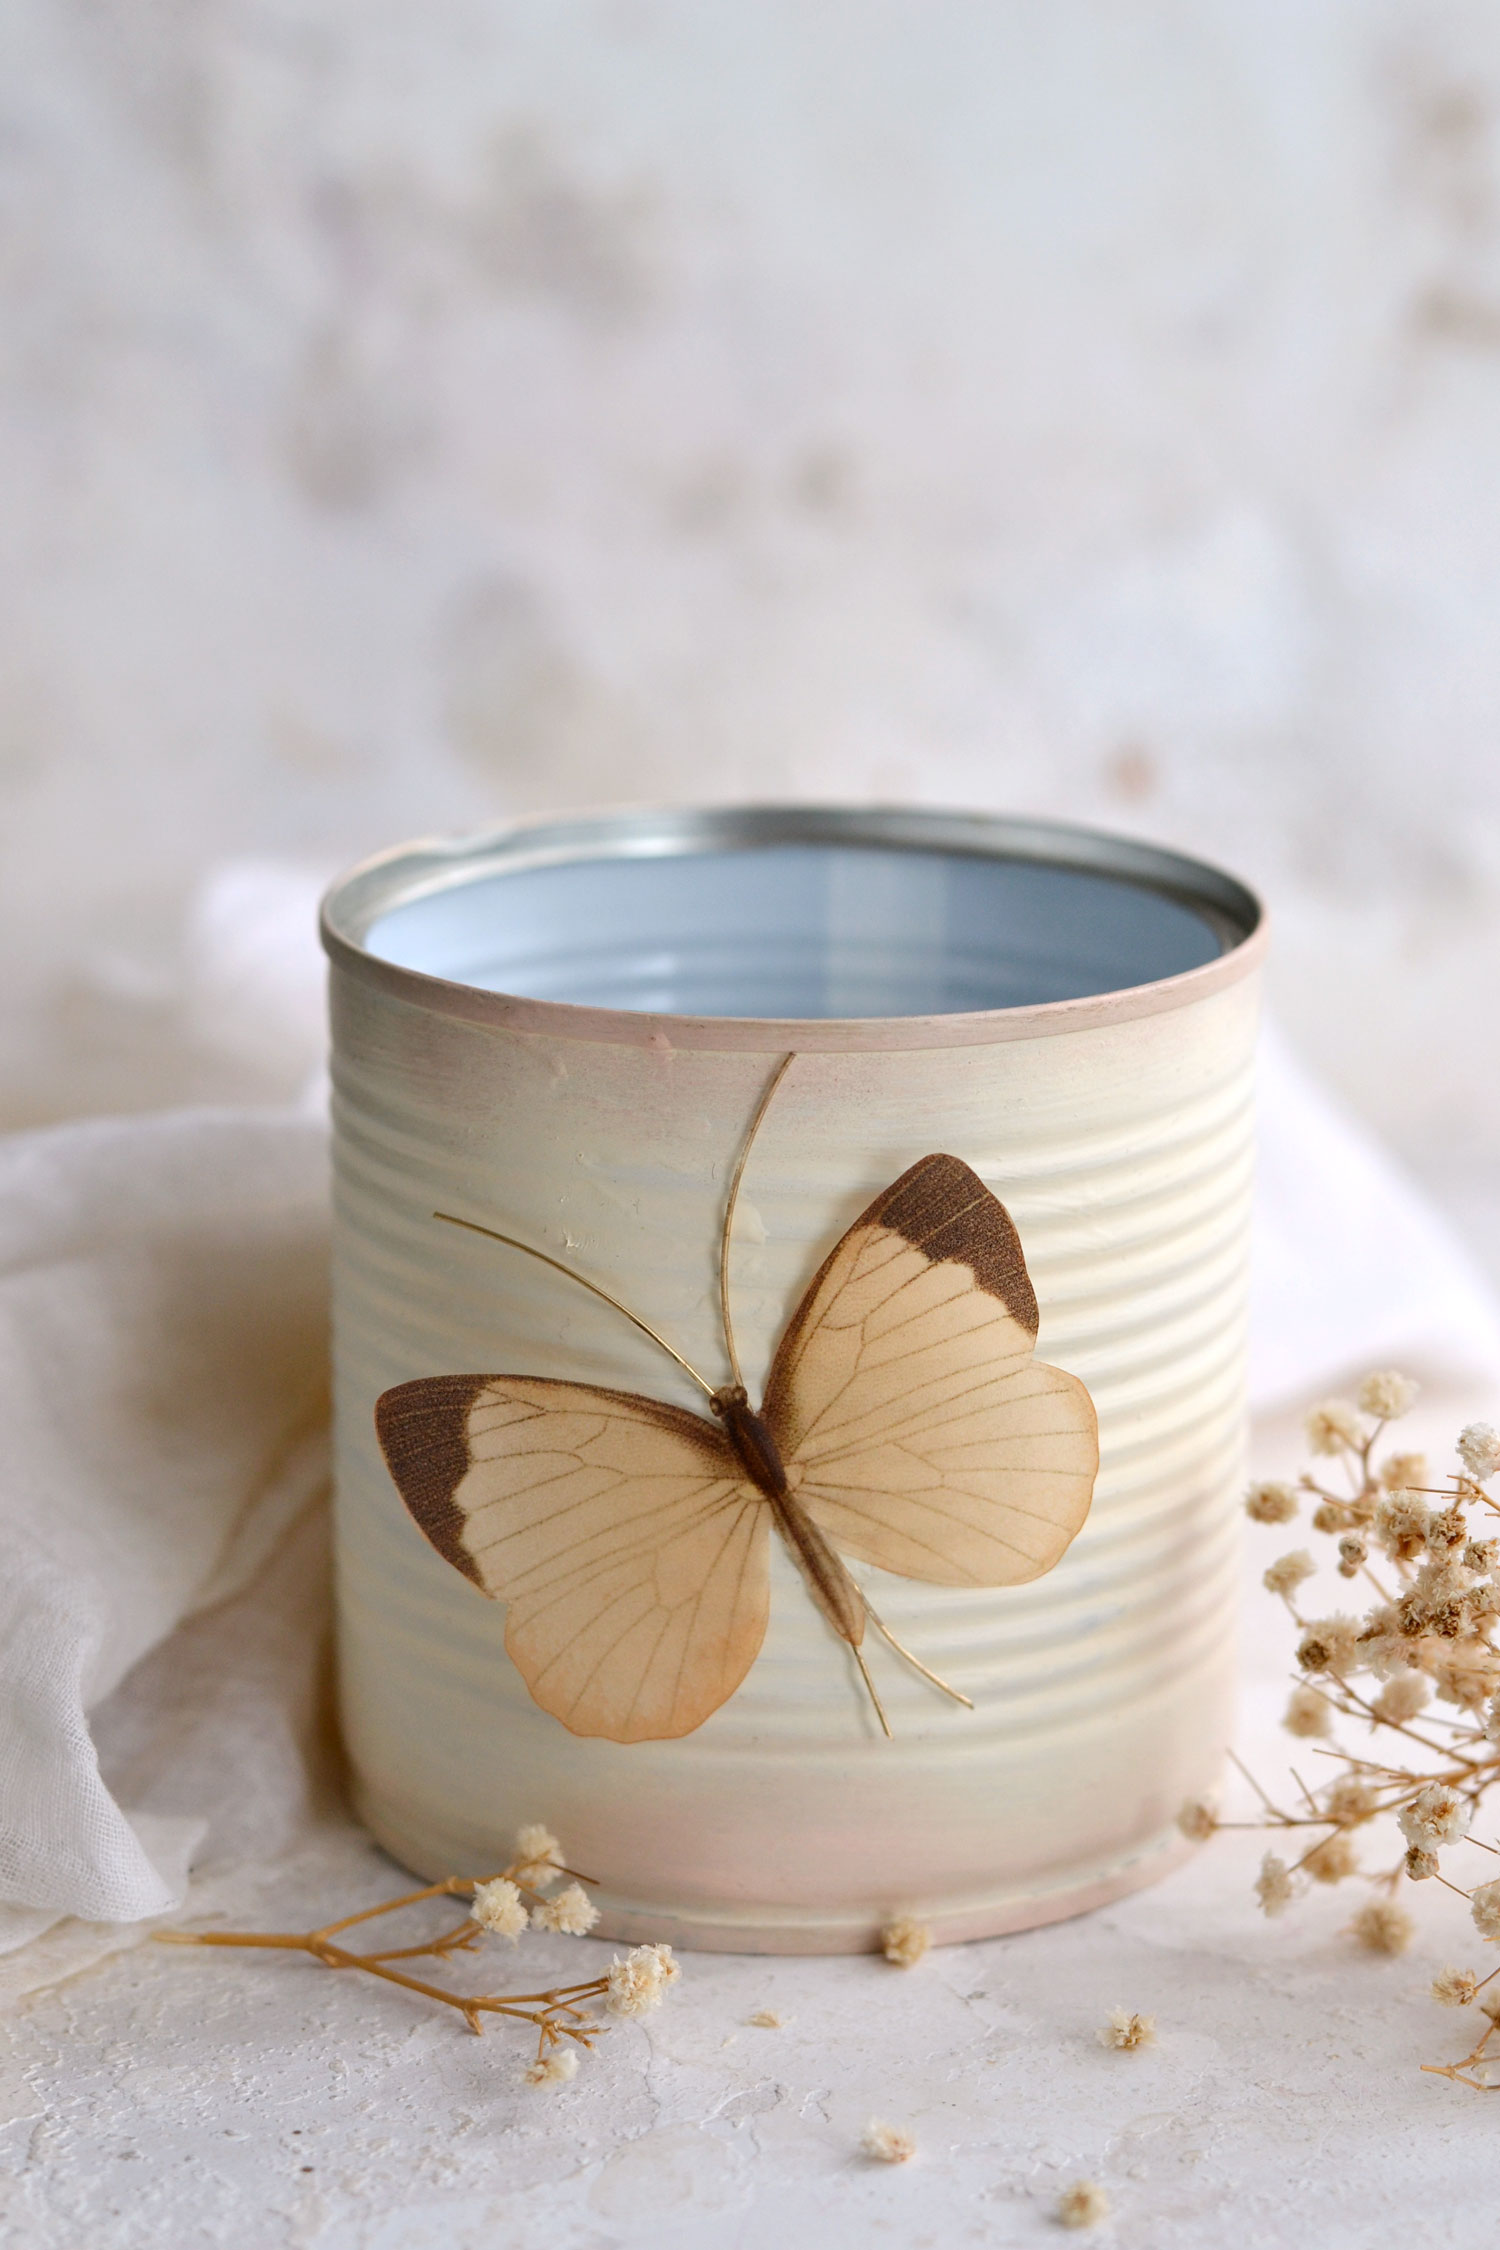
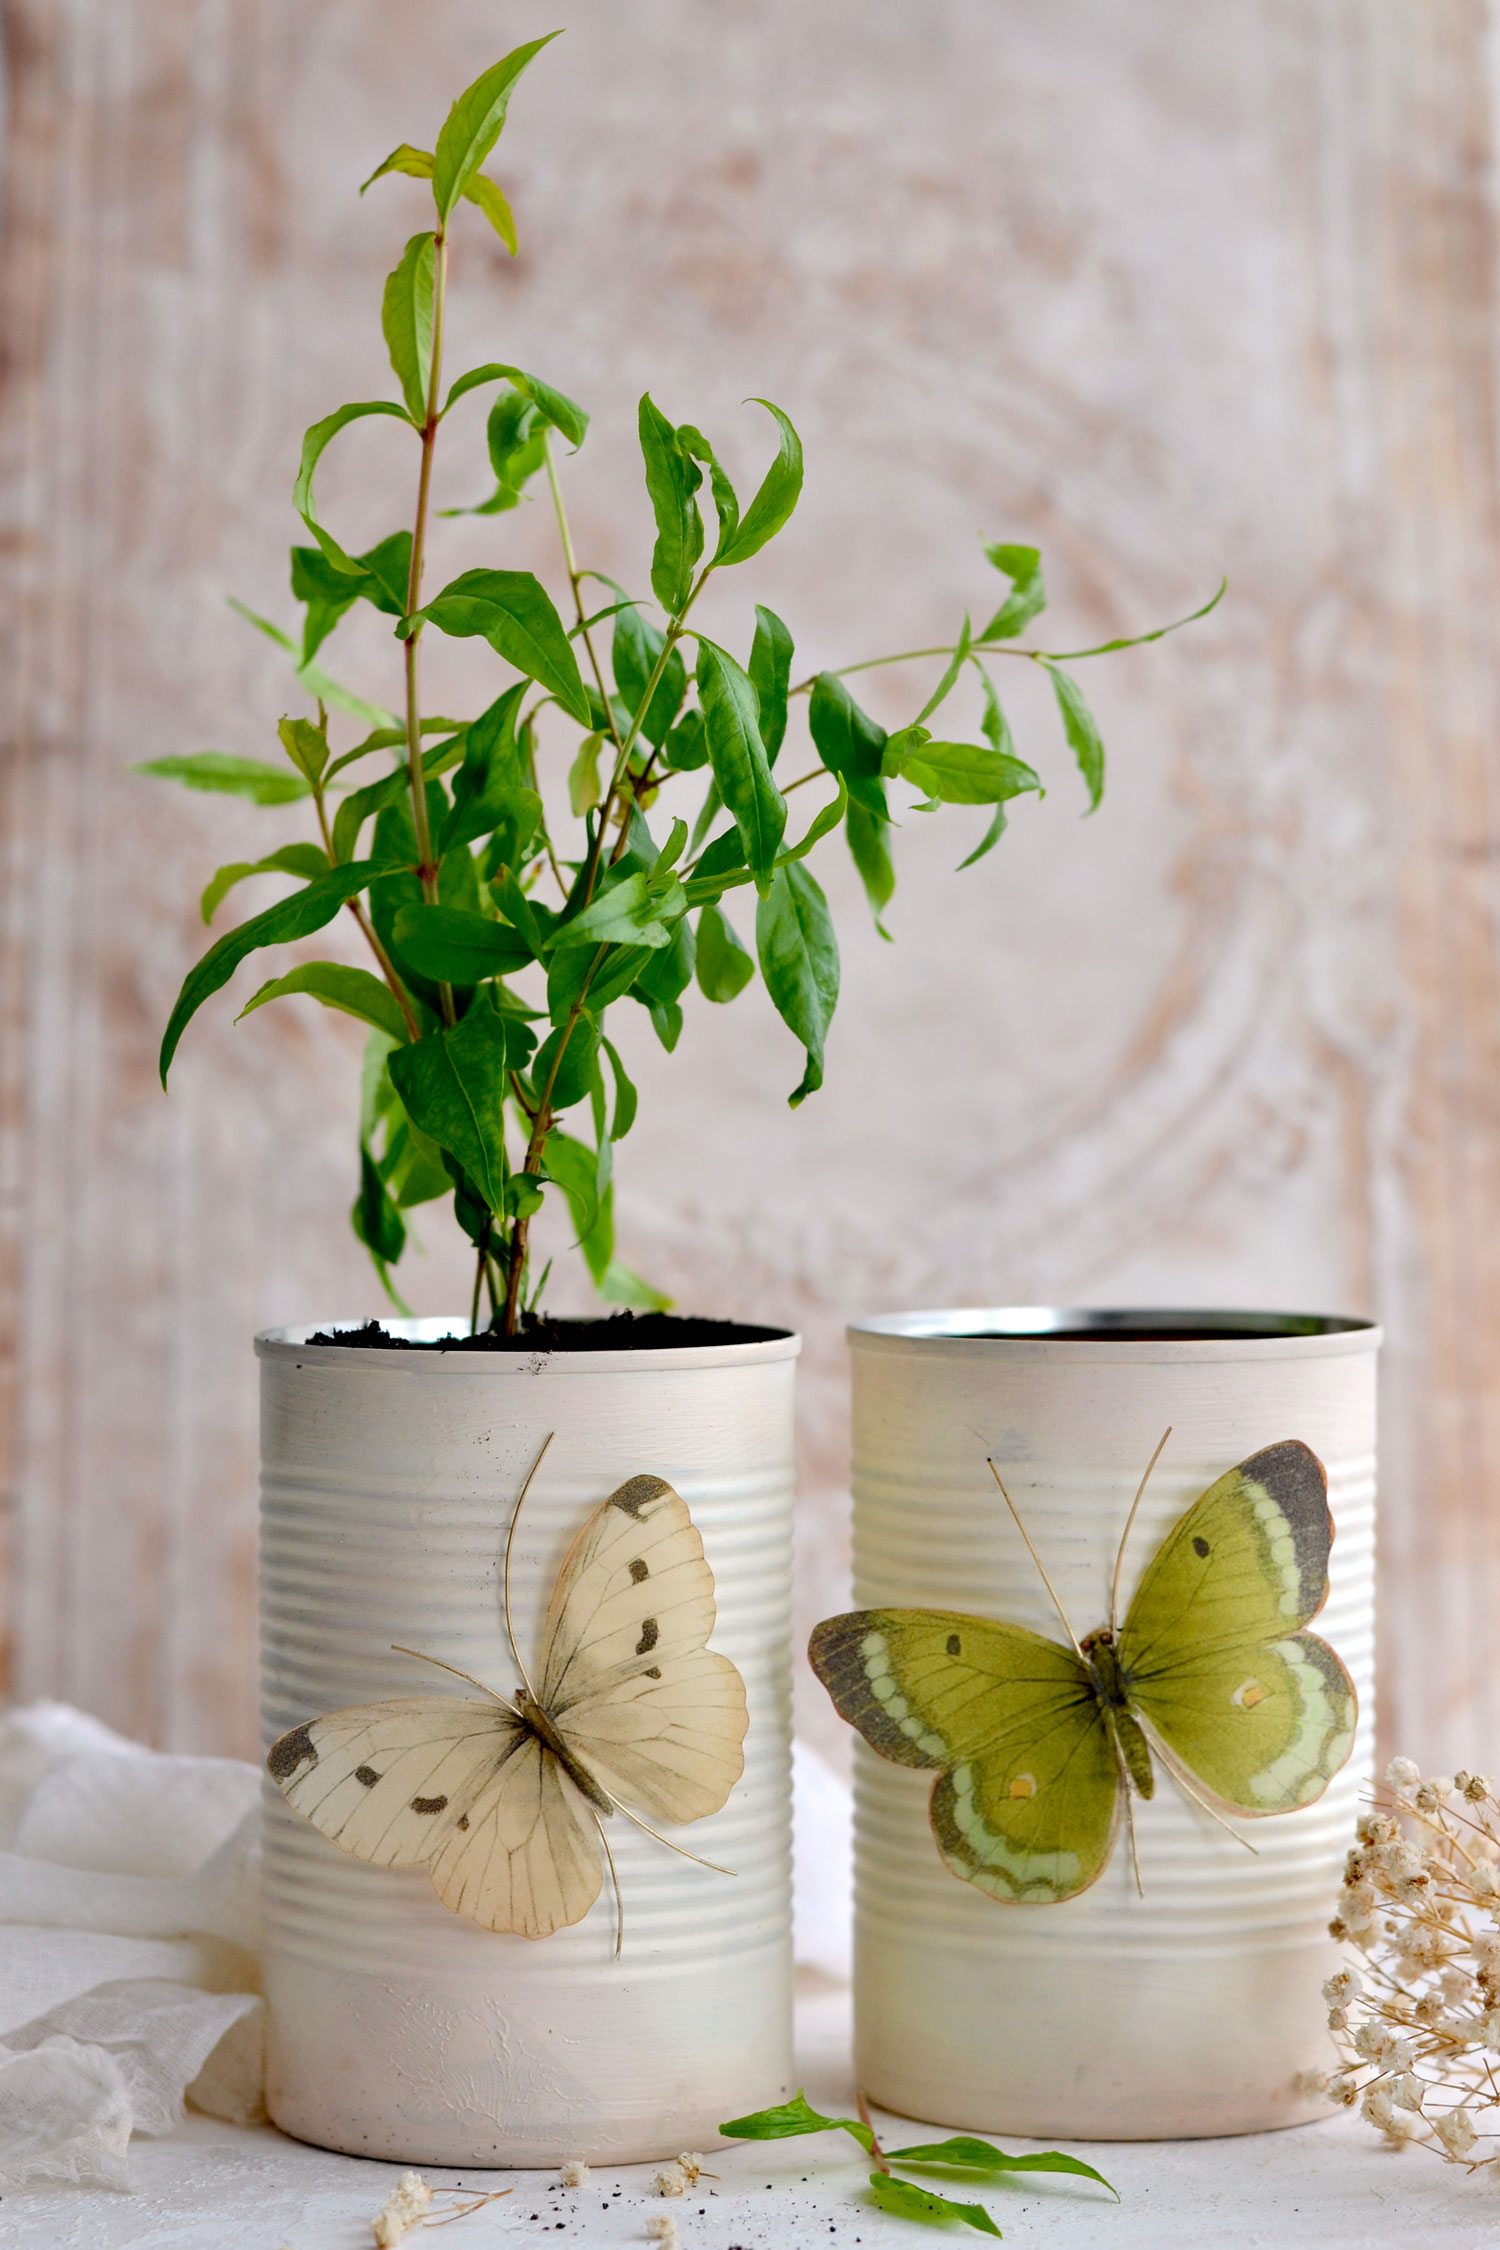
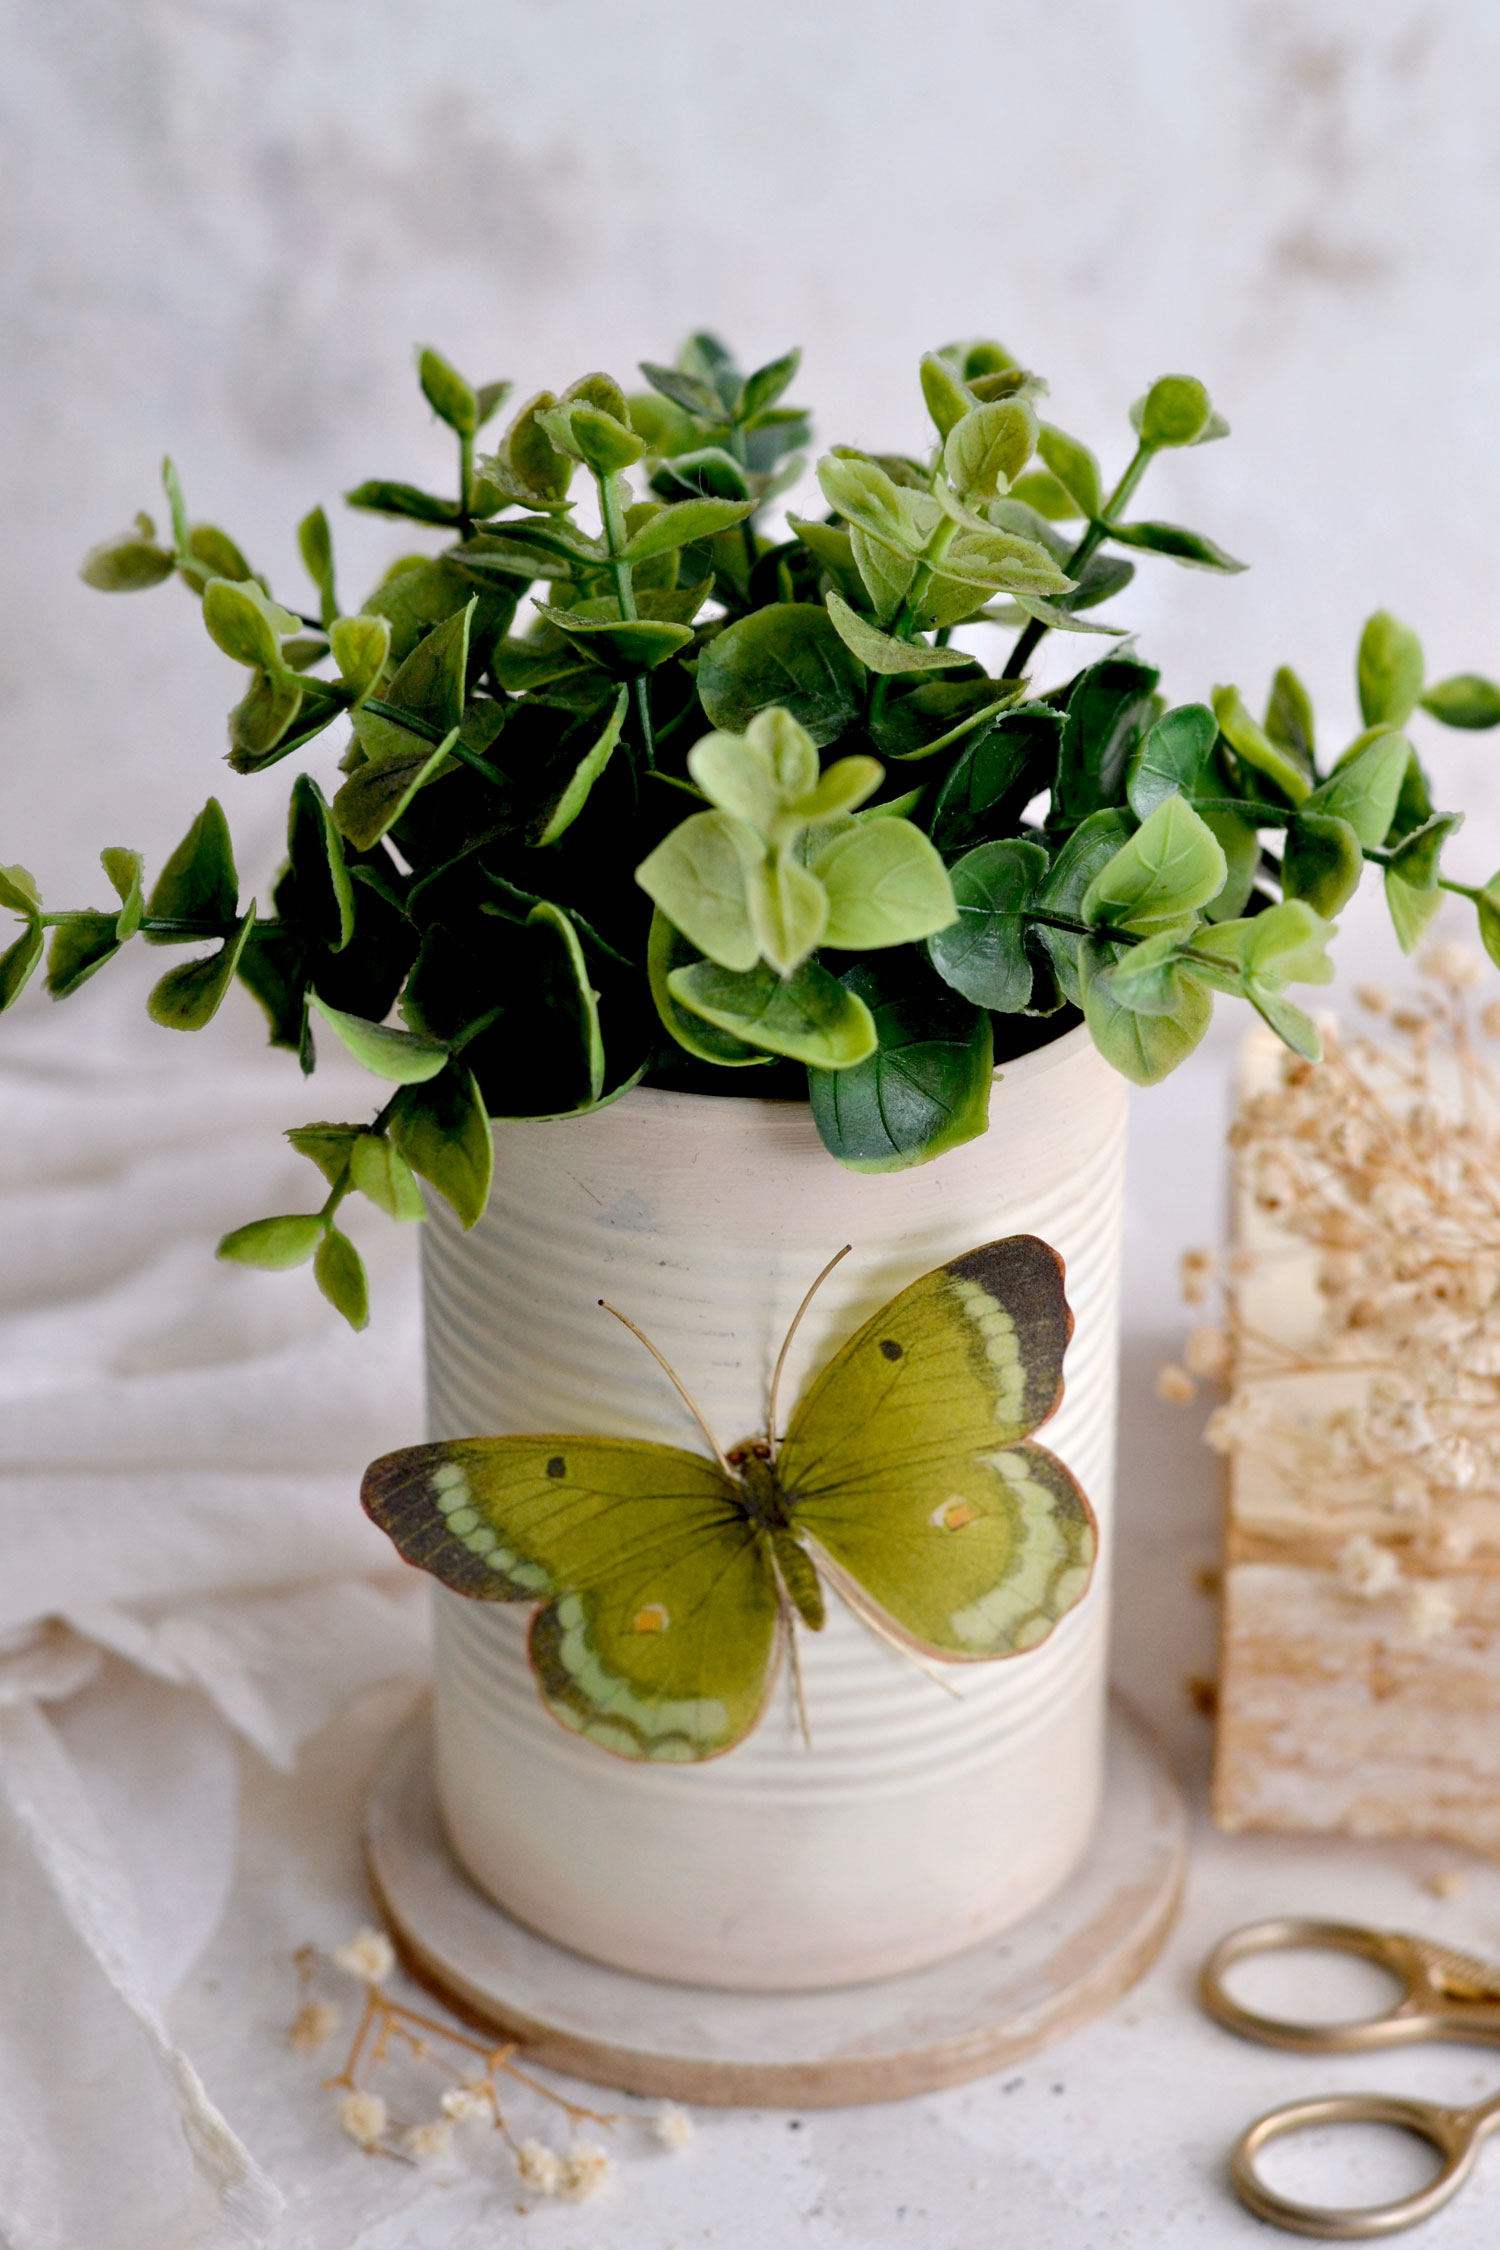
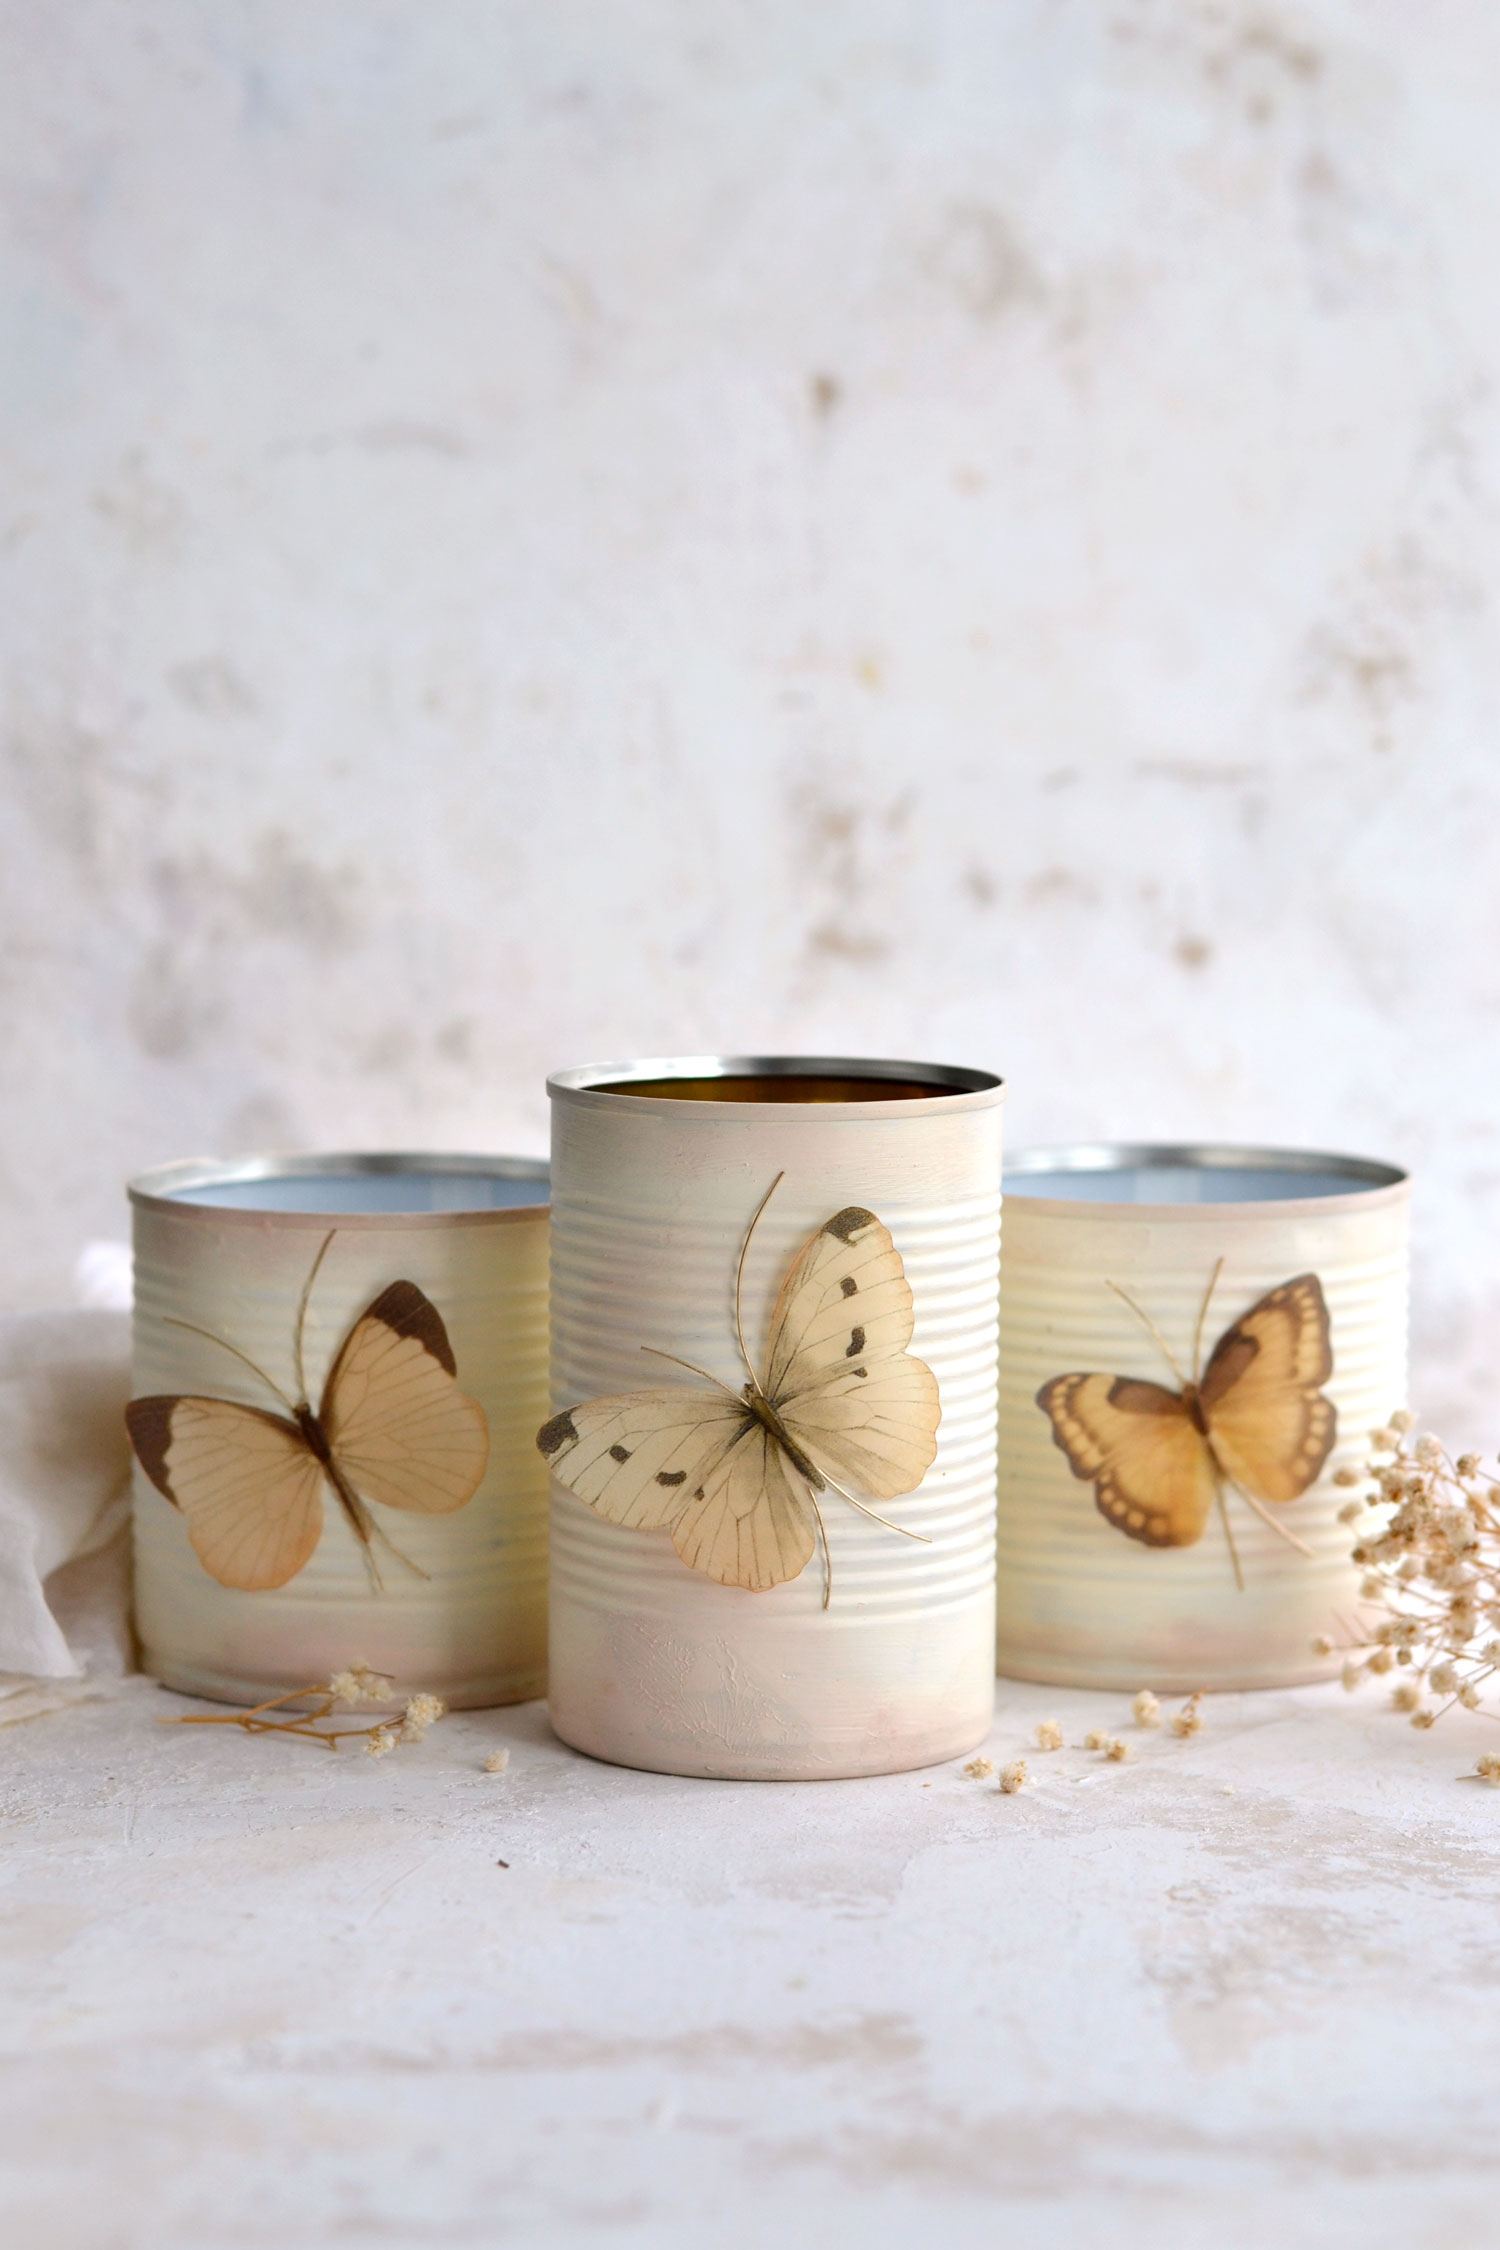
Your absolutely gorgeous tin can planters with sheer 3D butterflies are now ready to be admired!
You won’t believe how realistic the butterflies look when admiring them, but also when touching them. The subtle sheerness of tracing paper turned these wings into something amazingly real!
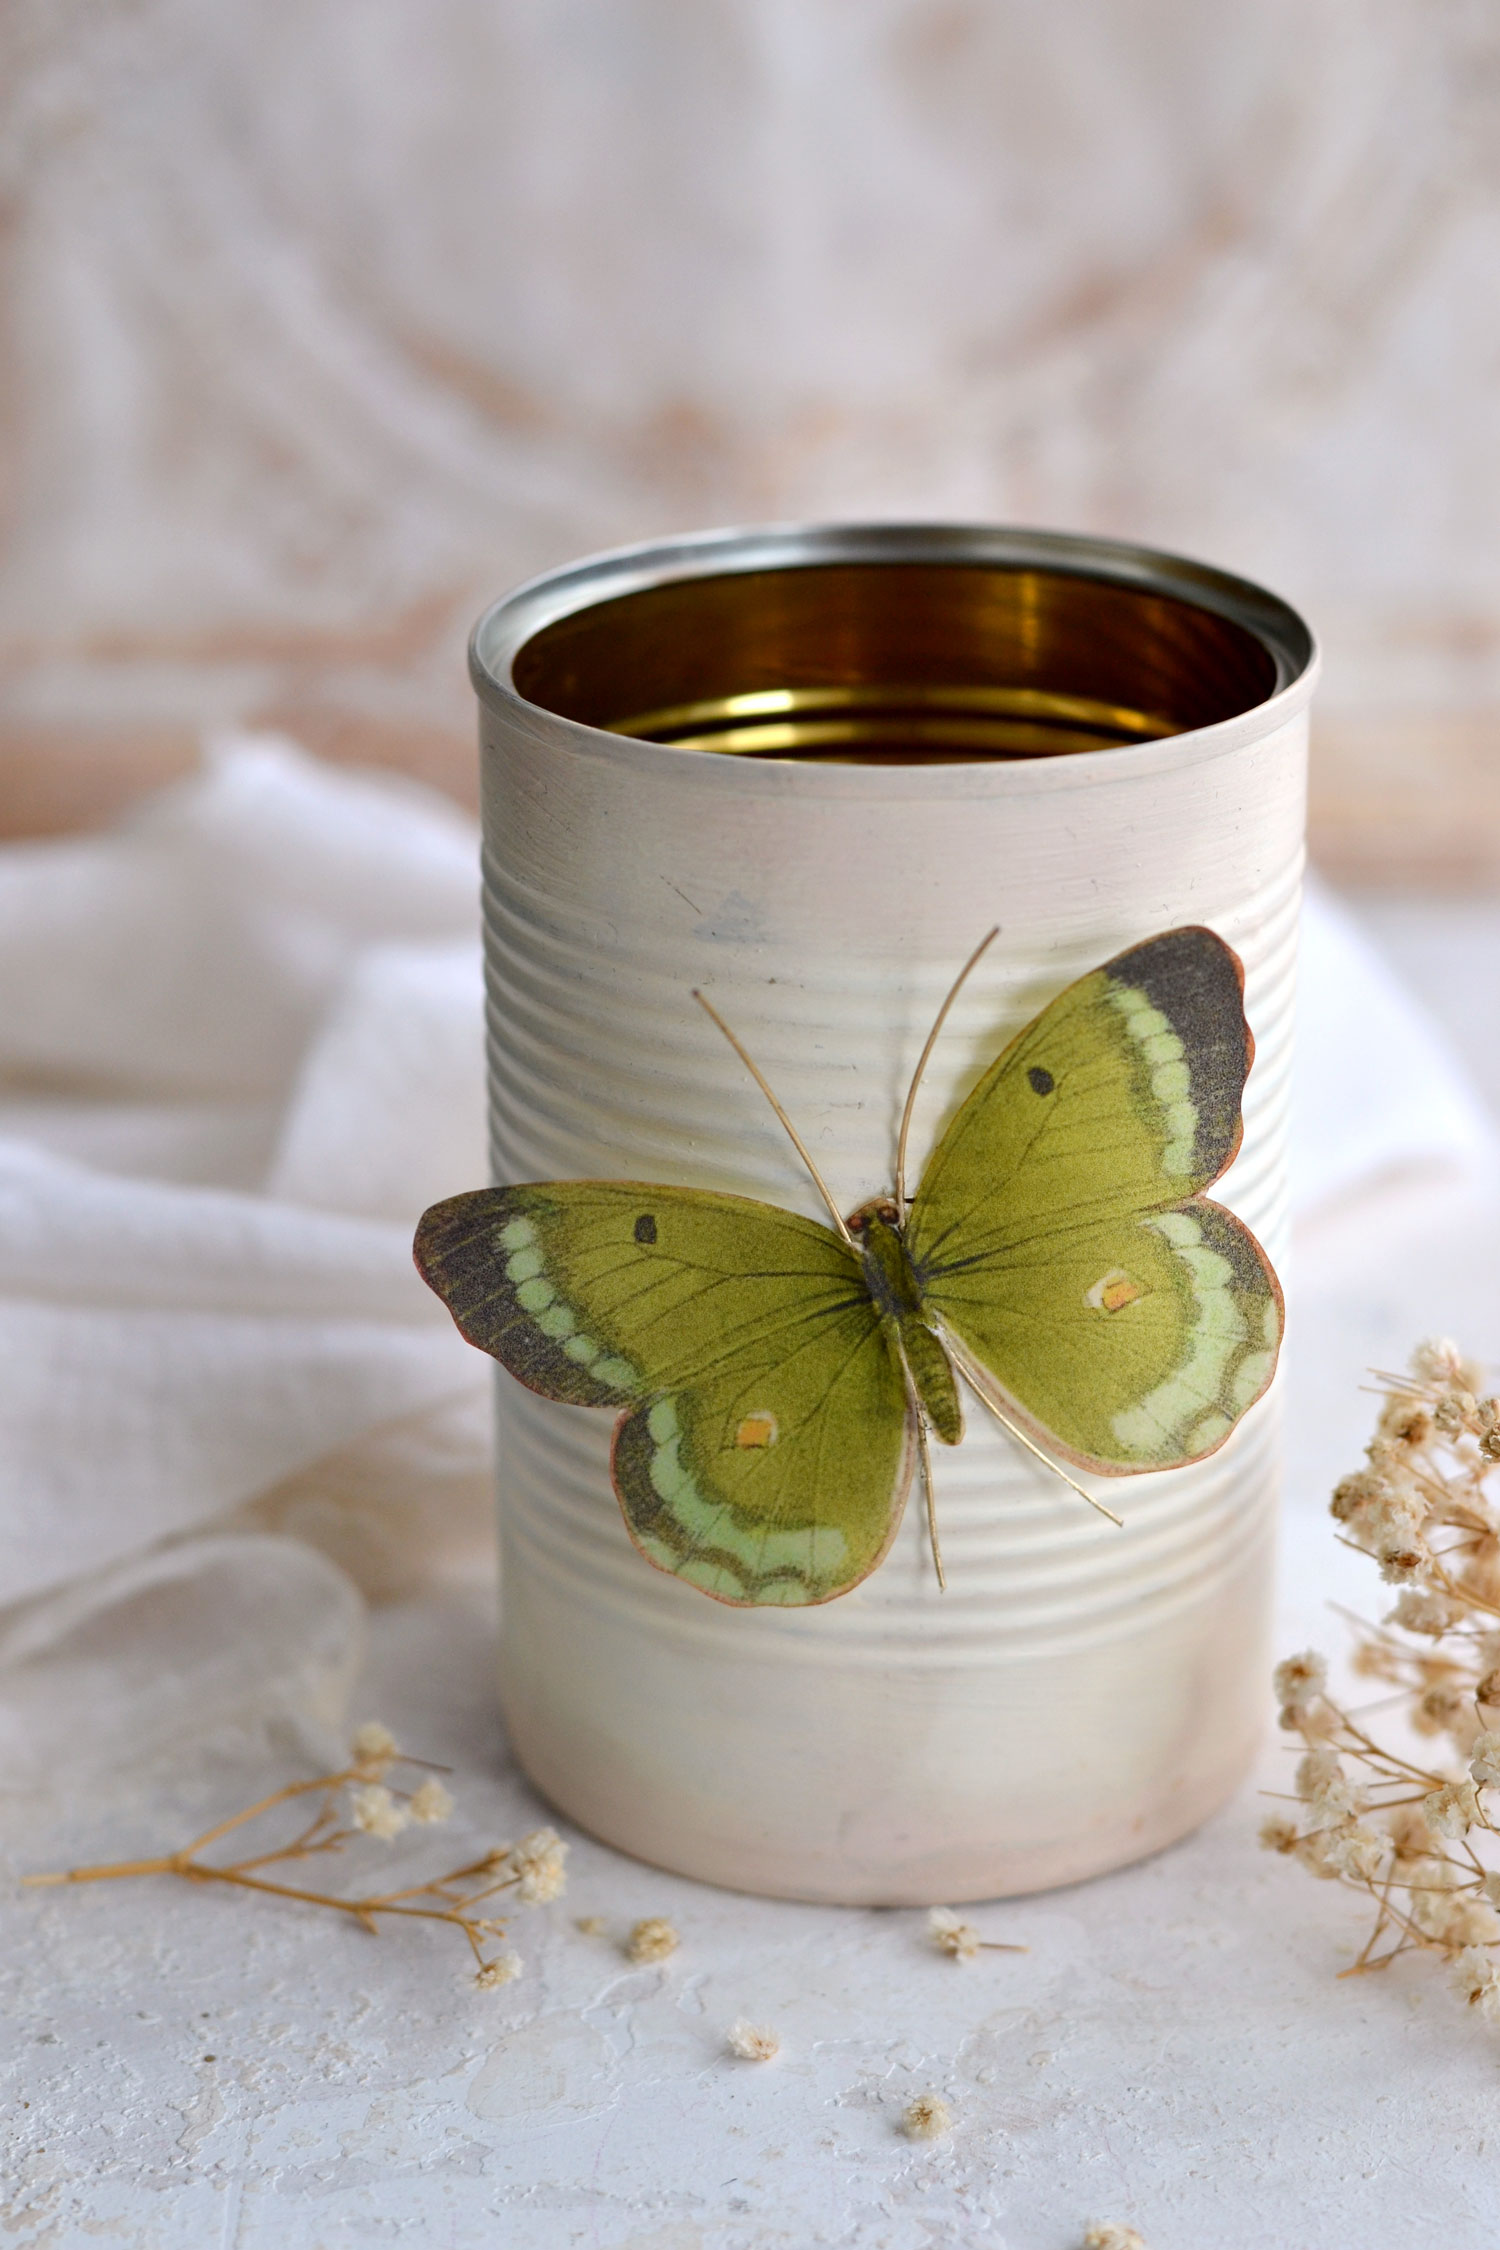
Two of my cans had a gold lining on the inside, which made them look like a burning candle was placed inside. This one with the green butterflies looks so beautiful with that glowing gold, don’t you think?
One thing that I would like to mention is that the glossy accents medium was actually intentionally picked for this project. I noticed that tracing paper reacts so much better with the glossy accents medium, as opposed to other types of glues that make it warp like crazy. You can try using another type of glue, but do a few tests before just to be on the safe side.
You can use these recycled tin cans as planters, here I have a few small pomegranate branches I cut from a small indoor pomegranate tree. This is just to give you an idea, but of course, you can use them to relocate any of your older plants. Or just buy new ones and have fun planting them!
Because we used tracing paper to make our realistic butterflies, we won’t be able to use the tin cans outside. If you prefer to use them outside, it would be best to use cardstock paper when printing the butterflies and then completely glue them to the cans. In this case, use Mod Podge to seal the butterflies, it will create a protective layer that will make them last longer on your cans.
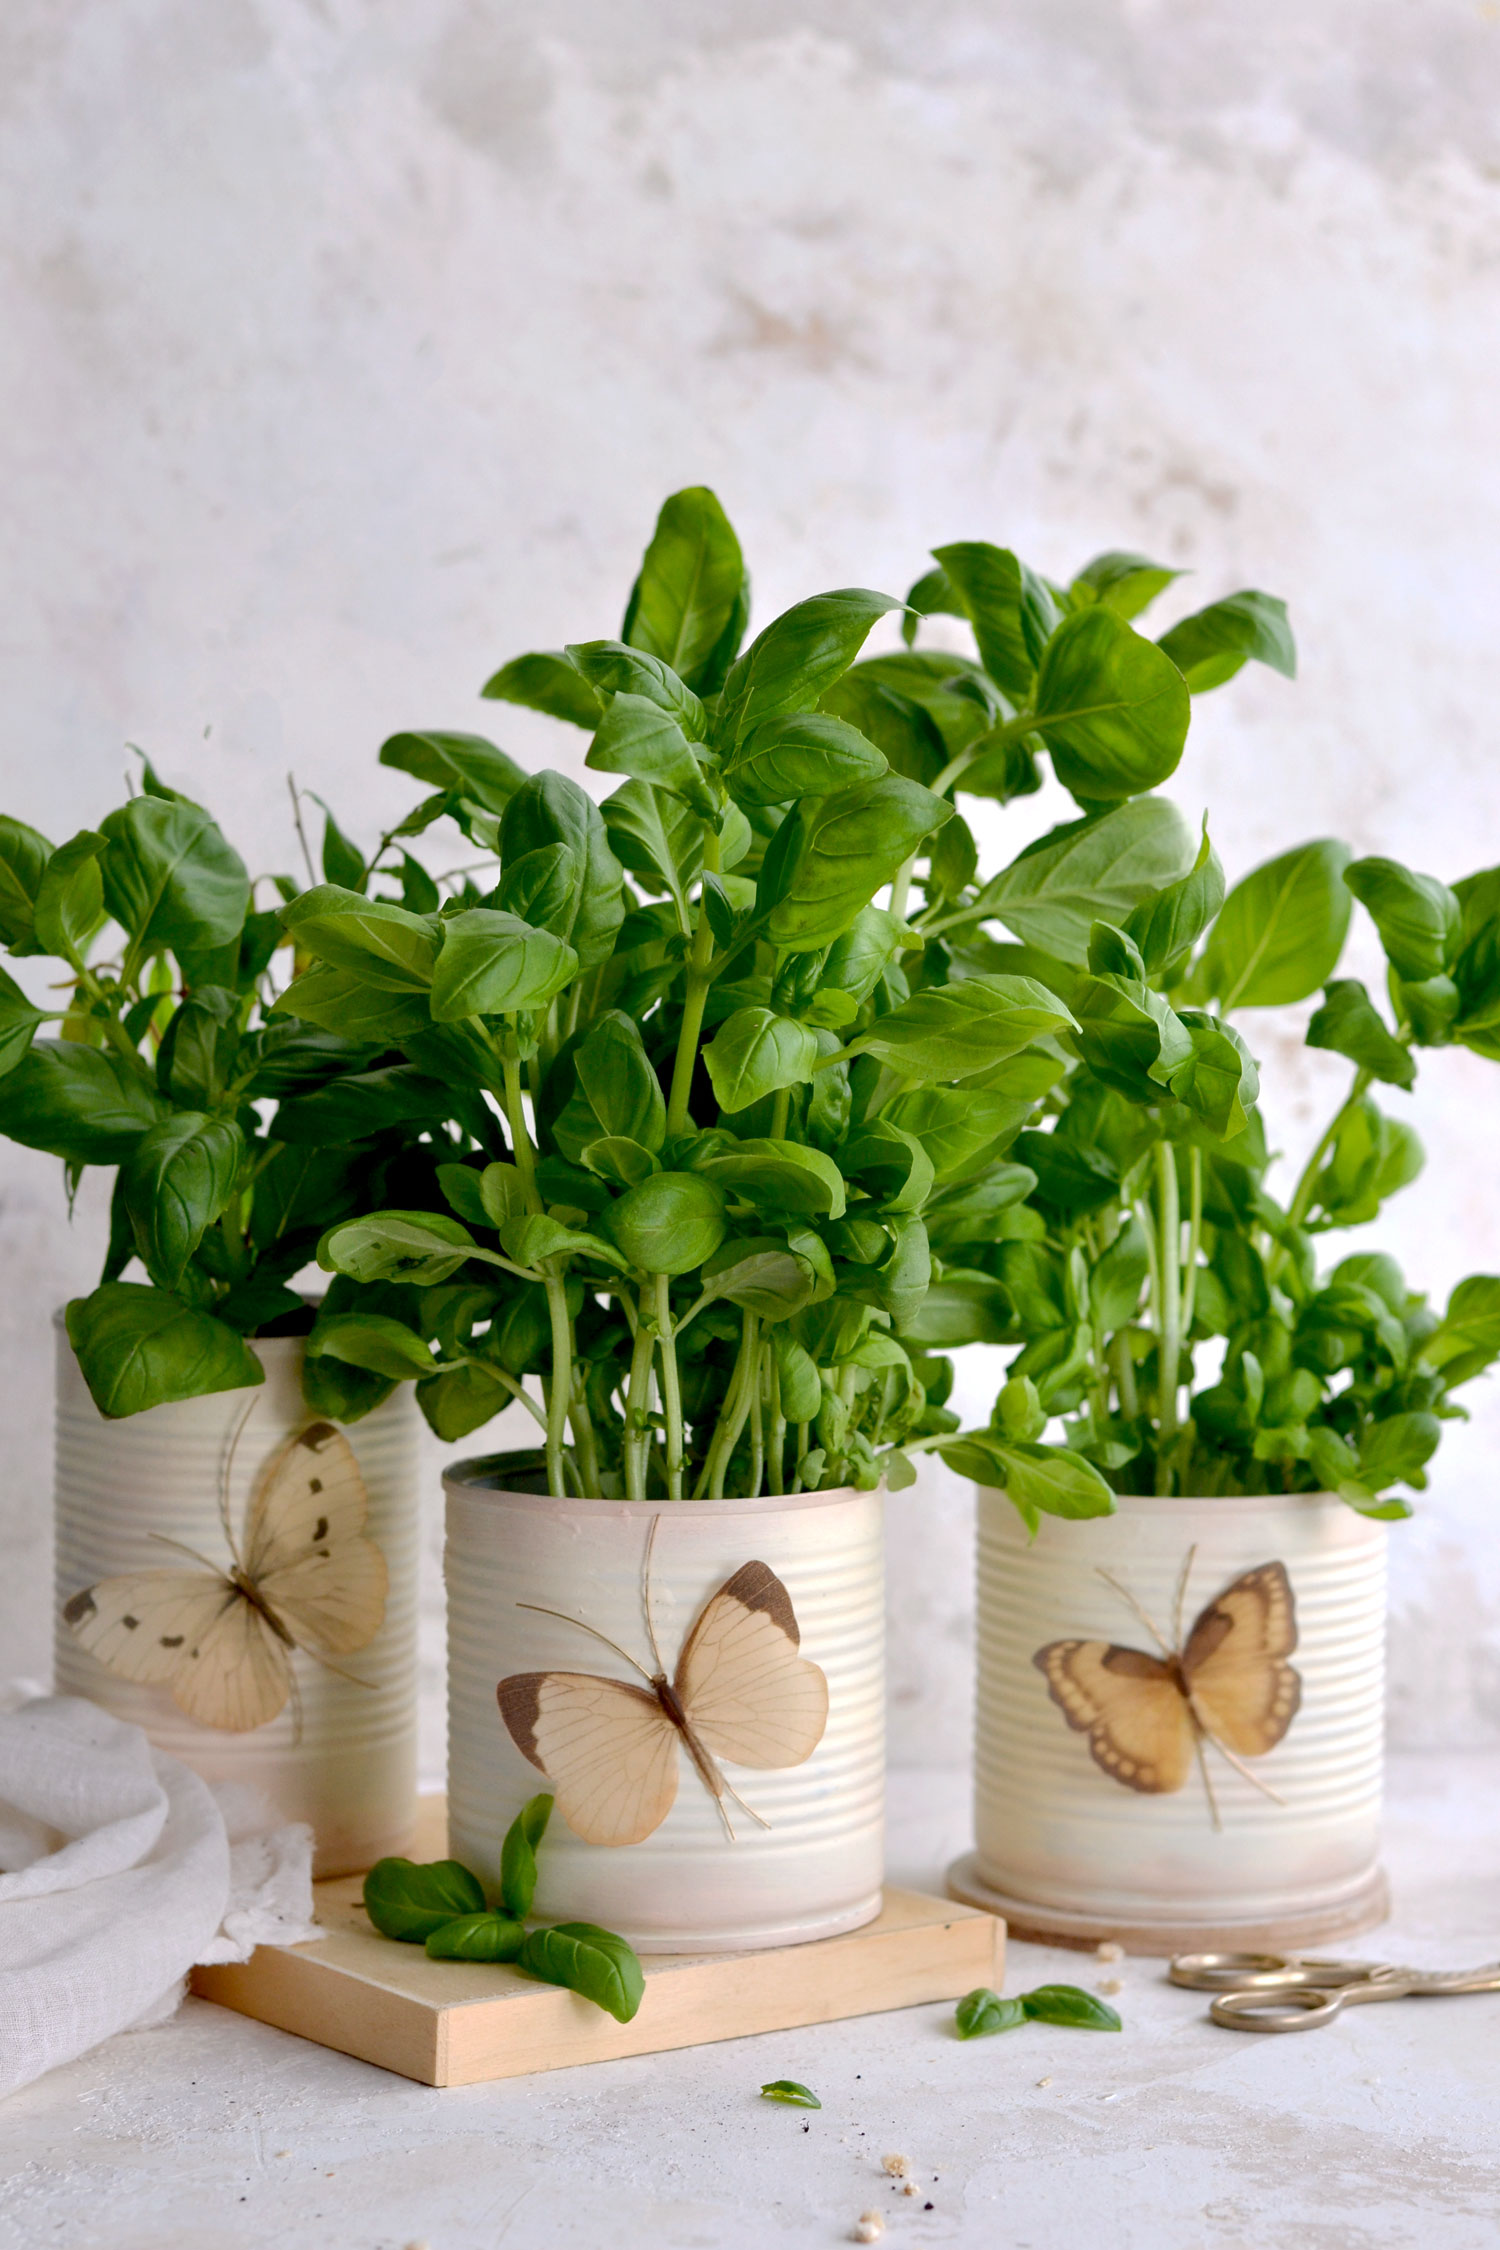
I love using recycled planters to hold all sorts of aromatic herbs. Rosemary, basil and mint are my favorites, they can be placed on your window sill and enjoyed throughout the year!
Strategically place some of the other butterflies on the flowers or plants inside your home. They will look beautiful together!
And of course, feel free to use these realistic tracing paper butterflies on other projects too! They will look great on vintage tags, cards or just used as small decorative embellishments for your junk journal!
Another thing that you can try is to use your vintage recycled cans with artificial plants. You could place them on your desk or create small decorative vignettes for your home. This way you can admire them all day long! And to make the whole experience even more amazing, you can add a few drops of essential oil on top of your decorative plant. Your home will not only look good, but it will smell amazing, too! Just keep in mind that you can only use this essential oil trick on artificial plants and not real ones. This stuff is quite powerful and it will damage or even destroy your plants.
Of course, you can find many other ways of using your newly recycled cans! You can easily turn them into small vases for fresh or dried flowers, and by the way, the essential oil trick will also work with dried flowers! Use your vases to hold seasonal blooms, branches or any other decorative plants that you can think of.
Another idea will be to use them to hold pencils, markers or brushes, I’m sure any of us could use some of these in our working space to hold all sorts of small (un)necessary things.
The best part is that they will not only instantly beautify your home or creative space but also bring you so much joy! These would make great gifts, so I hope you will make some for yourself and also some to share with family members and friends!
 If you like upcycled projects then you might also like my French Tin Can Vases HERE.
Happy crafting,
Diana / Dreams Factory