Ring Toss Game DIY
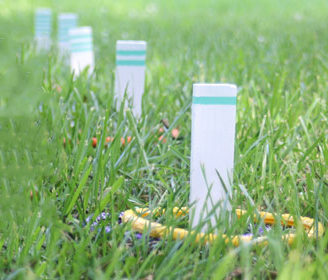 Supplies for Ring Toss Game DIY
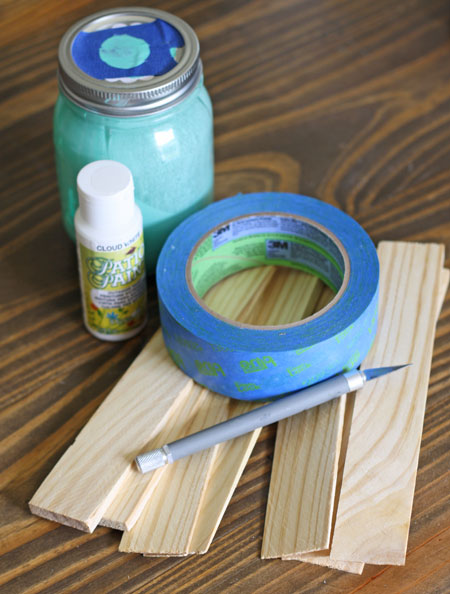
For this project you will need:
Wood Shims (or scrap wood if you have it laying around)
Two Colors of Paint (one darker than the other)
Painter’s Tape
Craft Knife
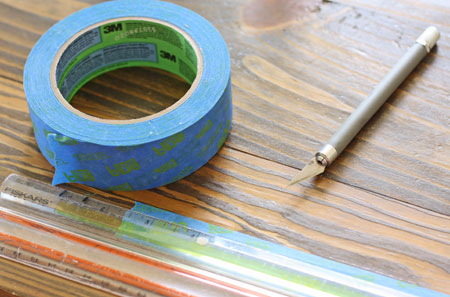
Ruler
Foam Paintbrush or a regular Paint Brush is fine too
Let’s make this!
Instructions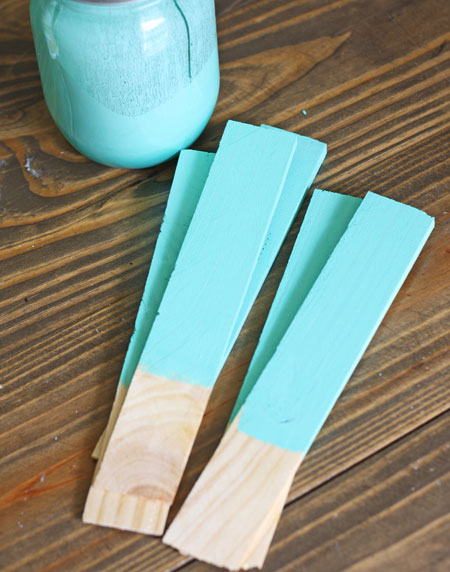
Step 1: Start with one of your paint colors, and paint the top ends (or the thicker end) of the wood shims. And allow them to dry. I did 5 stakes, but you could do as many or as few as you want. They really only need one coat, but if your paint is thin you might want to do two. Of course I chose Aqua paint, because it’s my favorite! You can paint yours whatever color you like best.
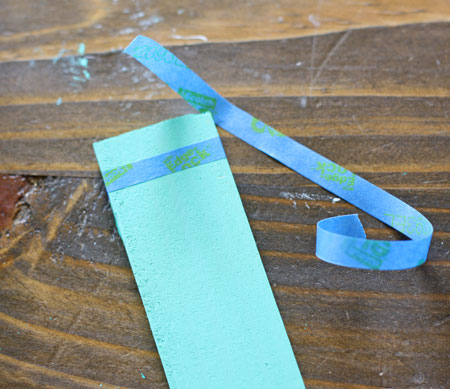
Step 2: Next take a ruler and craft knife and cut thin strips out of painter’s tape. If you have the thin stuff on hand feel free to use that, but I only keep the thicker stuff, and your pieces only need to be about 1/3 inch wide or so.
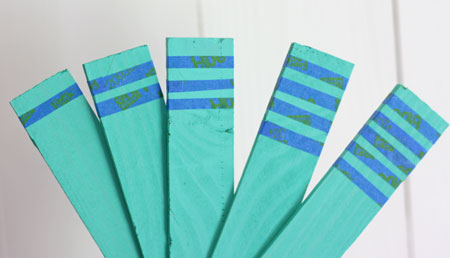
Step 3: Next, wrap the tape around the tops of the (dry) wood shims. Start with one, then do two on the next, and so on, because the stripes will be your points system.
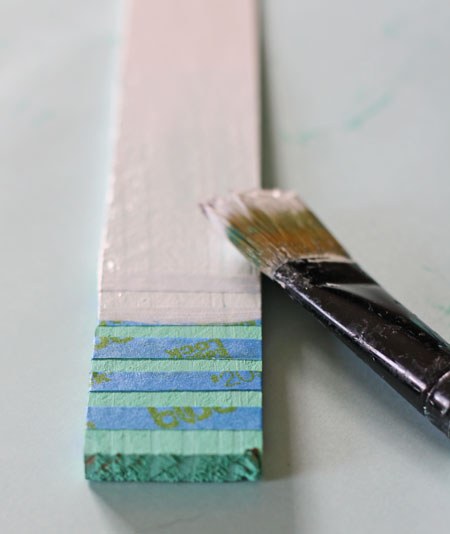
Step 4: One stripe, up to five stripes, makes it easy to see how many points you have at a glance. Make sure you tape the tape down really well, before going to the next step.
Step 5: Now paint on your second color, all over the entire shim. I gave mine two coats to cover it really well.
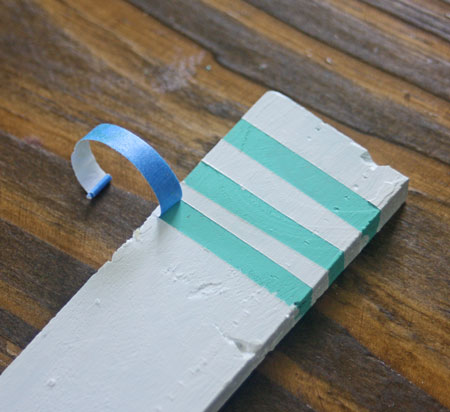
Step 6: Once they are dry, peel off your paint strips and then you’re ready to play the game!
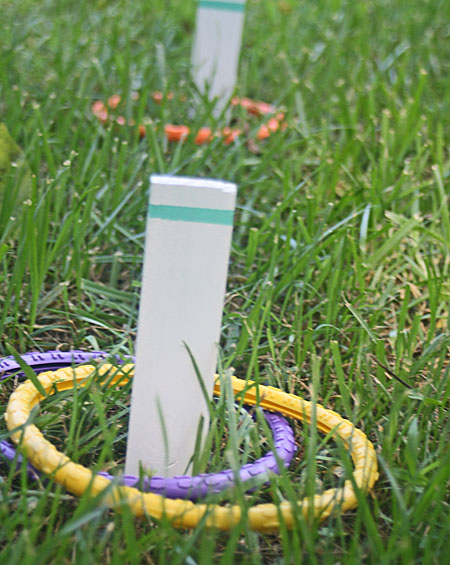
We used diving rings from our pool for the “ring” portion of the toss, but any small ring type toy will work, or you can cut rope to make some cute rope rings. I love it when I can make something do double duty 🙂
Hope you enjoyed this Ring Toss Game DIY! I think it would make a fun Handmade gift too! I’d love to see you on my blog at The Shabby Creek Cottage.
