DIY Round Junk Journal Tags
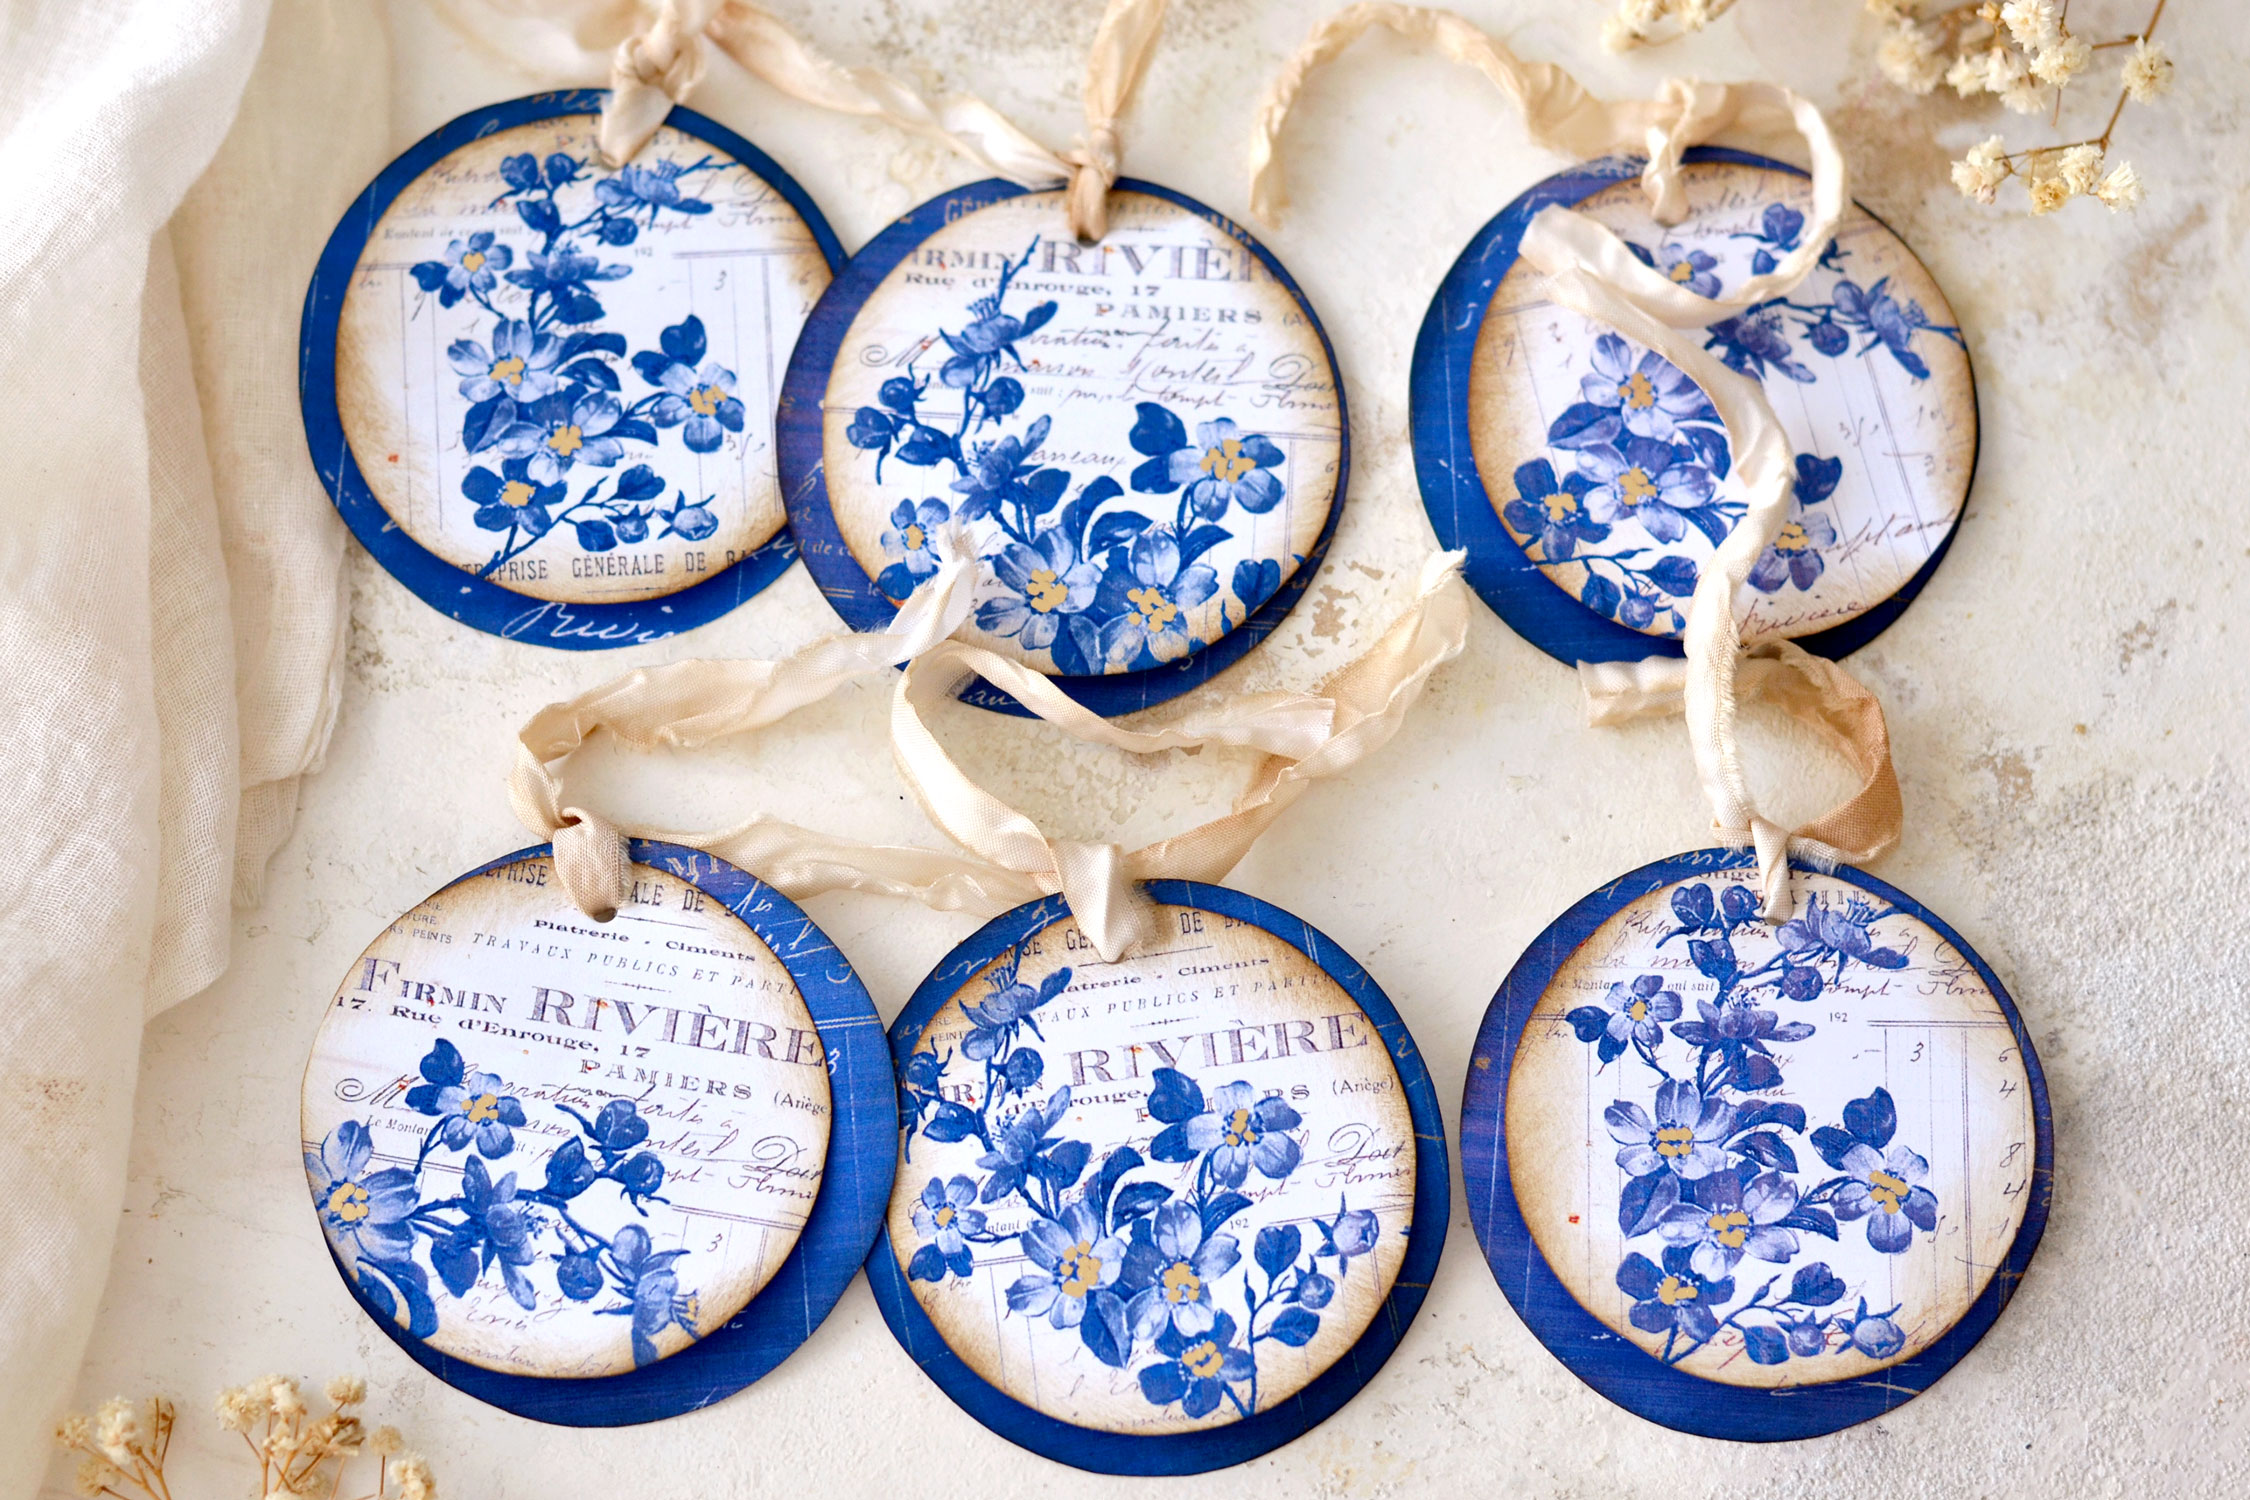
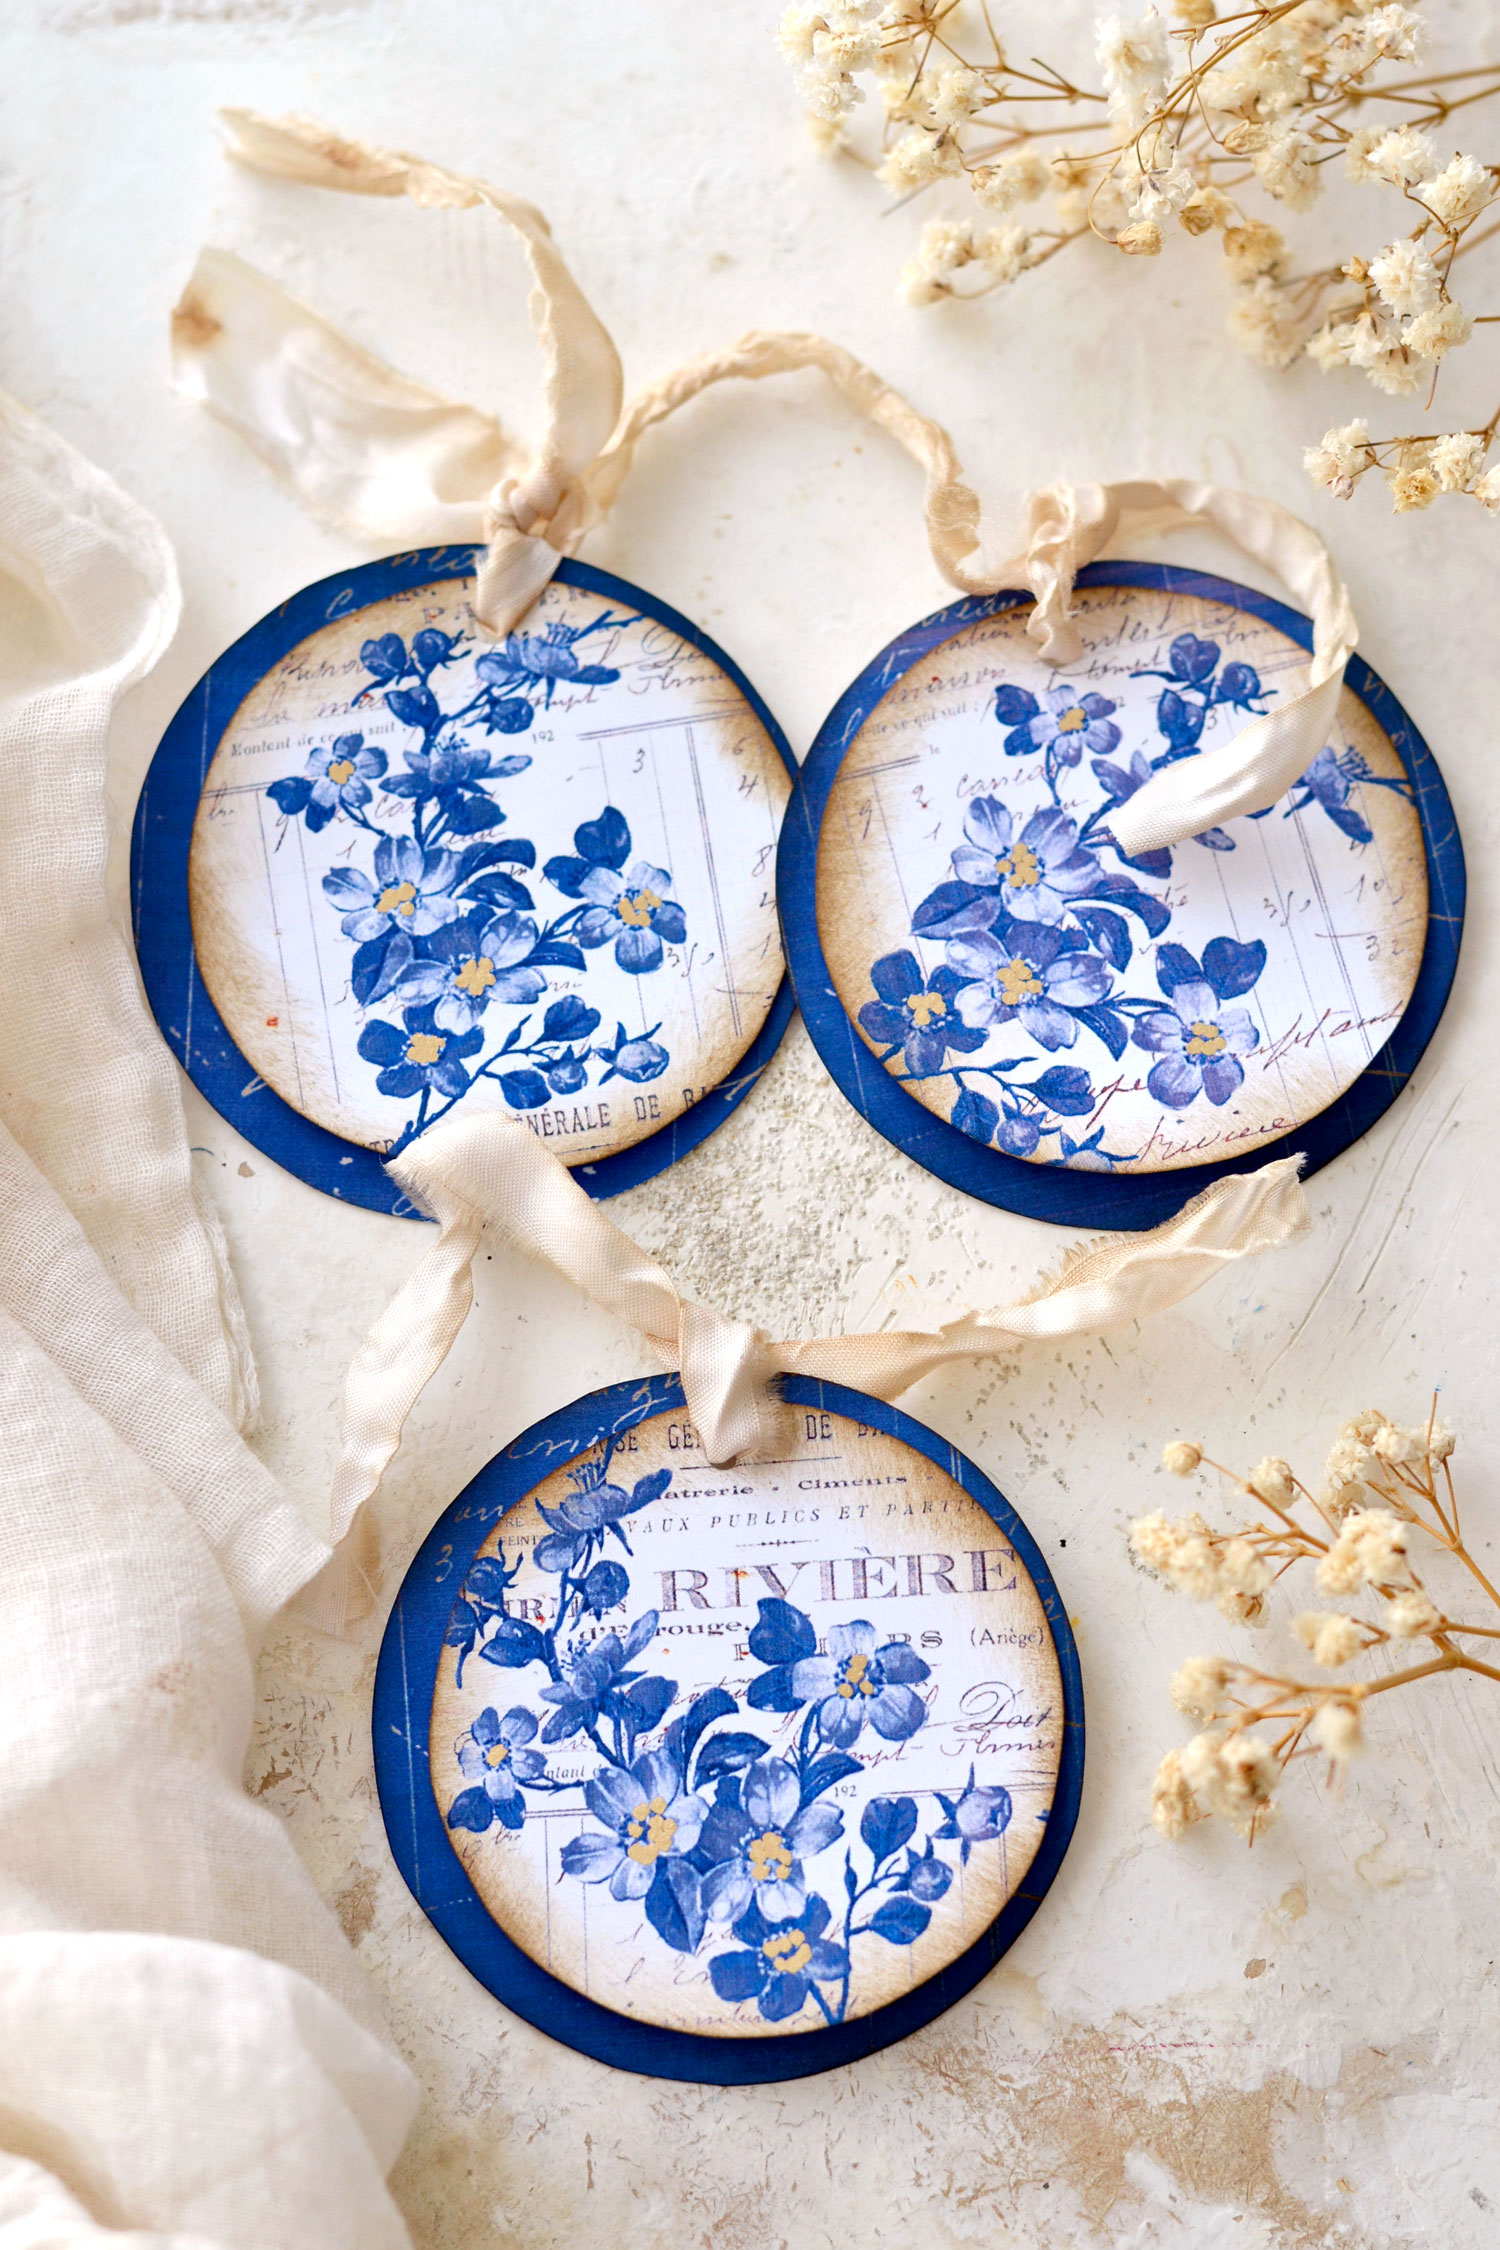
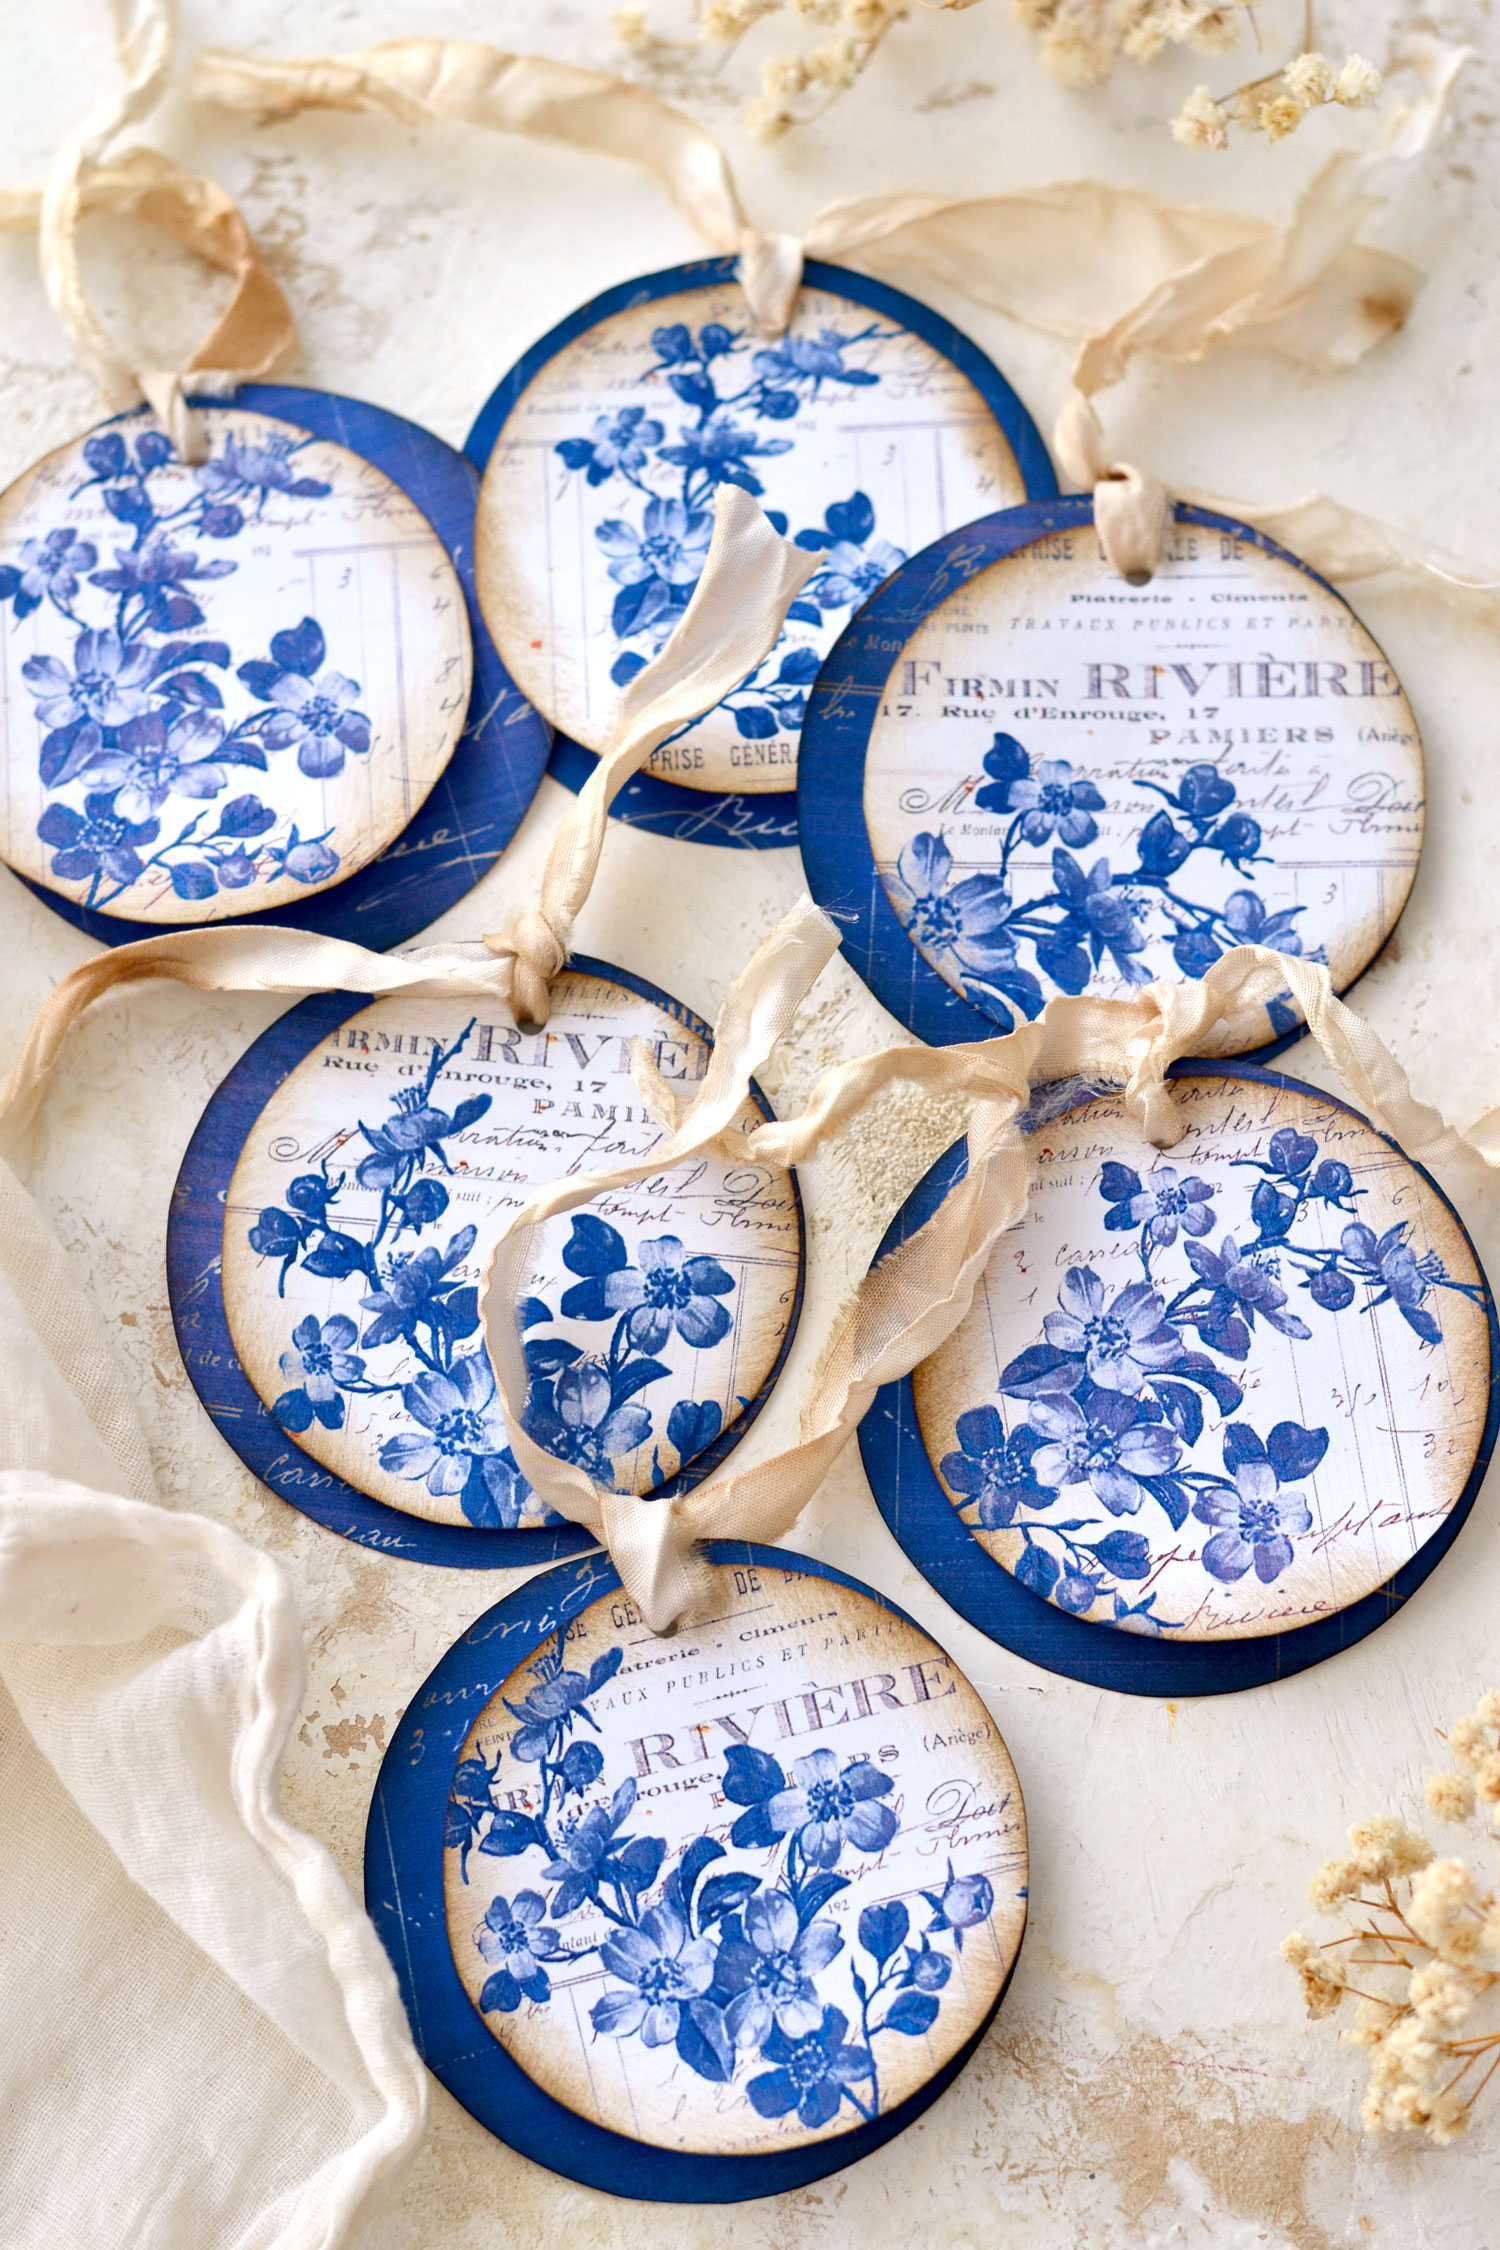
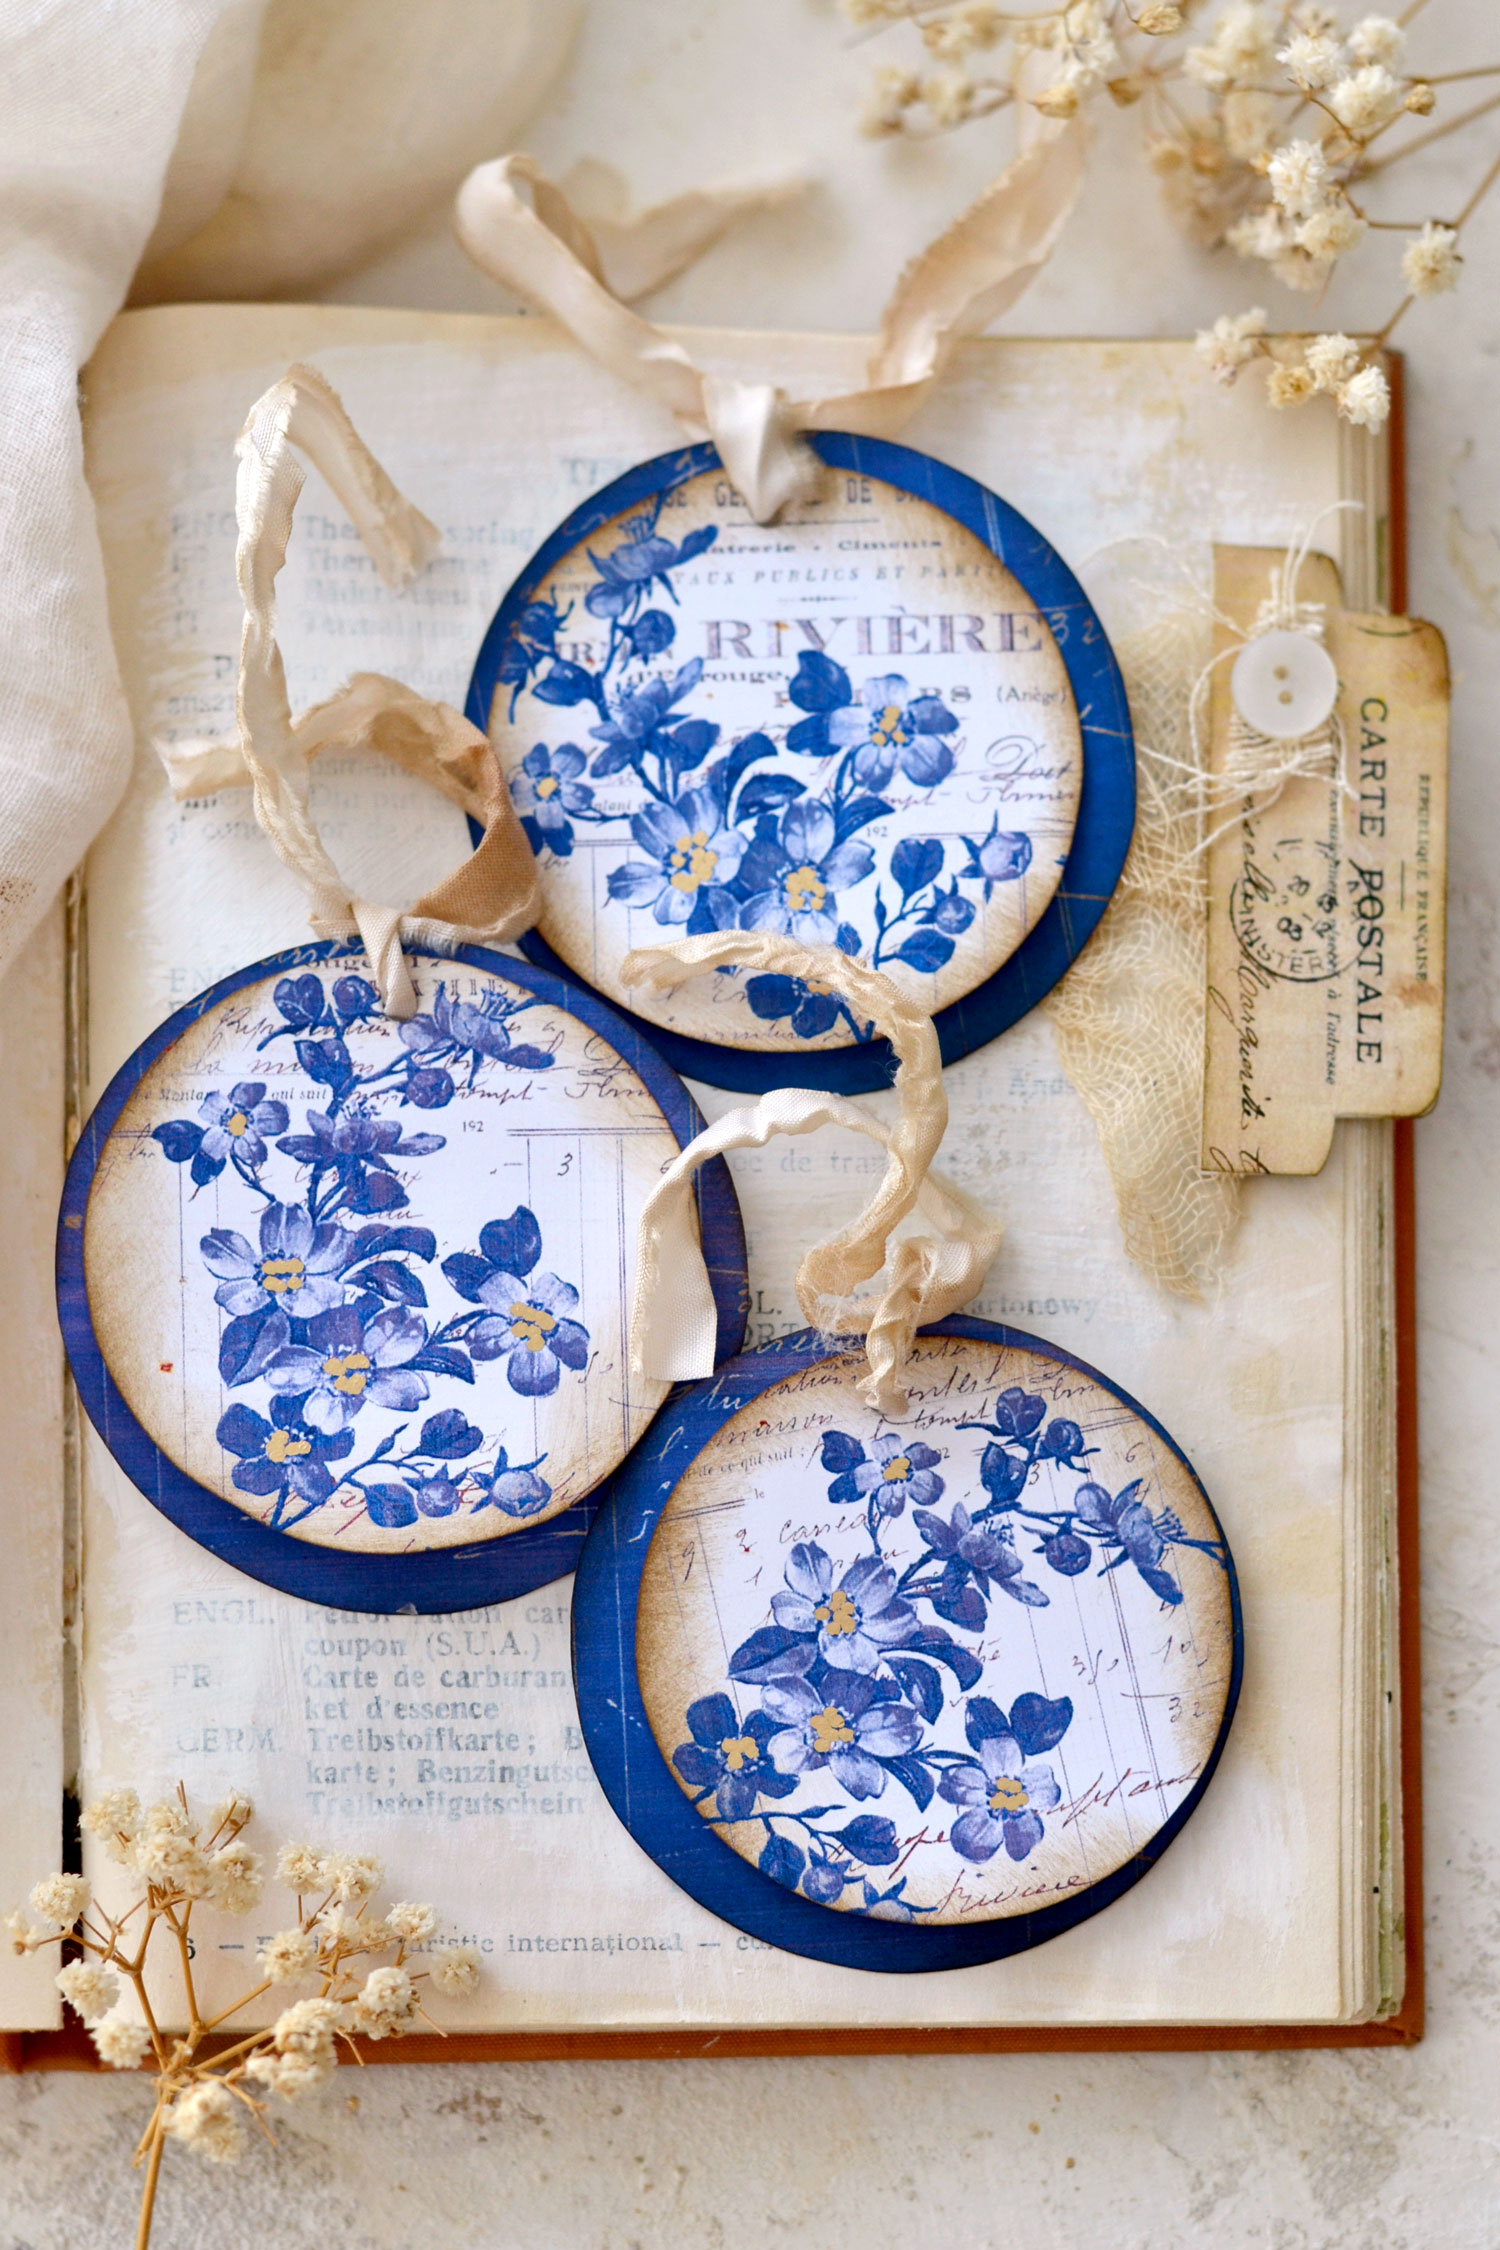
Hello Graphics Fairy friends! I’m Diana from Dreams Factory and I’m happy to be here once again to share another DIY tutorial with you! Today I’m showing you how to make these absolutely gorgeous Delft Blue Round Floral Junk Journal Tags, a super easy Frenchified project that you can make in no time! We will use a little bit of distress ink to give the tags that vintage vibe that we all love, you can easily adjust the distressing level according to your own liking!
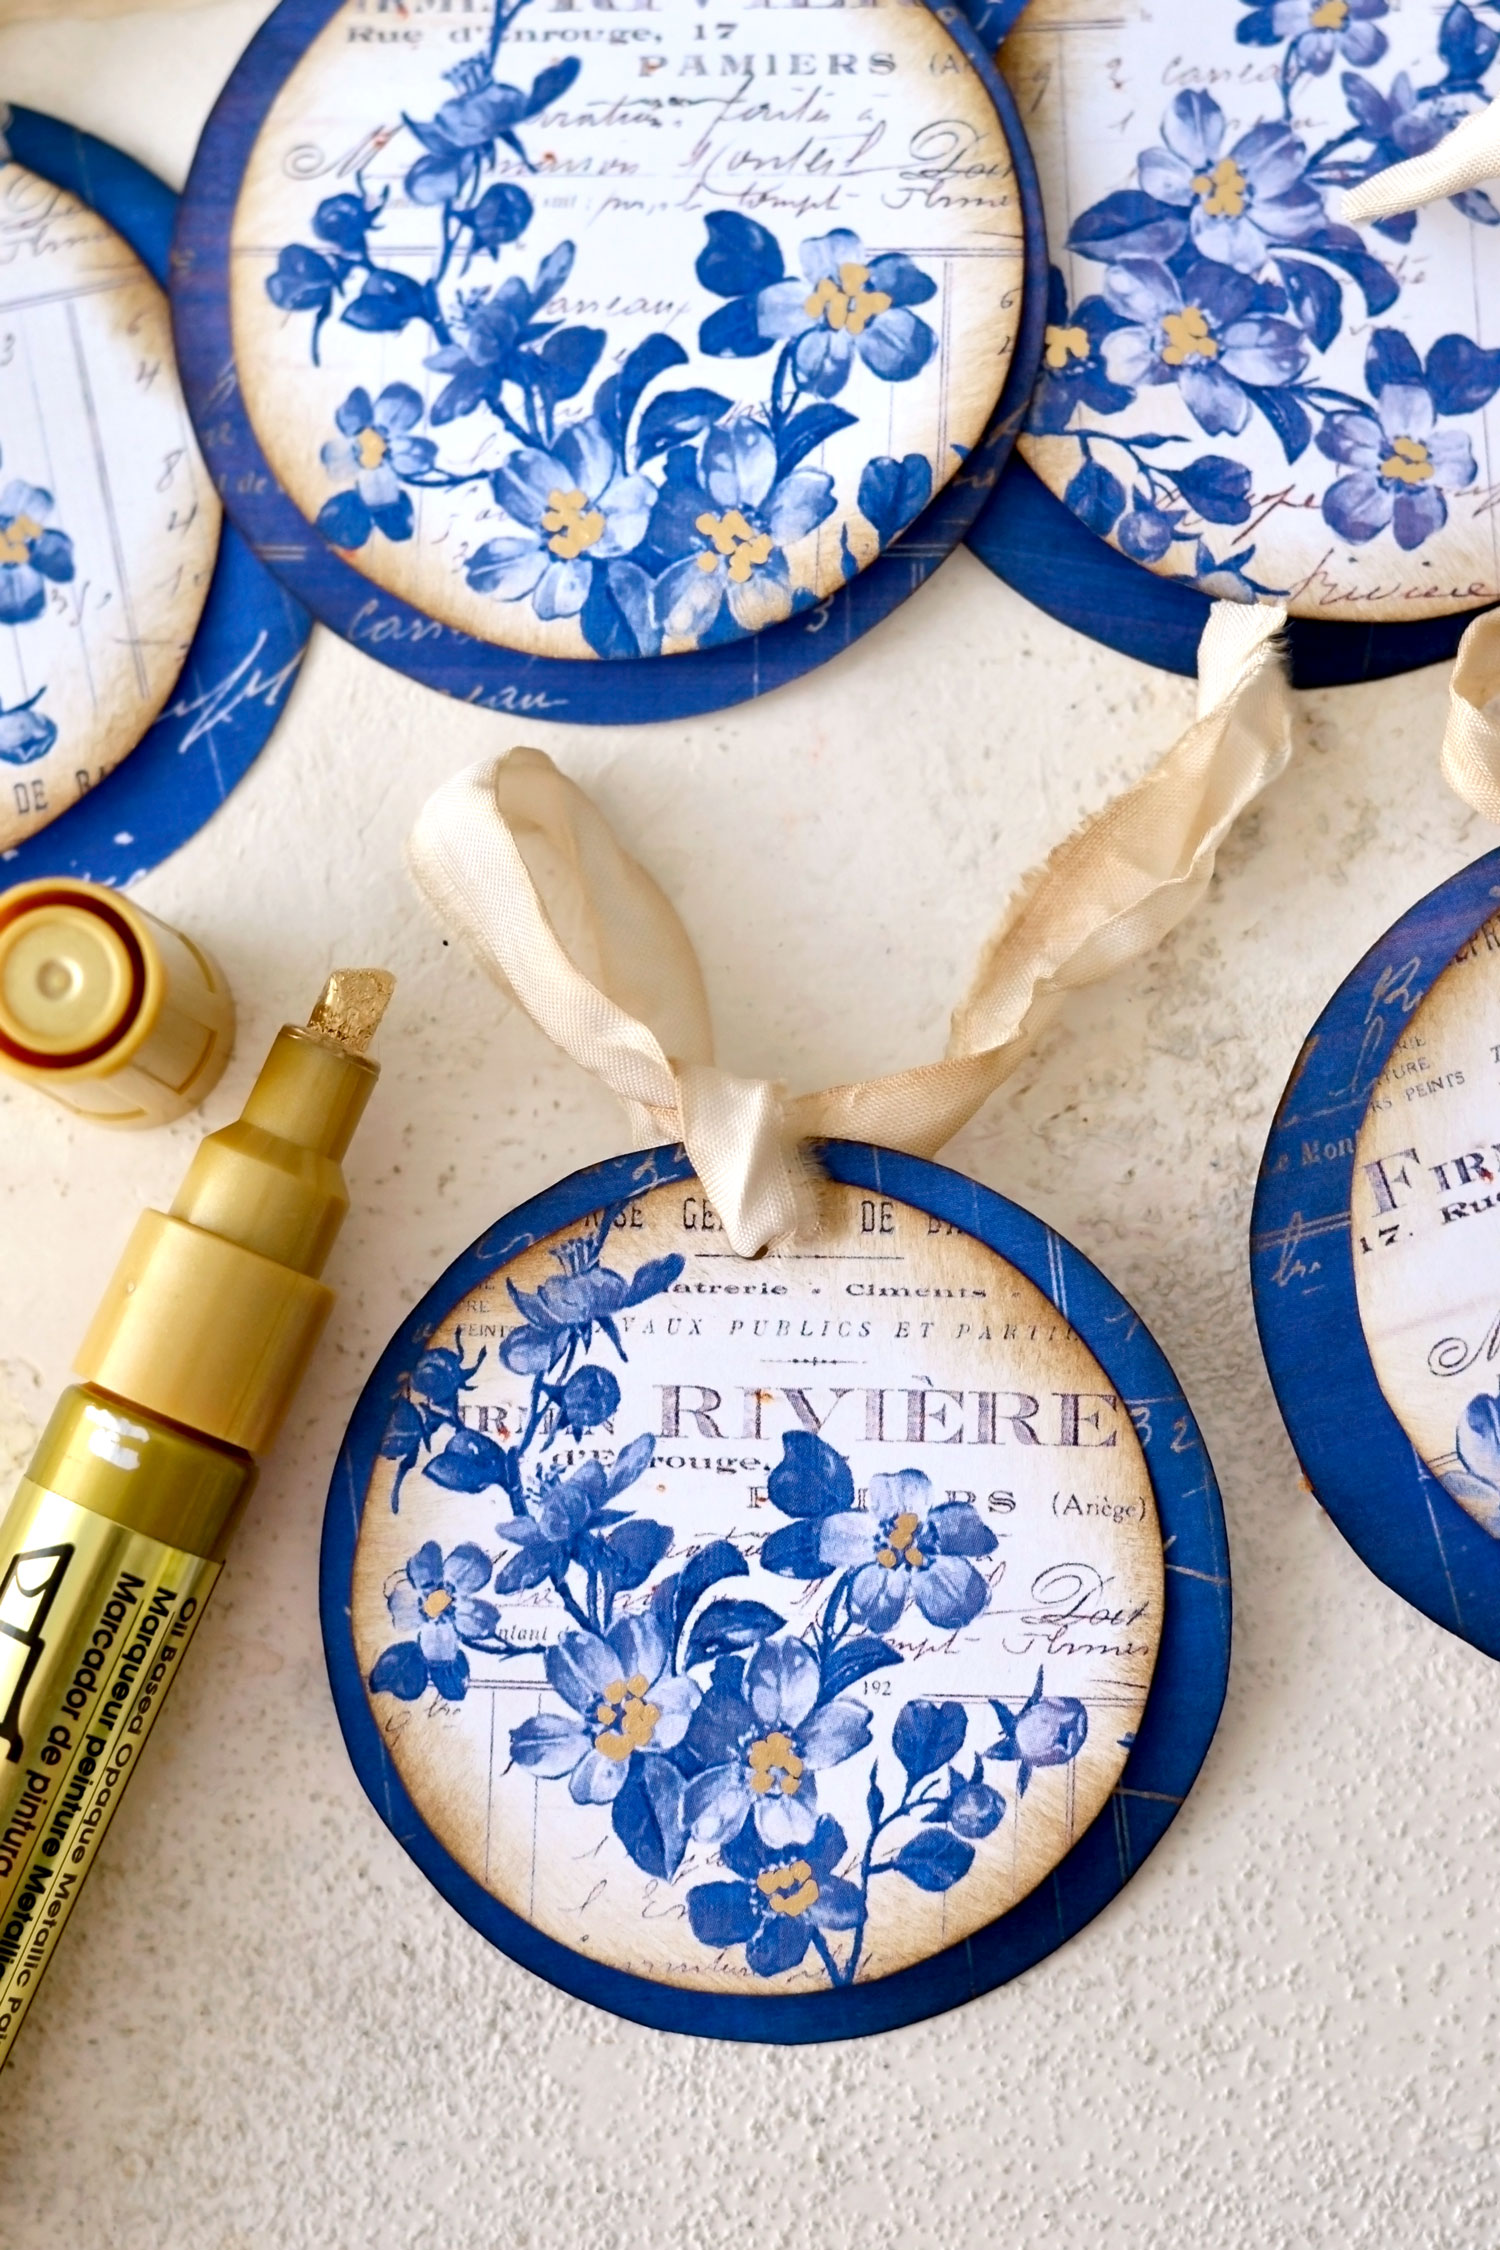
We will also add a touch of gold – just enough to highlight some of the details of the flowers and to make them look even more beautiful. It’s all about the small details here, they will dictate the overall vibe and the chicness of your tags!
A few scrap pieces of crinkled and distressed ribbons will really take these tags to the next level! I actually used coffee to dye some white ribbon (seam-binding ribbon will also work), so I guess now would be the best time to raid your supply stash and search for something pretty that you can use here!
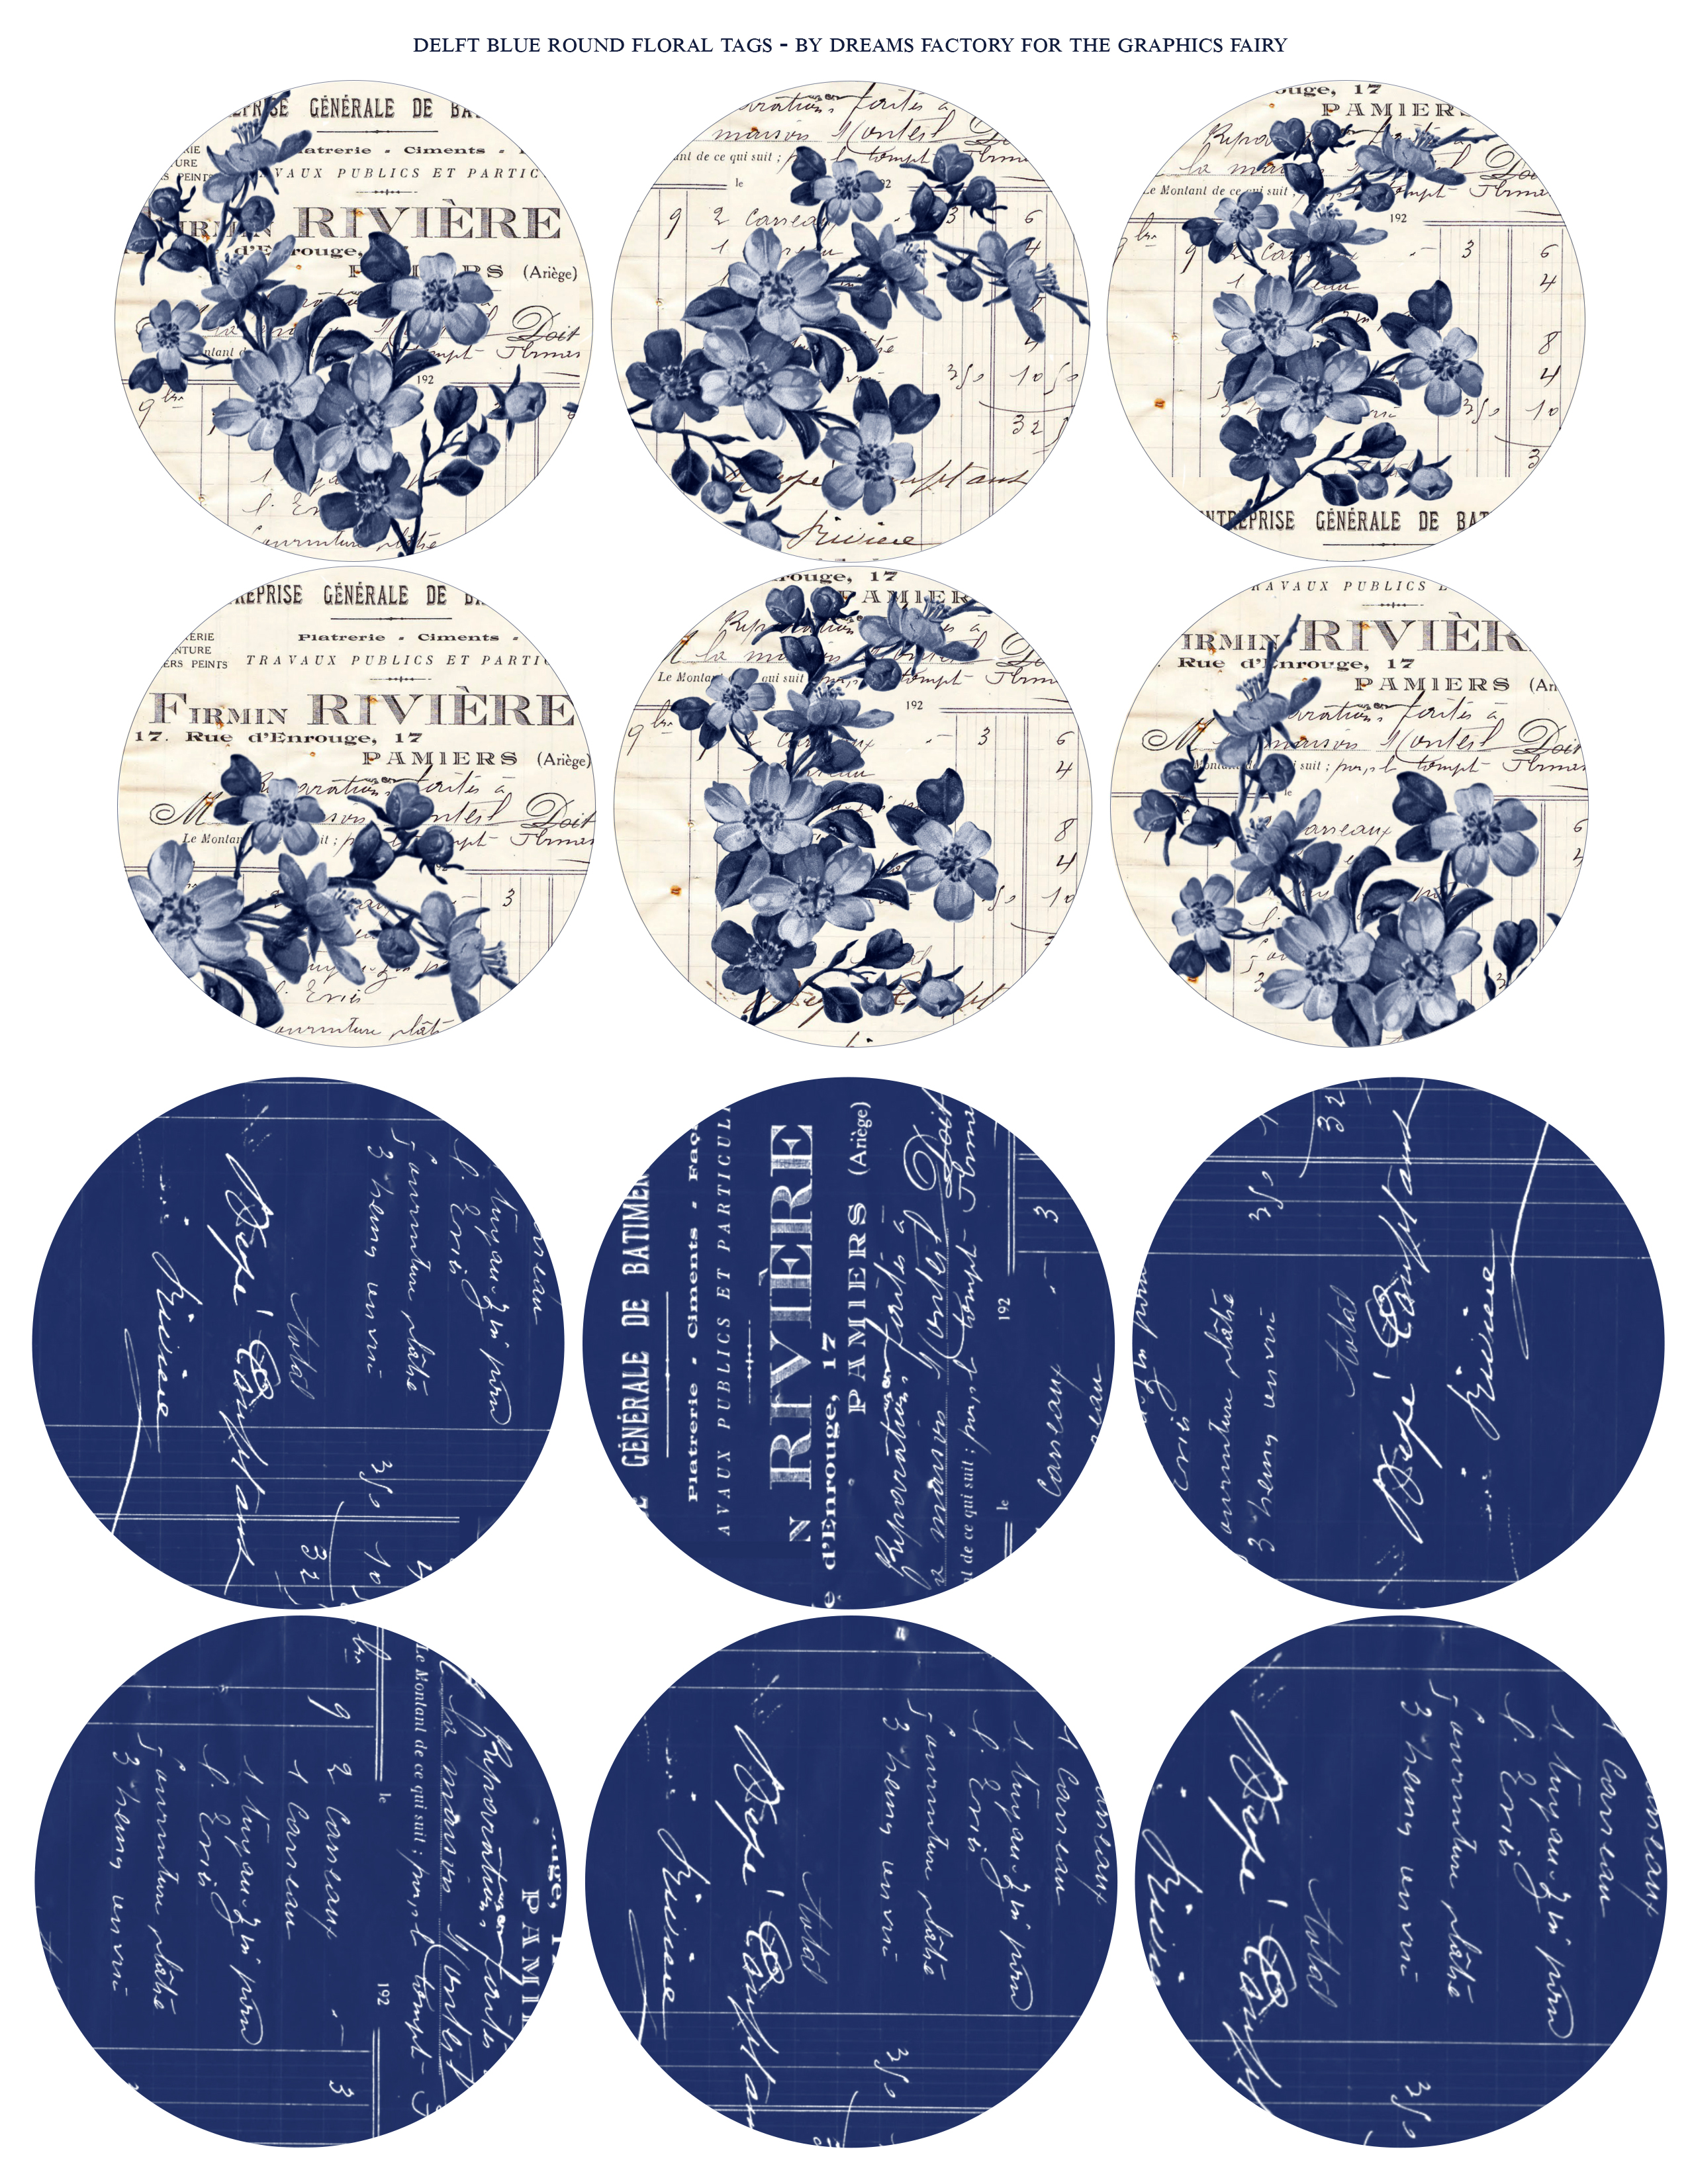
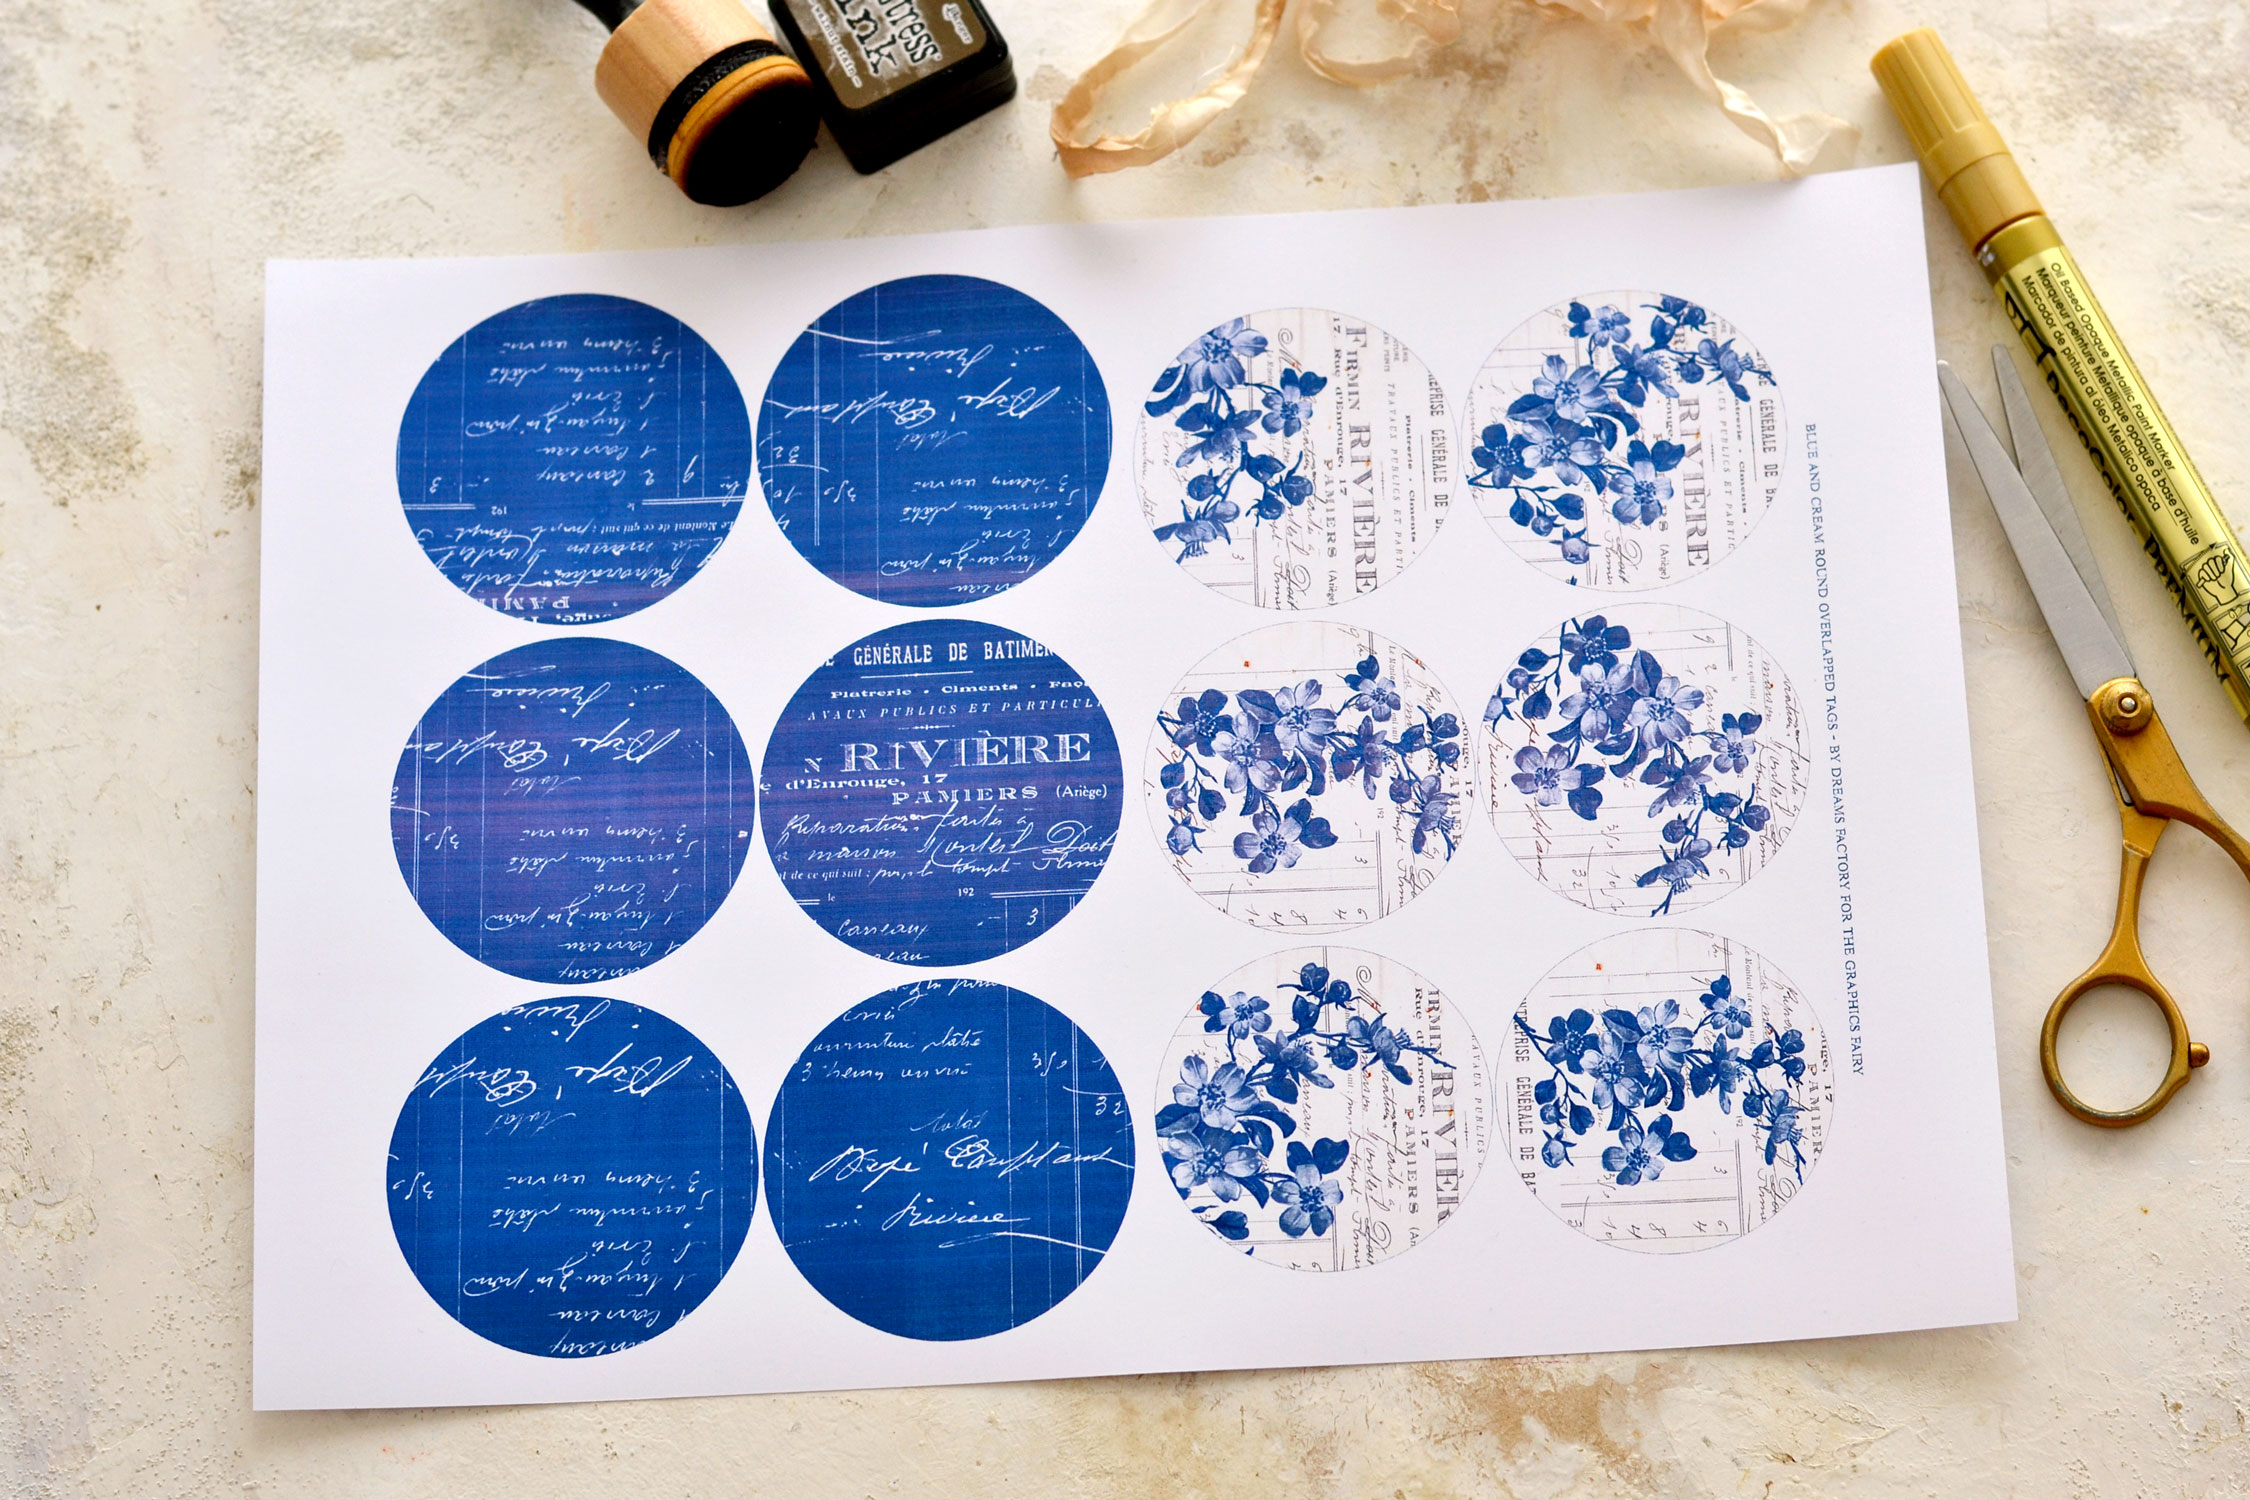
The printable that I’ve created for this project will allow you to make 6 overlapped tags, but of course, you can print it as many times as you want – if you want to make more.
P.S. Depending on the type of printer you are using and its settings, the colors of your tags will look more or less like mine.
Free Printable for Round Journal Tags:
—-> Click HERE to Download the Full Size Printable PDF <—-
Supplies for Junk Journal Tags:
- cardstock paper
- home printer
- scissors
- gold marker – I used the DecoColor gold marker
- hole punch
- mini distress inks
- blending tool with foams
- crinkle ribbon
Tutorial:
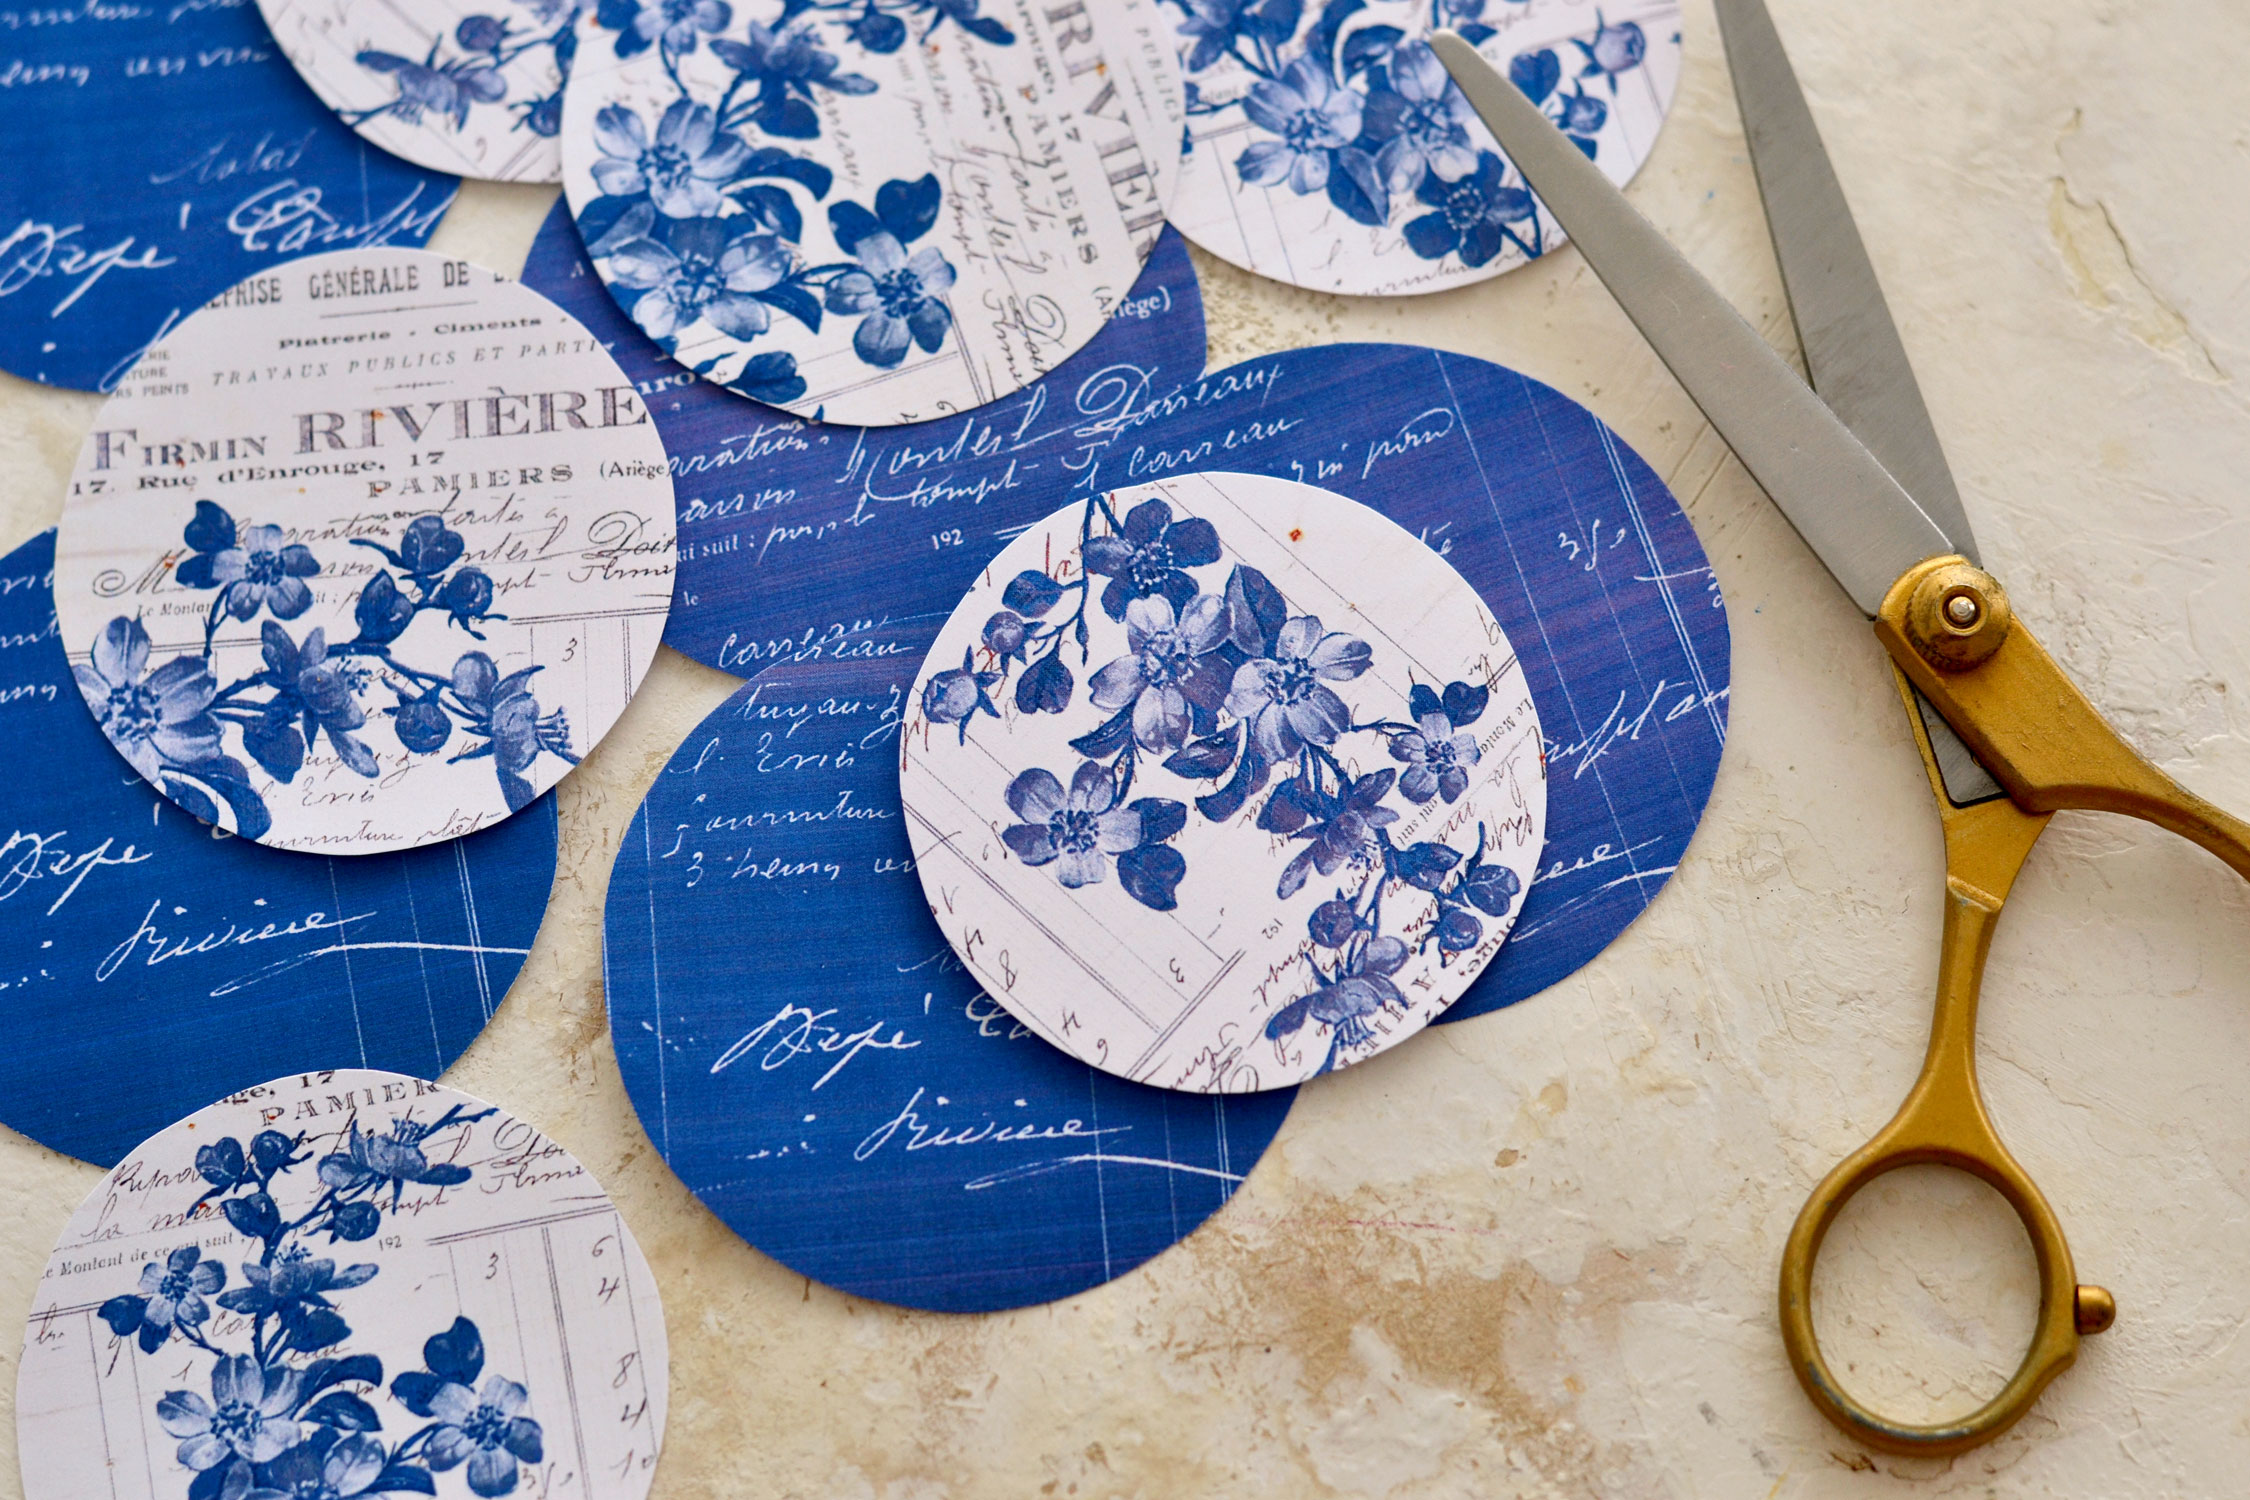
Start by cutting each round tag. Use your scissors to create small cuts rather than going all the way in one cut – this will ensure their roundness and prevent any badly cut edges.
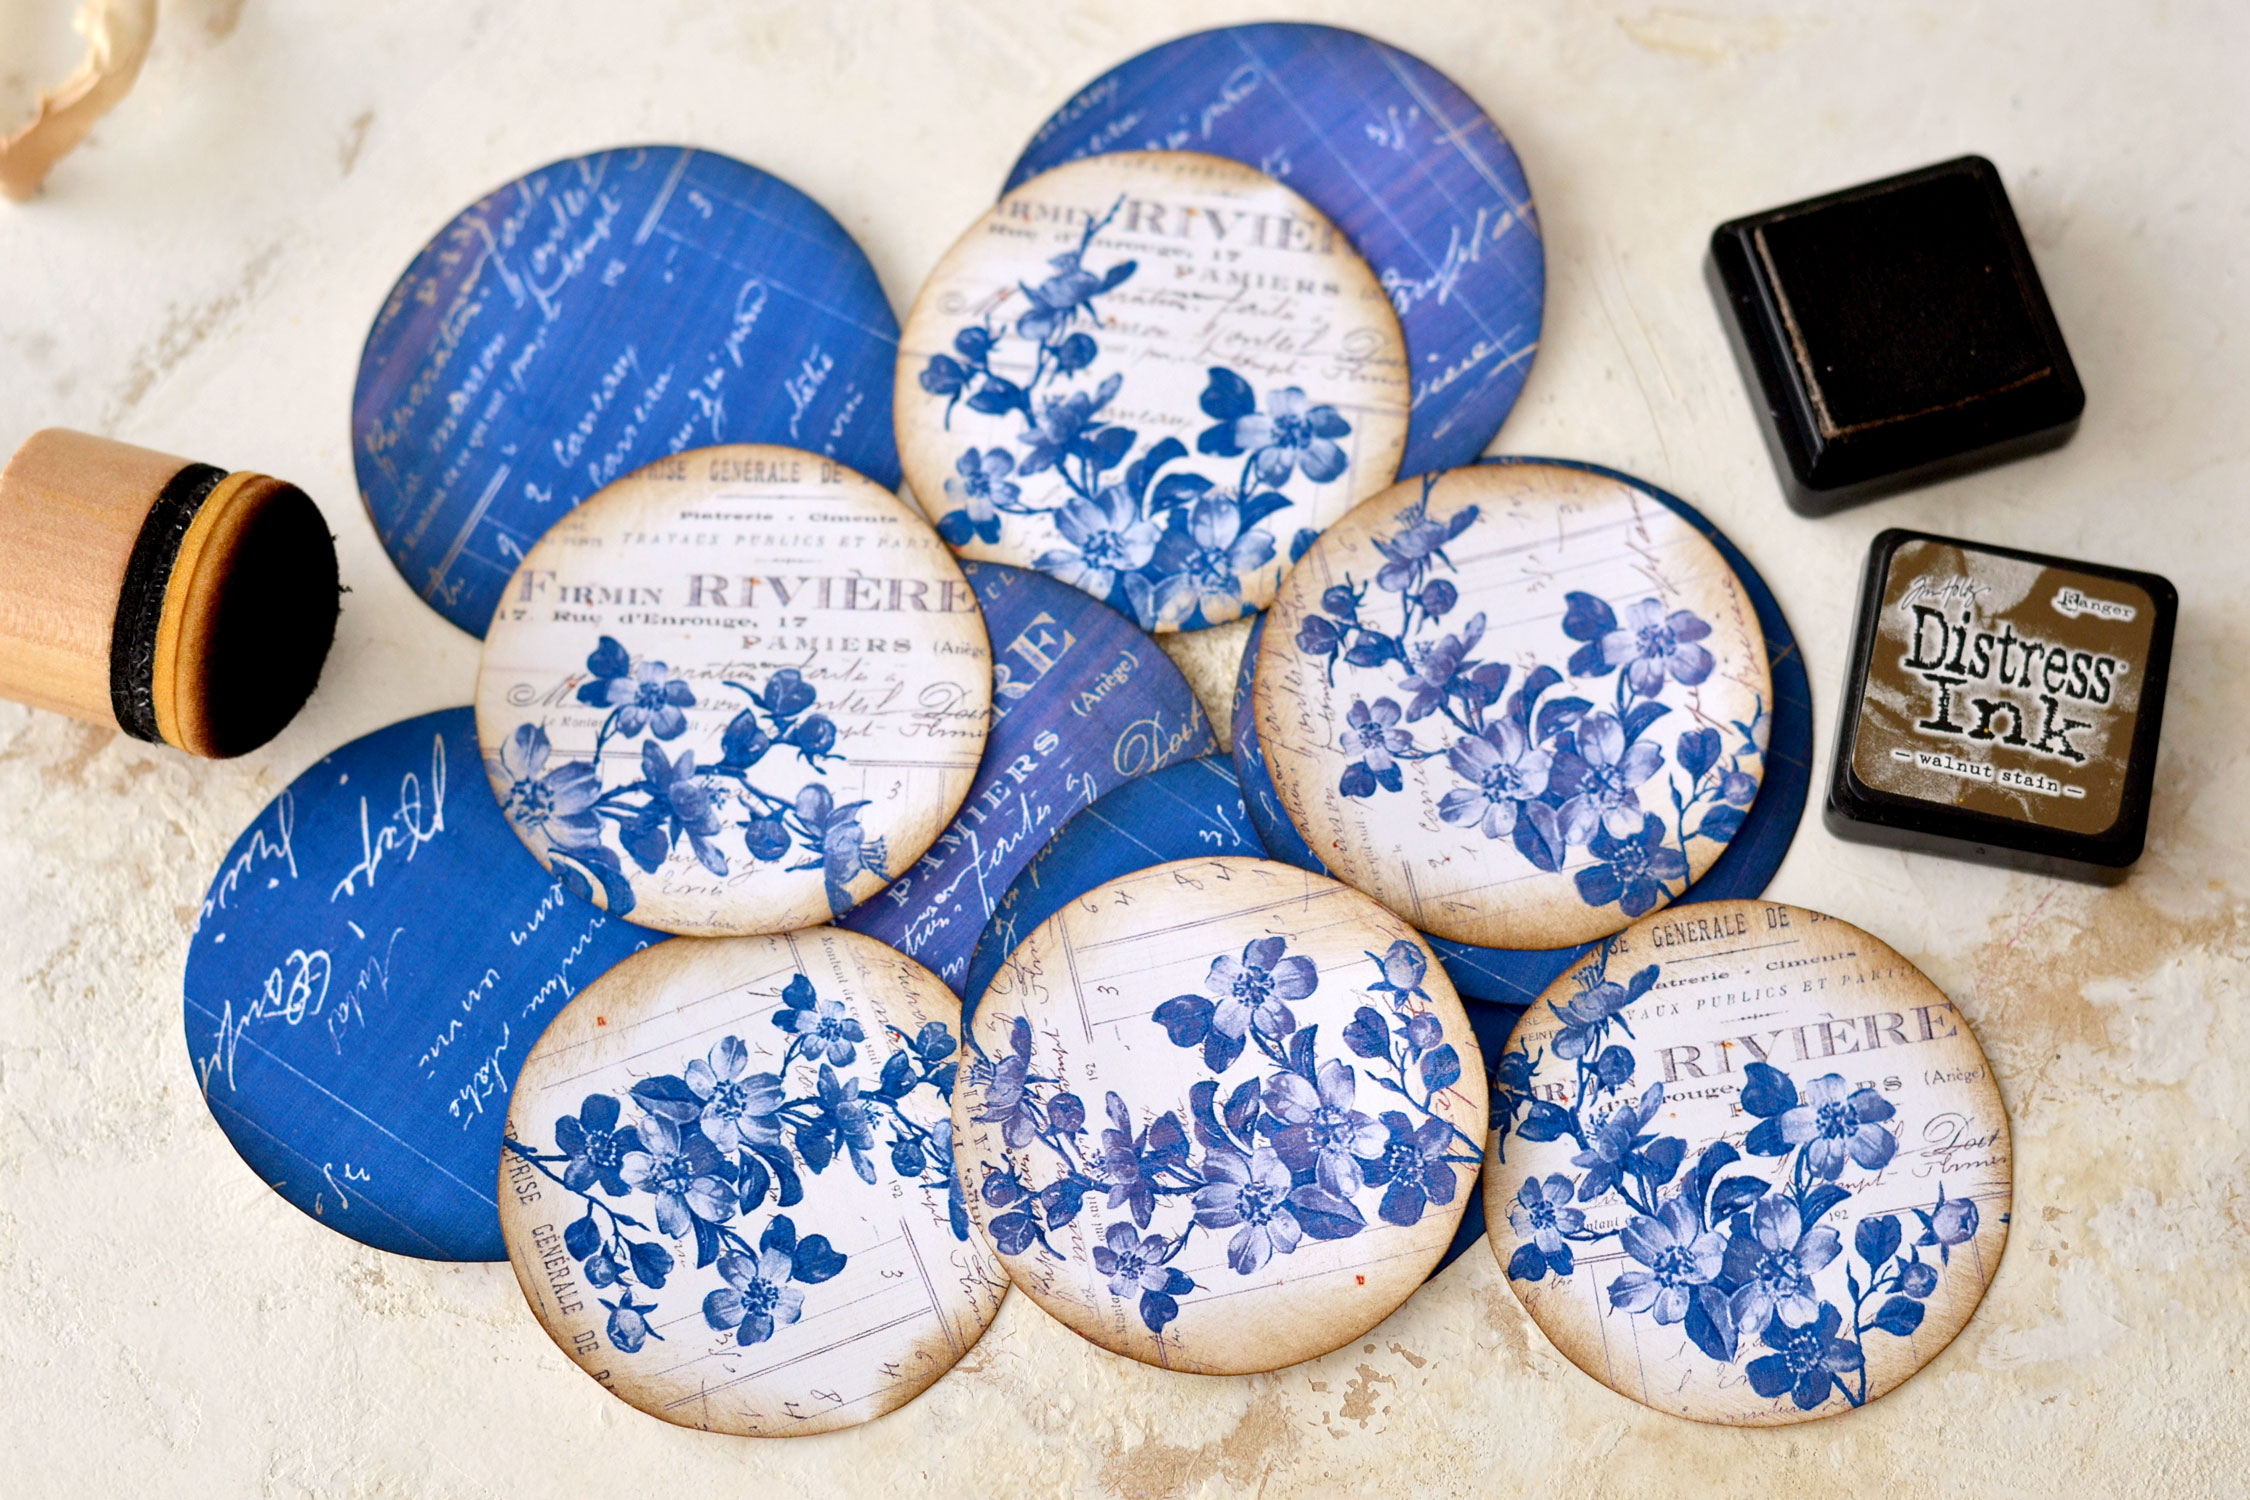
Use your preferred distress ink all around the edges to give the paper a lovely vintage vibe. I love using Walnut Stain, but you can use any other browns that you love. You could also use a dark blue if you want to take the blue theme even further or even some gold!
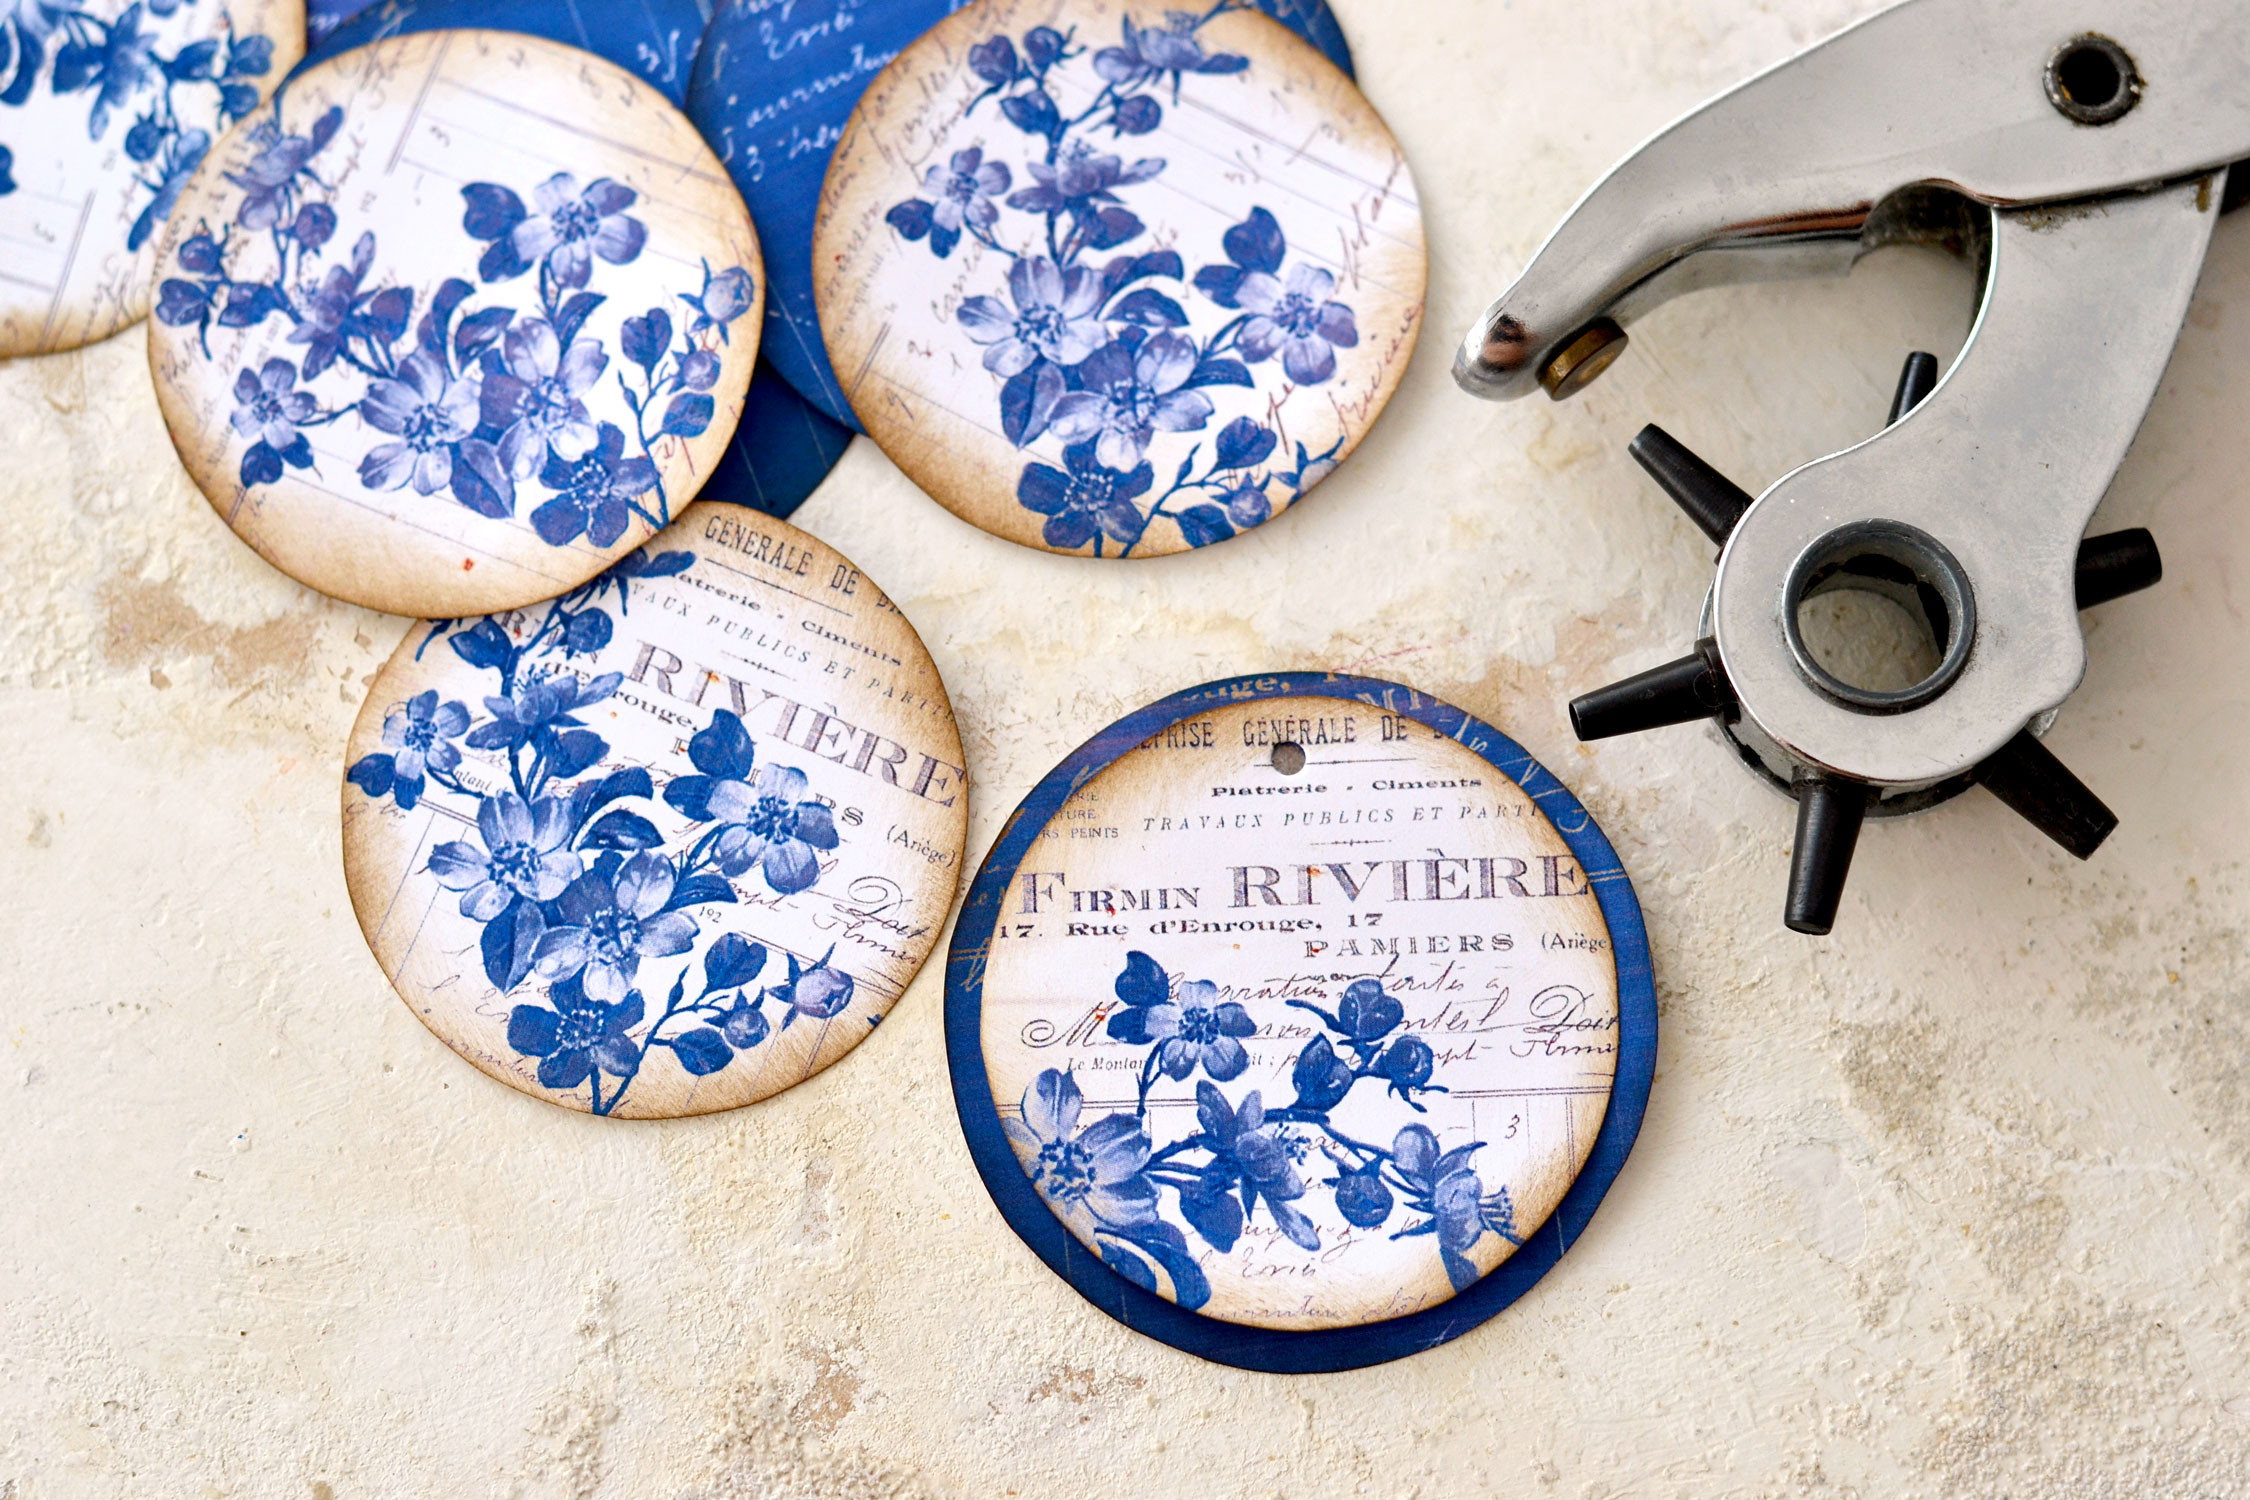
Use a paper punch to create holes in the tags. I actually used a leather puncher, I love that you can make different-sized holes.
To make the holes, it would be best to first place a blue tag underneath a cream one and align them as well as you can.
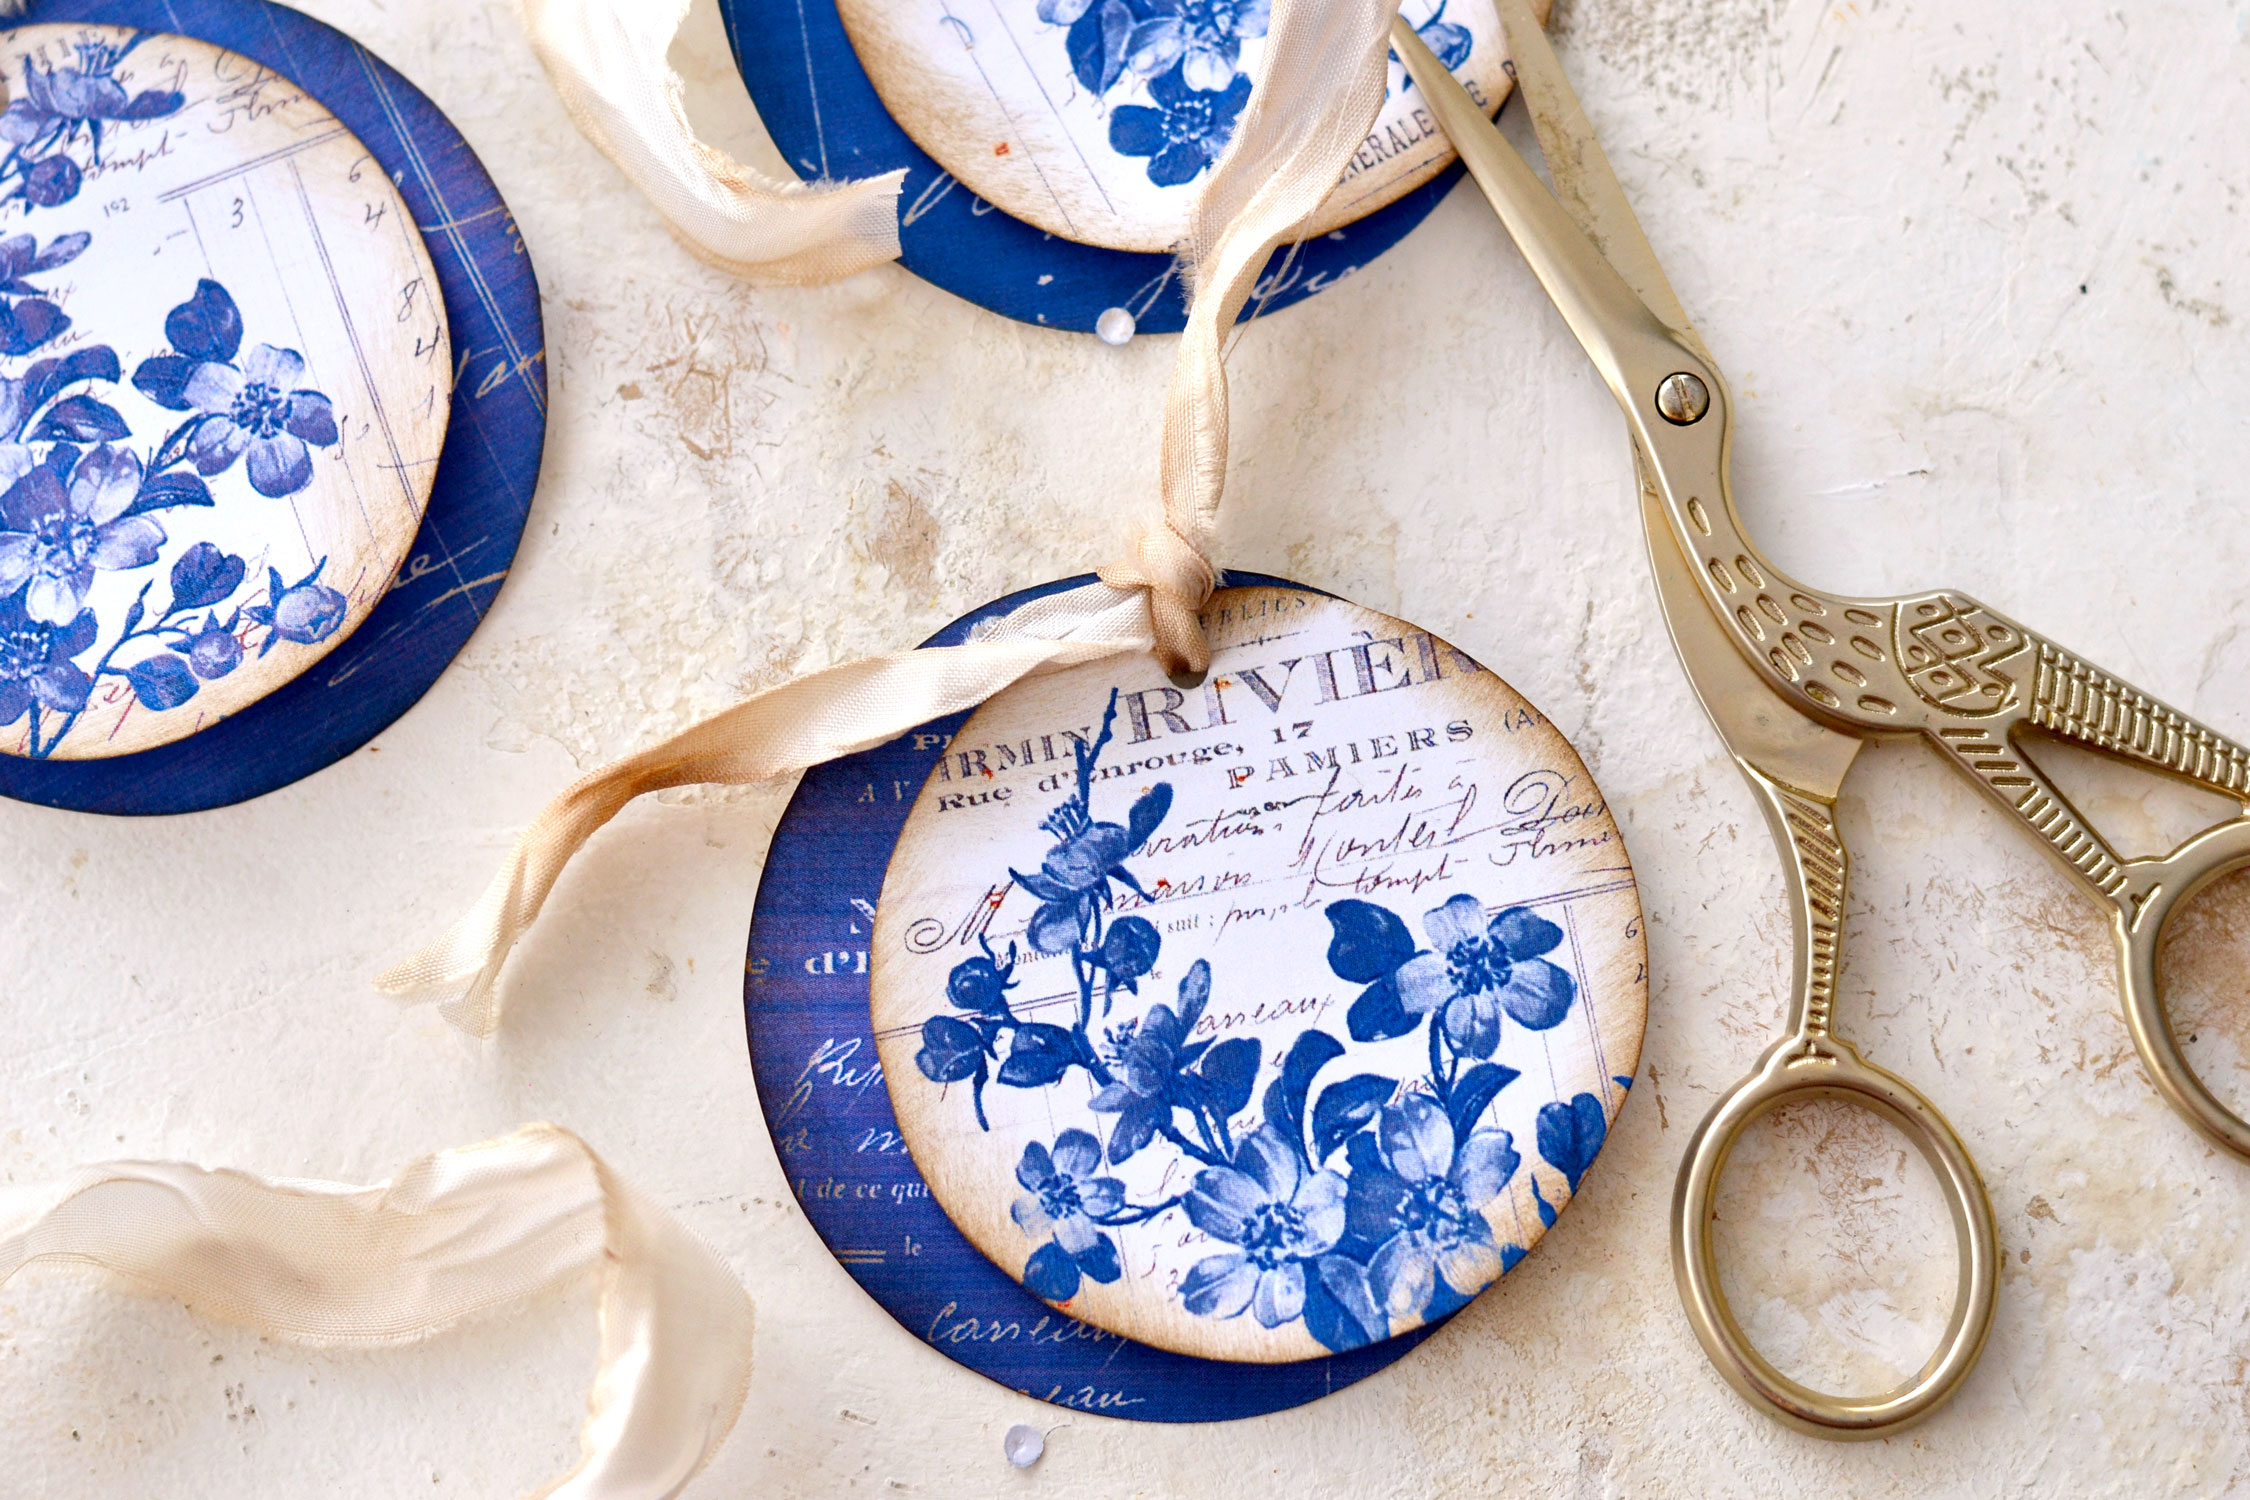
Use coffee-stained white crinkle ribbons or choose a blue-colored one if you prefer. You could also use other colors like gray, beige or taupe that are more on the neutral side, but in the end – use what you love the most!
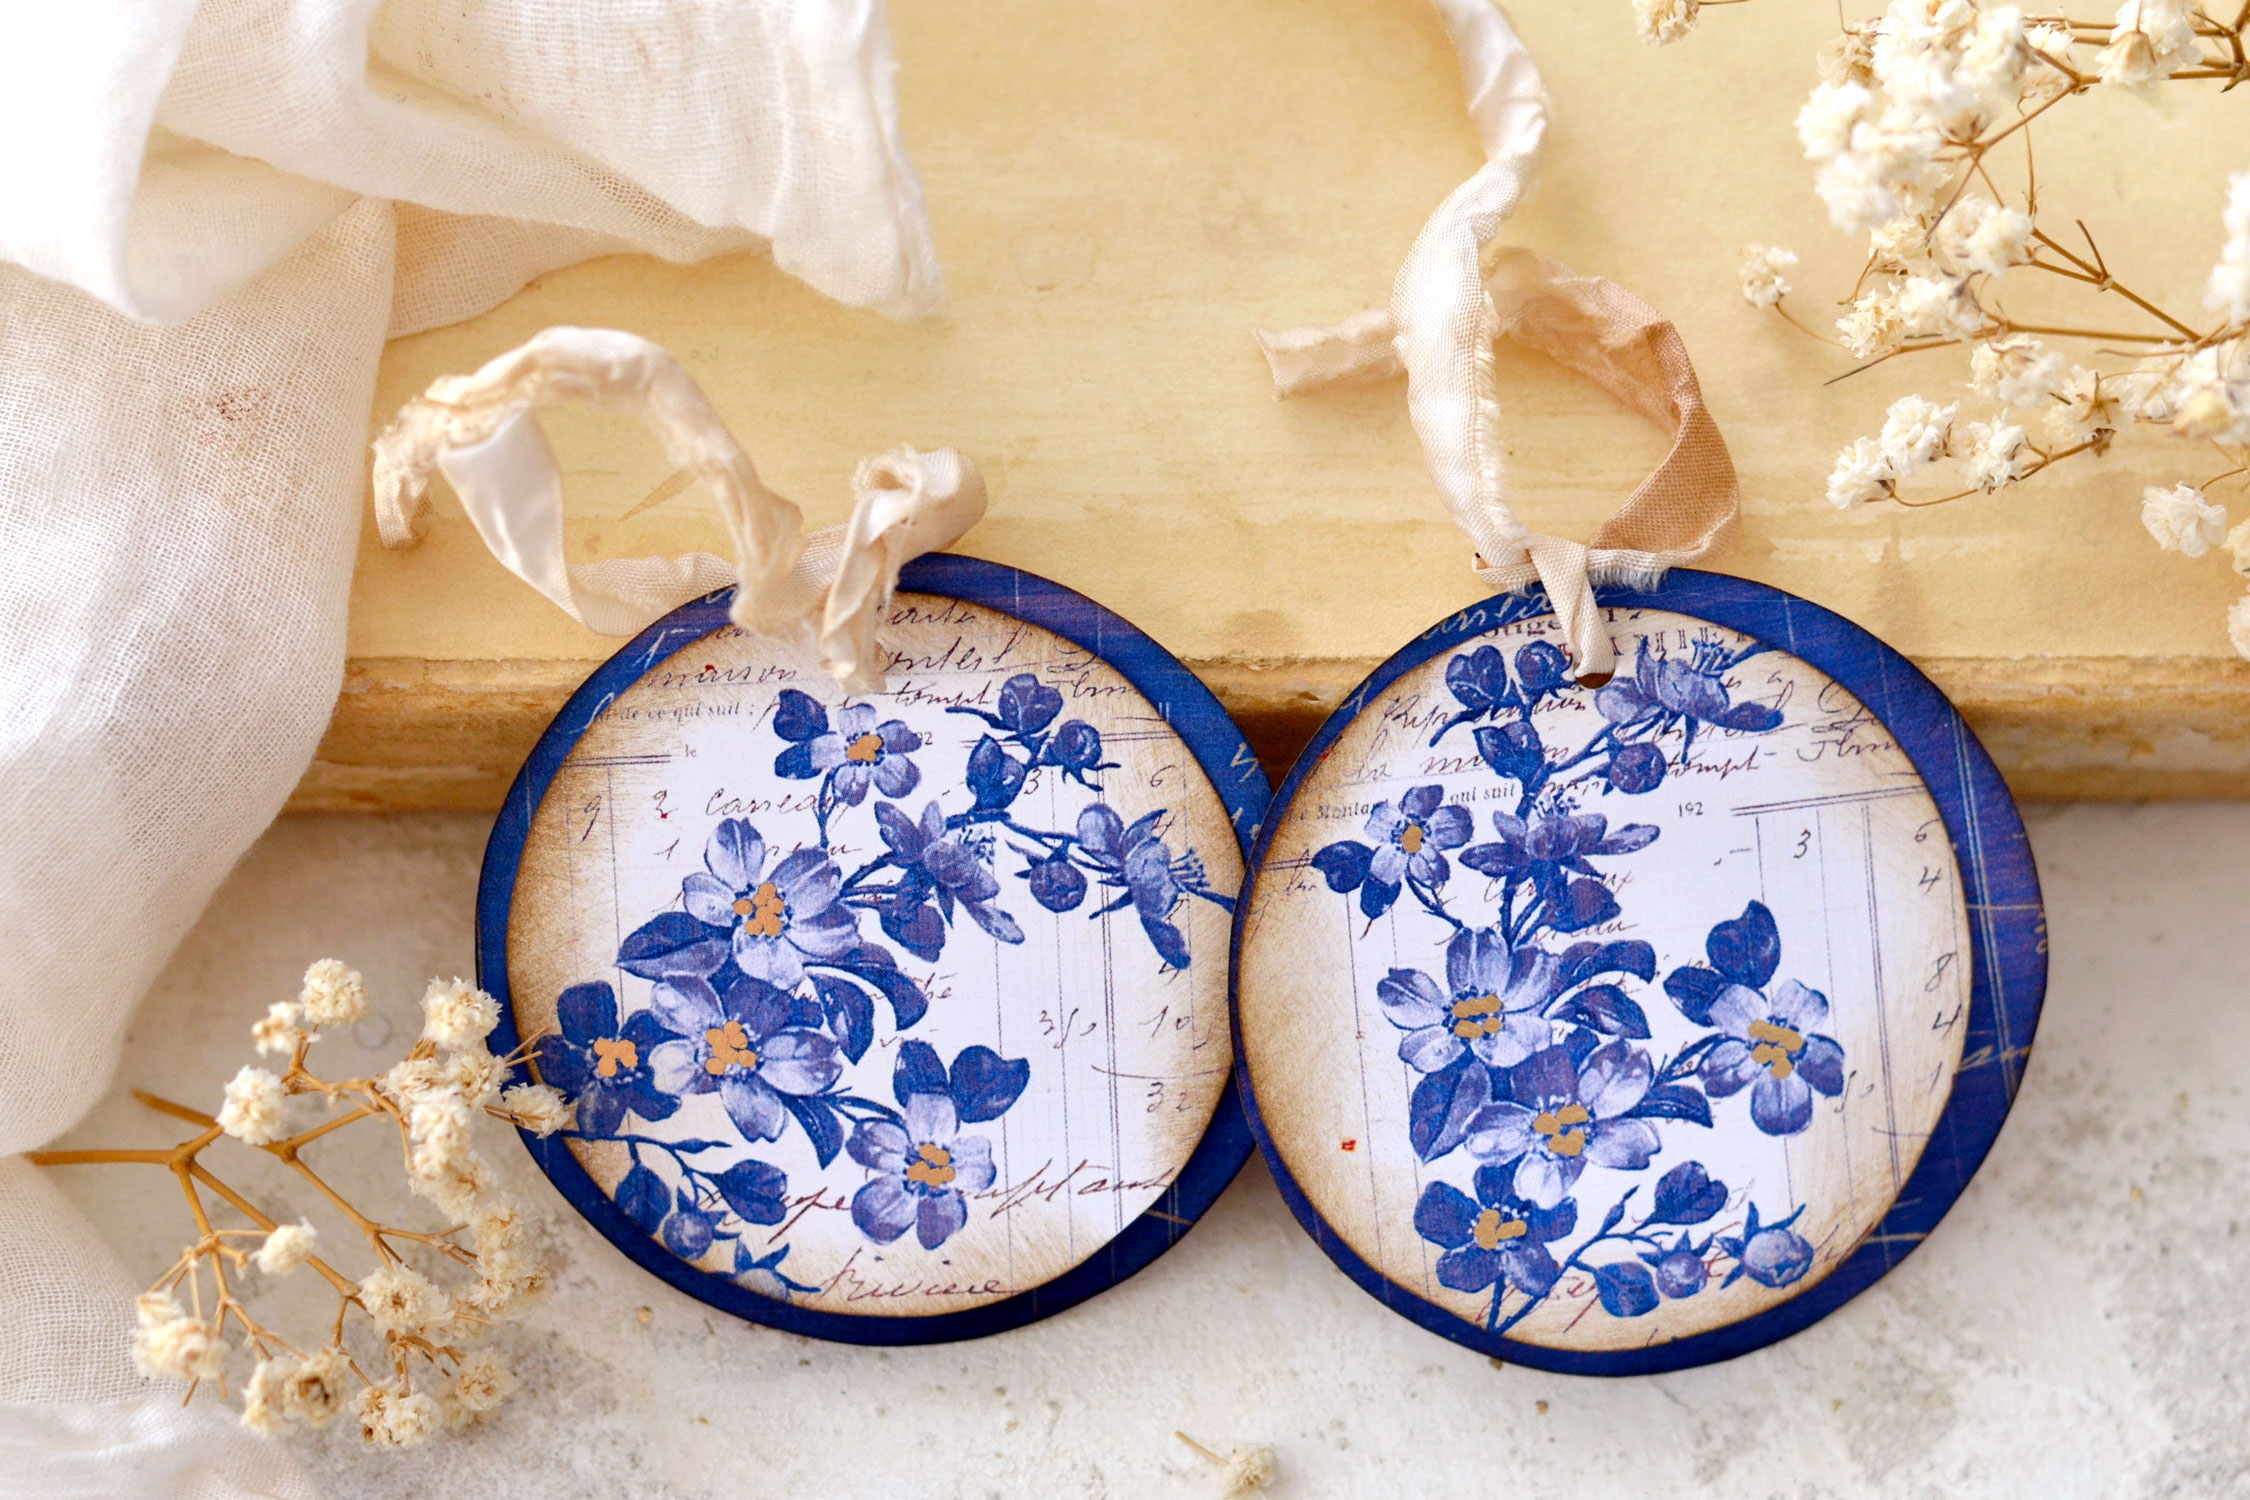
If you want, you can stop at this point and just use these beauties as they are! I’m showing you the non-gilded version below, just in case you can’t decide which ones you like the best.
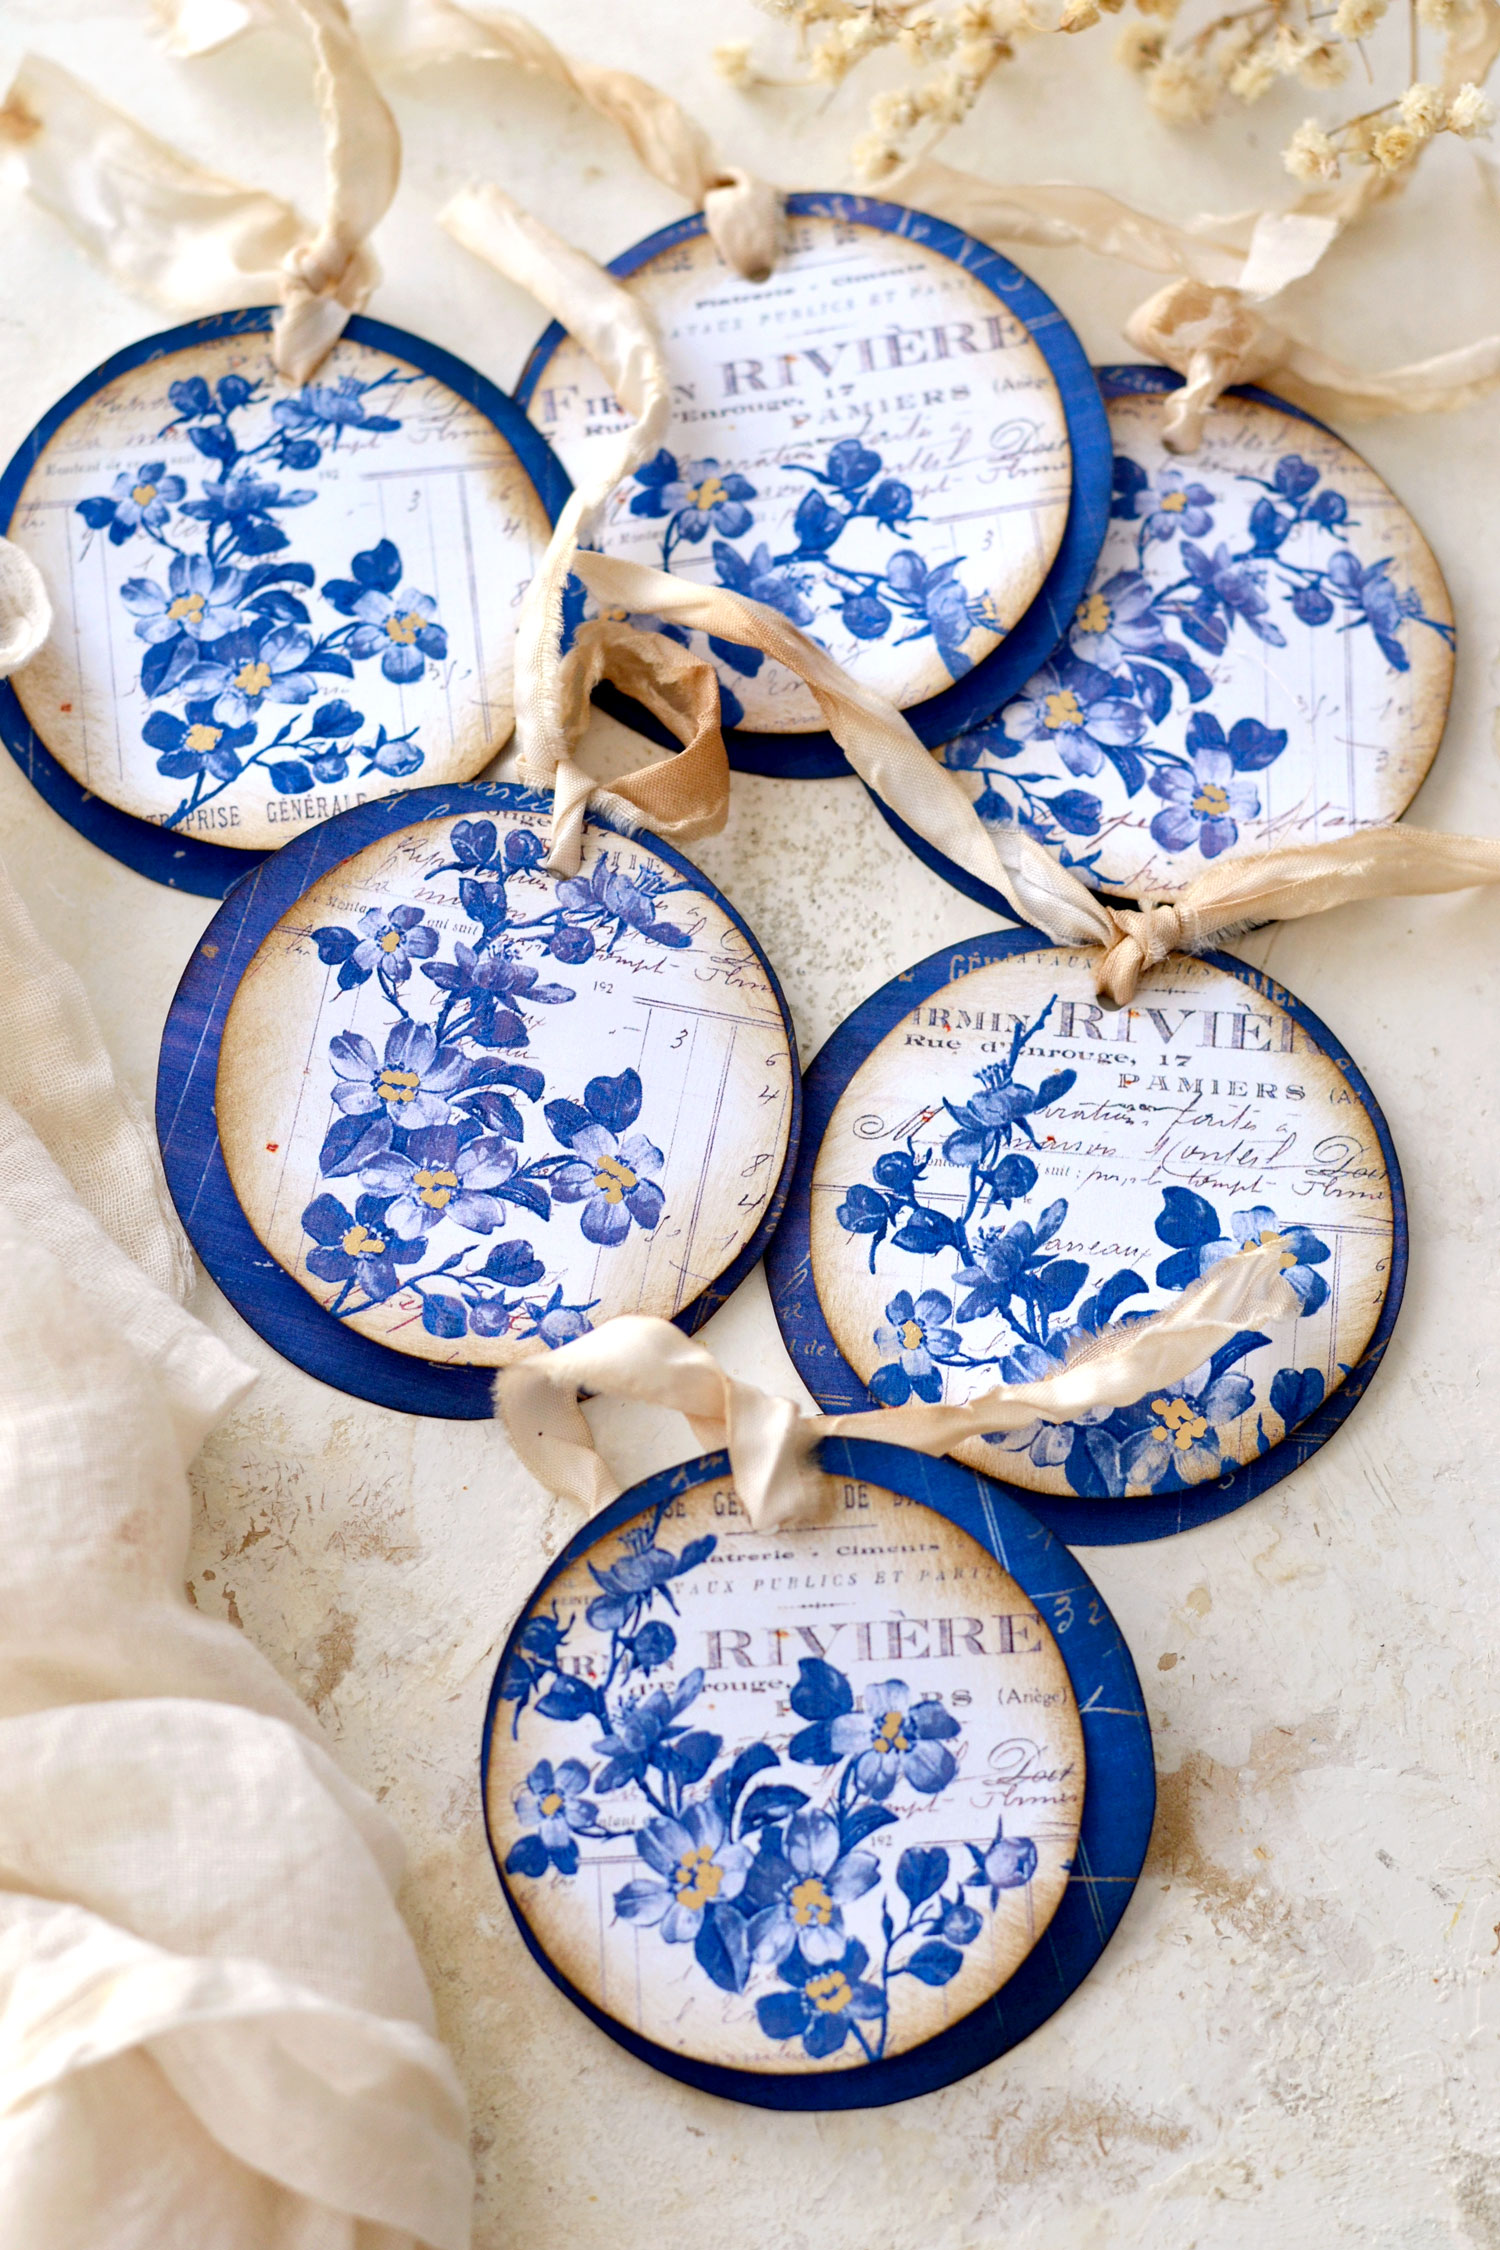
If you feel like these would look even better with just a touch of gold, you can use a gold marker to make a few dots in the middle of the flowers. I have recently discovered the gold marker from Decocolor and I’m loving it! If you don’t have a gold marker, you can use any other gold mediums that you have around – gold acrylic paint, gold watercolors, even gold nail polish will work here!
I just added a few dots of gold here and there to make the flowers pop even more, I didn’t want to completely cover their lovely details!
And now you can admire these amazing blue round tags!
I love how unique each tag is! The details of each and every one of these beauties are absolutely amazing, don’t you think? 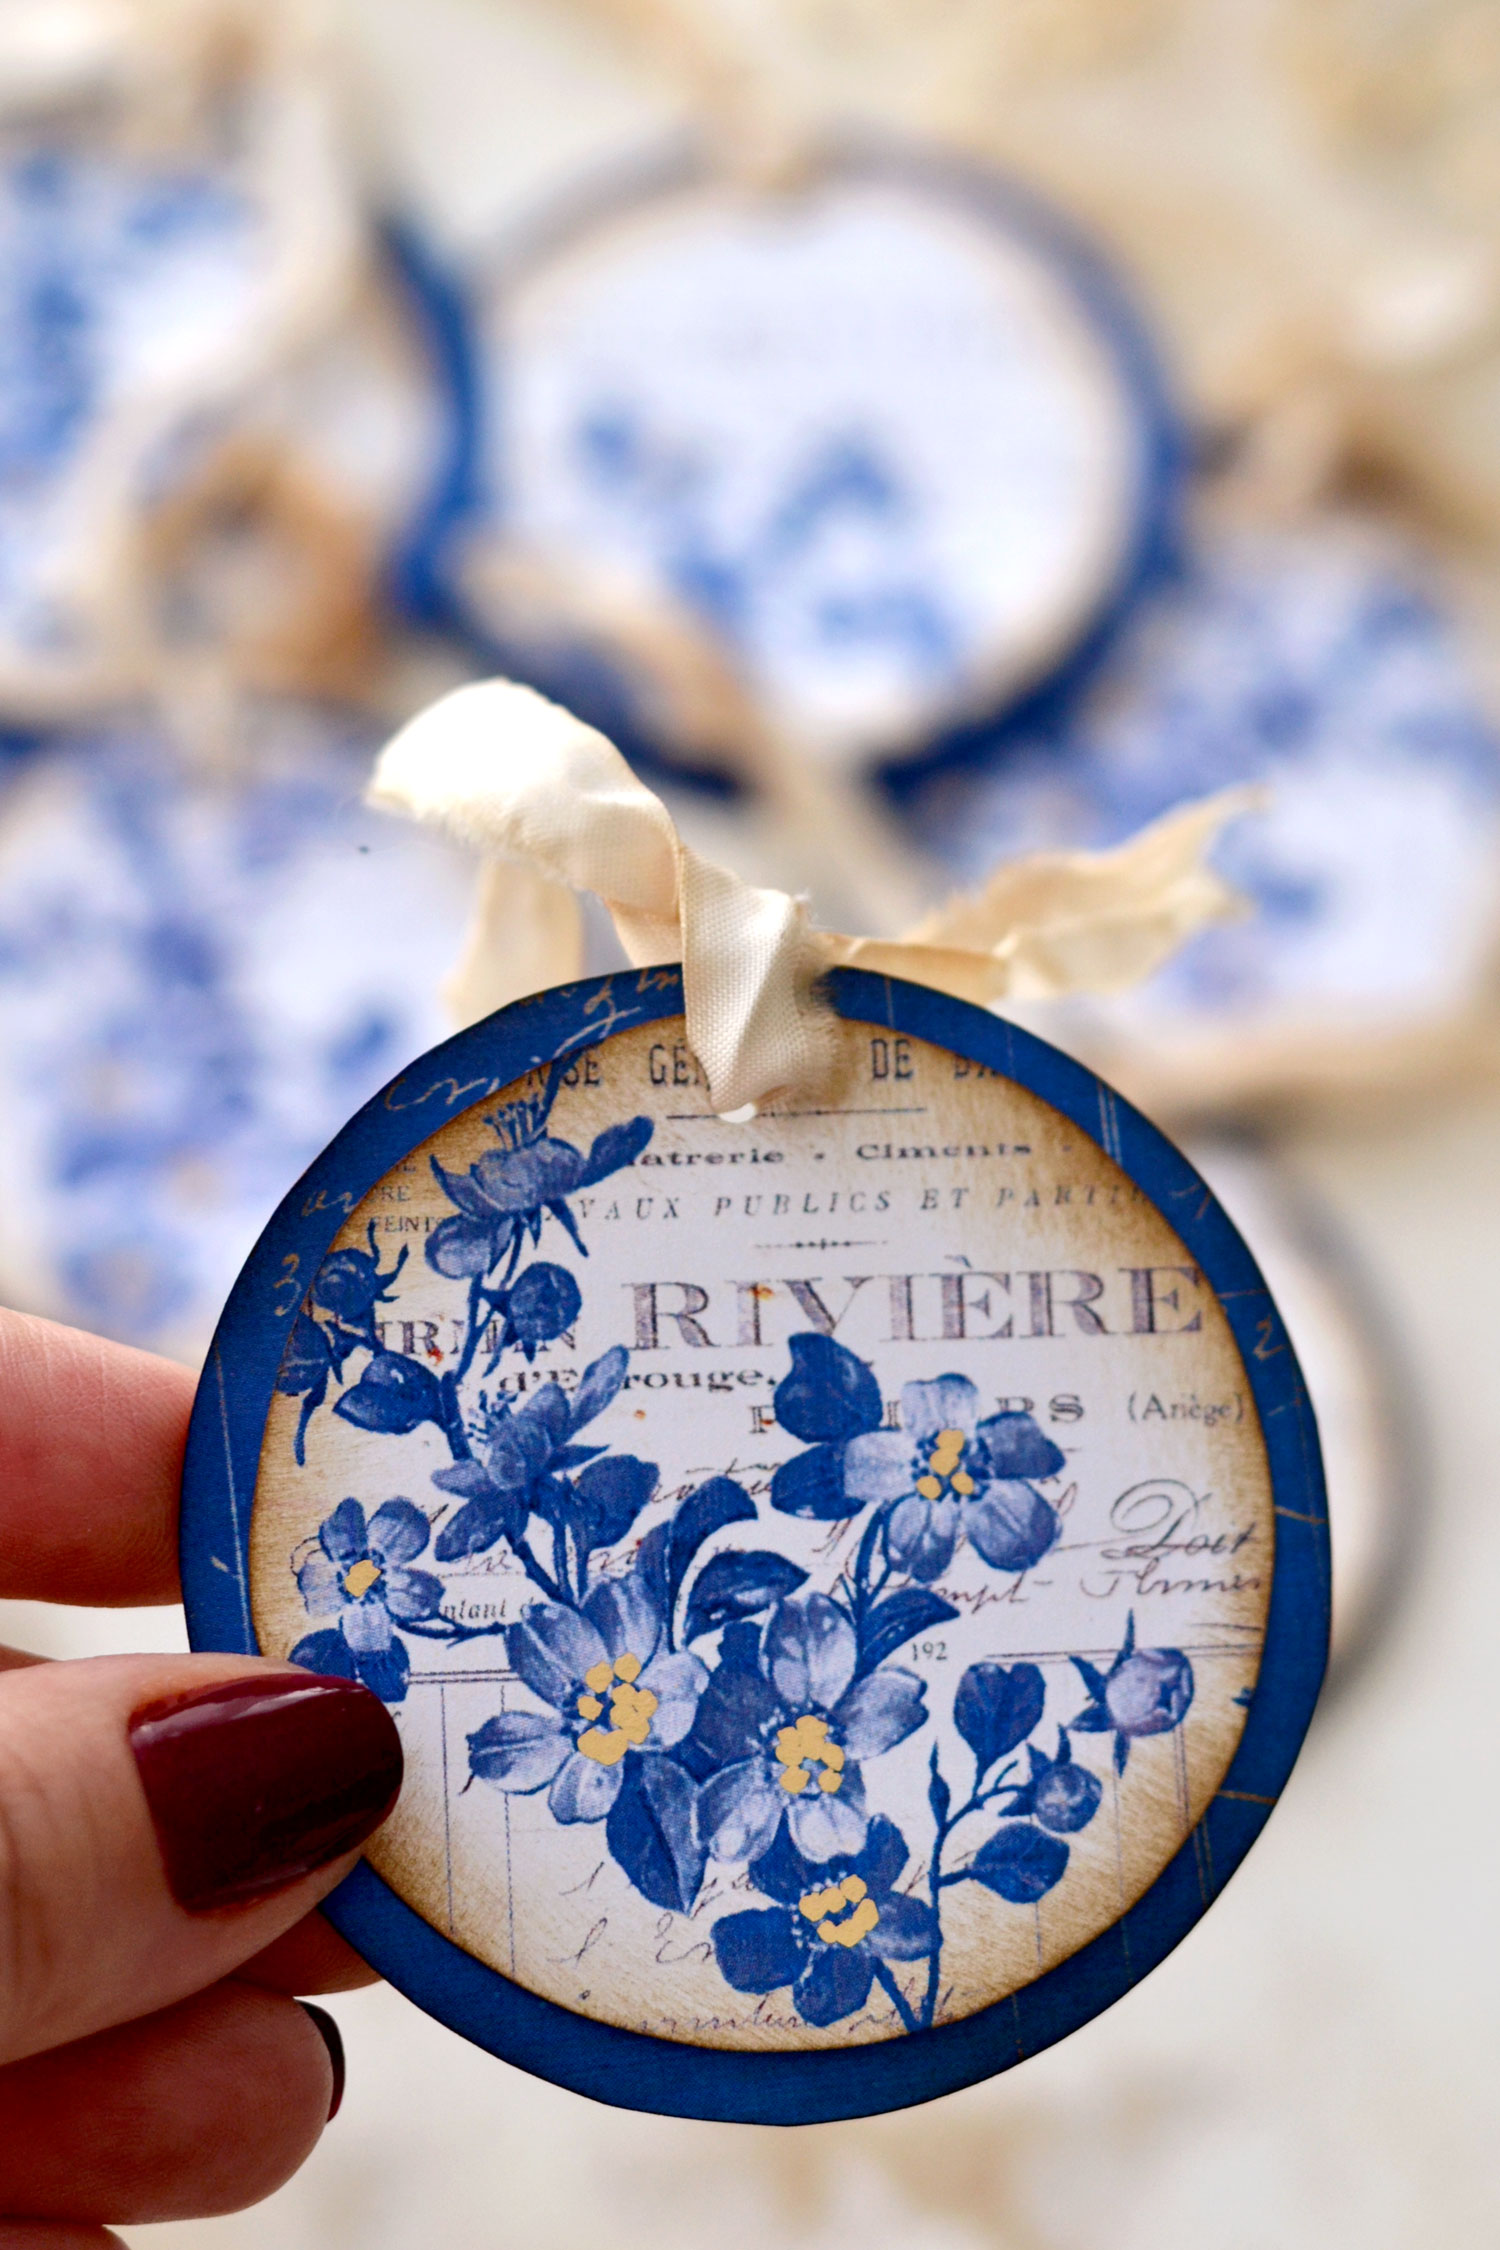
These adorable blue tags will make the perfect embellishments for last-minute gifts, so I would suggest making a few extra ones for when in need!
You can also use the tags to decorate your junk journals, I’m sure you are already envisioning them in your next blue-themed or Frenchified ones!
This is such an easy project that will guarantee great results without too much effort on your part, no matter how you decide to finish the tags! There are a plethora of other ways of using these beauties, I can totally see them as chic pieces that you can hang on drawers or boxes to organize your home in a stylish way. Or maybe you could use them the next time you are having people over as guest cards where you can write the guest names at the dinner table.
I’m planning on using one of these delicate blue tags as a bookmark, so I guess you could easily turn it into a gift along with a book for a special friend’s birthday.
Just let your imagination run free and find other unique methods of including them in your next creative projects!
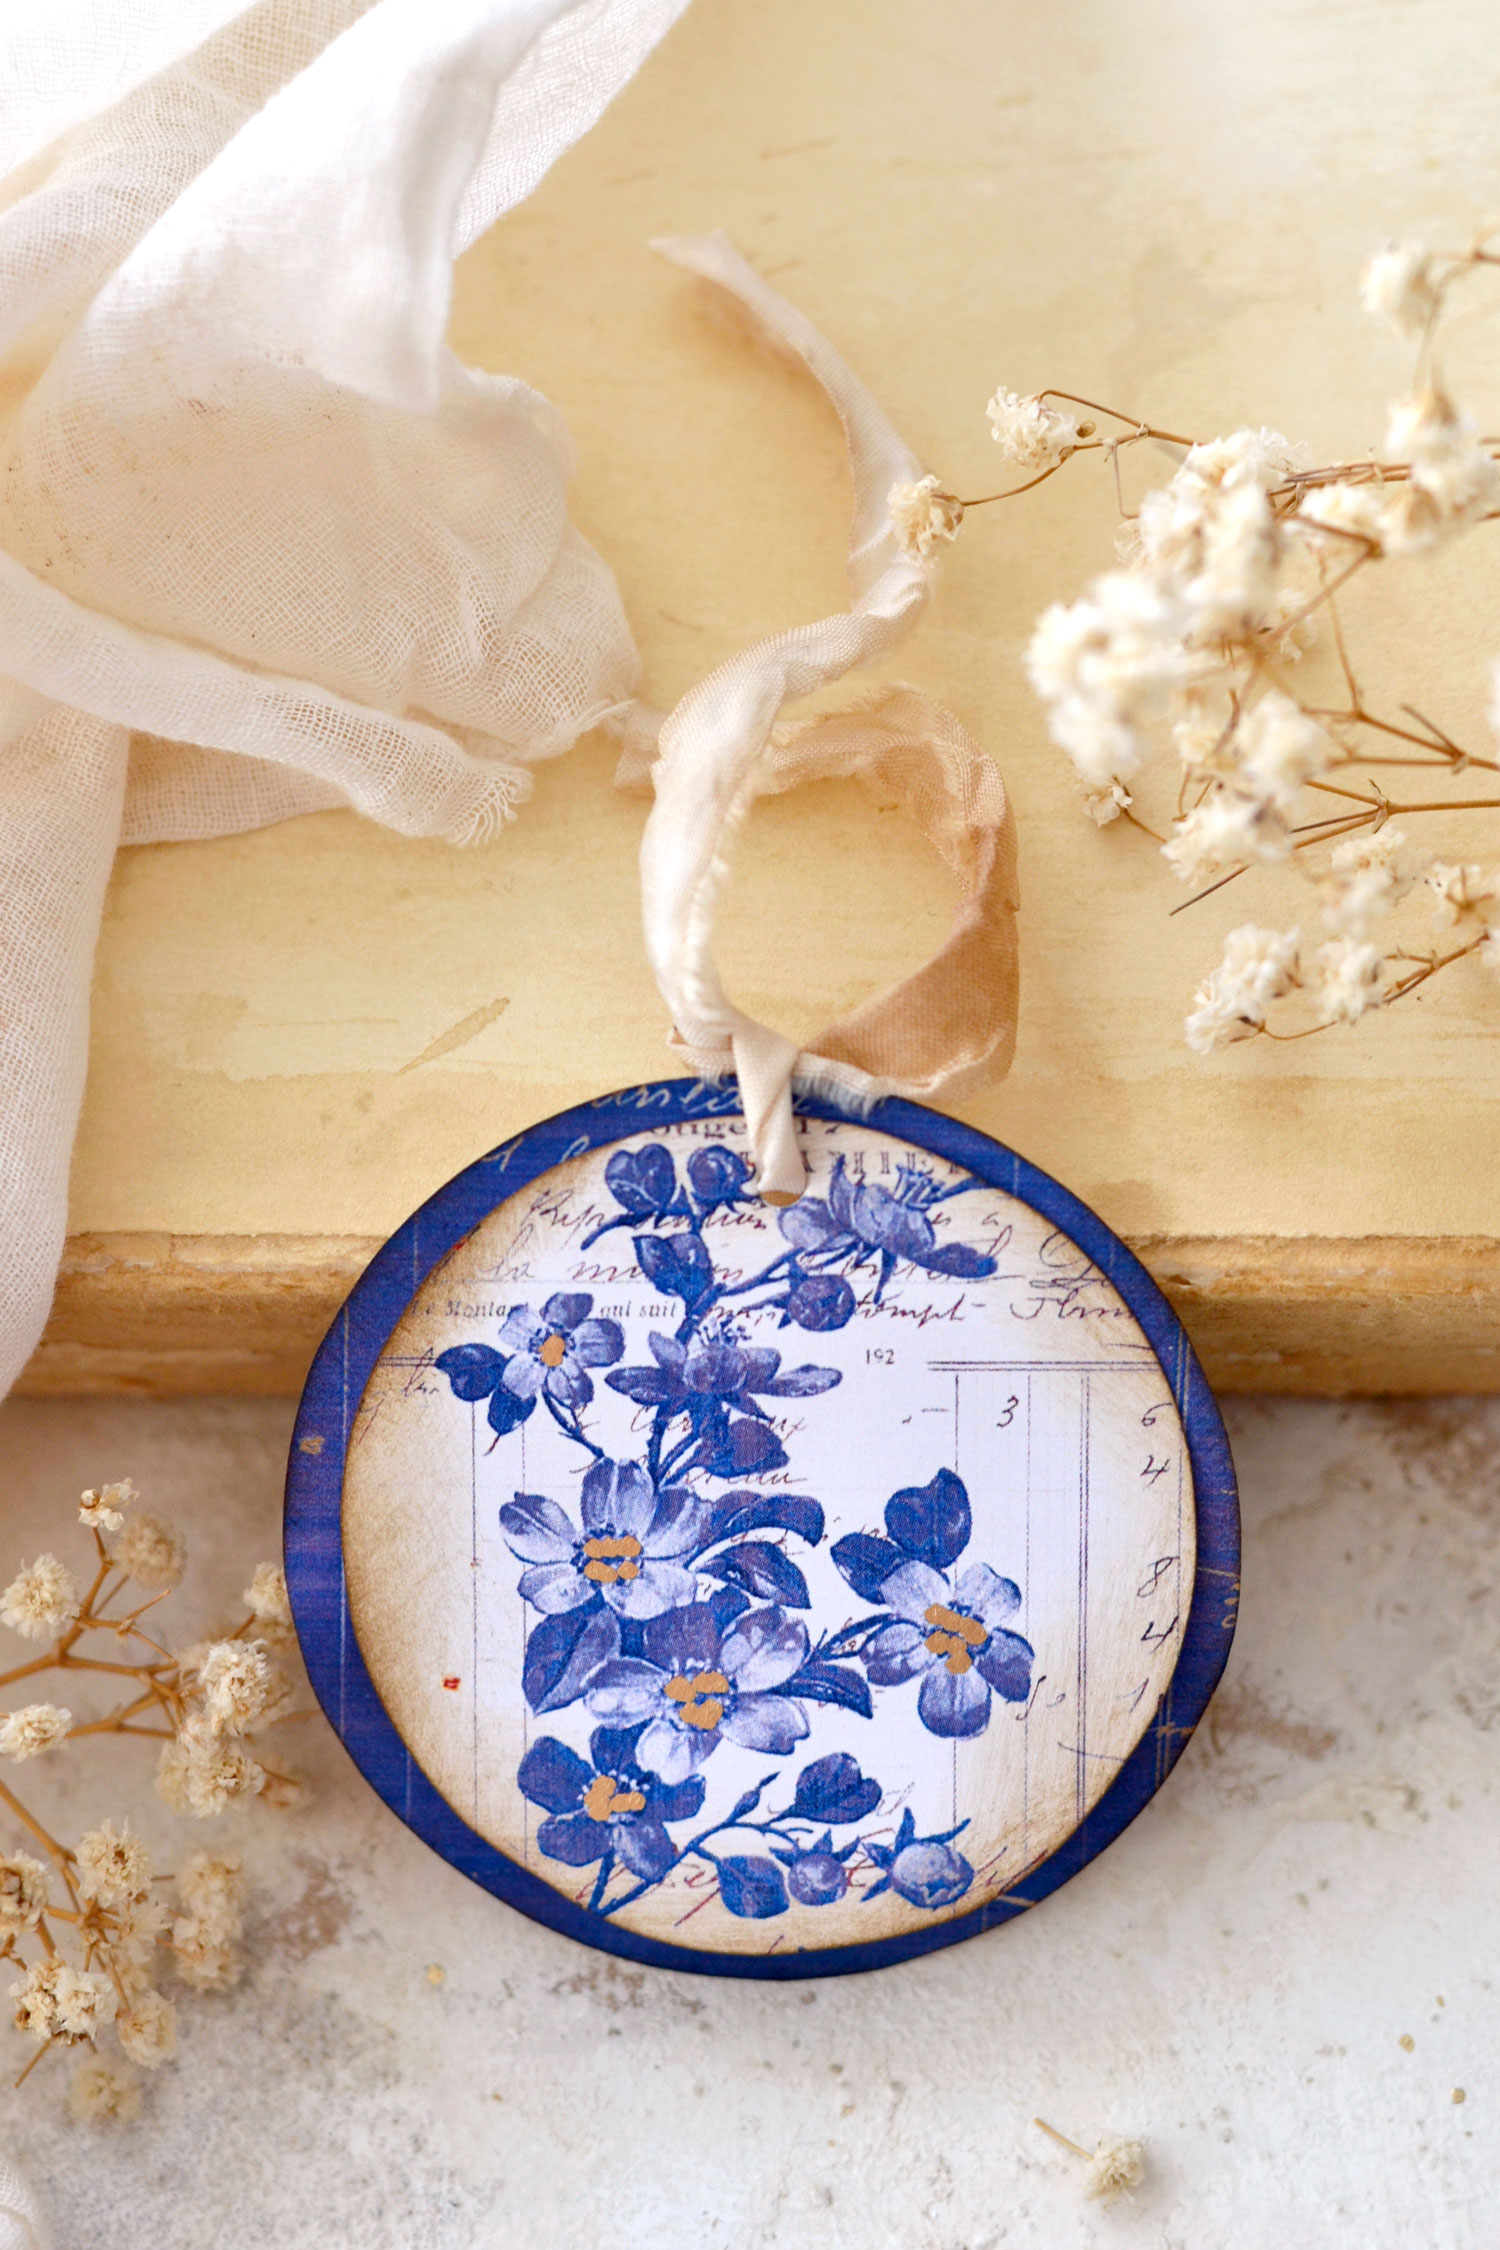 You might also like my Nautical Style Journal Tags HERE.
Happy crafting,
Diana / Dreams Factory



Jan W says
These are beautiful! Thank you for the digitals, I will certainly be using them!
Karen Watson says
Have fun making these pretty tags Jan!
Connie Sue Pruitt says
Beautiful. Thank you.
Karen Watson says
So glad you enjoyed these Connie! Have a great weekend!
Tammy Kramer says
These tags are sooo pretty. I love anything with a French flair ! But I must say I was blown away by your awesome photography as well. You are so talented.
Thank you for sjaring that talent.
Karen Watson says
Yes I agree, Diana is very talented Tammy, I am lucky to have her here! I’m glad you enjoyed these pretty tags.