How to Make Paper Cones for Christmas
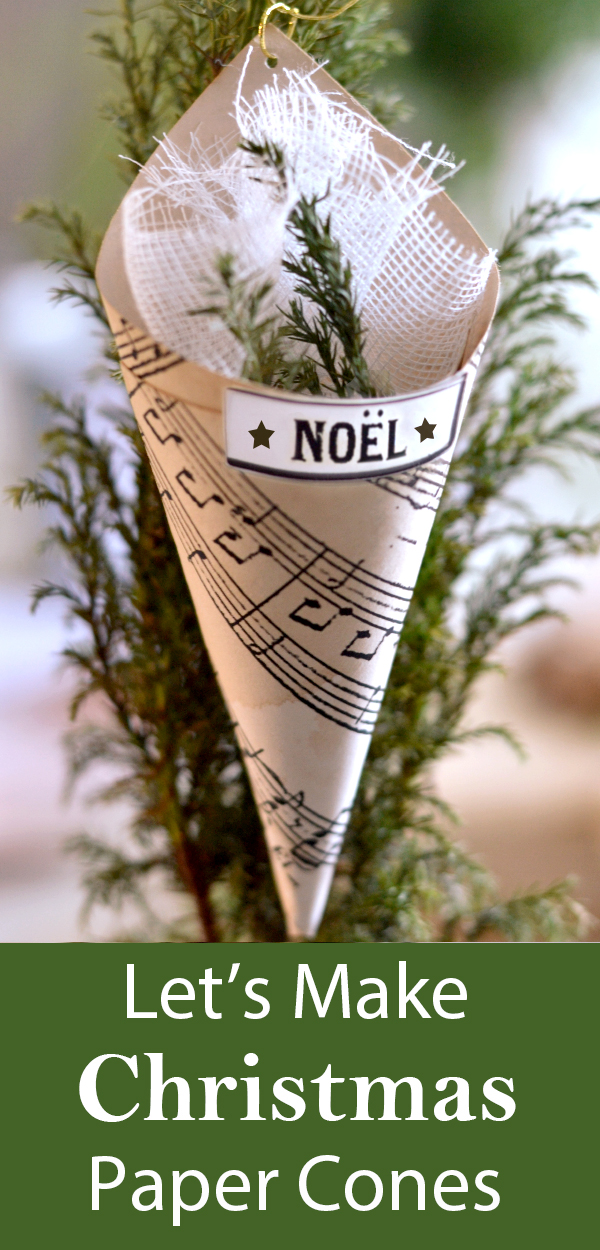
Hello, Graphics Fairy friends, I’m Diana from Dreams Factory and I’m excited to share another DIY project with you! Today we will learn how to make paper cones for Christmas! We will be using coffee to stain our paper, this extremely fragrant elixir not only tastes good but is also perfect for distressing. Our supply list will be quite short and we will only use a handful of items to keep the process fun and uncomplicated.
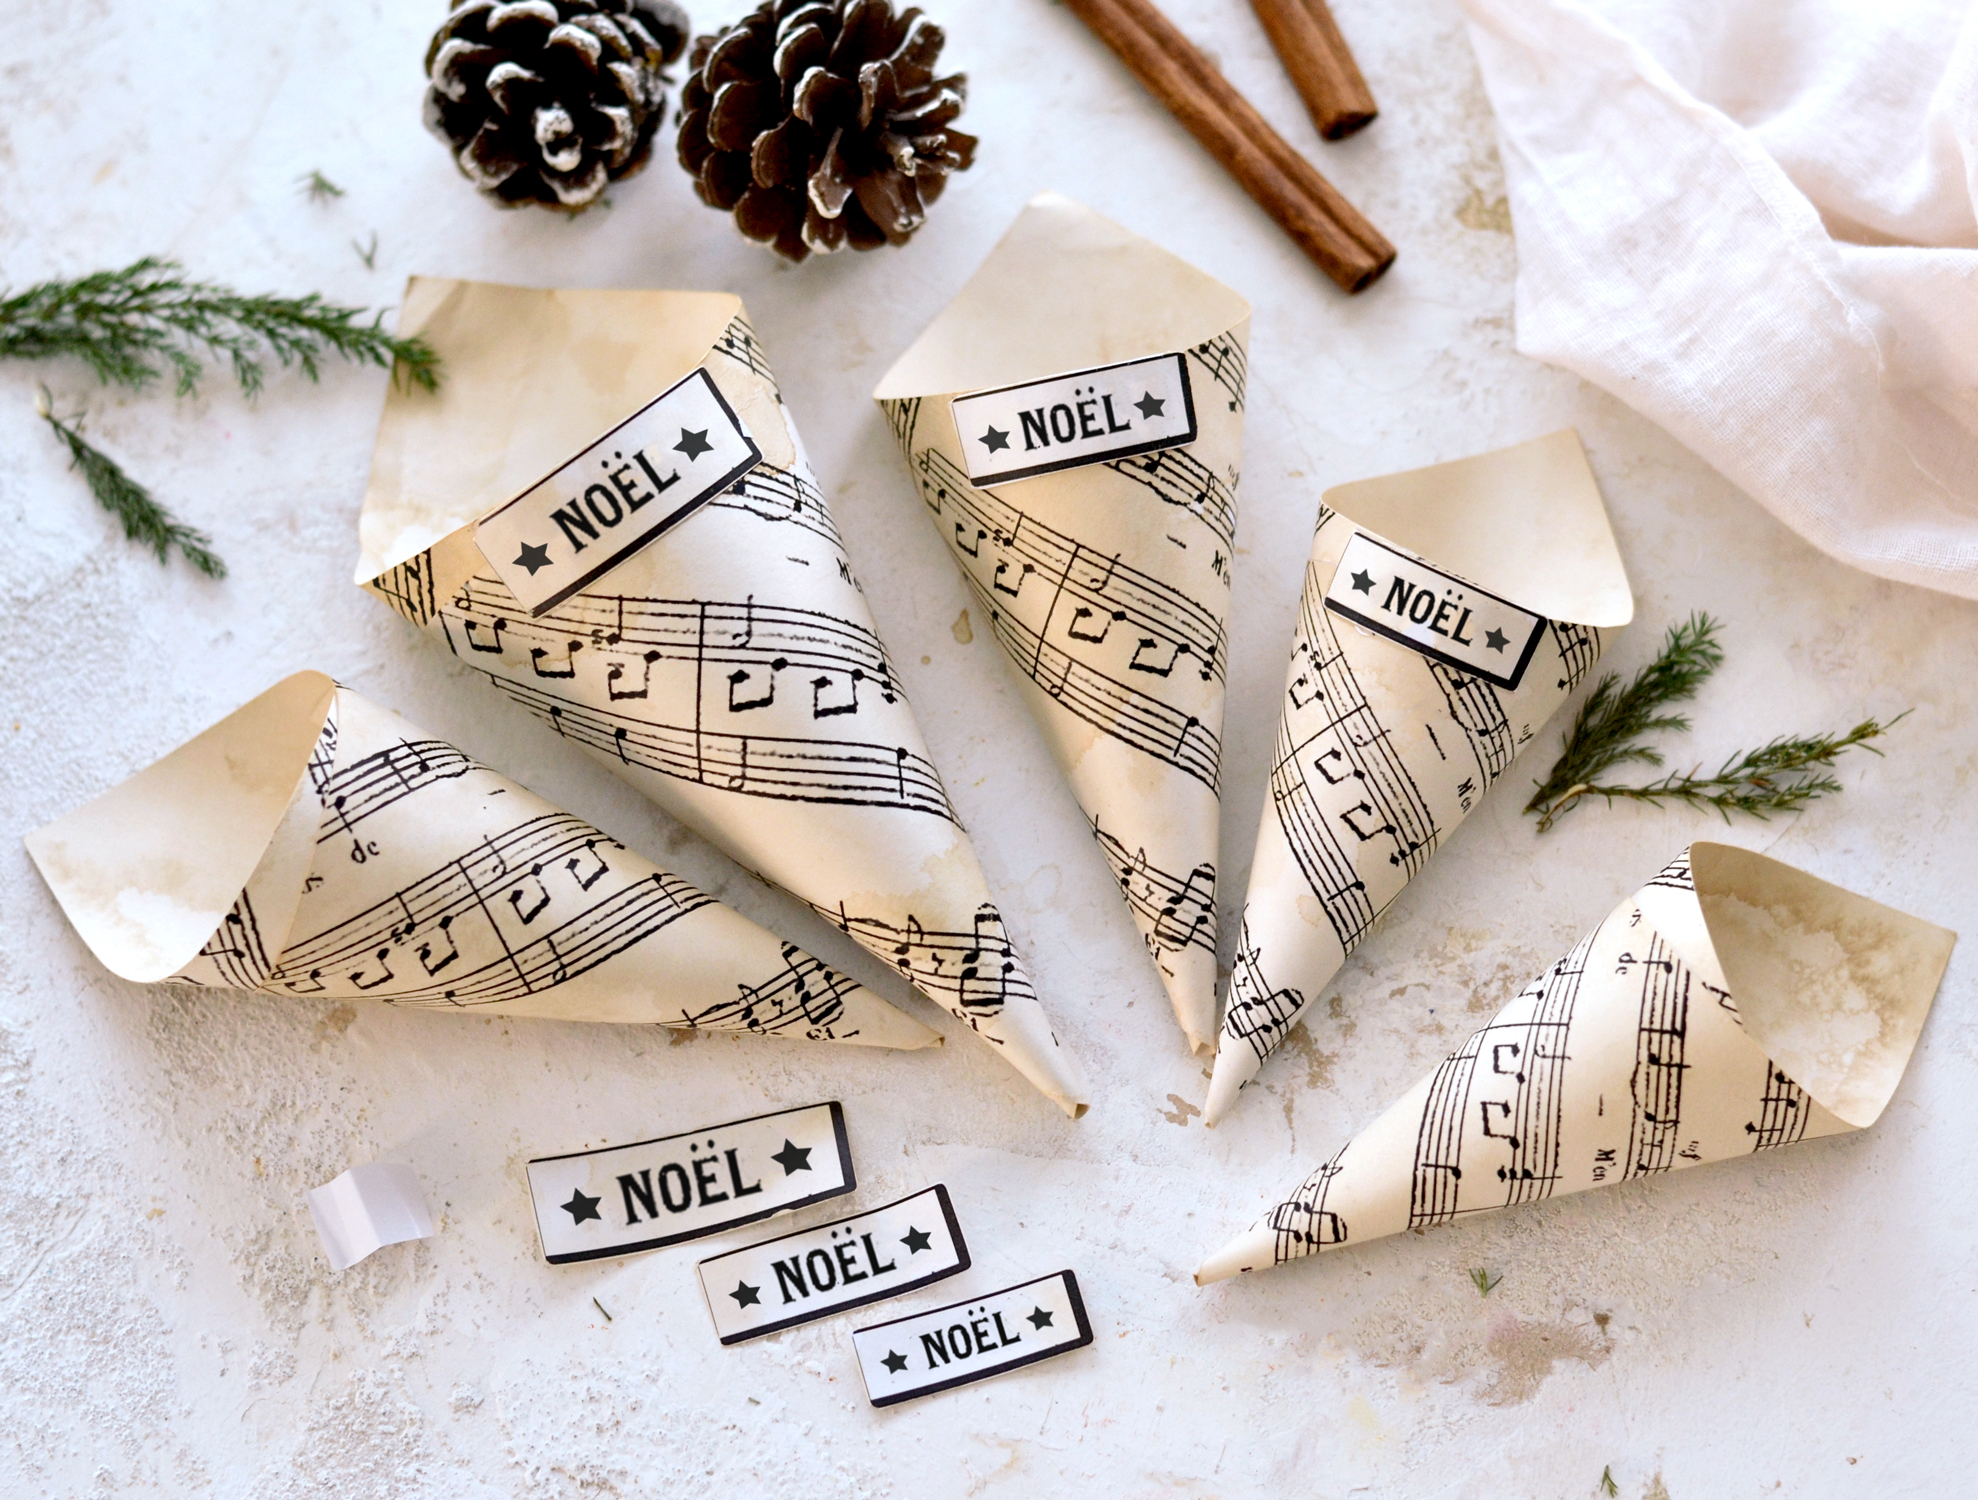
I wanted these lovely Christmas Paper Cones to be simple, but with a sophisticated feel. I love the neutral overall tone that the coffee and the sheet music imprint while the ‘noel’ words bring a chic Frenchified Christmas vibe.
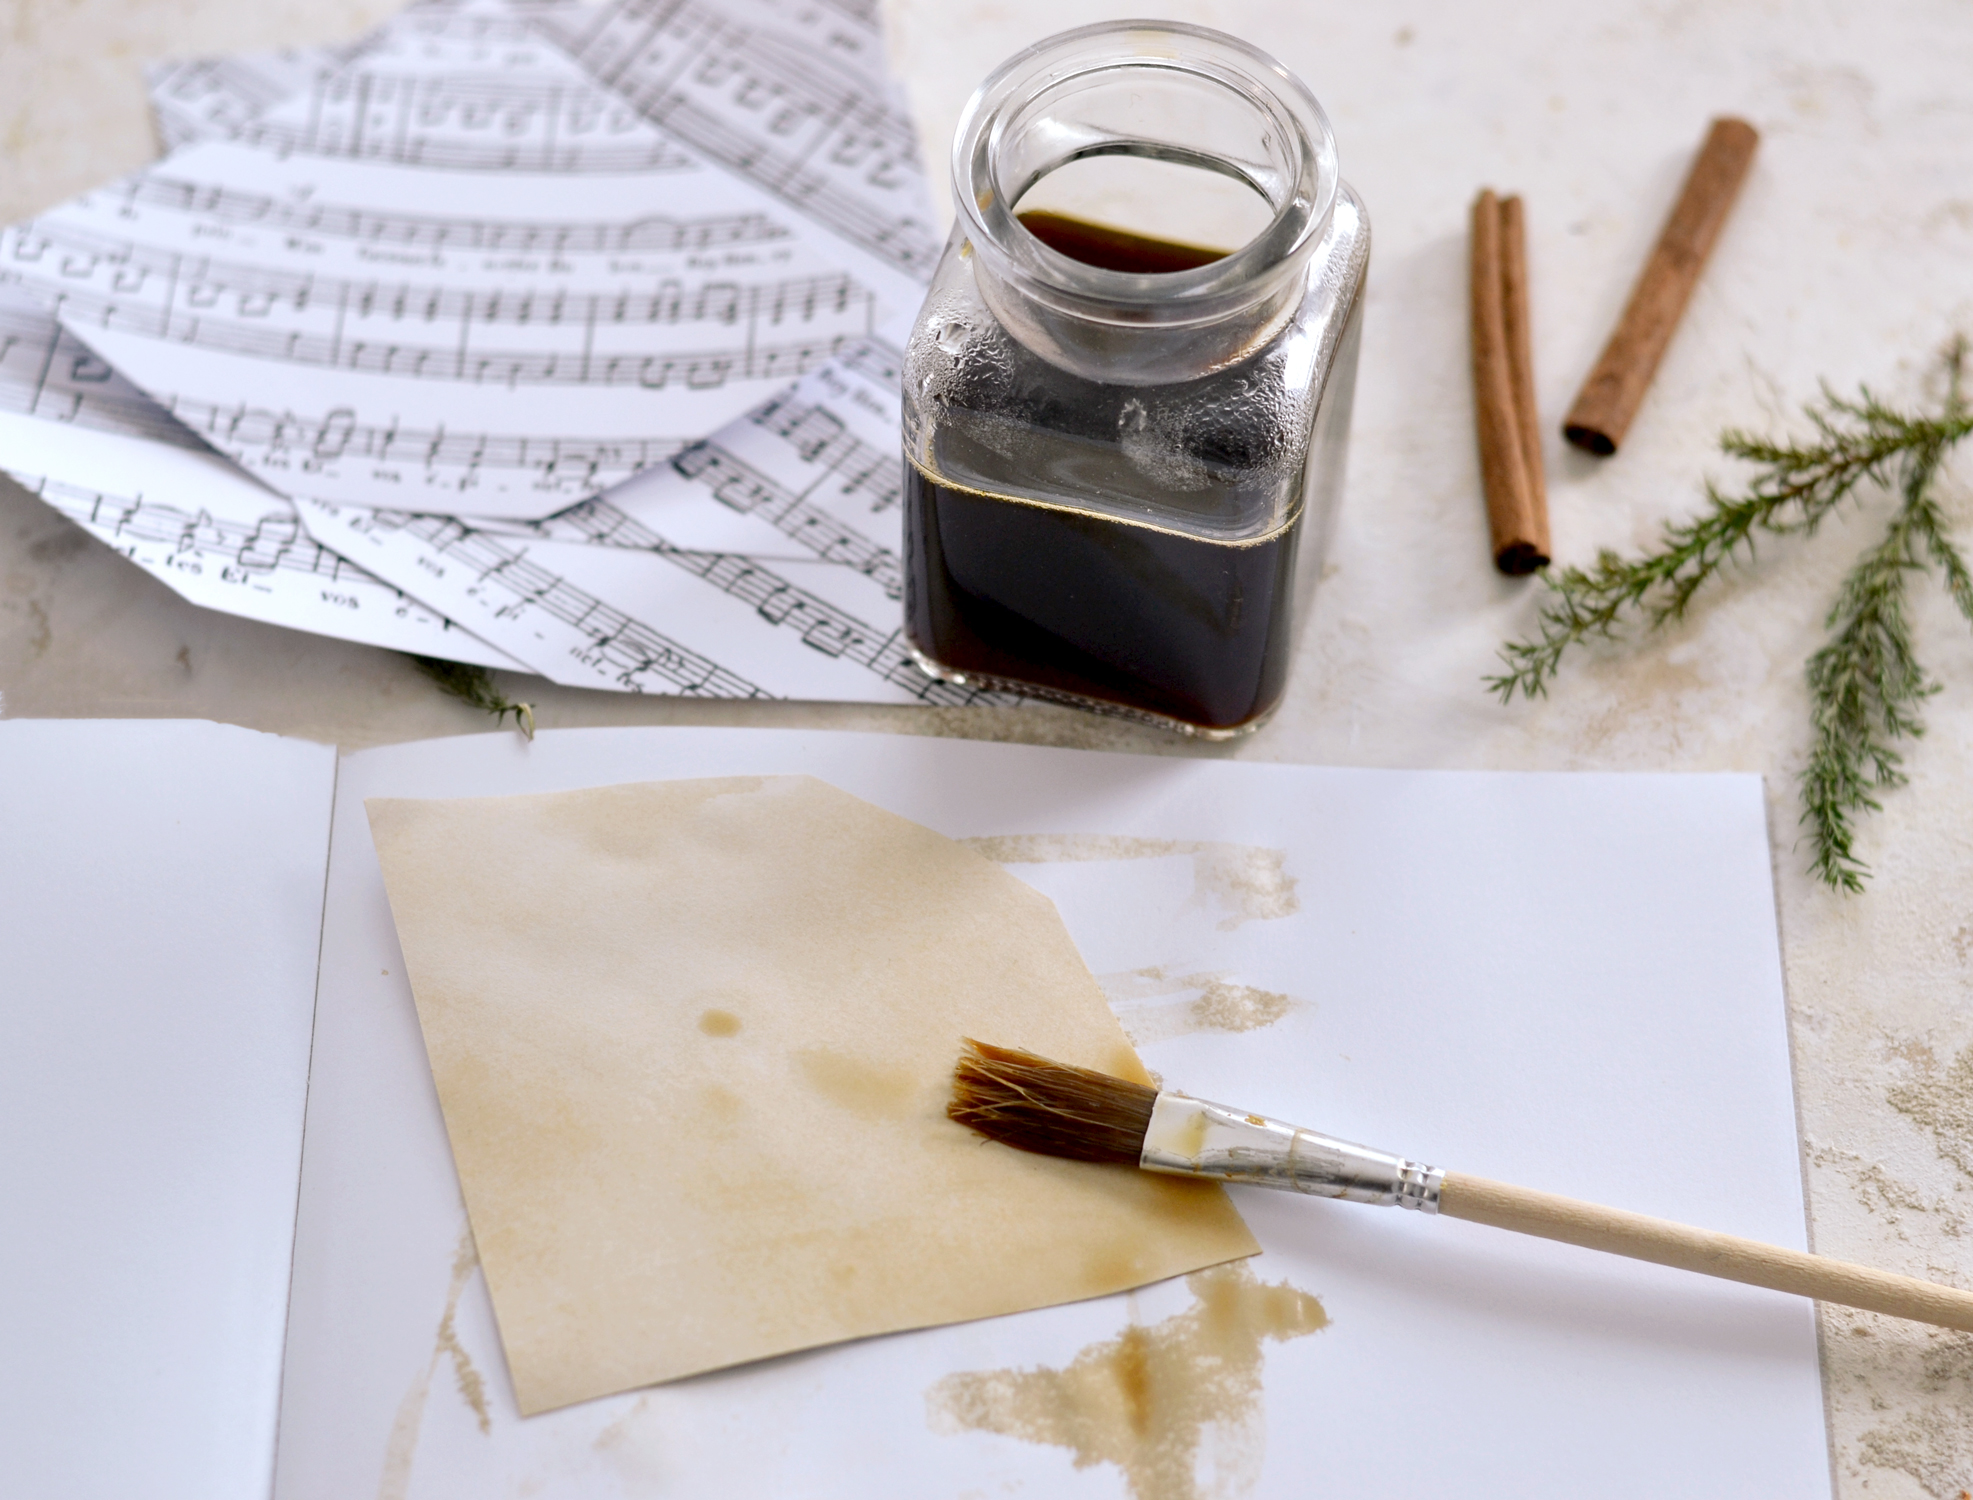
You will need to conduct your own experiments when it comes to how concentrated your freshly brewed coffee should be. But I promise this will be fun! And your house will smell simply amazing! Just keep in mind that it’s best to make a more concentrated version of this magic elixir so you can dilute it as you want afterwards. Use scrap pieces of paper to make a few tests before actually applying the coffee over your paper cones templates.
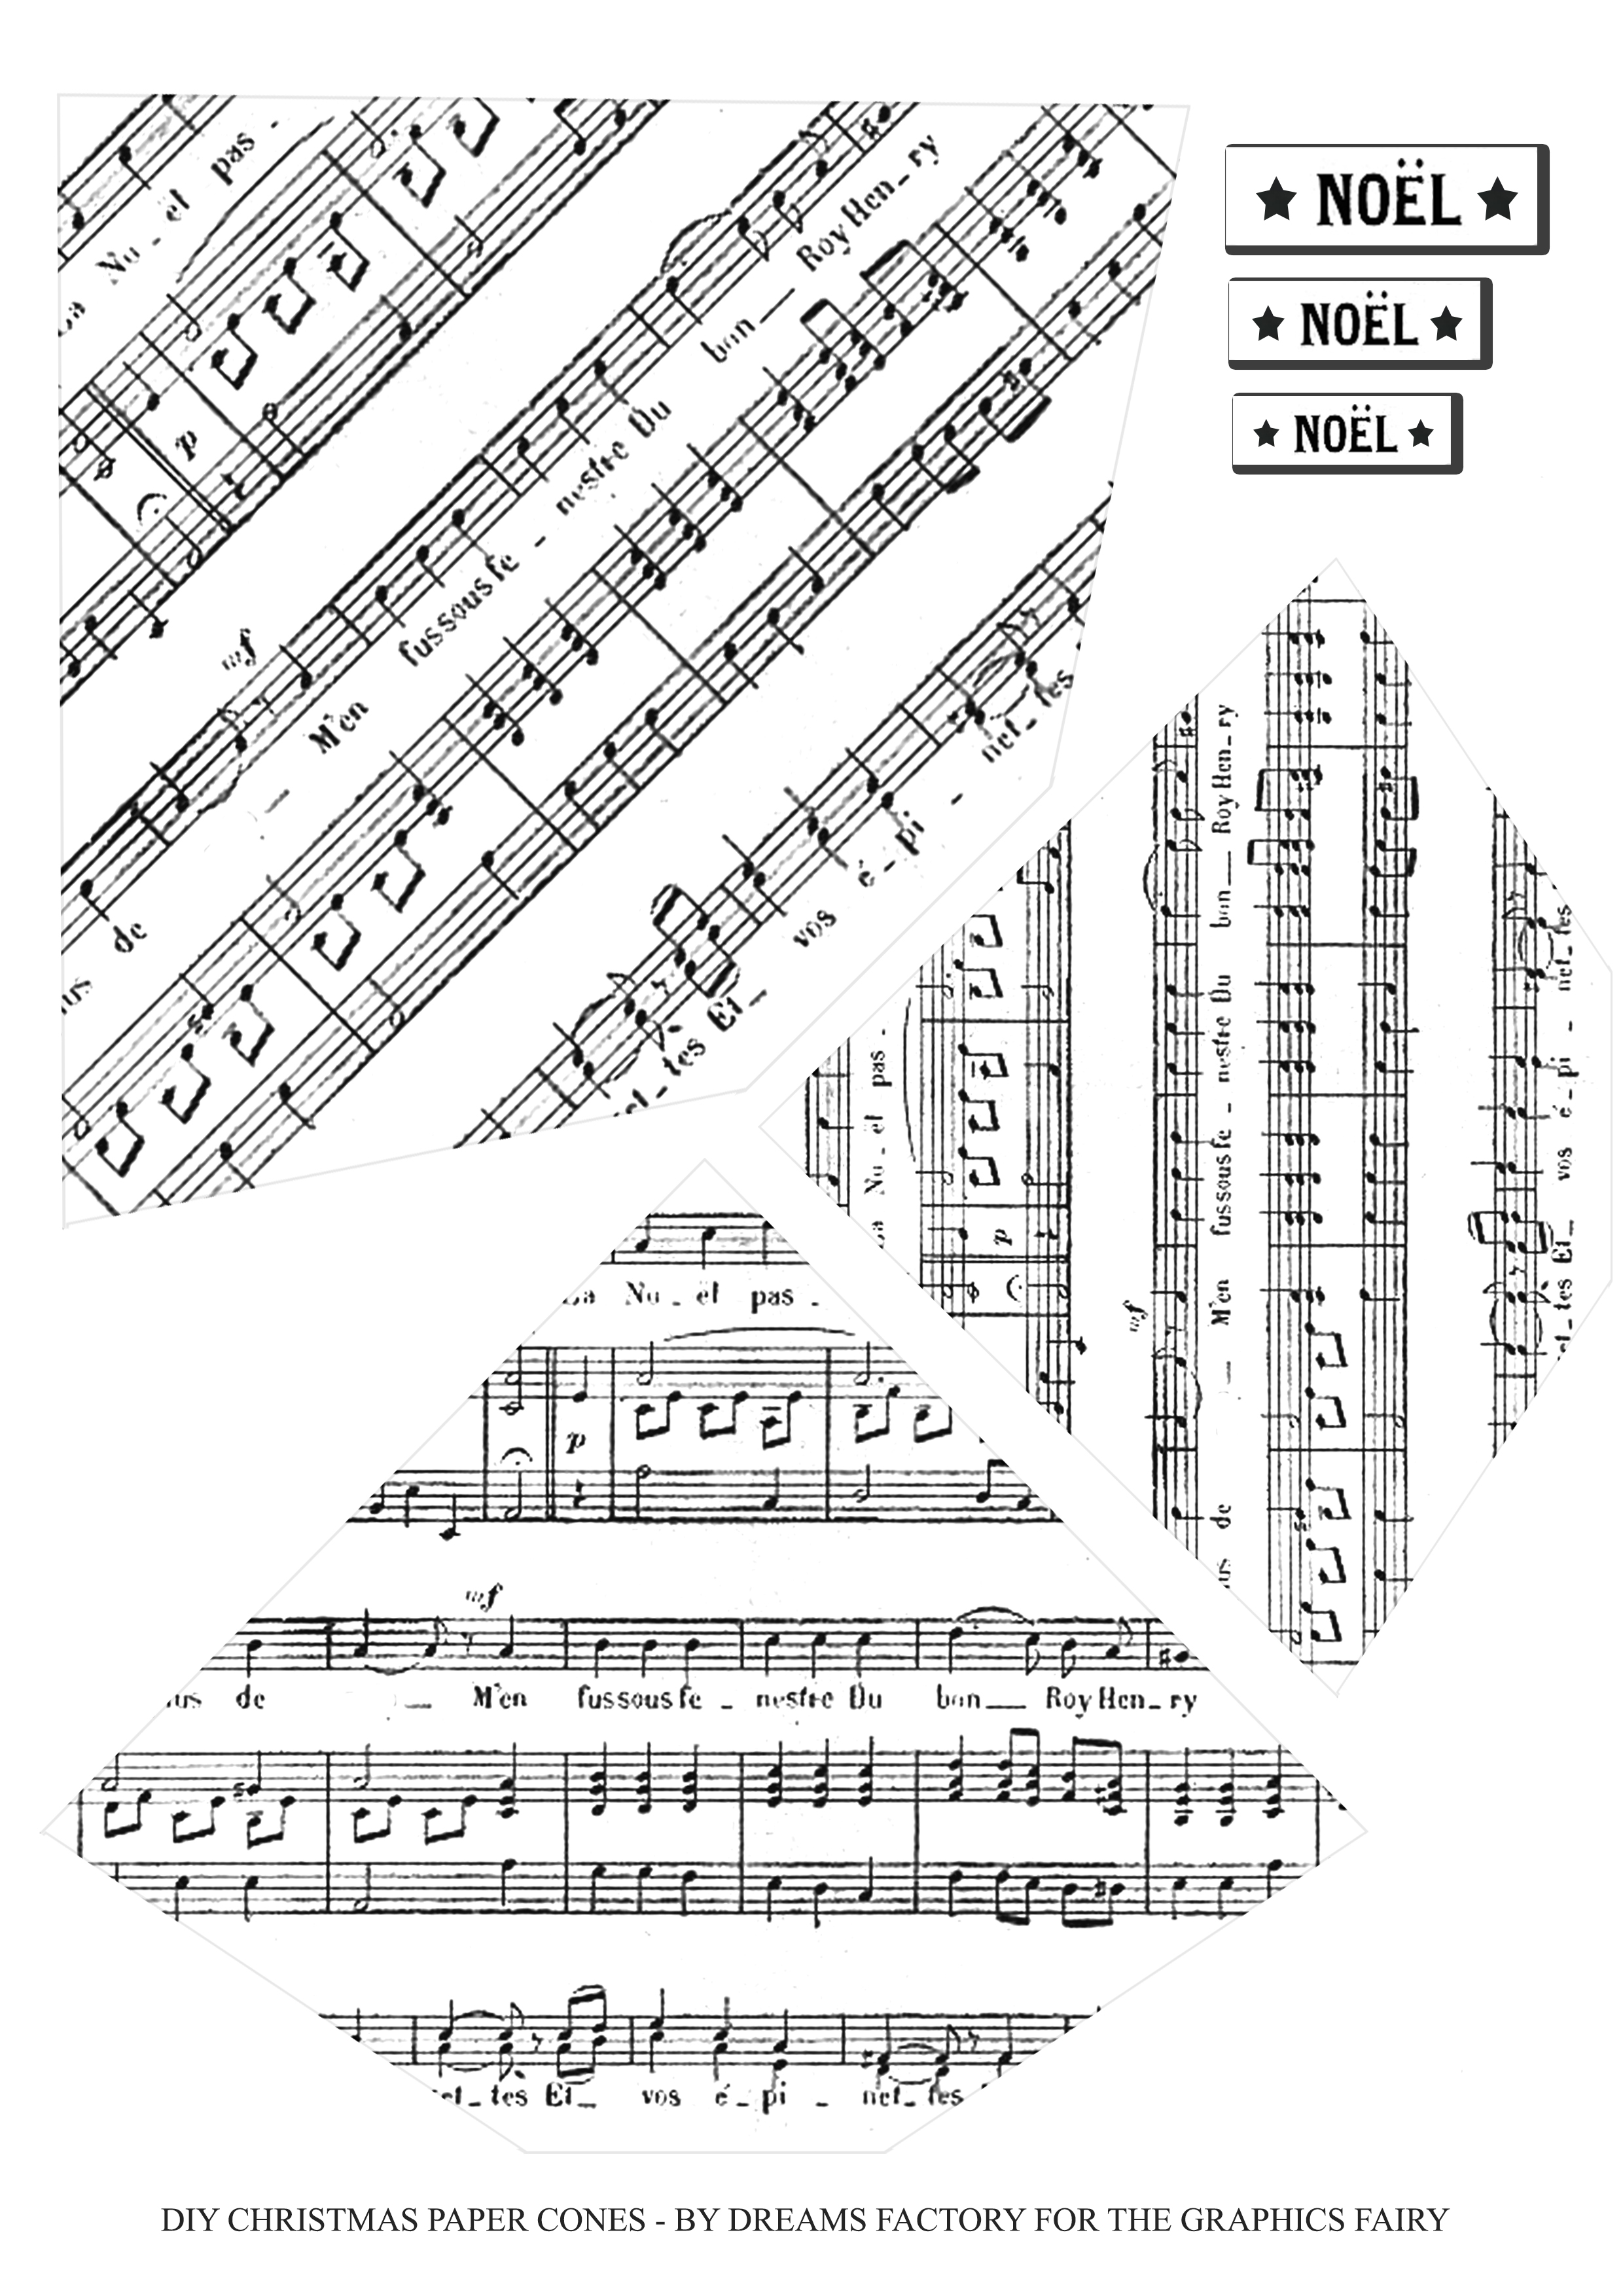
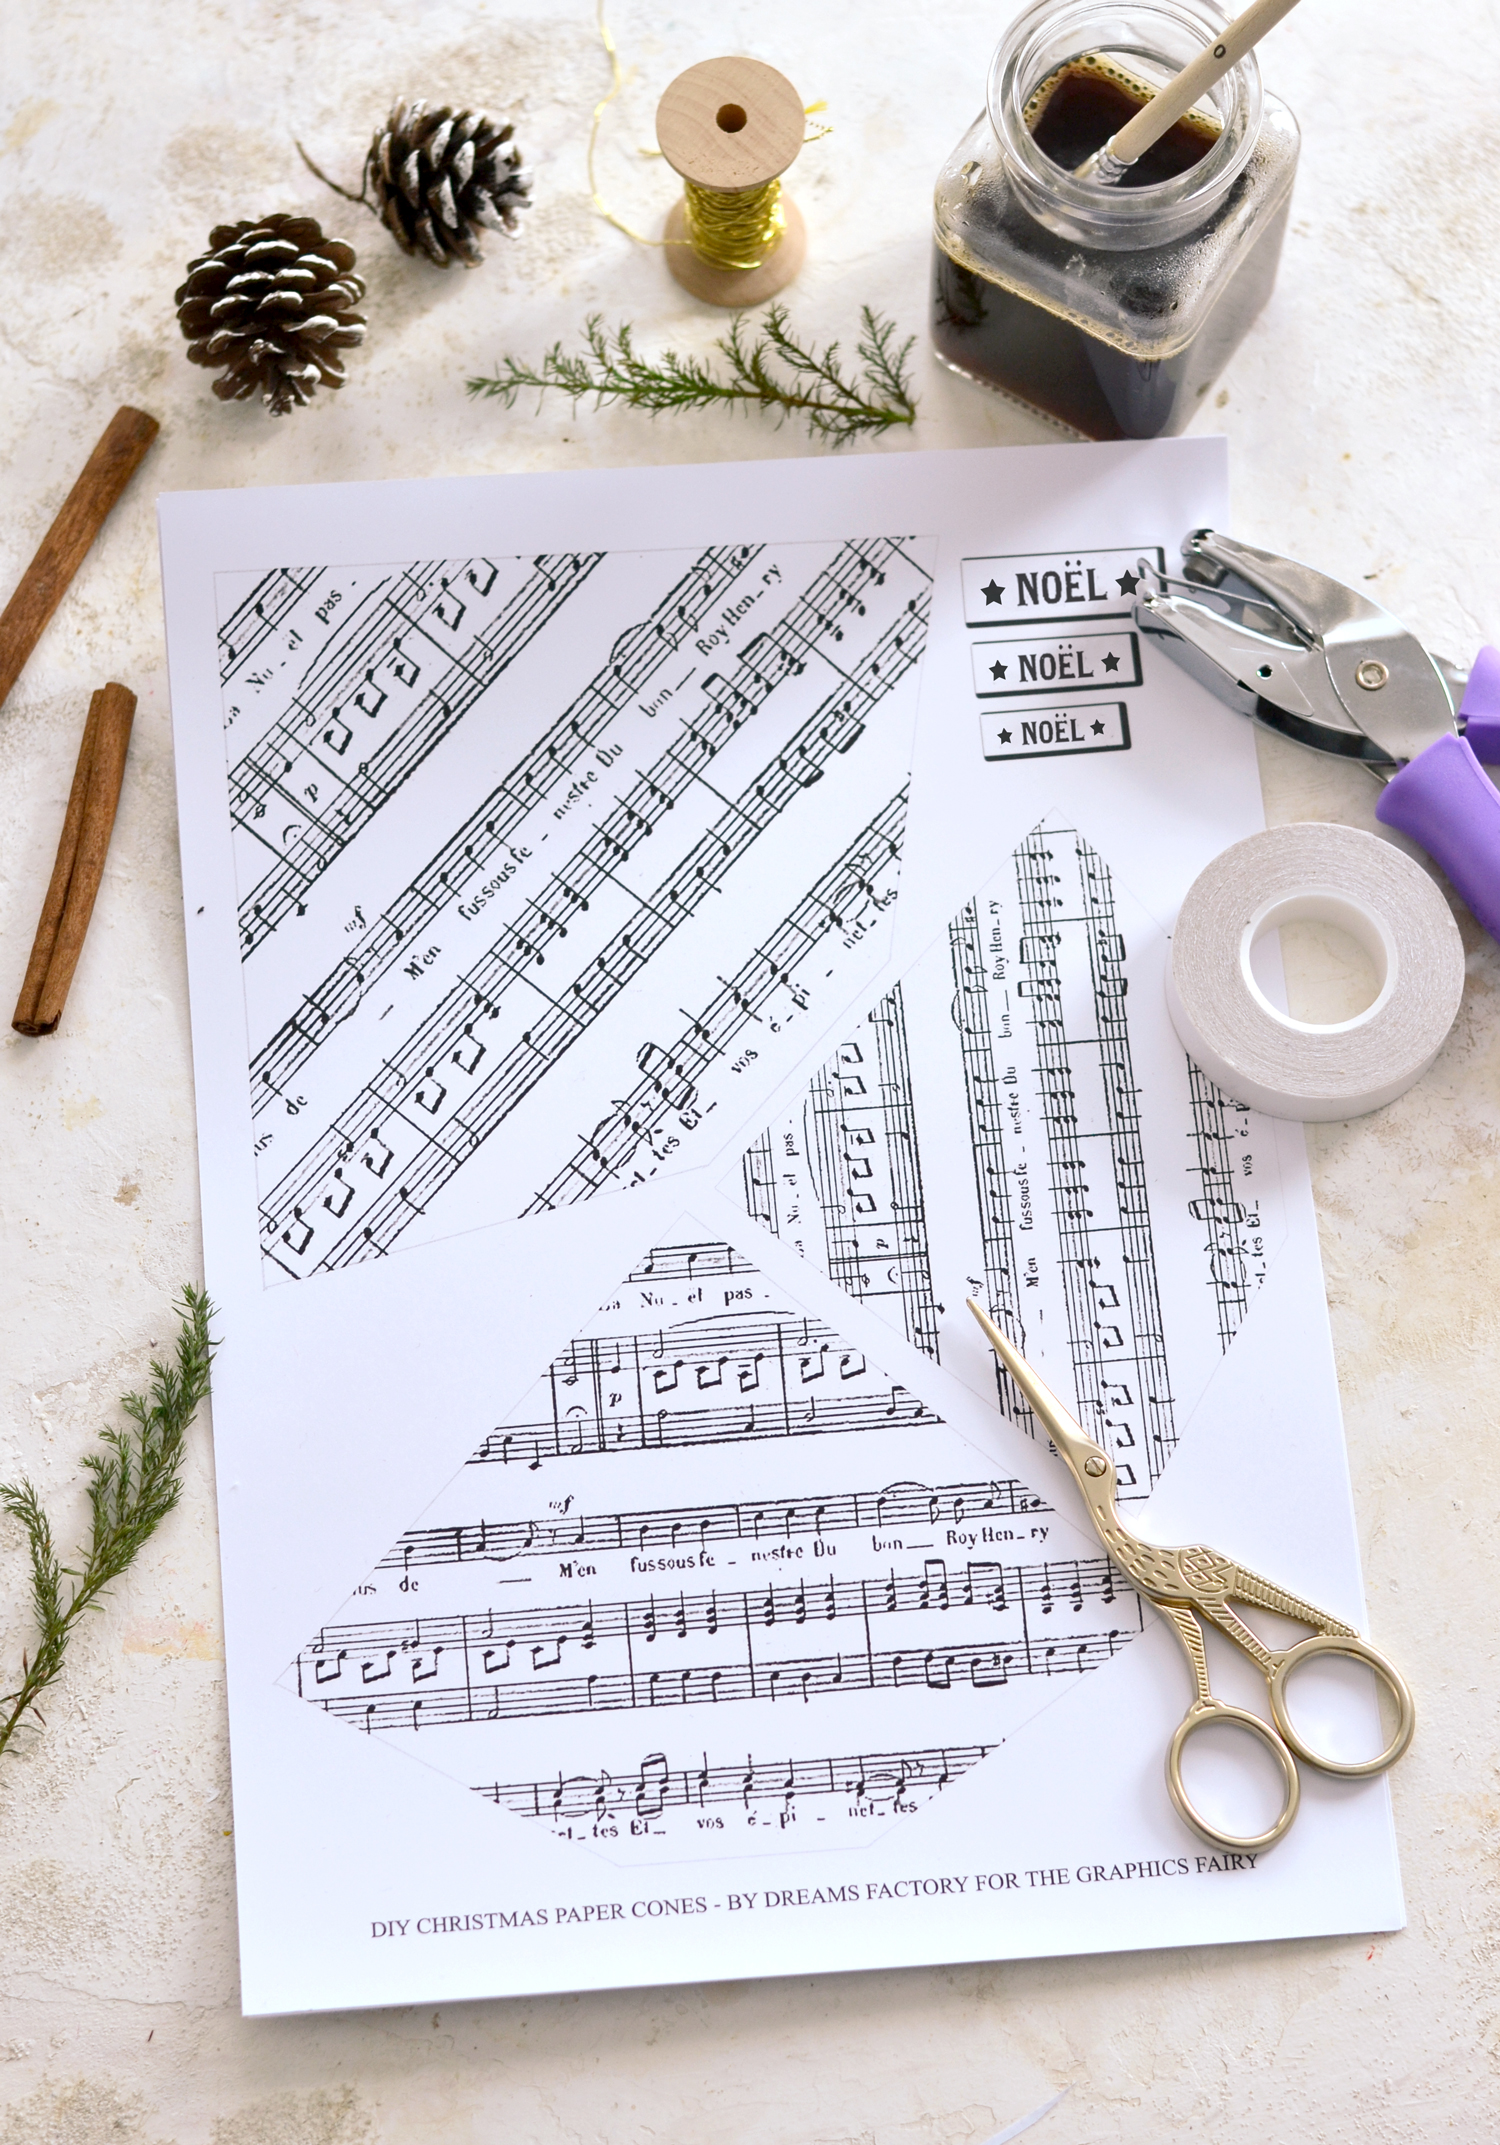
I’m sharing the free printable templates to create the paper cones, you will be able to download and use them as many times as you want. You know I love giving you several options when it comes to (re)creating my projects and this one is no exception! The free printable comes with paper cones templates in 3 different sizes, so you can easily adapt them to your needs! At a first glimpse, you might find the paper cones templates a little bit odd-looking, but after performing a fair share of trial and error, I finally decided this shape worked perfectly for me. I hope it will work for you too!
Christmas Paper Cones Printable
—> Click here to download the full size PDF
SUPPLIES:
- the free printable with the paper cones templates
- cardstock paper
- scissors
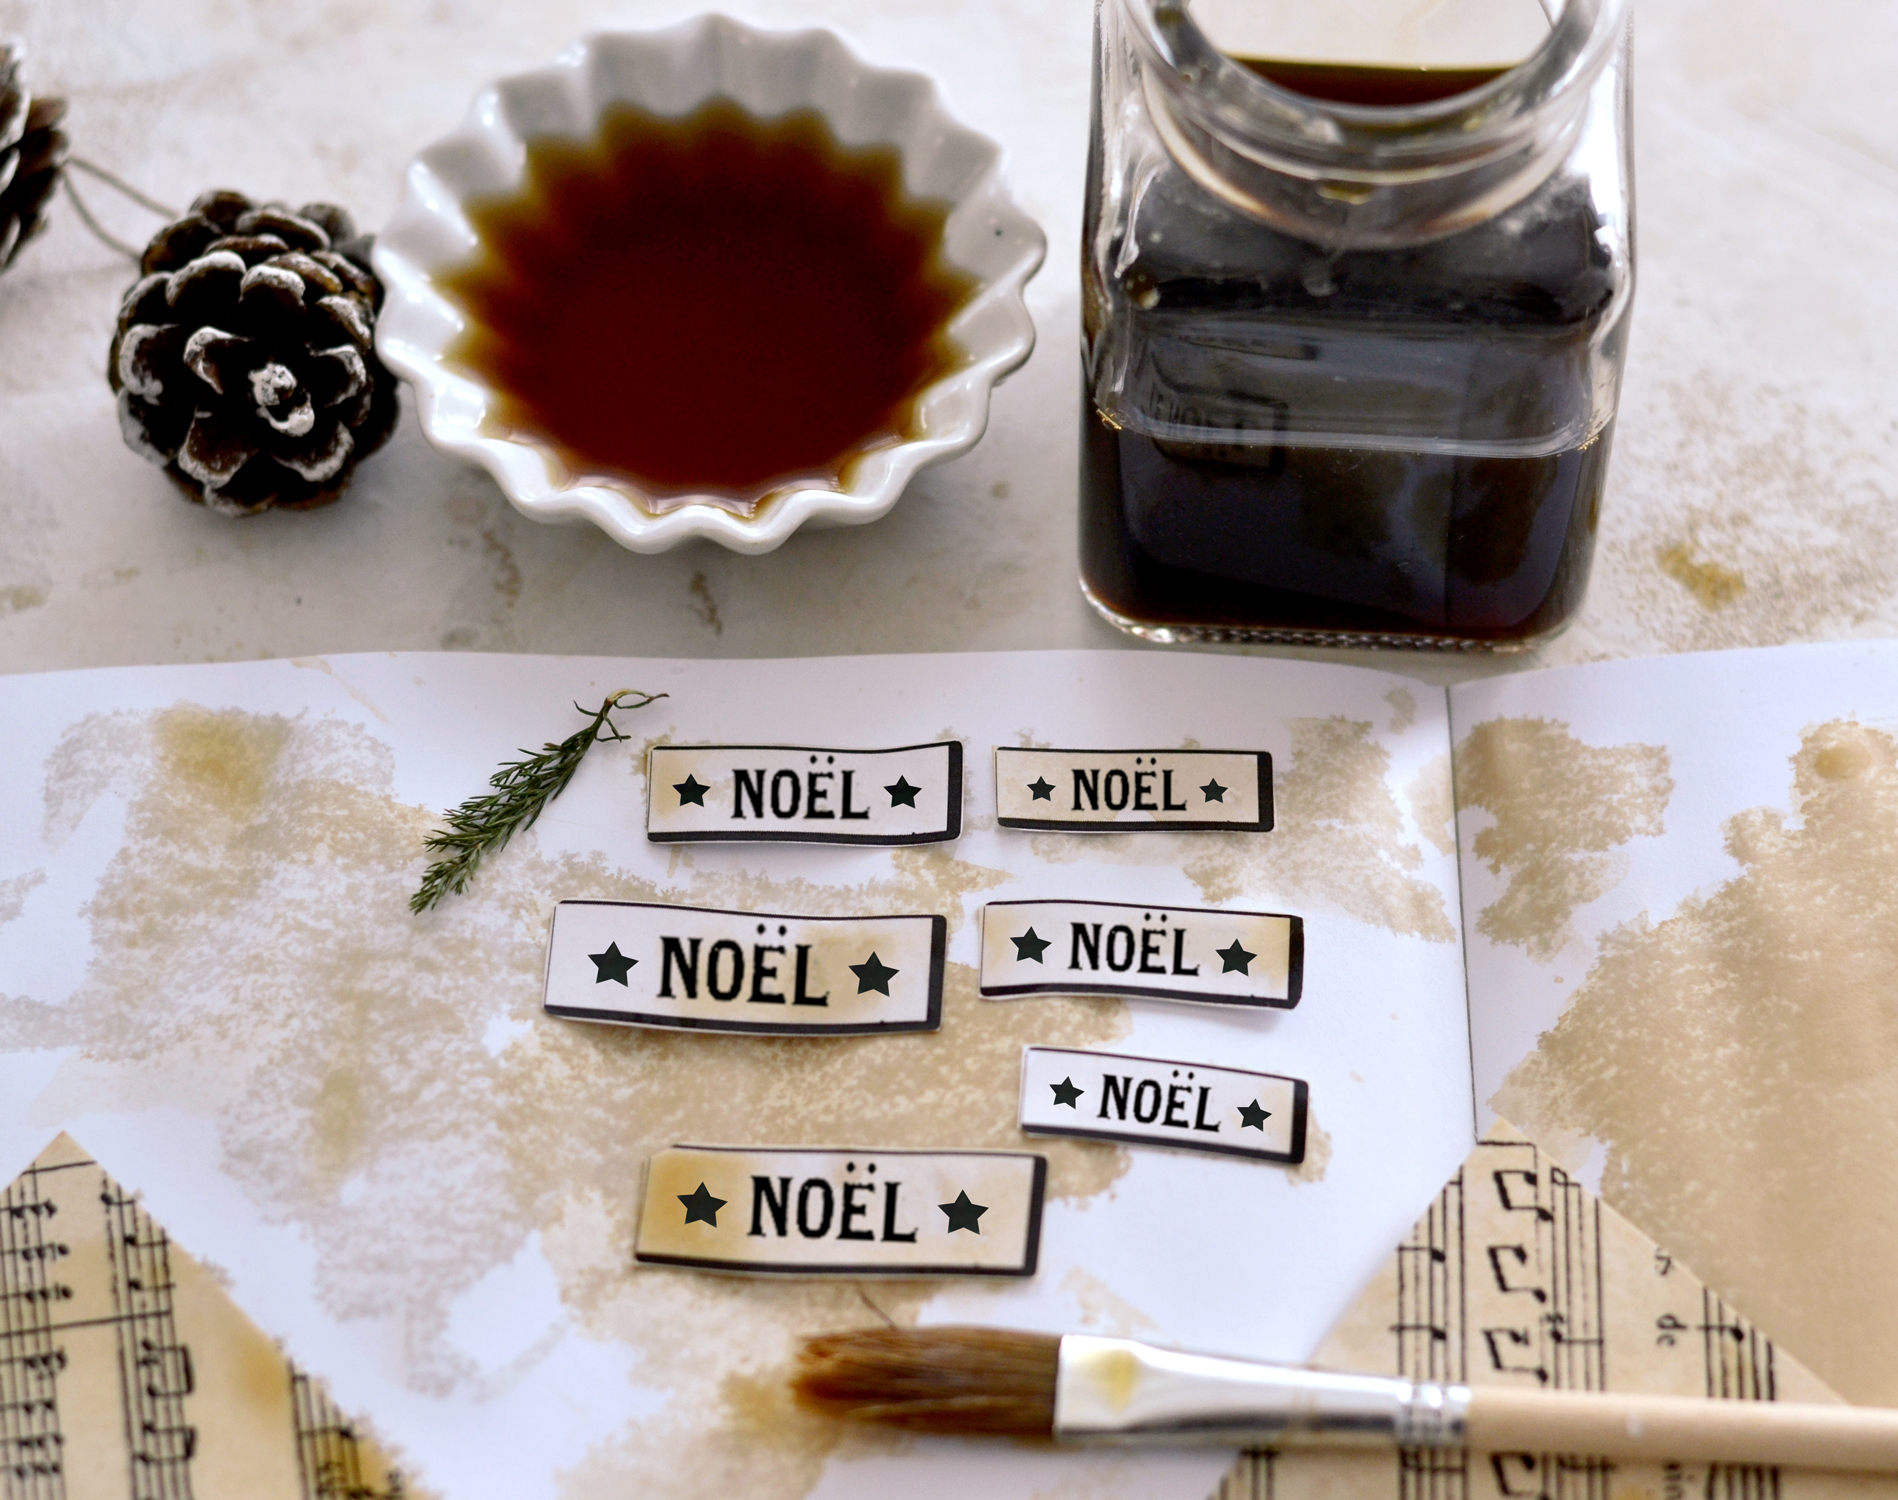
- coffee and a brush
- a non-absorbant surface (teflon, plastic sheet, etc.) or an old book
- double-sided tape OR a quick-drying paper glue OR a hot glue gun
- scrap pieces of gauze / cheesecloth OR tissue paper OR tinsel (optional)
- single hole puncher and gold metallic thread (optional)
Brew your coffee, print the templates, gather all the other supplies and let’s get started!
How to Make Paper Cones Tutorial:
Use your scissors to completely remove the border outside each paper cone template. Keep the borders on your French ‘Noel’ words.
Distressing with Coffee
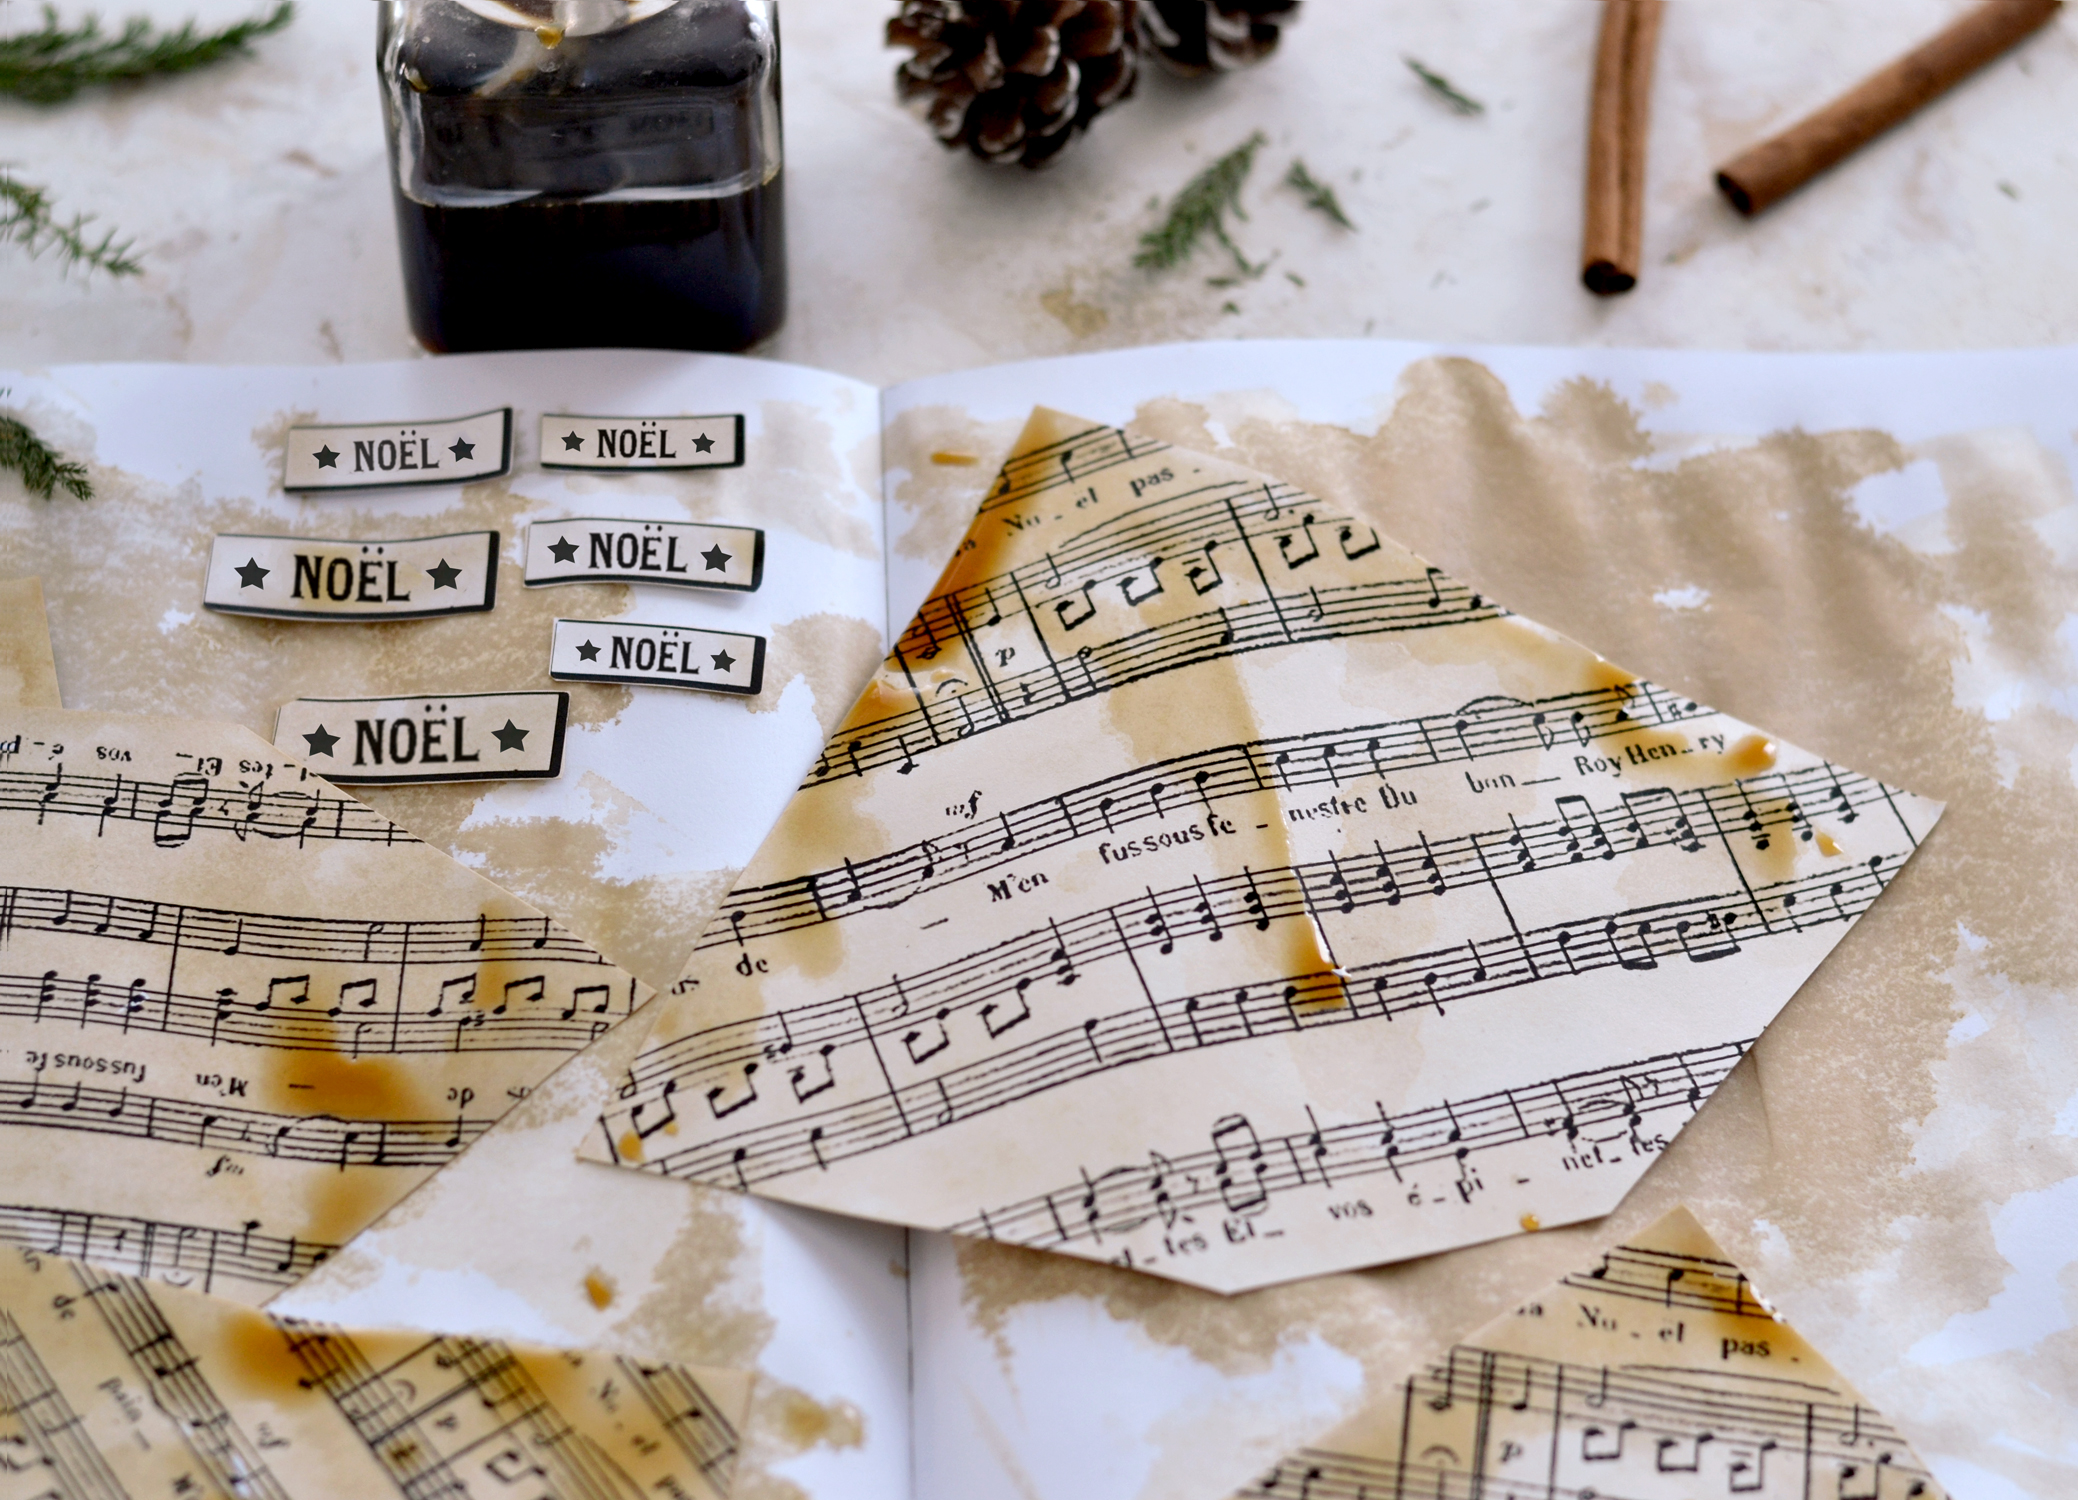
1. Use a non-absorbant surface (a teflon/ silicon / plastic sheet) to protect your working surface. You can also use an old book or an old sketchbook (like I did) if you don’t mind staining them. Brush a small amount of coffee all over the back of the templates first.
2. Flip them over and paint the front.
3. I used a highly diluted version of my coffee to ‘paint’ over the French words, I wanted them to be a little bit lighter to create some contrast. You can let everything air dry or you can use a heat gun (or your hairdryer) to speed up the process.
4. If you are not happy with how the coffee is soaking into the paper (it sometimes tends to create a flat look ), you can always come back with more coffee drips, brushes or splashes to add more interest.
The paper cones templates are looking goooood! 🙂 The coffee created such beautiful distressed patterns all over the surface of the paper!
P.S. The paper tends to curl and bend a little bit after drying, you can put the templates between the pages of a book (or even iron them) – if you want to flatten them again.
Assemblage
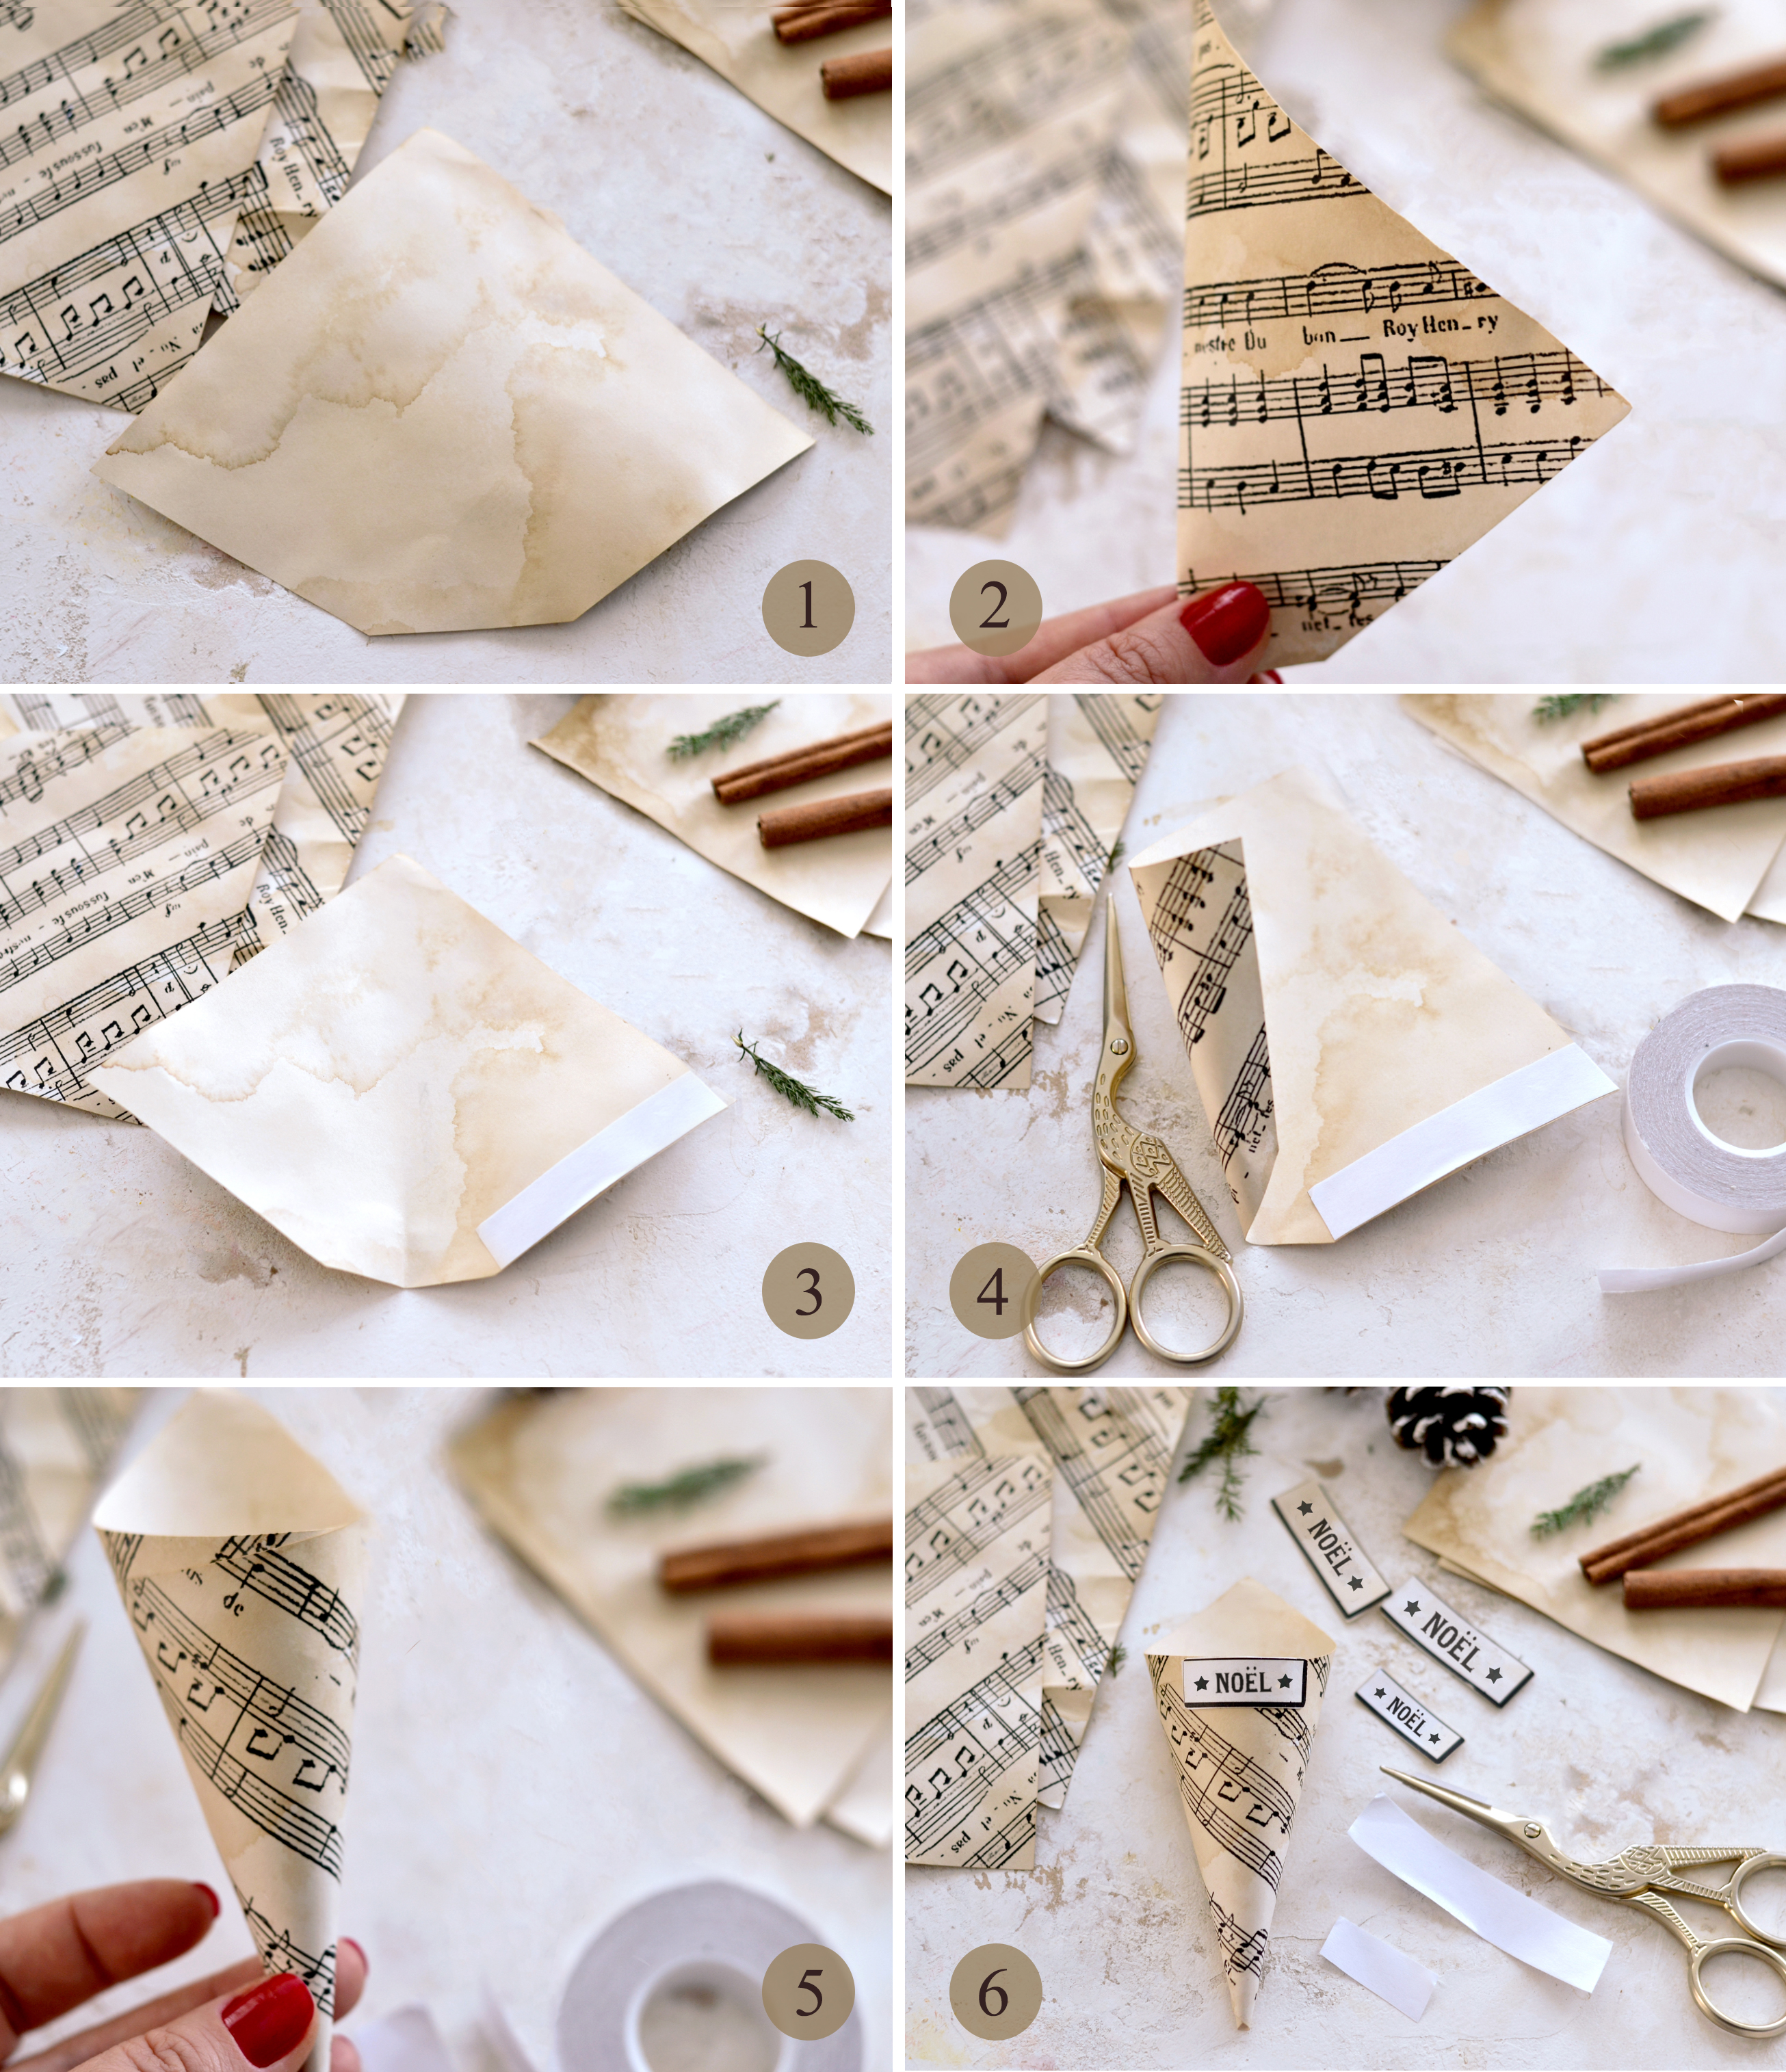
To make the paper cones, flip the template over and place it on your table – the pointy end should always be on top (1). Fold the template in half (vertically) but don’t score it! Only pinch it at the bottom with your fingers to create a small crease (2). Unfold the template and apply double-sided tape on the right lower side (3). Use the middle bottom crease that we just created as a guide to fold the left side inwards (4)- the first fold should perfectly overlap the middle crease. Remove the top part of the double-sided tape when you are halfway through, then roll the template completely to create your first paper cone and press it with your fingers for complete adherence (5). Add some more double-sided tape on the back of the French words and place the tab where you want on your simply gorgeous paper cone (6)!
Repeat these steps for all yourPaper Cones, you should have them ready in no time! You can keep a few of them simple, without adding the French words, if you want to give them a more universal vibe. Or maybe you just want to try and see how they look with other embellishments, you can get really creative here!
If you want to add more dimension to your paper cones, you can also try adding something inside. Depending on your preferences, you can use cheesecloth/gauze or other scrap pieces of fabric. Tissue paper, even some tinsel might work too!
You can also add small greenery inside, cinnamon sticks, and even flowers, along with other embellishments like gold paper clips (learn how to make them using acrylic paint >> here), vintage broaches or charms, even fussy-cut images.
And if you want to use the paper cones around your home as Christmas decorations, you can always use some gold metallic thread (or what you have around) to hang them. Use a puncher to make one hole in the top middle area of the cones or punch two small holes on the sides.
They will look amazing anywhere in your home!
Your Christmas tree could also benefit from these gorgeous coffee-infused paper ornaments, just fill them with candies, chocolates or gingerbread cookies and let your family enjoy them during the holidays!
 I hope you enjoyed learning How to Make Paper Cones for Christmas today! You might also like Printable Paper Ornaments Tutorial HERE.
Happy crafting,
Diana / Dreams Factory












Jennifer says
What a lovely idea! Thank you!
graphicsfairy says
We are so glad you like them Jennifer, have a great day!