DIY Vintage Flower Stickers
Hello Graphics Fairy friends! I’m Diana from Dreams Factory and I’m happy to be here again to share another DIY project with you! Today I will show you how to make these super chic DIY Vintage Flower Stickers that can be included in all sorts of creative projects! The stickers are really beautiful on their own and you can decide whether you want to keep things short and finish everything in 5 minutes, or take the extra mile to further distress them using wax paper. I experimented with wax paper for this project because I wanted to imprint on our stickers a subtle sheerness that would complement their lovely vintage vibe. I was pleasantly surprised to see the final results, a coat of wax completely changed the paper’s appearance and it became almost translucent.
You have a few options for printing the stickers. You can use white sticker paper that has an adhesive backing to print your stickers, but you can also use regular paper and decide about the adhesive part later on. I went with the latter, I decided to use regular paper so I could distress it as I wanted. When finished, you can use double-sided adhesive sheets or even double-sided tape to create that adhesive backing that is specific to stickers. But of course, you can also add just a little bit of glue on their back when actually using them in your projects.
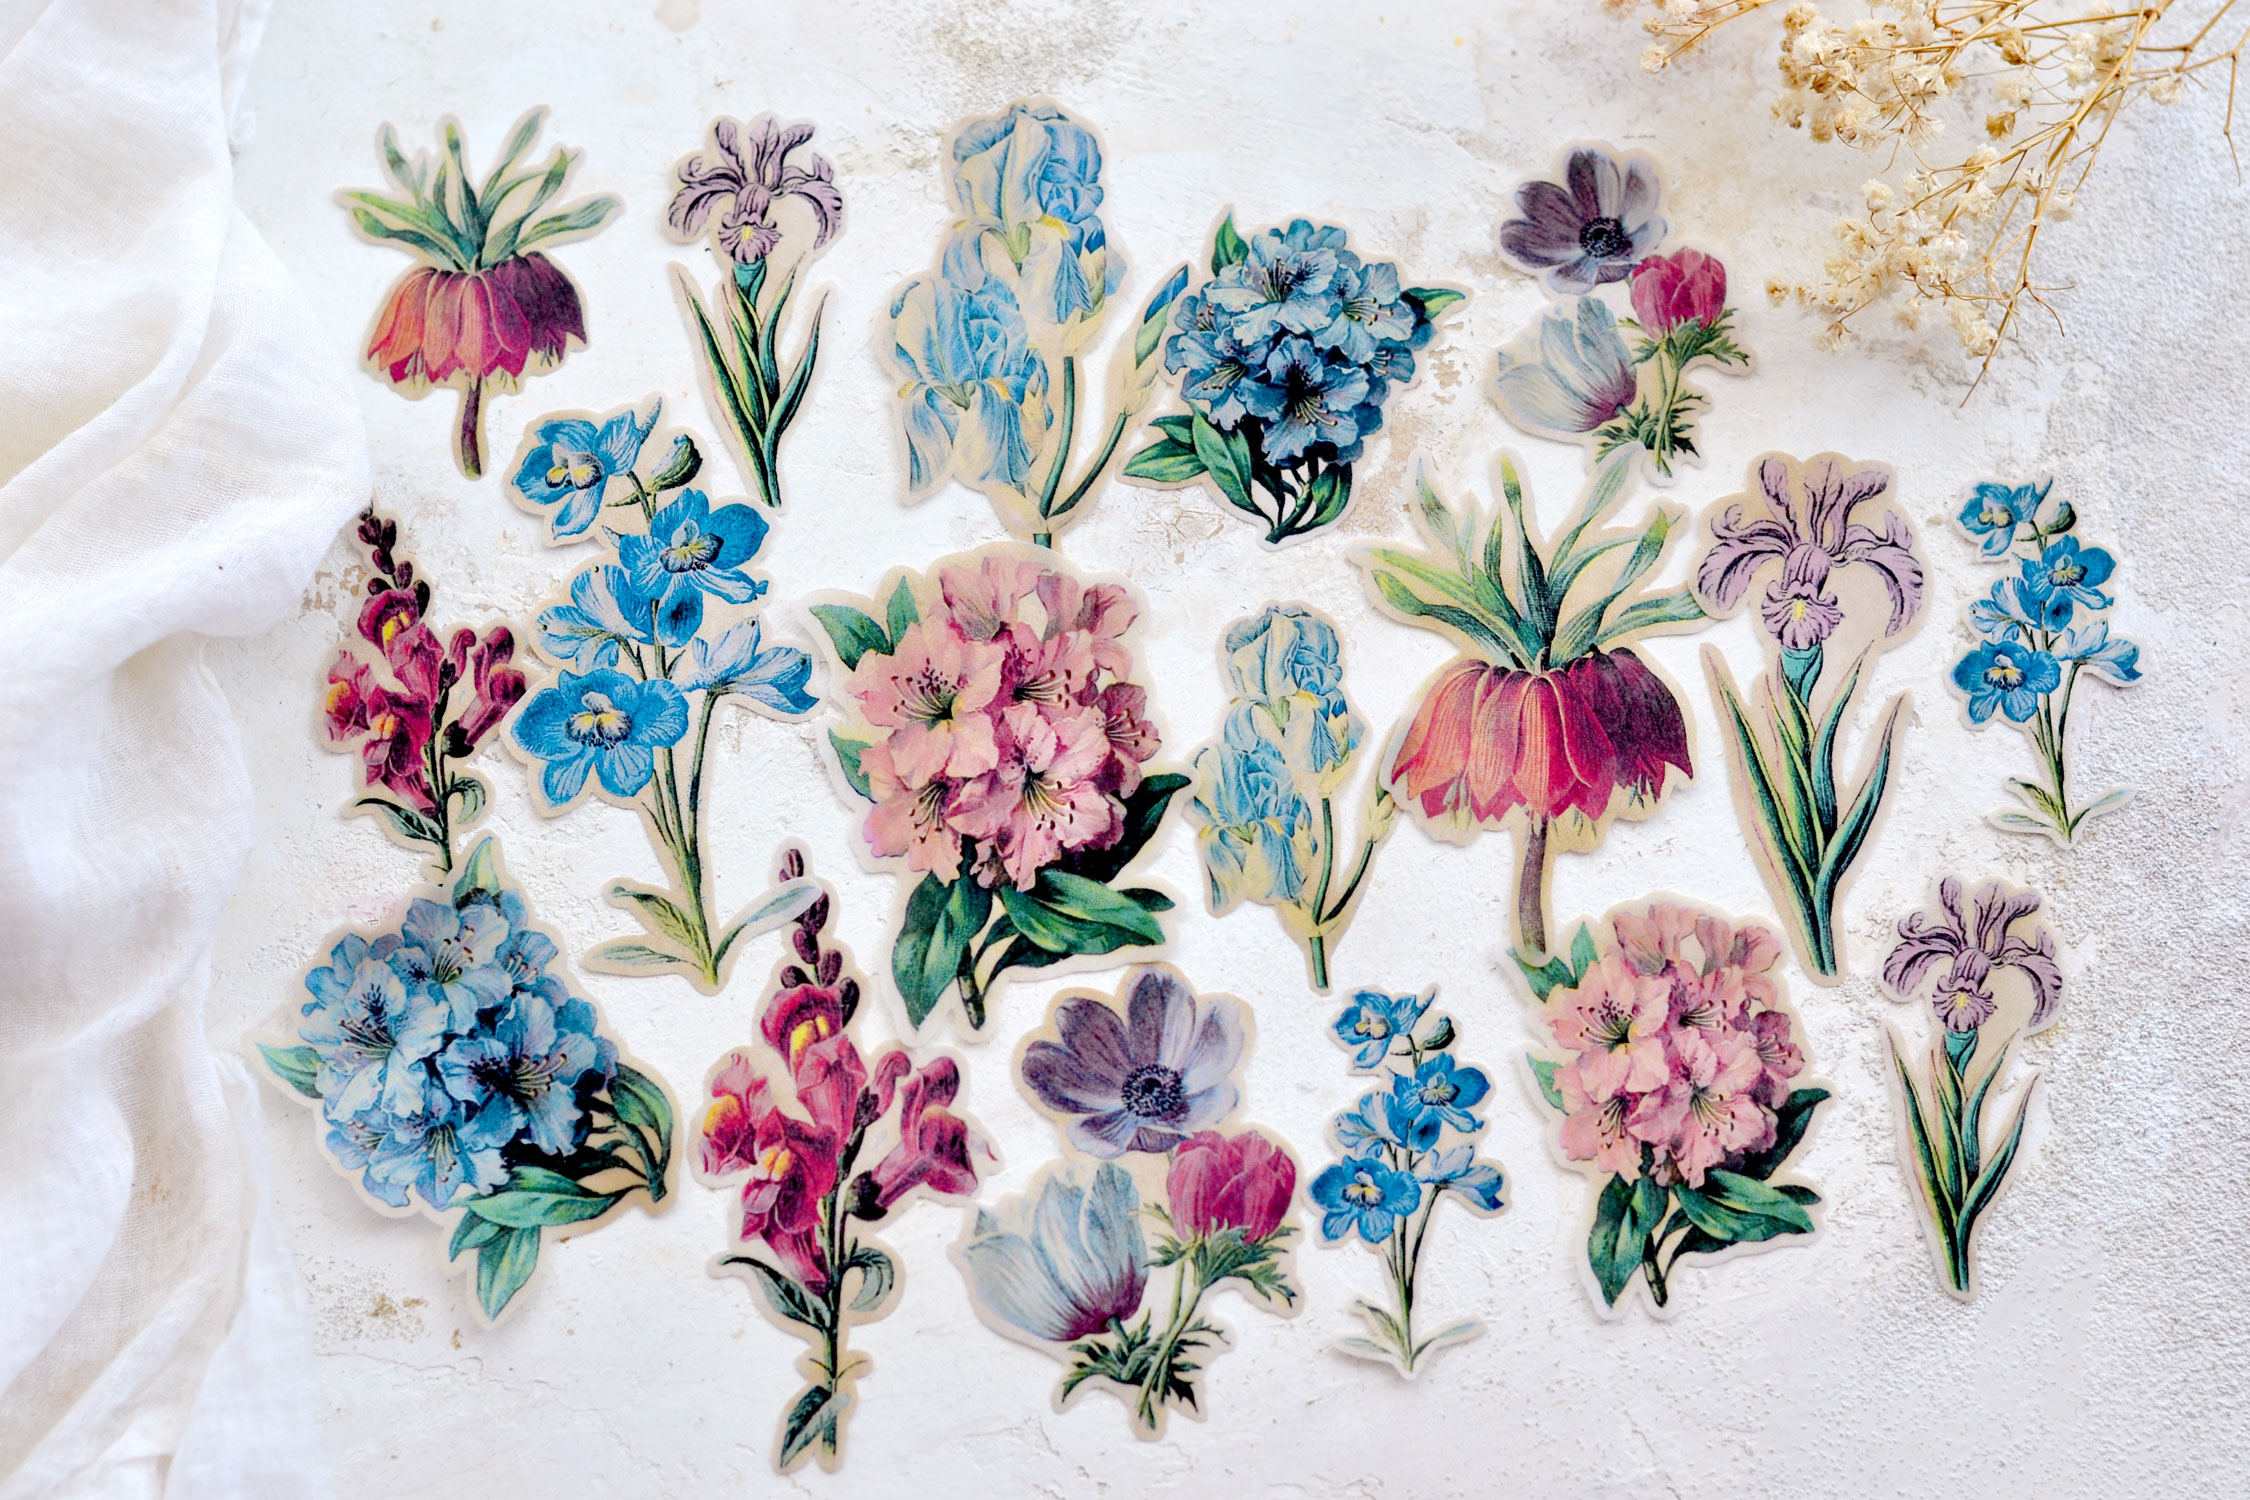
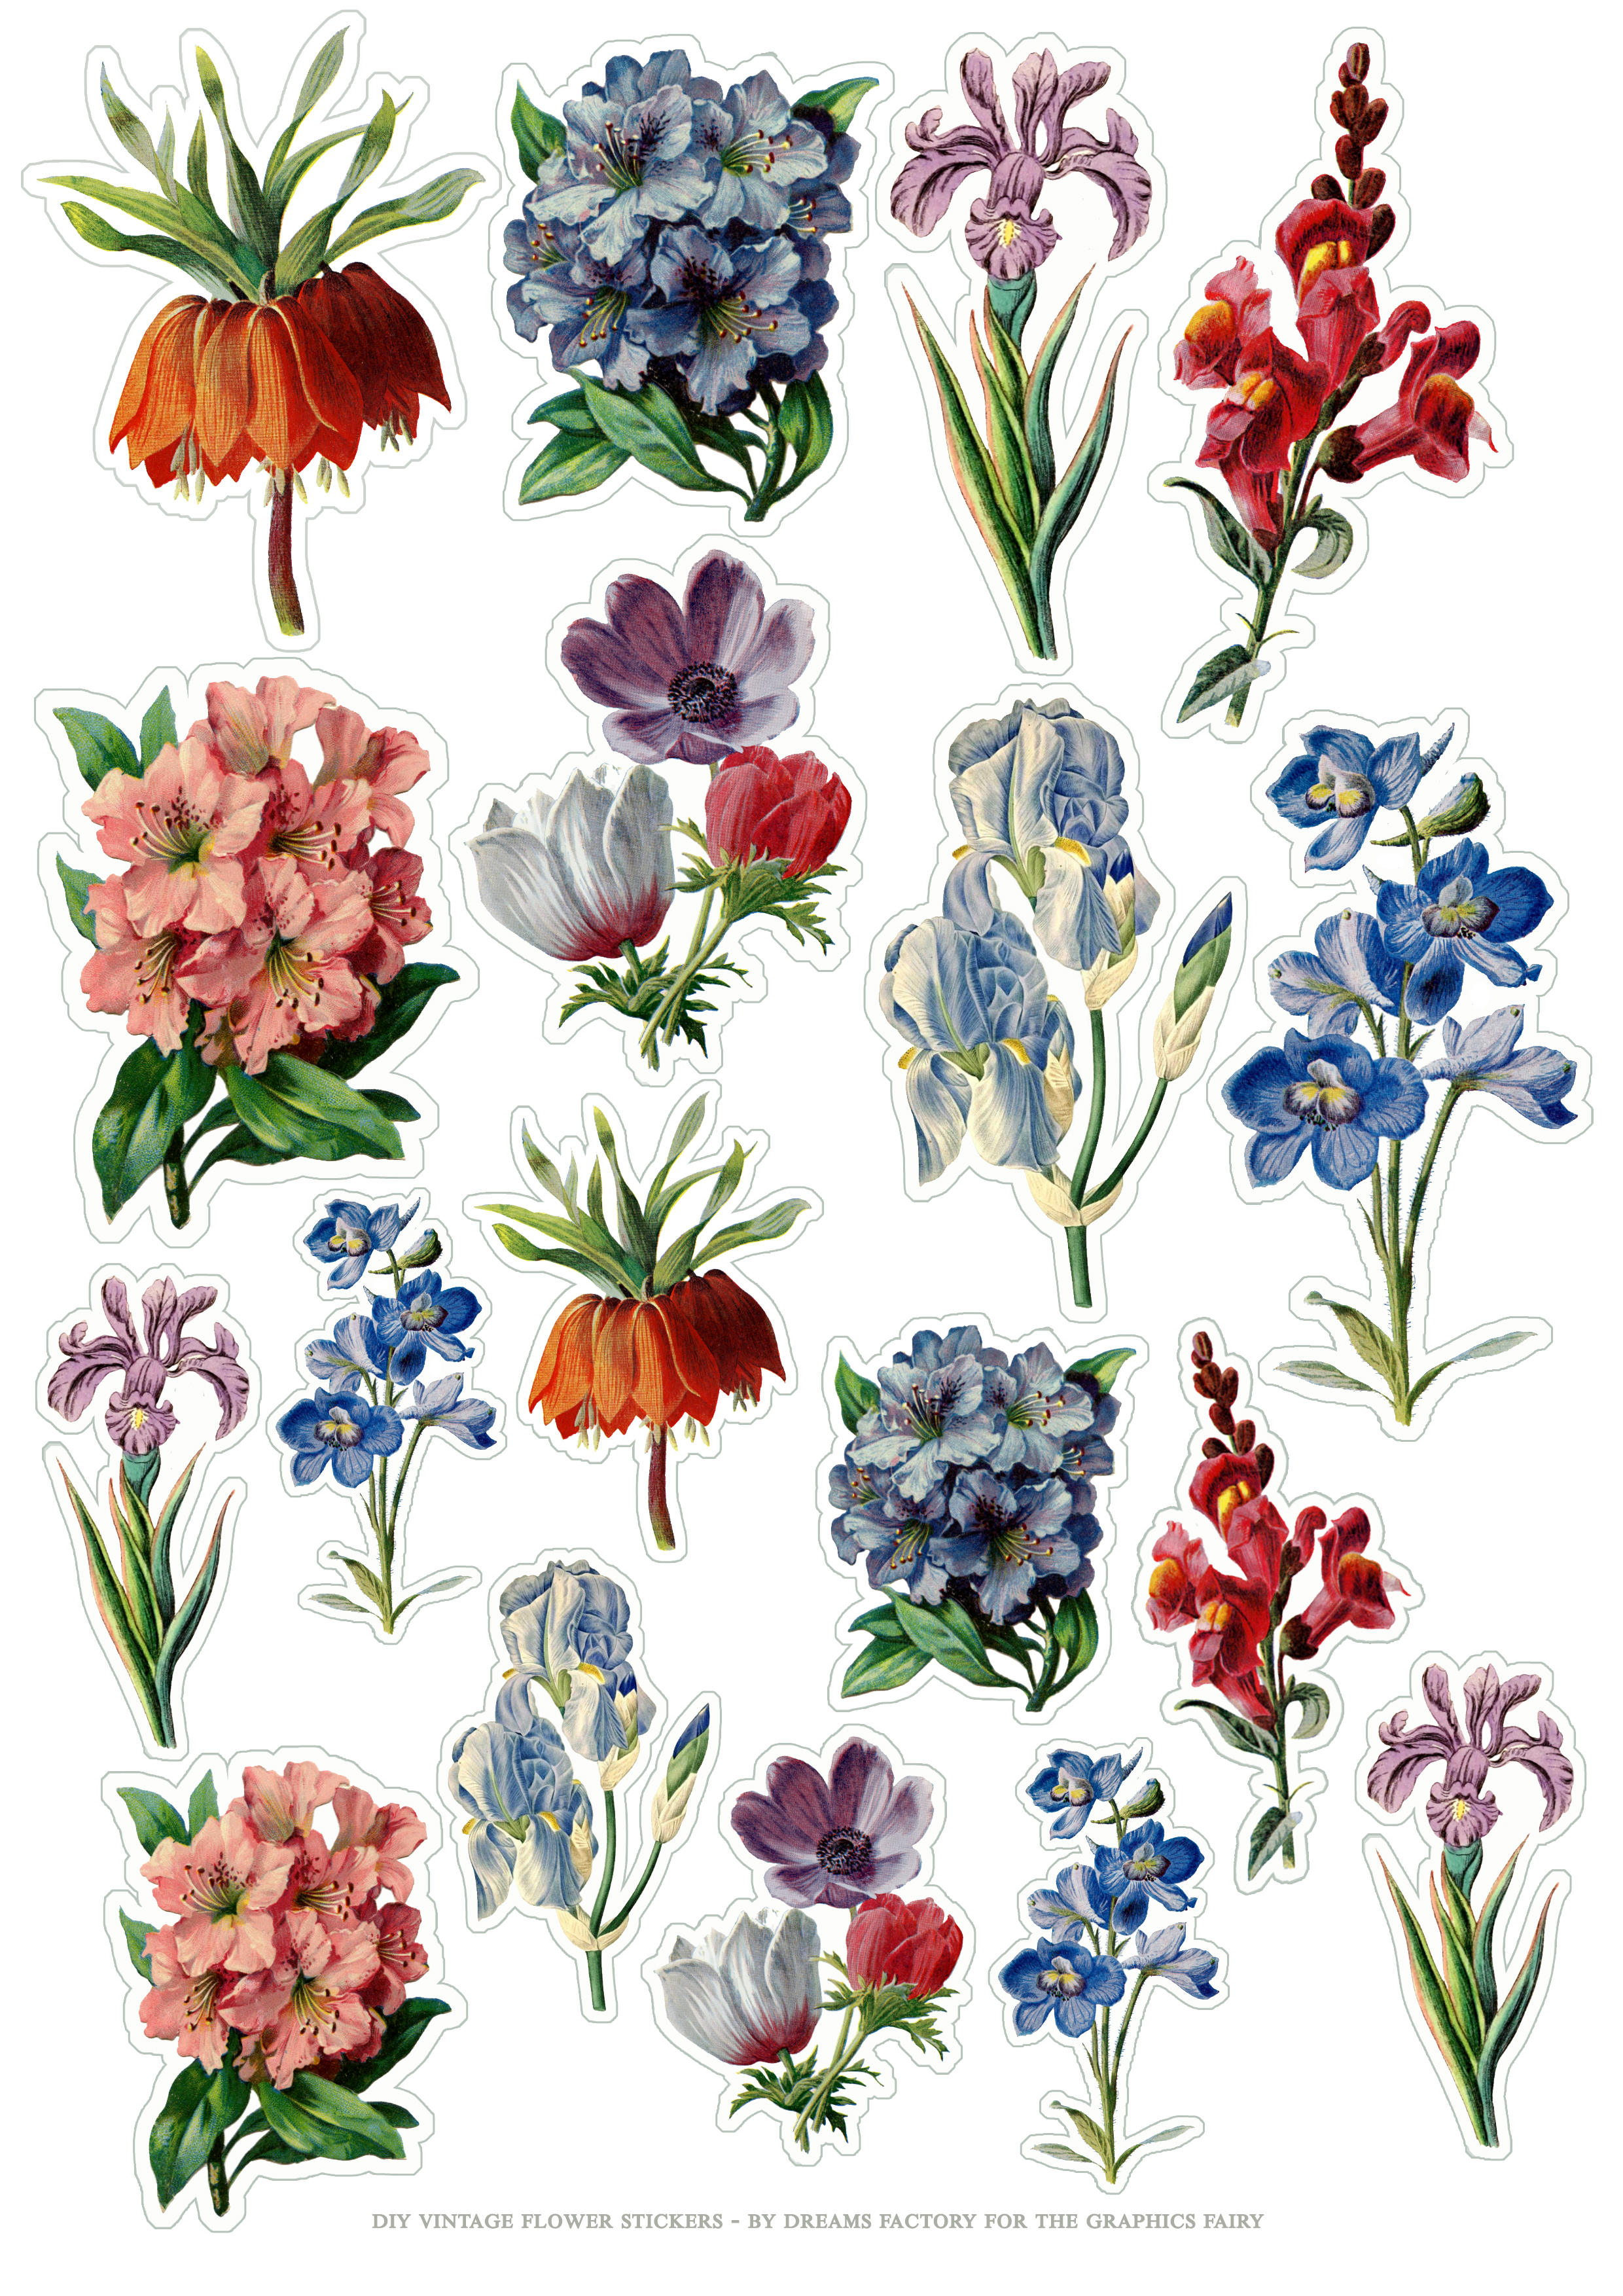
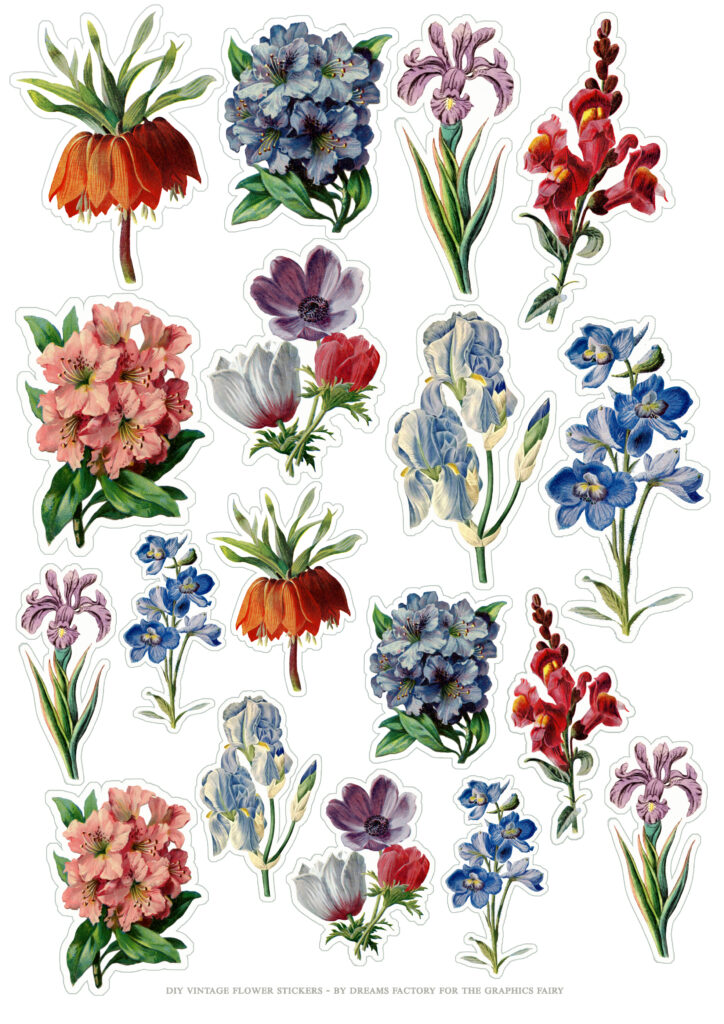
Here is the gorgeous printable that I created for this project, you can save it on your computer and print it as many times as you want! Having these beauties around for when in need sounds like a great idea, if you ask me!
Free Printable:
—-> Click HERE to Download the Full Size Printable PDF <—-
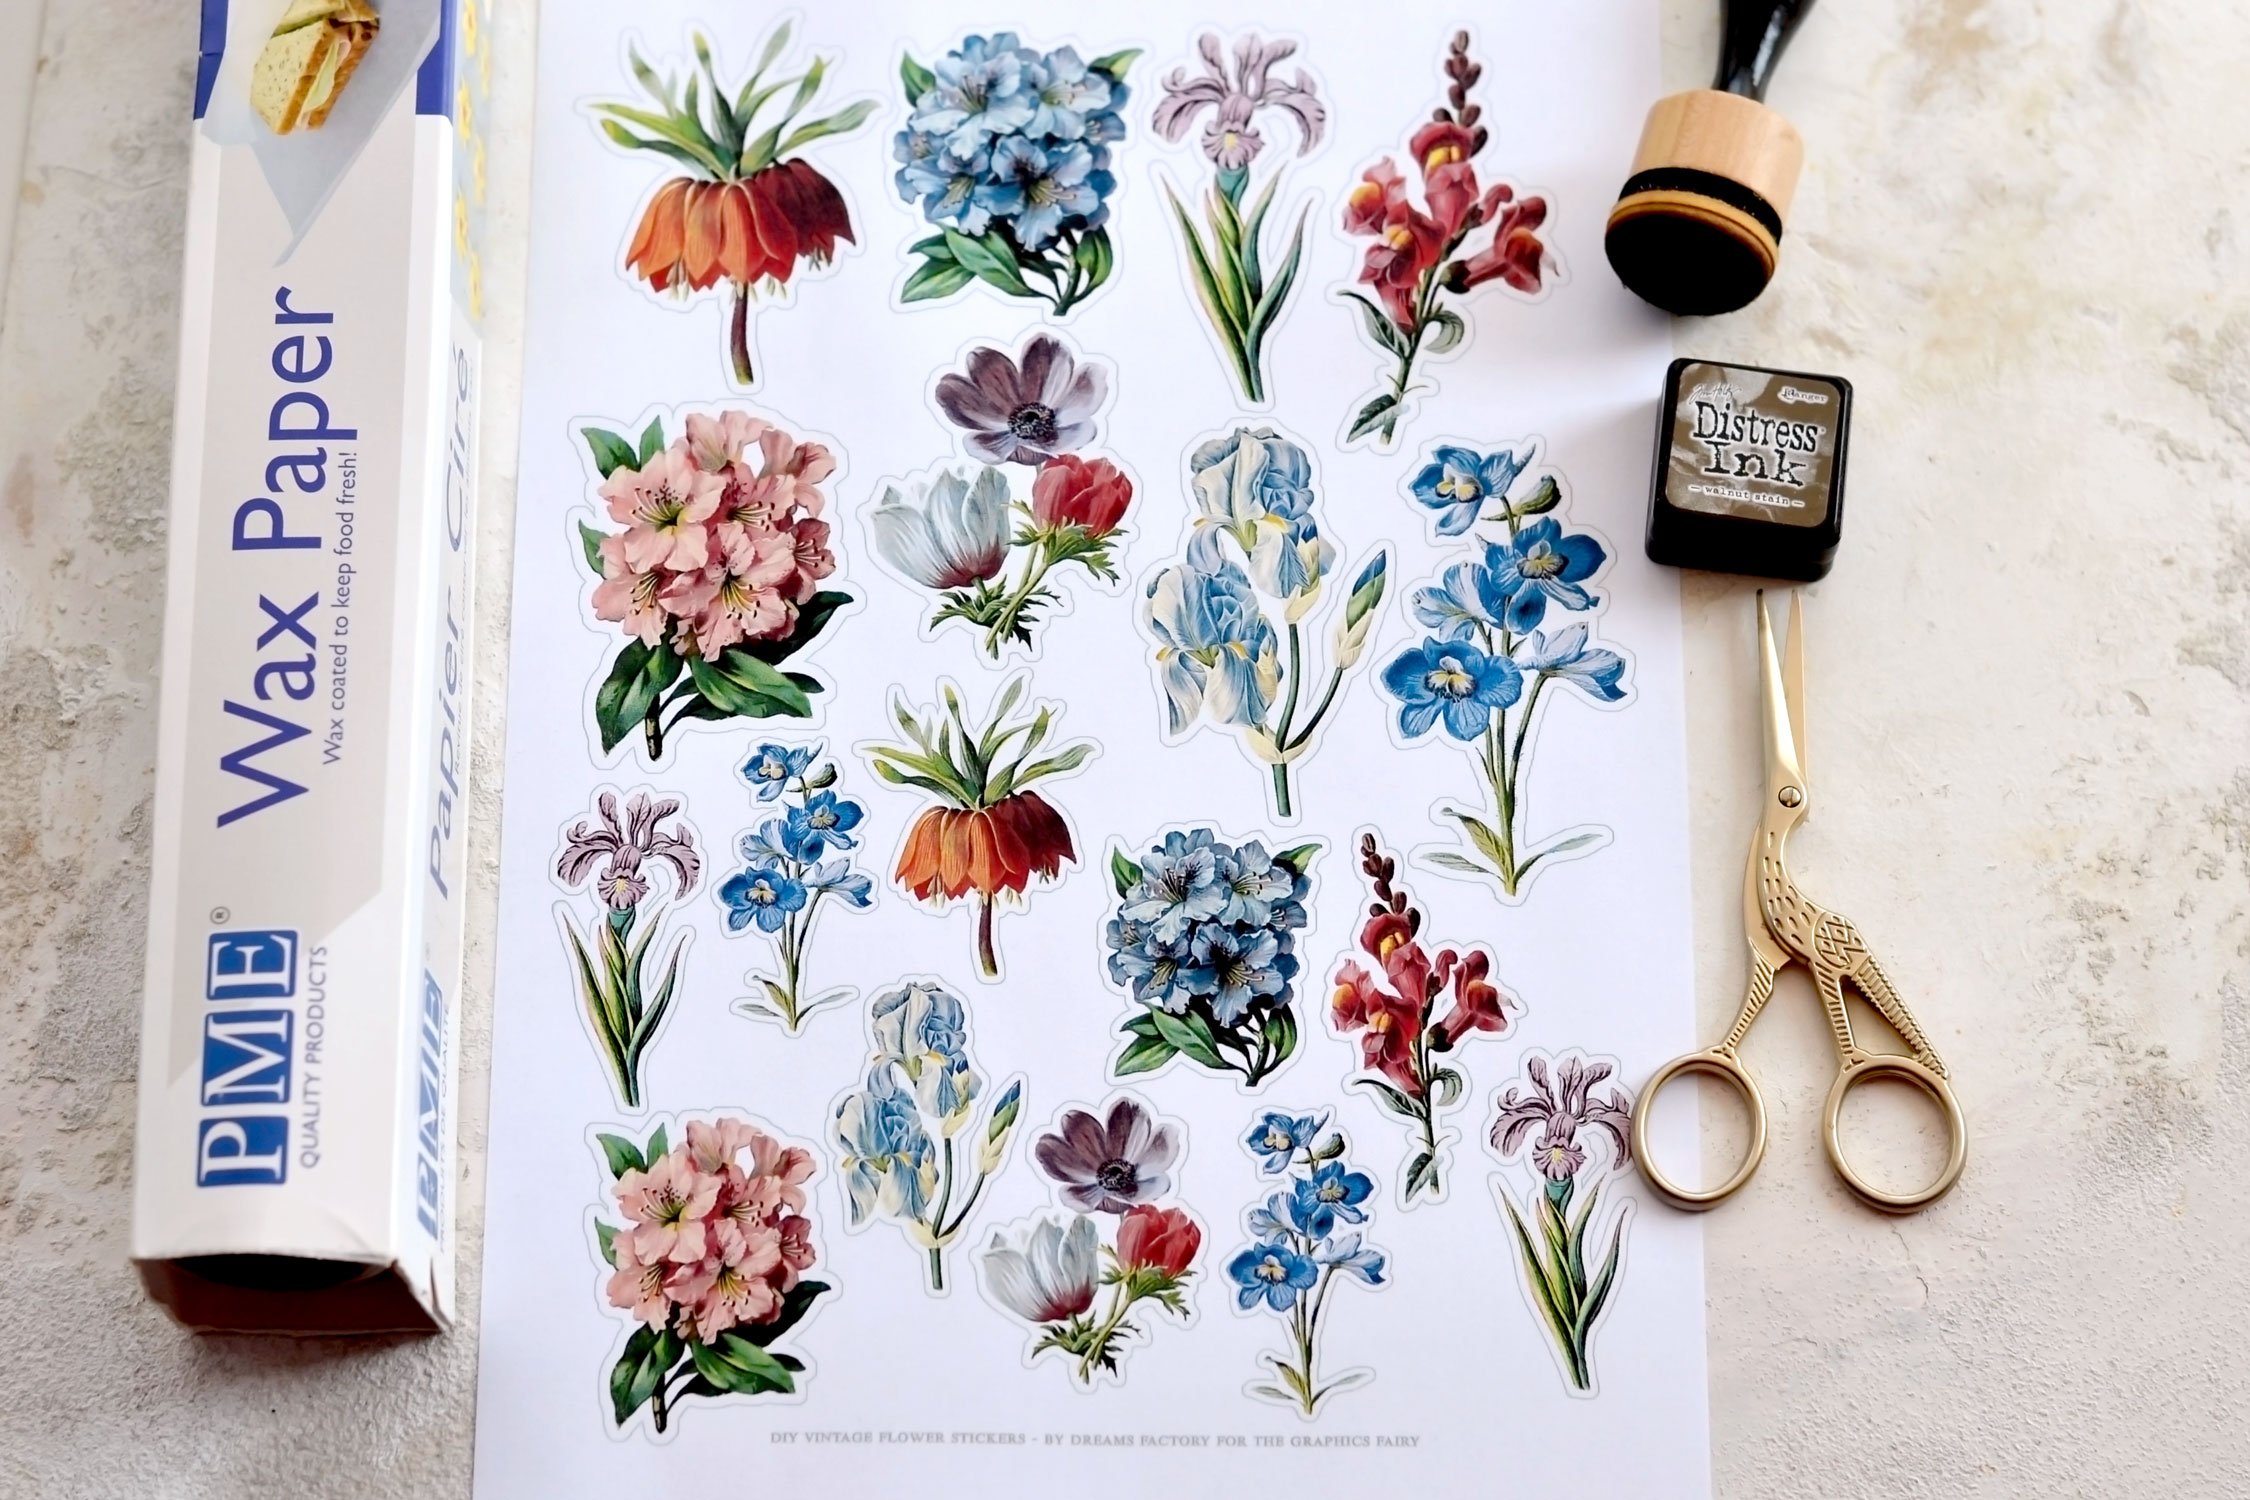
Supply List for DIY Vintage Flower Stickers:
- regular printing paper or sticker paper
- home printer
- scissors
- bone folder
- mini distress inks
- blending tool with foams
- wax paper
- parchment paper
- clothes iron
- window envelope + gold marker (optional, to make a vase)
- double-sided adhesive sheets or double-sided tape
Step by Step Tutorial:
Start by printing the flower stickers on sticker paper and use them as you want! This will be the extra short process when you just print and use these beauties as they are!
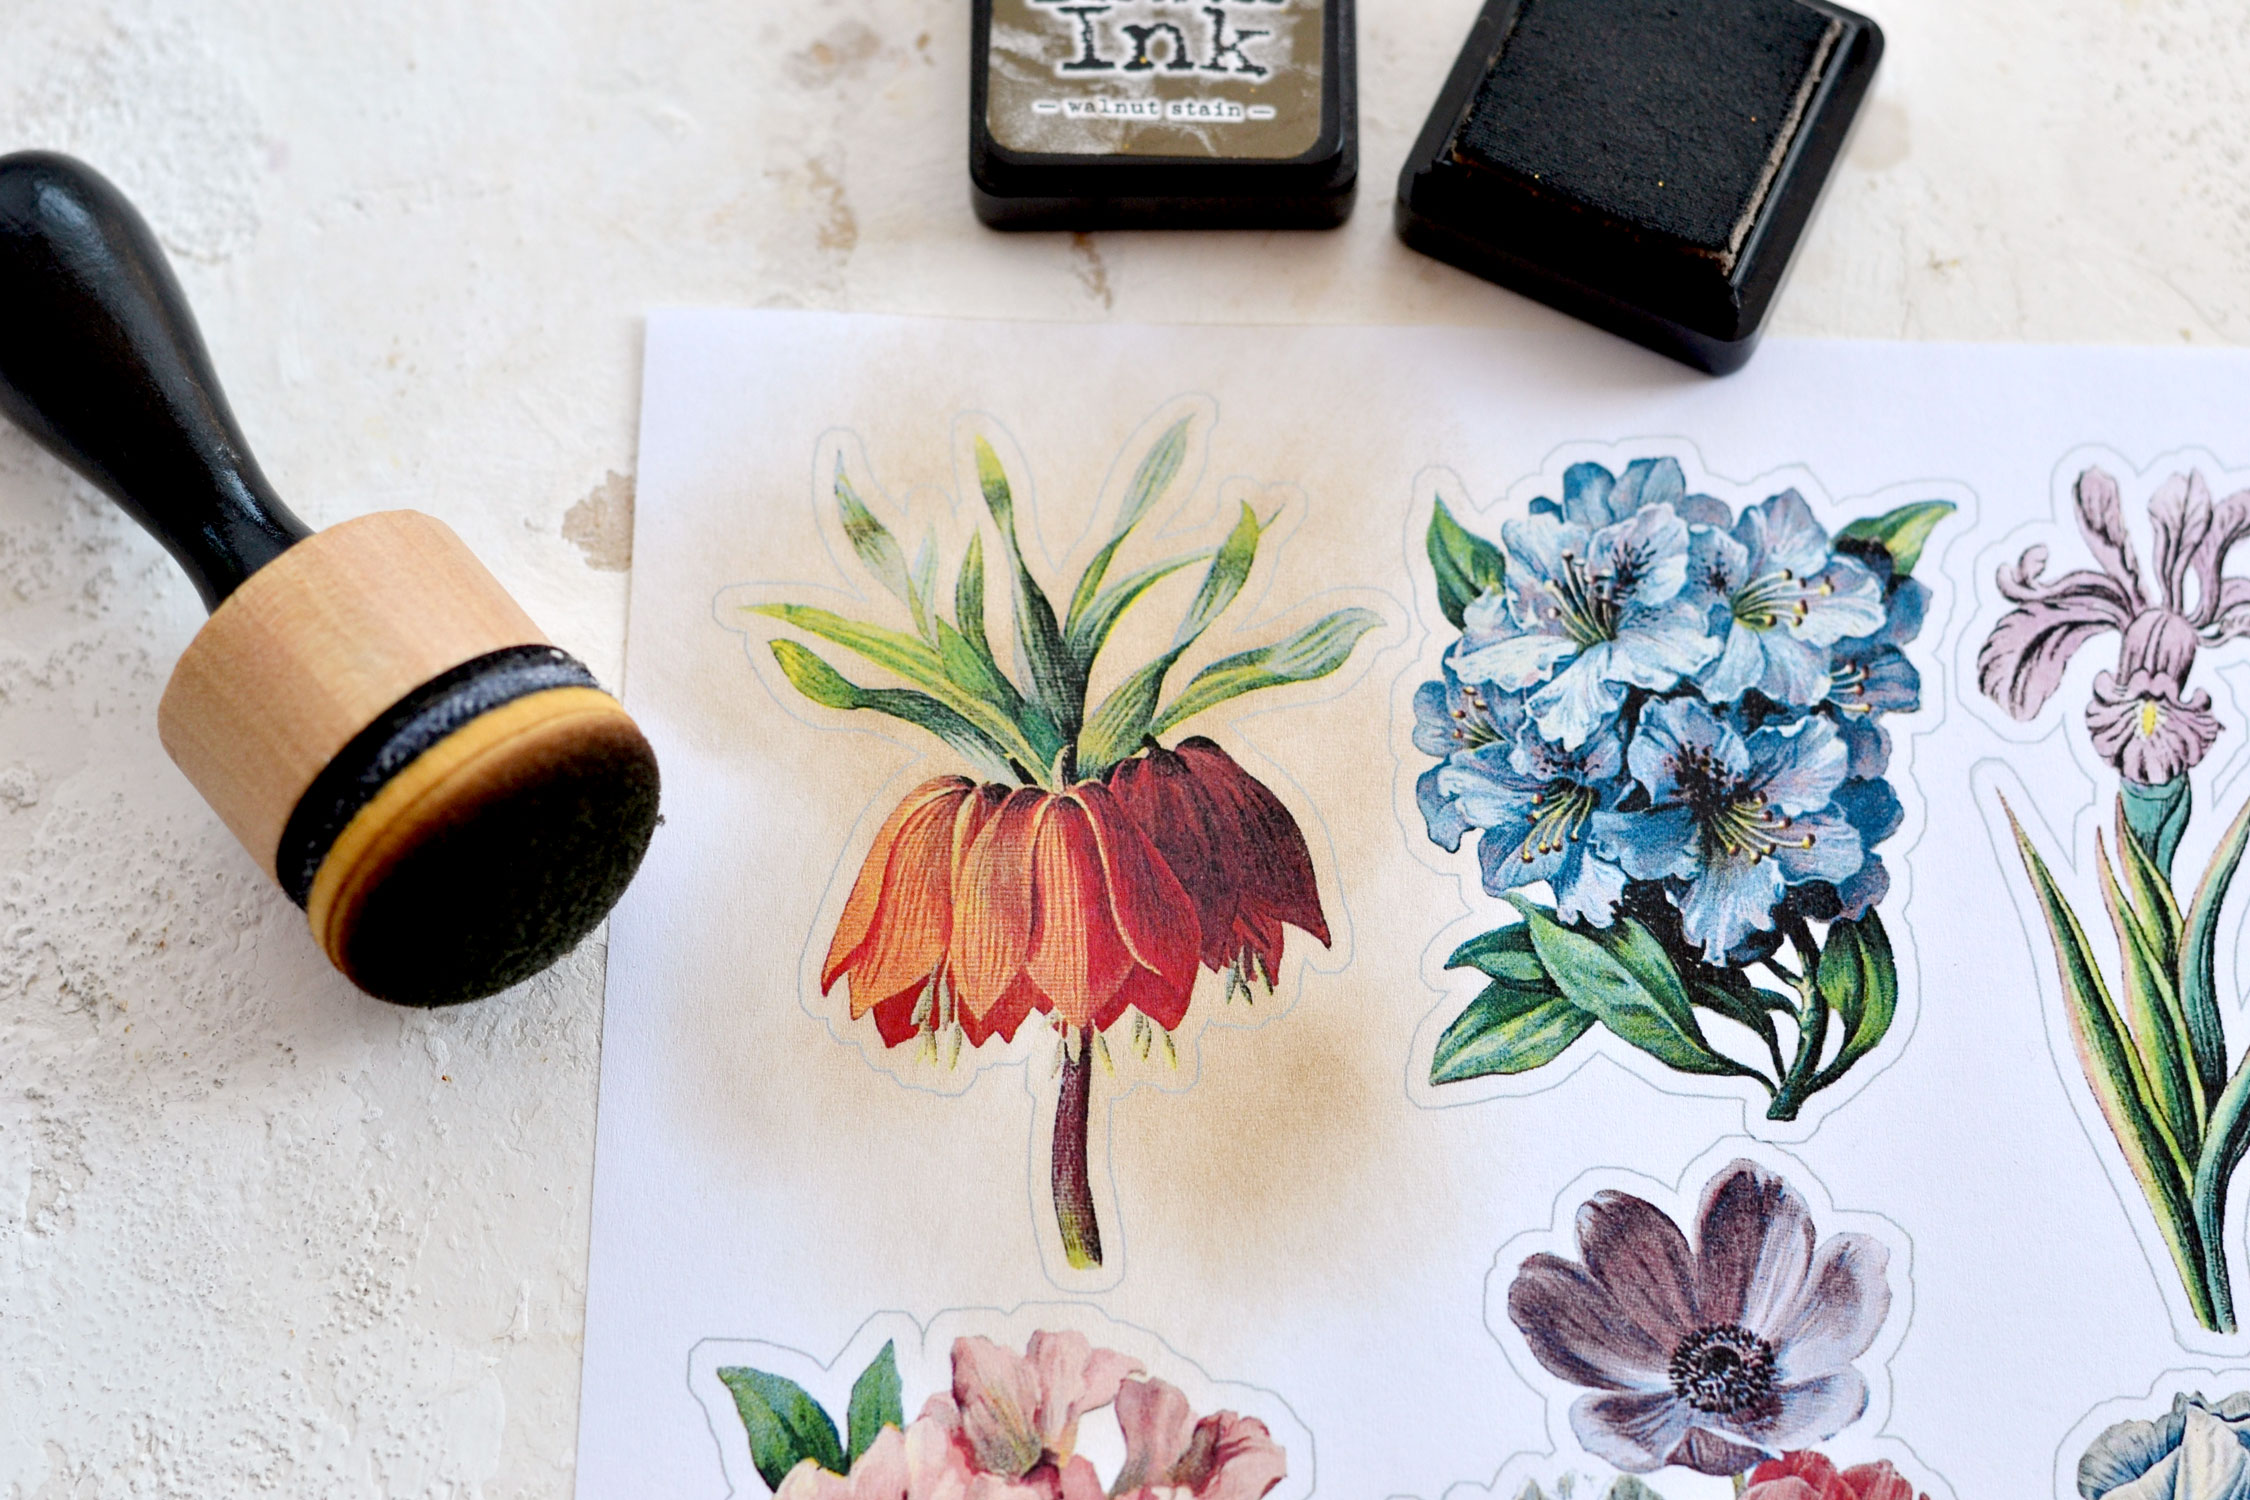
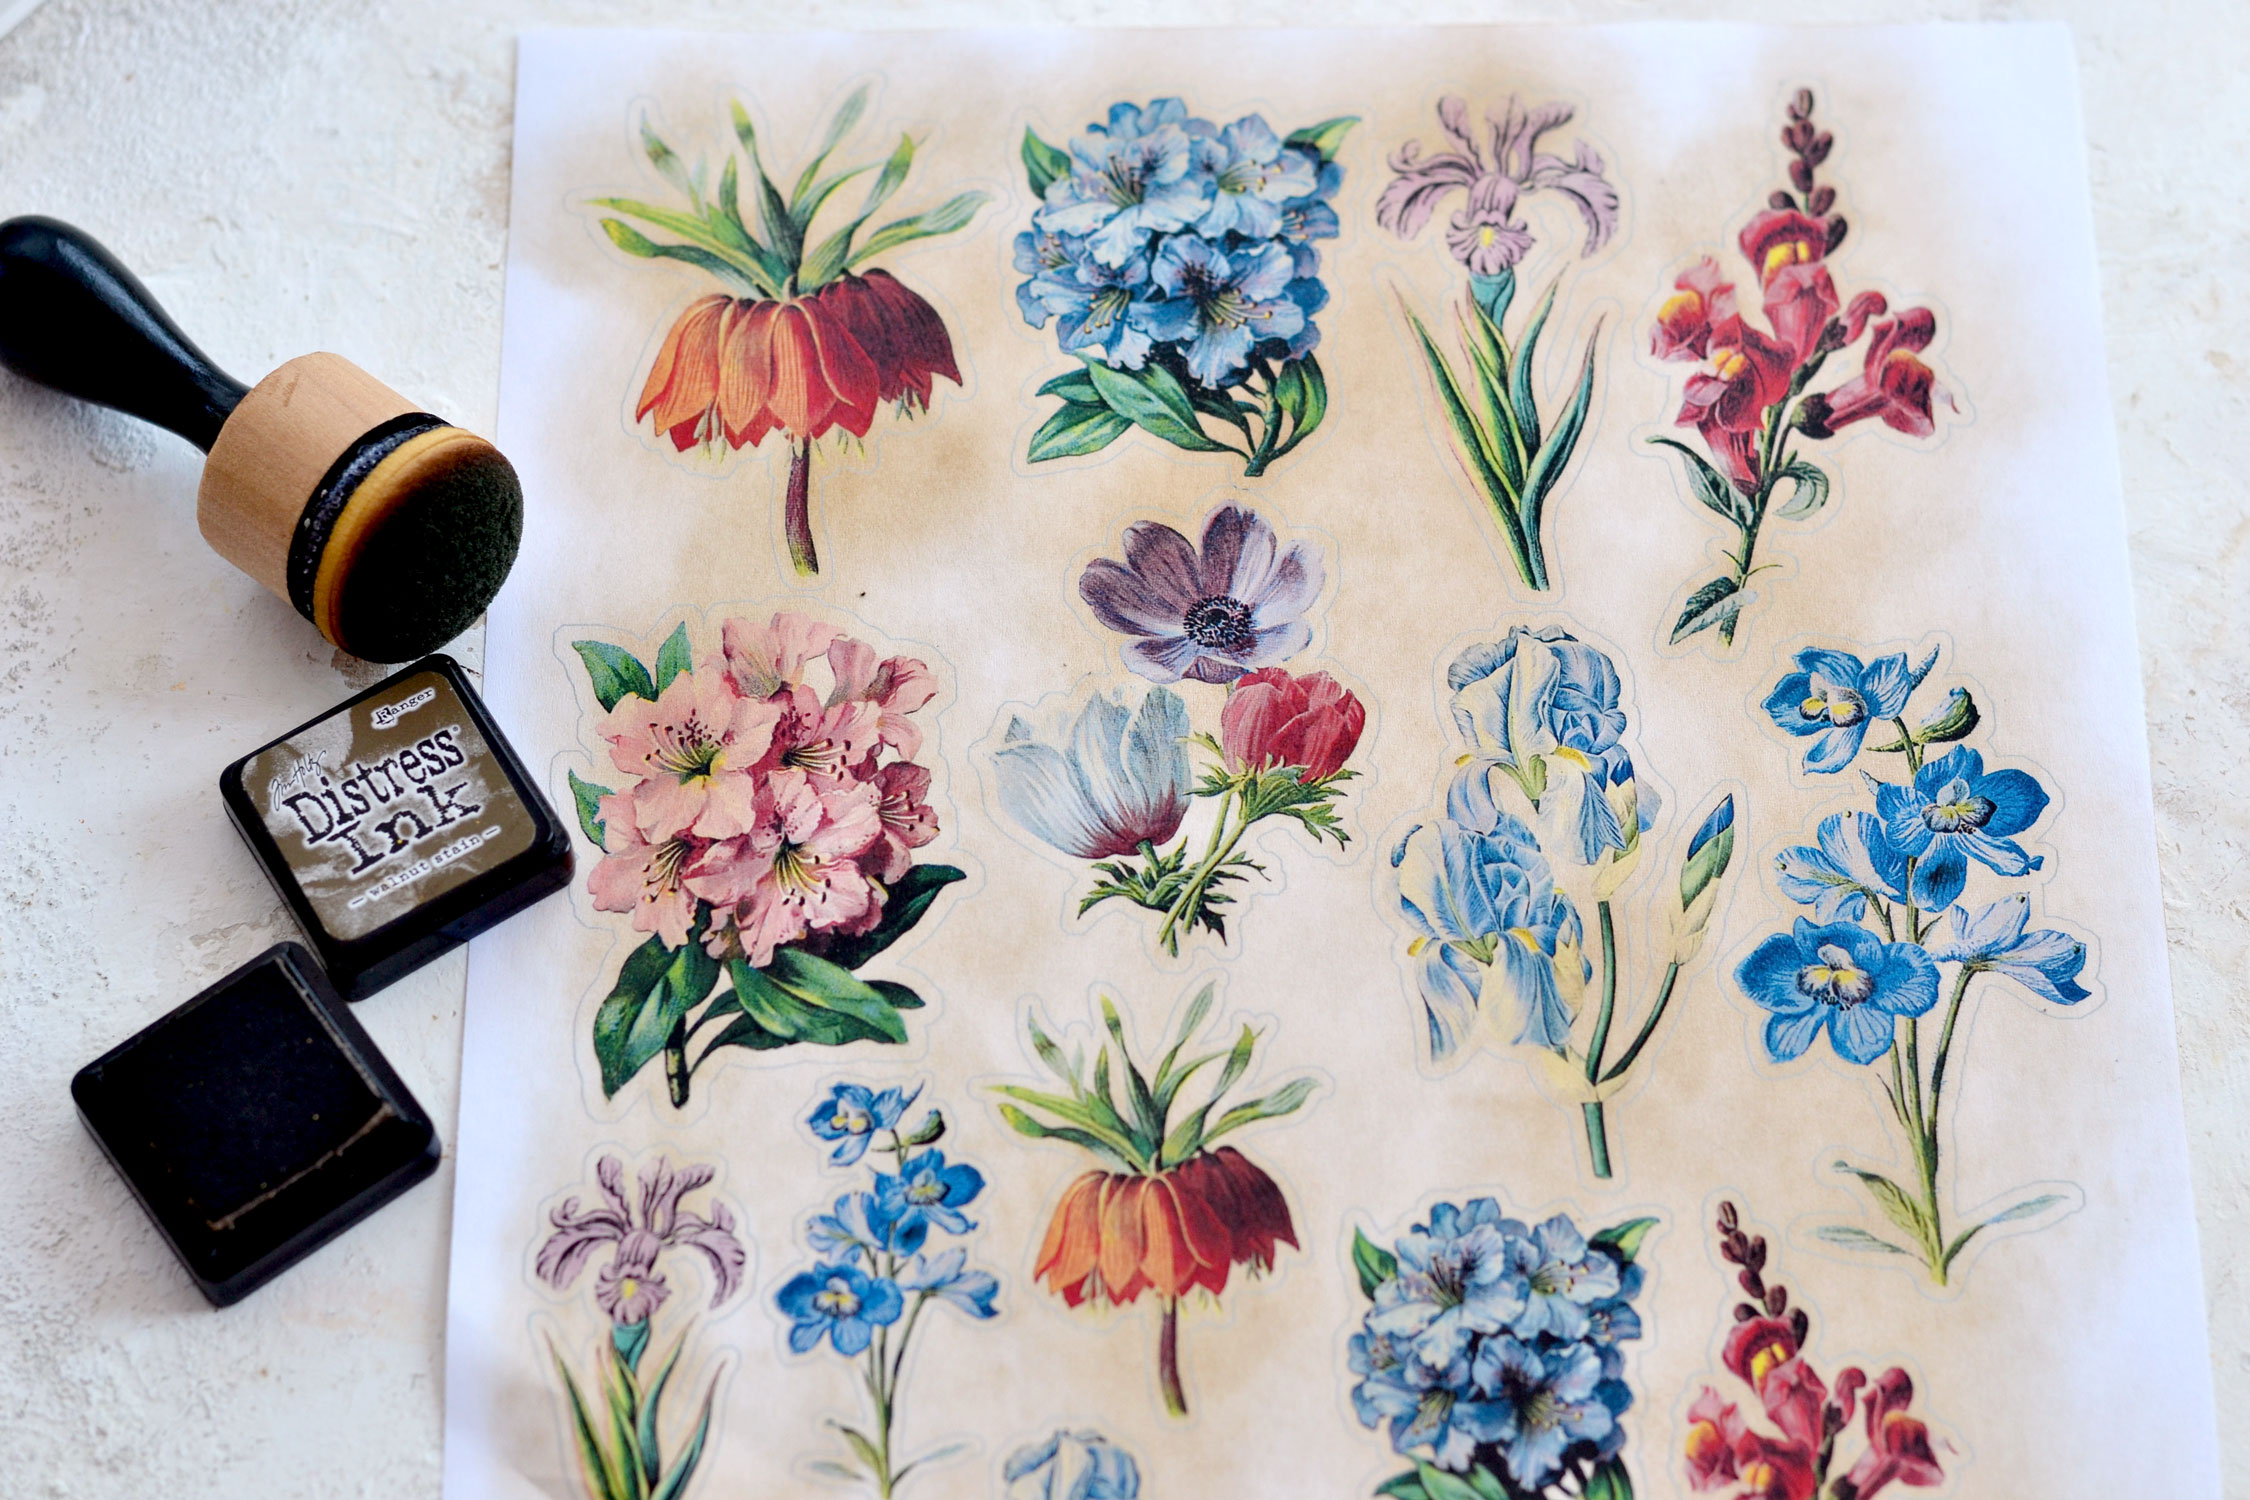
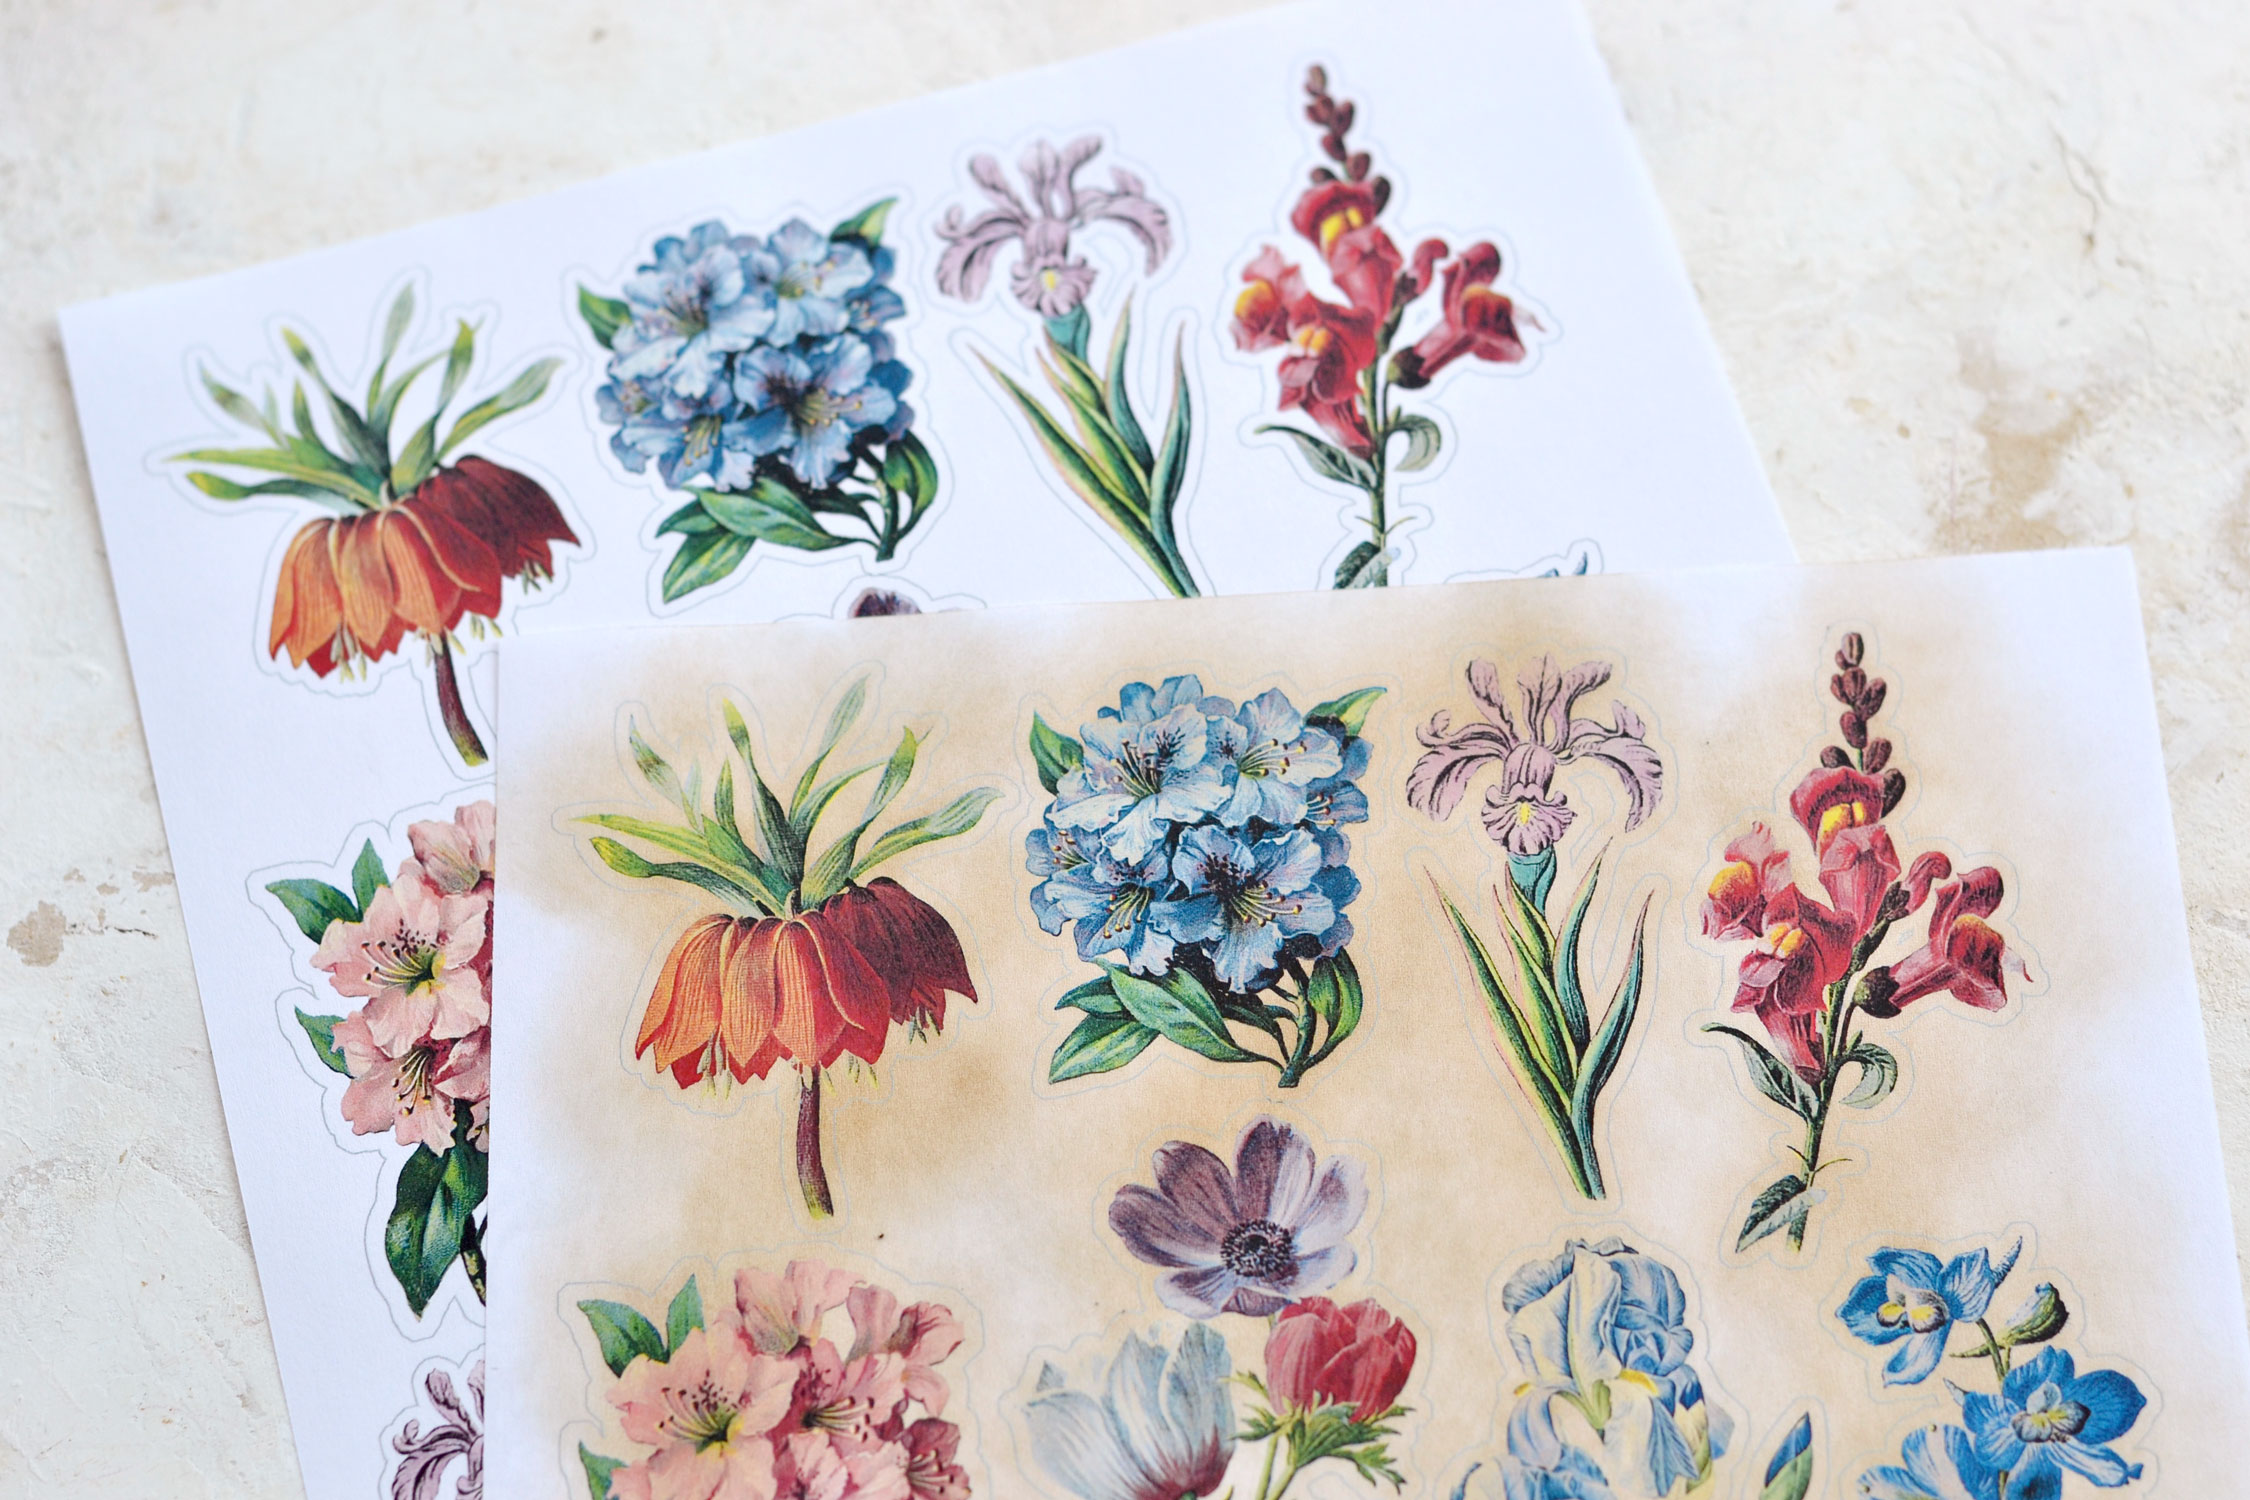
For our 5-minute process, you can use sticker paper or regular paper and then use distress ink to distress their edges. You can lightly or heavily distress the paper, depending on your preferences. Keep the paper on your table and just start distressing from the edges of each sticker and then go inwards, towards the design. I mostly insisted on their white edges, I tried to completely cover the white paper surrounding them so I could get a nice vintage border after cutting them.
It doesn’t really matter if you follow an up/down or a circular brushing pattern while distressing them, just make sure you completely cover that white extra space around them and you are good to go!
It always amazes me what a big difference a little bit of distress ink can make! The stickers already started to have a lovely vintage vibe, you can see a small before and after below.
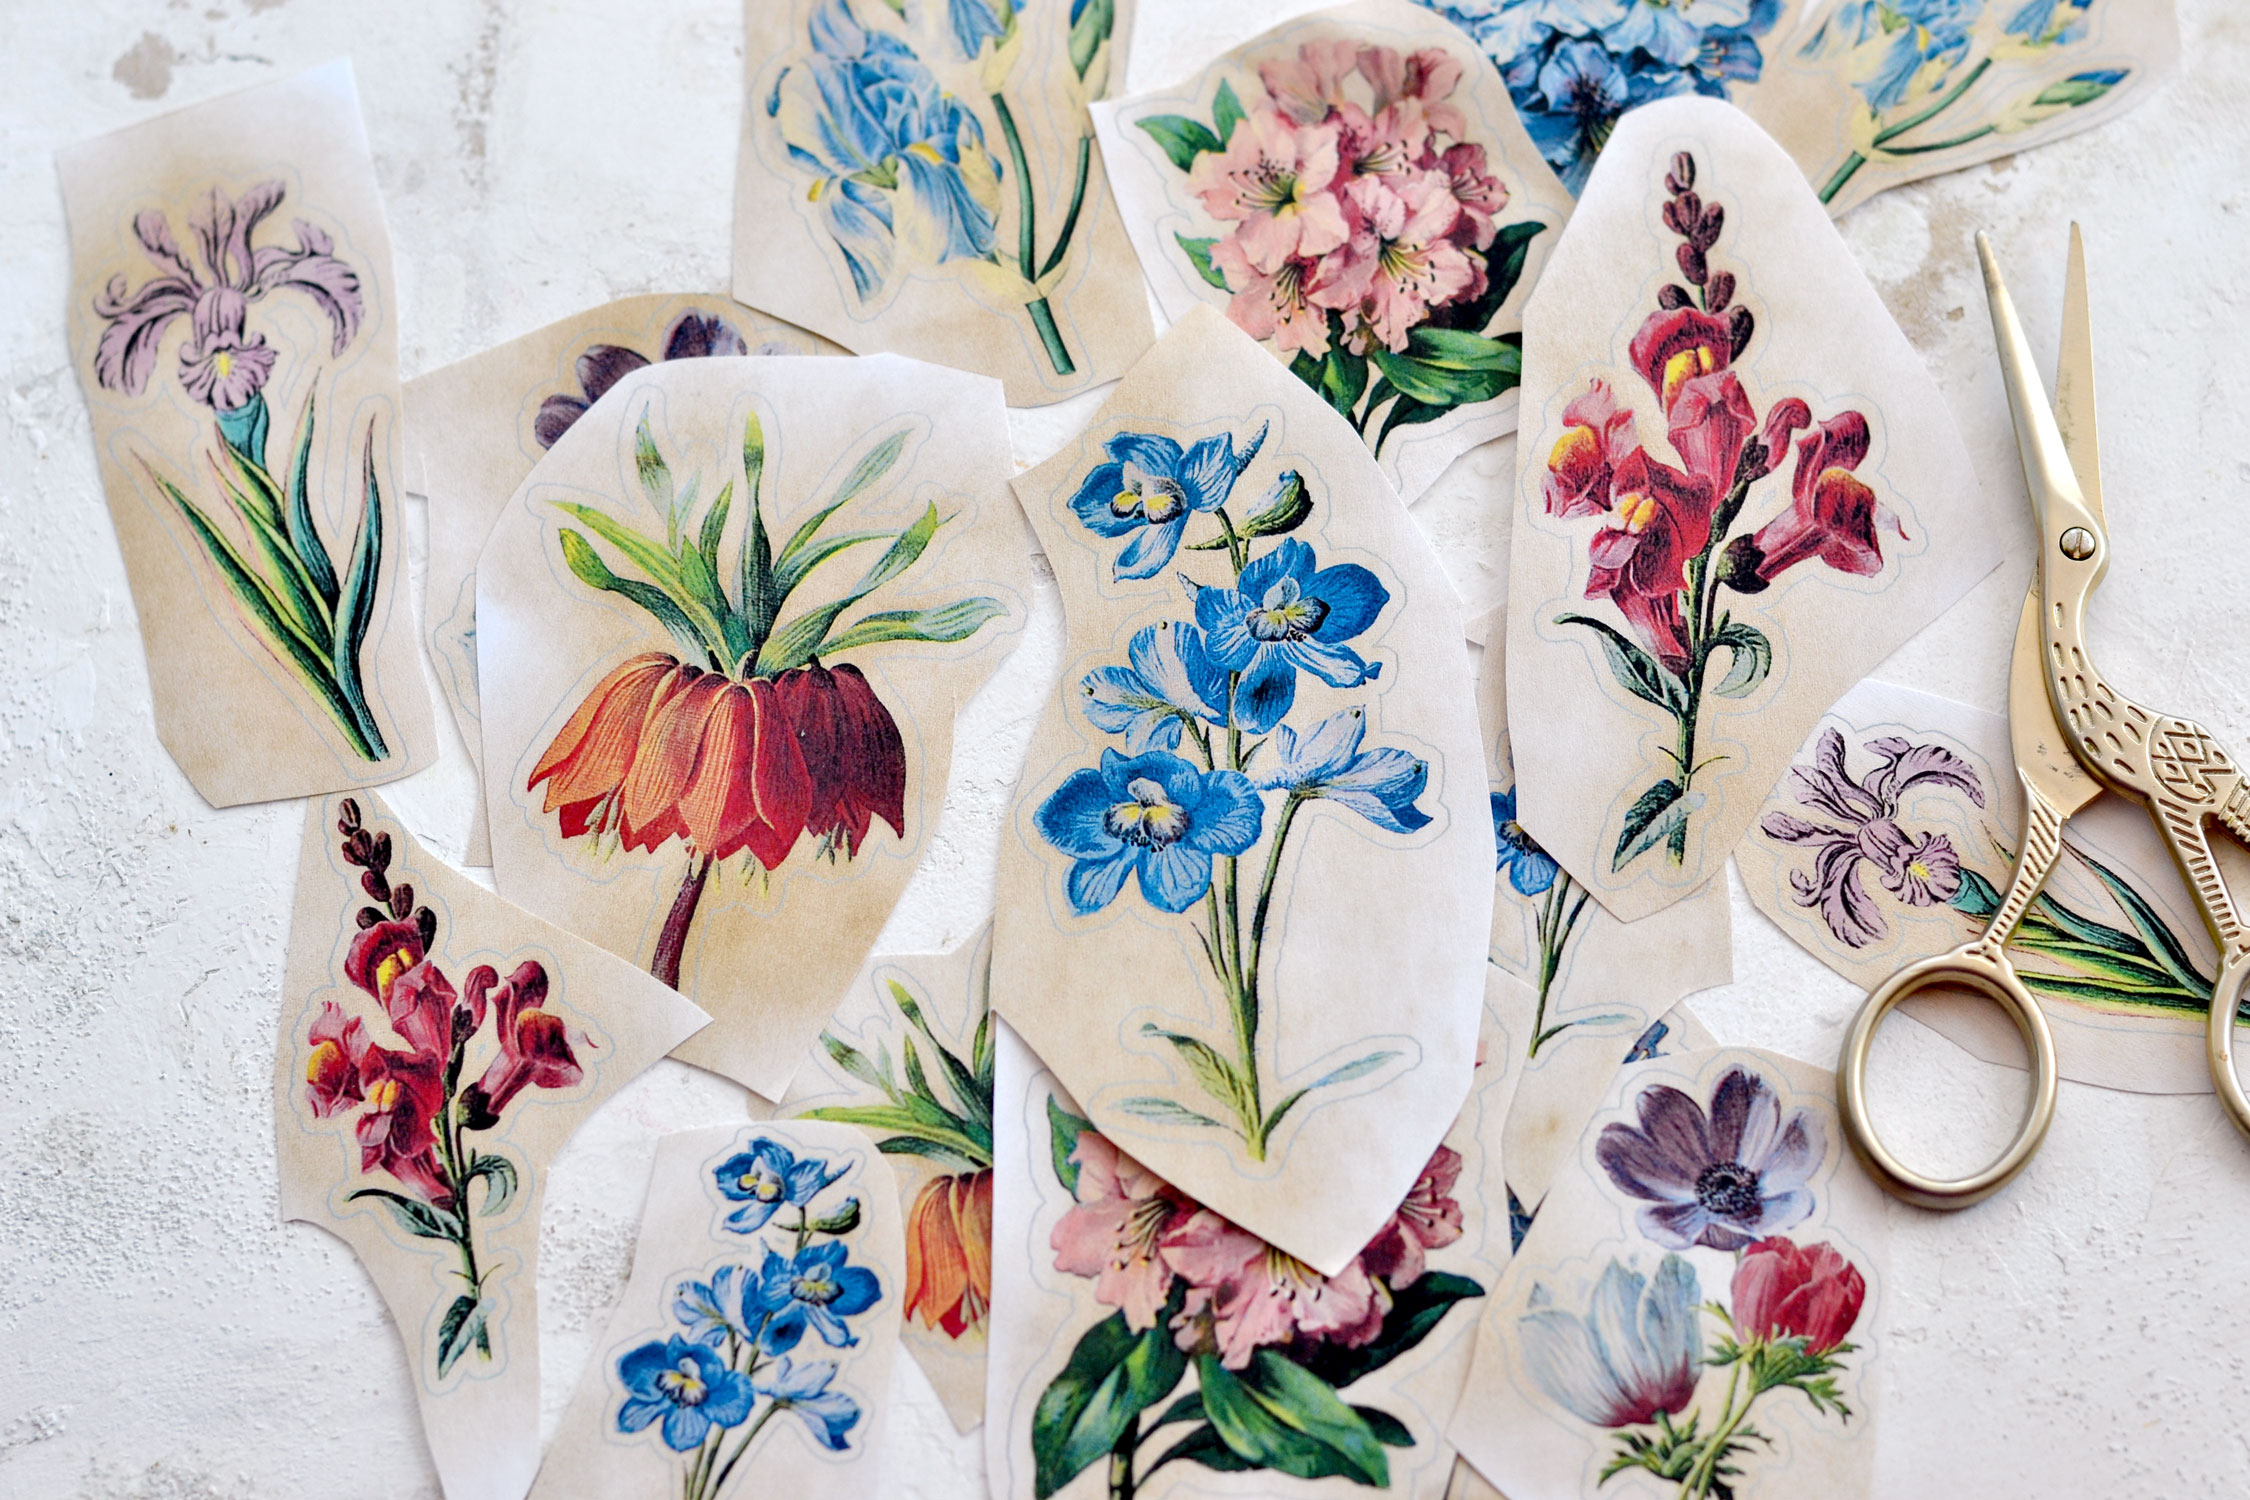
Use your scissors to roughly cut each sticker.
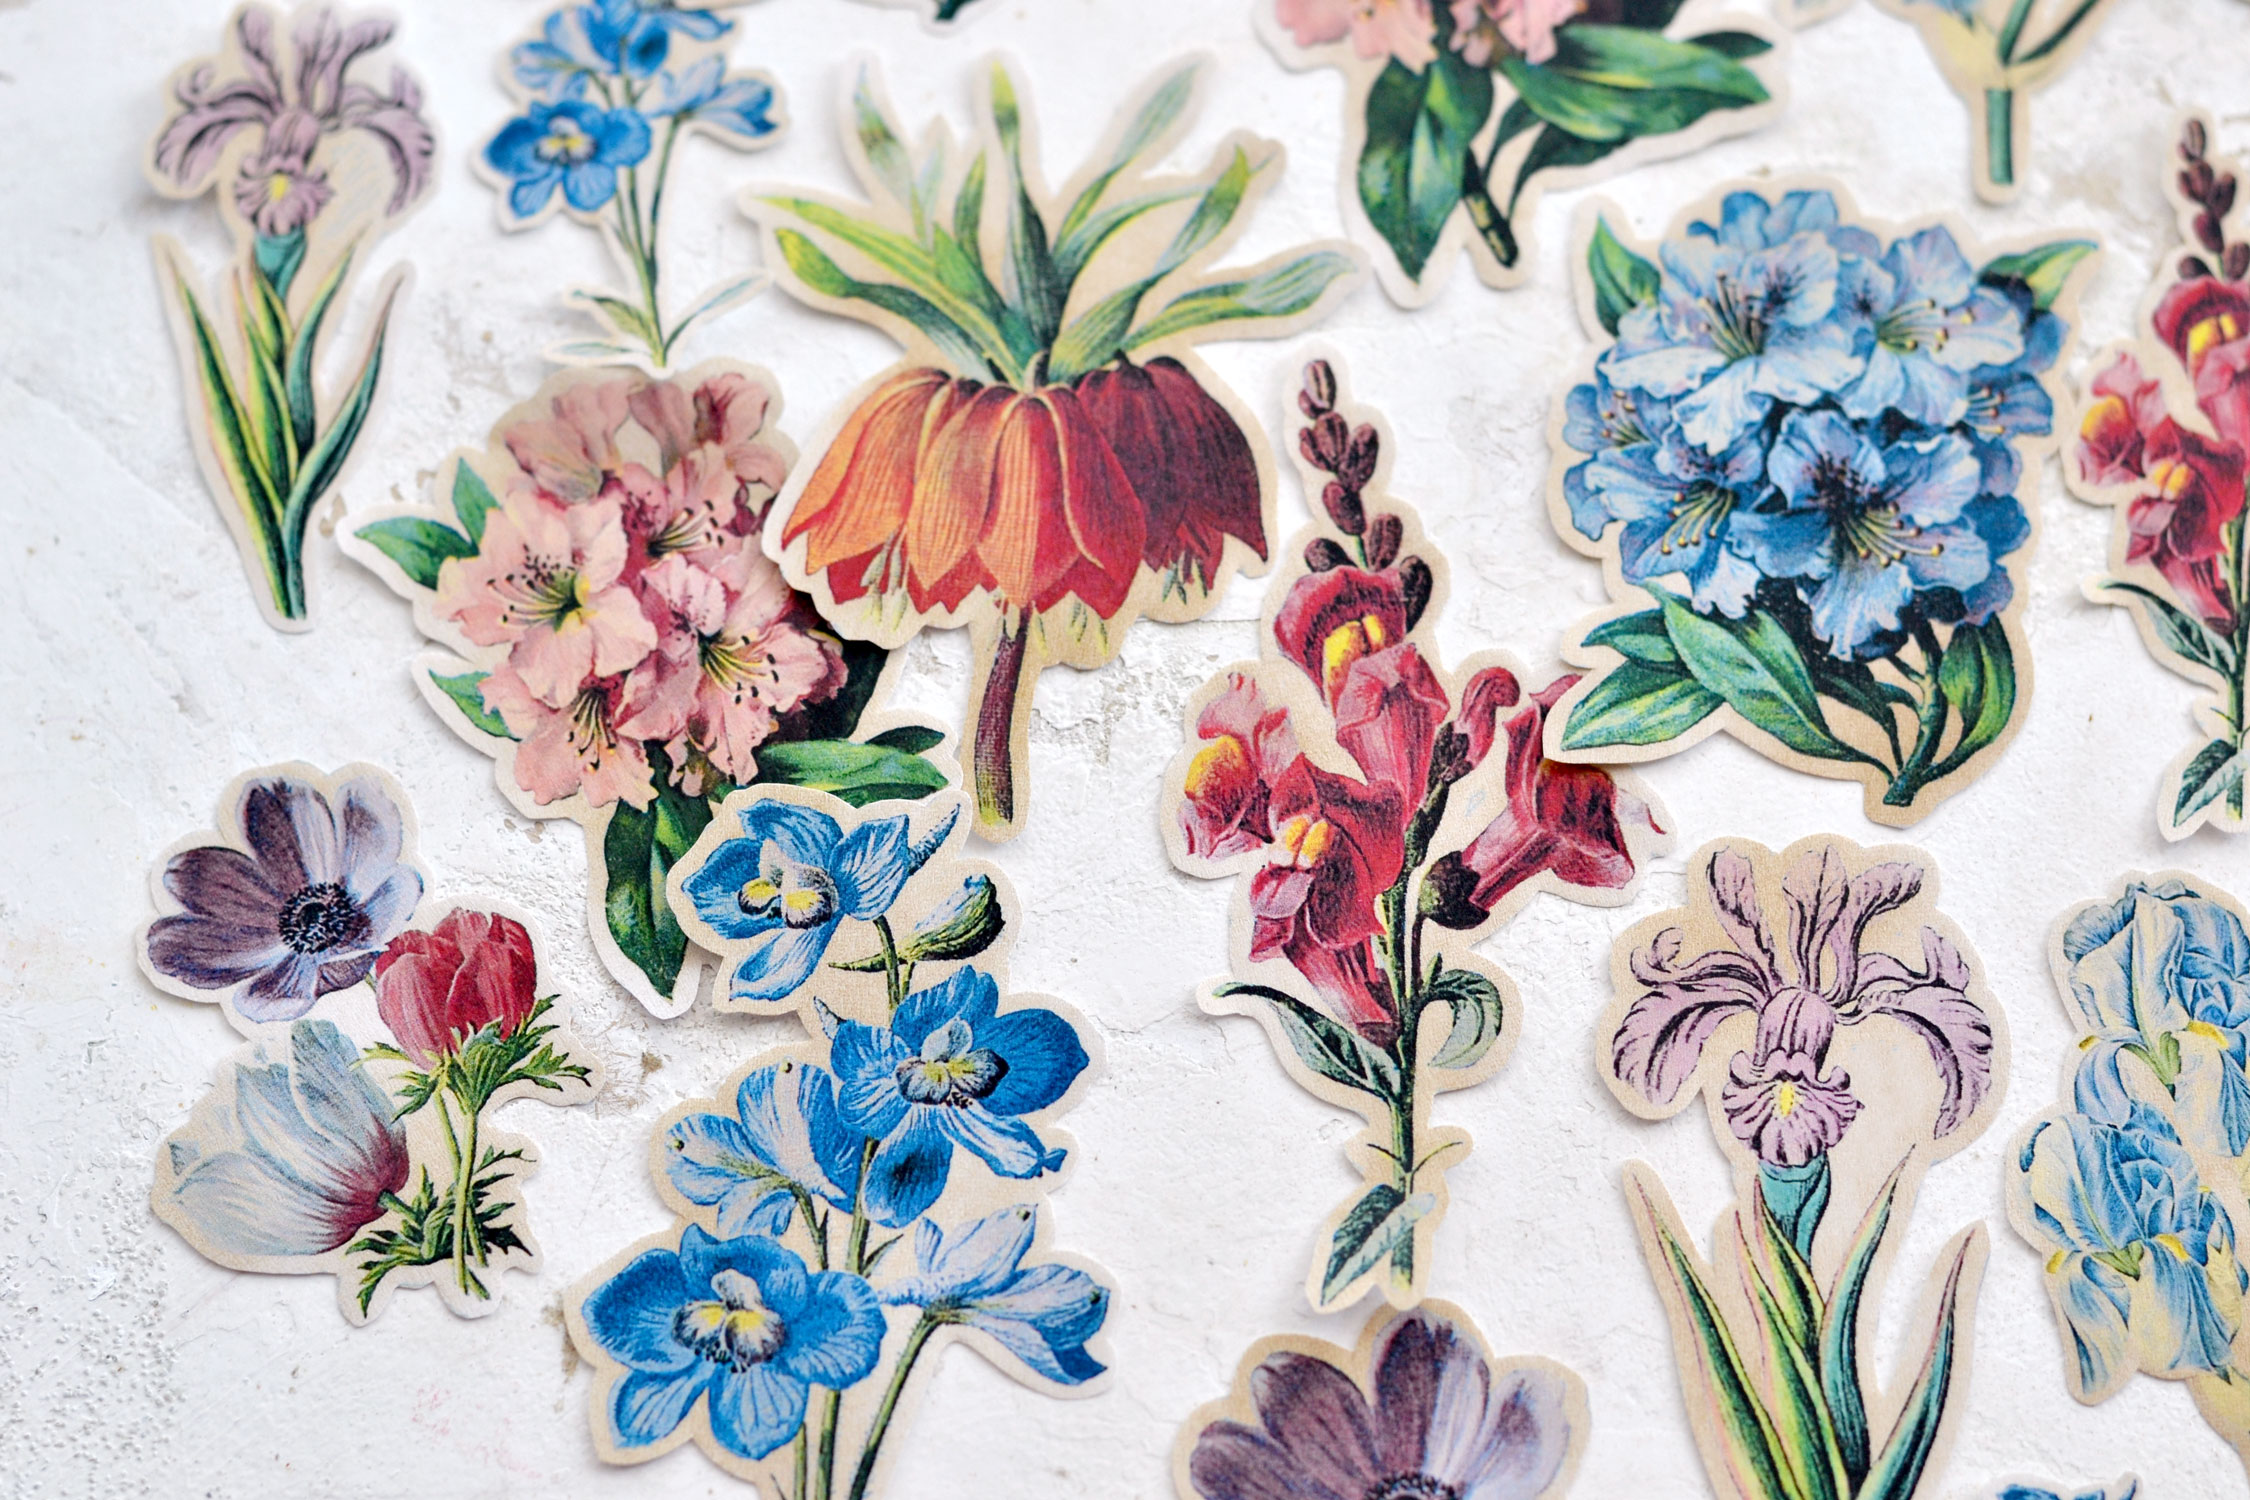
Then, use your scissors to carefully cut each of our stunning flowers. I created a small border around each sticker so you can easily fussy-cut them using your scissors. Simply follow the lines of that border and use them as guidance, but keep the line of the border outside your cutting area so you can completely remove it, we only want to keep that lovely extra space around the flowers. Try to make the cuts as round as you can to give them more of an organic feel. While cutting, I usually like to keep the scissors in a straight line while using my other hand to rotate the sticker.
But if you prefer to only keep the images without any border, you can! Simply use your scissors to cut each flower close to its edges and completely remove that small extra space surrounding it.
This will complete our 5-minute process, where you print, distress and cut the stickers!
If you want to take the extra mile and further experiment with these beauties, here is what you need to do.
Use a large piece of parchment paper (for baking) and fold it in half, then open it up and place it on your table.
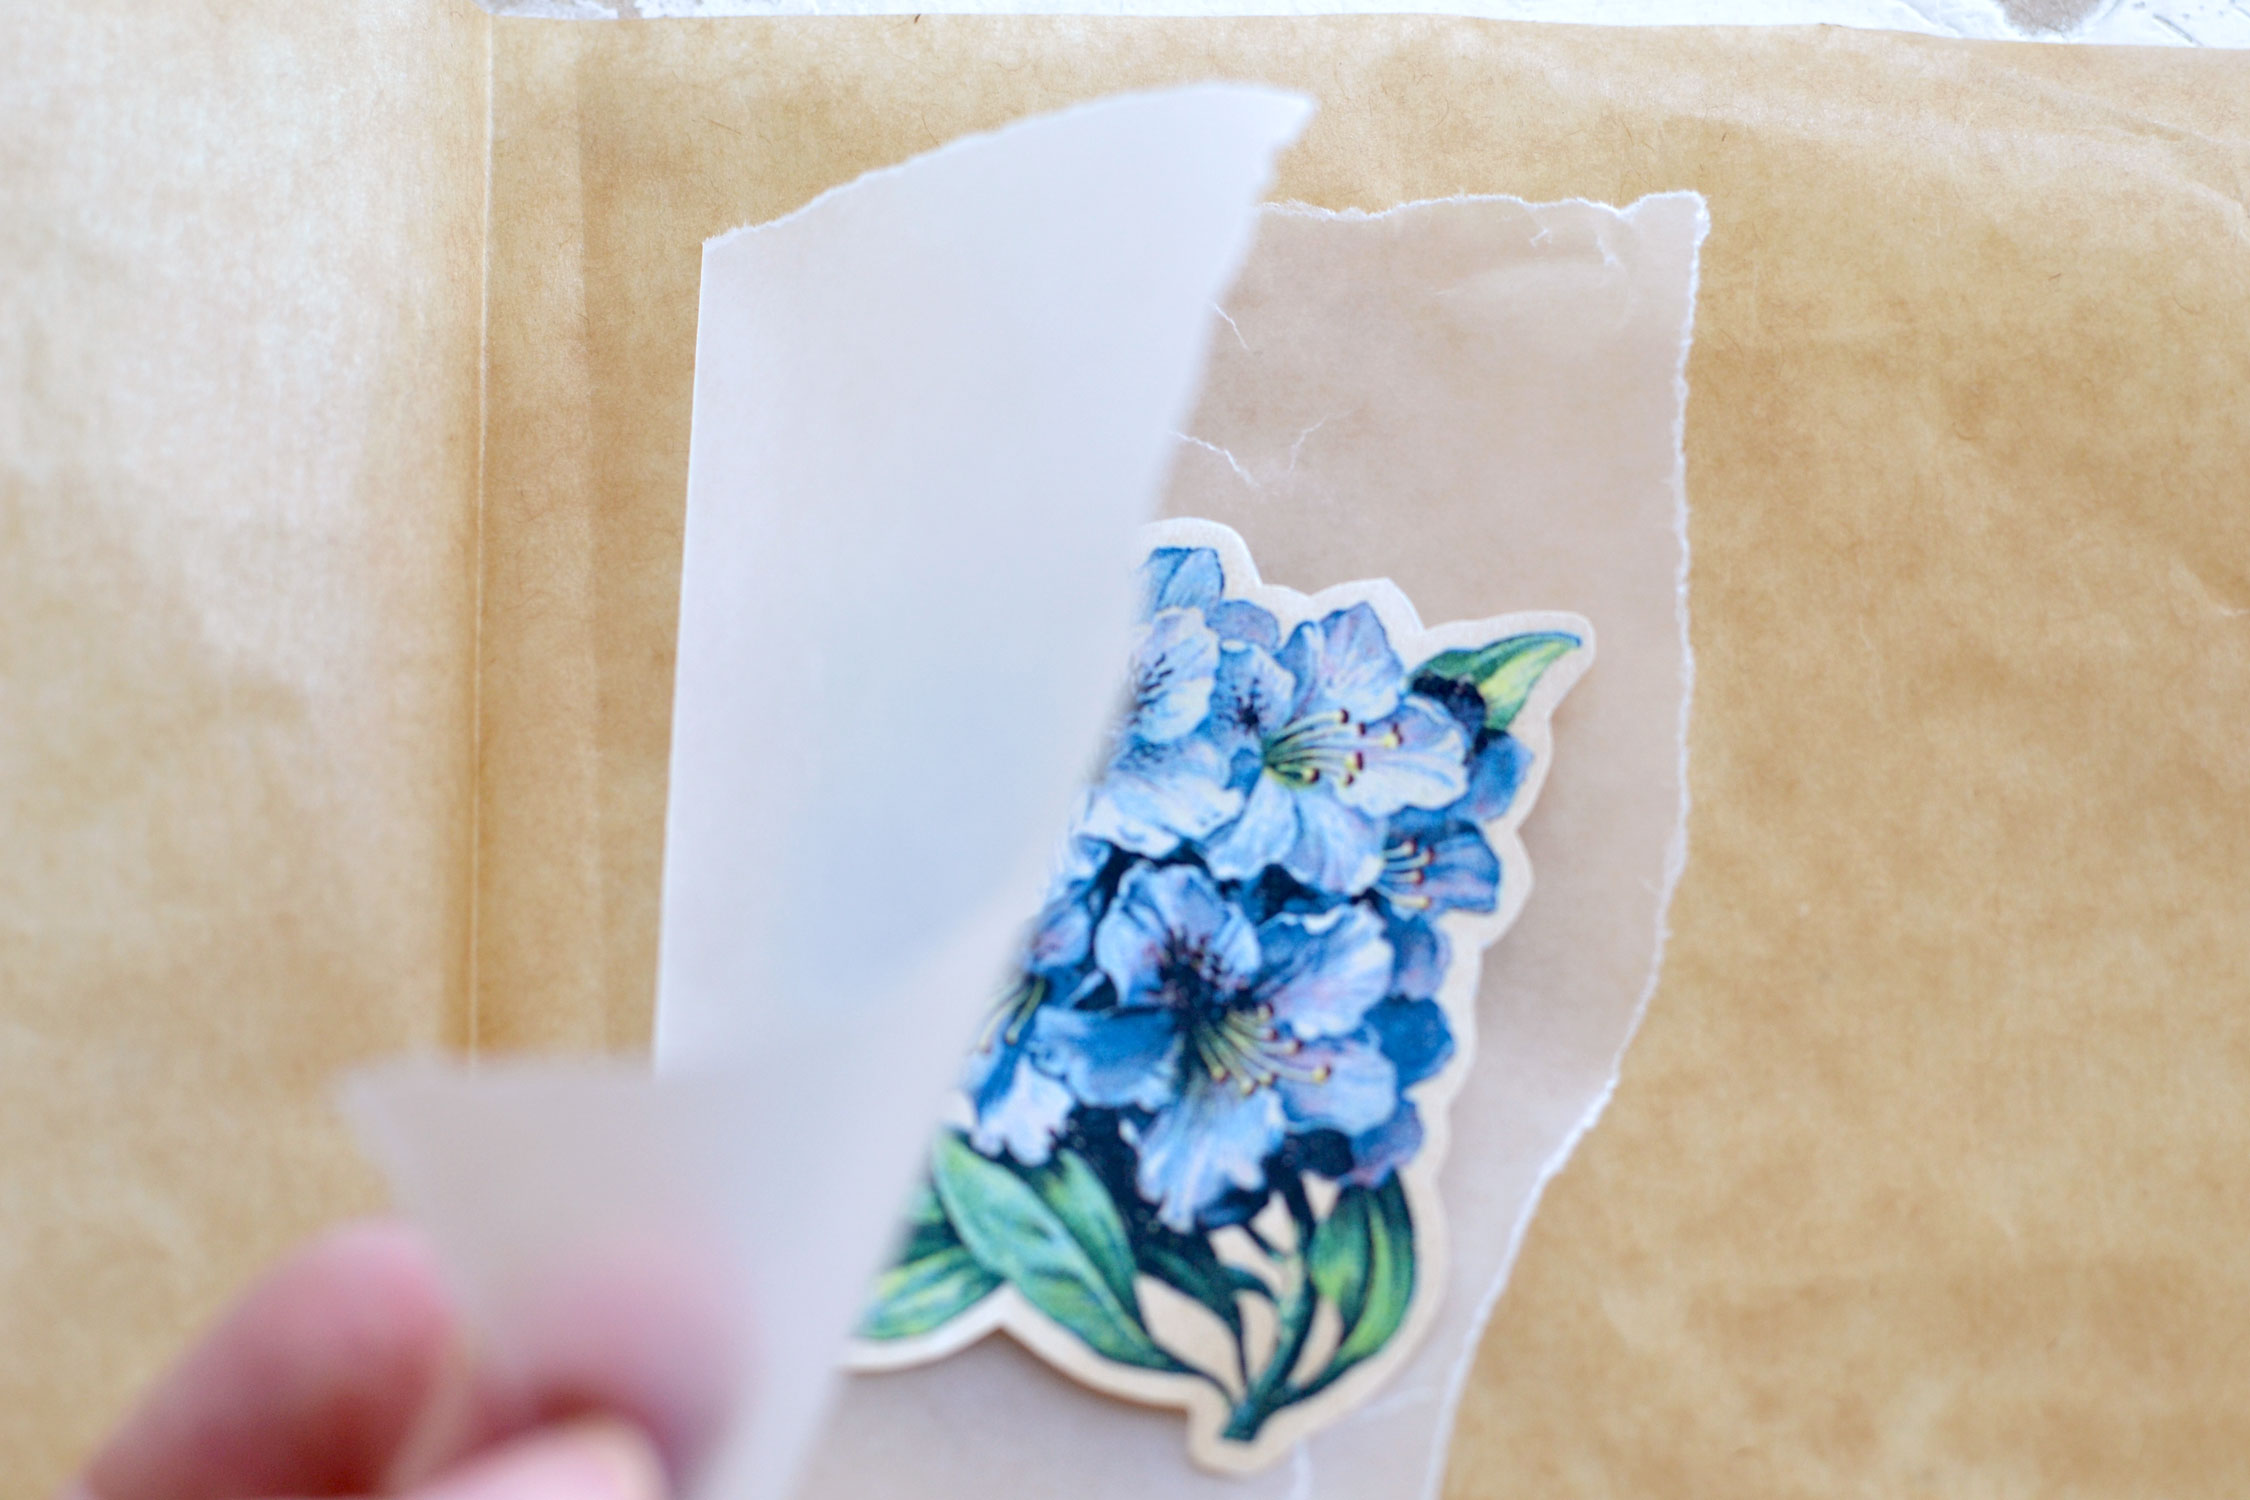
Use a small piece of wax paper (for wrapping food) and fold it in half, then place a sticker inside – make sure that each side is completely covering your sticker when closing it.
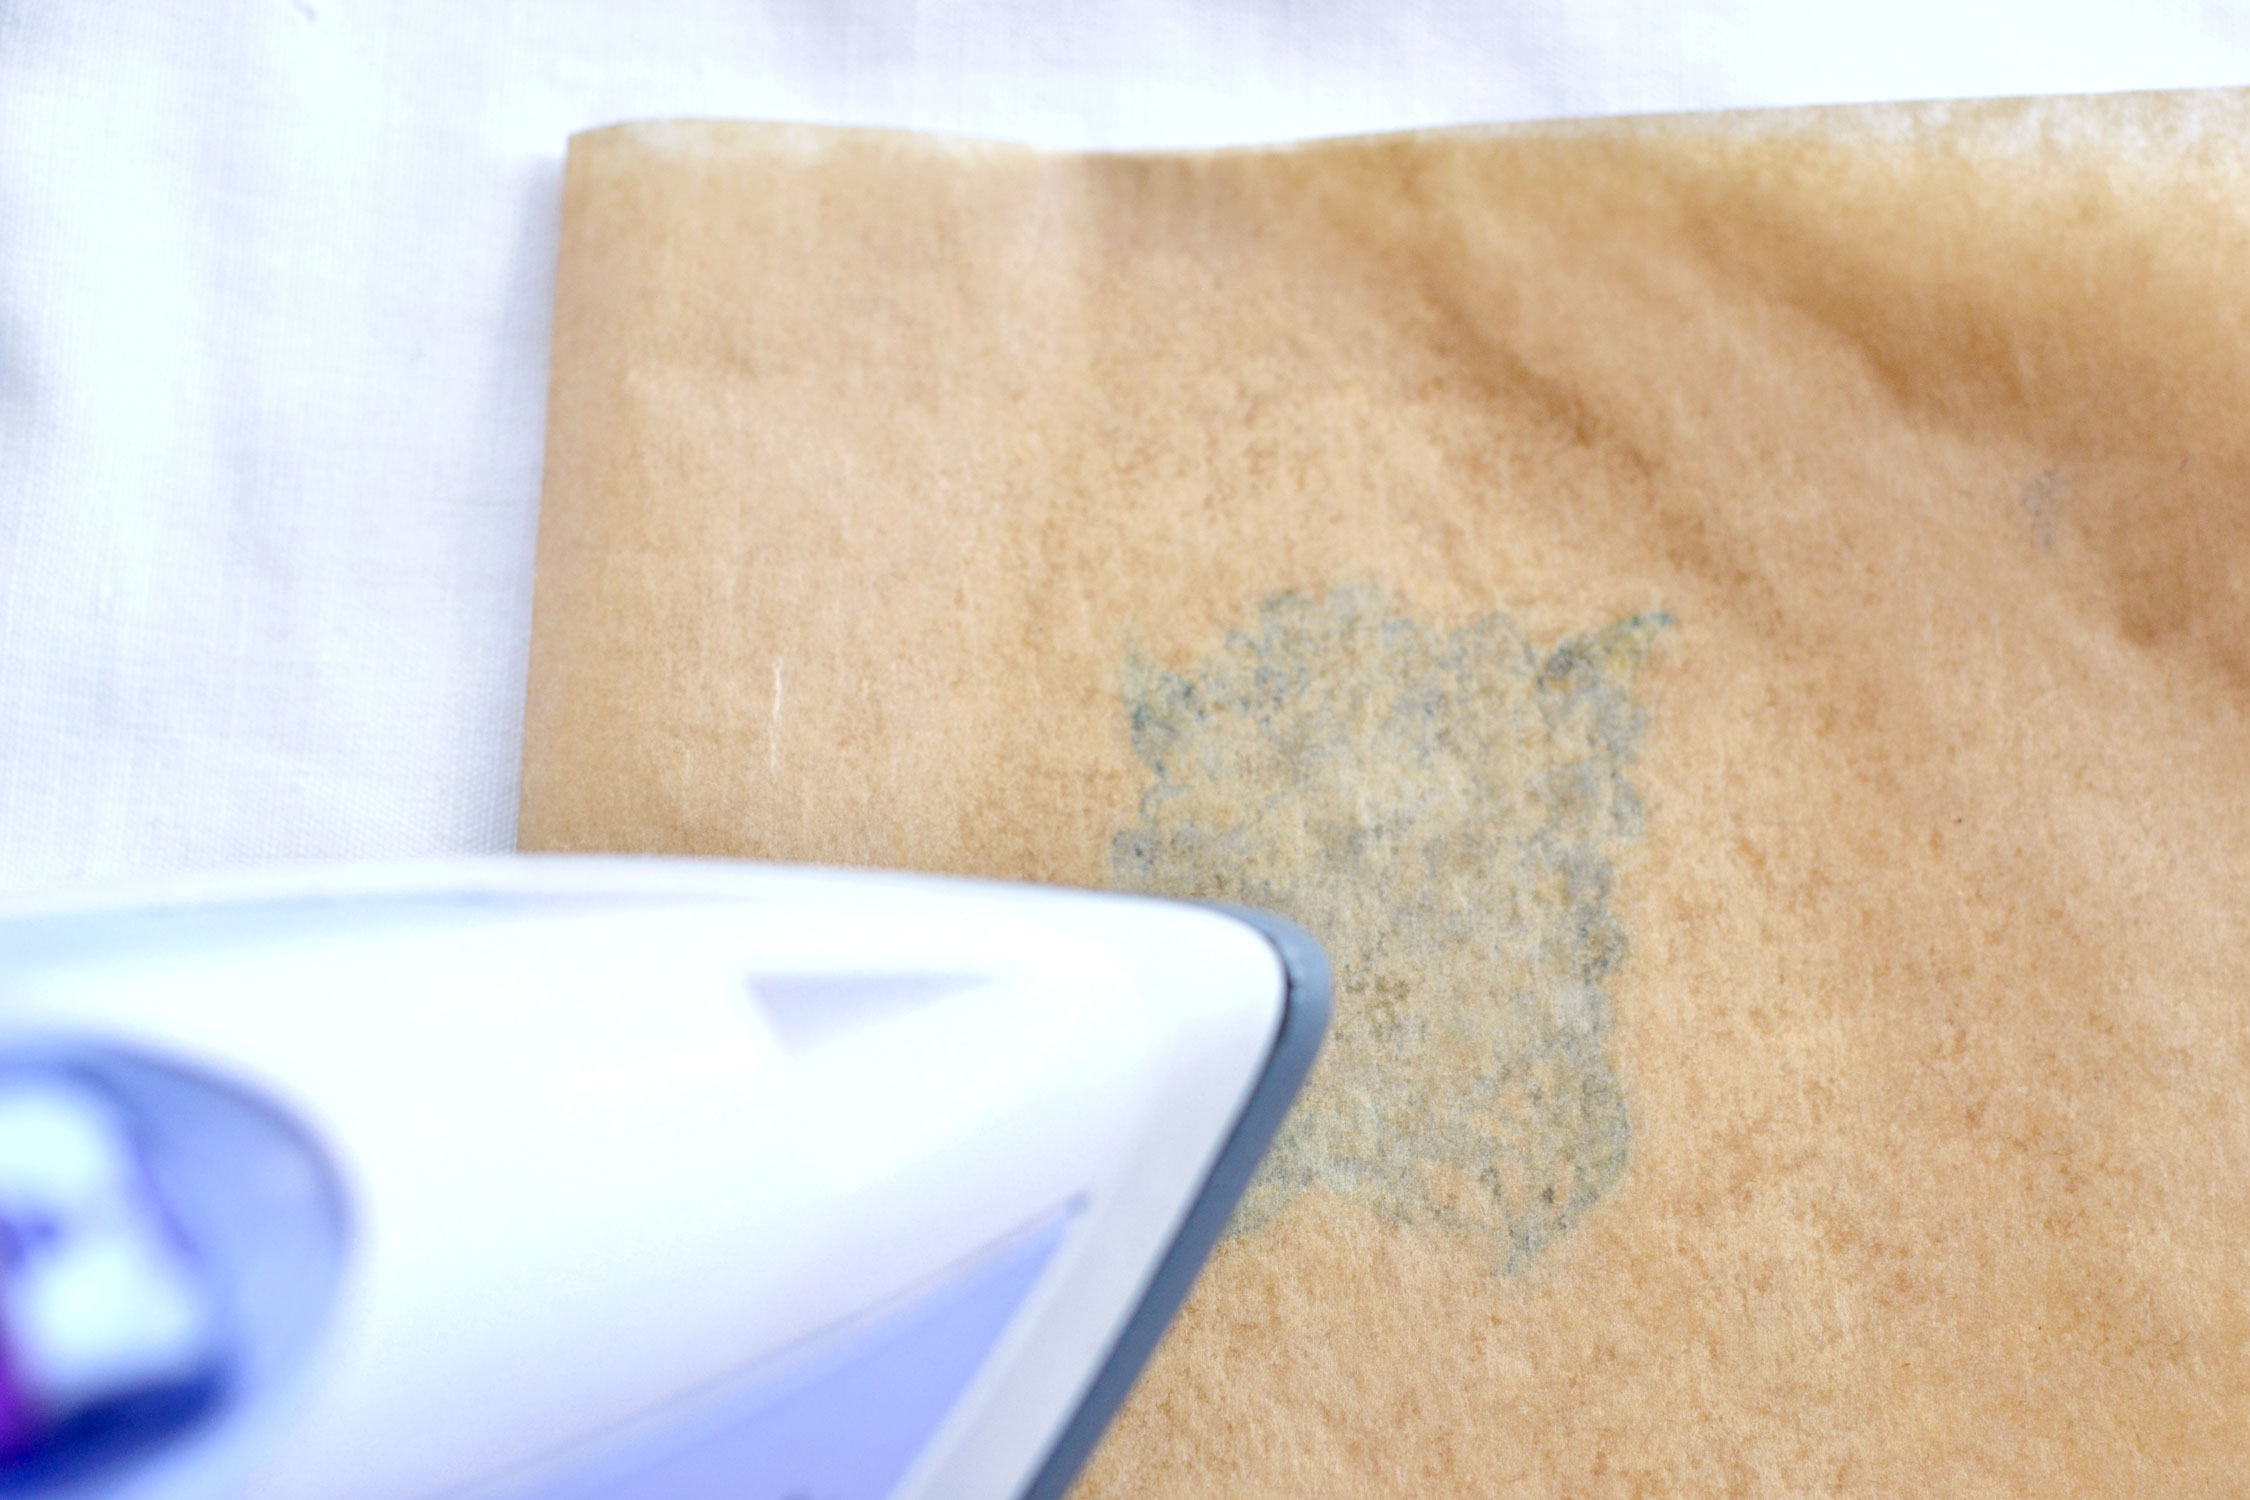
Place the folded wax paper with the sticker inside the large folded parchment paper, then use your iron on a medium to high setting (without any steam) to iron everything. The iron should never directly touch the wax paper, we’ll use the large parchment paper to protect our iron, our working space but also to keep everything that melts inside.
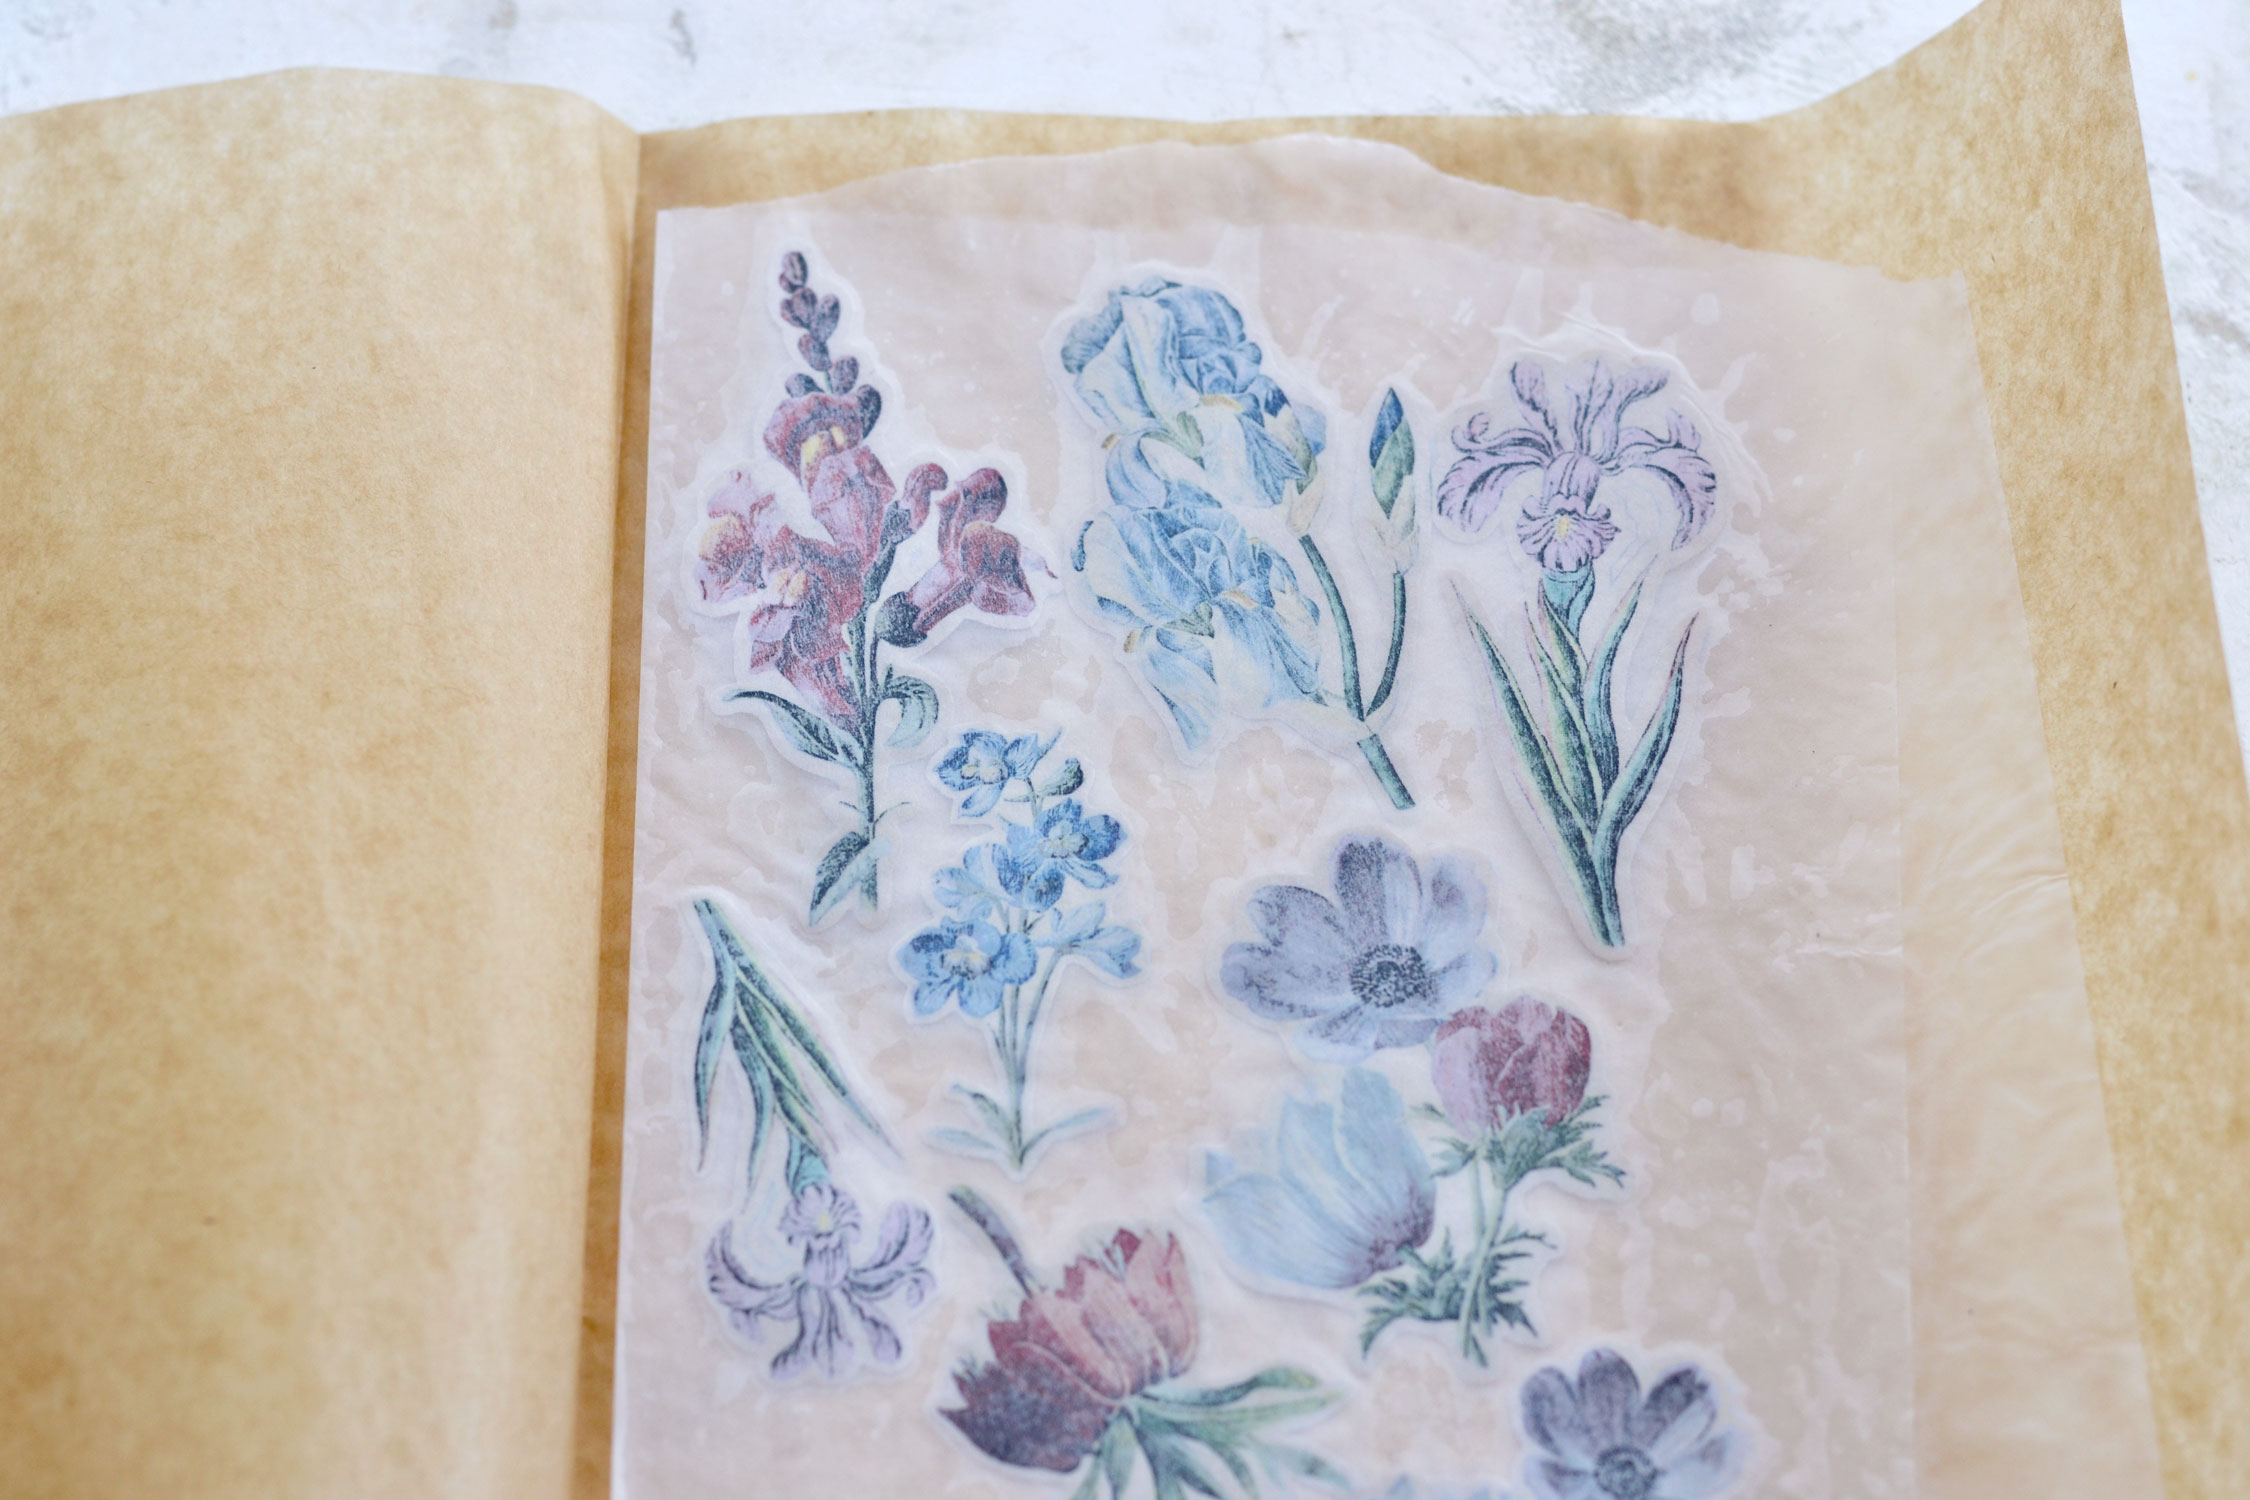
As you can see, after the wax on our wax paper starts to melt, you will start to better see the design inside.
You might need to do this a few times with new pieces of wax paper until the melted wax completely seeps into the paper.
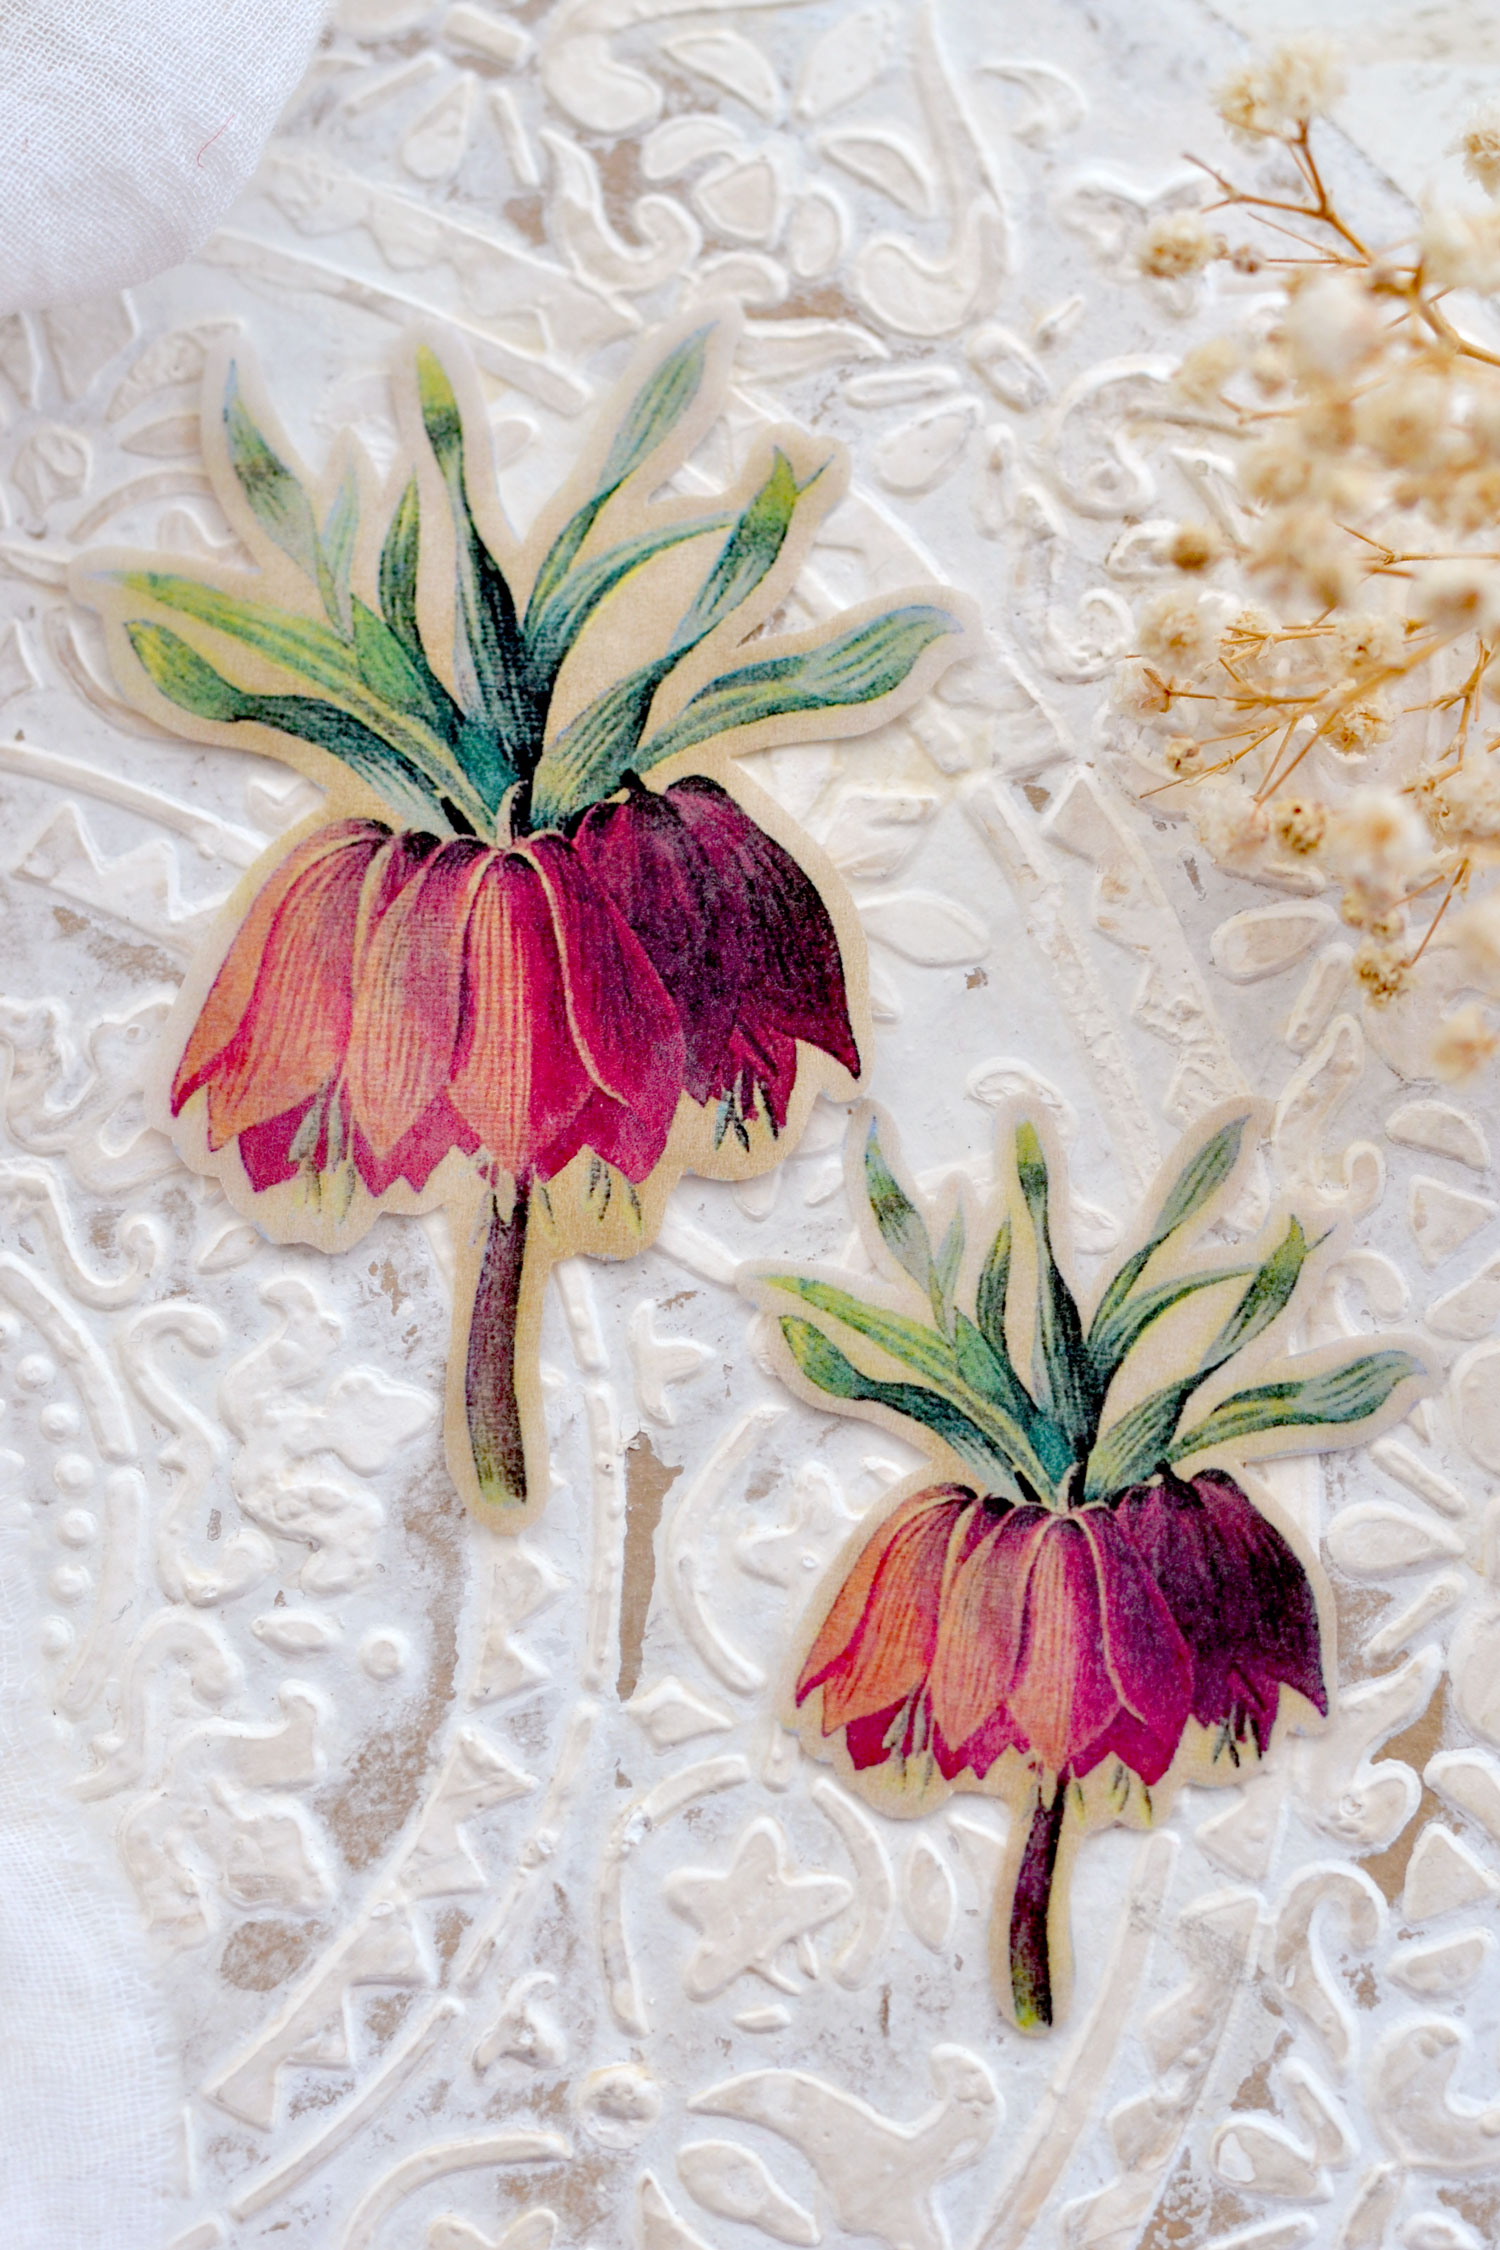
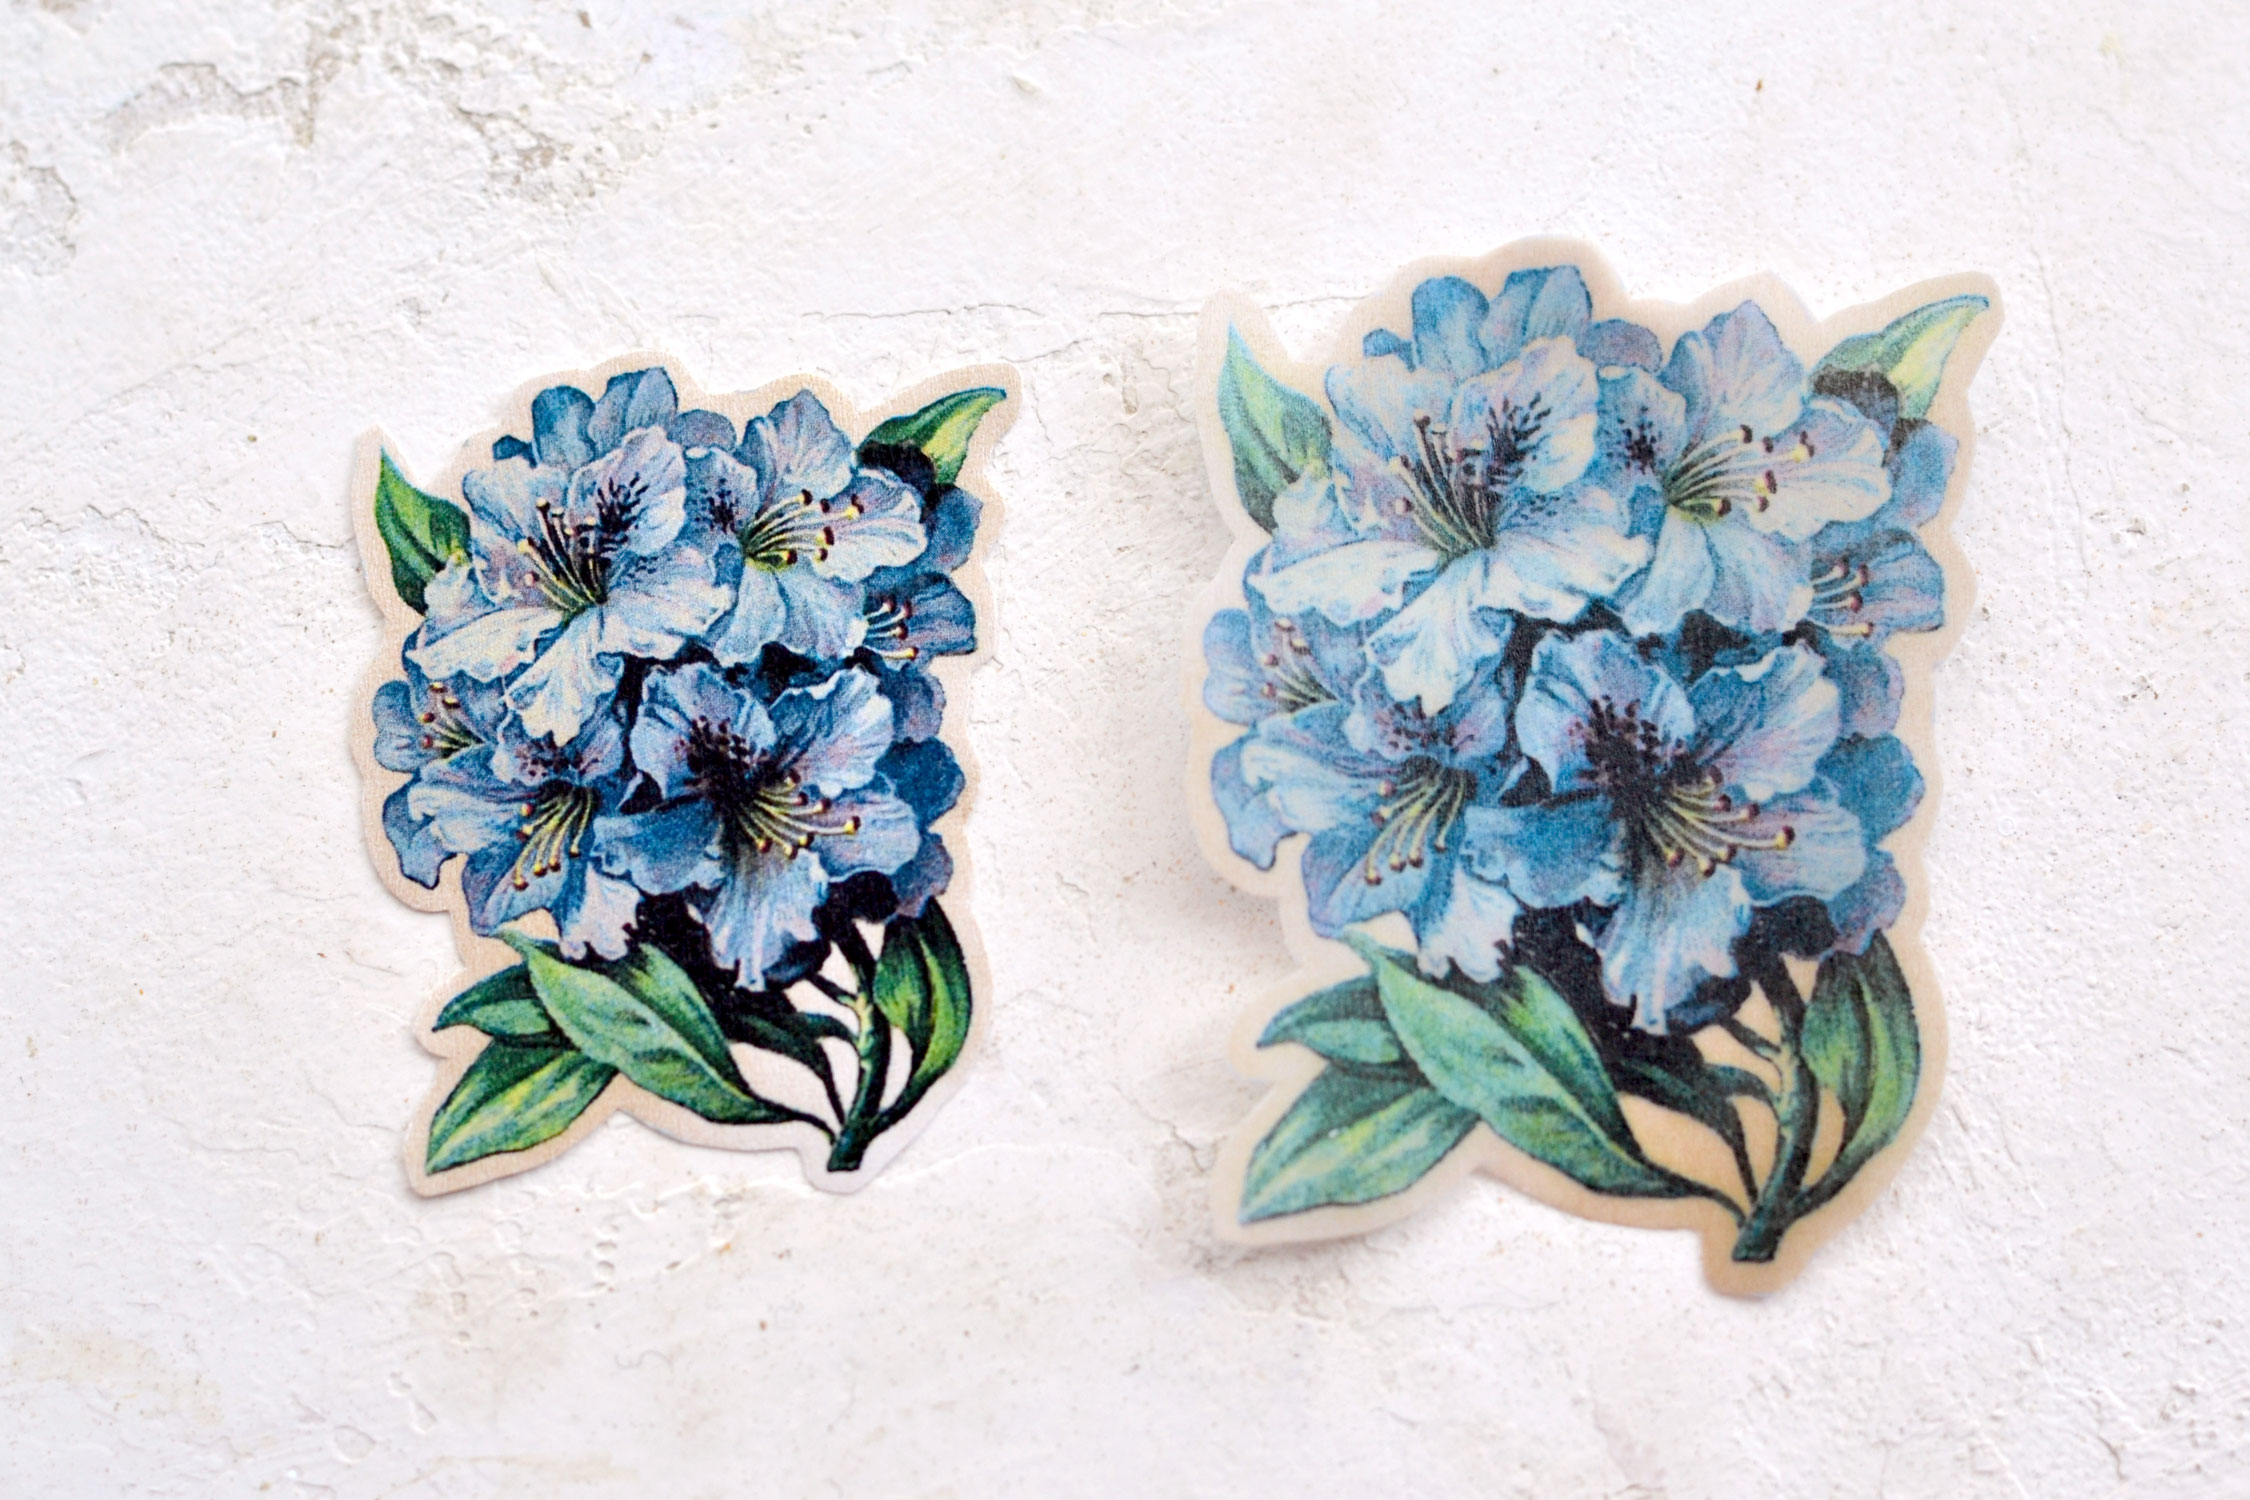
I kept the blue flower on the left unwaxed so you can better see the transformation. The blue flower on the right became almost translucent after waxing it. From the pictures, you might think that it’s not much of a transformation but in fact, it is. The paper becomes more delicate, sheer and almost transparent.
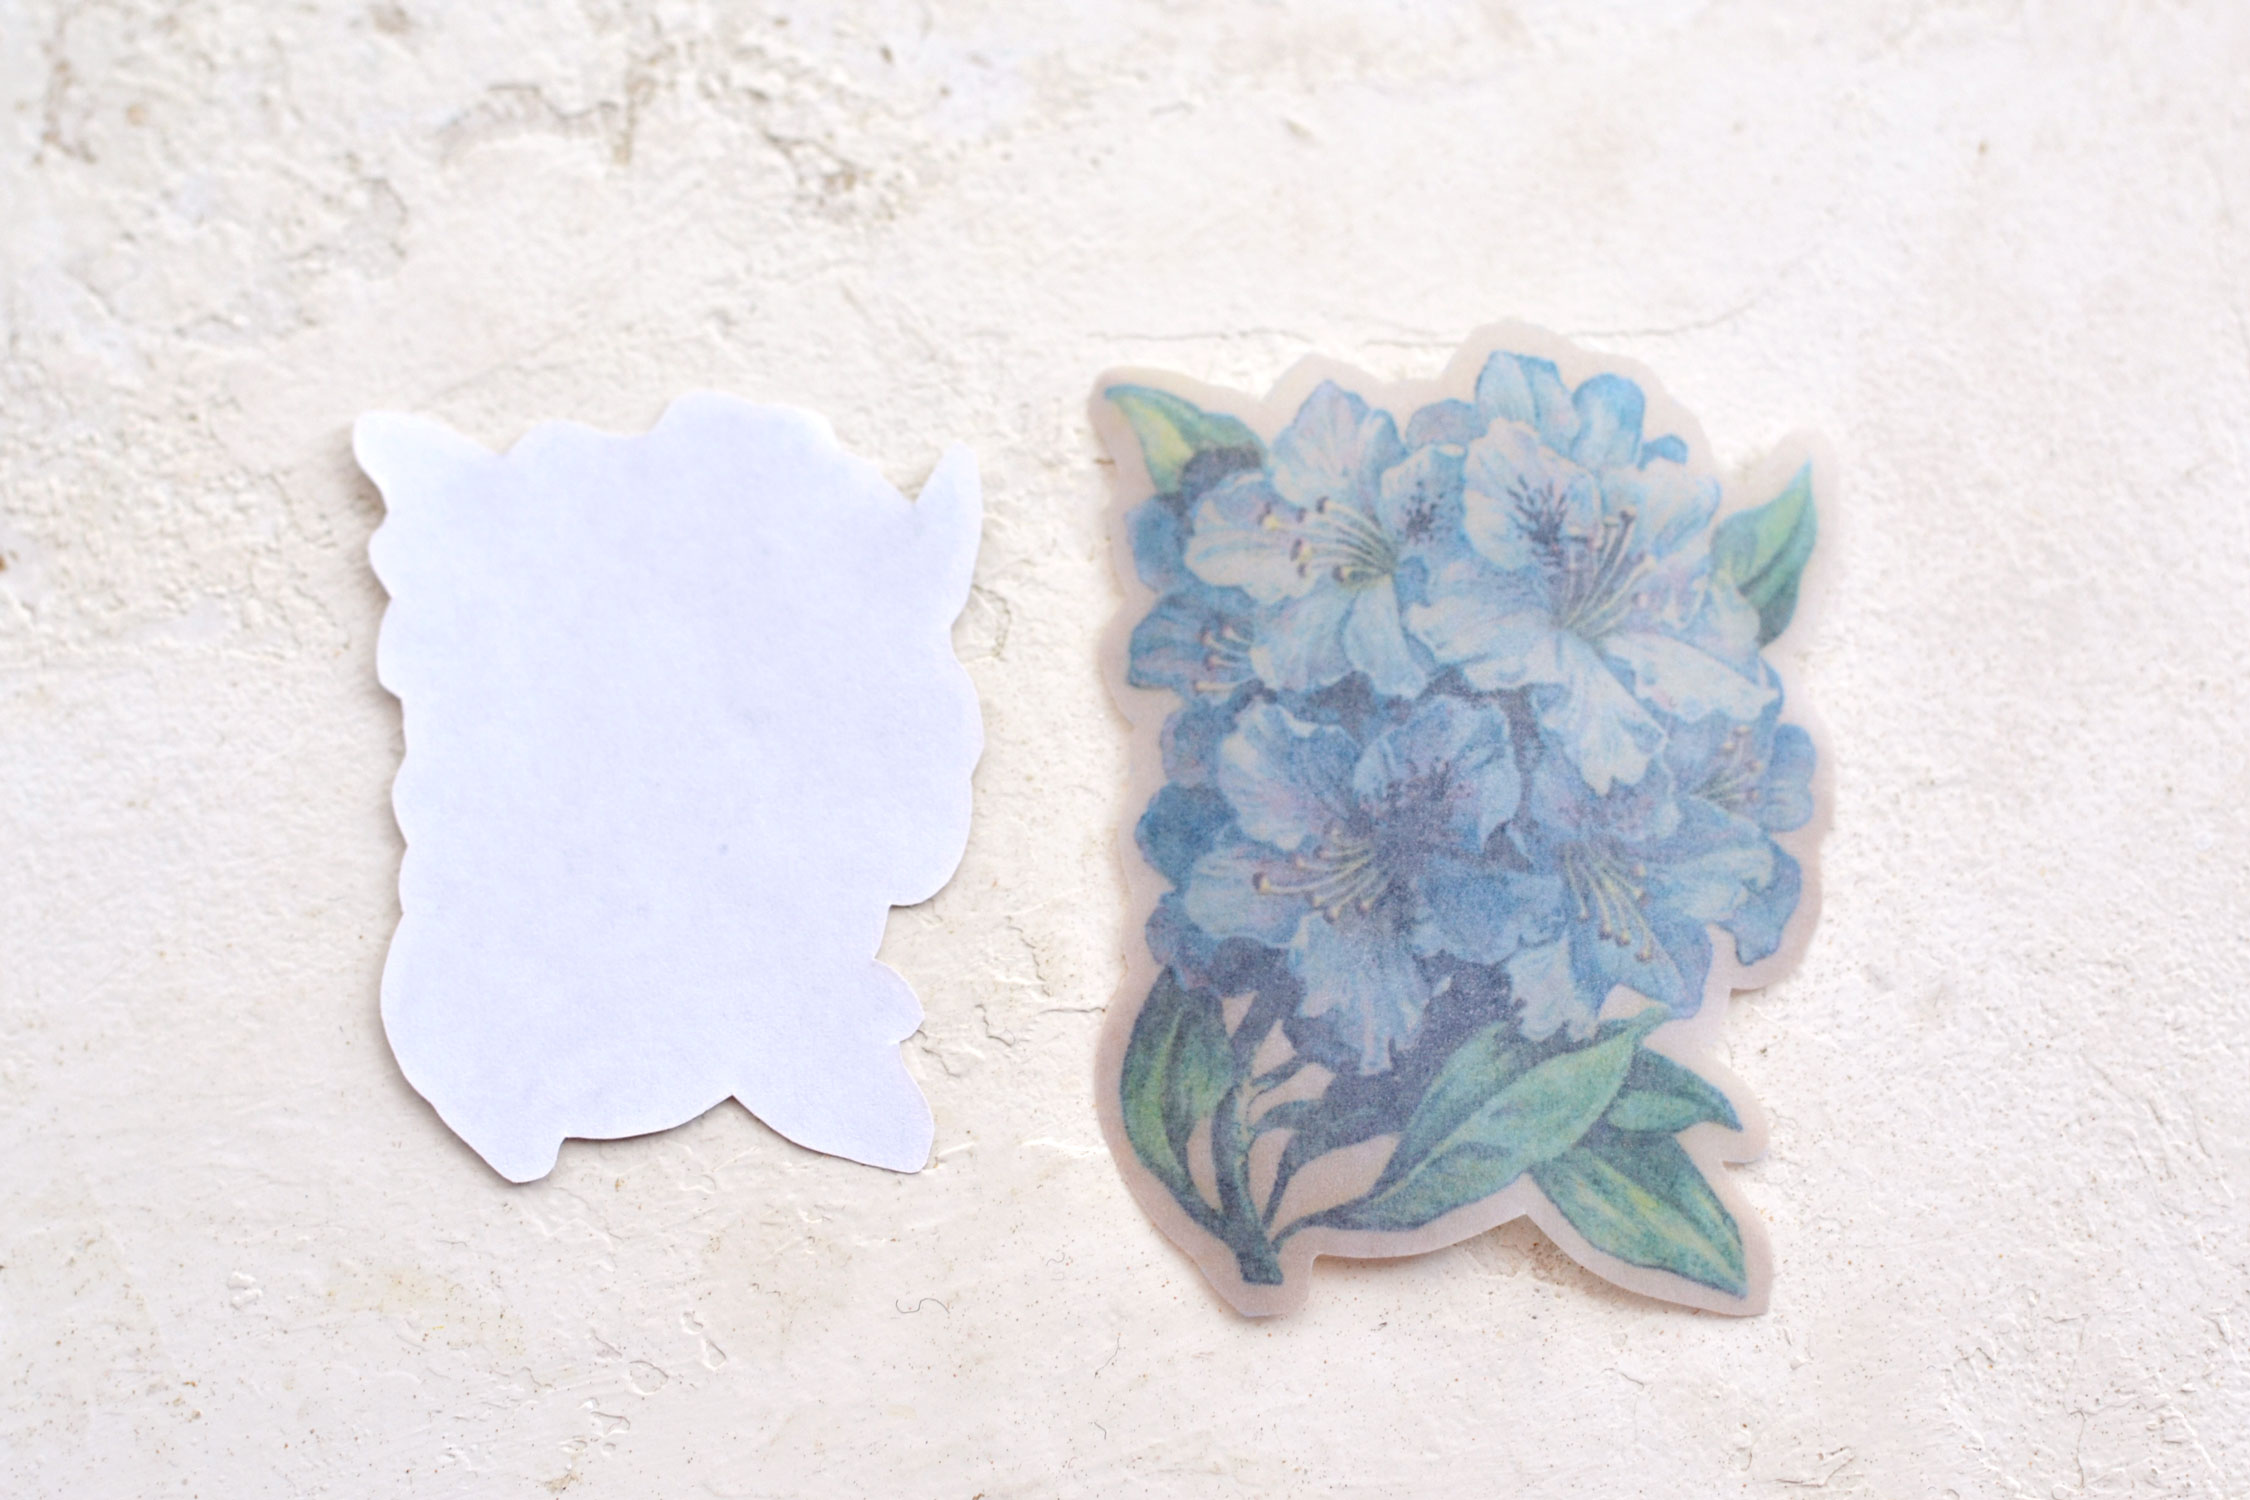
Just so you can take a better look, I also photographed their backs, here you can better see that we managed to perform quite a transformation!
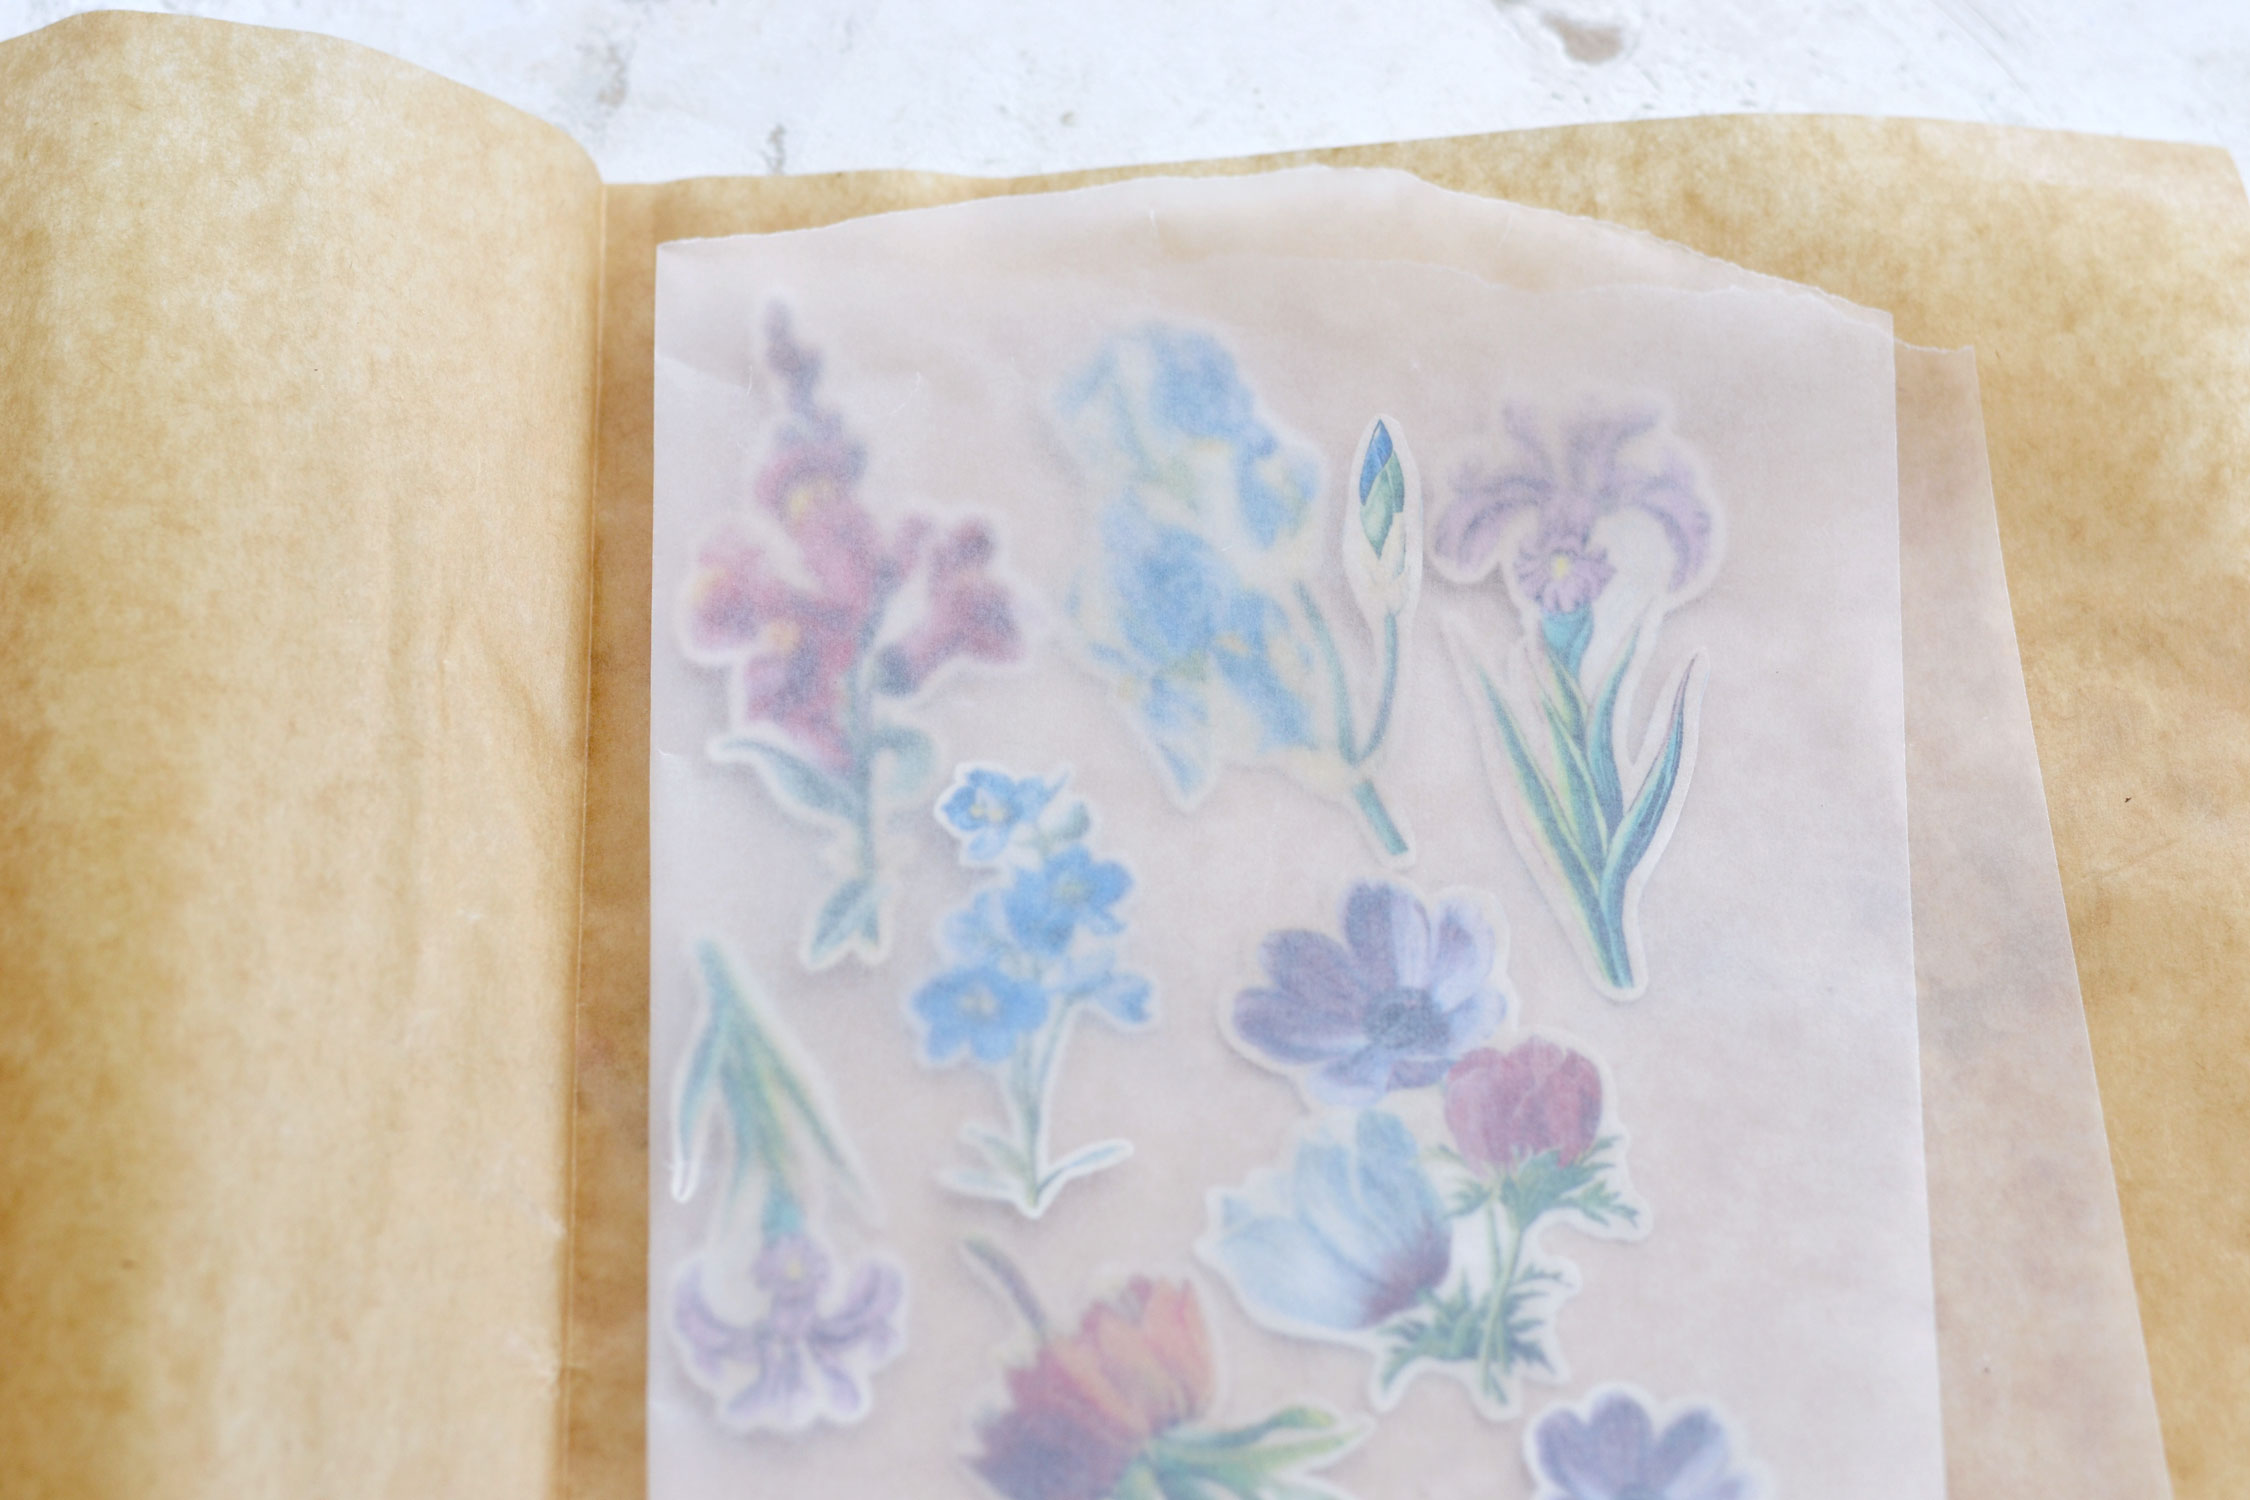
If you want to speed things up, you can cut or tear a larger piece of wax paper and place several stickers inside. Just make sure the wax paper is always smaller than the parchment paper to keep things smooth and avoid any unwanted incidents.
Here is another look at how wax paper starts to melt after ironing it and how it completely transforms your regular paper stickers.
If you are using sticker paper, I’m not sure if the wax won’t mess up its built-in adhesive side after melting. I couldn’t find my sticker paper anywhere because we just recently moved, but if you try it and it works, just let us know. You can tell us if it doesn’t work either, maybe it will help other people with their experiments.
You can now use double-sided tape or double-sided sheets to adhere each sticker on top. Use your scissors to cut each sticker one more time, each one will now have its own adhesive backing.
Or you can just keep them as they are and worry about gluing them when you need to! I actually preferred it this way, but you can decide depending on your preferences.
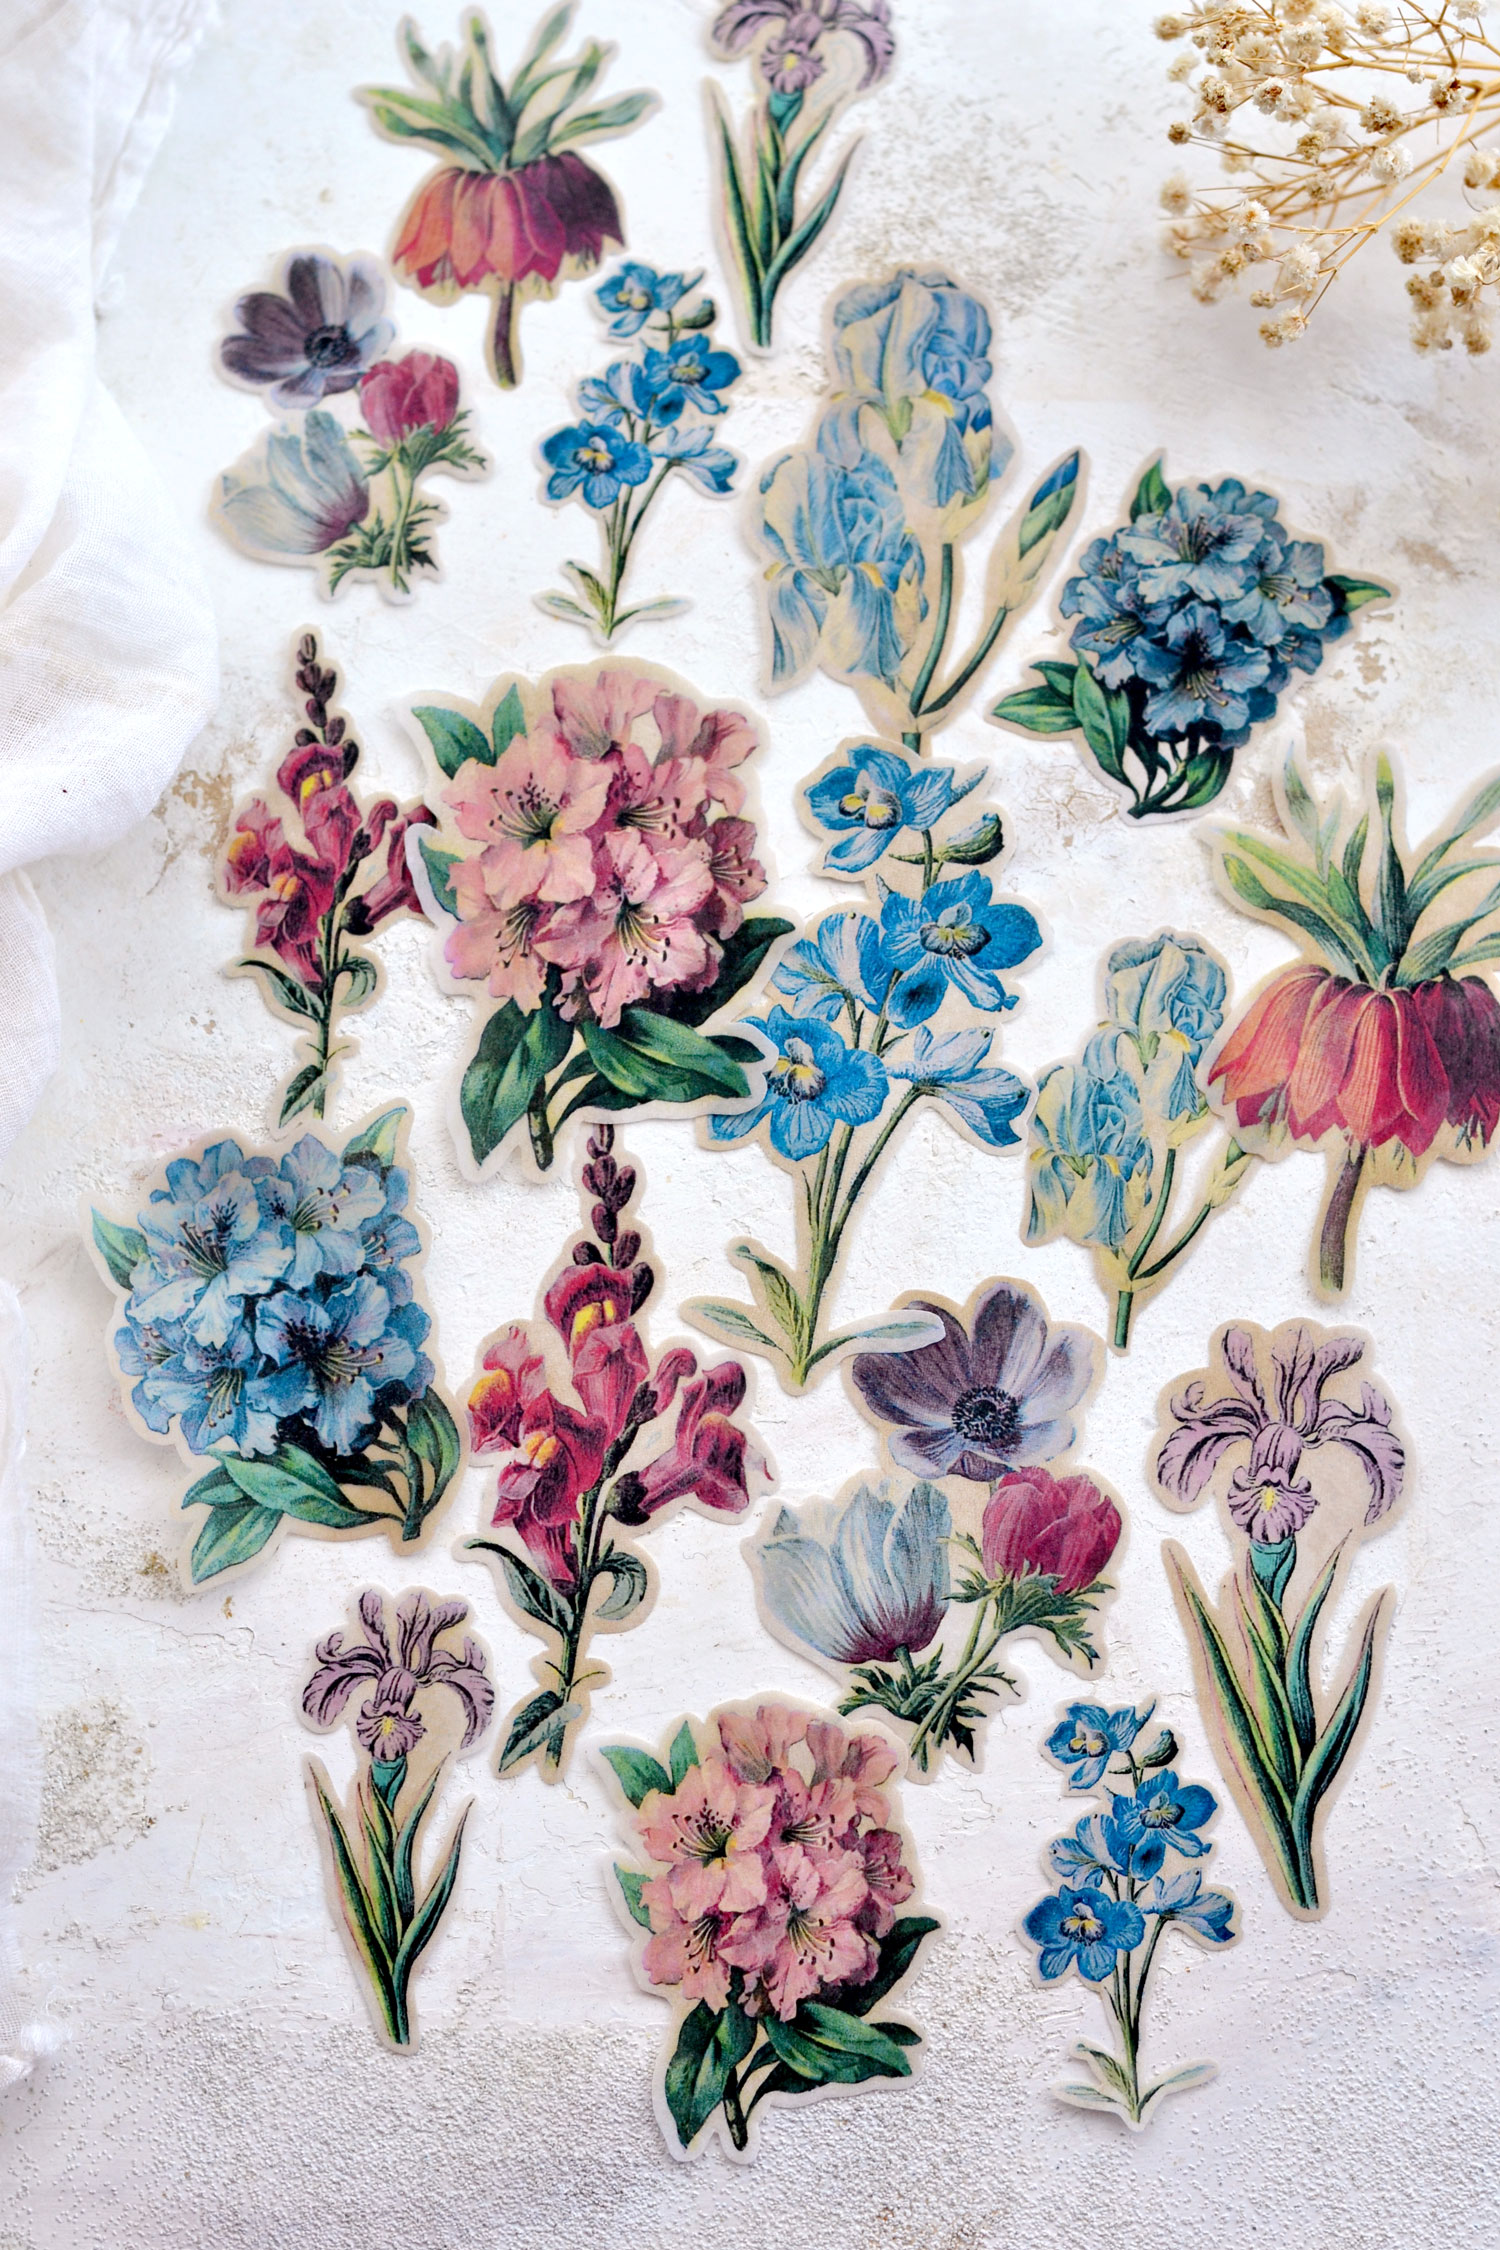
And yes, your oh-so-gorgeous flower stickers are now ready to be used! I love how the colors are vibrant enough to give us a stunning pop of color, but also subtle enough to be still considered delicately vintage.
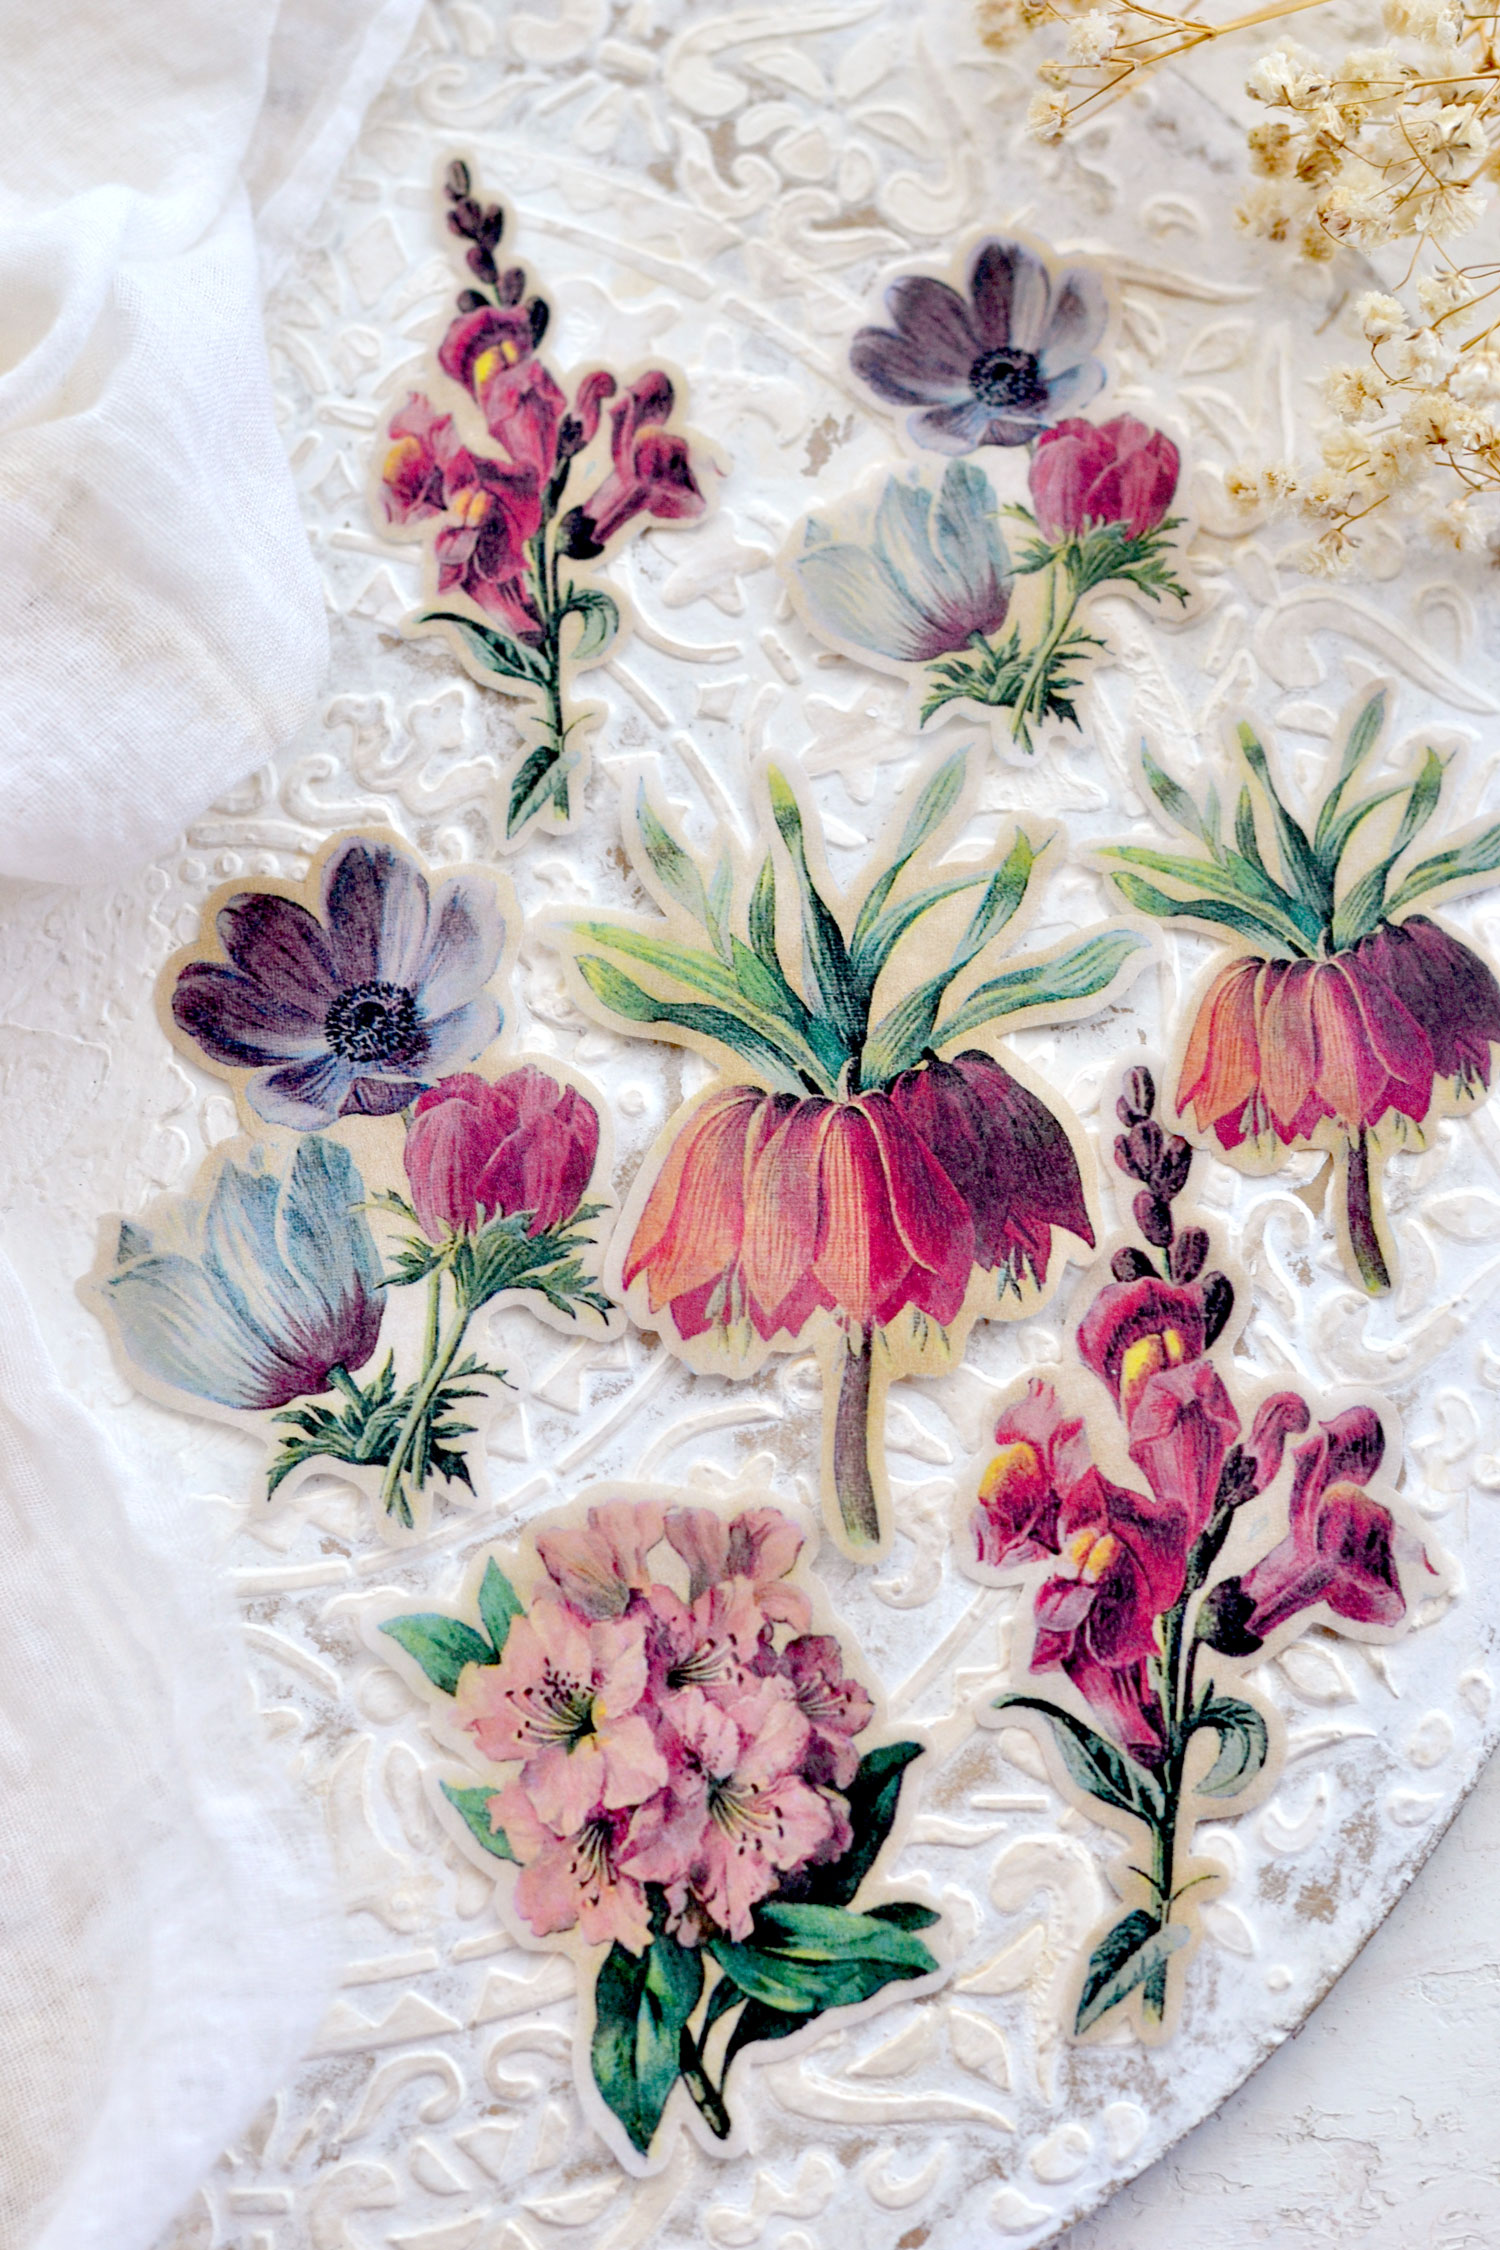
You can group them according to their colors, this pink-ish group would look amazing everywhere!
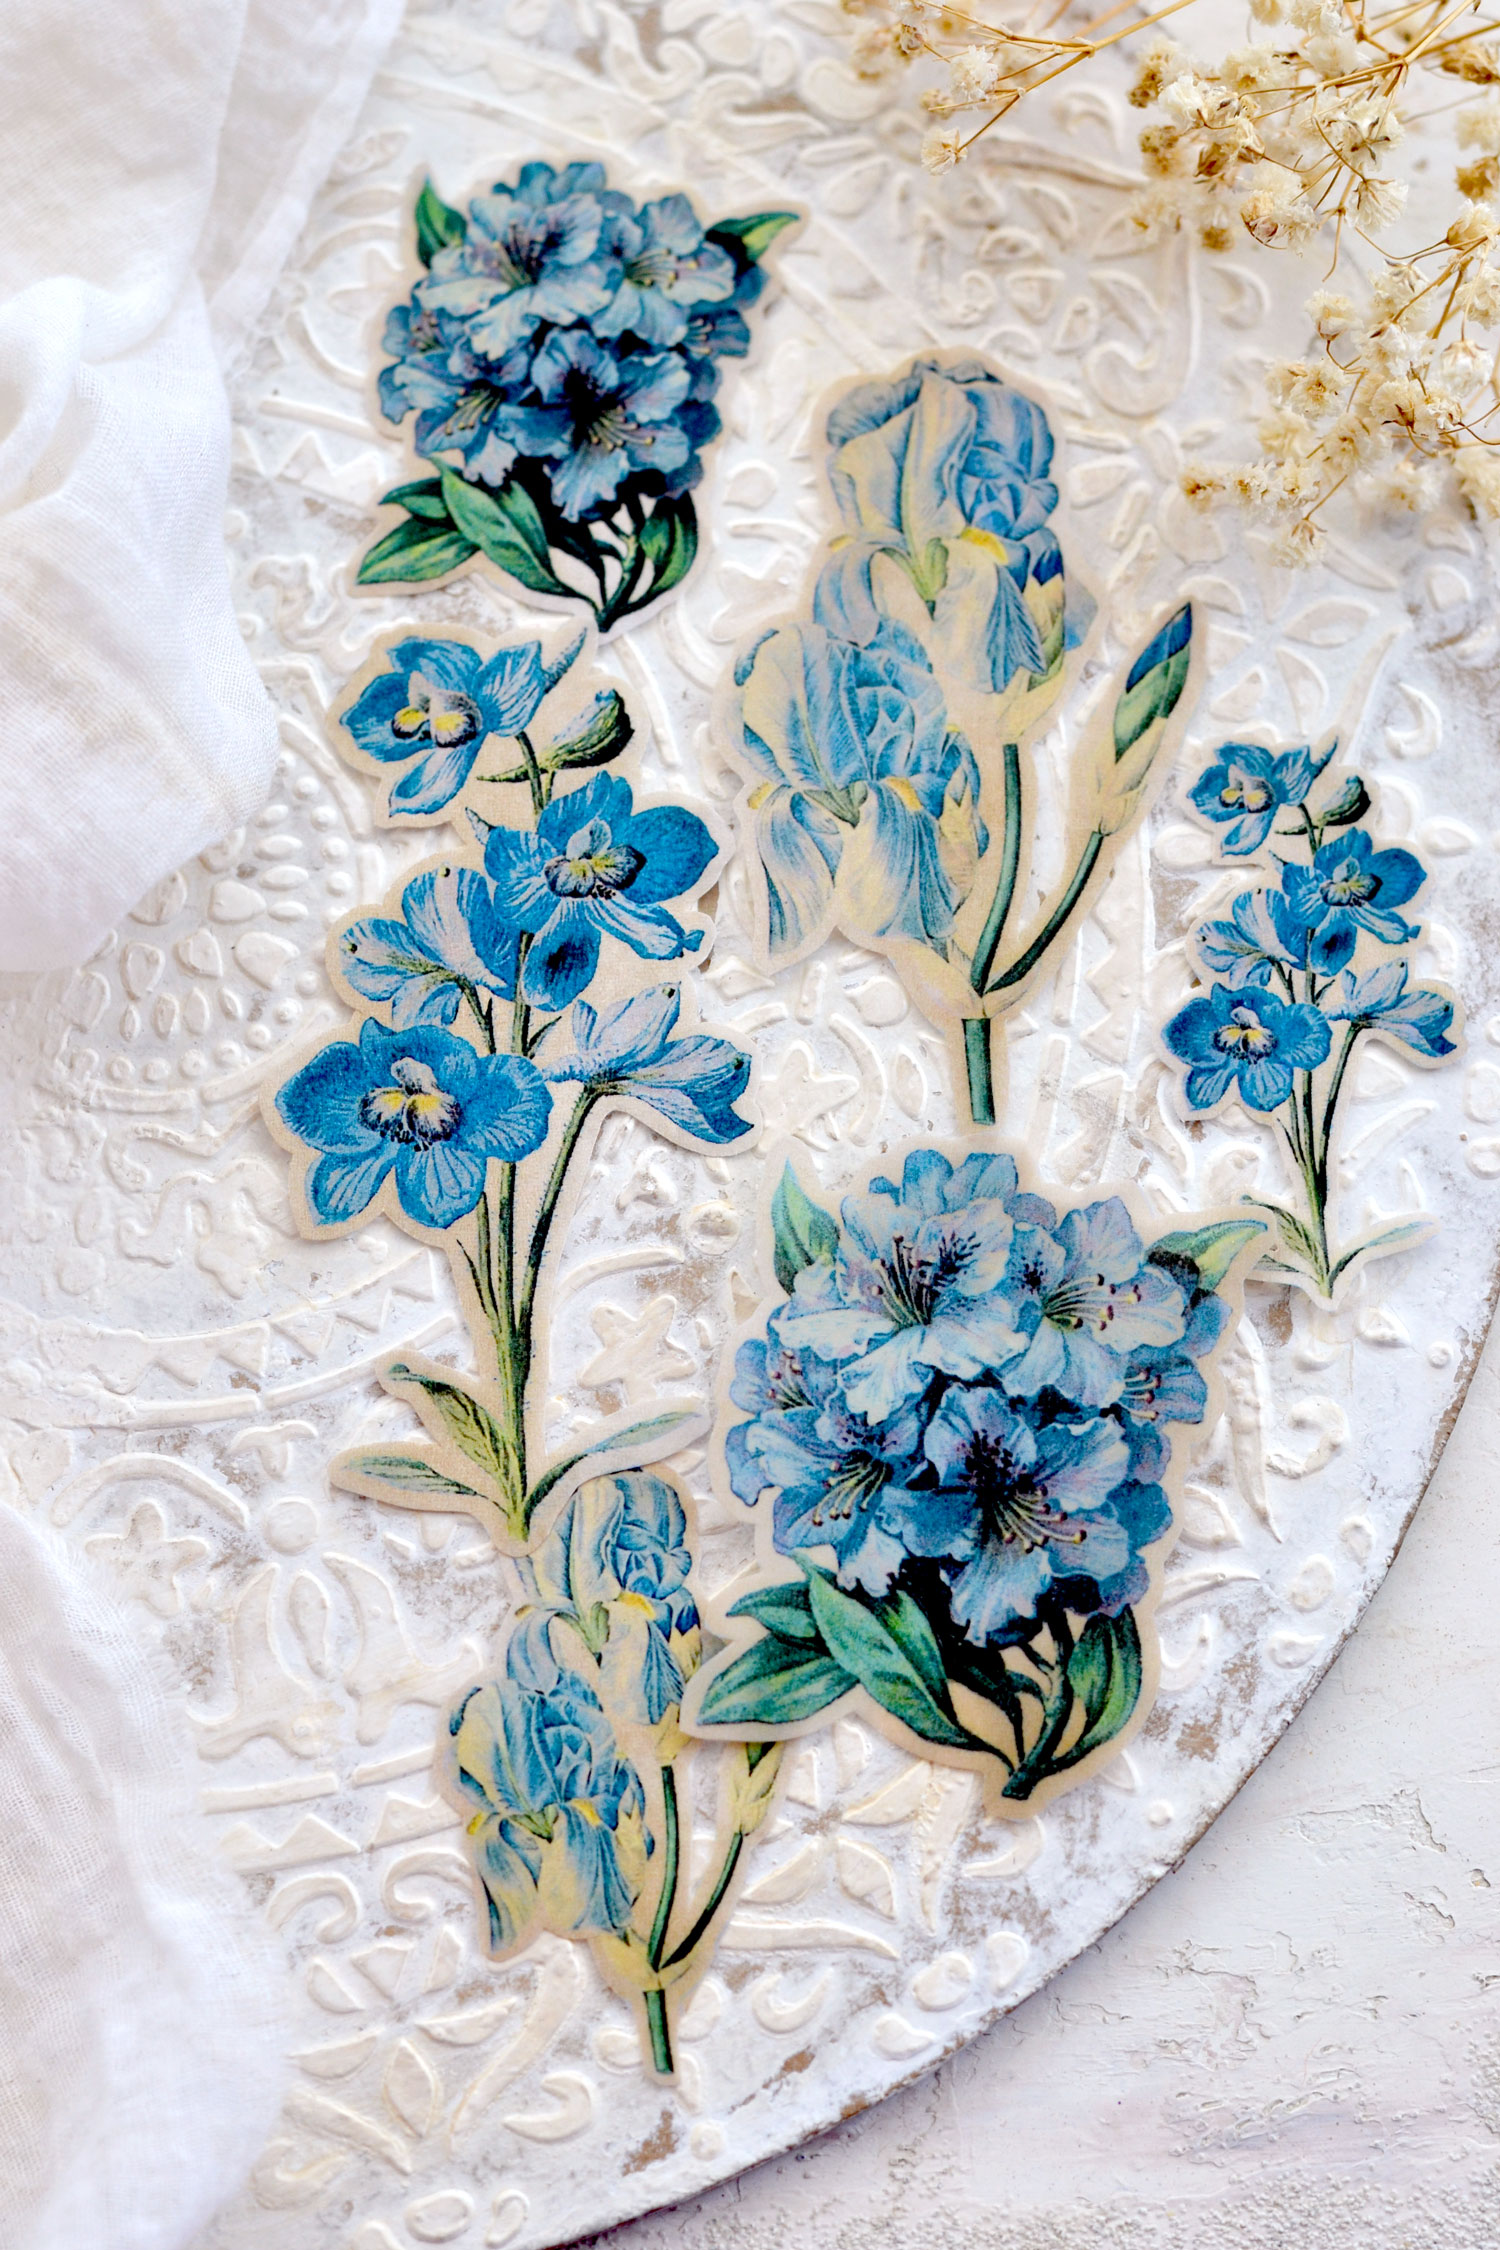
But also this blue group, can you believe how gorgeous these are?
I feel that you could easily integrate all the stickers into colored coordinated projects if you need to, but I love that they also have that universal vibe that will make them adaptable to any of your needs!
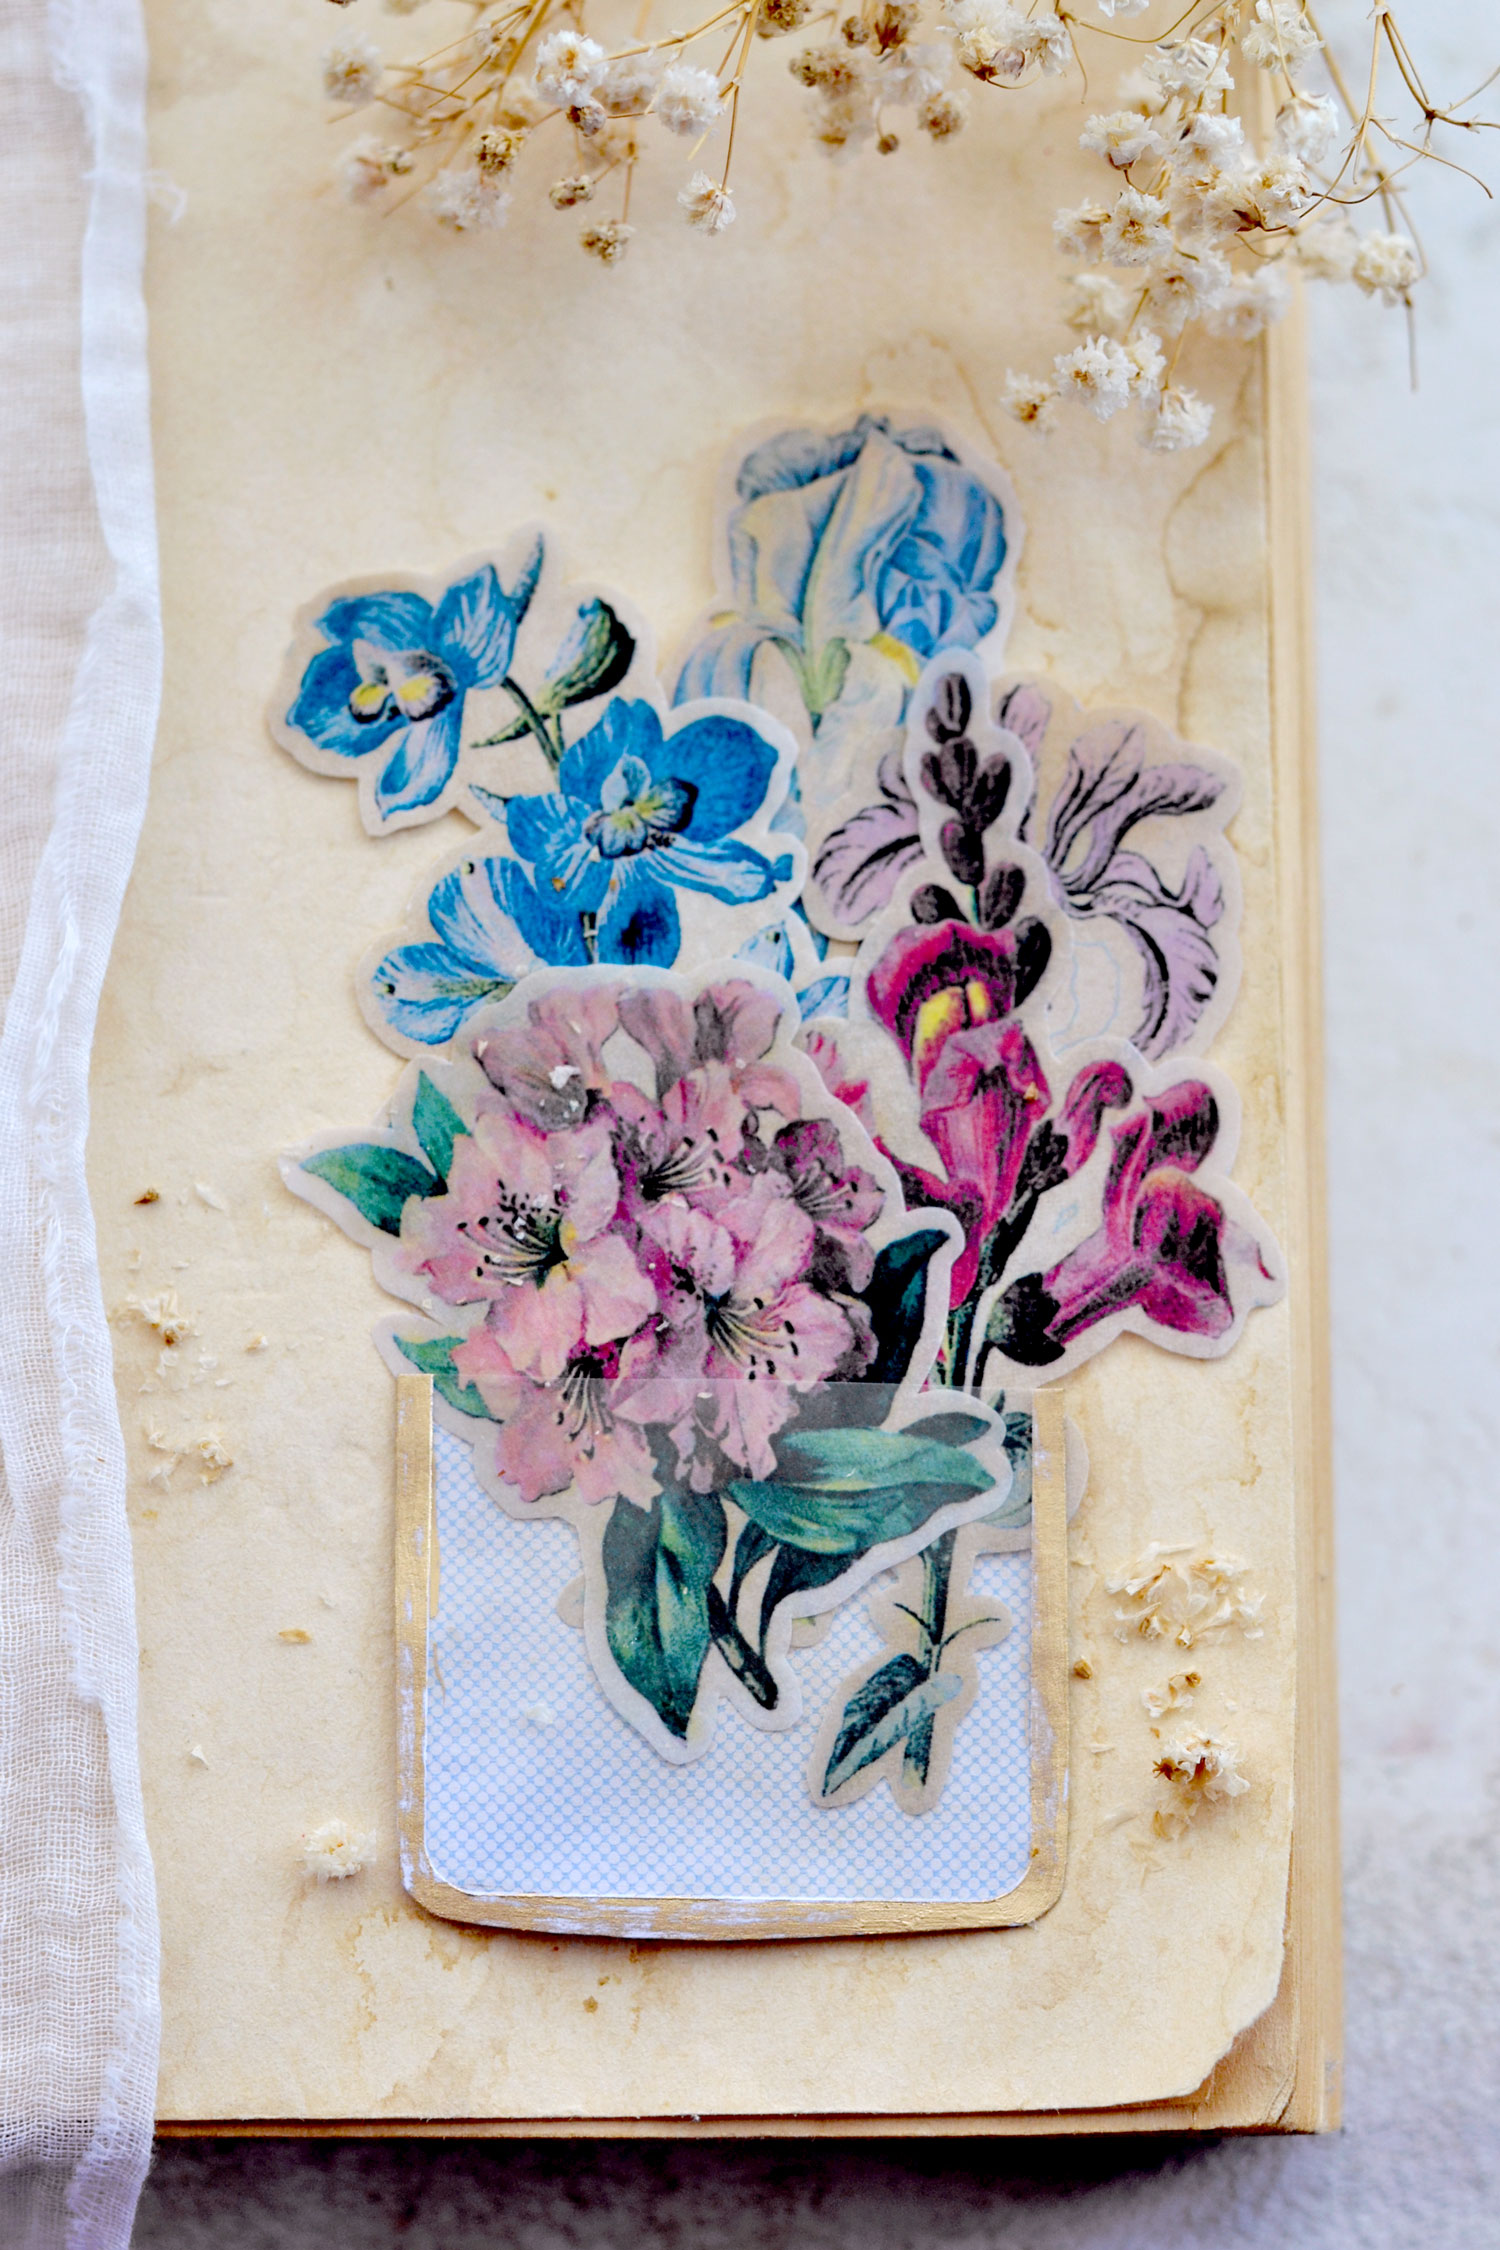
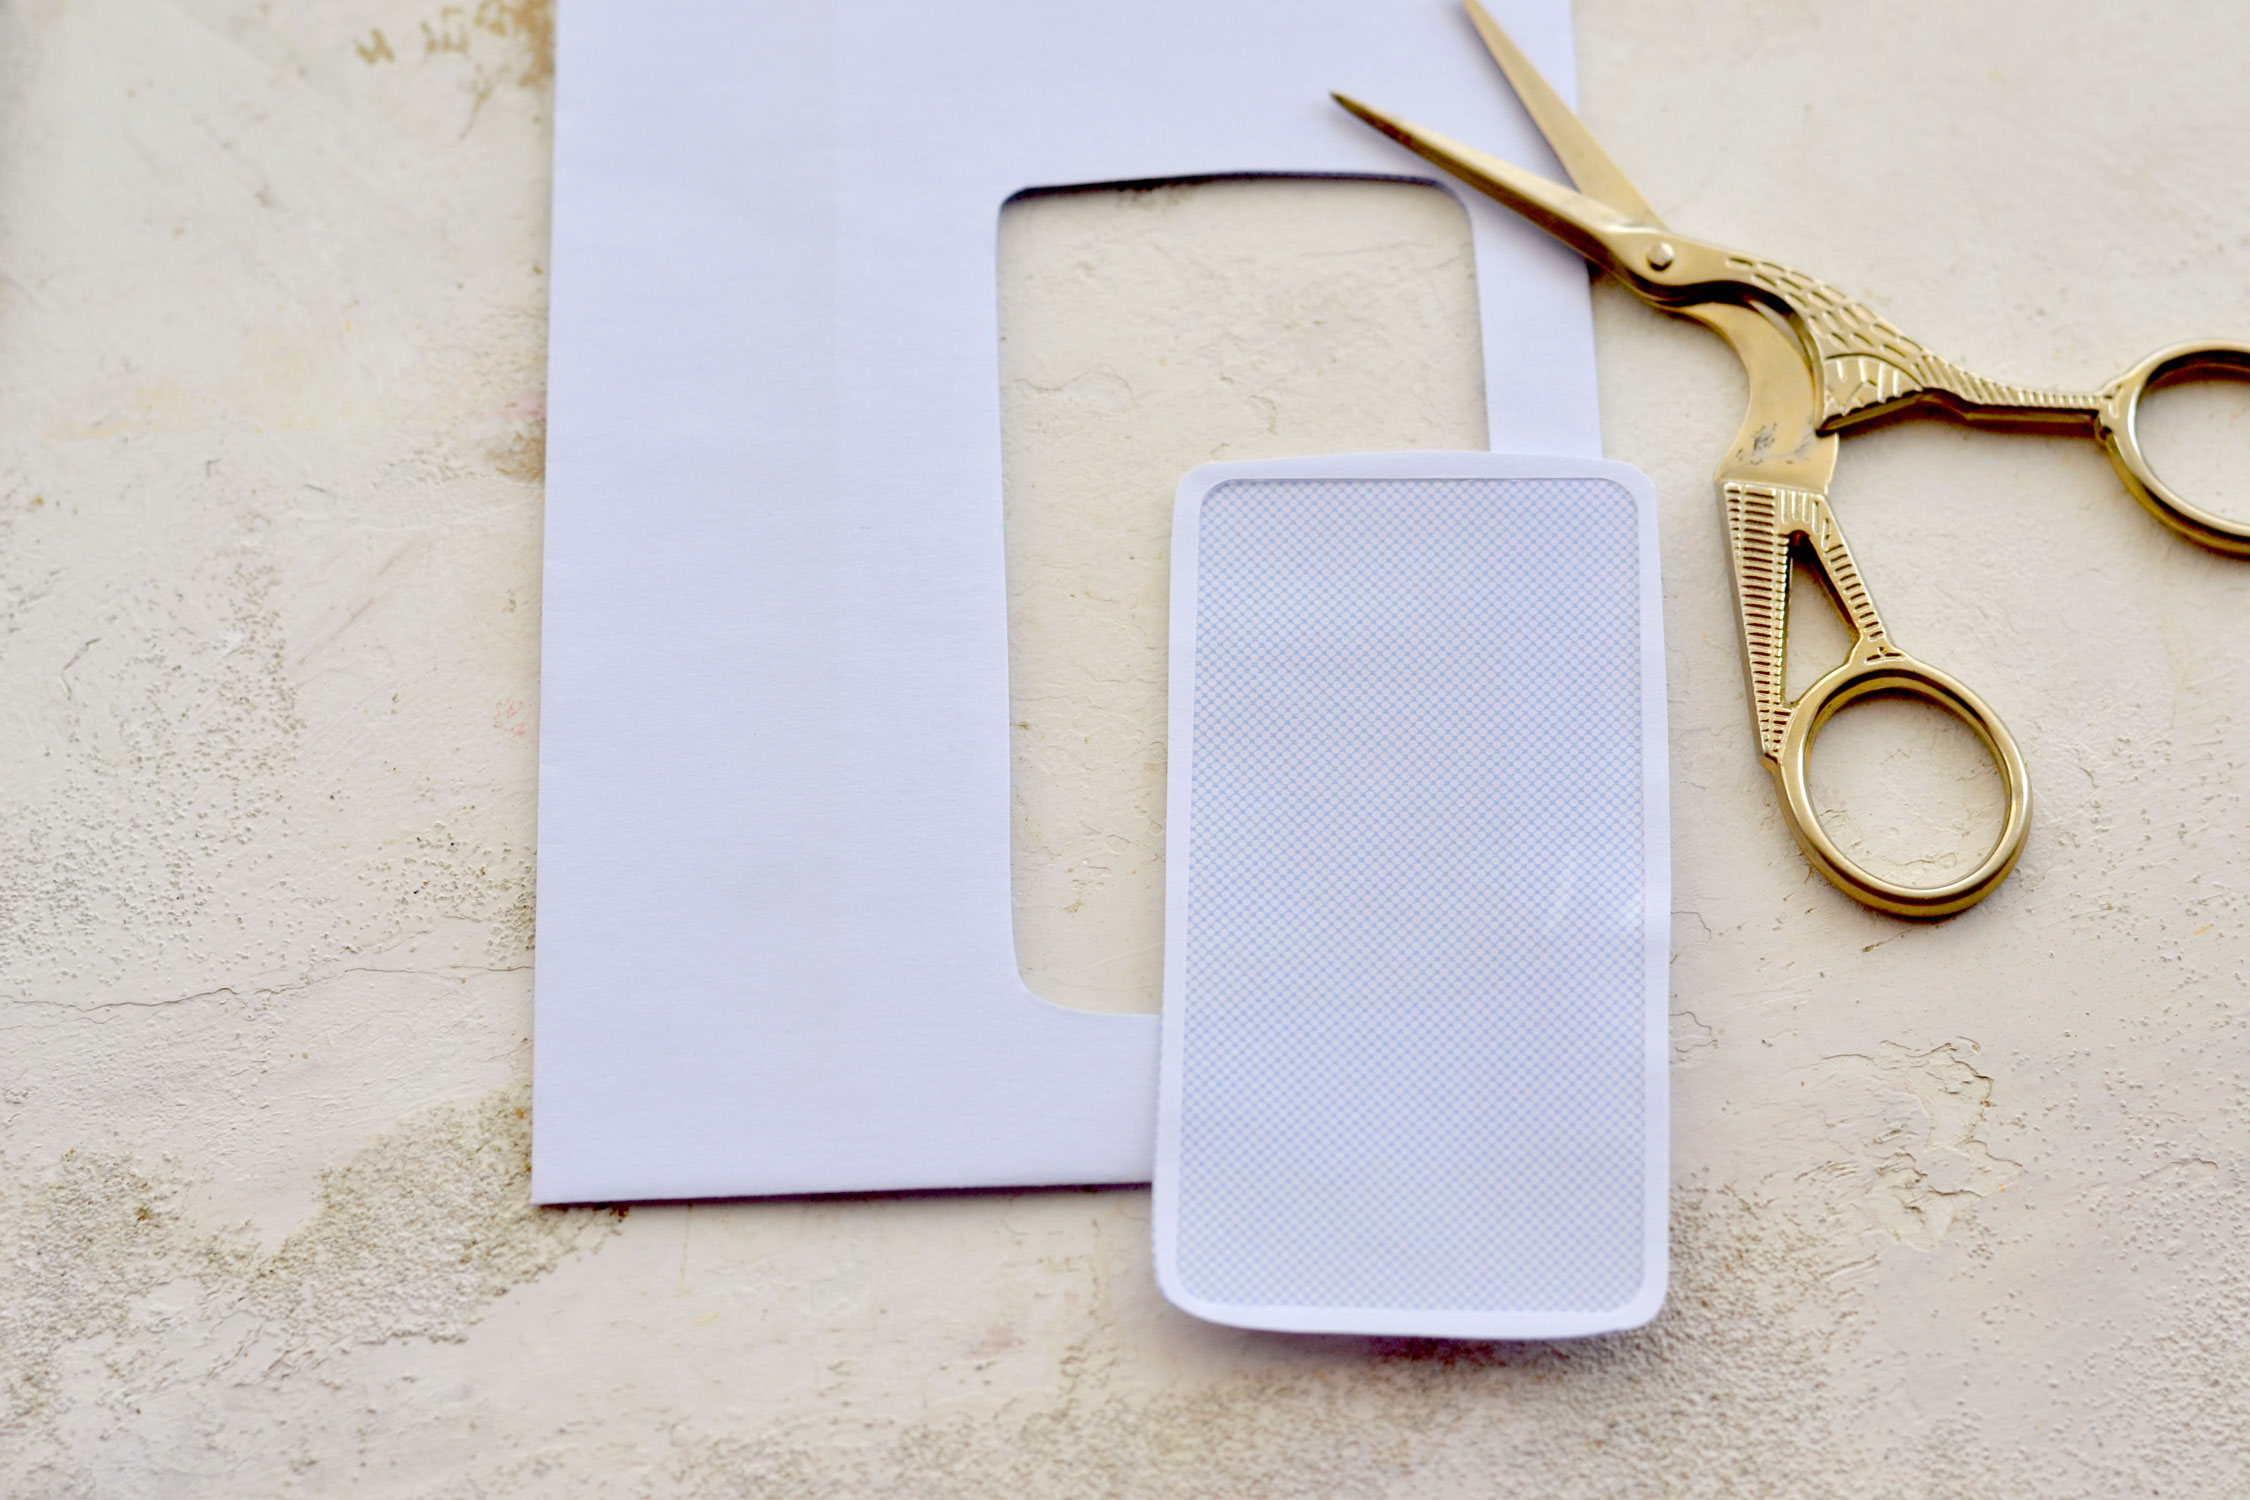
As a final idea, you can use a window envelope to make a super chic vase for all your gorgeous flowers! Simply cut the clear window and the back using your scissors while leaving a little bit of paper around the edges.
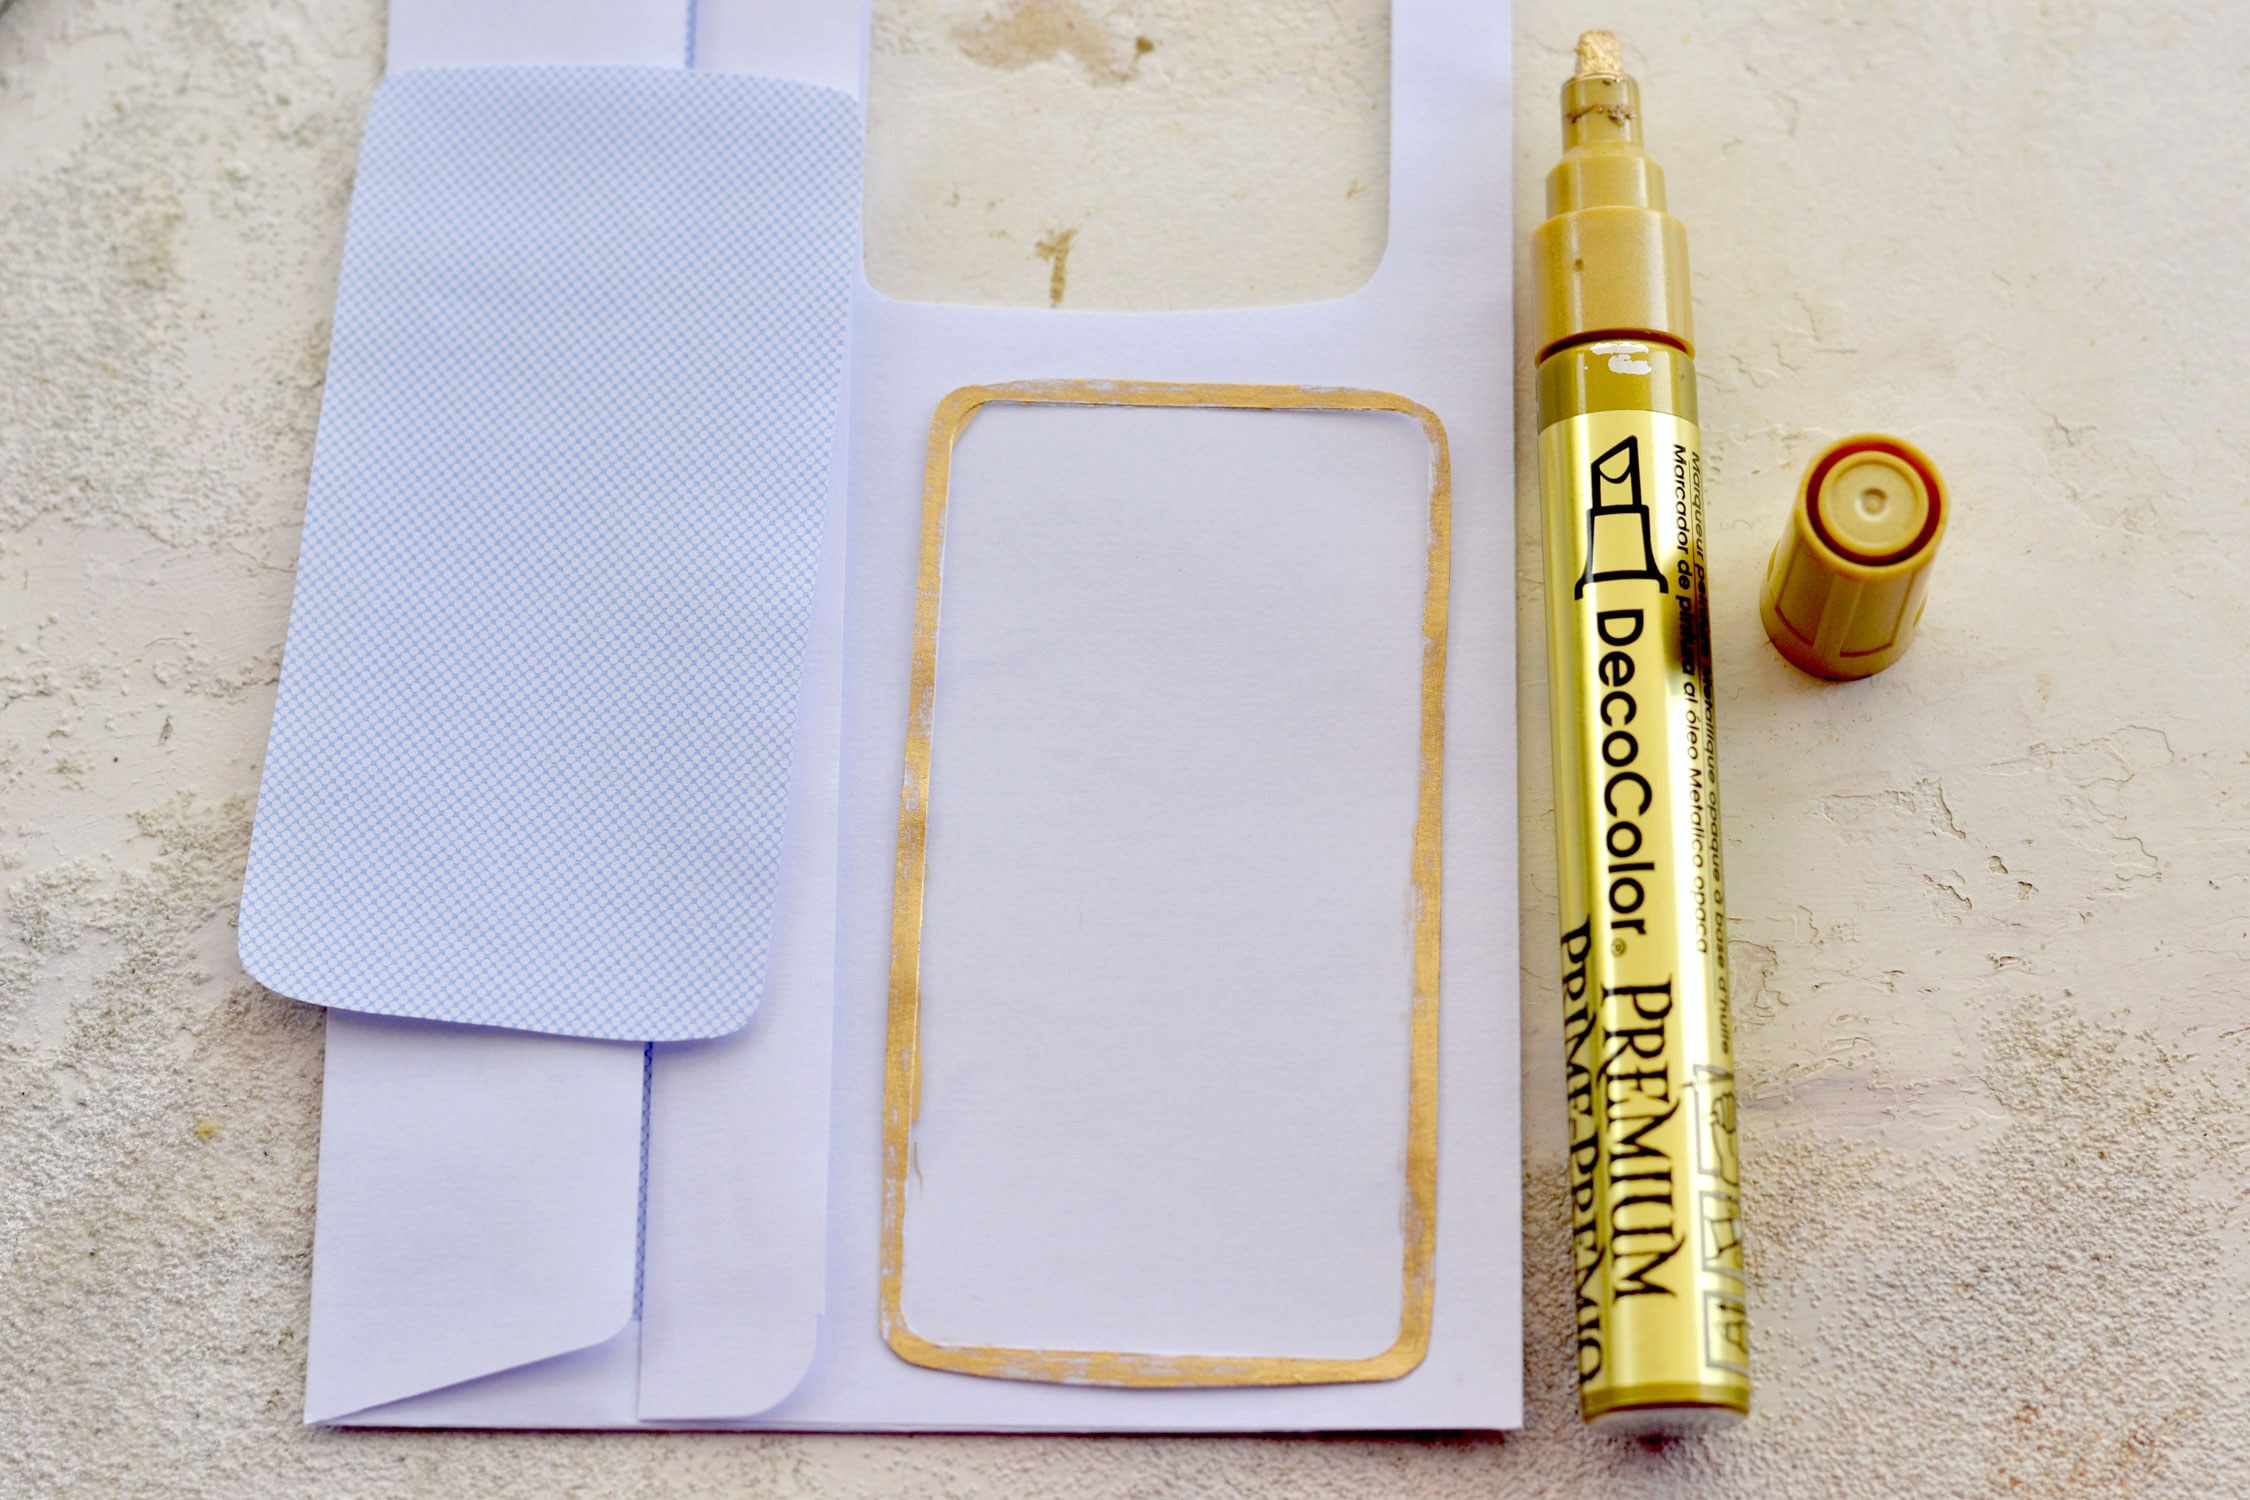
Use a gold marker, gold acrylic paint or even some gold nail polish to gild the paper on the edges, then cut the window in half to make two vases.
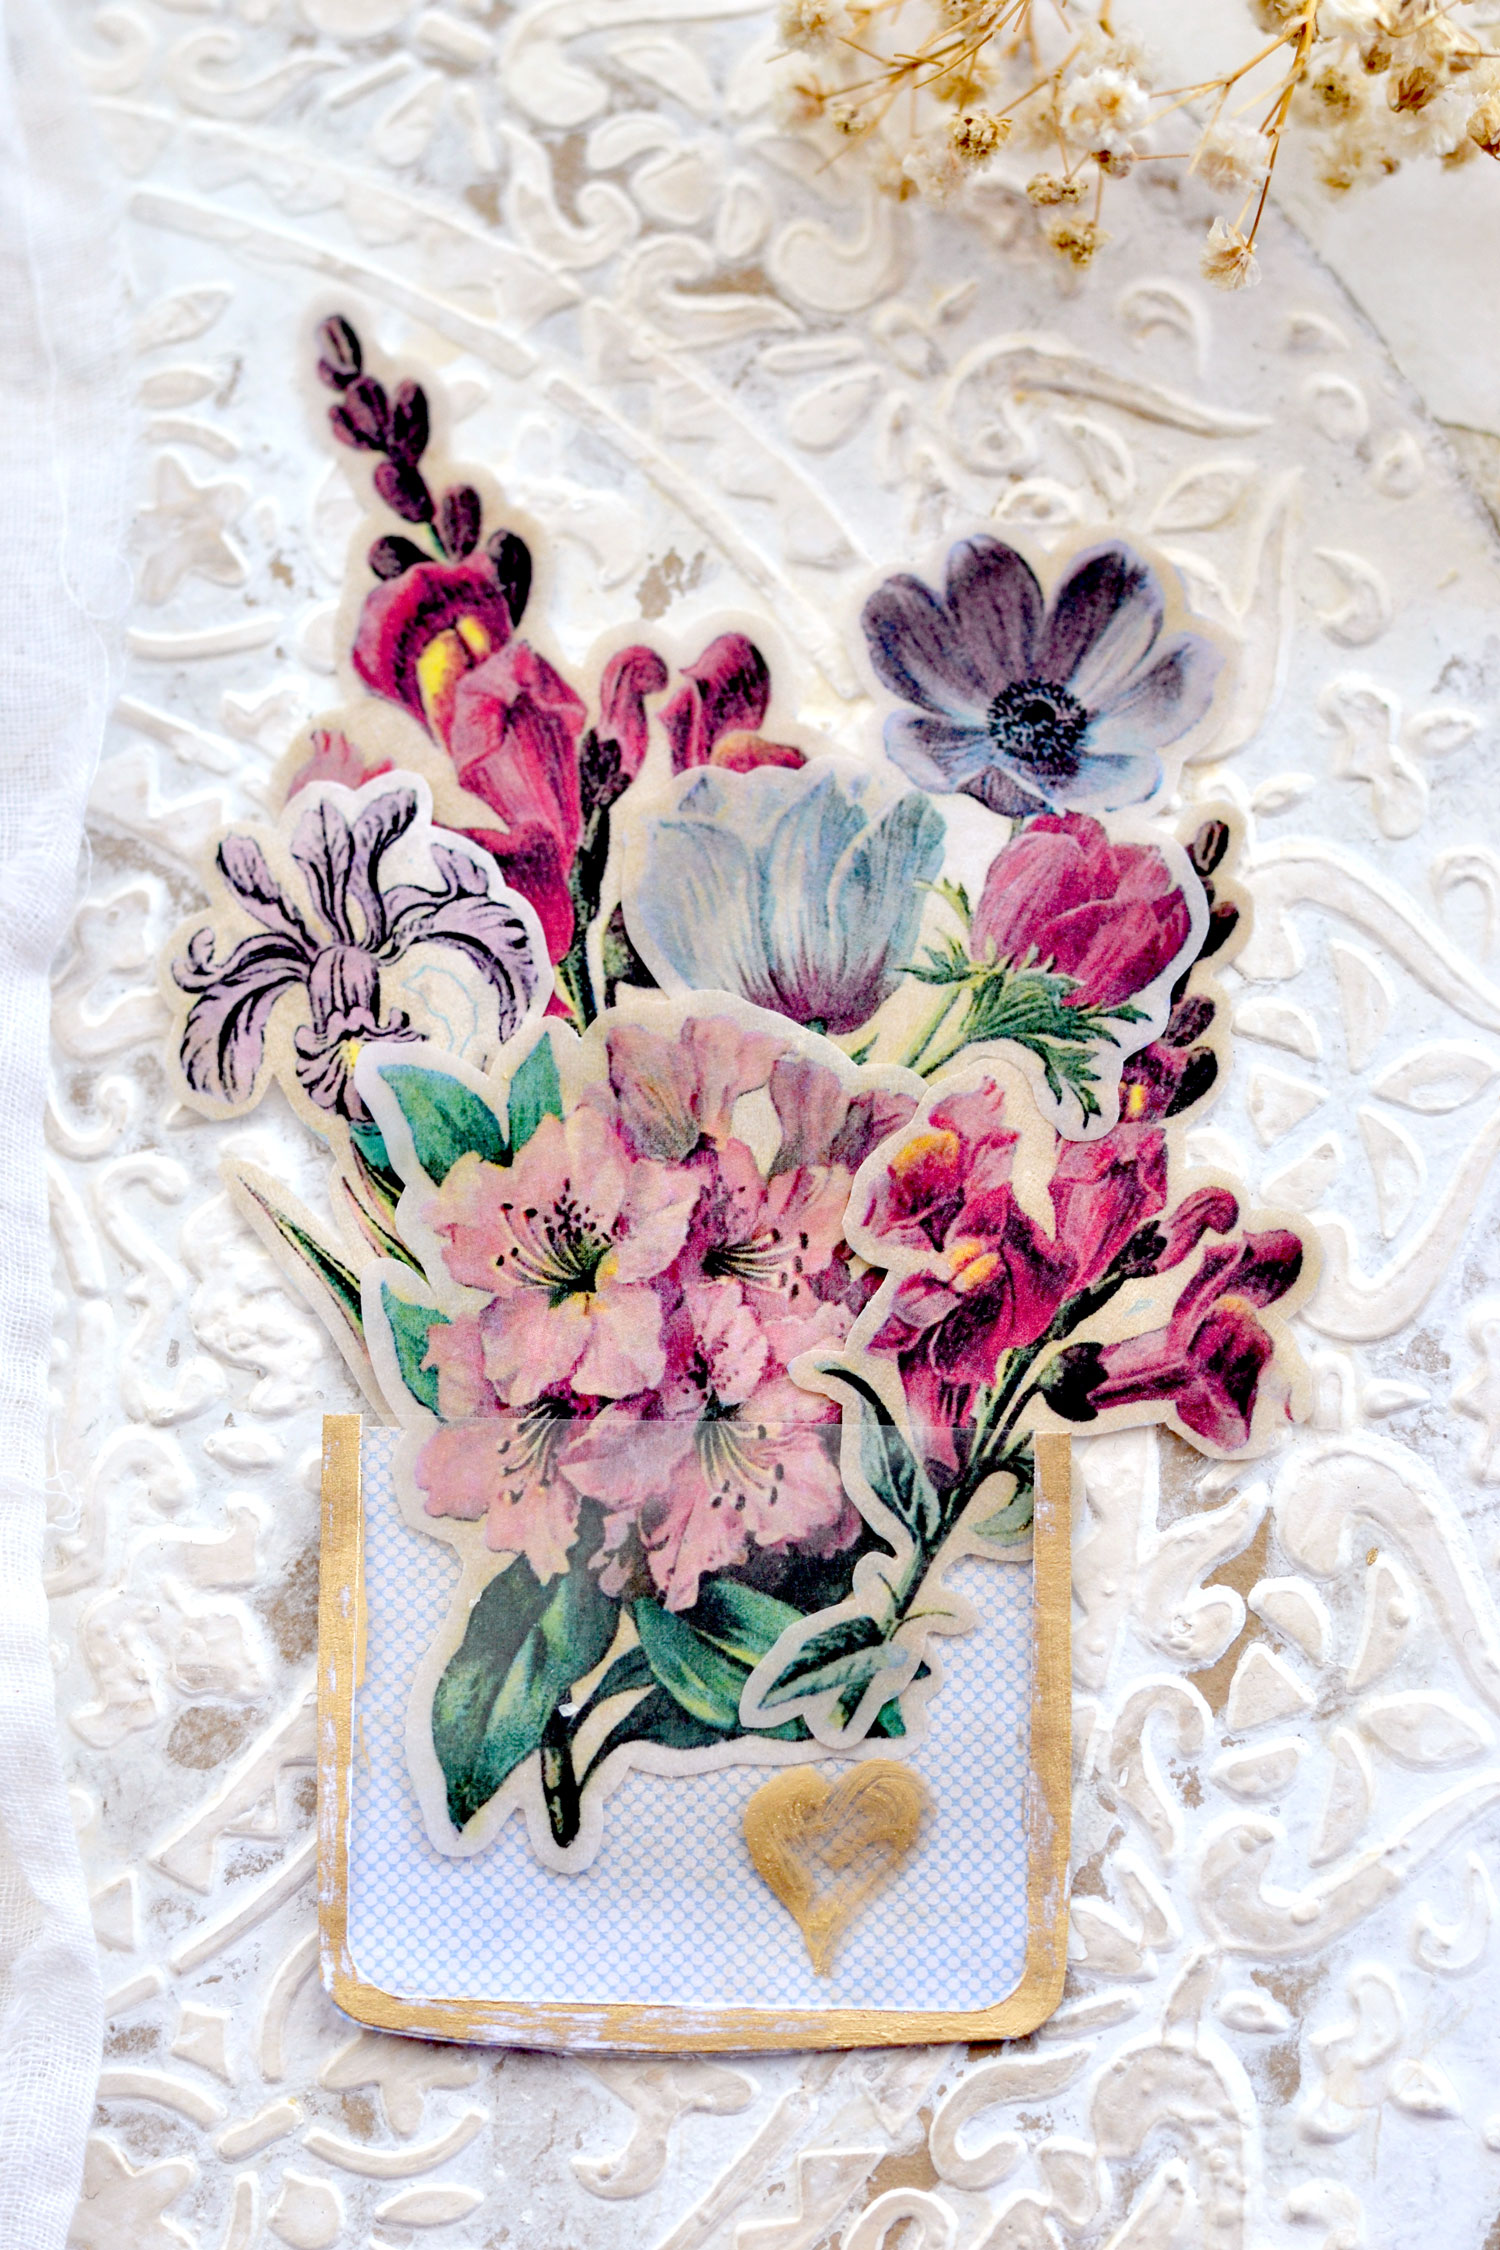
You can use the backing on your envelope or other vintage scrap pieces of ephemera to make the back of the vase or you can simply adhere the clear vase to your projects. This will look amazing on cards, gift tags or as a sweet little decoration in your home. You can also use it in your junk journal and will have both an aesthetic role but also a functional one because you can keep all your stickers inside for when you need them!
I hope you will love this project and decide to give it a try! It doesn’t matter if you take the 5-minute or the longer route, you’ll still have some super chic flower stickers that have a lovely vintage vibe and a unique almost like pressed flowers appearance.
 You might also like my DIY Glitter Stickers HERE.
Happy crafting,
Diana / Dreams Factory


Maxine Diffey says
Thank you for this fabulous set of floral prints, and the tutorial
Blessings
Maxine
Karen Watson says
Enjoy Maxine!
Cynthia Murphy says
Thank you. The flowers are beautiful!
Karen Watson says
Have fun making these pretty stickers Cynthia!