
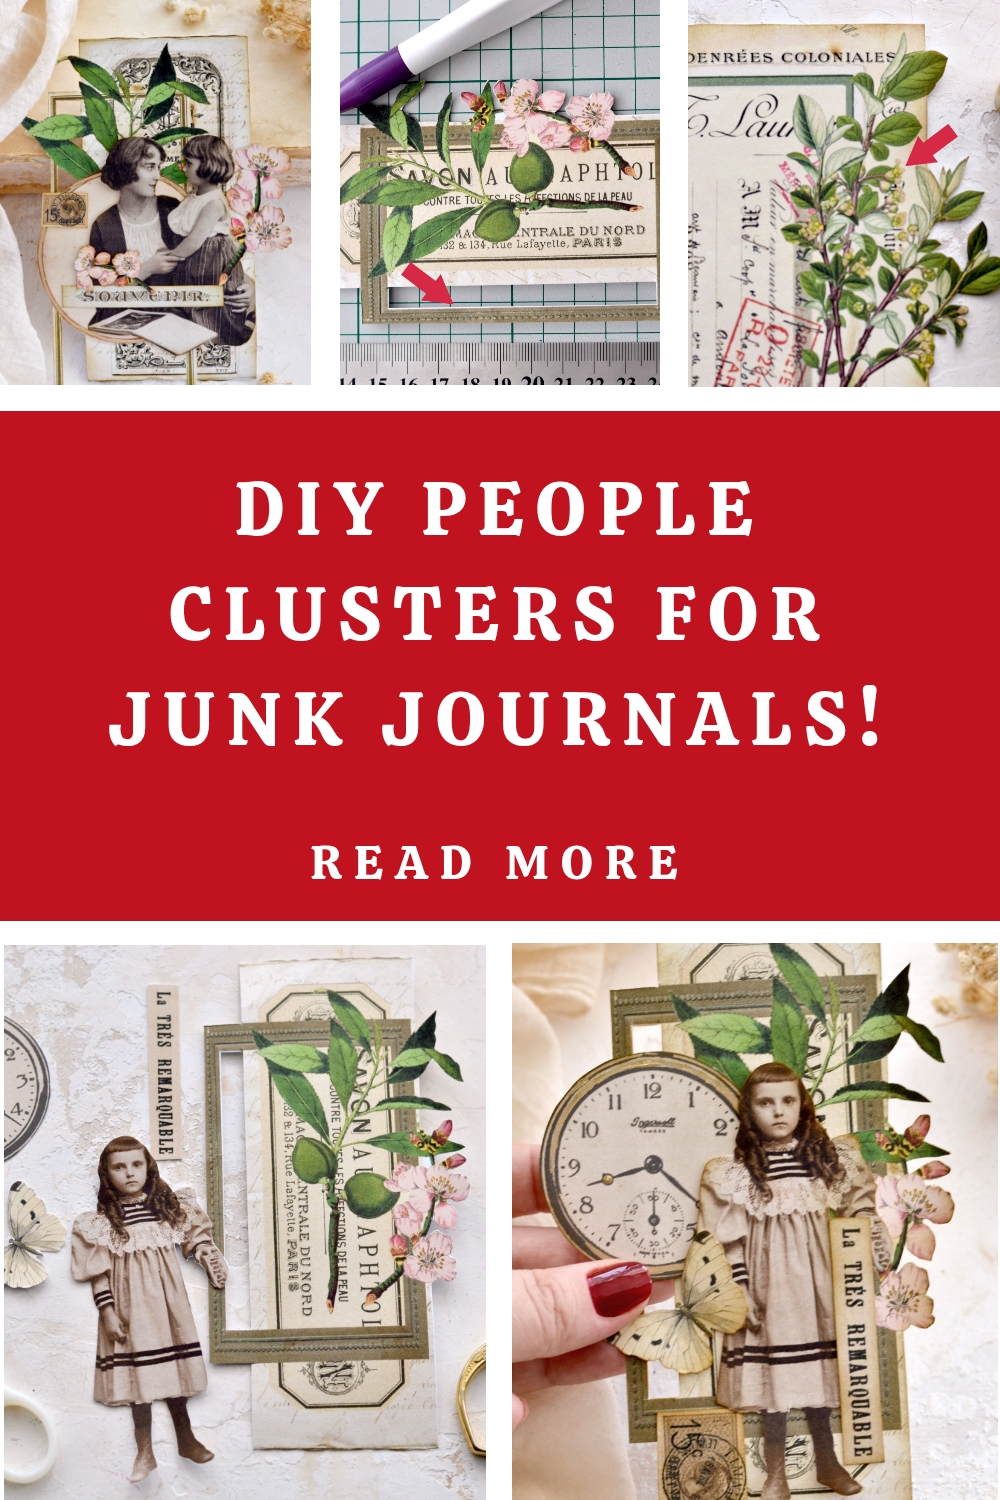
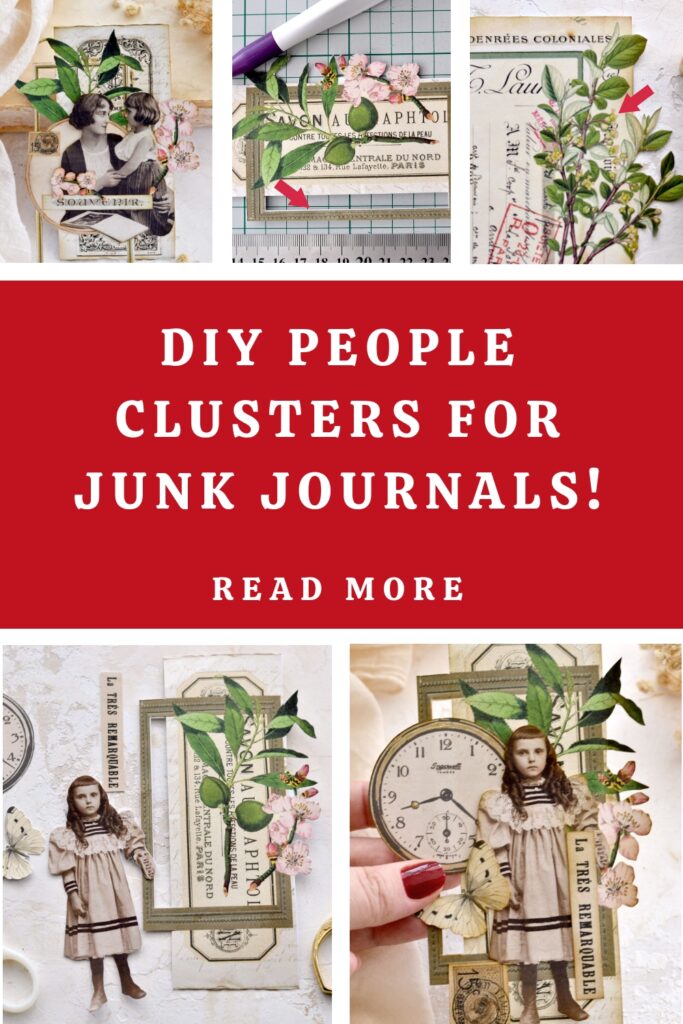
DIY Vintage People Clusters for Junk Journals
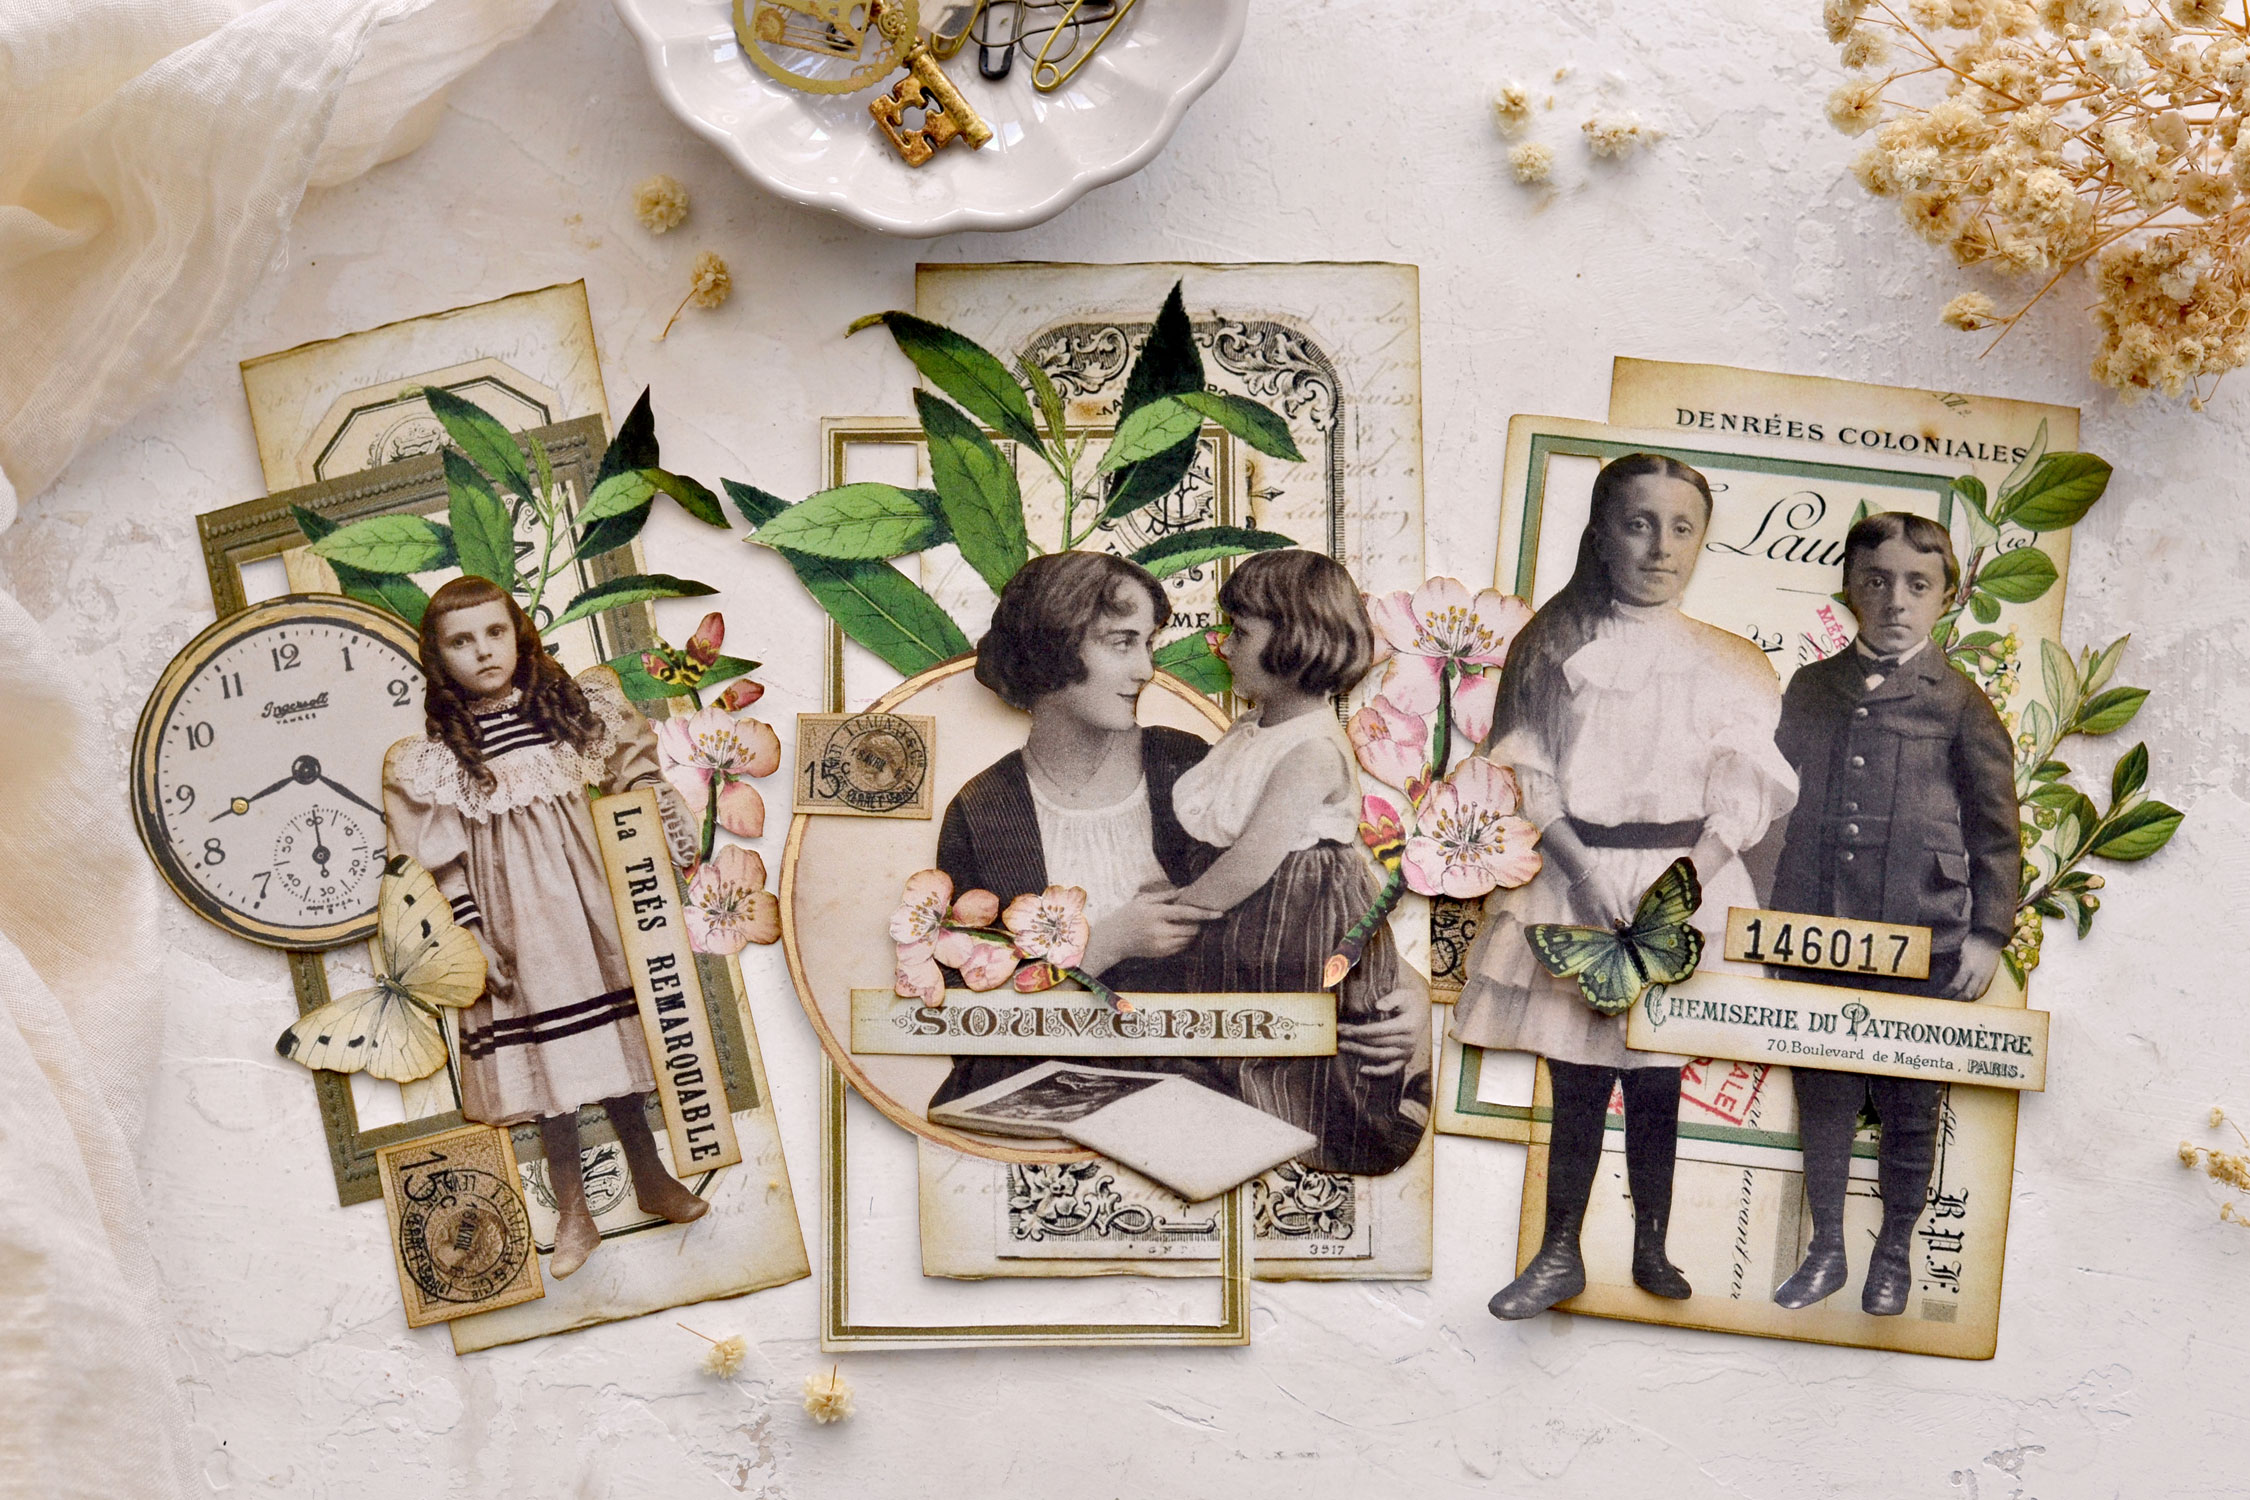
Hello Graphics Fairy friends! I’m Diana from Dreams Factory and I’m happy to be here again for another one of our creative get-togethers. Today, I have a new and exciting project to share with you, I will show you how to make these gorgeous Vintage People Clusters for your junk journals. This might sound complicated at first glance because of all the layered elements, but in fact, it is one of the easiest projects ever! And the final results are absolutely amazing!
When I first started imagining this project, I knew I wanted to keep things fairly simple and uncomplicated. The challenge was to create something spectacular but without too much effort on your part. So what did I do? I did all the hard work myself, so you don’t have to! I prepped everything in advance, so now all you have to do is cut, distress and glue these beauties!

I wanted our people clusters to have a lot of elements and look dimensional. So, one of the things I prepped in advance was to digitally extract and clean the people images – these were initially part of regular photos. And the second was to layer some of the background elements myself. This will save you tons of work and you will be able to make these beauties in no time!
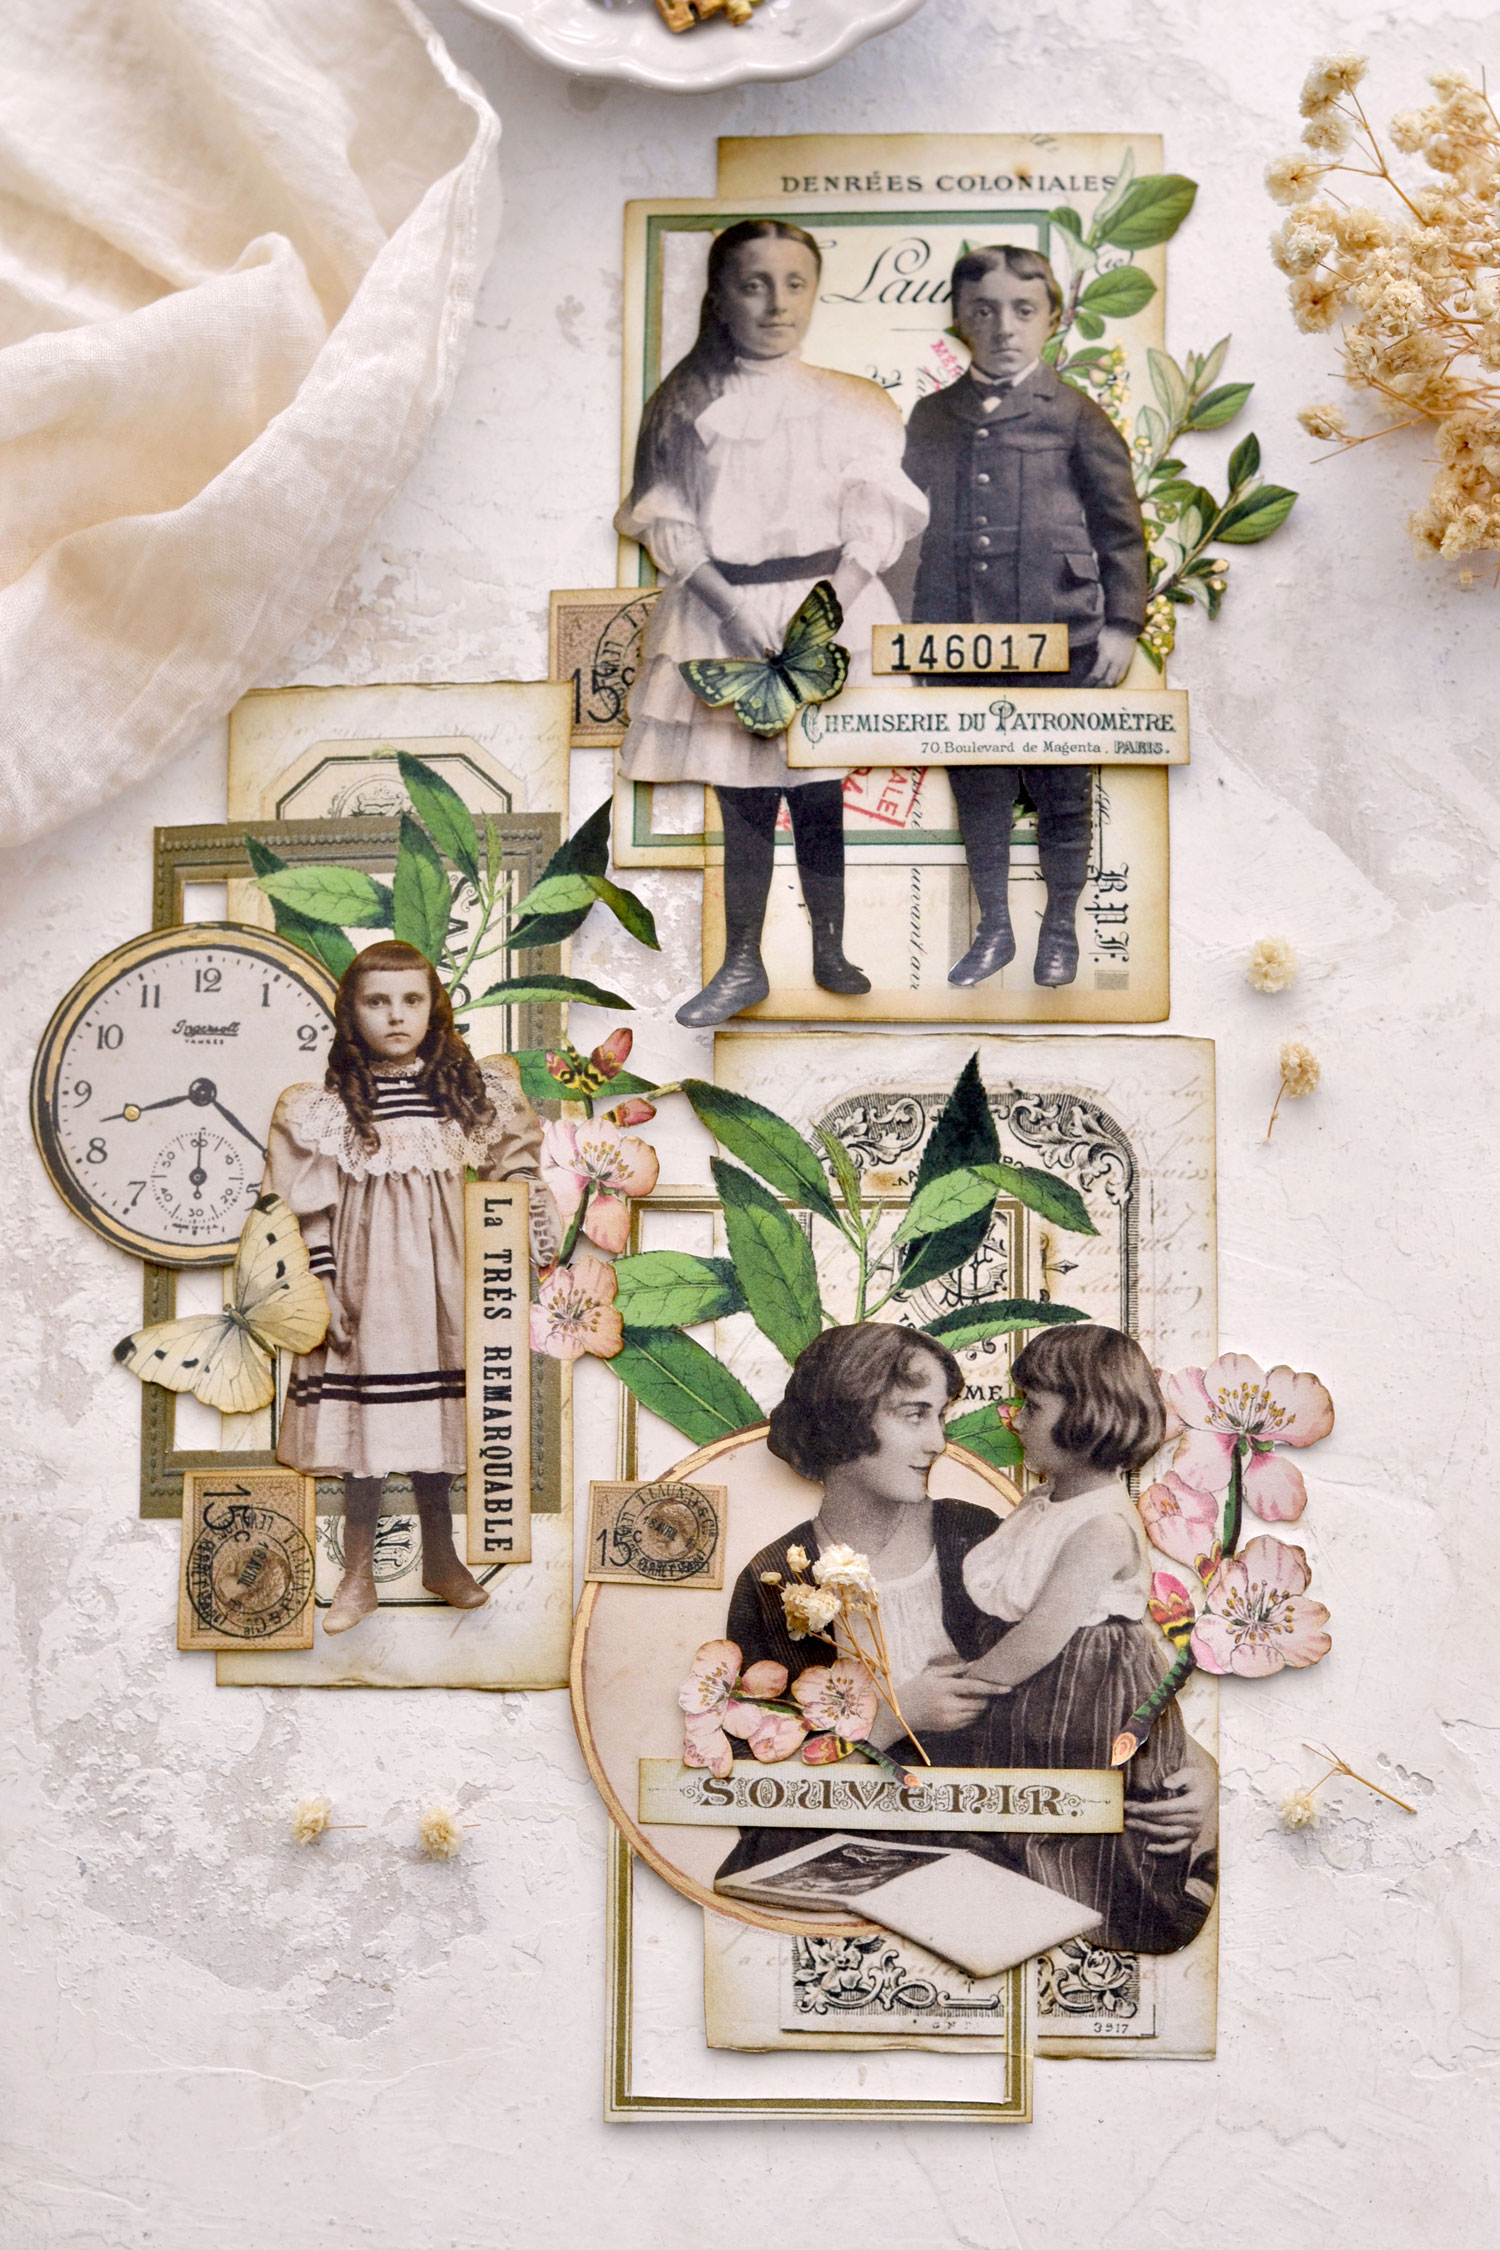
You will find below the three different designs that I created for this project. Each design comes in two sizes, so you’ll be able to make a total of six clusters if you decide to make them all. I have a feeling you will, these will be great to have around for when in need!
Junk Journal Clusters Free Printables:
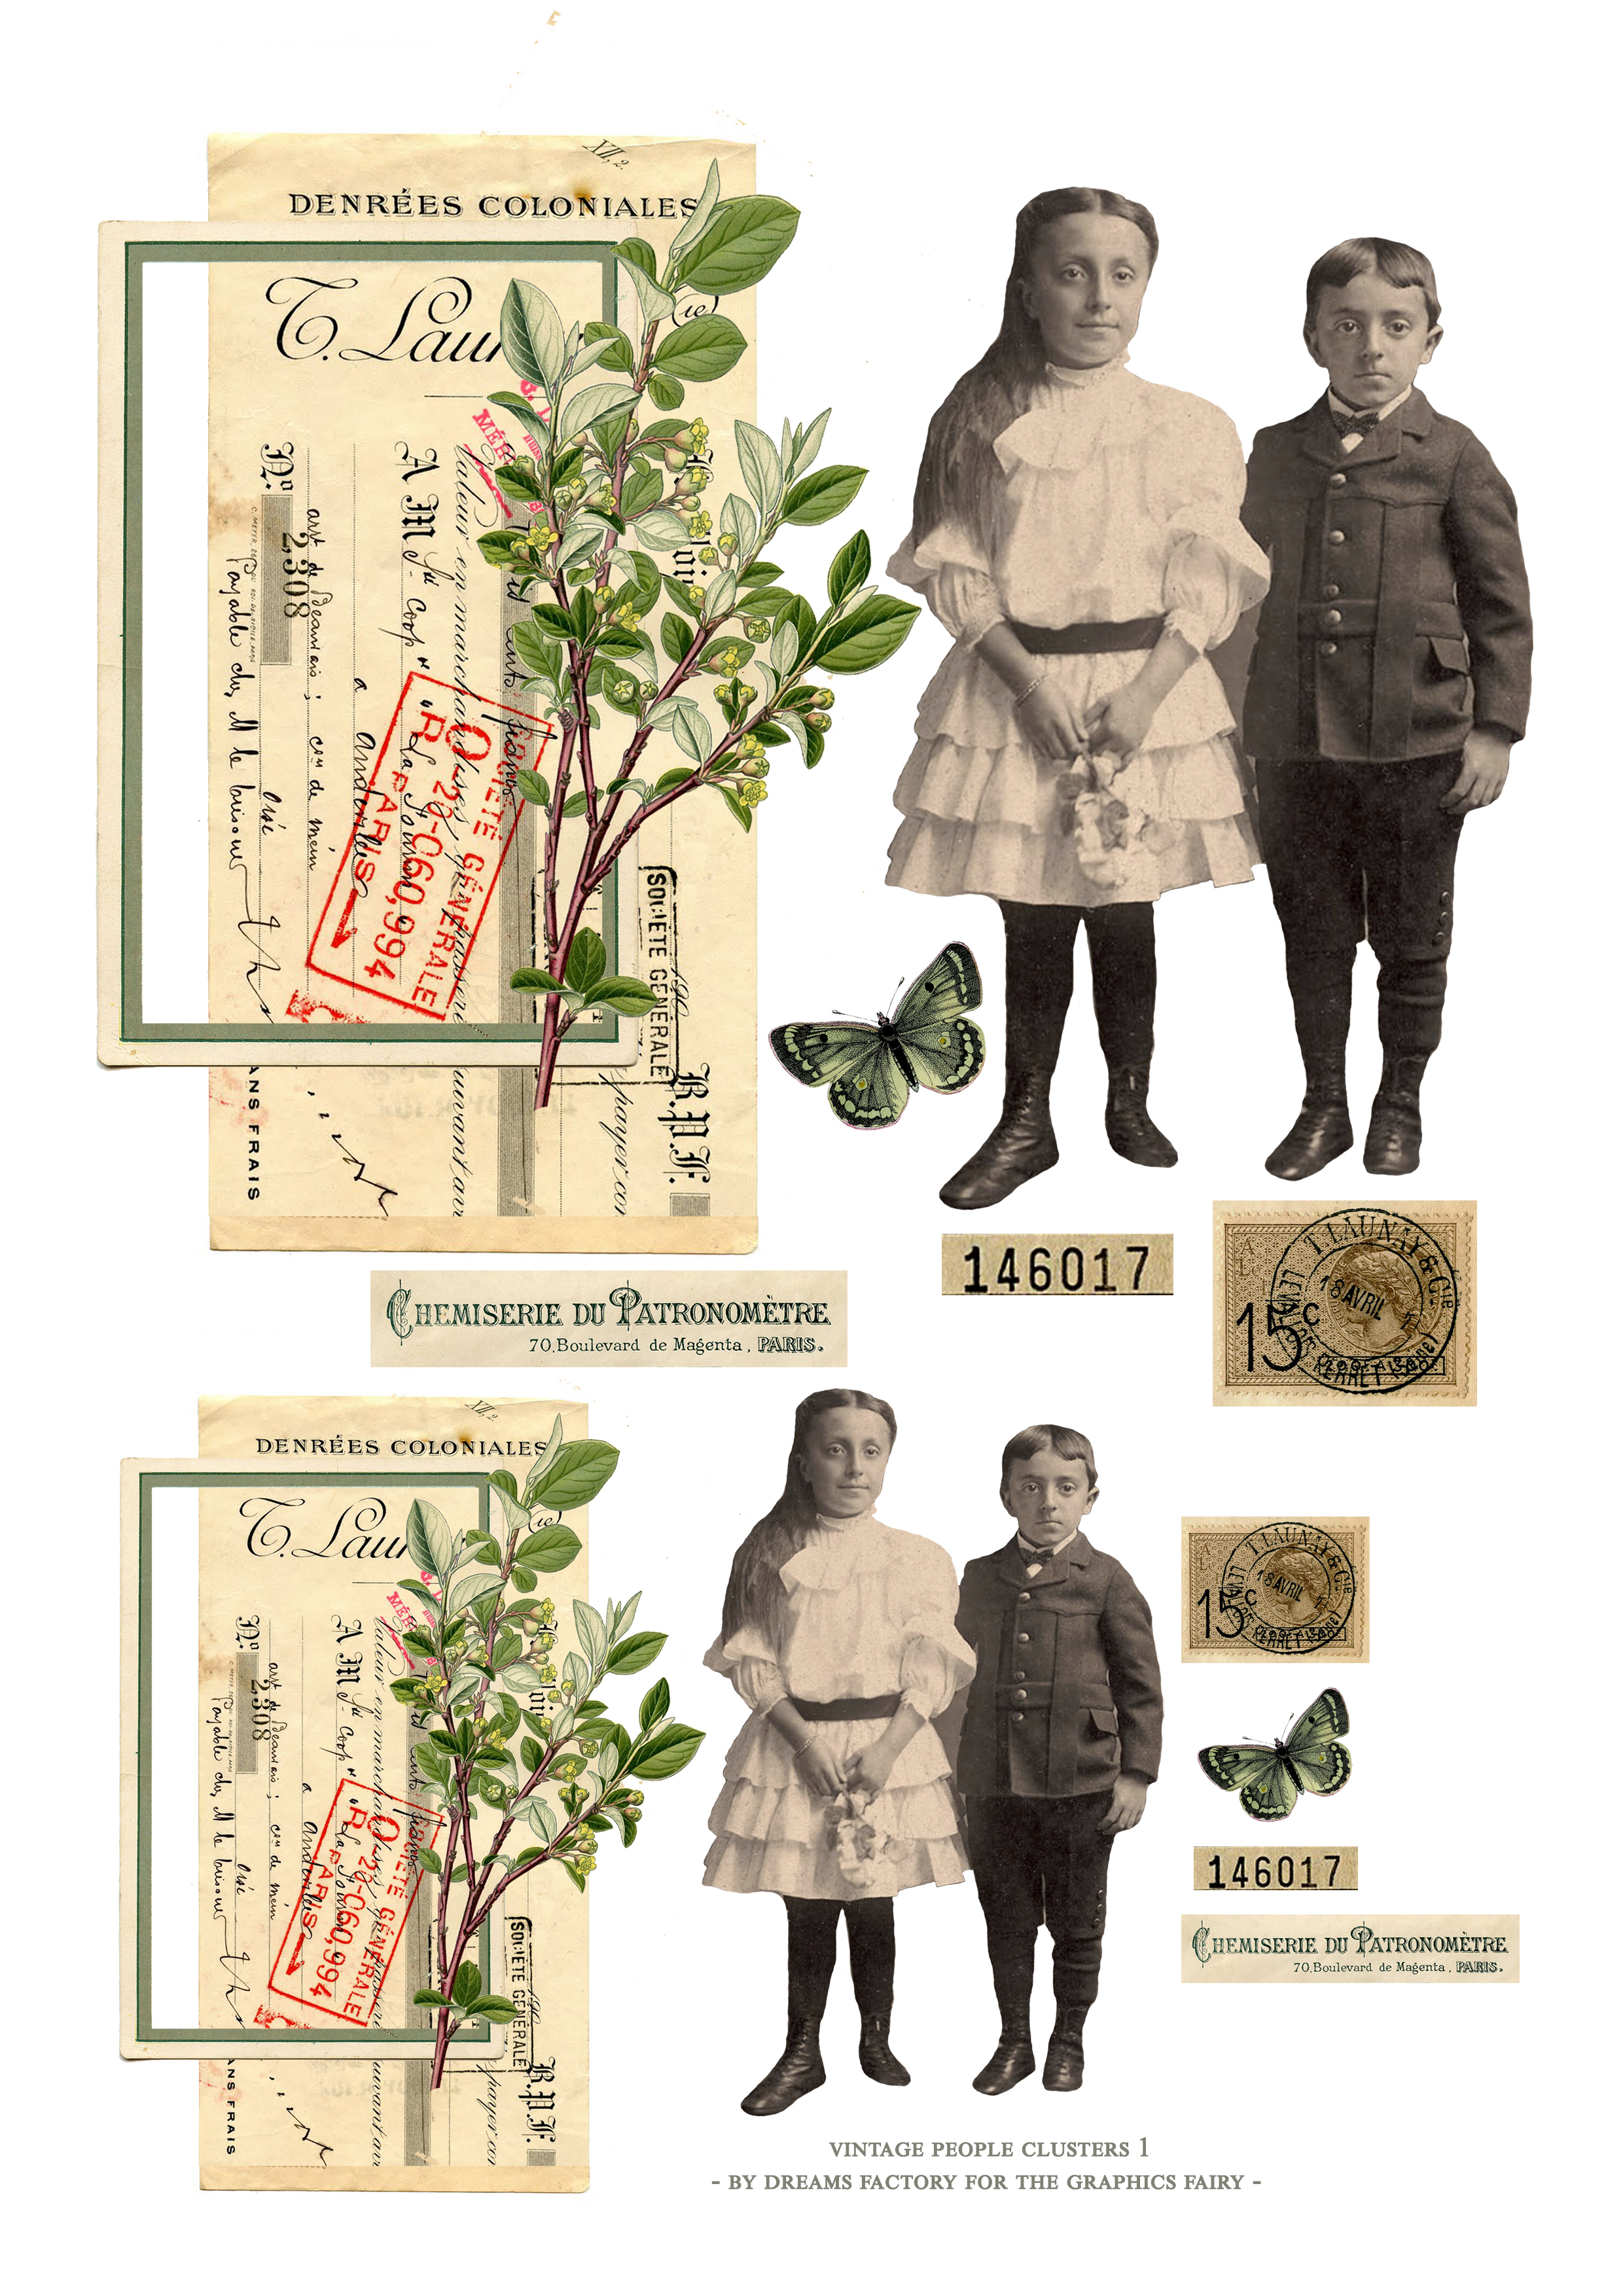
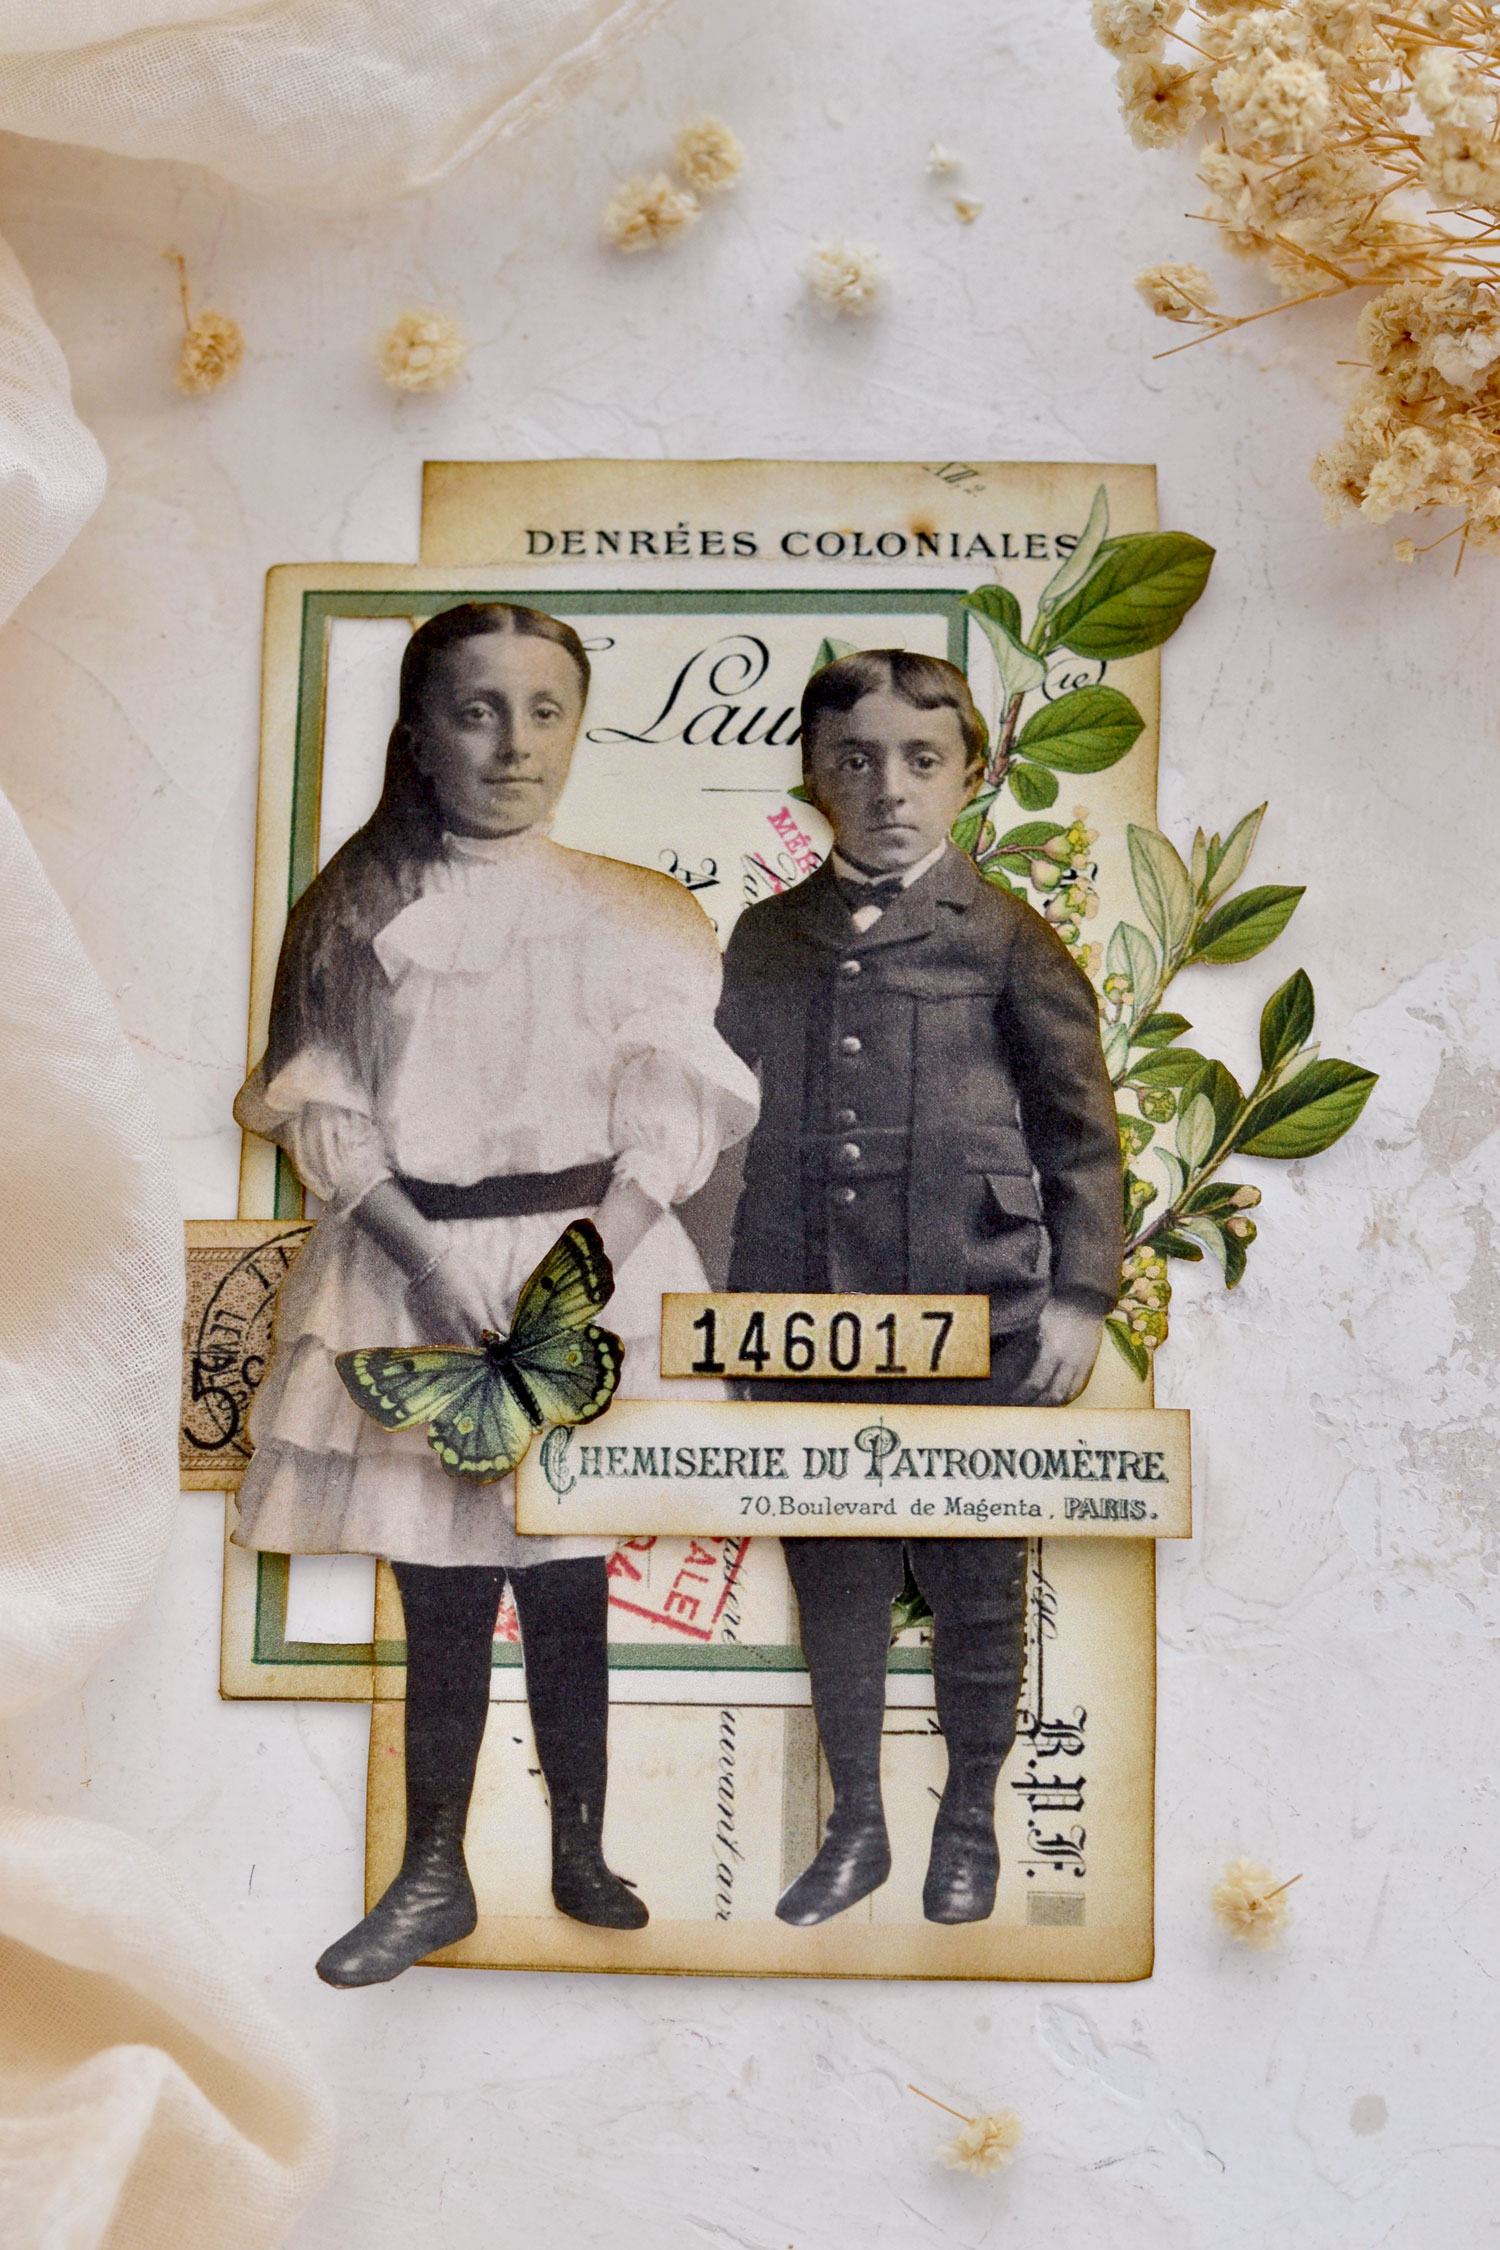
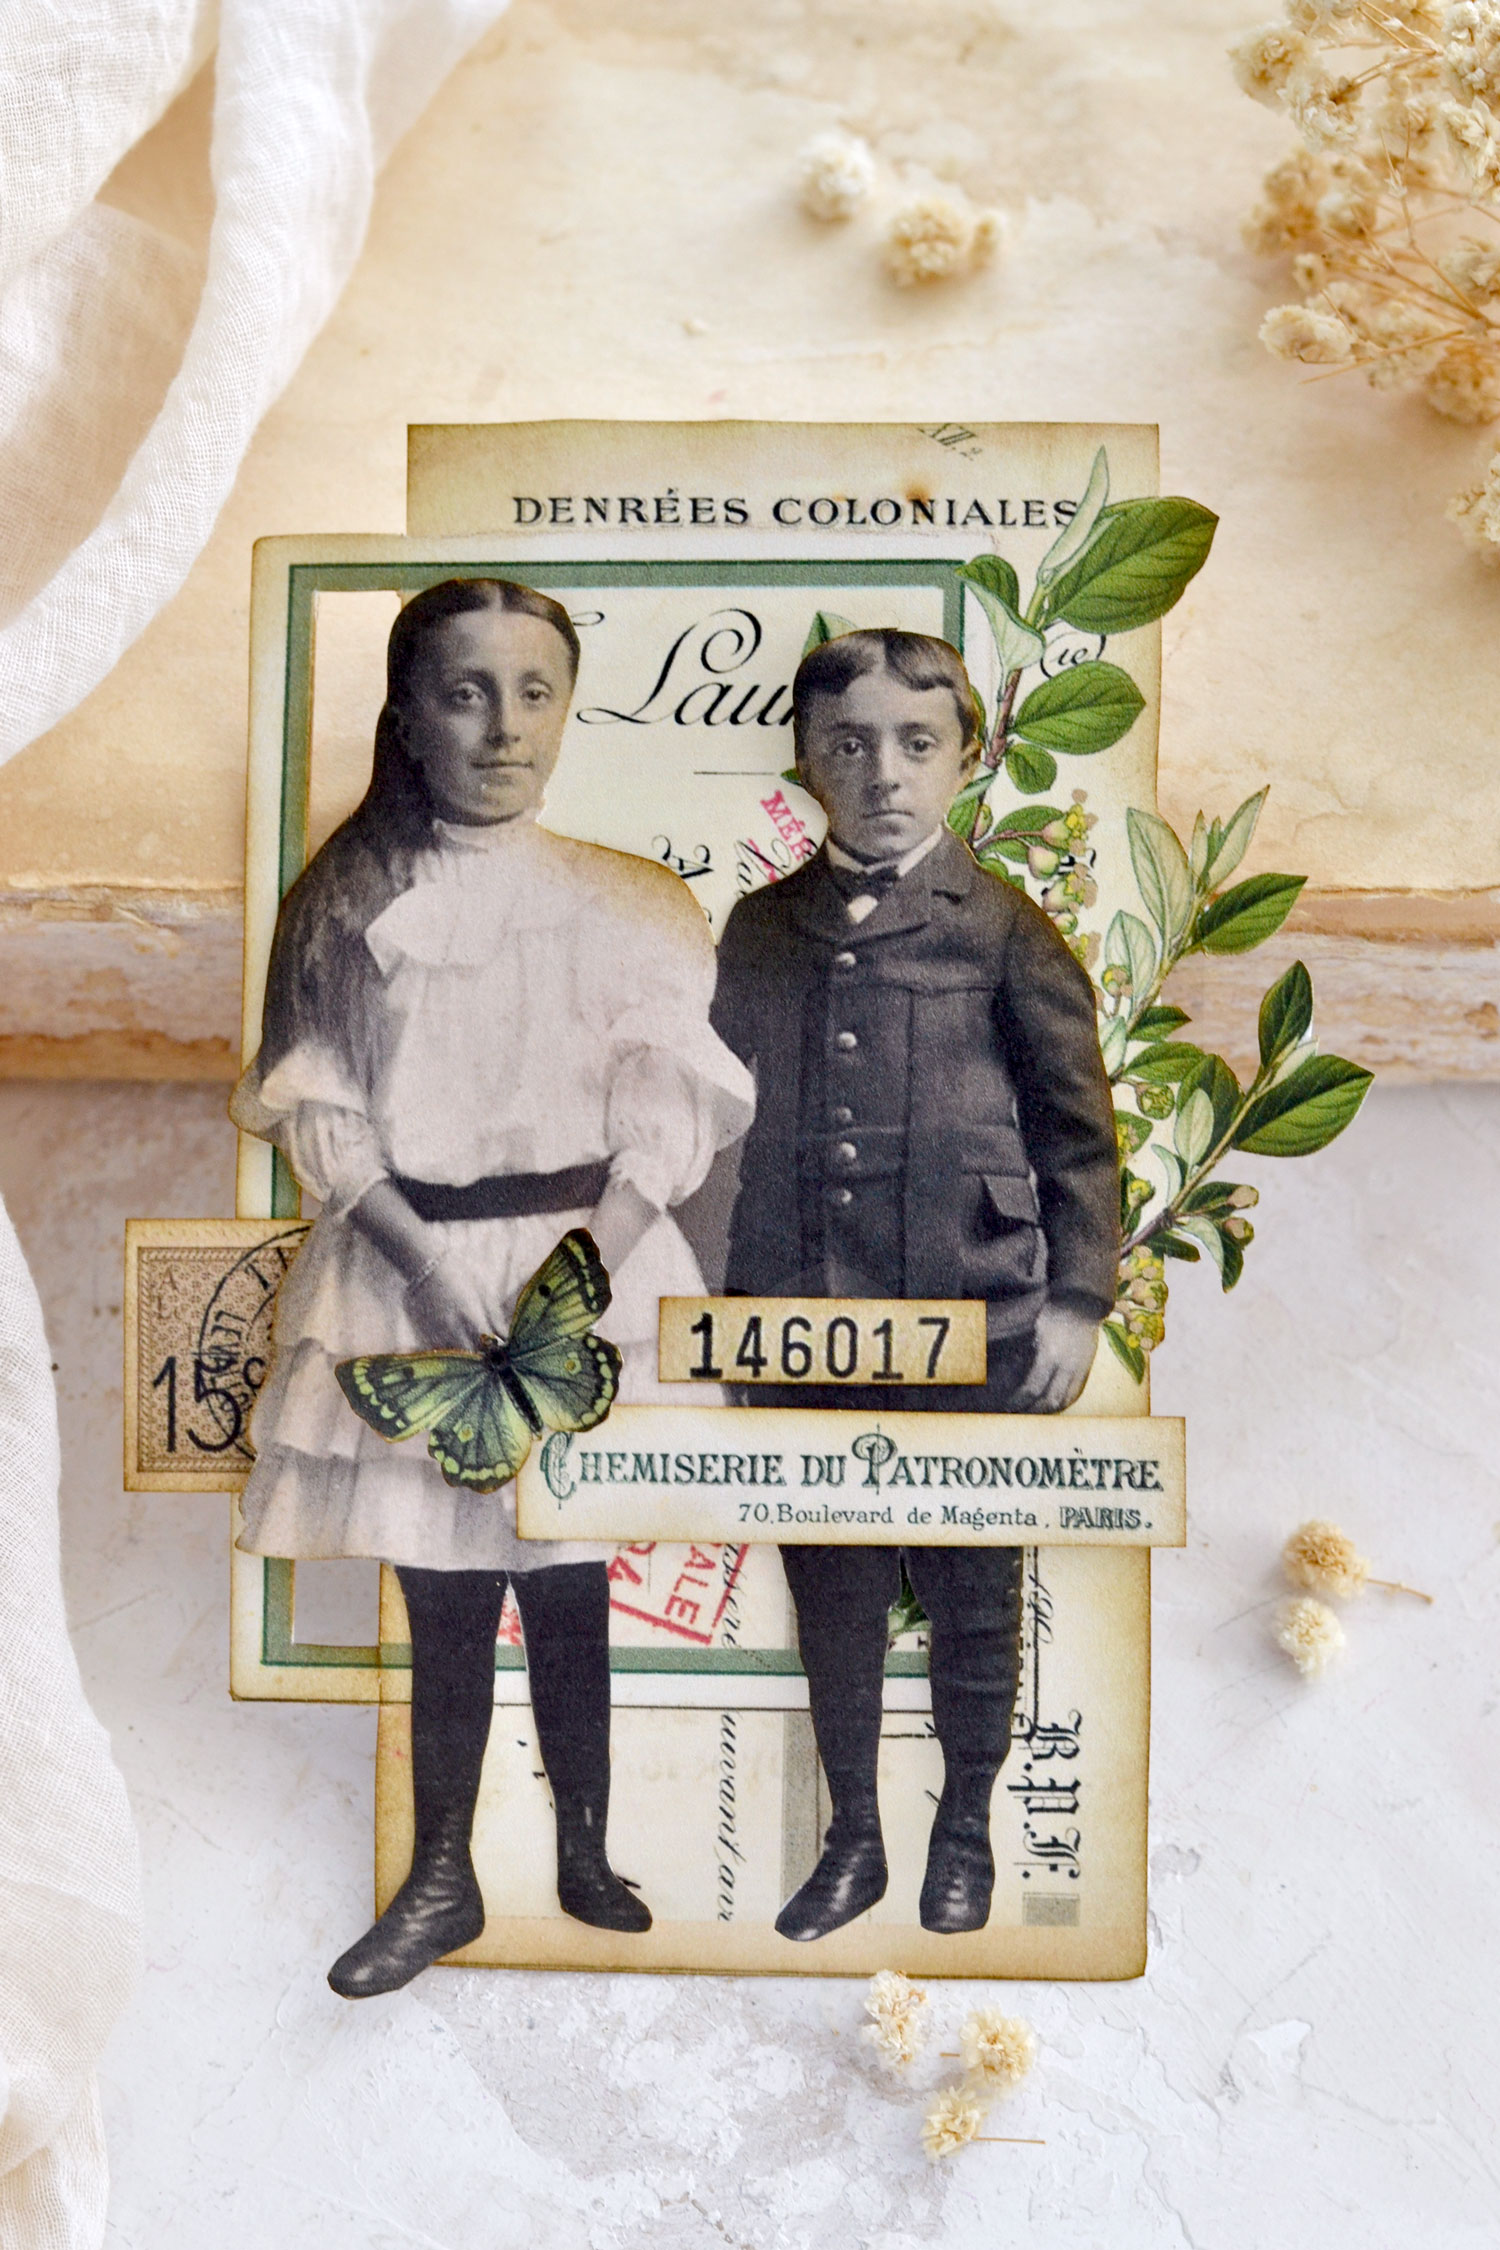
The Brother and Sister – version 1
—-> Click HERE to Download the Full Size Printable PDF – version 1 <—-
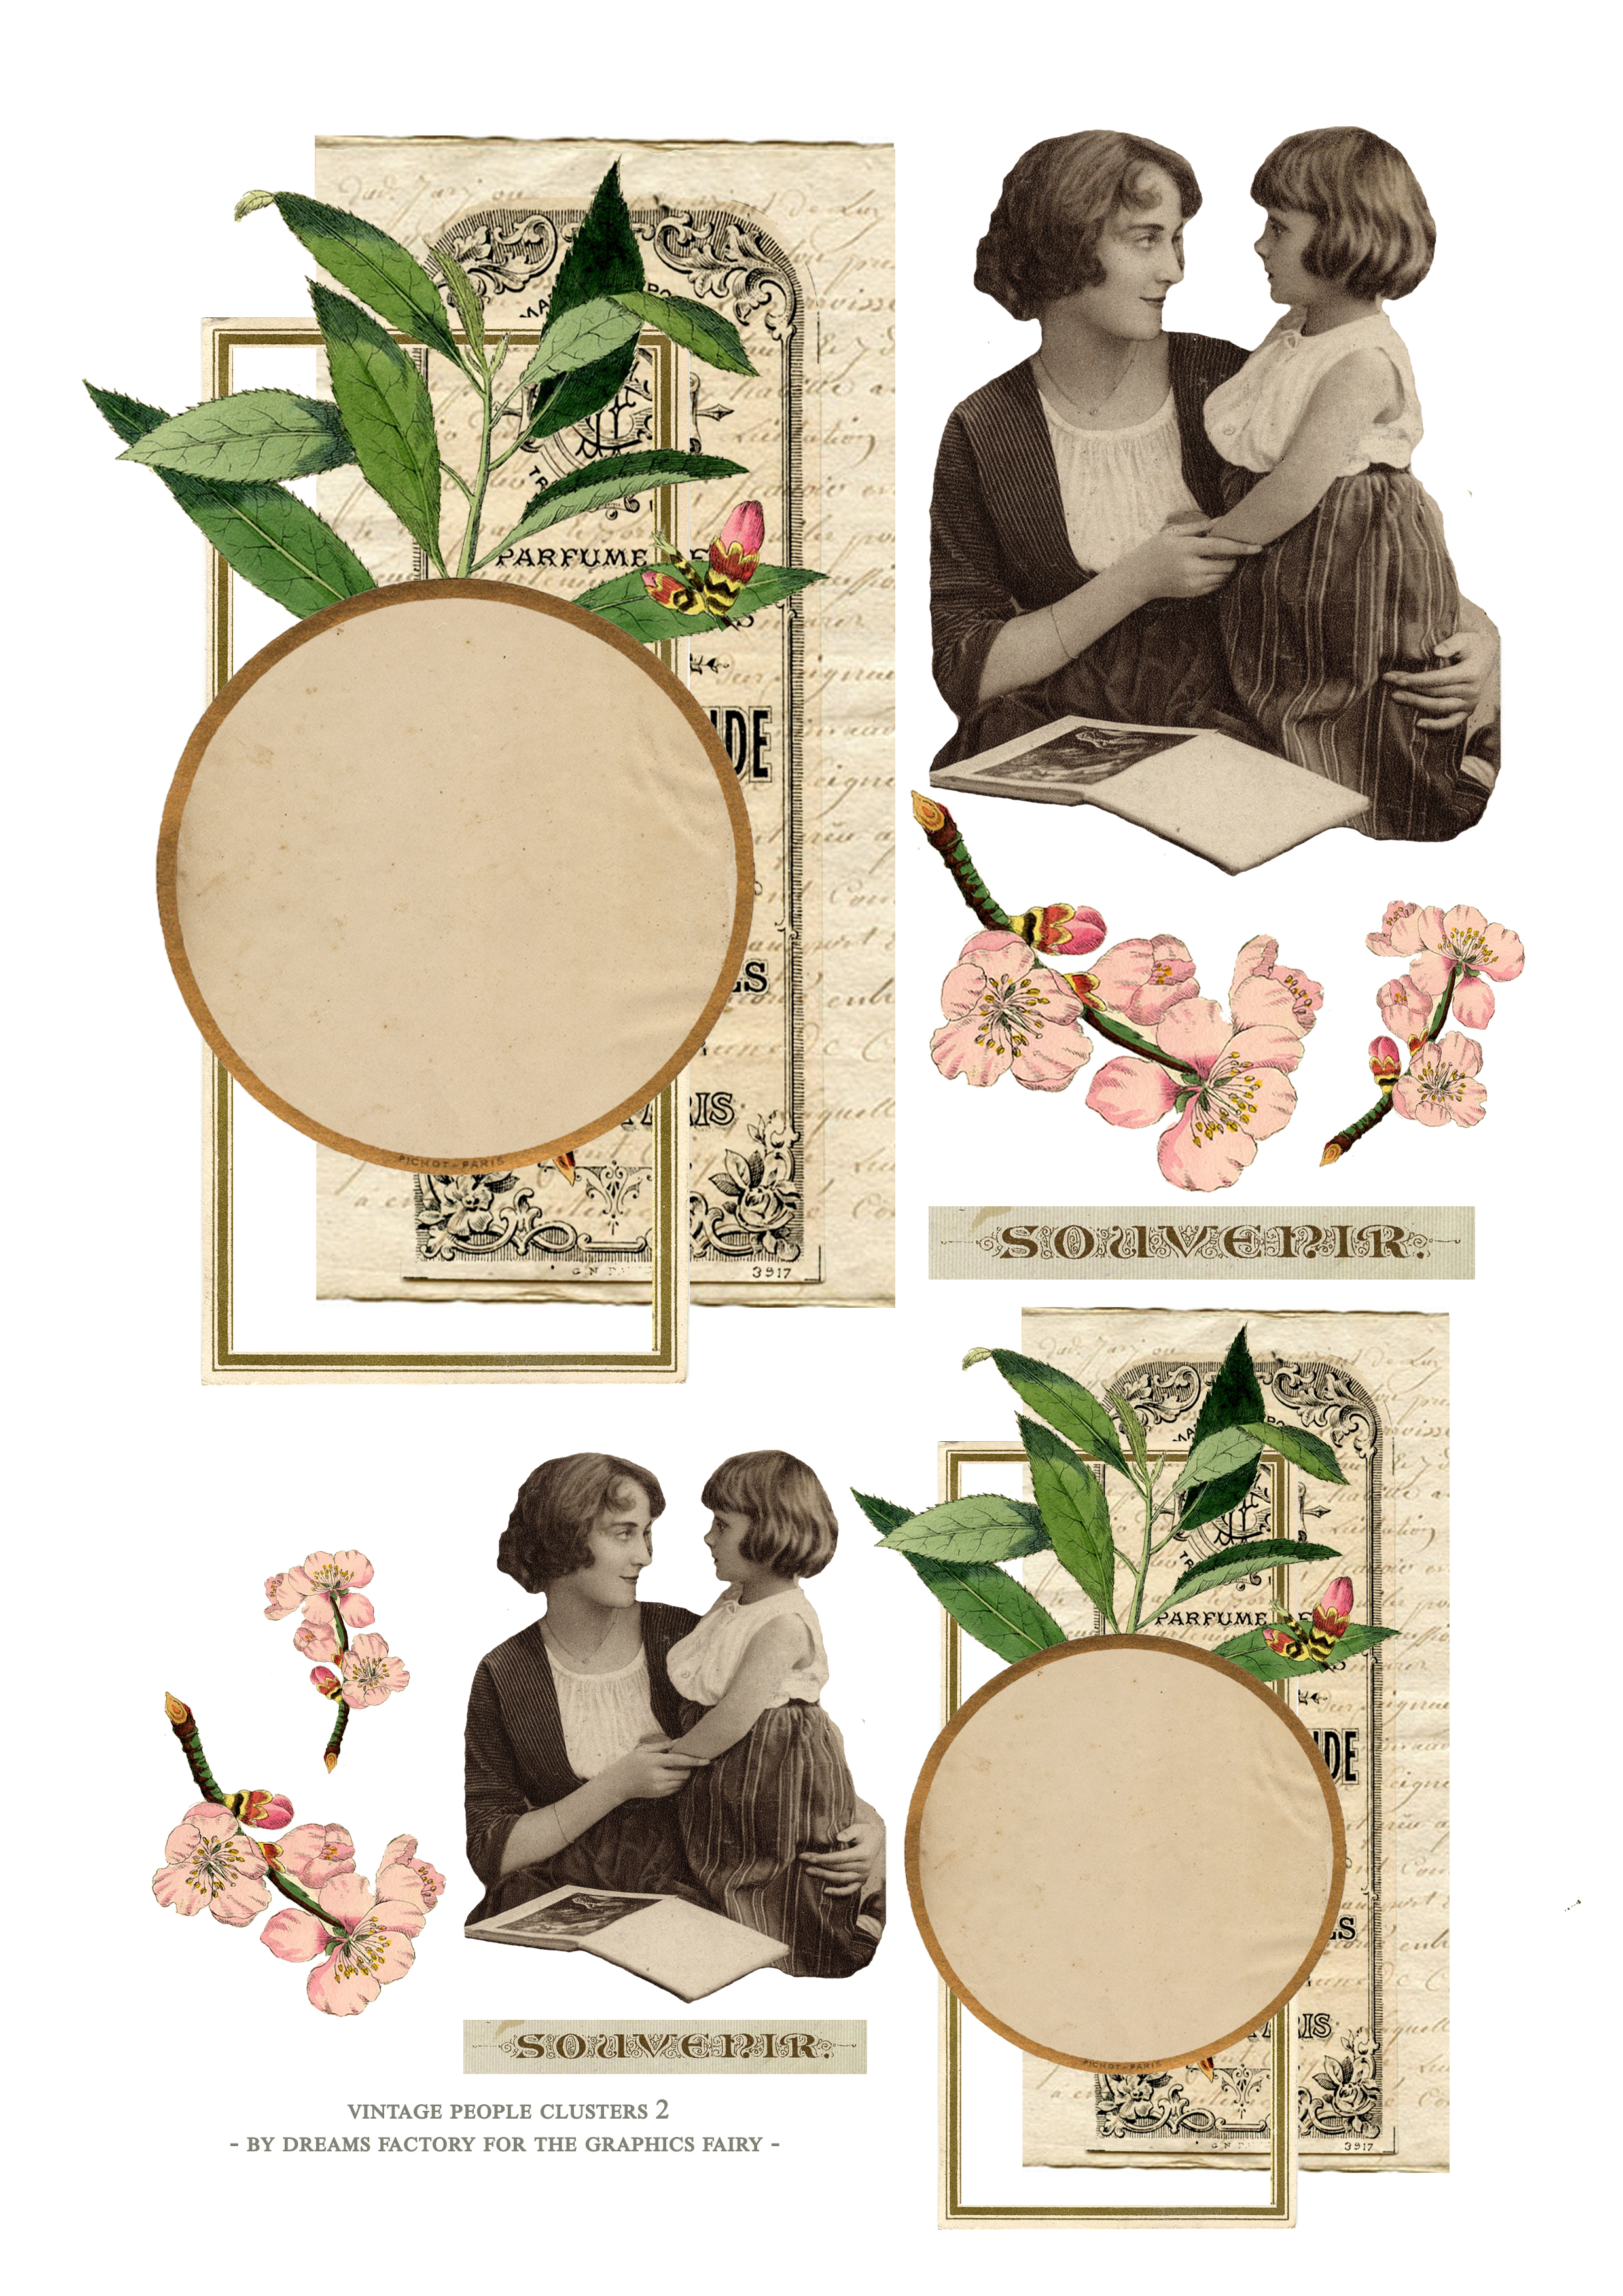
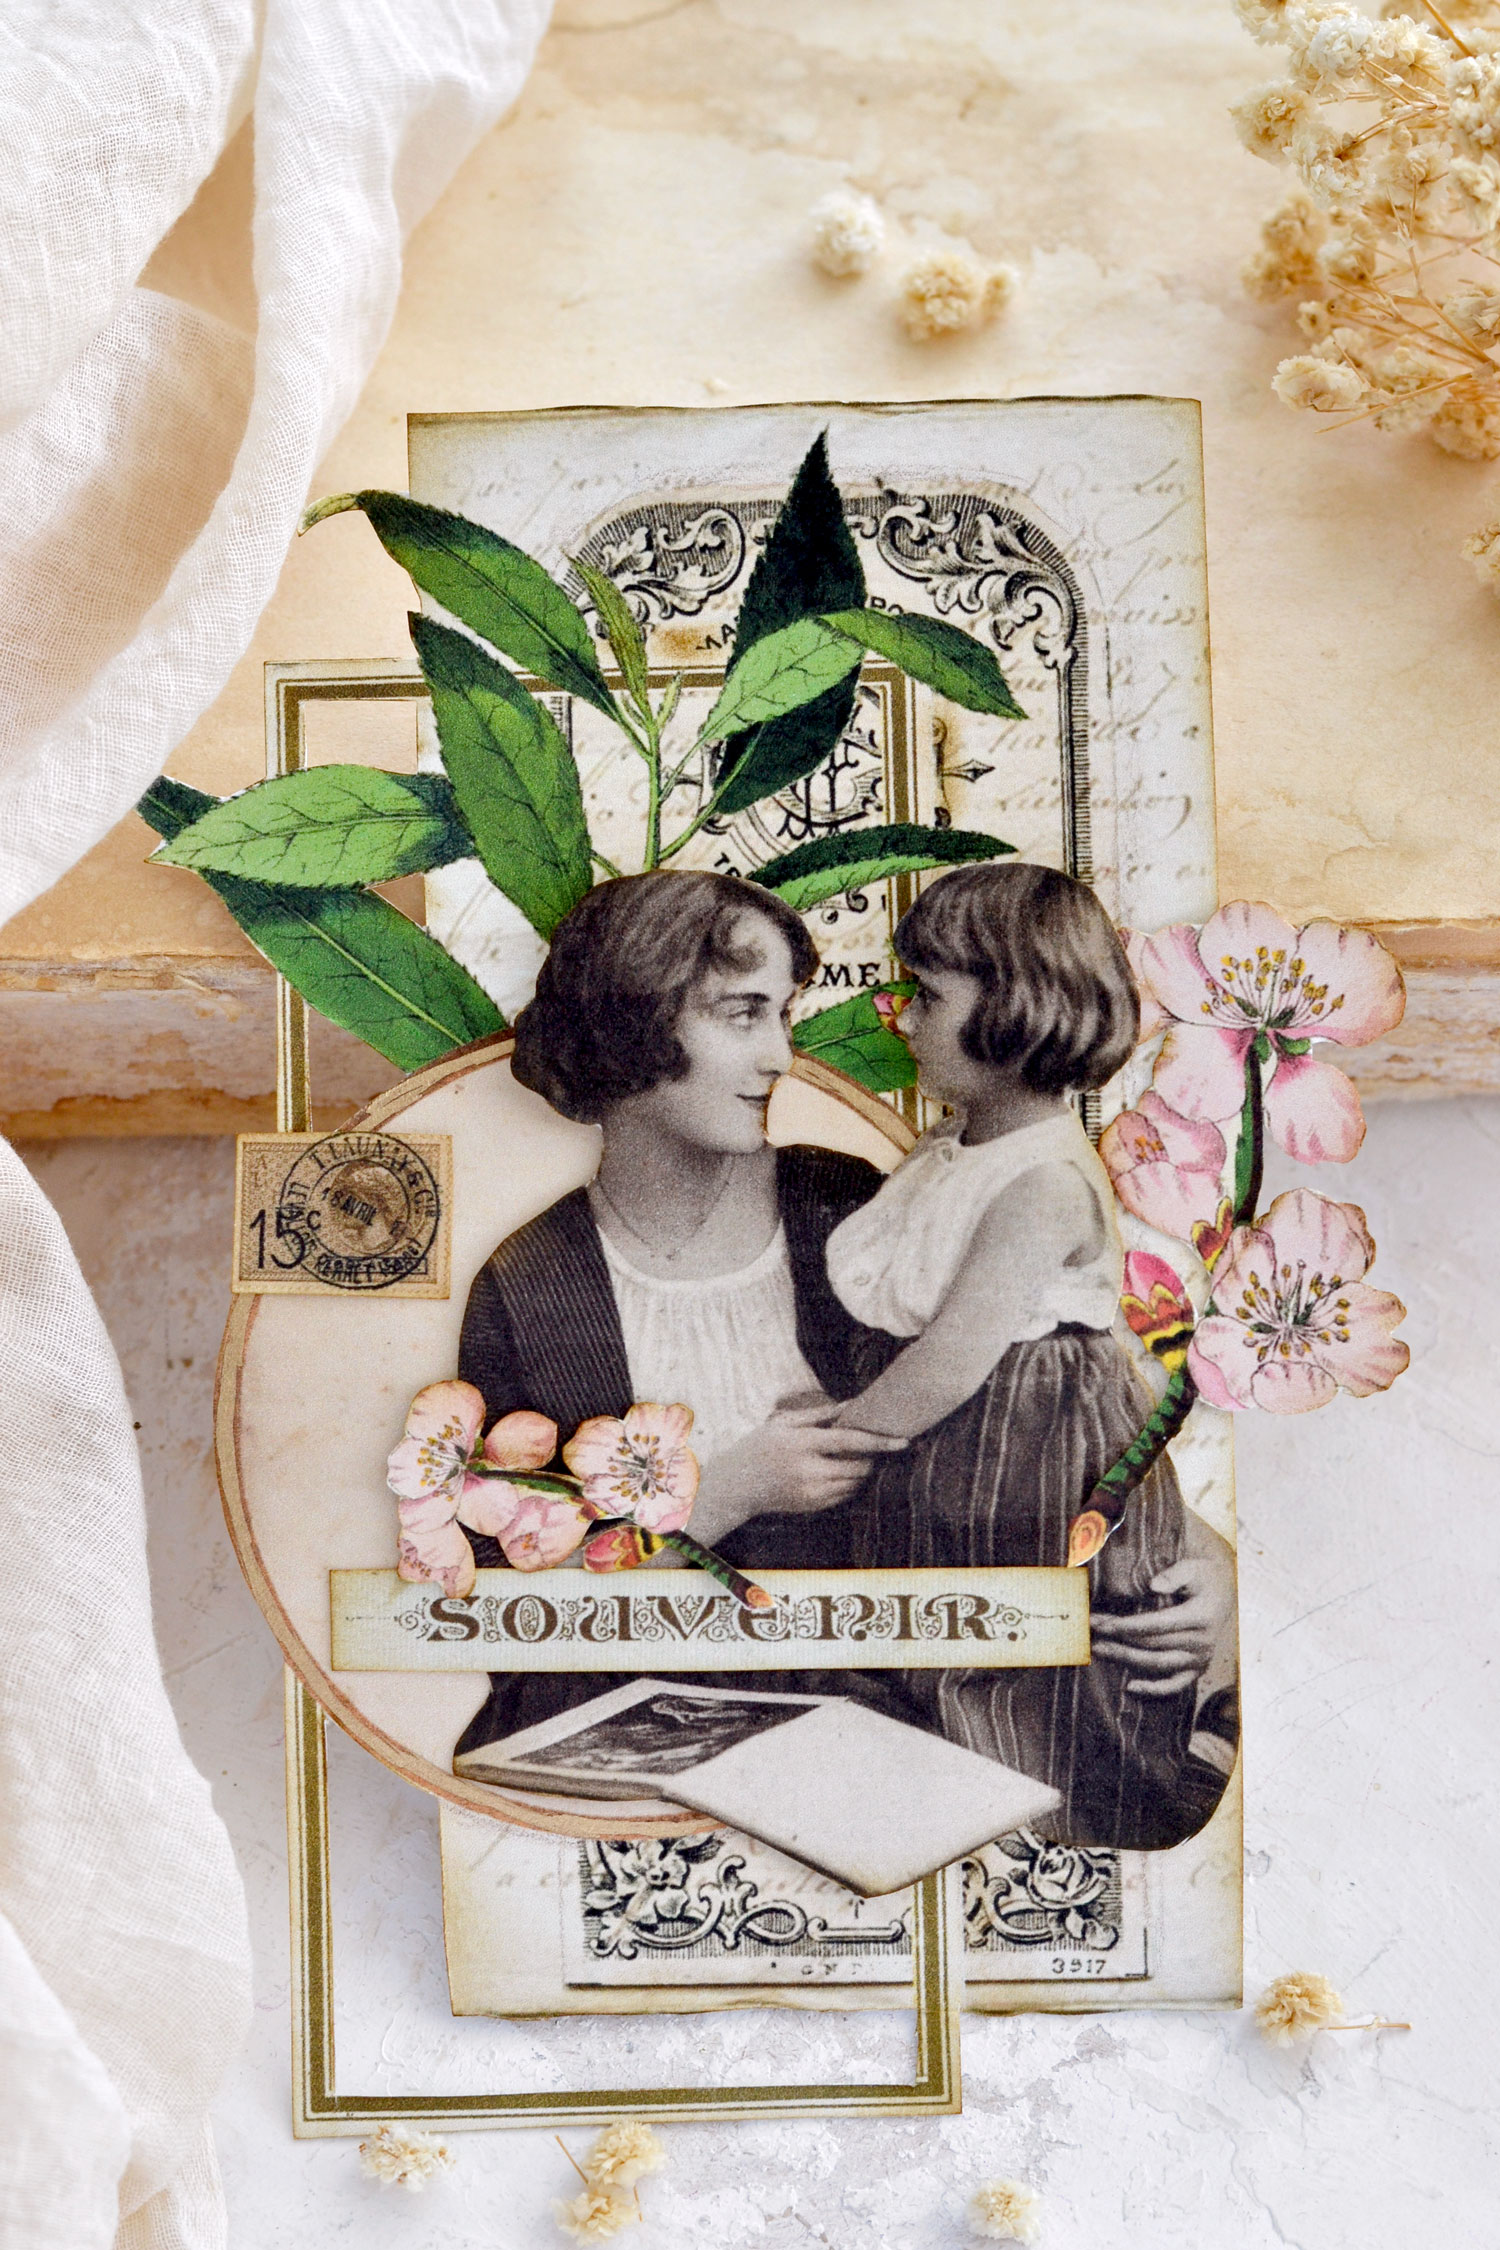
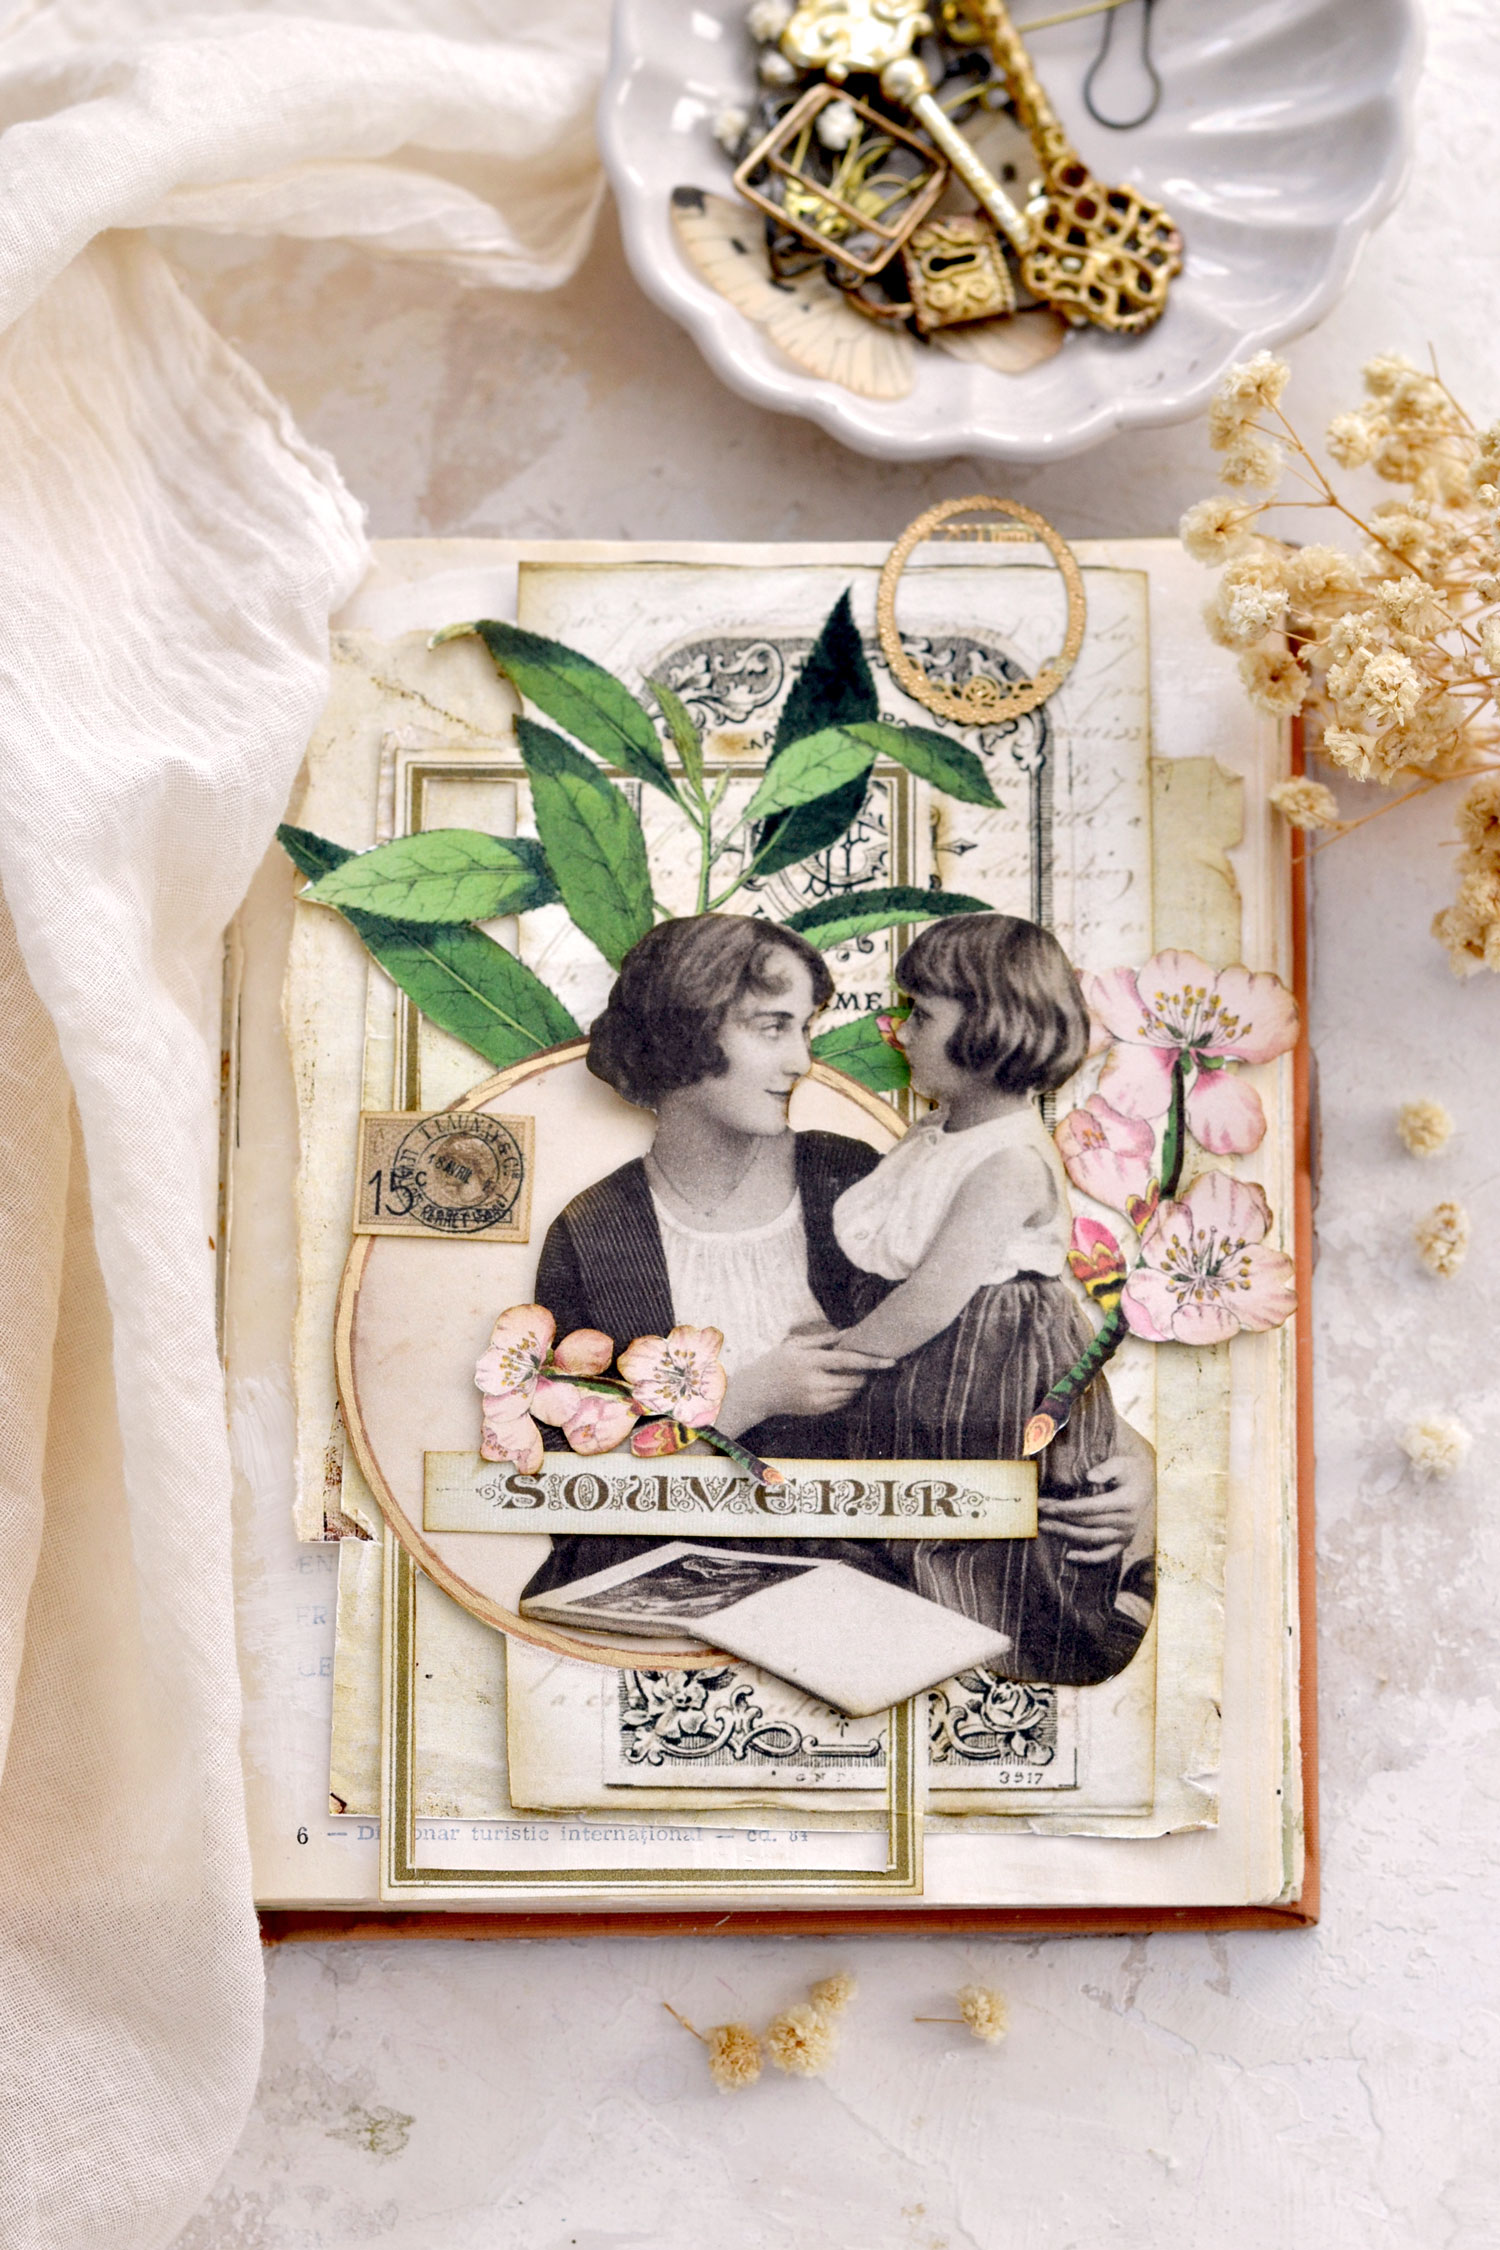
The Mother and Daughter – version 2
 —-> Click HERE to Download the Full Size Printable PDF – version 2 <—-
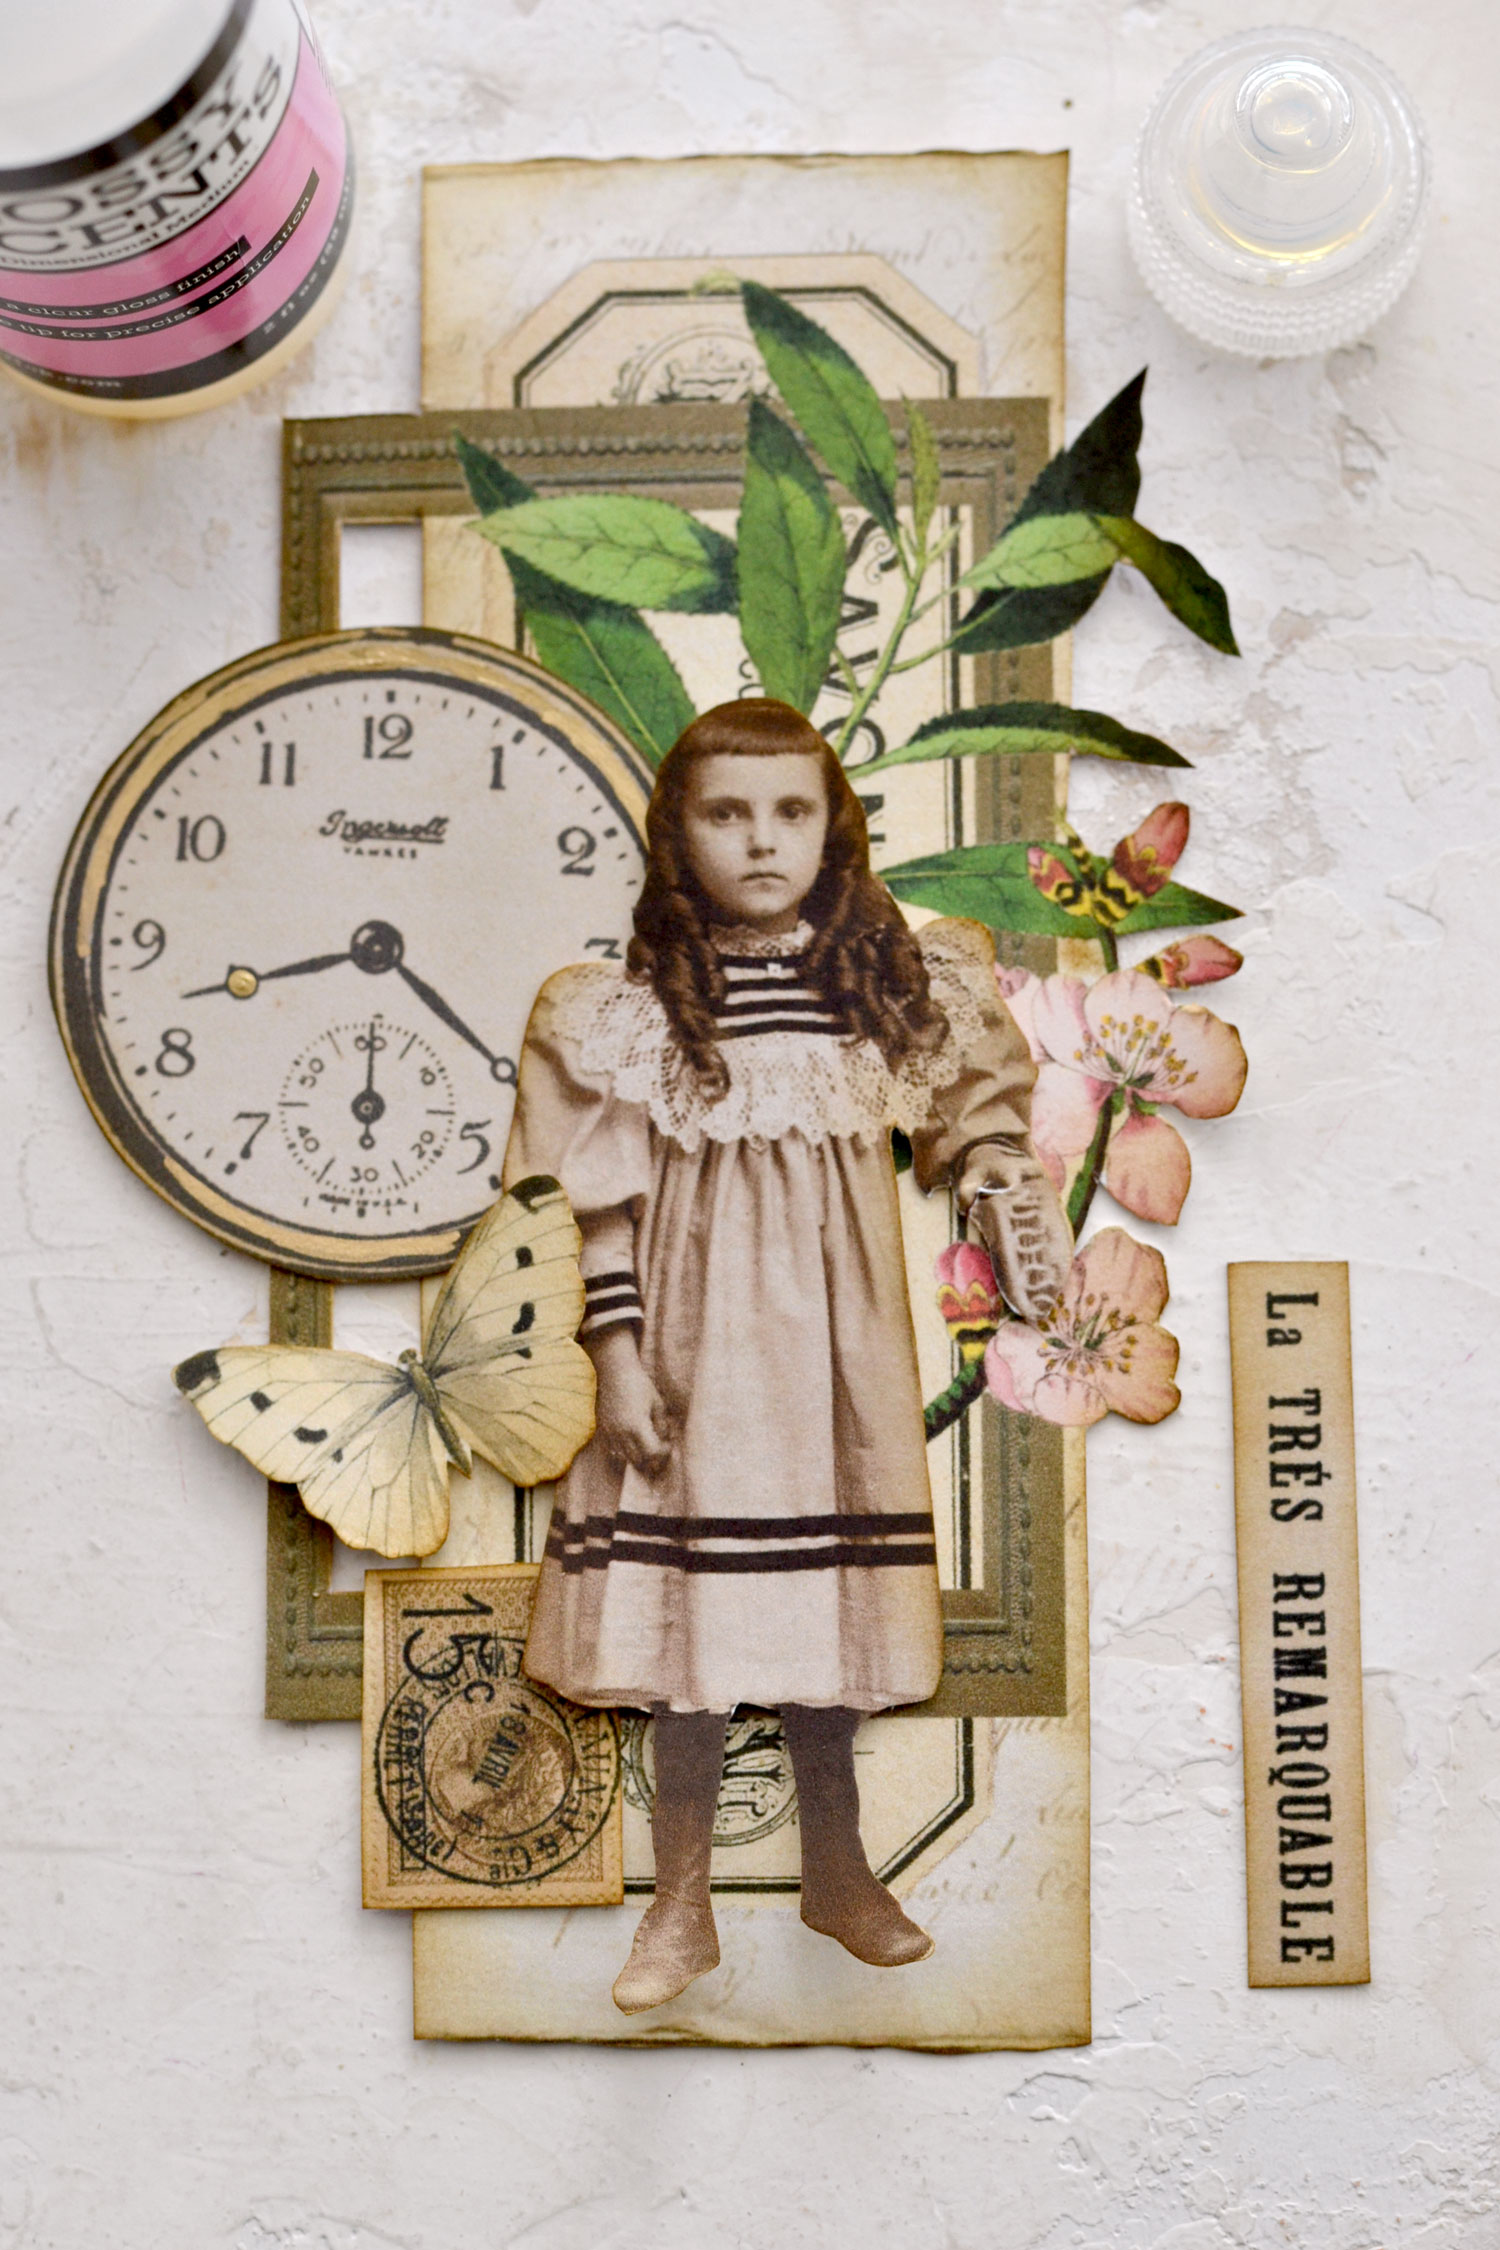
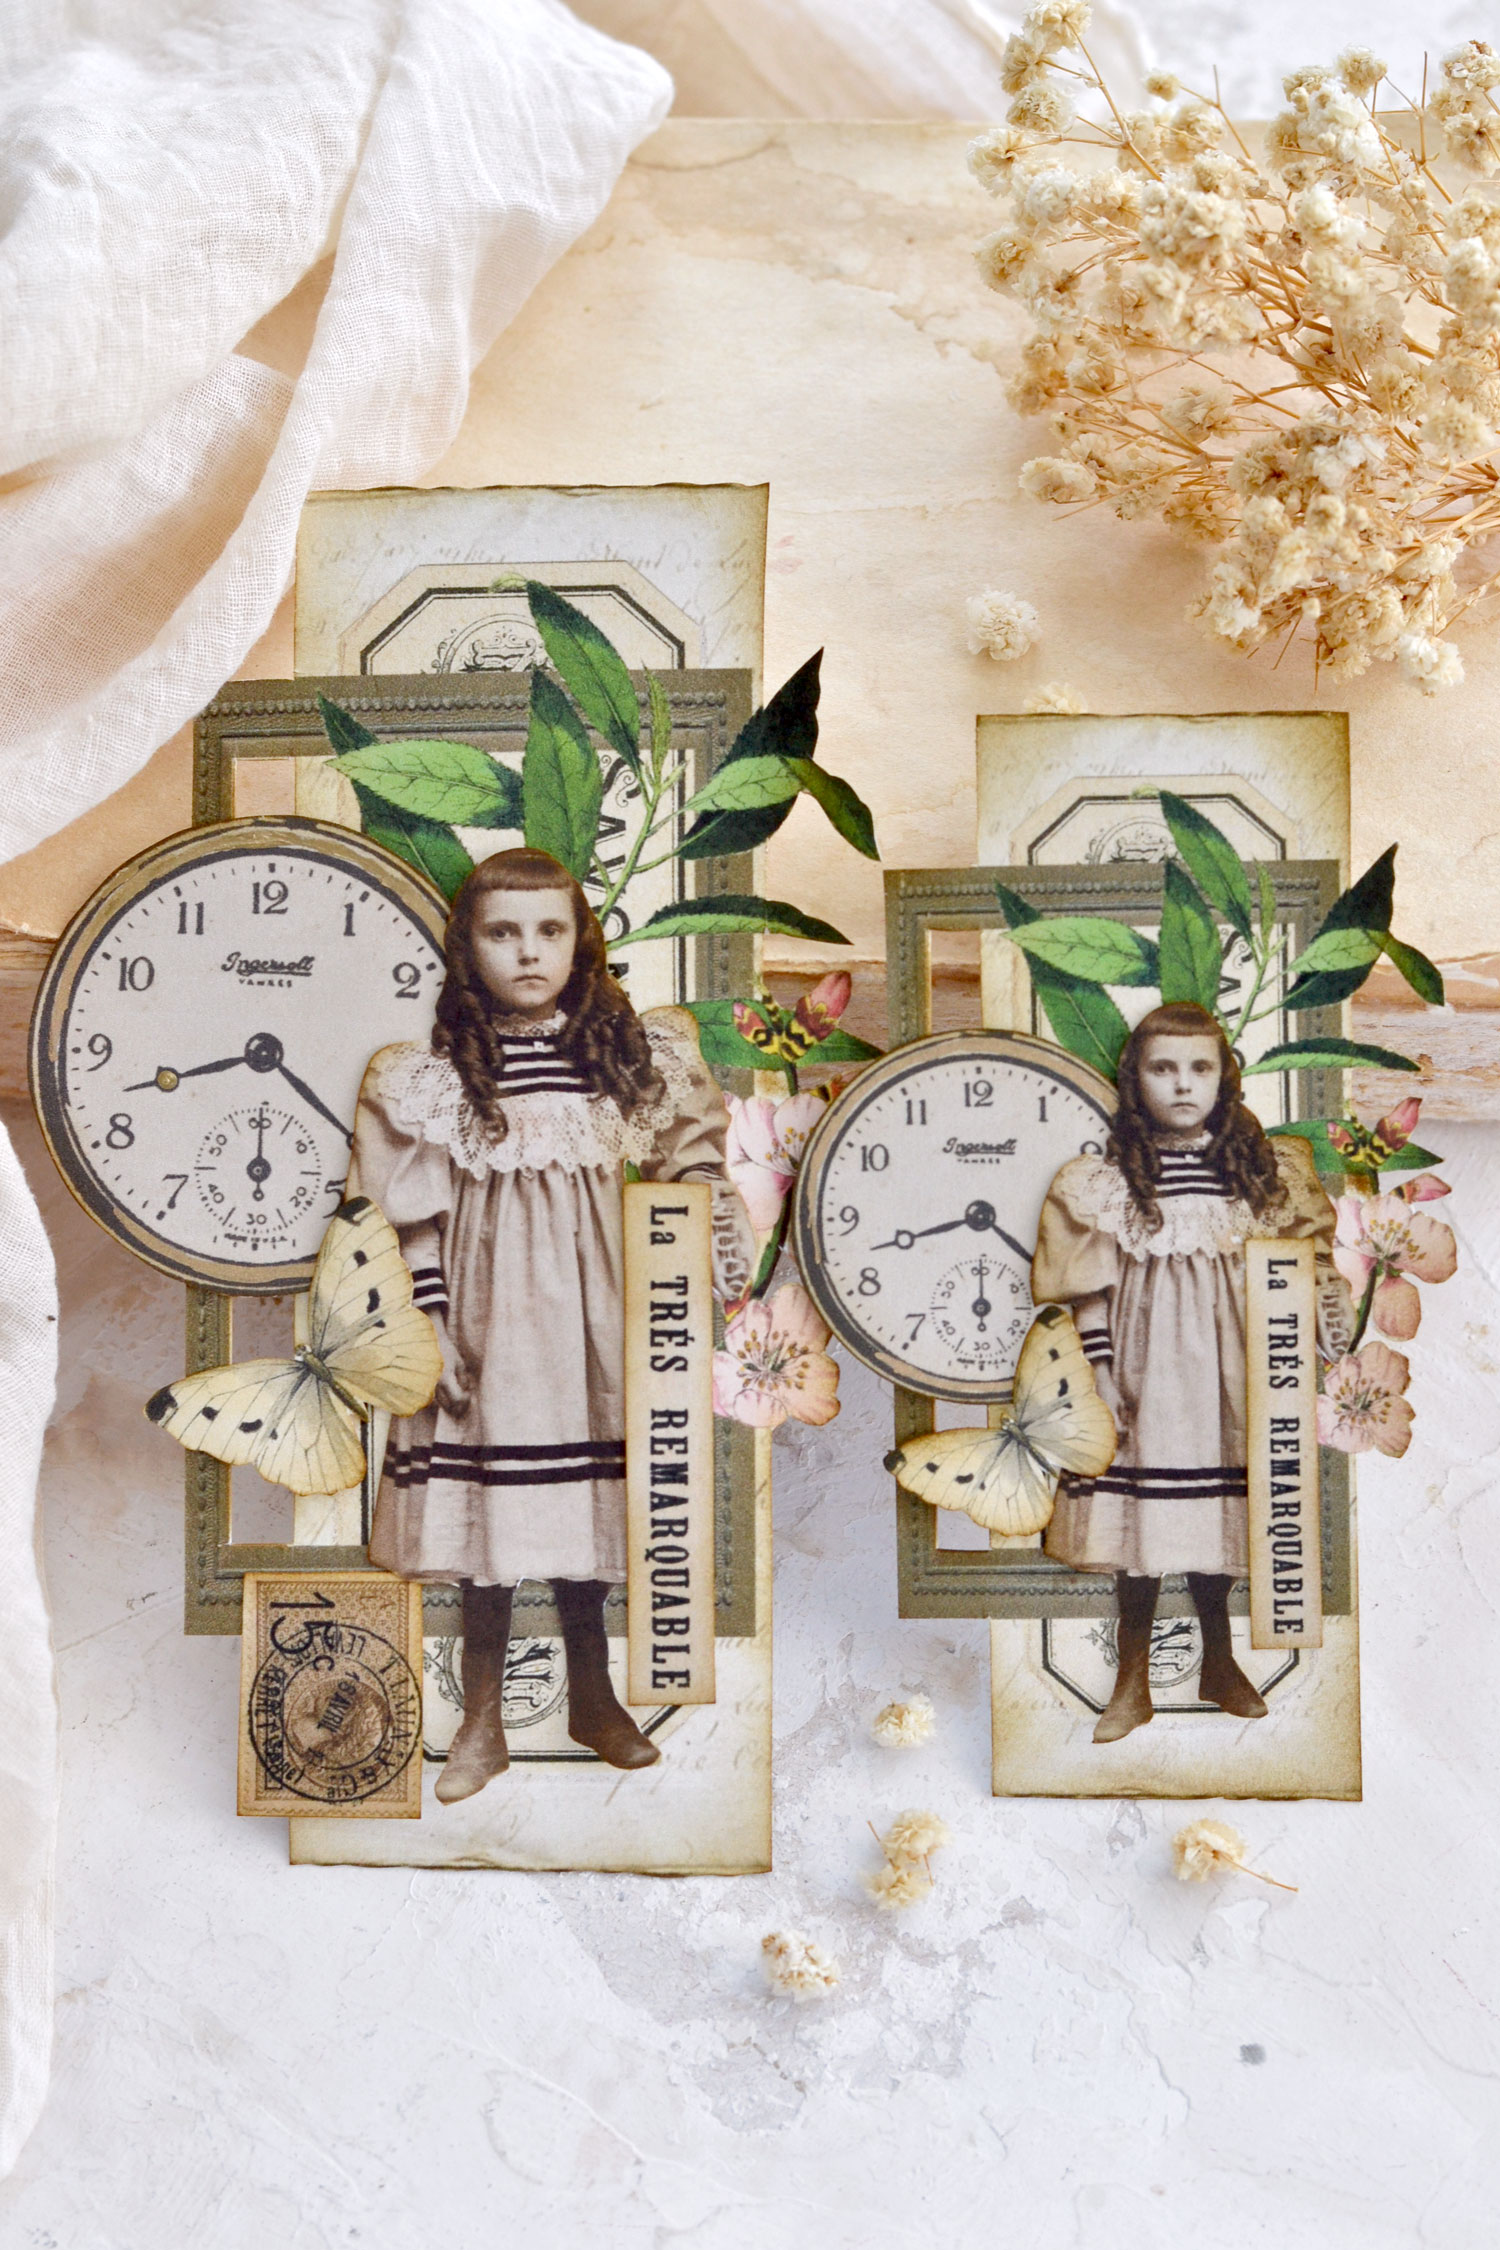
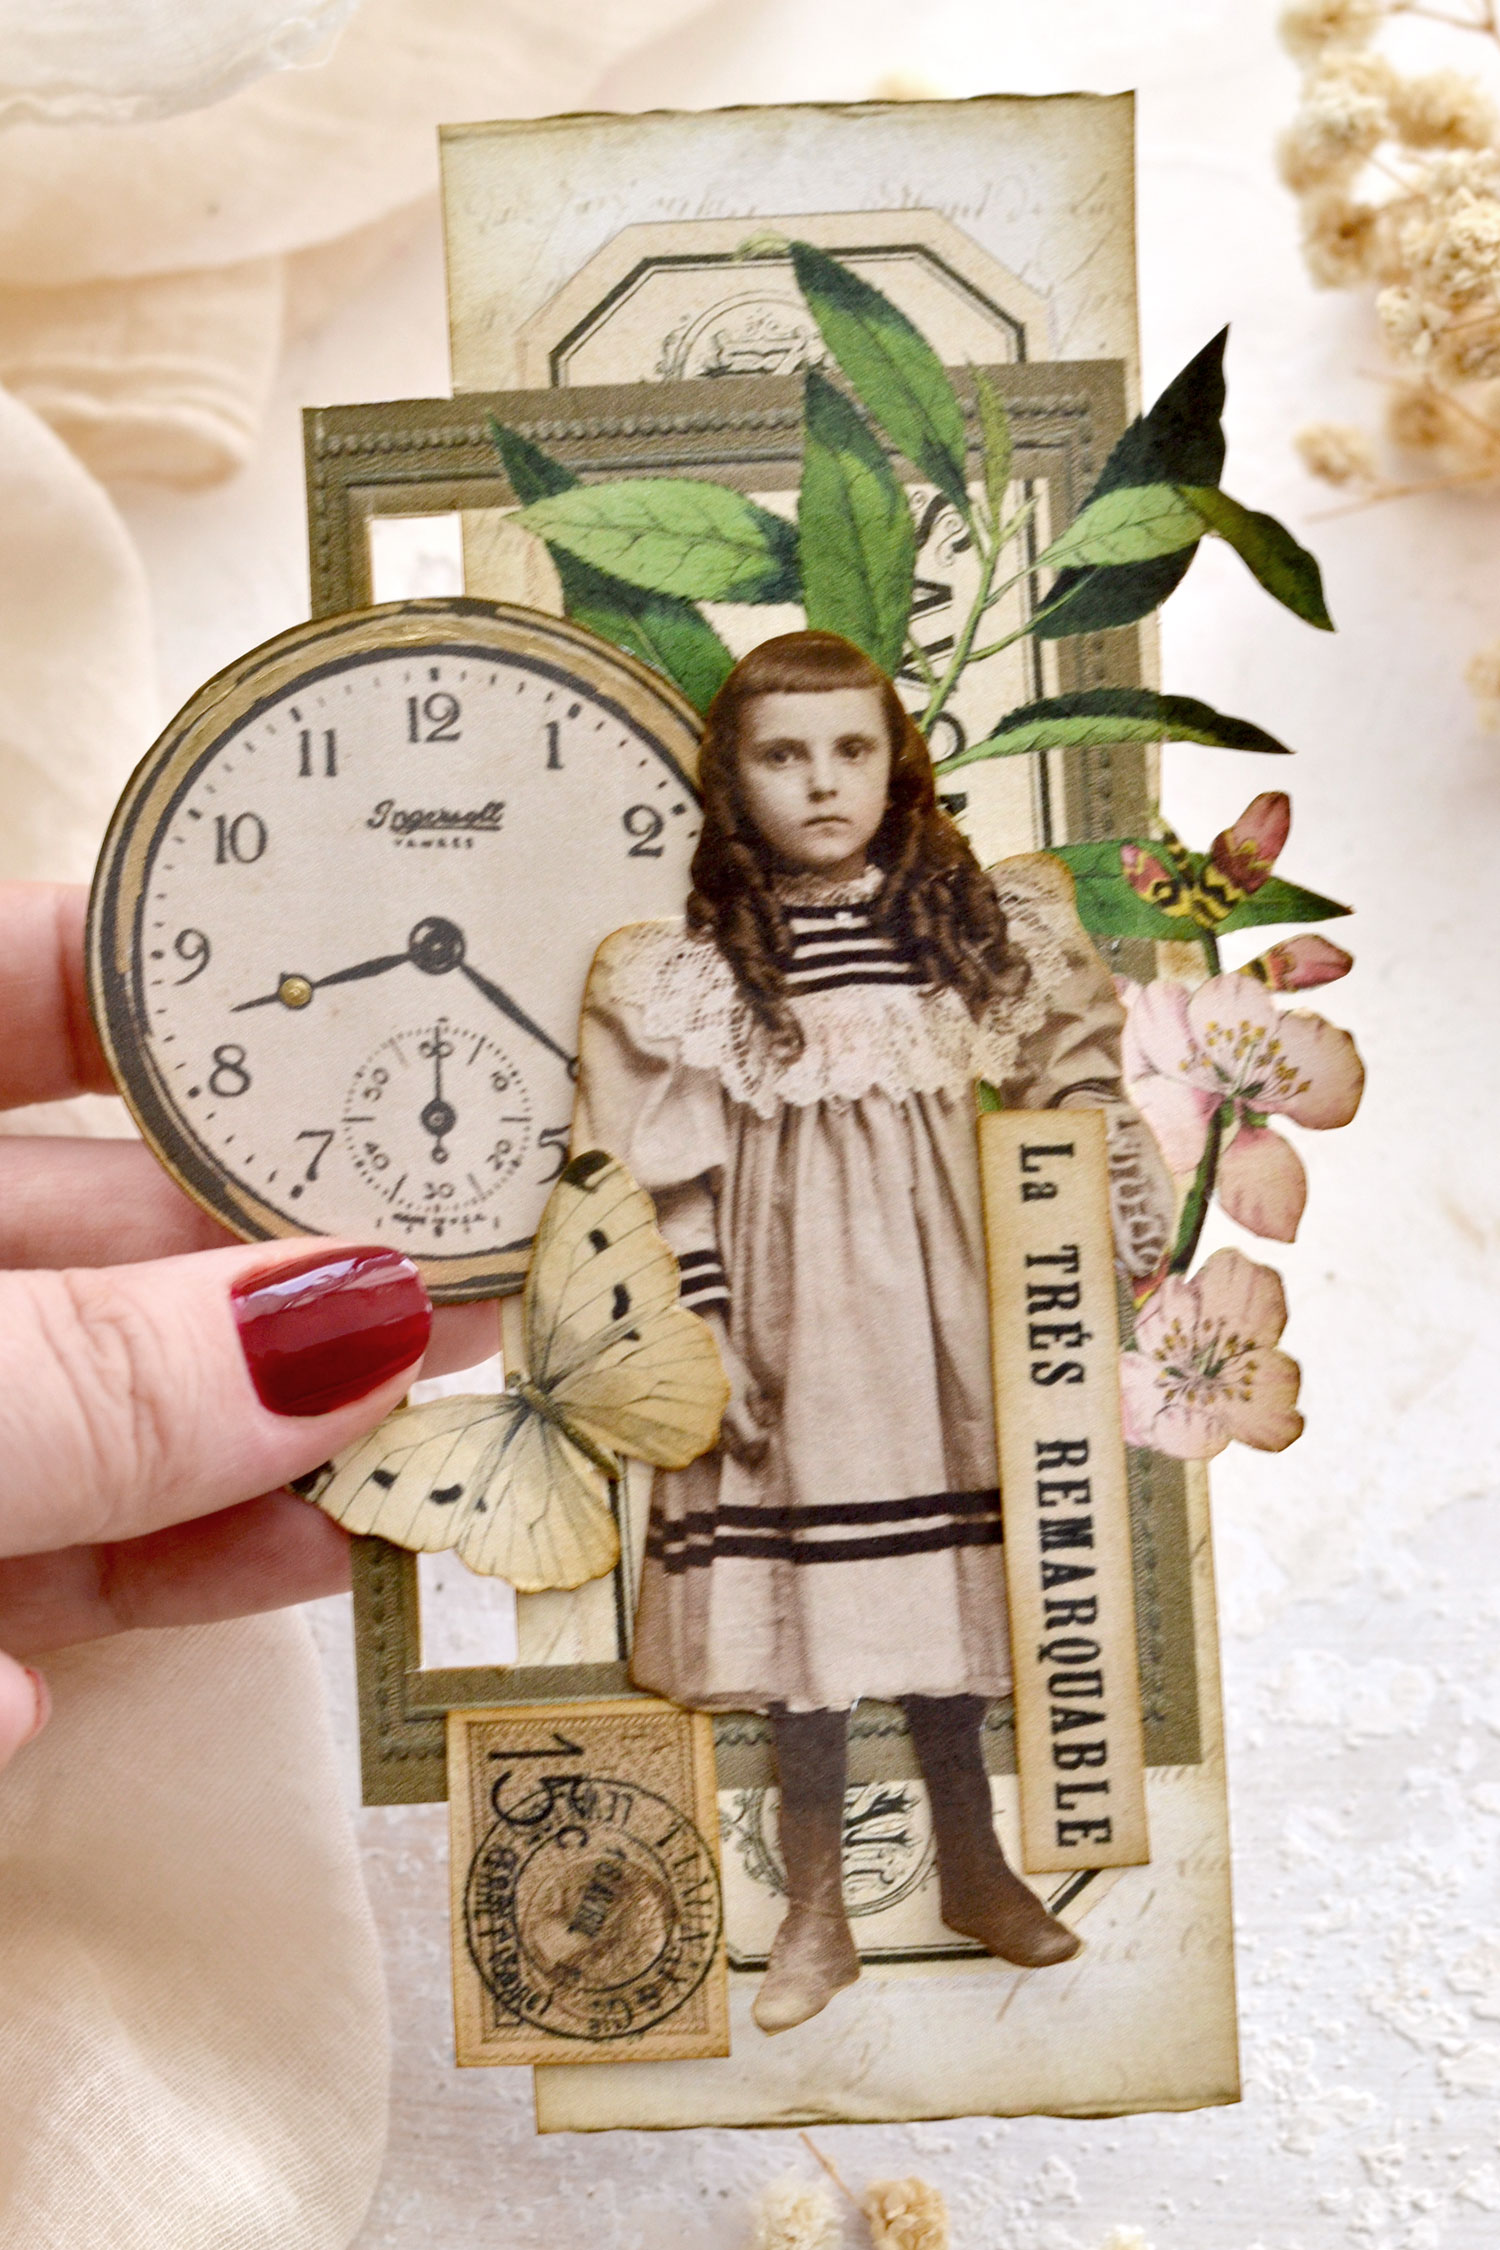
The Little Girl with Bangs – version 3
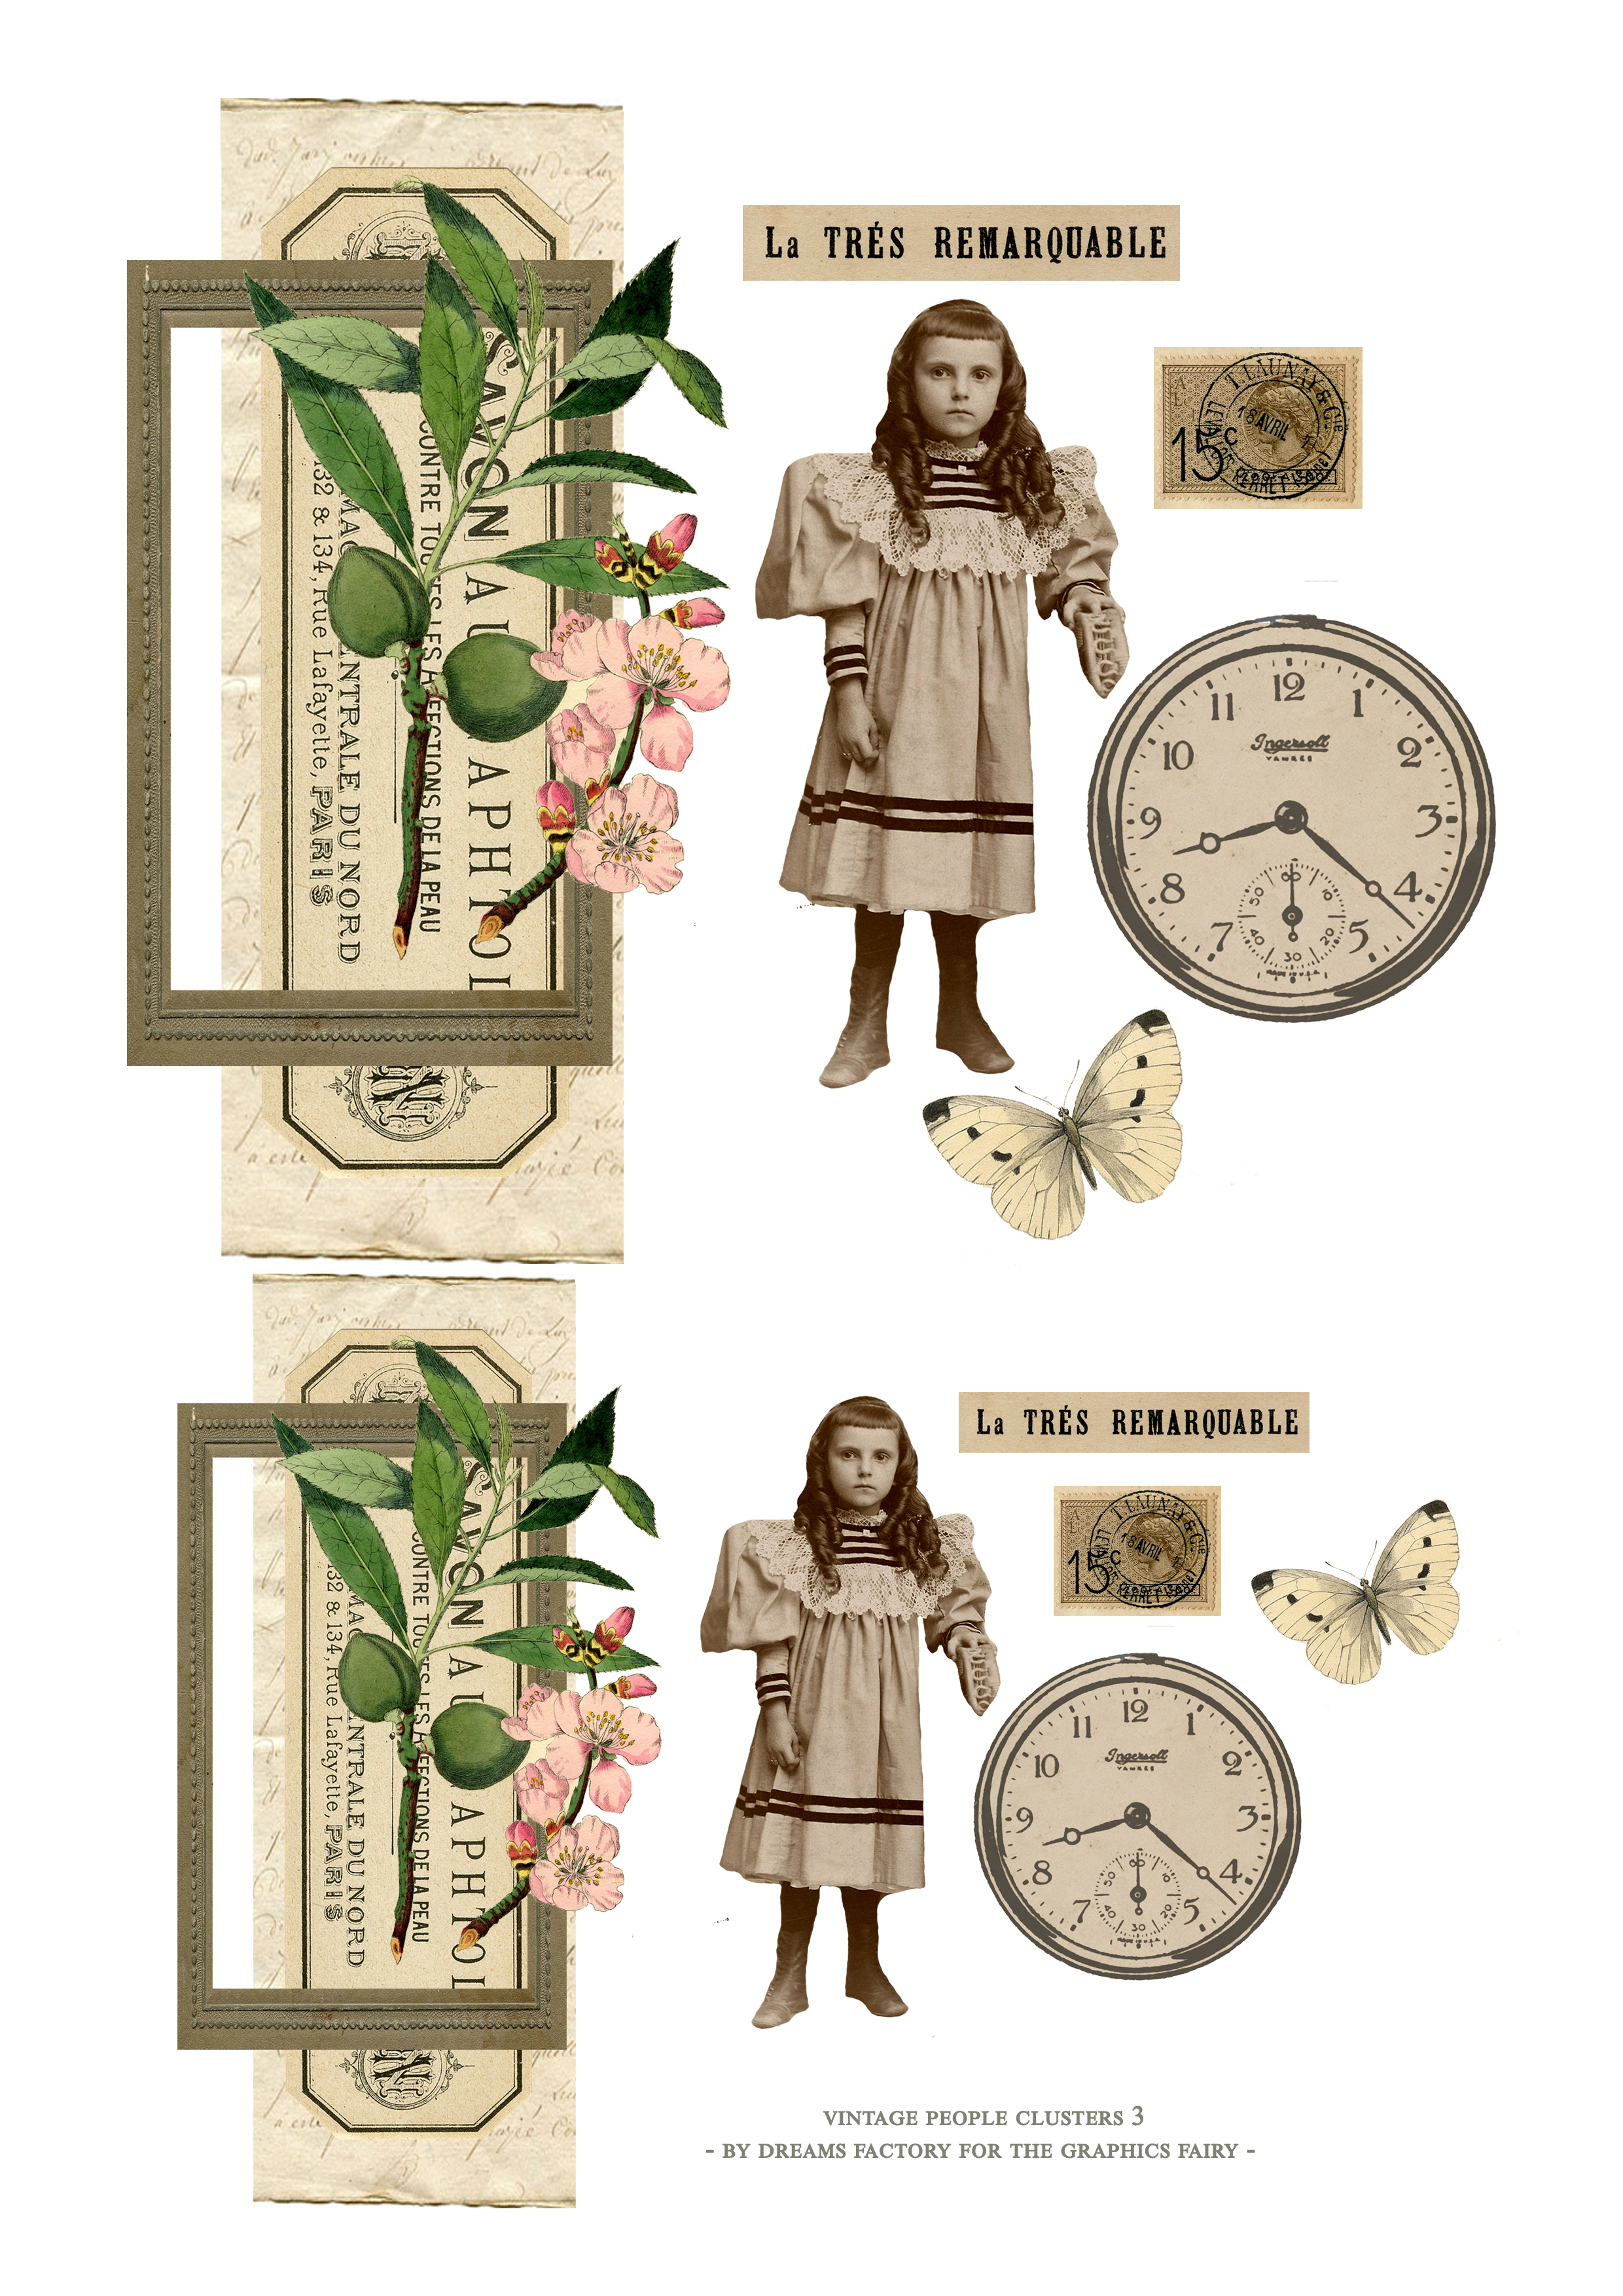
—-> Click HERE to Download the Full Size Printable PDF – version 3 <—-
DIY Vintage People Clusters Supply List:
- white cardstock paper
- home printer
- scissors
- manicure scissors OR a self-healing crafting mat, a metal ruler and an X-acto cutting knife (to remove the smaller details inside the frames)
- mini distress inks
- blending tool with foams
- paper glue
- colored pencils (optional)
- DecoColor gold marker or gold watercolors or gold acrylic paint (optional)

STEP BY STEP TUTORIAL:
Start by printing your printables on your preferred cardstock. I would suggest using the heavier paper your printer can handle to get beautiful elements that have a lot of body. The heavier the paper, the better the final clusters will look!
I used regular scissors to cut all the elements on the outside. For the inside of the frames, you can use small manicure scissors or an X-acto knife.

Because I used a 230 gsm heavy cardstock, I found it easier to use the X-acto knife. You’ll also need a self-healing crafting mat and a metal ruler if taking this route.
Make sure you remove the white paper inside the frames completely, you don’t want any excess to be left behind.

Work in batches and arrange all the elements from each cluster in a small group. It will be so much easier to glue them afterward without having to worry about which element goes where.

If you have a cutting machine like Cricut or Silhouette, this project would be the perfect opportunity to use it!
After you have all the elements, you can go ahead and distress them. I used a regular blending tool with foam for distressing and my favorite Walnut Stain (with a touch of Wild Honey) distress ink from Ranger. I used a small Q-tip to distress the inside of the frames and some of the leaves. Everything worked like a charm!
Just be careful not to accidentally tear your elements while distressing them. Some of them are quite fragile, so pay extra attention while performing all the distressing operations.

I noticed that some of the frames that I already overlapped while creating the design were not that visible after printing, so I’ve decided to use colored pencils to remedy that. I actually used some watercolor pencils because that’s what I had around, but without adding any water afterward.
I picked a lovely dark brown and sketched around the frames the not-so-visible details. I even used some more of that color to create a really faded shadow effect around the edges of the frame to create more dimension. You can use a Q-tip or your fingers to blend the pencil marls if you want.
This step is optional, but quite fun if you love sketching or coloring.

This next step is also optional, but you know me, I LOVE everything gold, so I highly recommend it!
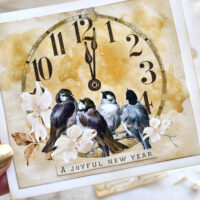
Use your favorite gold marker, gold watercolors or even gold acrylic paint (and a small brush) to highlight some of the details on your paper. I used my favorite Decocolor to highlight the clock from the ‘Little Girl with Bangs’ group and the round frame from the ‘Mother and Daughter’ group.

You can also add some gold to the botanicals from the ‘Brother and Sister’ version.
This way, all your versions would have a touch of that amazing gold that would emphasize all the other details.

And now it’s time to assemble everything and glue all the elements together! I will show you how I envisioned these, but of course, you can switch things as you want! The choice is all yours! As a general guideline, I would suggest placing and layering the elements from a specific cluster on your table, but without gluing them at first. This will give you an idea of how things could look, but will also give you the opportunity to take things in a new direction if you prefer. And even when you decide to glue them, glue the focal point images first, but only add some glue in the center of the image, on their back. This will allow you to tuck some of the additional elements on the sides.
Let’s start with version 1, the Brother and Sister. Place the already overlapped background with the frame and the botanical on your table. Add some glue in the center of the brother and sister element (on the back) and glue it on top of the background. The image should be placed slightly to the left, so you can see the leaves on the right, but also the empty frame near the girl on the left. Then, tuck the postage stamp on the left side, under the girl’s dress.

Glue all the other ephemera elements on top. Fold the butterfly in the middle and only add glue to that middle section to create even more dimension. And now, you can admire your beautiful work! Your first vintage people cluster is ready!
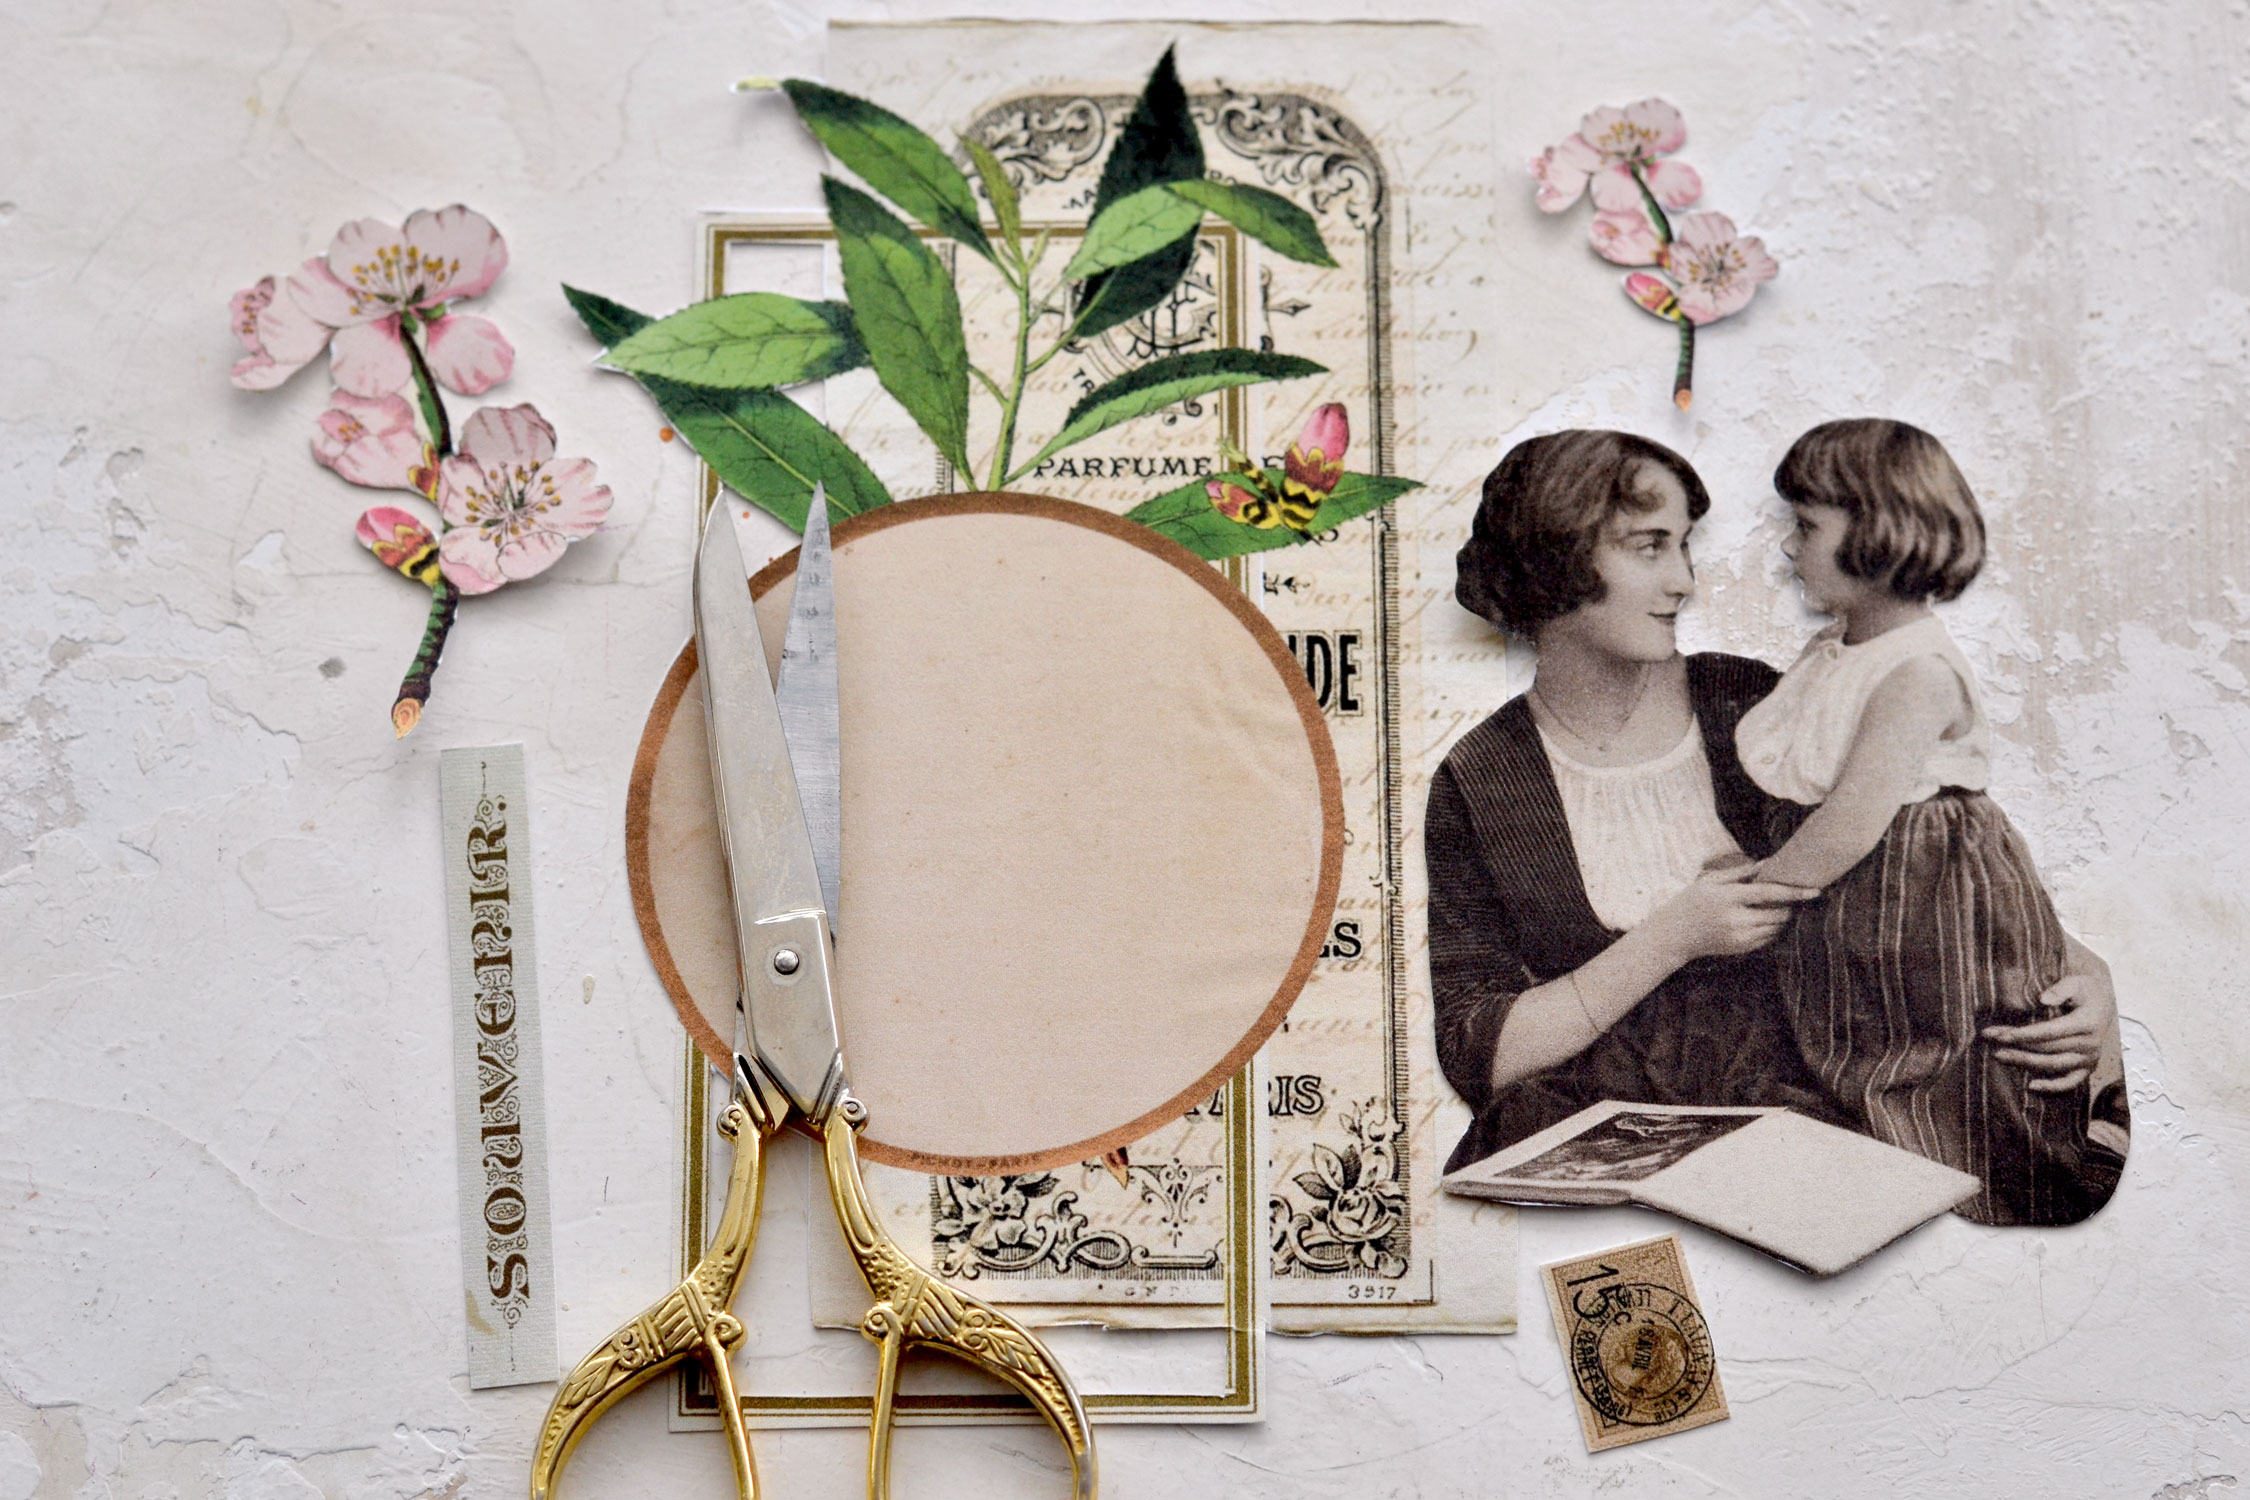
For the second version, place the already overlapped elements on your table, then place the mother and daughter element on top. Align the right side of this image with the images underneath. While placing the focal point image with the two, make sure you leave a little bit of space at the bottom so you can see the beautiful ornaments of the frame underneath. Place the large pink blossoms on the right side, near the girl and slightly outside your frames and decide if you want to tuck the stem under the girl or not – I didn’t. Add the postage stamp on the left and then glue the French ephemera ‘souvenir’ element on top of the focal point image. Glue the small blossoms on top and admire another one of your stunning creations!

And lastly, the beautiful girl with bangs version. Place the already overlapped elements on your table and glue the girl on top. Only add glue to the center of the girl image, just like before, so you can tuck (and glue) the clock and the postage stamp under, on the left side. Then also add the folded open-winged butterfly on the left.
And finally, glue the French ephemera cutout vertically, on the right.
Again, keep the same idea in mind to work in sections and keep things organized so you don’t mix the elements from different versions or sizes. Everything should go smoothly and you will soon be able to admire all your gorgeous DIY people clusters with vintage and gold touches!
I can’t even tell you how much I love each and every one of these elements! I love them individually, but I’m over the moon in love with how great they all look together!
I have to confess that this time it was hard to pick just one favorite, but I do have one. It’s the little girl with bangs! Do you want to know what set this one slightly apart? This girl looks like me when I was little! How strange is that? It doesn’t look exactly the same (obviously), it’s more of an overall vibe when you first look at her sweet but oh-so-serious little face. And her bangs, I’ve always had bangs growing up. OK, maybe not that short, but the overall similarity is mindblowing. She looks more like me than my sister does… How is that even possible?

Below you can see the two-sized versions of the girl clusters, so you can get a sense of how they both look. If we were to play a quick spot the difference game, you would notice that the smaller version on the right doesn’t have a postage stamp. Why? Because I couldn’t find it anywhere! I must have misplaced it while cutting all the elements, but I equally love this stamp-free version.
I would suggest taking my instructions as mere suggestions on how to make your clusters. I encourage you to perform your own experiments with these beauties and who knows, your versions might look even better! Just try to keep in mind while gluing and layering everything together to create as much dimension as you can. Place some of the elements slightly outside the others to create interest and play with the angles as much as you can. Position everything to build dimension, but also to reveal as much as you can from the images underneath.
You can decide to add more glue if you want to completely adhere the focal point images with the people the the backgrounds underneath. I didn’t. I just added the initial glue that I mentioned before, right in the center of the image (on the back) and I really loved it this way. This means that the heads and the legs remained unglued and added even more dimension to the finished pieces.
These gorgeous clusters can be easily used in your junk journals if you want to add a touch of vintage charm to your pages. I wanted them to have quite a universal feel, so they can instantly beautify your pages, but can also be used to embellish the covers. I can envision them decorating photo album covers, too, which would make such an amazing gift for family members or friends.
The clusters can also be used as tags or can be easily turned into super chic cards for all sorts of special occasions. You can add other small embellishments like buttons, safety pins or even some gauze to make these even more intriguing. All these small details will not only add more charm to the finished pieces, but will also enhance that dimensional feel we want to create.
I hope you will love this project as much as I do and decide to give it a try!
You might also like my DIY Junk Journal Flower Clusters HERE.
Happy crafting,
Diana | Dreams Factory


Debs says
These are truly beautiful. Thank you so much. I love everything that Diana creates! Many Thanks. Debs.
Karen says
Thank you, Debs. We’re so glad you enjoyed them. 🙂