Woodburning Cutting Board Ideas
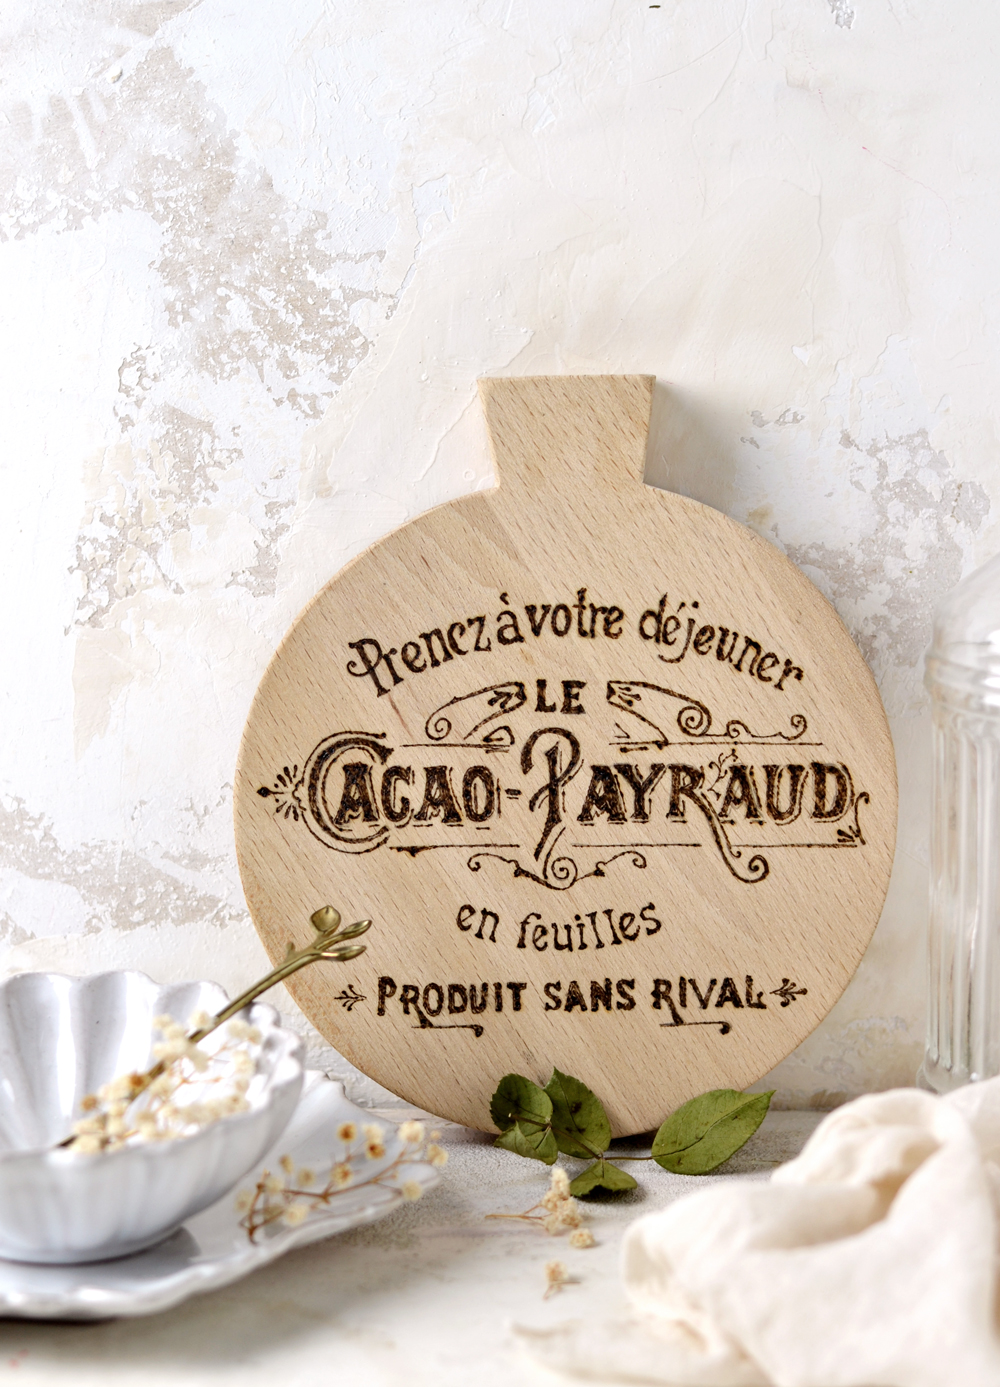
Hello, Graphics Fairy friends, Diana from Dreams Factory here, it’s so nice to see you again! Today we are creating a chic and lovely DIY project – it’s a Woodburning Cutting Board Ideas! We could easily categorize this project as a unique image transfer technique, one that can be used to embellish different wooden objects around your home.
You can use for this project any old wood cutting board that you have around, you can buy a new one that you like or, if you are feeling adventurous, you can even cut your own cutting board! The cutting board of your dreams! We did the latter, Mr. Dreamy helped me again with the technicalities of cutting a round wooden board from a piece of beechwood. Just keep in mind that you need untreated, unstained and unpainted wood for the next steps to work properly.
I gifted myself a wood burning tool last year, so this was my first project using this nifty tool. I did a few tests on a scrap piece of wood first, just to see how it works and I decided to just go for this project … and see what happens! I was in LOVE! And even though the results were not perfect, the final burnt image looked truly beautiful, with all those small imperfections! I’m sure this would make THE perfect gift for anyone who loves everything DIY and handmade, especially one like this, with a French flair!
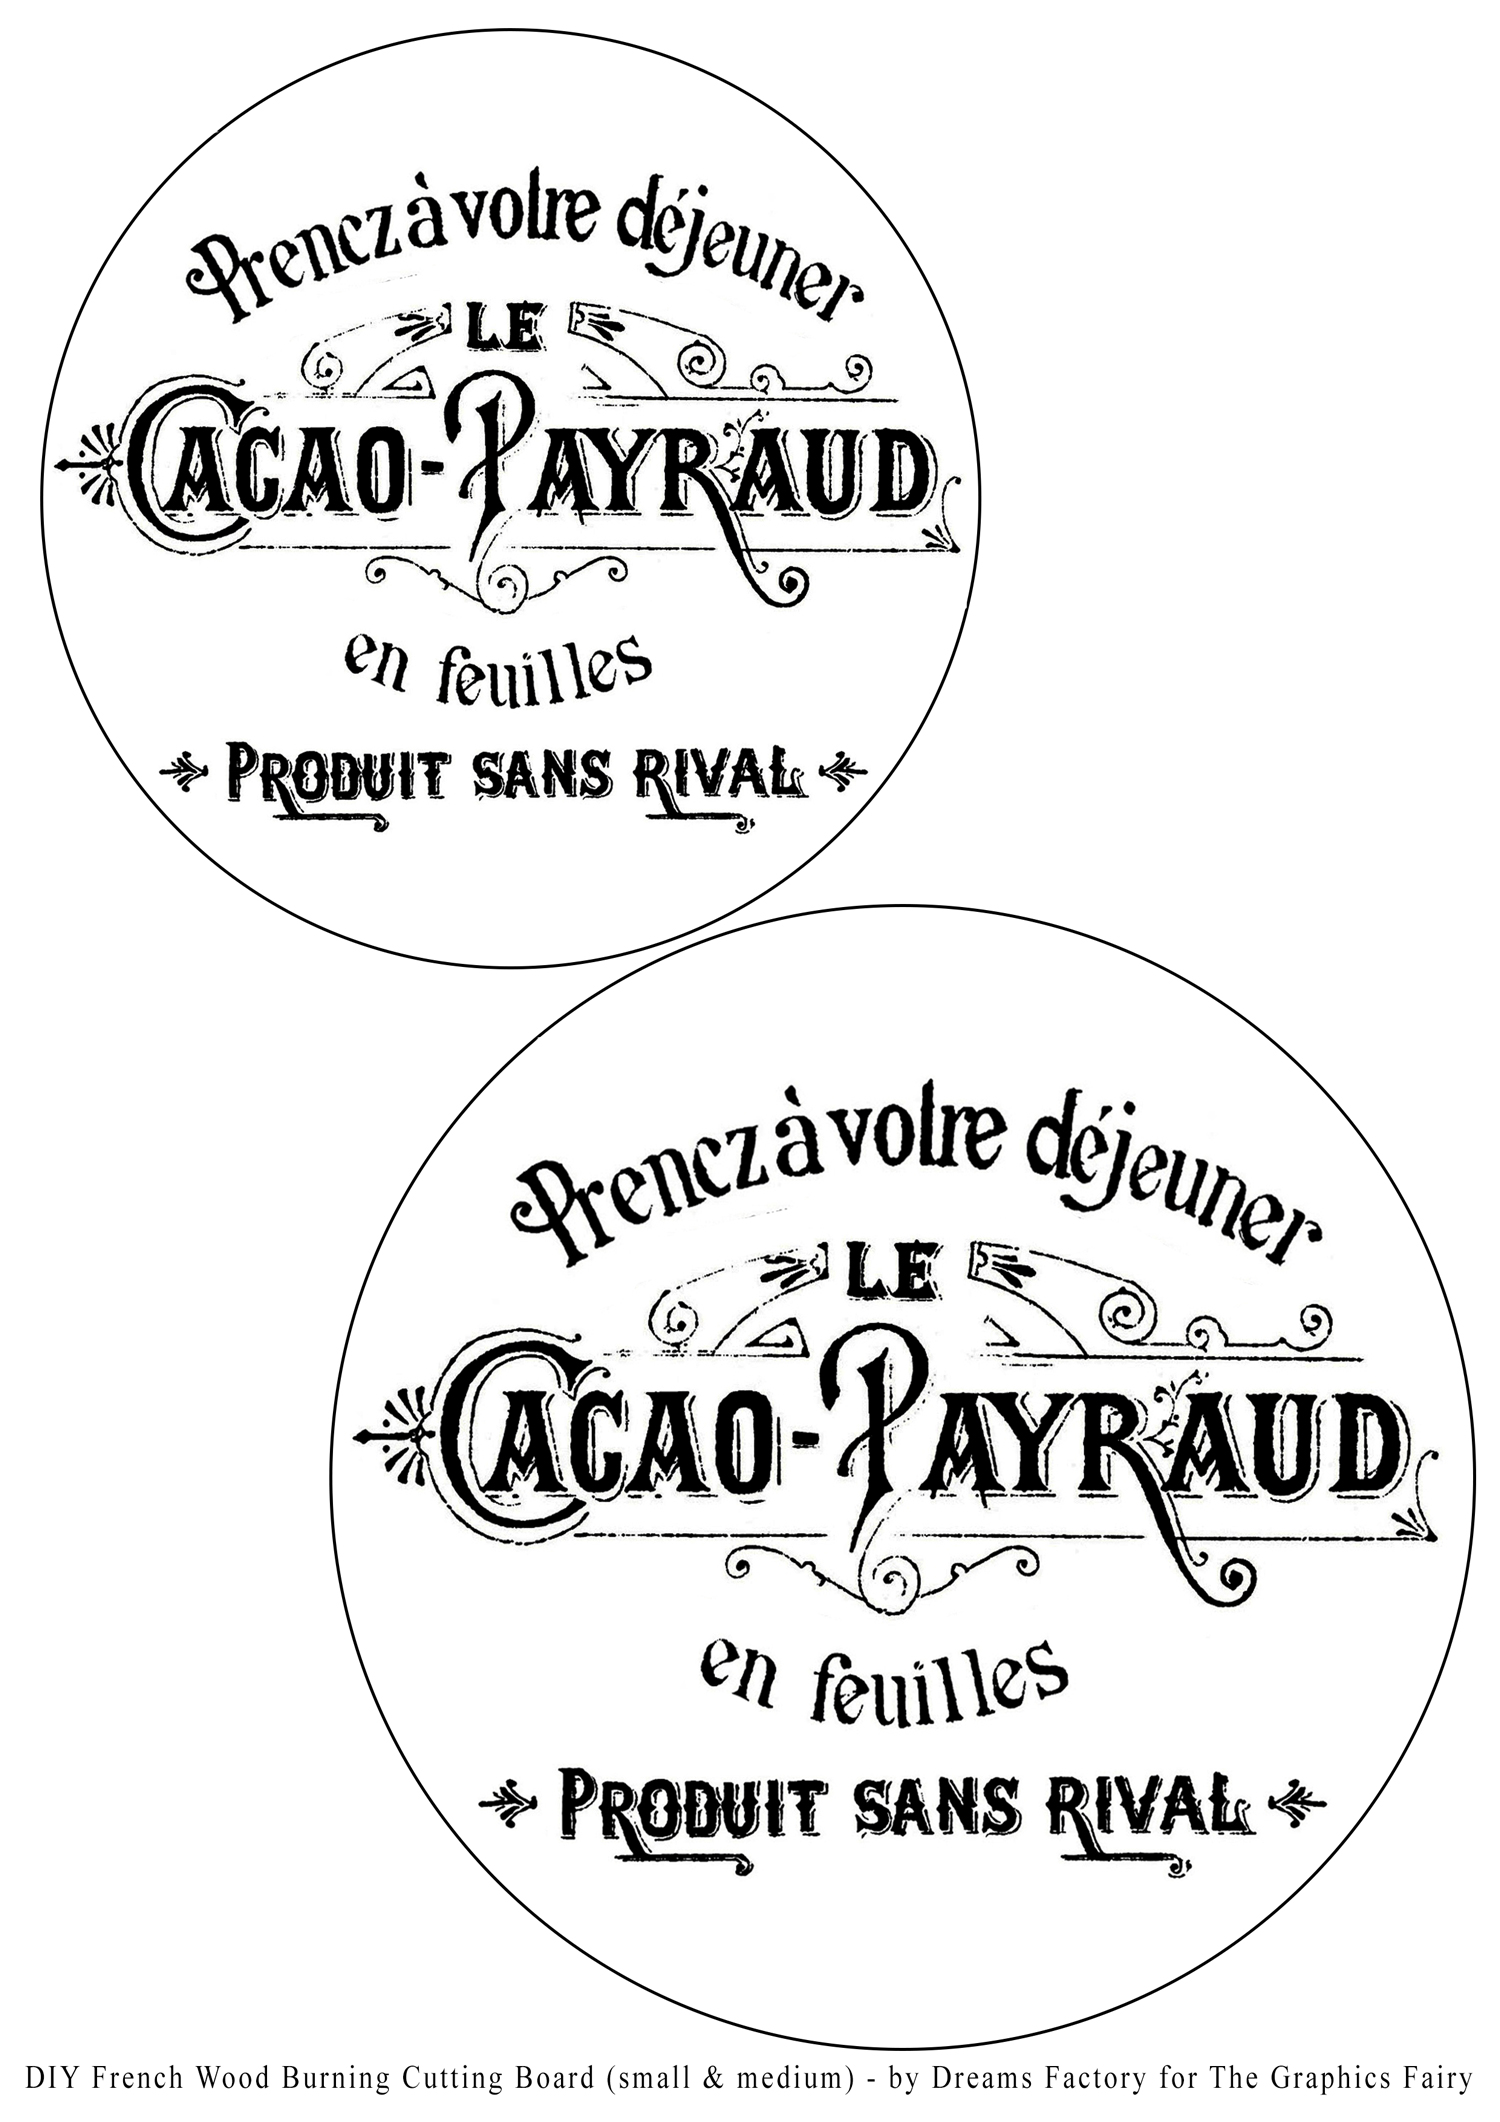
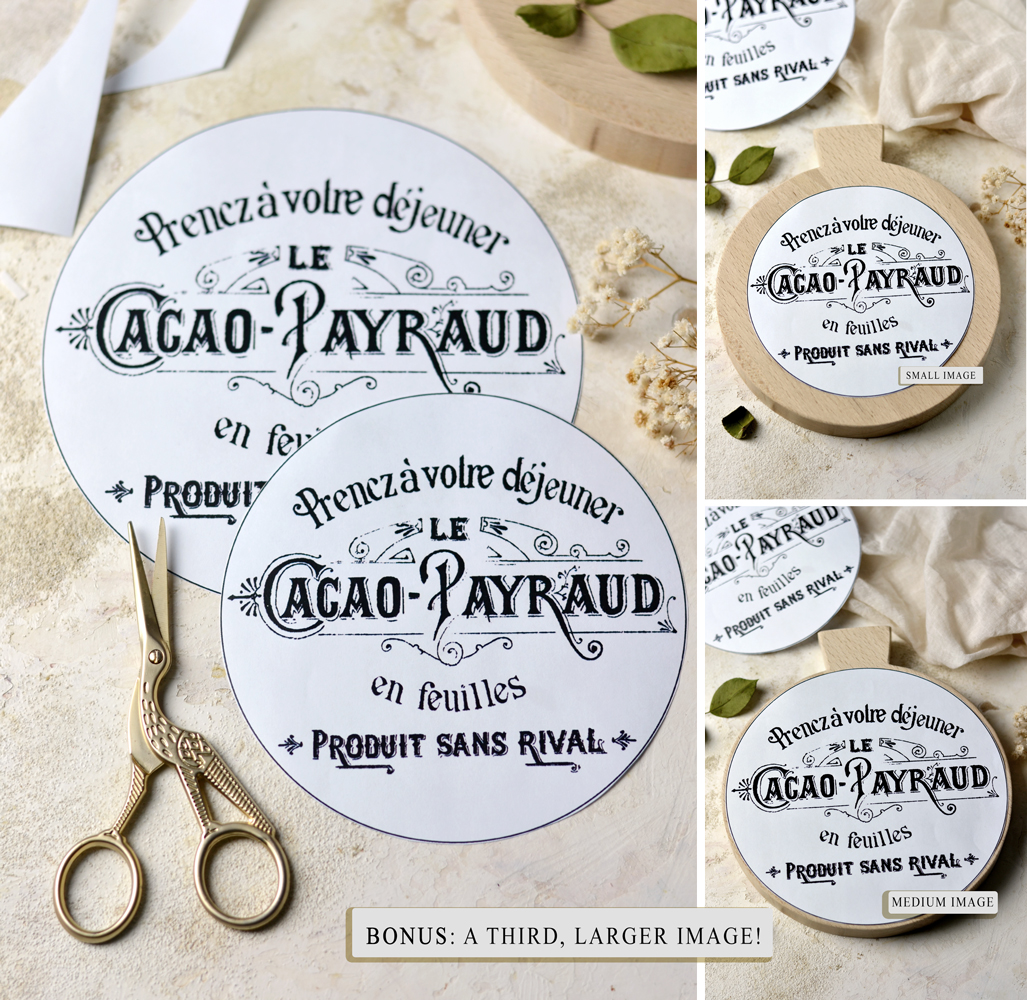
I created a lovely printable for you, in different sizes, you can choose the size that fits best to your needs. I went with this gorgeous “Cacao Payraud” French graphic because it’s one of my all time favorites and let’s be honest, this beauty looks stunning on just about anything!
P.S. Even if you see in my photos the printable in only two sizes, I actually created another bonus larger size, after completing the project, so you’ll have even more options. You’re welcome!
Free Printable Woodburning Cutting Board Ideas
—-> CLICK HERE TO DOWNLOAD THE FULL SIZE PRINTABLE PDF <—-
(small & medium)
—-> CLICK HERE TO DOWNLOAD THE FULL SIZE PRINTABLE PDF <—-(large)
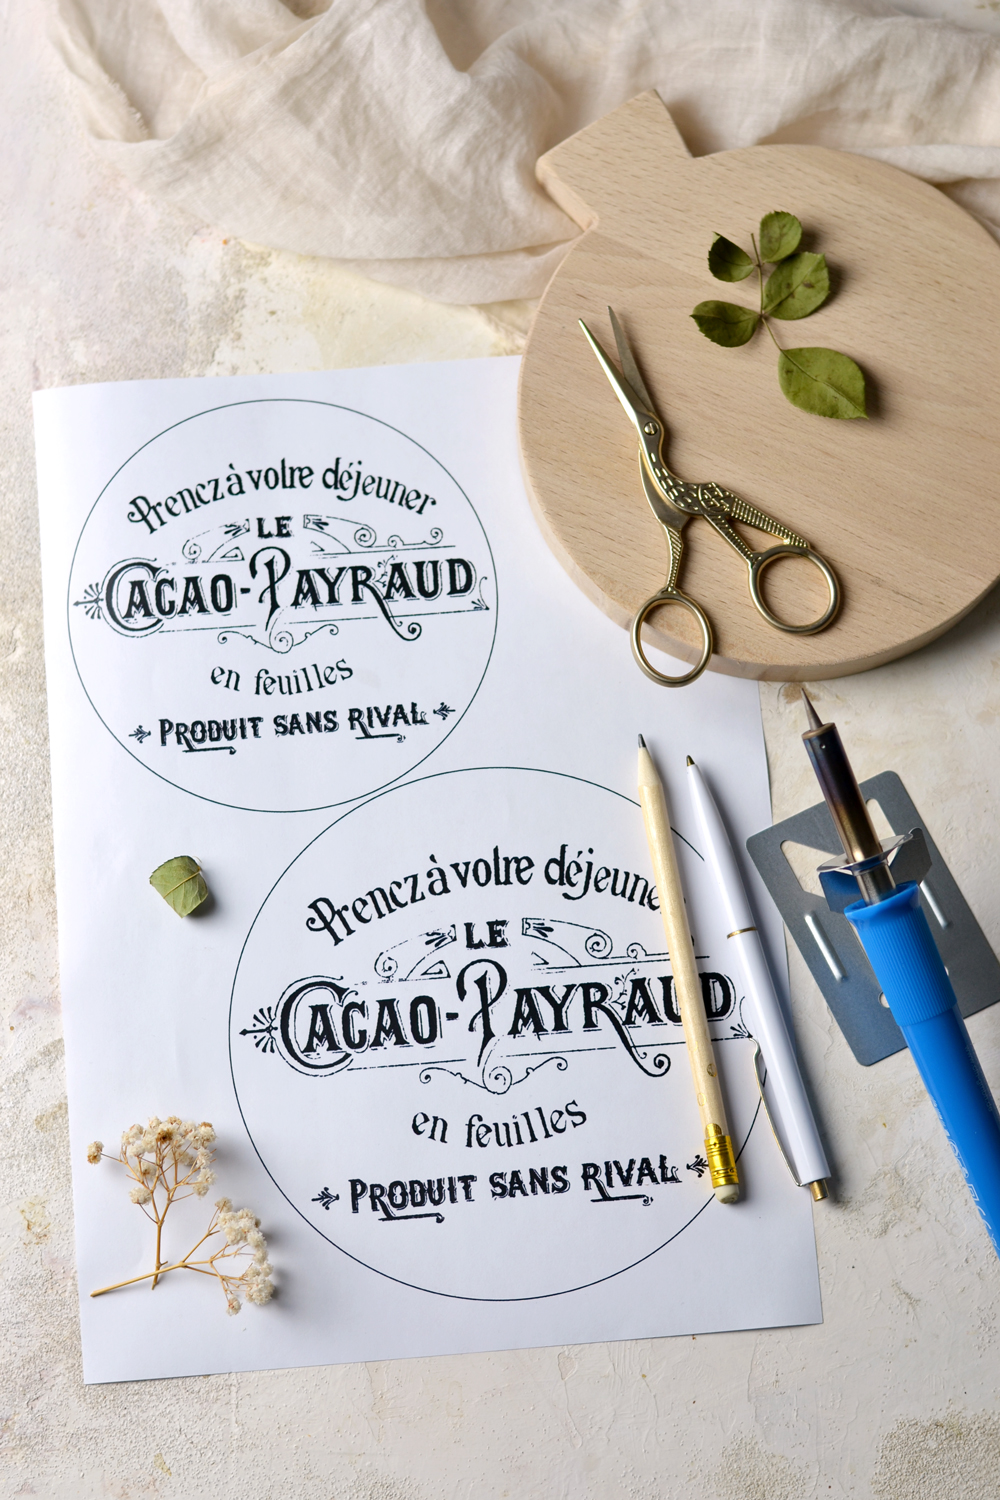
Woodburning Cutting Board Ideas Supplies:
- regular paper
- laserjet or inkjet printer
- scissors
- a pen
- a pencil
- wood cutting board (unpainted/unstained)
- wood burning tool
- paper tape
Woodburning Cutting Board Ideas – printing & cutting the image
Start by printing the beautiful French printables on regular paper, then cut each image following it’s rounded shape. The round shape will help you to better position and center the image on your cutting board, especially if using a round cutting board, like I did. If you are using a cutting board in any other shape, you can still use these rounded French images! You can choose the small, the medium or the BONUS large size, depending on how big your cutting board is and how much wood you are planning to cover with your image.
Woodburning Cutting Board Ideas – transferring the image
Scribbling
In order to be able to use our wood burning tool to burn the image onto the cutting board, we first need to transfer the image.
You can use carbon transfer paper, place it between your image and the wood, then use a pen to go all over the letters and trace them onto the wood.
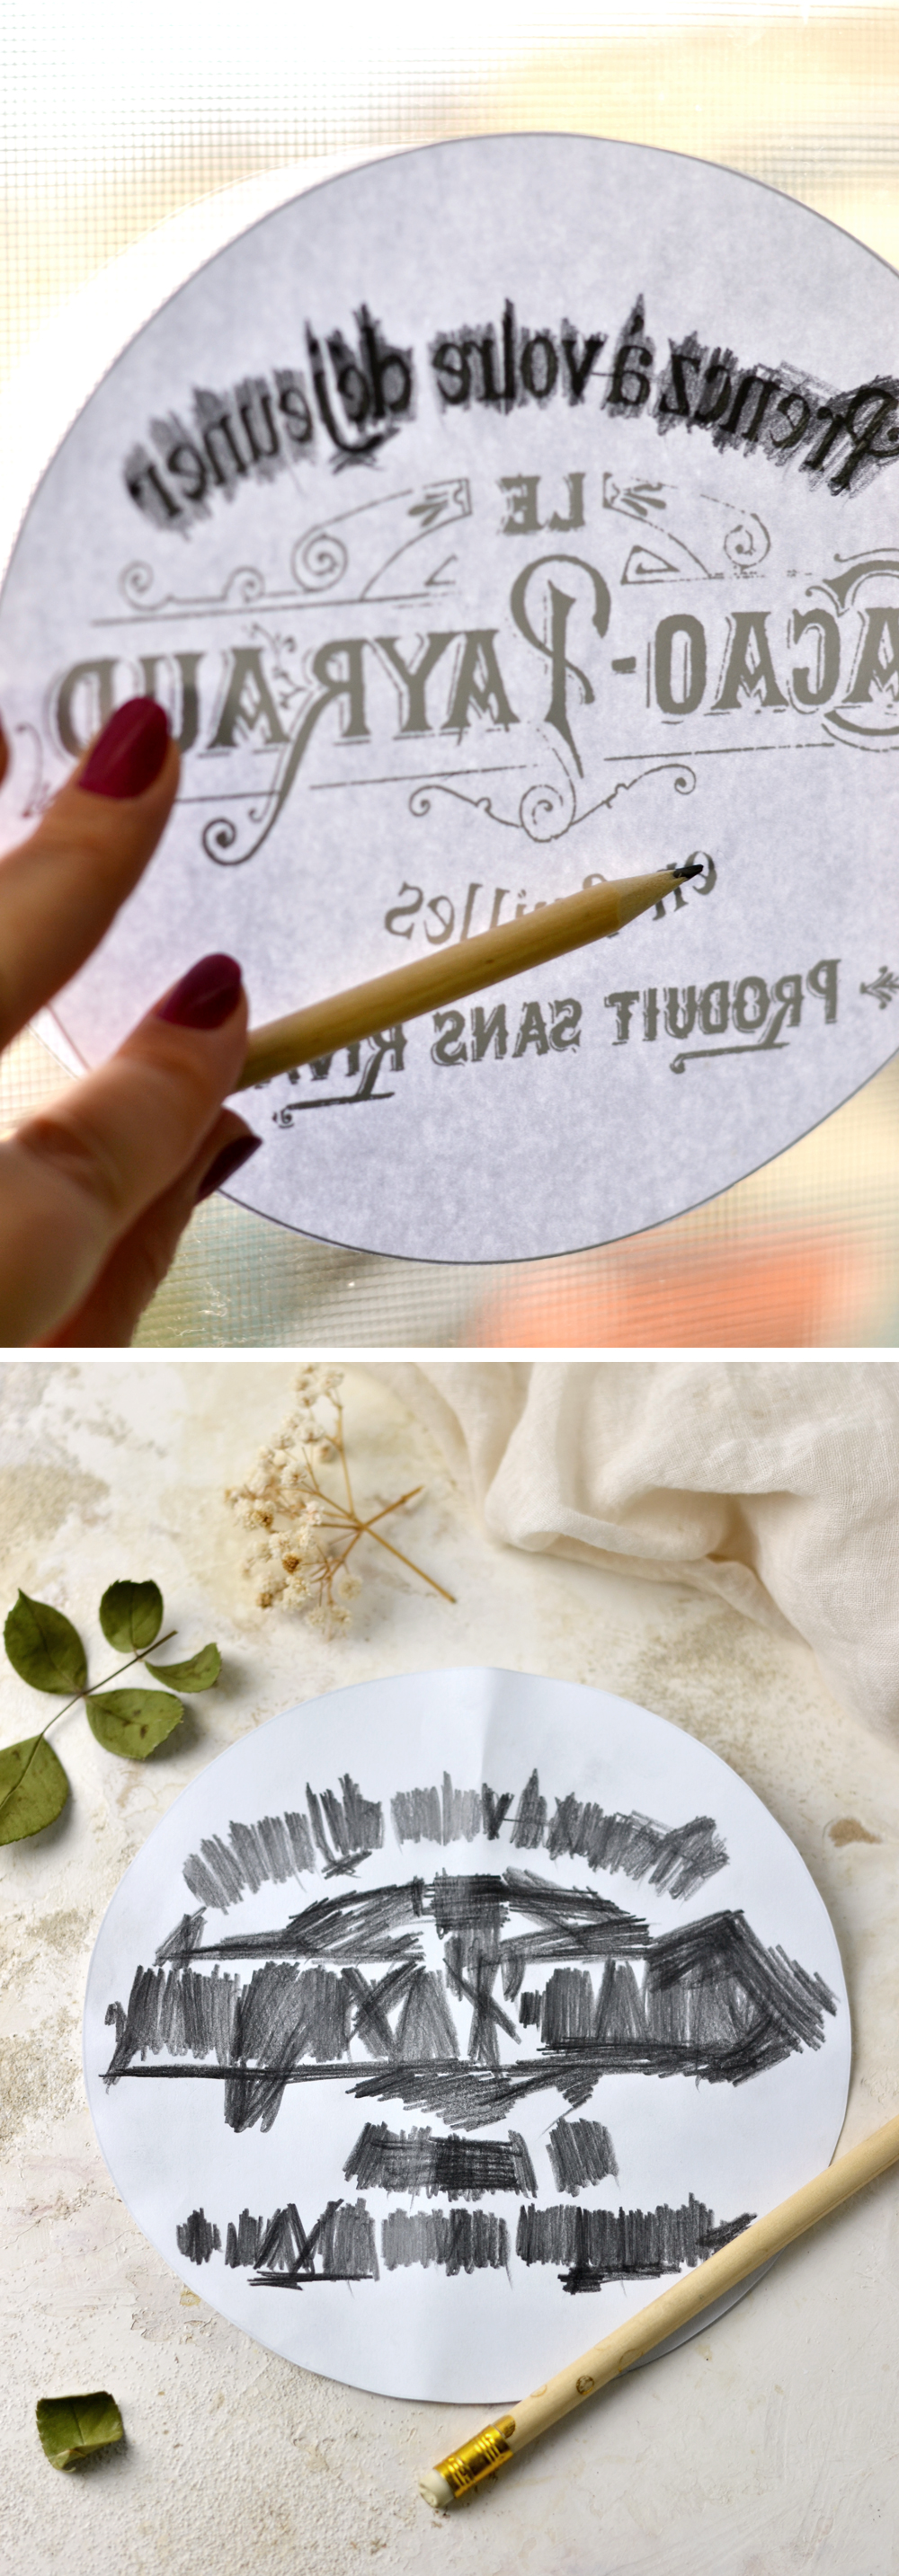
Another option – the one that I used – is to flip your image over, place it on a window (during the day) and using a graphite pencil (or a regular coloring pencil) gradually scribble all over the back of the letters, making sure you apply quite a lot of pressure and you go a little over the edges, so you completely cover them. The graphite in the pencil will now act just as a carbon paper does, helping you to transfer the image onto the board. The back of the paper will look quite messy after all the scribbling, but in this case, that’s a good thing, because it means it will be easier to transfer the image!
Tracing the letters
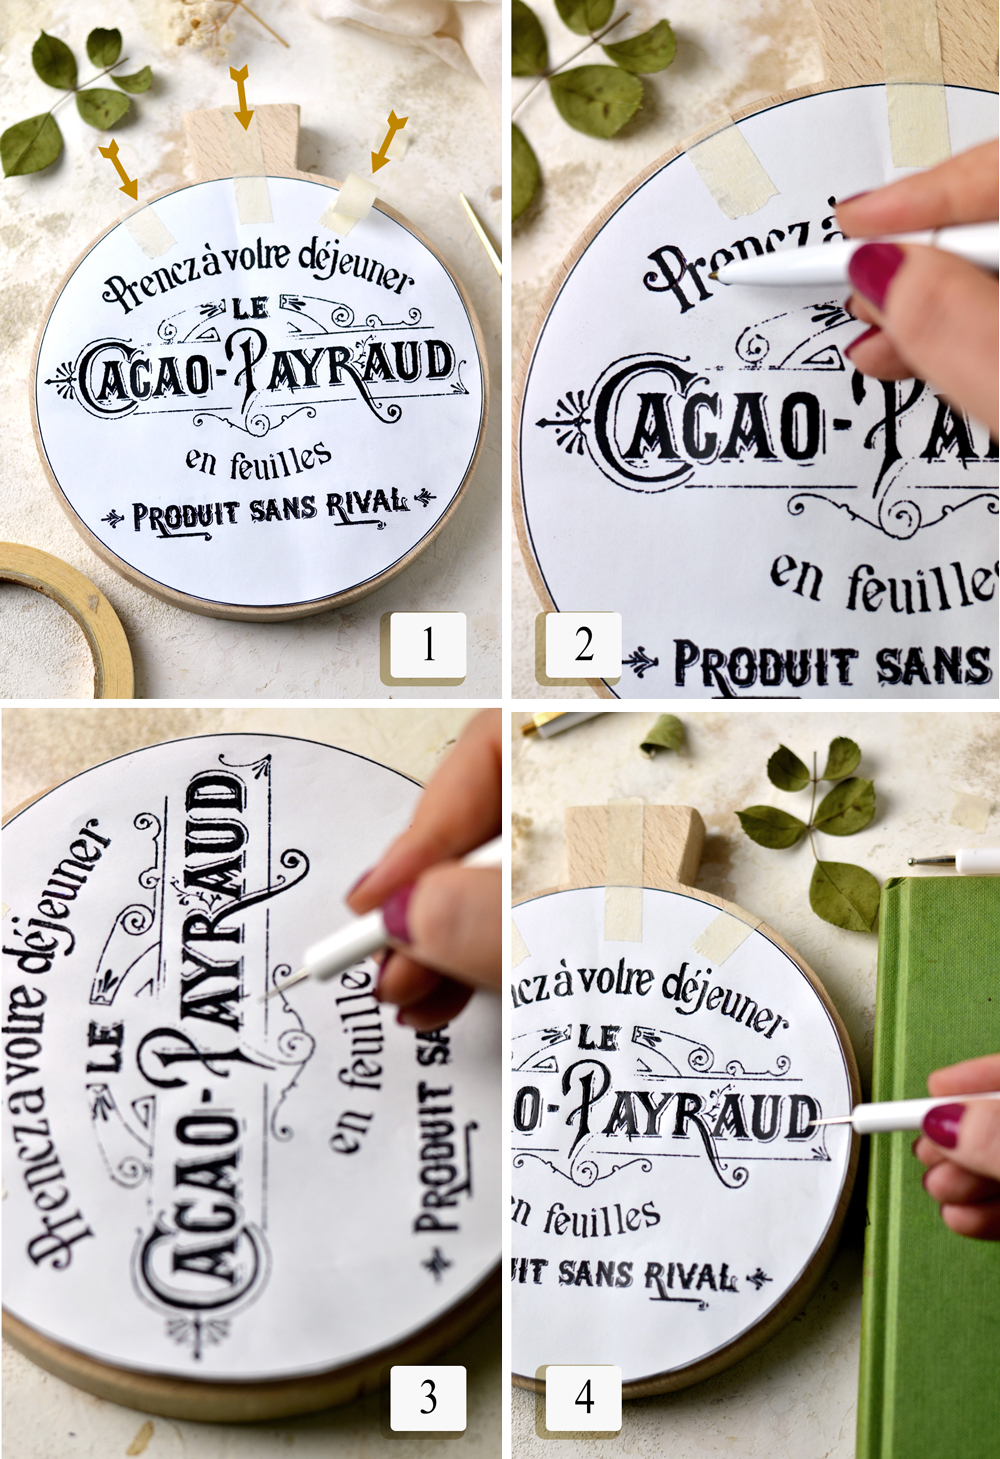
1. For the next step I carefully placed the round image on the cutting board (the scribbled back will now lay directly on the board), I centered it, then I used some paper tape to secure it on top, in three different places. Securing the image like this will give you the option of lifting it when you need to check how the image transfer is going.
2. Using a pen or a small embossing tool, gradually trace all the letters on top of the paper, making sure you apply enough pressure.
3. I found it easier to rotate the cutting board when tracing the horizontal lines of the letters, turning them into vertical lines. I kept rotating and rotating.
4. I also used a book that had (almost) the same height as the cutting board to rest my hand while tracing the right side of the letters from the board.
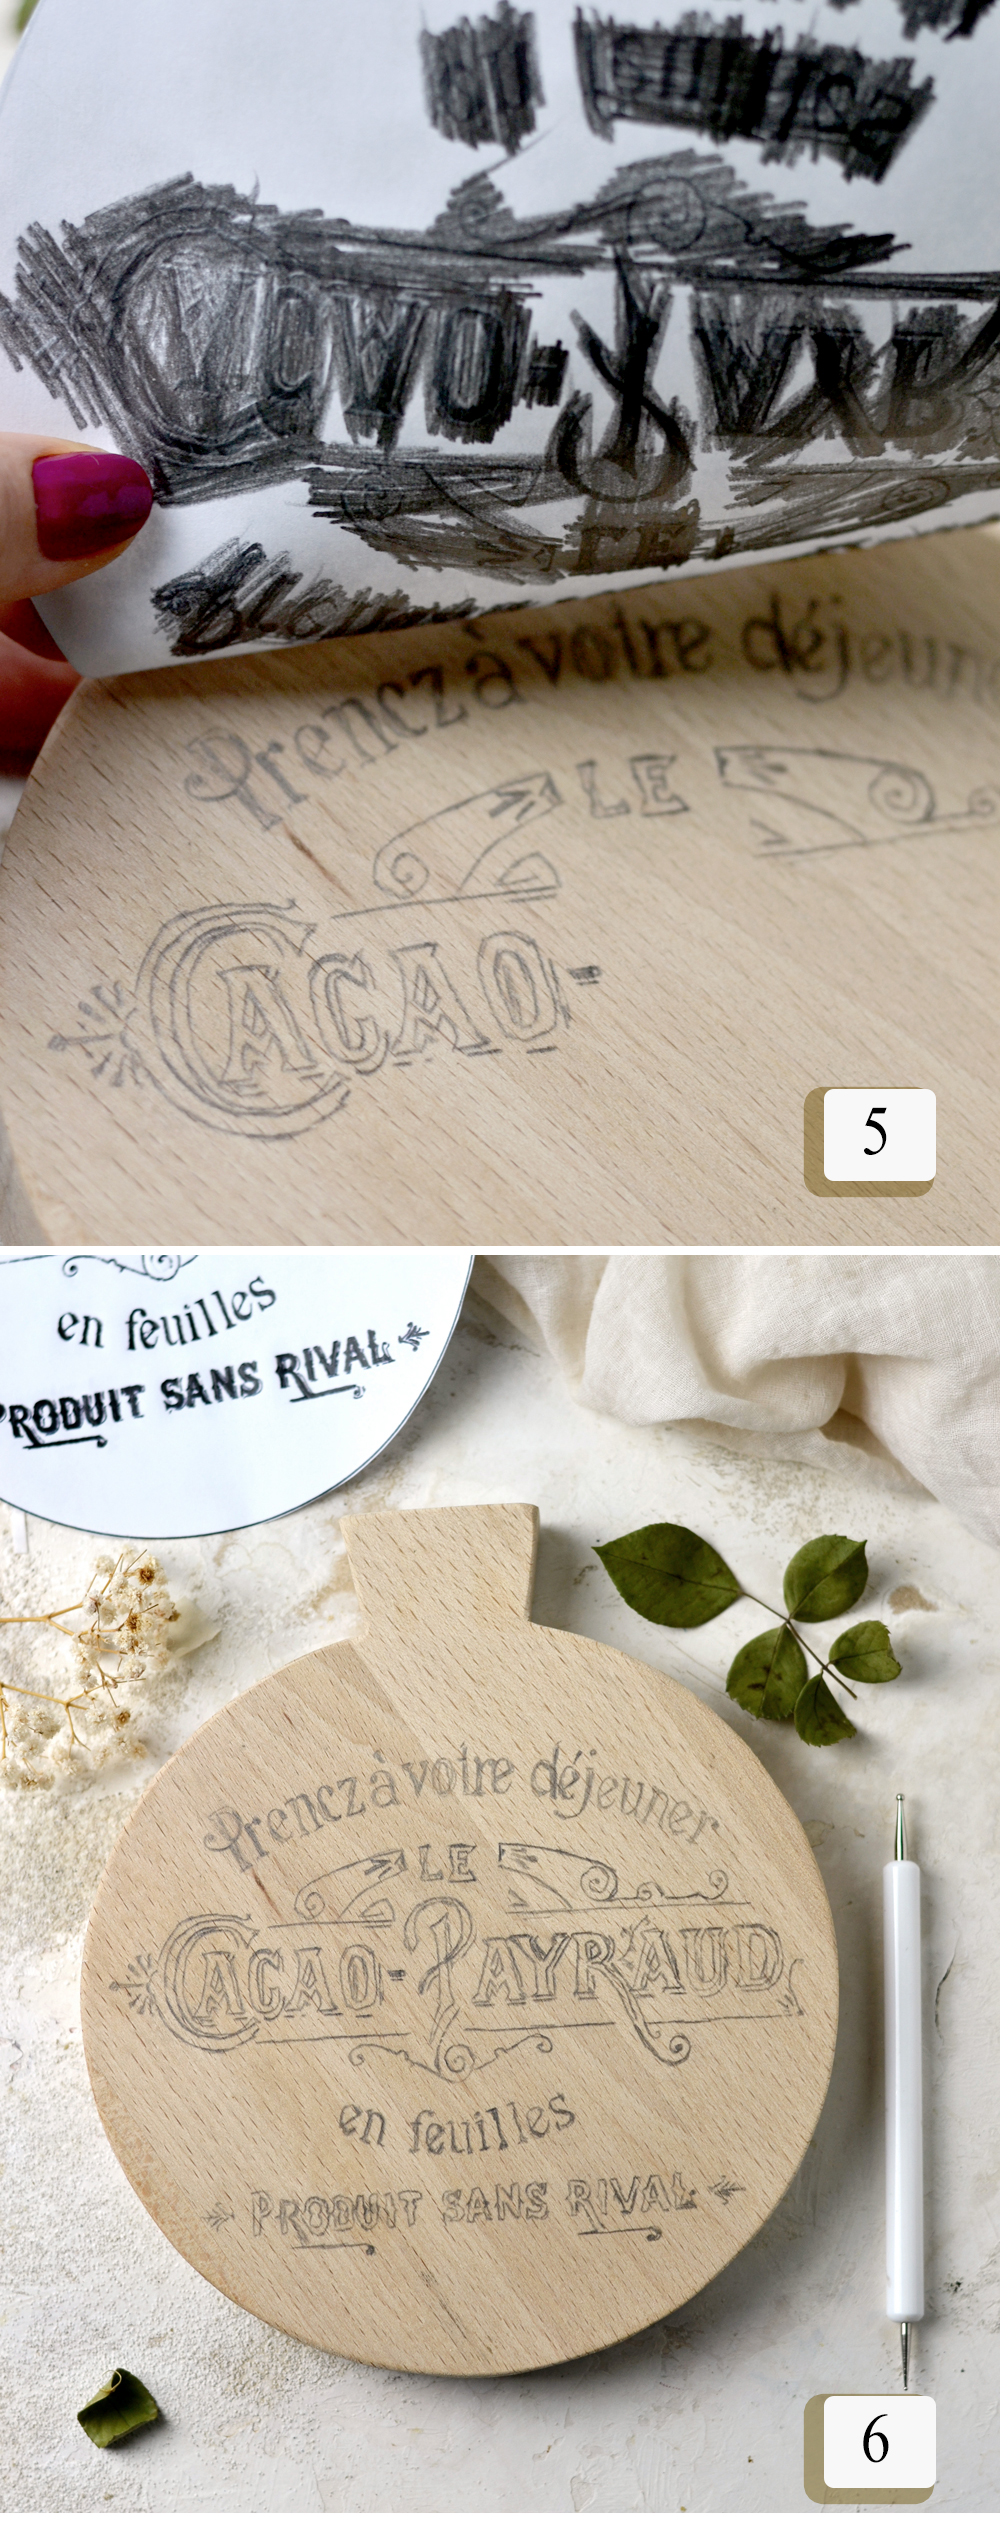
5. Don’t forget to check how your letter tracing is going, from time to time – just carefully lift the paper, inspect everything, then gently place it again on the board. If you properly secured the tape earlier, the paper will land on the same spot, ensuring a perfect transfer!
6. When you finished tracing all the letters, lift the paper again to check for any missing lines. If everything is in good order, remove the paper completely … and admire your new transfer!
This option is amazing and can be used on many other image transfer projects too! Just keep in mind that if you are planning on using this method on another piece of paper or cardstock, you can choose to leave the pencil transfer as it is, but if you are planning on using this method on wood, you’ll need to somehow paint it afterwards – wood burning it, in this case – to complete it.
Woodburning Cutting Board Ideas – wood burning the image
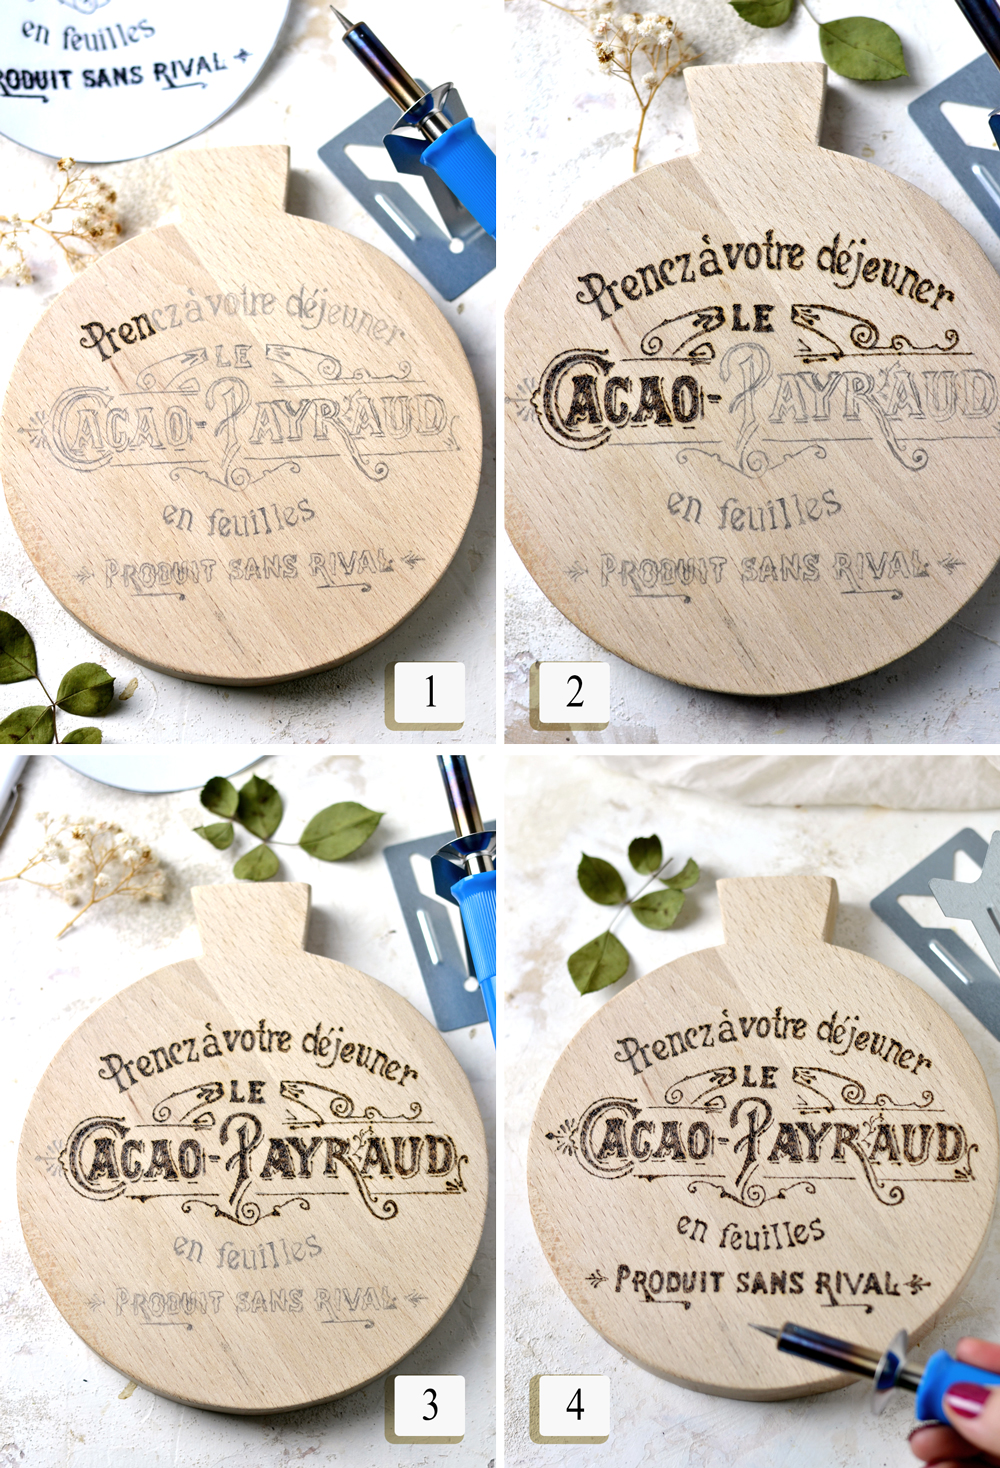
When it comes to wood burning the image, I actually found this step quite easy. When your wood burning tool is hot, you start by gradually going all over the pencil traced letters. I used a fine tip for all the letters and I found it easier to rotate the wood board for all the horizontal lines, just like I did before, while tracing the letters. I didn’t apply too much pressure when burning the outline of the letters or all the other embellishments, I only applied pressure when burning the inside of the letters. As I mentioned before, this process will not give you perfect results … except if you are a Ninja wood burner and you really know your stuff!
Oh, and really important! Please be REALLY careful while handling this tool, it is extremely hot!
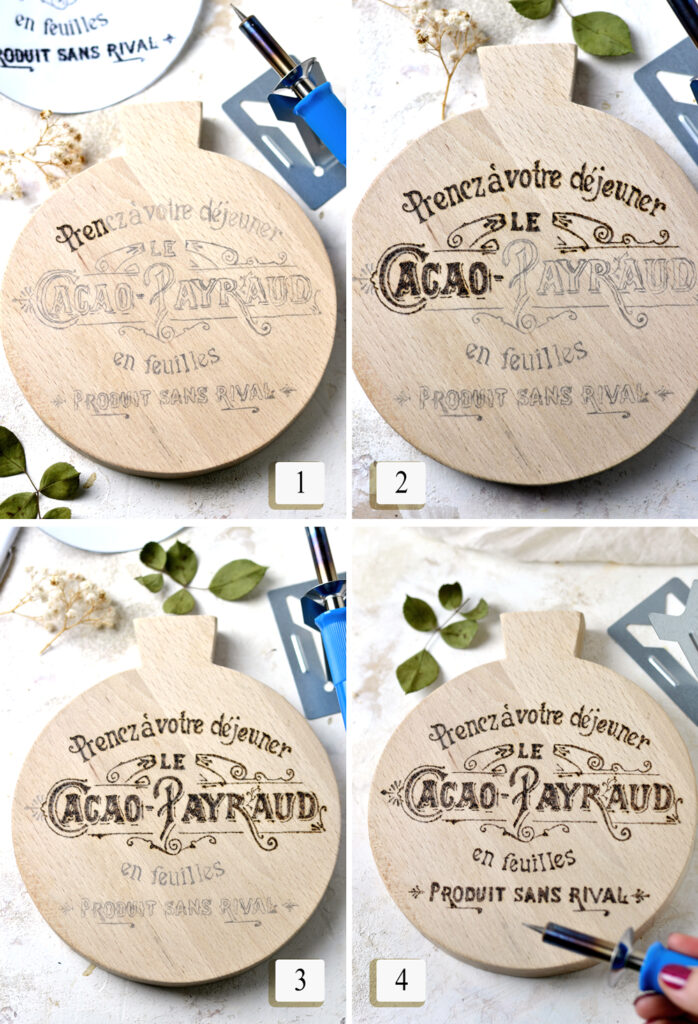
1-4. You can see gradual images with the whole wood burning process. I actually improvised and adapted some of the letters while burning them, I even made a few small mistakes and tried to round the letters a little bit more to cover them. I burned the letters on the last row – PRODUIT SANS RIVAL – as simple letters, even though I traced them with some decorative elements, etc.
You can keep the original paper with the image close by, you’ll get a better feel on how the letters are supposed to look.
That’s it!
You will see that, depending on the wood you are using and depending on how the wood was sliced, the grains in the wood will make it easier or harder to trace, then wood burn your letters. The orientation of each letter is also important in this whole scenario, you will see that some letters are easier and some are harder to trace.
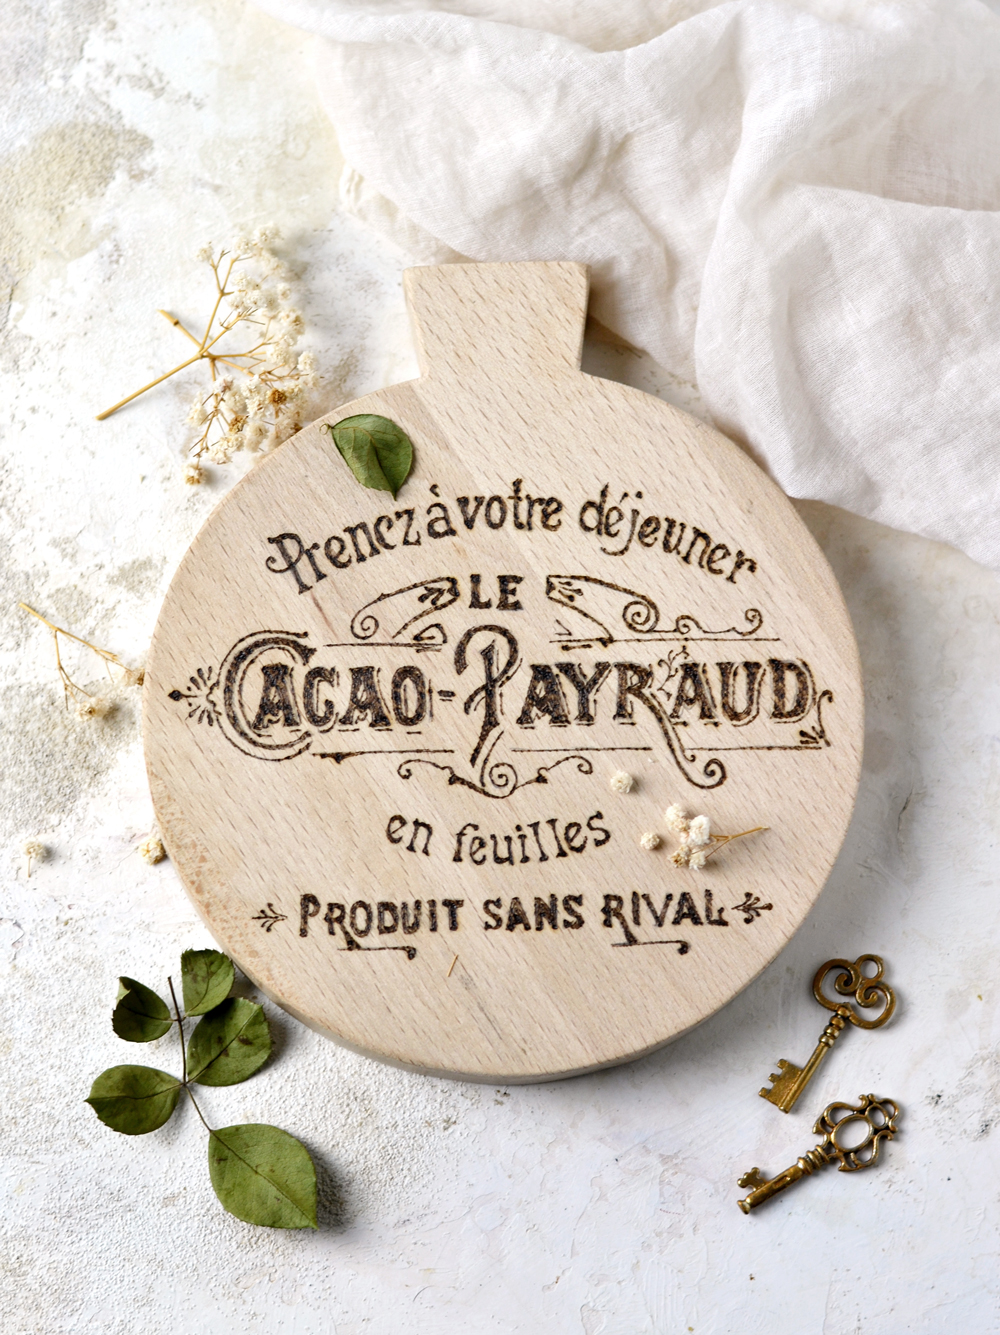
I have to confess that this project is definitely not a quick one – tracing, then wood burning and transferring all these letters will take some of your time. But I actually found the whole process relaxing, who knew working on a project like this can be quite therapeutical?! This gorgeous, simply stunning Woodburning Cutting Board Ideas, with all its perfect imperfections is finally ready to be admired! Or to be gifted!
And you have several options even after finishing it!
You can choose to visually enjoy and display this Woodburning Cutting Board Ideas project as a beautiful decorative piece, with seasonal flowers and other utensils, bowls, plates, jars or lovely bottles from your kitchen.
But you can also choose to be more practical and actually use it in your kitchen! Use a mineral oil to finish it or go for a more healthier alternative and use a beeswax and oil polish. This way you’ll be able to display your amazing cheese boards or any other treats that you are making for family and friends in such a stylish and unique way!
P.S. A project like this can get REALLY addictive, I have a feeling you’ll just want to French burn all the cutting boards that you can get your hands on! You might also like my Waterslide Decal Project HERE.
Happy crafting,
Diana / Dreams Factory


Michèle Richter says
How awesome! Thanks for posting this. I have been looking for other ways to transfer my designs and other designs on to wood besides using carbon paper and the pencil on the back is an excellent idea! I will ask the guest (on her website) if I printed the design n mirror using printable vellum if that would work as well. I was gifted a case of vellum when my friend’s husband decided to retire. I have given much of it away, and saved some for card making and ephemera prints, but I was trying to think of other uses and I think… this may work… plus all these wood (balsa) pieces that my little niece gave me for the holidays (I’m pretty sure she bought them (or her mother bought them) from our local Dollar Tree – but this is an excellent idea to add to those blank pieces!
Karen Watson says
I’m so glad you liked Diana’s tutorial Michele!
Rk says
I am now wondering if it’s made for decorative purposes, can the board be stained with some light colored wood stain or will stain pool in the letters etc? Curious as I like slight darker wood colors. I also have a gourd that I’ve been wanting to wood burn…. Txs again for this wonderful inspiration and the multi size templates!!
graphicsfairy says
Hi Rupa, I am not sure but you can contact Diana over at Dreams Factory and ask her as this is her amazing work 🙂
rk says
Very nice! This is exactly the push I needed to finally use my wood burning tool I bought a while ago. I was staring at it just the other day and told myself I’d give it a try on some scrap wood. This project is the inspiration I needed although I don’t know if it’ll turn as beautiful given my first attempt at wood burning.
Thanks for the great variety of crafts and arts projects shared on GF. This site is an endless source of inspiration for crafters!
graphicsfairy says
Oh yea! So glad it inspired you Rupa! just have fun with it 🙂
Sue Klejeski says
Beautiful! Do you have a particular wood burning tool you’d recommend?
graphicsfairy says
Thanks Sue, you would need to ask Diana herself as this was her guest post 🙂 You can find her here, http://bydreamsfactory.com/
Jami says
I love it!! I was wondering could I use my cricut and make a stencil Do you think that would work???
graphicsfairy says
Thanks Jami, I don’t know as I don’t use one, I guess you could give it a try 🙂 Let us know if you do!