
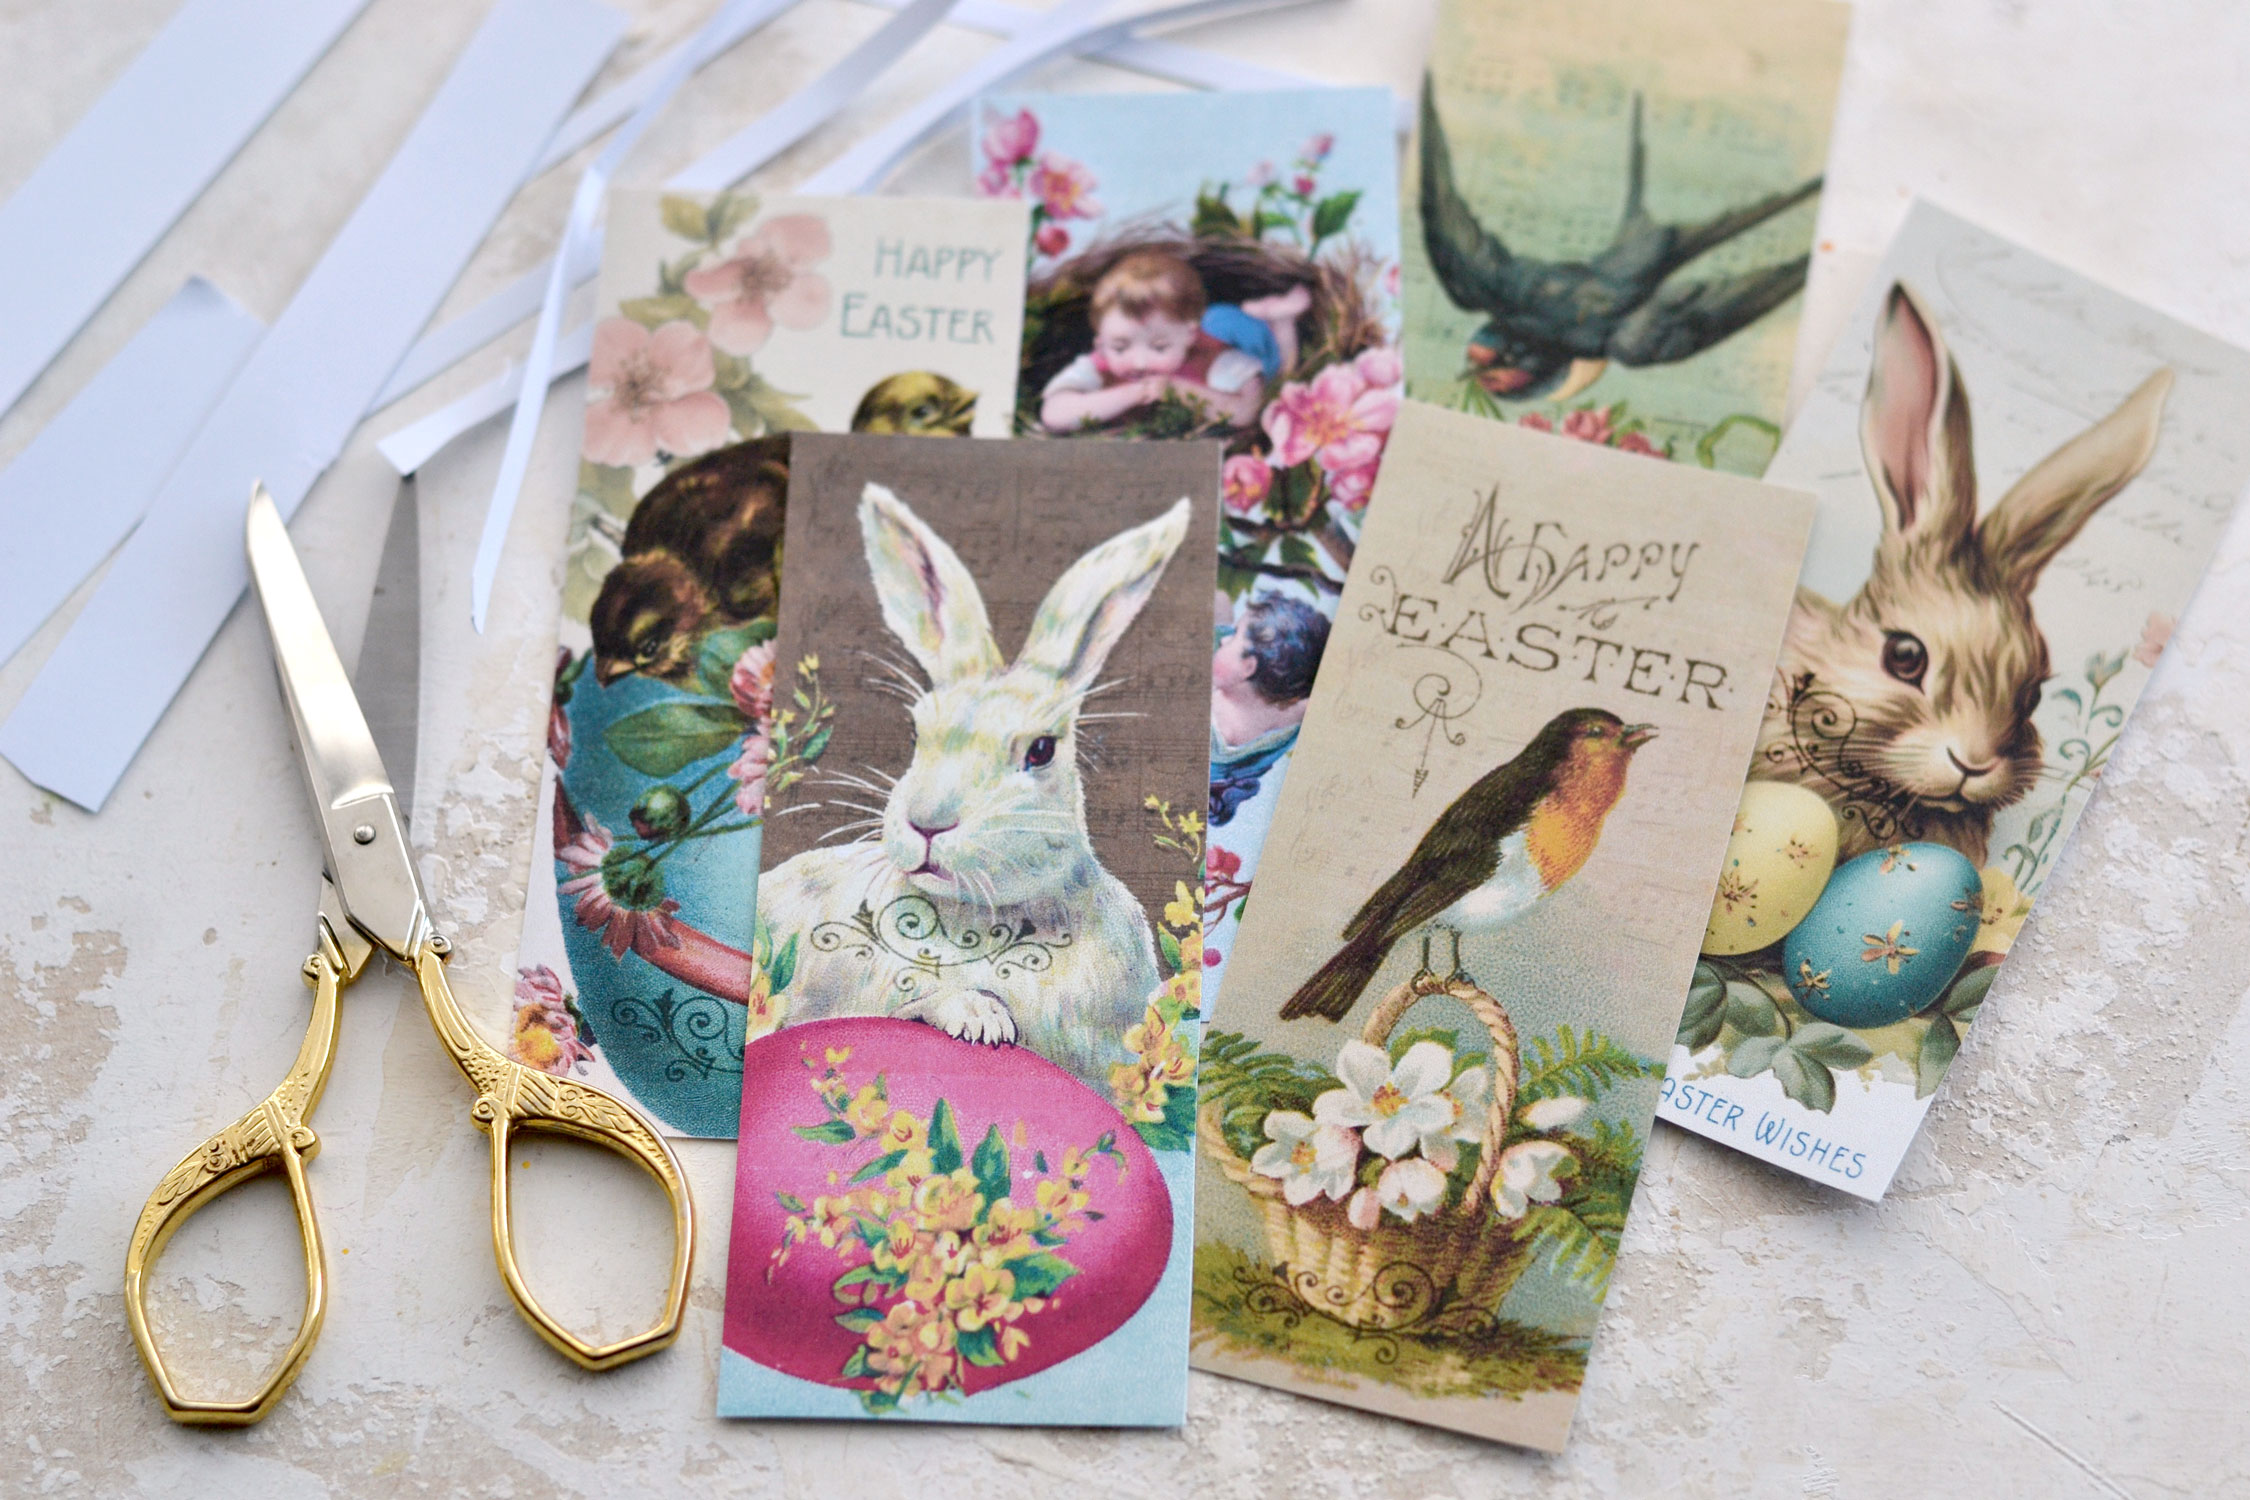
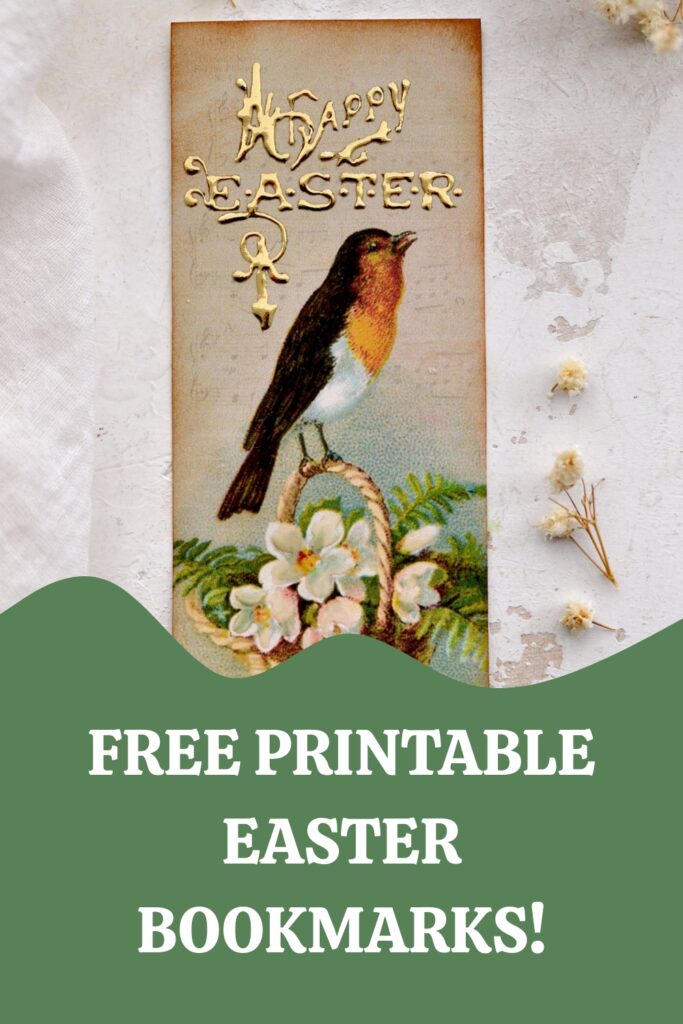
Easter Bookmarks Free Printable
Hello Graphics Fairy friends! I’m Diana from Dreams Factory and I’m happy to be here again to share another DIY project with you! Today I will show you how to make these beautiful Vintage style Free Printable Easter Bookmarks, with a super chic touch of gold and a beautiful dimensional feel.
You can finish these in just 5 minutes or take your time to further embellish them according to your preferences.
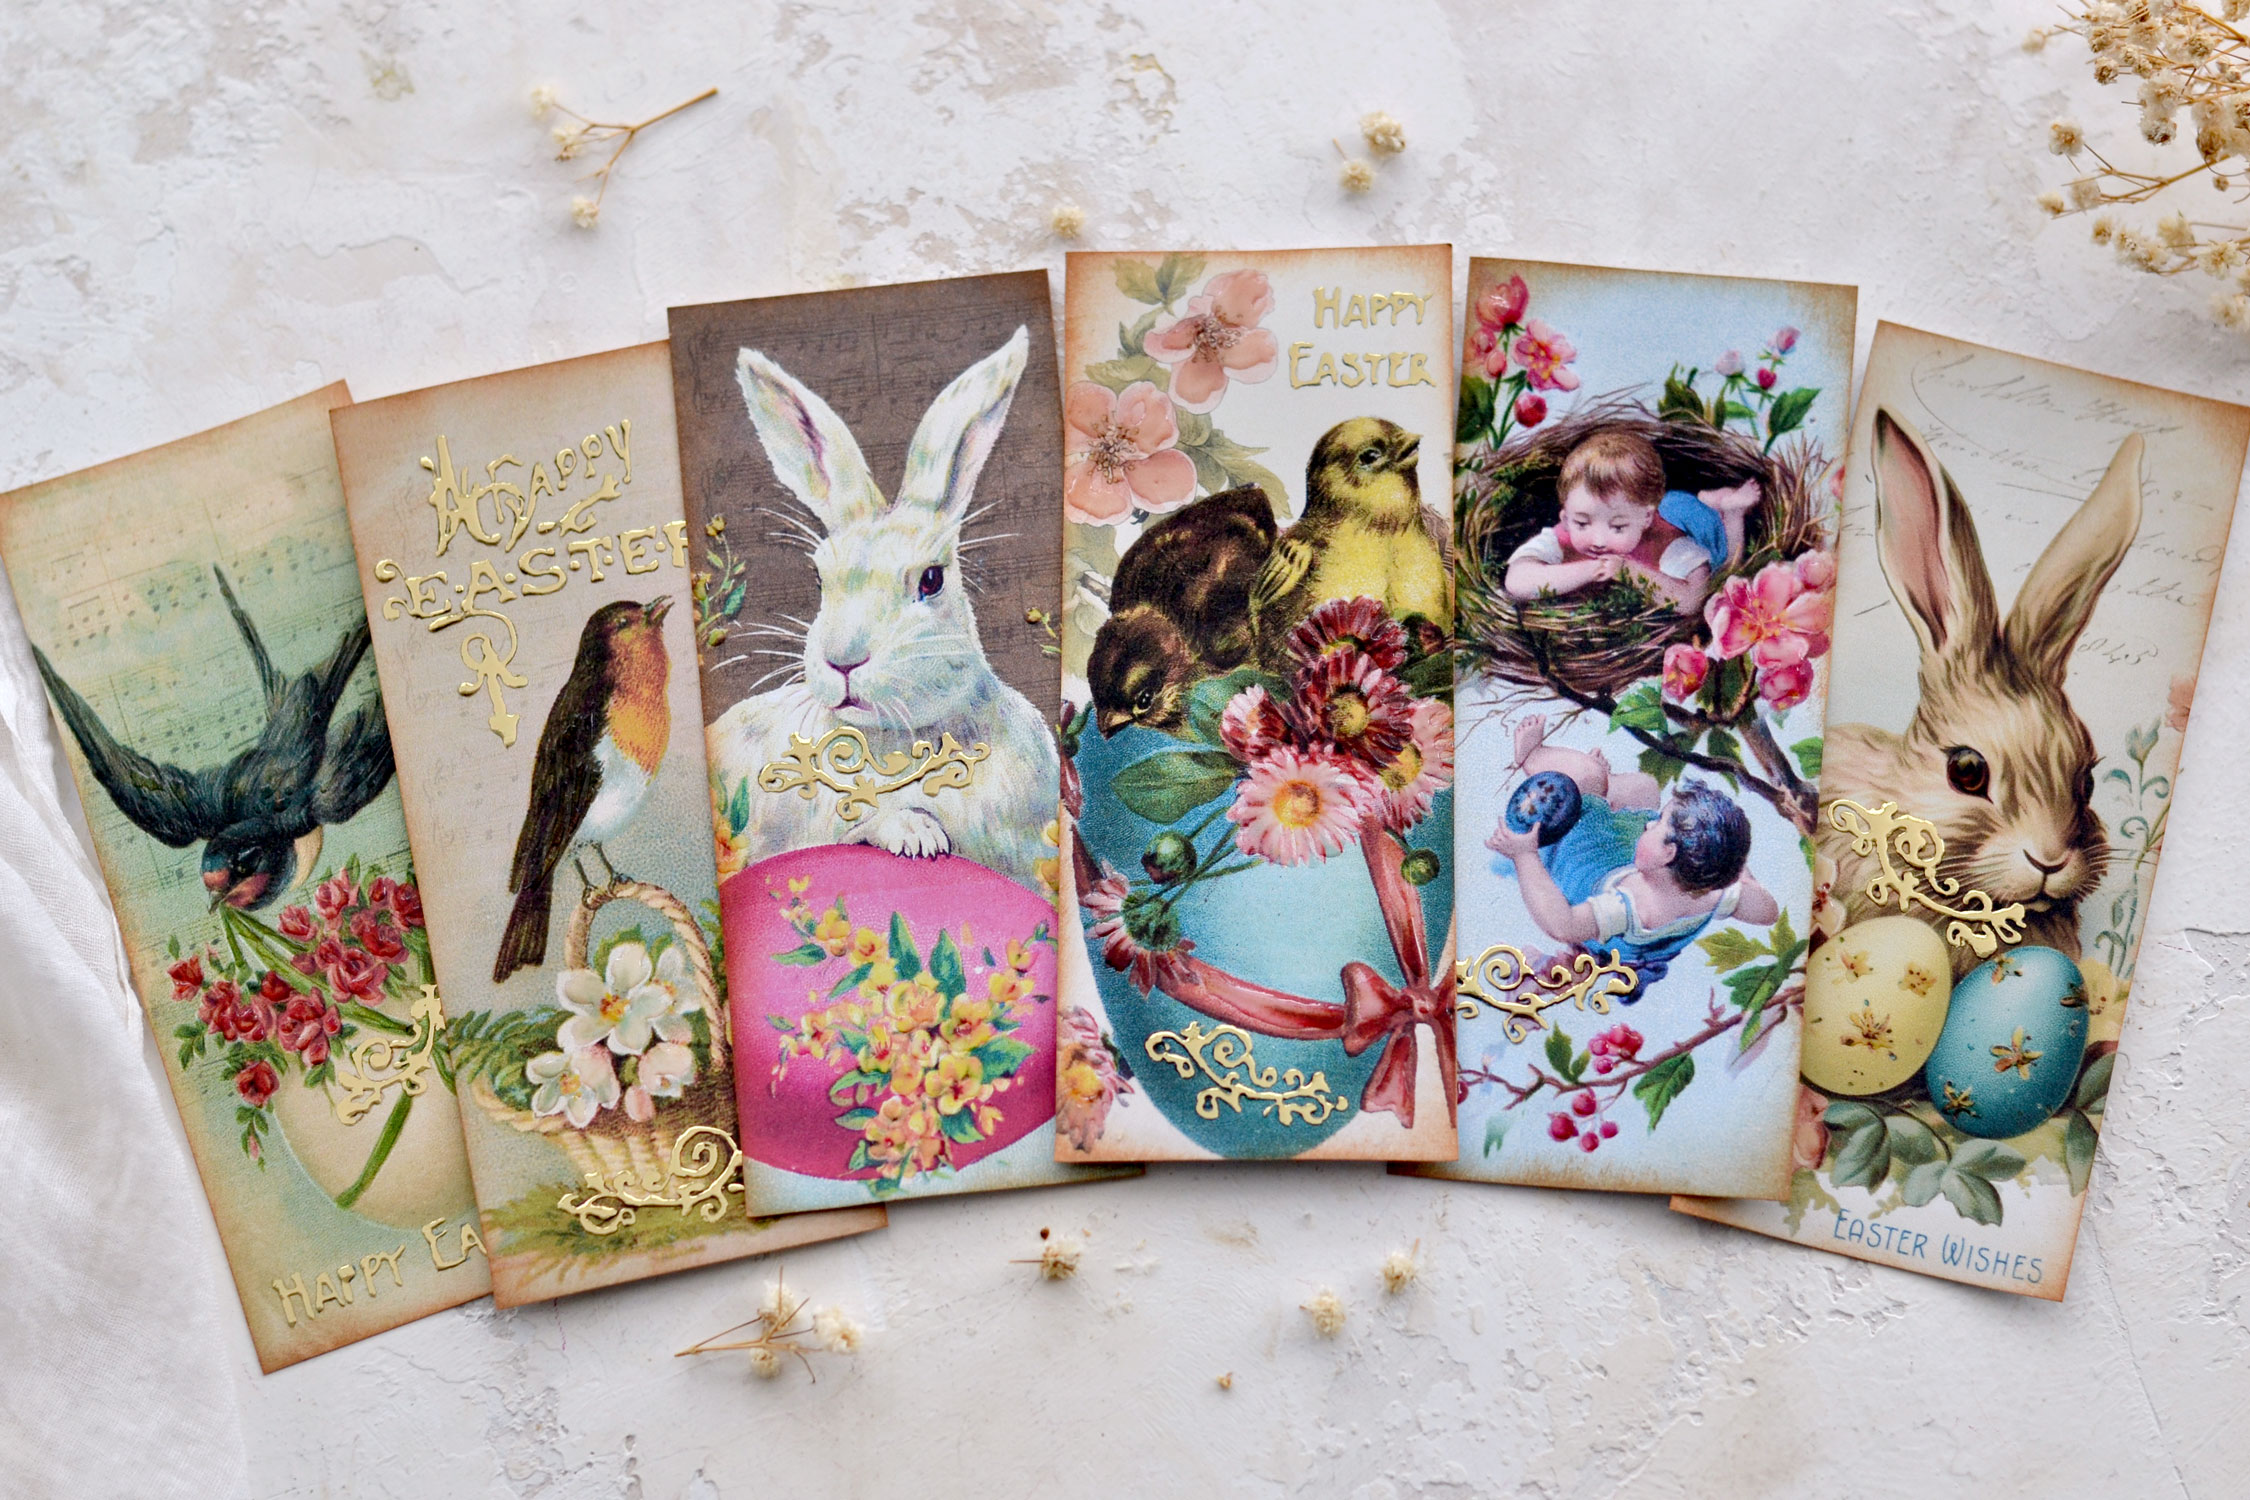
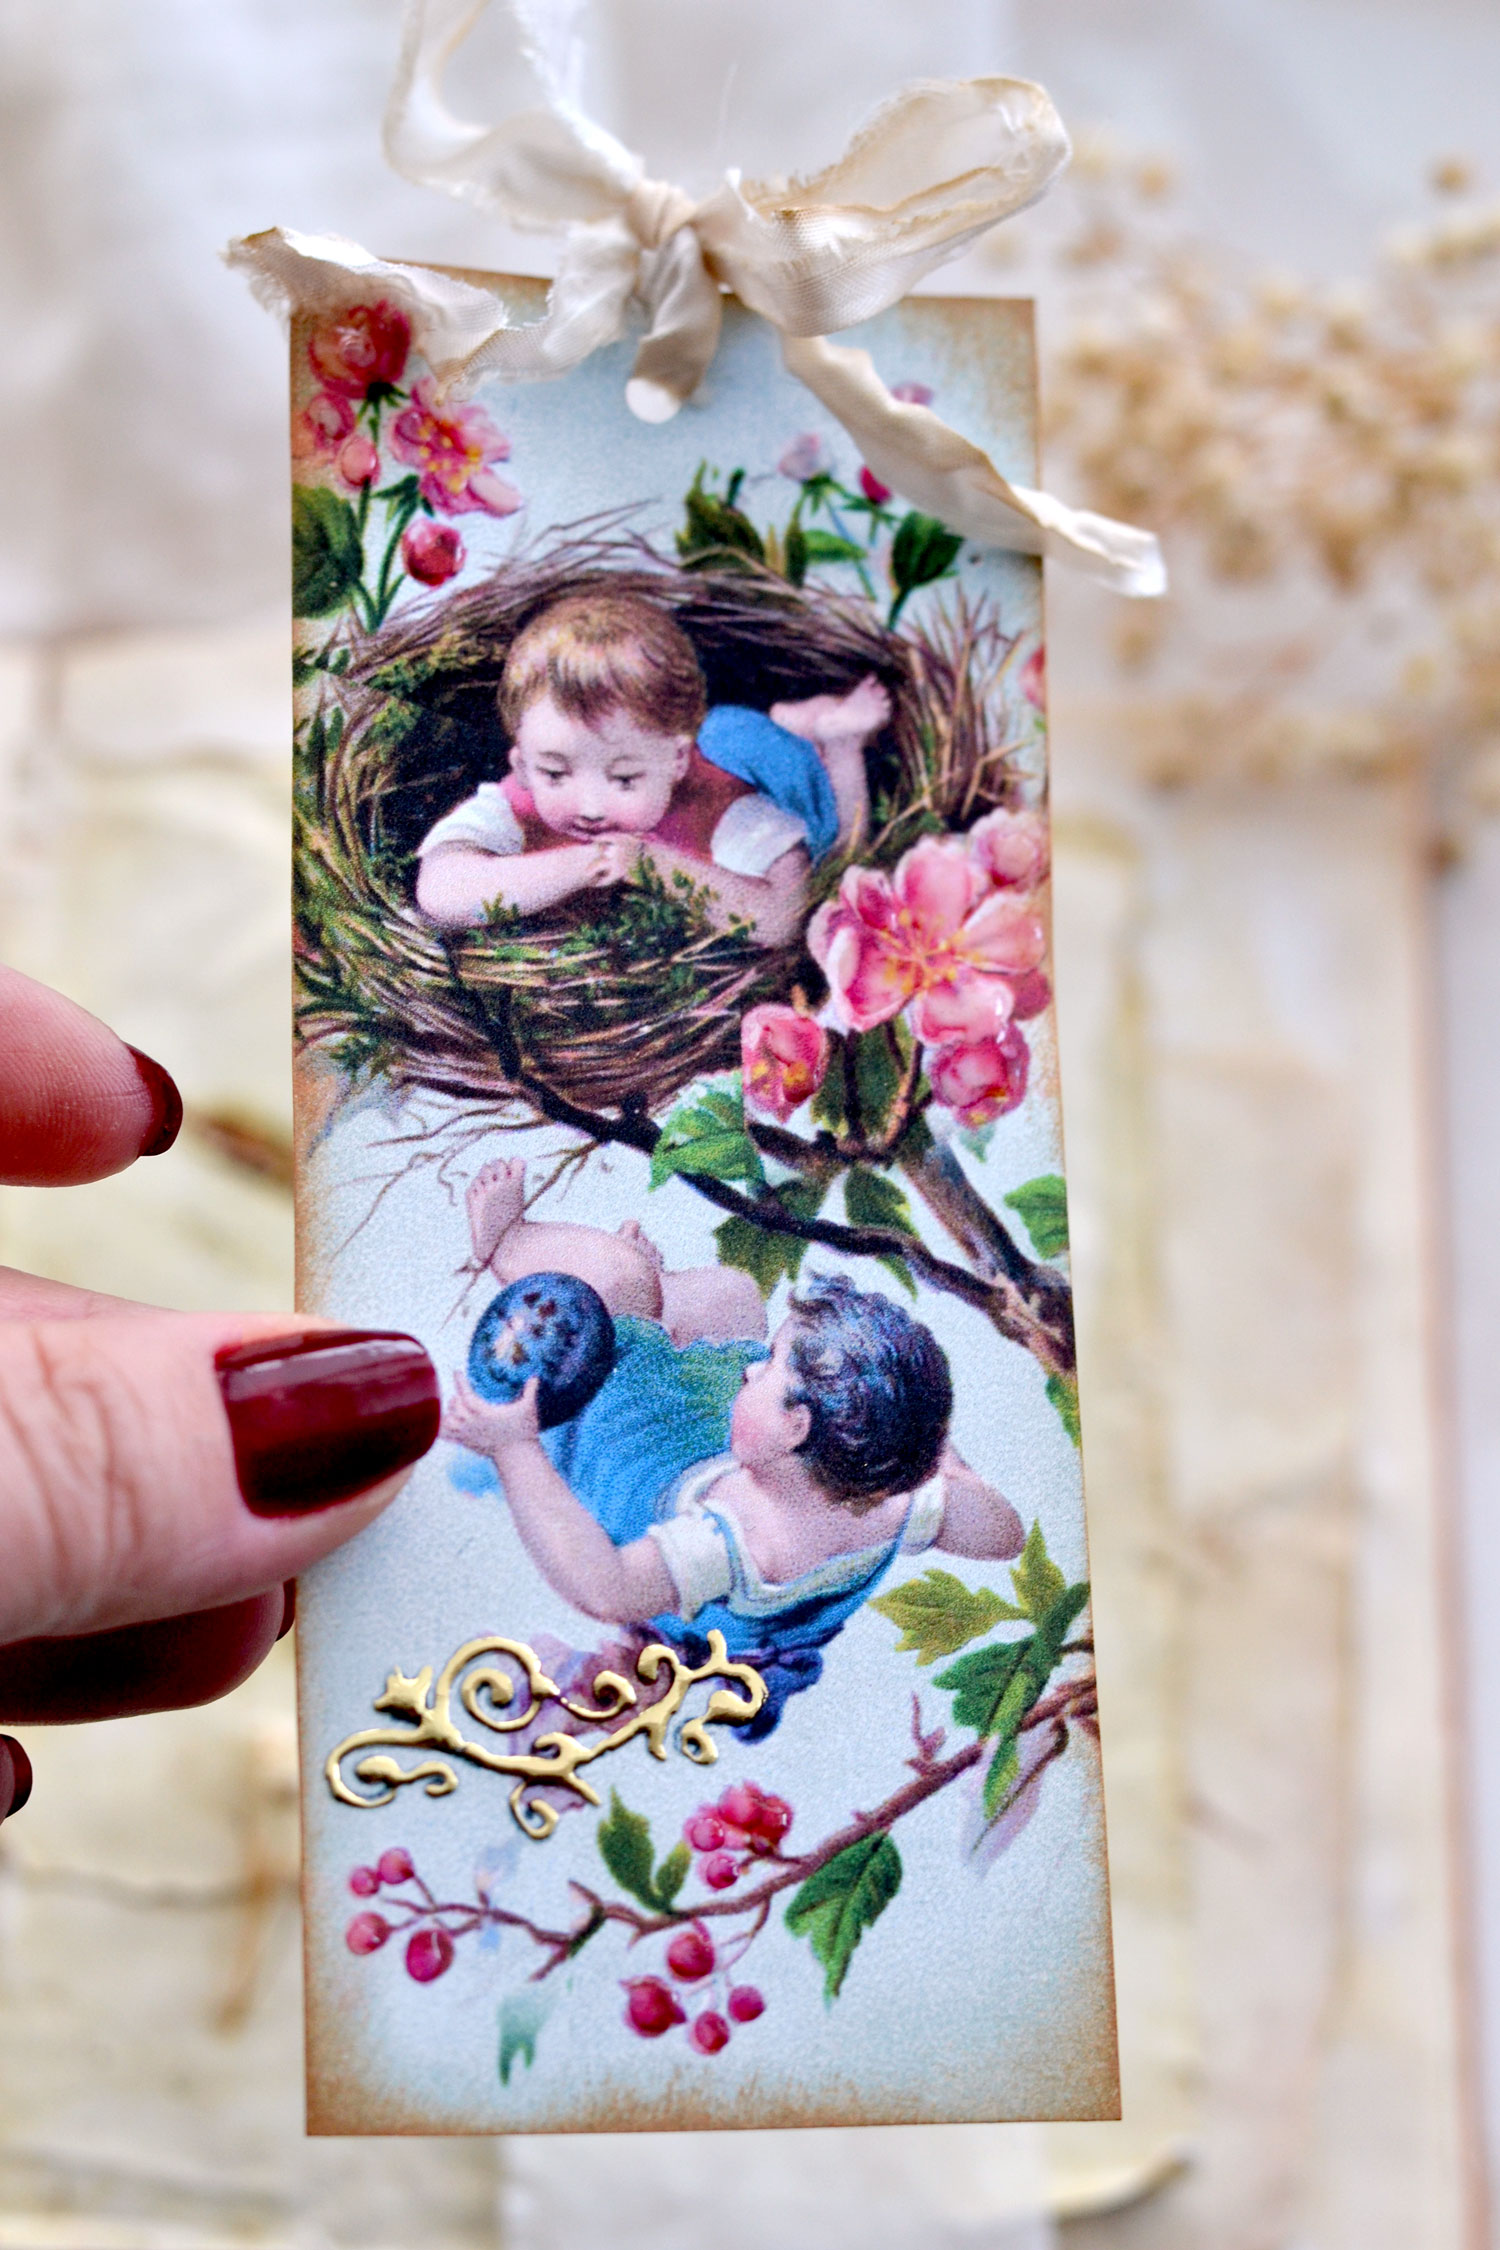
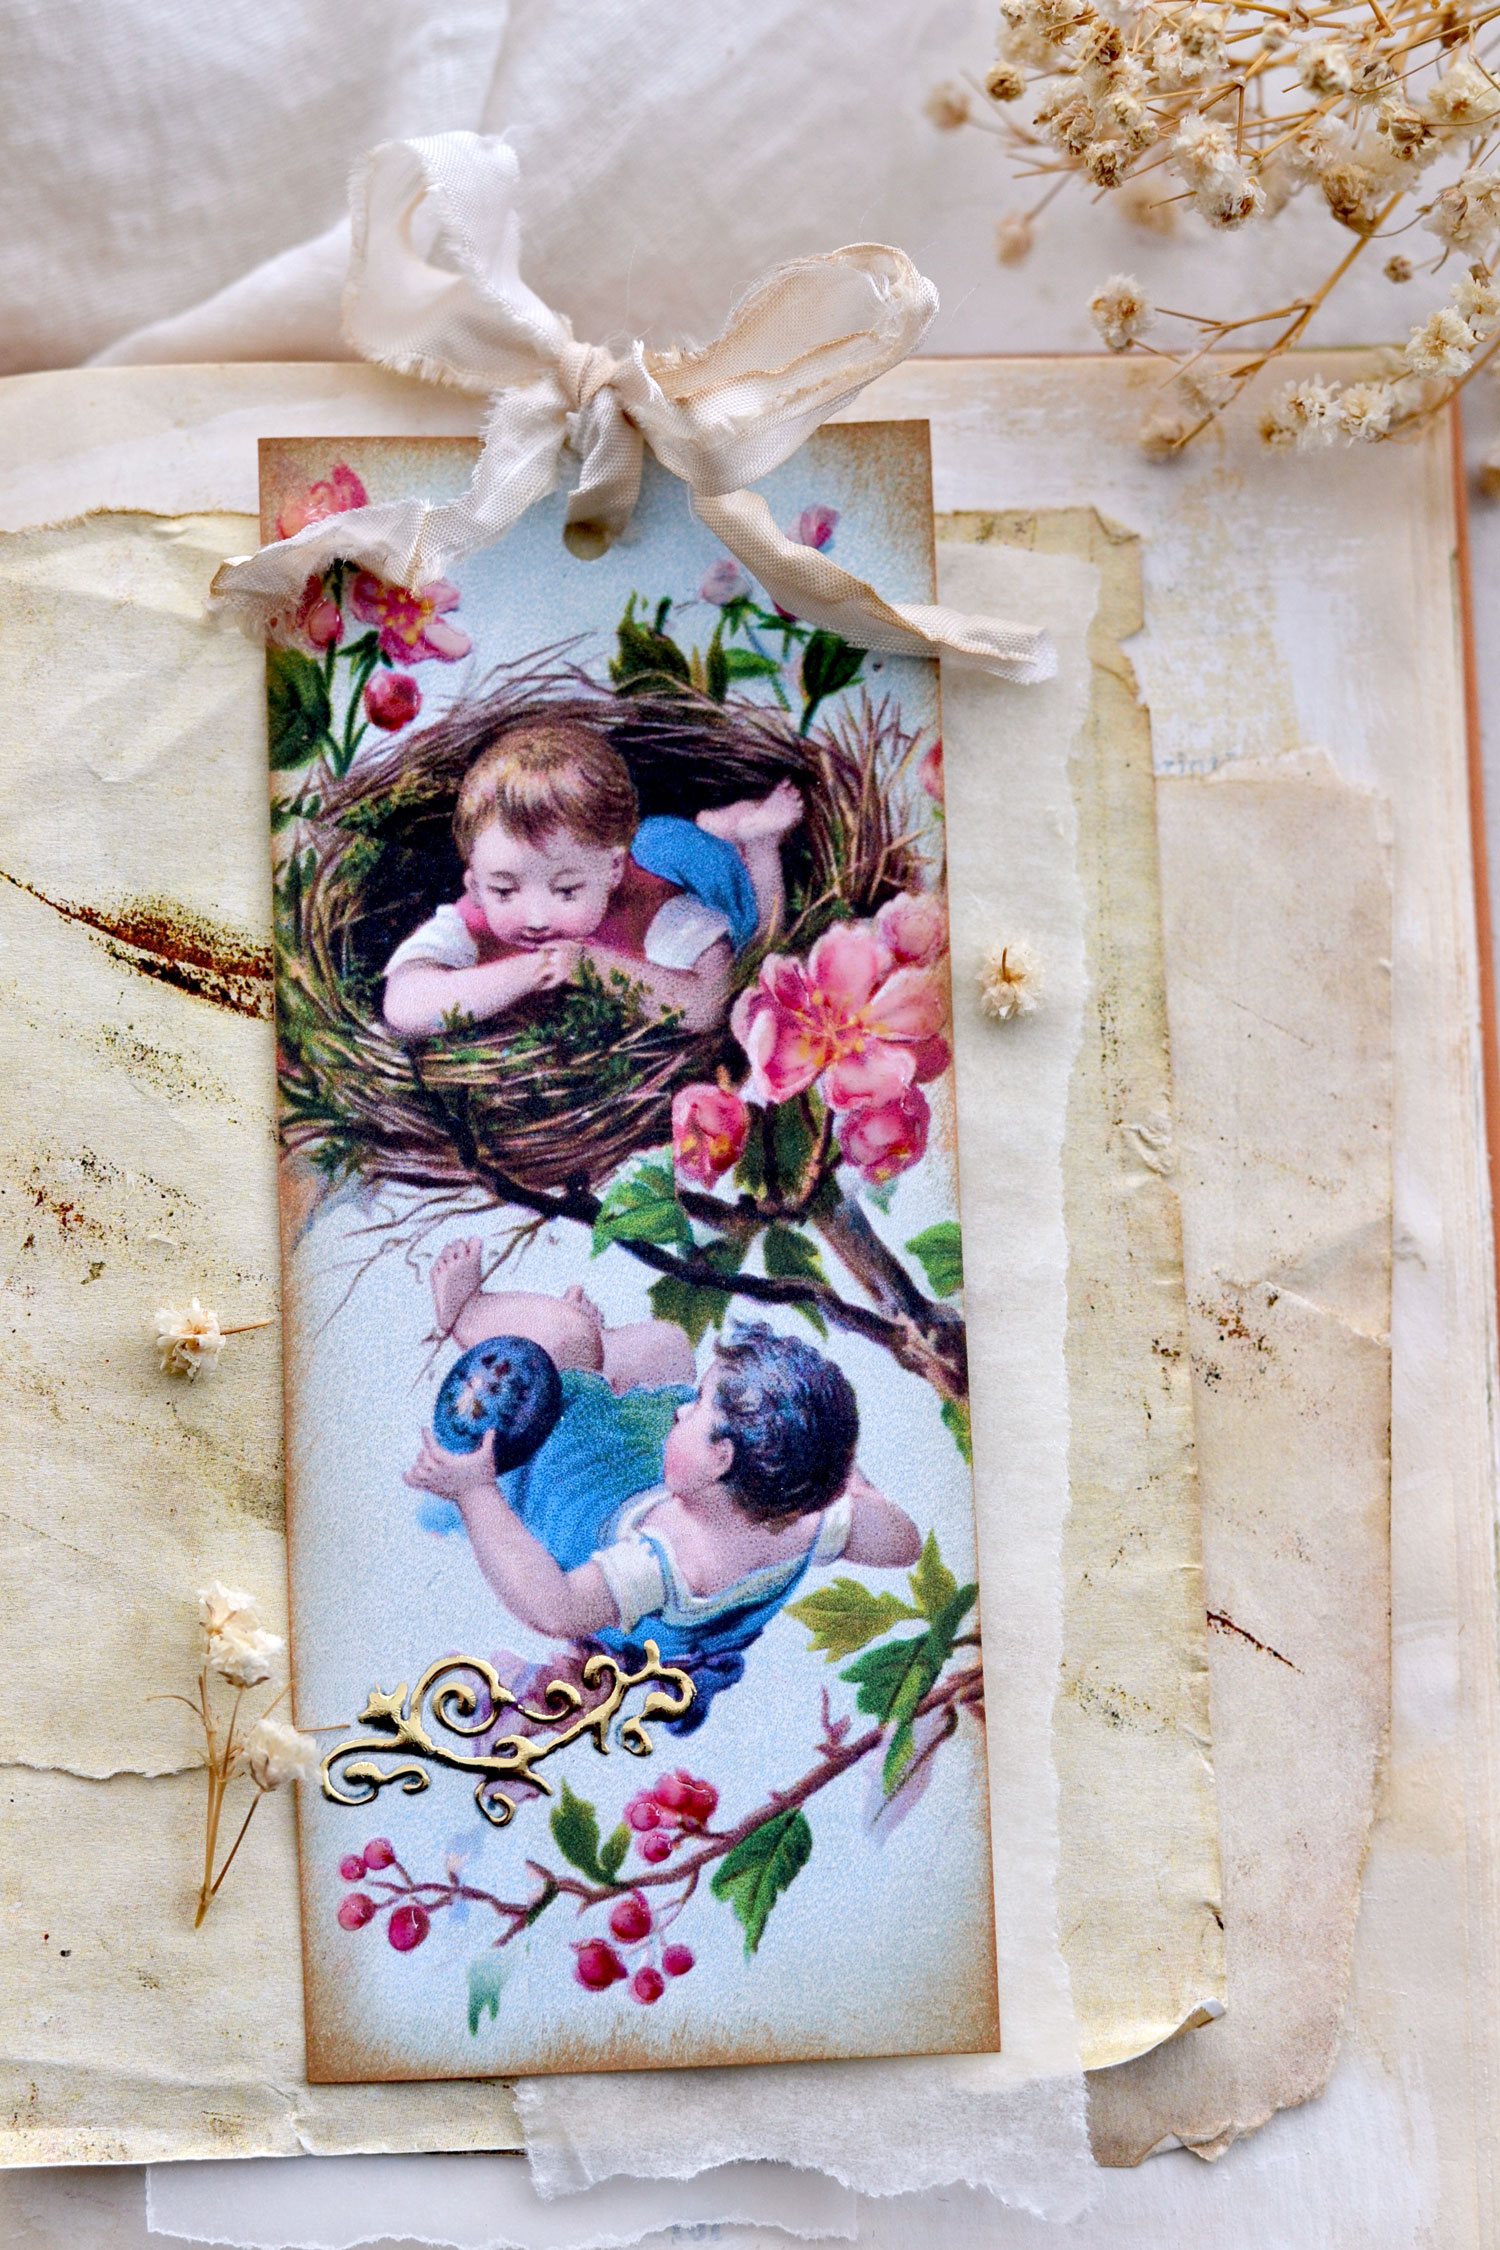
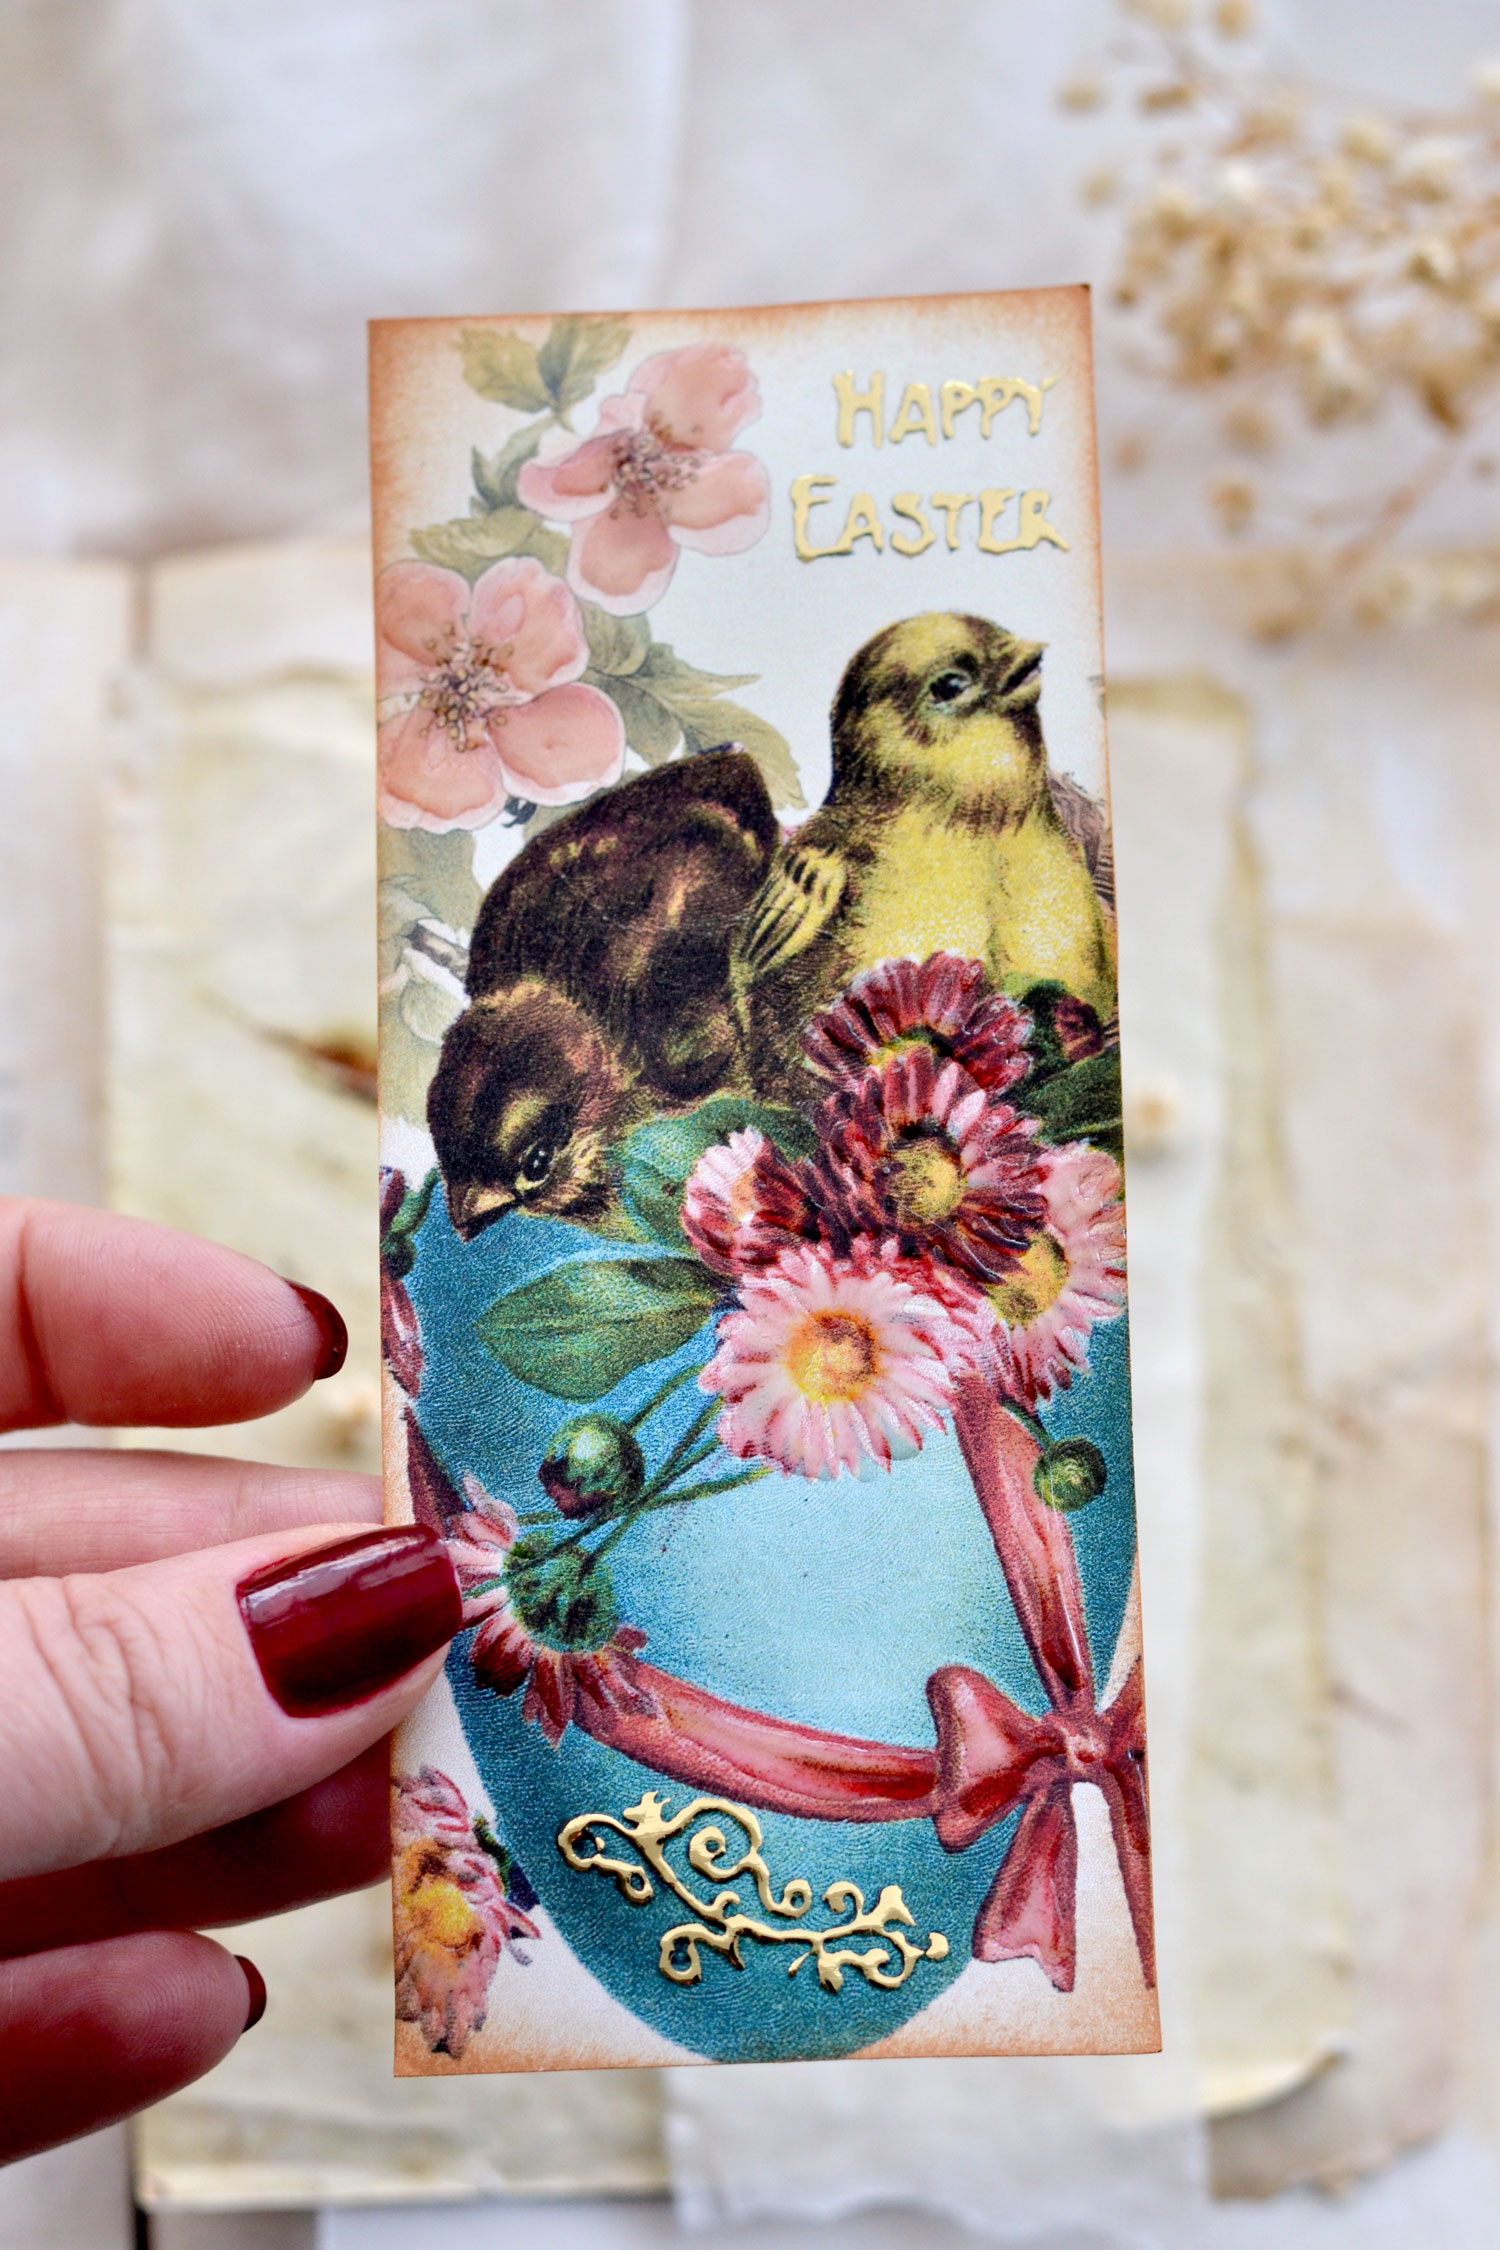
I wanted these bookmarks to be colorful and joyful so I chose the Easter images accordingly while creating the design. I included a small decorative flourish on top of each bookmark because I envisioned them to have more of a cohesive feel if deciding to use them together.
I challenged myself to find unique ways of adding the flourish, so I chose to place it on the bunnies, on the Easter eggs, at the base of a flower basket and as a branch on the bookmark with the two children. This small flourish, but also some of the Easter wishes will turn these beauties into small gems because we’ll use them as guidance to add some amazing gold foil on top.
Easter Bookmarks Free Printable
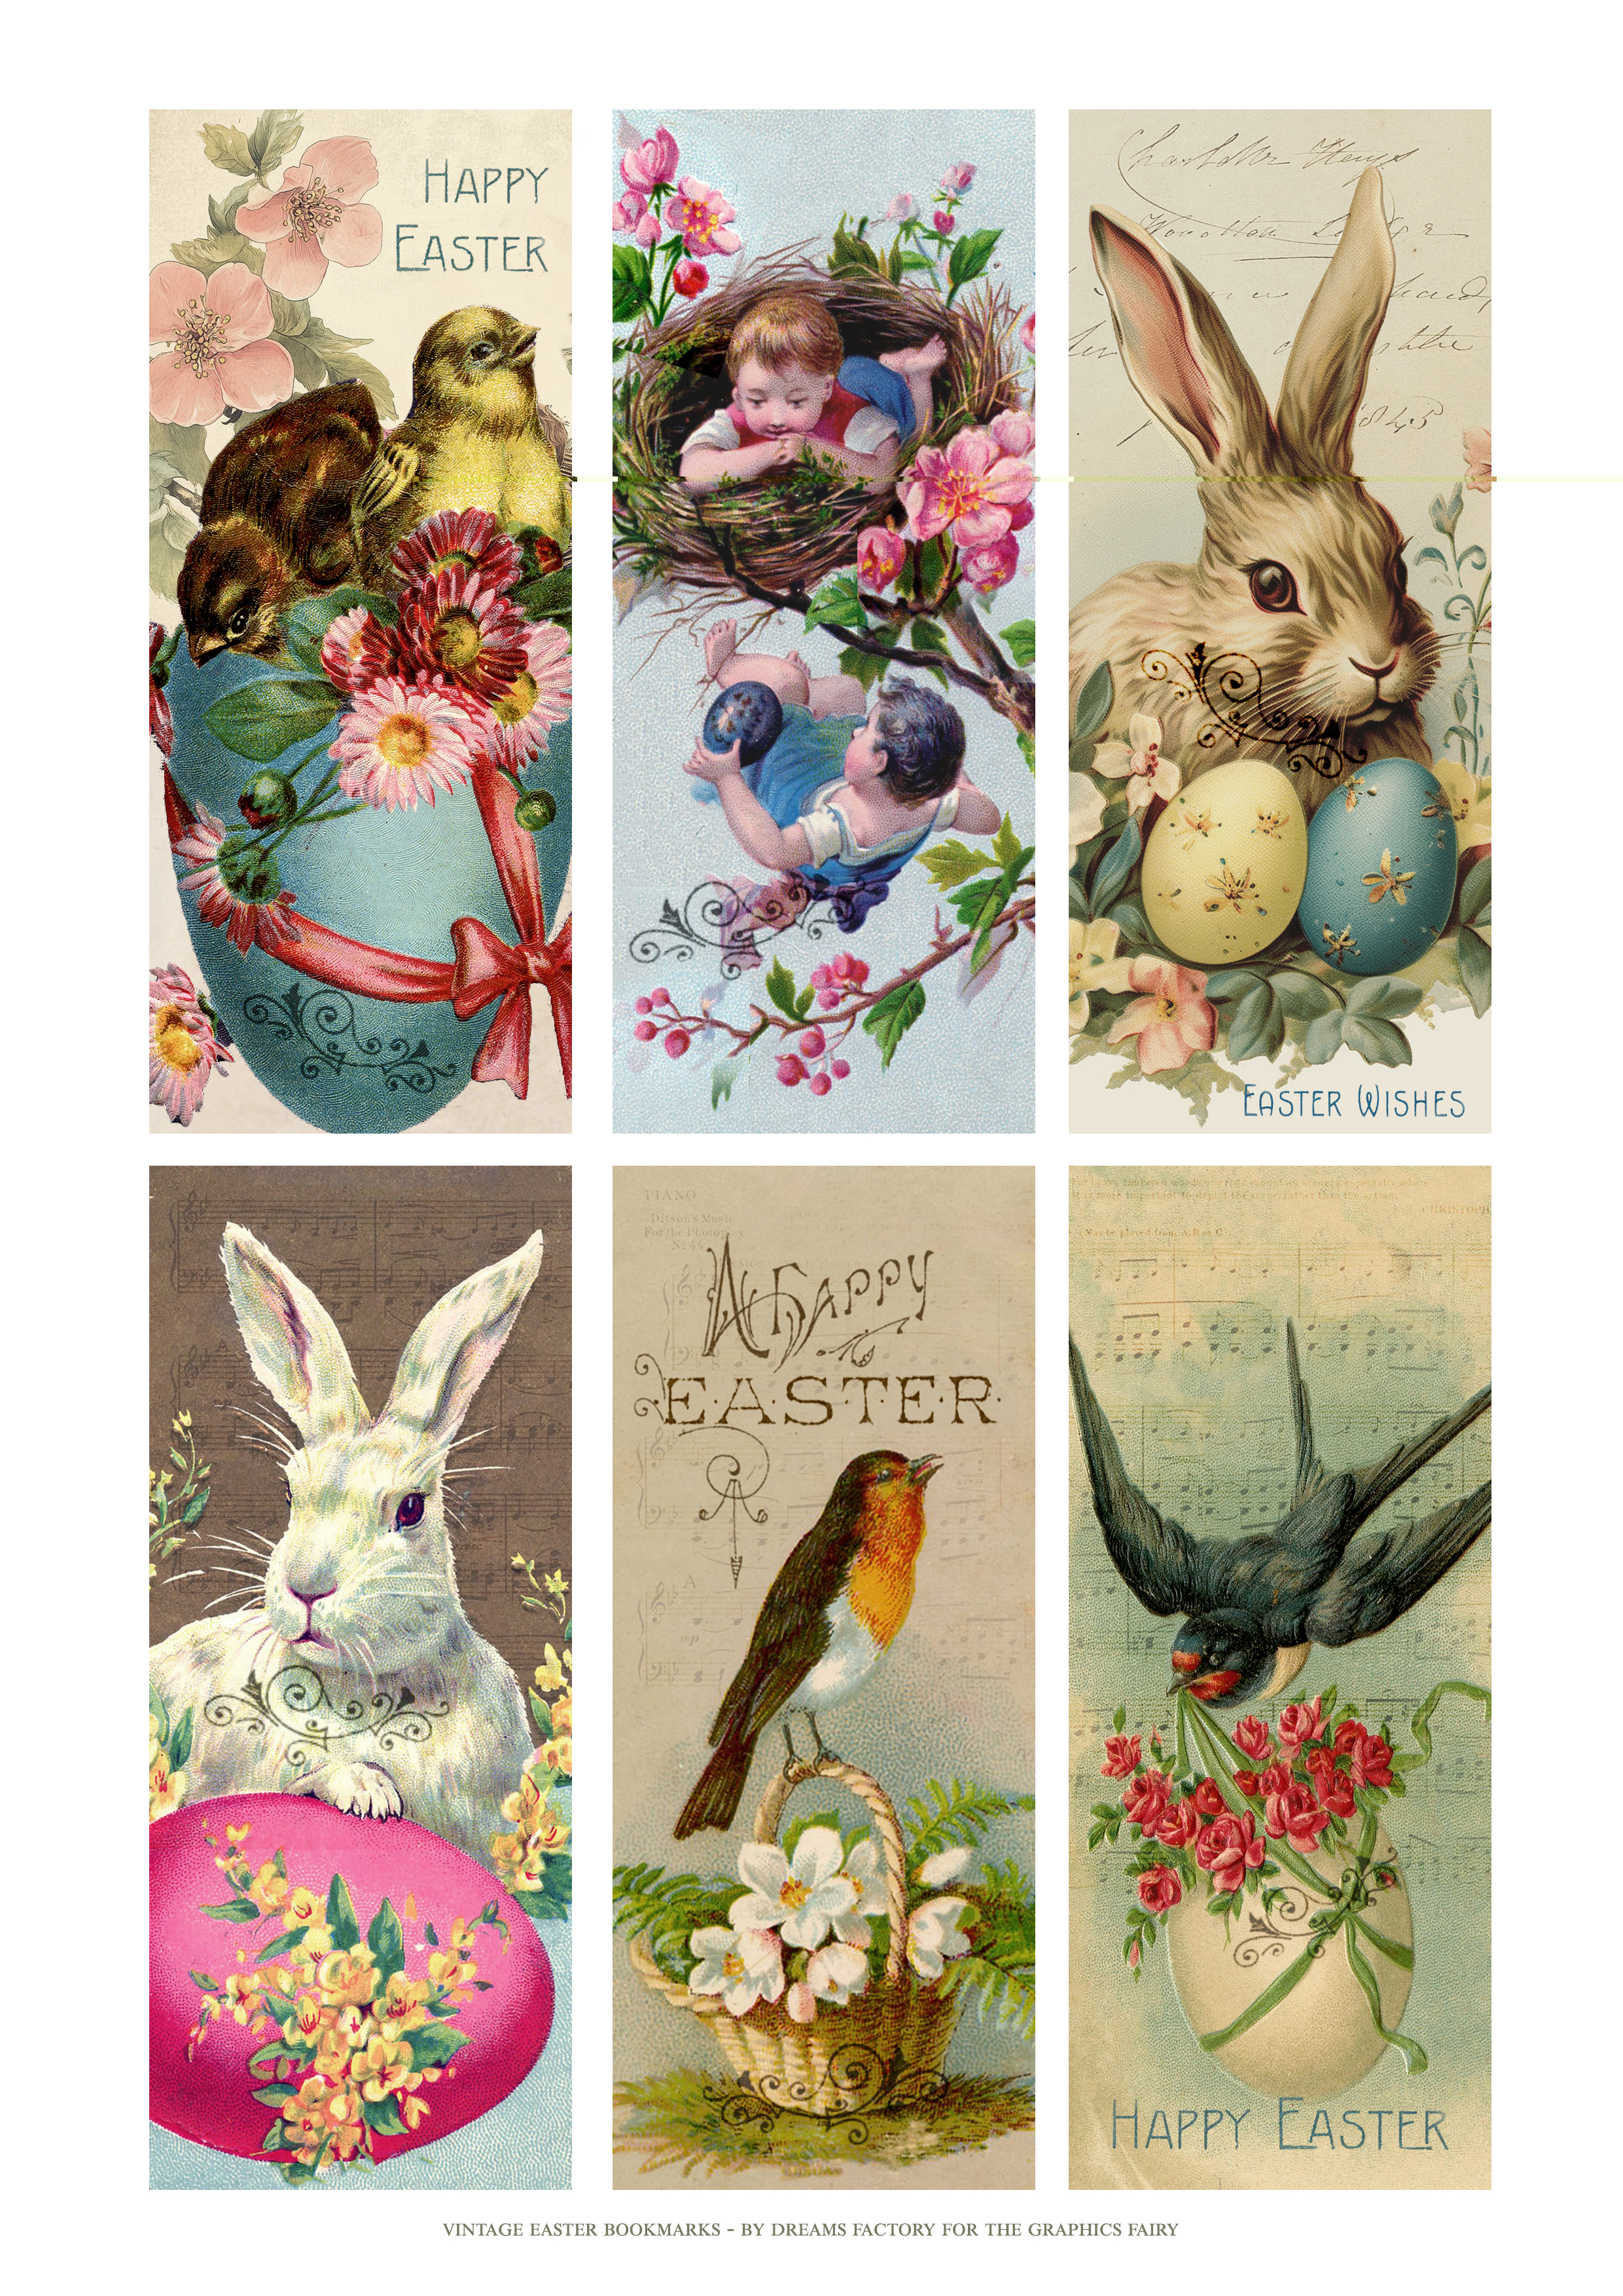
—> Click here to download the full size PDF – the large size <—
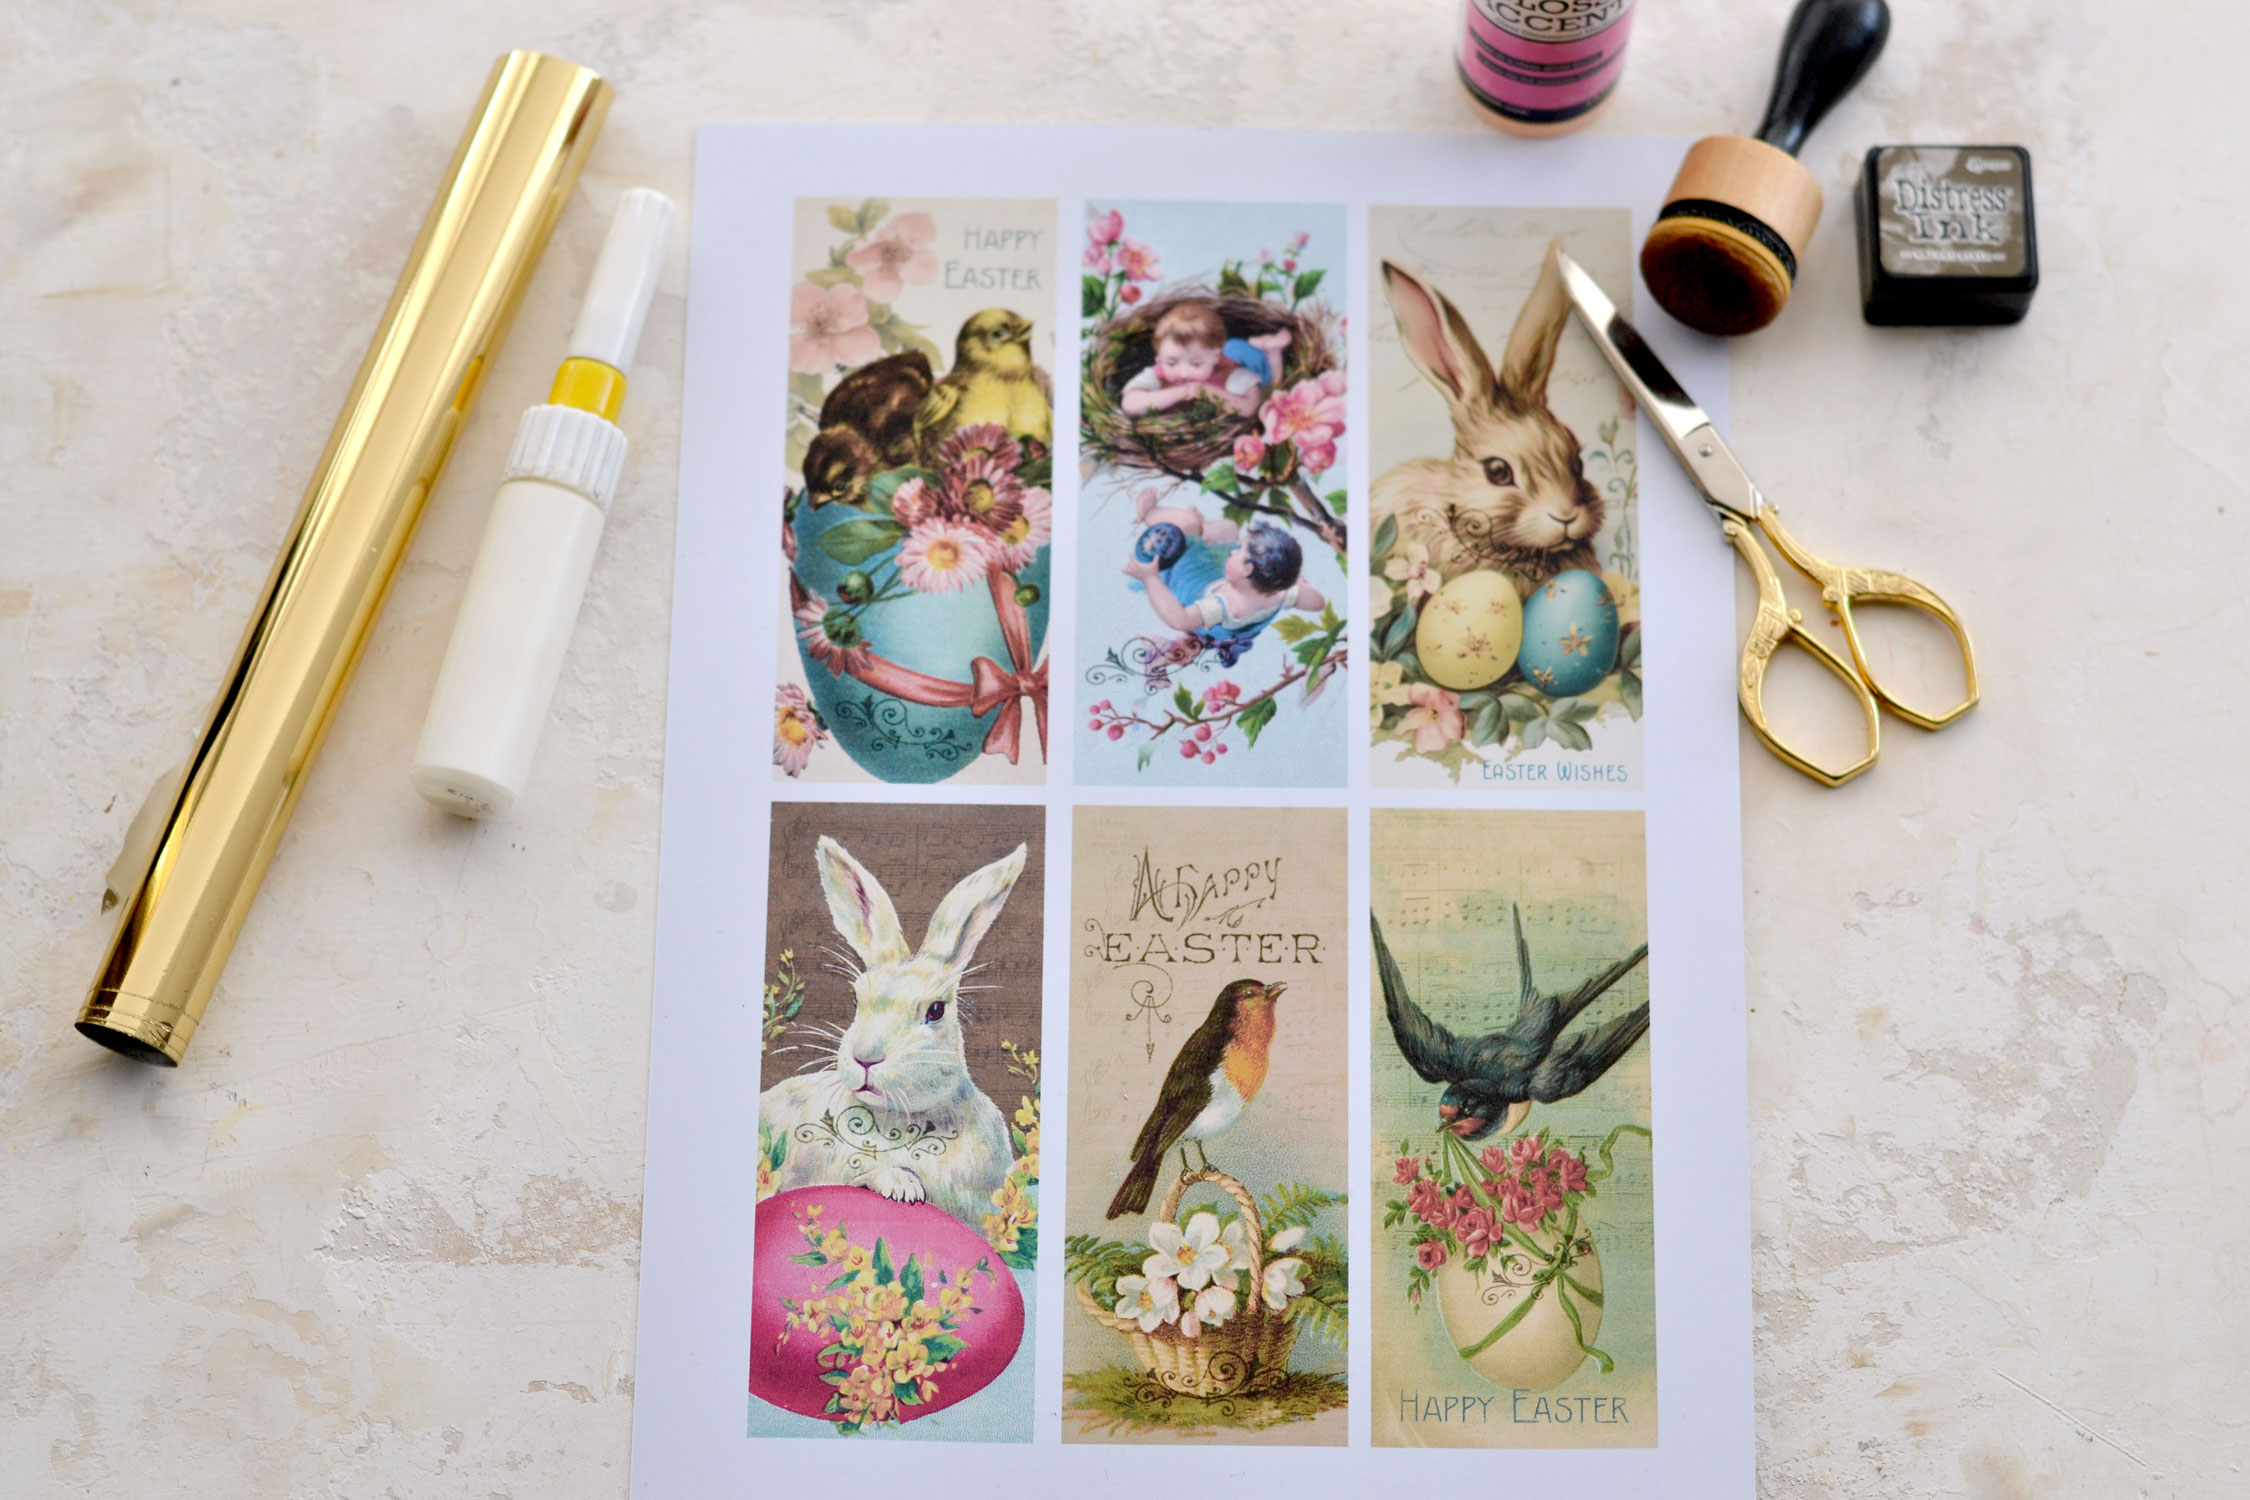
Supplies:
- cardstock paper
- home printer
- scissors
- mini distress inks
- blending tool with foams
- gold foil
- gold foil glue
- fineline glue applicator
- glossy accents medium
Step by Step Tutorial:
Start by printing your bookmarks on cardstock paper, then use your scissors to cut each piece.
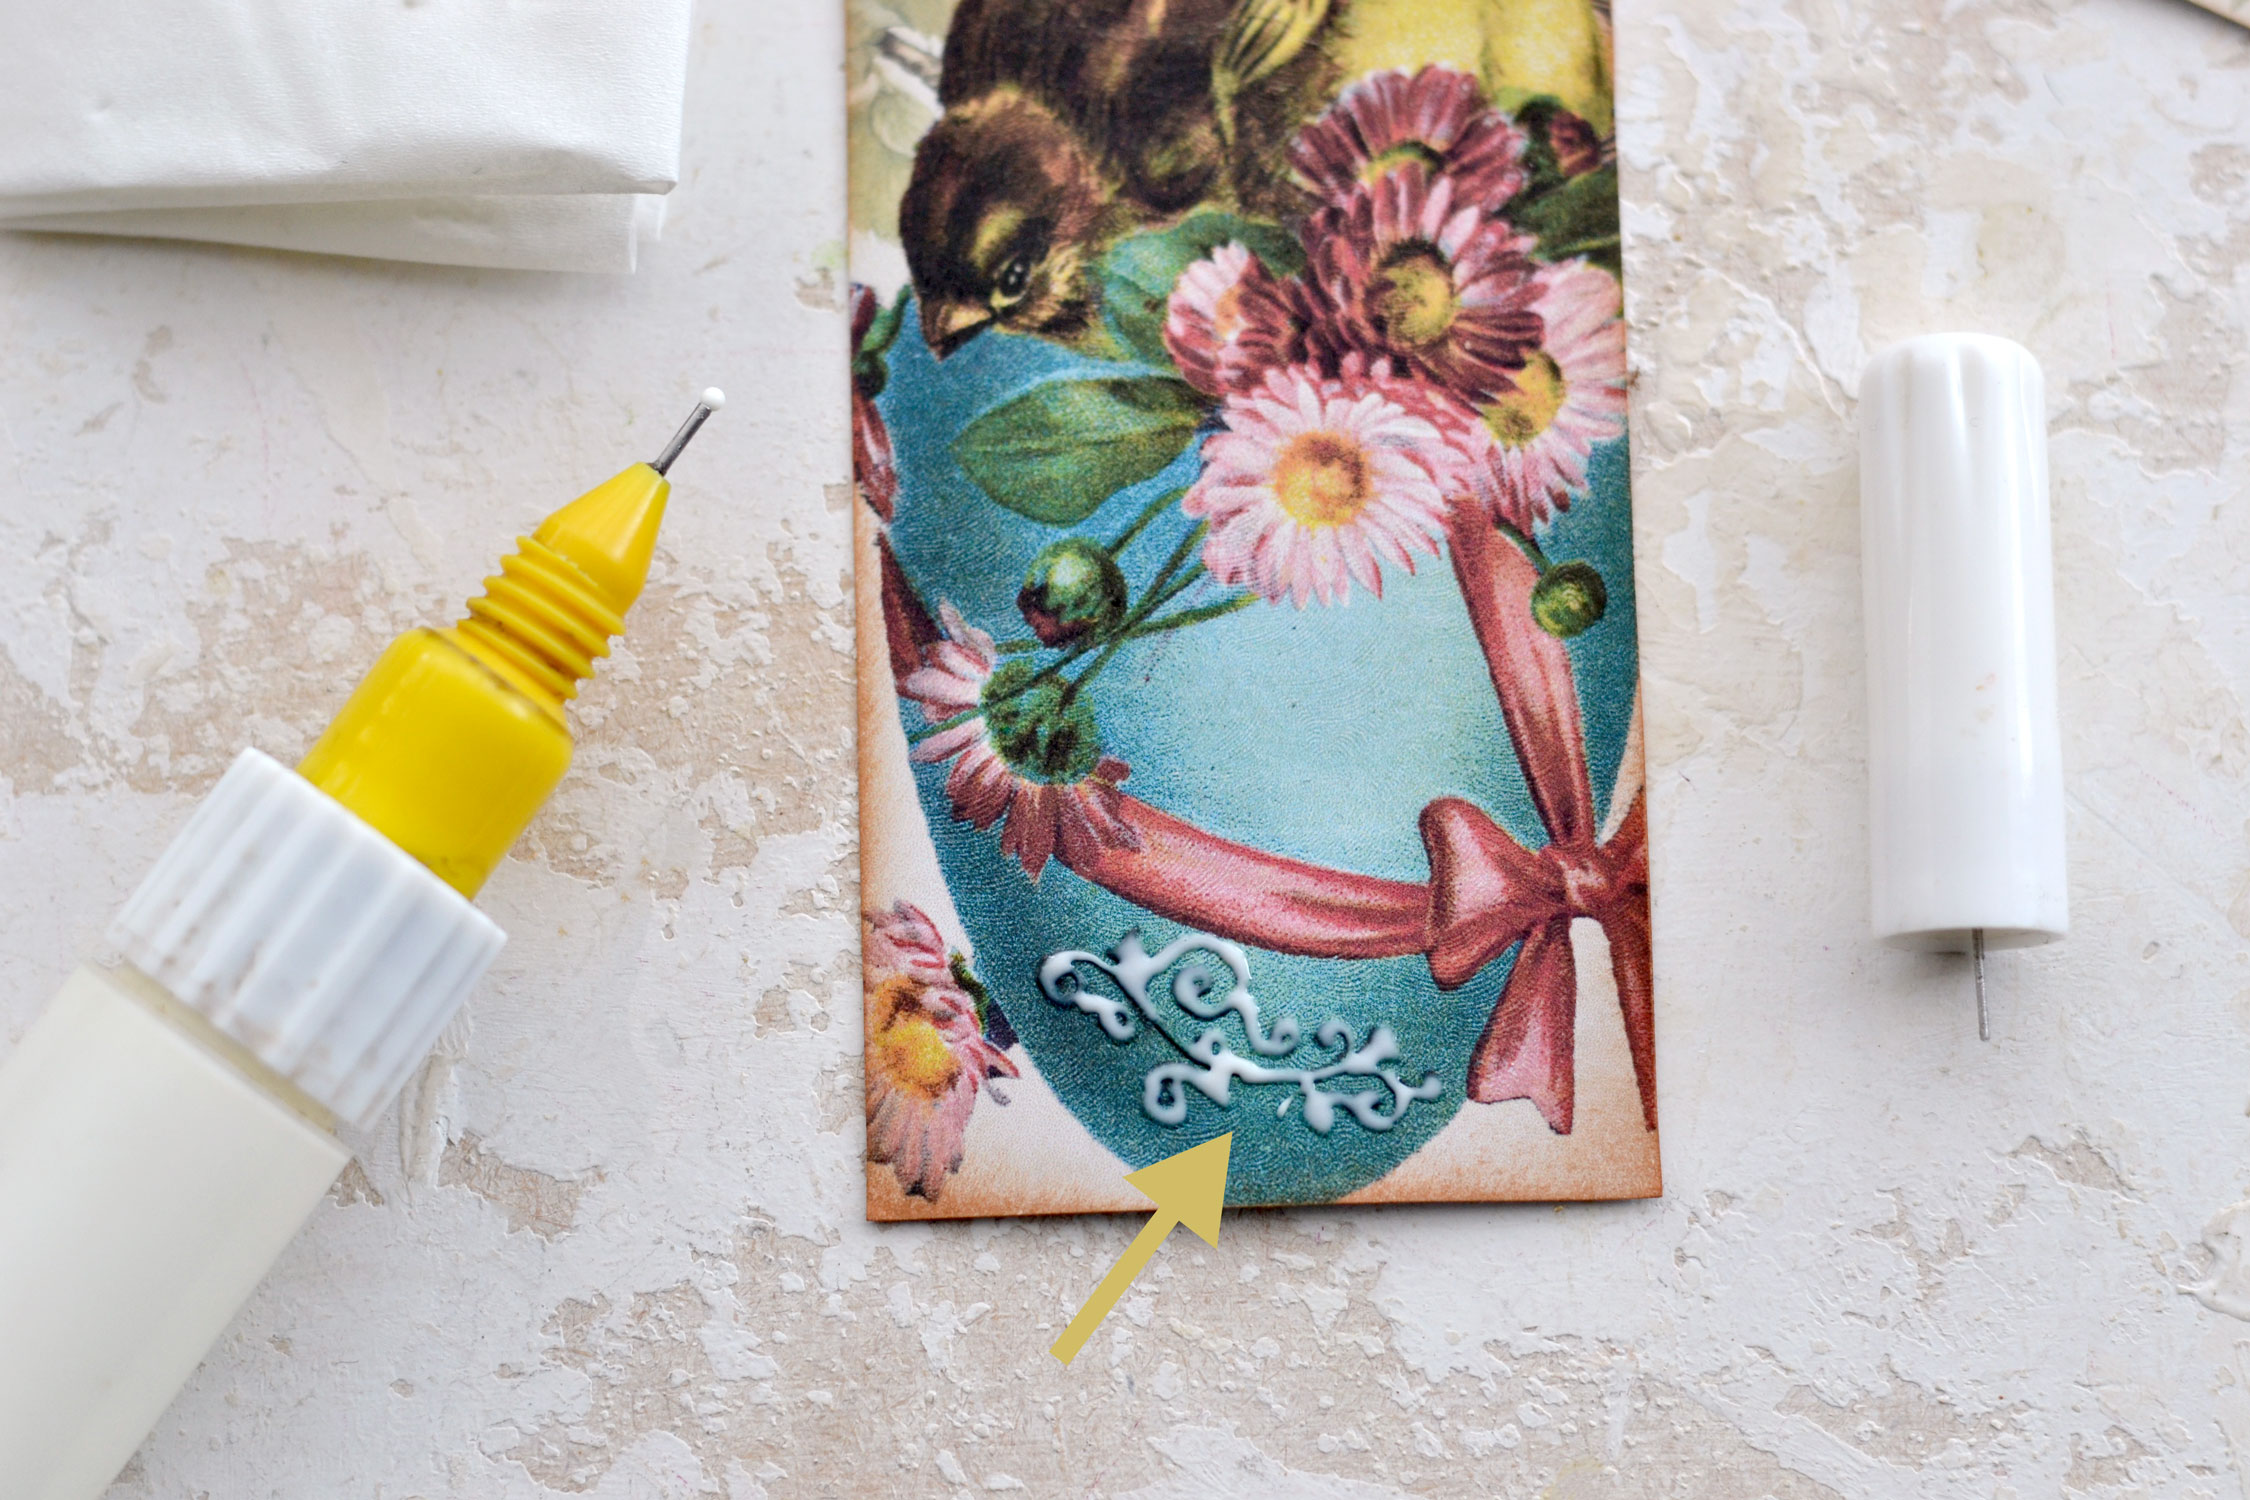
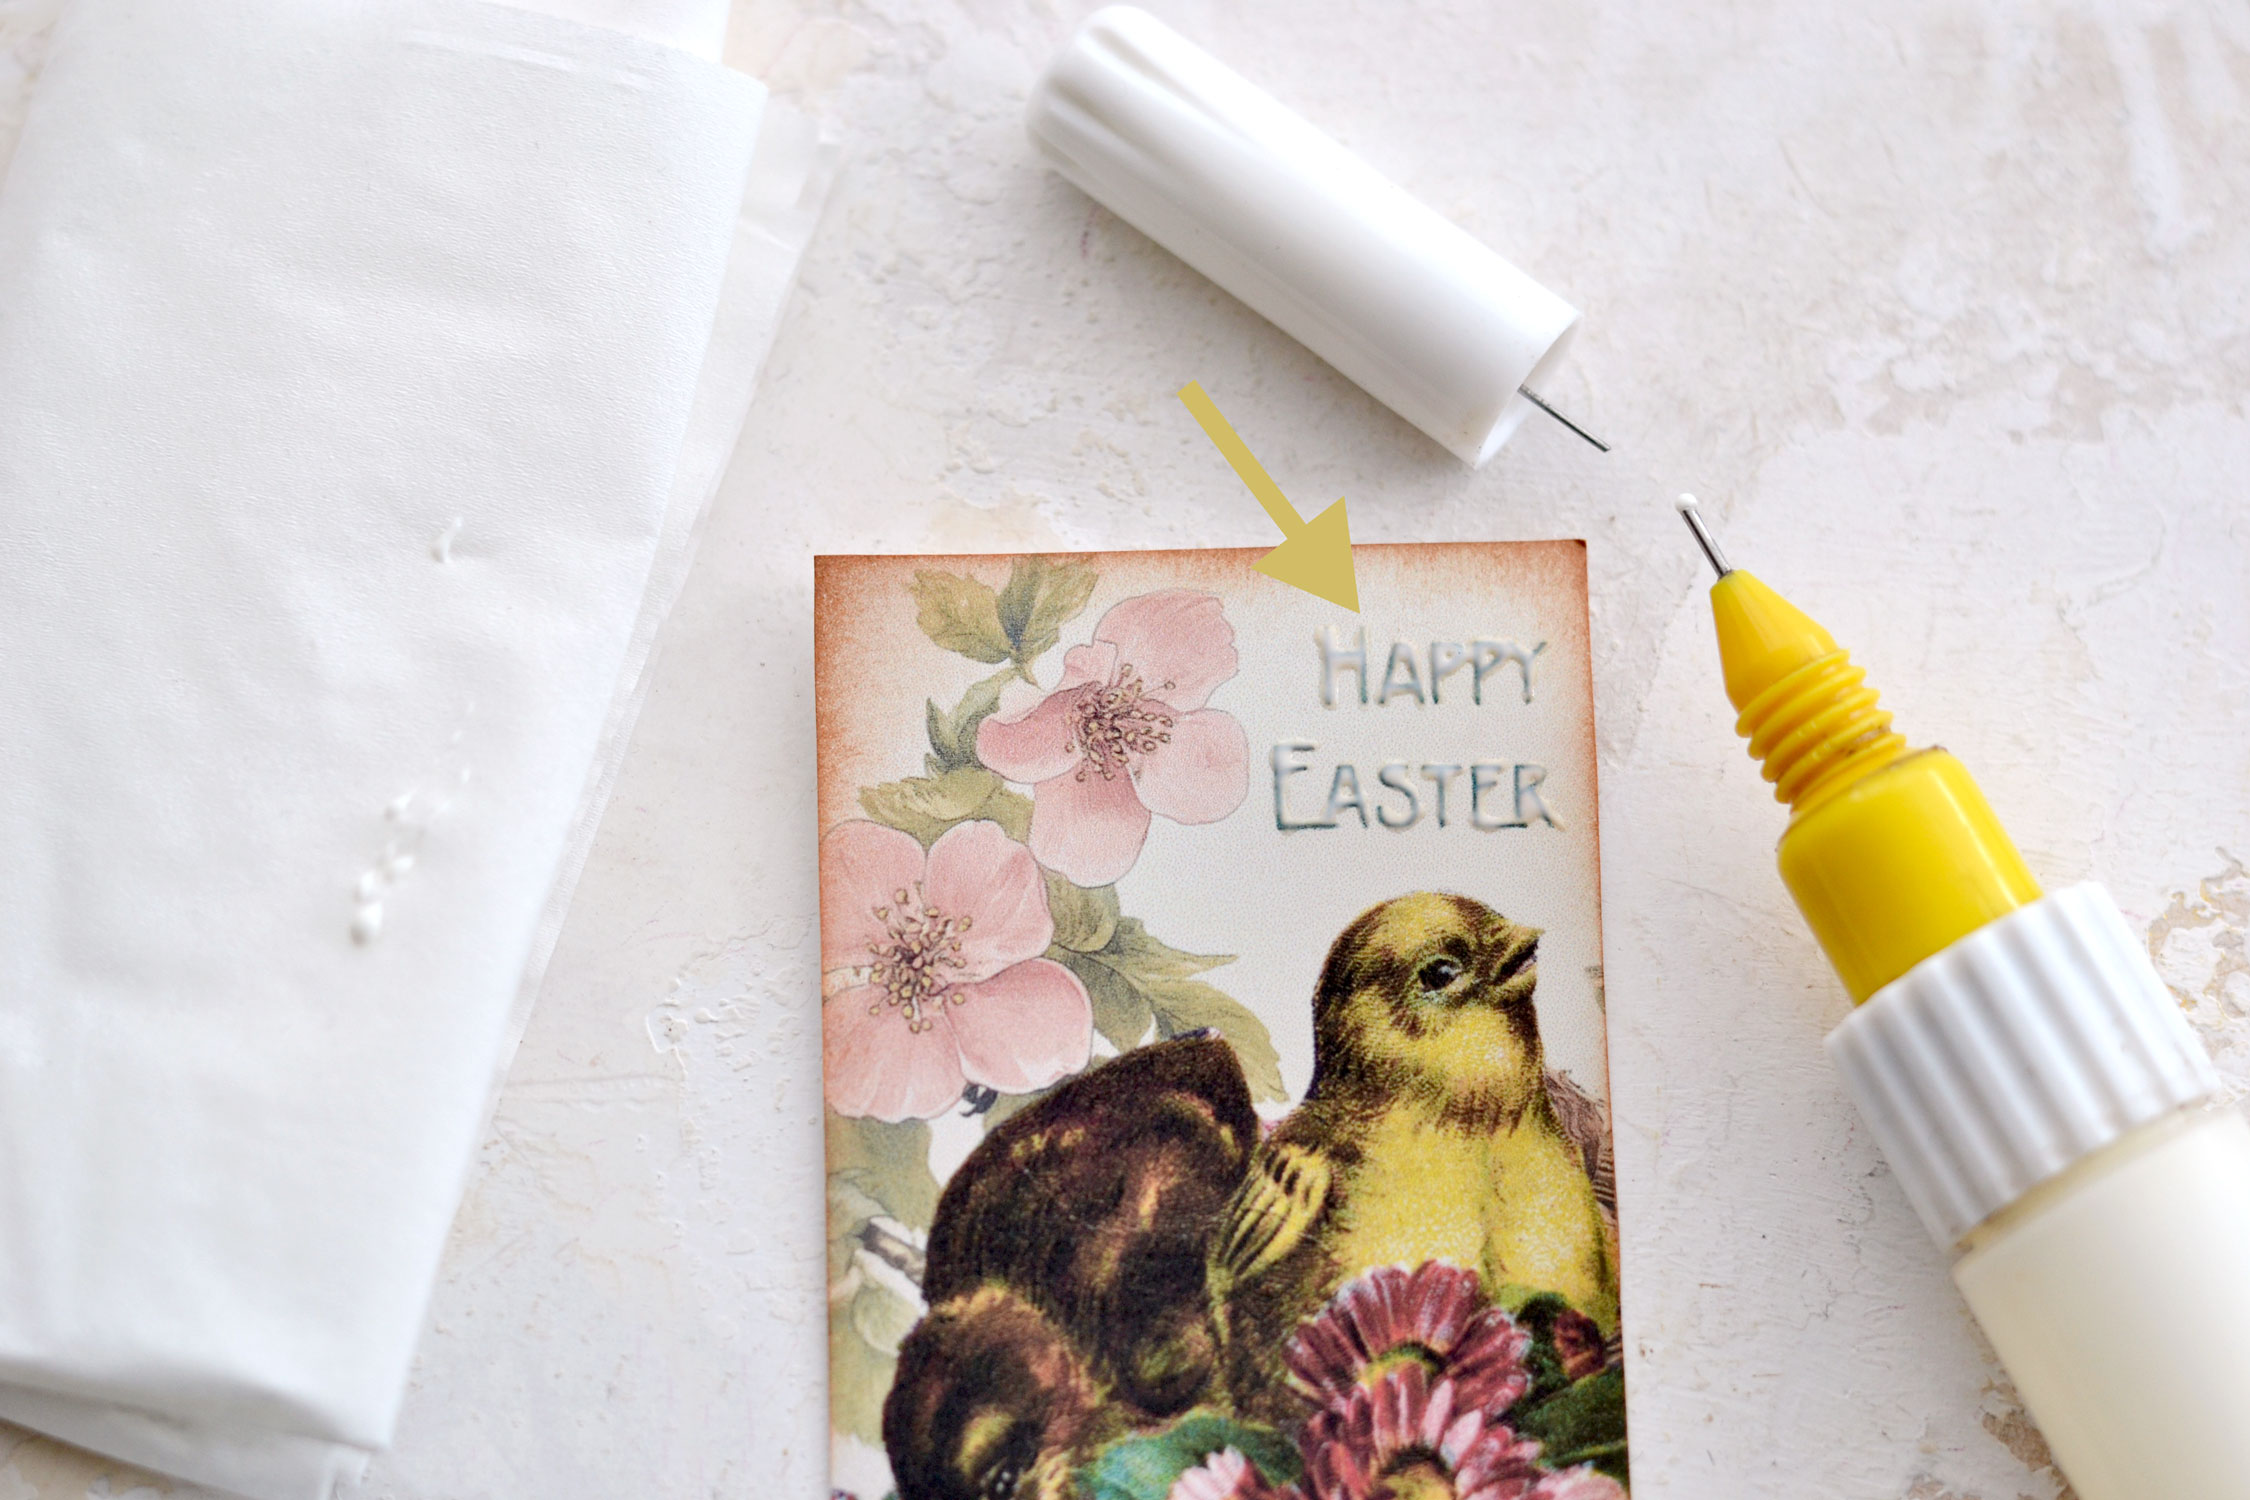
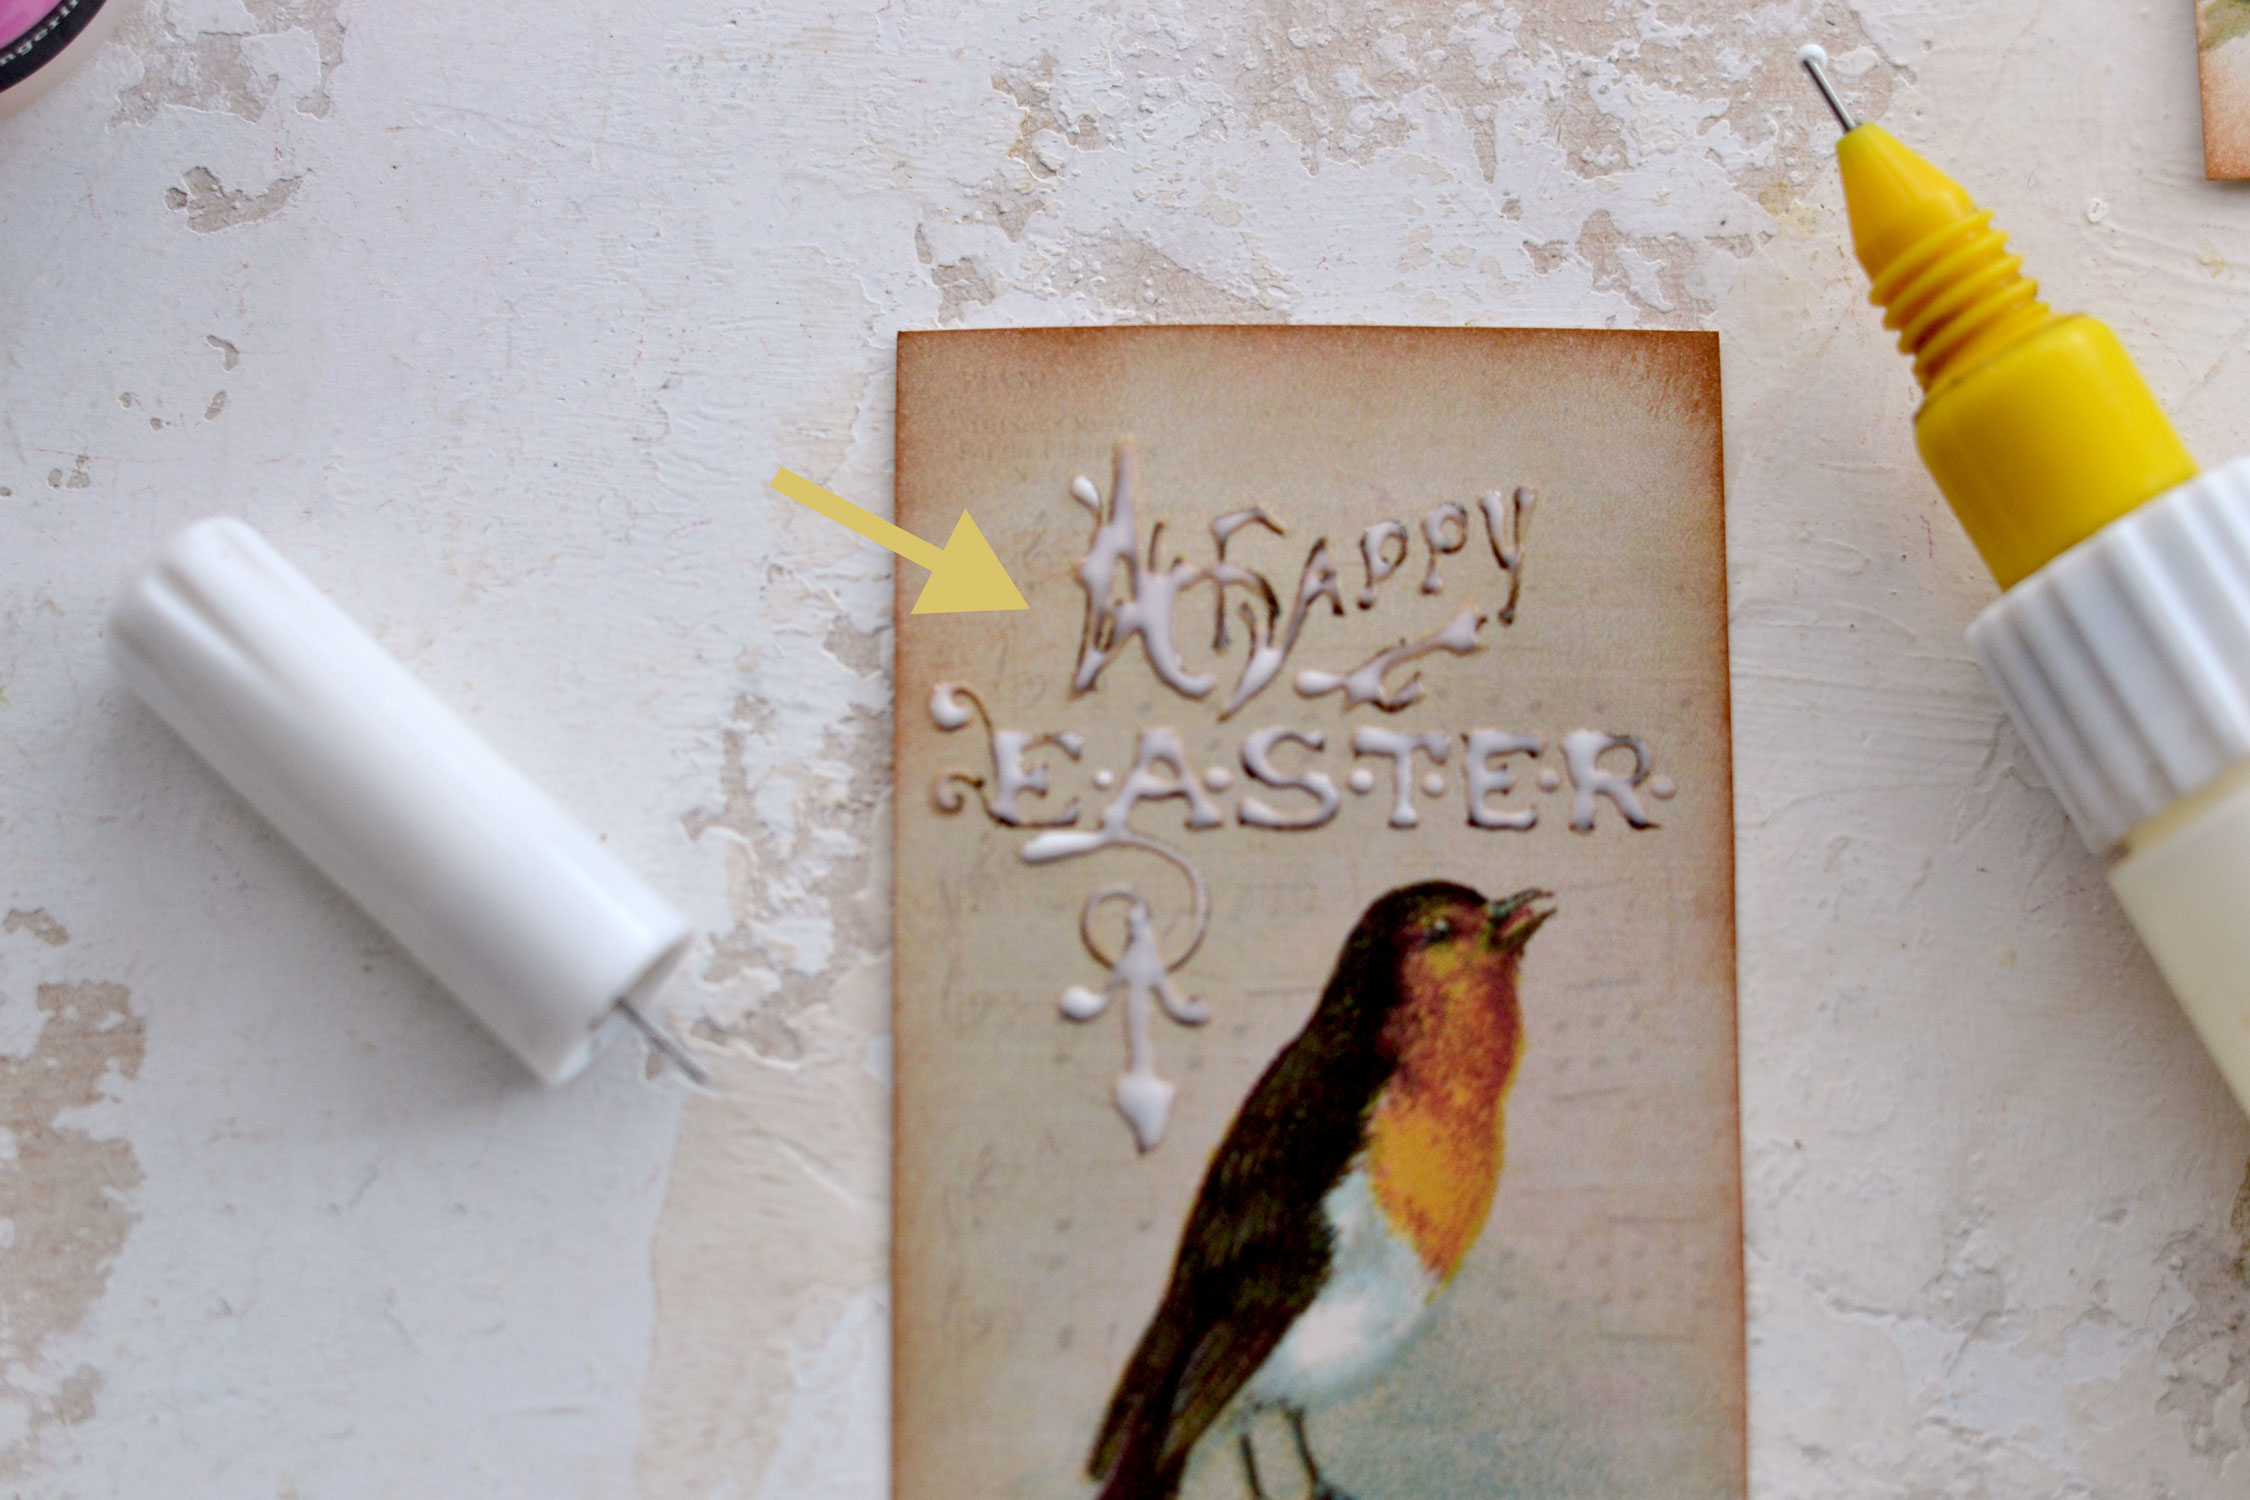
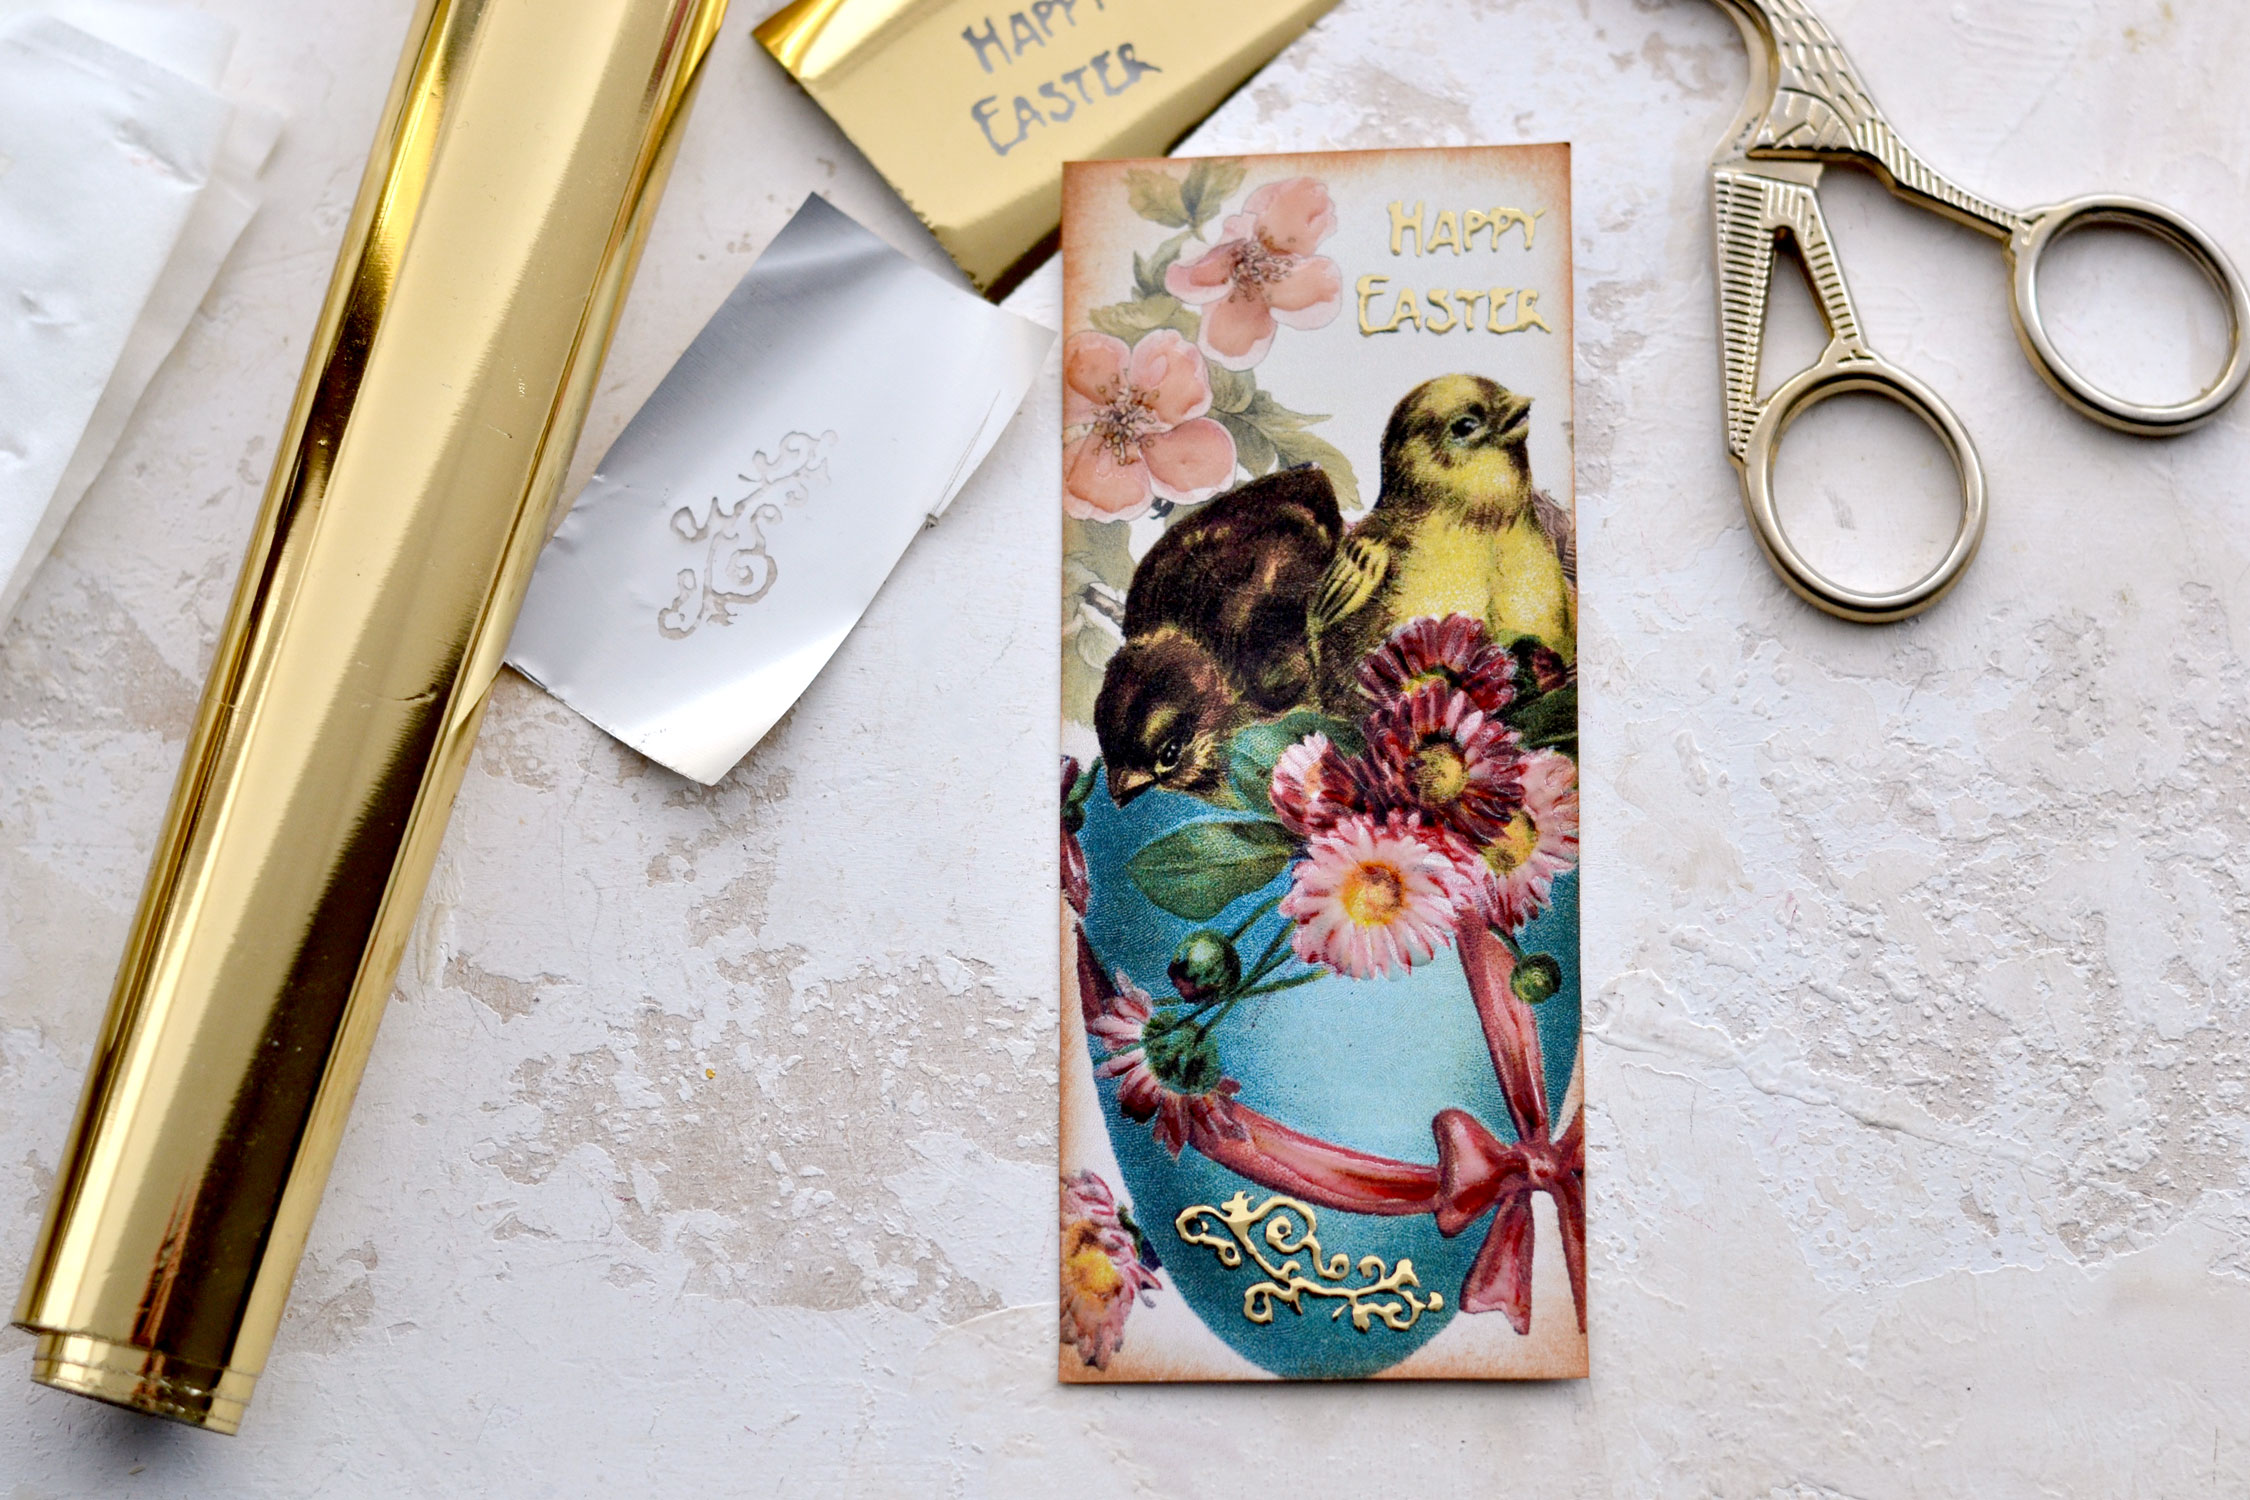
Use your fine tip glue applicator with the special gold foil glue (the one that turns tacky after drying) to paint over the flourish.
Keep in mind that for this step we want to completely cover with glue the design underneath! Try to keep a steady hand as you go and follow the shape of your design as much as you can. But don’t worry if you make some mistakes here and there, you can just improvise in some of the not-so-perfect areas whenever you need to.
Move on to glue painting the Easter wishes if you want, just make sure to be extra careful not to touch the flourish that you previously painted.
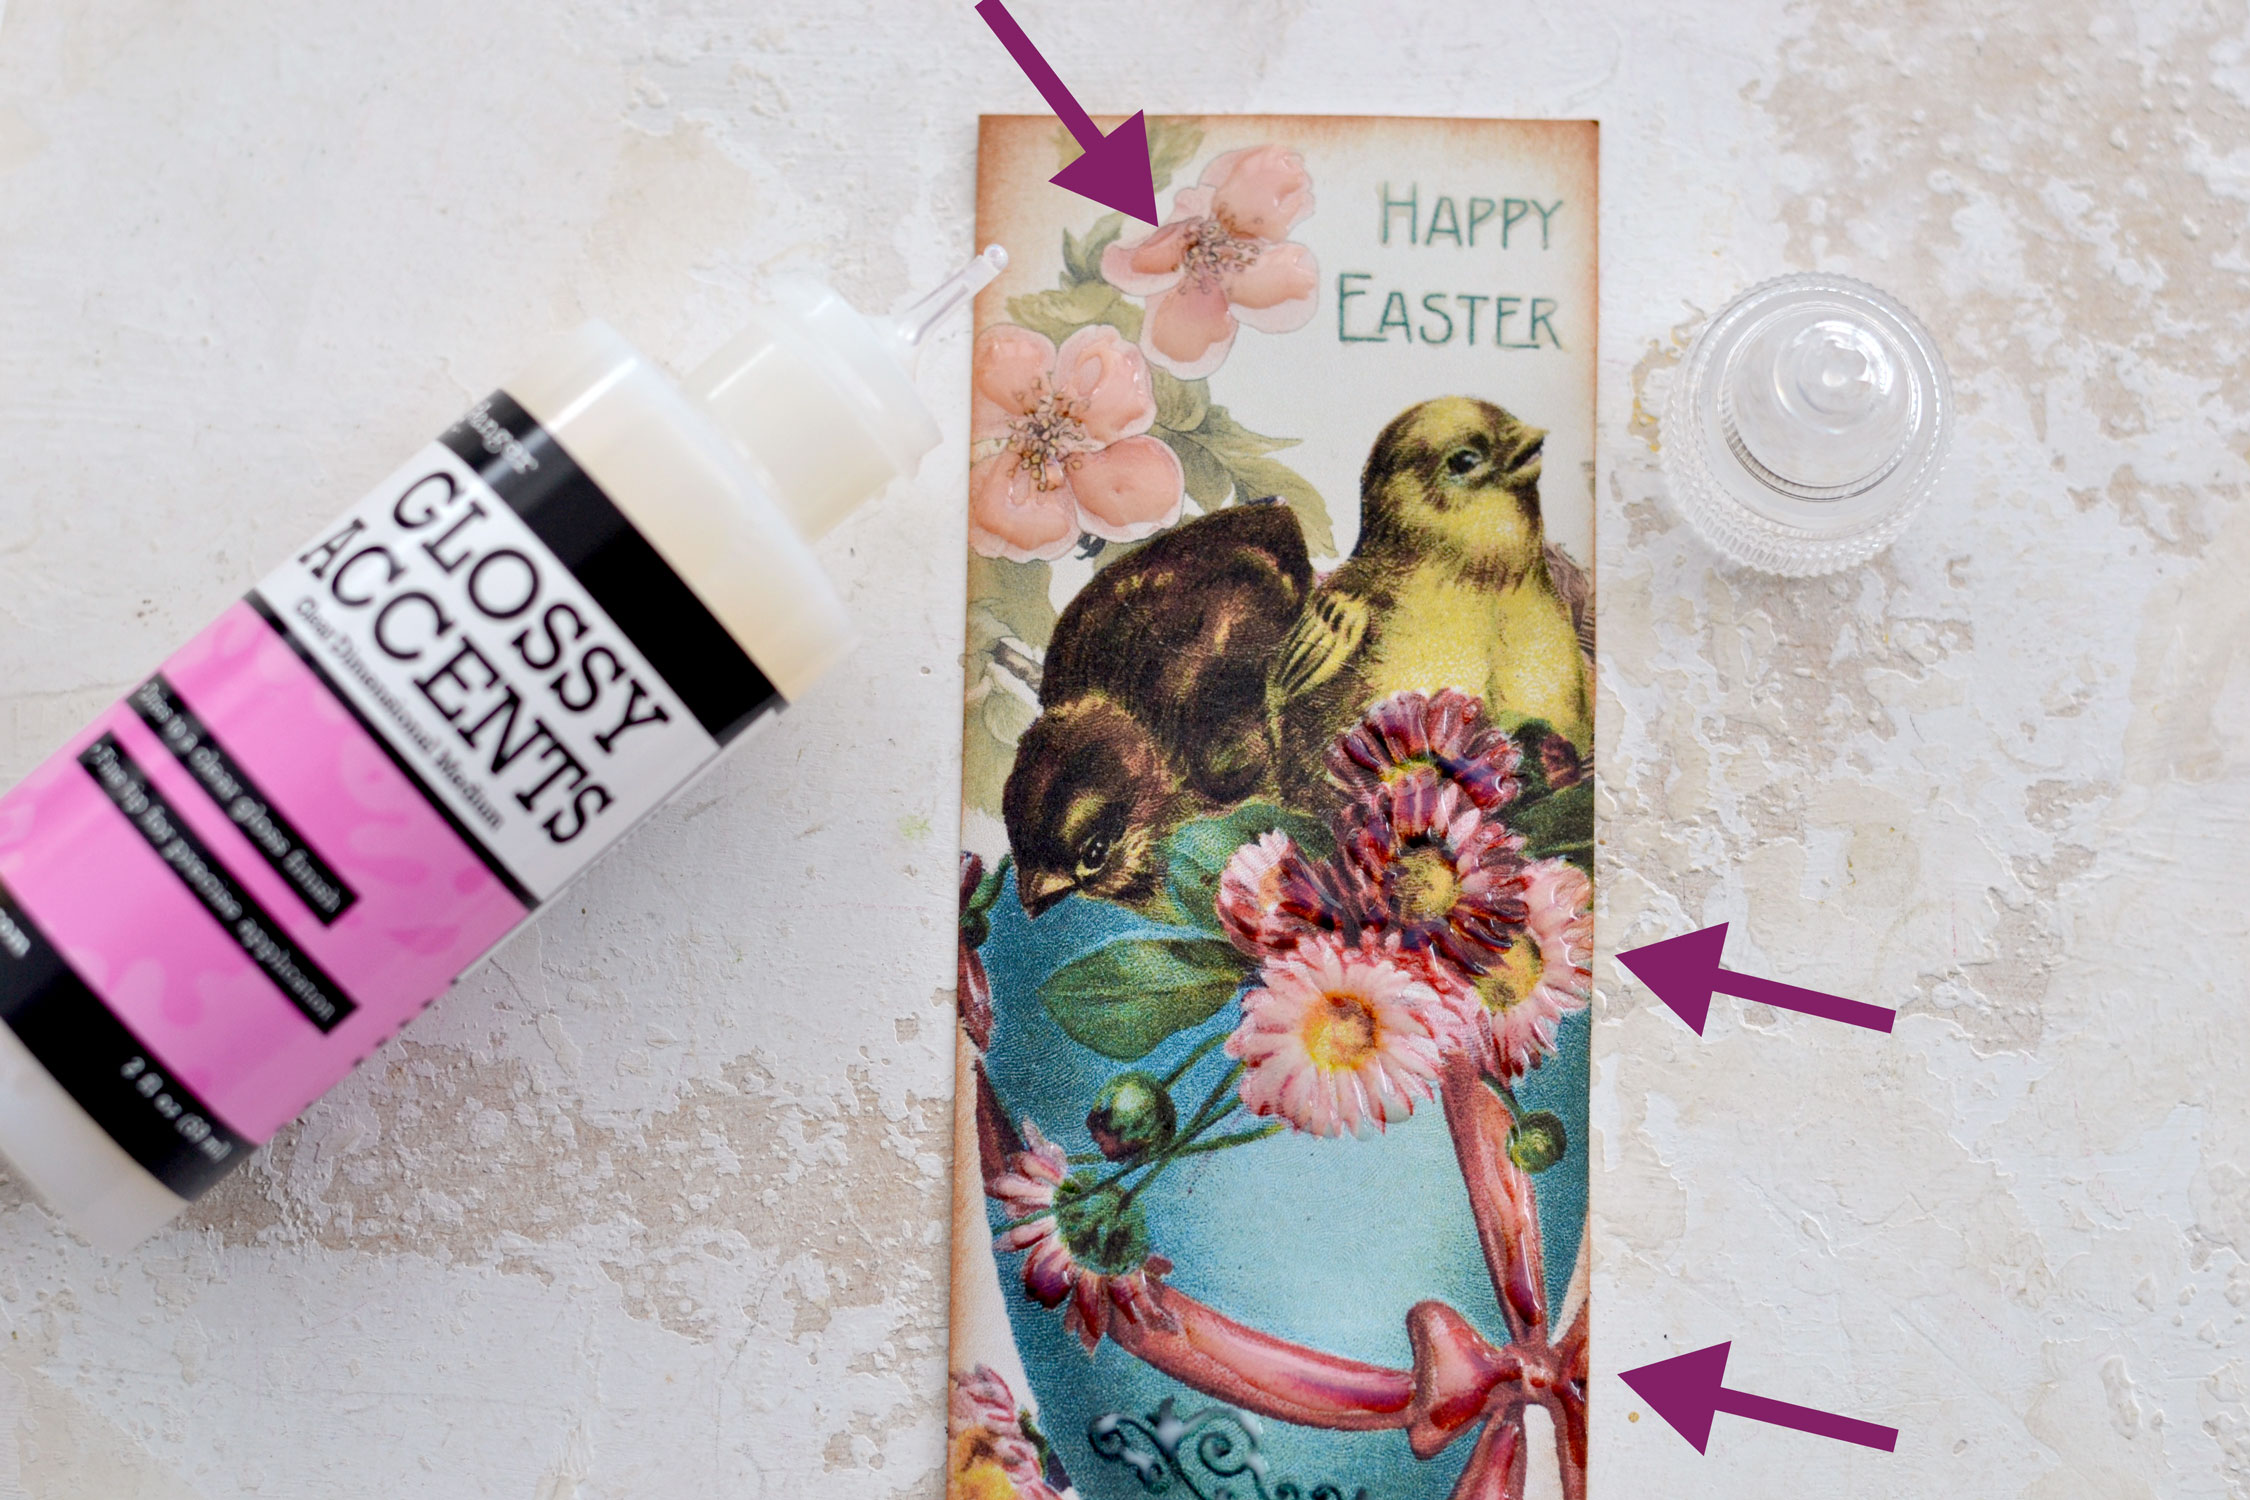
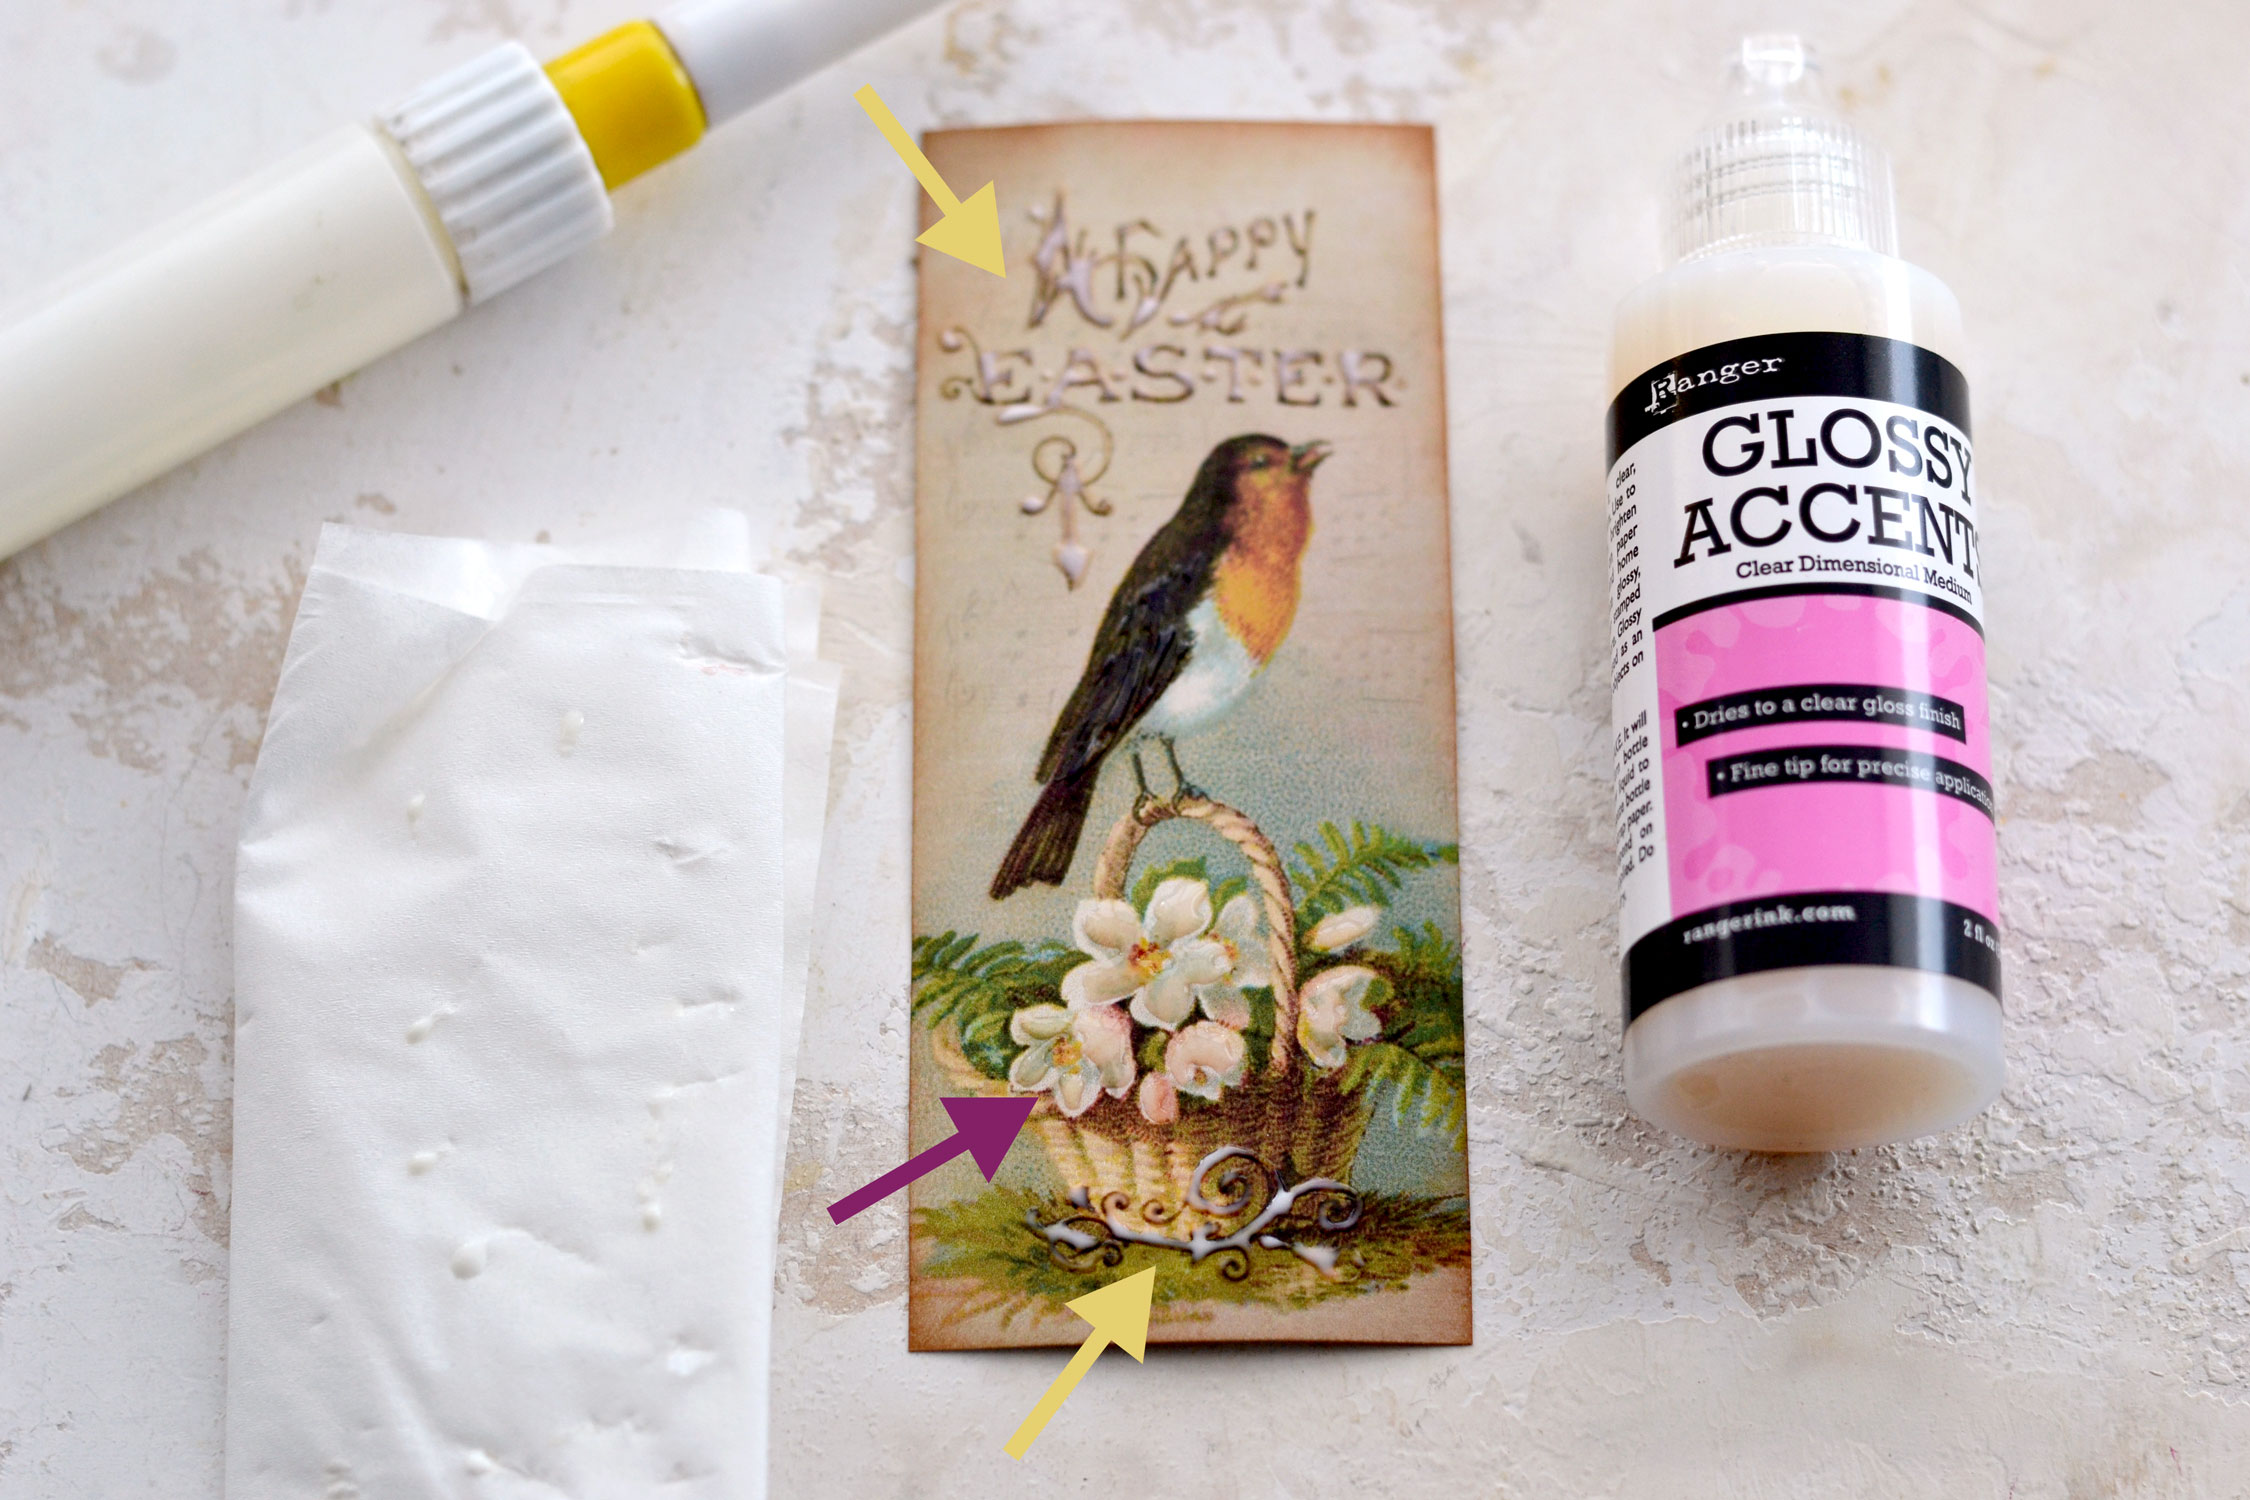
You can choose to let the gold foil glue dry completely or move on to adding the glossy accents. Again, be extra careful not to touch the already glue-painted parts! Add the glossy accents glue to the flowers, following their specific shapes, but don’t make them too perfect. For the flowers on top, I added the glue inside the petals while also leaving a small area around the edges – this way you can enjoy the beautiful raised effect without overwhelming the design and even create more dimension. For the flowers near the chicks, I just painted with glue small individual lines to mimic the design underneath. I also added some glue on the ribbon, but again, I didn’t completely cover the design because I wanted to create more interest.
I have to confess that glue painting is definitely one of my favorite activities! Why? Because you don’t have to actually know how to paint or beautifully hand write, you can just use the design underneath as guidance to create something truly unique.
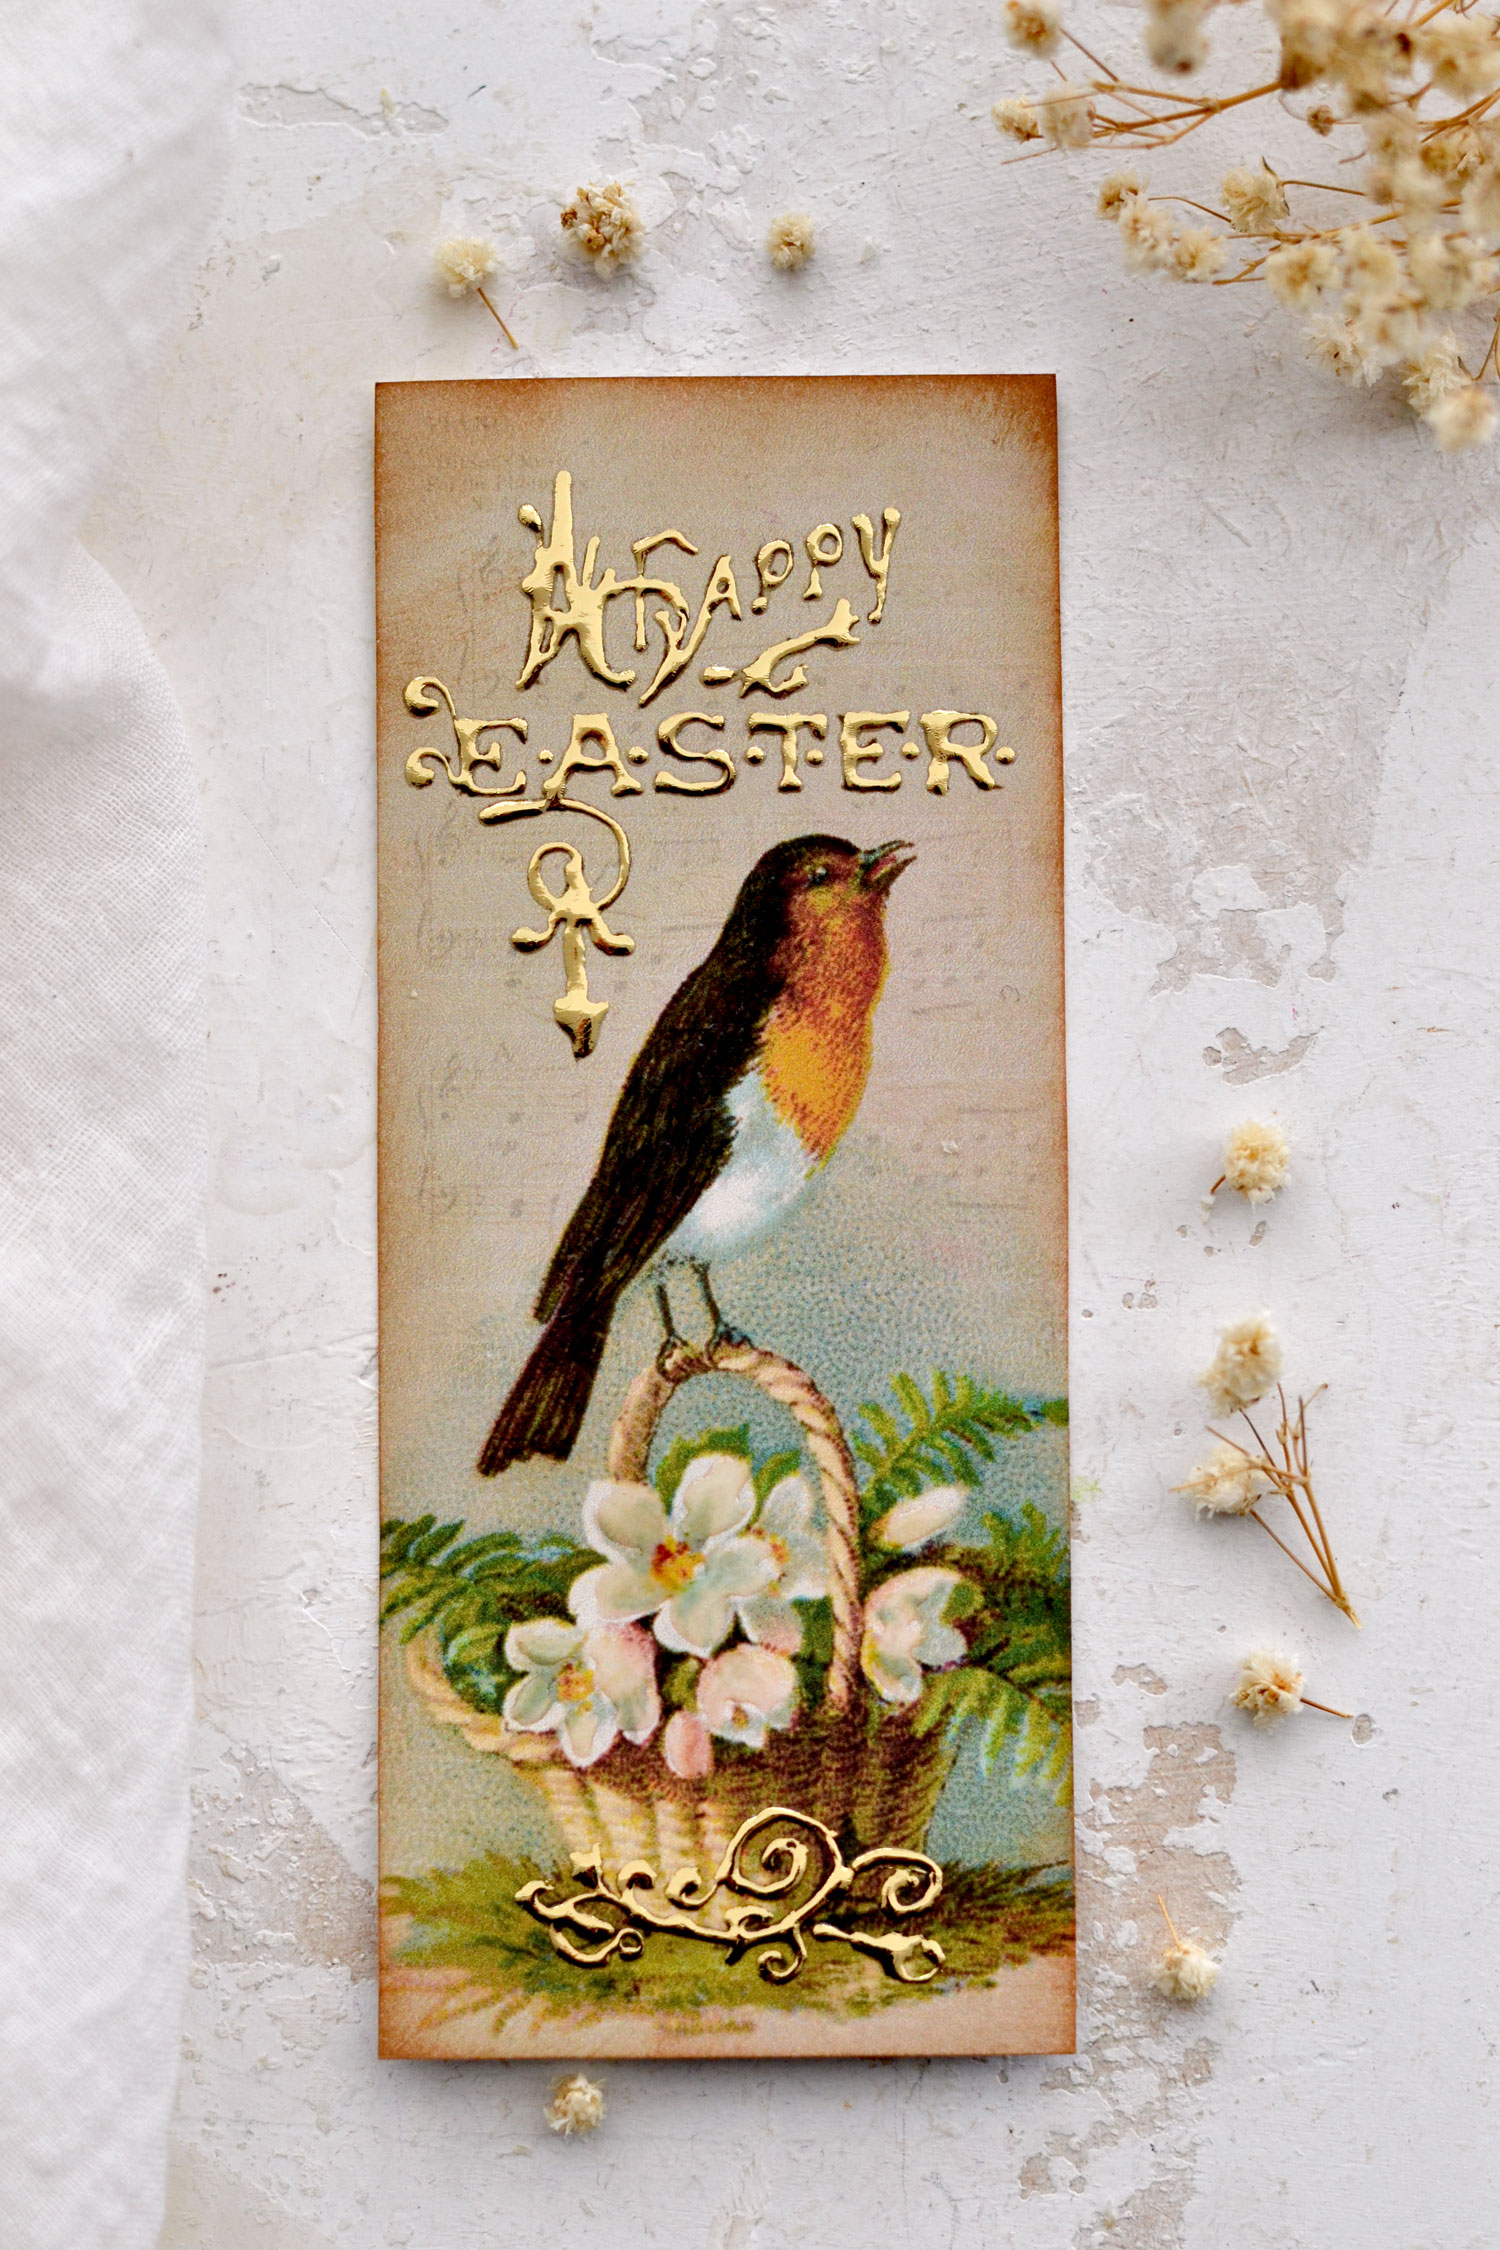
As you can see, below I used the gold foil glue on this gorgeous writing – the glue is white when you first apply it, but turns clear (and tacky) after drying.
Proceed to follow the same steps to add the gold foil glue on top of the writing and the flourish (the yellow arrows) and then add the glossy accents on top of the flowers (the purple arrow).
Useful tip: Keep a small paper towel or a tissue close by so you can easily clean the applicator bottles when needed.
It’s really important that you let the gold foil glue and the glossy accents dry before moving on!
And just to recap, remember that the gold foil glue will become transparent and tacky.
The glossy accents will harden and will create a beautiful raised effect.
After finishing all the glue painting, I noticed that the bookmarks I started with were already dried. But I decided to let everything dry for an additional time (around 20 minutes), just to be on the safe side.
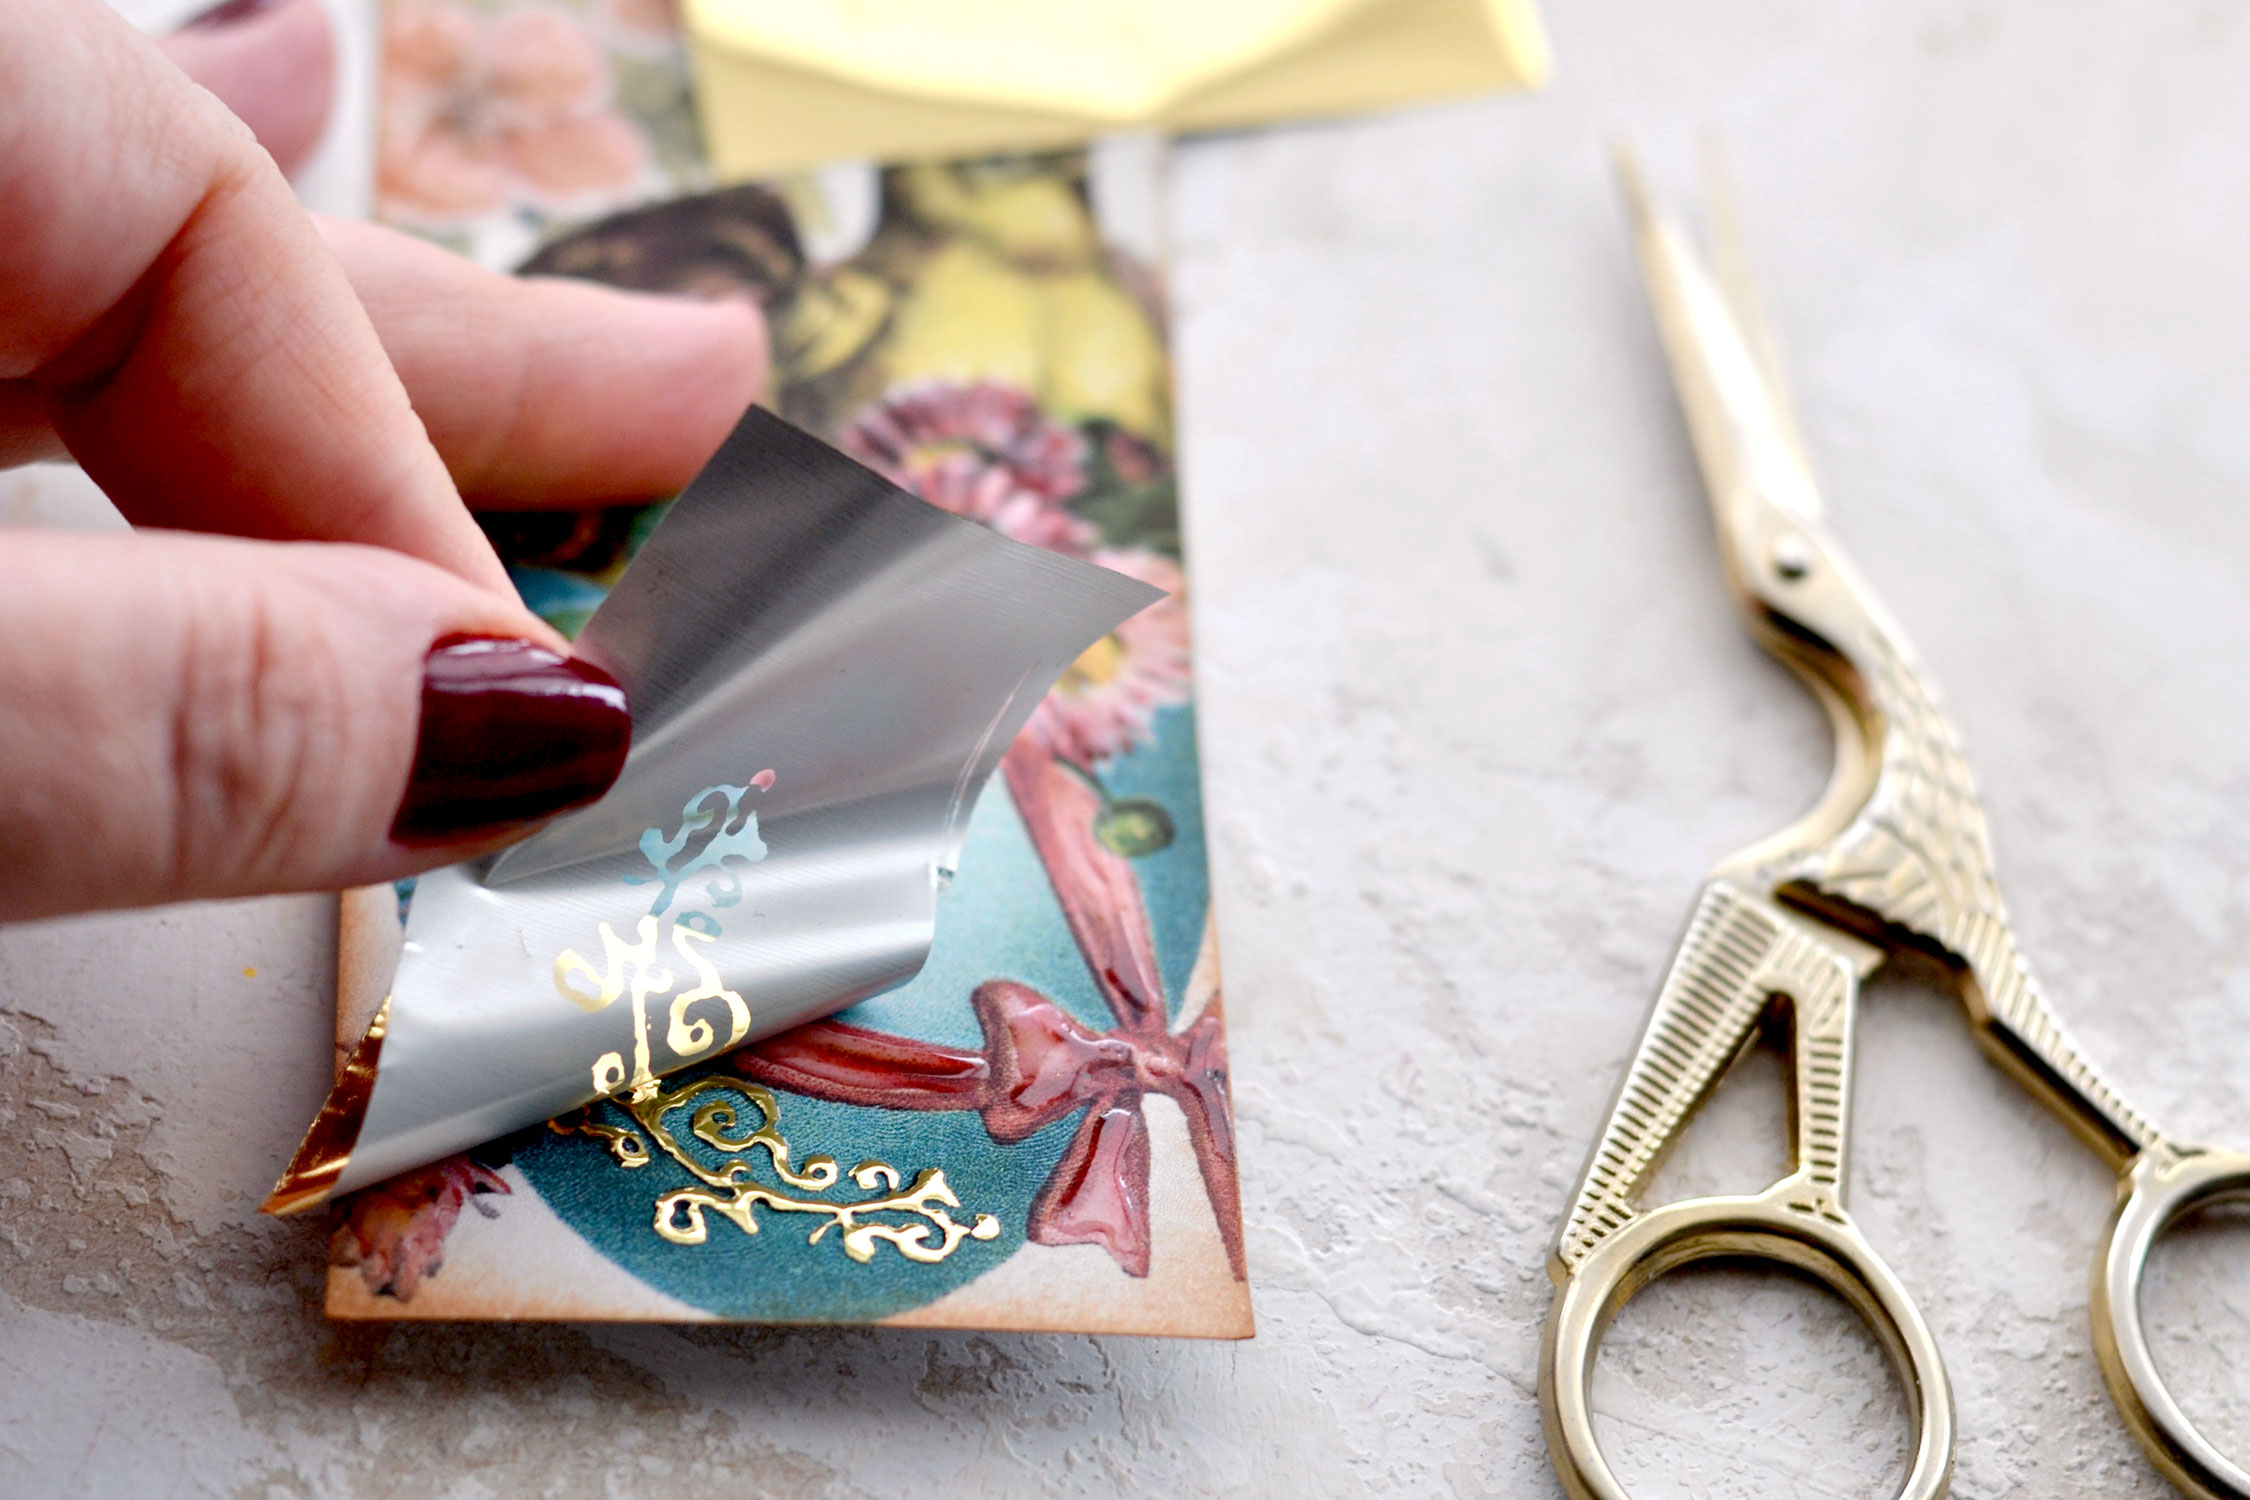
After that, you can proceed to adding your amazing gold foil on top! Cut small pieces and place them on top of the writing and the flourish. I usually use my fingers to gradually press the gold foil on top of the tacky glue for a few seconds so it perfectly adheres to each letter or detail. You will be able to actually see the glue underneath sticking to the foil on top as you gradually press it.
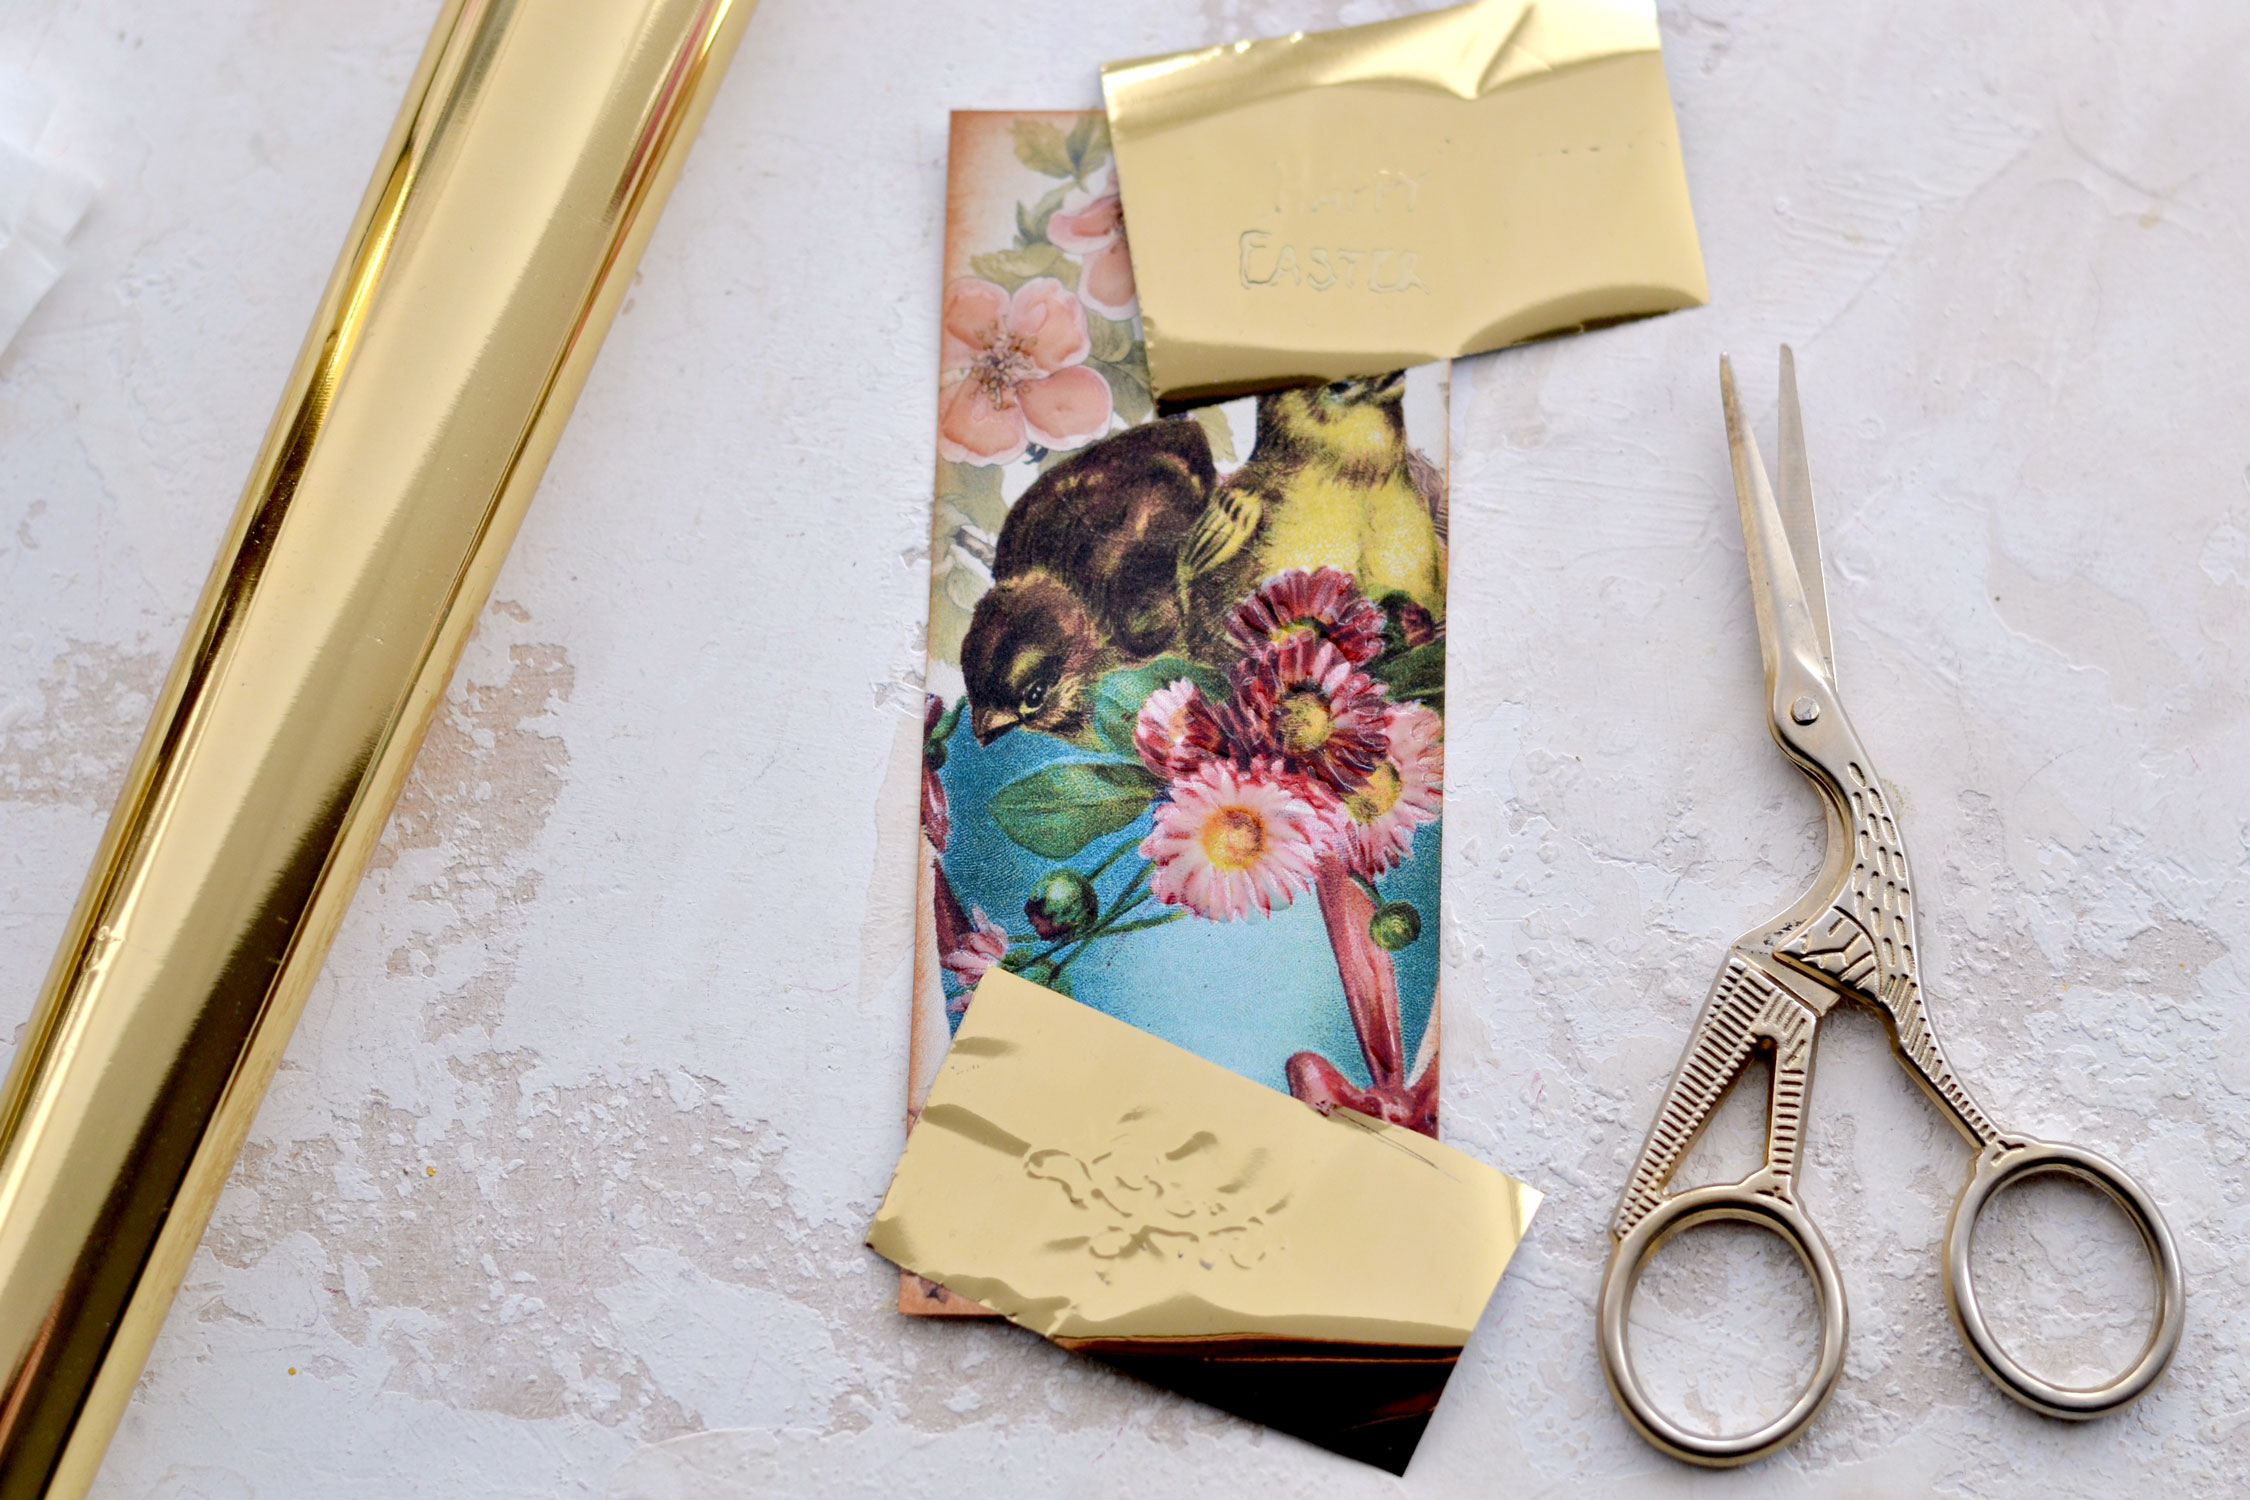
And then, you can start peeling your gold foil, the most rewarding and exciting operation ever!
Here is my first finished piece, the gold foil really makes a difference, don’t you think?
And here are all the other finished Vintage Easter Bookmarks, one more beautiful than the other!
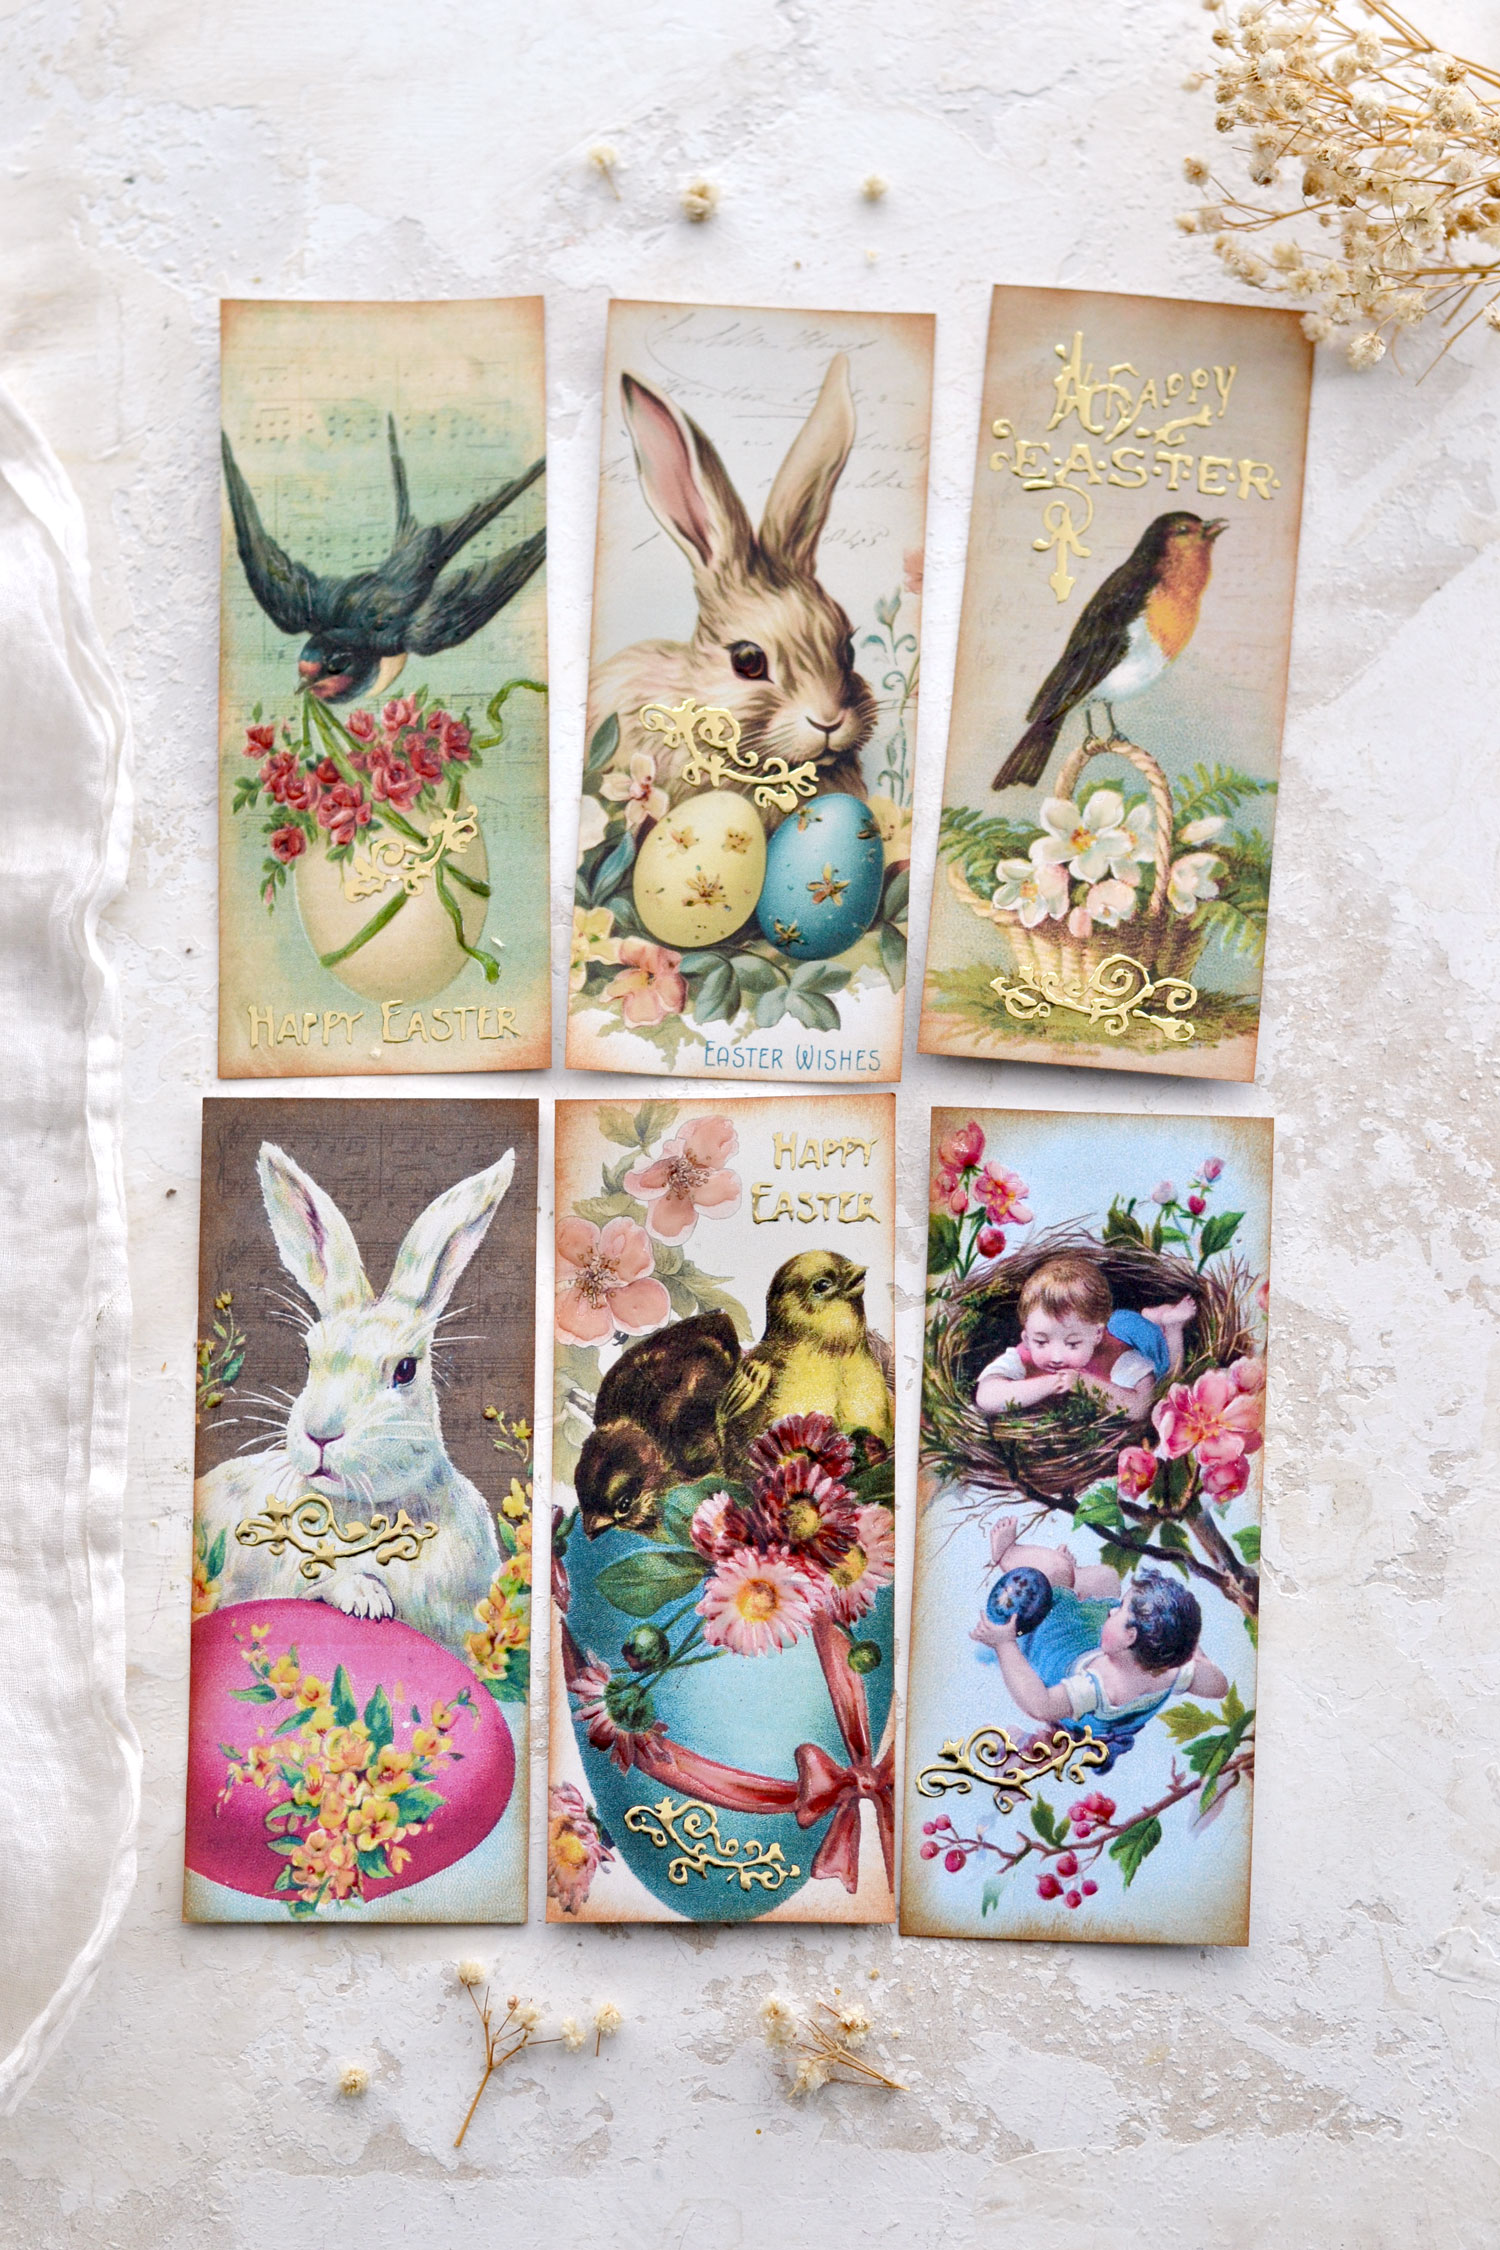
I think you will agree with me that the gold foil touches are absolutely gorgeous! But as it turns out, it proved quite challenging to capture the raised glossy accents effect in all its glory. It looks (and feels) so much better in real life!
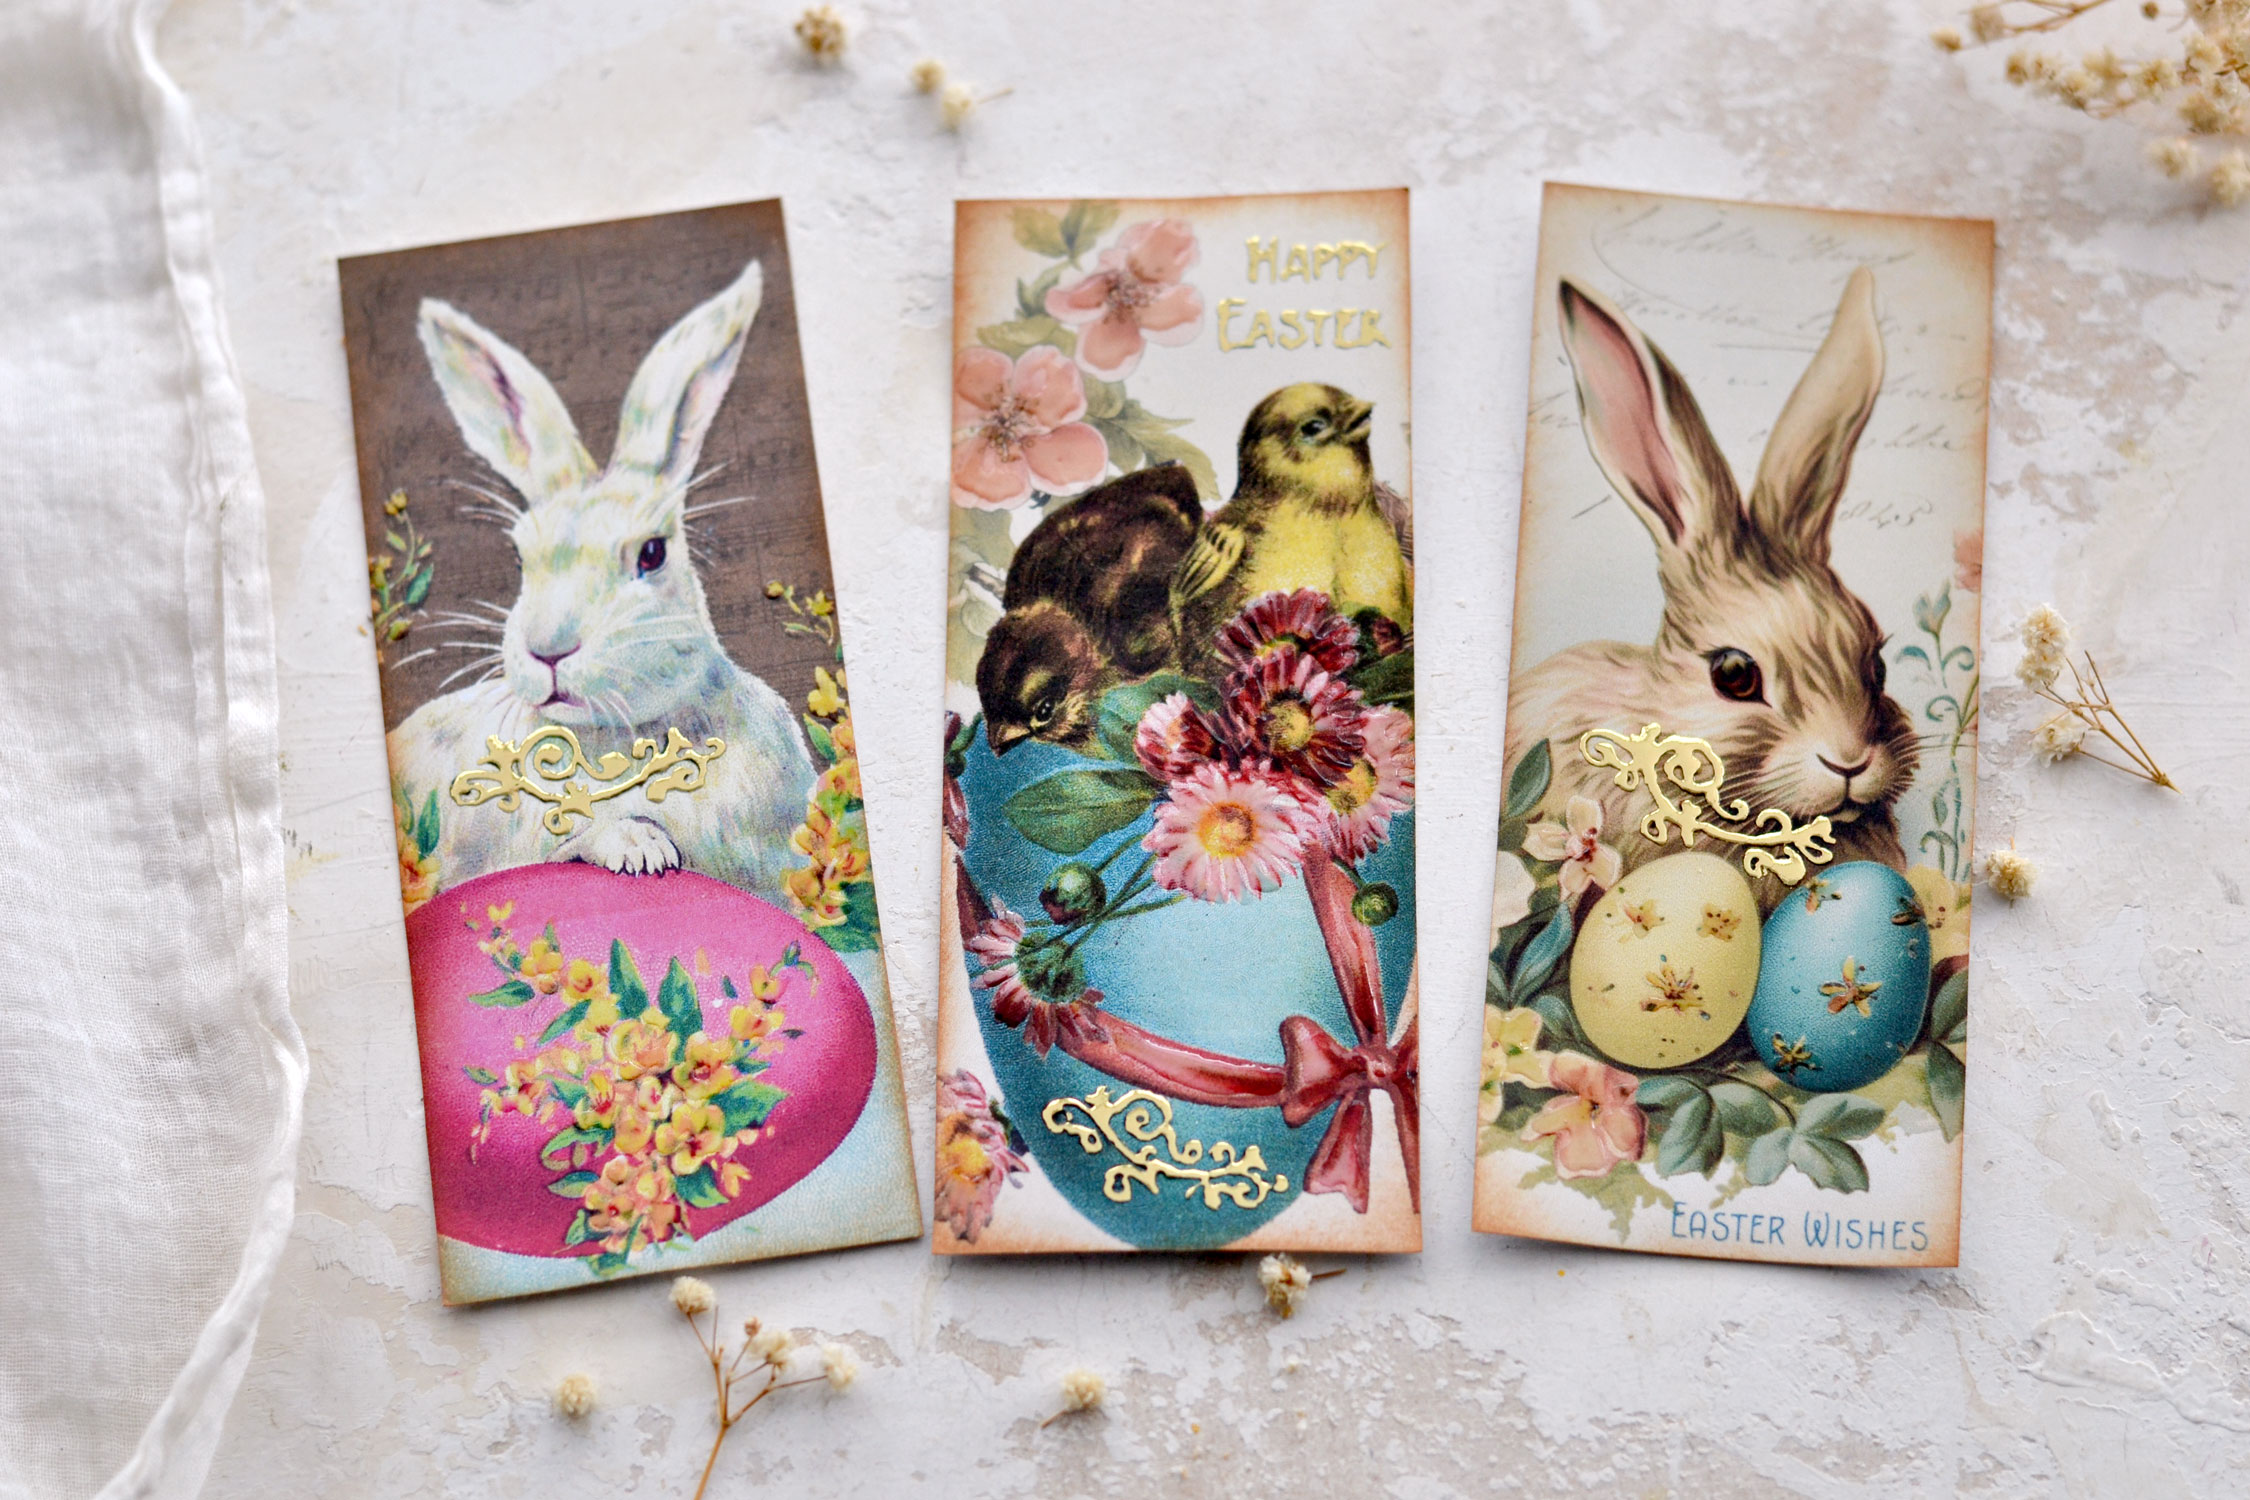
These two Easter bunny bookmarks look adorable, don’t you think? They could make the perfect choice for imprinting that specific Easter vibe to your seasonal projects.
If you look closely, you will notice that I haven’t gold foiled the writing on the bookmark on the left. I skipped this one because that writing was the smallest and I worried it would look too wonky afterward.

I’m not sure if you noticed, but whenever you make a project with several designs, there are always one or two items that stand out from the crowd. It’s definitely a matter of personal choice, but today these two flowery bookmarks were on top of my favorites!

If you want to further embellish the bookmarks, you definitely can! Use some ribbons or even some lace to turn these beauties into something that you love. Here I used a small piece of wide gold ribbon to decorate the top. I just folded it in half and glued the ends on the back and the front of the bookmark to create a loop. Beside the obvious decorative purpose, this small embellishment also has a functional role, especially if deciding to use this as an actual bookmark.
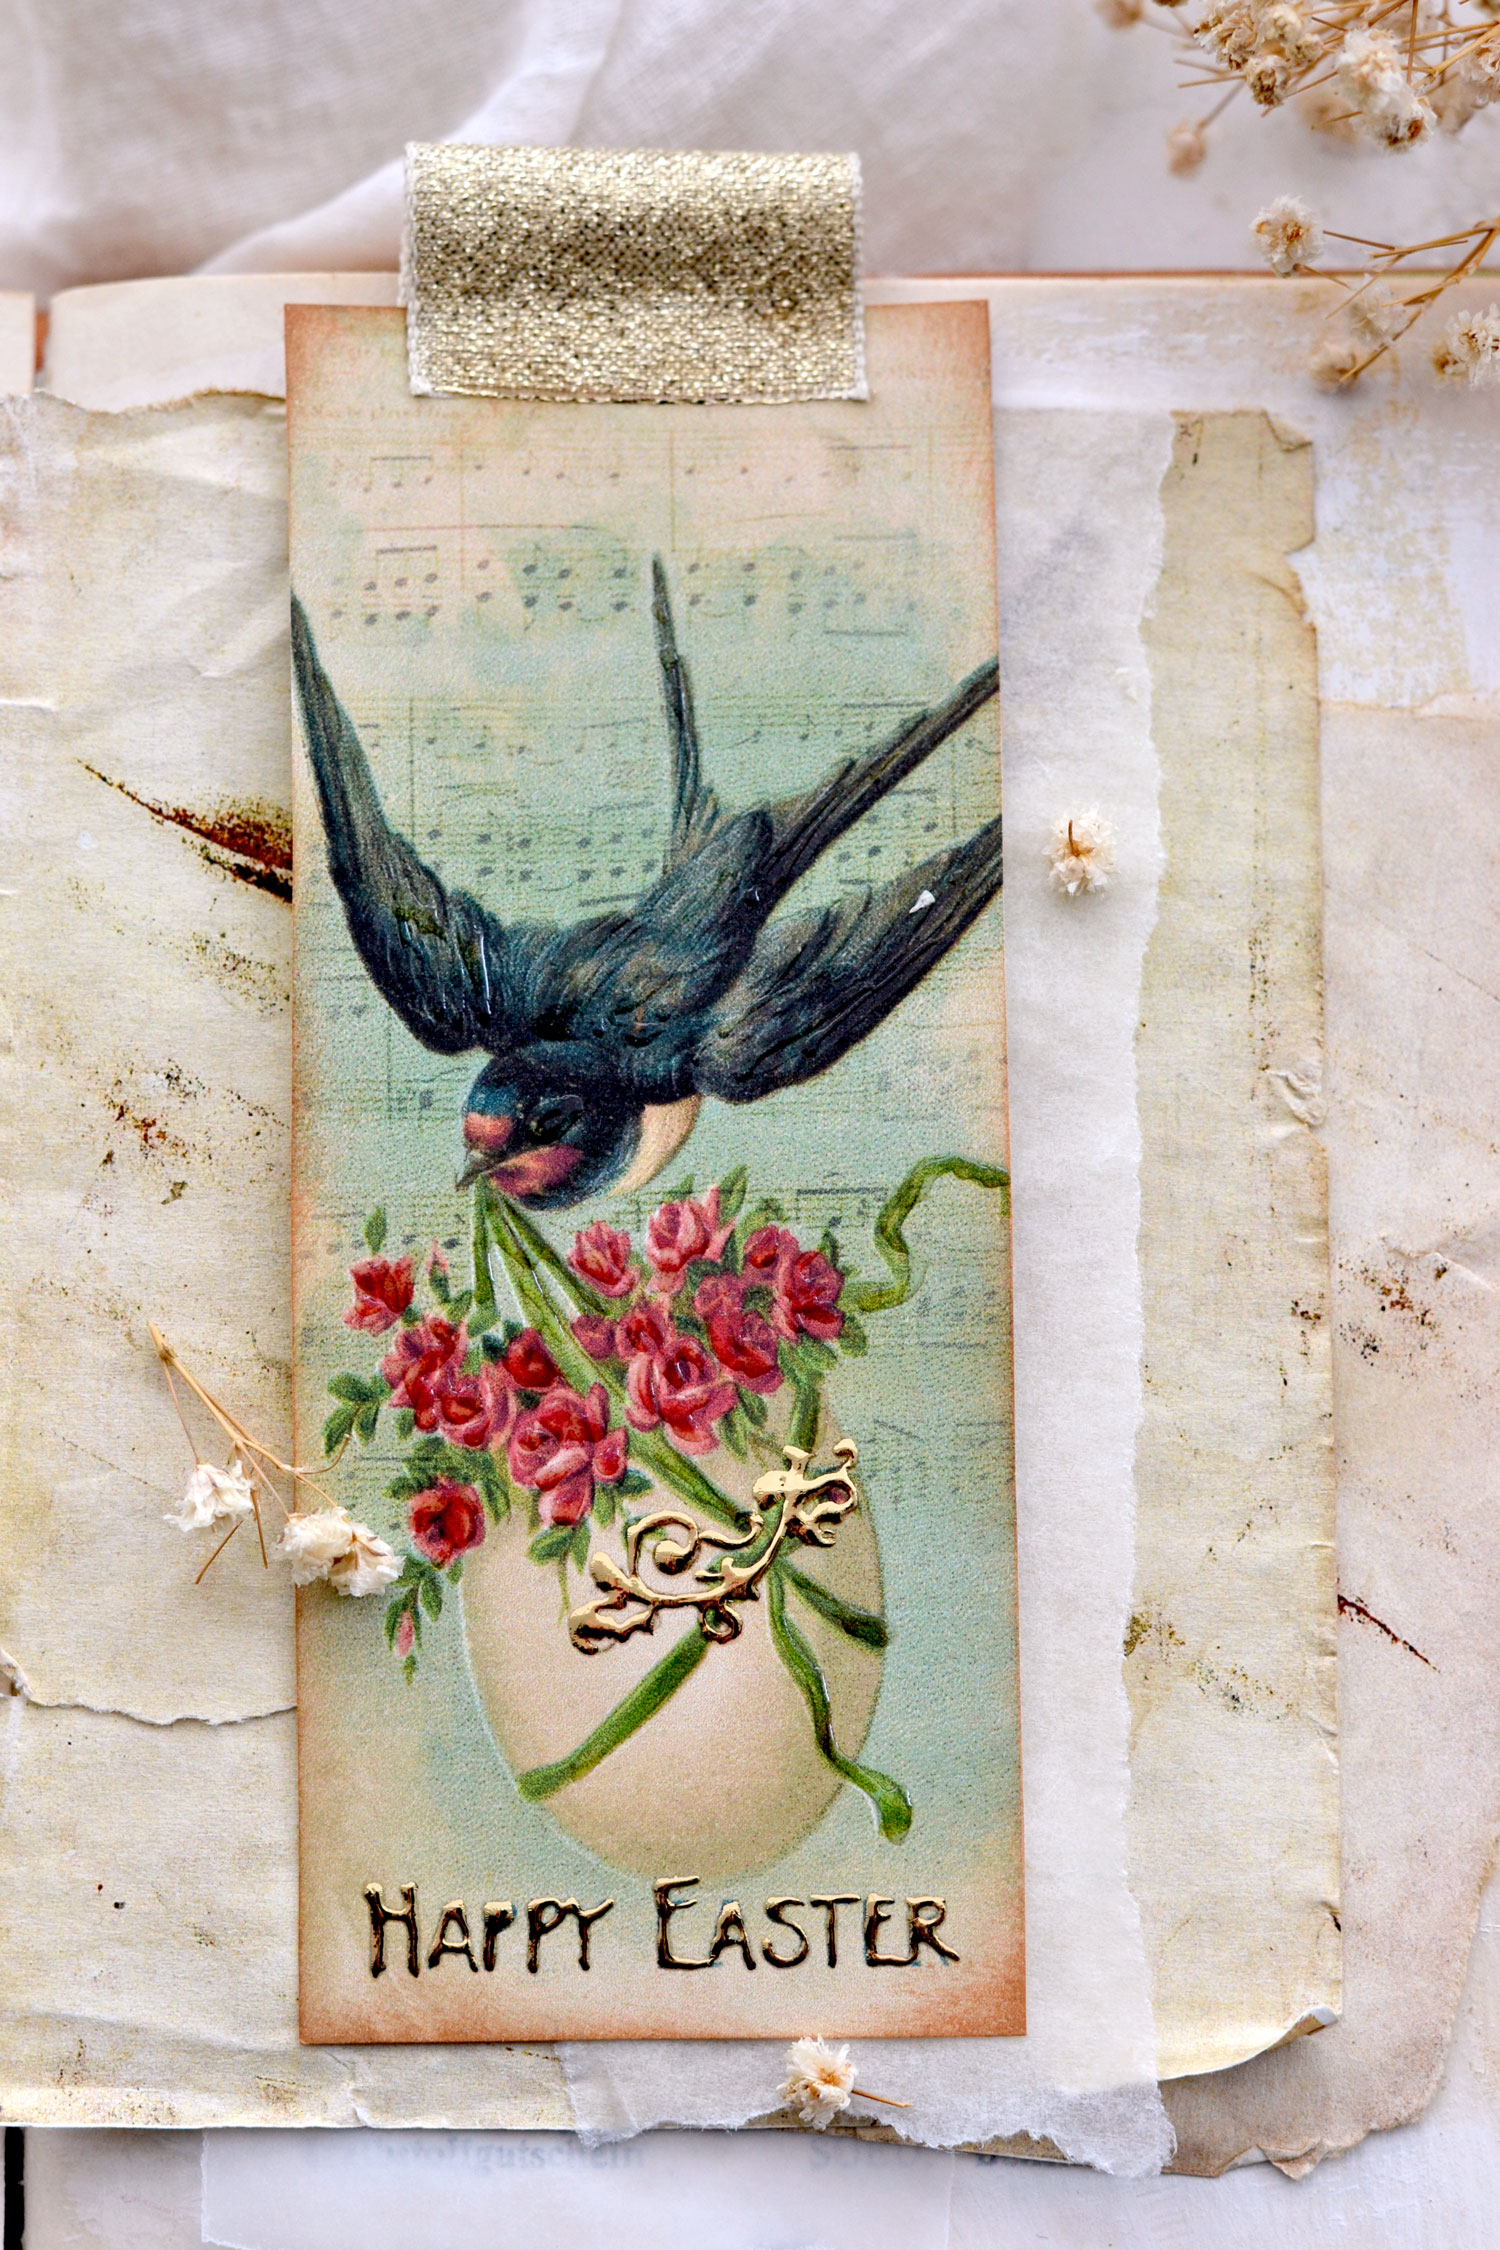
And if you prefer to add some crinkle ribbons, you can turn these into super chic Easter bookmarks that can also be used as Easter tags!
I think these will make the perfect addition to your books and will help to instantly embrace and get into the Easter vibe. But they can also be used to decorate your Easter junk journals, just leave the ribbons to hang outside to create dimension and add more interest.
I hope you will love this sweet project and decide to give it a try! You can gather friends and family members to make these and create beautiful memories together. Have fun painting with glue, gold foiling and adding the glossy accents, your finished pieces will be truly beautiful and unique!
You might also like my Free Printable Easter Stamps HERE.
Happy crafting,
Diana | Dreams Factory


Janet Taber says
I can’t seem to find the tutorial…can you tell me where it is?
Karen Watson says
Hi Janet, it’s on this page. Can you not see it? Maybe hit your refresh button and see if that helps.
Nancy says
I don’t see it either, even after hitting the refresh. There is a video of how to make bows.
Karen Watson says
Hi Nancy, That’s so strange! I can definitely see it. If you have multiple windows/tabs open, can you try closing some of them? Sometimes that takes up additional resources that are needed to load the page.
DIANNE LANGER says
Hello,
Just letting you know you are the best! I have not found or seem anyone better,
You are appreciated. Bless you
Dianne
Karen Watson says
Aw! Thanks for the lovely compliment, Dianne. I’m so glad that you are enjoying this site and Diana’s pretty project!