Easy Gold Foil Decor
Hello Graphics Fairy friends! I’m Diana from Dreams Factory and I’m really happy to share another beautiful project with you – it’s an Easy Gold Foil Decor Tutorial, where we do a French Jar Makeover! Today I will be sharing with you one of my favorite techniques that involves writing with glue and decorating with gold foil! Get ready to be mesmerized by this technique, the final results are truly amazing! And as much as I love admiring from different angles the final golden effects, the process itself is also quite rewarding.
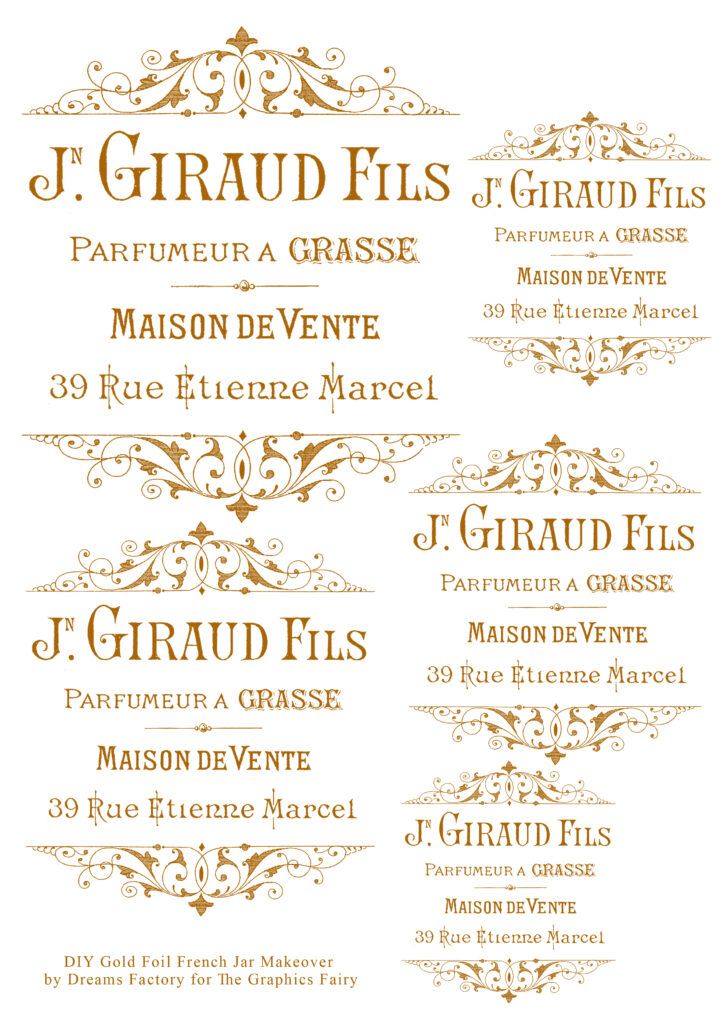
For our printable I went with this gorgeous French ephemera image. I thought it would be simply perfect with all that French writing, but also all those beautiful embellishments it had on the top and on the bottom. I actually made a few changes and erased some of the elements of the image, you will even (maybe) notice that the image from my photos is a little bit different from the one on your printable. That is simply because I wanted to help you get a smooth final gilded image when finished, so I removed some of the highlights from the ‘J. Giraud Fils’ writing.
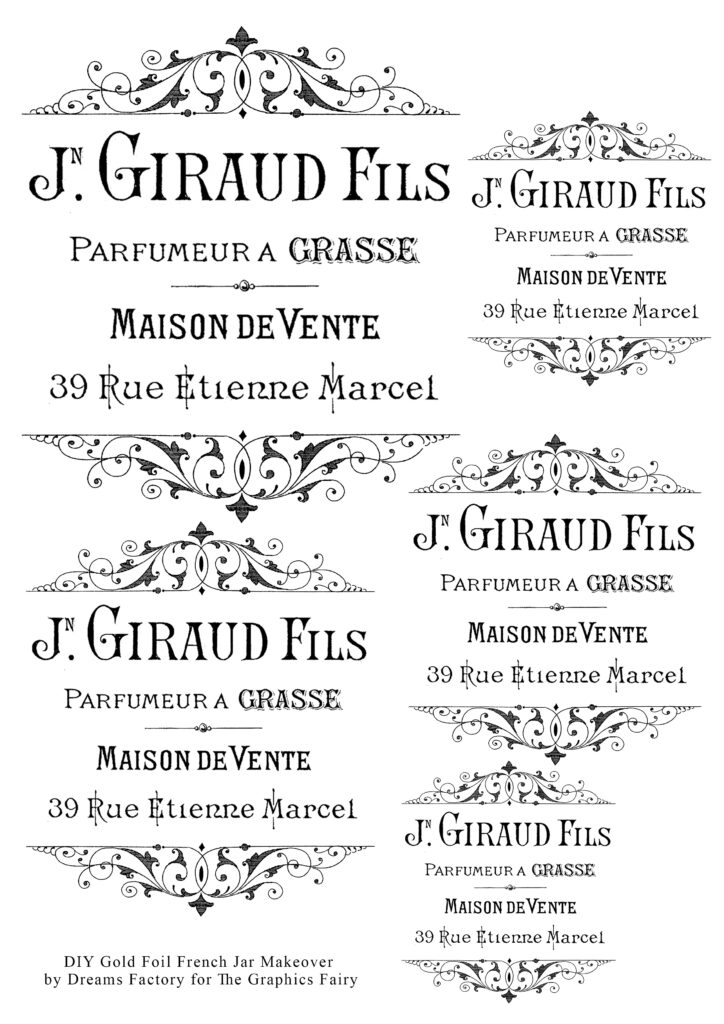
The printable is available in a lovely vintage brown color, but I also included a black additional version, just in case you want to use it on other projects too. This is a great upcycle project!
Why using the vintage brown printable for this project and not the black one? The idea is very simple! We will be writing with glue over the entire design of the image, then we will be decorating with gold foil decorations on top. Because our writing will have a basic brown color, all those small mistakes we will be making while applying the glue won’t be as prominent, so the brown color will help us blend everything better.
—-> Click HERE to Download the Full Size Printable PDF – brown <—–
—-> Click HERE to Download the Full Size Printable PDF – black <—-
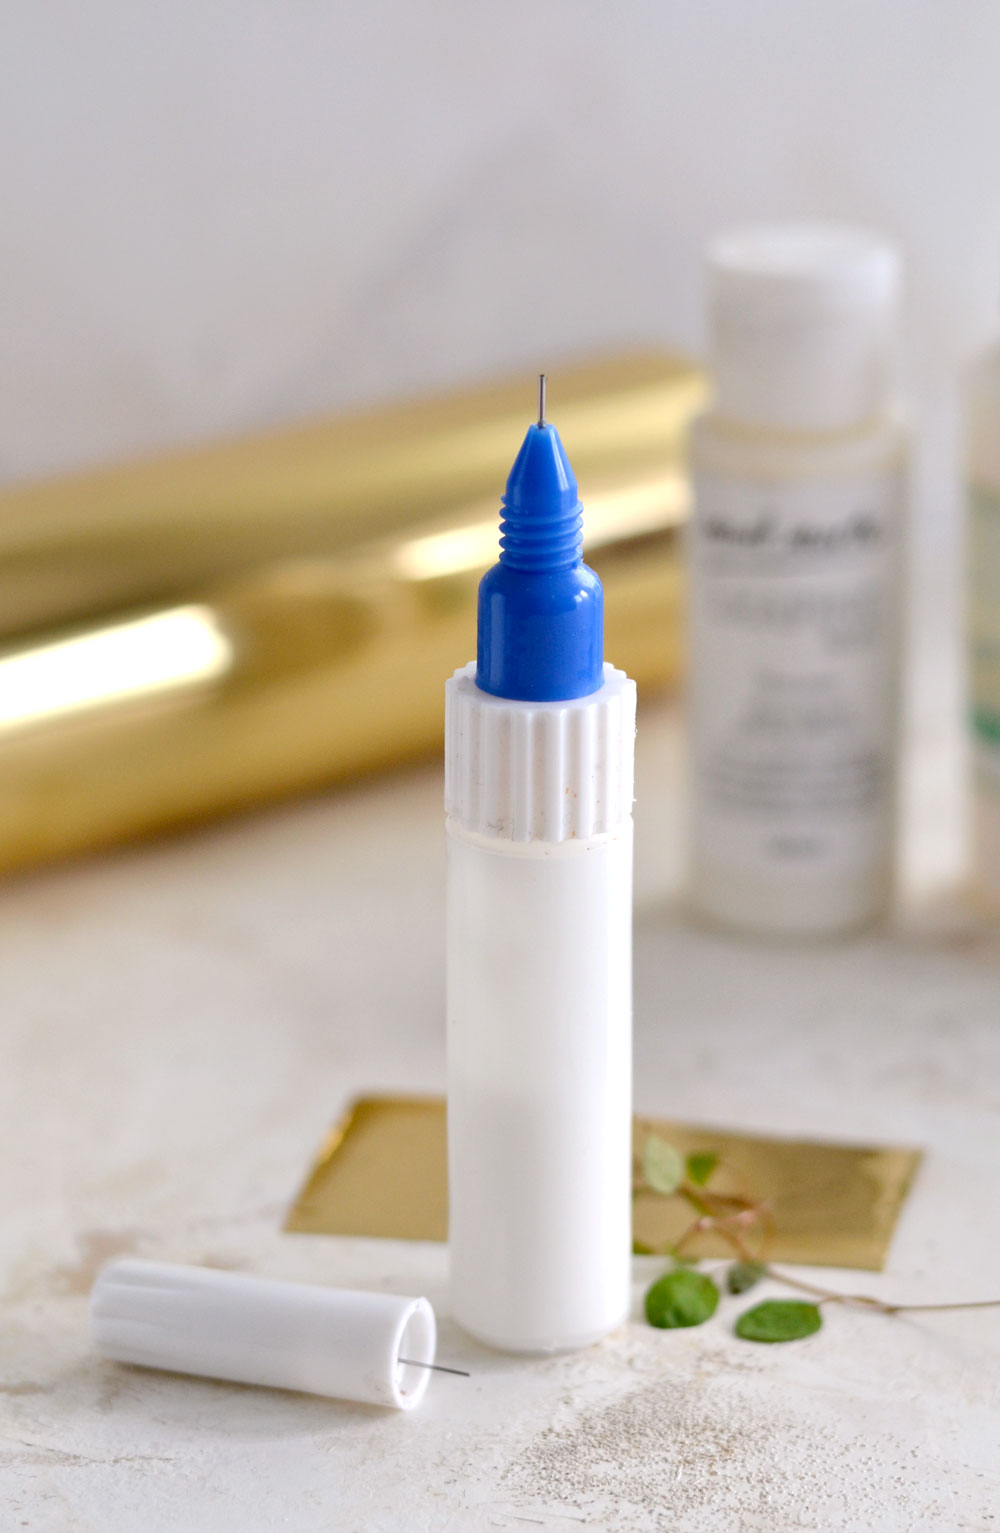
Before we jump right in, let me tell you a thing or two about a few ‘special’ tools & supplies that we will be needing for this project. Our first and basically most important item on the list – a fine line glue applicator. This thing is AMAZING and I love using it with acrylic paint in different colors or with glue (in this case) to create a somehow raised effect on different objects. You can use it to write or to draw, the fine line applicator can help you create some stunning, quite detailed effects – you can see the one that I’m using in the image below. If you want to get one, you can find it online or in craft stores, just make sure you get one similar to mine – one that has a perfectly sealed cap with a needle, this way your glue won’t dry and you will be able to use it for as long as you want.
Of course we will be needing some metallic gold foil, our second important item on the list. I talked about the gold foil and how is totally different from gold leaf – in this project -> DIY Gold French Rose Tags, make sure you check that link if you are not familiar with this type of foil. As a general rule, if you see metallic gold foil in craft stores (which can also come in other metallic colors), just remember that it always has a gold top and a silver backing.
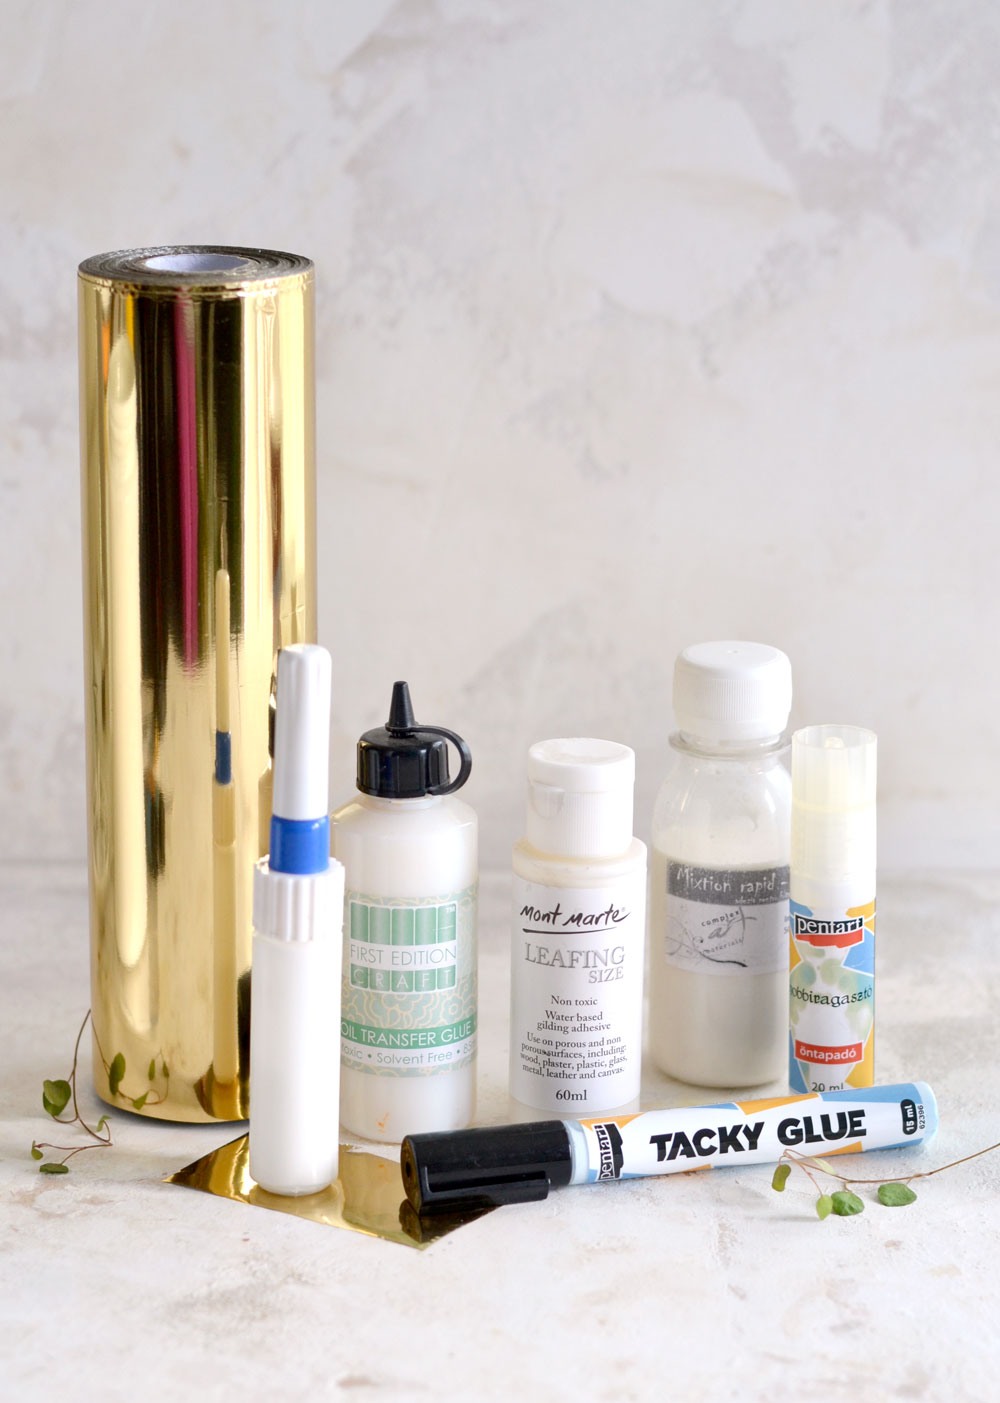
For this project we will be using the fine line applicator with the next important item on the list – a special gold foil glue. What’s special about this glue is that is white (or blue, depending on the brand) while applying it and it becomes transparent and tacky after drying. The tacky attribute is what we are actually looking for here, this way we will be able to easily apply the gold foil after the glue had the chance to dry. This one is also really AMAZING, you’ll just want to use it with the gold foil on everything! 🙂
This tacky glue is usually sold as a gold foil glue, but chances are you might already have something similar around. There are similar options available for adding glitter, for embossing or temporary positioning your stencils, etc. If you already have a glue that becomes tacky after drying, just give it a try with the glue applicator and the gold foil to see if it works. You could also use a water based gold leaf adhesive (remember gold leaf is different than gold foil, but this adhesive might work too) if you have it around, just make a few tests before.
You can see in the image below some of the adhesives that I have tried, all these can be used with a glue applicator to create a raised effect and will remain tacky after drying. You will get different results depending on what type of surface you are using the glue on and how porous that surface is. So again, just make a few tests before on a smaller similar surface and see what you get.
Tip: If you find your foil glue to be a little bit too runny (depending on the brand), you could mix it with a tiny bit of Mod Podge or gel medium, this will add some body to your glue and will help you use it with the glue applicator. Just make sure you don’t add too much Mod Podge or gel medium, you don’t want to alter the tacky attribute too much.
Note: Do not confuse these special glues that become tacky after drying with Aleene’s Tacky Glue, which is a regular crafting glue.
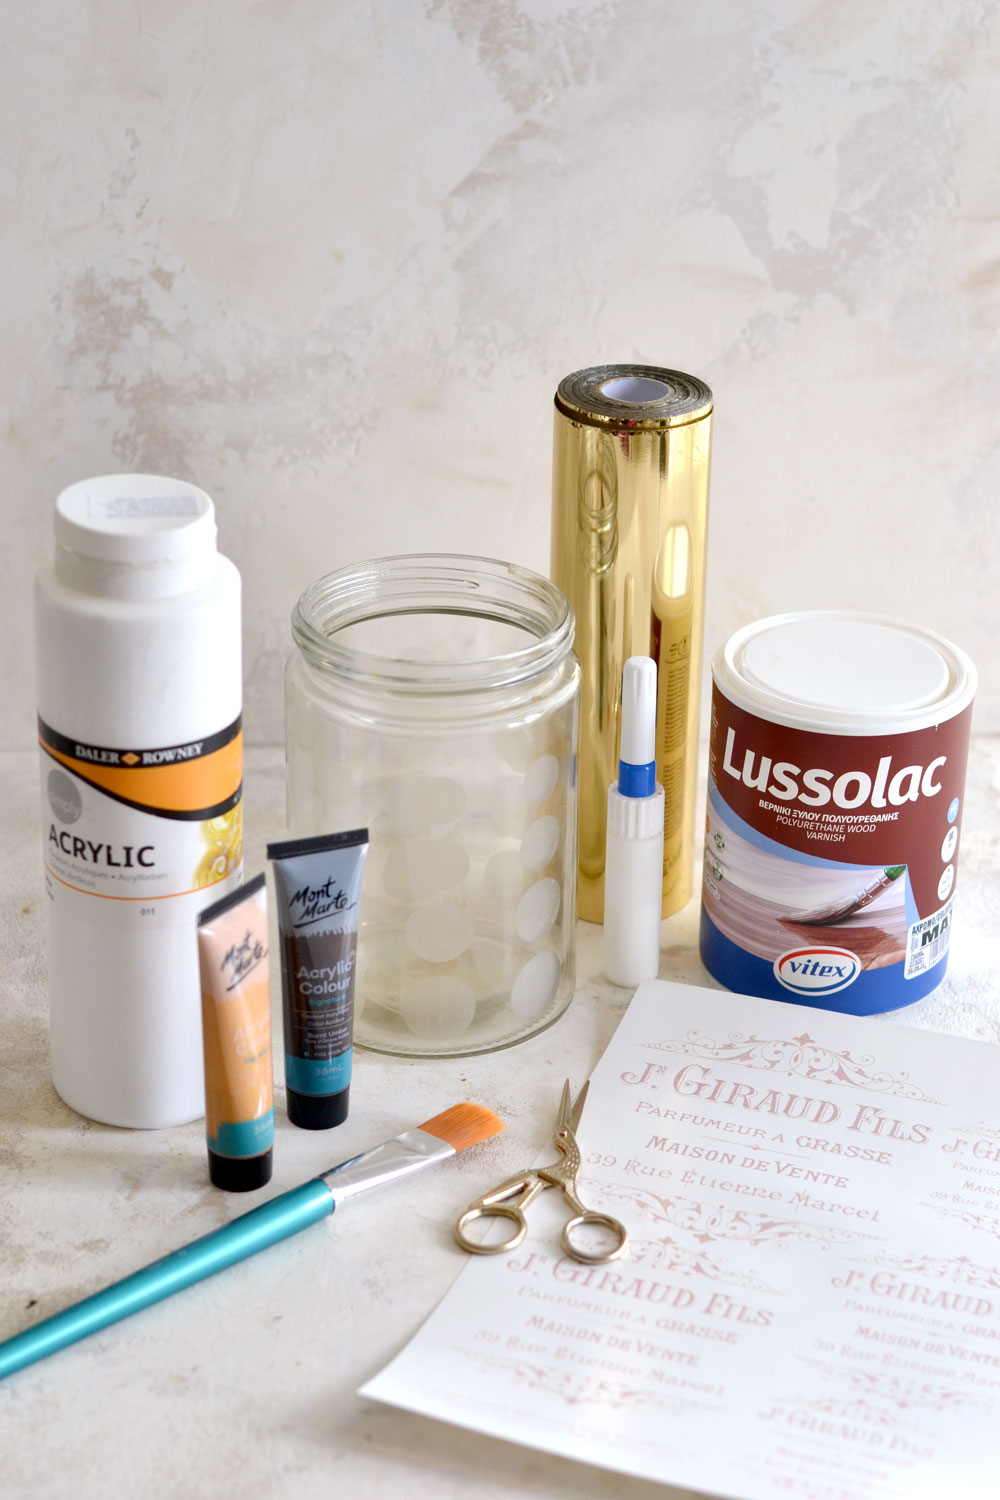
Easy gold Foil Decor Supplies:
- French ephemera printable (the brown version)
- a pretty jar
- waterslide decal paper laser or waterslide decal paper inkjet
- laserjet printer or Inkjet Printer (just make sure you buy the right decal paper for your printer)
- gold foil
- scissors
- gold foil glue
- fineline glue applicator
- acrylic paint (I used white acrylic paint, gold and Burnt Umber)
- regular flat brush
- round sponge brush
- sealer – I used a water based polyurethane varnish with a matte finish
- a plastic sheet or a non absorbent surface (to protect your working area)
Painting and distressing the jar
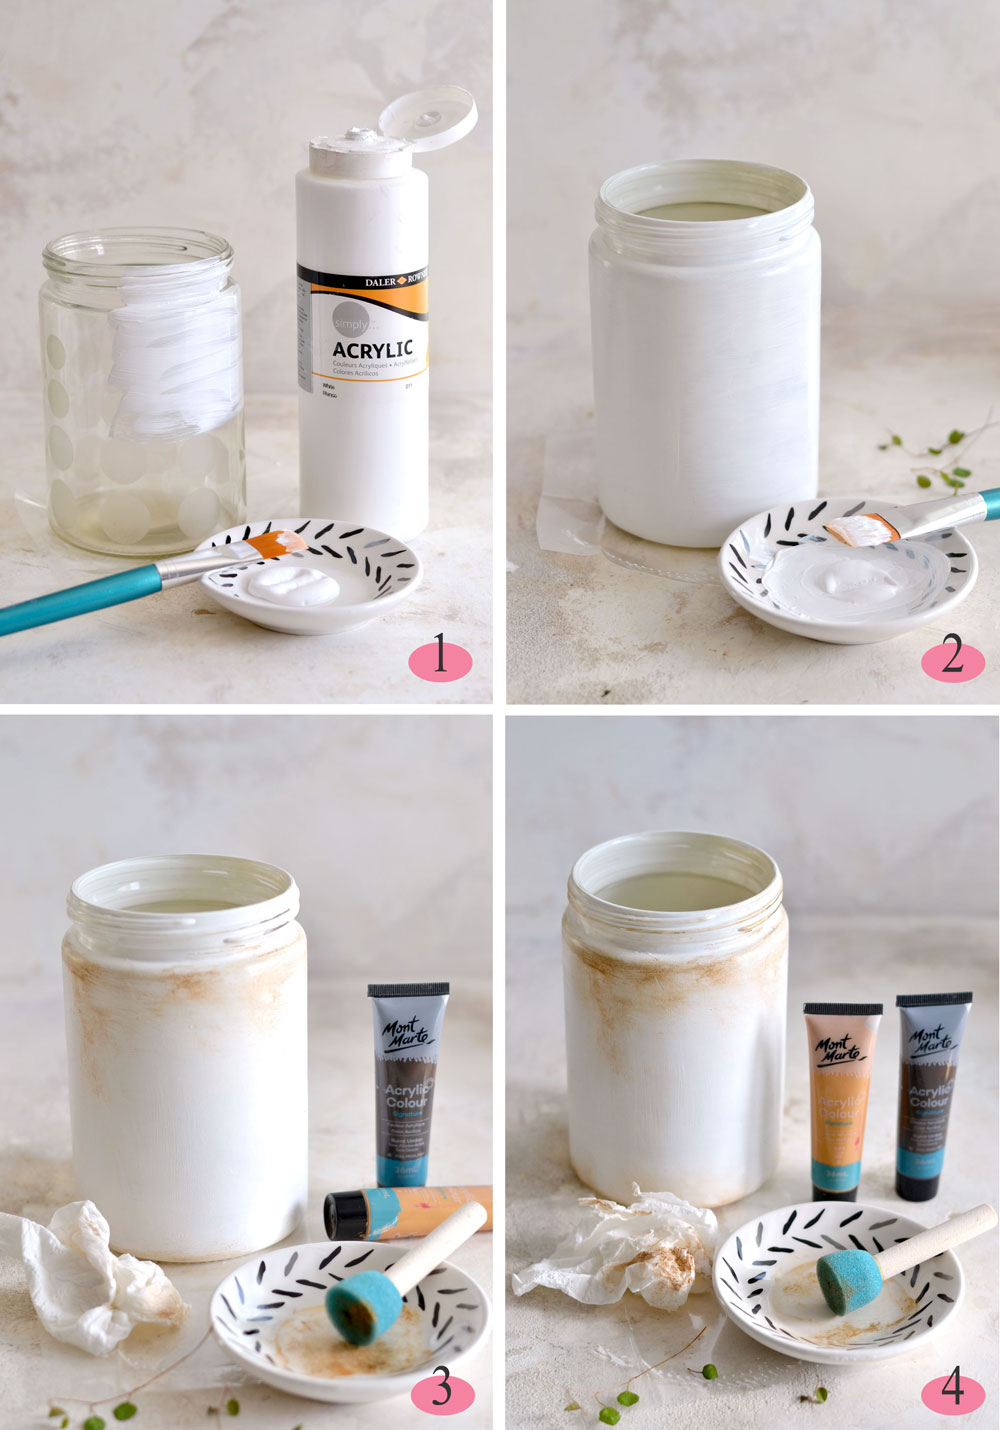
I wanted to keep things uncomplicated while painting this jar and also give it a beautiful vintage look. Just remember this: while painting a glass jar, it’s really important to let each layer dry completely before moving to the next layers. This part is essential! Why? Because you want to give acrylic paint the chance to almost plasticize and create a strong bond with the surface of the jar. If you are not careful with this, the paint on your jar might crackle or even wear off. Glass is usually a more pretentious surface to paint onto, try not to apply too much pressure or too much paint on one spot, it’s best to add several thin layers.
1. Start by applying a uniform layer of white acrylic paint on your jar. I usually go with horizontal brush strokes on the first layer, starting from the top, then I go around the jar following the same horizontal lines. Let the paint dry completely before moving to the next layer.
2. Apply as much layers of white paint as you want, until the jar is completely covered. You can alternate brush strokes while painting the layers – go for one layer with horizontal brush strokes, then go with vertical brush strokes for the next layer. Let everything dry completely.
3. To give the jar a beautiful vintage look, I used gold acrylic paint and a dark brown (Burnt Umber). I placed a few small dabs of gold and brown paint on a palette (a small ceramic plate in this case) and using a round foam brush, I applied a really small amount of paint on the edges of the jar, all around it. I also had a wet paper towel ready and I used it to wipe some of that paint off, to give it a more worn look. Apply as much paint as you want on the edges and on some other areas on your jar using really small amounts of paint. Try to avoid creating harsh lines and rather go for smooth strokes to give it a more ethereal look.
The image transfer
For our next step we will need to use an image transfer technique to transfer the image to the jar. I used waterslide decal paper this time, because it’s quick and easy. If you want to learn more about waterslide decal paper, you can find more details here -> All about waterslide decal paper transfers. Of course you can use any other image transfer techniques if your prefer – you can find a few ideas here -> 12 Easy Image Transfer Methods.
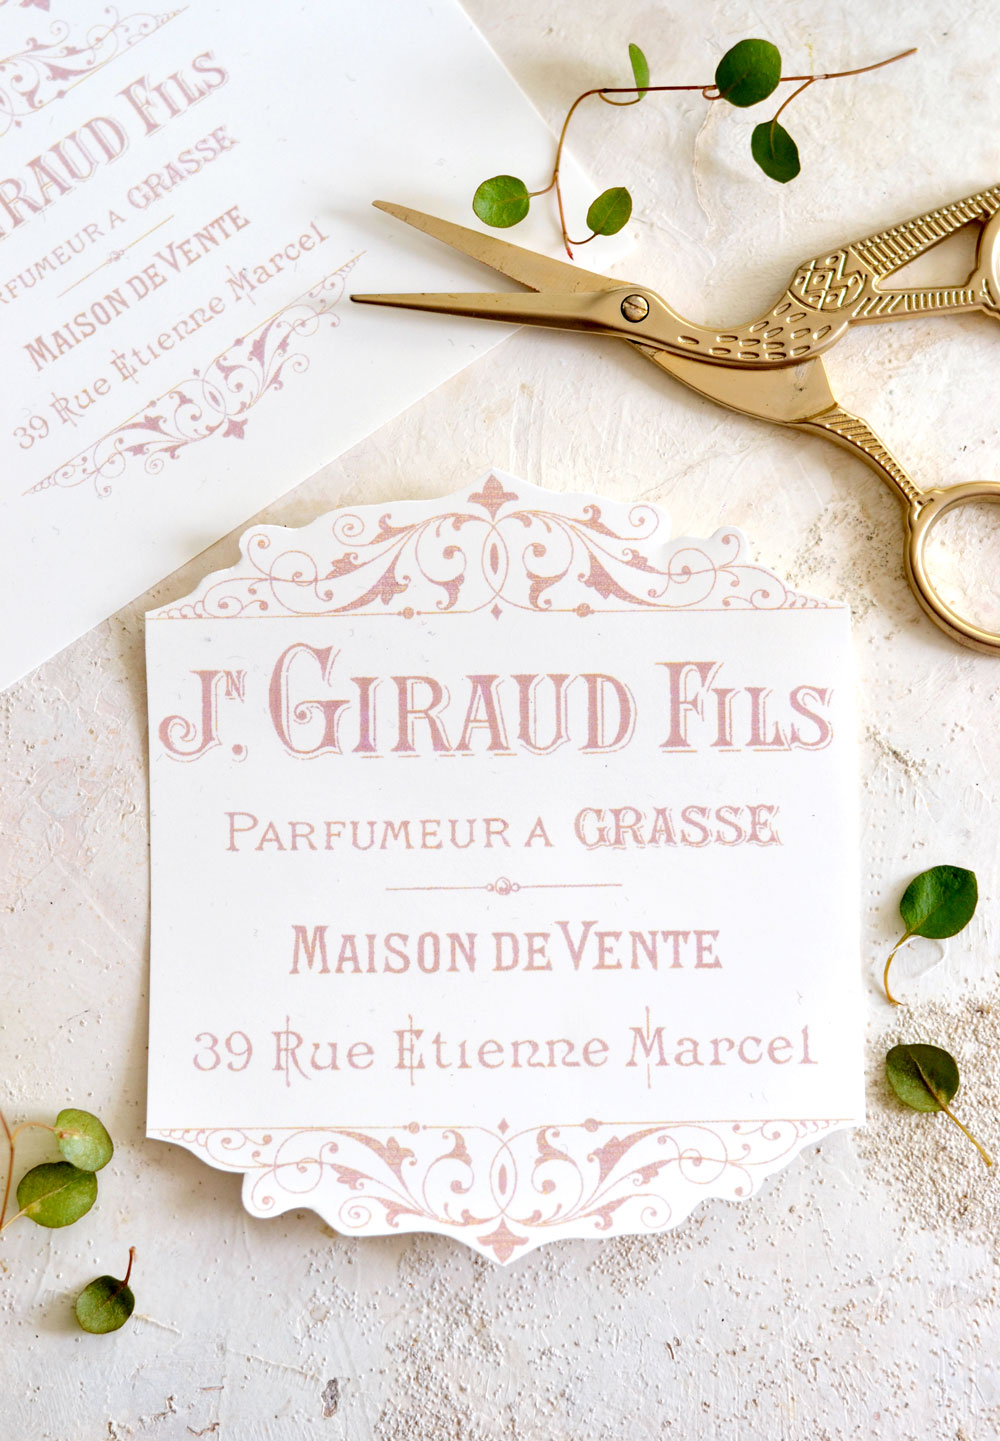
Cut your image around the beautiful embellishments, then follow an imaginary straight line on both sides and cut vertically.
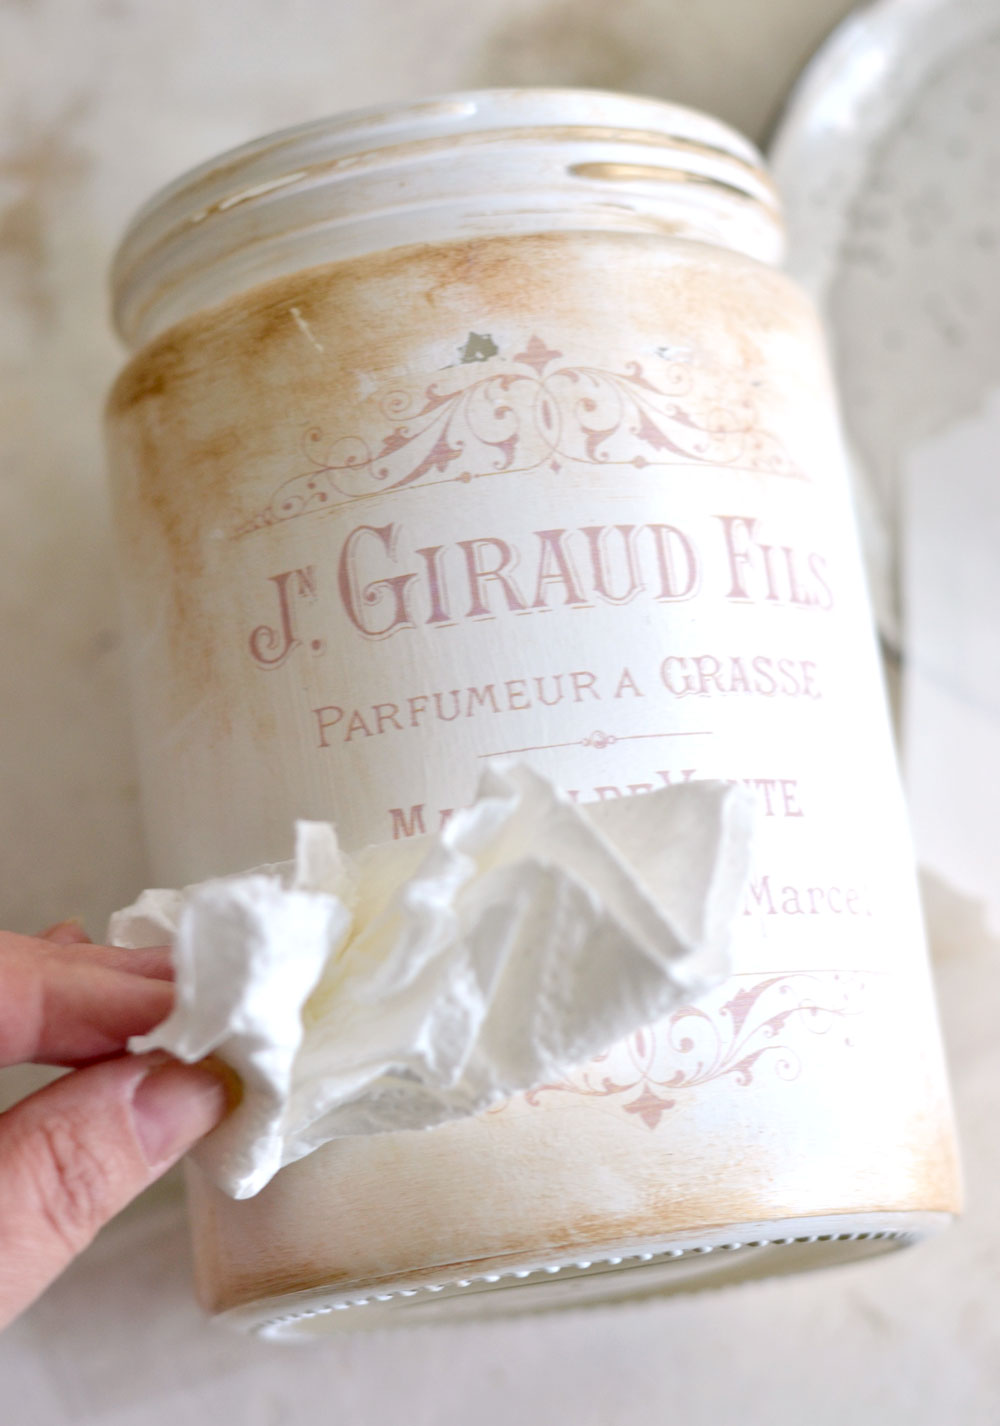
Apply the waterslide decal paper film on the jar using water and use paper towels to remove any air bubbles. Let it dry completely before moving to the next step.
P.S. As you can see in the image below, I haven’t actually listened to my own advice of letting the paint dry completely and I had a small area on top of the image where the paint wore off. Ooops! 🙂 As you know, I’m not usually looking for perfection in my projects and I try not to fret too much about any of these small imperfections here and there. Plus, a little bit of paint can always do the trick with these!
Easy Gold Foil Decor – Writing with glue and applying the gold foil
Next comes my favorite part! I actually find the whole ‘writing with glue’ operation quite relaxing and somehow rewarding! Not sure why, but it really gives me a good vibe! As you will see, some of the details on our image are quite small, so this is when the fine tip applicator really comes in, with all its glory! 🙂
Because of the curvy shape of the jar, writing on its surface can prove to be quite challenging. I always love a good challenge, but it would be best to practice on a flat surface beforehand.
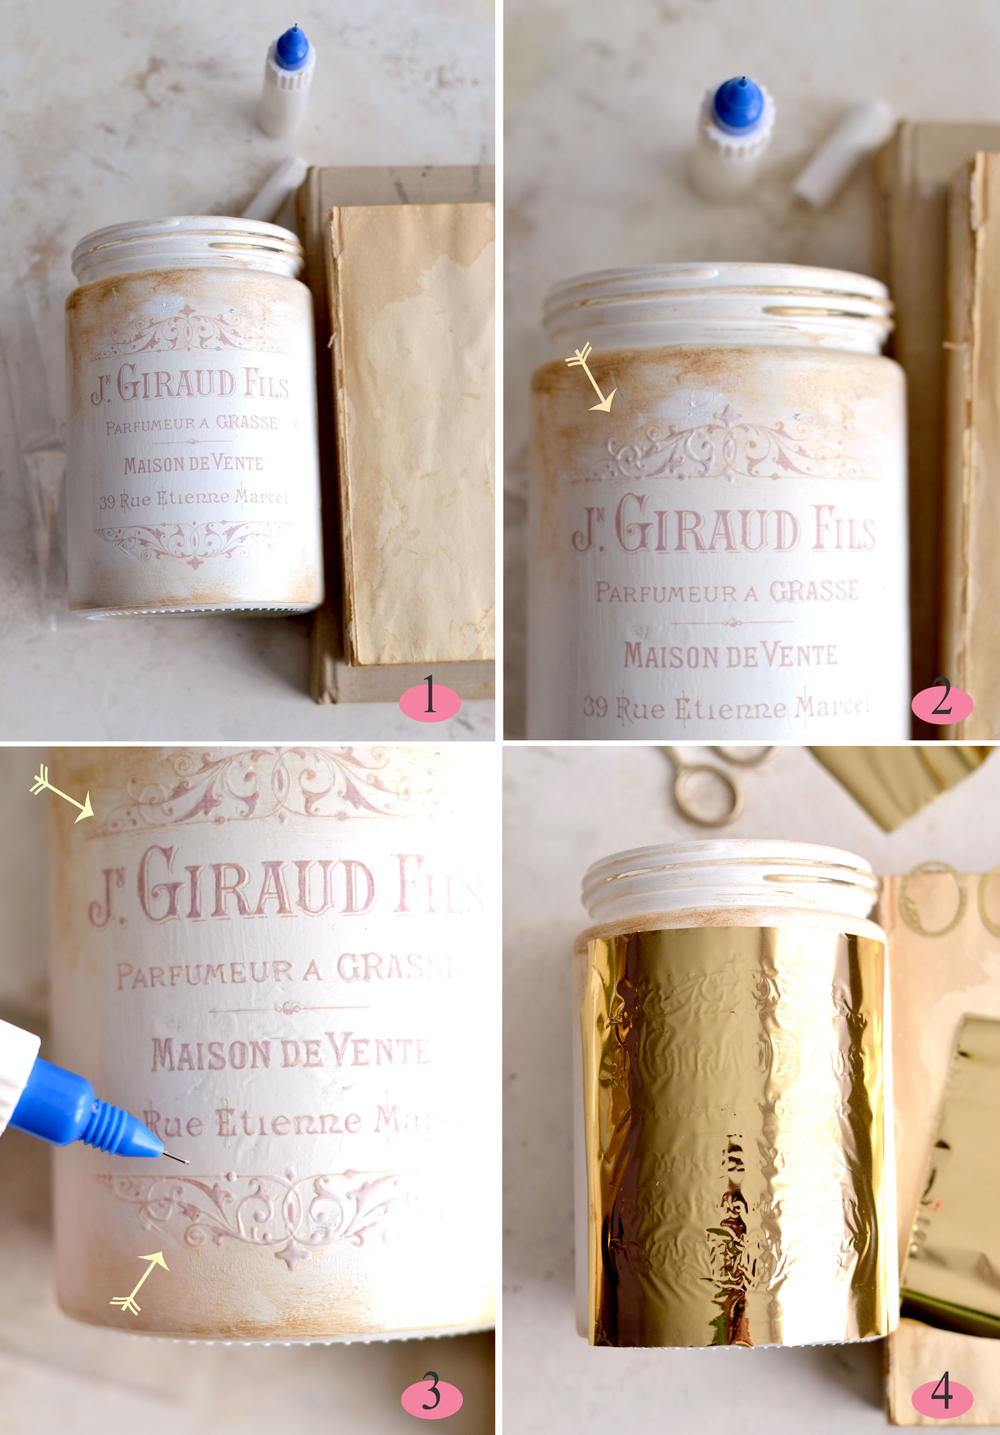
1. Start by laying your jar on your table and place a few books near your jar. The books will help you rest your hand while writing with the glue applicator, so place a few books on top of each other until you reach a height similar to your jar.
2. Start writing with the glue applicator on top of every single detail of your image going from left to right on a single row, then moving down – if you are a righty, if not, go the other way around. Rotate the jar if you need to do that to fill some of the details. Take your time, don’t rush things up, try not to place your hand over the already ‘glue painted’ details. Try to have fun and relax while enjoying the whole process! As you can see, the glue is white at first.
3. Write with glue over all the details, trying to keep a steady hand and trying to make glue strokes as close to the original design (embellishment and letters) as possible. Here you can see how by the time I was finishing writing with the white glue on the lower part of the image, the top part started to dry and became transparent. Let the glue dry according to the type you are using (mine takes around 15 minutes to dry).
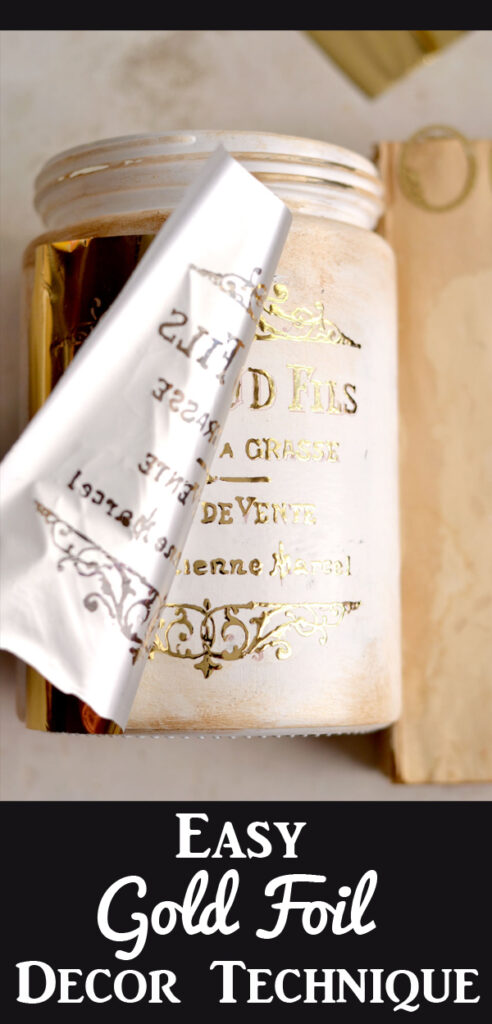
4. Cut a piece of gold foil that is larger than your design and gently apply it on top. Press the gold foil with your fingers and apply enough pressure all over the raised glue written portions of your design. Go all over the raised embellishments and the letters and apply pressure by tapping with your index finger, working in small sections, to make sure the foil is properly adhering to the glue.
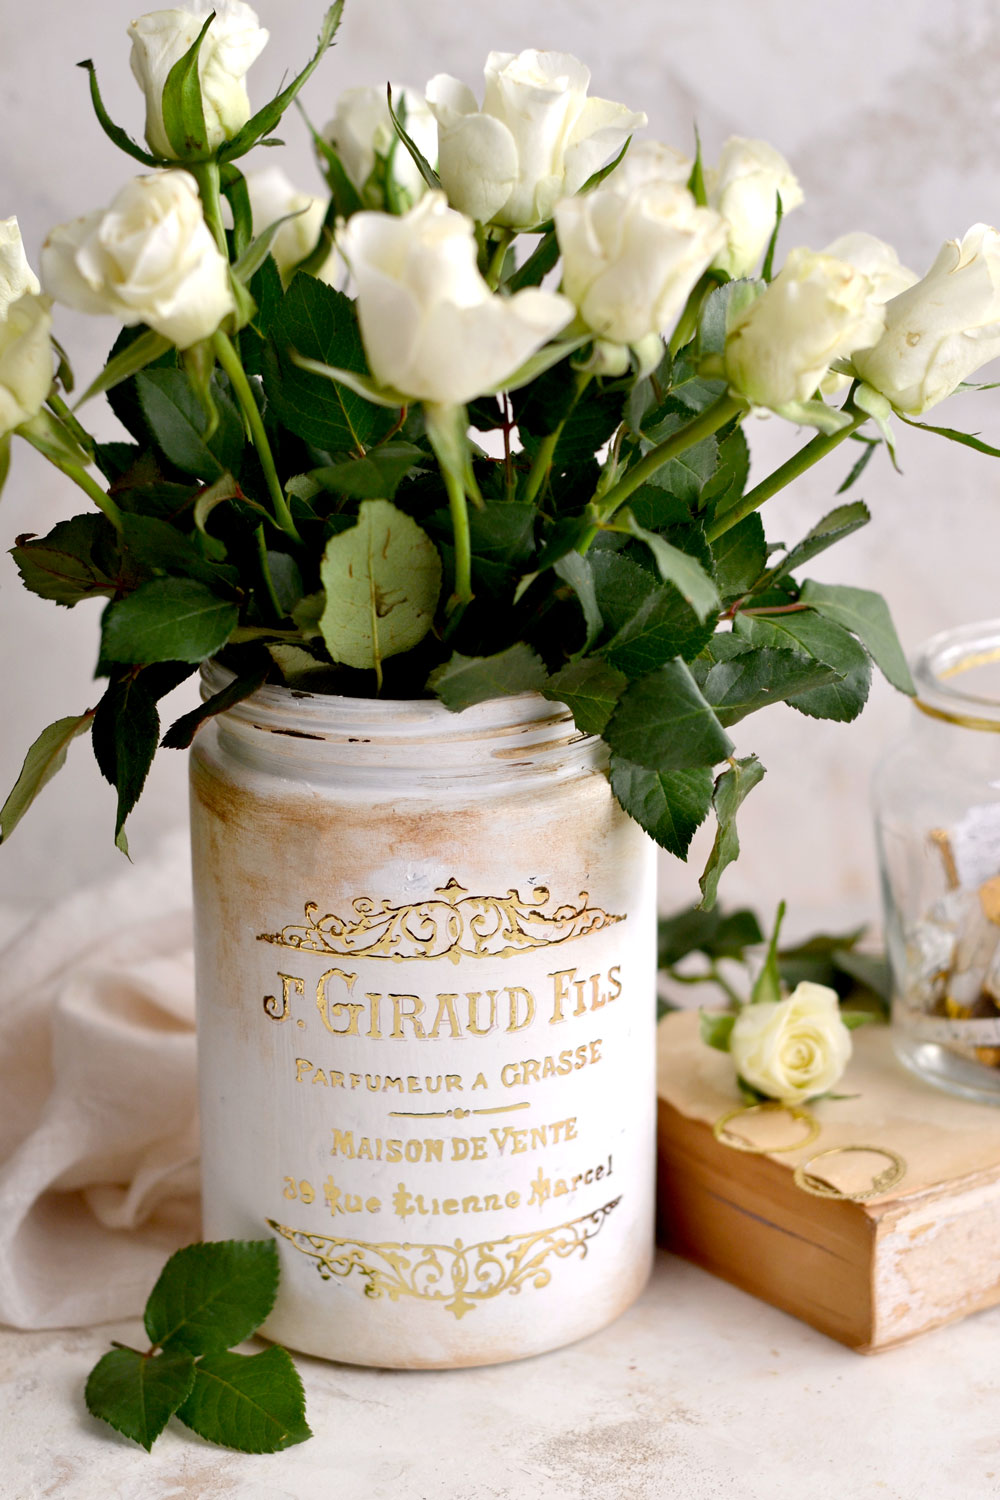
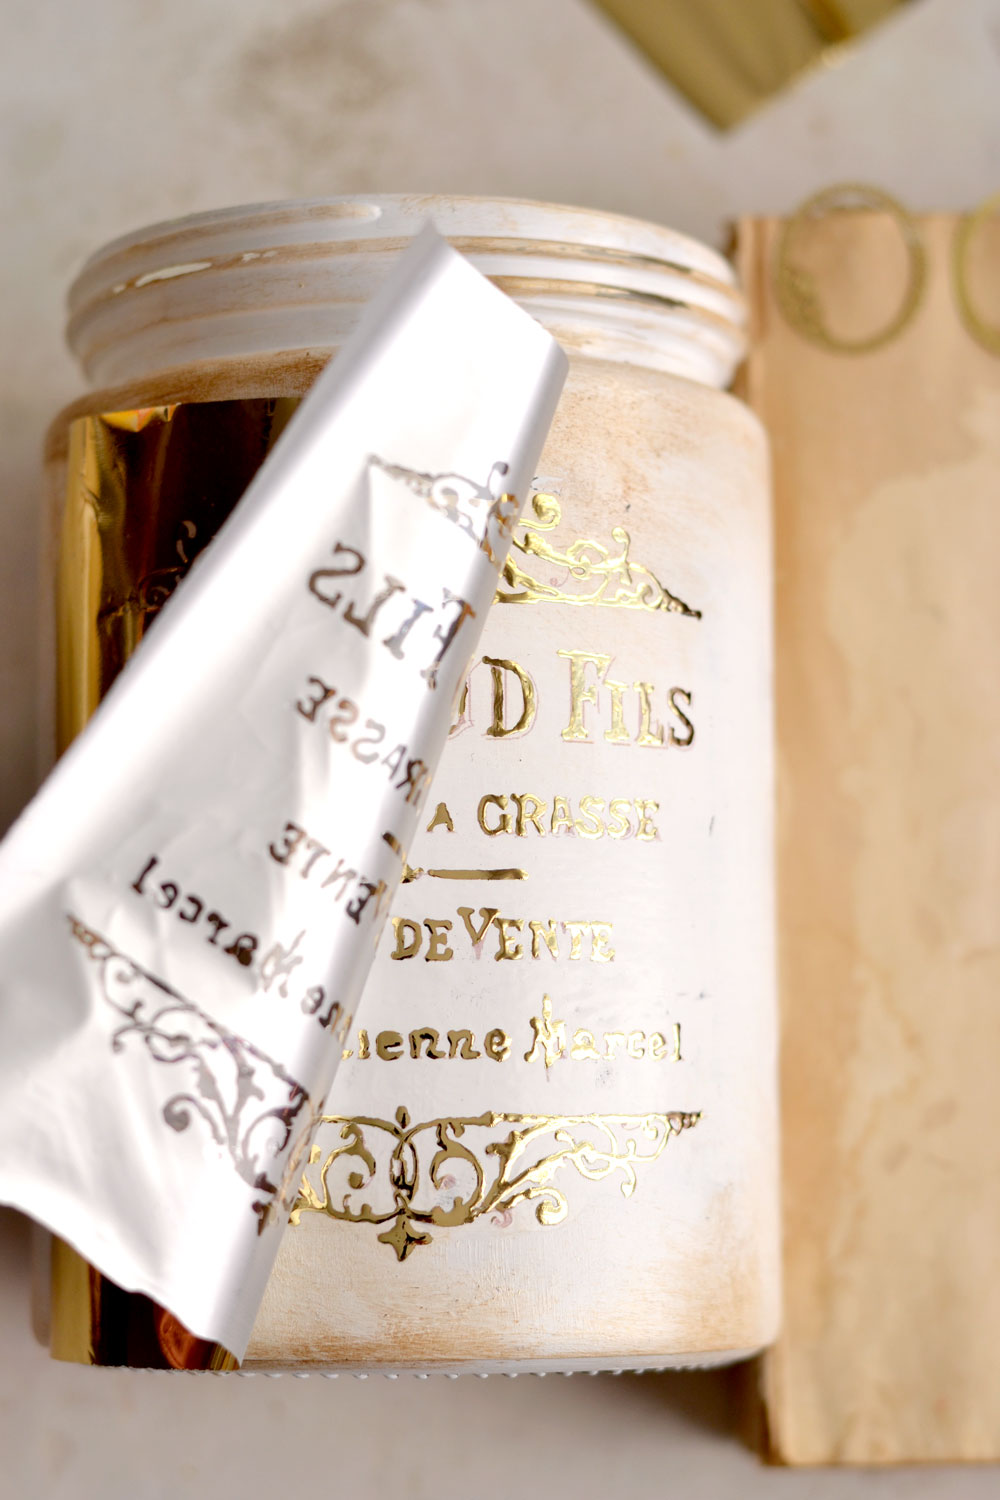
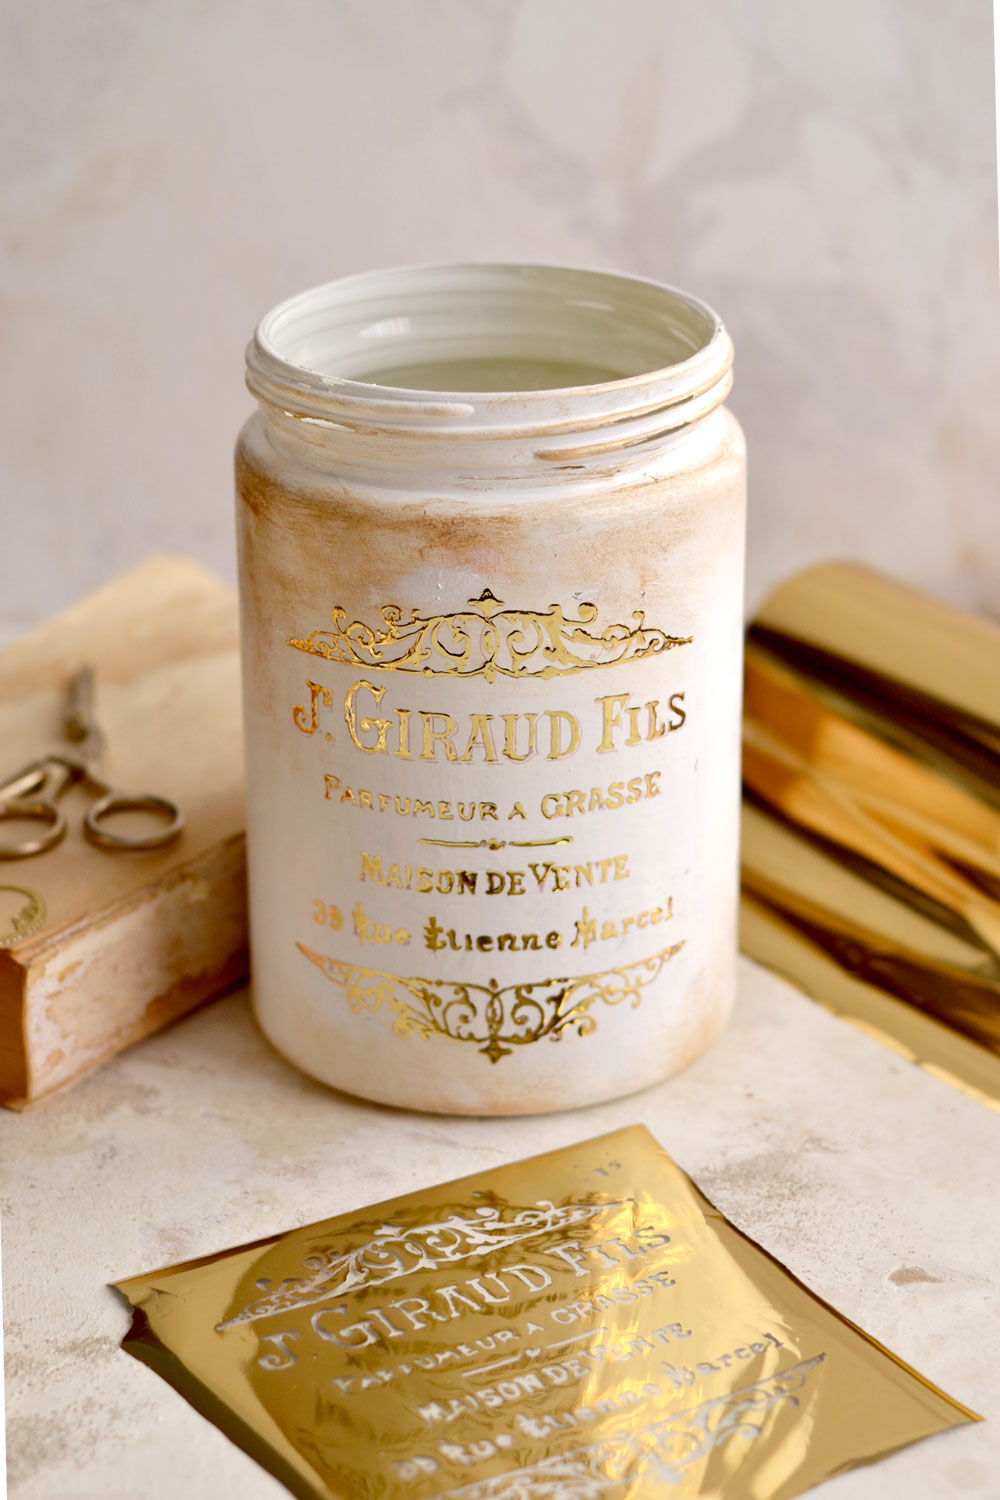
Gently unpeel the metallic gold foil and prepare to be totally in awe with your stunning French gilded creation! 🙂 Your DIY Gold Foil French Jar is ready! The makeover is now complete! If you have some tacky places where you didn’t apply enough pressure and the gold foil hasn’t properly adhered, use the leftover gold foil to quickly tap and ‘repair’ the missed spots. There is also a possibility of having a few missed lines on some letters or even some small mistakes – you can simply go again and fill those lines with the glue applicator, let it dry again and apply a tiny bit of foil on that small section.
The gold foil can be easily sealed with a water based varnish, but I would strongly suggest to make a few tests before actually sealing the jar, some varnishes might interfere with the shine of the gold foil.
The final results are absolutely stunning, even with their small imperfections and I’m usually over the moon when I finish a magical golden project like this one!
Related project: DIY Gold Foil Butterfly Stickers
I’m really hoping you will give this Easy Gold Foil Decor Jar makeover a try, you will be surprised to see that it looks even better in real life! Gold is usually quite difficult to capture in photography in all its glory, so you NEED to make this to see how sensational it actually is! Pair it with a delicate white rose bouquet, some coffee stained vintage books and why not, some of my DIY Script Chocolate and you’ll have the perfect ‘designer piece’ for your home. Or for someone else’s home, if you decide to turn it into a gift!
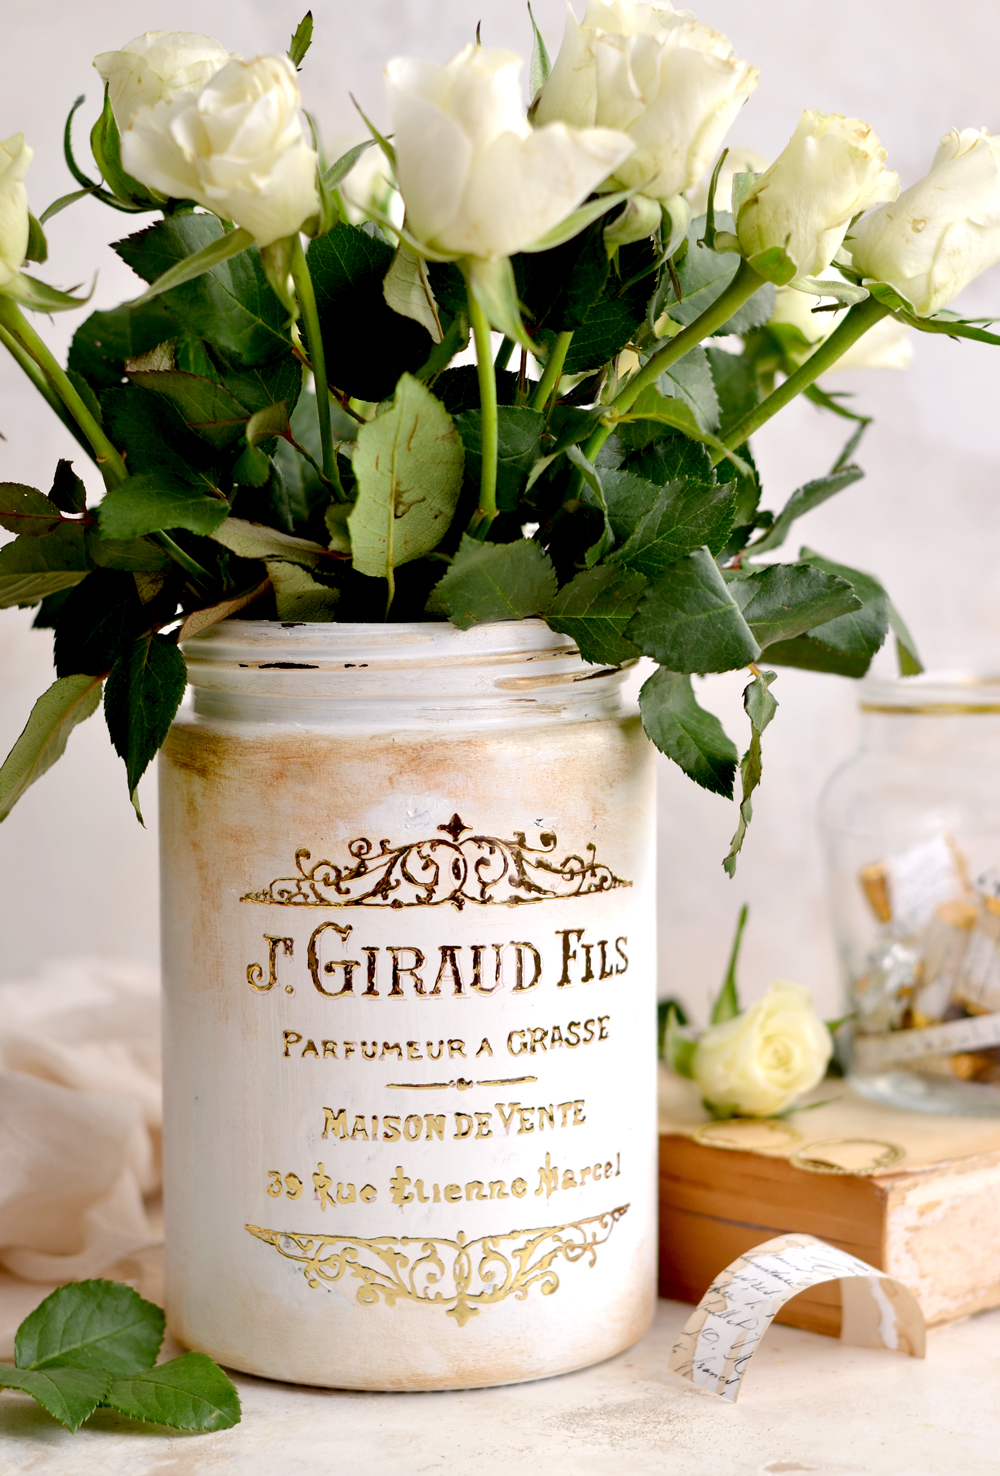 Handmade gifts are always the BEST, don’t you think? You can use this ‘write with glue and apply gold foil’ technique on any other surfaces, even on paper, just experiment and see where your creativity takes you! It could be a great addition while decorating gorgeous tags, adding golden handwritten details to junk or art journals or any other of your mixed media creations!
Happy crafting,
Diana / Dreams Factory



Angela says
After reading the supplies list, am I to understand that an inkjet printer will not yield the same results as the laser jet that’s recommended? I’d love to try this, but am feeling disheartened now.
Karen Watson says
Hi Angela, Diana used laser waterslide decal paper for her transfer because she has a laser printer. They do make waterslide decal paper for inkjet printers too! I have updated the supply list on the post with a link to the inkjet version on Amazon. I hope that helps!
Irene says
love it Diana!
graphicsfairy says
I am so glad you enjoyed another of Diana’s beautiful creations Irene, have a wonderful day!