Hello Graphics Fairy Land!
My name is Candie Cooper from CandieCooper.com and this is my first time contributing to this amazing site. That being said, I AM SO NERVOUS!
I’ve been a long time fan of The Graphics Fairy so it’s a true honor to write this post for you. In short, I create all sorts of things, but my passion is jewelry making so I thought I’d share a quick and easy necklace idea. The inspiration for these goes like this: Help! It’s 3 weeks til’ Christmas and I still want to make some gifts! If this sounds familiar, you might find this tutorial handy.
Here we go (insert jingle bells)…
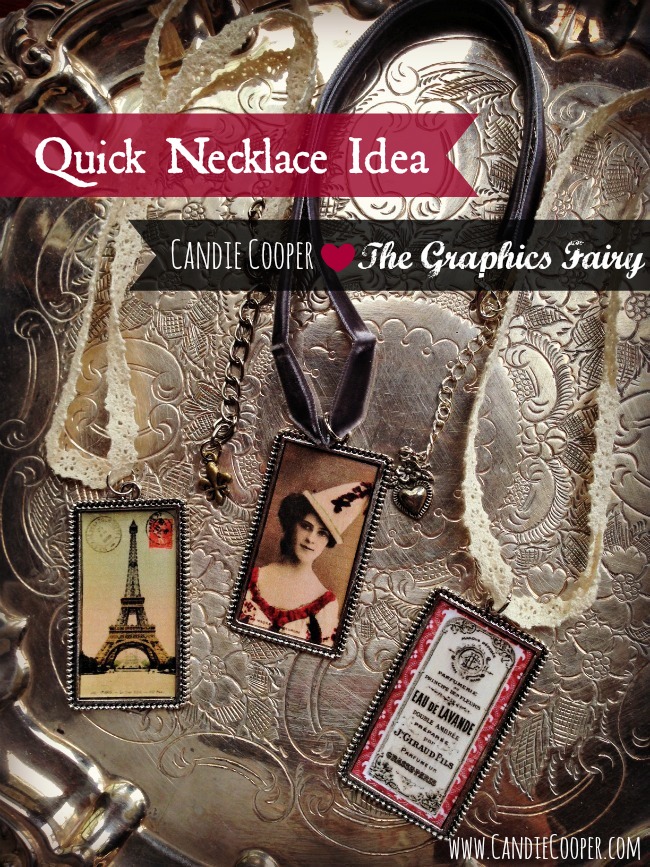 I made these bright and early this morning here at my old library desk. With a pot of French press coffee and my printer fully loaded with ink, I can do anything! First, I picked out these images (to be honest, I could’ve picked out 100 more, but then I reminded myself that there are only 3 weeks until Christmas):
- Lady in Pierrot Coustume
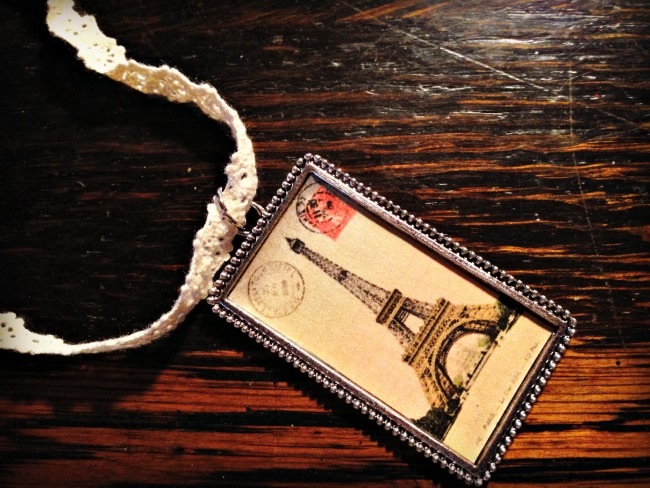
- Eiffel Tower with Postmark
- Old French Perfume Label backed with Red and White Fleur de Lis pattern
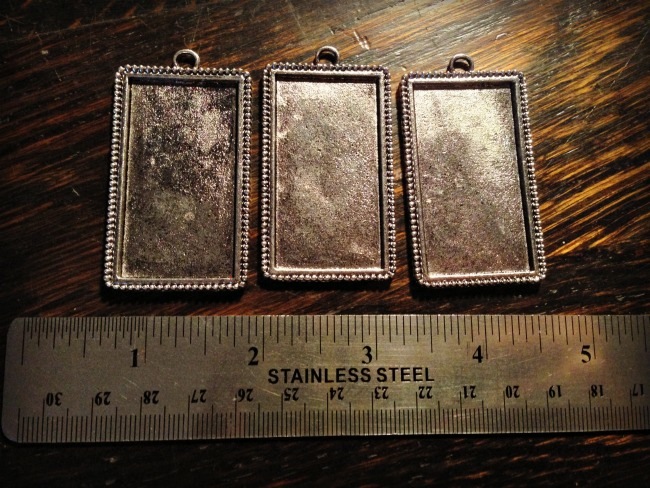 You can find these metal pendants at the craft store in various shapes and sizes. They are called “bezel frames or pendants.” Measure the recessed area inside of the pendant. Mine were 1 7/8 tall so I converted 7/8 to a decimal by googling it. I’m sure I learned how to do that in grade school, but that section of memory is GONE-O.
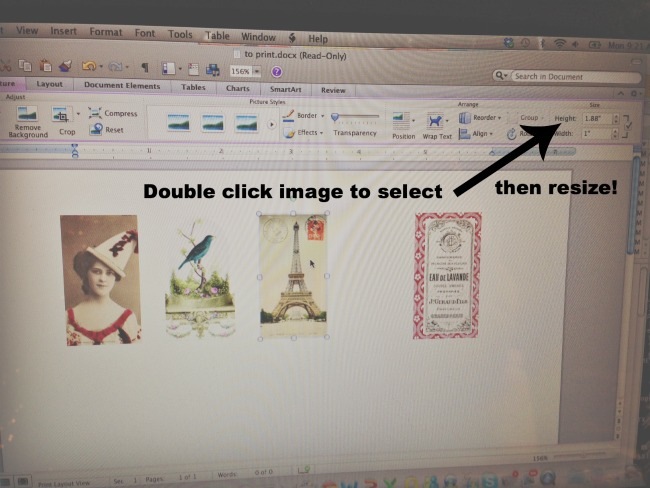 Insert the pictures into your word processing program and resize so they fit the inside of the bezel frame. I made a few notes on the photo so you can see.
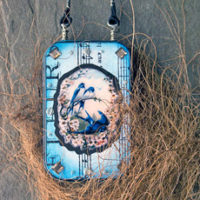
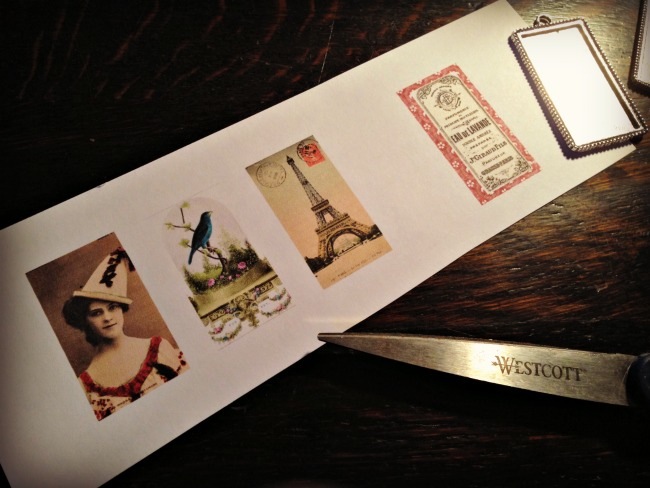 Print the pictures onto card stock and cut out. I really loved the bird image here, but cut it too small because I couldn’t see the lines as easily (learned my lesson).
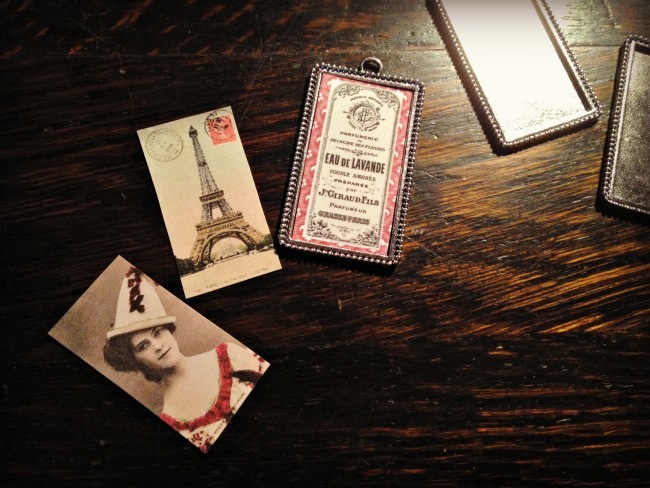 Are they nice and snug in the bezel frame? Yes. Then it’s time for some Matte Mod Podge!
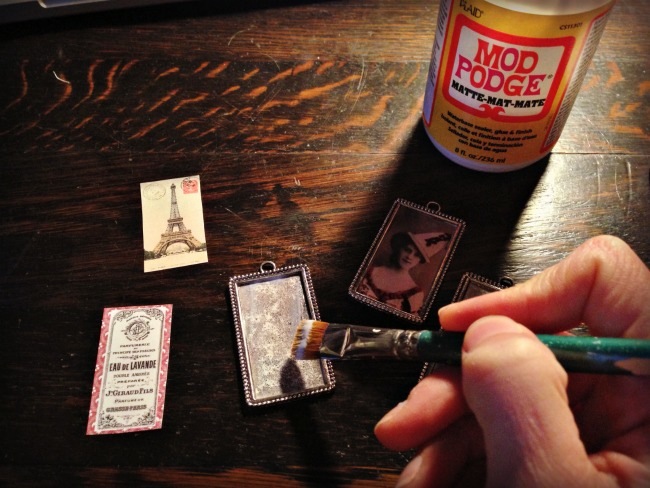 For this project, I’m using Mod Podge in Matte because it has a smooth finish that keeps the vintage feel. You could also use glossy Mod Podge. Also, I’m using HP ink so it doesn’t smear so much when it’s sealed with the Mod Podge. The folks at HP aren’t paying me to say that either. In the past, I’ve printed the images and then taken them to a color printer to photo copy so the ink is permanent. Adhere the image to the frame by painting one coat of MP on the metal, pressing the image into place and then sealing with one coat of Mod Podge. Don’t over-do it on the sealing because the ink can still smear a tiny bit if it’s over brushed.. These will dry really fast. Yay!
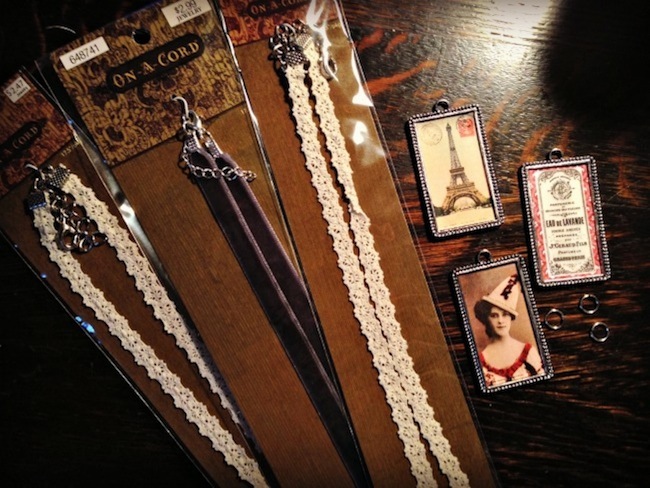
Here is our secret weapon to making jewelry really fast! Pre-made ribbon necklaces found in the jewelry section of the craft store. I like how sweet and simple they are. Plus, they come in many colors and types.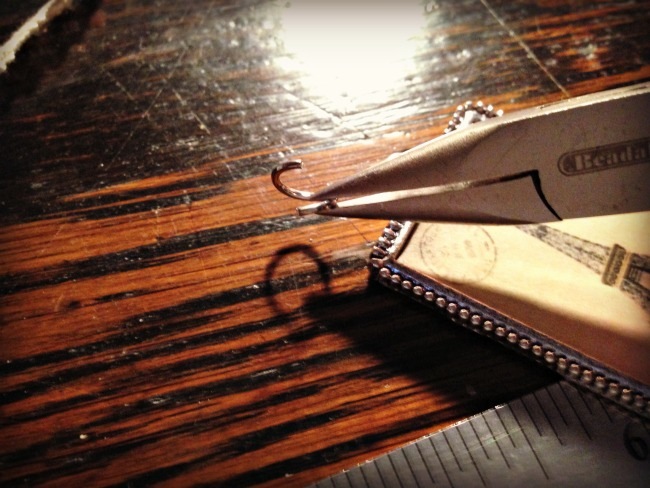
Also in the jewelry section of the craft store you will find connector rings called “jump rings.” You may also need a basic set of jewelry pliers (chain nose, round nose, wire cutters). Place the opening of the ring at the top and hold the sides with your fingers and pliers. Twist the ring open from side to side.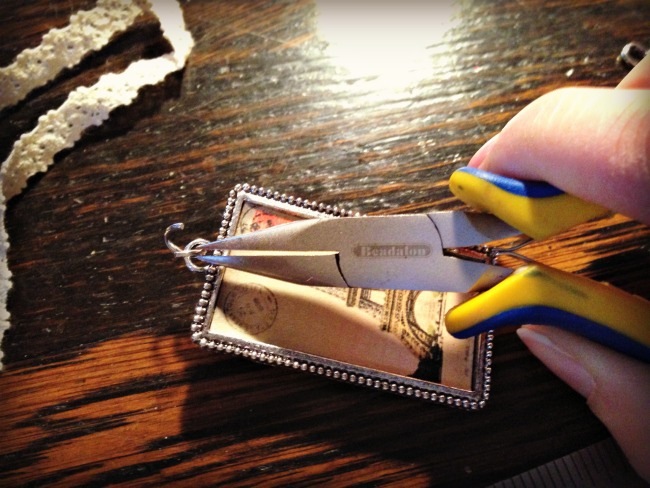
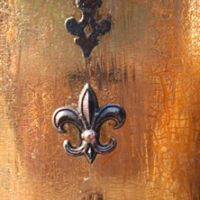
and then to the ribbon and close the ring. Ta da!! Now, you could stop here, but more really is more in my world so let’s add a charm to the clasp area as the cherry on top.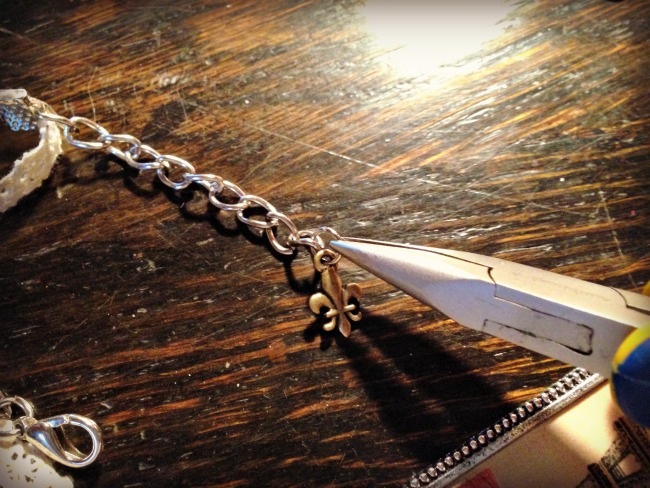
Connect a tiny charm to the end of the chain with a jump ring as well. You could add a few charms. Get crazy! Oh, but wait, there’s only 3 more weeks until Christmas. Focus, Candice.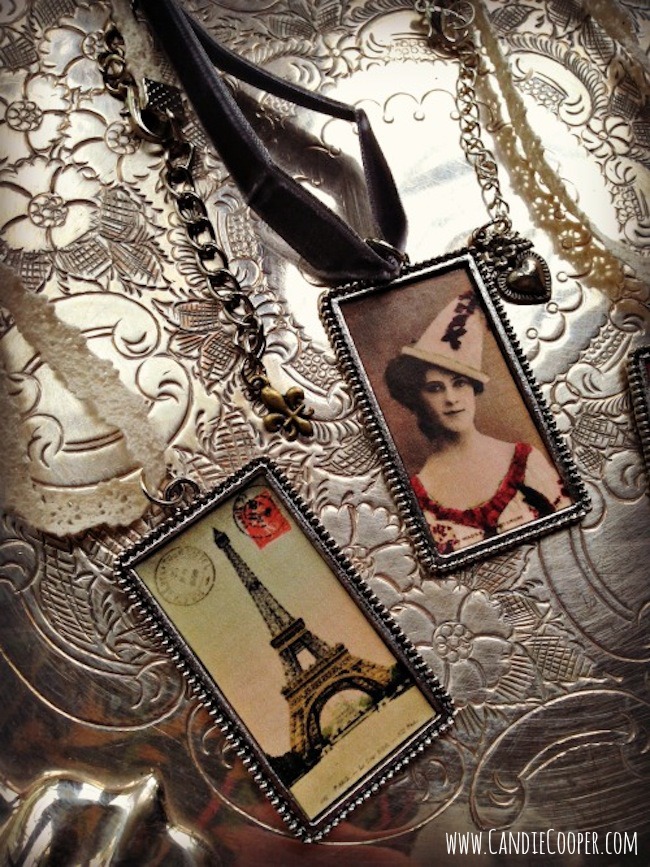
Isn’t that pretty? The more you make, the faster they are!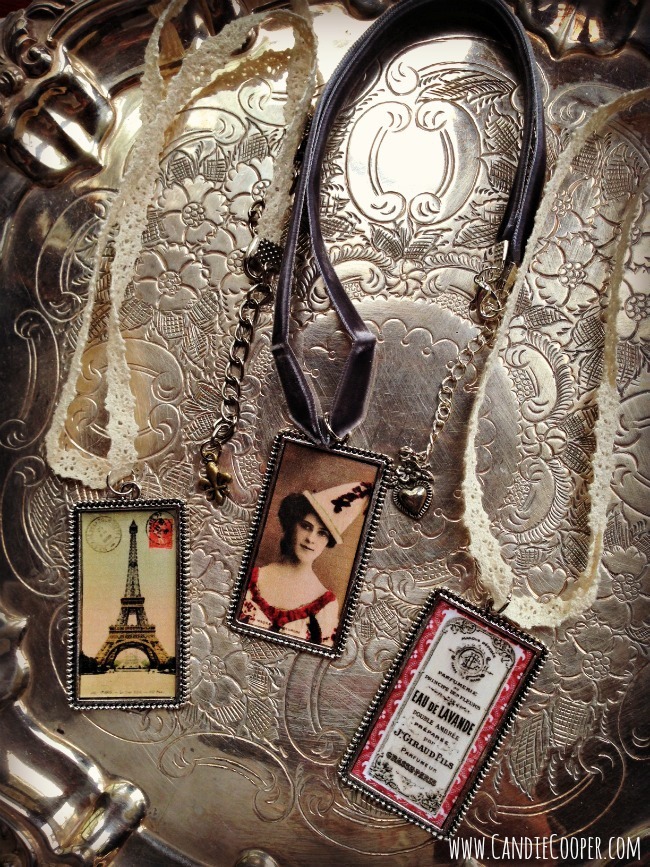
Ooo La La! Merci to The Graphics Fairy for having so many delightful images to browse through. The categories made it so easy to find the perfect image for the necklace recipients.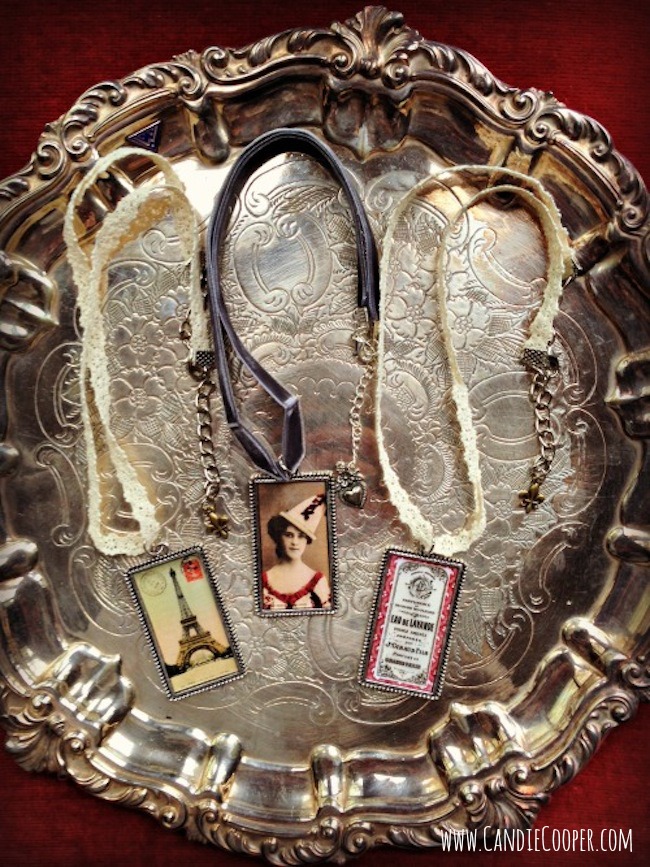 Ready to package up and give! If you like this project, come visit my website, Candie Cooper, where you’ll find this ornament project using more images from The Graphics Fairy!
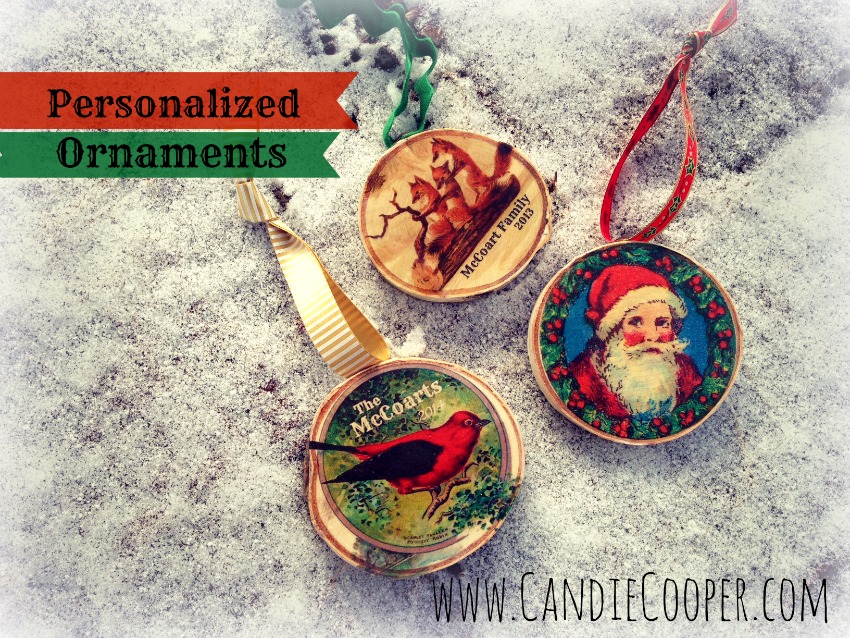 Thanks again and I’ll see you here in the New Year!
Candie


Sheryl says
fabulous, my daughter just went to Paris and I was looking for an image to make a keepsake for her.
Candie says
I just read all your comments! Wow! Thank you so much for the kind words and the warm welcome. XO.
Sherry @ The Rusty Pearl says
I love the necklaces. Talk about a fab job. LOVE LOVE LOVE
Cath T says
They look terrific. Thanks for the detailed how-to.
michele s says
beautifully done! thanks for the tutorial! xo
Keith@ Vintage Crab Jewelry says
You can lightly spray the images with hairspray before the ModPodge to keep the ink from running. I love all of the necklaces and ornaments. Great job!
Karen Watson says
Great tip Keith!! Thanks for sharing!
Karen Watson says
I’m so glad you all liked Candie’s post as much as I did!! I’m so excited to have her on my team! Be sure and pop on over to her site, you will be so glad you did!!
Cyndi Cesare says
Loved the post. Now, I’m inspired to pull out my jewelry making supplies. Thank you.
Theresa says
Beautifully done! Don’t be nervous, I think you did a wonderfully creative job. Thanks for sharing..
Kay says
WON-derful post Candie. Subscribing to your site and off to Michael’s to get supplies…
Beth N says
Excellent and fun tutorial for such a simple but stunning necklace. Thank you both for sharing. Heading over to Candie’s site now, I am an instant fan!
Cris says
LOVE these! So easy and adorable. Thank you Karen and Candie for sharing this.
Now I need to make a trip to town, I want to make some for a little extra Christmas present surprise for the fam!