Embossing Powder Techniques
Hey all. One of our amazing Mixed Media Design Team Members, Kelly Boler from Book and Paper Arts, created a few amazing Embossing Powder Techniques for us this month. As you know, we feature one new Mixed Media project each week created by one of our fab tribe of artisans. Our goal is for you to be totally inspired by this series! Therefore, please make sure you check out the video tour at the bottom of the page…please scroll all the way down to see it. Are you ready to be inspired? I will step out of the way and let Kelly tell you all about her techniques…
Using Embossing Powder
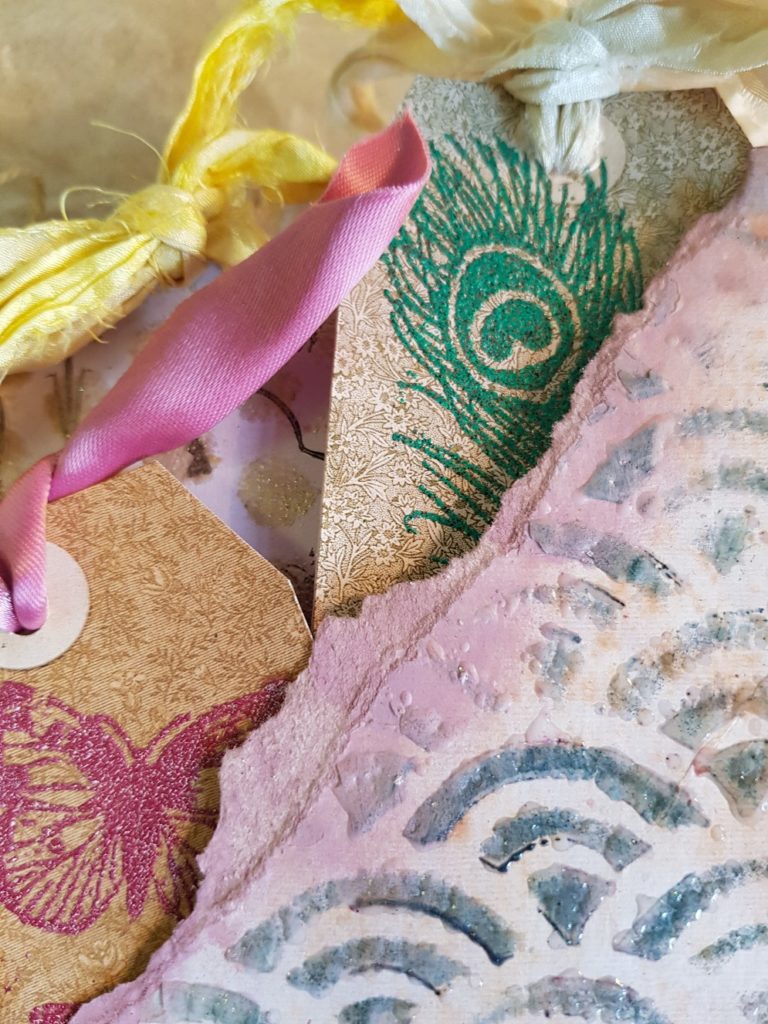
Embossing powders are a fun way to add texture, depth, and interest to your pages and mixed media art. The most basic technique, Embossing 101, involves adding stickiness to paper using a special stamp pad. This pad is more sticky with a longer drying time than a regular ink pad. After stamping, you sprinkle the powder, shake off the excess, and heat with a Heat Tool until the powder pops and blisters. This is still one of my favorite ways to play and add interest to pages; especially tags.
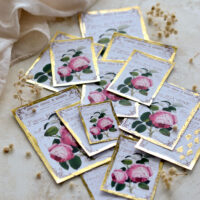
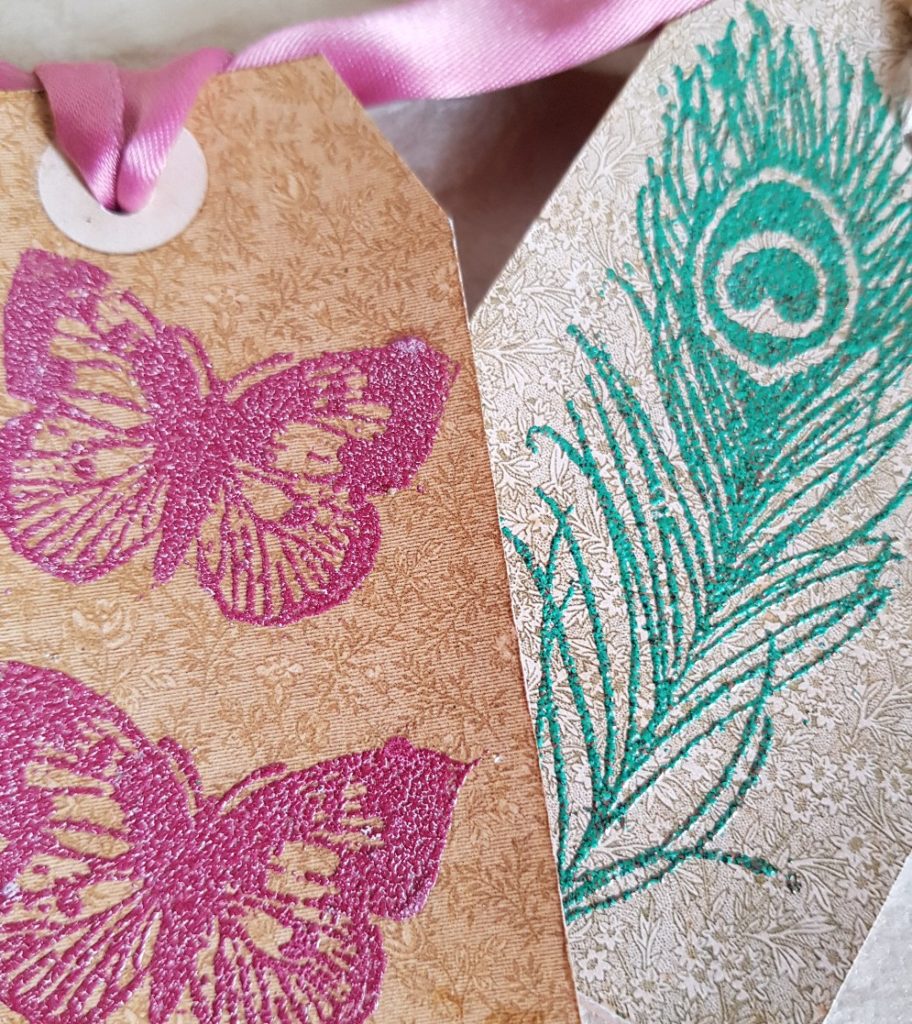 Here I have used my own rubber stamps over pre-shaped tags from The Graphics Fairy’s Delicate Endpapers Images bundle. I chose them because, while they have lovely color and pattern, they do not have a subject yet as a focal point. Therefore, this allows the embossing to be the star.
Clear Embossing Technique
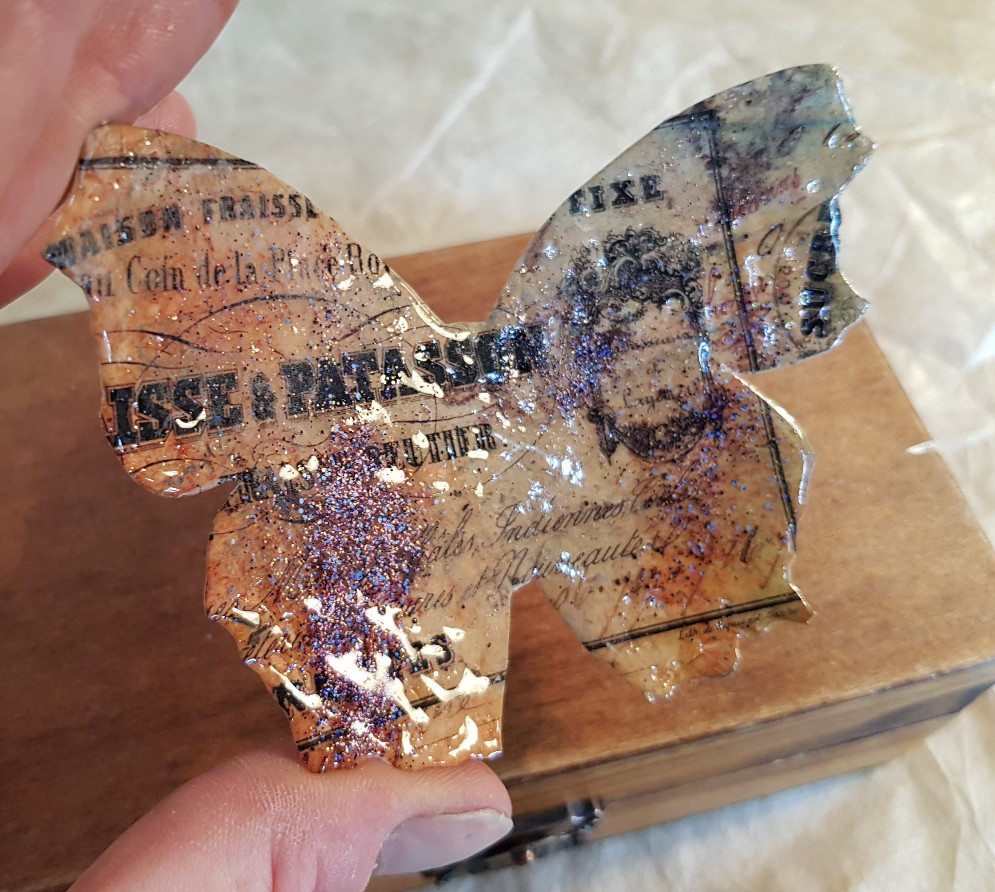
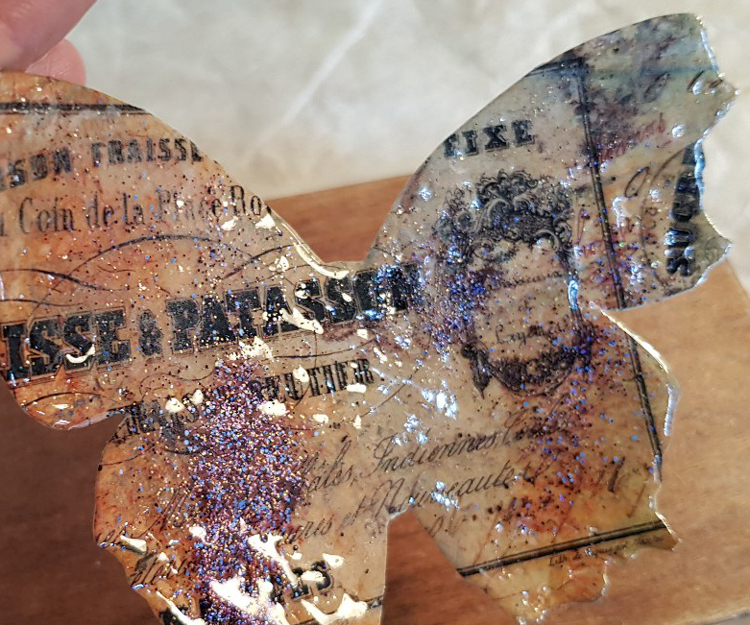
However, there are other ways to use embossing powders in your work. If clear embossing powder is added evenly to the entire surface of a cut out, then heated, it creates a glasslike finish similar to a faux enamel. Here I used preformed shapes from the Gorgeous Butterflies bundle.
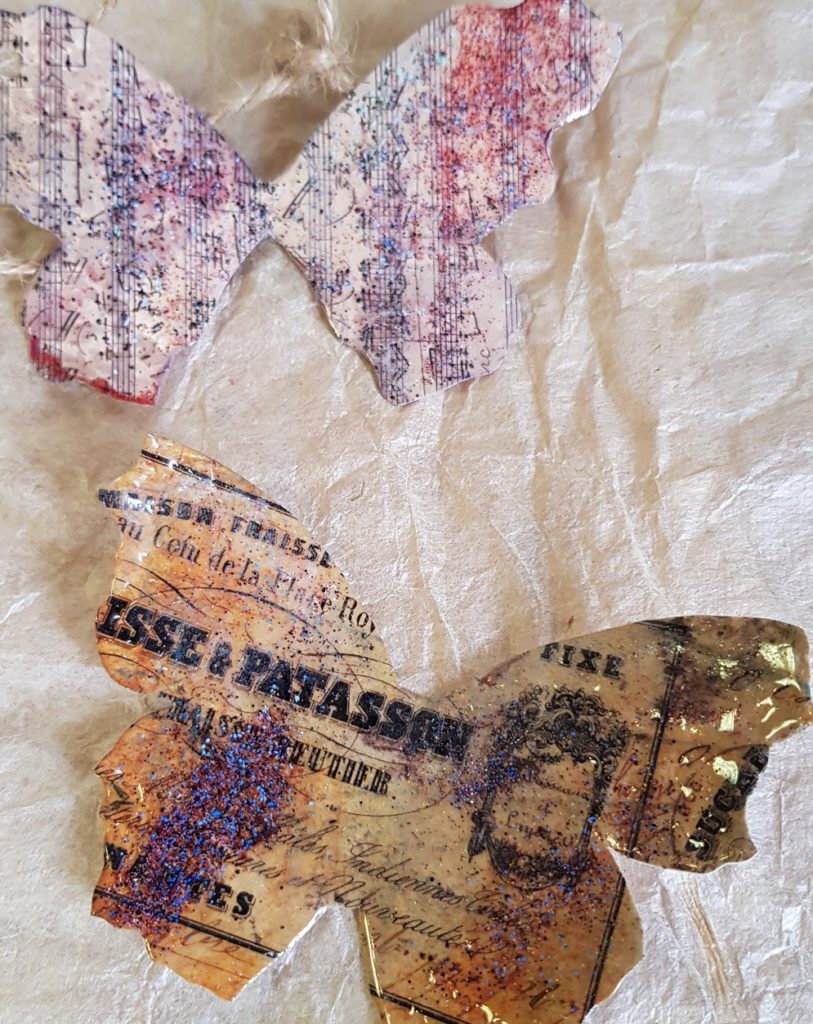 After the first clear layer had cooled, I added sprinkles of colored embossing powder. Then I heated again to add embellishment, but not enough to obscure the original underlying design. Similarly, I added one from a page of the Antique Sheet Music bundle. I printed the sheet music and then used a stencil cut butterfly. This also works with a die cut or even a pattern cut by hand, such as a free-form heart. When finished, your piece can be used in a variety of journal work or assemblage pieces. With an added ribbon it becomes an ornament or possibly a pendant.
Embossed Frame Technique
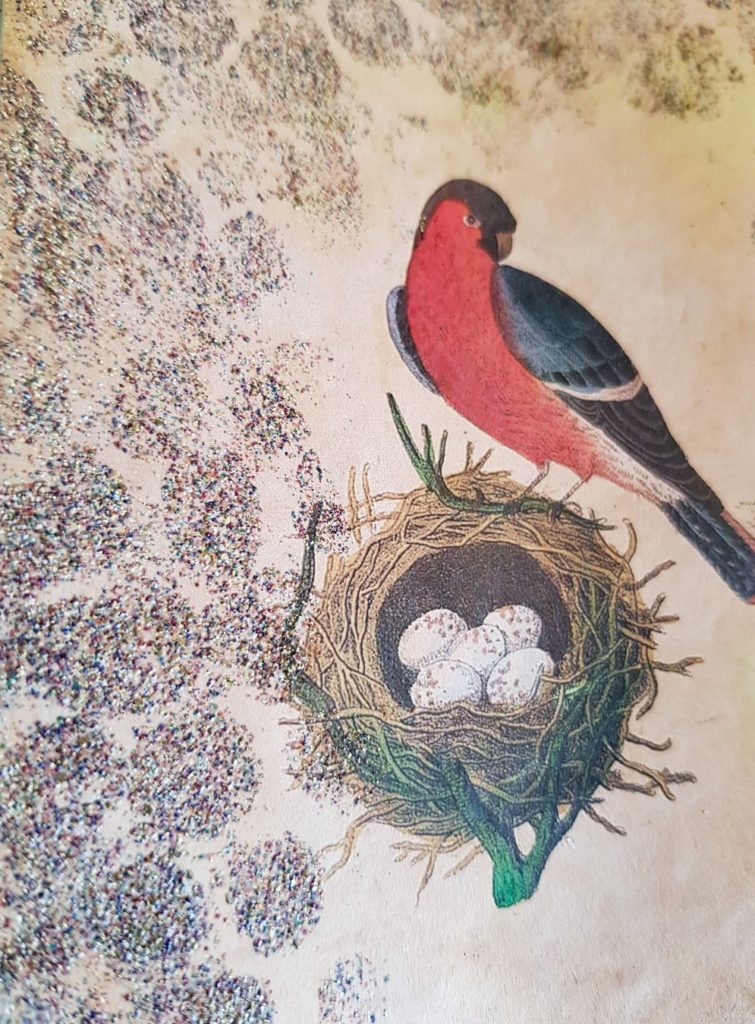 I love using bird and animal images from The Graphics Fairy in my journal work but sometimes I like to soften the edge of the page. Here I took a bullfinch from the Birds and Nest Ephemera bundle, sized it down to greeting card size, then added an embossing powder “frame.” This is a distress powder that does not turn shiny when it melts, but rather keeps a more natural look that suits the patina of the image.
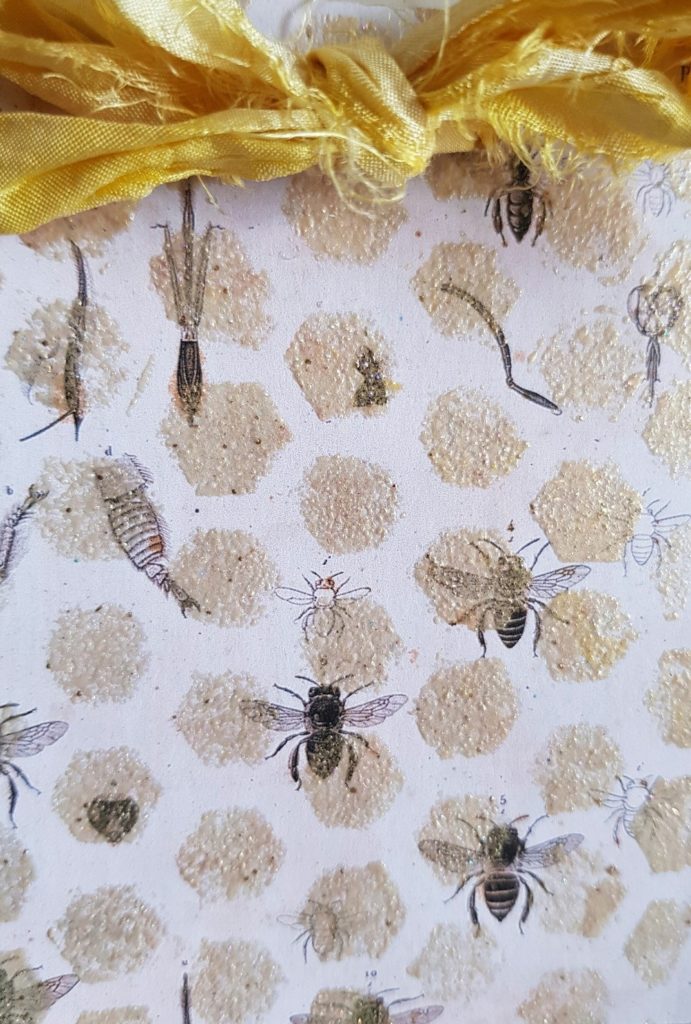 This note card was made for a bee themed journal. I cut a page from the Beekeeping bundle into a square. I then added a soft gold embossing powder over a honeycomb stencil that embellishes, while once again allowing the original image to come through.
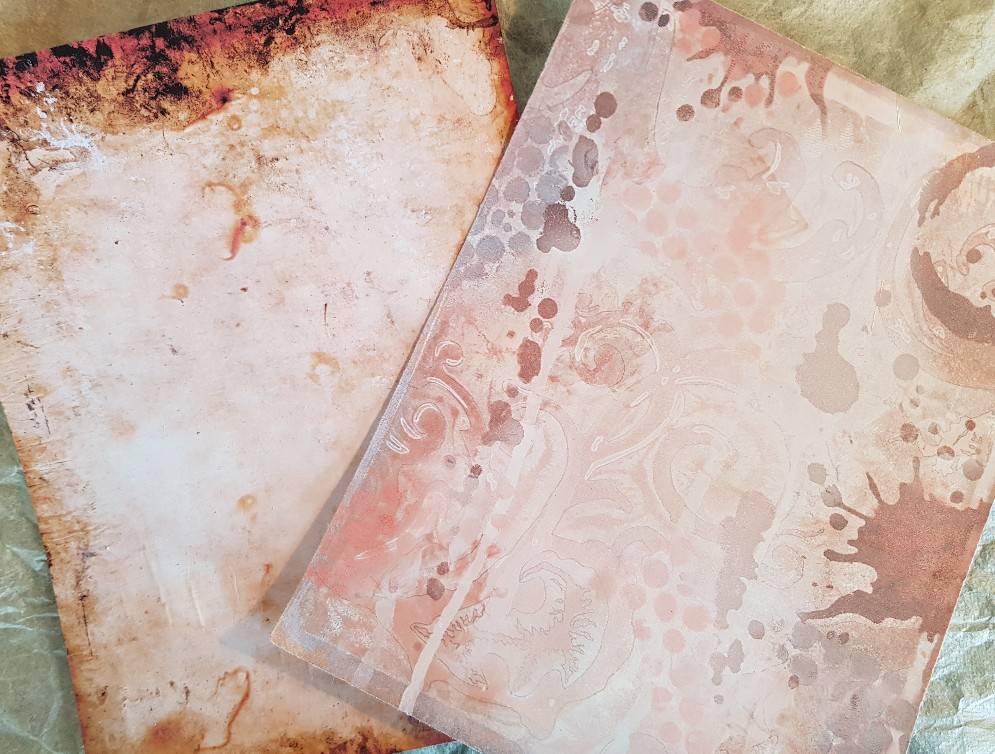 Finally, I chose a page from the Rusty, Distressed Textures bundle , and here I want to say a word about these unadorned pages.
The Graphics Fairy offers so many image-driven bundles of animals, belles, vintage fashion, butterflies, etc., that it is easy to take for granted their less glamorous sister bundles made of paper backgrounds, such as Script Ephemera or Blank Papers & Parchment bundles, among many others. These are invaluable for creating a background in preparation for adding layers. While subtle, they are full of faded beauty and detail. This enhances the more decorative elements that have been added.
Foxed Paper Technique
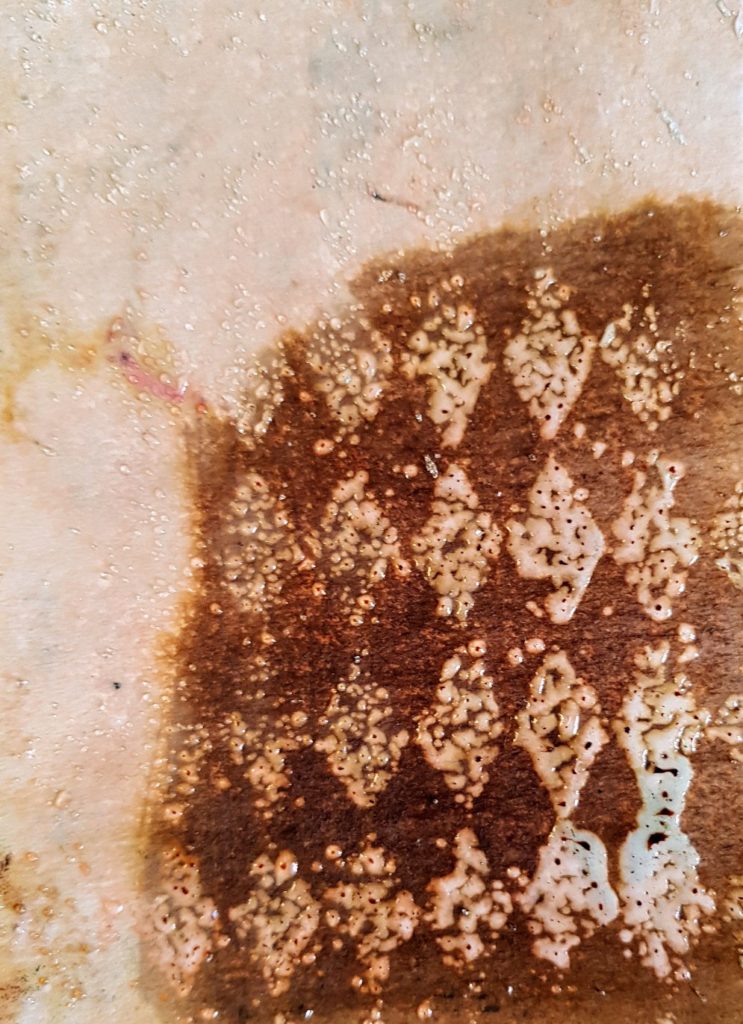
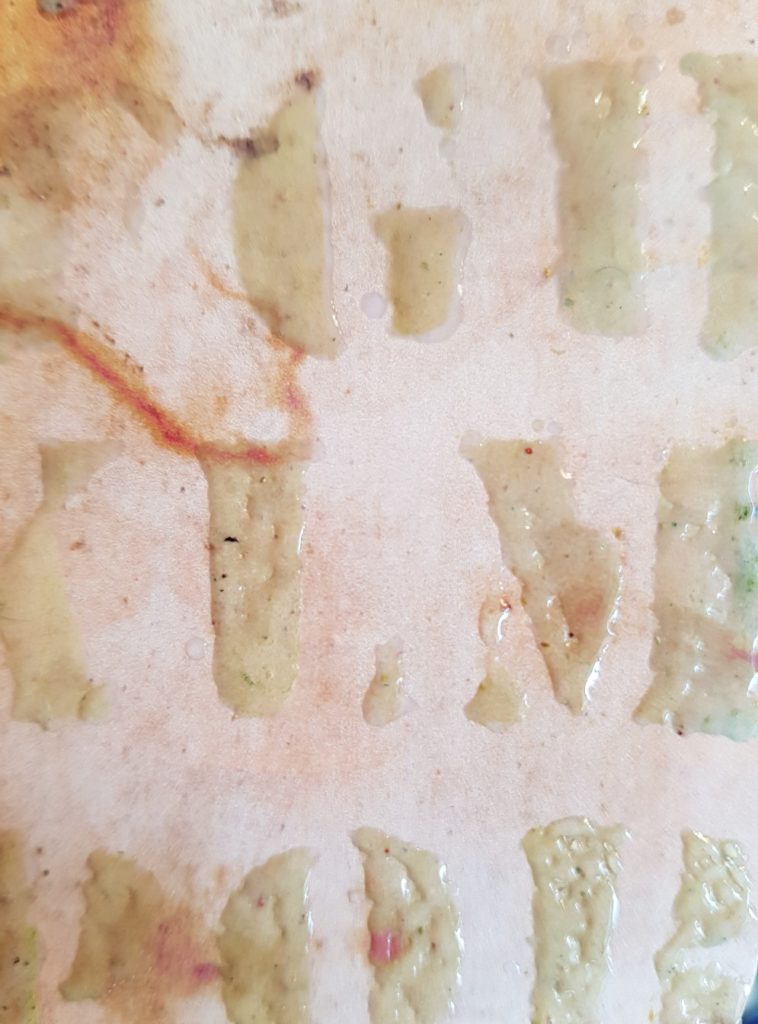
This foxed endpaper already had a water-damaged and rust patina to it. Over that I used a stencil and clear embossing powder. Once cool, I rubbed distress inks over the clear, raised pattern, creating a reverse relief that allows the original, antique-looking page to peek through the stencil pattern.
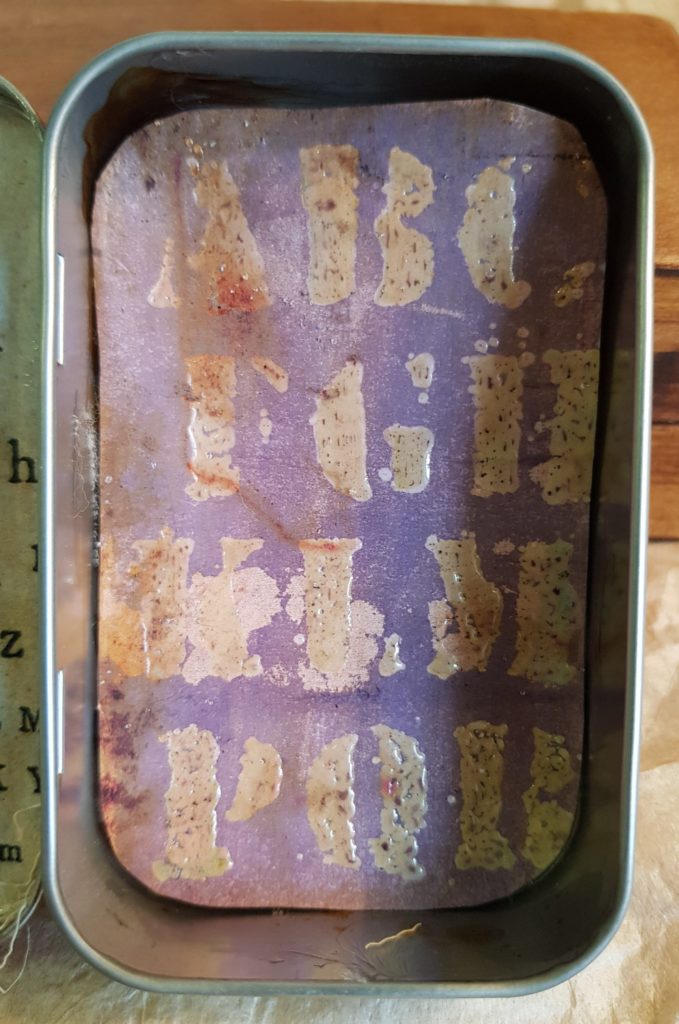
An alphabet stencil was embossed over the foxing.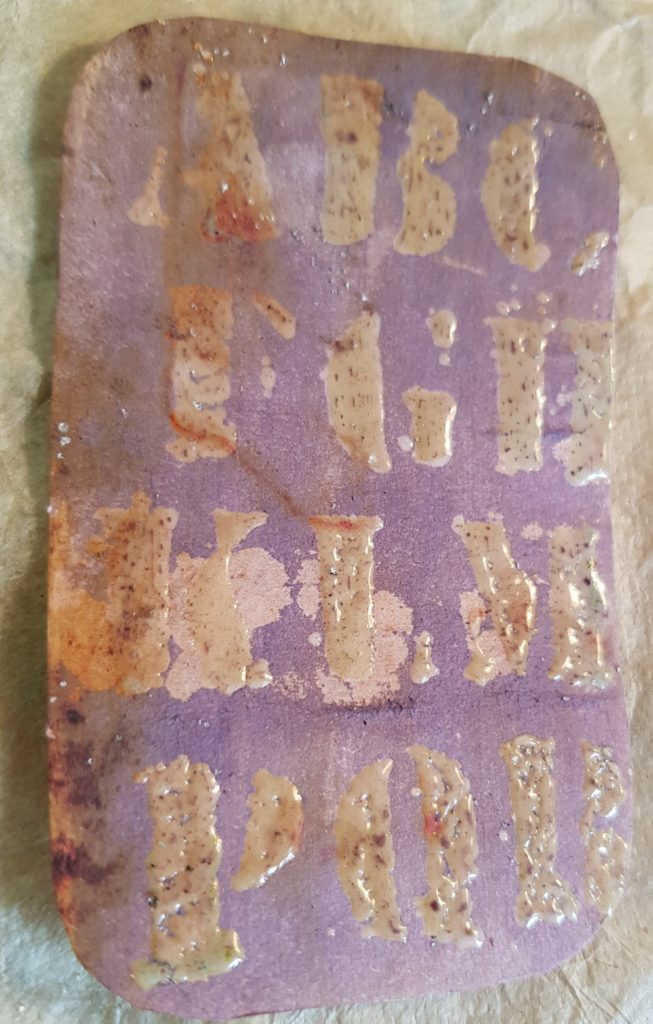
This page is now ready to be turned into the cover of a journal, pocket, scrap element in a collage, or part of an assemblage such as an altered Altoid tin below.
Below are a few scraps of embossed papers.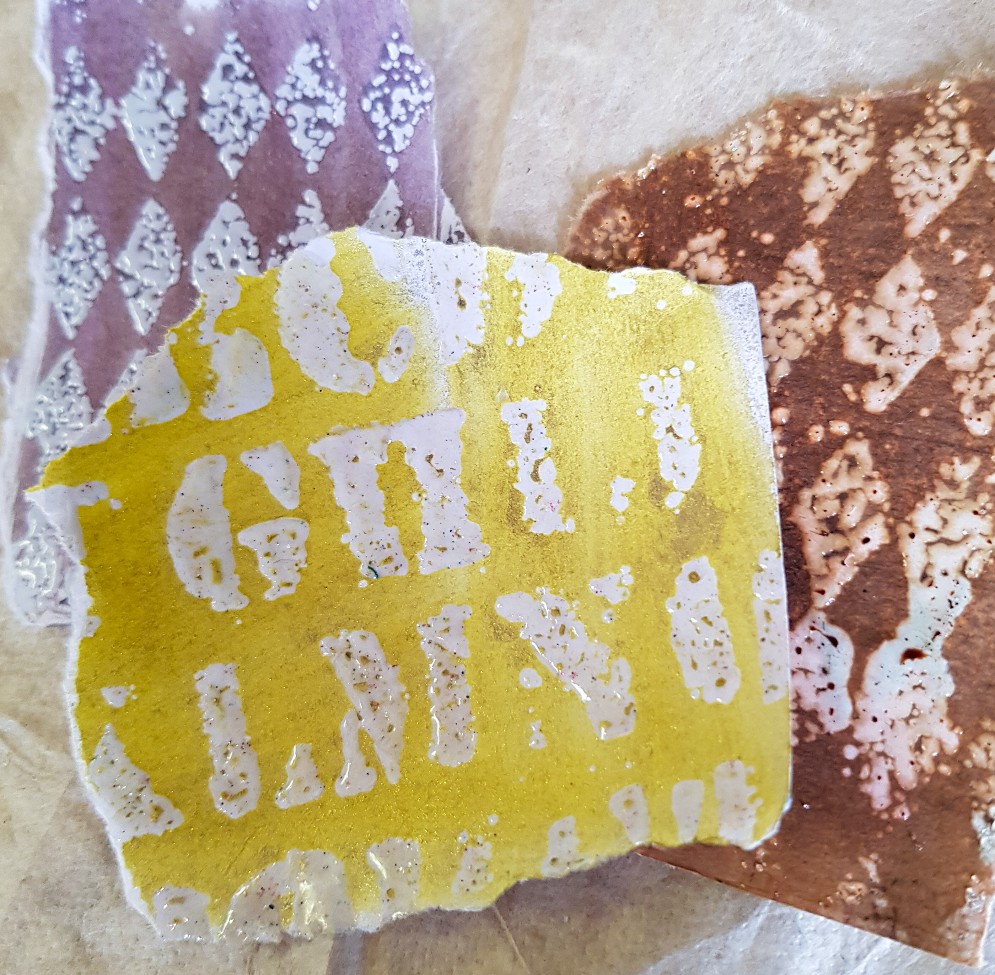
So here you have some ideas of how to add embossing powder techniques to Graphics Fairy images and make them your own.
Video Show & Tell
There is a lot more to see, so please check out my Embossing Powder Techniques video on The Graphics Fairy YouTube channel:
Let me know if you have any questions. Please visit my website: Book and Paper Arts and feel free to follow more of my book art on Instagram @bookandpaperarts or check out my YouTube channel.
Kelly


Tejae says
Oh my, I need to dig out my embossing supplies!! What s fun project. ❤️
graphicsfairy says
Have fun Tejae!!