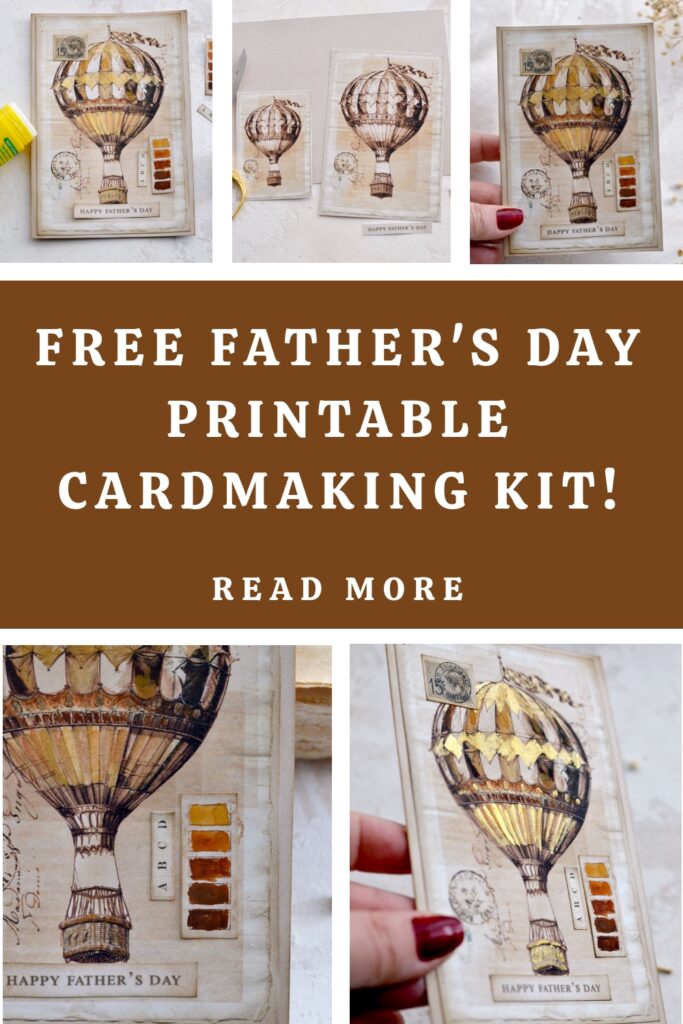
Father’s Day Free Printable Cardmaking Kit
Hello Graphics Fairy friends! I’m Diana from Dreams Factory and I’m happy to be here again to share another DIY project with you! Today, I will show you how to make this beautiful Father’s Day Free Printable Cardmaking Kit with a lovely vintage vibe. The card itself is quite neutral, which will give you the chance to have fun painting it using your favorite colors. Or your dad’s favorite colors! You can experiment and decide which color scheme to embrace … the choice is all yours.

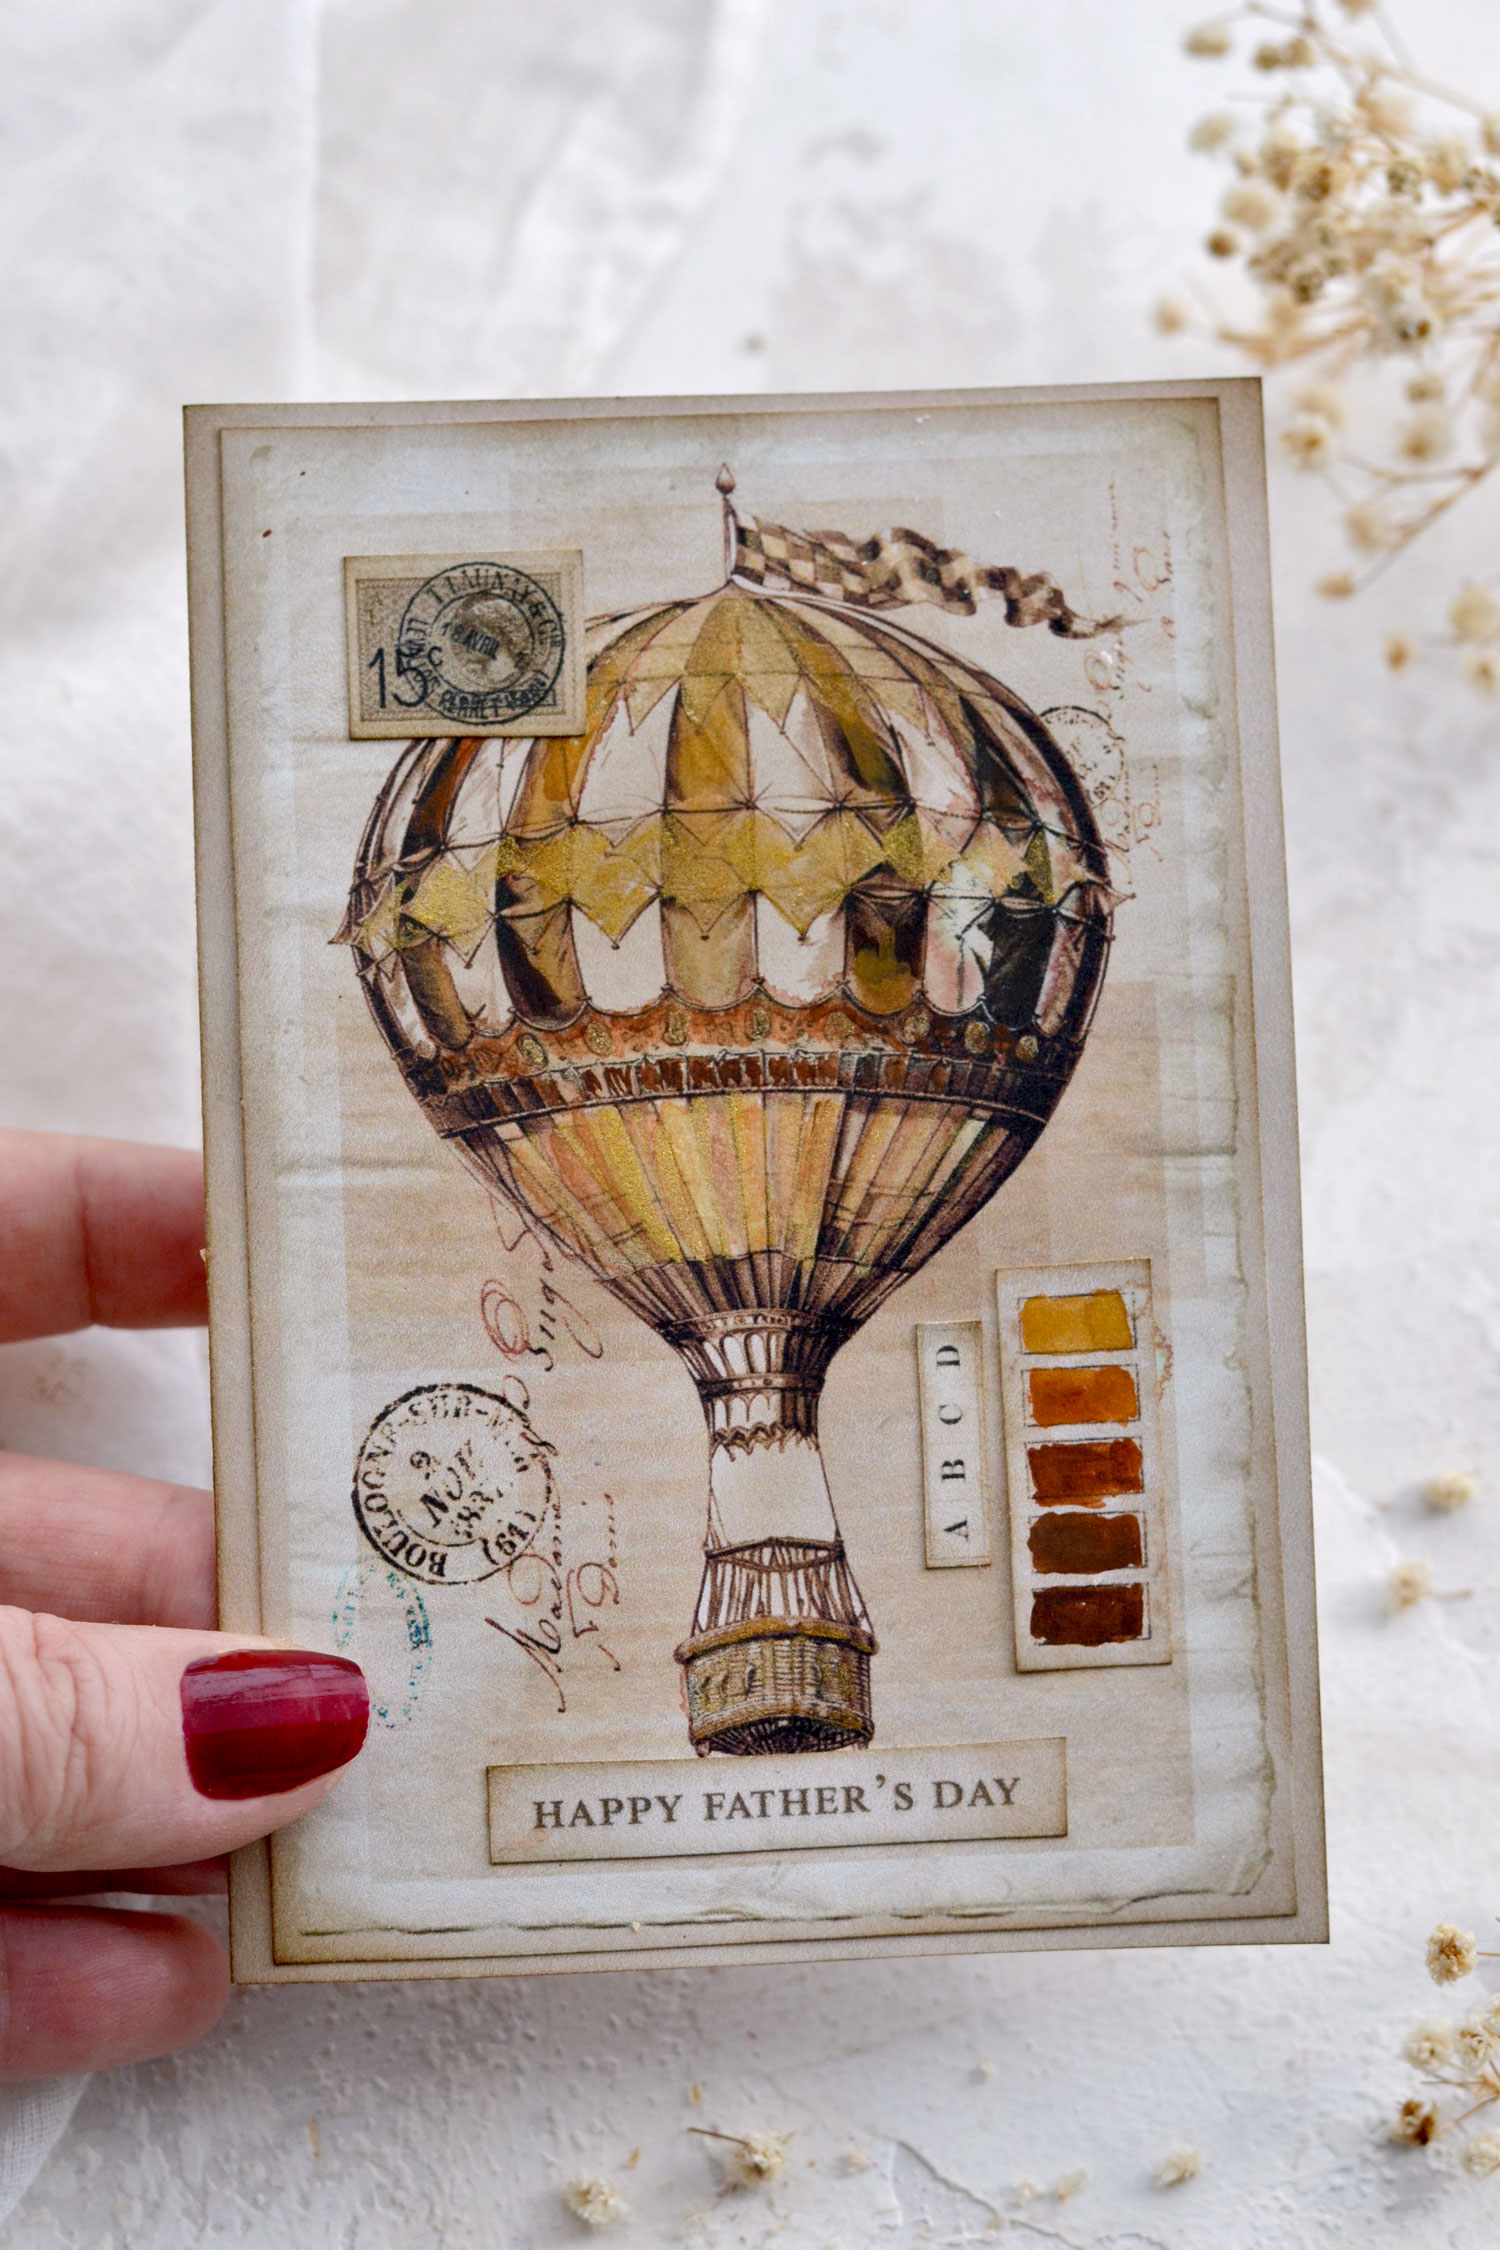
I used regular watercolors to paint some of the details of our air balloon. I chose earthy tones as my color scheme and I even created some matching watercolor swatches to add more interest. Then I switched to gorgeous pearlescent watercolors to create some gold highlights here and there.

Free Printable:
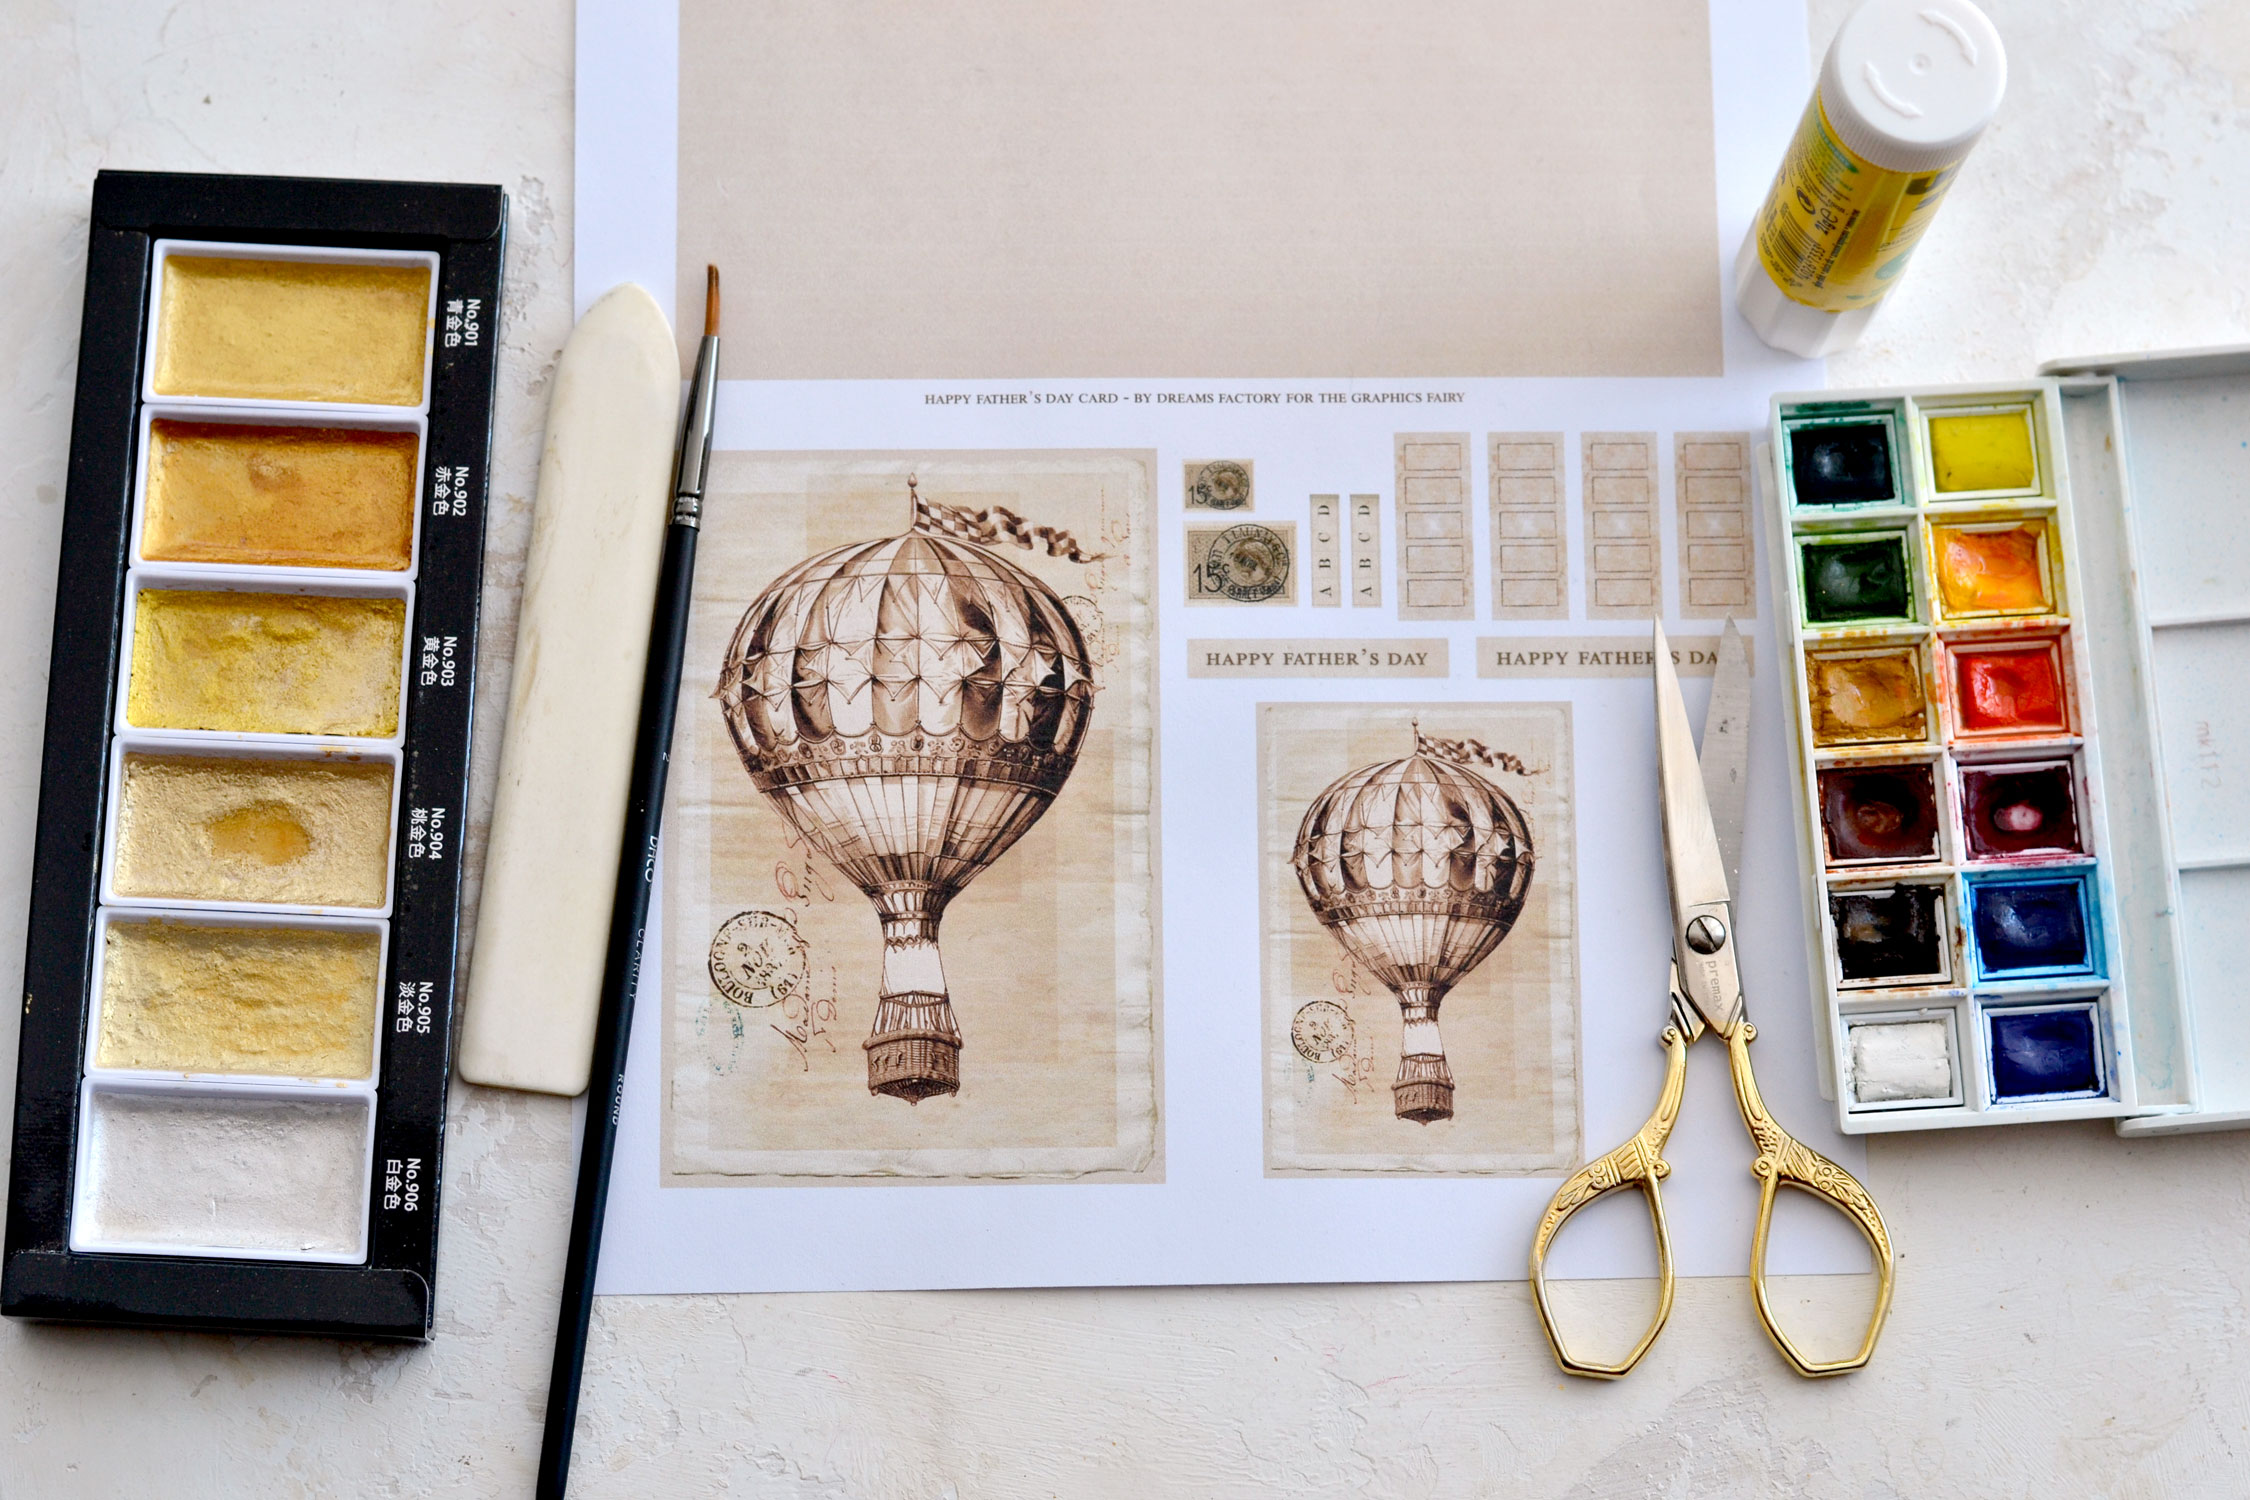
You can find below the printable that I created for this project. I used an amazing air balloon for our focal point image, a crumpled-looking background and some postmarks. This will be the top of our card, and you will also find a blank card base with a vintage feel. I also added a few other cutout elements that will help us create more dimension and add interest to our card.
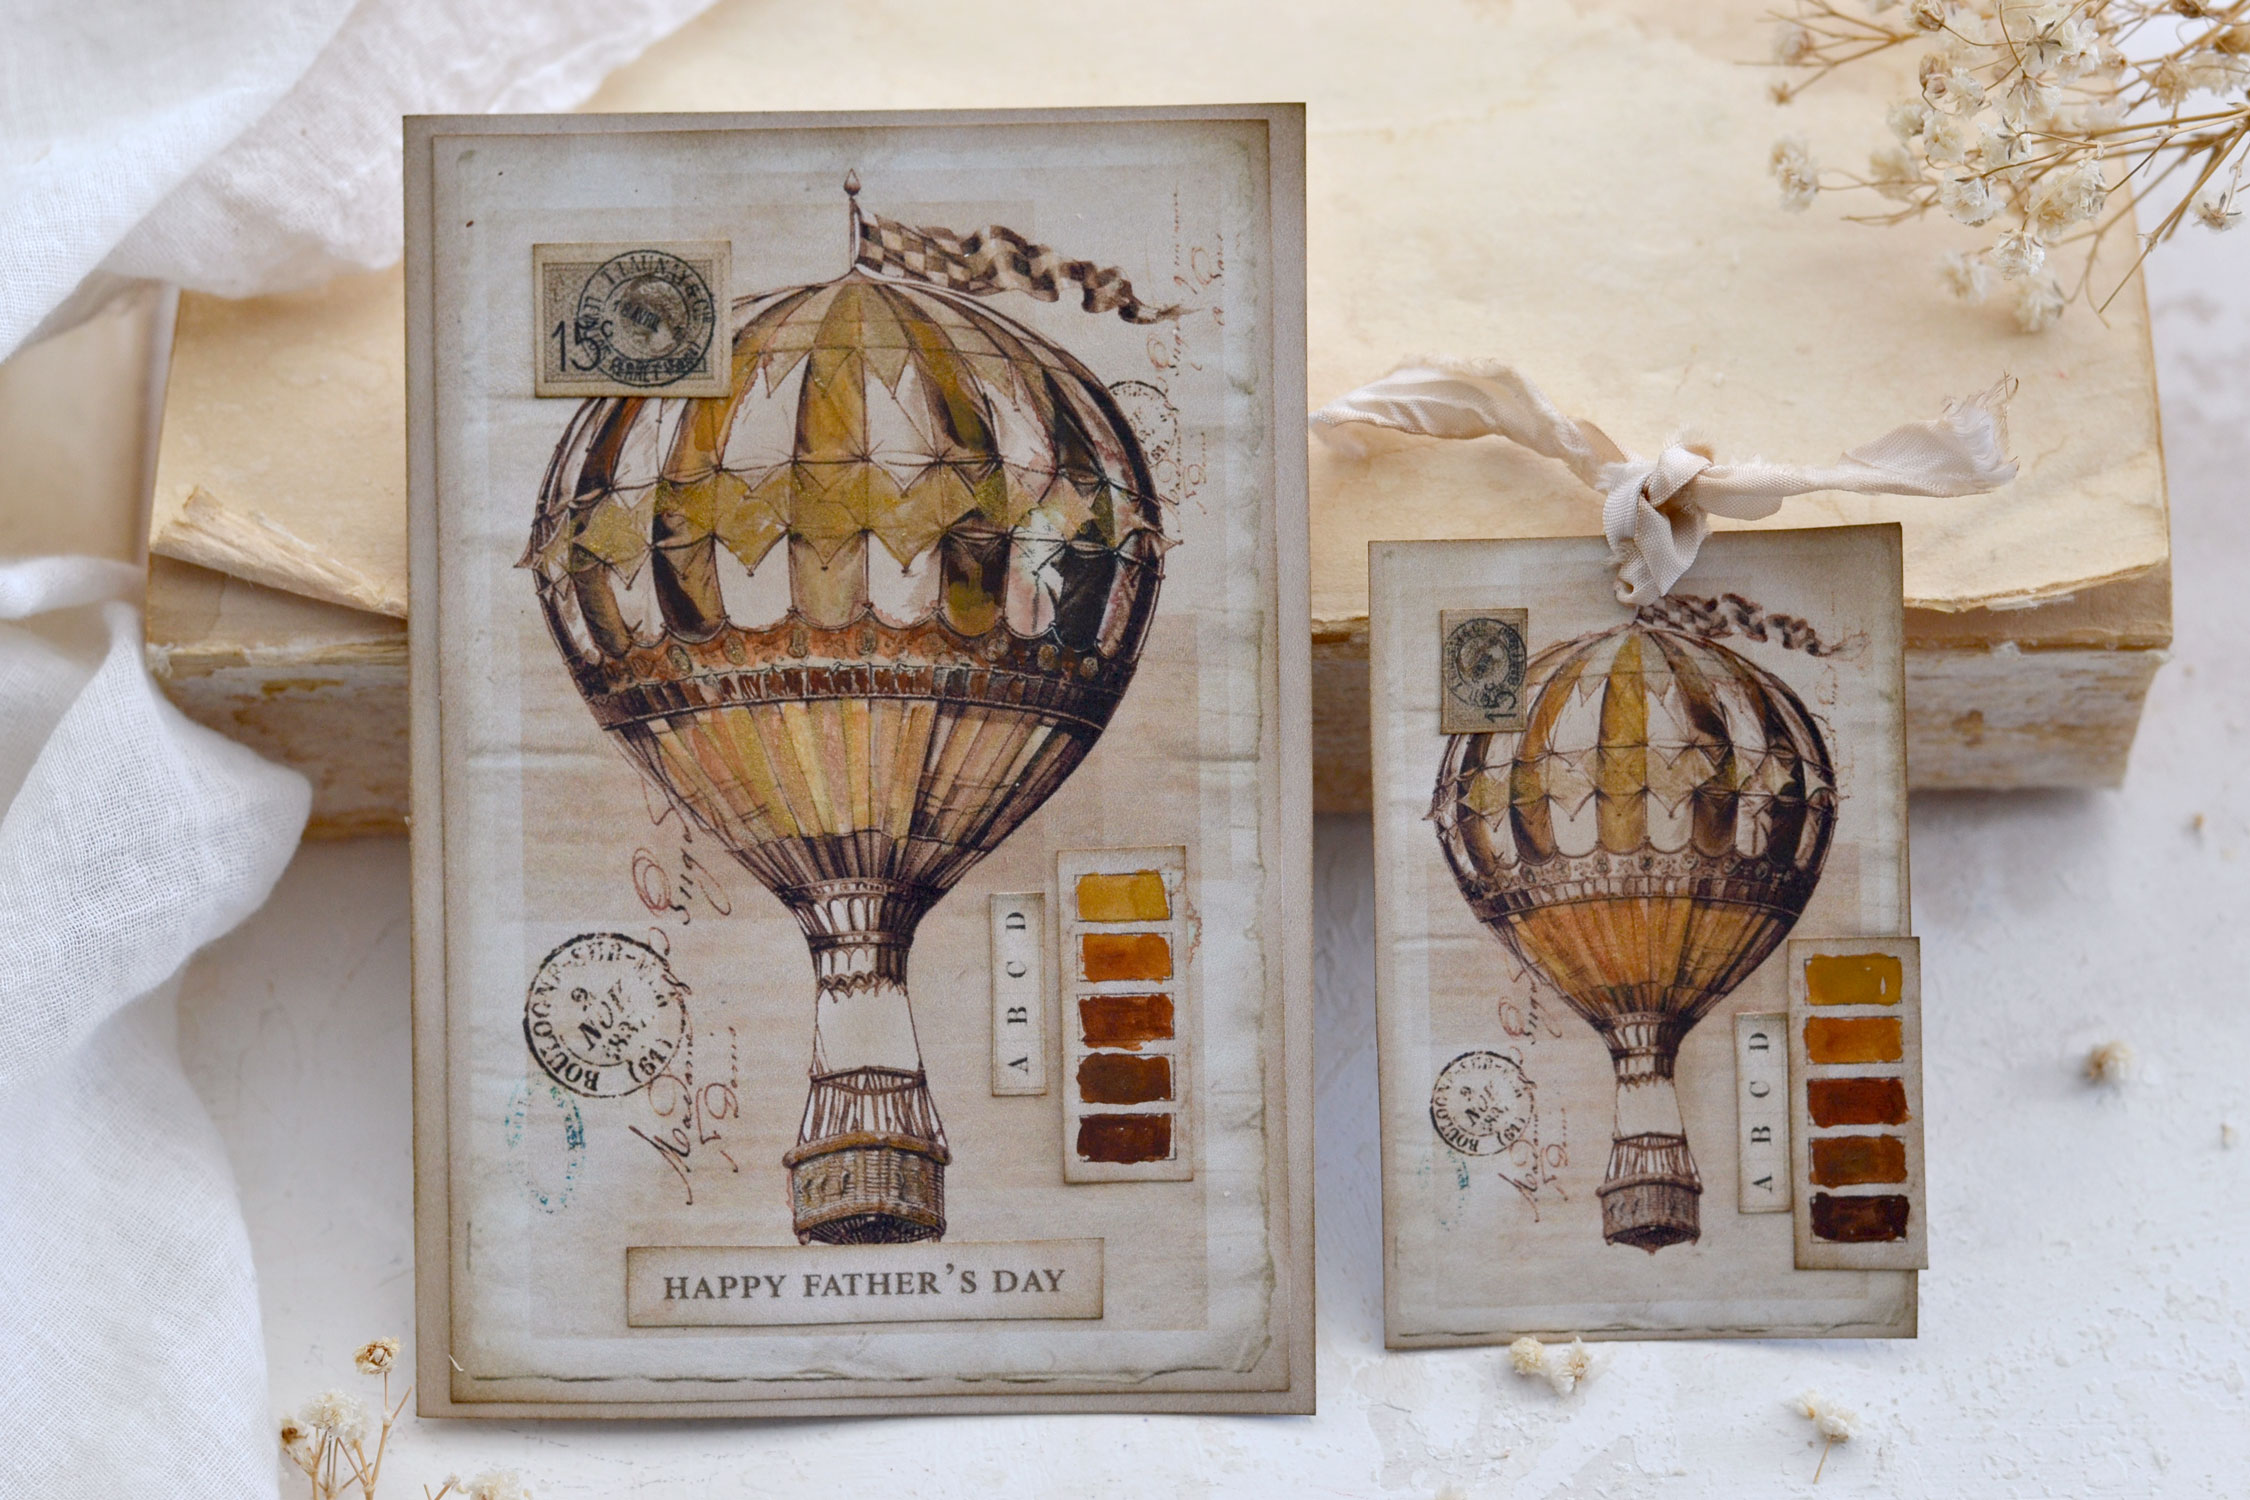
As a bonus, I also included a smaller version of our top card, just in case you want to make a matching tag to go with it.

—-> Click HERE to Download the Full Size Printable PDF <—-
Supply List:
- white cardstock paper
- home printer
- scissors
- mini distress inks
- blending tool with foams
- watercolors (I used the Winsor & Newton Cotman pocket watercolors and the pearlescent watercolors Kuretake Gansai Tambi Starry Colors)
- brushes
- a small jar of water
- paper towels
- spray water bottle
- bone folder
- paper glue
Step by Step Tutorial:
Start by printing the printable on cardstock paper.
Since we will be using watercolors to paint over the design, it would be best to use a laserjet printer to print it. If you don’t have a laserjet printer, ask a friend who has one to print it for you or go to a copy center.
You can also try to use an inkjet printer if you have a matte photo cardstock that has non-bleeding properties.
Use your scissors to cut all the elements. If you have one, you could also use a cutting machine or a guillotine for the larger elements.
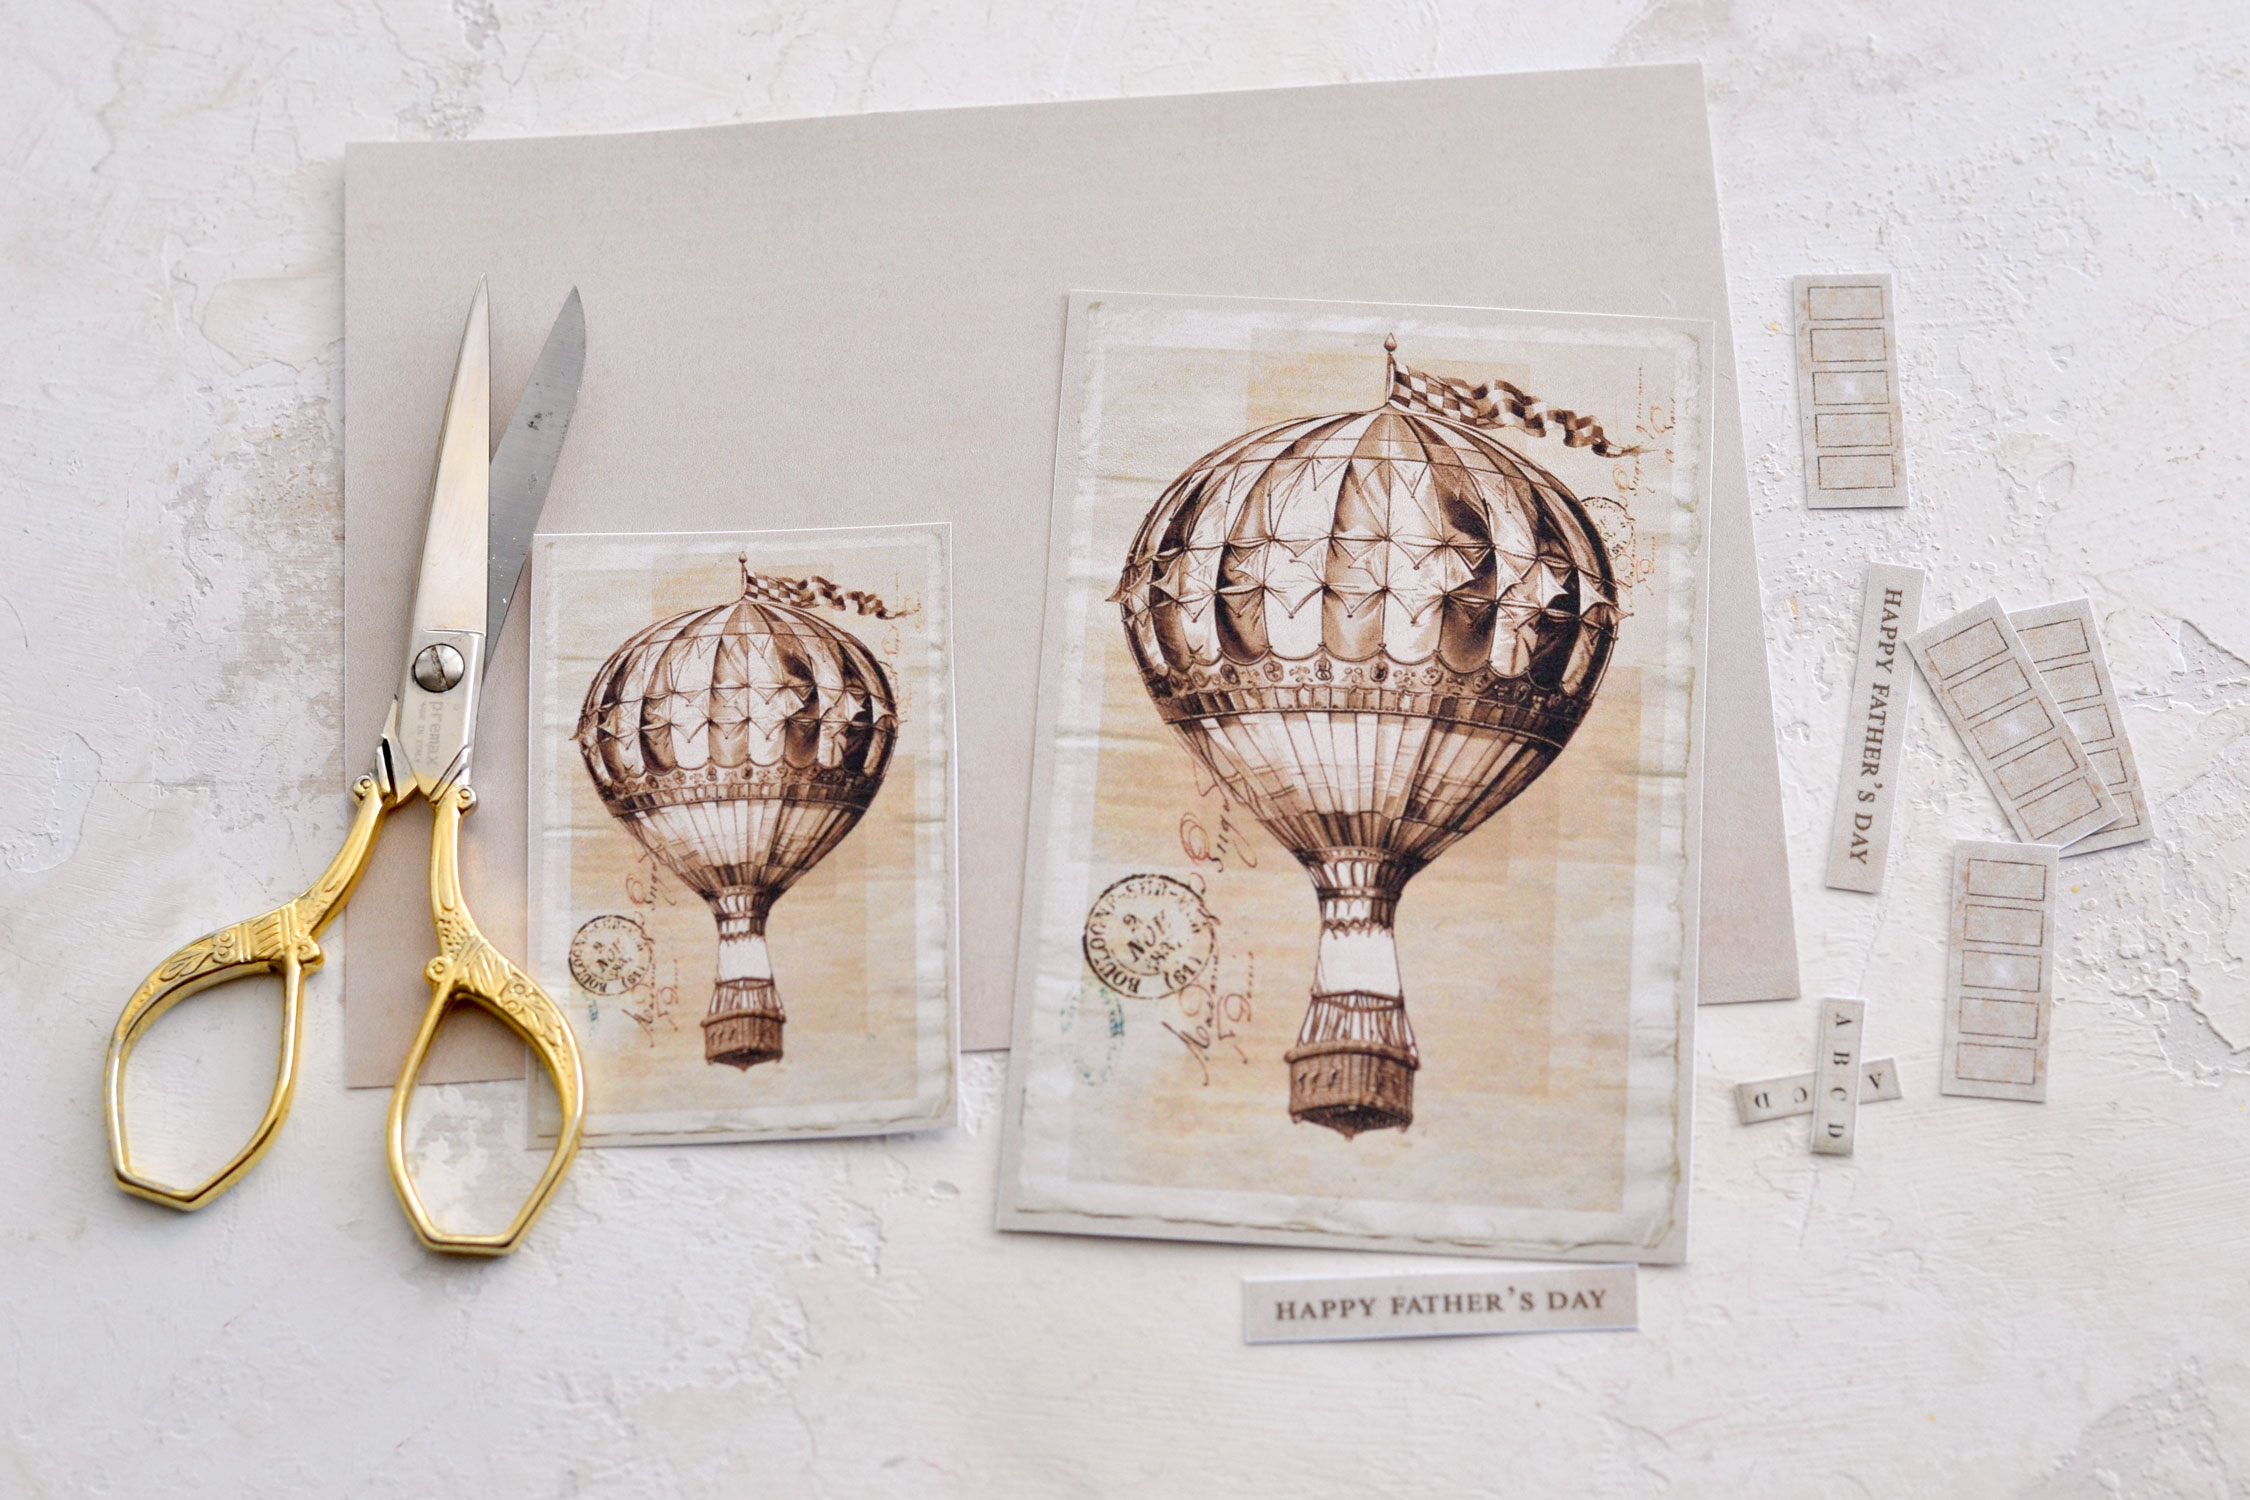
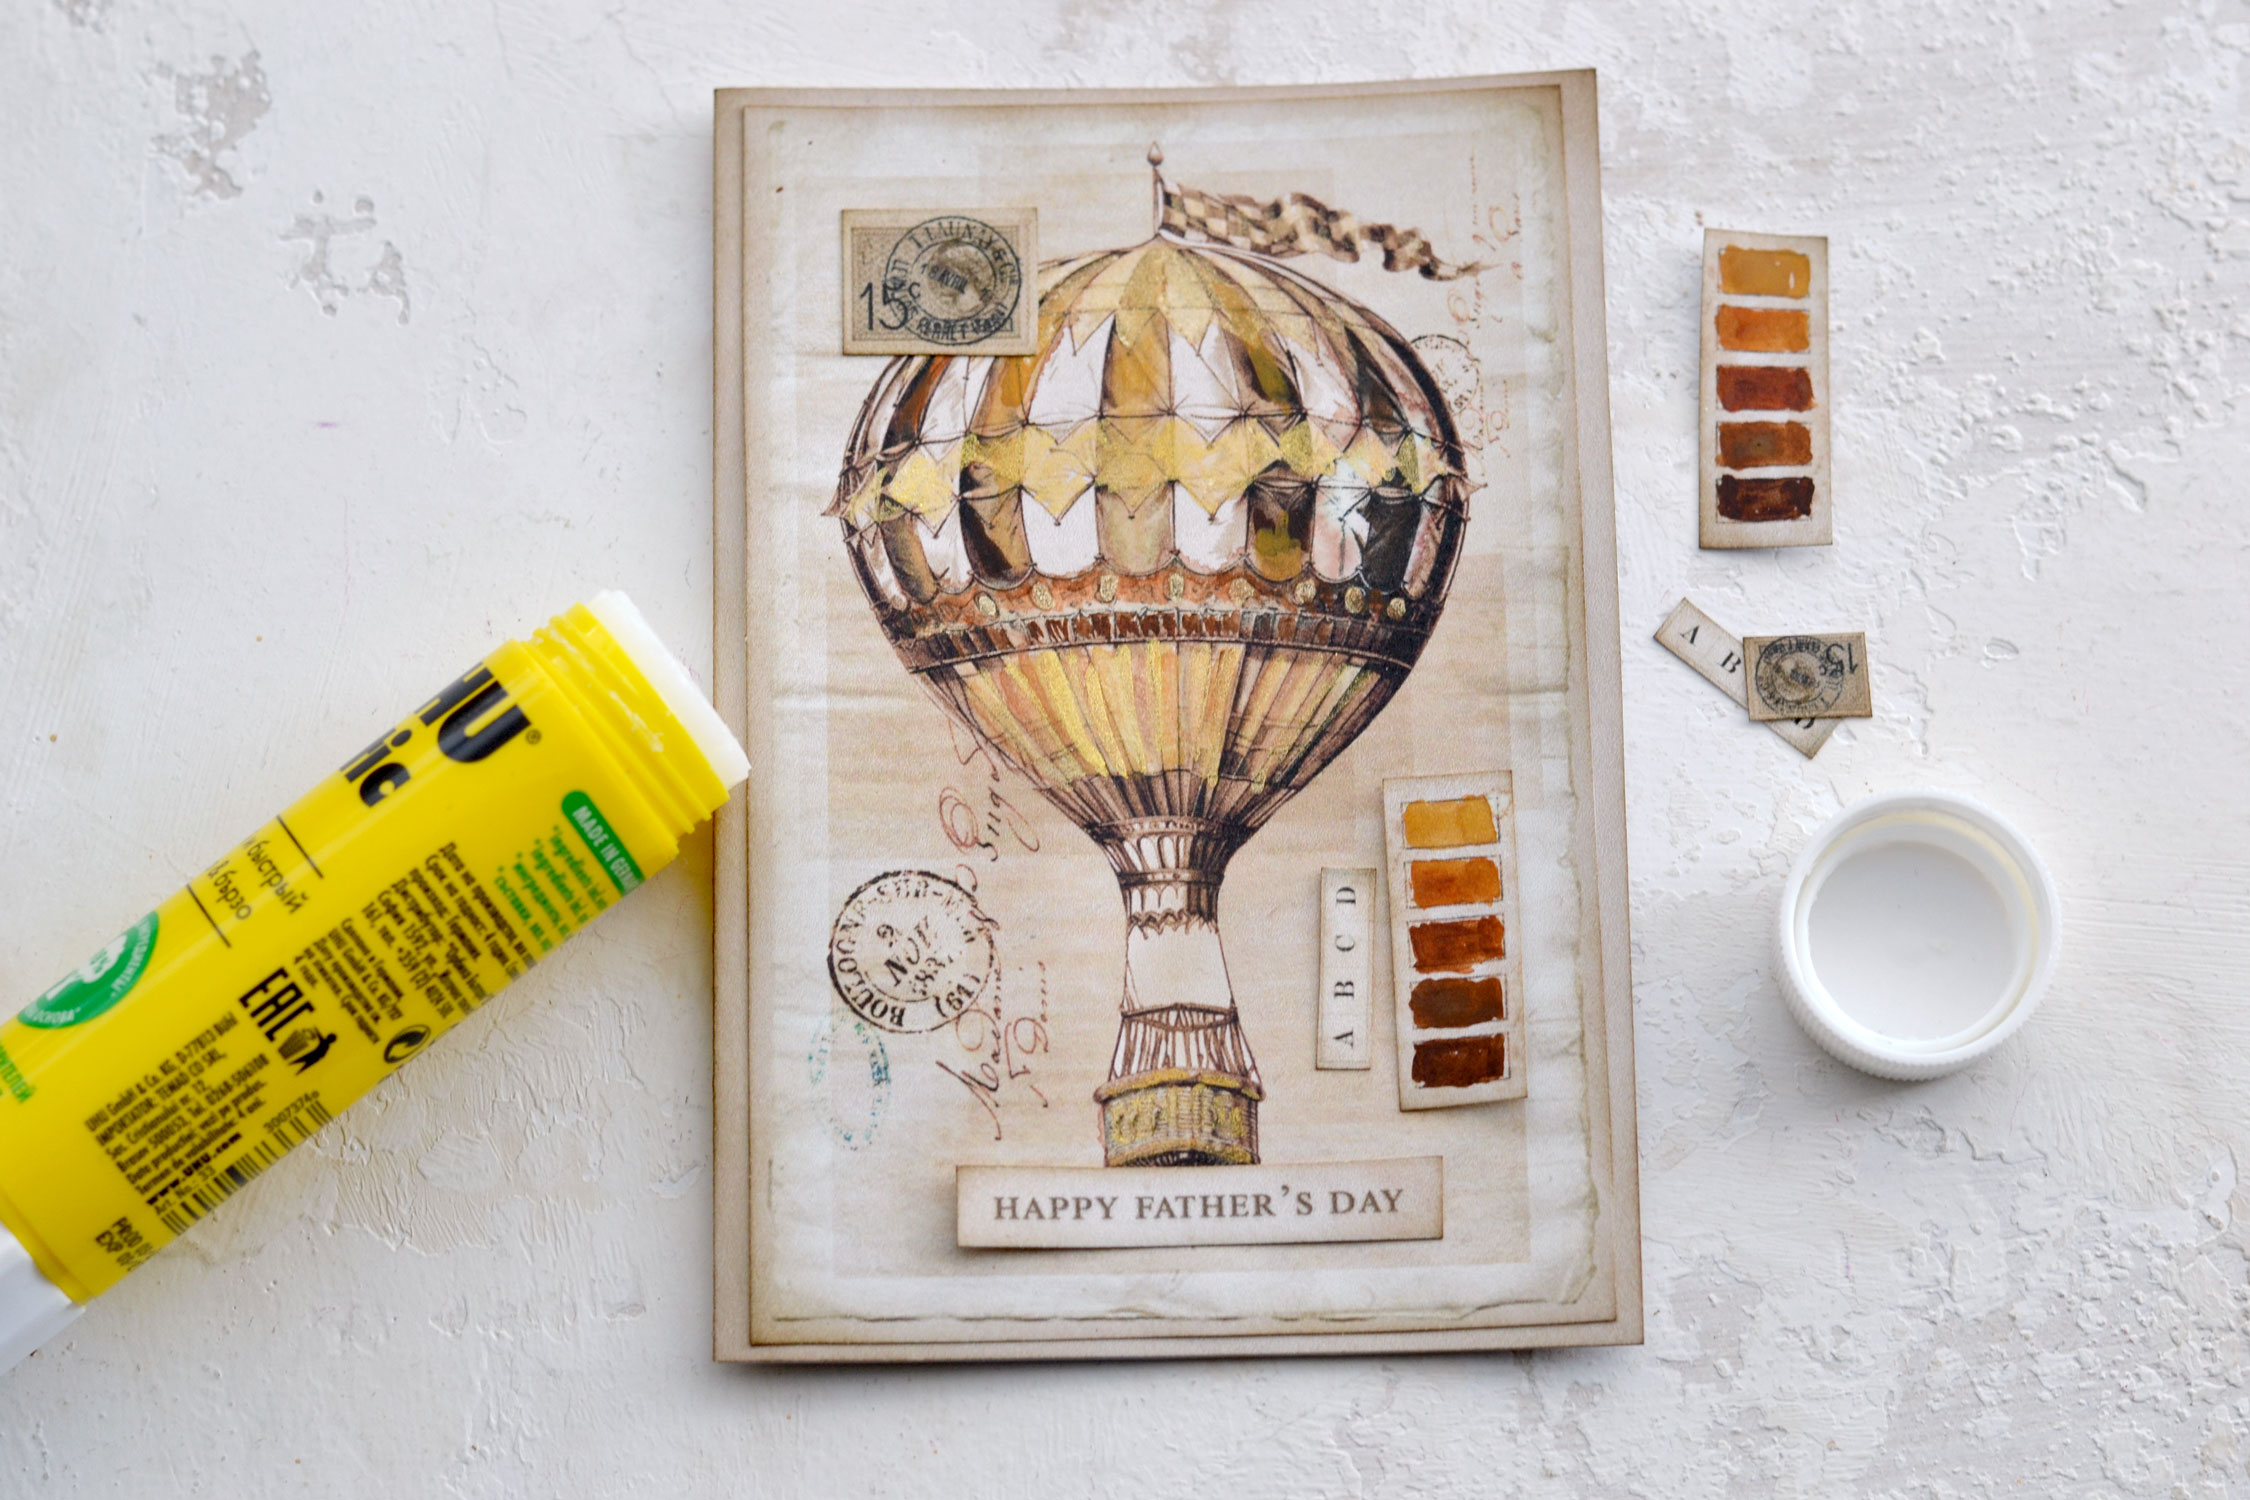
Fold the card base in half and use a bone folder to make that perfect folded line. Use a little bit of brown distress ink (I love using Ranger’s Walnut Stain) to distress our lovely elements all around the edges.

And now it’s time to have fun painting! As I mentioned before, you can choose any colors that you love or try to use your dad’s favorites. I used Yellow Ochre, Burnt Sienna and Burnt Umber to create an earthy color scheme. I started by spraying a little bit of water over my watercolors to wake them up, and I used Yellow Ochre to paint some of the top elements of our air balloon.
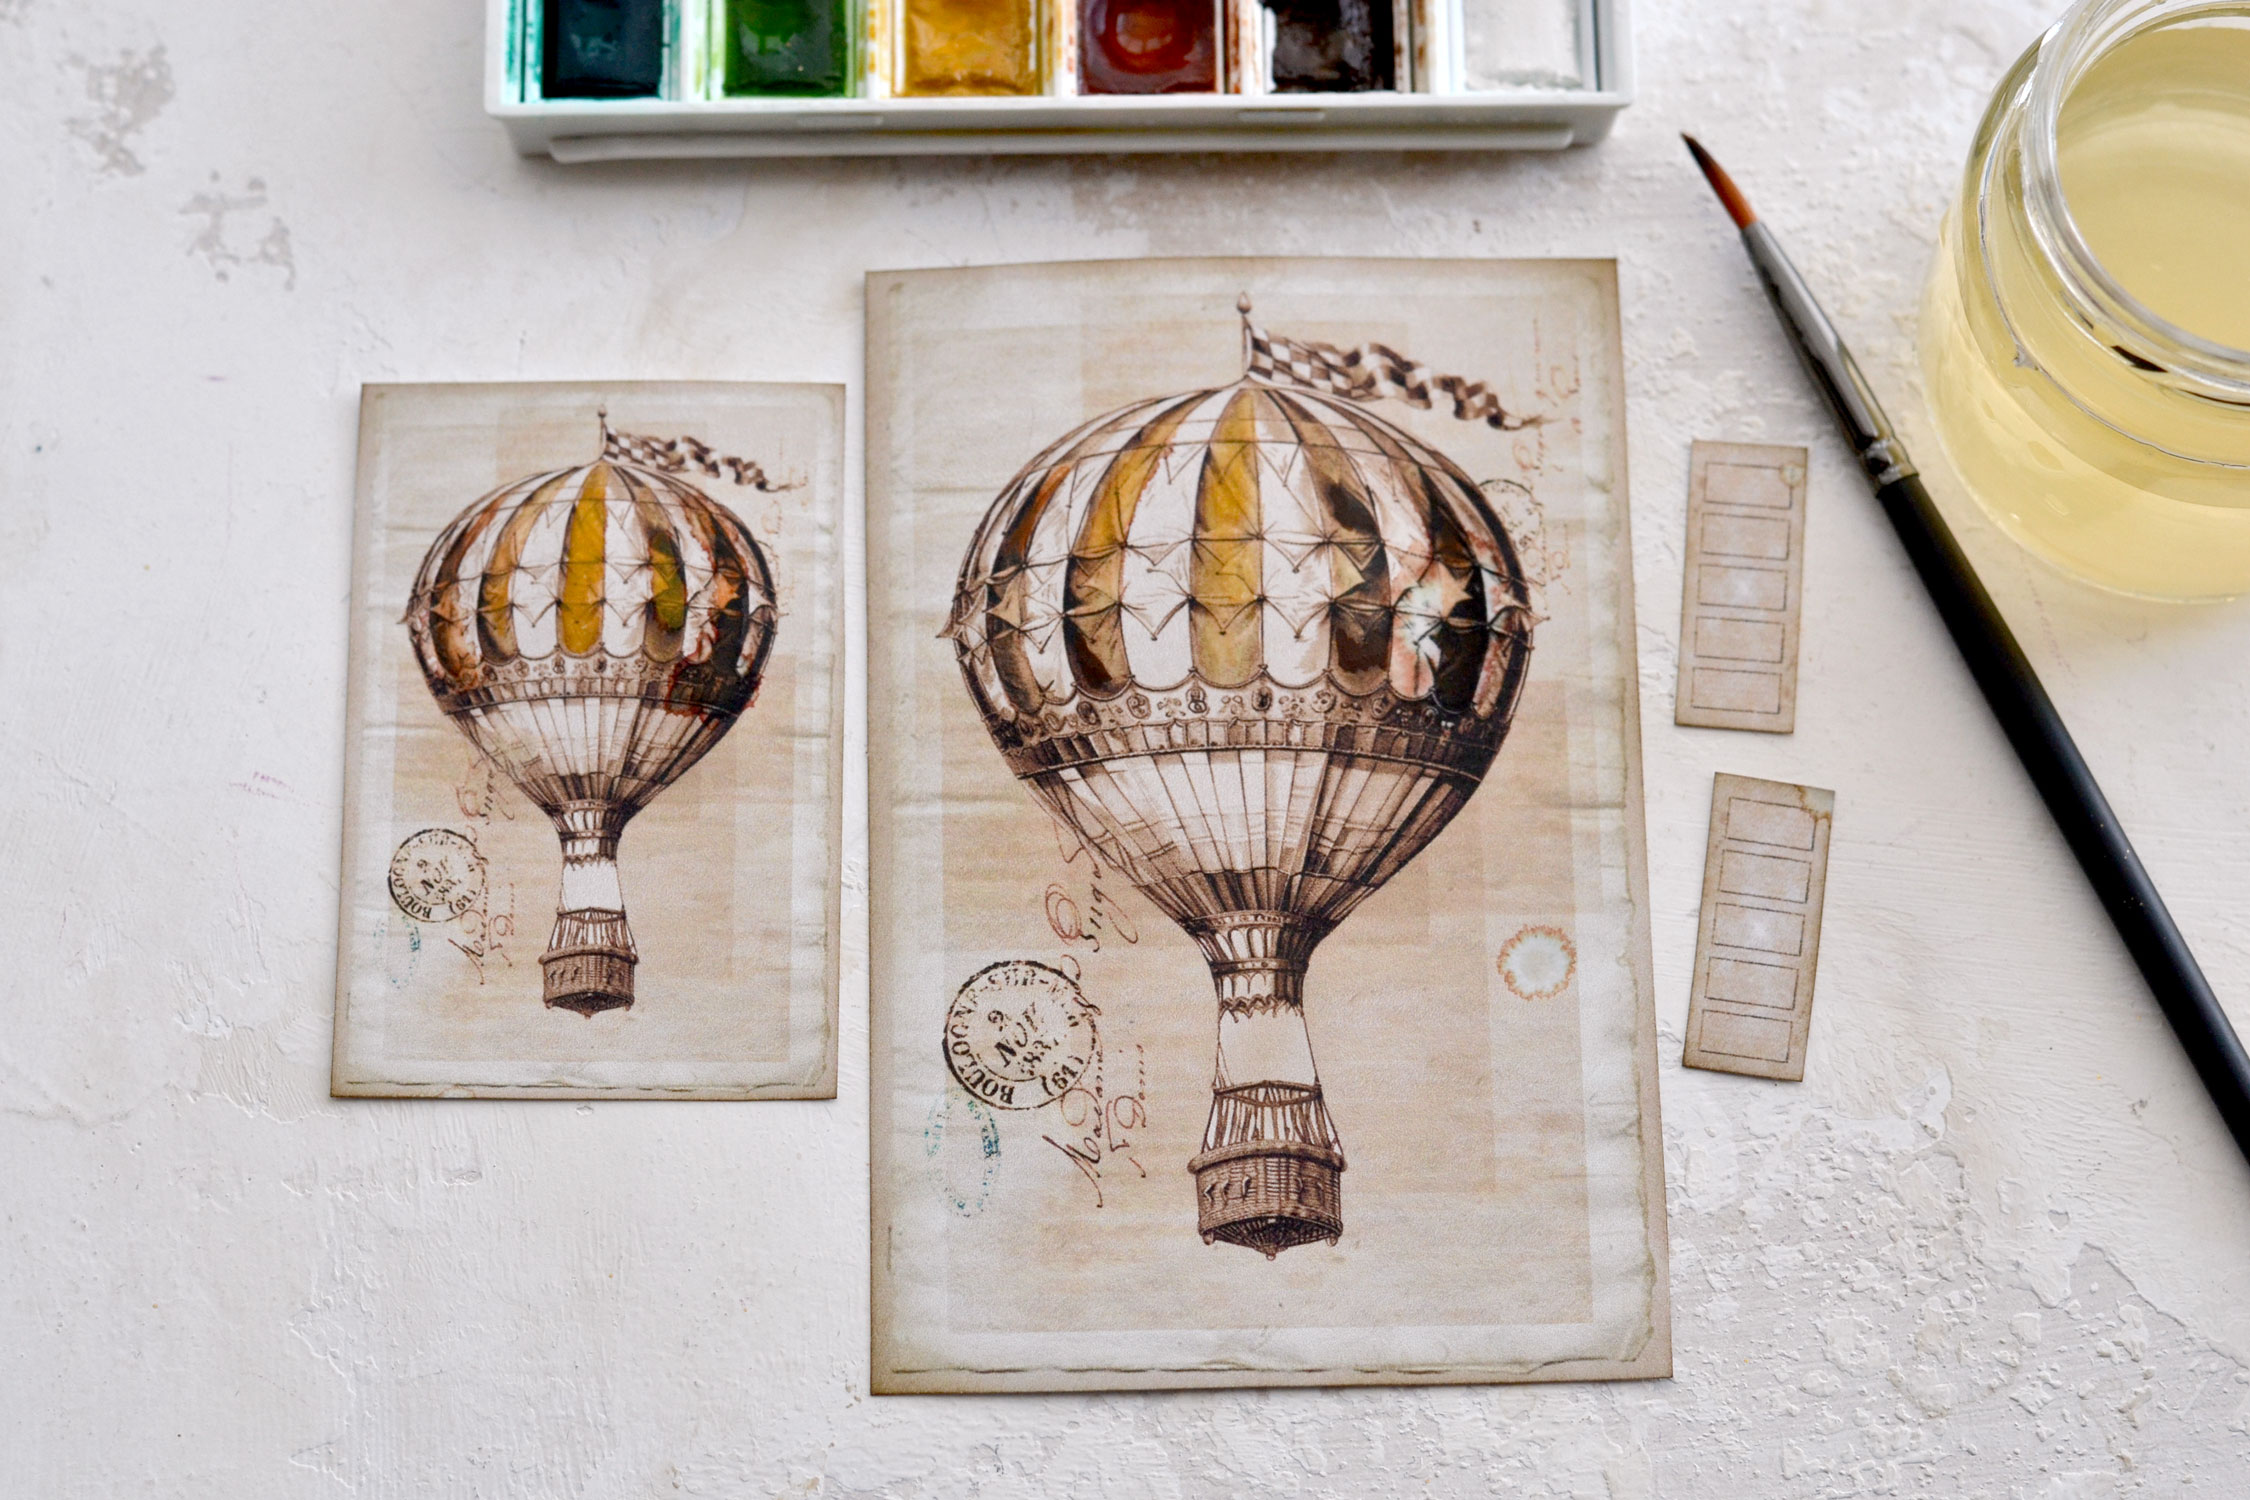
I then used the other two colors to paint some of the other elements, but also to create some darker shades here and there.
I went with the same three colors for my watercolor swatches, I gradually mixed the colors to create a beautiful gradient.
As you can see, I painted both air balloons and two color swatches at the same time, just to make sure I keep a cohesive color scheme.
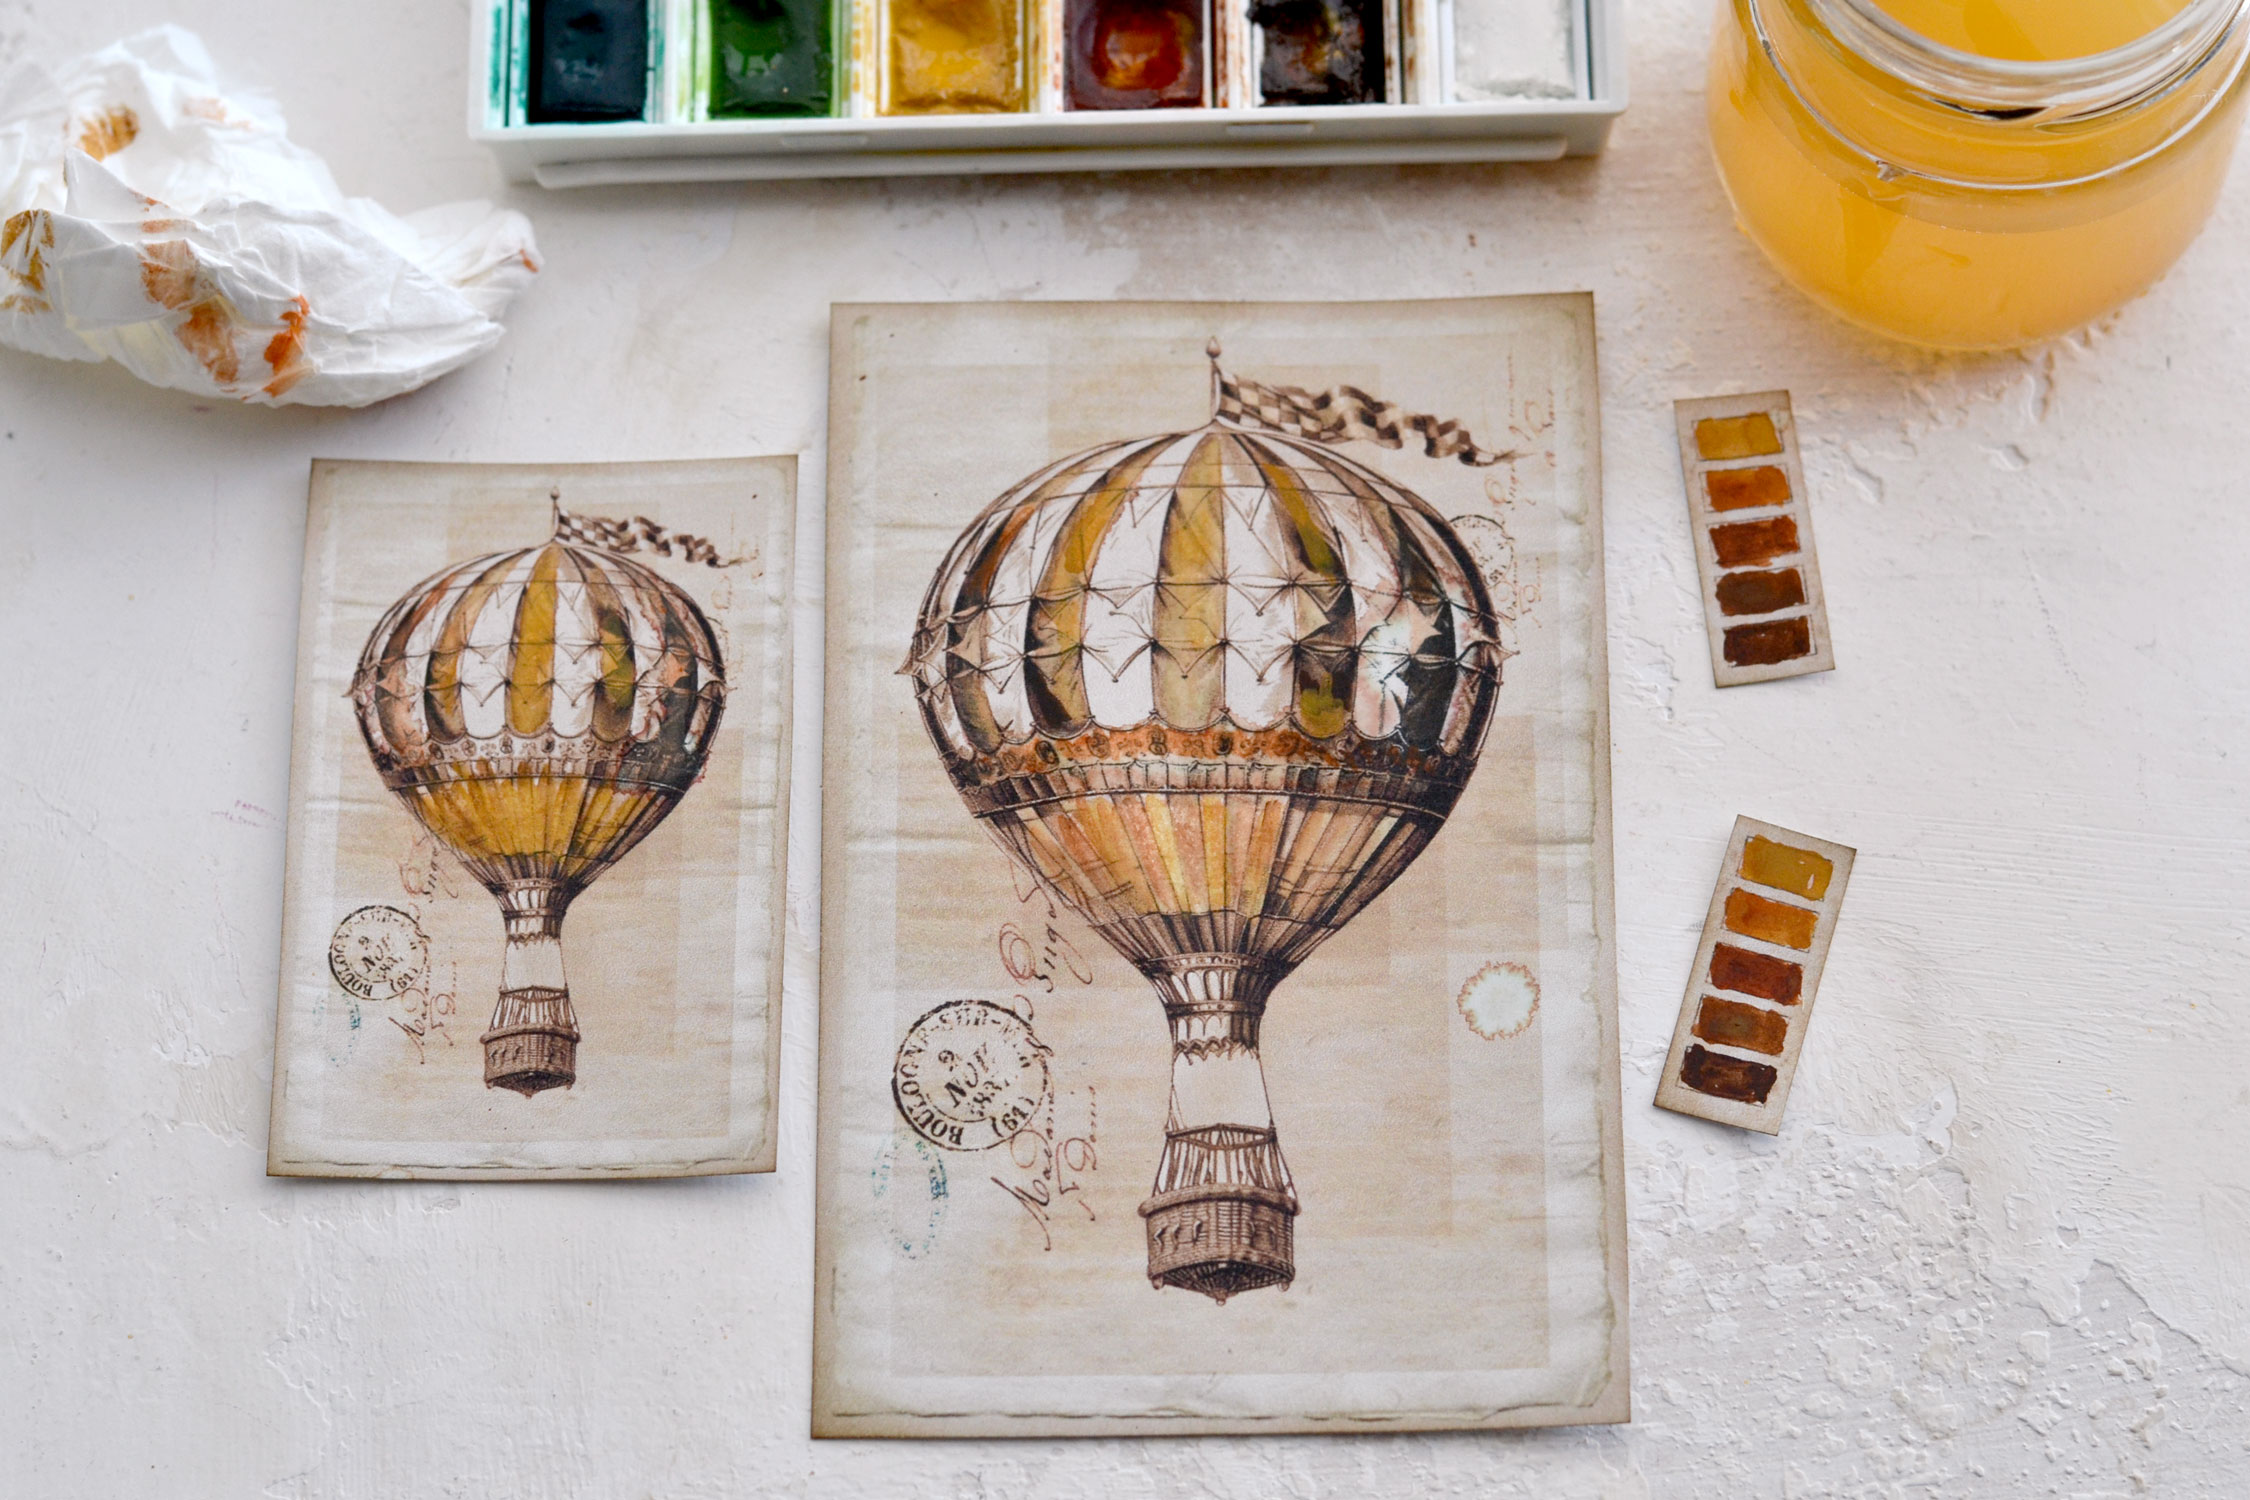
I then moved to the pearlescent watercolors and used different shades of gold to add some highlights here and there.
As a general guiding line, try not to add too much of these two watercolor paints while painting over your design. The idea is to emphasize it, not to completely cover its beautiful details.

Let everything dry completely, then move on to assembling the card. Glue the top over the card base, then add the postage stamp on the top left side of your balloon. I envisioned the letters and the swatches to go on the right, and the small cutout with the Happy Father’s Day wishes on the bottom. I usually like to place all the additional elements on the card without gluing them first, just to see how they all look together.
Your beautiful Father’s Day card is now ready. I think we did such a great job here!

The watercolor swatches are such a nice touch and add so much character to these beauties, don’t you think?

Not to mention the super chic golden touches that add so much charm to our card! Especially when you tilt it to admire it in different lighting.

If you want, you can use a little bit of distress ink to make the unpainted details of the air balloons less bright. I used my blending tool to lightly go all over the brighter areas and everything looked so much put together afterward. If you prefer to keep that contrast and not cover it, you can simply skip this step.
I’m really happy with how my Father’s Day card turned out! If you don’t have watercolors, you can also use watercolor pencils, highly diluted acrylic paint or gouaches, just use what you have around. Don’t stress too much about making everything perfect, small mistakes are welcome in a handmade project like this.
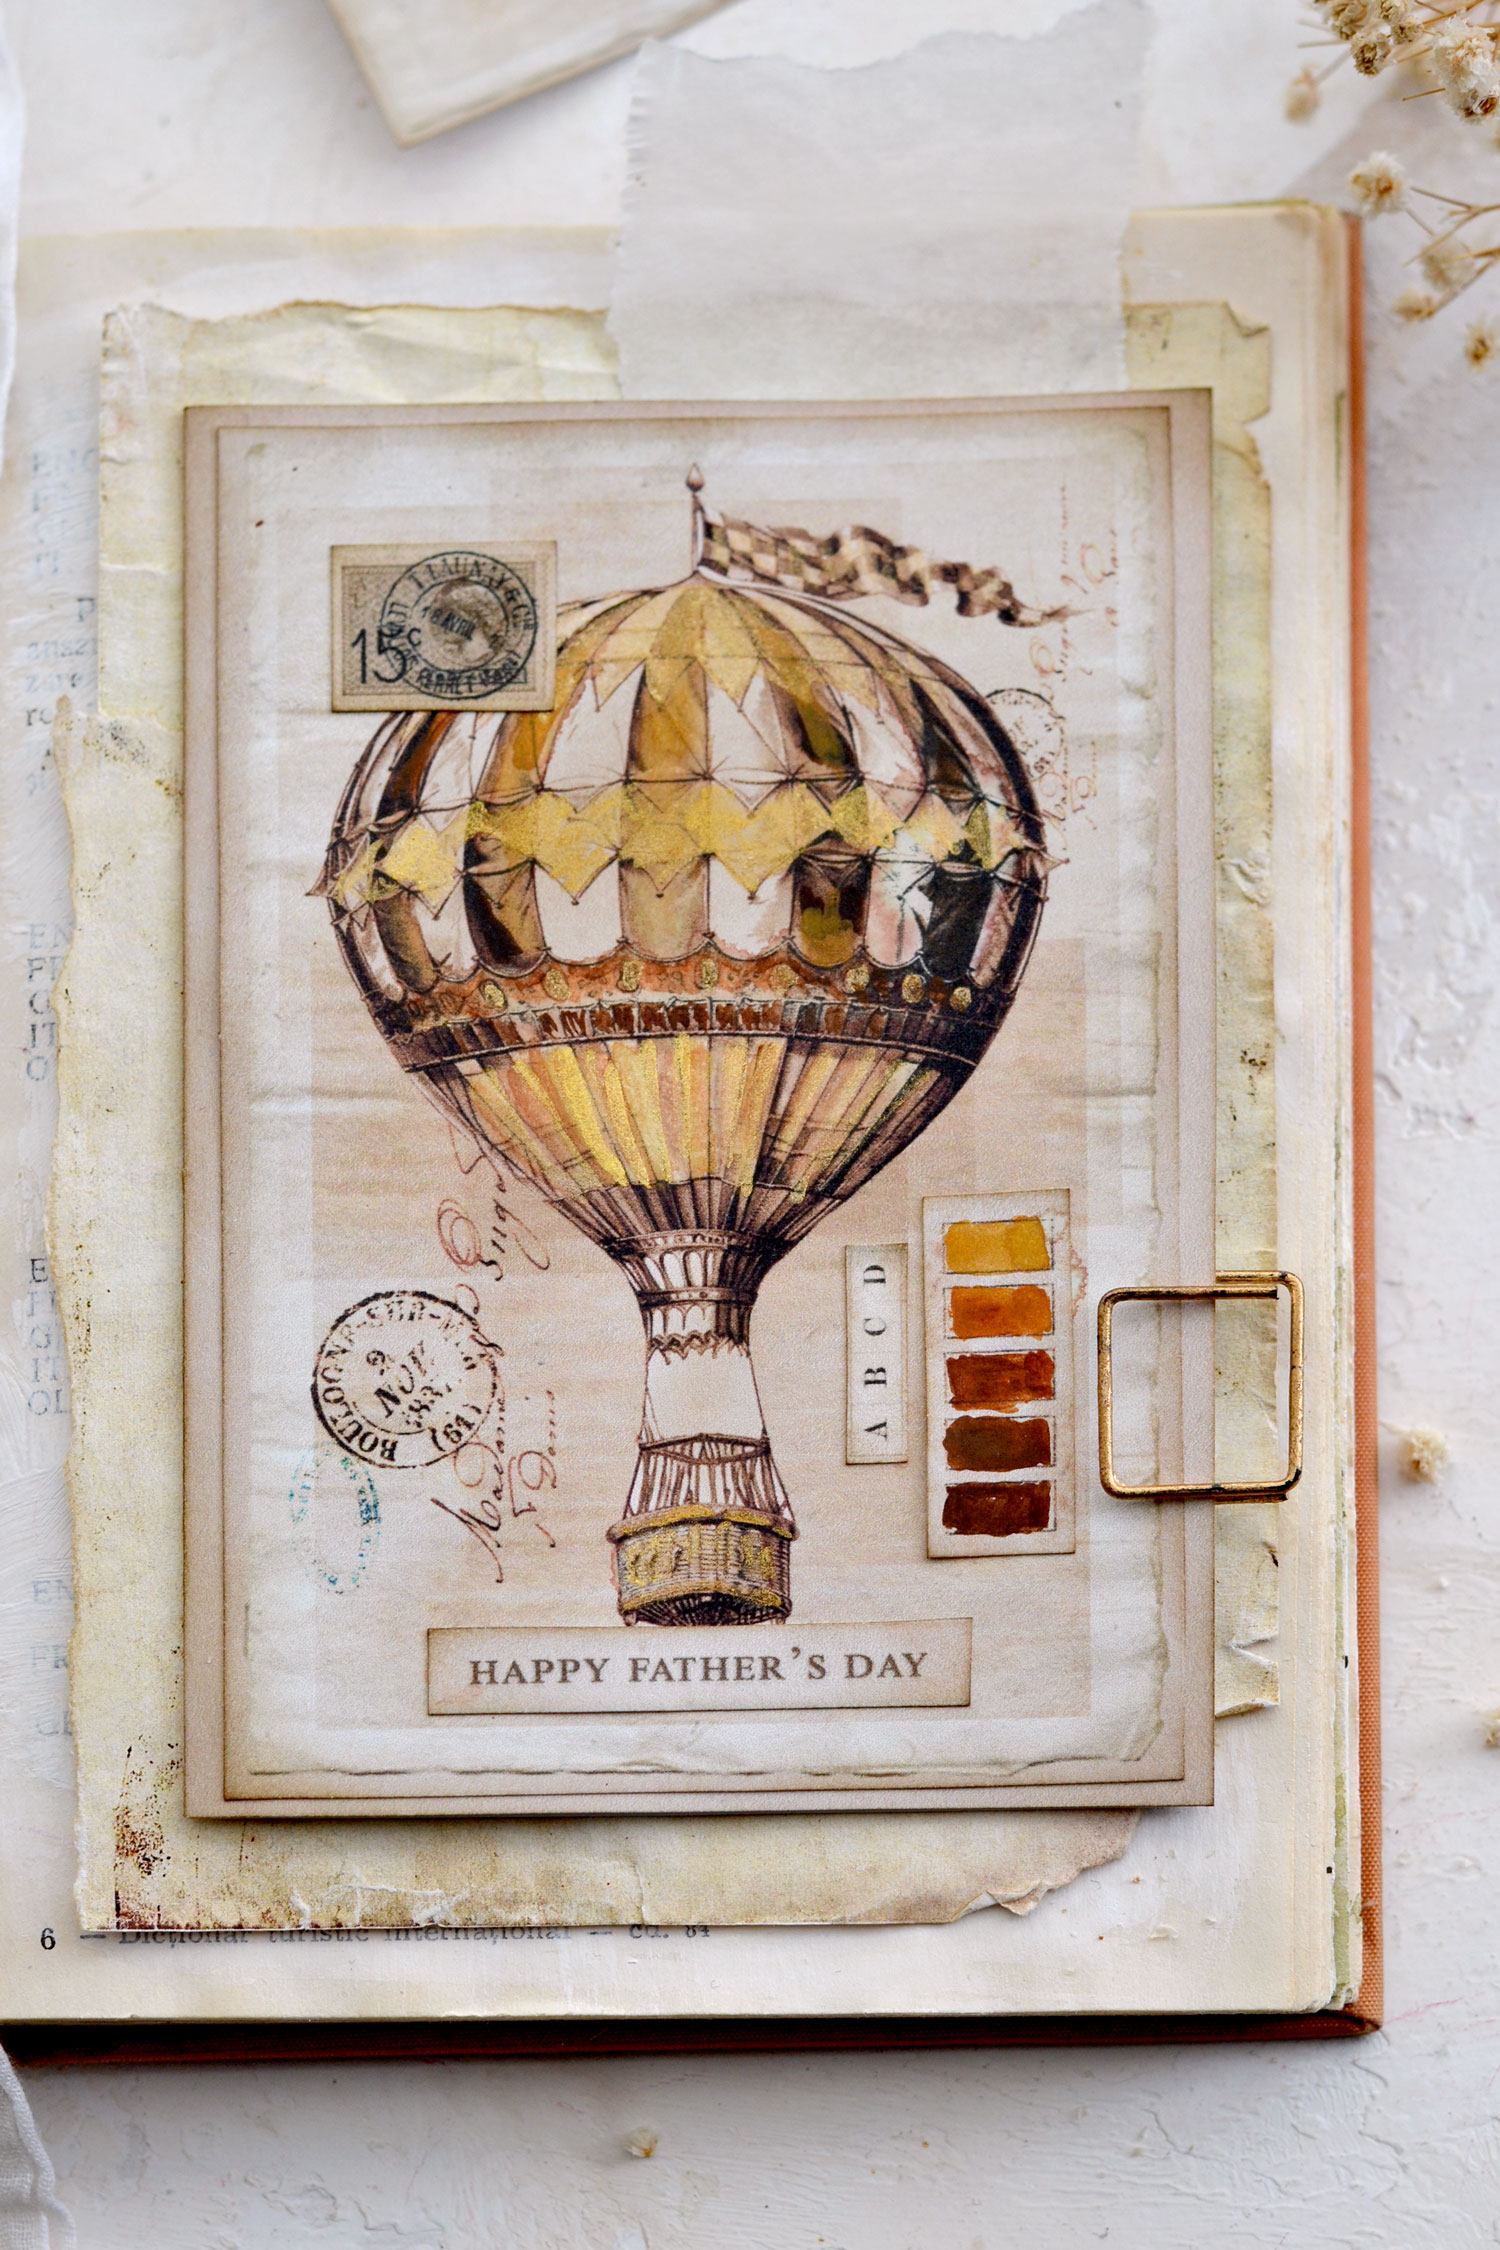
Add a little bit of crinkle ribbon to the smaller air balloon to turn it into an amazing matching tag! These two beauties would also look amazing in a travel-themed junk journal, so maybe it would be a great idea to make some for yourself, too! Skip the Father’s Day wishes in this case or replace them with something else if you prefer.

I have to confess I had so much fun painting this gorgeous vintage air balloon card and putting everything together! The details are absolutely stunning, and I think watercolors were the perfect choice here. So I hope you will love this project and decide to give it a try! Your dad will appreciate a card with such beautifully painted details, heartfelt written wishes and that special emotion only a handmade gift can create!
 You might also like my Printable Birthday Card Kit for Dad HERE.
Happy crafting,
Diana | Dreams Factory


Linda Johnson says
Love this! I always forget about using my watercolors! Can’t wait to try this! Thanks!
Karen says
Watercolors are such a fun medium. Enjoy!
Daphne Tackett says
Gorgeous design! Thank you for the images and instructions.
Karen says
You’re very welcome! Happy crafting! 🙂
Nell says
Thanks once again for sharing!
Karen says
You’re welcome, Nell!