Faux Wax Seals with Rubber Stamps
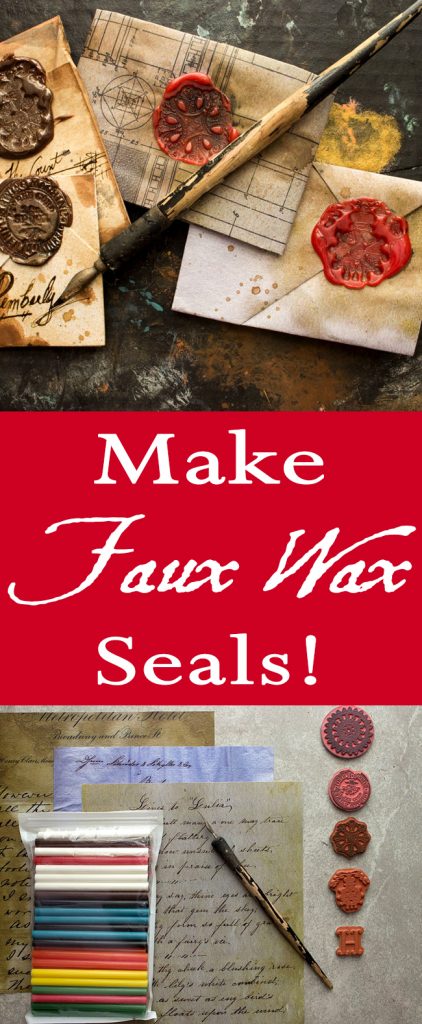
Hello, my Graphics Fairy Friends! Heather here, from Thicketworks. Today, we are going to make Faux Wax Seals with Rubber Stamps! I’ll show you a quick & easy way to add the elegance and charm of yesteryear to any document! I will also show you how to make a classic Druggist fold with your letter or document. If you’ve been wondering how do you make fake wax seals, then this post is for you!
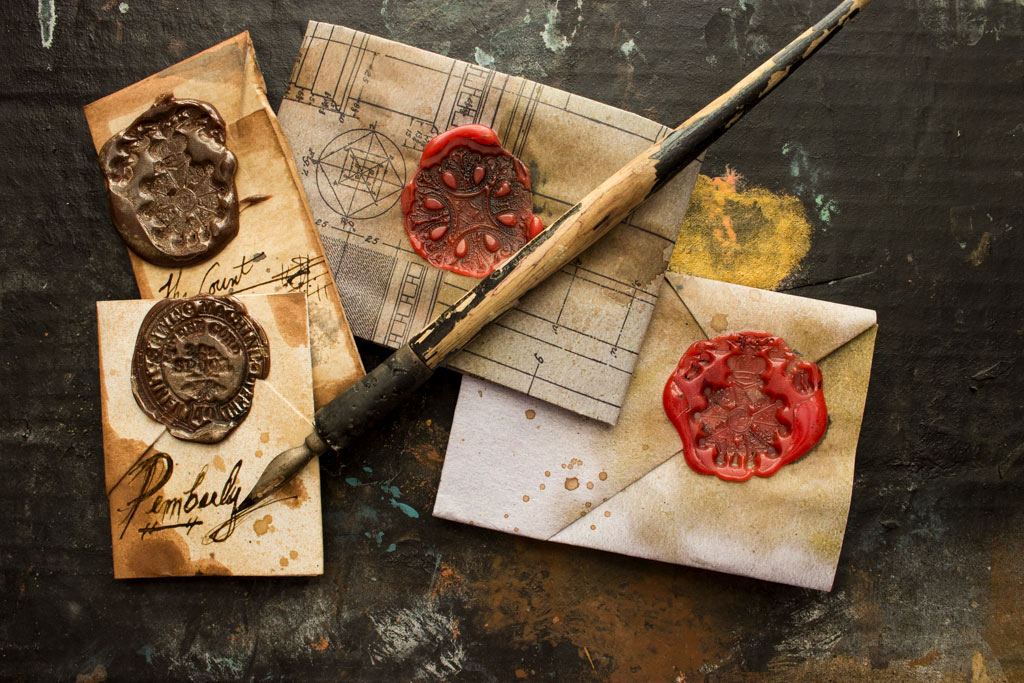 These types of seals are lovely for Wedding Invitations too your guests will love the extra detail on an outer Envelope! To join in the fun, you need just a few simple items.
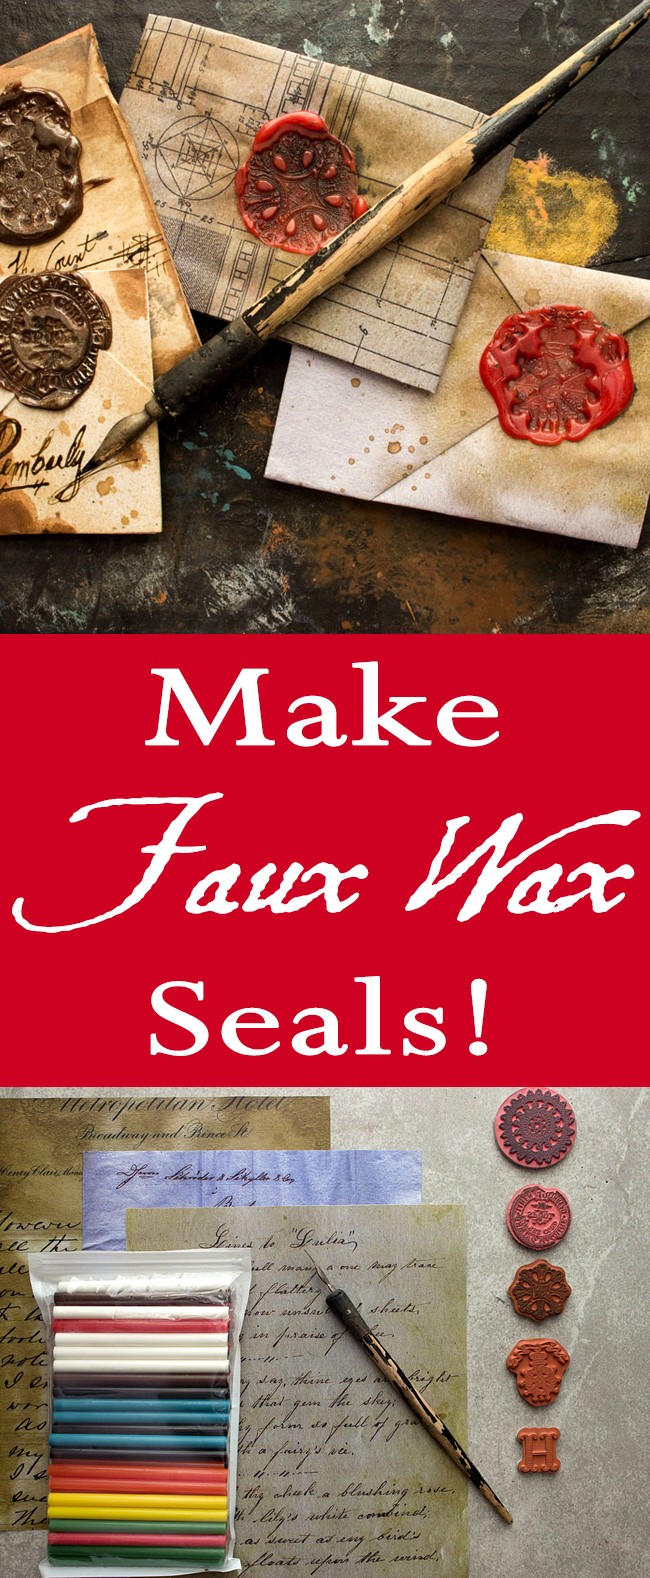
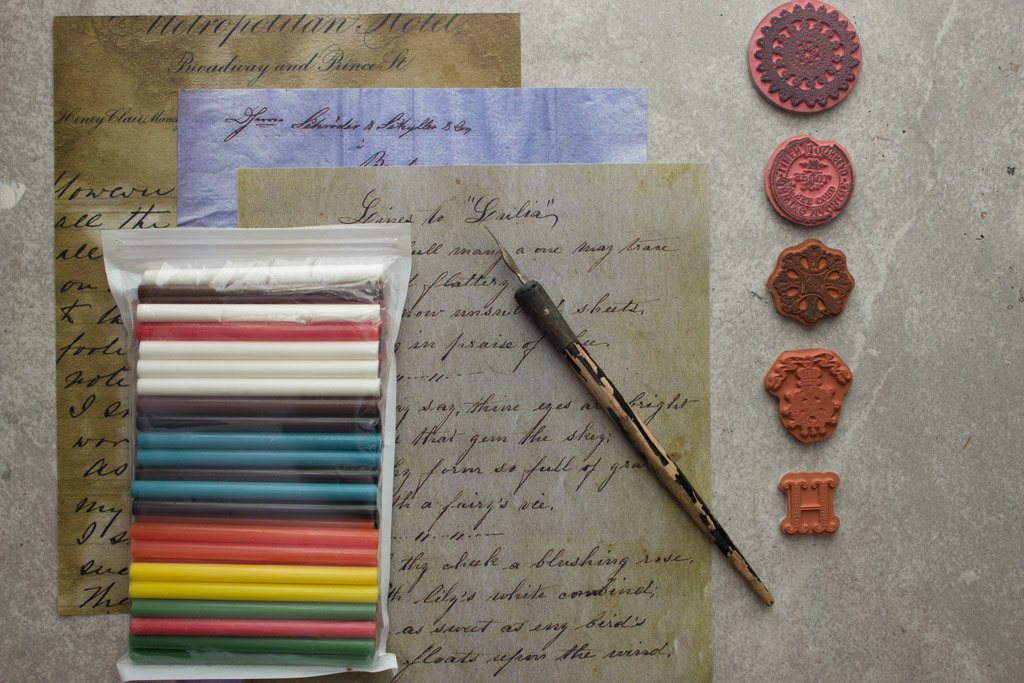
Supplies for Faux Wax Seals:
- Documents to play with!
- Multi Color Mini Glue Sticks
- Mini Hi-Temp Glue Gun
- Circular Rubber Stamp Set
Optional Supplies:
Graphics Fairy Source Images used in demo:
Write a Missive:
Your Friend or Sweetheart will be thrilled!
…or, simply print out a wonderful image from The Graphics Fairy!
(Make sure to trim away the white margins!)
I’ll bet you once used Letterlocking to secure secret notes to be shared only with your best friend!
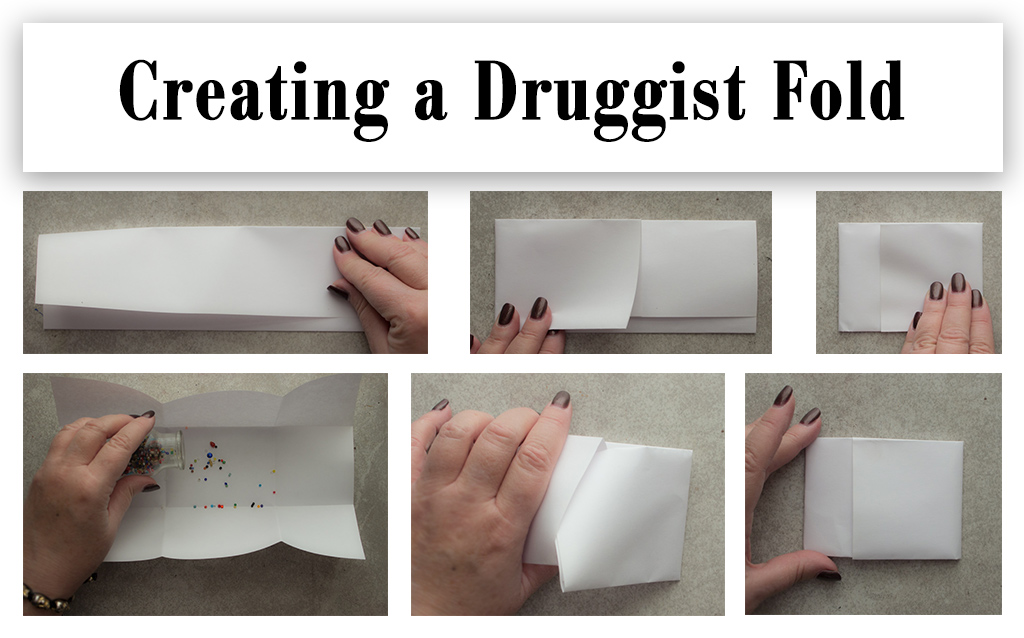
In case you’ve forgotten the art of folding a note to create its own enclosure, here’s a quick primer on creating a Druggist Fold…this type of fold is especially useful if you want to tuck in a treasure or two, because your precious items cannot fall out!
(This fold was often used at Crime Scenes to safely secure evidence – but you can use it to safely hold any small item you like!)
How to Create a Druggist Fold:
- Fold an 8.5″ x 11″ piece of paper into 3rds, lengthwise.
- Next, fold one end up, leaving about a 3rd of the length exposed.
- Fold the end over, making sure it overlaps the other flap.
- Open the paper up, and place your treasure in the middle of the page.
- Fold it up again, and tuck one flap into the other!
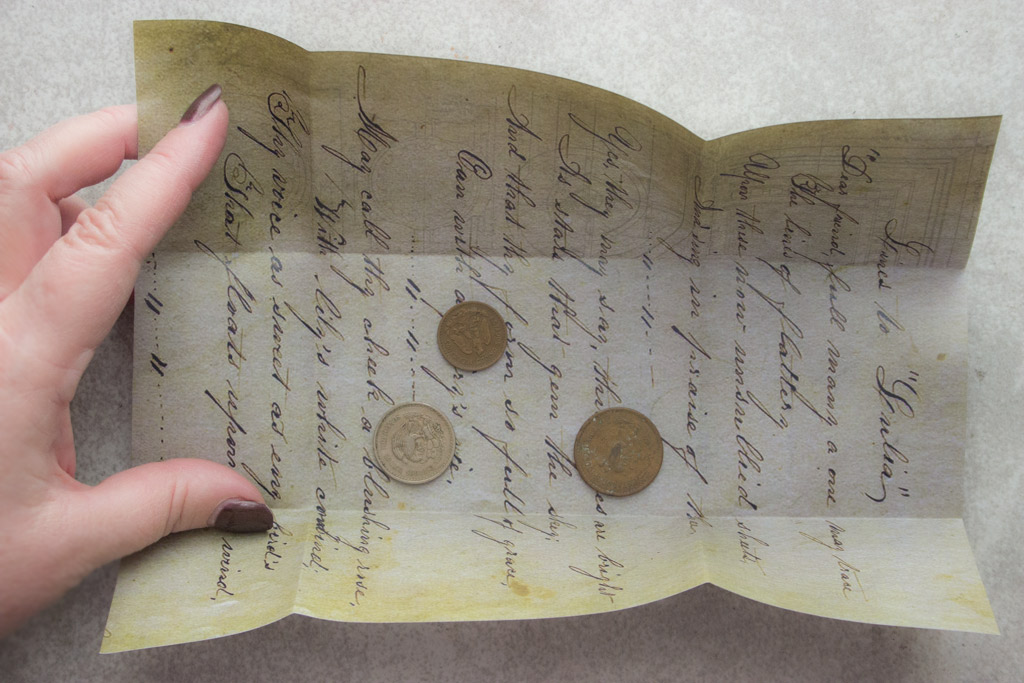 This fold can be created with almost any size of paper – it’s SO fun to fold tiny letters to mail to your friends!
How to Create Faux Wax Seals:
- Gather your favorite circular rubber stamps…I recommend actual rubber stamps, due to the high temperature of the glue. (It’s a good idea to work on a surface that won’t be damaged by hot glue!)
- Plug in your Mini High-Temp Glue Gun. (You DON’T need a Candle for this technique!) Allow it to heat up, and squeeze out any clear glue remaining in the barrel.
- Insert a colored glue stick of your choice!
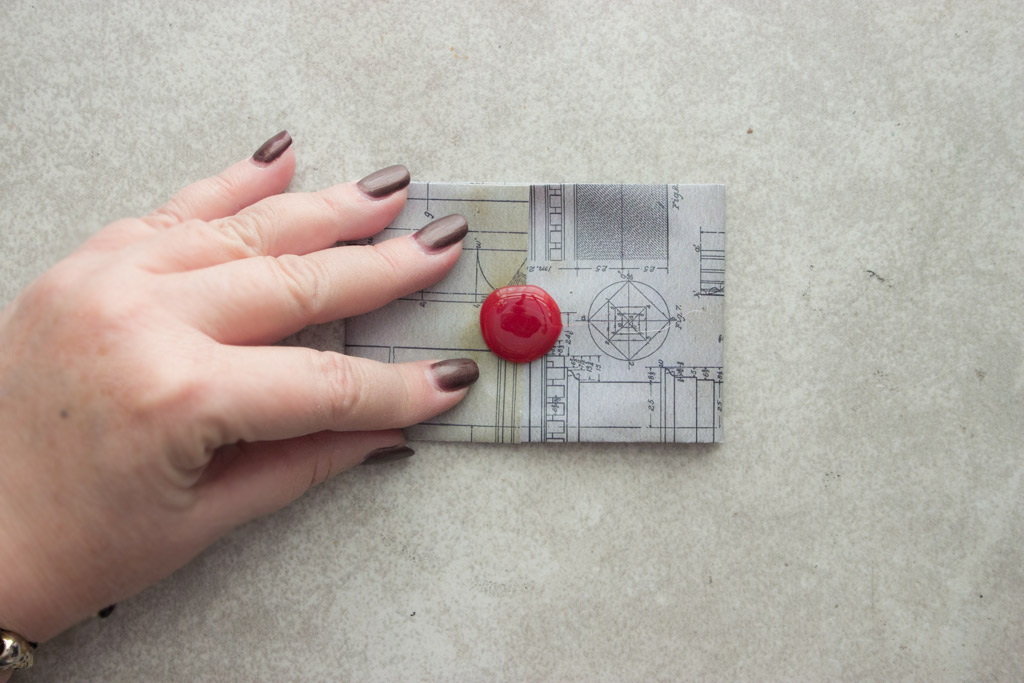
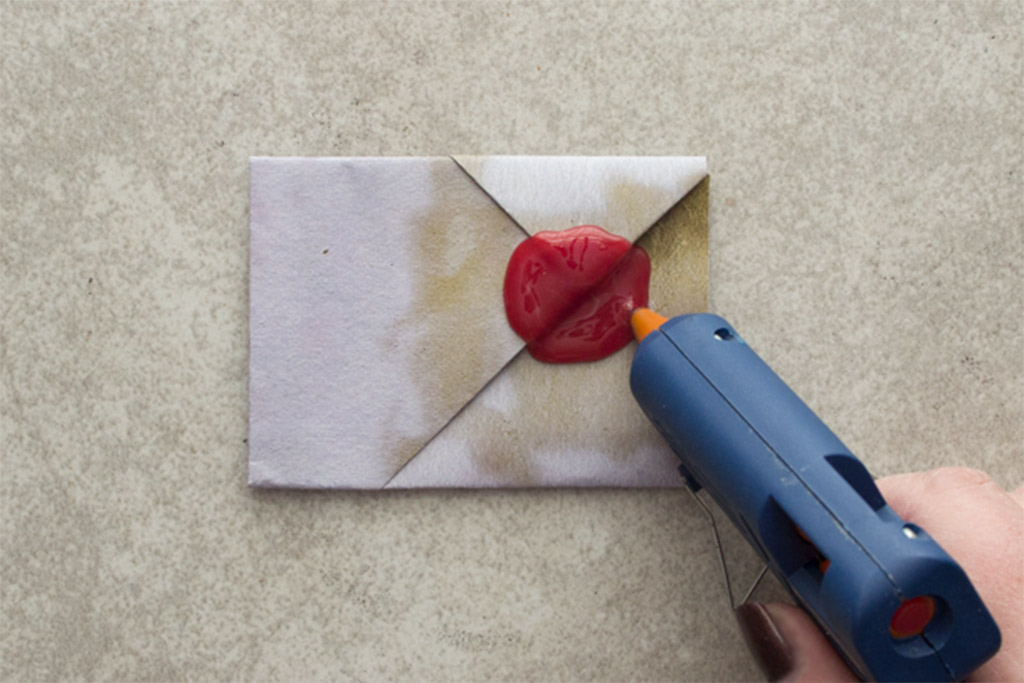
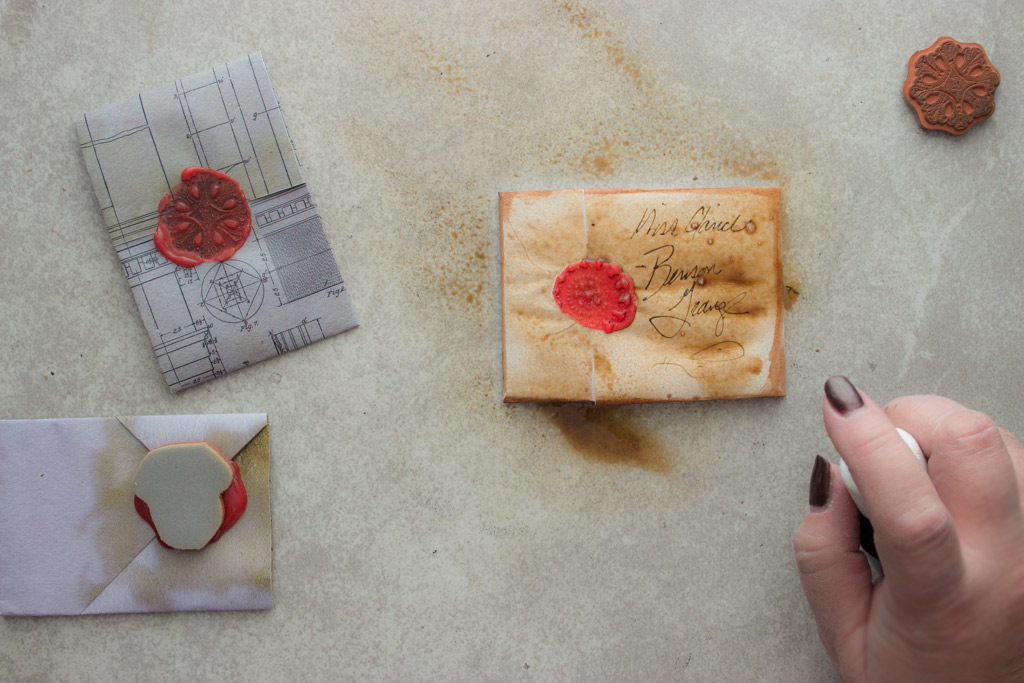
- Squeeze a quarter sized dollop of colored hot glue over the ‘seam’ where the flaps interlock:
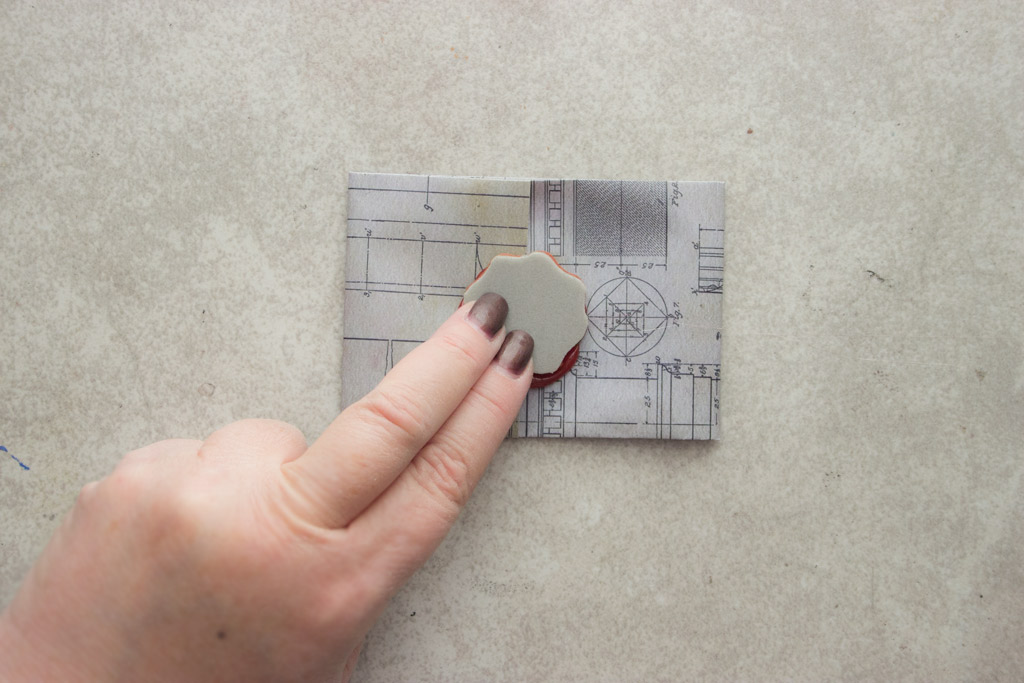
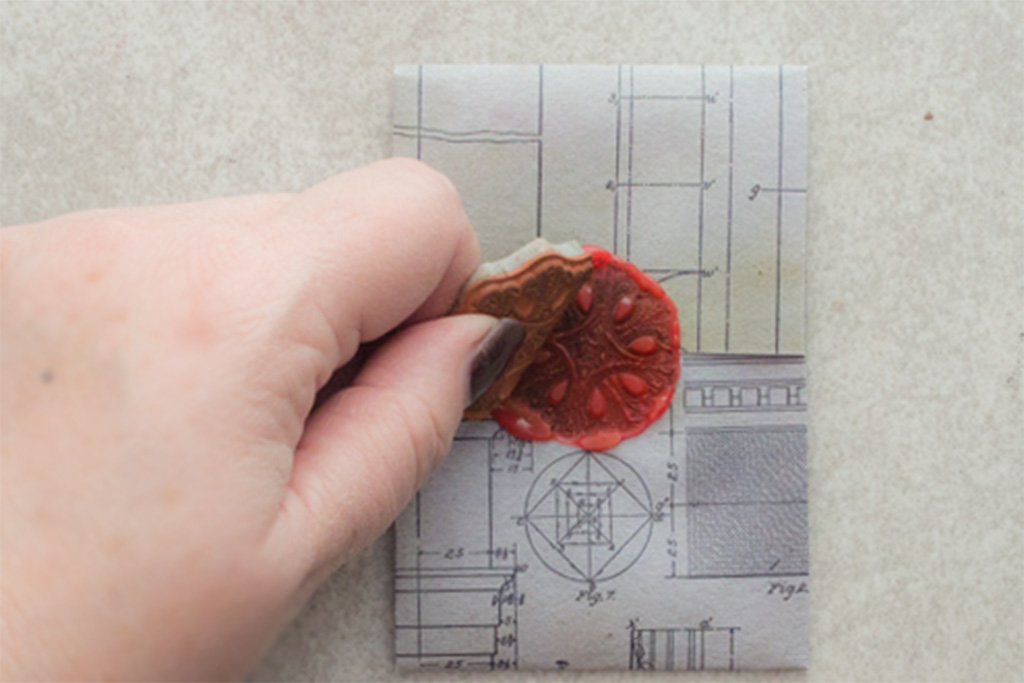
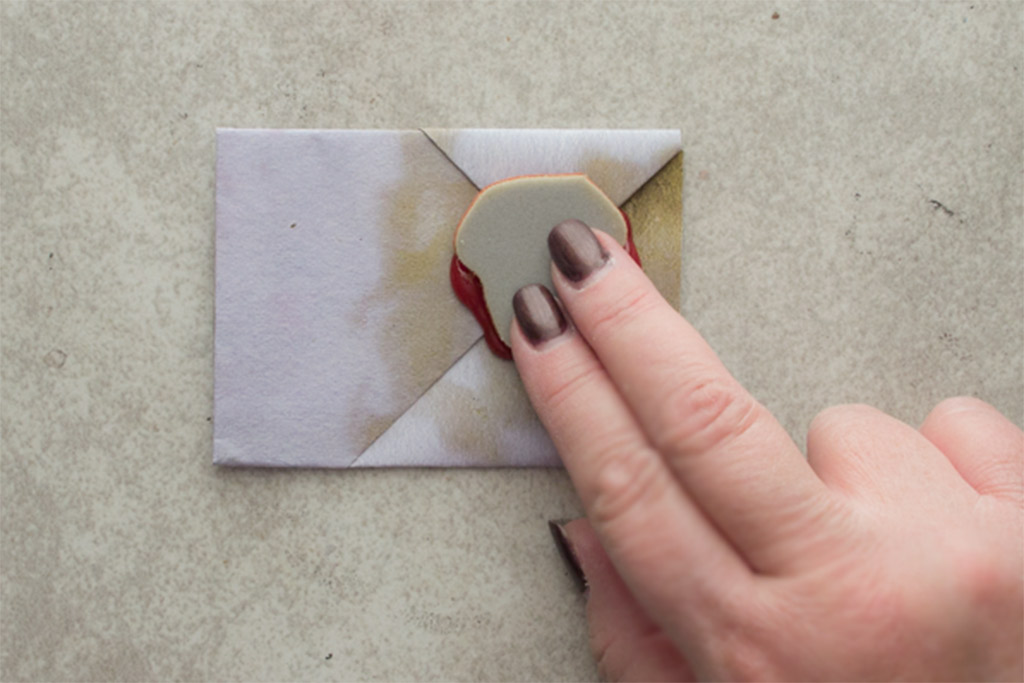
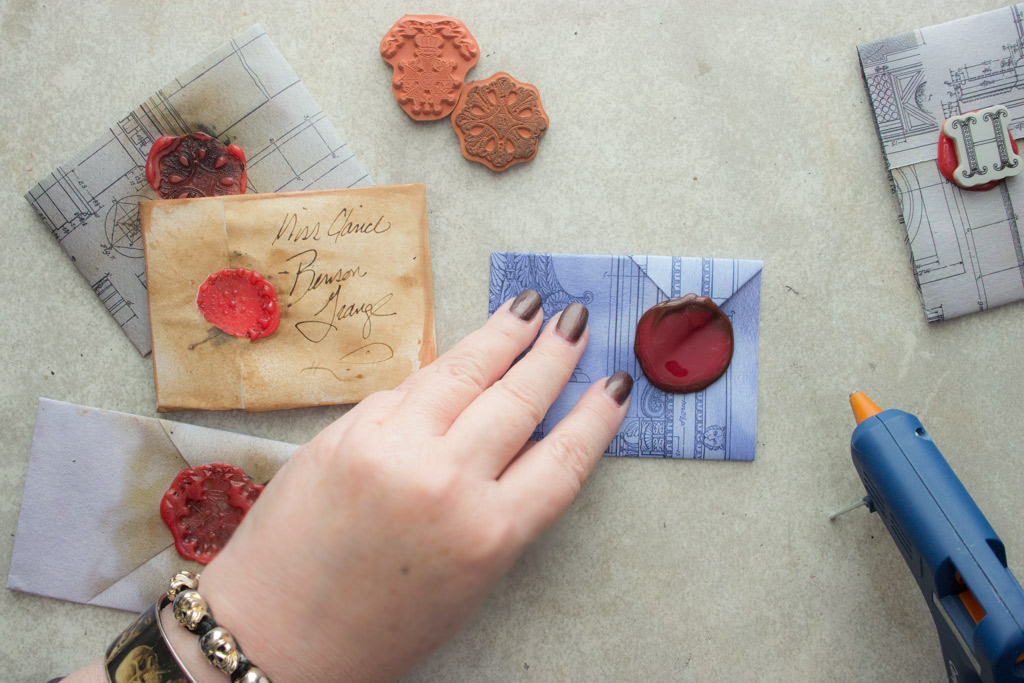
Allow the glue to cool for a few seconds, then carefully press a rubber stamp into the surface, pressing lightly, but firmly.
Allow the glue to cool completely, then gently peel the stamp away from the glue!
It’s as easy as 1-2-3 to make these Homemade Seals, such a fun way to use your Rubber Stamps!
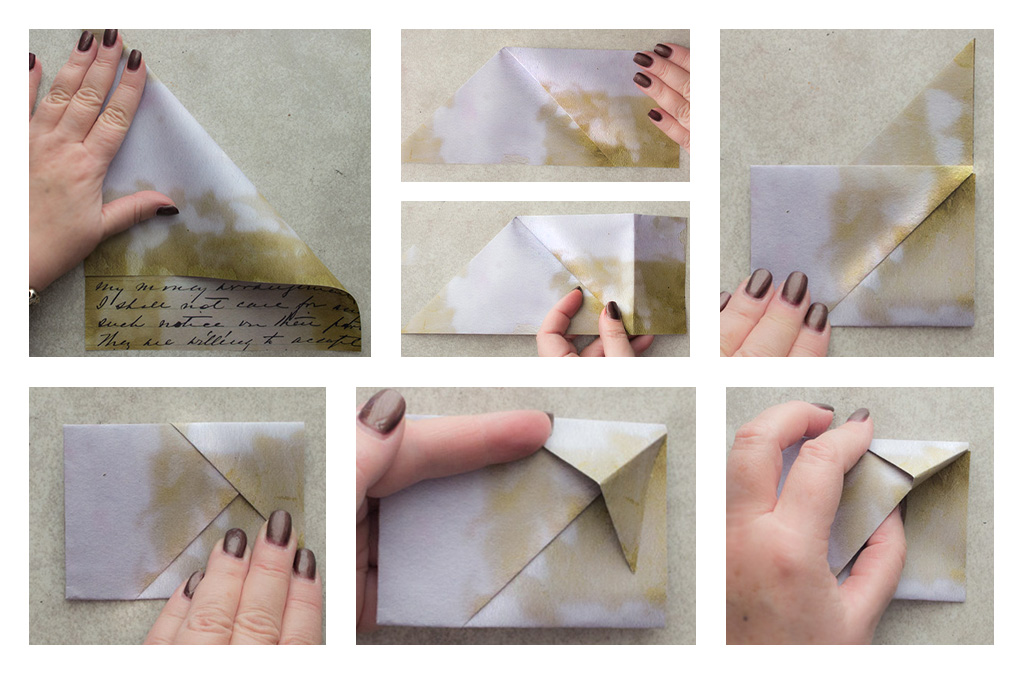
Here’s another Fancy Letterlocking Fold for you to experiment with!
This fold results in an elegant slanted seam, perfect for your Faux Wax Seal!
I have SO much fun creating these tiny Billet Doux!
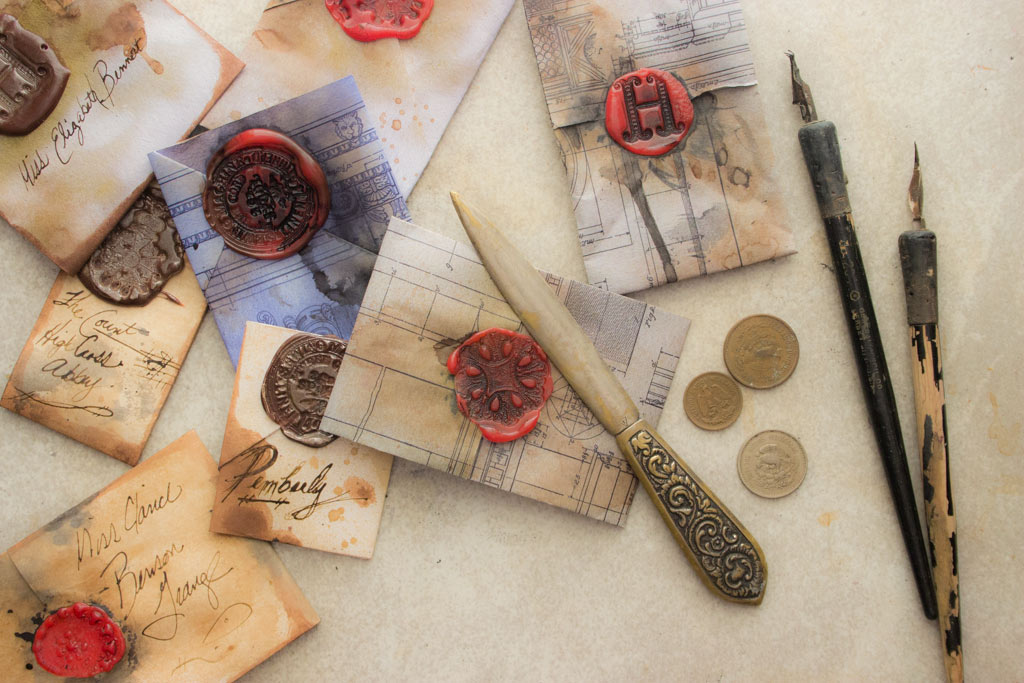
…adding a bit of grime is a big part of the fun!
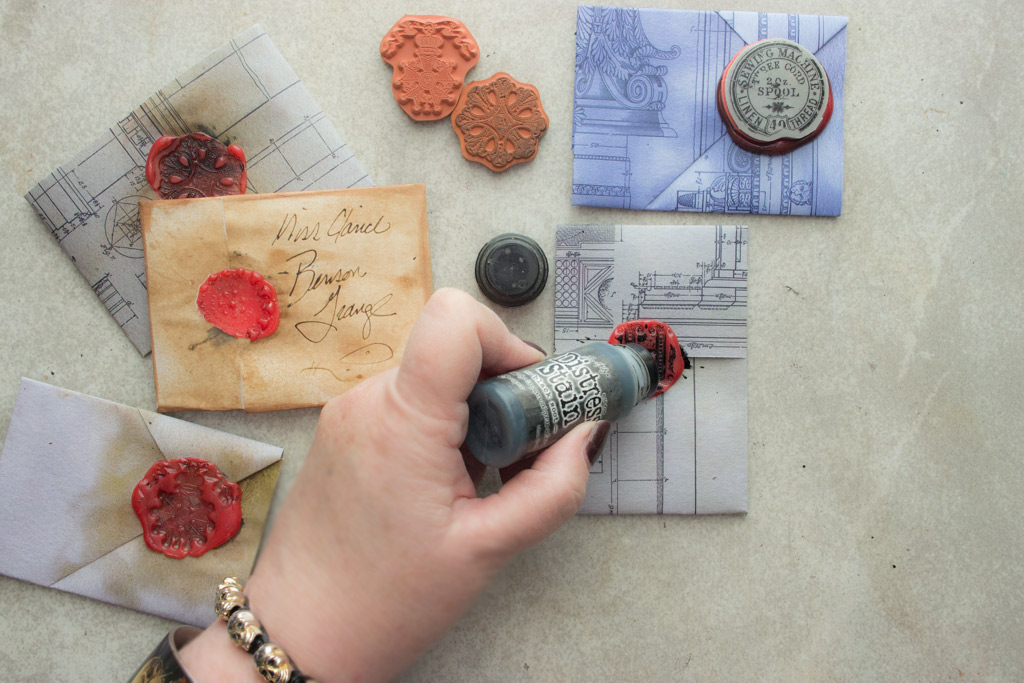
Adding an edging of Distress Stain: Vintage Photo is super fast and easy…then, a spritz of Coffee Stain adds instant history…
Here, I’ve loaded a black glue stick while there is still a bit of red in the barrel – this makes for a fun two-toned effect!
For even more character, add a splash or two of Distress Stain: Black Soot to your Faux Wax Seal!
A touch of Distress Stain: Antiqued Bronze on the darker colored glue adds a hint of glamour!
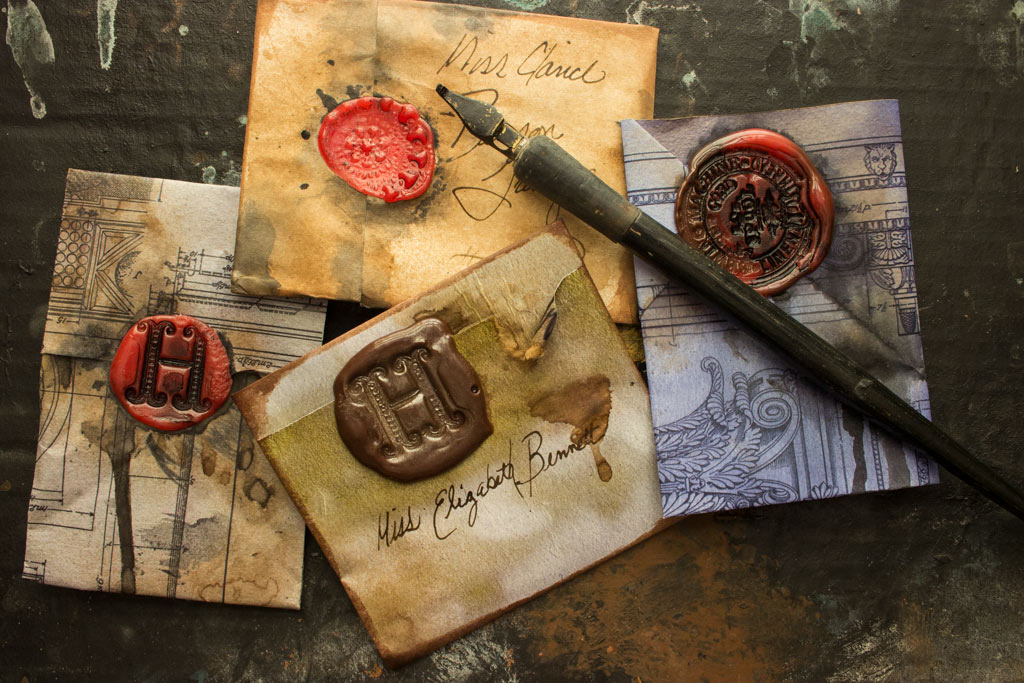
It was difficult to make myself stop creating – these tiny packages are SO charming…I just LOVE seeing them scattered on a table top!
Thank you for visiting The Graphics Fairy today! You might also like my STUNNING Rubber Stamp Metallic Effects Technique HERE.
I hope you’ve enjoyed this little technique making Faux Wax Seals with Rubber Stamps. They are a great replacement to use instead of a Wax Seal if you don’t have them. These are perfect for using in Crafts, Collage, Mixed Media Artwork and Junk Journals too! I’m sure YOUR handwriting is MUCH more elegant than mine – so scribble away!
Until next time,
Heather ♥
I hope to see you at Thicketworks Blog – we’ll have us some Messy FUN!
Our students have SO much fun in the Mixed Media for Beginners online course…




Mary says
Genius with the faux wax!
Heather Tracy says
It’s so fun to do, Mary! Thank you for being so kind. xox
Rupa says
Heather, these have such old world charm!! Would you believe me that just last week, I got a gorgeous wedding invitation with a custom seal like this in gold? I thought it was most charming (as is the gorgeous blue invitation). And….here you are showing us how to make these. Thanks so much for such an easy tutorial on this wonderful technique! I presume these seals are for one-time sealing and not something we can remove from one and use on another….
Heather Tracy says
Hi Rupa! So often we seem to be in ‘sync’, somehow… the invitation you mention sounds delectable! And yes, these are ‘one time use’ items. You could of course create them on a non-stick craft mat, then lift them when cool and affix with your adhesive of choice, giving you a bit more control over the placement, etc. Thank you for stopping by! xox
Rupa says
Ah, great idea to create them on a non-stick mat. Always the genius with a generous soul!!
graphicsfairy says
You are too kind Rupa 🙂
KarenDawn Tooren says
Some additional usage tips:
• Be aware that both this kind and the “genuine” wax seals, when applied to postal mail, may incur a postage surcharge. (It’s been a while since I’ve done it, so I don’t remember if it’s an extra to “hand cancel” or because of the thickness, but this is something you might run into. And I say, “might” because it apparently isn’t consistent.)
• The glue seals are sturdier and less subject to breaking or cracking (thank you USPS). I found this out the hard way, based on @50 years’ worth of using the wax seals!
• Make them in batches and save for future use: Use a release-type foundation to create them on (such as non-stick paper; leftover label backing sheets; freezer paper; non-stick aluminum foil…) then glue them on as needed.
• You can use either high- or low-temp sticks; just match the stick to the glue gun temperature.
• You can buy colored glue sticks at the Dollar Tree and you get a good amount (assorted colors) for the price.
• Rub the raised image with metallic pastes for an interesting enhancement.
• Seals add a nice touch to other craft items: sealing the wrappers on handmade soap, jewelry, candy…; attaching ribbon to bottles, packages… there are TONS of possibilities for using seals.
• Consider that rubber stamps are available in seasonal images, monograms, and other designs that will add a little something extra to your packaging, gifts, or crafts. They can also be custom-made with your own wording or designs.
Hope this is useful!
Heather Tracy says
Wow! What a treasure trove of info – thank you for sharing your expertise with us, KarenDawn. xox
Bonnie says
I have a small photo restoration business and would like to post the tutorial on Facebook. Is that possible?
graphicsfairy says
No problem Bonnie, just click on the Facebook tab on the post and there is a share button right there 🙂
Heather Tracy says
Hi Bonnie! While the entire blog post cannot be posted on Facebook, a link to the post certainly can!
You can paste this link in a FB post to direct folks to this article: https://thegraphicsfairy.com/faux-wax-seal-technique/
Thank you so much for expressing an interest! xox
Pam Weiler says
I am not able to figure out the second fancy fold envelope. It seems as though some steps are missing.
Heather Tracy says
Hi Pam – sorry that it’s not making sense. I couldn’t for the life of me describe in words how to create the folds, but all the steps ARE there. Here’s a link to a video, (not mine) that walks you through the process: https://youtu.be/2uNc574V9BQ
Thanks for visiting!