Craft Clock Faces
Hello Graphics Fairy friends… Diana from Dreams Factory here, are you ready for another super exciting experiment? I hope you are, because today we are making some gorgeous Craft Clock Faces! We will be playing with watercolors while decorating truly unique clock faces. We will be also creating our own color concoctions and color swatches, that can be used in so many ways in our creative projects!
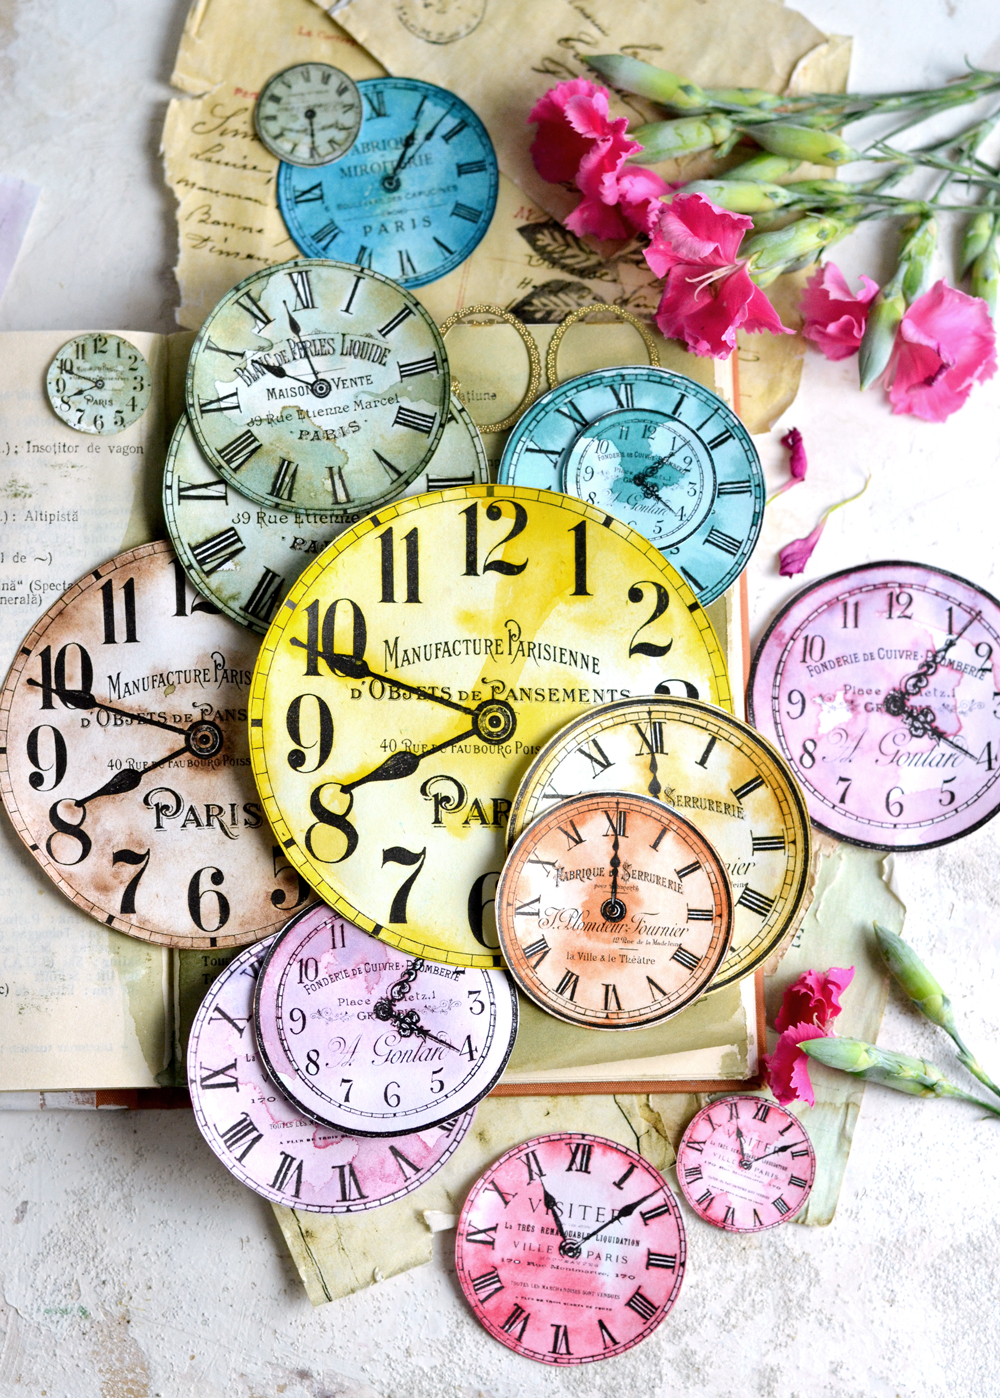 Until a few months ago, I was that person that would most likely pick a neutral color for pretty much everything in terms of decorating. But lately I started experimenting with more and more colors! Let’s not forget the super colorful DIY Vintage Poppy Tags that I shared last time … I would have never thought I could use all that red in a project! But I was quite surprised how much I really loved the project and the final results, so let’s just say I’m more open minded about the whole ‘experimenting with more (other than neutral) colors’ subject.
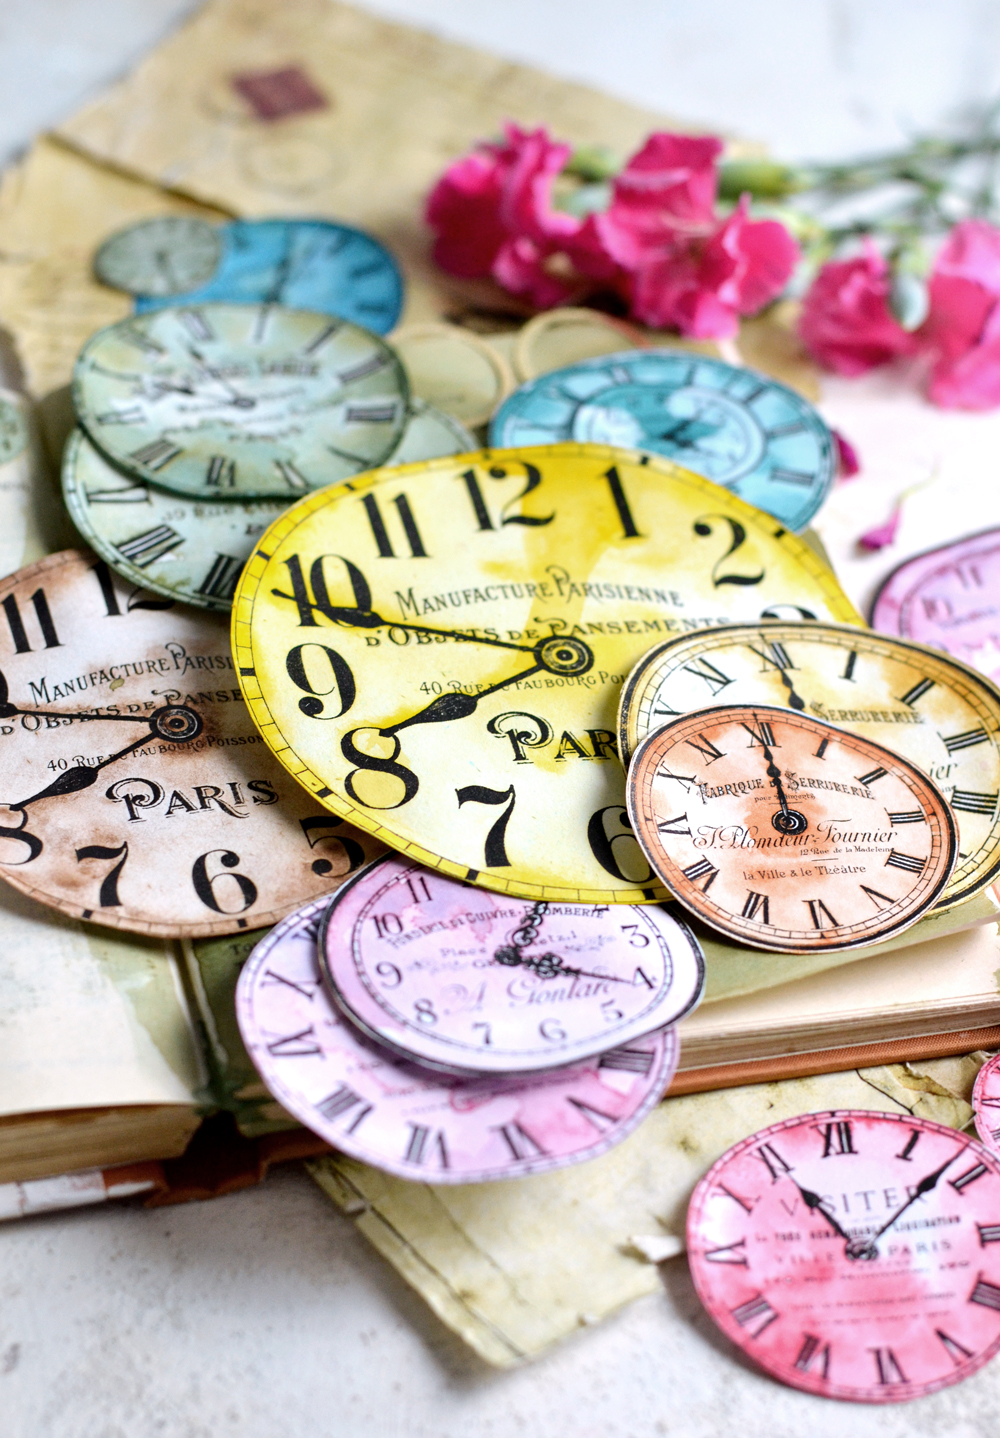
The inspiration for today’s project actually came a few days ago when I ‘accidentally’ discovered that all the colors in my set of watercolors actually have a name! They are all ‘fancy’ names like Alizarin Crimson, Cadmium Yellow, Cadmium Red, Sap Green, Viridian, Intense Blue (Phthalo Blue) and Ultramarine to name only a few. It was like discovering a well hidden treasure, one that needed to be explored … and shared with the world! If you are already familiar with all these names, you will still love the absolutely gorgeous vintage French clock faces, and if you are a newbie to colors – like me – you will love this project even more, because you will feel … like a true explorer! 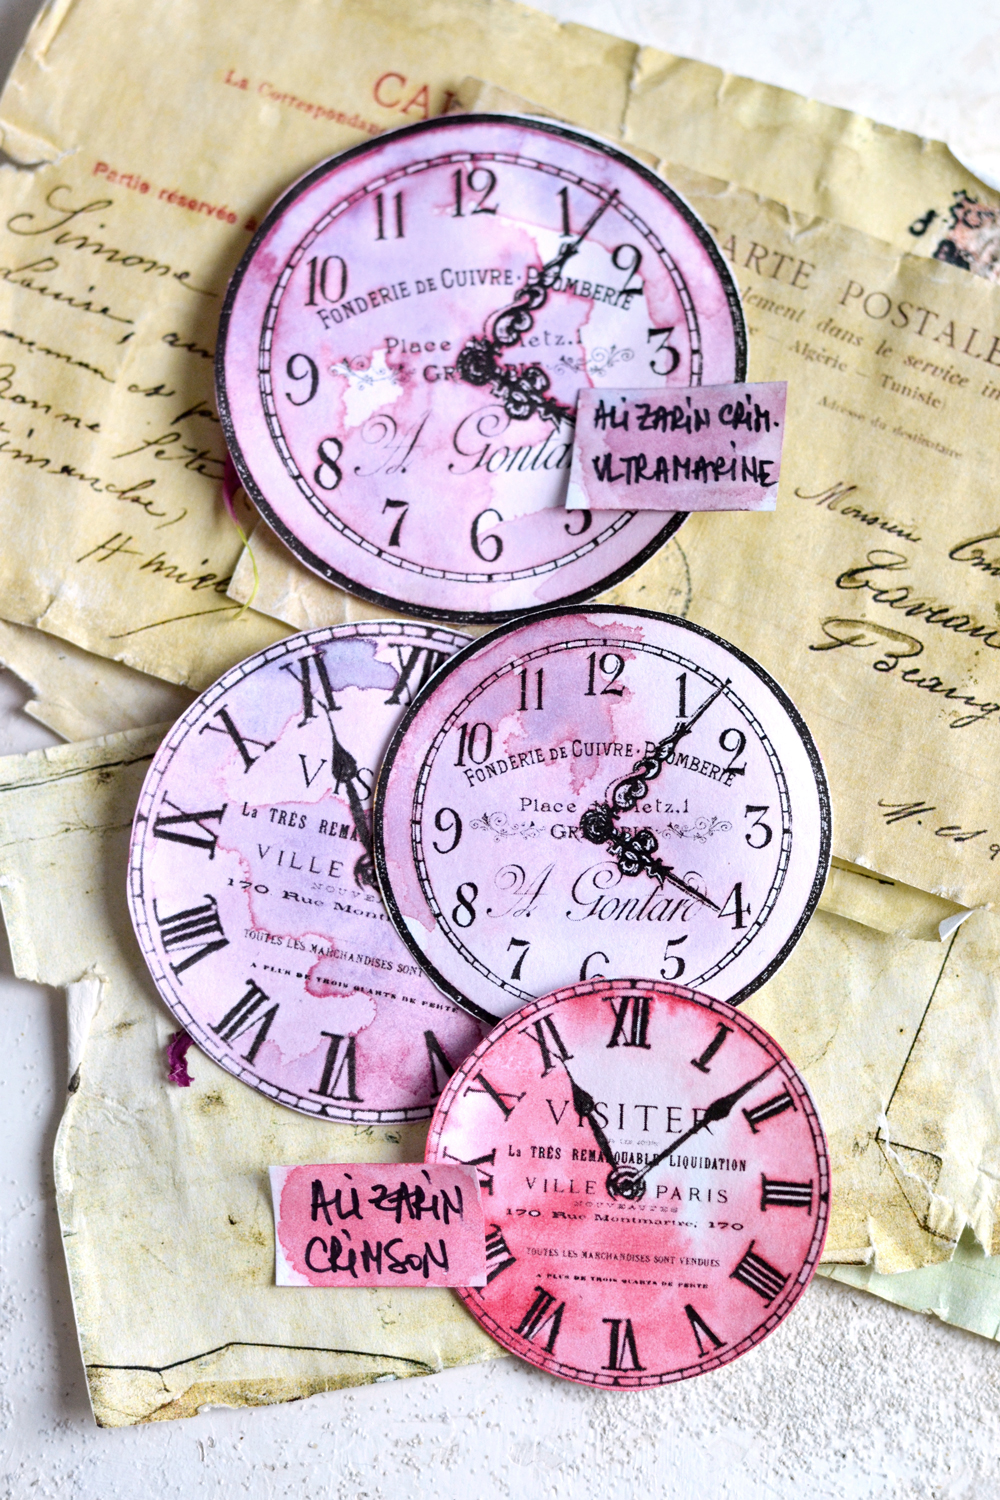
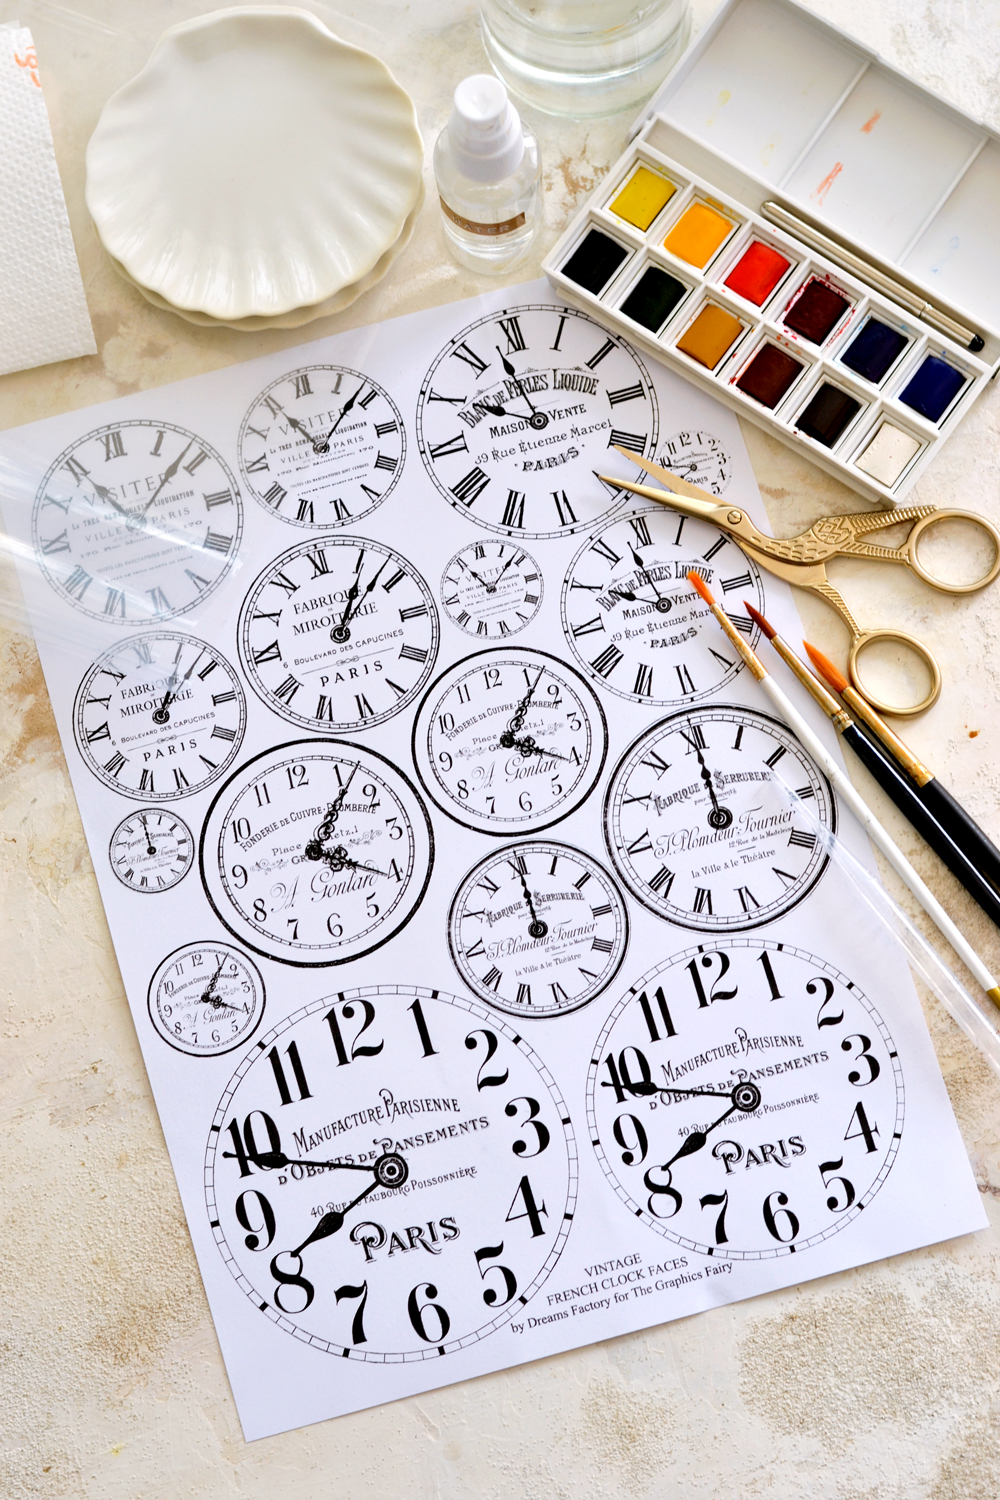
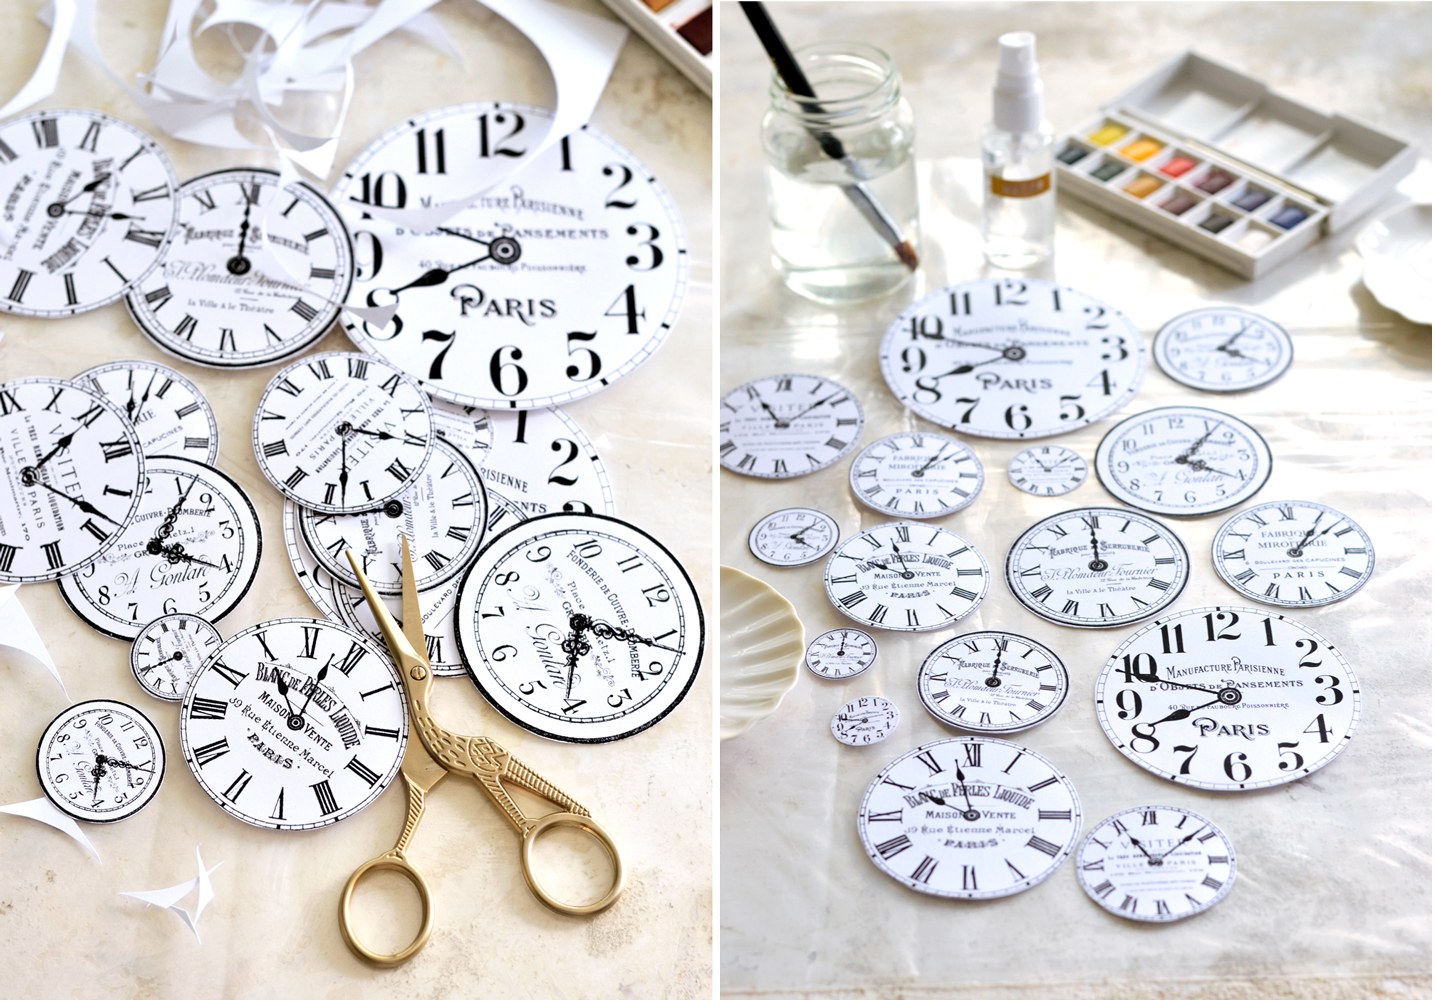
The project itself is really easy, because I already created these adorable Vintage French Clock Faces, all in different sizes! So amazing and versatile, right? Millions of projects and ideas already popping into your mind just by looking at these? I know the feeling! Just click on the link below and download the .pdf file on your computer, this is one of those printables that you JUST NEED to have around!
Free Printable Craft Clock Faces
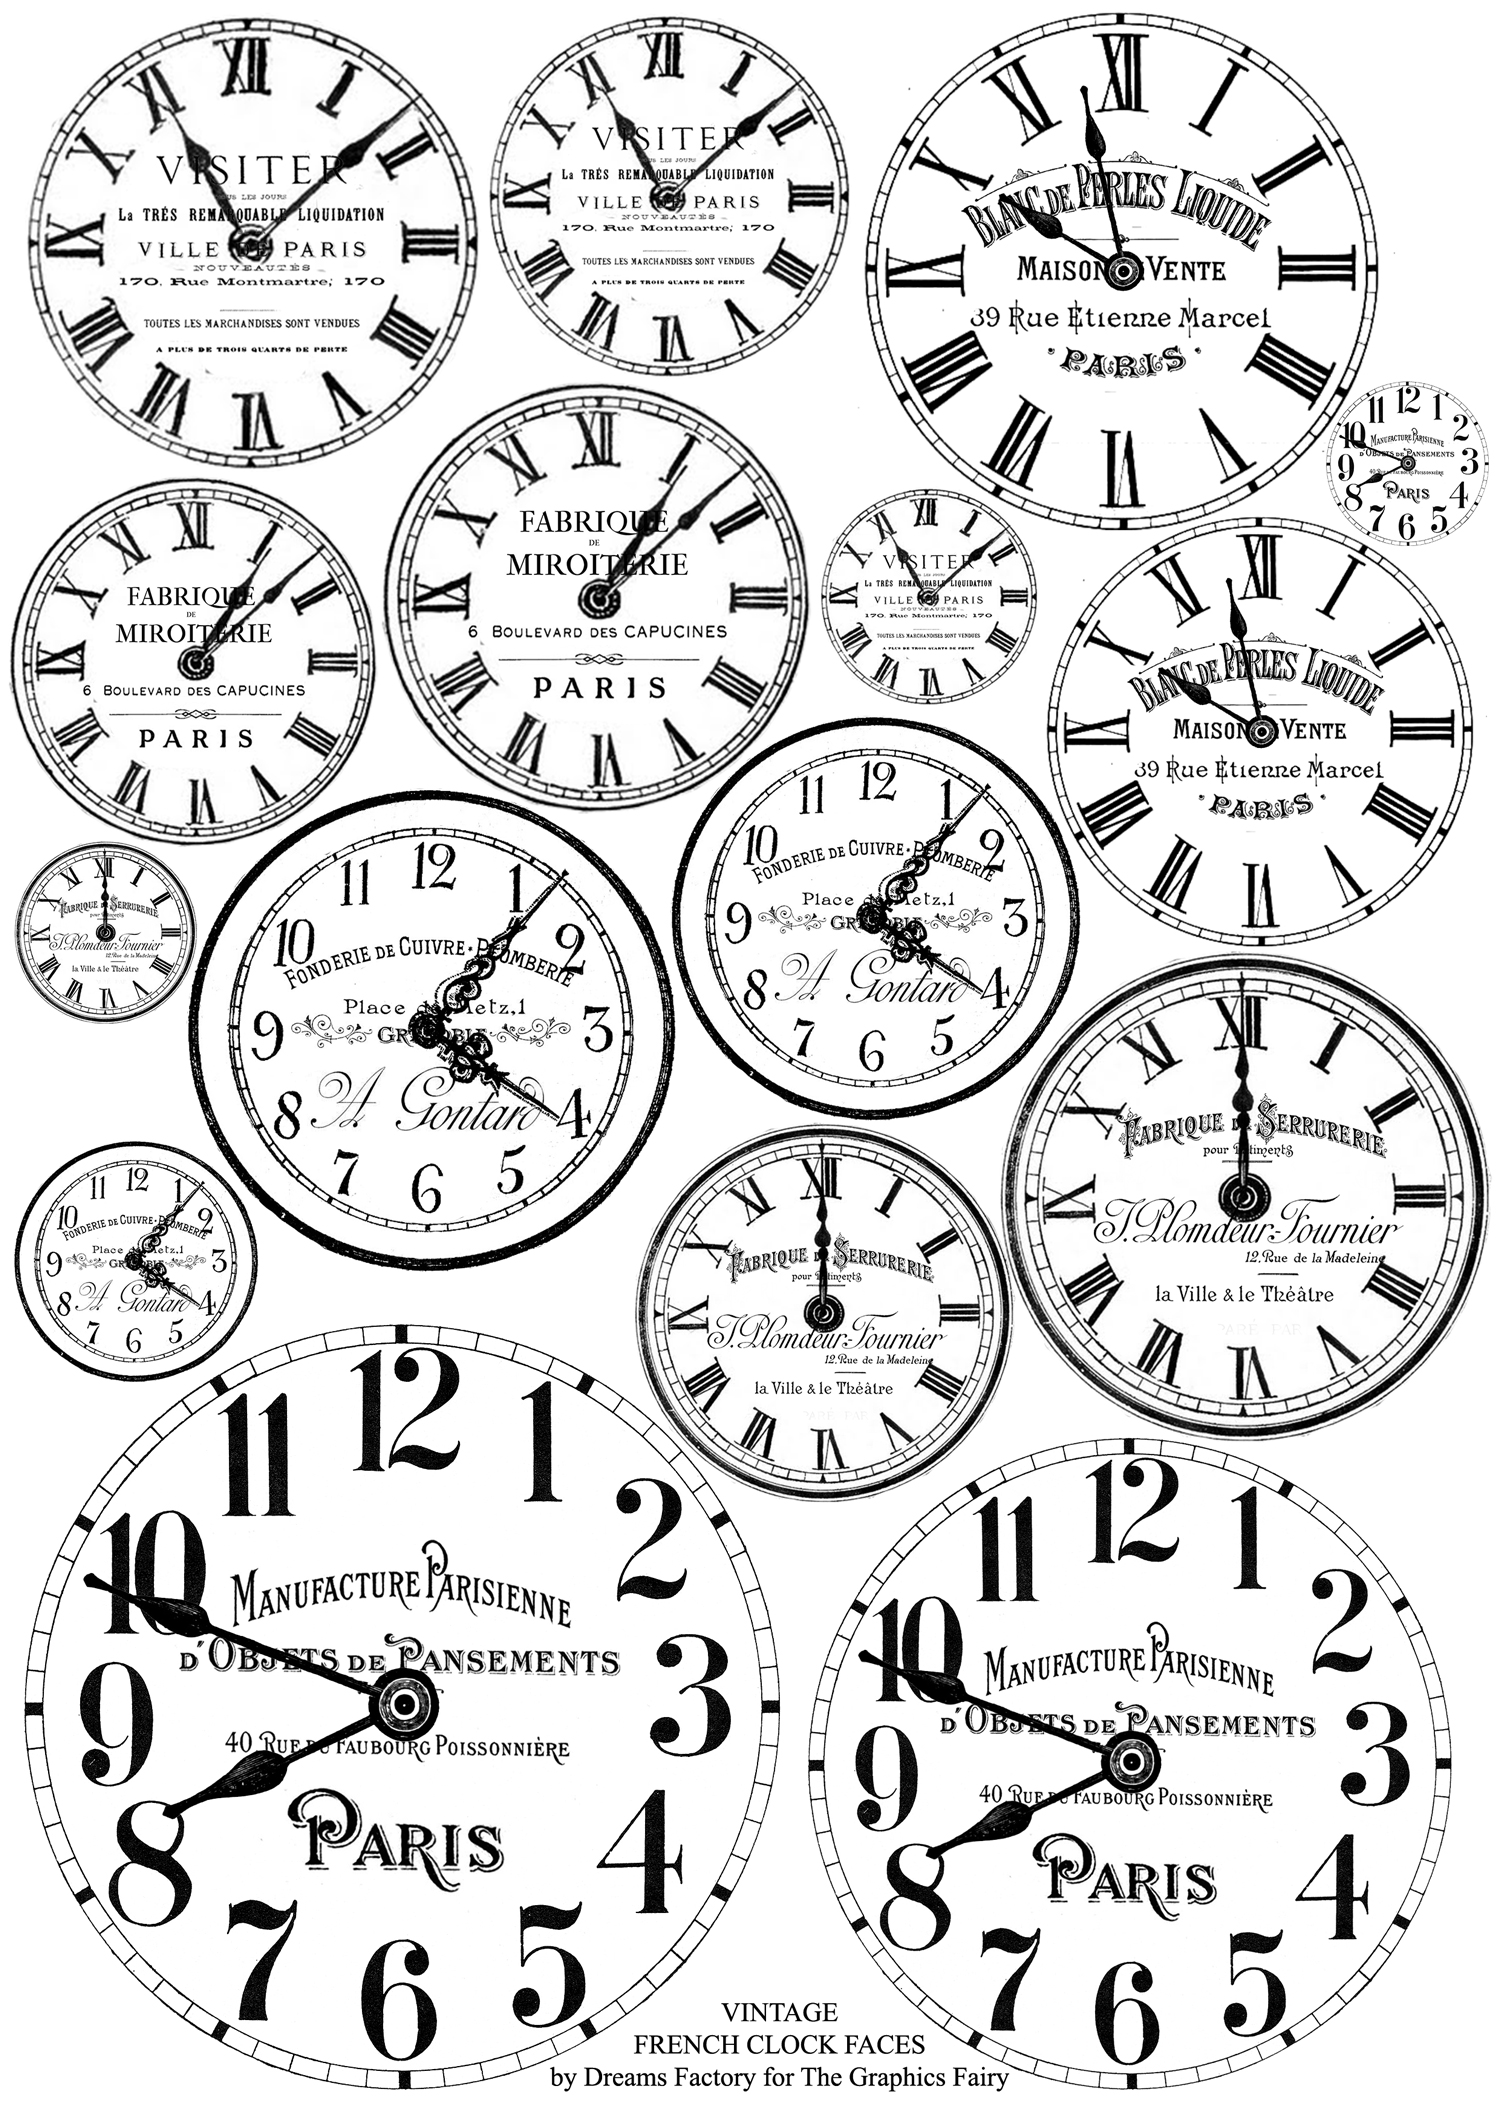 —-> Click HERE to Download the Full Size Printable PDF <—-
As always, take my DIY tutorial as a starting point for further experimenting, adapt everything to your needs and don’t forget to have fun! We will explore fancy names and we will watercolor our way through new territories! Sounds good? Let’s get started!
Supplies for Craft Clock Faces:
- cardstock paper for printing the clock faces
- scrap pieces of cardstock paper for creating the color swatches
- Home printer
- manicure scissors or other small detail scissors
- watercolors (I used the Winsor & Newton Cotman pocket box watercolors), you can also use highly diluted acrylic paint
- brushes
- plates for mixing the paint (I used small porcelain bowls) and recycled jars for water
- pocket binders (or a silicon mat, a plastic sheets or a non absorbent material) to protect your working surface
- paper towels
- water bottle
1. Start by saving the free Craft Clock Faces free printable on your computer, print it and gather all the other supplies.
2. Use your scissors to cut each clock face and remove all the white paper outside the border.
3. Don’t forget to use a silicone or a plastic sheet to protect your working surface, things are about to get messy!
______
TIPS & TRICKS
– If you are using the same watercolors that I used, pop each color out of the box to check their ‘fancy’ names first – the names are written on the side of each individual pan.
– Look at your colors and choose the ones that speak to you the most. Try not to think too much, because you’ll end up having a hard time deciding on which color to use. Oh, wait … is that just me? Grab one and start painting … to avoid over complicating things!
– Use a small water bottle and spray some water directly on your watercolors, this will ‘wake them up’ and make them ready for playing.
– Brush the whole surface of the paper with plain water first, your watercolors will create some beautiful effects when in contact with the already wet paper.
_____
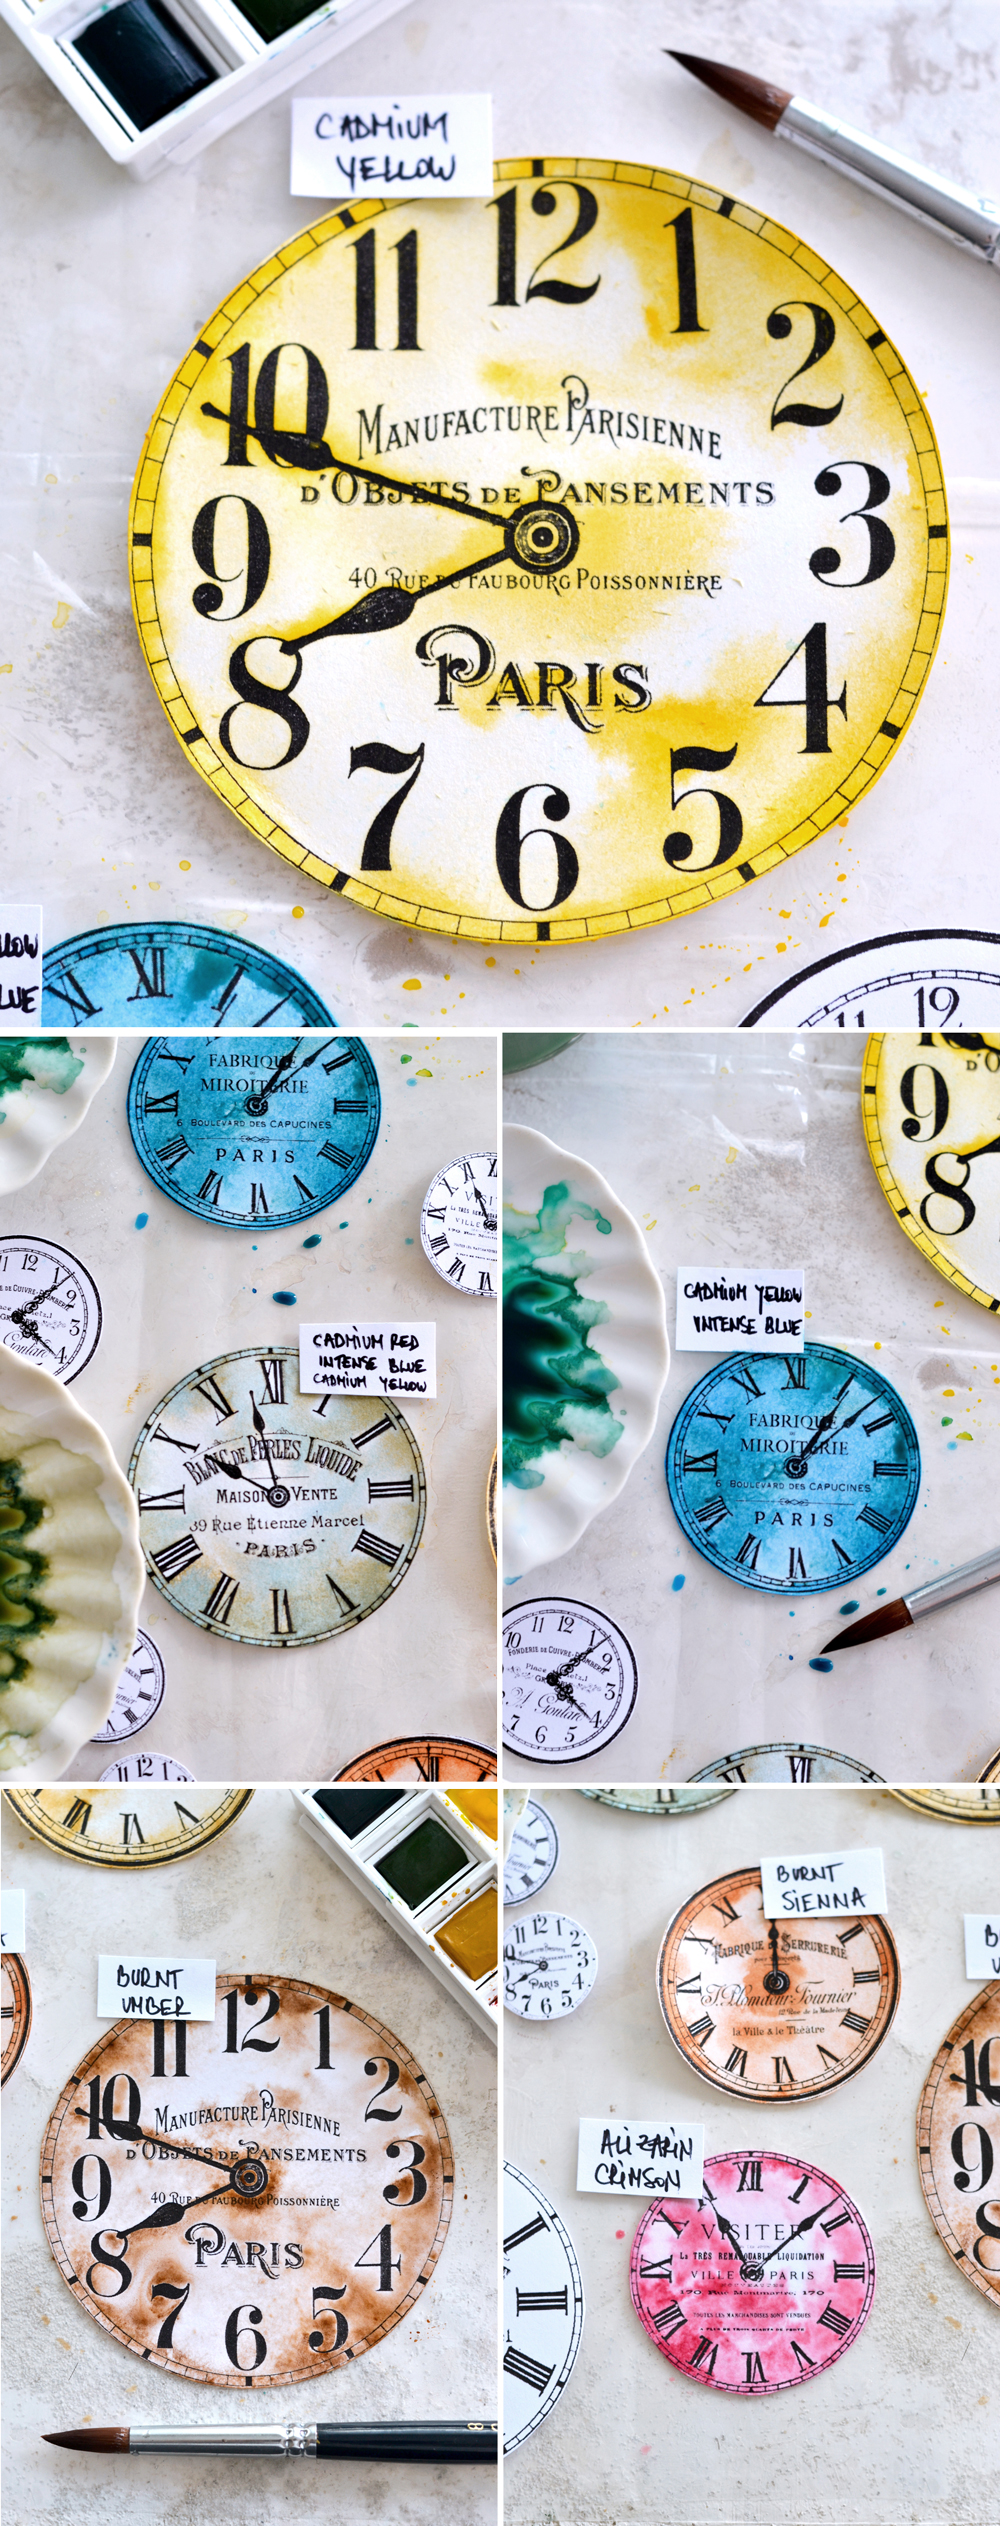
4. I chose yellow for my first craft clock face. I started by brushing plain water all over the paper and then, to completely cover the white of the paper, I applied a highly diluted layer of watercolor paint -in this case, yellow. I used a small porcelain plate to dilute the color.
5. Because my paper is now highly saturated with all that water, it feels like the perfect time to add more color and create some beautiful effects. I just lightly touched the surface of the wet paper with my brush here and there … and watched the magic happen! I mostly added color all around the edges and small brush strokes here and there. You can add dots, splashes or you can create ‘abstract’ effects with your brush, using more or less diluted watercolor paint. You can even use your water bottle to spray the paper with water and add more interest. You can let the layers dry and come back after completely or partially drying, it’s best to add less color first and add more as you go.
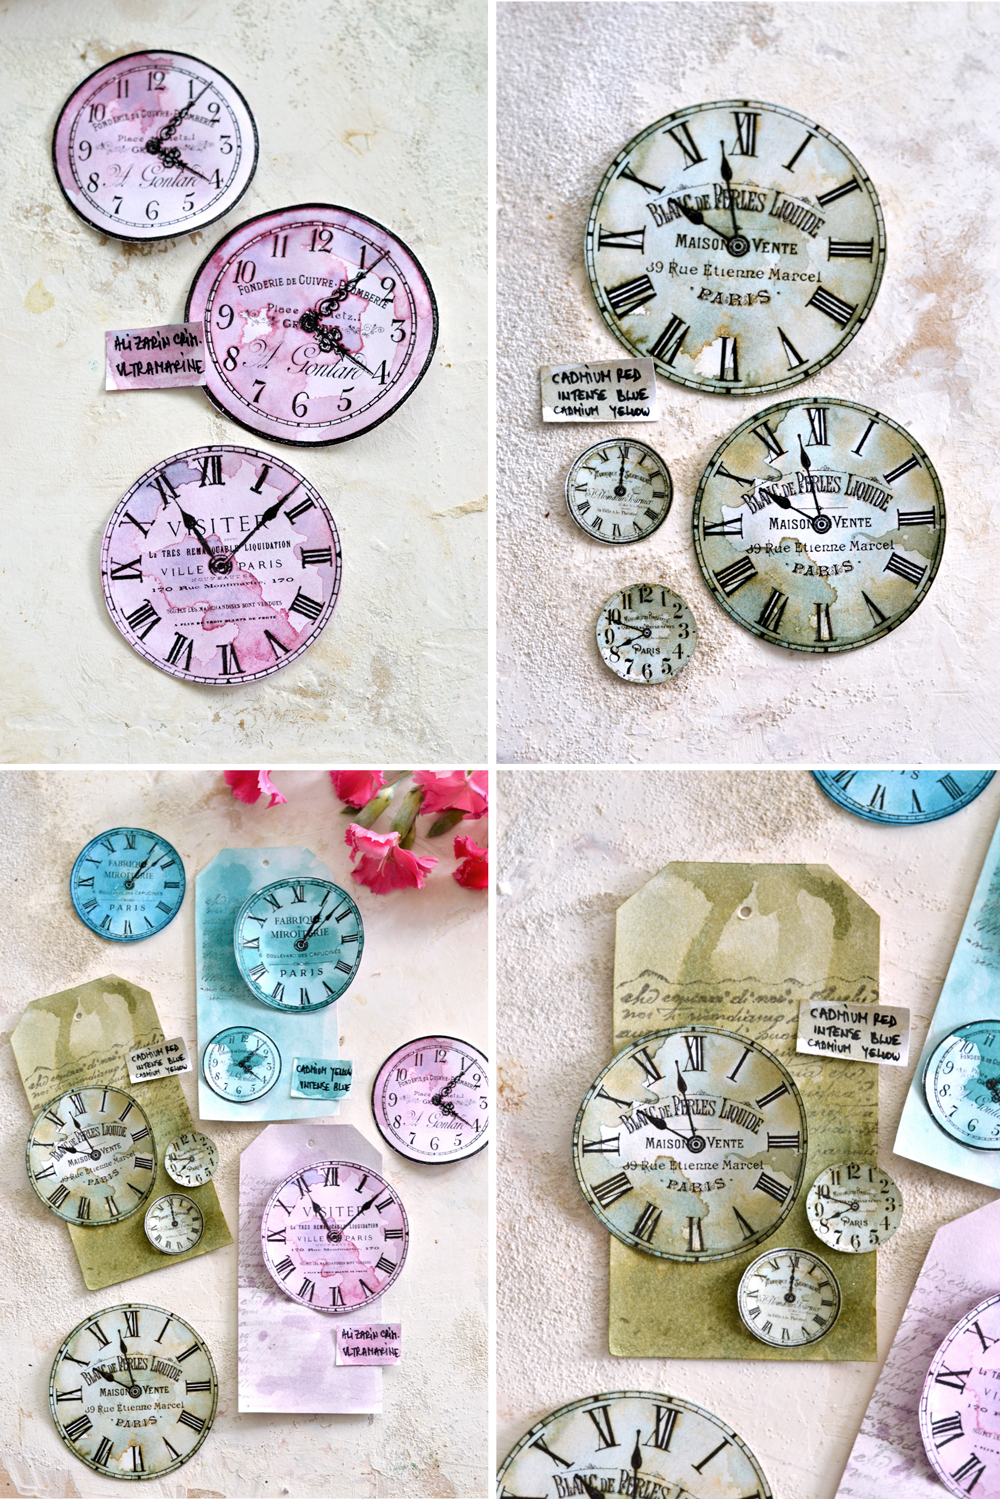
6. Use the colors on their own or create your own concoctions – I added a little bit of blue to my yellow, mixed them on my plate and got an amazing turquoise.
7. After that I tried mixing a few other colors and created an amazing vintage green!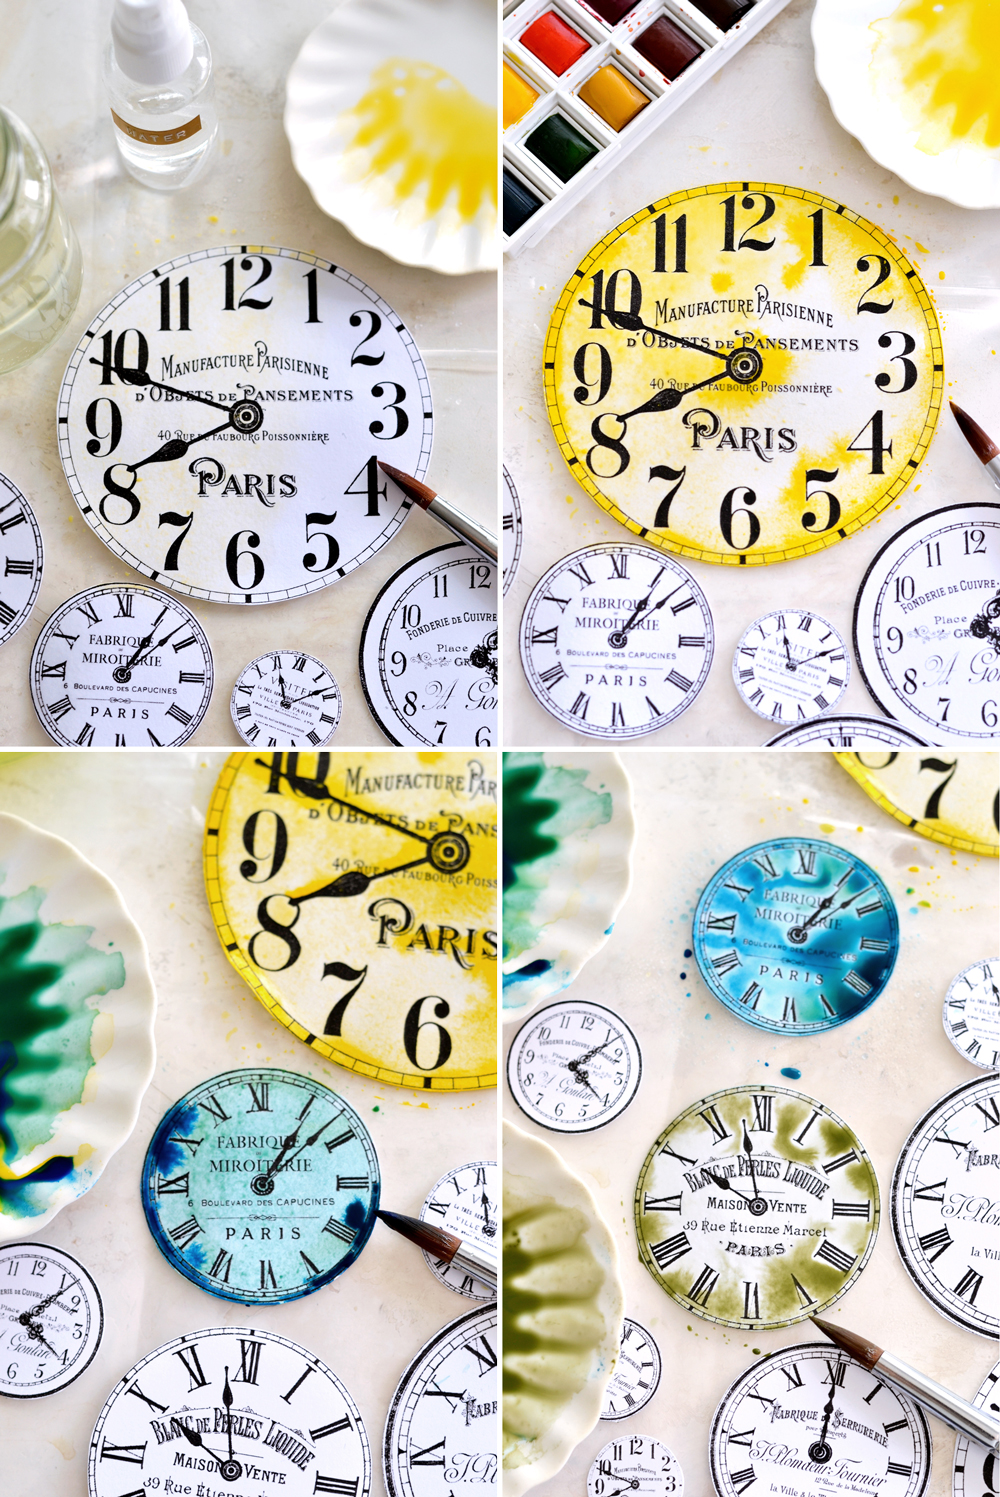
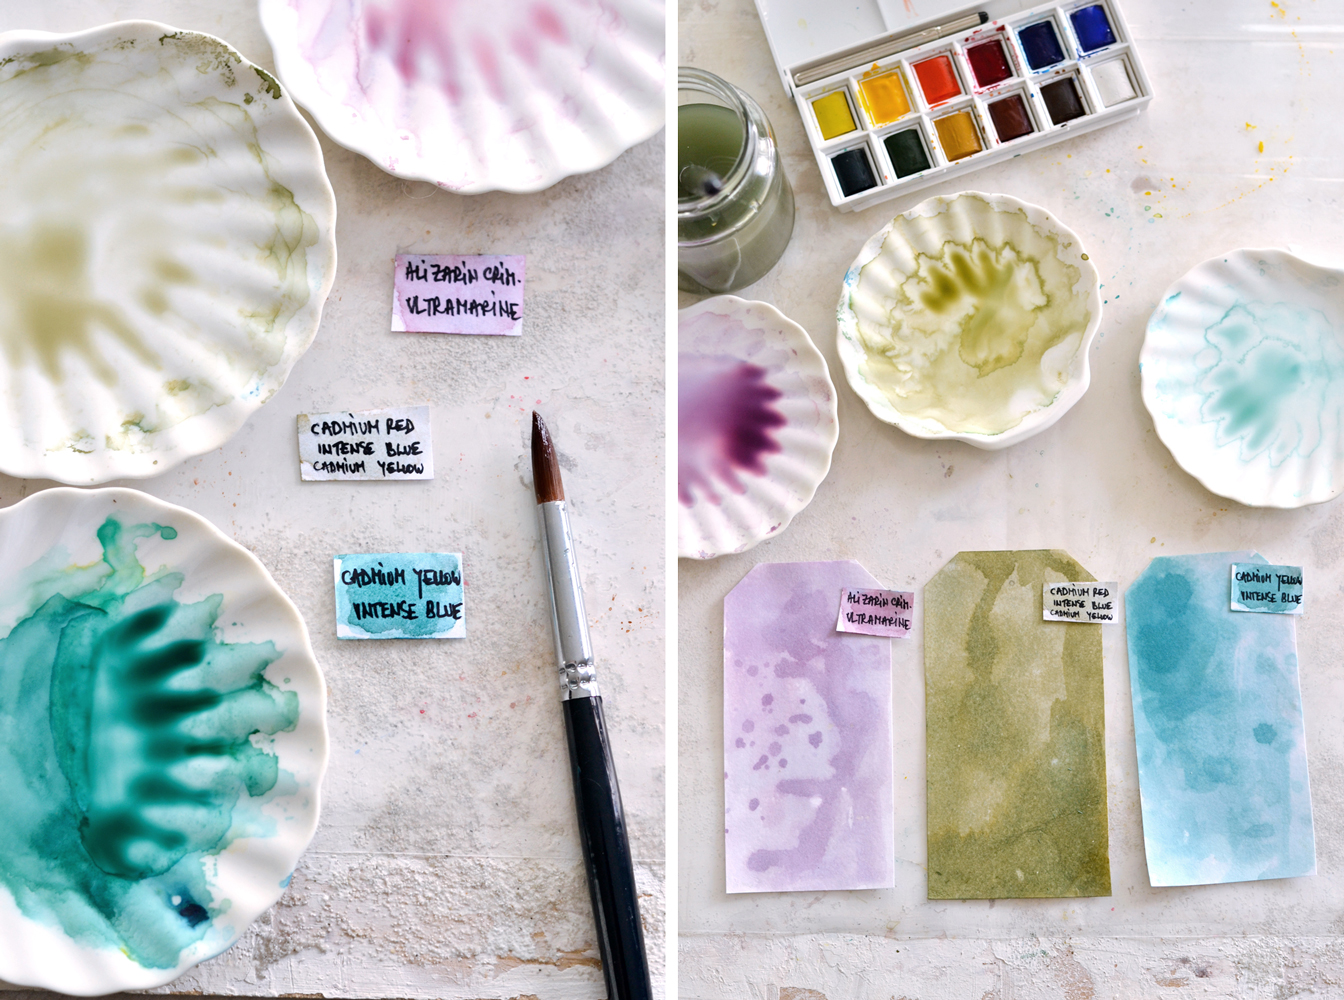
And then it hit me! Why not make small labels with all the names of the colors I use and document the whole experiment!? This way, I would be able to learn and get more familiar with all those fancy names of my watercolors and I would get the chance to discover my favorites. I could even create my own palette! My own ‘secret formulas’ that I could save and recreate whenever I want in the future!
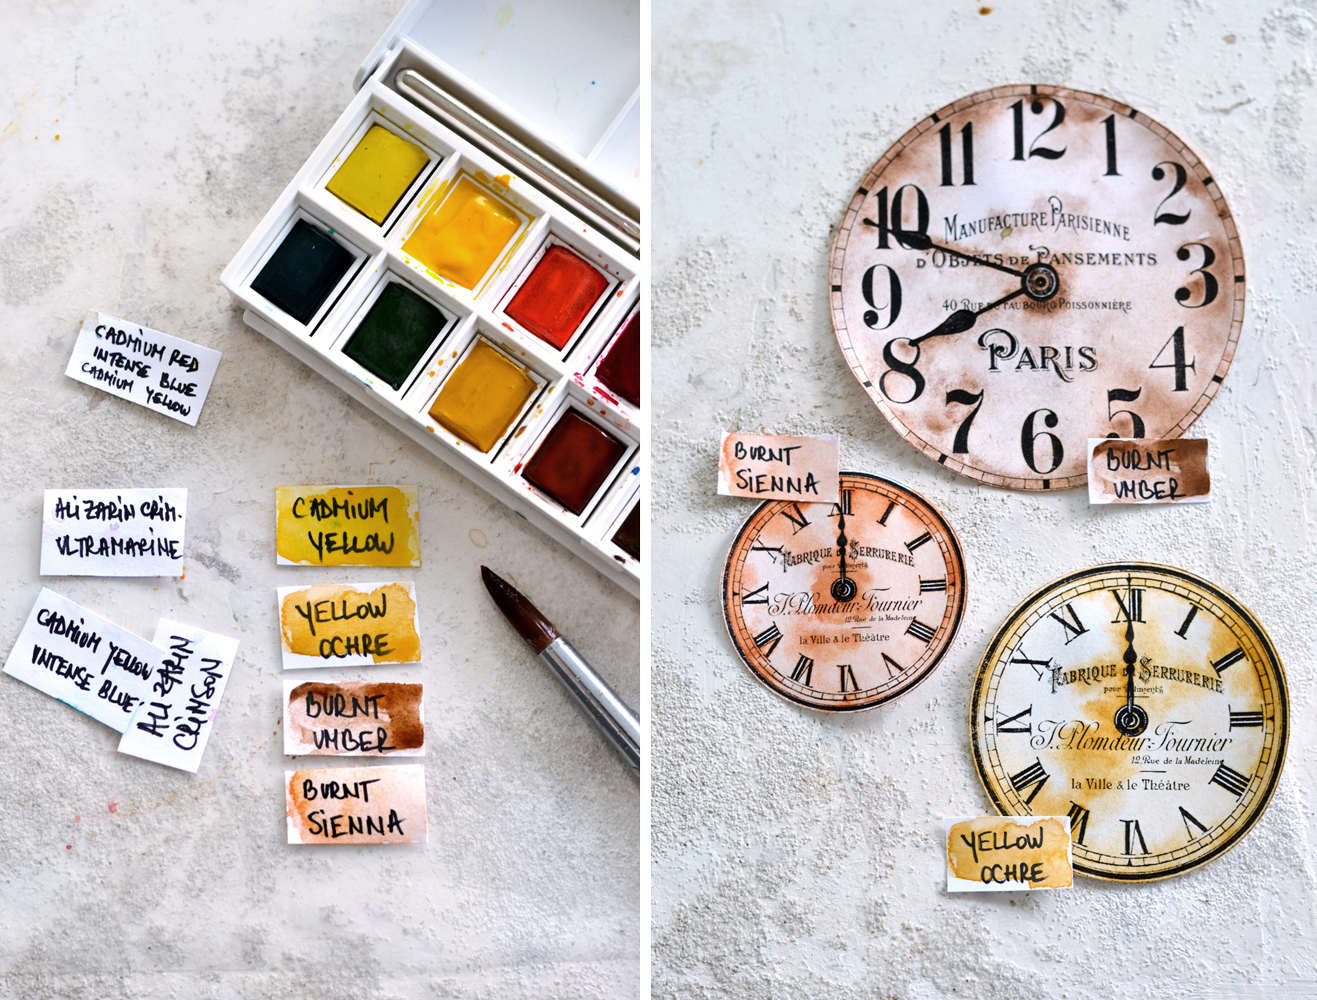
So yellow was not simply yellow anymore (and might never ever be) – it was Cadmium Yellow!
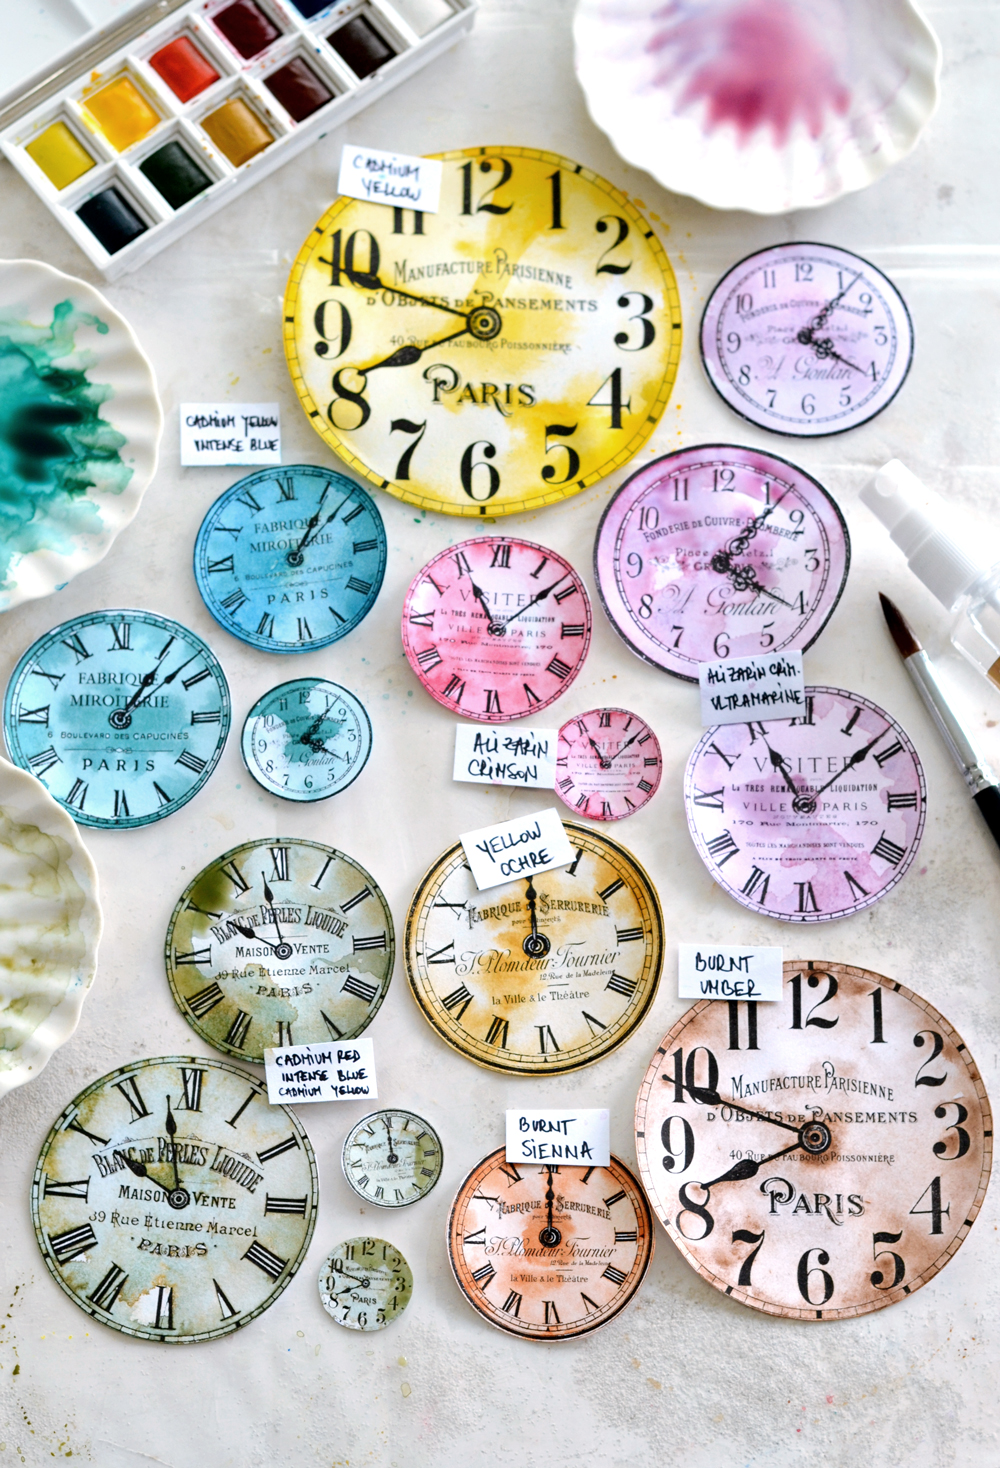
The beautiful vintage green that I created earlier has now his own written formula and was made using Cadmium Red + Intense Blue (Phthalo Blue) + Cadmium Yellow. Fancy, right?
I used Cadmium Yellow + Intense Blue (Phthalo Blue) to create the amazing turquoise.
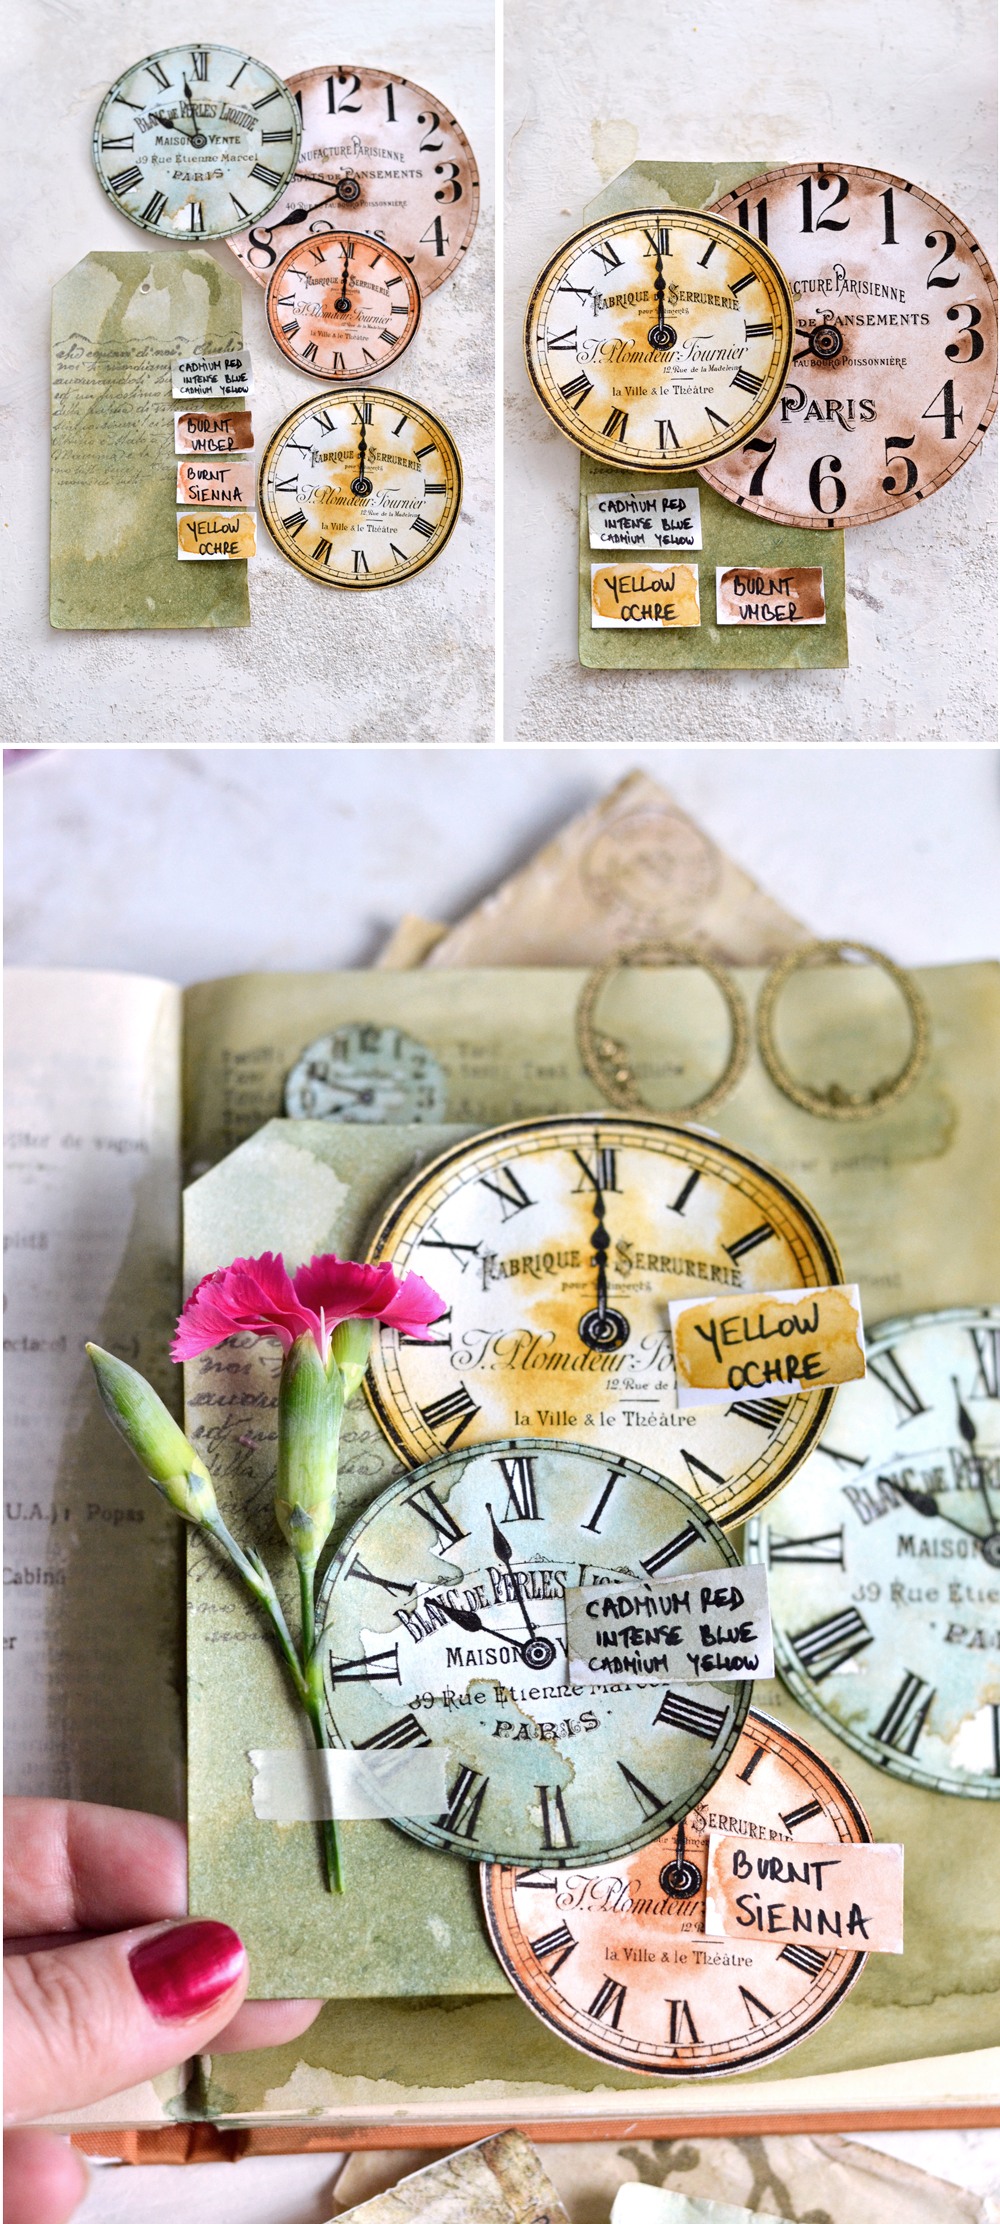
I used Burnt Umber on its own, because it’s simply perfect the way it is! I felt the same about Burnt Sienna and Yellow Ochre! Stunning!
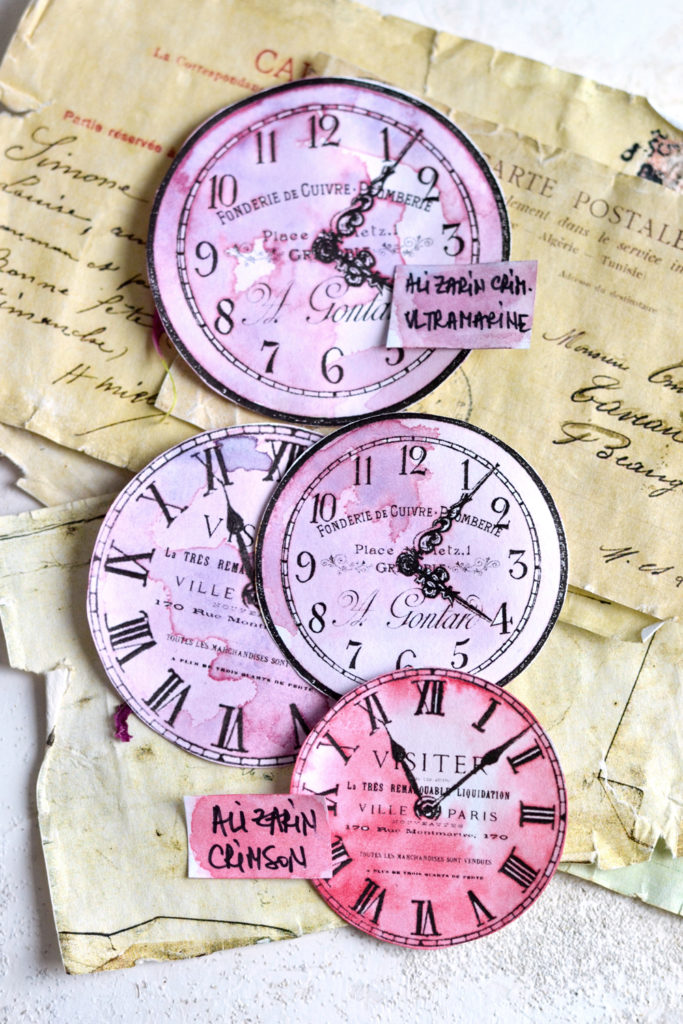
The Alizarin Crimson is pretty amazing on its own too!
And when combined with the Ultramarin, it creates the most sensational purple color!
I decided to use these colors for now and painted a few smaller and larger Craft Clock Faces to create ‘clock families’, collections that I could group together in my projects afterwards.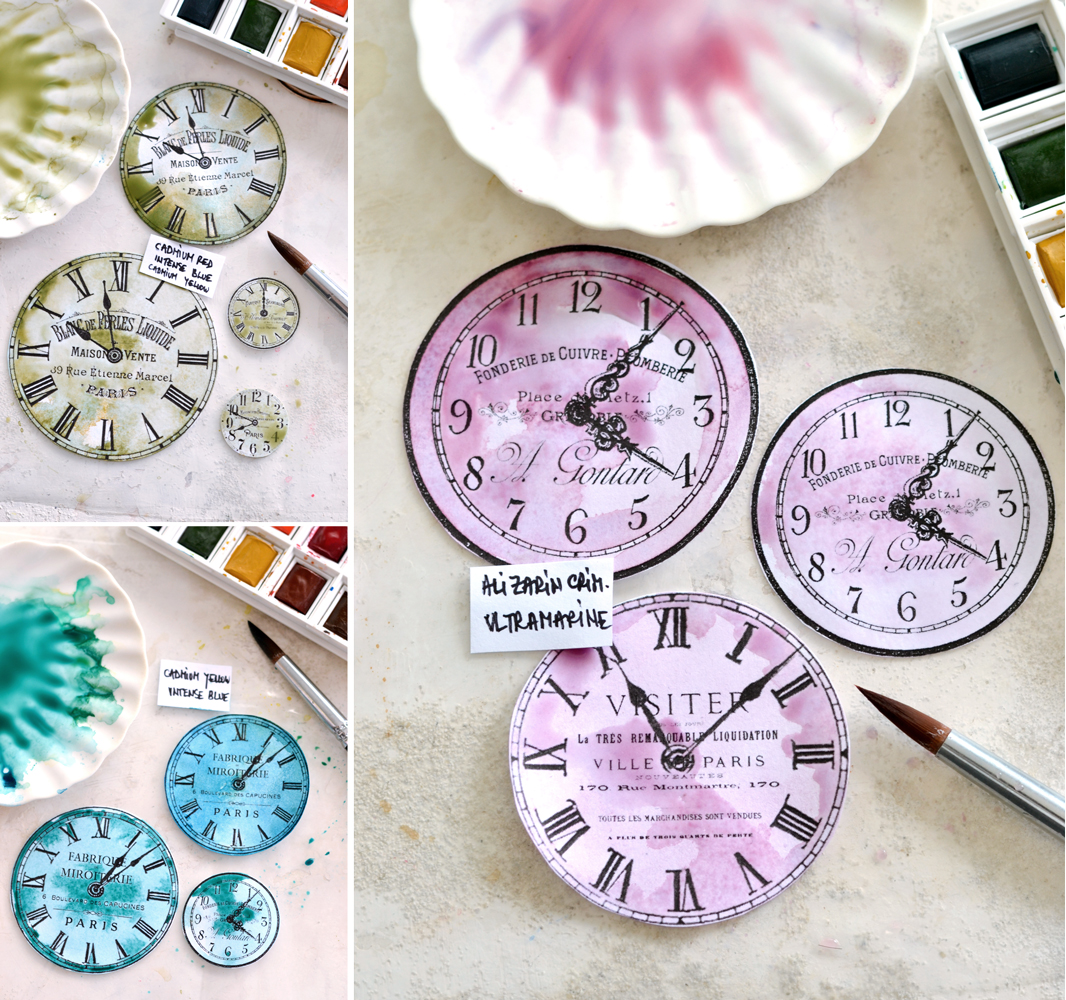
Here are all my AH-MAZZING Craft Clock Faces, all watercolored and with fancy names attached!
Then it hit me again! Why not paint the labels too, and integrate them as color swatches in my future projects, along with the clock faces? I really loved this idea!
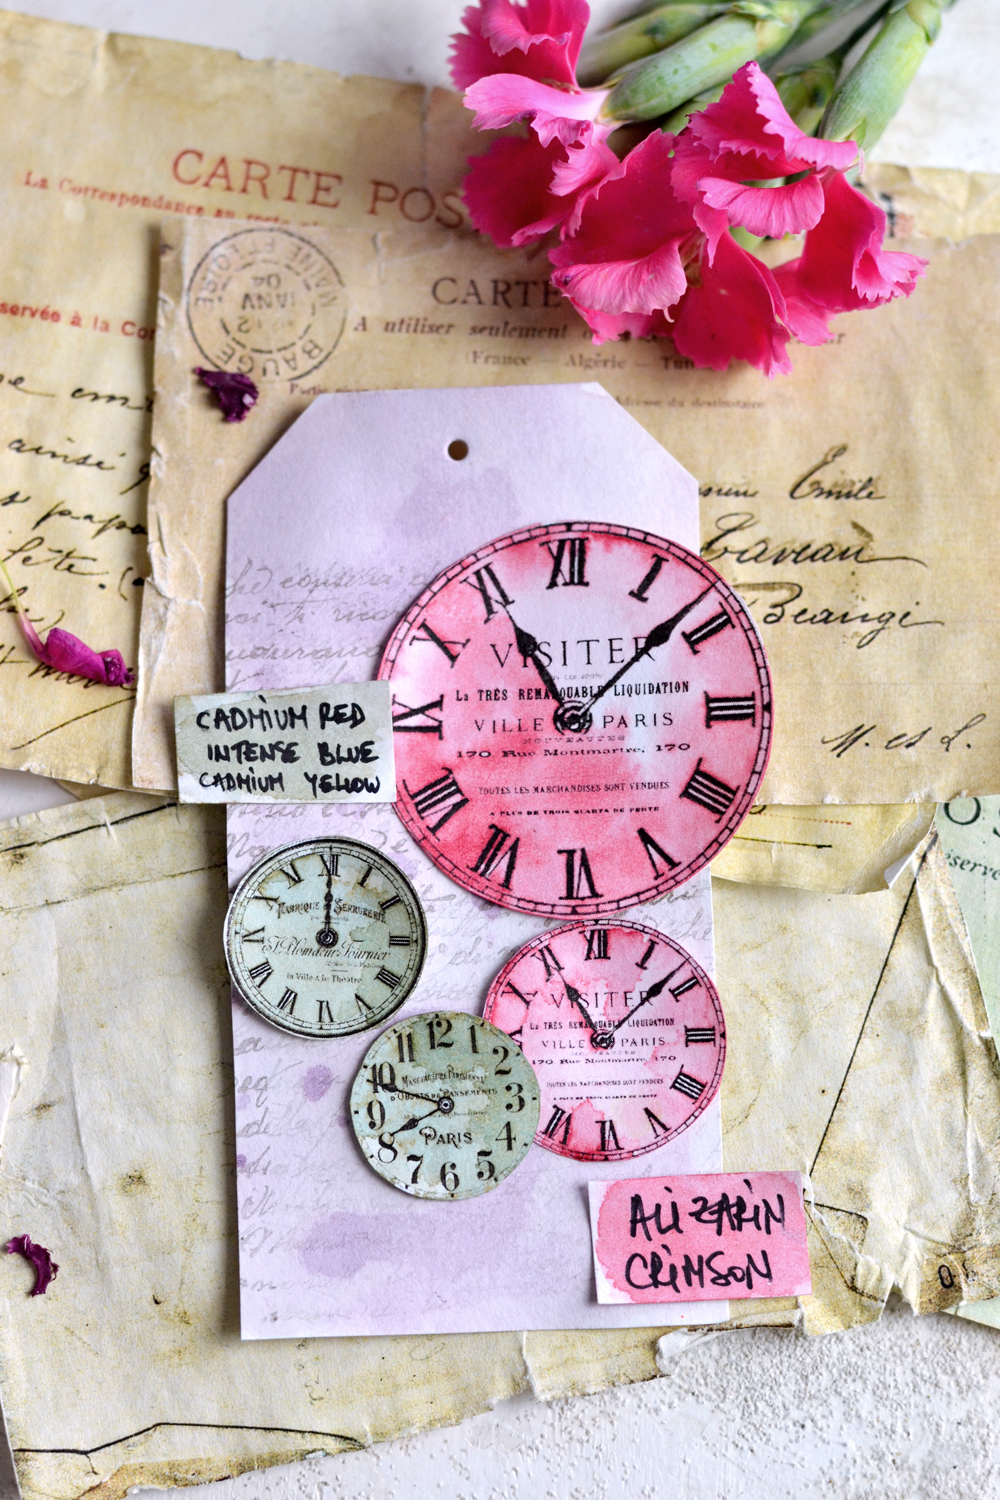
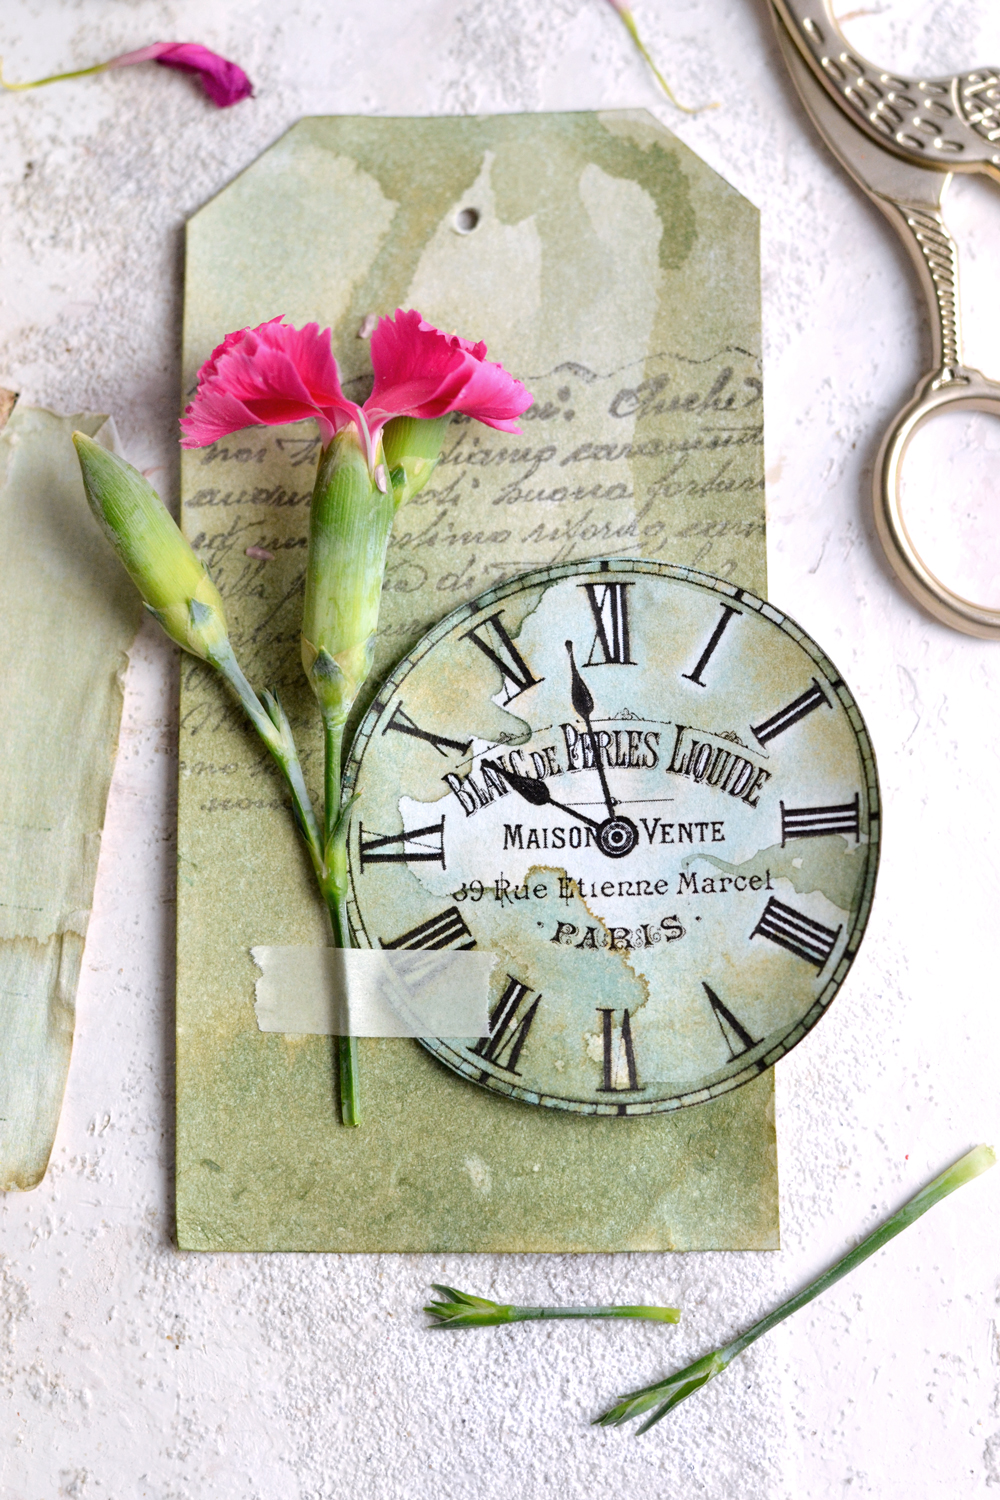
 In fact, I loved it so much that I even painted a few gift tags along the way, with all my new beautiful colors! If you like the blank tags, they are available for free download on my blog – Dreams Factory! You can use other scrap pieces of paper to create other decorative elements, if you want.
Here you can see some of the DIY Vintage French Clock Faces and the tags after drying, how stunning are all those watercolor effects! You can use the tags for gift wrapping (obviously), but you can also include them in many of your creative projects.
The color swatches can add so much interest on their own! If you decide to use them on your tags, make them with the favorite colors of your friends and family and turn them into unique, personalized gifts! You can also use your super chic craft clock faces and your color swatches in your art journal, junk journal, planners, scrap-booking projects, DIY projects, etc.
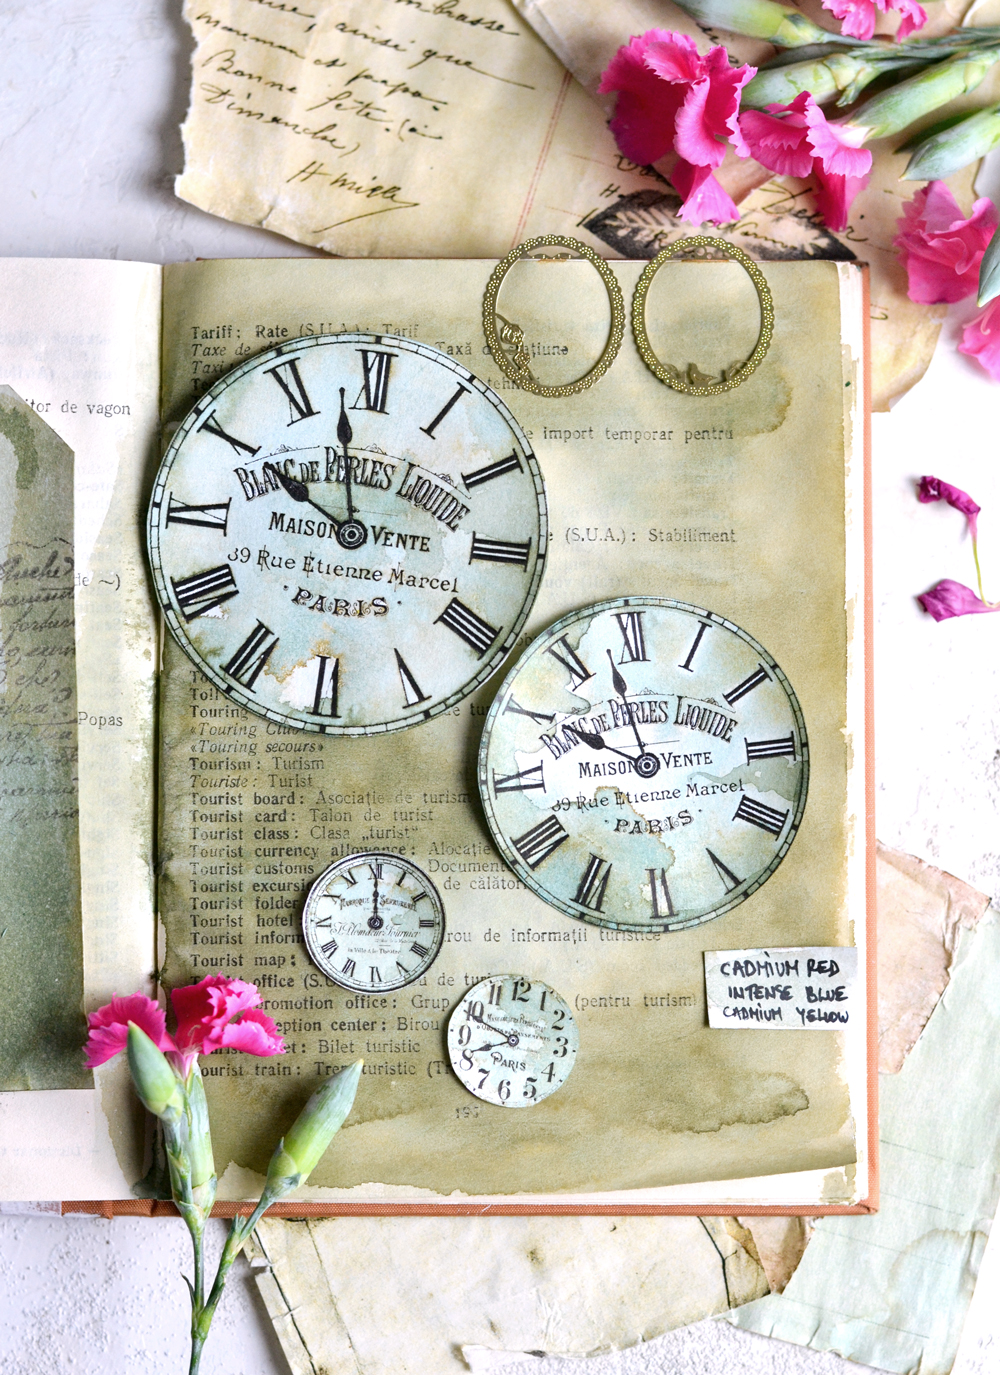
As you can see, I loved my vintage green so much that I even used it inside my art journal! Yes, it’s the same Vintage French Art Journal that I shared a while back. These vintage colors work perfect together, don’t you think?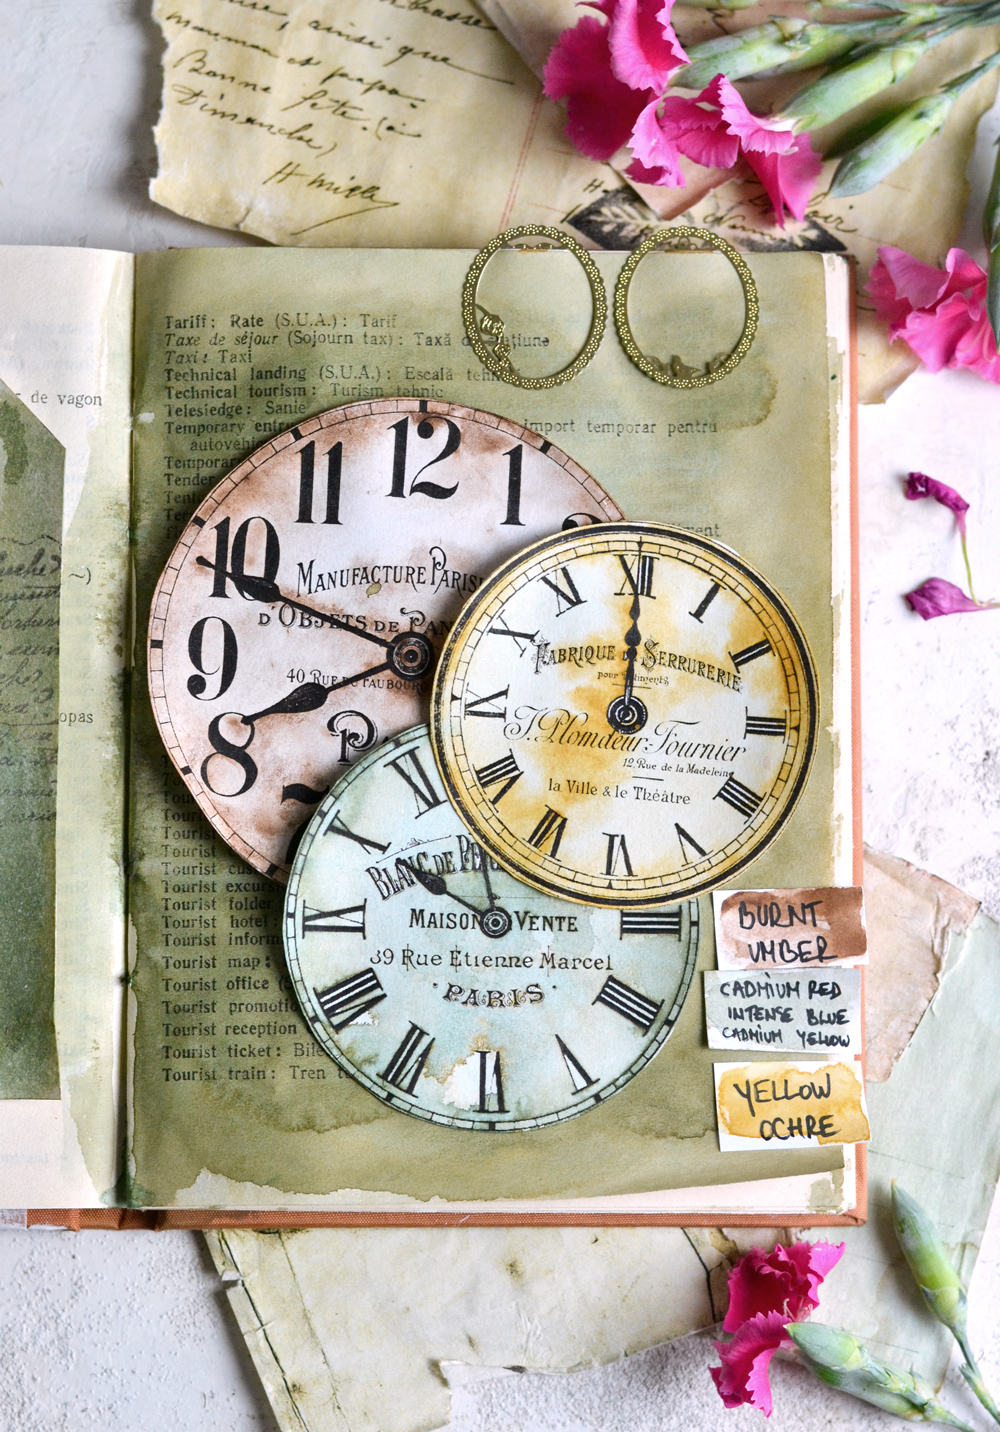
You can mix and match them in so many different ways, depending on the effect you are looking for.
Maybe you want to keep things simple and go for sort of a mono color look!
Or maybe you want to add some contrast or a pop of color!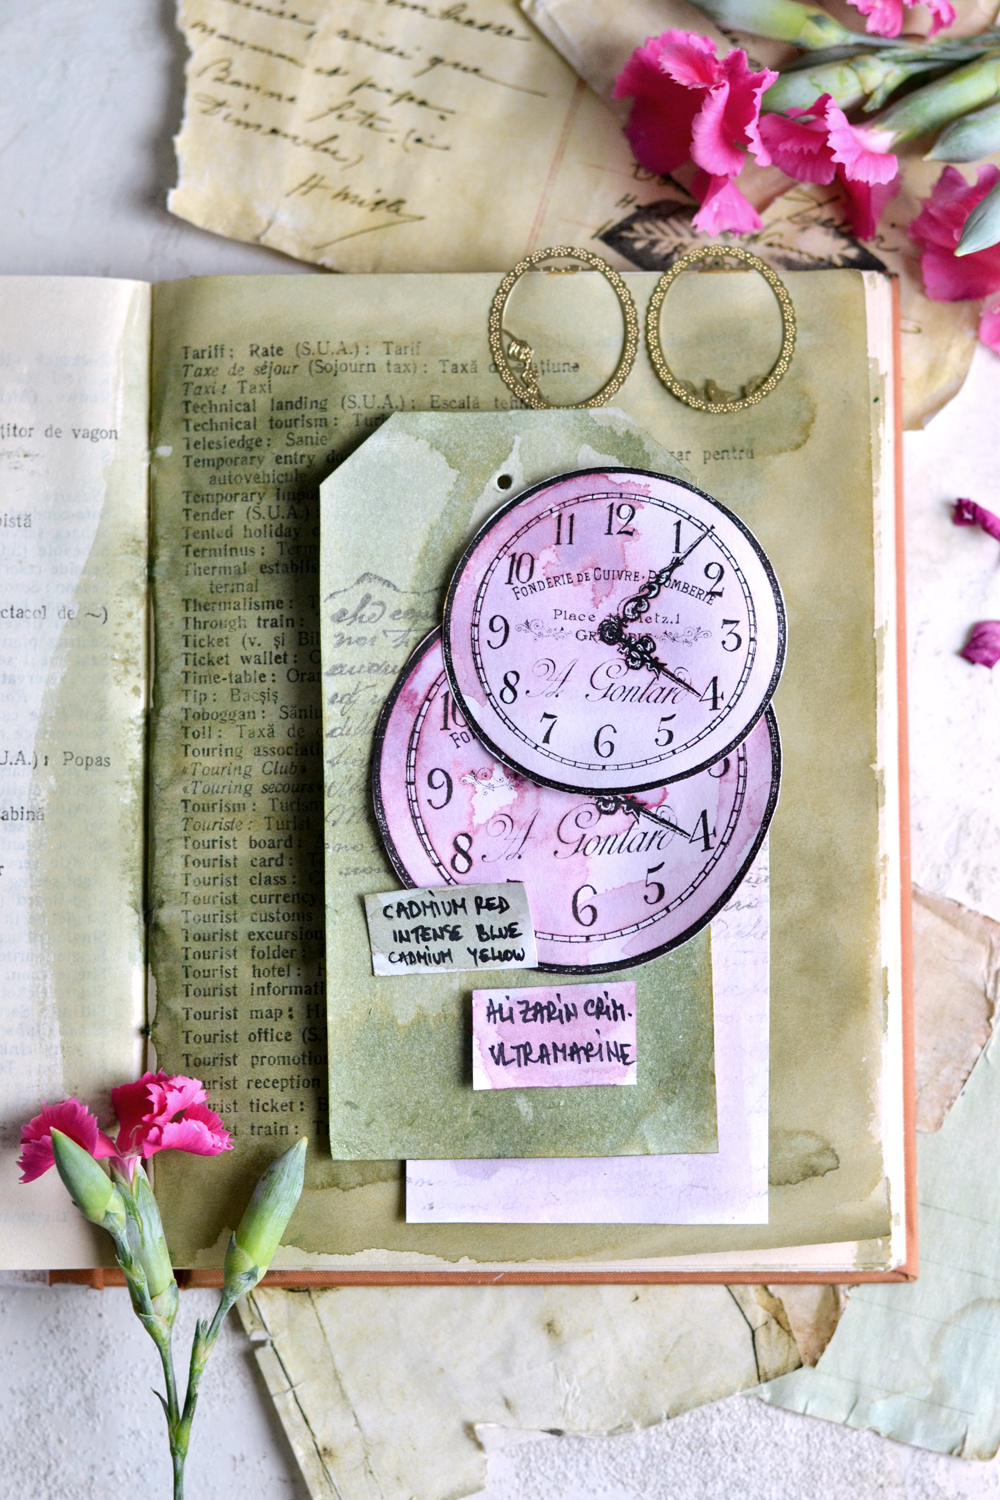
Or why not … just use them all!? It really depends on your inspiration for the moment and you should definitely follow your heart!
Experiment and have fun creating your own watercolored clock faces … and your own fancy named color concoctions and swatches! And if your watercolors don’t have any names, don’t be discouraged – just invent your own ‘fancy’ names for them, depending on your inspiration!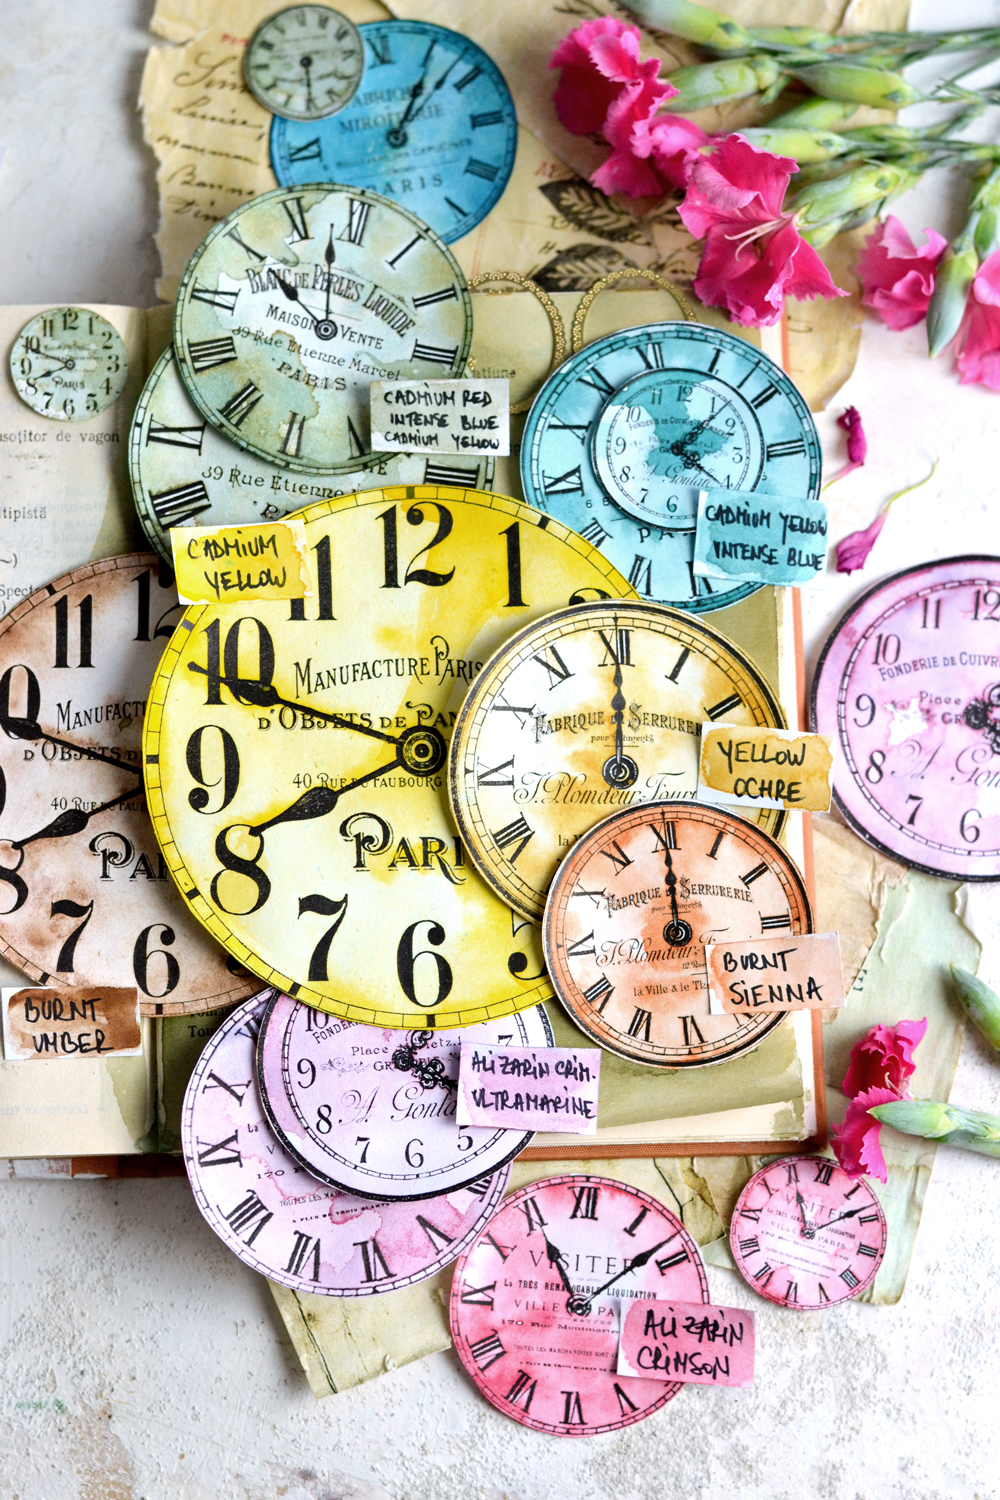
I hope you love this Craft Clock Faces! You might also enjoy our 12+ Clock Face Images Post HERE.
Have fun creating,
Diana / Dreams Factory




Stefanie says
I’ve never tried my hand at watercolors. This project seems like a perfect place to start. It would be cool to try and add real watch hands. The watercolor names are the technical color code that is found across different coloring media such as colored pencils, for example, are the same color name because it the color code. It’s useful to me when using colored pencils and markers together and for shading colors using the color codes.
Karen Watson says
Hi Stefanie, Thanks for the tips! I think watch hands would be really cute on these. Have fun creating Diana’s lovely project!
Dianne Worley says
These are wonderful. Thanks for sharing your technique!
graphicsfairy says
Thanks Dianne, Diana is amazing isn’t she, I will pass your kindness along to her 🙂
Jenni says
Thank you so much for sharing your wonderful creativity. I don’t have a laser printer, so I thought I could paint the papers first and then run them through my printer. I haven’t done it yet. Still waiting to try it. I will try cardstock and watercolor paper to see what happens. Thank you for your genius.
graphicsfairy says
Oh I bet they will be beautiful Jenni!
Lauren Butler says
There are flowers galore, there are swarms of beautiful butterflies, but the understated clock face….wonderful!
Watercolor…oh yeah!
Thank you for the wonderful digital prints and tutorials!
I have completed the vellum embellishments…just love them.
working on your cute poppies next and on to clock faces.
I feel so blessed to have found you and Graphics Fairy.
Karen Watson says
Yeah!! That’s wonderful to hear Lauren! Stay tuned for more of Diana’s beautiful projects, she is doing 2 every month now instead of 1, so that means twice the fun! 😊
Angela says
Great idea, thank you
Karen Watson says
😊
Diane says
Wonderful idea!
Karen Watson says
We hope you will try out this idea Diane, thanks for your kind comment! 😊
JewelsL says
Thank you for making my heart smile with all your beautiful things I can download to create with.
Karen Watson says
We’re so glad you enjoyed Diana’s tutorial! Have fun creating! 😊
Cynthia Bergo says
What a great technique on beautiful subjects! It can be scary using watercolors when not used for”painting”.
Thank you for the great tips! I know what I will be doing this evening
graphicsfairy says
Oh Yea, so glad you will be trying this Cynthia!! Have fun 🙂
Ruth Bryant says
Beautiful. Delicate. Thank you.
graphicsfairy says
So lad you like it Ruth, thank you!