DIY French Grain Sack Tags
Hello Graphics Fairy friends! I’m Diana from Dreams Factory and I’m happy to be here again to share another DIY project with you! Today I will show you how to make these beautiful French Grain Sack Tags. You can make these Frenchified beauties in no time if you decide to just print and use them. But you can also choose to further embellish them using a touch of gold that will add even more charm and interest to the final pieces.
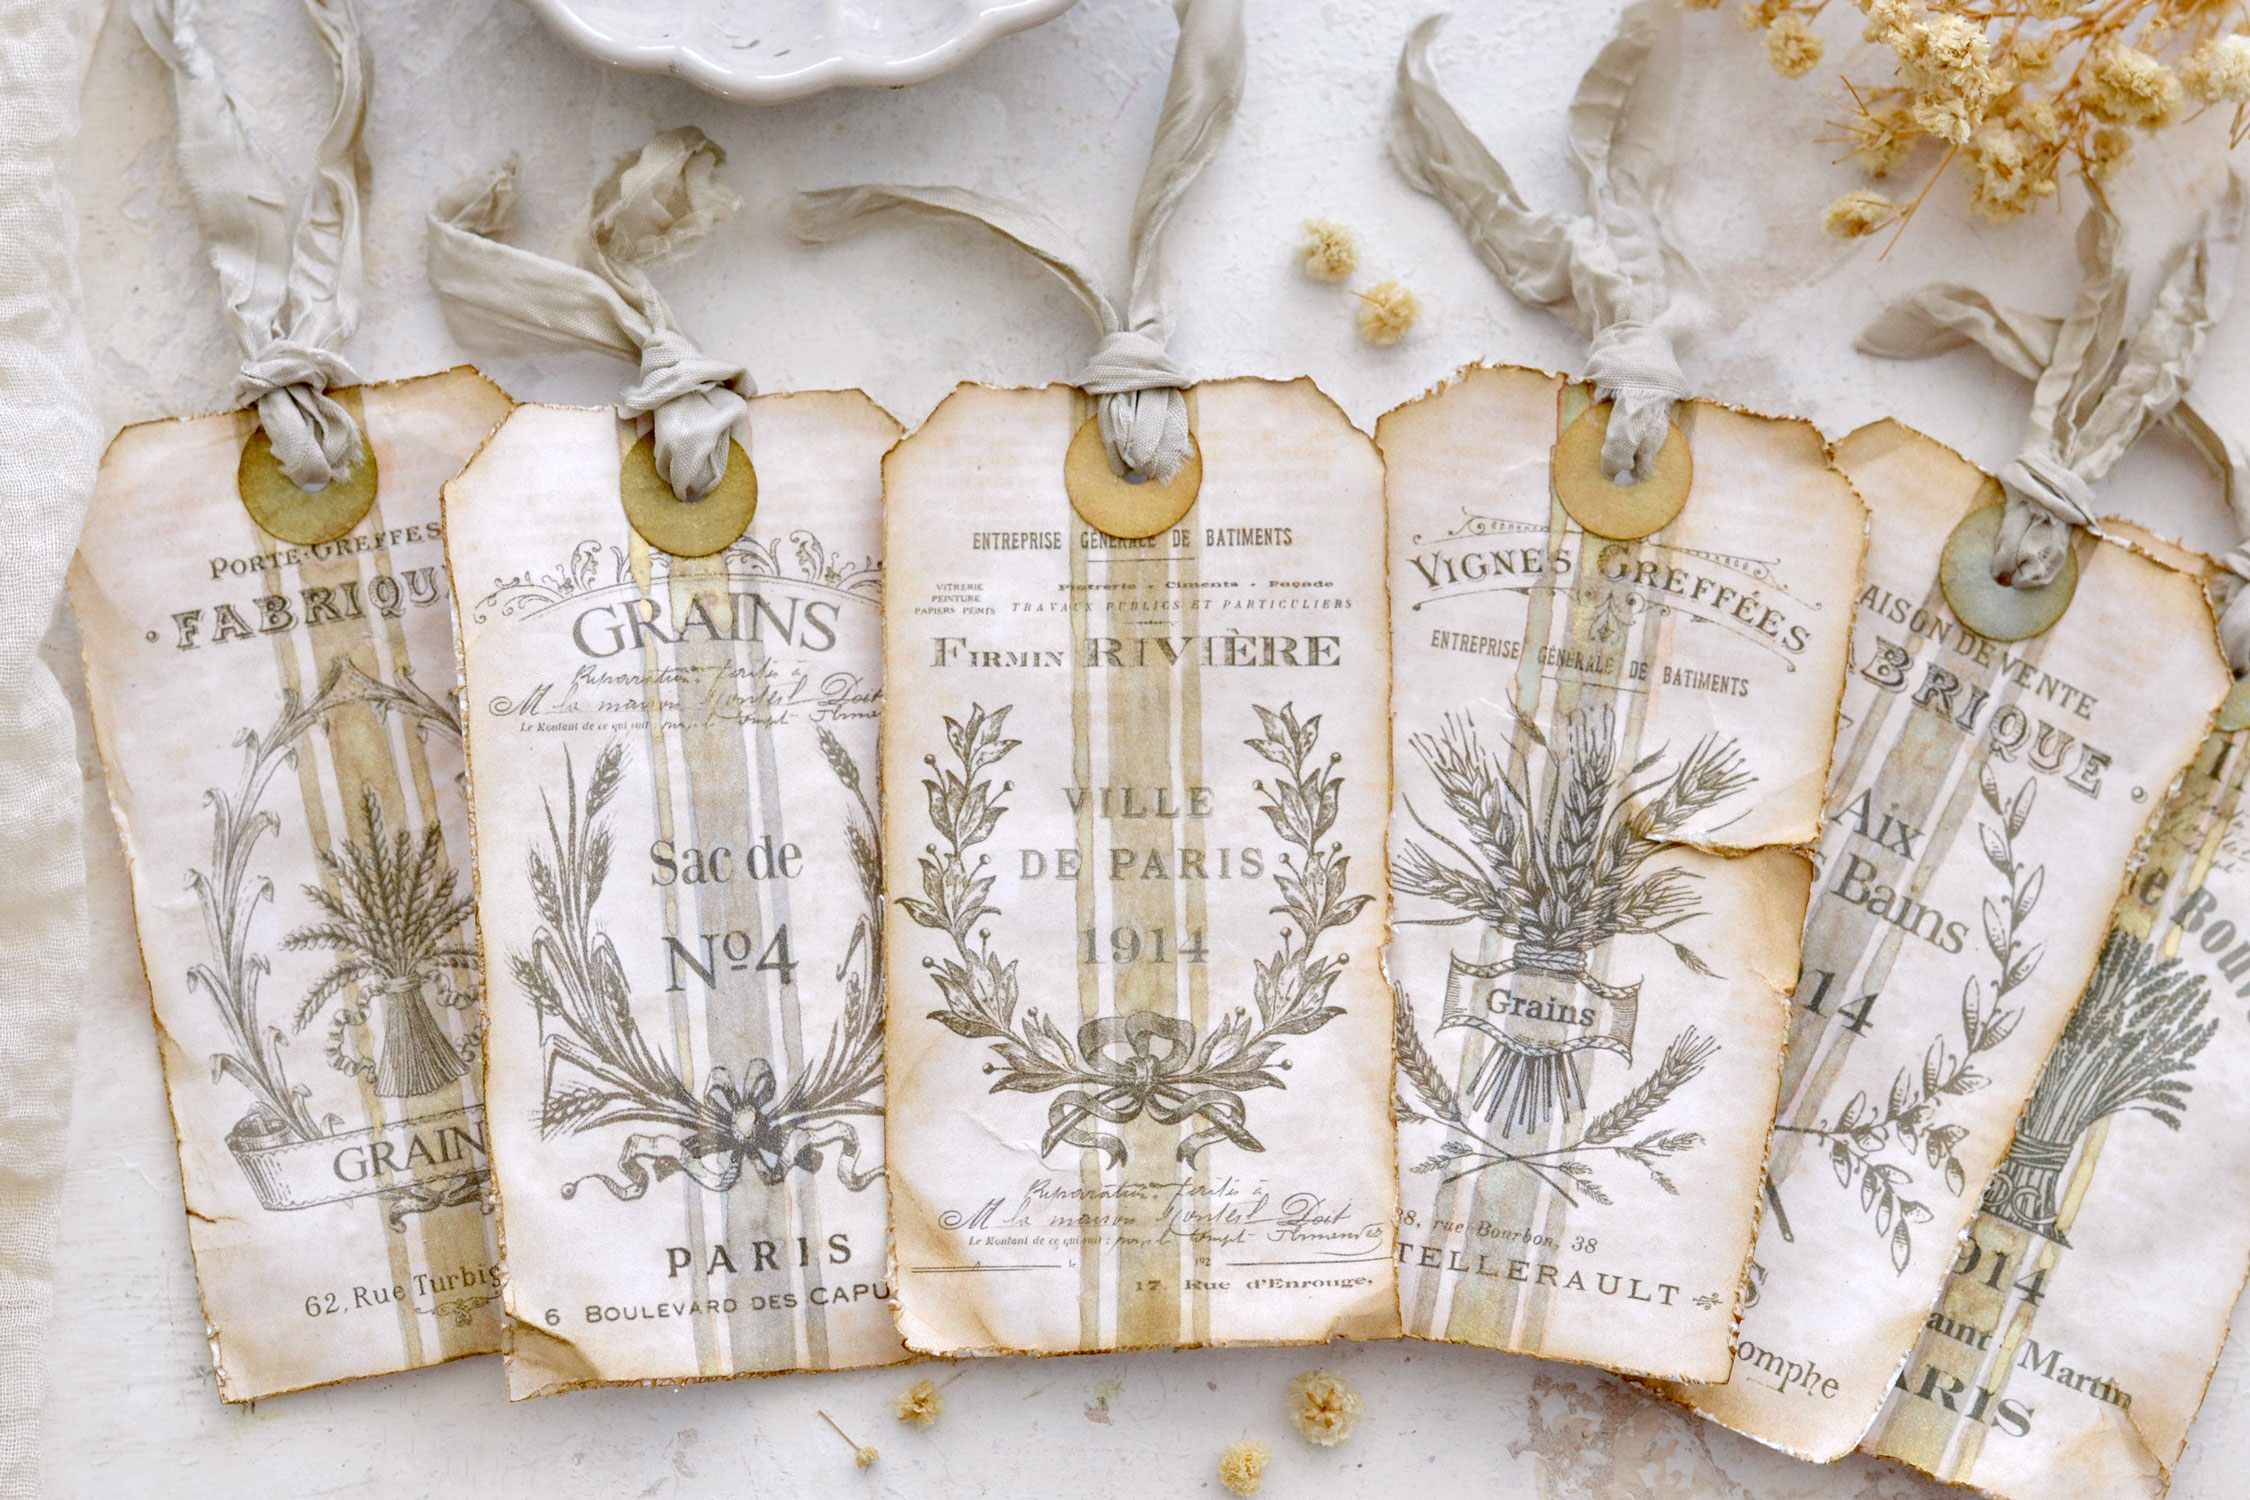
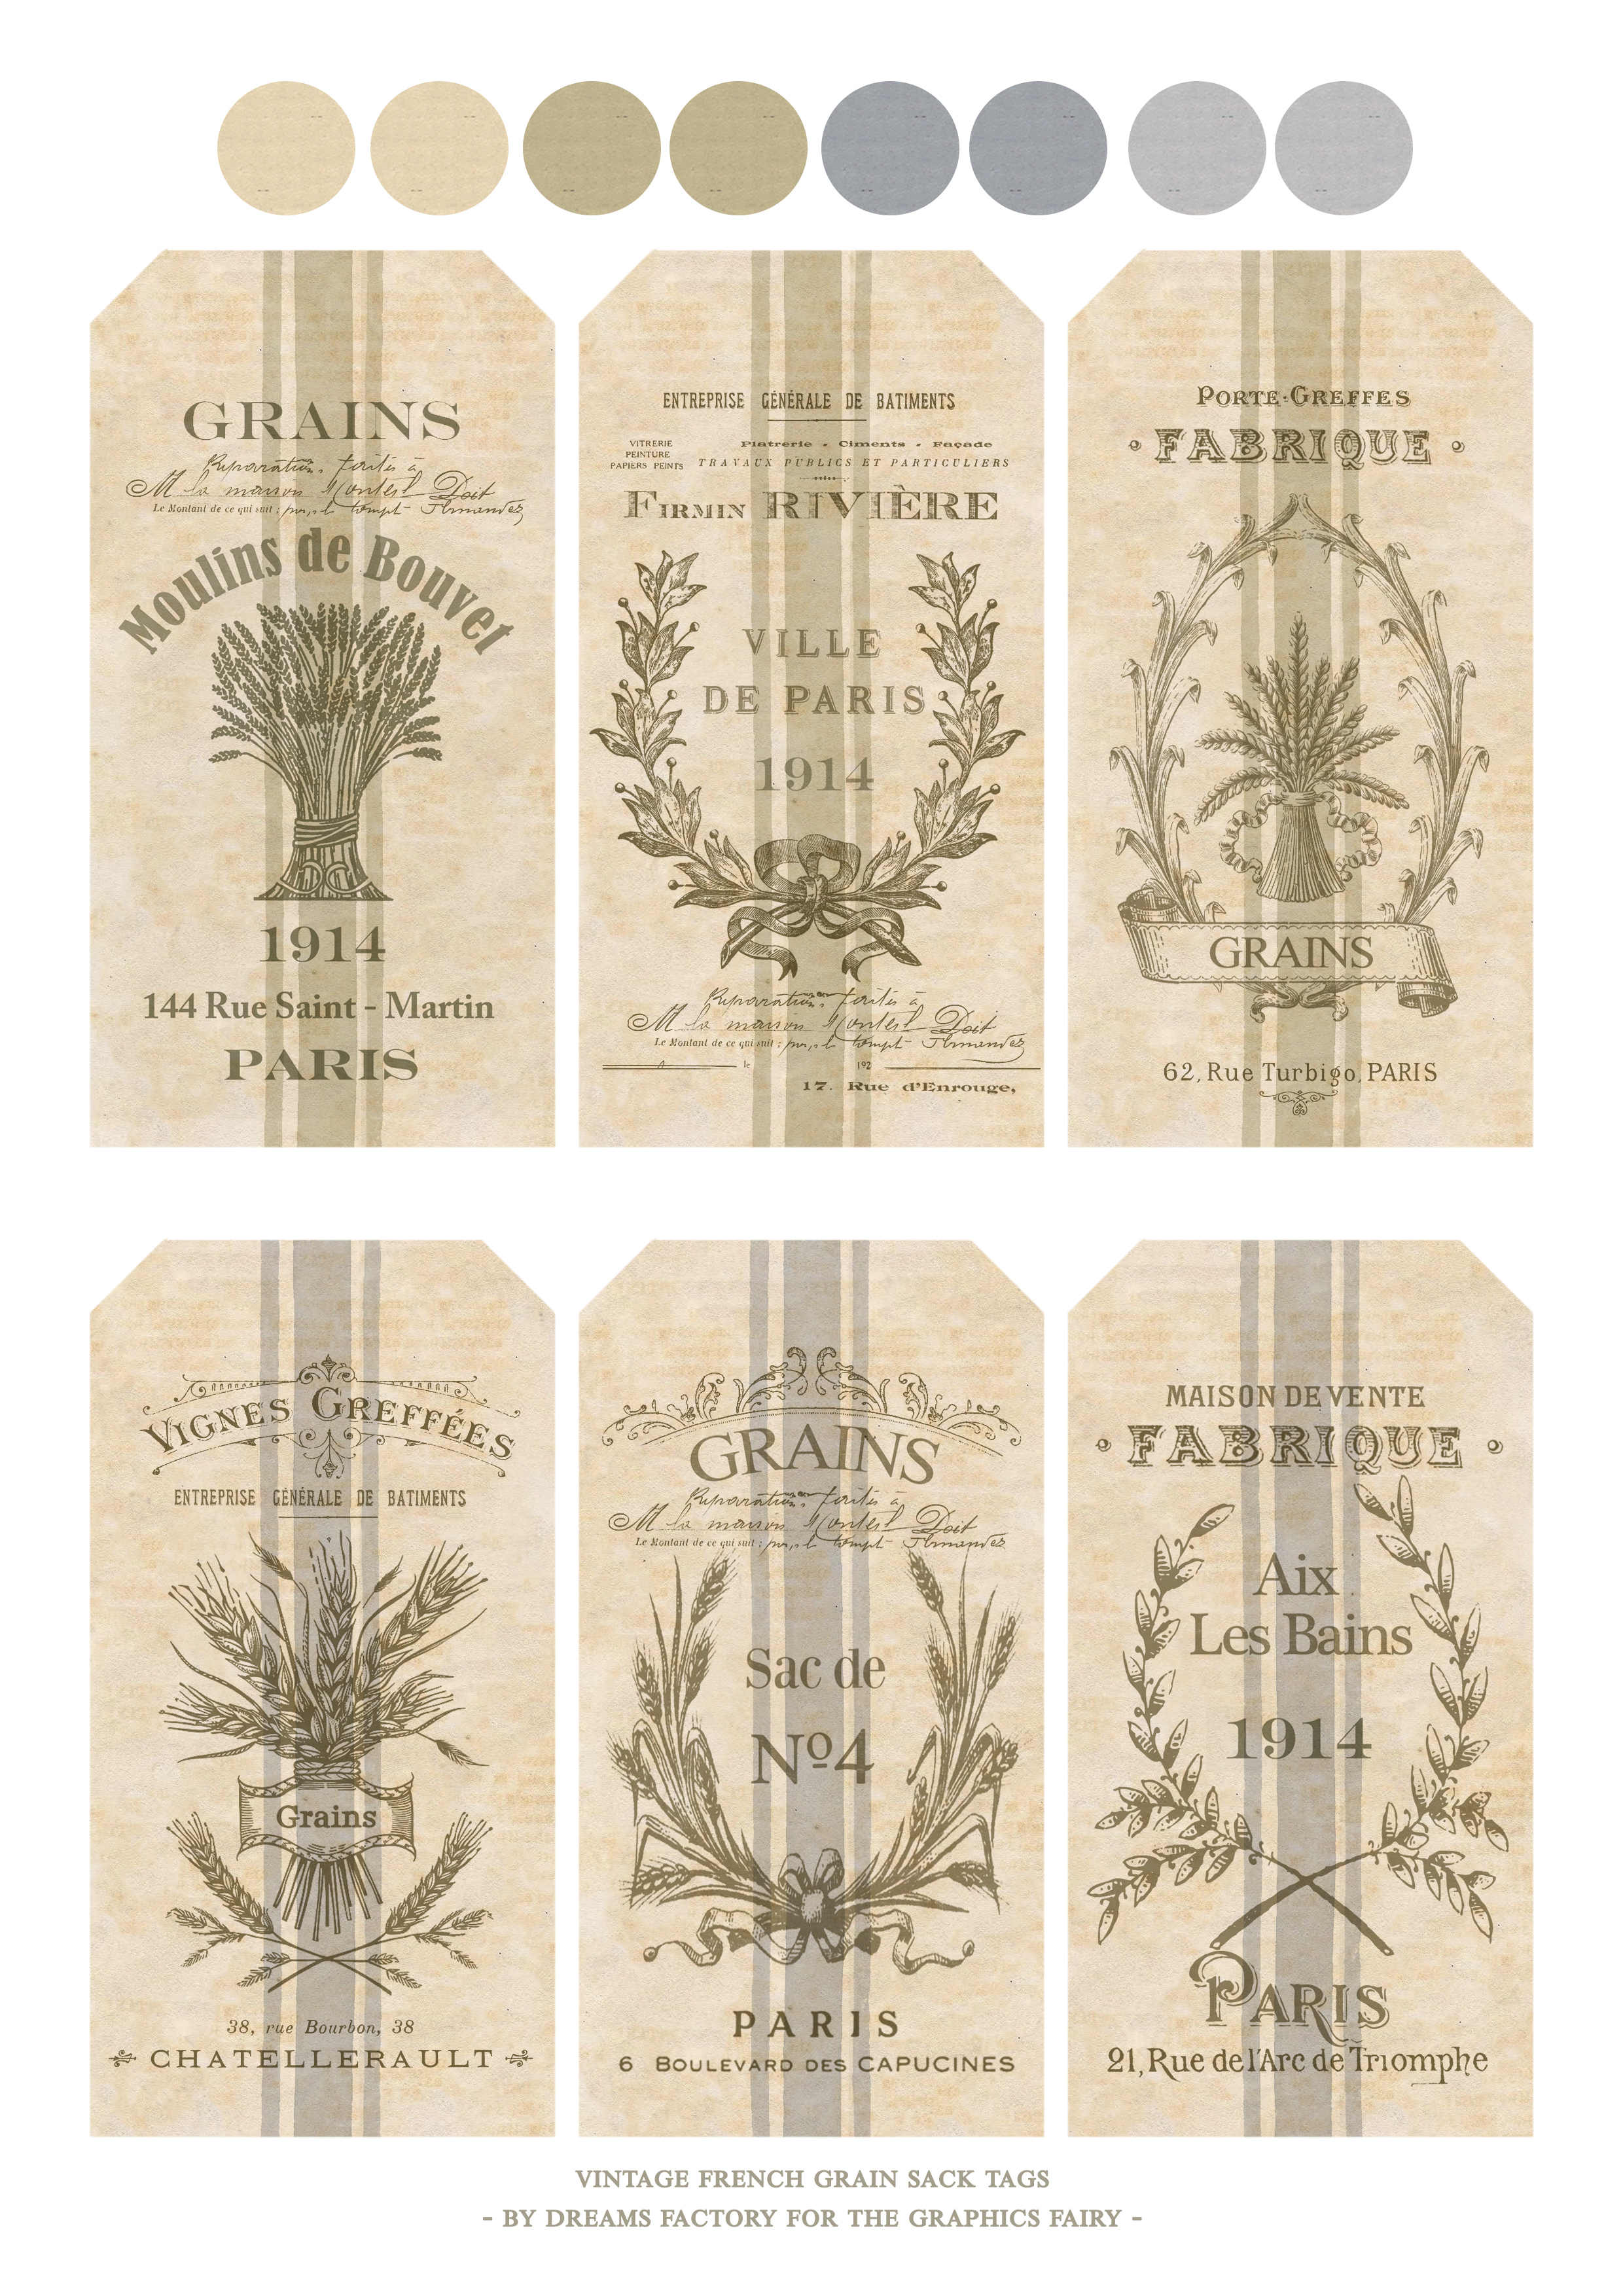
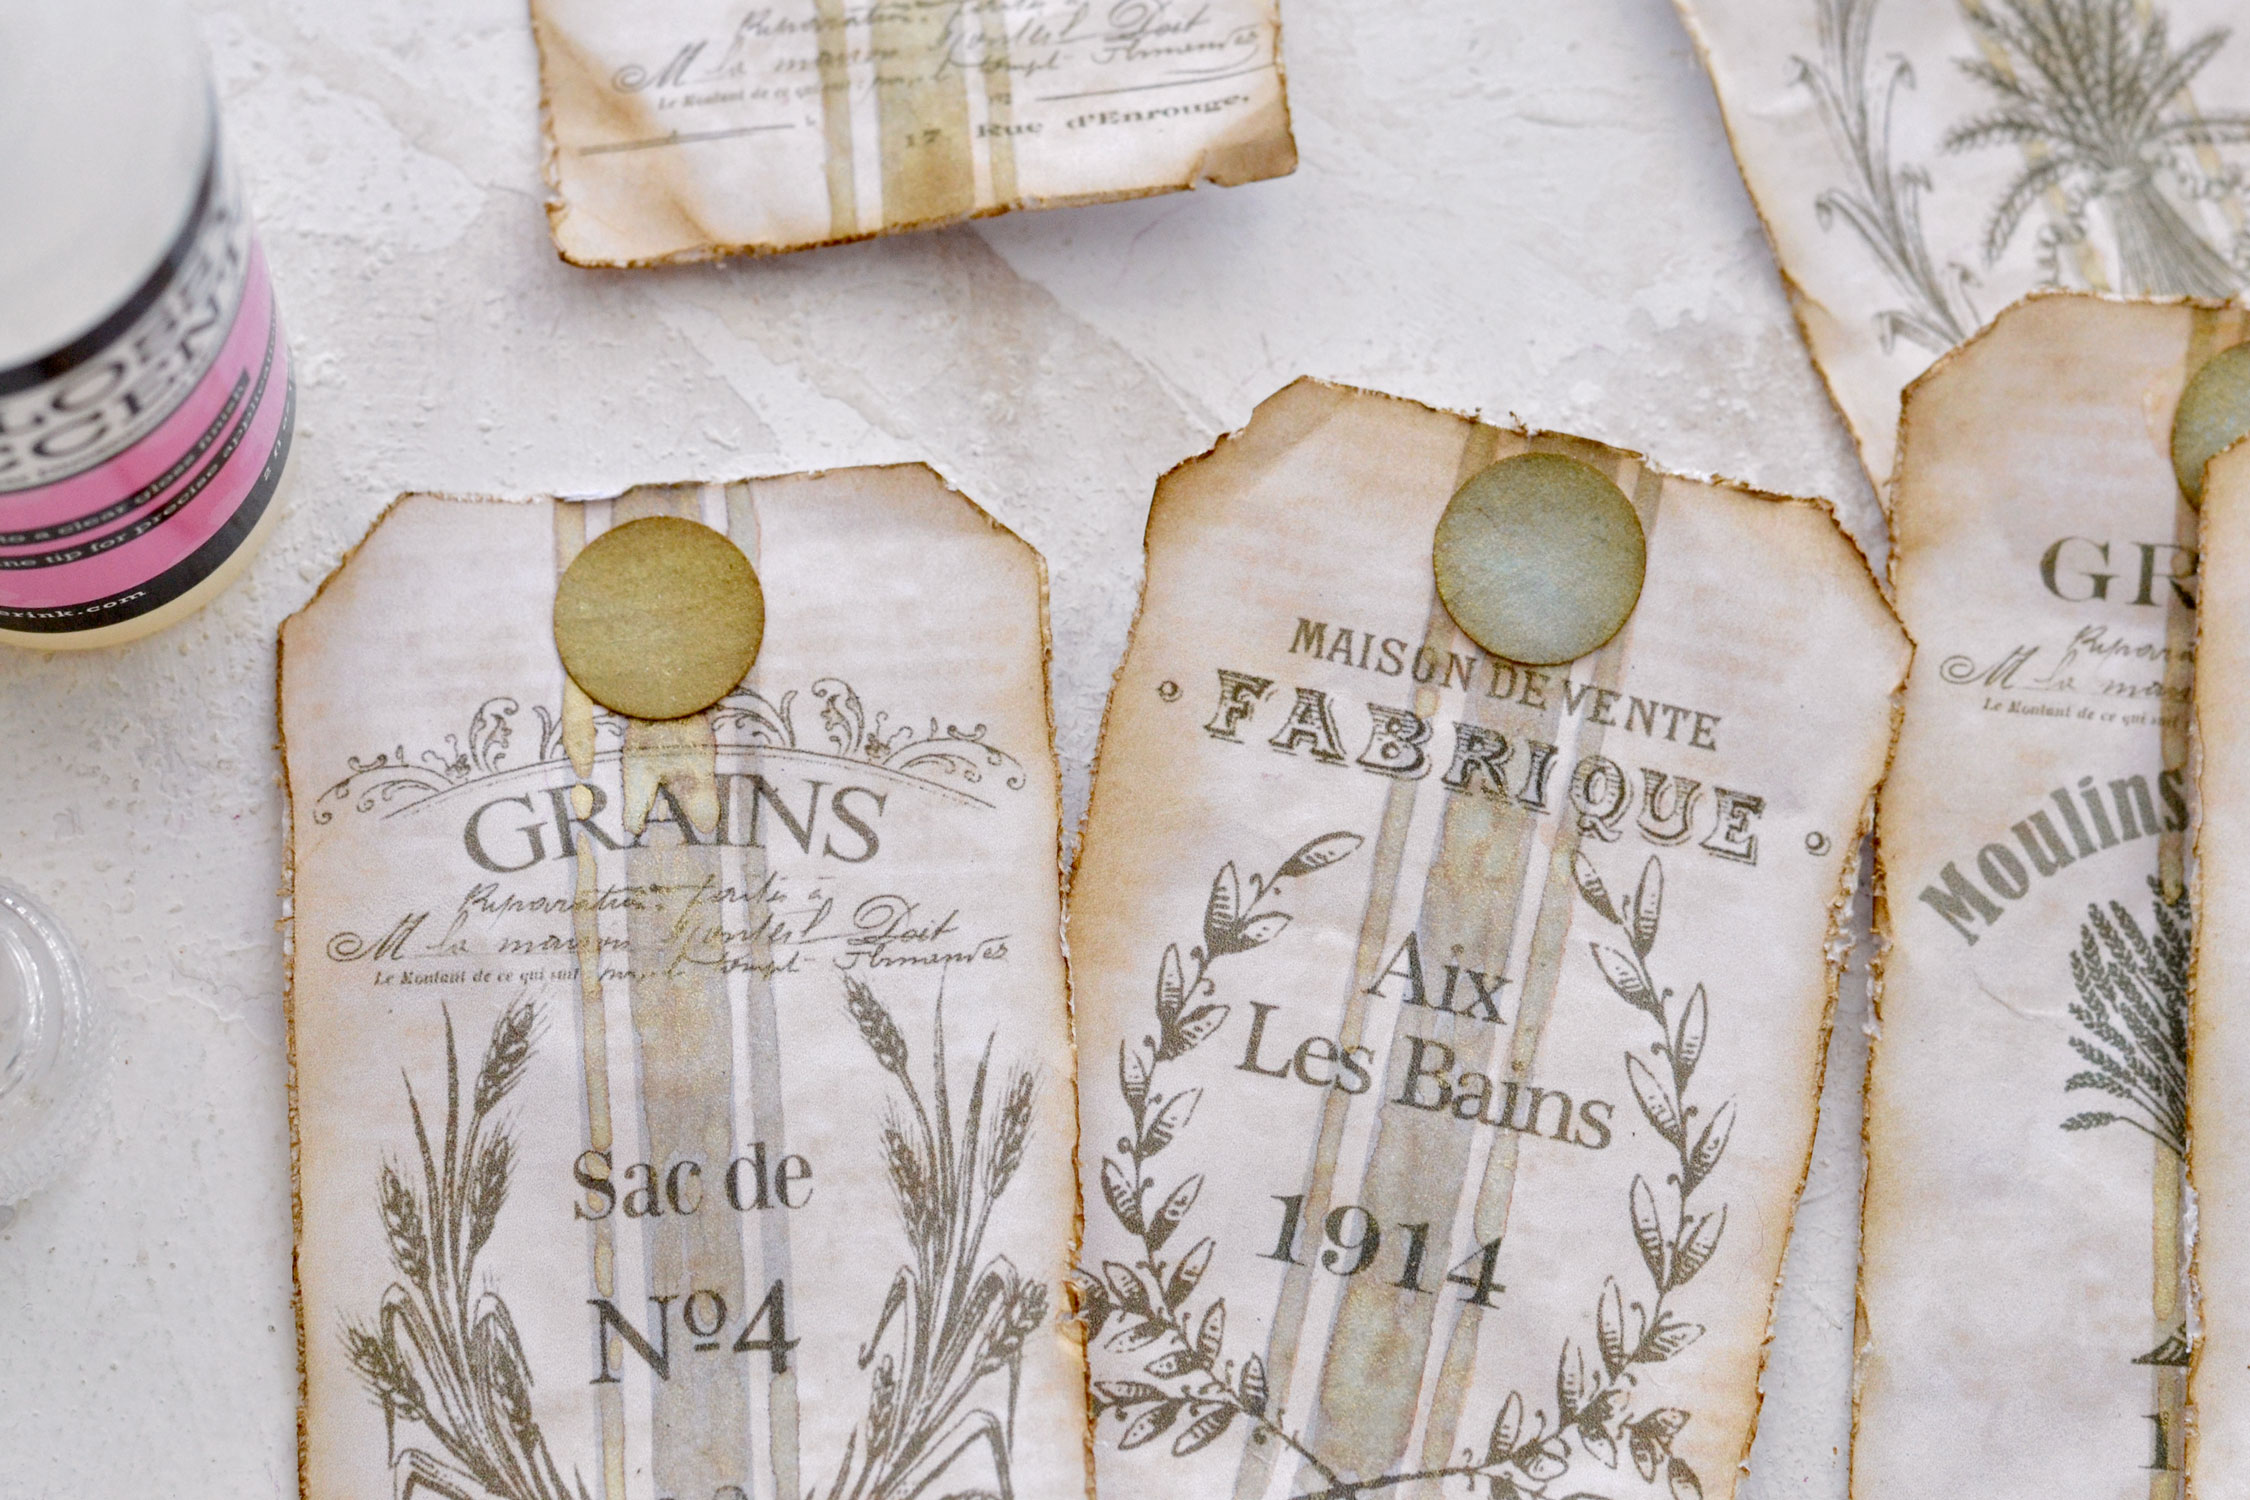
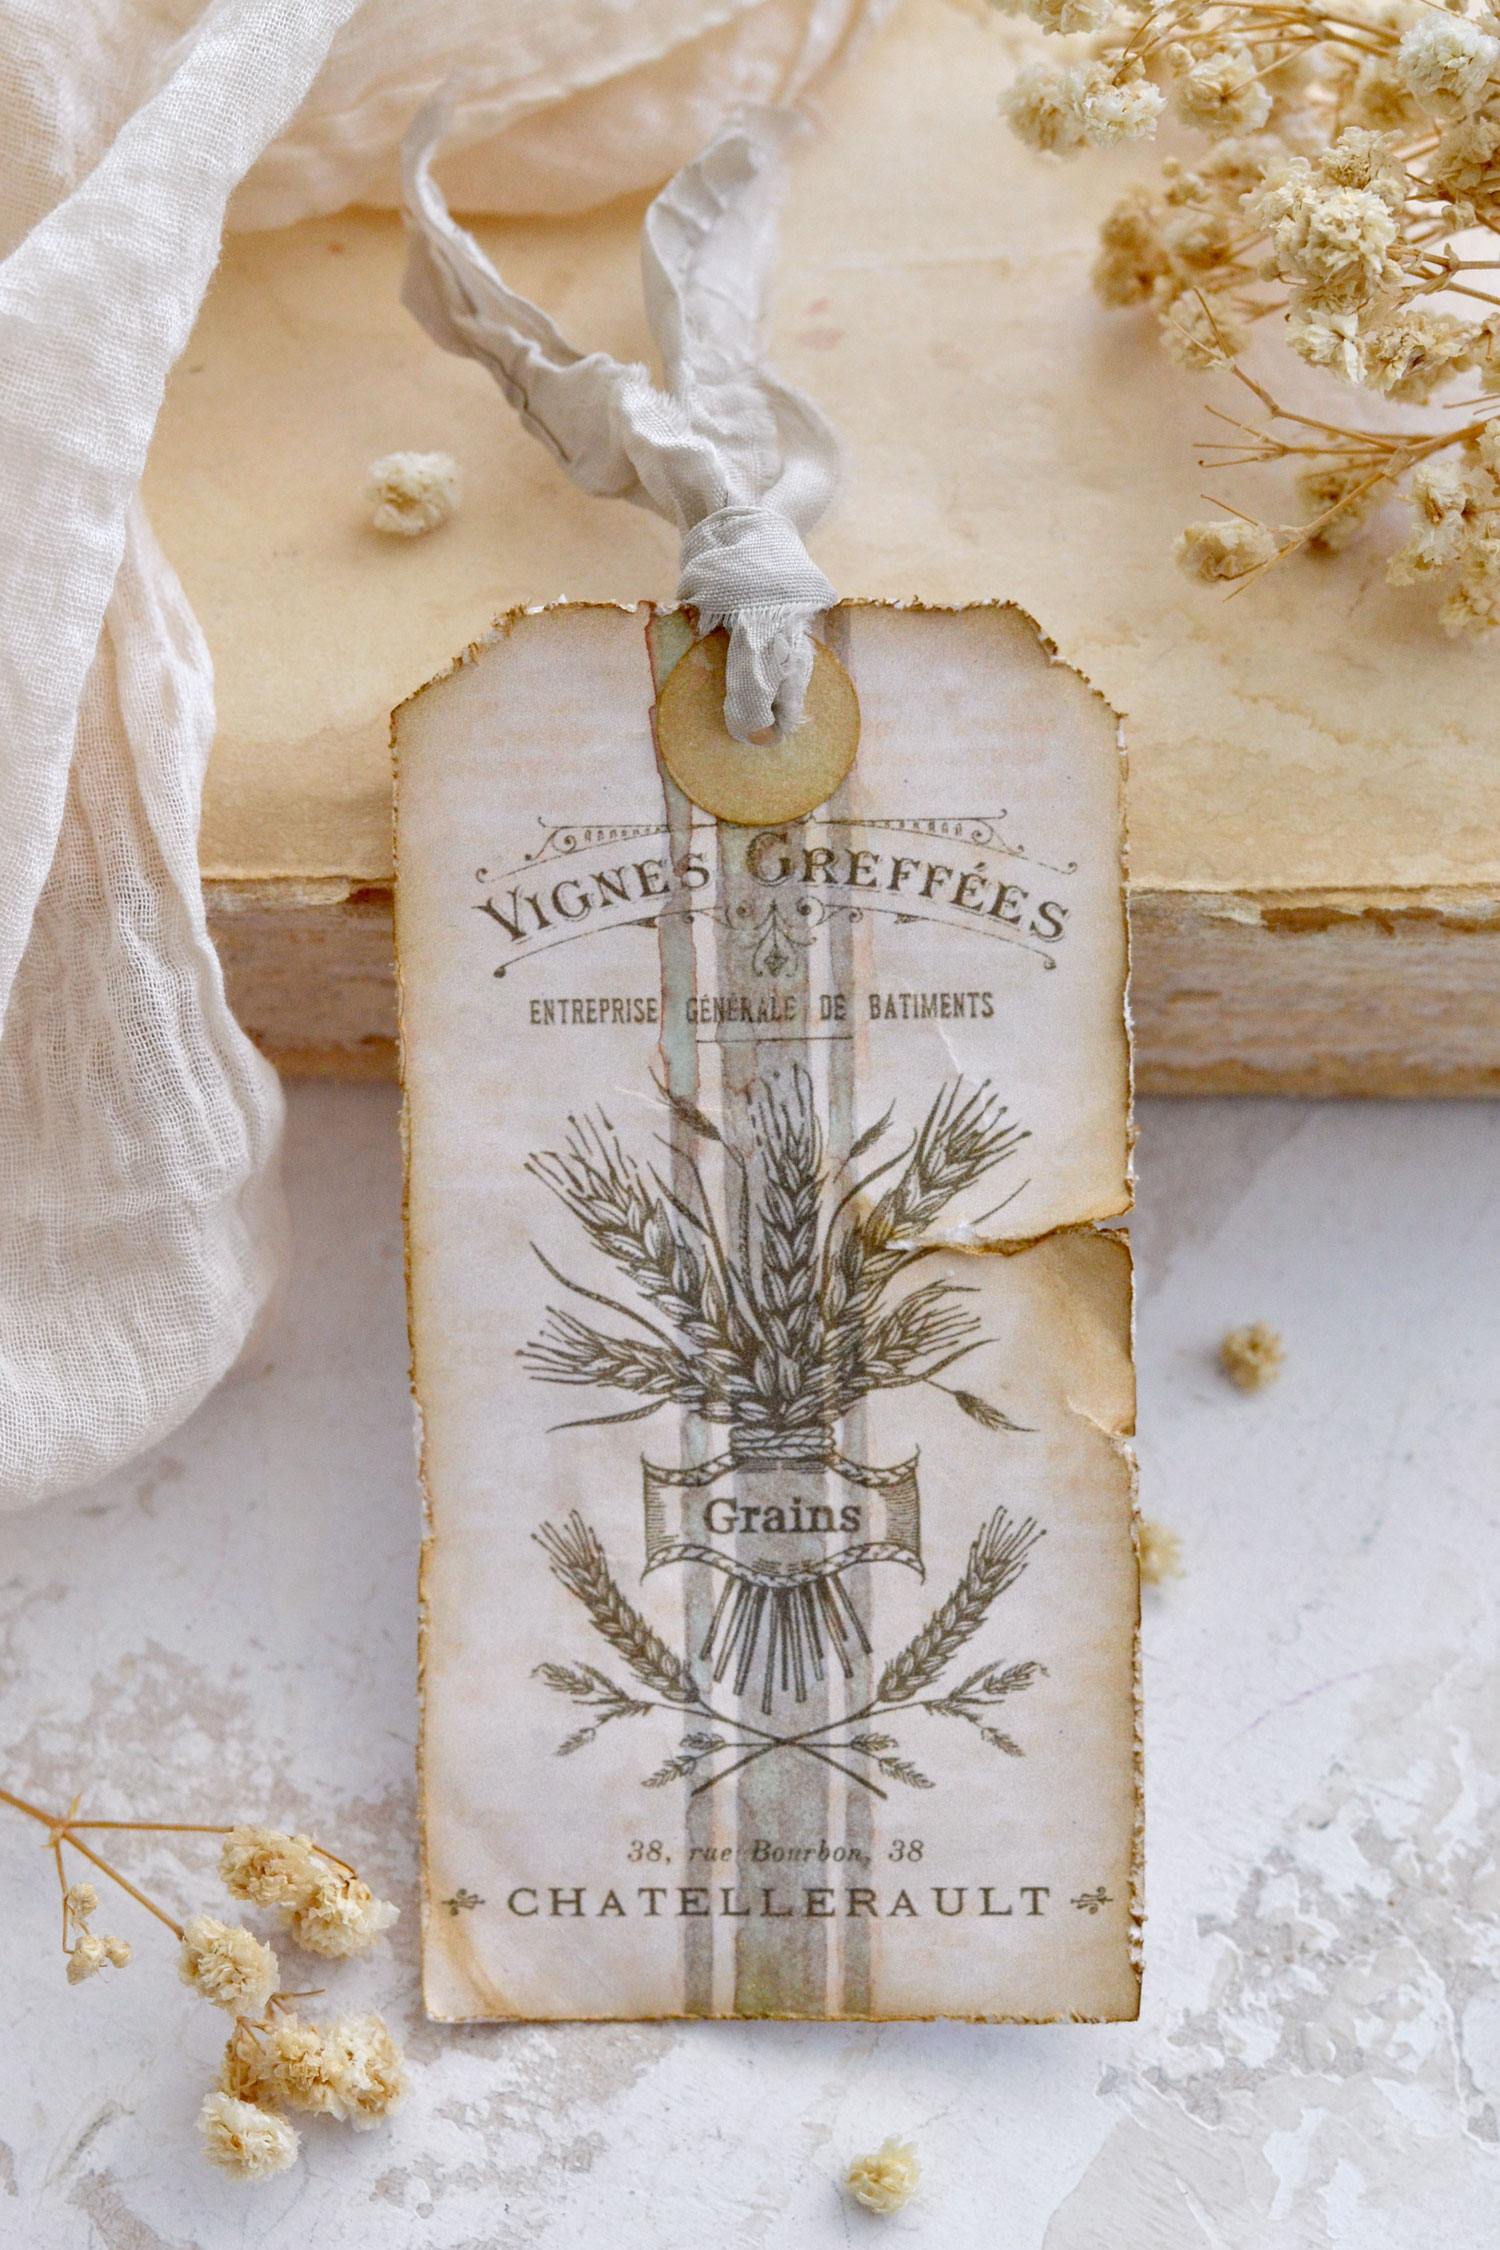
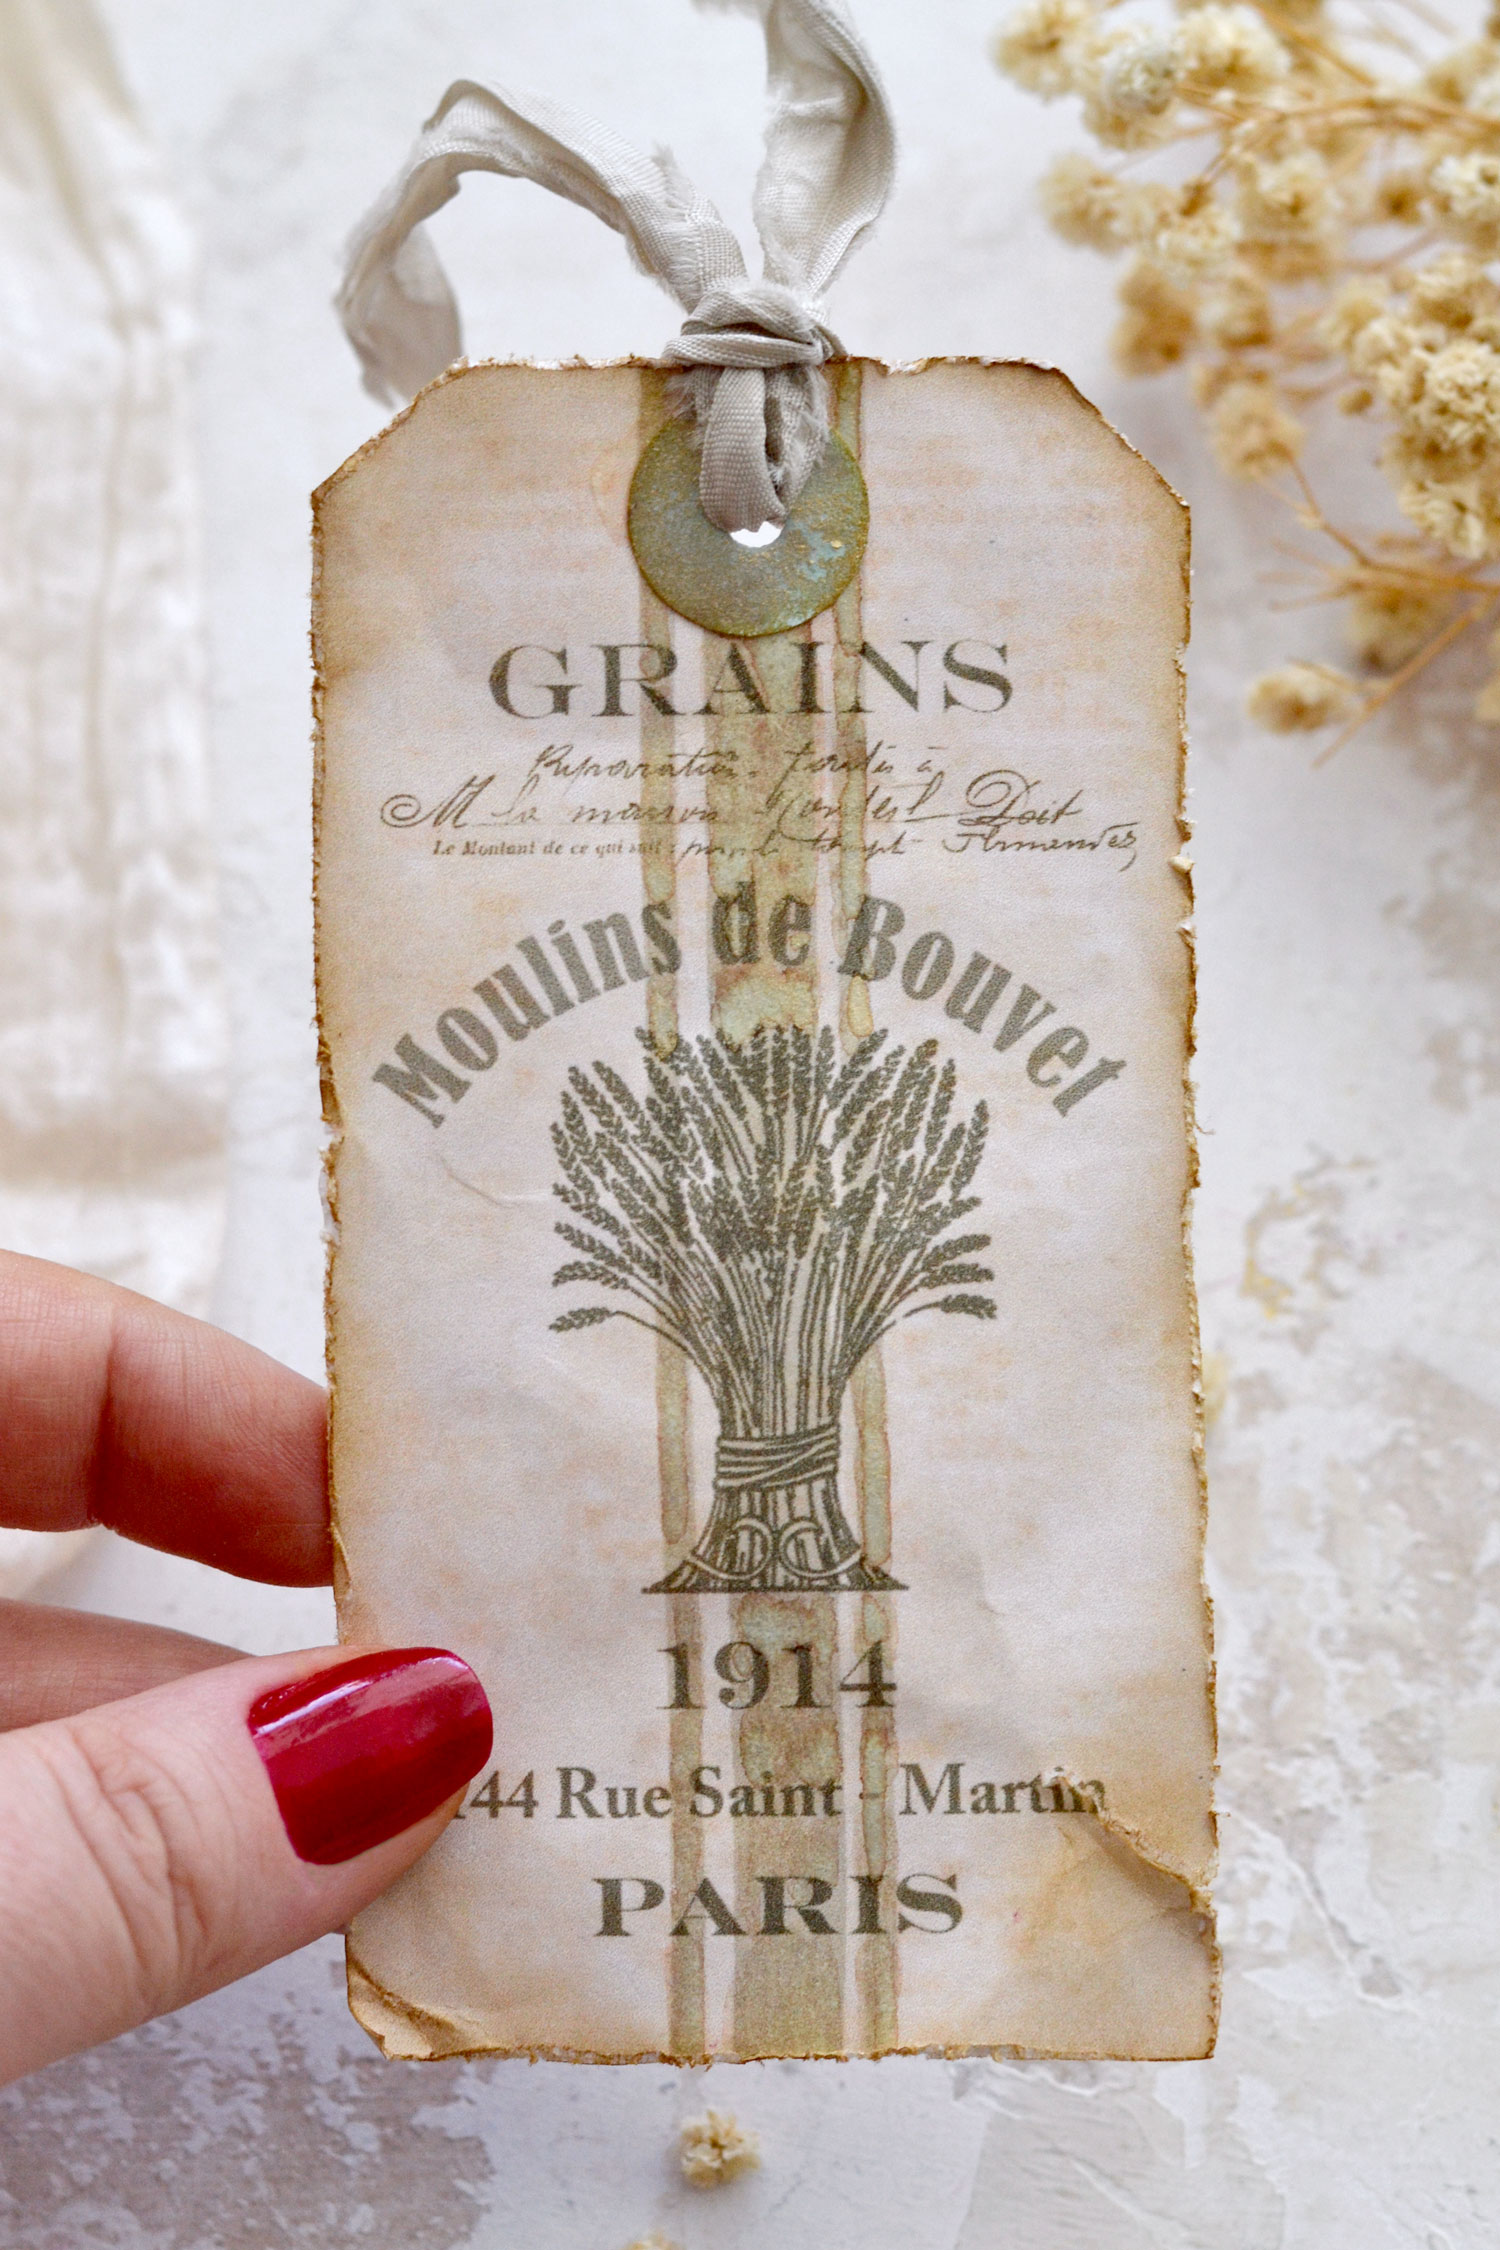
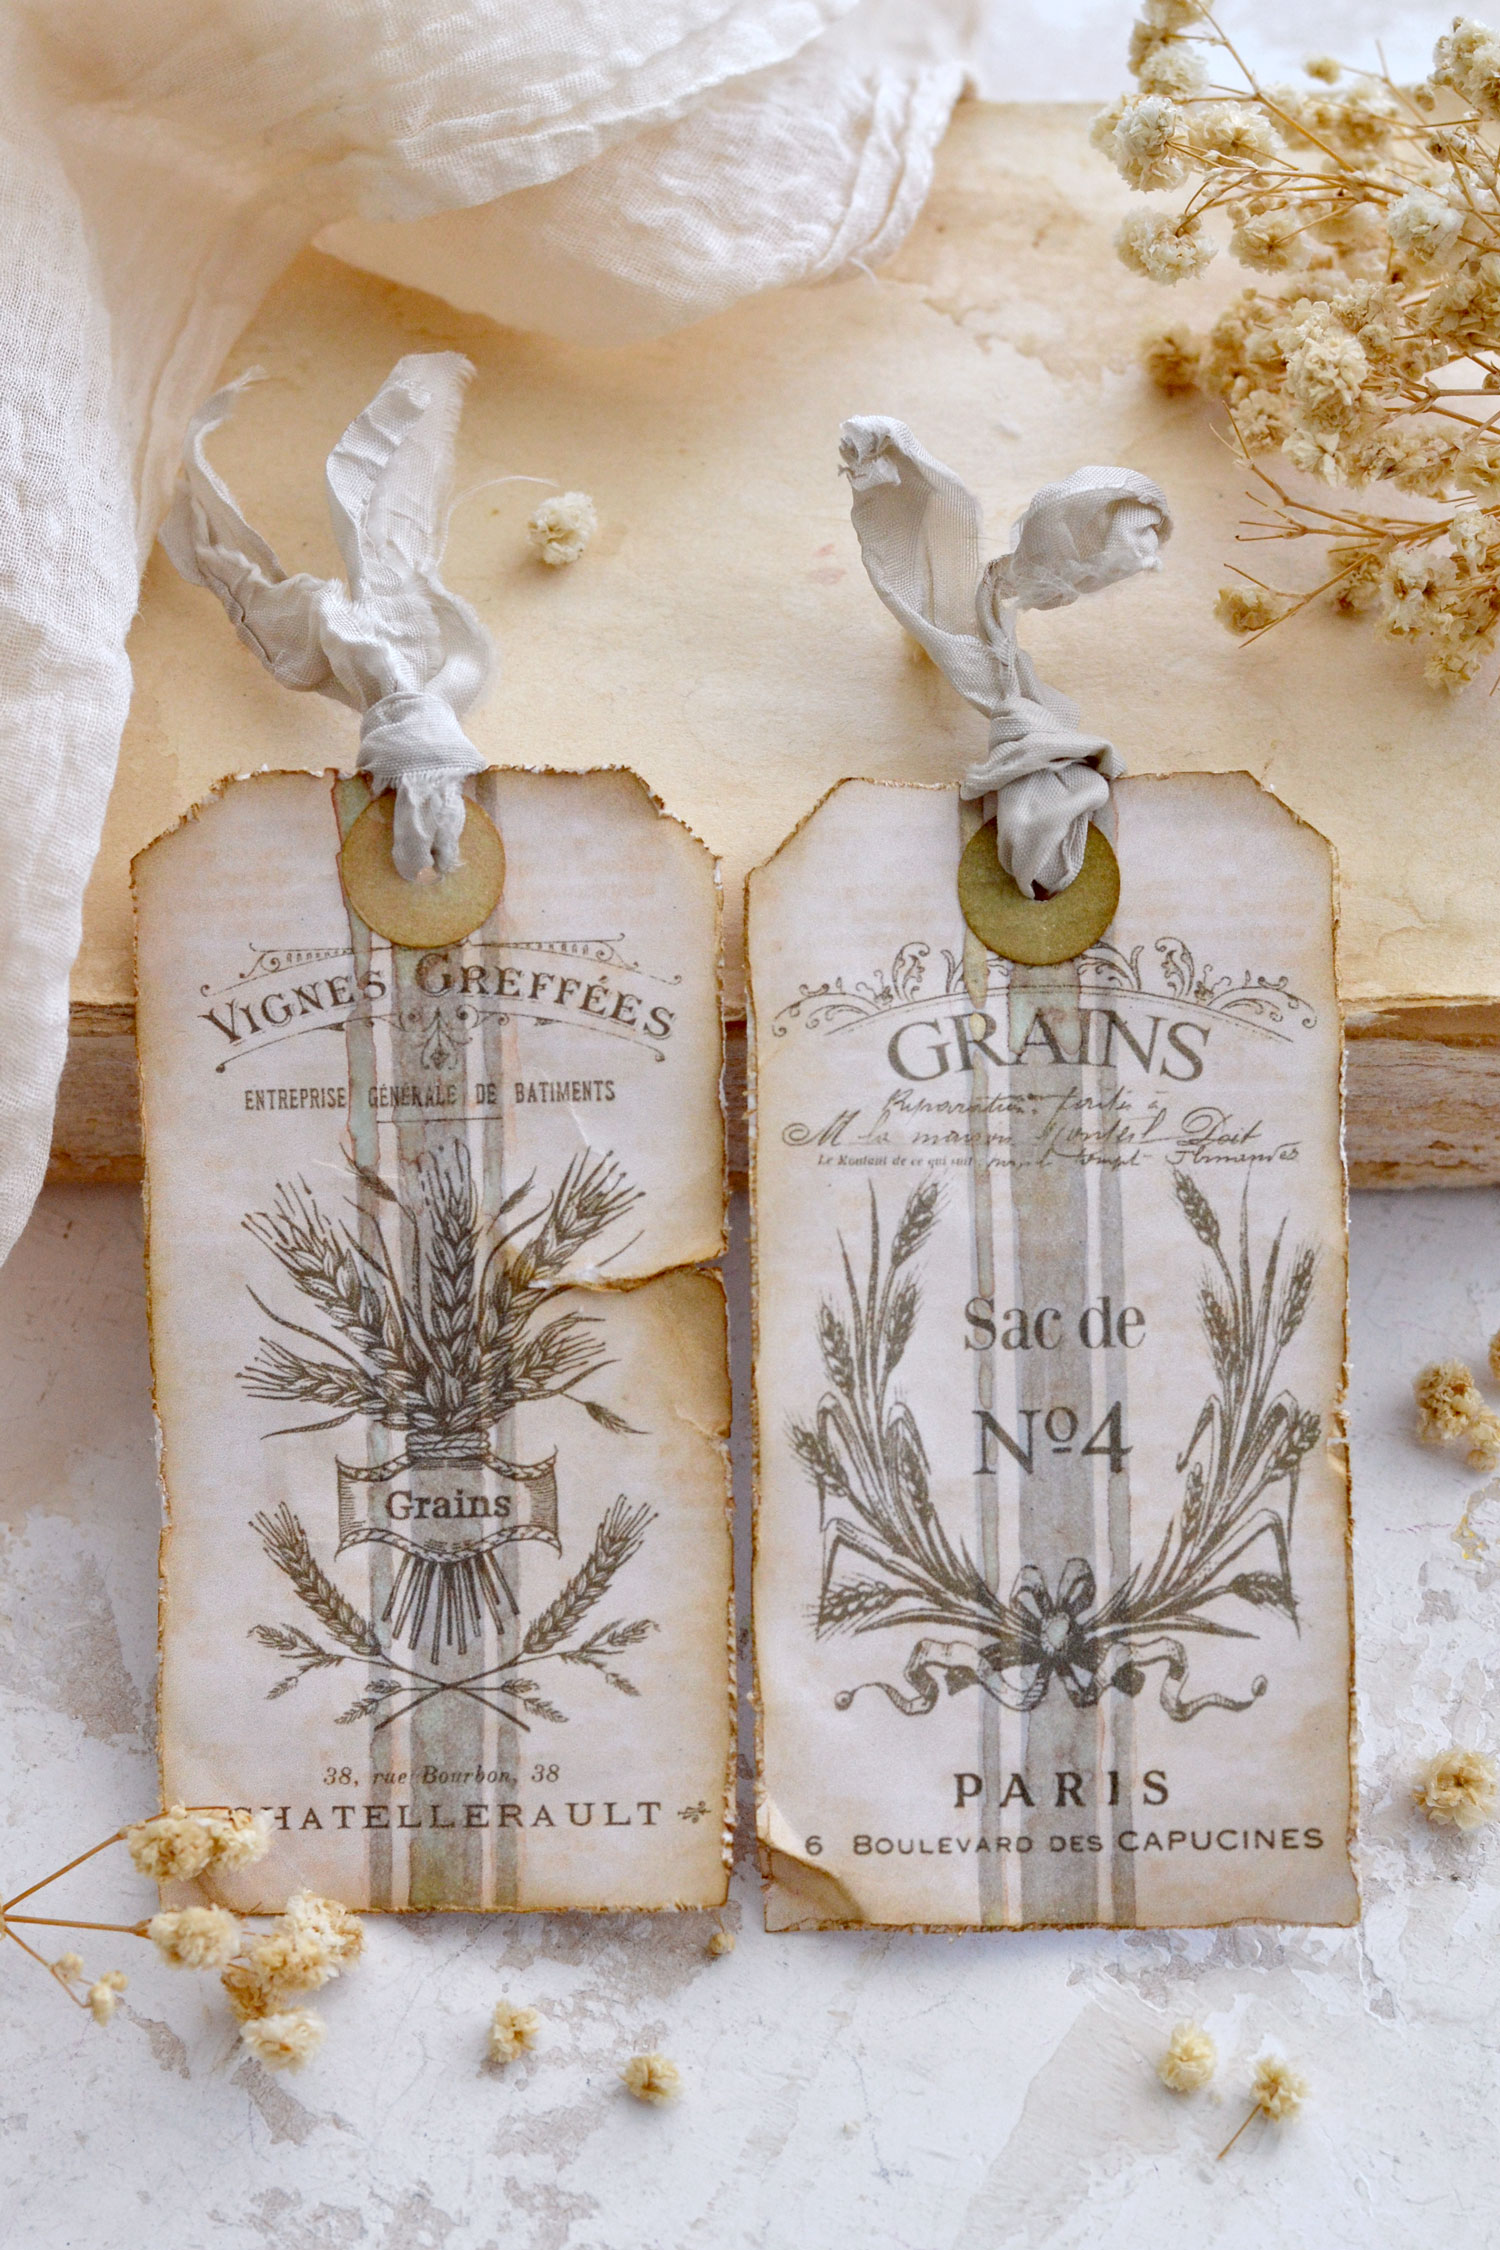
You will love how easy this project is and how gorgeous the final results can be! I used a few absolutely amazing French grain sack inspired images from The Graphics Fairy to create the designs. Each of our six tags is distinct and truly unique! I imagined these to have quite a neutral overall vibe, so I’ve decided to use a lovely dark green (instead of black) for our French ephemera graphics. I added the specific vertical lines that grain sack fabric usually has, using light green and blue.
You will find below the free printable that I created for this project. You can download it on your computer and print it as many times as you want! I also included a few color-matching round reinforcers in different shades of green and blue, just pick your favorites and use them on your lovely French tags.
Free Printable:
 —-> Click HERE to Download the Full Size Printable PDF <—-
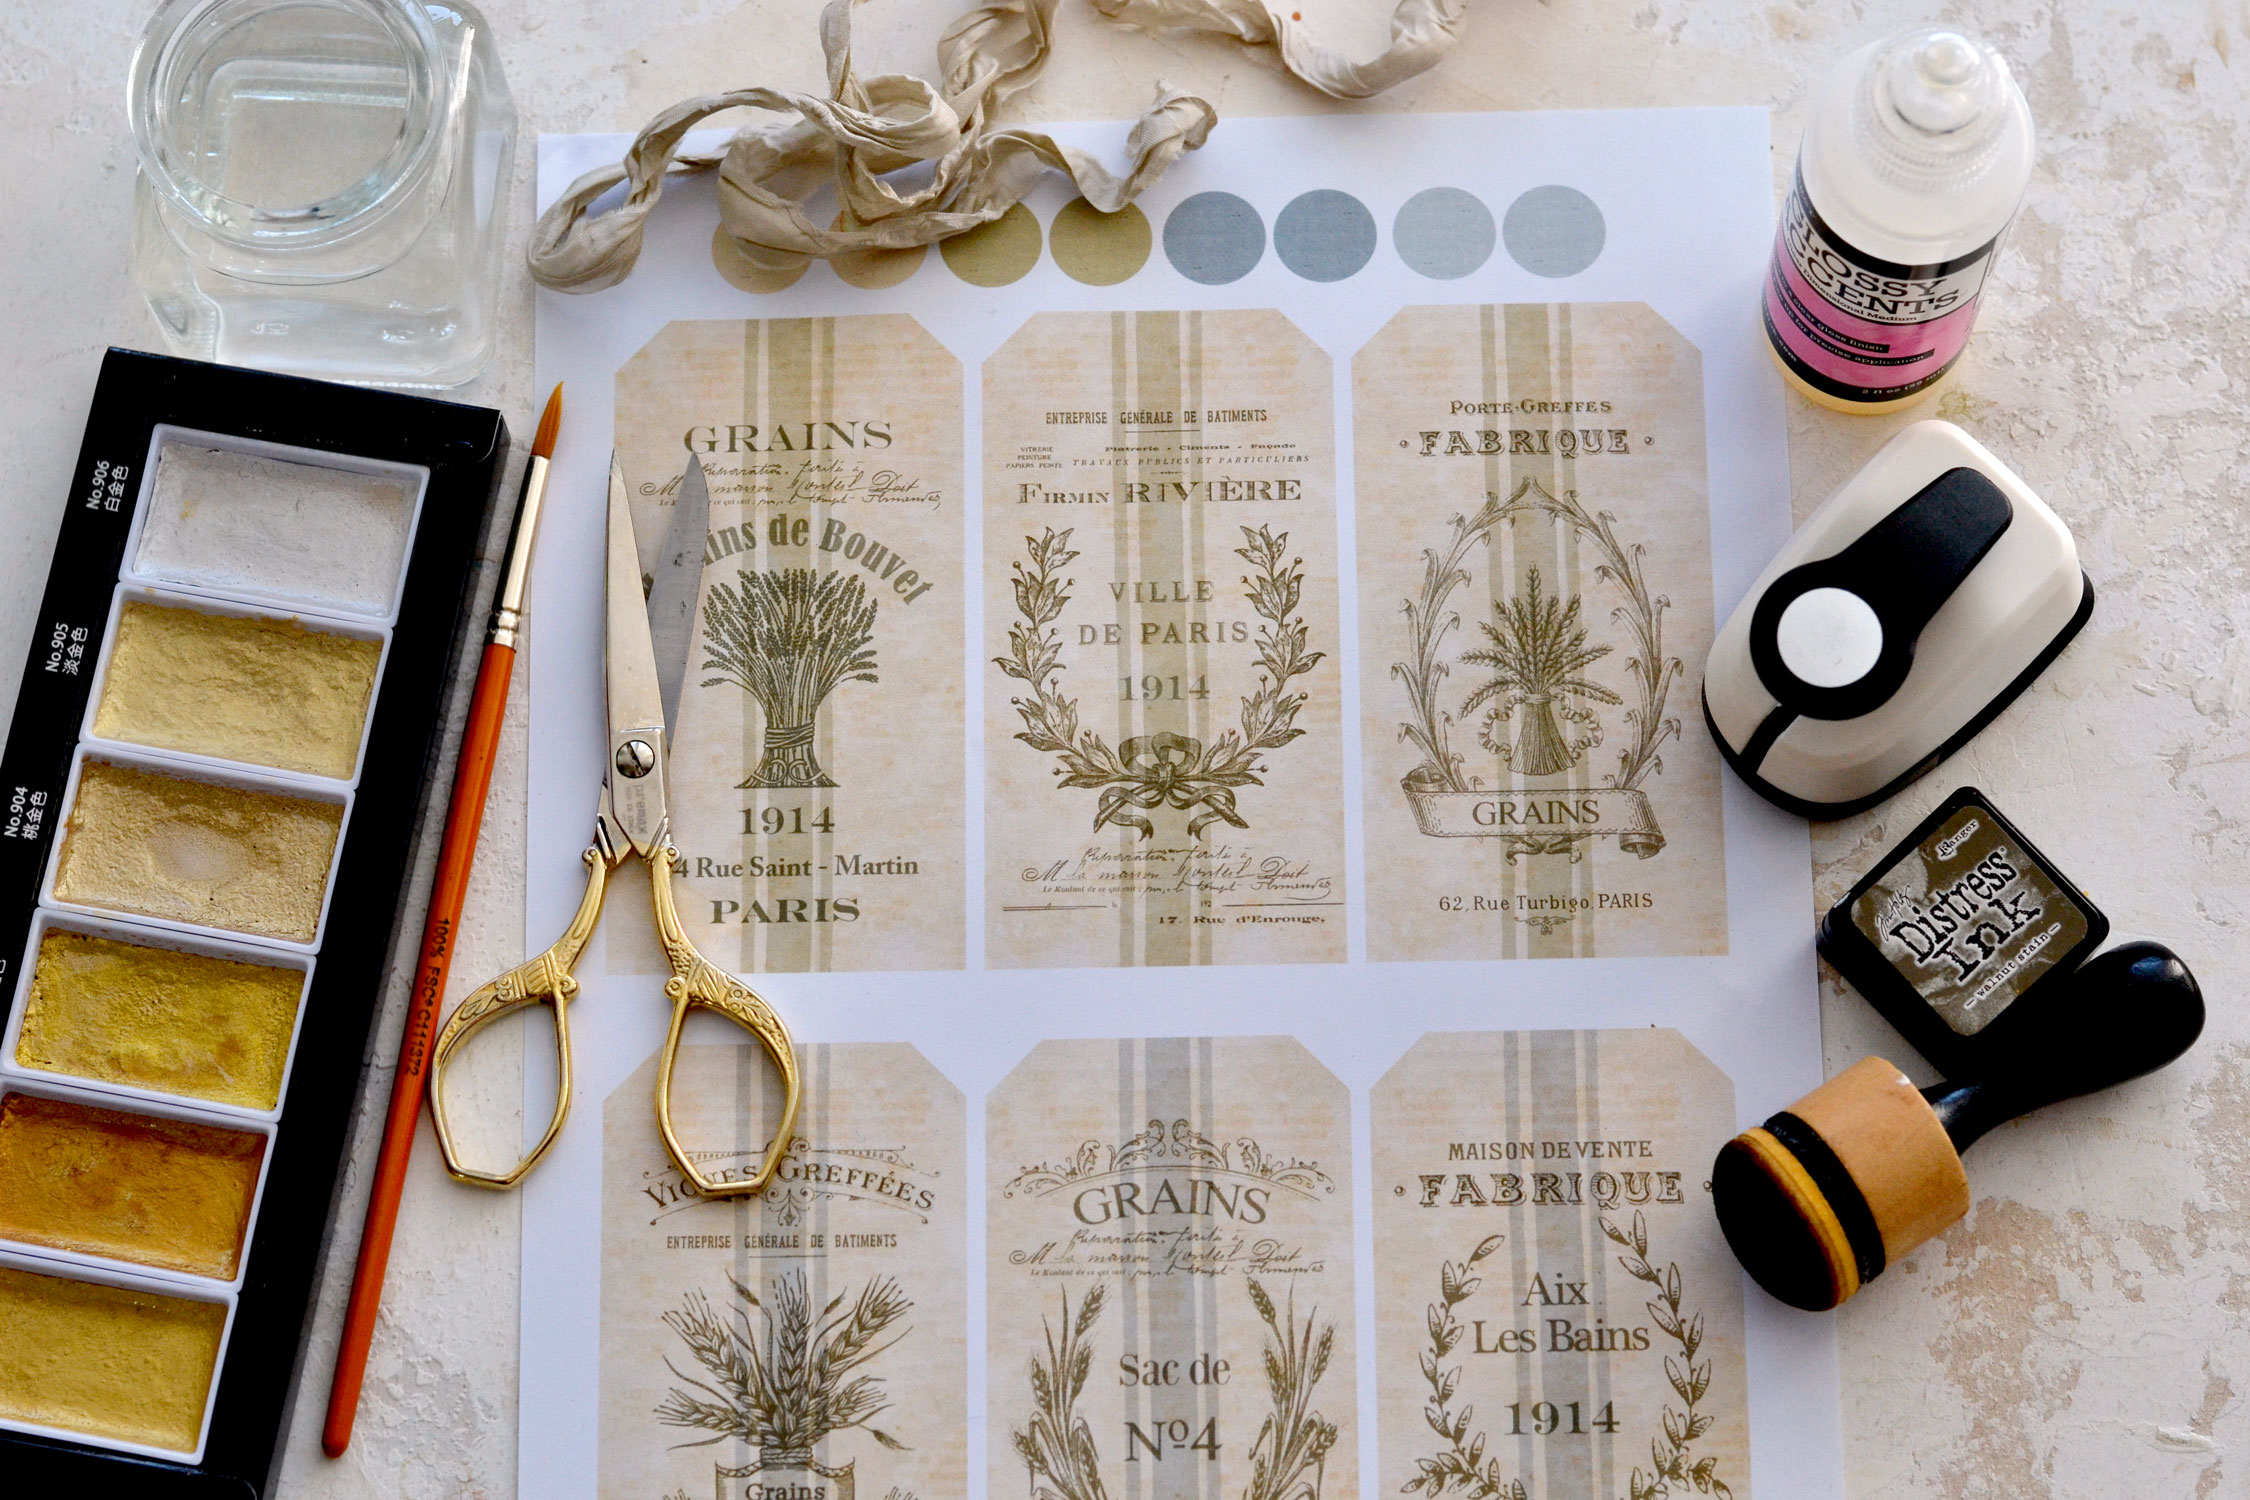
Supply List:
- white cardstock paper
- home printer
- scissors
- mini distress inks
- blending tool with foams
- paper glue
- gold watercolors (I used my favorite Kuretake Gansai Tambi Starry Colors)
- small brush
- toothpicks
- crinkle ribbons
- paper distress tool (optional)
- circle paper punch (optional, but highly recommended, to cut the reinforcers)
STEP BY STEP TUTORIAL:
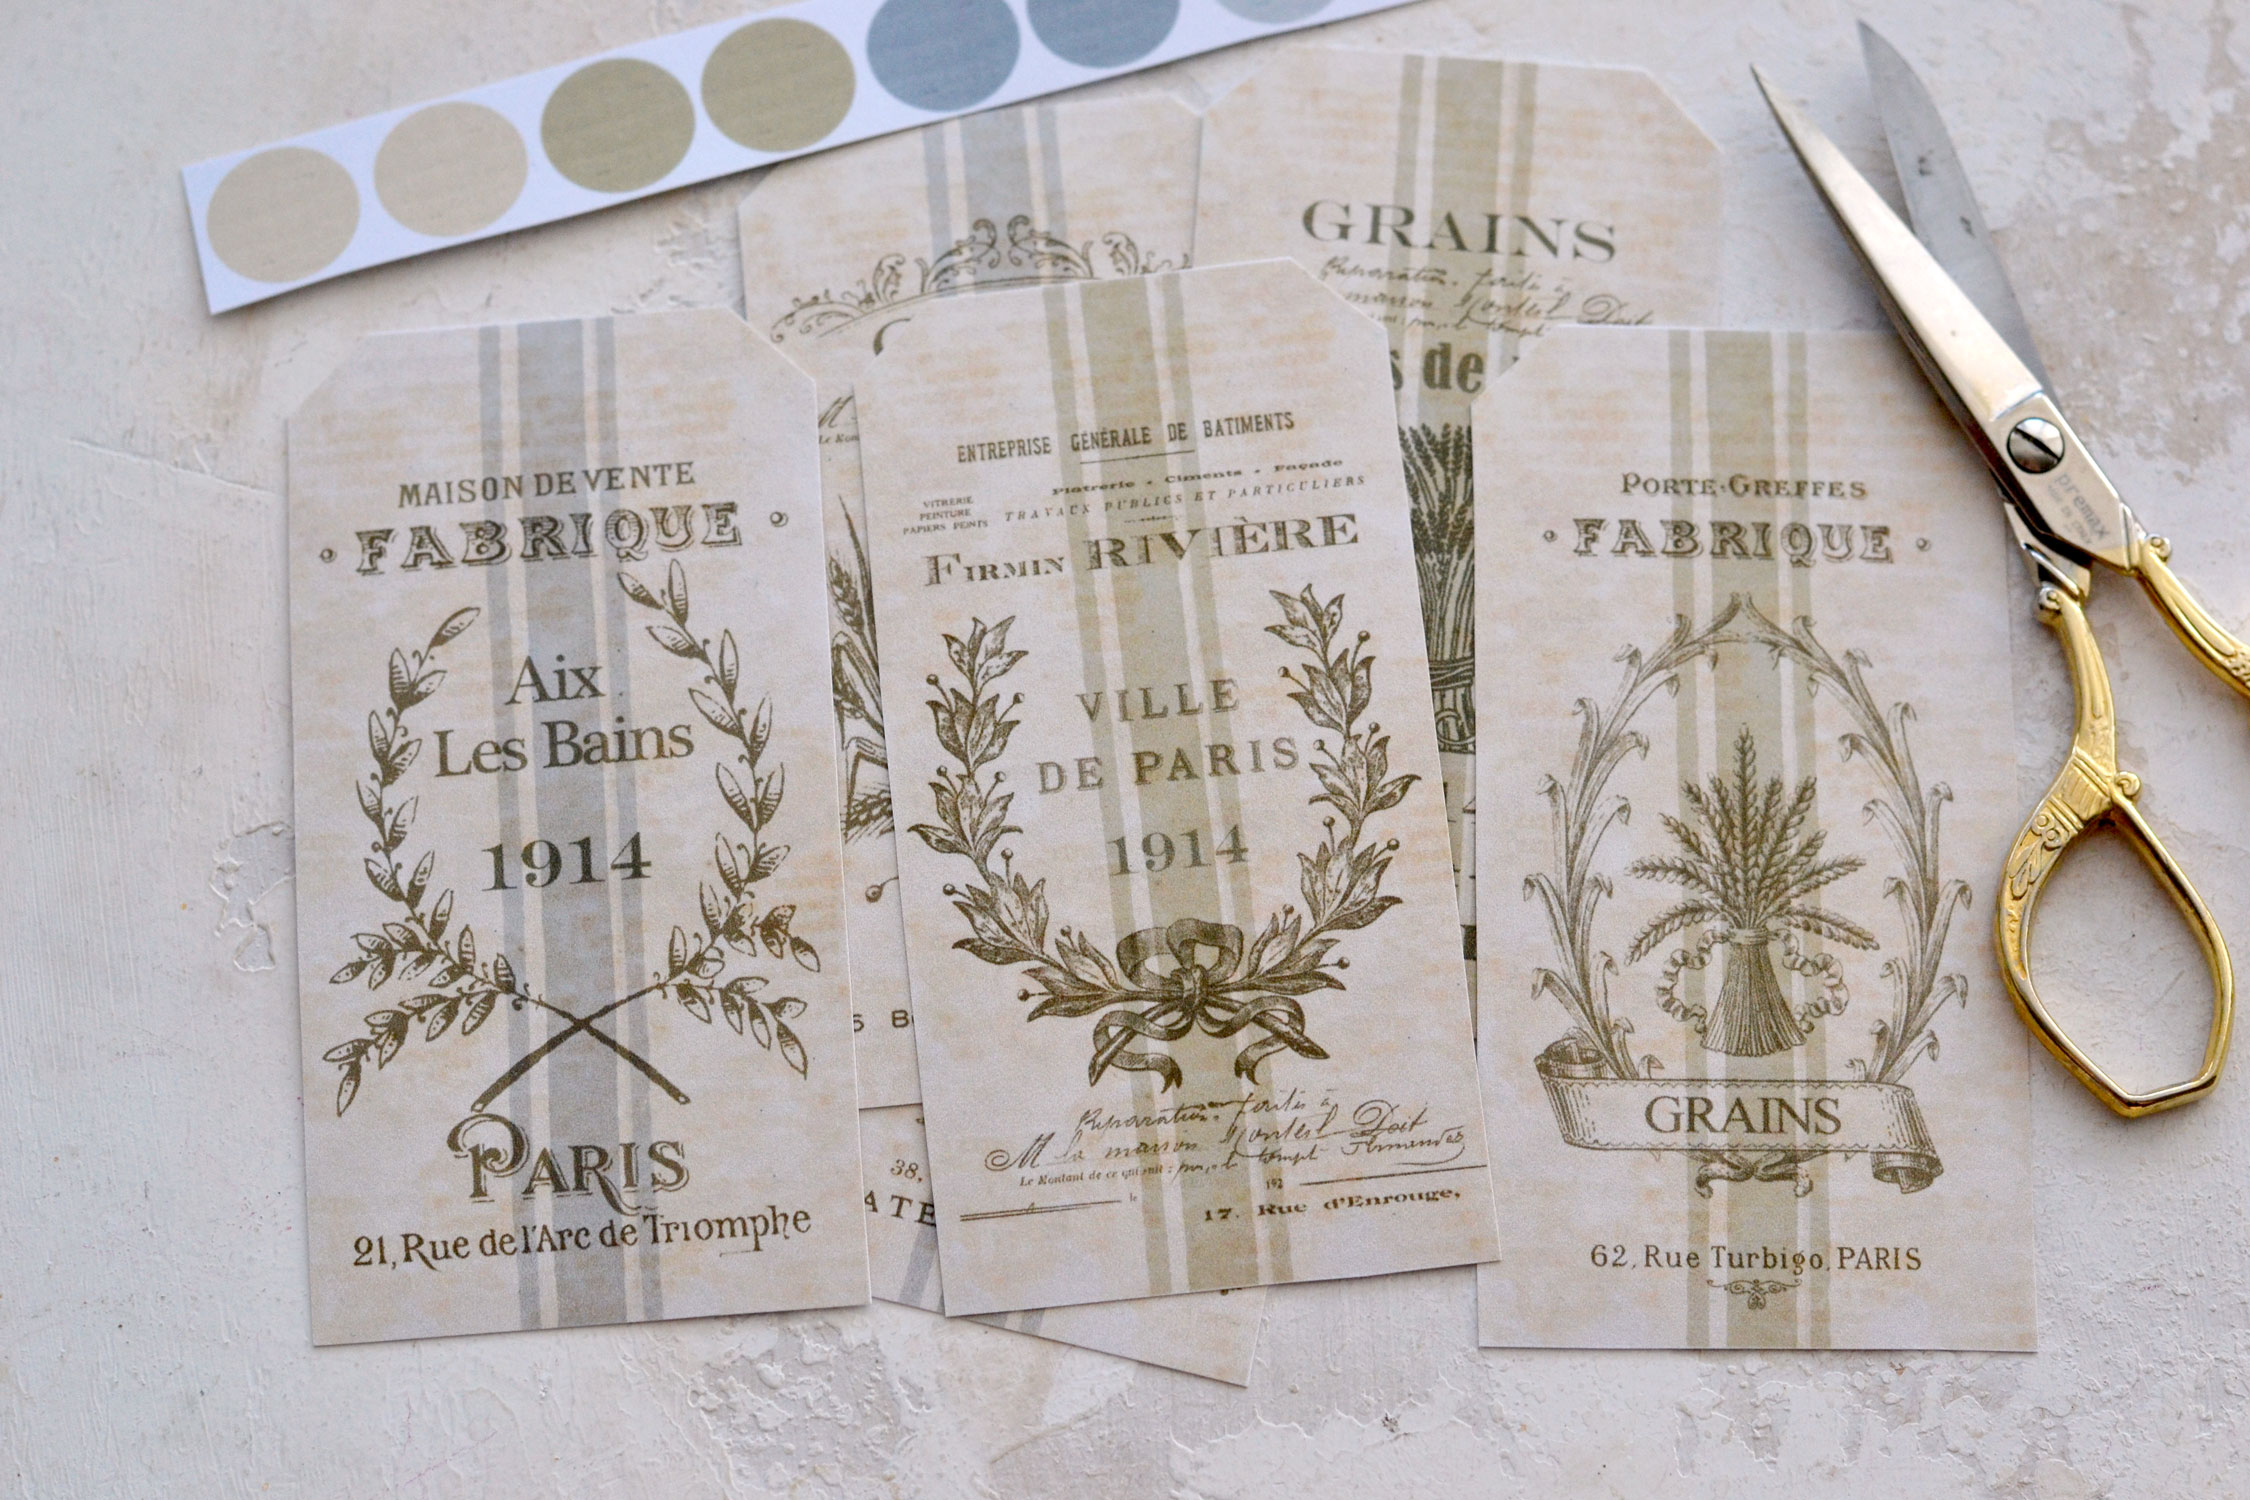
Start by printing your lovely printable and cutting your tags. I used scissors to cut them, but you can also use a paper cutting machine or a guillotine if you prefer. I only cut a long strip with the reinforcers at this point.
So I managed to finally find a small circle puncher that is PERFECT for reinforcers! I cannot tell you how happy I am to have found one, let’s just say that round, small paper circles are not my favorite things to cut by hand…
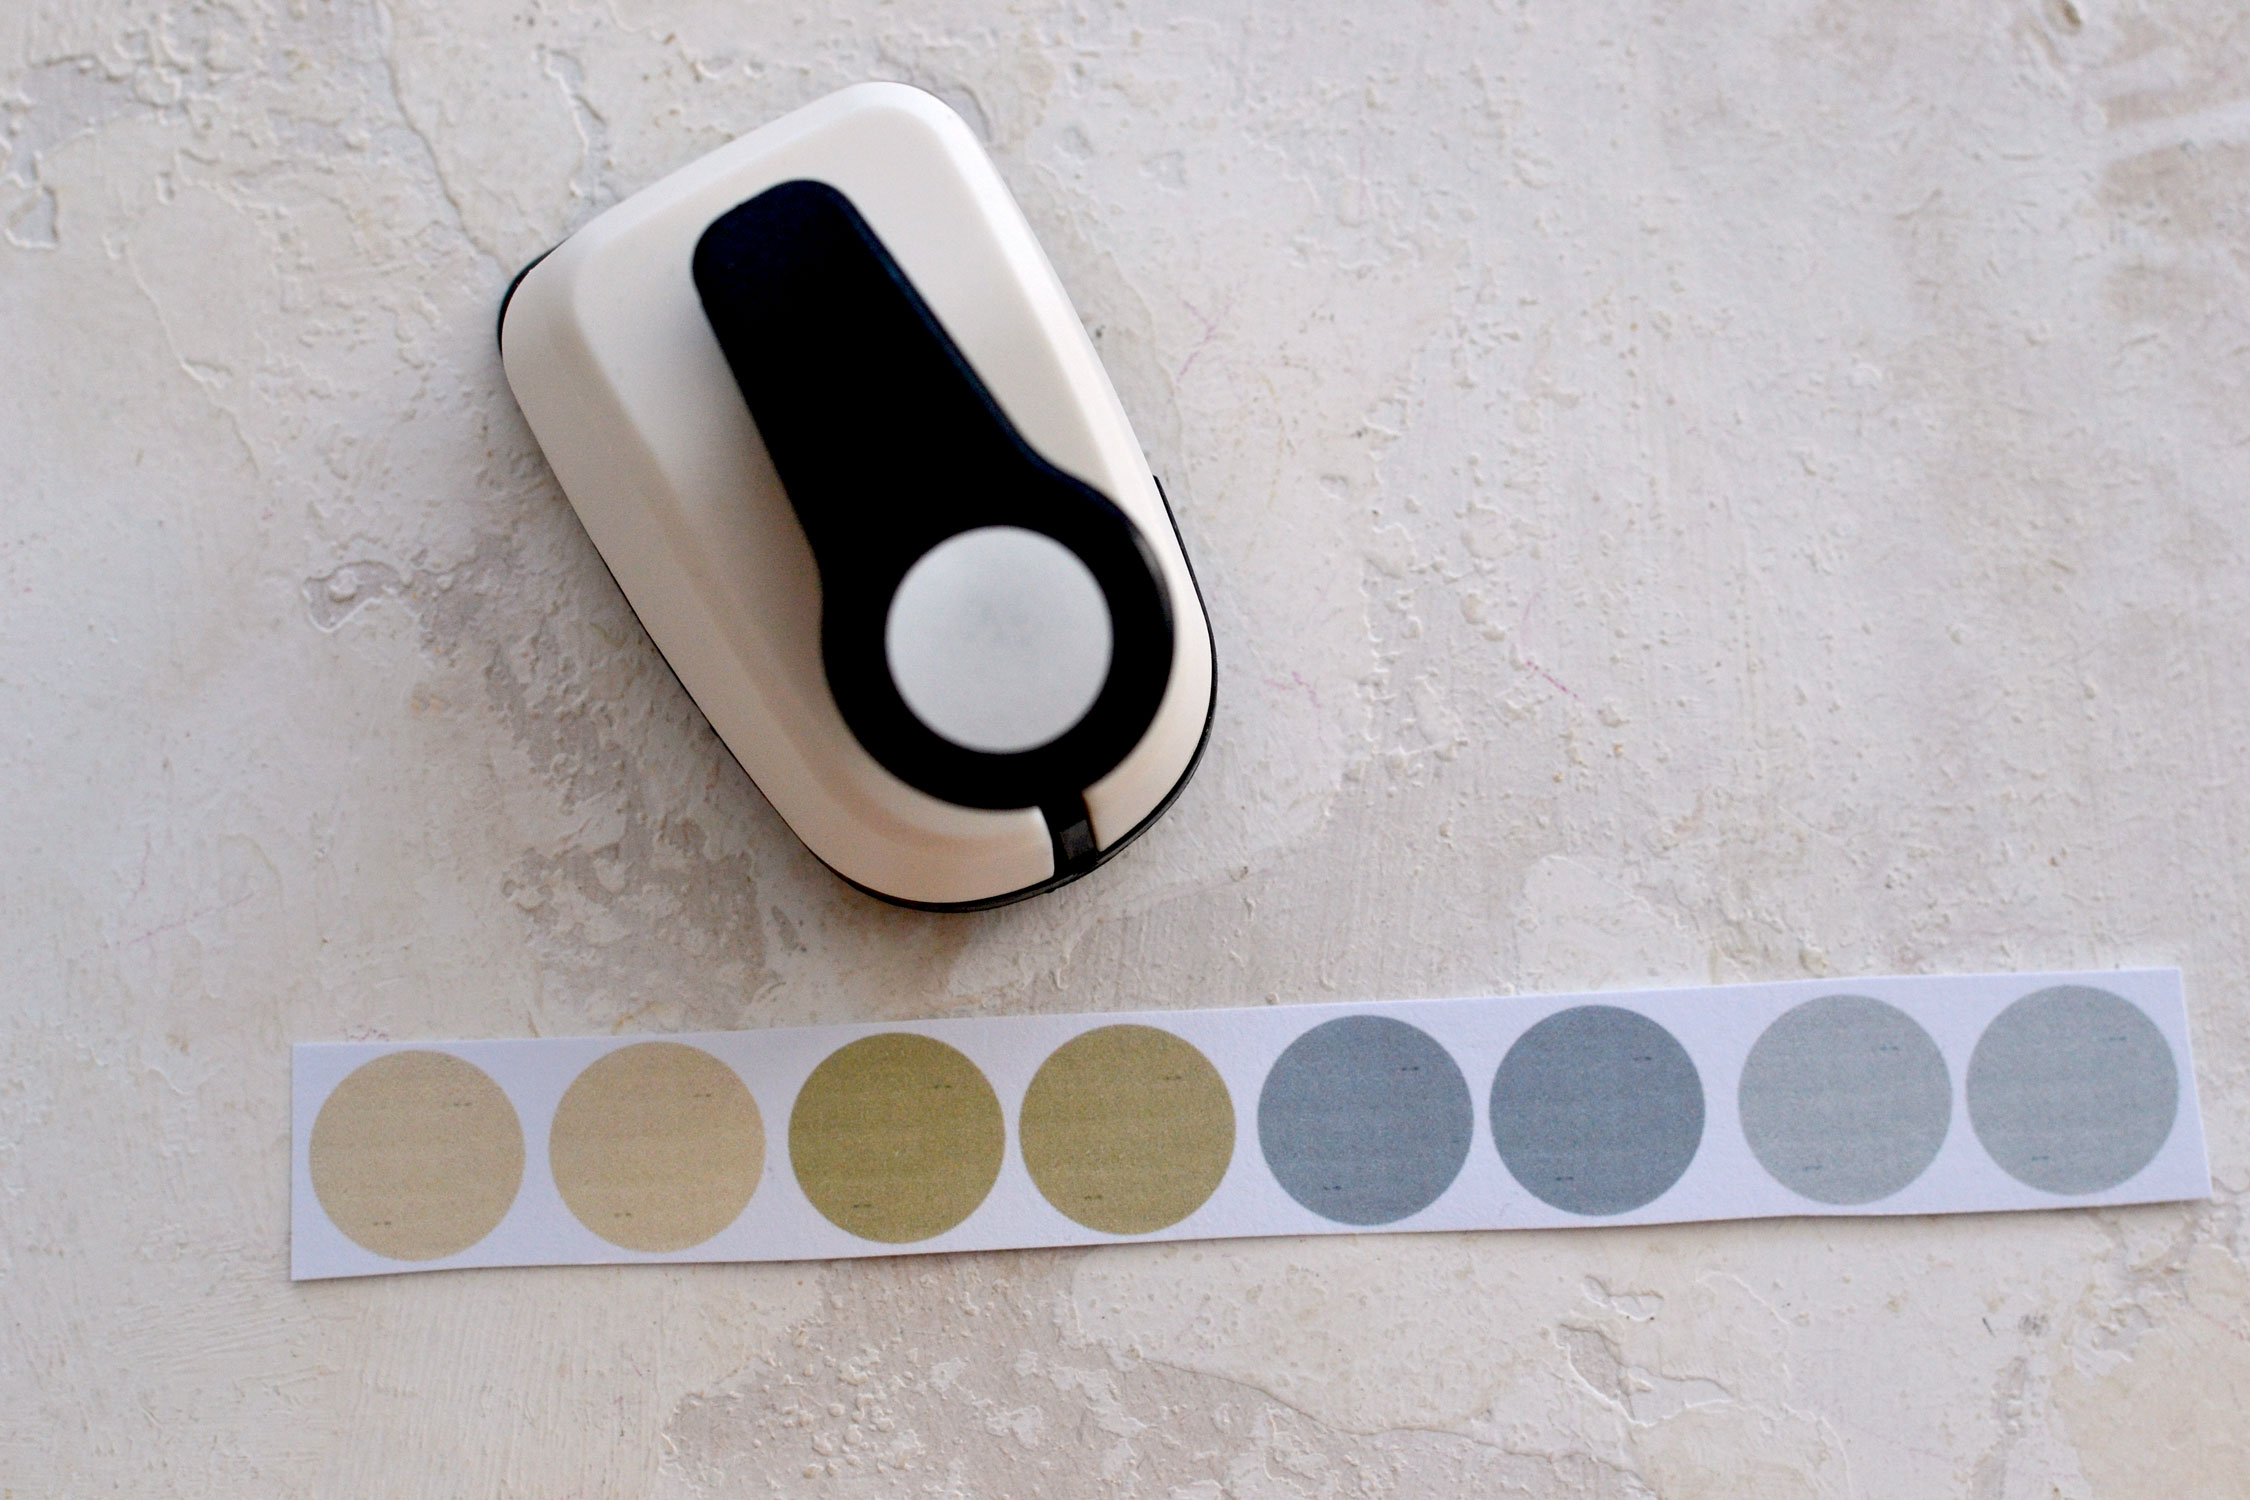
I flipped the punch over so I could see the circles on the paper and I just punched them! This works really fast and you don’t have to worry about trying to cut circles that look wonky afterward, no matter how careful you are. Been there, done that!
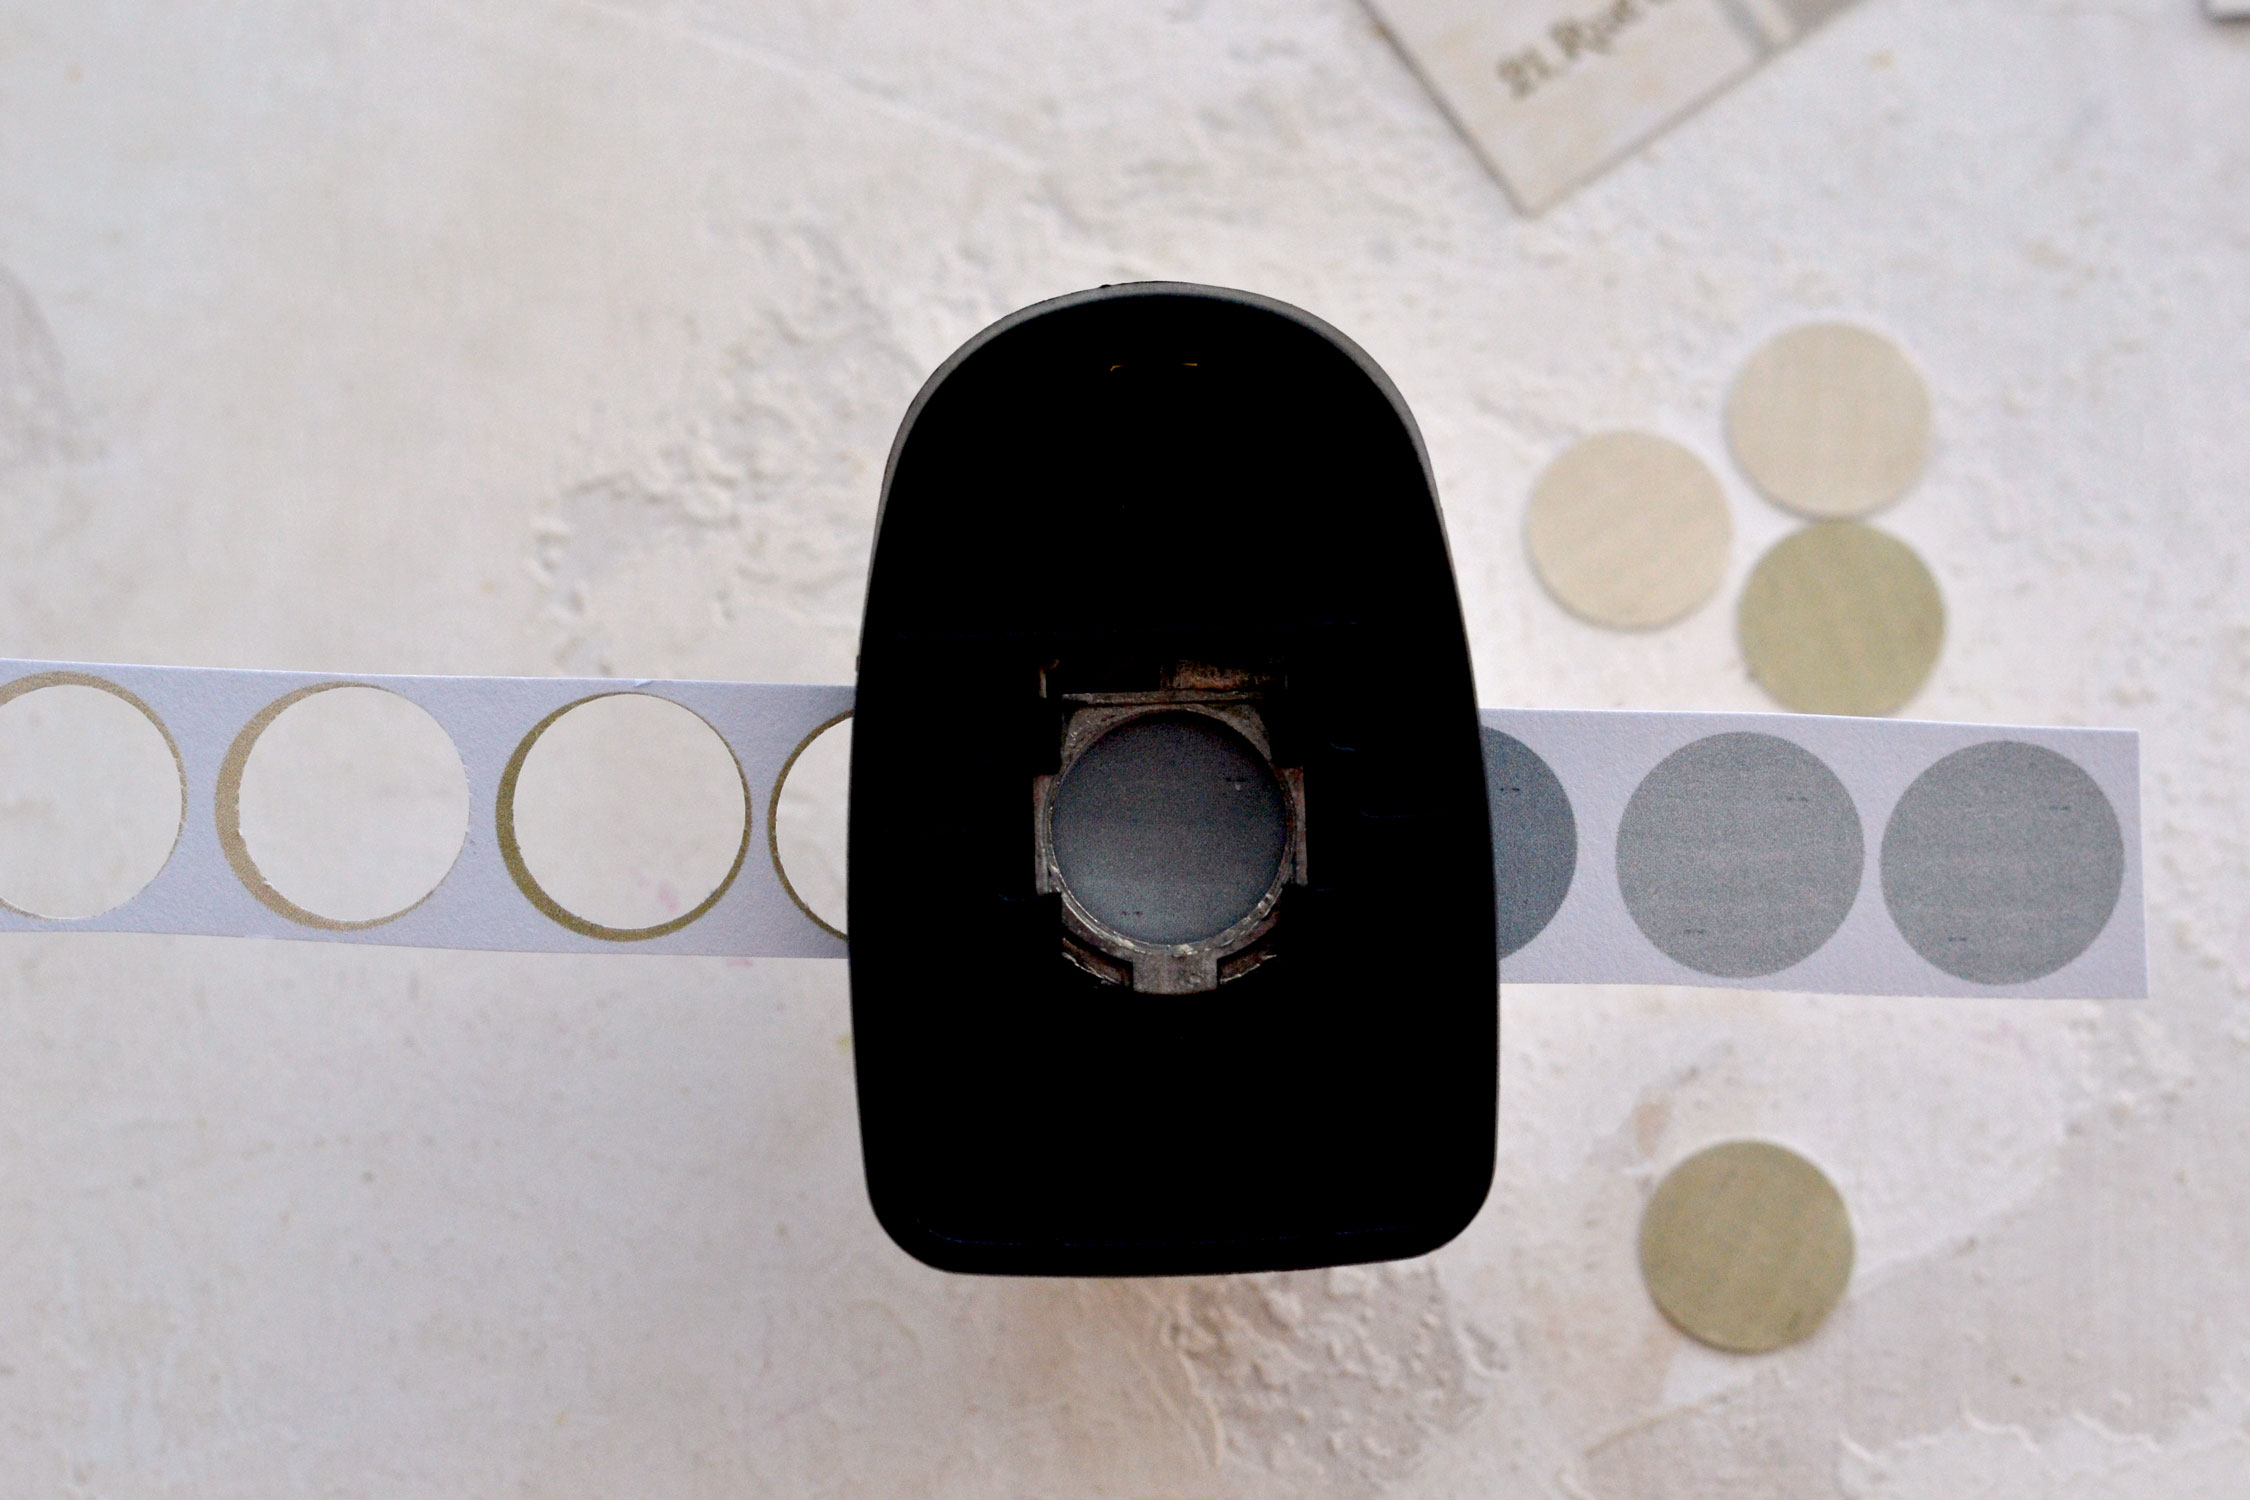
You can see how beautiful they look on the tags, it’s like a match made in heaven! Of course, if you don’t have one of these circle punchers, you can adventure to cut these by hand using your scissors.
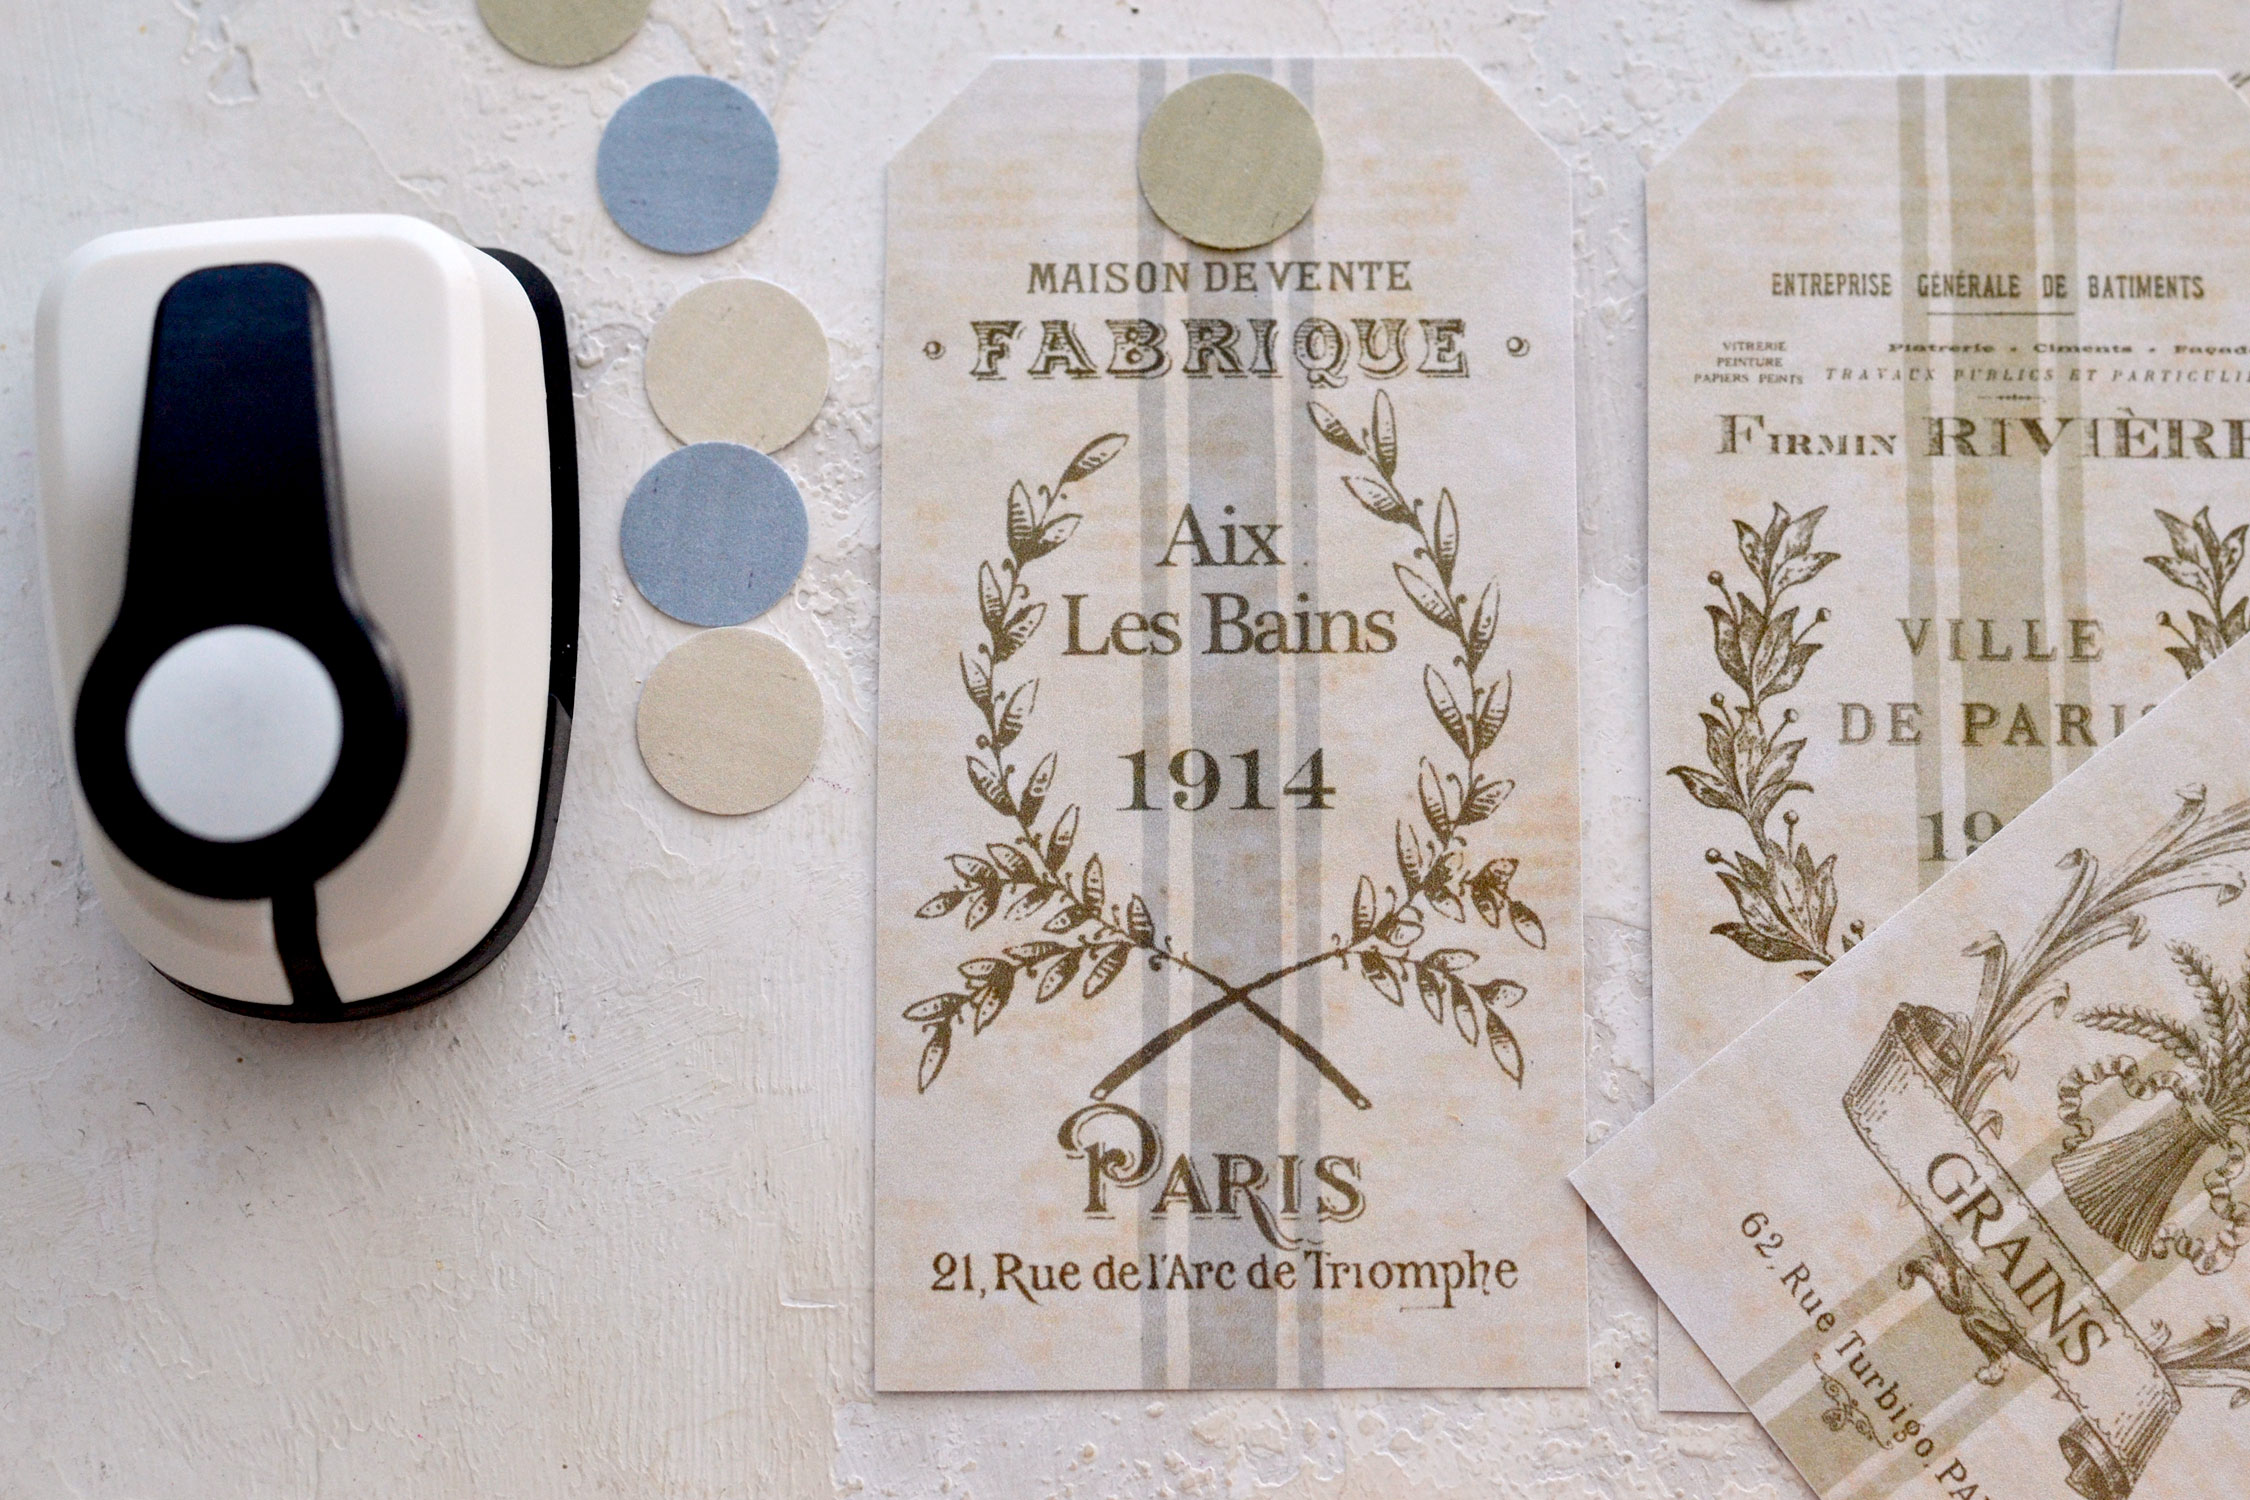
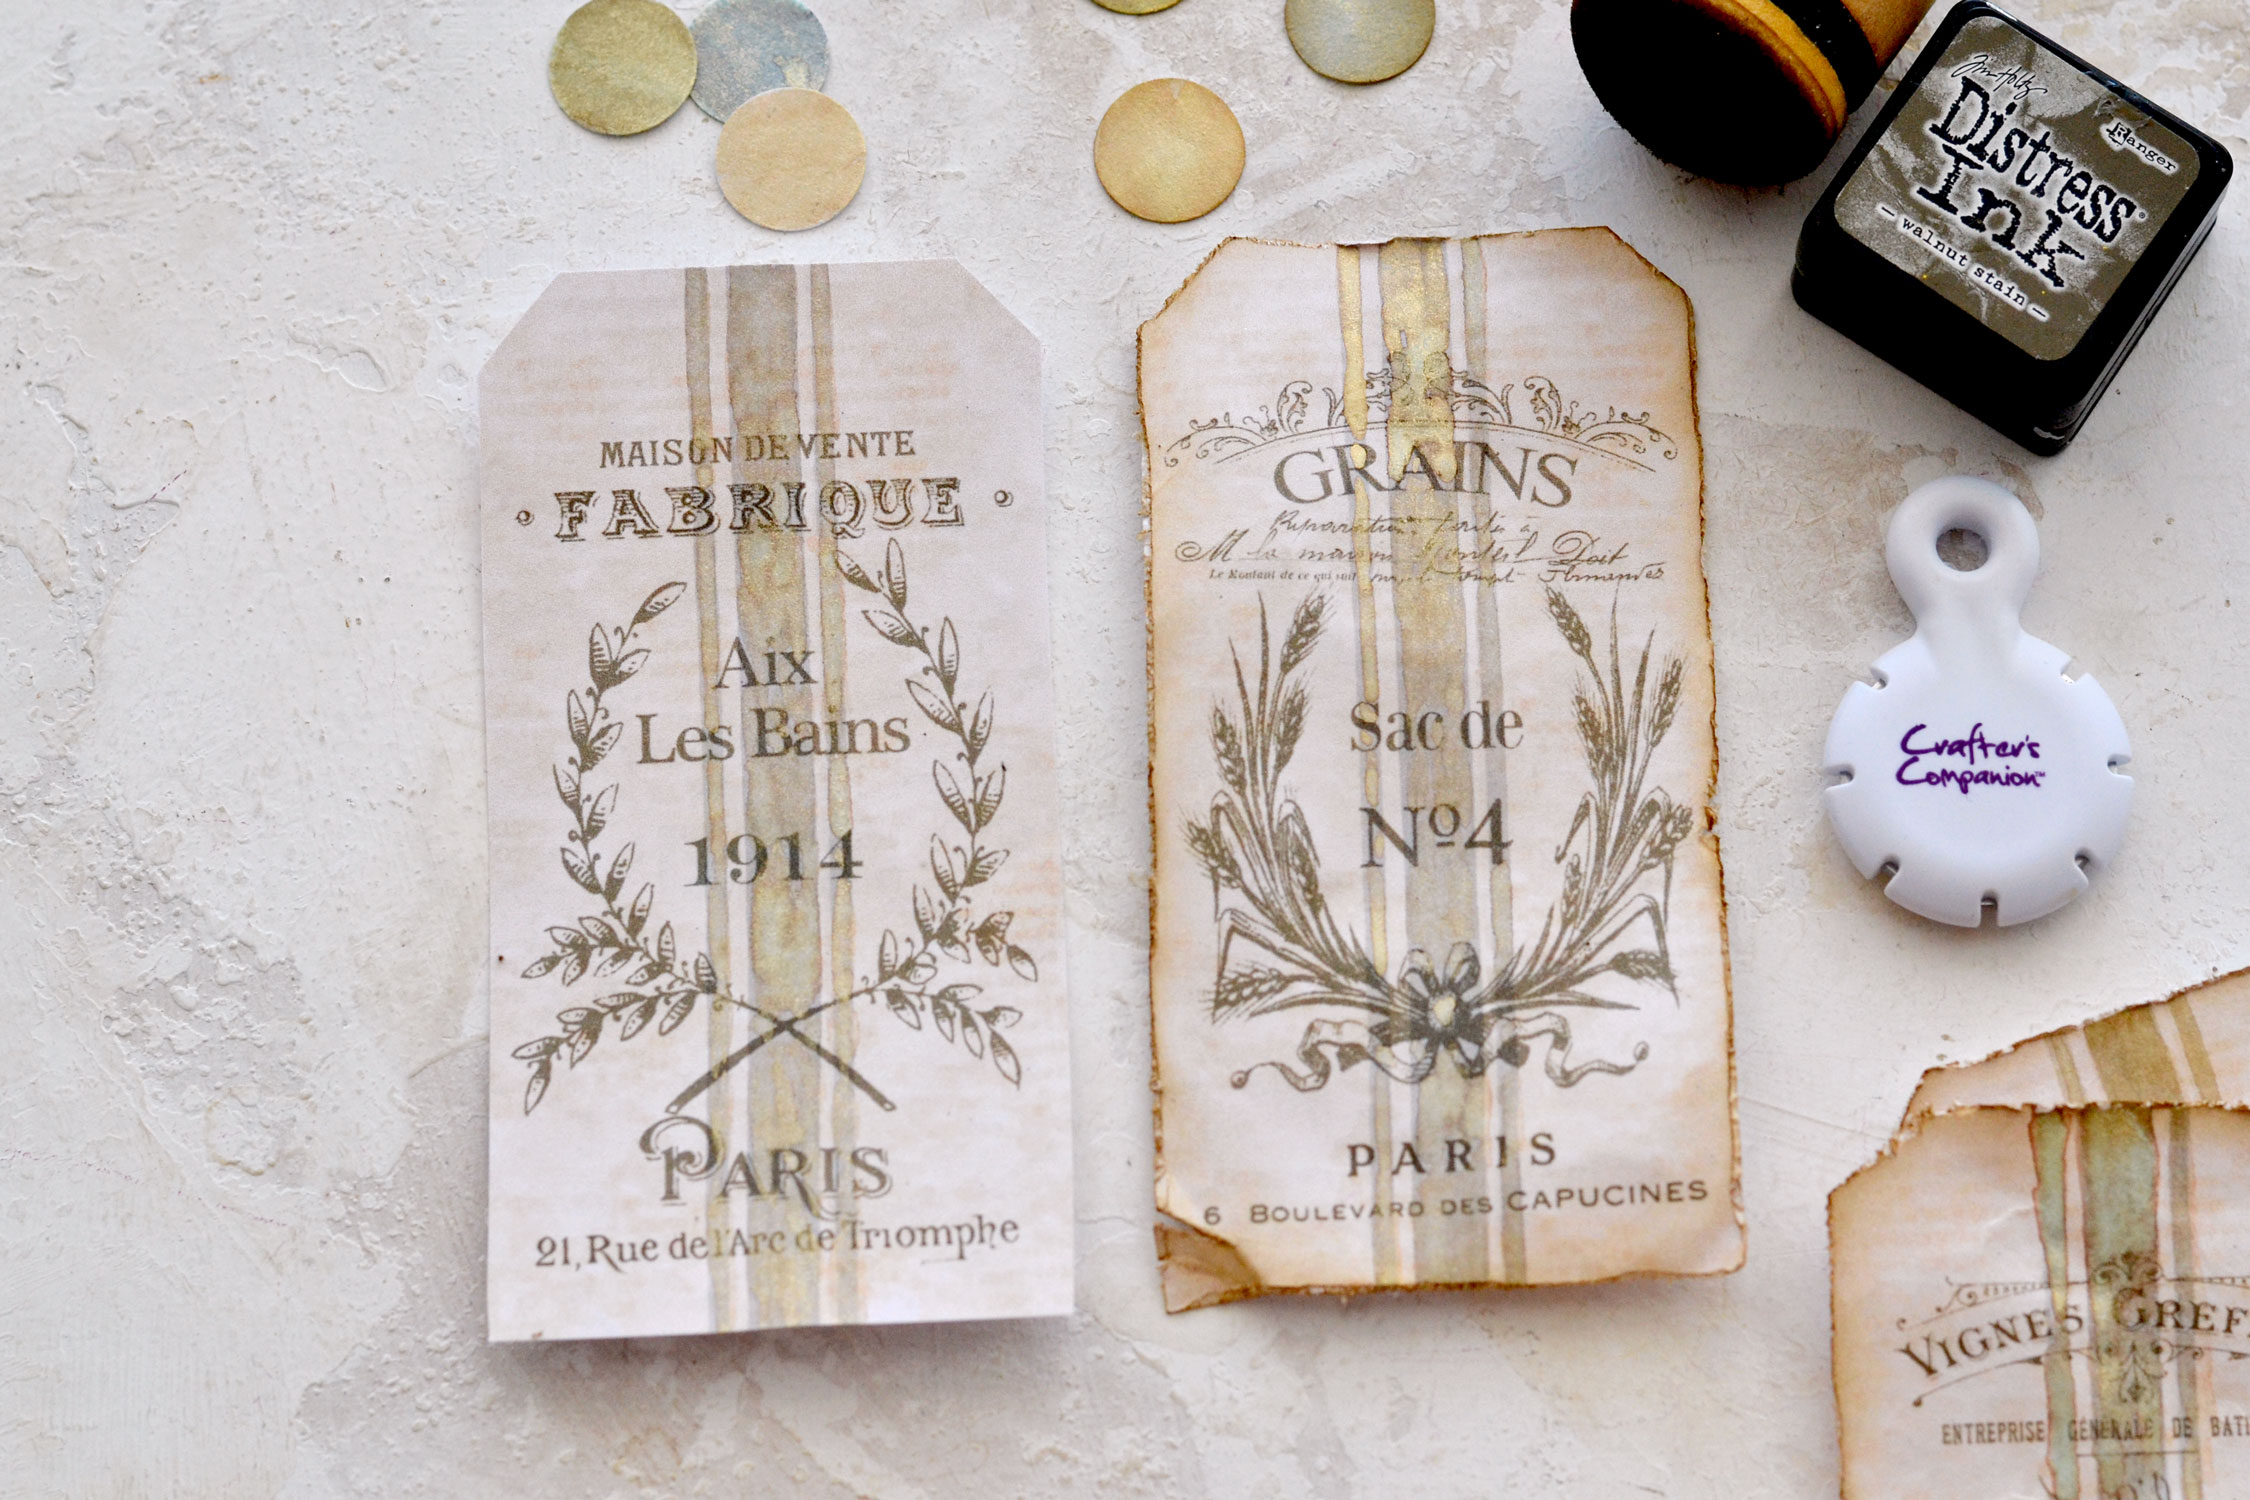
Moving on to my favorite part, painting the gold touches! I used my gorgeous Kuretake watercolors once again for gilding, loving these so much! I first lined my table with a scrap piece from a recycled plastic bag and then I placed the reinforcers and one of the tags on top. I used a toothpick to hold the reinfocers in place while painting them and then I moved on to the grain sack lines. You don’t have to use too much paint because we don’t want to completely cover our design. I tried to paint around the French ephemera writing and the images that were overlapping the lines as much as possible, but I didn’t care to make them too perfect.

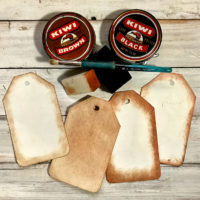
Moving on to my next favorite part, distressing the paper! If you love vintage projects as much as I do, this might be one of your favorite parts, too! I’m always amazed by how a little bit of distress ink can add so much character to the paper. Distressing the paper for my projects … it just feels right. I usually like to crumple the paper, fold it and unfold it here and there, crinkle the edges and make some tears in different places. You know, the usuals.
I did all that here, but I’ve decided to also add a paper distress tool to the distressing process. I know this one is quite controversial because most vintage-loving people prefer to do the distressing by hand. But I thought it would be a great addition to this project and give our tags that almost frayed appearance that grain sack fabric usually has around the edges.
I just love how they turned out!
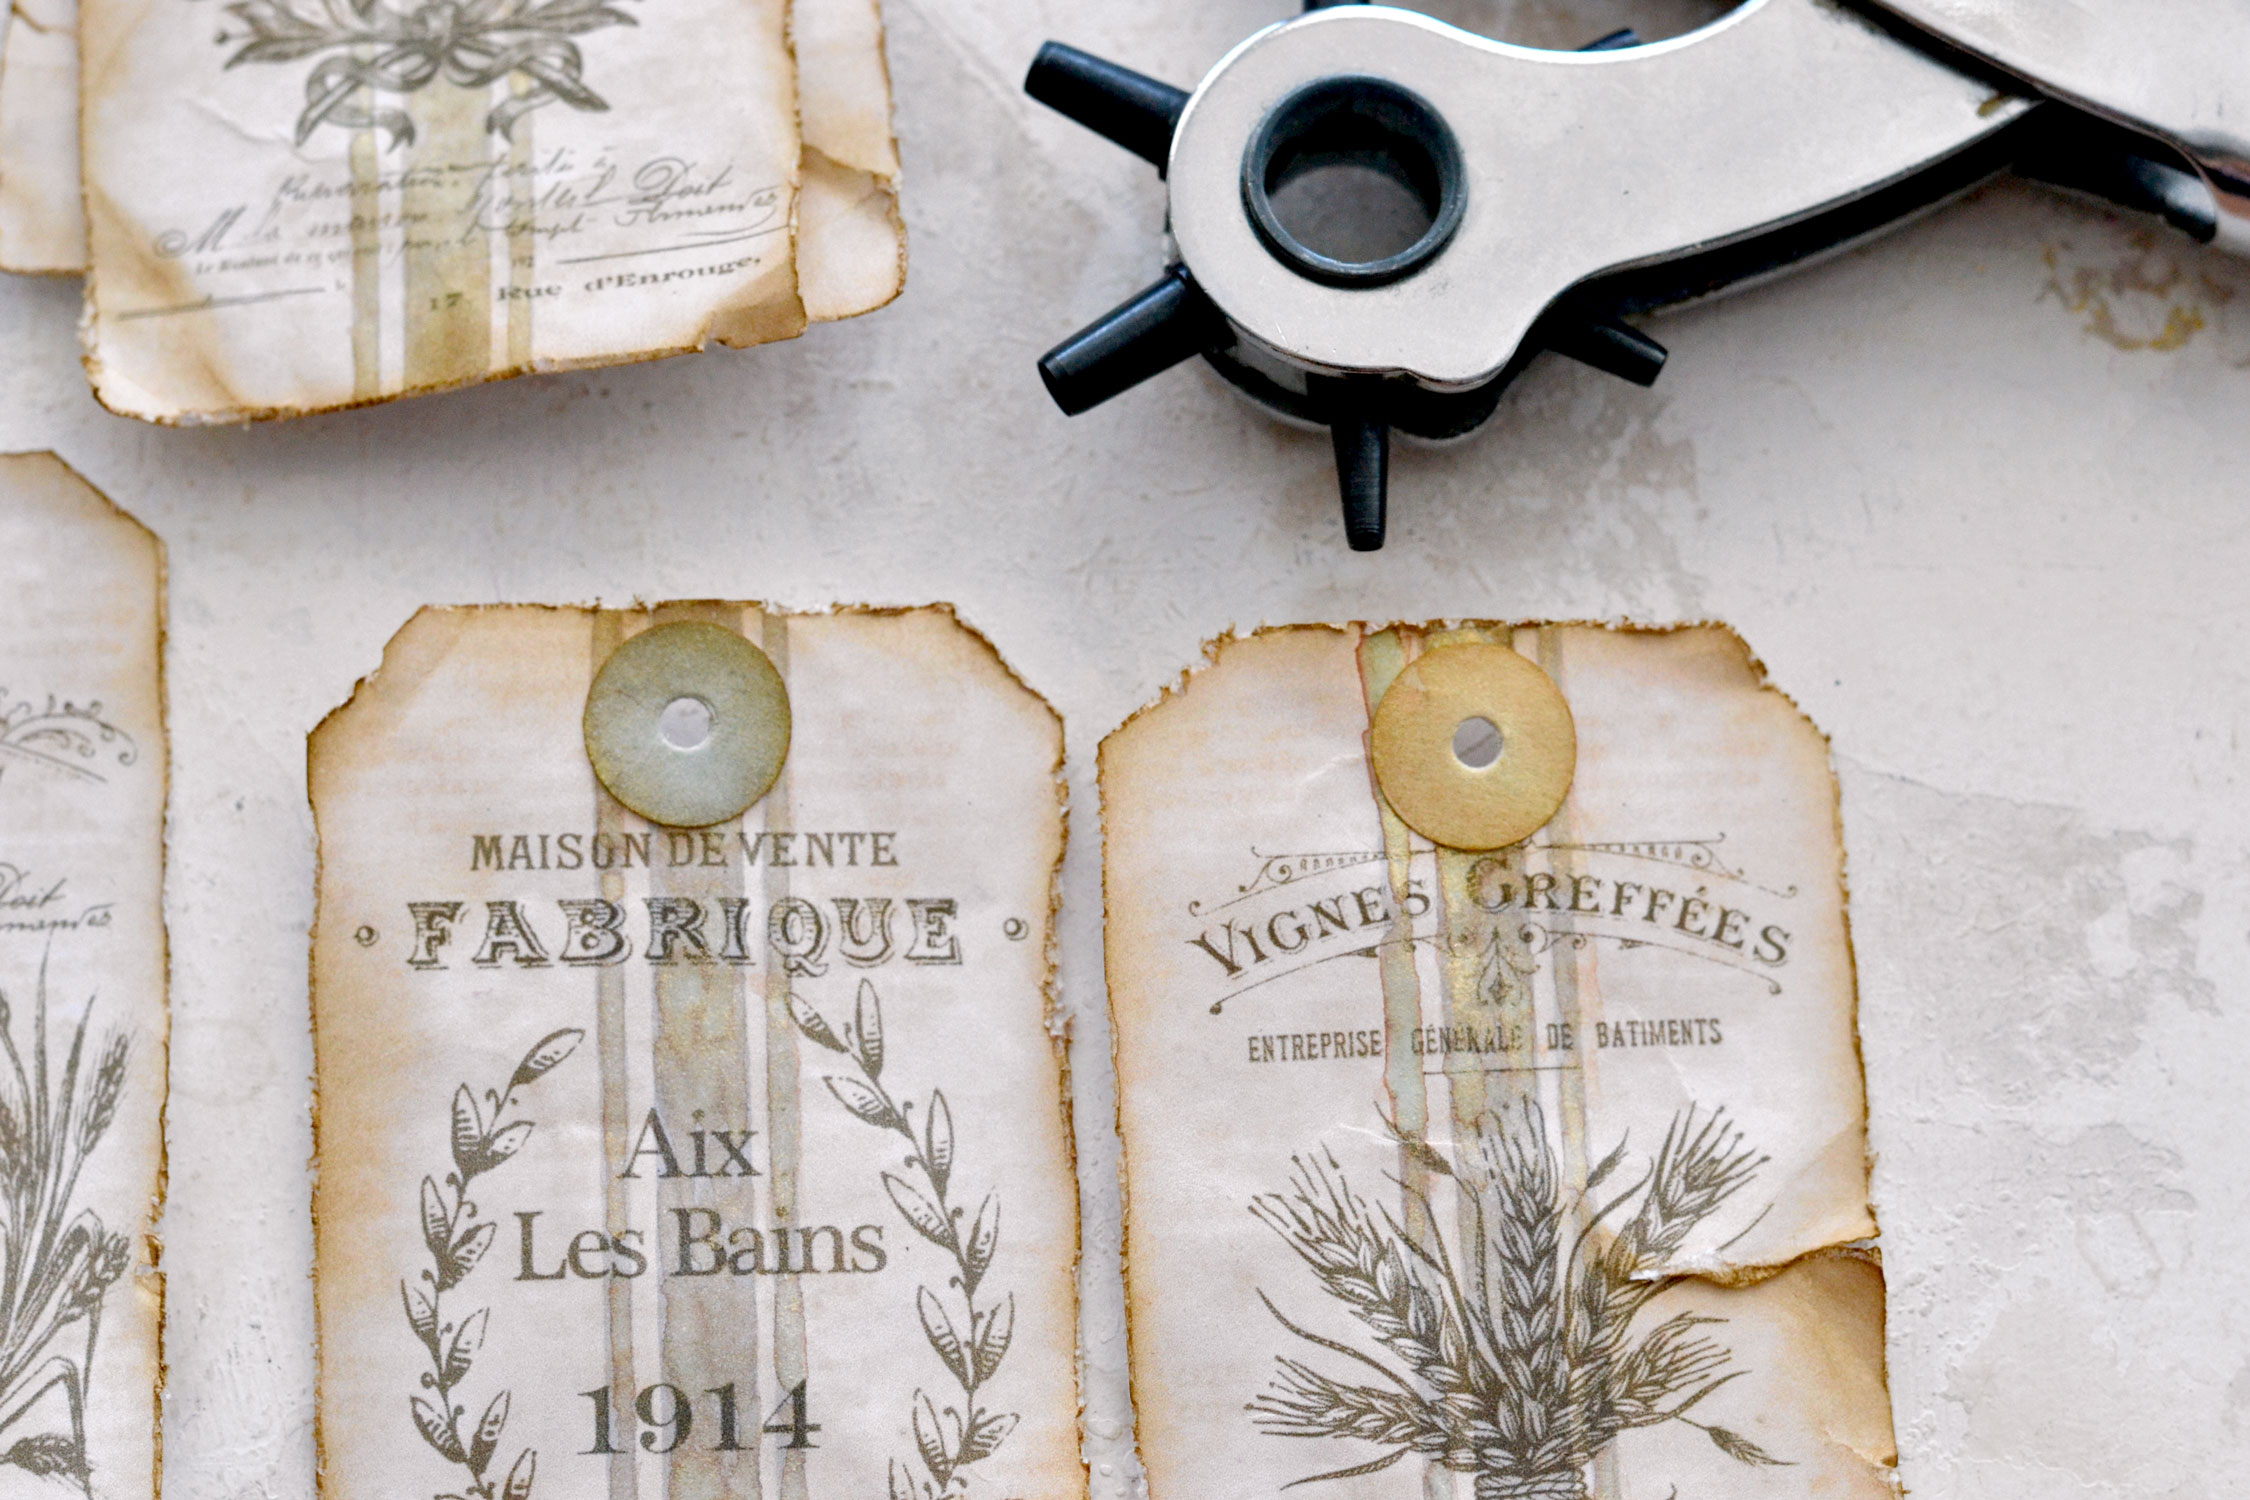
After distressing the paper, I moved on to adding our perfectly round reinforcers. Use a tiny bit of glue to adhere them to the paper and let them dry before moving on.
Use a paper punch to make a hole in the middle. Mine is actually for leather, but it works on paper too!
And finally, add the ribbons! I used some crinkle ribbons that have a beautiful French linen color, which I thought were simply perfect for this project.
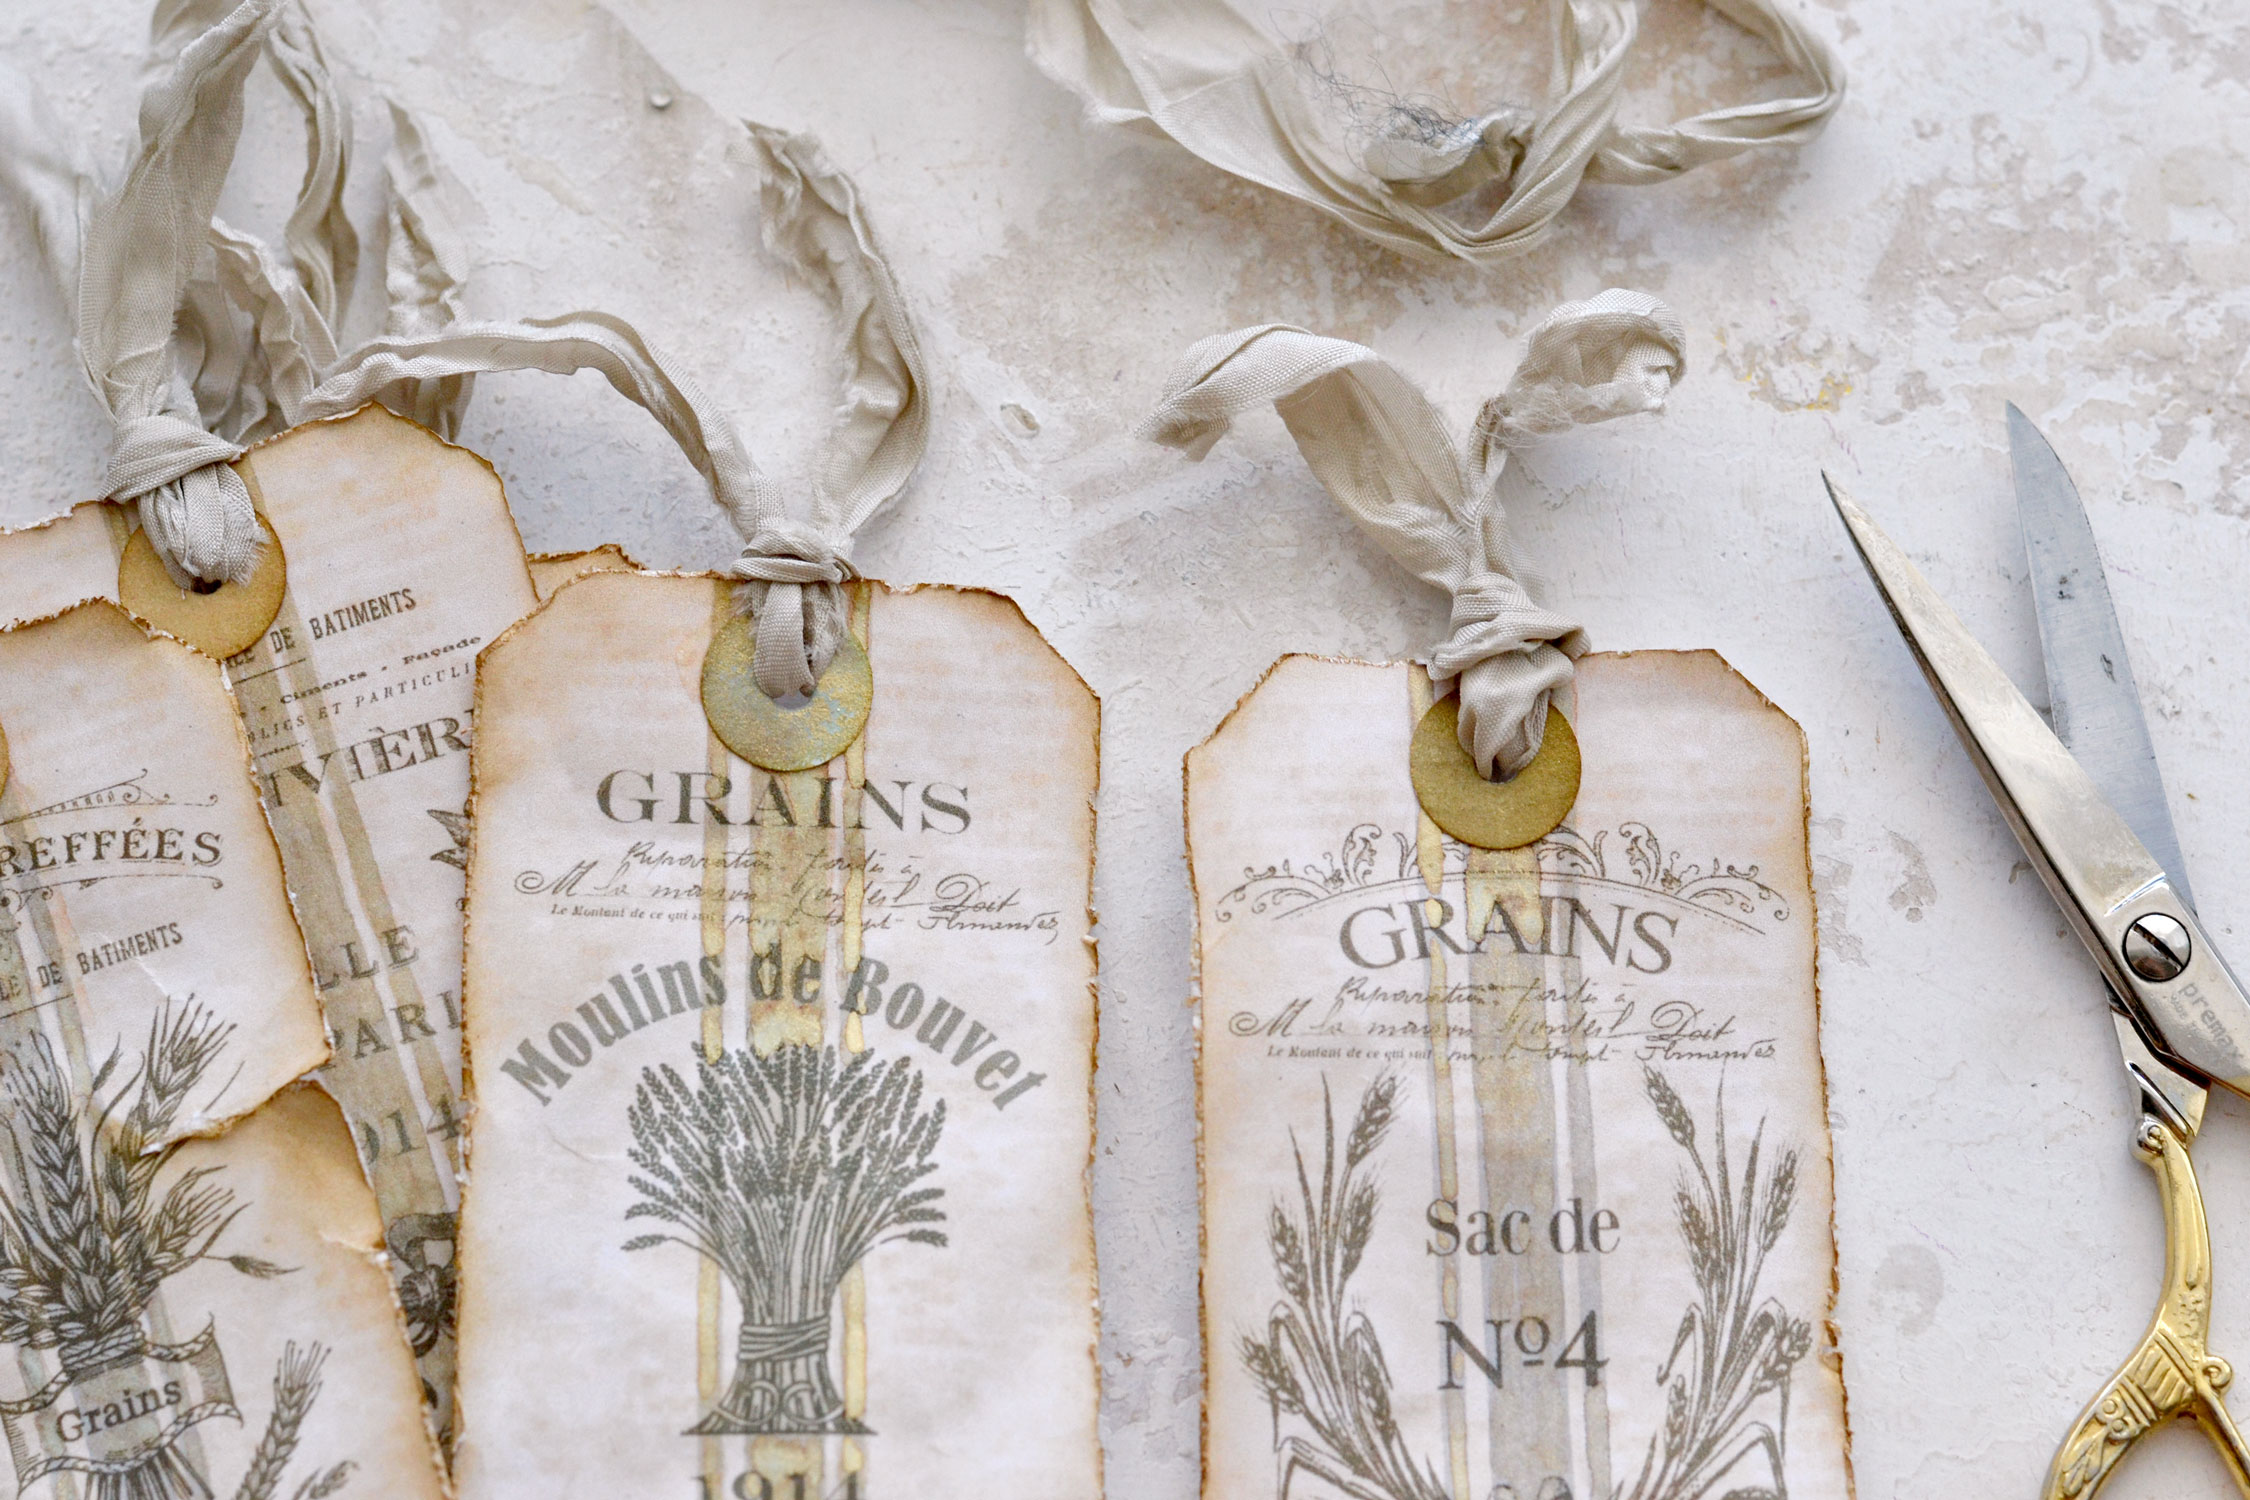
You can now admire your super chic French grain sack tags, all beautifully distressed and gilded!
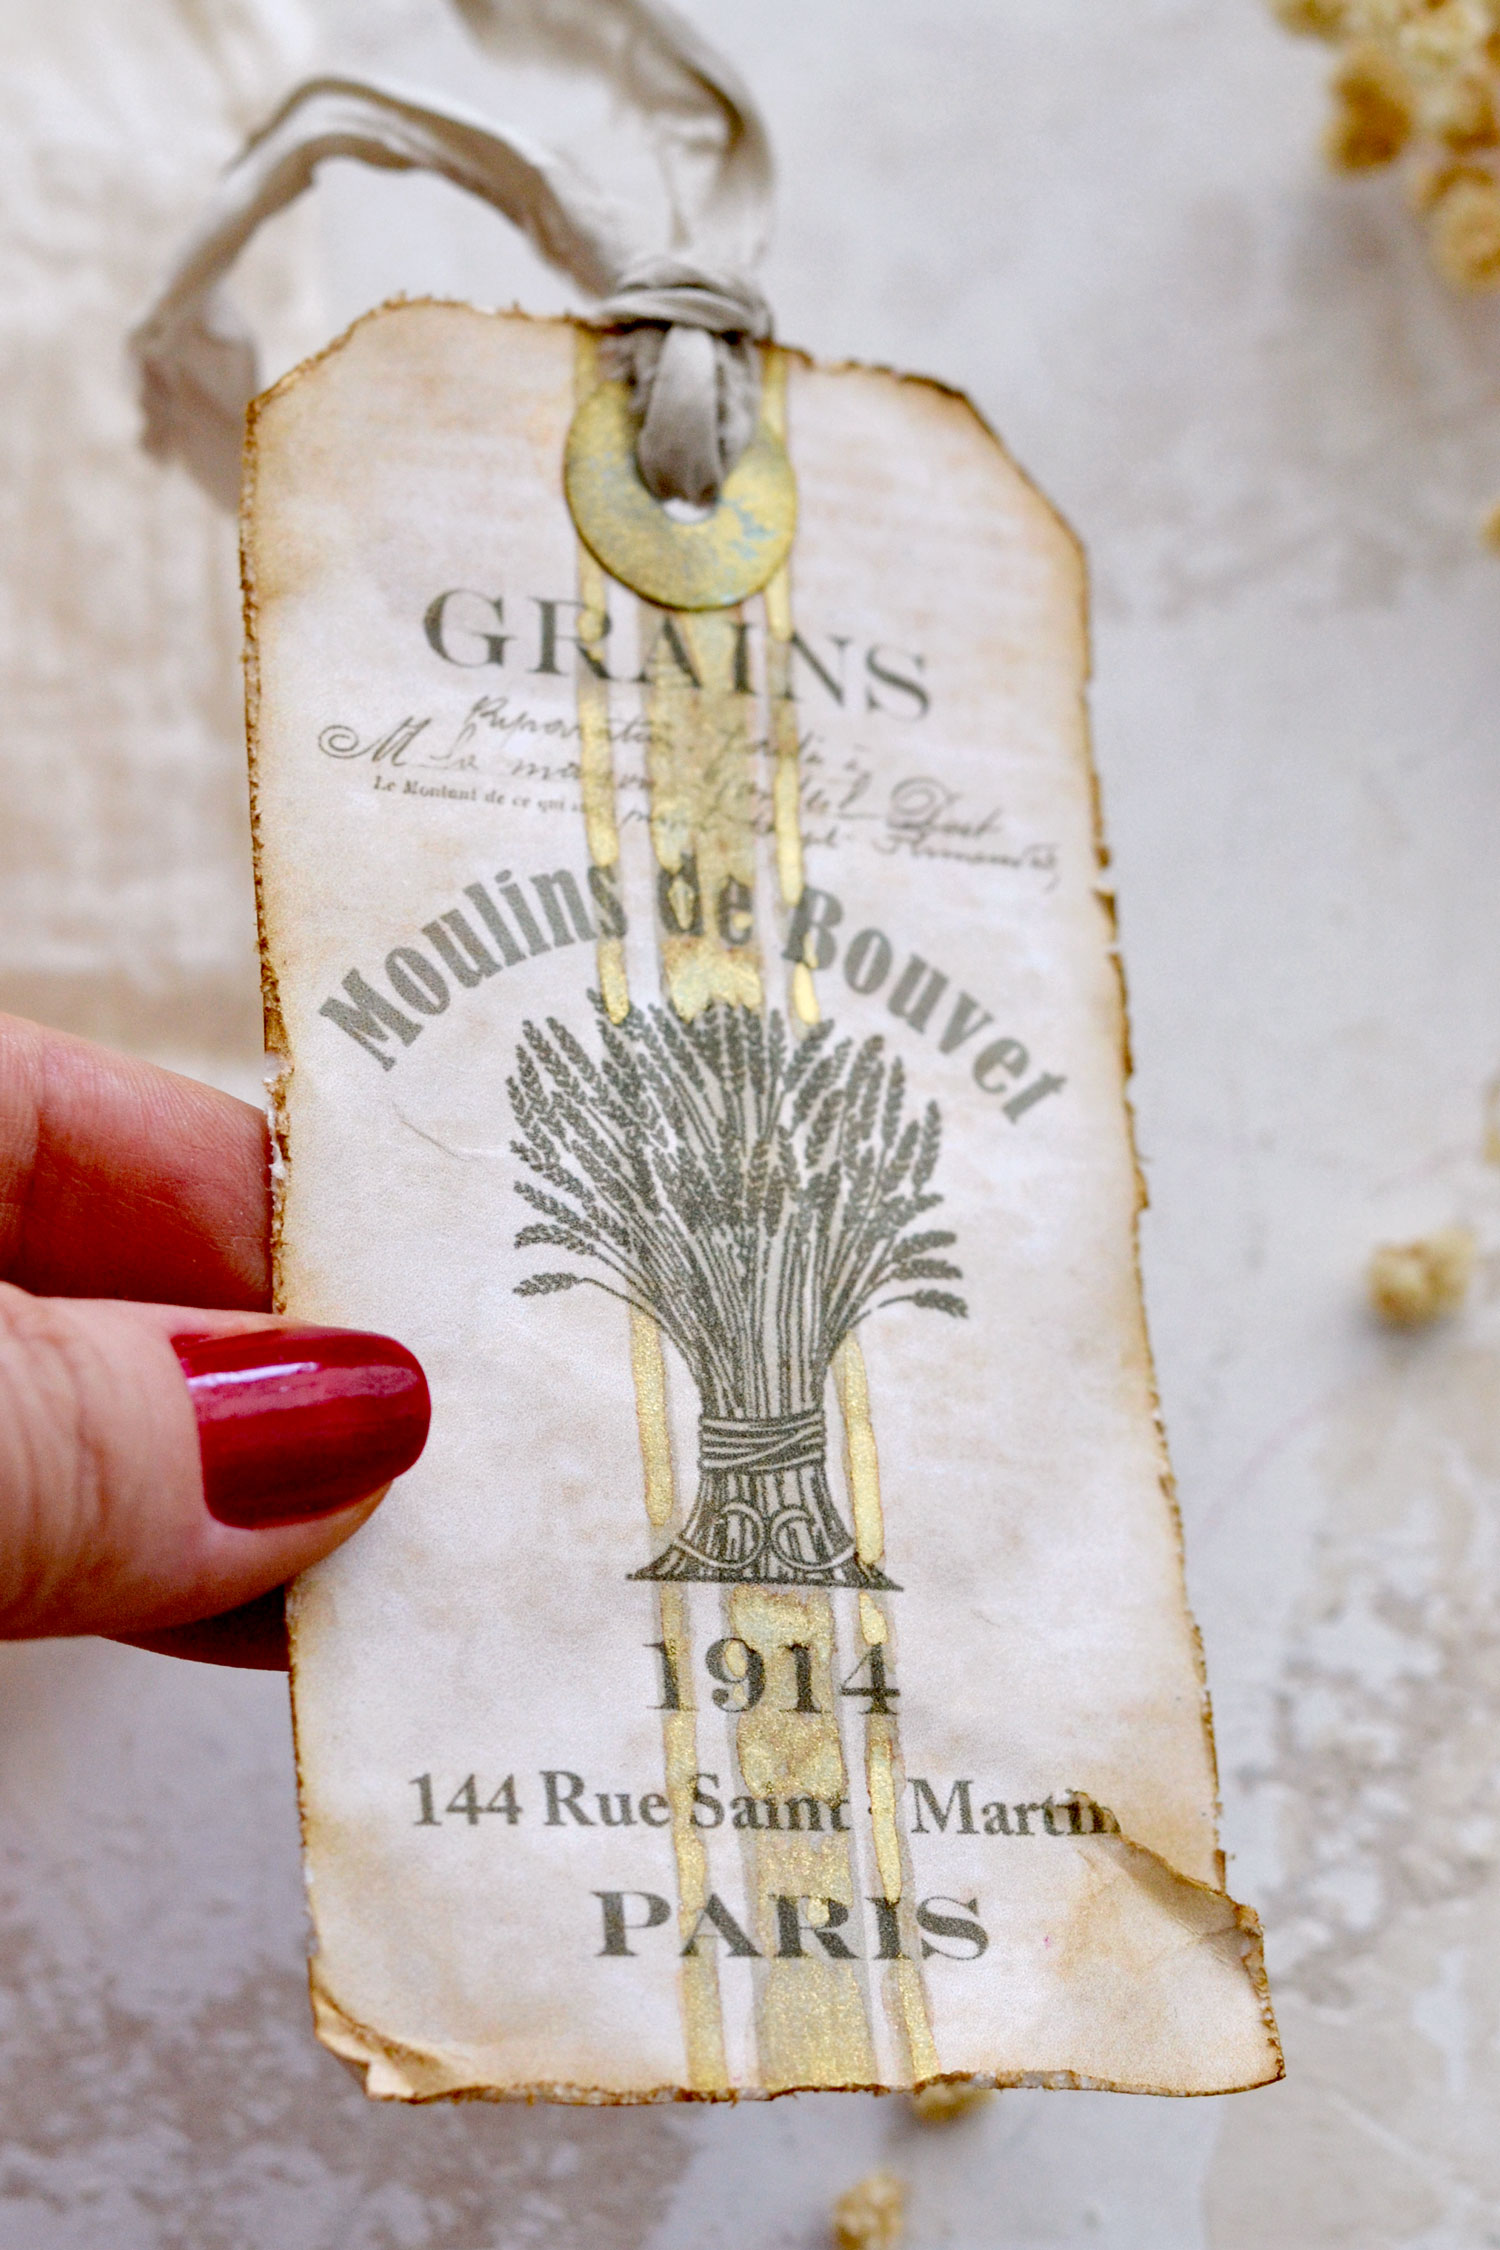
I initially wanted to keep the tags as they are, but then I thought, why not embellish them with a touch of gold to make them even more intriguing? I think intriguing is the right word here, because you don’t necessarily think of gold when it comes to grain sack themes in general, but we can get as creative as we want with our projects, right? So why not take the splurge and gild the grain sack lines here?
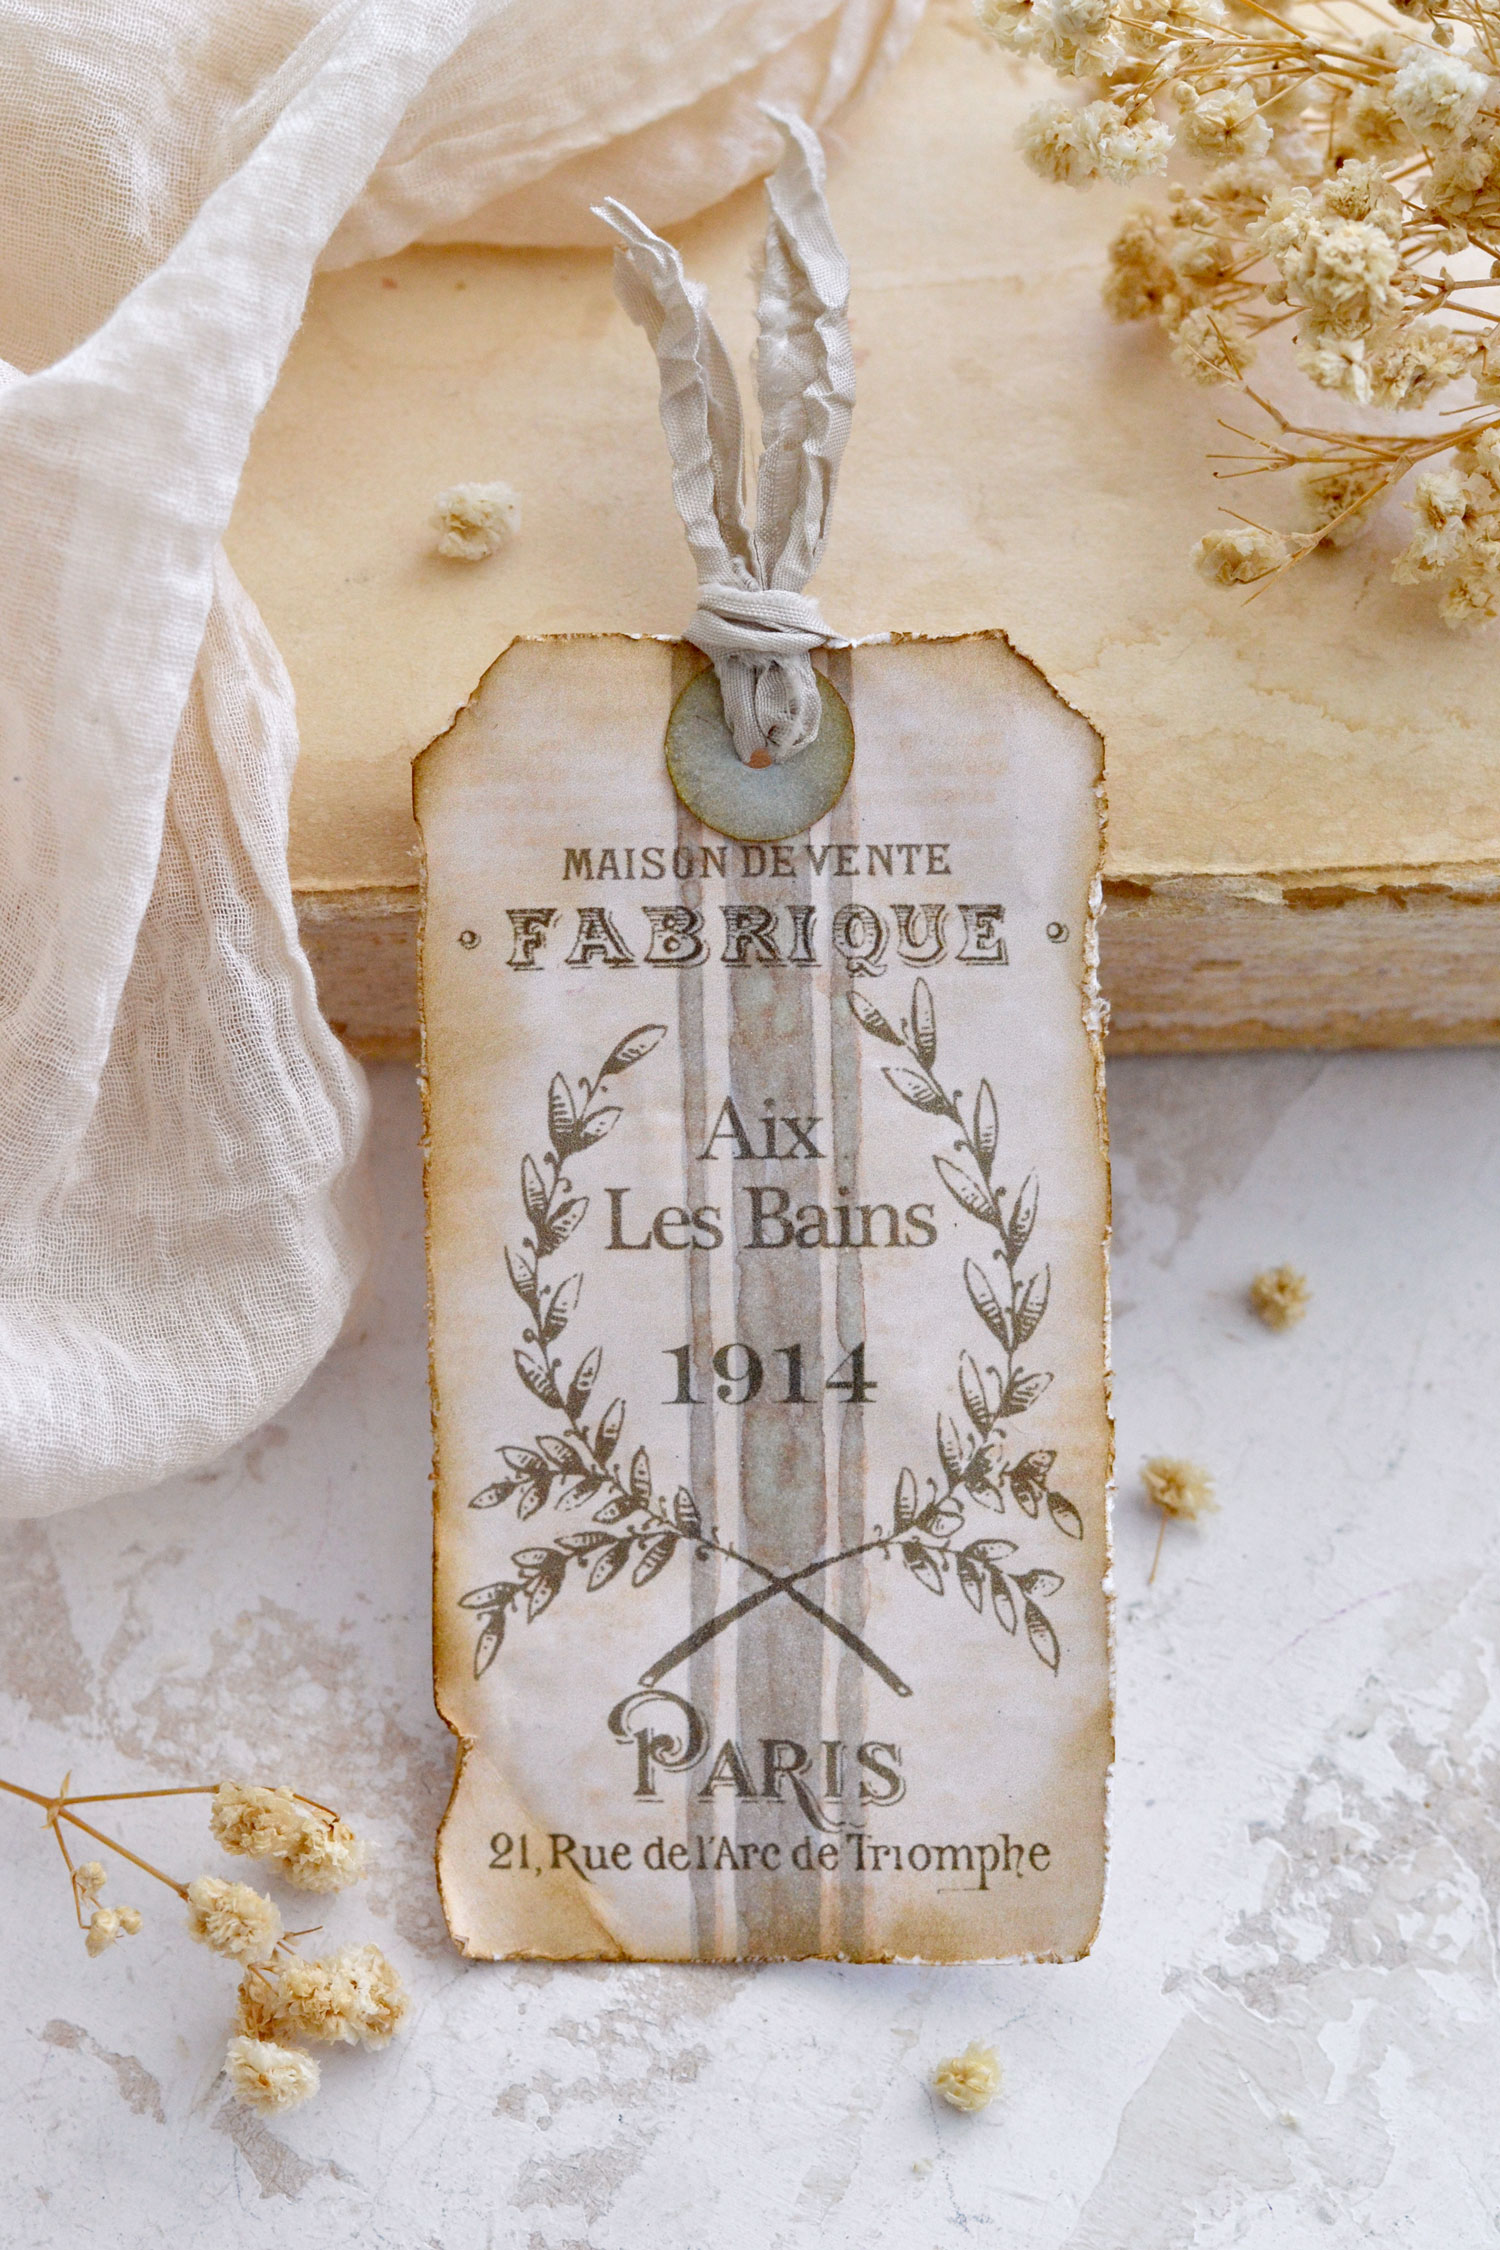
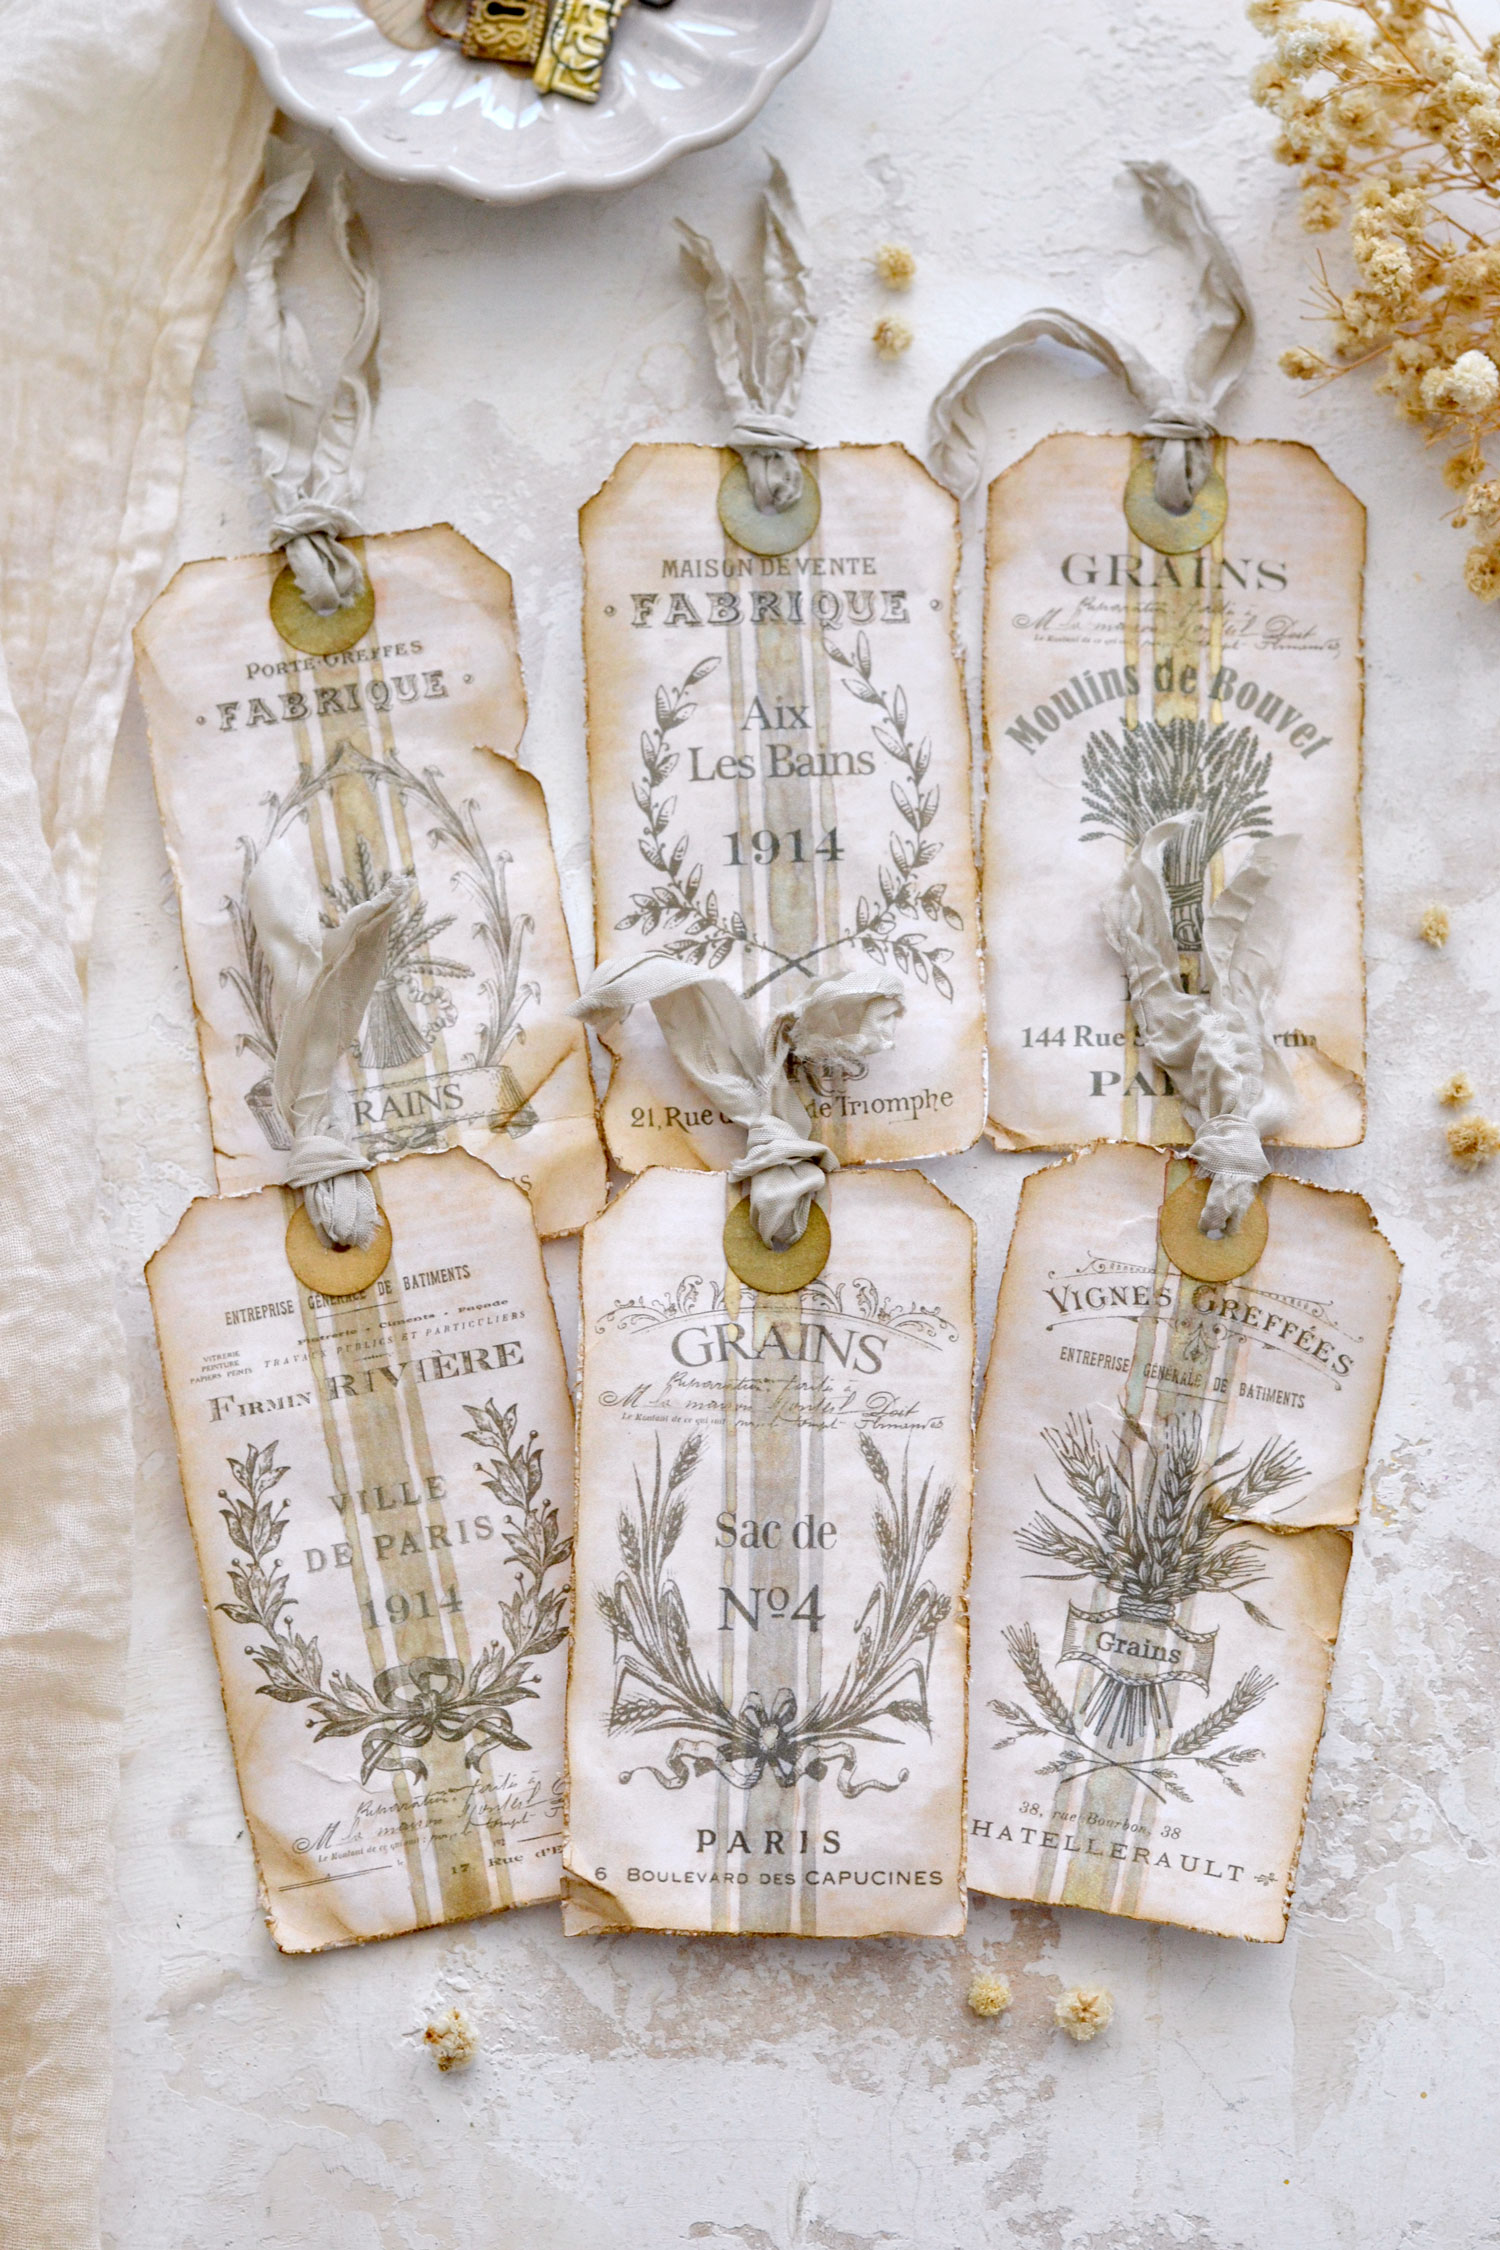
I love how unique each piece turned out! These would make the perfect addition to your other French-inspired projects, or why not, even your French-inspired home decor!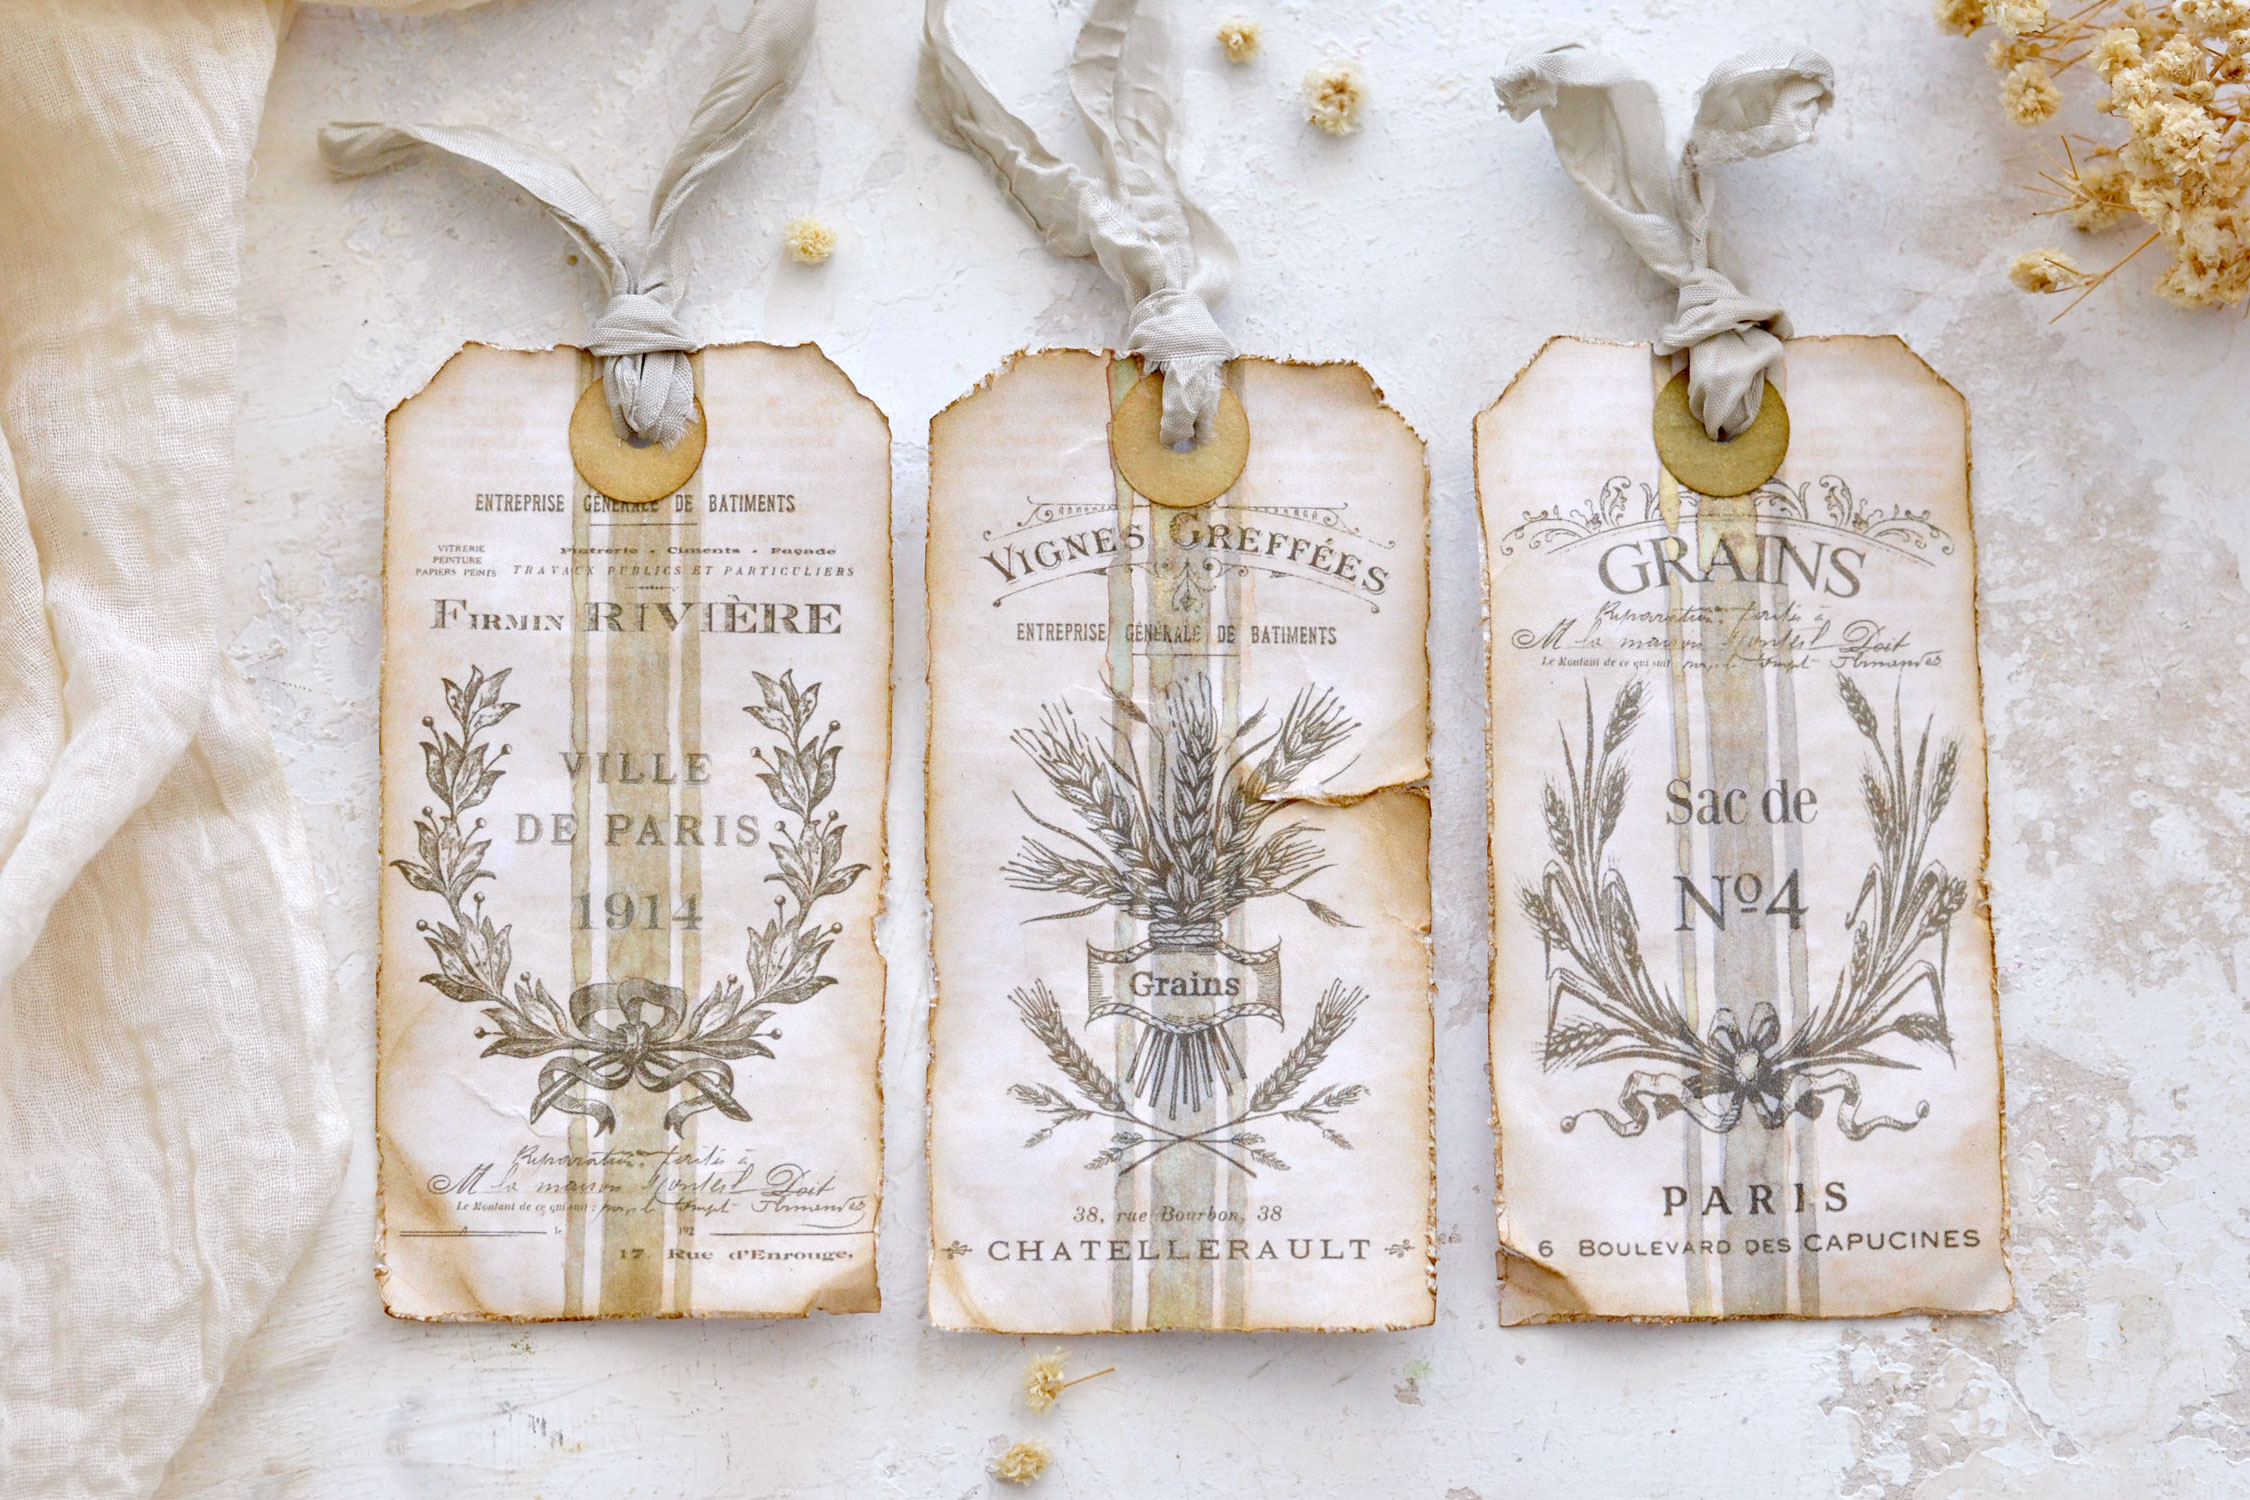
If you prefer to skip the gold watercolors but still want to give the grain sack lines a lovely watercolor-y feel, you can! Use green and blue watercolors, or, why not, even other colors! The initial lines are quite light and can be easily painted over and taken in a new direction if you prefer. Just don’t add too much watercolor paint if you want to keep their neutral vibe, just a tiny bit and some water will do the trick.
You could also use coloring pencils if you want to avoid the watercoloring part altogether.
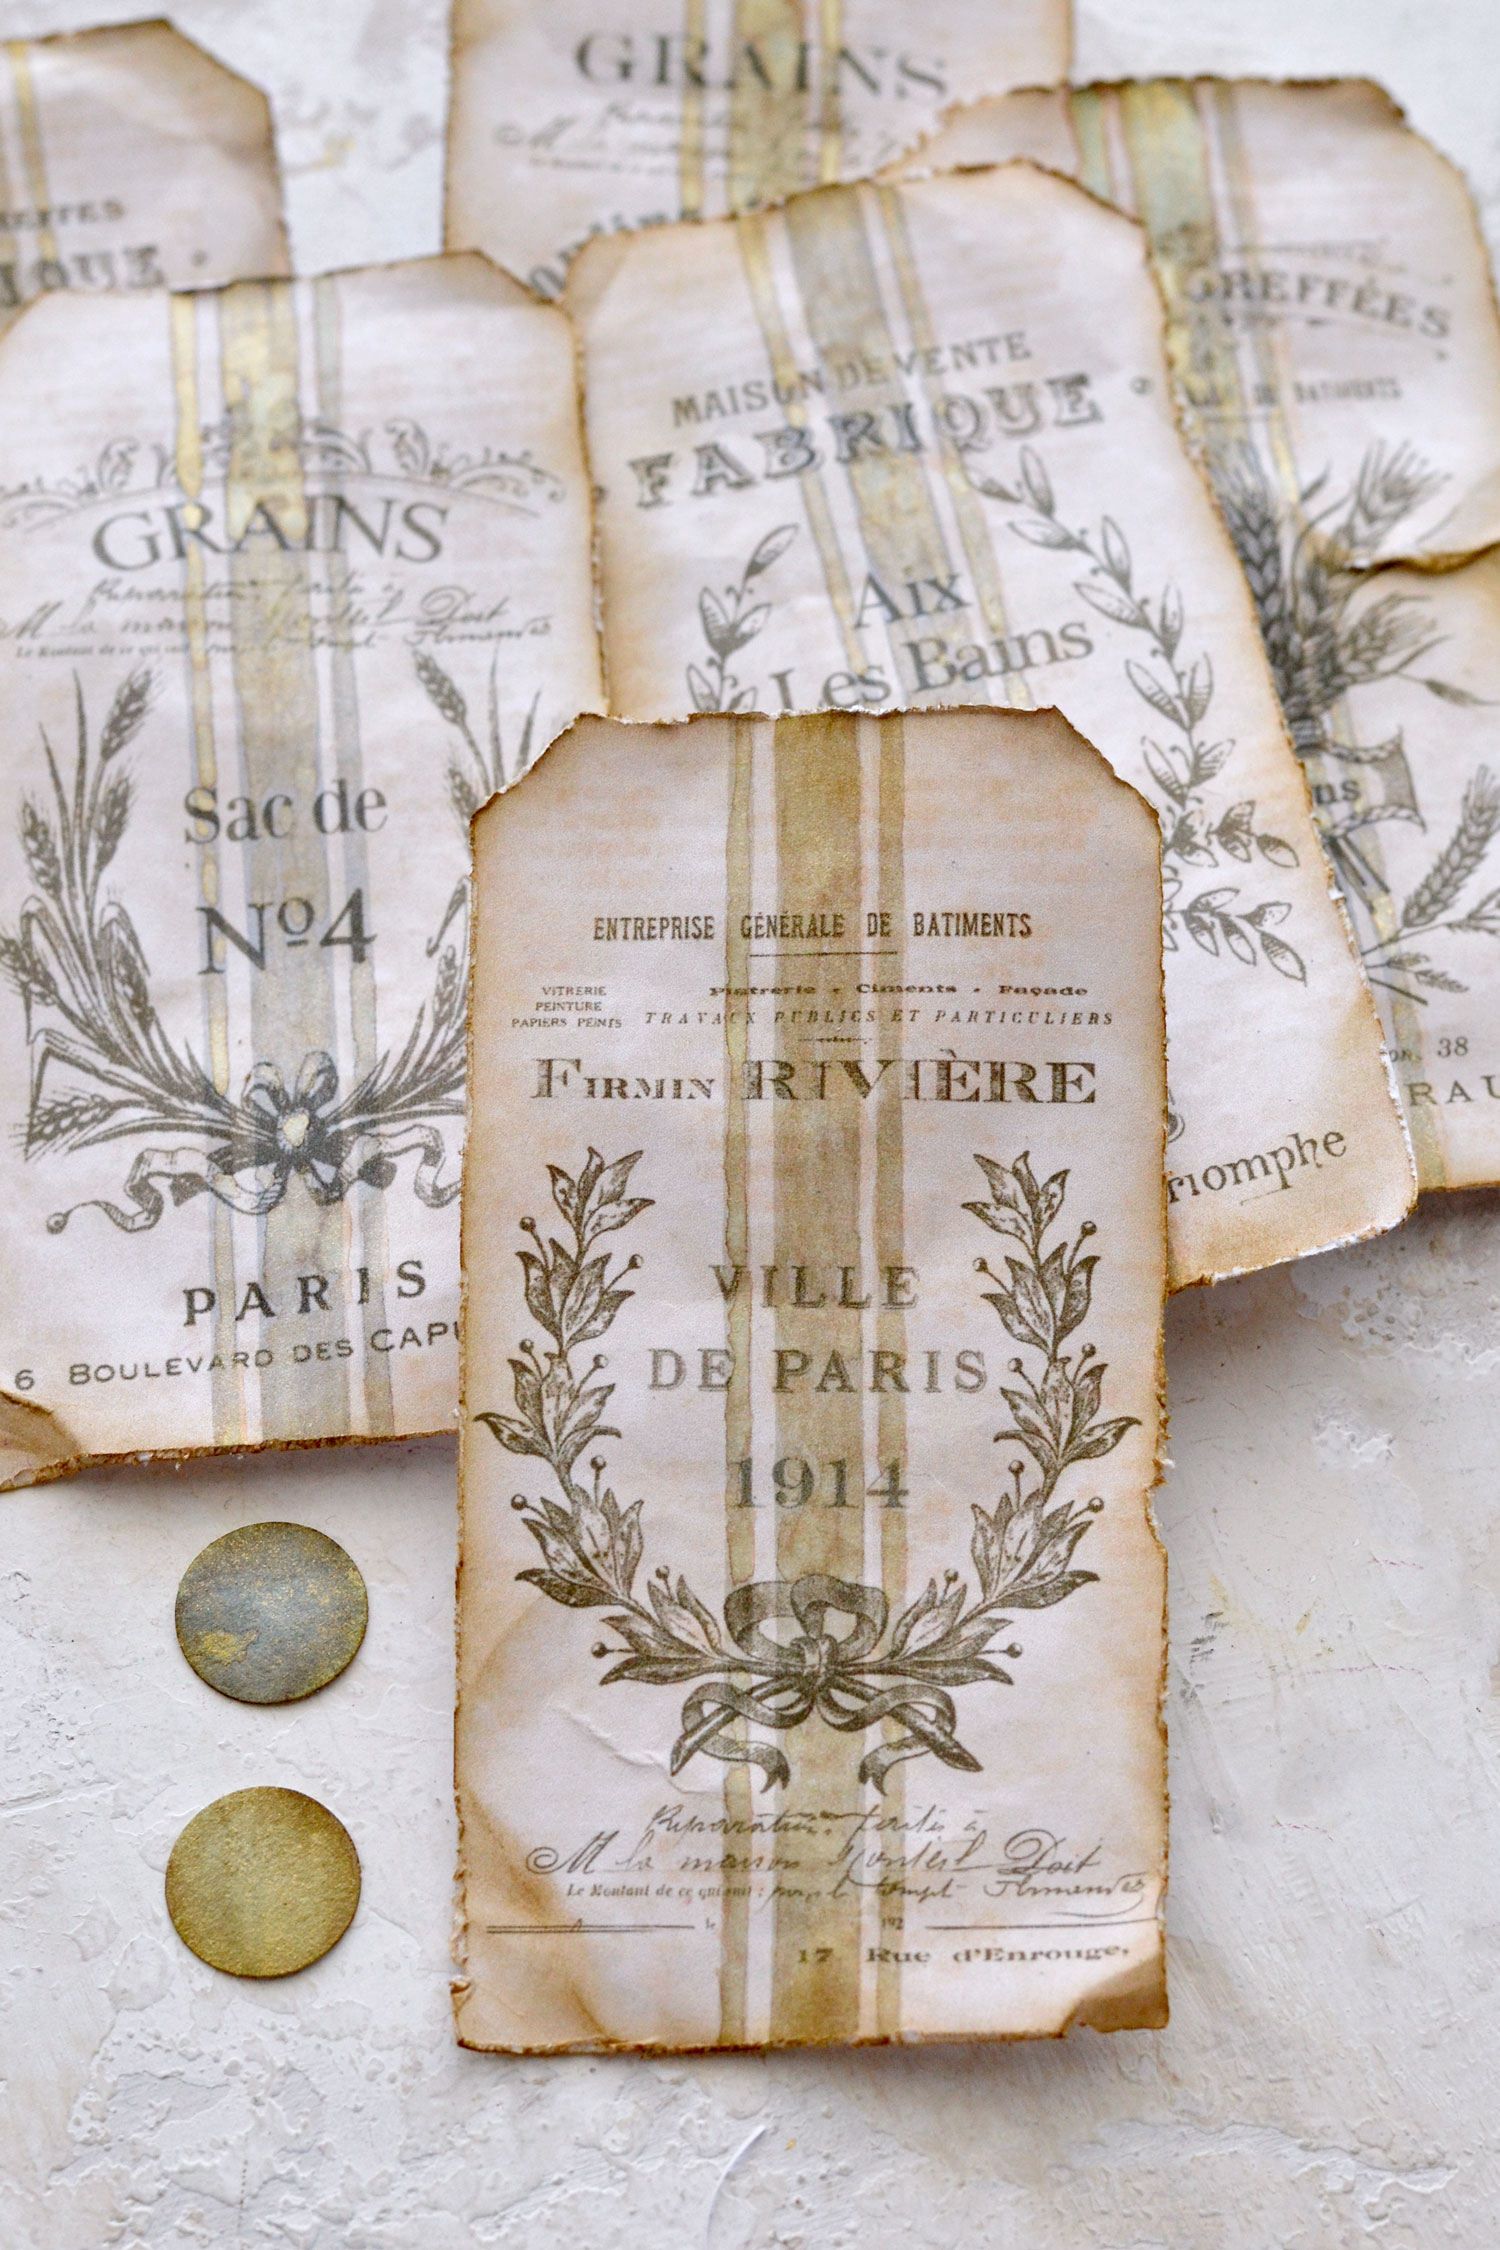
If you choose to add some gold, you will notice that the thing with gold watercolors, if used quite diluted as I did, is that you cannot really tell it’s there if looked at from the front.
But that changes completely when looked at from the side or in a different lighting or angle! This adds so much character to any paper projects and turns them into truly unique pieces! I guess this is just like in life, when you try to look at things from a different angle and it completely changes your perspective!
These Frenchified beauties would look amazing in your French-inspired journals and will add so much character to any of your pages. 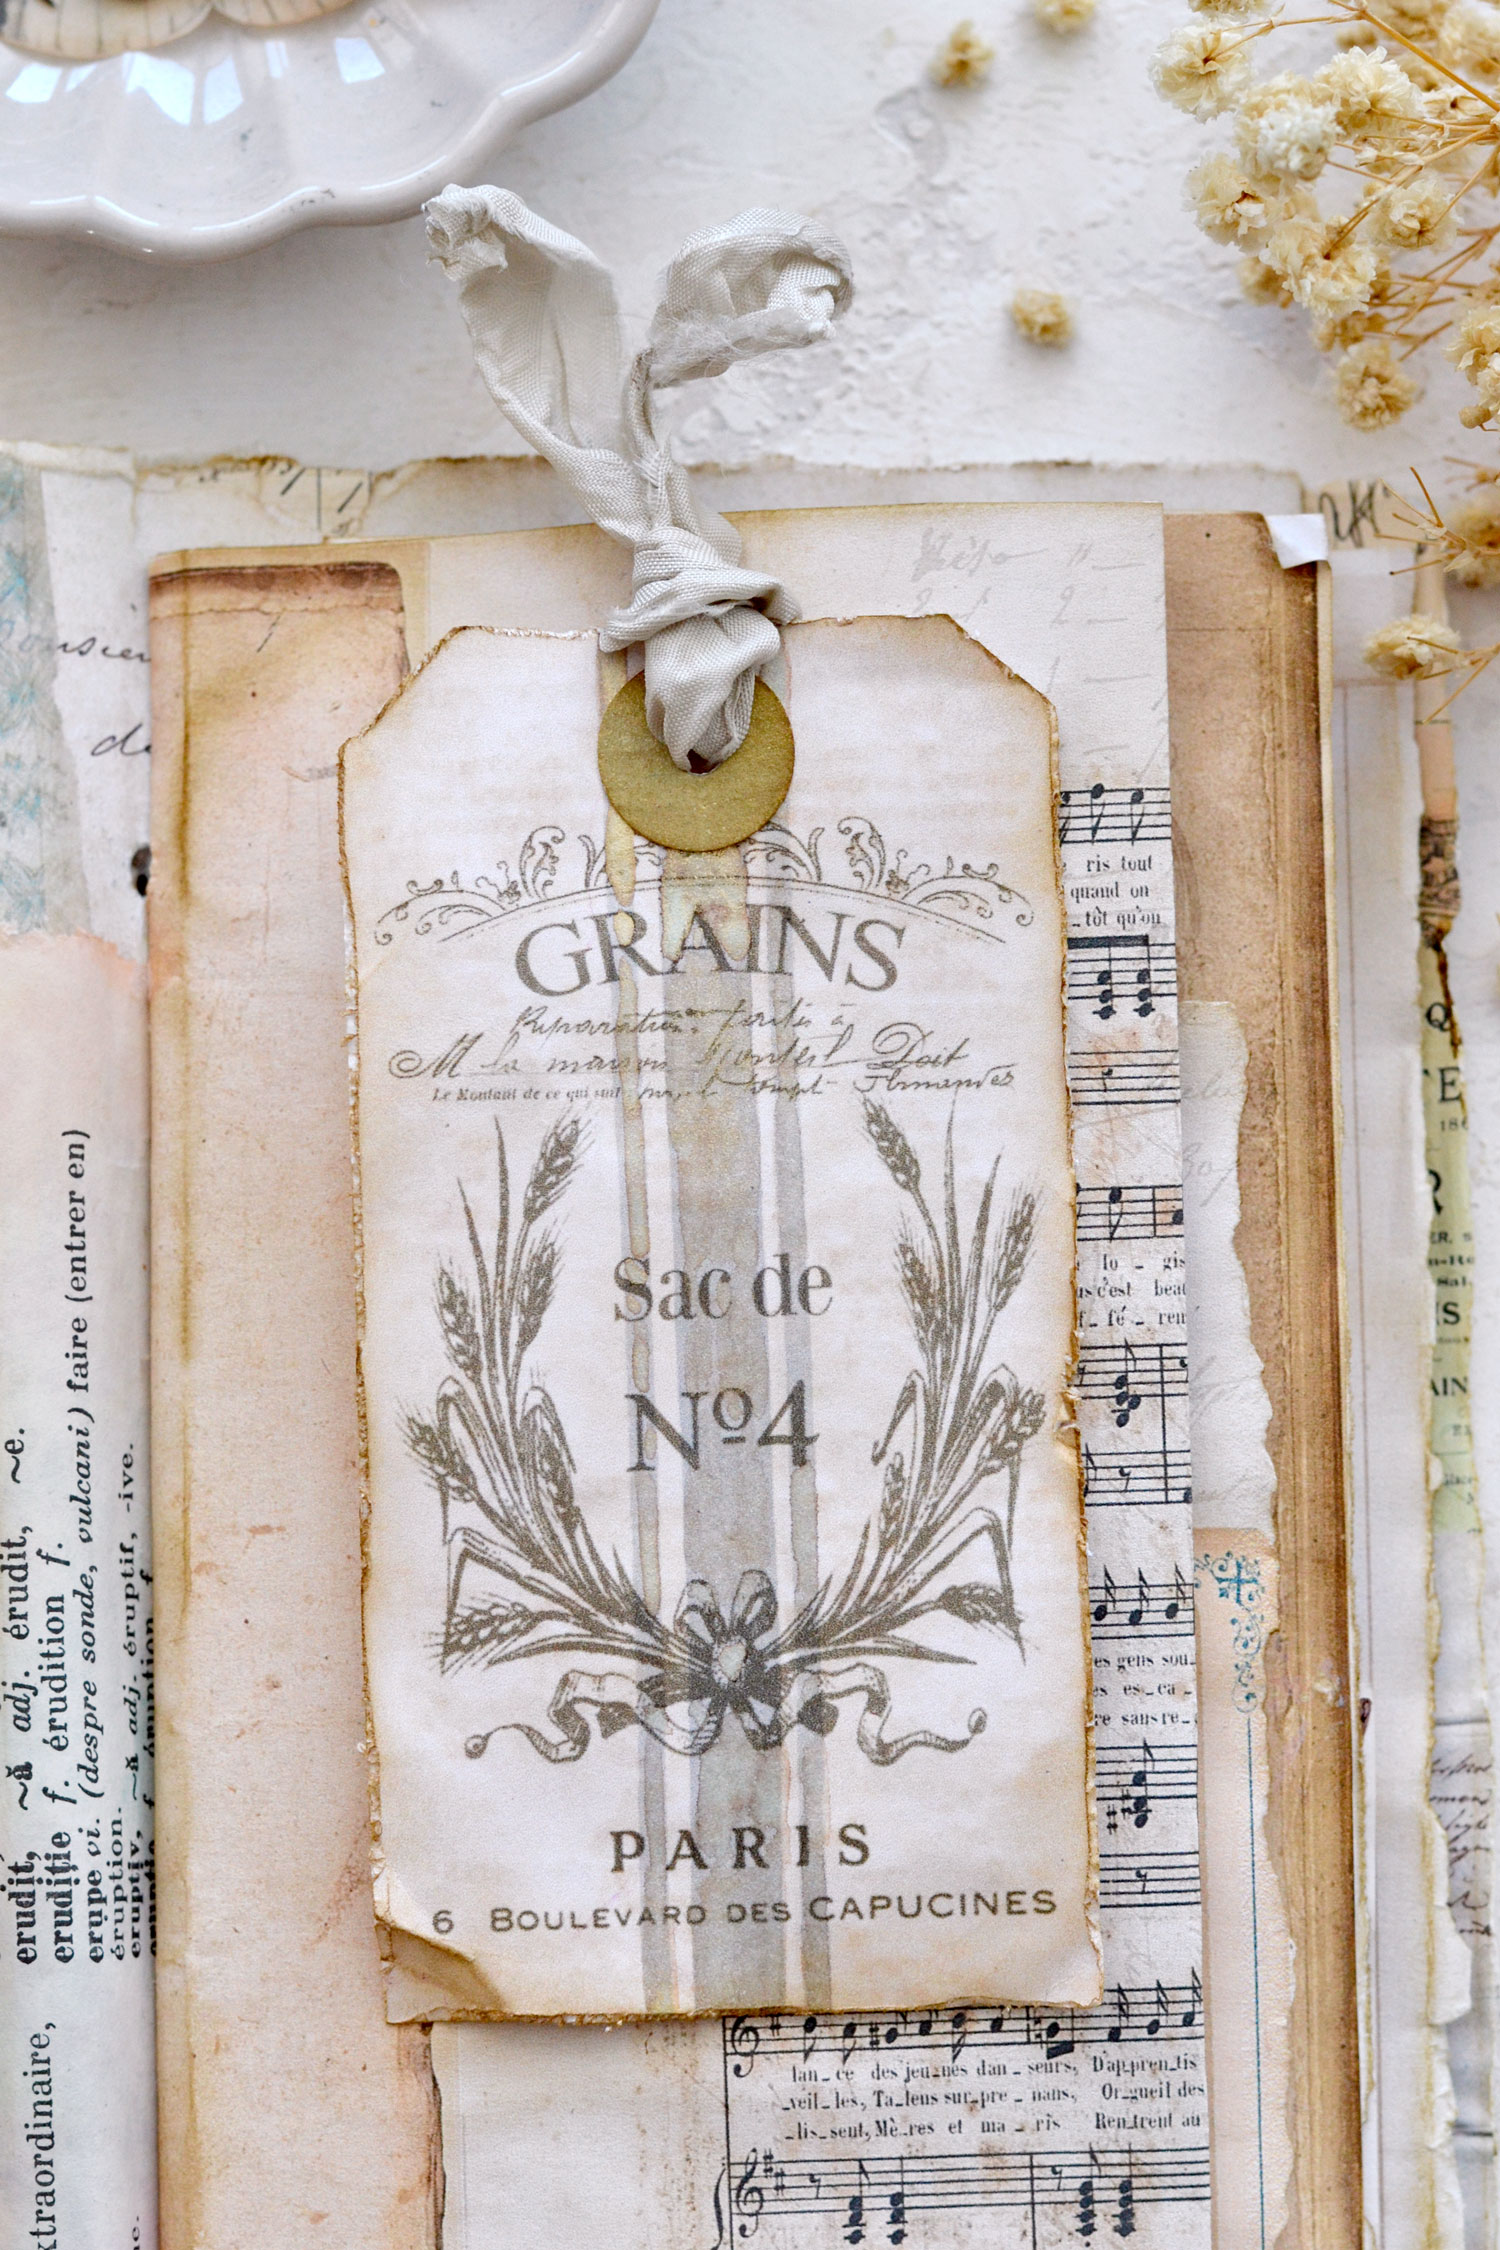
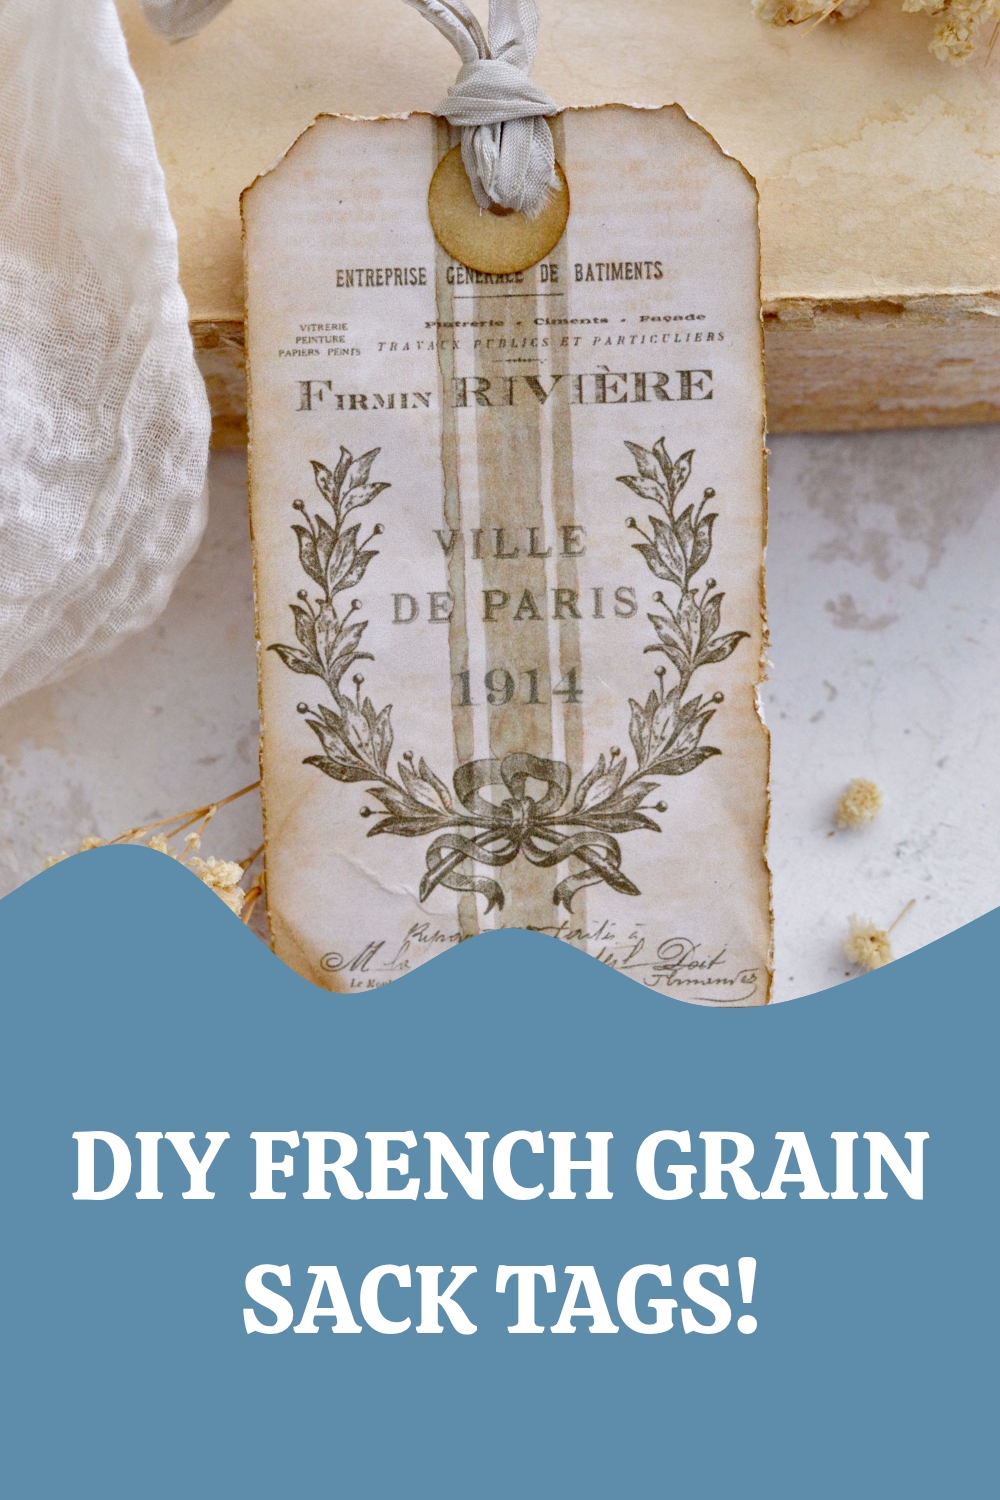
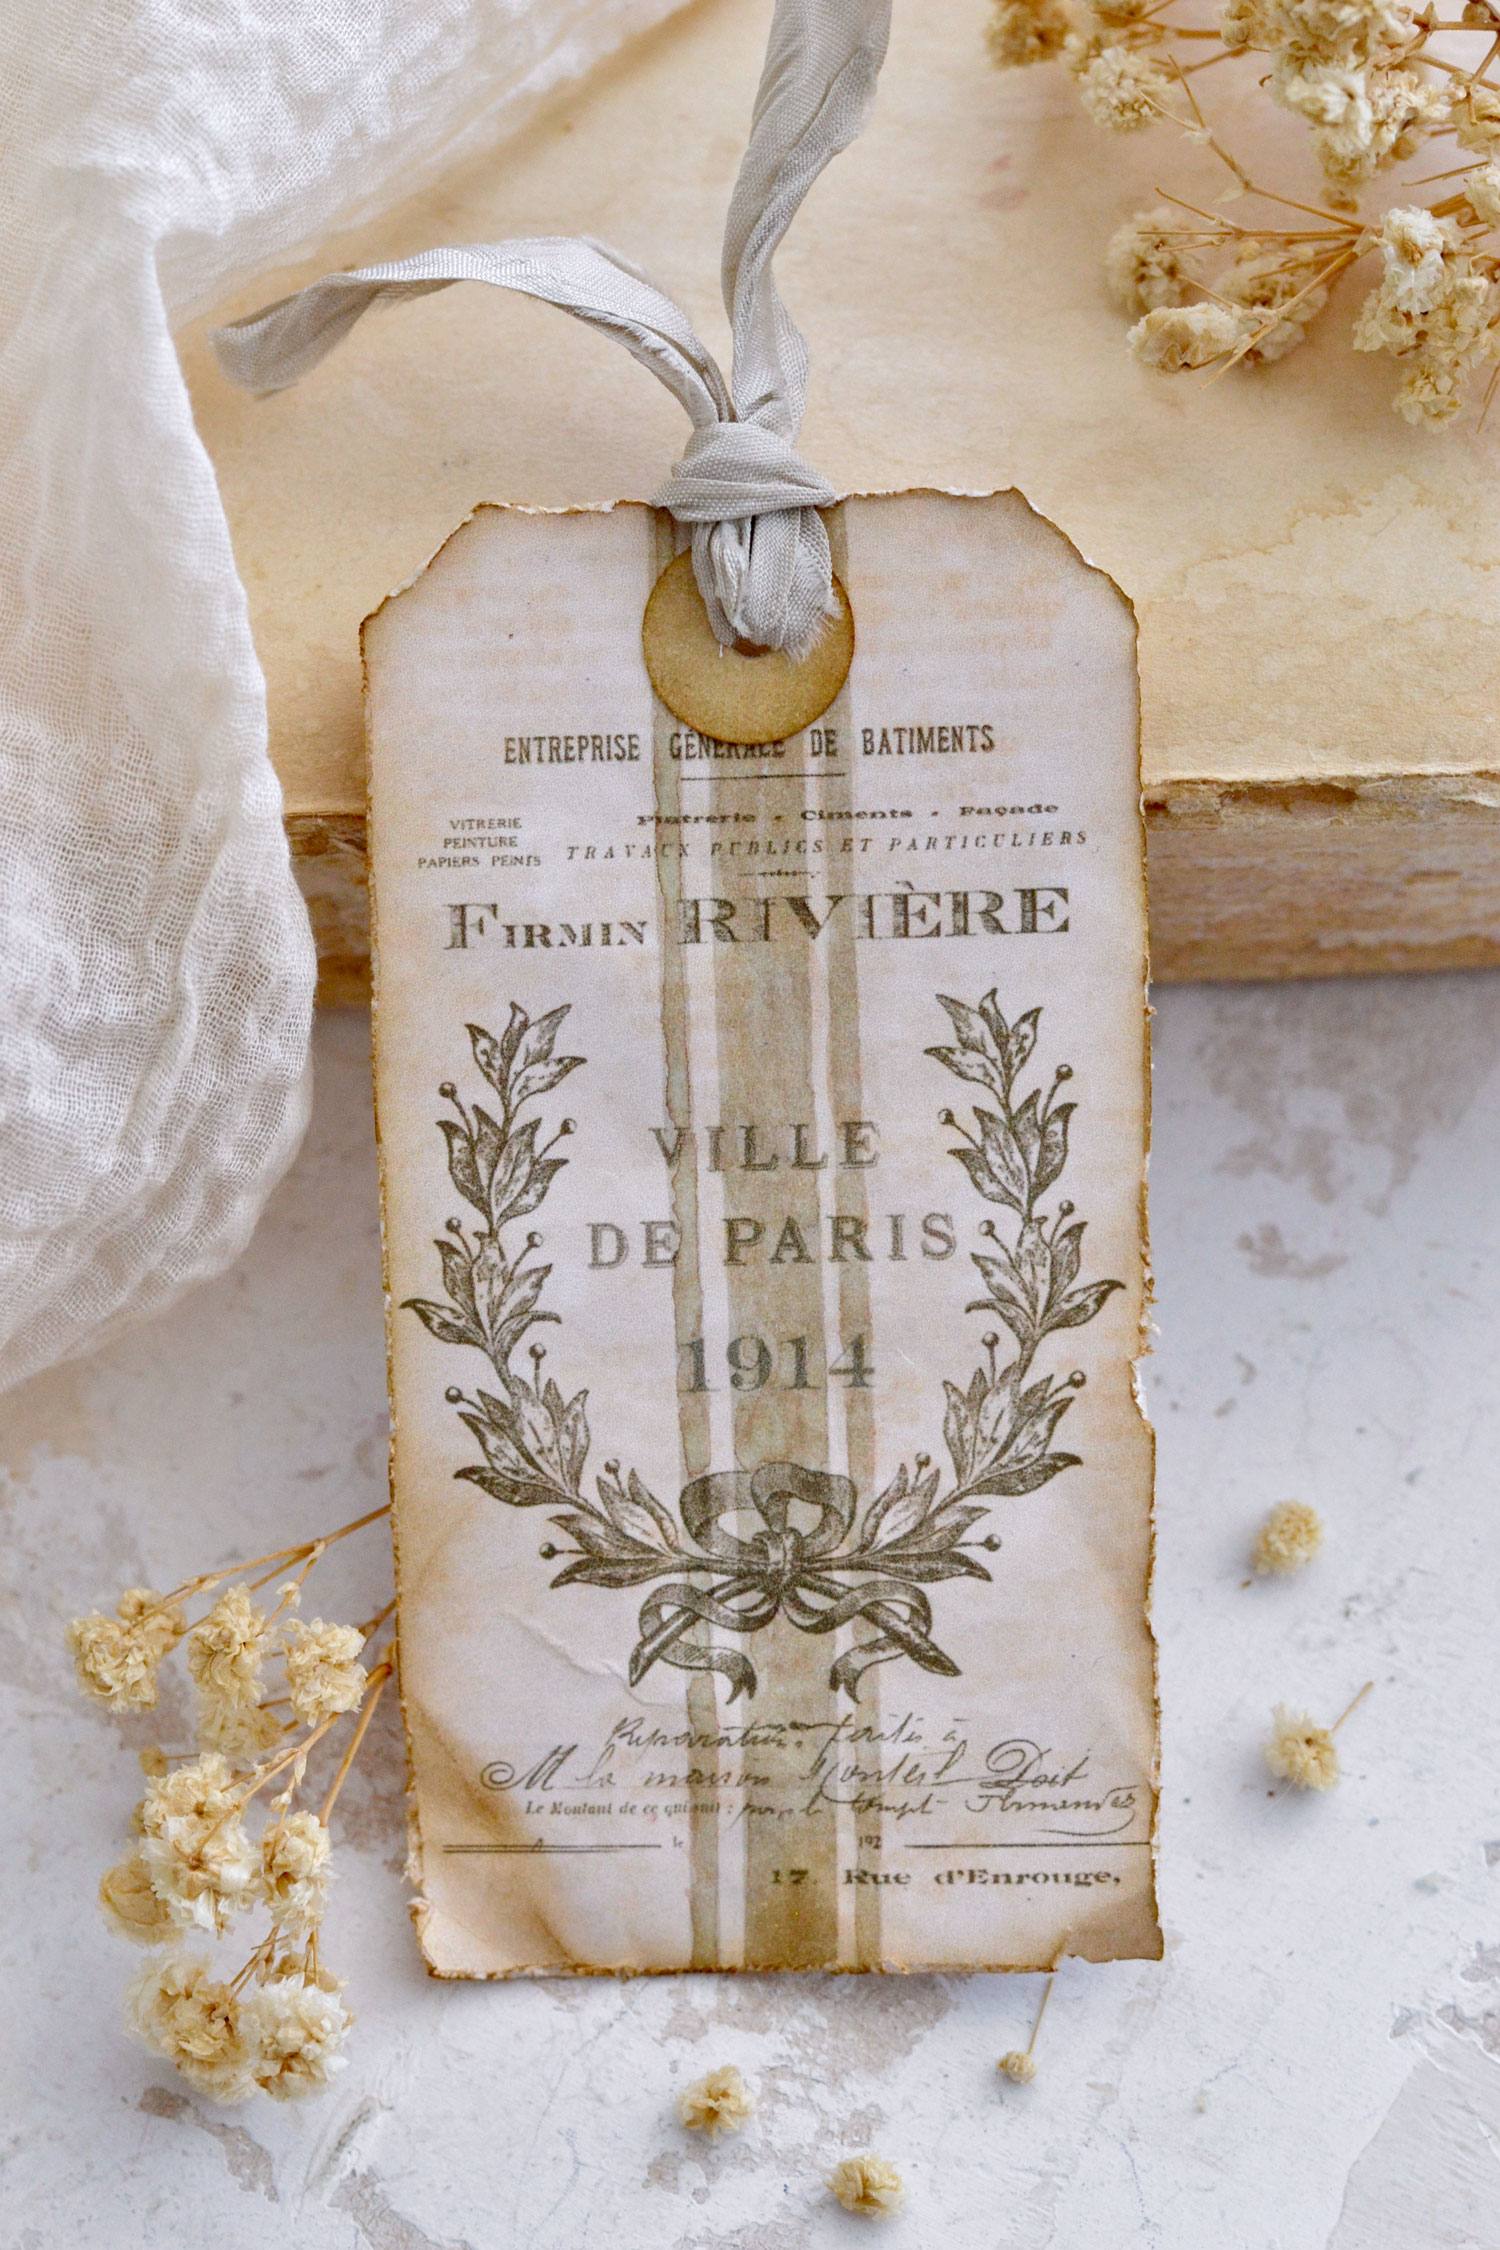
I love how charming and full of character each of the tags turned out, but this Ville de Paris French beauty somehow managed to stand out from the crowd. It turned out to be my favorite and now I’m thinking how amazing these would look on fabric, too!
This is quite a fun project, so I really hope you will give it a try! You can use the tags to embellish gifts for all your French-loving friends. Make some to use in your home as decorative pieces that will instantly beautify bookshelves or lovely vignettes. Or simply hang them on your drawers and admire them all day long! You could also glue two tags together to make a scented sachet that can be filled with lavender or other dried flowers and hung in your cabinets. So many possibilities to get creative here!
 You might also like my French Script Triple Pocket Journal Tags HERE.
Happy crafting,
Diana | Dreams Factory


Leave a Reply