Free Waterslide Decal Images and Project
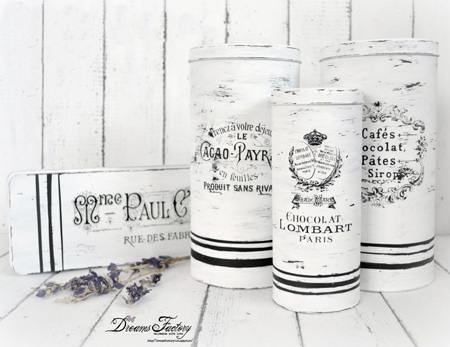
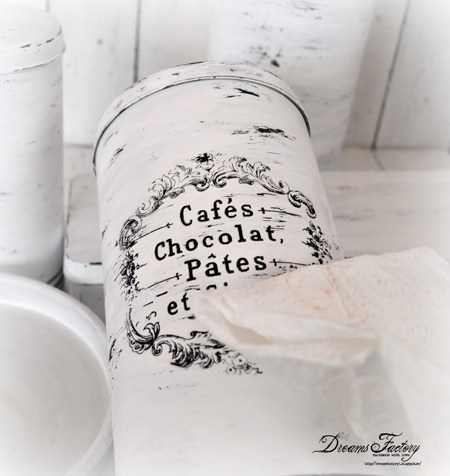
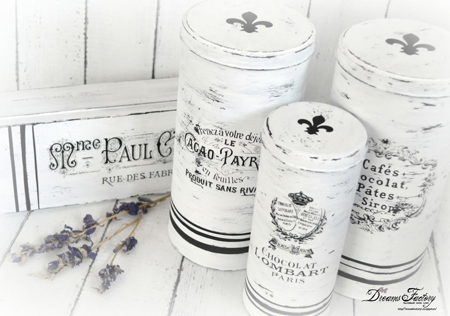
Hello! My name is Diana, and I am the girl behind Dreams Factory, a blog with Vintage, French & Shabby touches. I used some of the images from here at TGF as Free Waterslide Decal Images, but of course you can use them for whatever you like, but we will be focused on decals for this project. And for this tutorial, I’ve decided to show you how to transform some ordinary tin boxes into vintage, super chic & frenchified decorative boxes with a grain sack inspired pattern, that you can use in your home to store all kind of things, even beautiful memories from France.
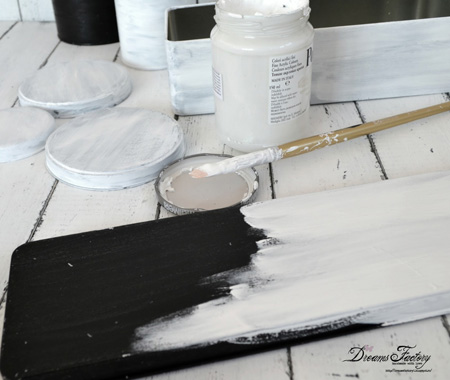
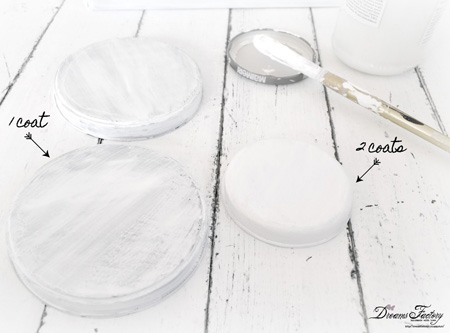
Before we begin, please try to imagine this whole transformation as a process of adding multiple layers – we will have primer, a base coat, wax candle, a top coat and some matte finish spray. It is important that your layers are not too thick, because you might not be able to close the lid of the boxes when you finish – don’t ask me how I know
that.
It is also very important not to use too much water with your acrylics, because the paint might crackle on the boxes when too thin – don’t ask me how I know that either.
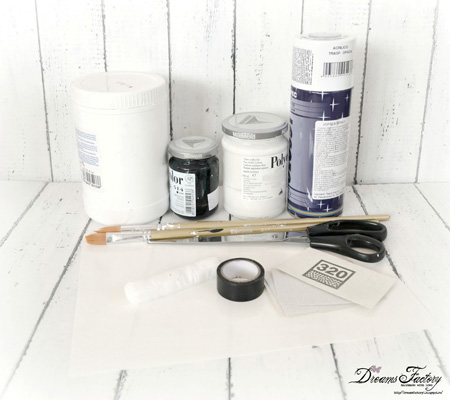
Free Waterslide Decal Images and Project Supplies:
– Synthetic brushes
– Primer or Gesso
– Black and white acrylic paint (or any other two contrasting colors)
– Candle wax
– 320 grit sandpaper
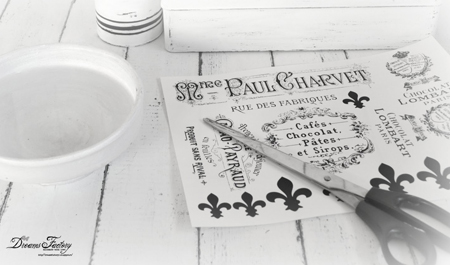
– Scissors
– Matte finish acrylic spray
– PVC tape (or any other tape)
– Waterslide decal paper
– Ordinary tin boxes
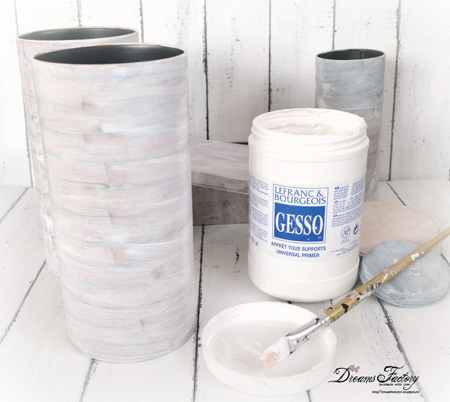
Prepare your surface by applying one thin coat of primer. The primer will give your object a matte and uniform look. Let the primer dry completely before moving to the next step.
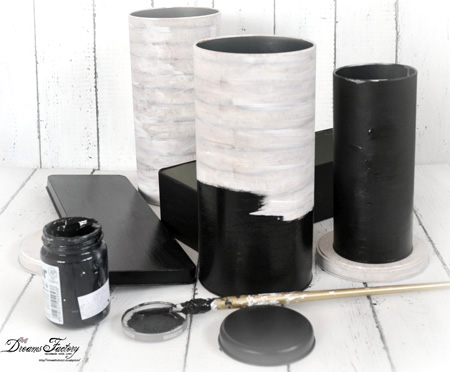
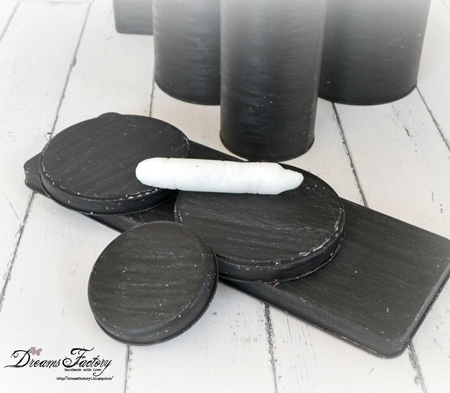
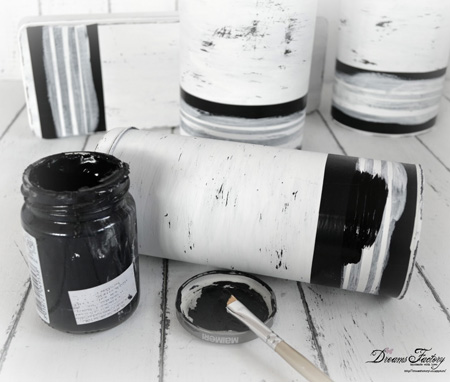
Use a brush to apply a thin coat of black acrylic paint, the base coat. Let it dry for a few hours, maybe over night, just to be sure the paint is completely dry.
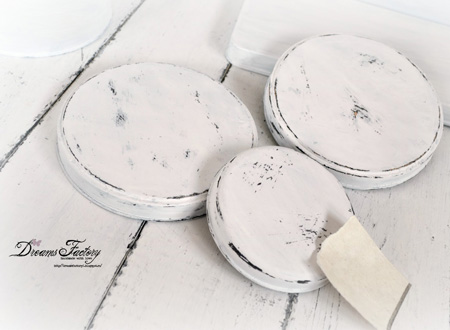
Rub your boxes with a wax candle – this will help to get the distressed look- it will get the base coat (black
acrylic paint) to show through your top coat (white acrylic paint) – so be sure to rub the corners, the edges and all the surfaces that you want to age more.
underneath. Only stop when fully satisfied with the results.
Making the grain sack pattern
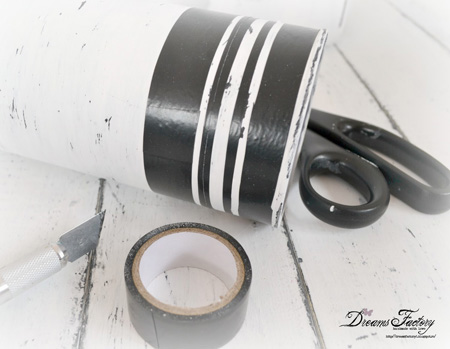
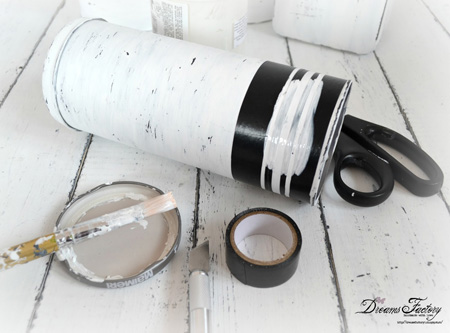
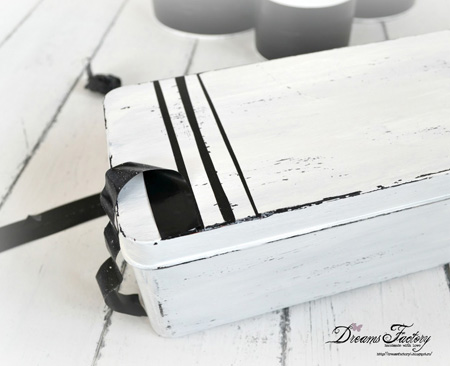
Cut different size widths of tape and apply them on your boxes to create parallel stripes, a grain sack inspired pattern.
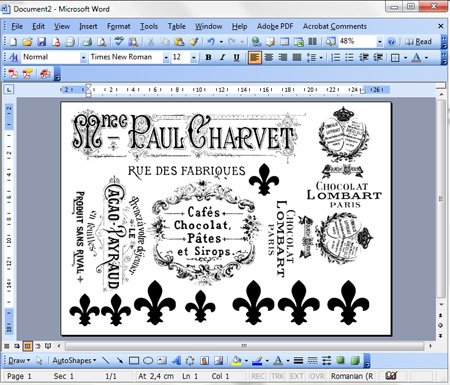
Choosing your Free Waterslide Decal Images
Cafes, Chocolat, Pates et Sirops Transfers
Use waterslide decal paper to transfer the images
It is relatively easy to work with. Keep in mind that different brands of Waterslide Decal Papers may have different instructions, so make sure you read the instructions carefully on the package for your brand, and follow them.
Print your images on the shiny side of the waterslide decal paper and let it dry for a few minutes.
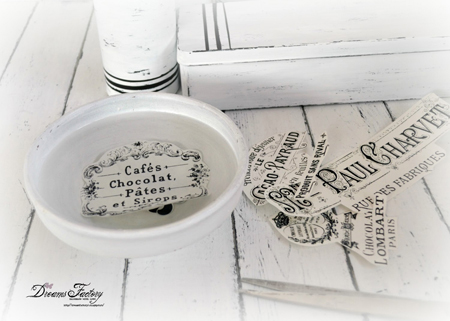
Sink your cut image into a bowl of water for 1-2 minutes. While in the water, check to see if the top foil with the actual image on it starts to slide, but don’t remove it from the paper base just yet.
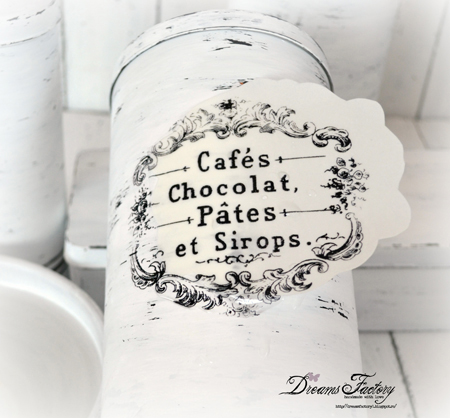
Take the waterslide decal paper out of the water and position it to the desired area on your box. You can now gently slide and gradually remove the paper base of the waterslide leaving the top foil with the image on the box.
Use a towel paper to remove the water and the air bubbles formed under the decal. Wipe gently because you don’t want your decal to move from its position.
Allow the decal to dry for a couple of hours.
Spray the whole box with a matte finish acrylic spray to seal the decal and the acrylics. Make sure to do that in a well ventilated area or even take it outside. Allow it to dry completely.
You are all done now!
I really hope you like them and decide to make some of your own! You might also like the DIY French Tin Can Project HERE.
Diana / Dreams Factory


CarolM says
Beautiful! Can you please tell me if the white areas of your decals dried clear or did they remain a chalky white after you coated them with the protective spray?
Thanks!
SHEILA says
Have you used the waterslide decal paper to transfer to furniture?
SHEILA says
Have you used the waterslide decal paper to transfer to furniture?
Sofia M says
this project is just beautiful!! thanks for sharing
melisad says
Cool, thank you ma’am! :o)
Dreams Factory says
Thank you allllll, you are so kind! ♥
Have a great week!
melisad says
Oh My Goodness, how beautiful! Thank you SO much for sharing this tutorial! I do have an off the wall question though…What font is your name written in? It is really pretty!
D&D says
Beautiful!!
Camelia Ioana Bandula says
That's my sys! Complicate things seem simple! And they are…simple!
TLady says
FABULOUS JOB!!!!!!!!!!!! THEY'RE GREAT!!!!!!!!! 🙂 AND THANKS for the Tutorial!!!!!!!!!! 🙂
Romeo says
Diana, thank you soooo much for sharing!! I've seen your creations and they are gorgeous.
Dreams Factory says
Thank you, ladies! 🙂 I'm so glad you like them.
Hugs,
Diana
Nancy Jamba says
Simply stunning! Thanks for the step by step Diana.
Sumaya at Evocative Vintage says
Fabulous, just fabulous. Thanks for sharing Diana!:)
Rebecca says
oh my – now I can do some lovely stuff with all the tins from Nellies soap I have been saving 😀