Printable Feather Template
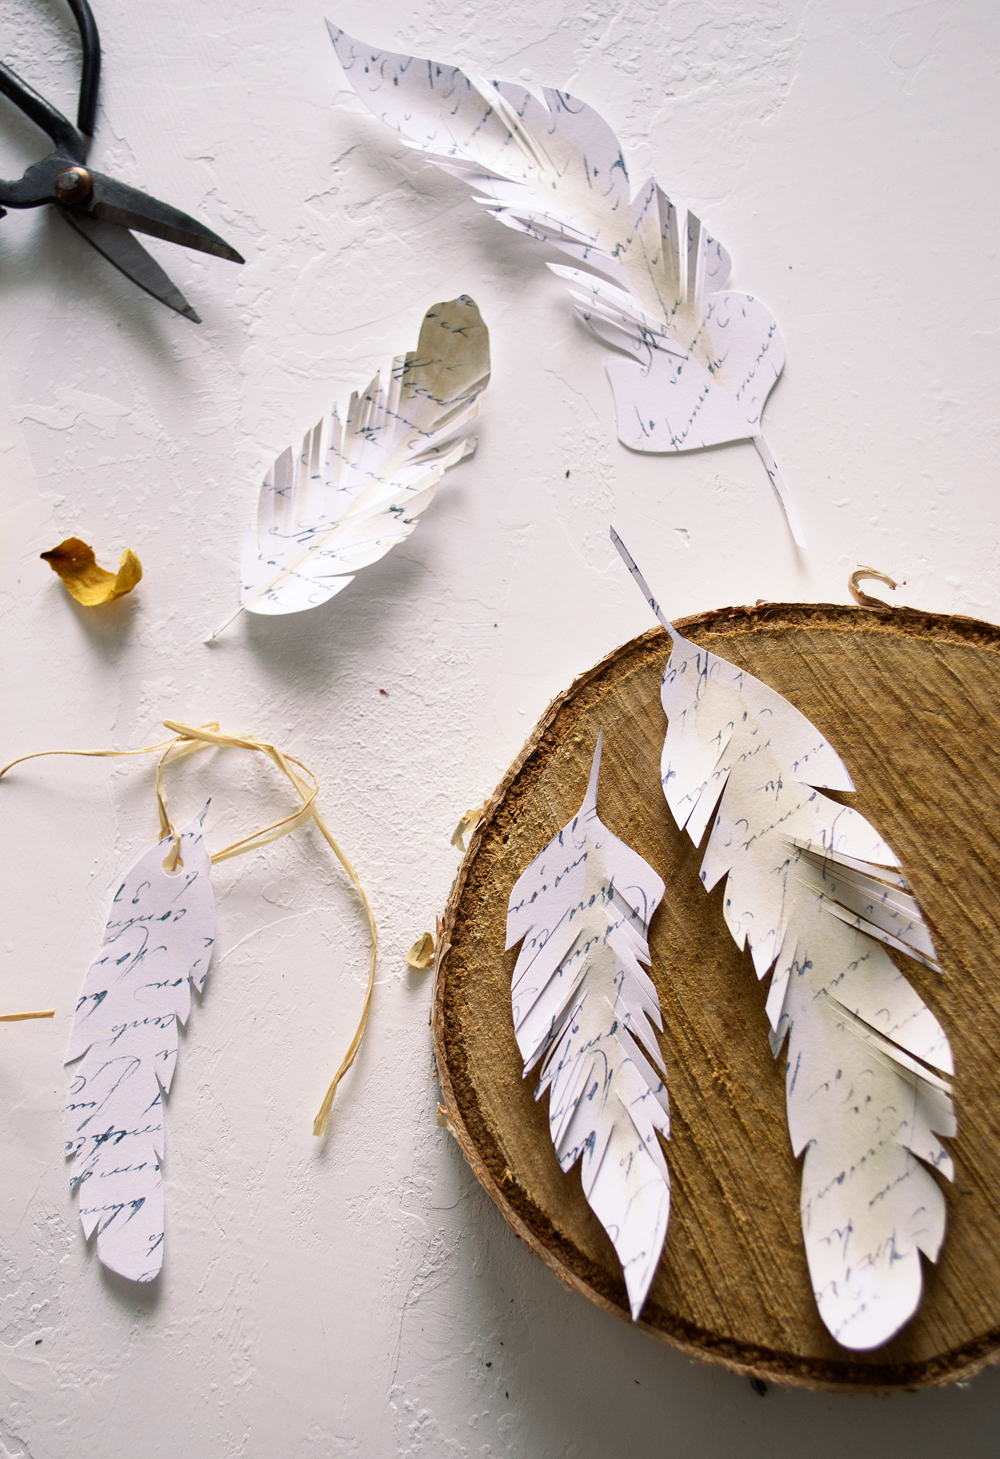
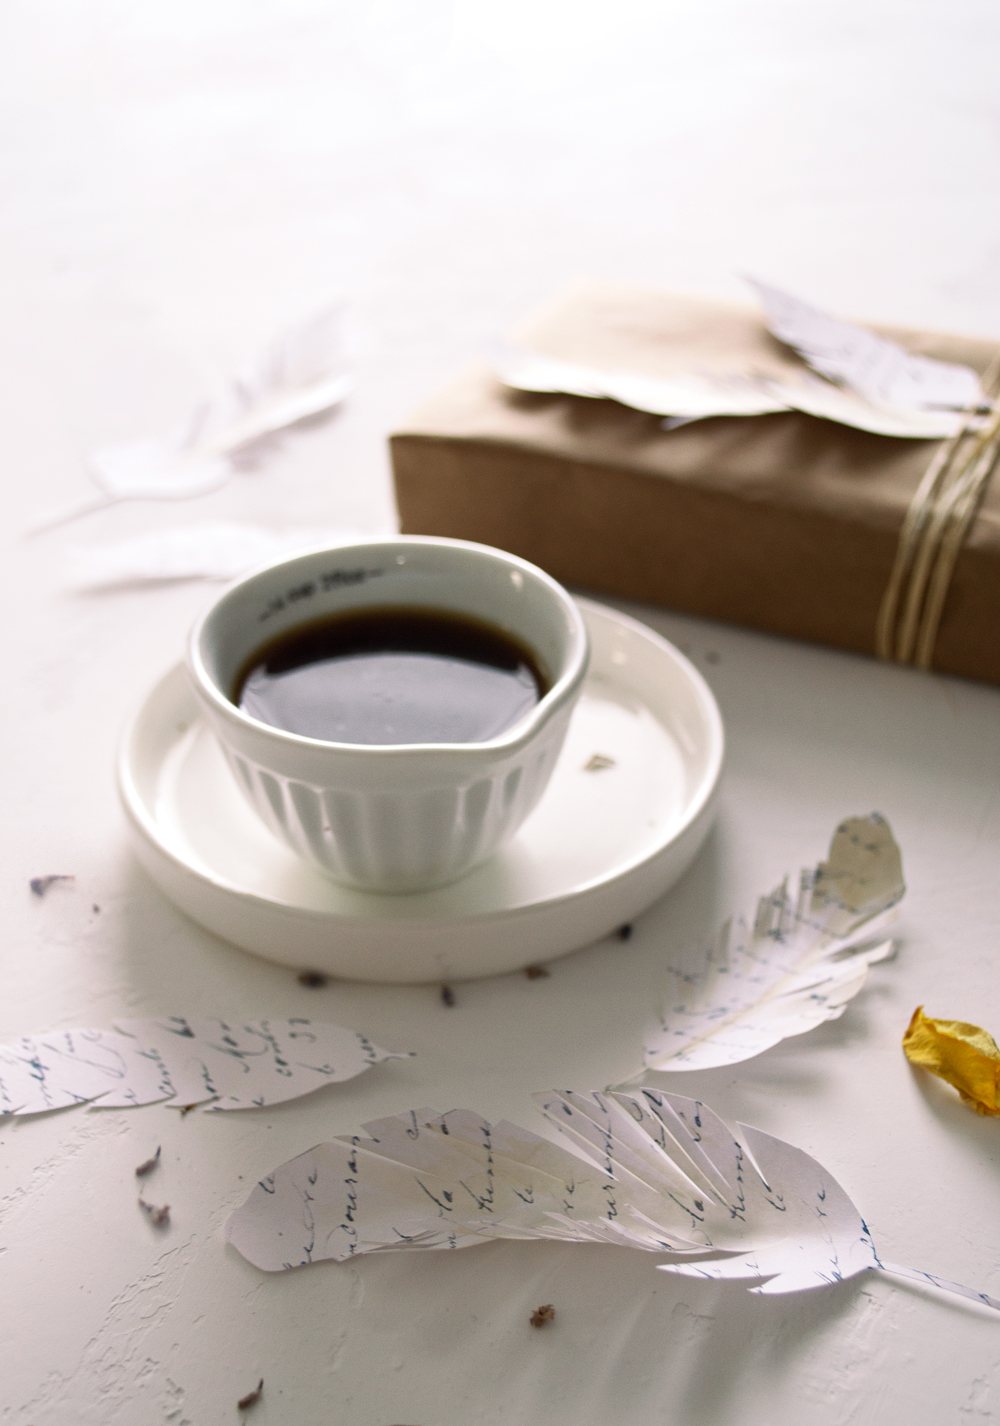
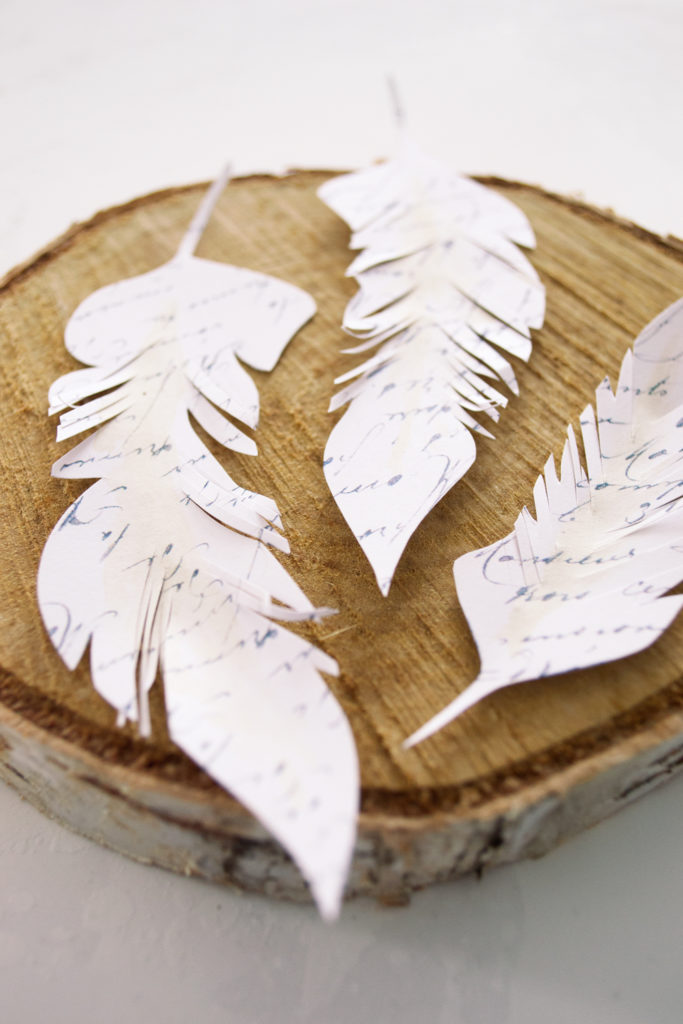
Hello Graphics Fairy friends, Diana from Dreams Factory here with a Printable Feather Template! I hope you are enjoying an amazing month and are ready for some (more) DIY chic inspiration! Today I’ll show you how to create some realistic French Script Paper Feathers that you can use on their own or integrate into your home decor, gifts wrapping sessions or other projects.
Even though simple to make, these are not ‘regular’ French Script Paper Feathers!
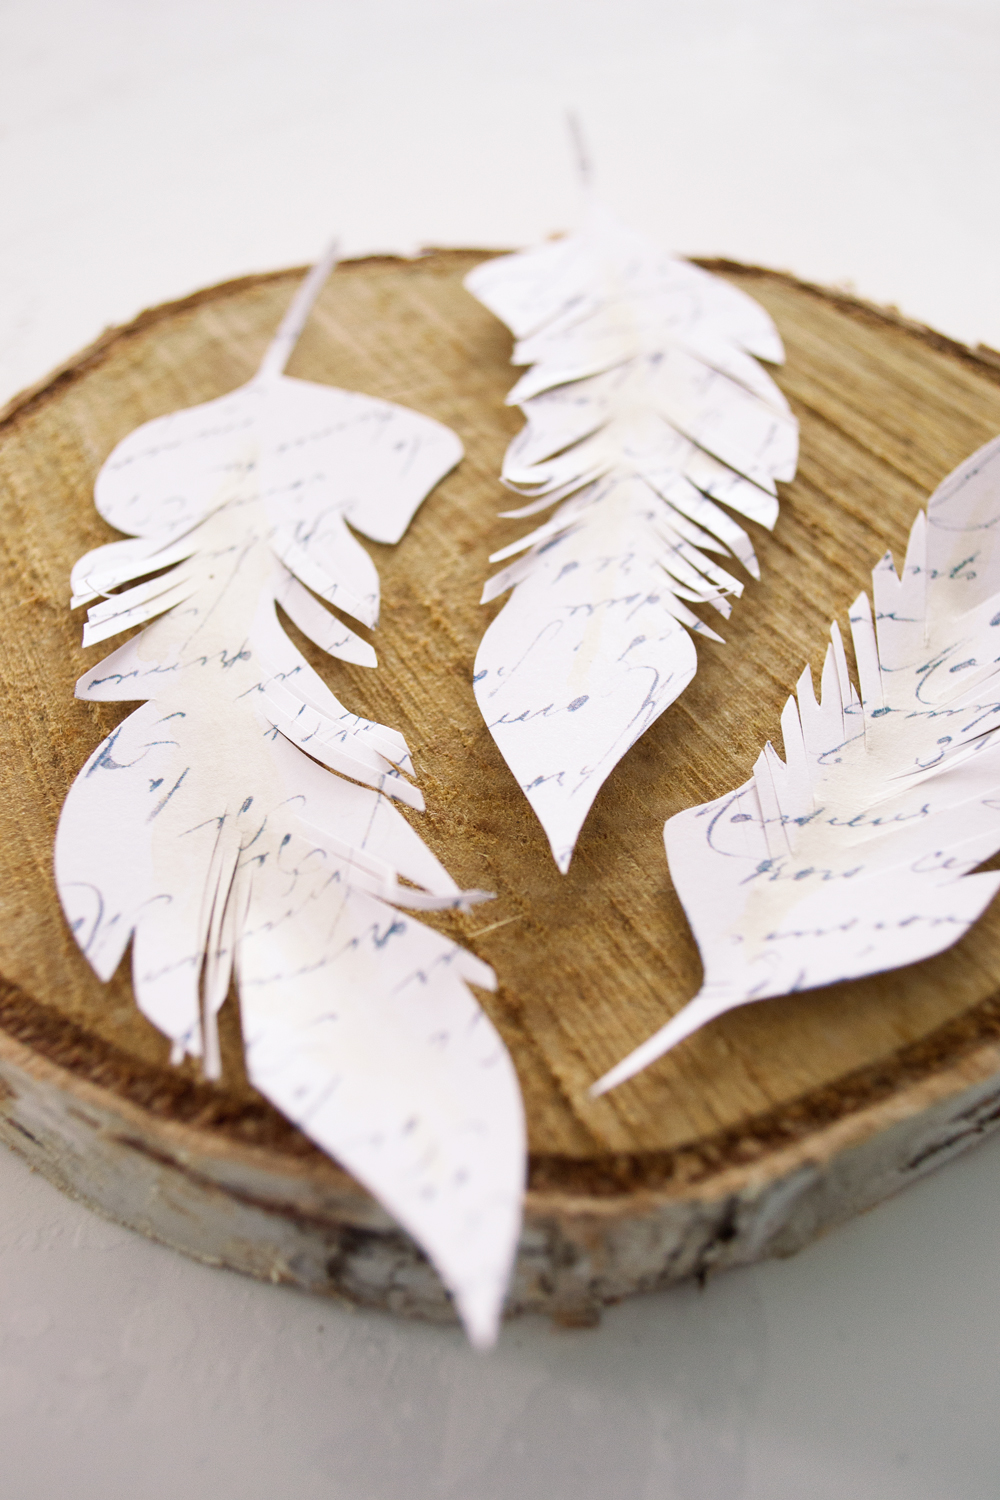 Each one is a beautiful highly versatile gem that you can really turn into a unique decorative piece. I’ll show you some tricks to add dimension to your feathers and make them look even more realistic. And if you want to really take things to the next level, I’ll show you how to lightly distress them with coffee and even scent them with your favorite essential oils!
Printable Feather Template Download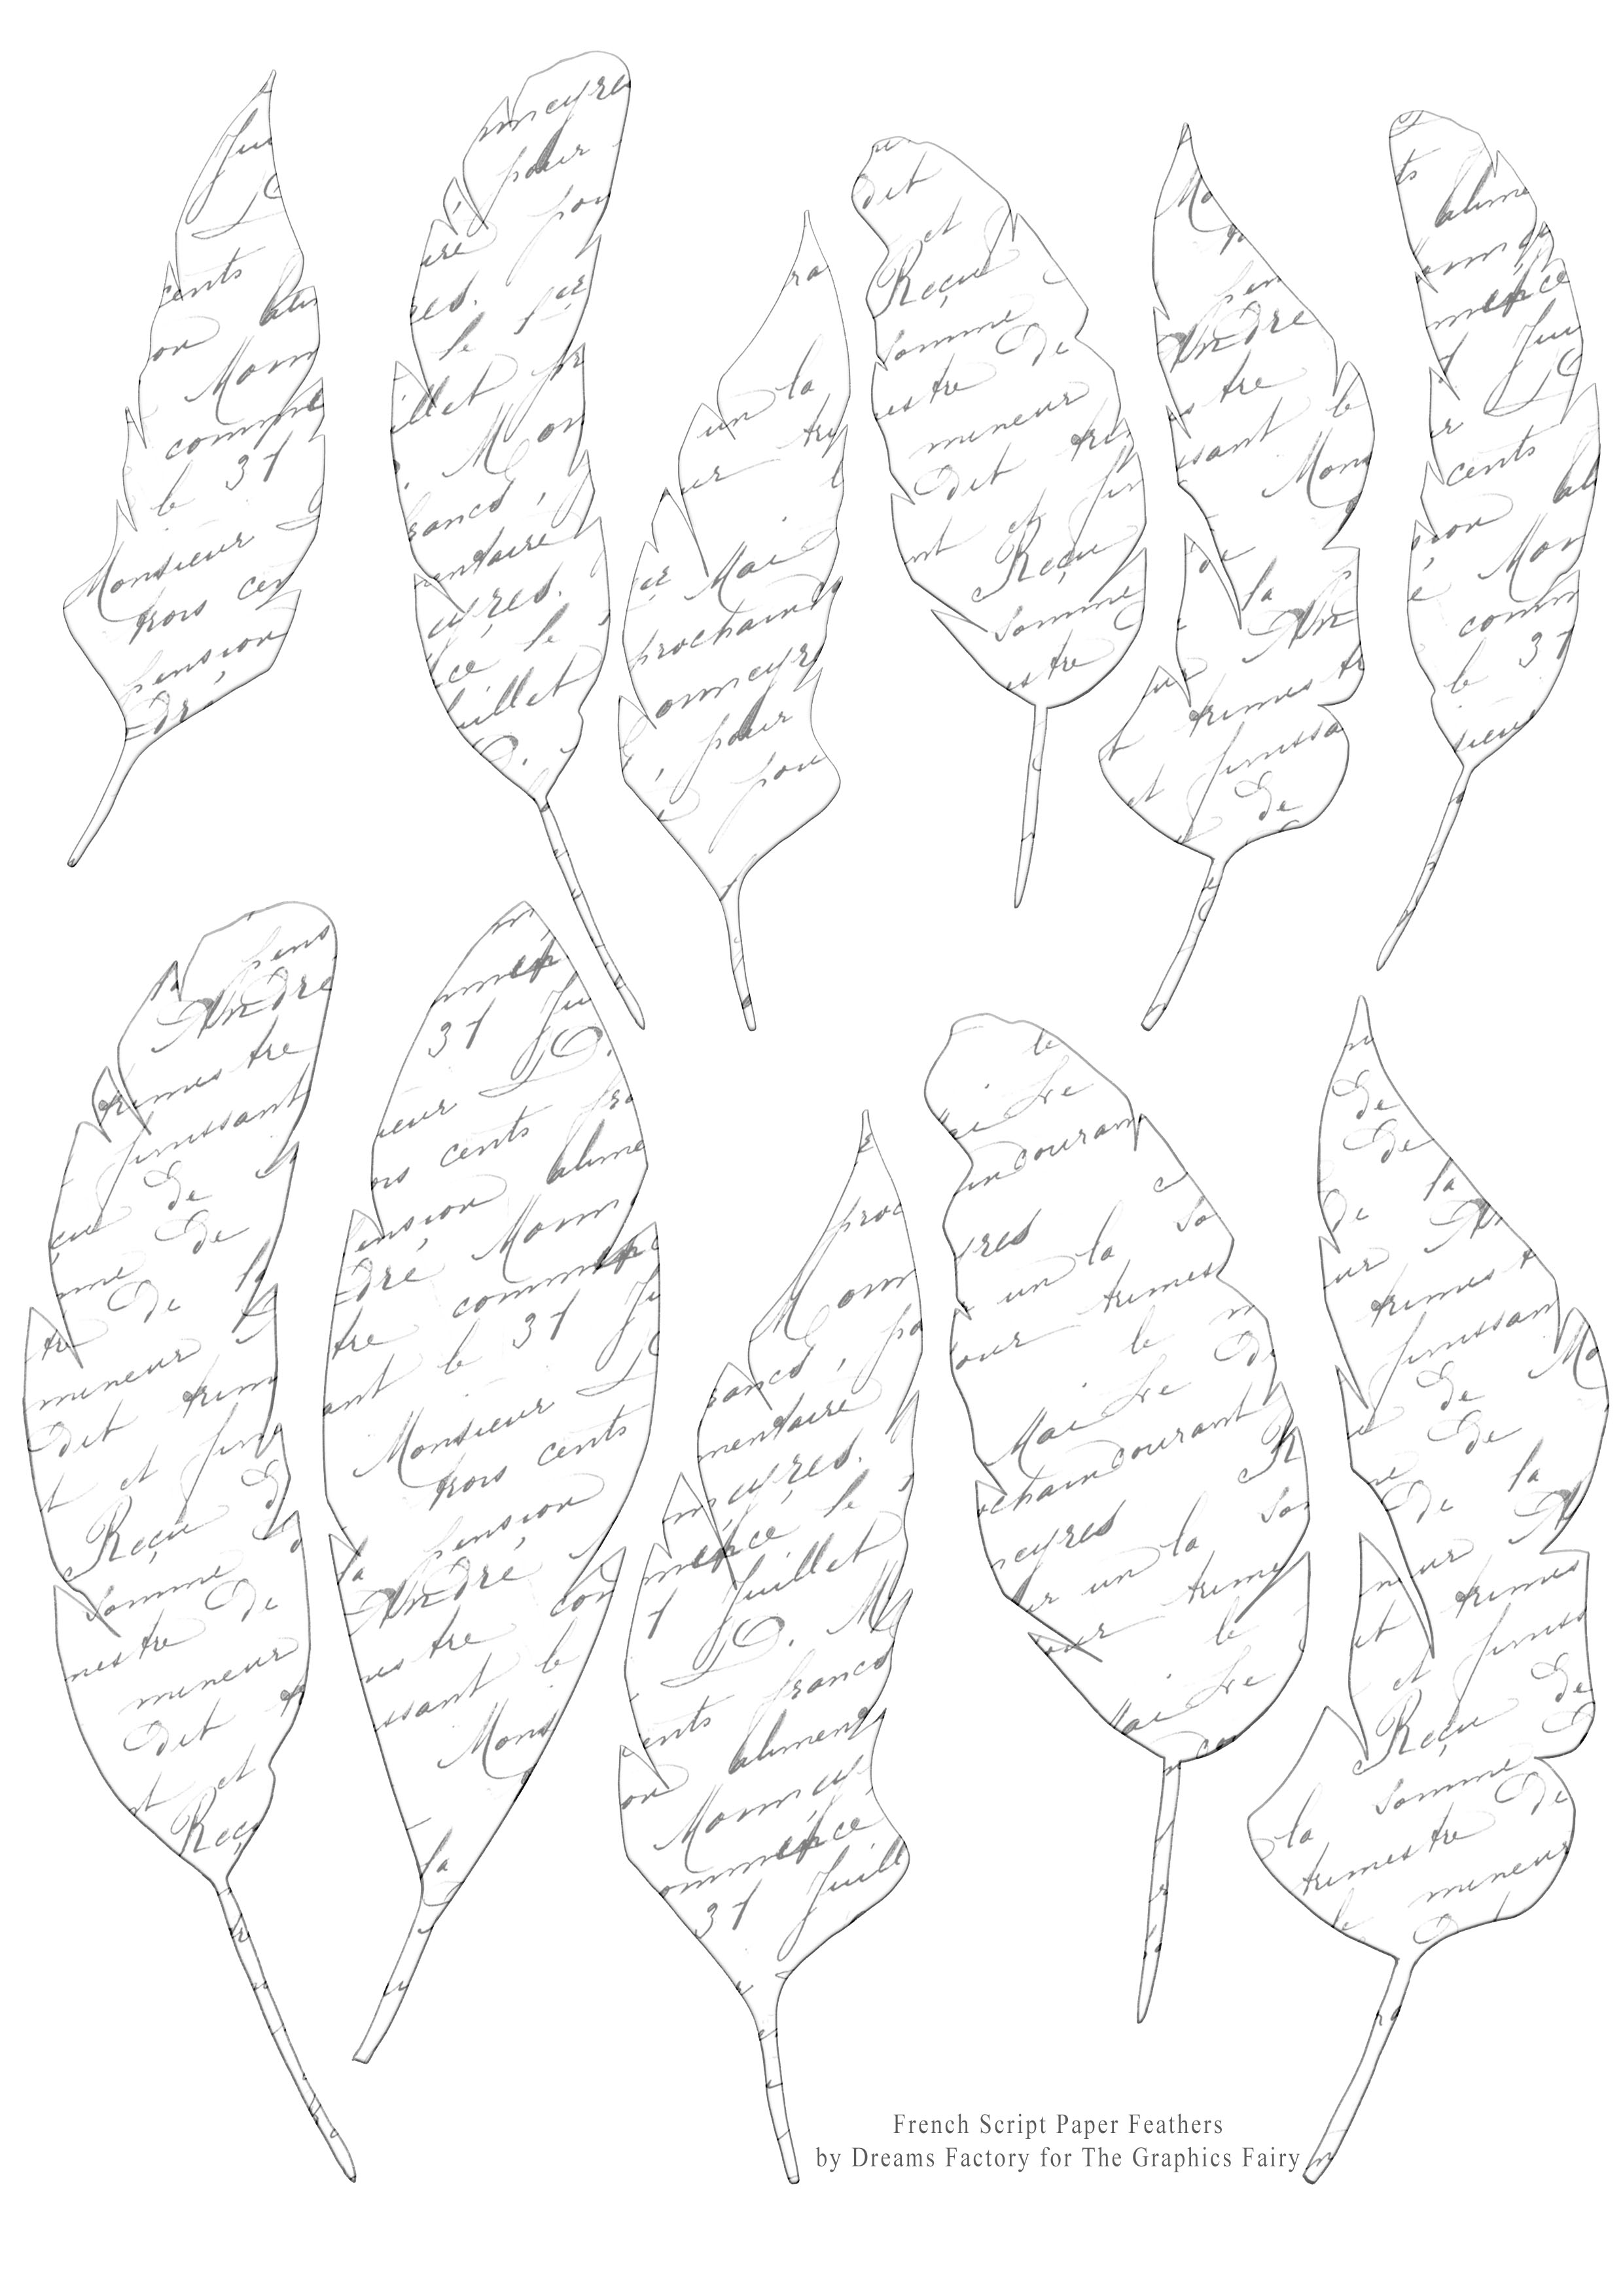
—-> Click HERE to Download the Full Size Printable PDF <—-
Supplies for Printable Feather Template Project:
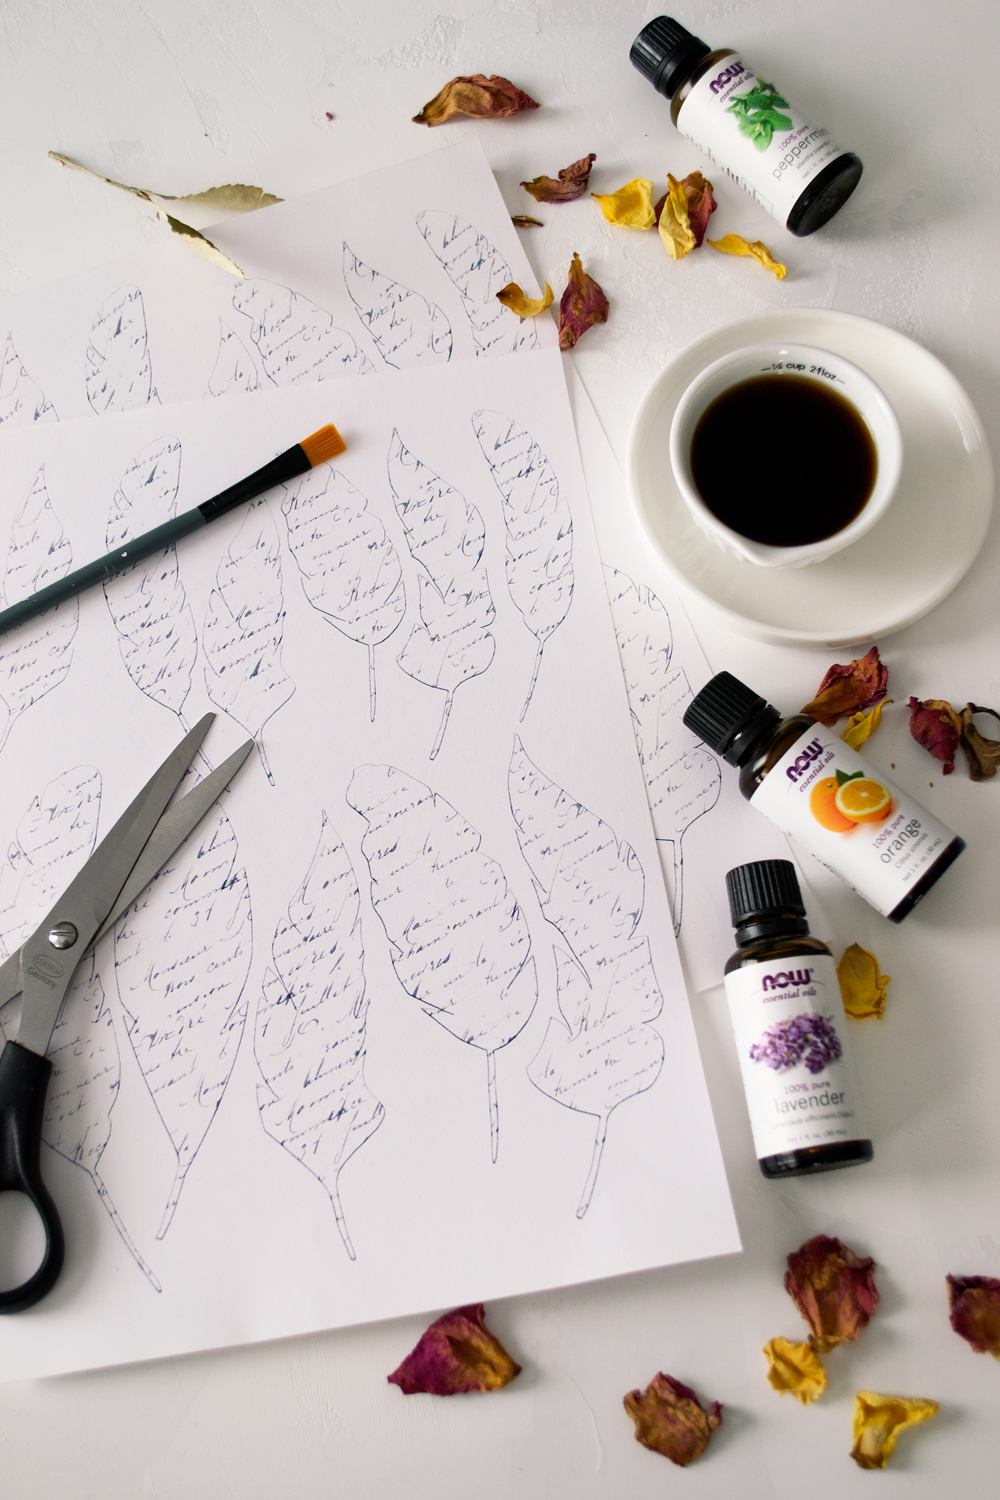
- French Script Paper Feathers printable
- cardstock paper or regular paper
- scissors
- printer (inkjet or laserjet)
Optional:
- highly diluted coffee or highly diluted brown acrylic paint
- brushes
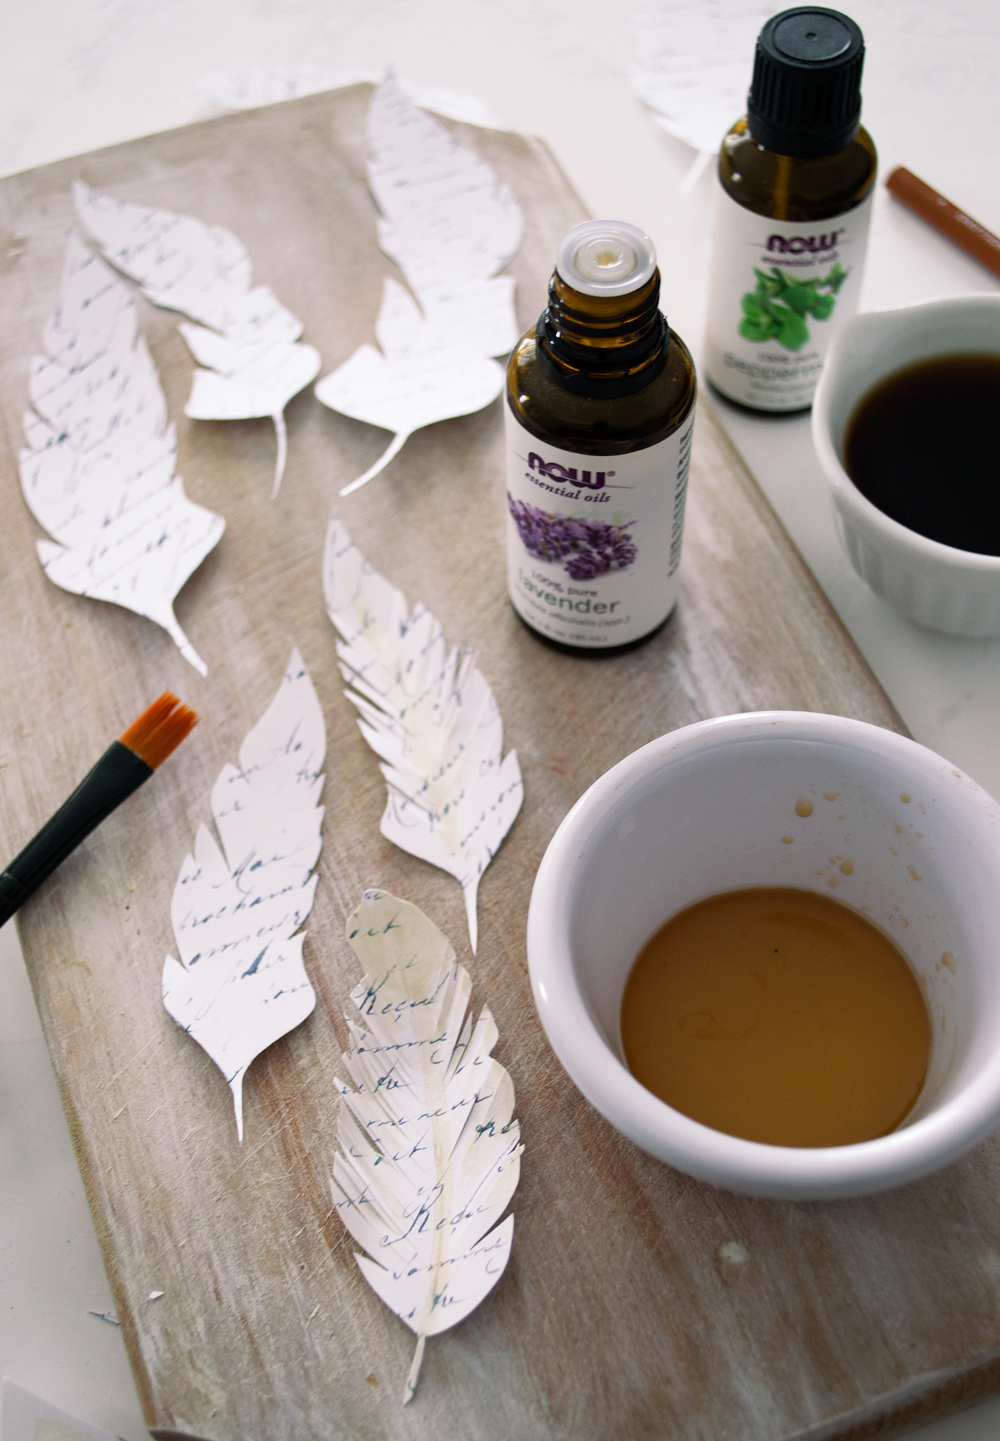
- essential oils (I used lavender and mint)
Instructions
Start by printing the French Script Paper Feathers. Depending on where you are planning on using them, you can choose cardstock or regular paper. Because the cardstock paper is a little bit heavier in weight, it will give more dimension to your feathers. The regular paper on the other hand, because it’s lighter in weight will give you a much more delicate and ‘feathery’ feel. Which is good, we are making feathers after all.
But if you can’t simply decide, just print them on both cardstock and regular paper (like I did) and see which ones you love more! A simple solution to such a big dilemma!
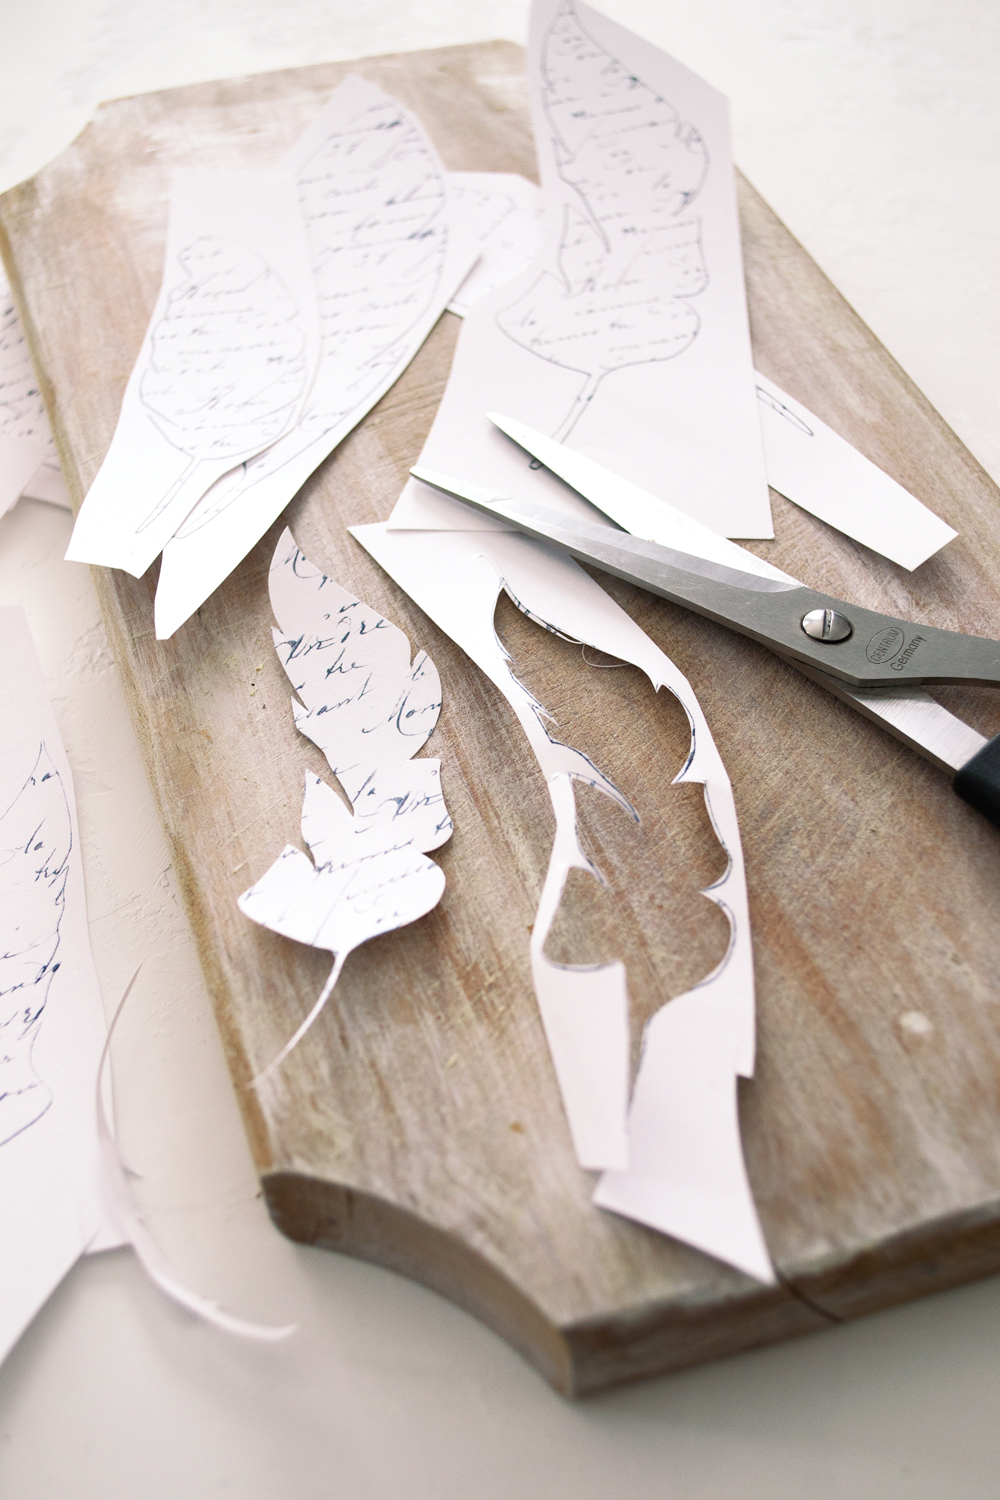
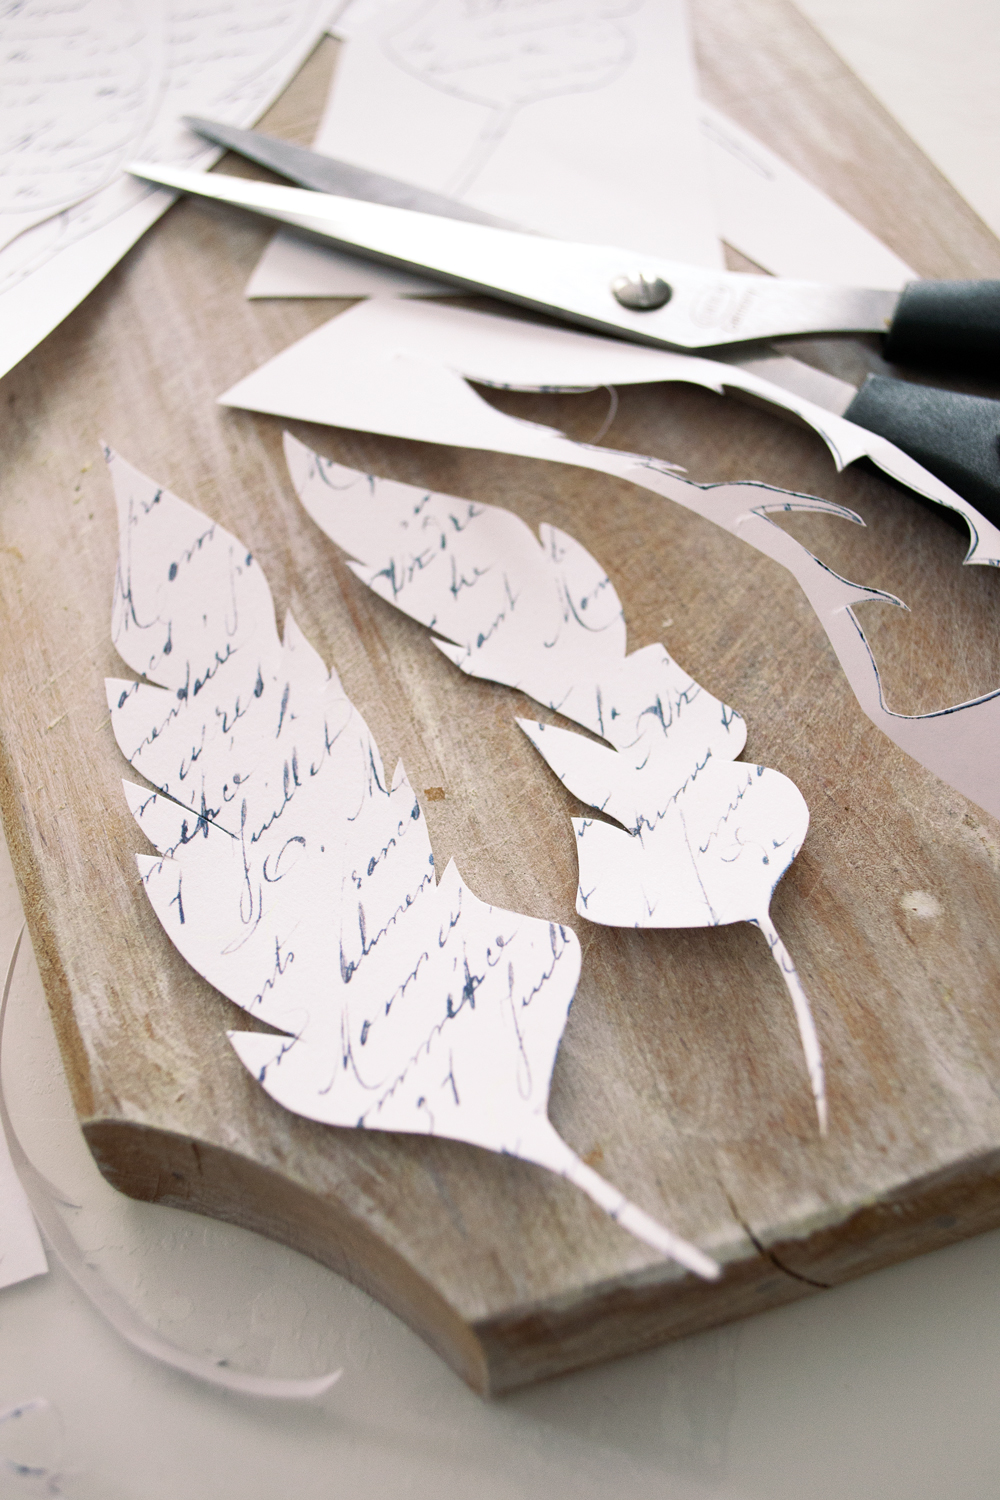
Use your scissors to cut and trim the edges of each feather by leaving their black border out. It would be best to use special paper scissors (but some small cuticle scissors will work too) so you can focus more on the delicate details and shape of each piece.
Don’t worry if you don’t follow the exact shapes or cut a little bit more – as long as you completely remove the black border.
Cut all the feathers … and take 5 minutes off to sit back and admire your work! 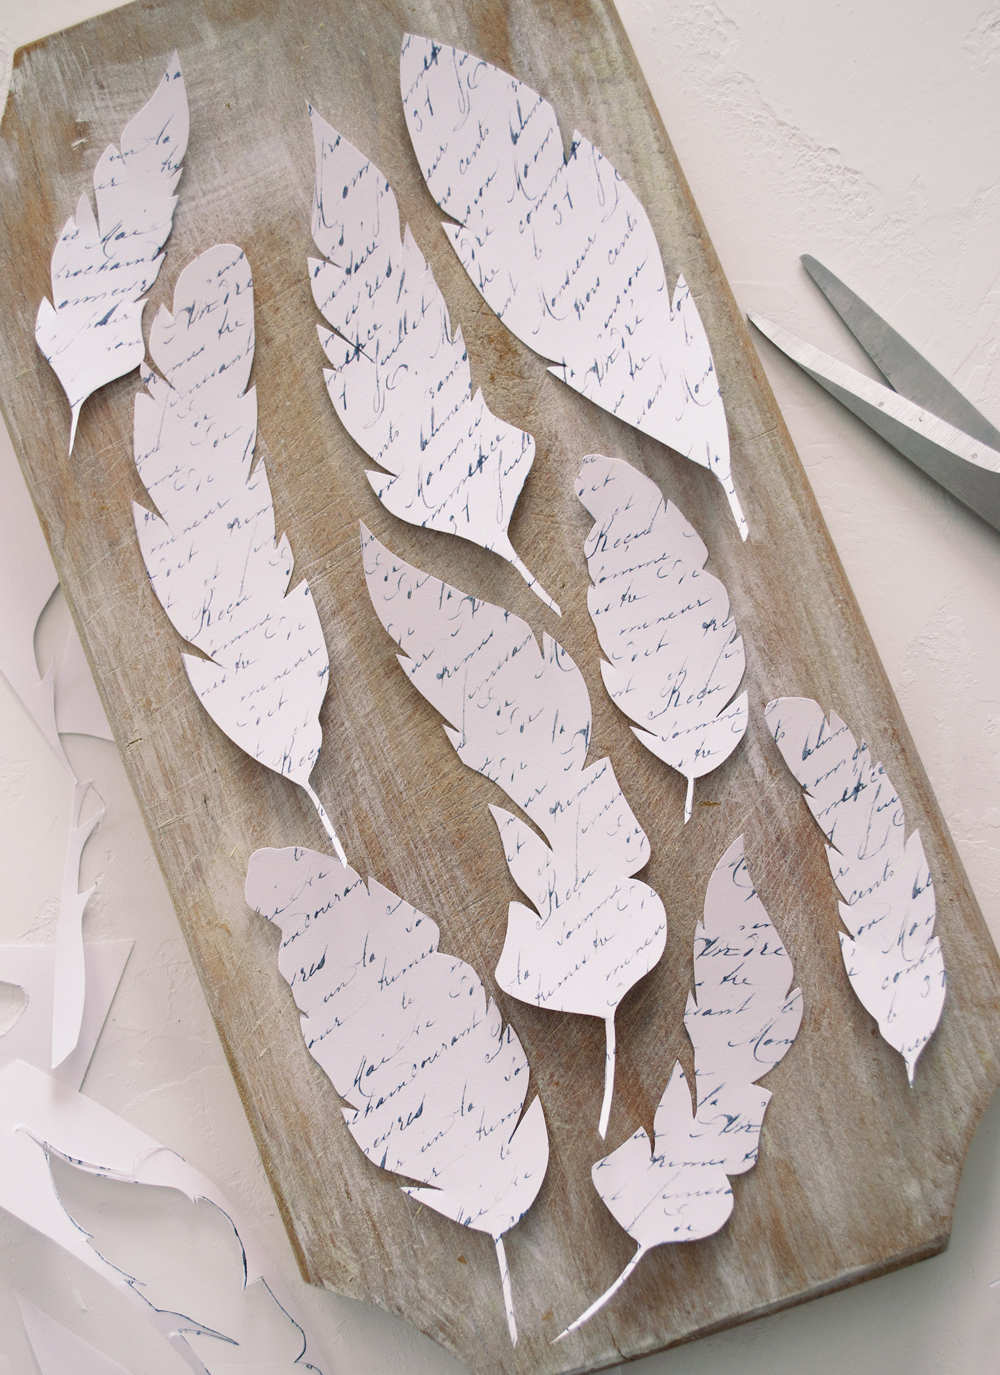
I really loved how the French Script Paper Feathers looked at this point! If you are happy with their appearance too, you can stop now and just use them like this.
Painting, distressing and scenting the French Script Paper Feathers (optional step)
If you want to move things to the next level, now it’s the perfect time to get even more creative and add your personal touch to these beauties. Here are some ideas on how you can do that.
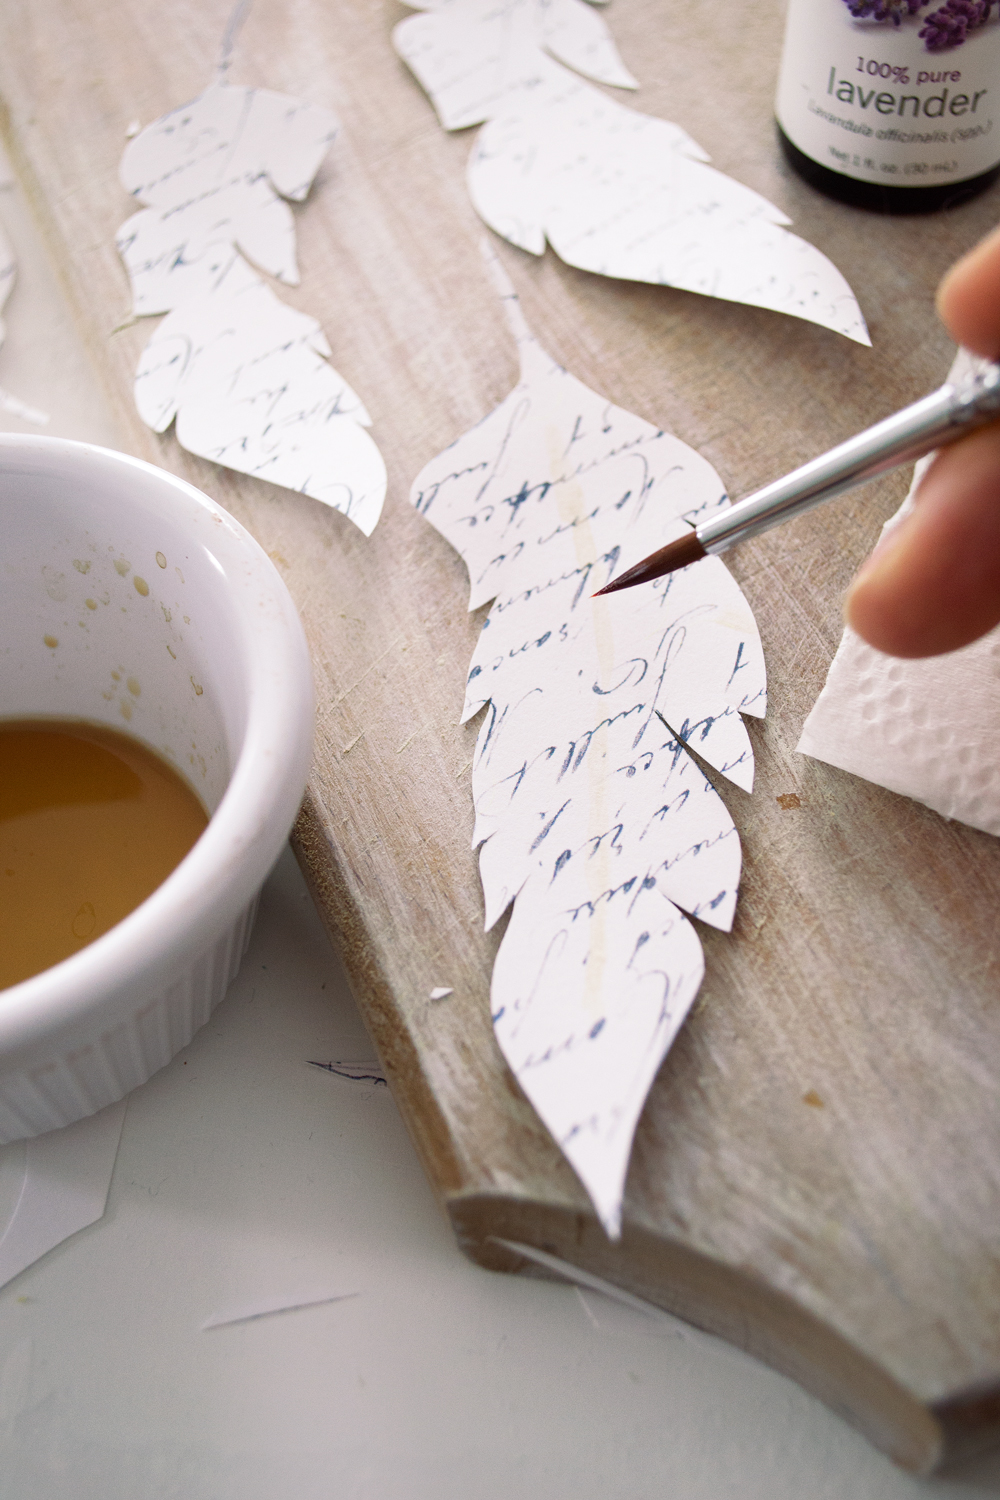
Use highly diluted coffee or highly diluted brown acrylic paint to lightly distress the feathers with a small brush.
If you want to integrate essential oils, use about 1 tablespoon of coffee and mix it with 2-3 drops of essential oils in a small bowl (the smell will be divine, but quite strong at first). Use a small brush to stir the mixture and then paint a line in the middle of a feather, following the feather’s curvy (or more regular) shape. This first line doesn’t need to be perfect, we are more interested in determining a lengthwise spine for our feather.
Brush some more of the simple coffee or the coffee and essential oils mix on the feather if you wish, following the orientation of that first line and going gradually outwards – this lengthwise line will act as a guide for our next step.
NOTE: When trying the optional step mentioned above, just make sure you use some scrap pieces of paper or even one of your feathers to test it first. See how the actual paper and print will react to the coffee or the essential oil .. and see if you like the results.
I used a laser printer for this project and lavender / mint essential oils to discreetly scent the paper. Some essential oils might stain the paper in an unpleasant way (like orange essential oil) so make sure you test them first.
Cutting and fraying the edges to create a (more) realistic look
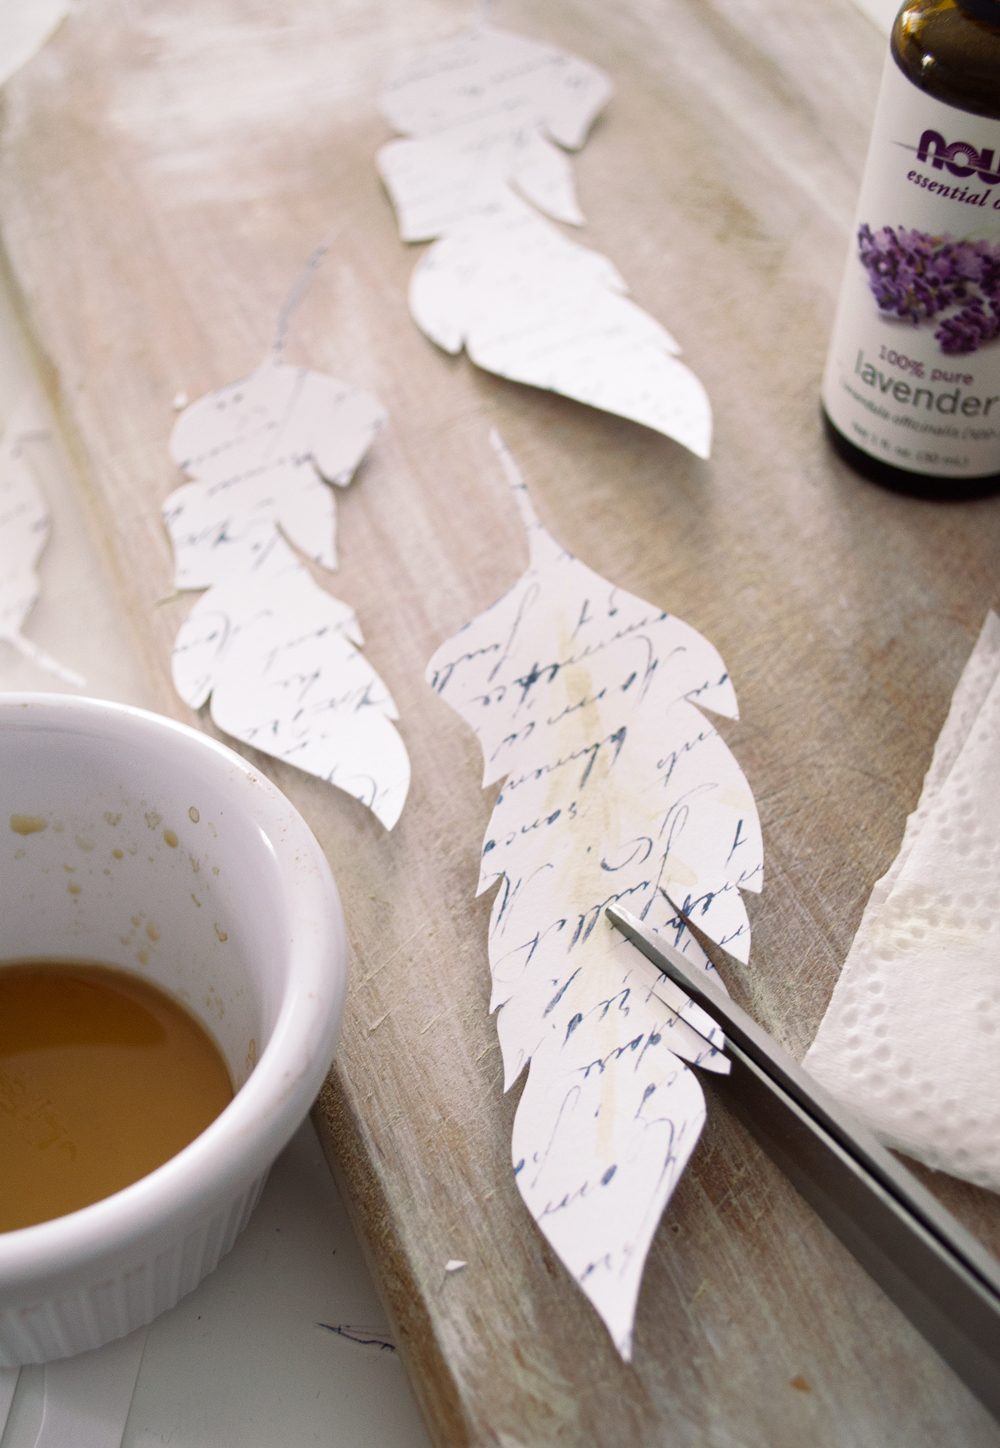
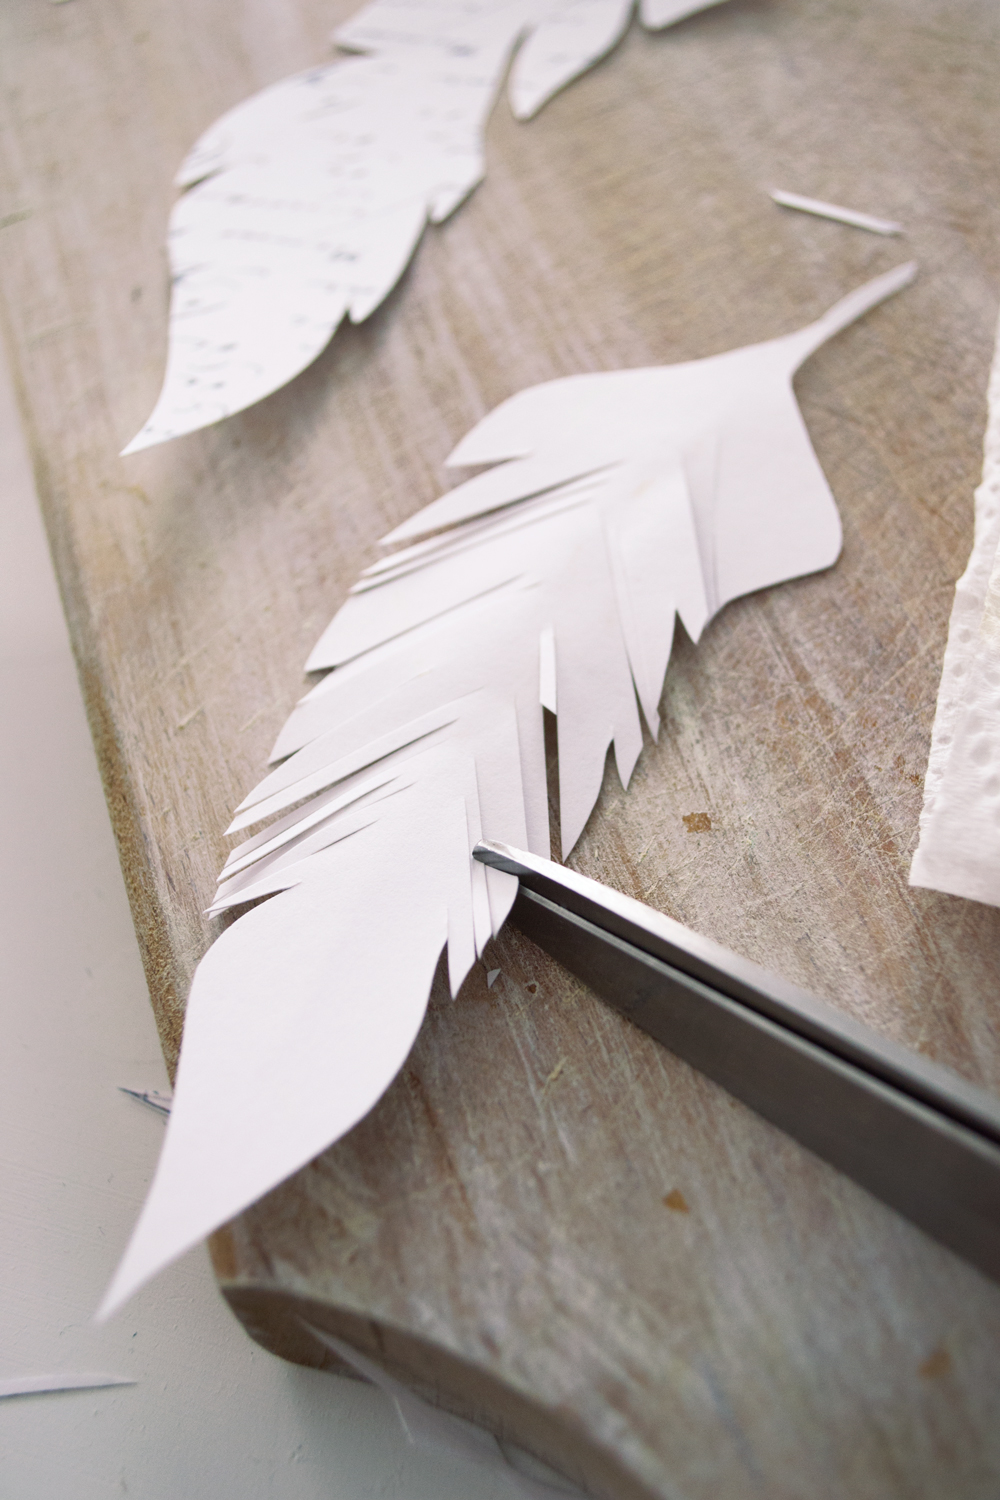
Now it’s time to create texture and add dimension to these (already) amazing French Script Paper Feathers! Turn a feather upside down and use your scissors to create small cuts on one of the margins of the feather, following the shape of the feather.
Use that lengthwise line that we painted earlier as a guide and stop your cuttings when you reach it.
If you skipped the painting and distressing part, bend the feather a little bit by following an imaginary lengthwise line to create a spine and use it as your cutting guide.
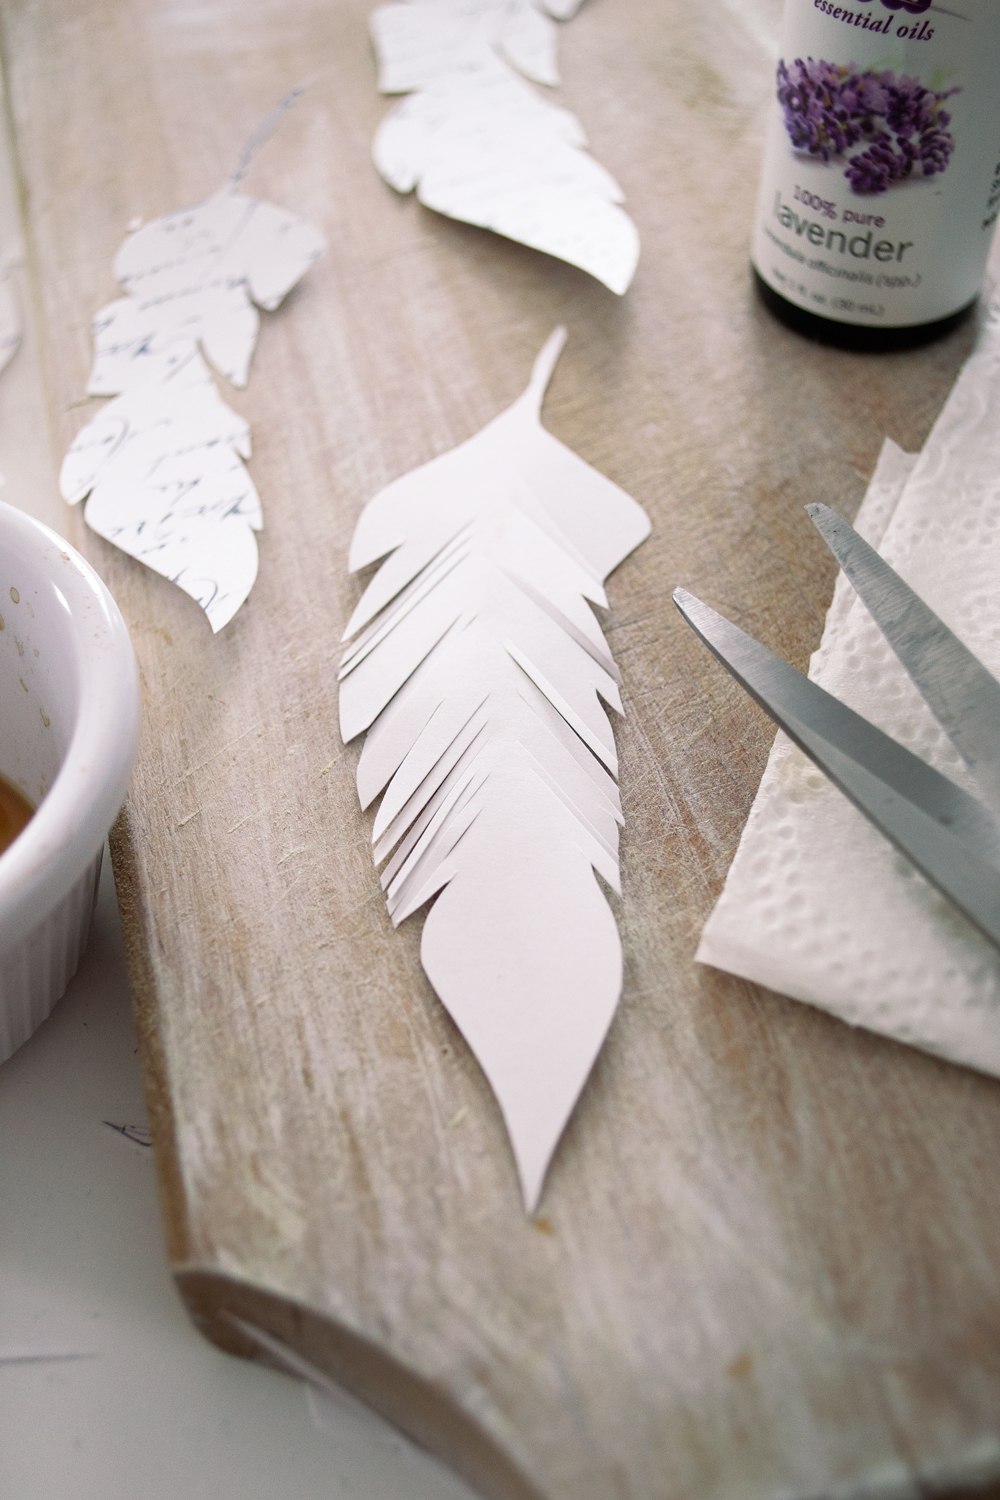
Leave small uncut sections on top (the tip of the feather) and on the bottom of the feather. If you were to flip your feather over, this is how it would look like. 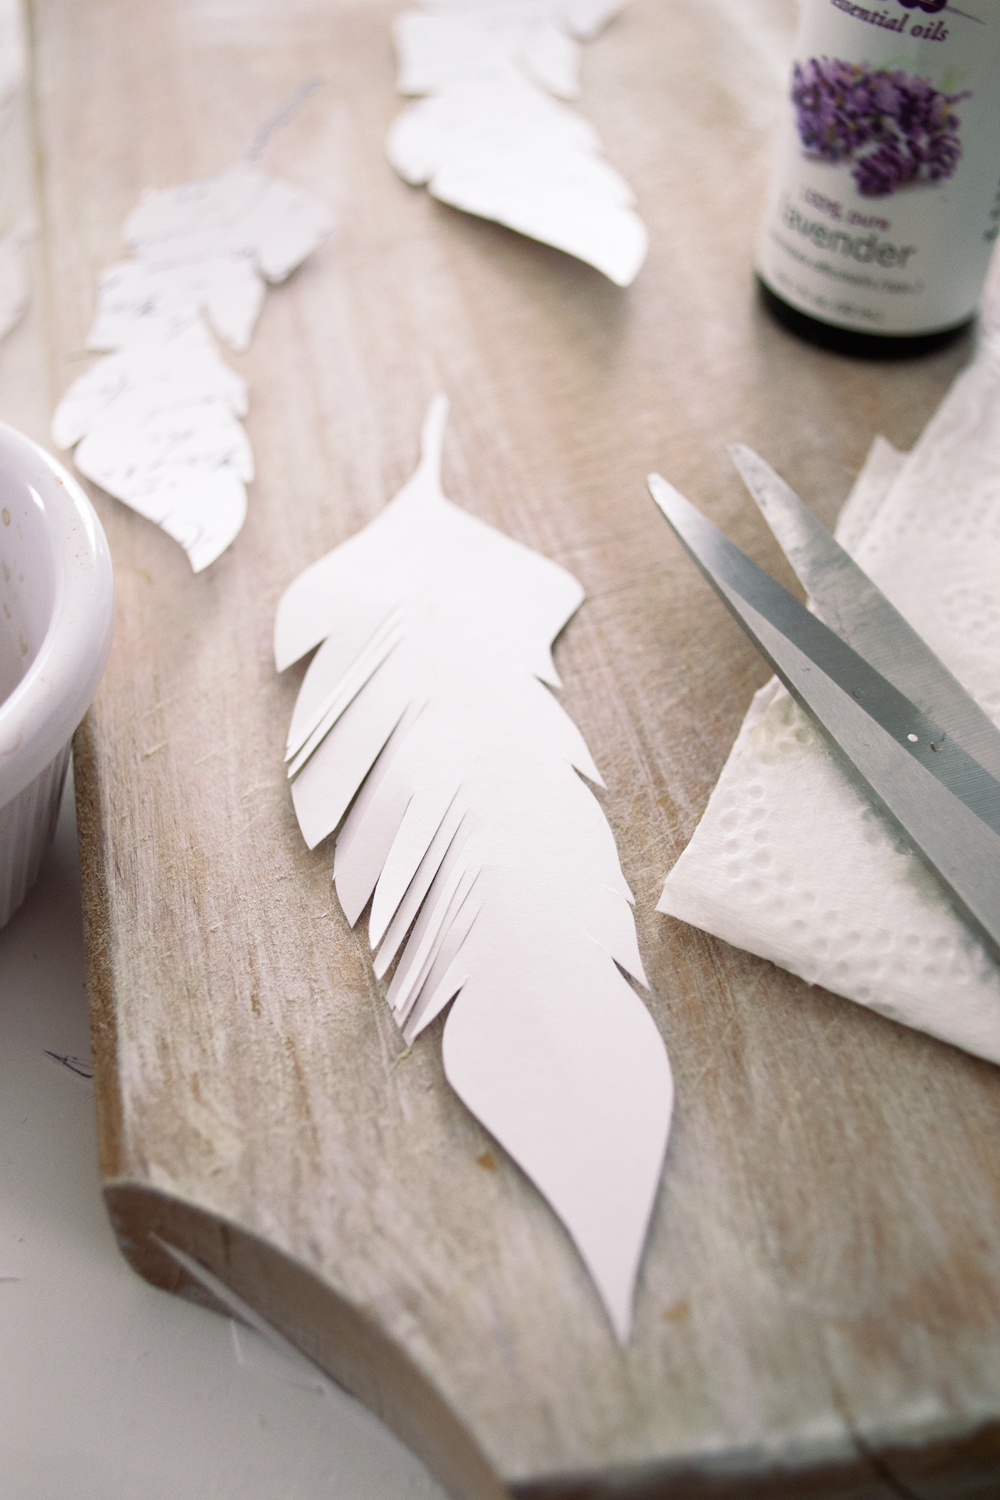
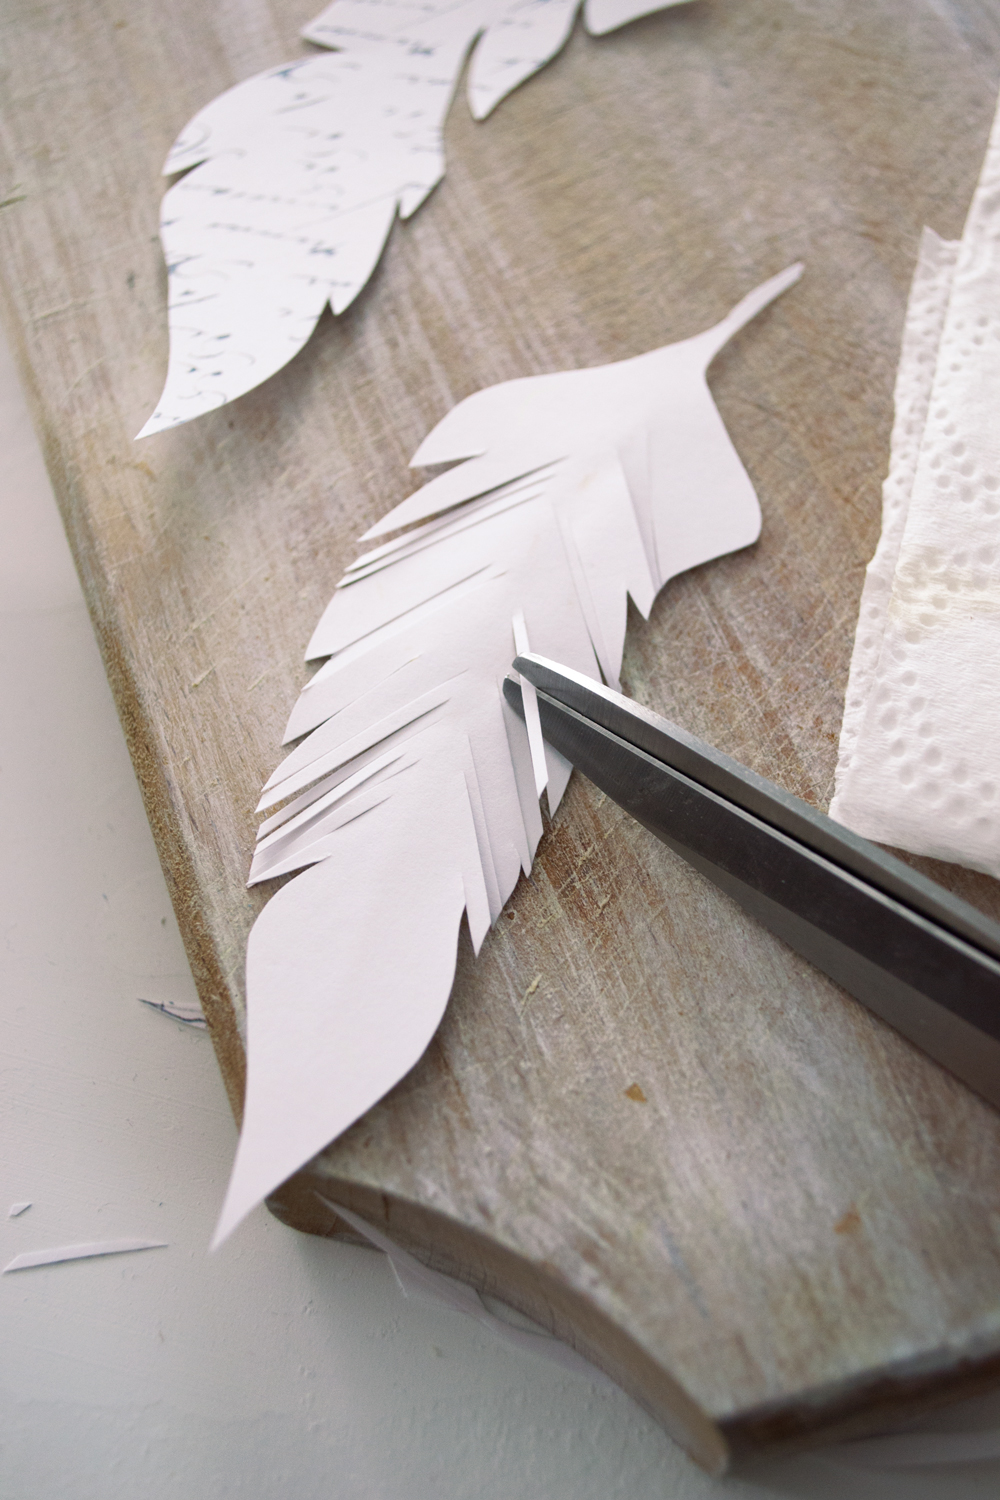
Then move to the opposite margins and create some cuts following the same guidelines. I’m showing you again the back of the feather so you can see things more clearly.
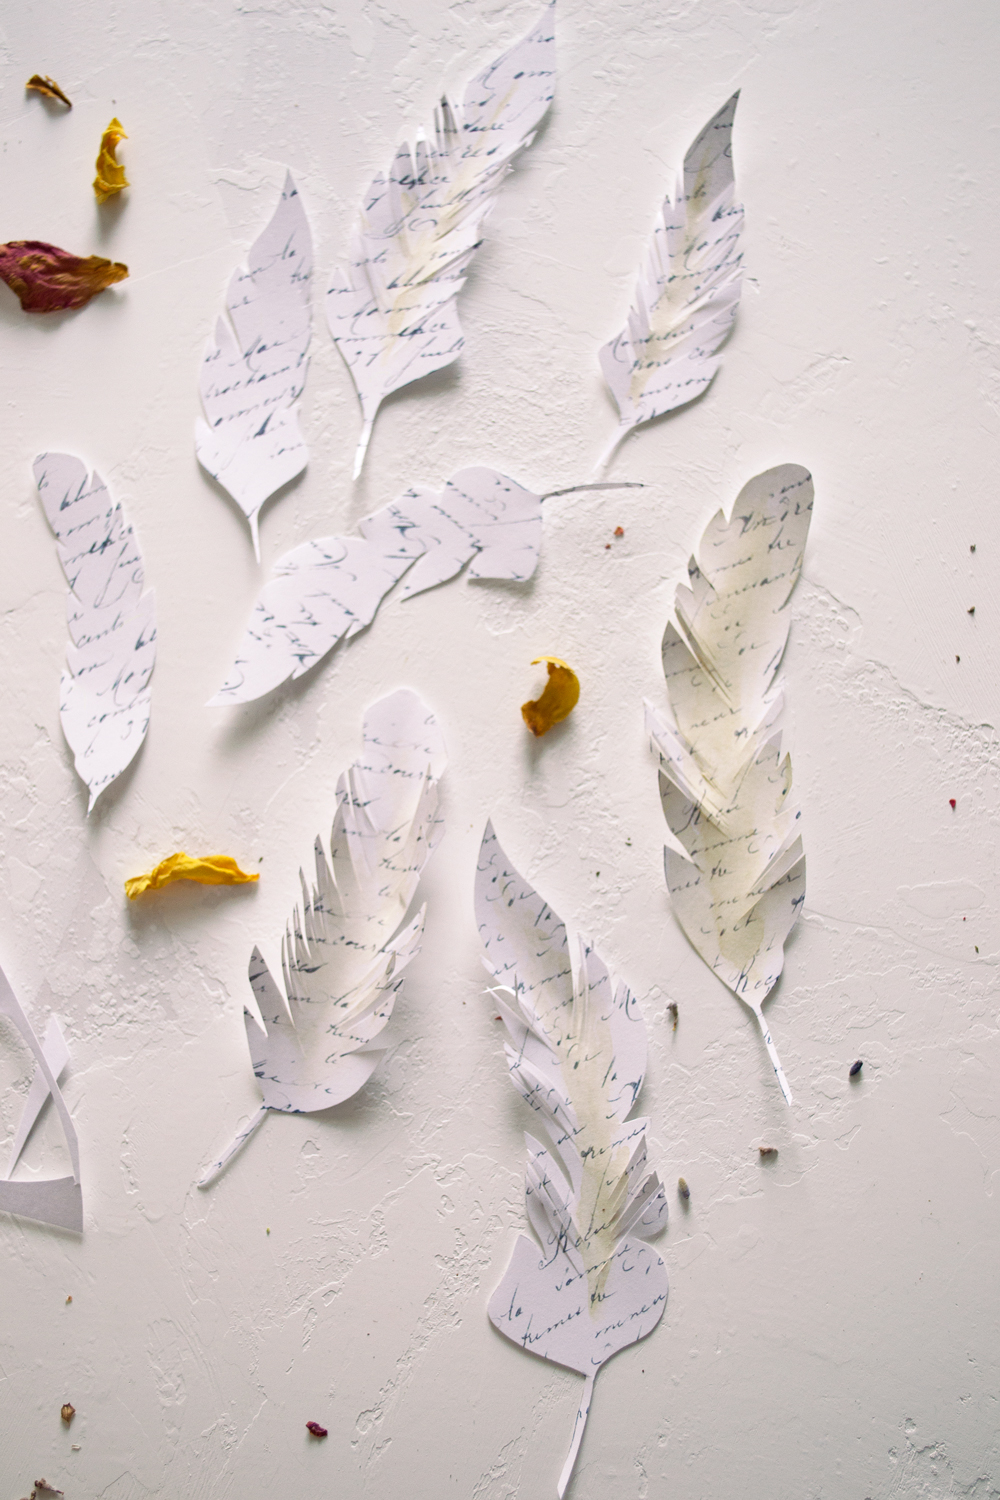
Now it’s really starting to look like a pretty stunning and realistic feather, don’t you think?
You can go further more with the whole realist look and (completely or partially) cut away some of the small ‘feathery’ clippings we did earlier.
You can also cut small section of the margins to create an uneven but truly unique shape.
Use your fingers to bend some of the edging in and out.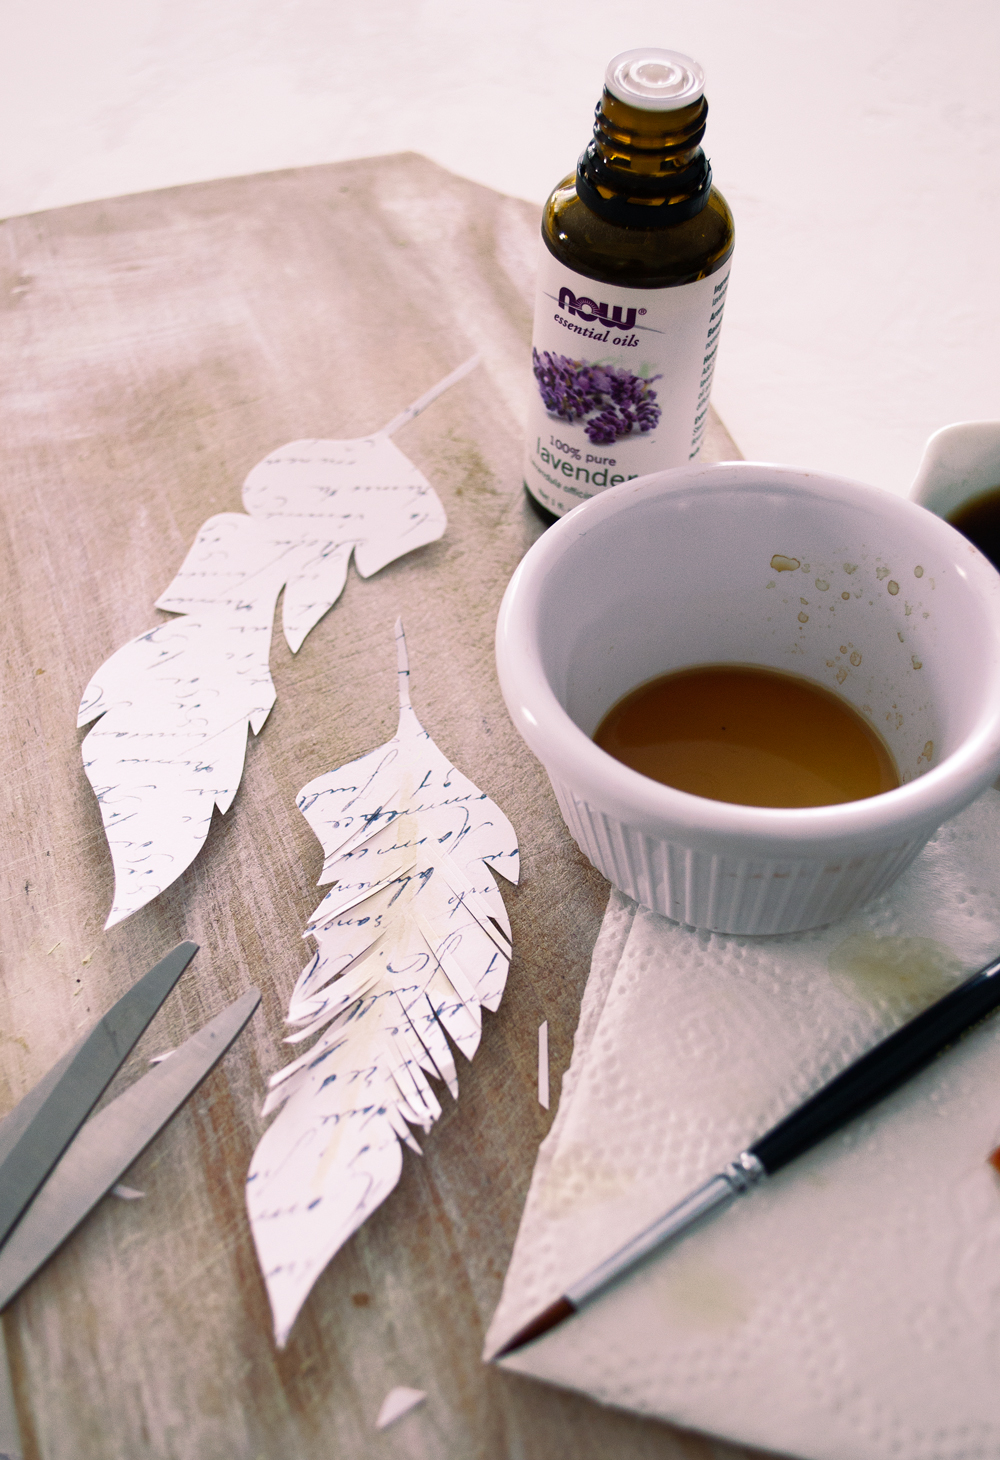
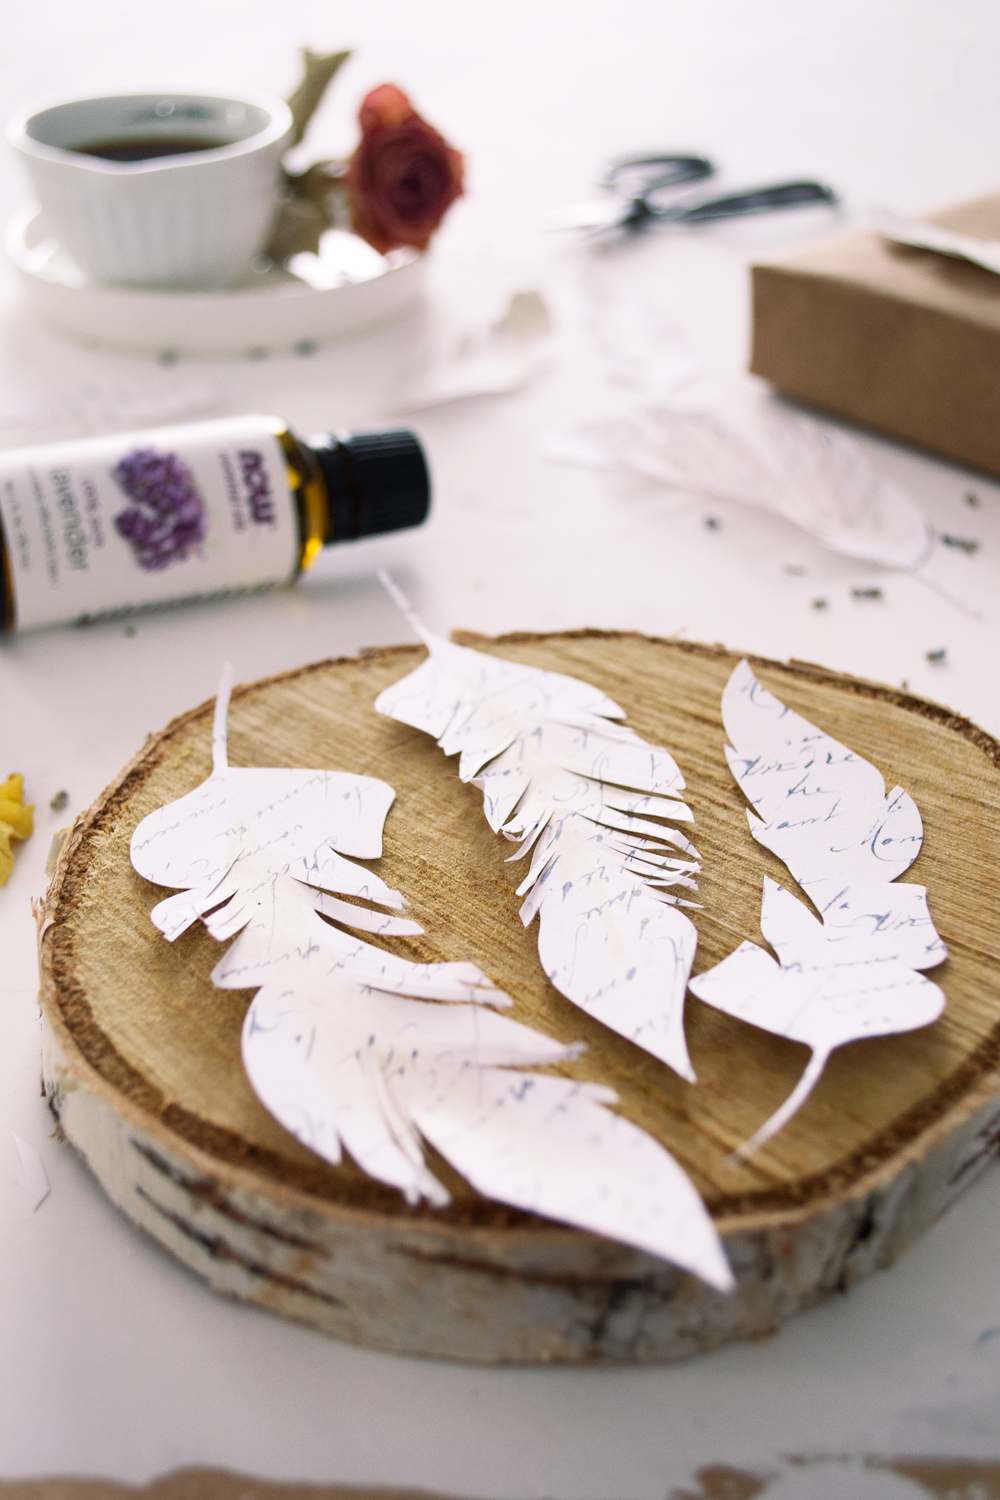
If you love their frayed look, follow the same steps for all the feathers and create similar looking pieces.
Add more or less of that coffee and essential oils mixture to partially or completely stain the feathers.
TIP: The essential oil fragrance won’t keep forever on paper, so it would be great to ‘refresh’ it once in a while by brushing some more ‘freshly made’ concoction.
Don’t be afraid to experiment furthermore or even skip some of the steps completely.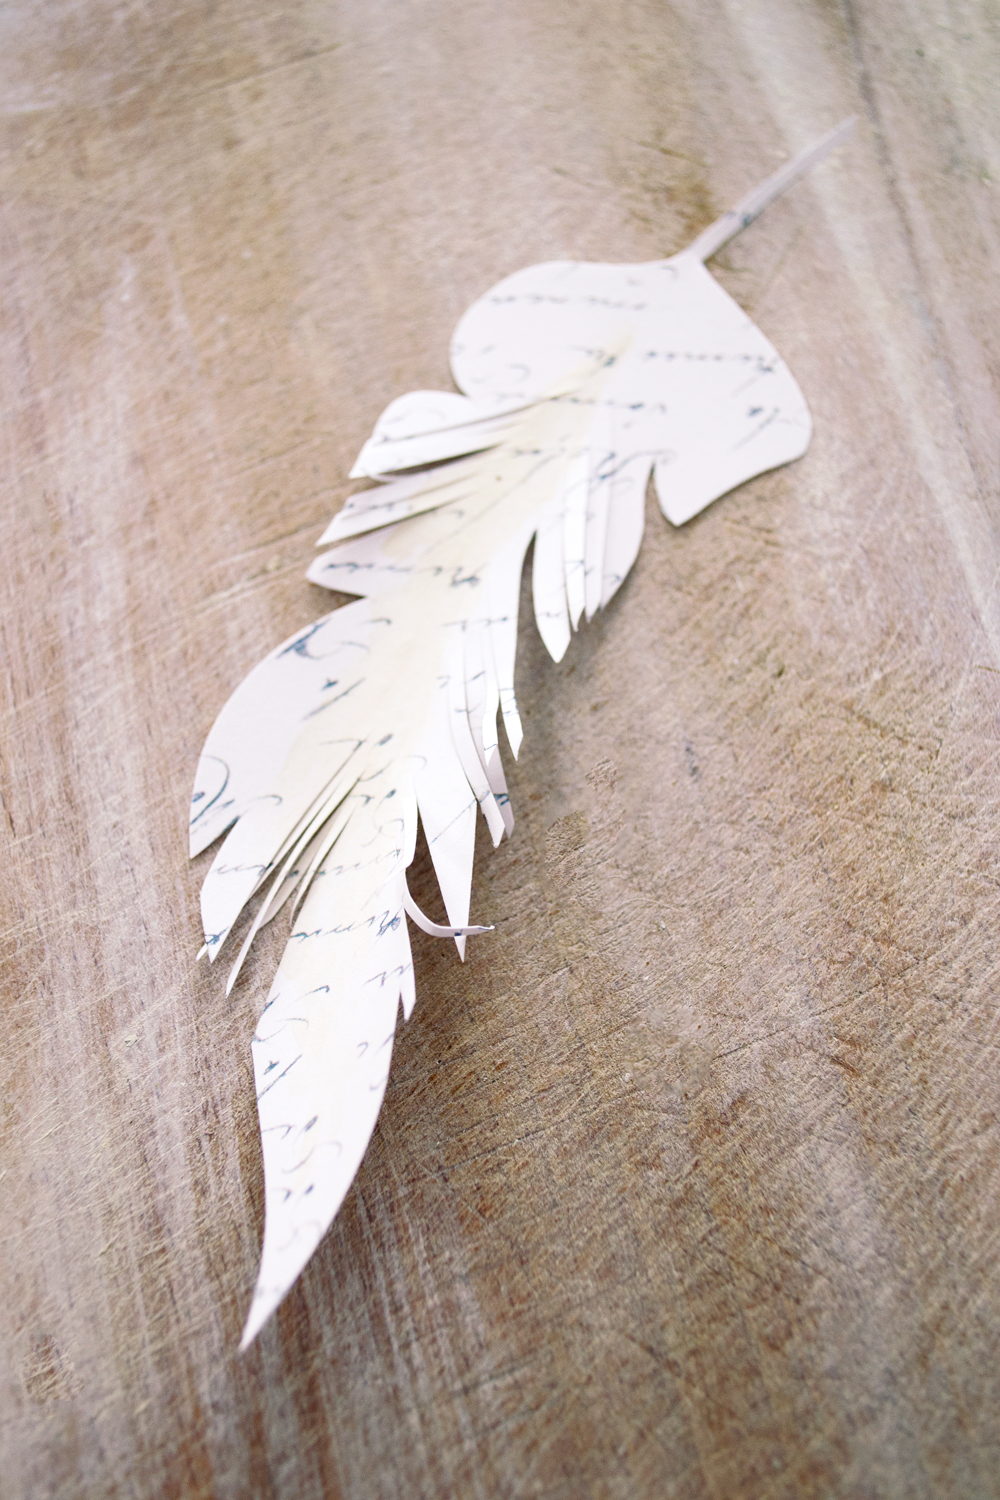
Mix and match is good! Similar or completely different French Script Paper Feathers will create truly unique and visually appealing effects.
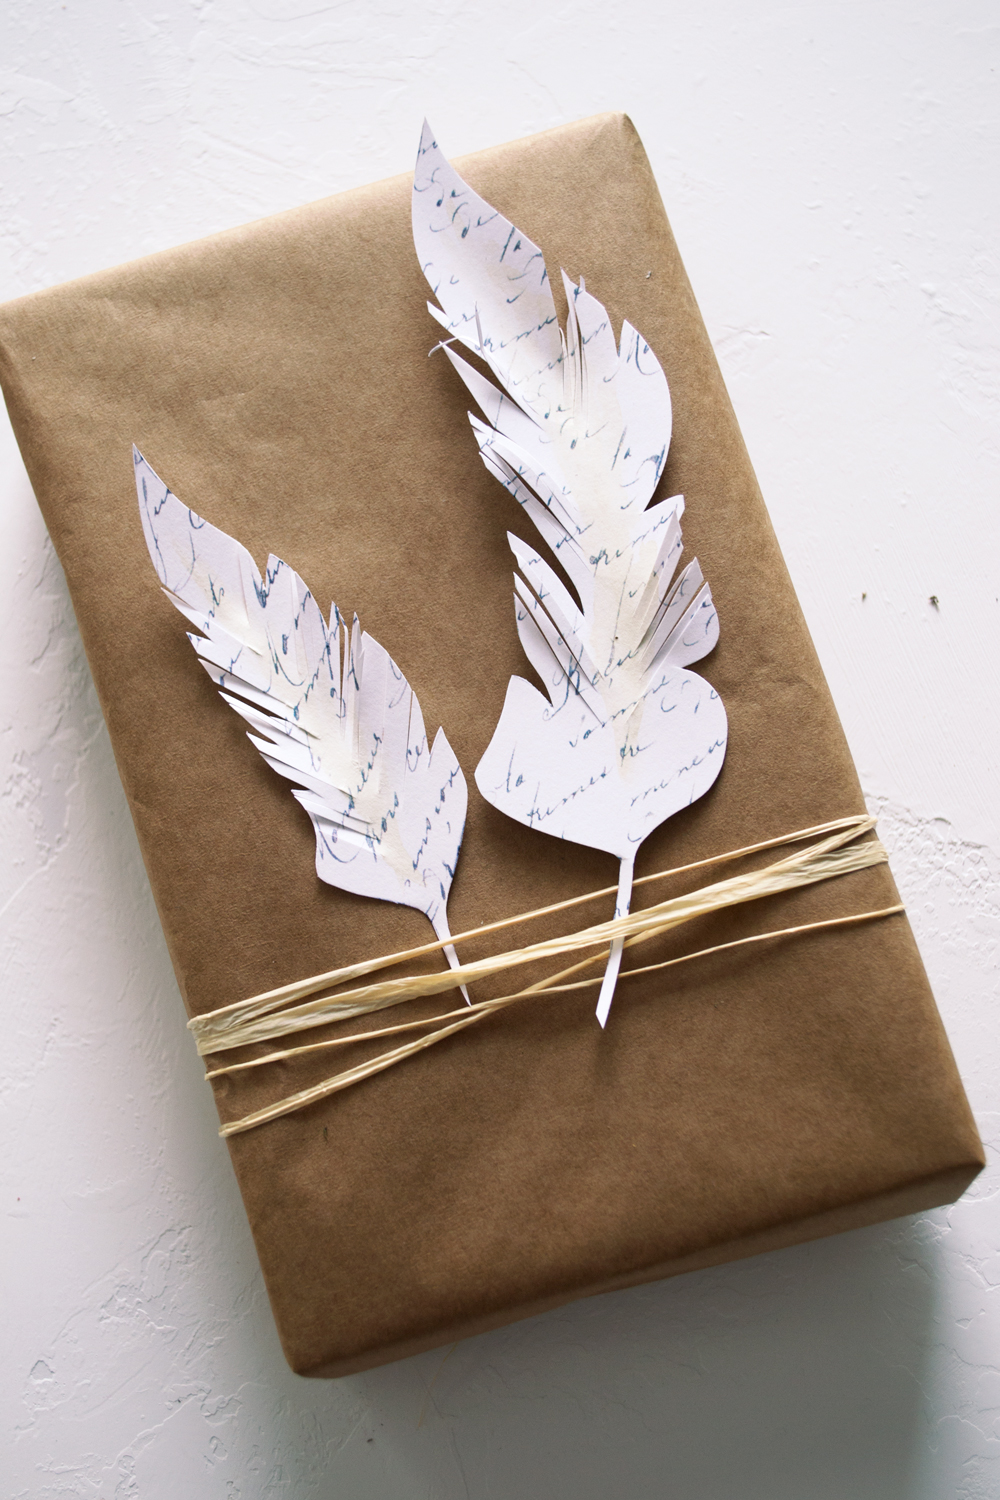
Use them in your home decor by simply attaching them to other decorative pieces, jars, bottles, flower pots, vintage books, there are so many possibilities!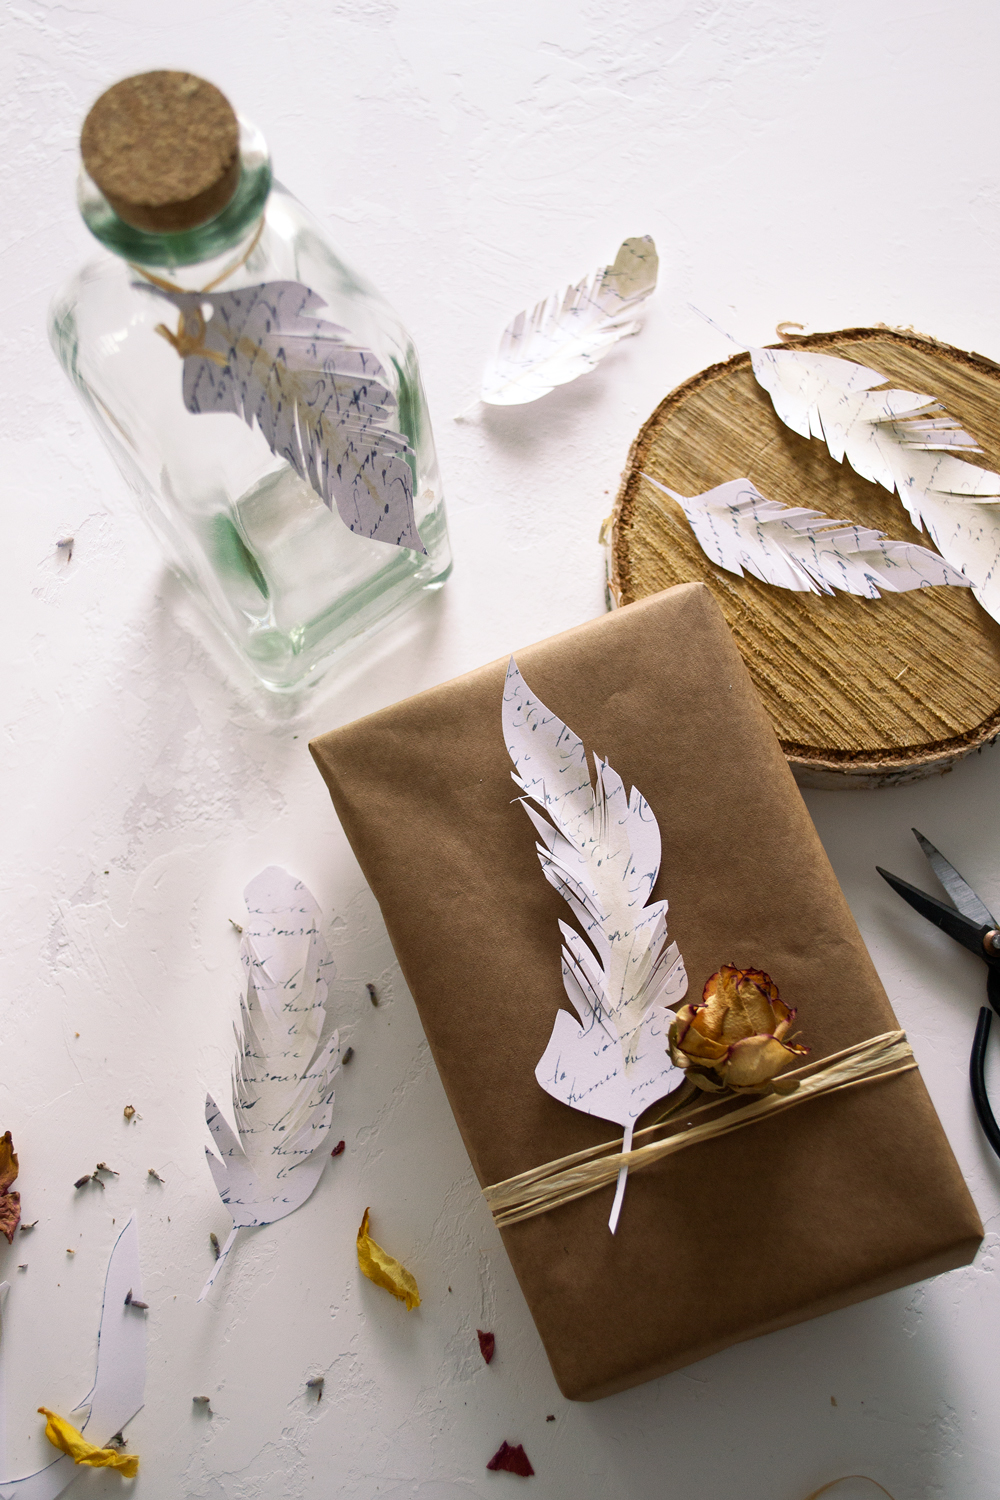
And if wanting to add character to gifts, things have never been easier when having some of these amazing French Script Paper Feathers around!
The charming handwritten French letter that I used to create this project is definitely one of my all time favorites and it’s perfect for using on other projects too!
That’s it for today! Hope you like my French Script Paper Feathers and decide to make some of these beauties … today!
I hope you enjoyed this Printable Feather Template project, you might also like my Paper Butterfly Printable and Project HERE!
For more similar projects you can take a look at my blog Dreams Factory, I’m always happy welcoming new or old visiting friends!
Diana


aleida says
Lovely, thanks!
graphicsfairy says
You are so very welcome Aleida 🙂
Susan H says
Thank you for the feathers. I used leftover brewed tea and damp coffee grounds to tint the printer paper after I cut out the feathers. They held up very well and tinted beautifully in different tones. I gave them to my daughter and she was thrilled. Thanks again for all the freebies.
graphicsfairy says
That sounds lovely Susan, thanks for sharing 🙂
JaneEllen says
The feel of these feathers is so embracing to me. I seem to need to feel what I work with, not only with my hands but with my gut and heart. Thank you so much for sharing these extraordinary feathers with us .I particularly love feathers and arrows.
All your projects are so incredible, you aren’t afraid to try things and how you think of them have no idea except for a fantastic imagination and courage along with curiosity.
I enjoy every one of your projects so much, gives me courage to step out of my comfort easy zone.
Happy papercraftimg
graphicsfairy says
Thanks so much JaneEllen, I think you are very creative and courageous all on your own 🙂
Elaine says
These are so darling! Thank you!
graphicsfairy says
Thank you Elaine, I am so glad you enjoy them 🙂
Mary says
Delightful
graphicsfairy says
Thanks so much Mary!
Sue says
Thank you for such a great project! I just love these, and the tutorial is excellent.
graphicsfairy says
Thanks so much Sue, so glad you like it!!
Deb says
Love these.I wonder.. if the oils can stain couldn’t you put some on the back ?
Cynthia Murphy says
I love all your projects and can’t wait to try this one!
graphicsfairy says
Thanks so much Cynthia, have fun!
Pam says
Simply stunning! Thank you for sharing this I LOVE it!
graphicsfairy says
Thanks Pam 🙂