Furniture Transfers for Chalk Paint Easy!
Hey Guys it’s Gina Luker, from The Shabby Creek Cottage, sharing another DIY project (or actually a technique) with you guys. This is a super simple Transfer method that I stumbled upon, while working on a few Chalk Painted Furniture Pieces. So I thought I would share it with you guys, in case you found it useful too! 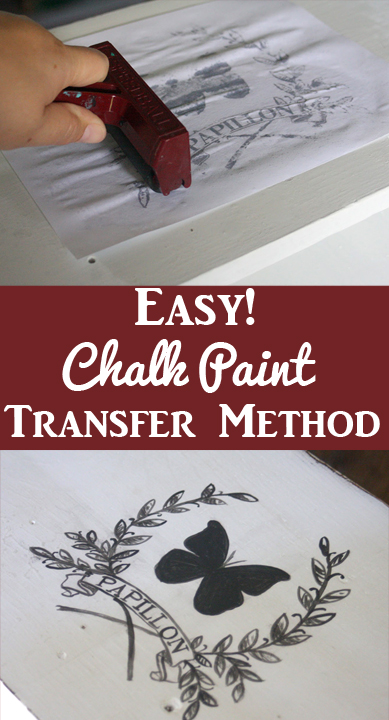
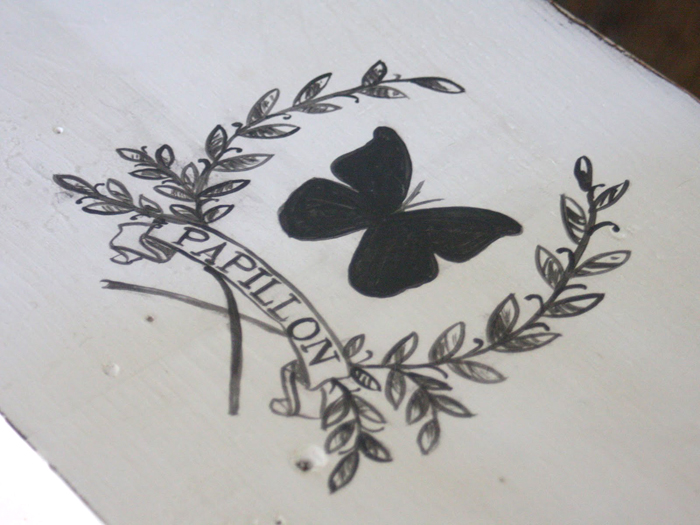
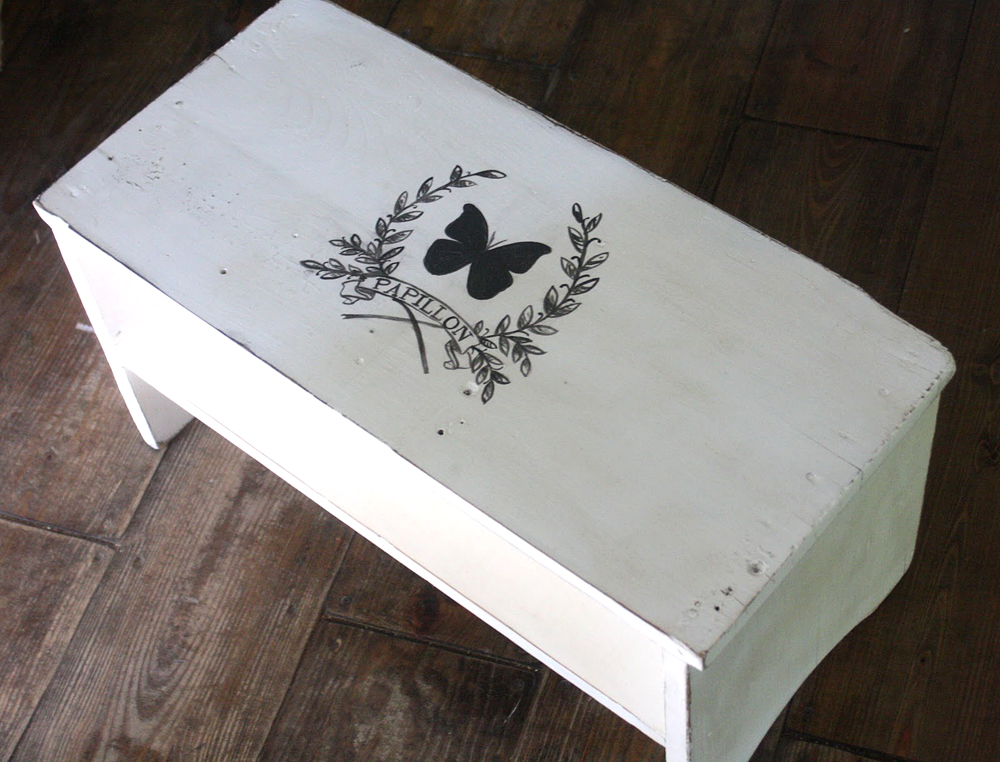
I’ve been working on lots of painted furniture projects lately, mostly from refurbished pieces. This week I used an old shoe caddy, and turned it into something special with a little help from the Butterfly Transfer Printable HERE.
I love using Annie Sloan chalk paint, because it goes on so smoothly and covers so well. Once it’s waxed the finish is so beautiful! I do love adding graphics, though, and before it’s waxed the decorative touches can be added to take it all to the next level. I’ve found that the carbon paper method can be somewhat messy with ASCP, but luckily I found another method that works well with the paint.
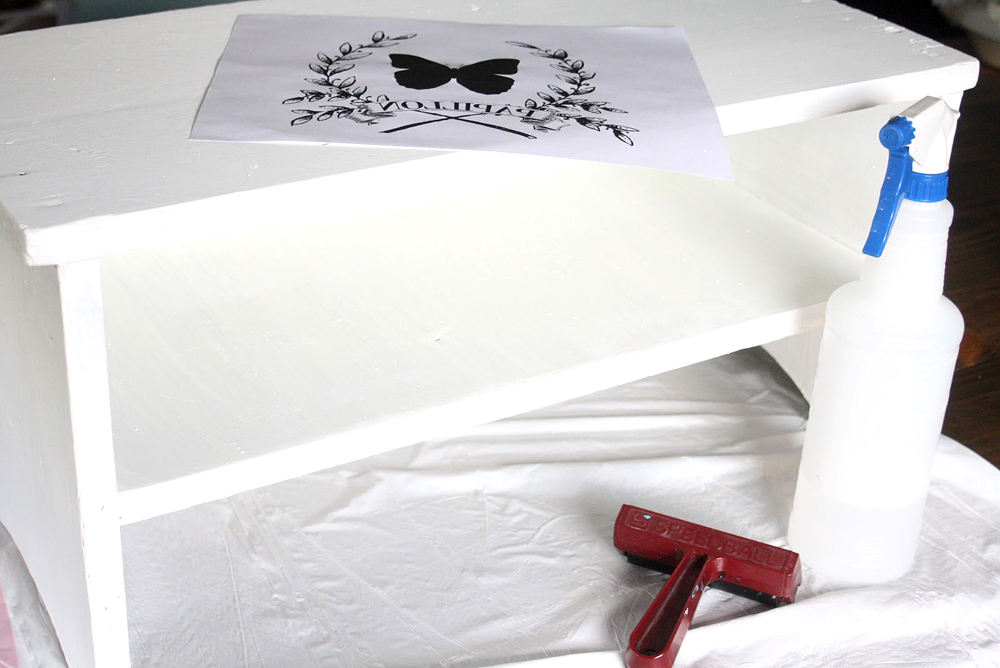
It only takes your print from your inkjet printer (make sure you do it in reverse), a spray bottle of water and a brayer. Oh! And you’ll need your pre-painted piece of furniture (it works well for signs, too!)
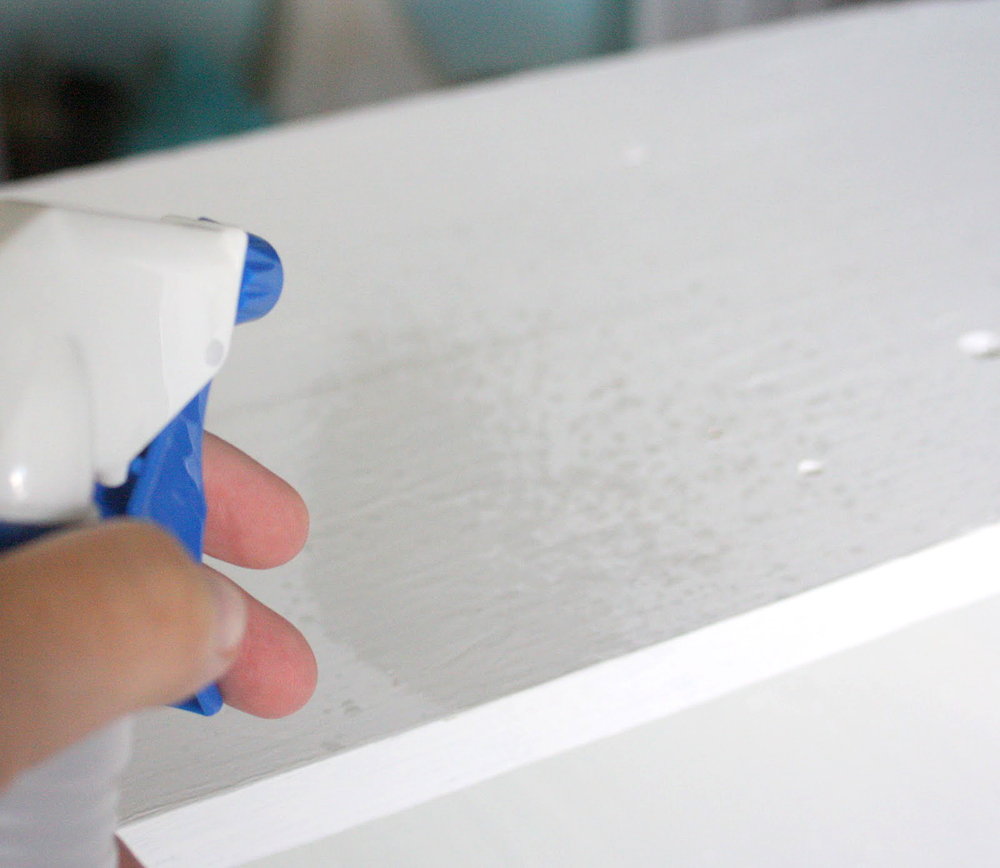
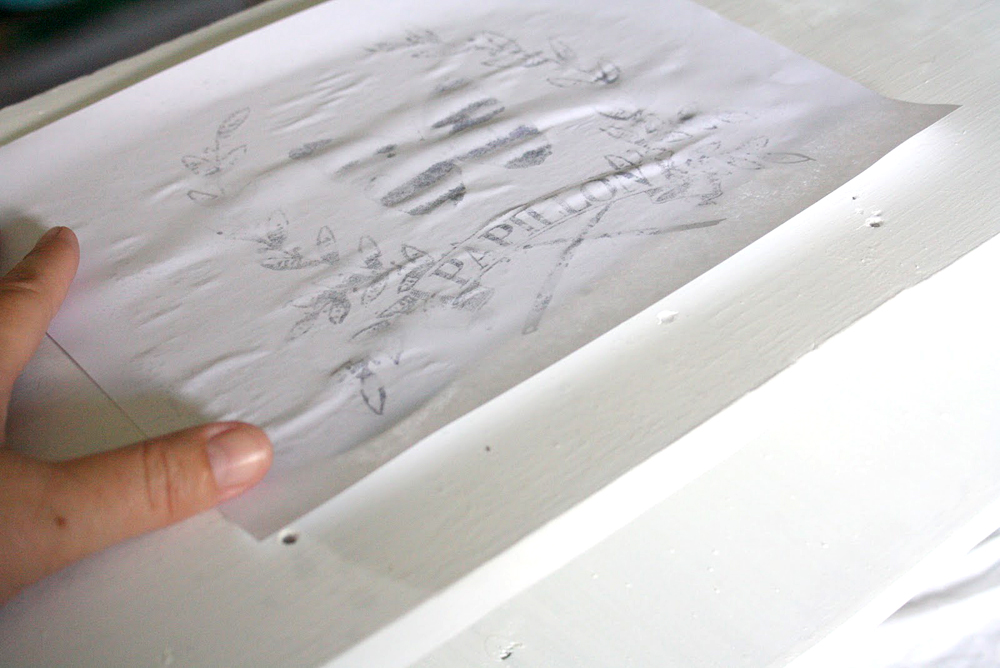
First lightly spritz where you want the image directly on the furniture. You just want to barely wet it, not soak it down.
Then put your image down on top and very lightly spritz the top with water. VERY LIGHTLY!
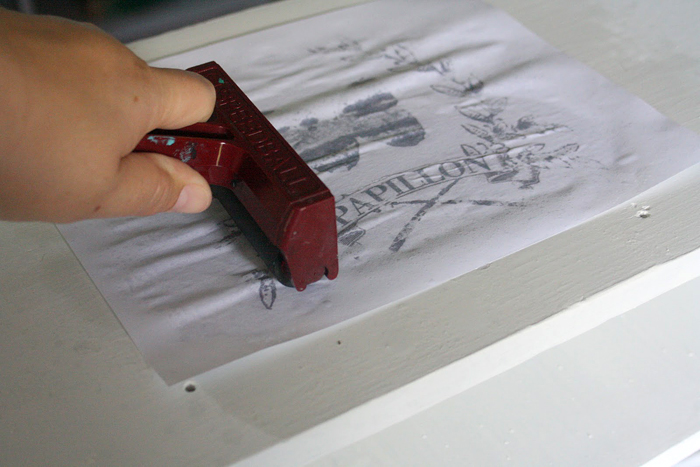
Take your handy, dandy Speedball roller, and give it quite a bit of pressure to push the ink off of the paper onto the paint. The chalk paint acts like a gripper and grabs the ink. If you have a bit too much water, then the image might bleed a little. As soon as you pull up the image, then take a paper towel and BLOT to get off the excess ink. If you do not press hard and roll well over the whole image, then there may be blank spots. Just use your image as your guide and fill in the missing bits. Once you’re finished no one will know that you didn’t mean for it to be that way 🙂
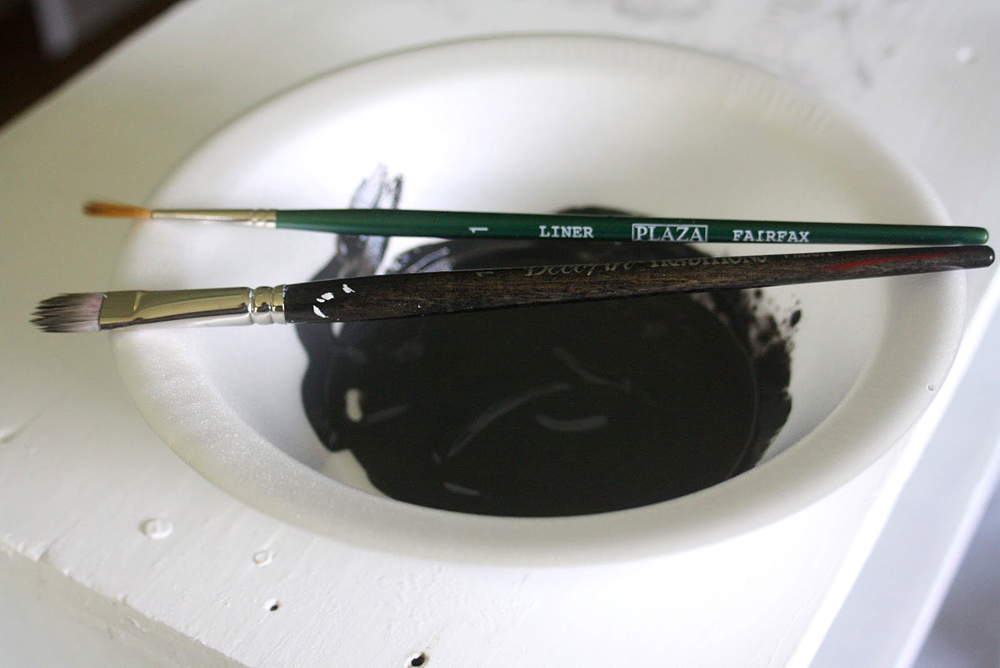
To do the decorative painting, I like to mix a bit of acrylic paint with some latex. It gives it a beautiful finish once it’s dry. I used the liner to do the detail work and the filbert to fill in the butterfly.
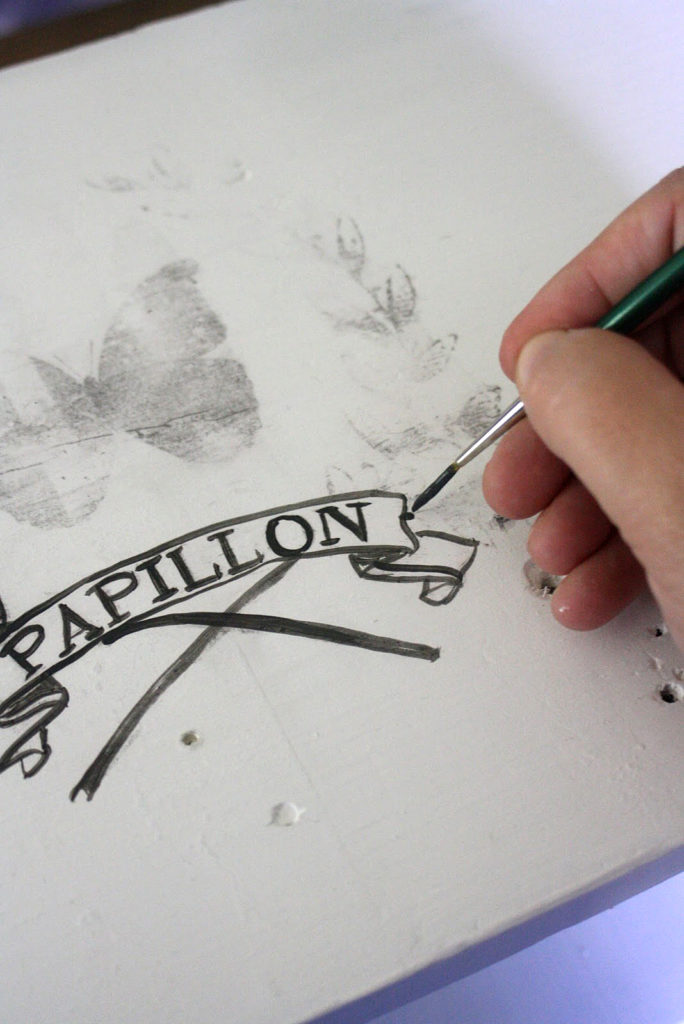
Take your time and go over the lines. You can see the unpainted portion just leaves a faint outline where I need to paint. I used my print as a reference to fill in all those missing details.
After you let the image dry, then go over it with clear wax very carefully so you do not smear the paint. Even when it’s dry it has a tendency to smear somewhat. Buff out the wax over the image, then distress and wax the whole piece.
I hope you enjoyed this project, stop on over on my blog at The Shabby Creek Cottage – I’d love to see ya there 🙂
Hello! Are you new to The Graphics Fairy?
Welcome, I’m so glad you’re here! Browse around to find thousands of Stock Images that you can use in your projects or designs! I post new Vintage images every day, as well as projects and DIY’s too! Need more info about my site? Try my FAQ page.



Rhonda says
Did you print the design on standard paper?
Dailyn says
I have used this technique, I use wax paper. The end result was beautiful!
Karen Watson says
I’m glad it worked for you Dailyn!
Dipali says
Sorry…but I am relatively new to this…..but where is the chalk paint used ?? and what is the spray of war and brayer ? can u please elaborate on this as it would really help……..thanks
Suzanne says
Can you use regular pre pared stencils that you rub on??? Like are sold at Hobby Lobby
Karen Watson says
Hmm. I’m not sure what that means Suzanne. Stencils don’t usually rub on, they are applied using paint. Something new maybe?
Denise Marie Saylor says
This is so cute! I wonder if you sprayed the image with Fixatif before you waxed if it would help with the smearing? I’ve used that product before on a few different things where I had that concern and I had no issues 🙂
Anonymous says
Thanks so much for the great tutorial. I too would like to know if it was an inkjet print or a laser print. Sometimes, some of the projects posted on the graphics fairy specifically state what type of print we need to use. I am really excited about all of the projects and can’t wait to try my hand at transfers, so I would really love some clarification on how you did your transfer.
Karen Watson says
This one is inkjet. Have fun transferring!!
Bench Memorials says
Gina, this looks fabulous, great work and ‘sounds’ relatively simply, may have to try this myself on some of our designs 🙂 Thanks for the tutorial.
SheilaG @ Plum Doodles says
This looks great, Gina. I have been trying to figure out how to transfer a design to paint, but graphite paper is so expensive. I just did one using charcoal on the back of my design, but it’s quite messy. This looks so much nicer, and cheap- my kind of project! 😉
Holly says
I use a plain old number 2 pencil on the back of my images. Tape in place and trace your image. I do all my signs like this. Super easy and cheap!
graphicsfairy says
Great idea Holly, thanks for sharing!
Betsy@ coastal-colors says
I had no idea you could transfer to chalk paint this way. I have used other methods and love having a new one. Thanks for sharing! This looks great!
eliana says
Me gusta mucho
Karen Watson says
🙂
Sylvia says
What kind of printer did you use? Ink Jet or Laser?
Shastar says
This is a great tutorial. I use your graphics all the time using the mod podge method, but will have to try this over chalk paint next time. Thanks.
FarmGoneAmuckChick says
………… Thanks, fabulous work & love the tutorial …. 🙂 … 🙂
Charme d'antan says
Hi Gina,
We simply love your creations, especially the transferts.
We’ve tried to do some. You can see them on our blog.
Thanks very much
Dina says
The shoe caddy all of a sudden looks very interesting! 🙂
I like it a lot!
Nanaluvs2scrap says
It looks lovely to me also, and quite doable. I love this idea. Quite simple as long as you stick with pretty simple designs.
graphicsfairy says
Thank you 🙂
mcddiss says
gracias por compartirlo , parece una tecnica sin complicaciones y muy efectiva
besitos
Mari