DIY Bee Tags
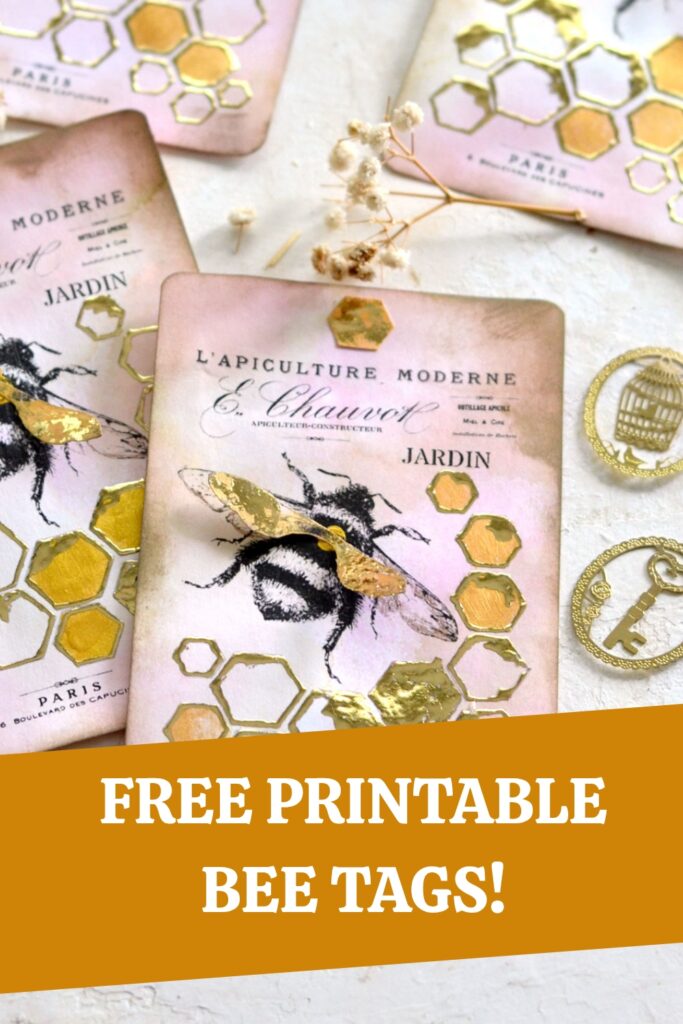
Hello, Graphics Fairy friends! I’m Diana from Dreams Factory and I’m happy to share another DIY project with you – today we are making some gorgeous vintage DIY Bee Tags! I will walk you through all the steps for making these unique tags, that are the perfect combination between a few mixed media processes and a classy touch of gold that really takes them to a whole new level of chicness.
While creating this summery printable for this project, I had no idea how I would further decorate it. I knew I wanted something that would instantly make me (and you) think of dripping honey and bright summer days … and gold foil was the first thing that came into my mind! I would say it was THE PERFECT choice, because now I can’t stop admiring these glowing beauties!
The 3D ‘flying’ wings of the bees were inspired by another one of my projects – The DIY Mixed Media Bee Tags, a lovely project that you can also try, if you haven’t already.
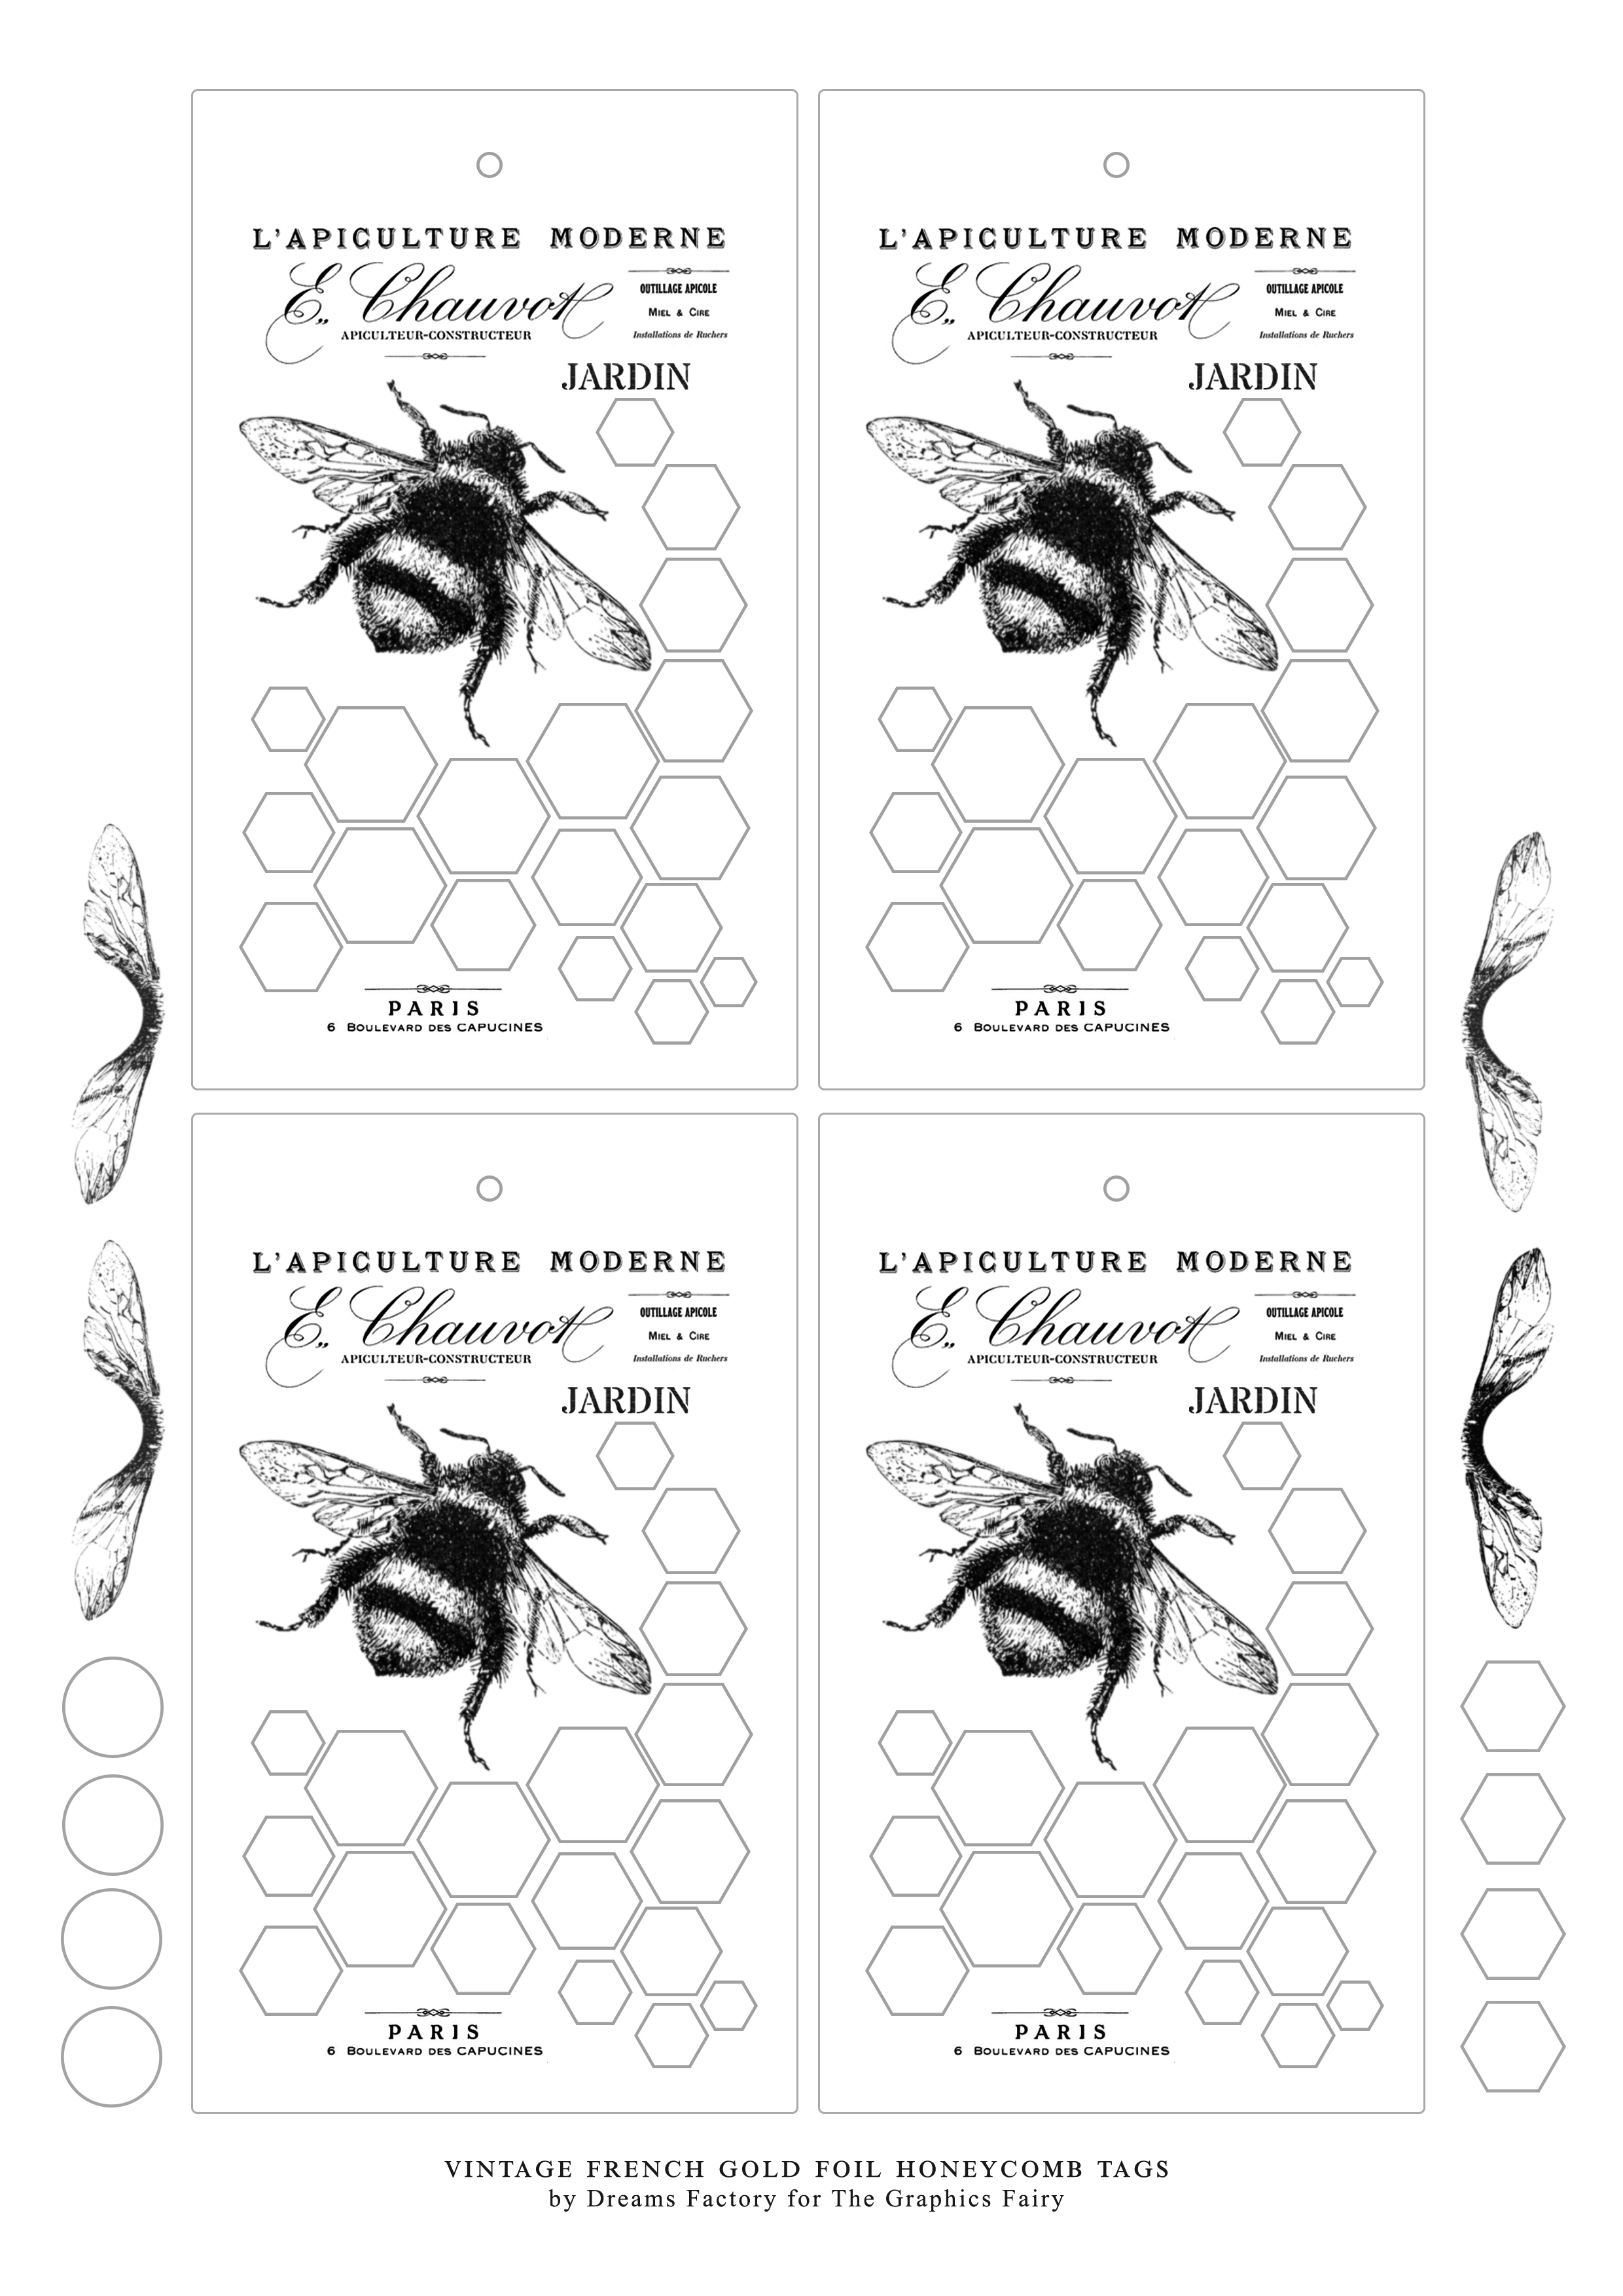
The printable that I created for you is a beautiful starting point for experimenting and letting your creativity flow. It includes this beautiful black and white bumblebee and a few honeycomb elements that I designed. It has a vintage French flair and of course, it’s highly adaptable to your needs … so feel free to use it in any of your other projects too! I included the 3D wings as separate elements on the sides, along with 4 hexagons and 4 circles that can be used as reinforced holes on your tags. How cool is that?!
Free Printable for DIY Bee Tags
—-> Click HERE to Download the Full Size Printable PDF (large) <—-
NOTE:
If you are not familiar with gold foil (which is different than gold leaf), I would suggest checking these projects first:
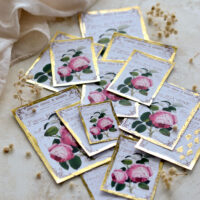
DIY Gold French Rose Tags and
Easy Gold Foil Decor
You will find more valuable information about what to take into consideration while working with this type of foil.
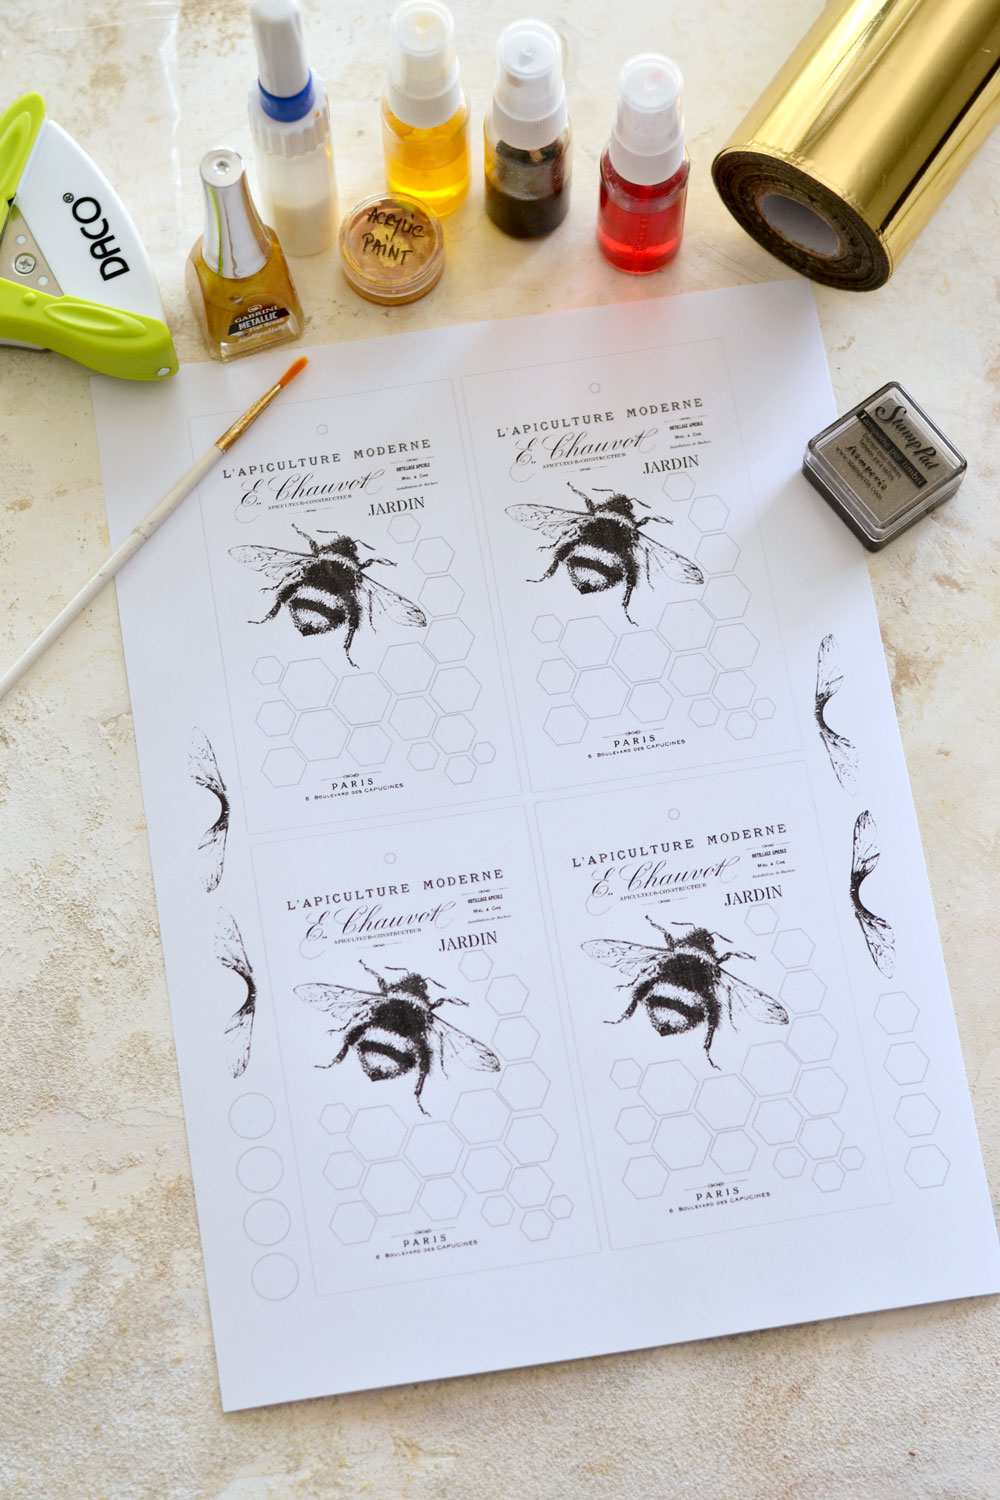
Supplies for DIY Bee Tags:
- the lovely honeycomb & bee printable
- cardstock paper
- home printer
- corner rounder punch
- ink sprays – I used yellow, magenta and brown
- gold acrylic paint and a small brush
- gold metallic nail polish
- a stamp pad (I used dark gold) or a distress ink pad
- gold foil
- scissors
- gold foil glue
- fineline glue applicator
- sealer – I used a water based polyurethane varnish with a matte finish
- a plastic sheet or a non absorbent surface (to protect your working area)
Full Tutorial:
Paper staining
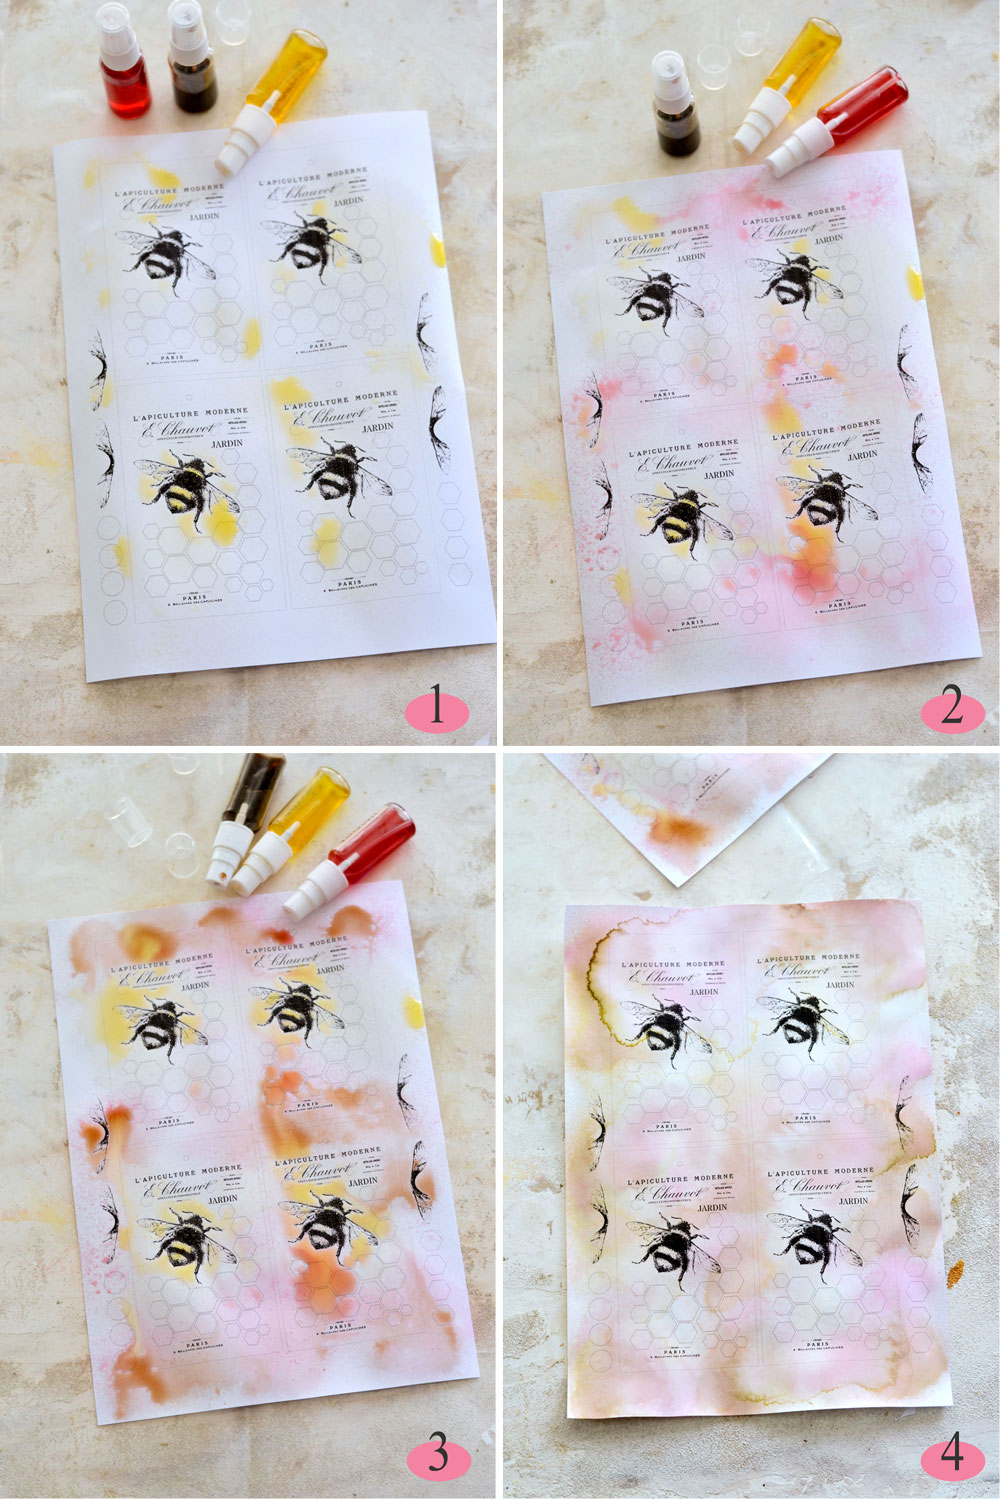
I started by printing the lovely free printable on cardstock paper and placing a plastic sheet on my table, to protect my working surface. I used my ink sprays to give the paper a beautiful watercolor-y effect, but you can also use regular watercolors, highly diluted acrylic paint, coffee, tea or this cool avocado dye. Even distress inks would work! Choose the colors that make you happy in general or the colors that you feel inspired by in that particular moment! I love using my ink sprays lately – especially the yellow & magenta ones – and I enjoyed every mist I put on that paper! I didn’t want my tags to be too colorful, but rather give them a soft and intriguing starting point, one that would perfectly complement the gold foil afterwards.
I chose the lighter color and gradually went towards the edges with the darker colors, because I wanted to create some sort of a vignette effect. I love using ink sprays in this way, before actually cutting each individual tag because you get to create a lovely ‘flower power’ surprising effect that allows you to get excited each and every single time!
1. I went with yellow first (the lighter color) and sprayed some ink here and there – but mostly on the inside of the tags.
2. My second color was magenta and I lightly sprayed it towards the edges of each tag.
3. For some final touches I used a little bit of brown on the edges and then again with more of the two colors used before, to brighten some of the areas. Don’t forget to spray some ink on the additional elements too.
4. The final dried paper will get somehow crispier and a little bit wavy, just put it between the pages of a book if you want to flatten it (I didn’t).
Paper cutting
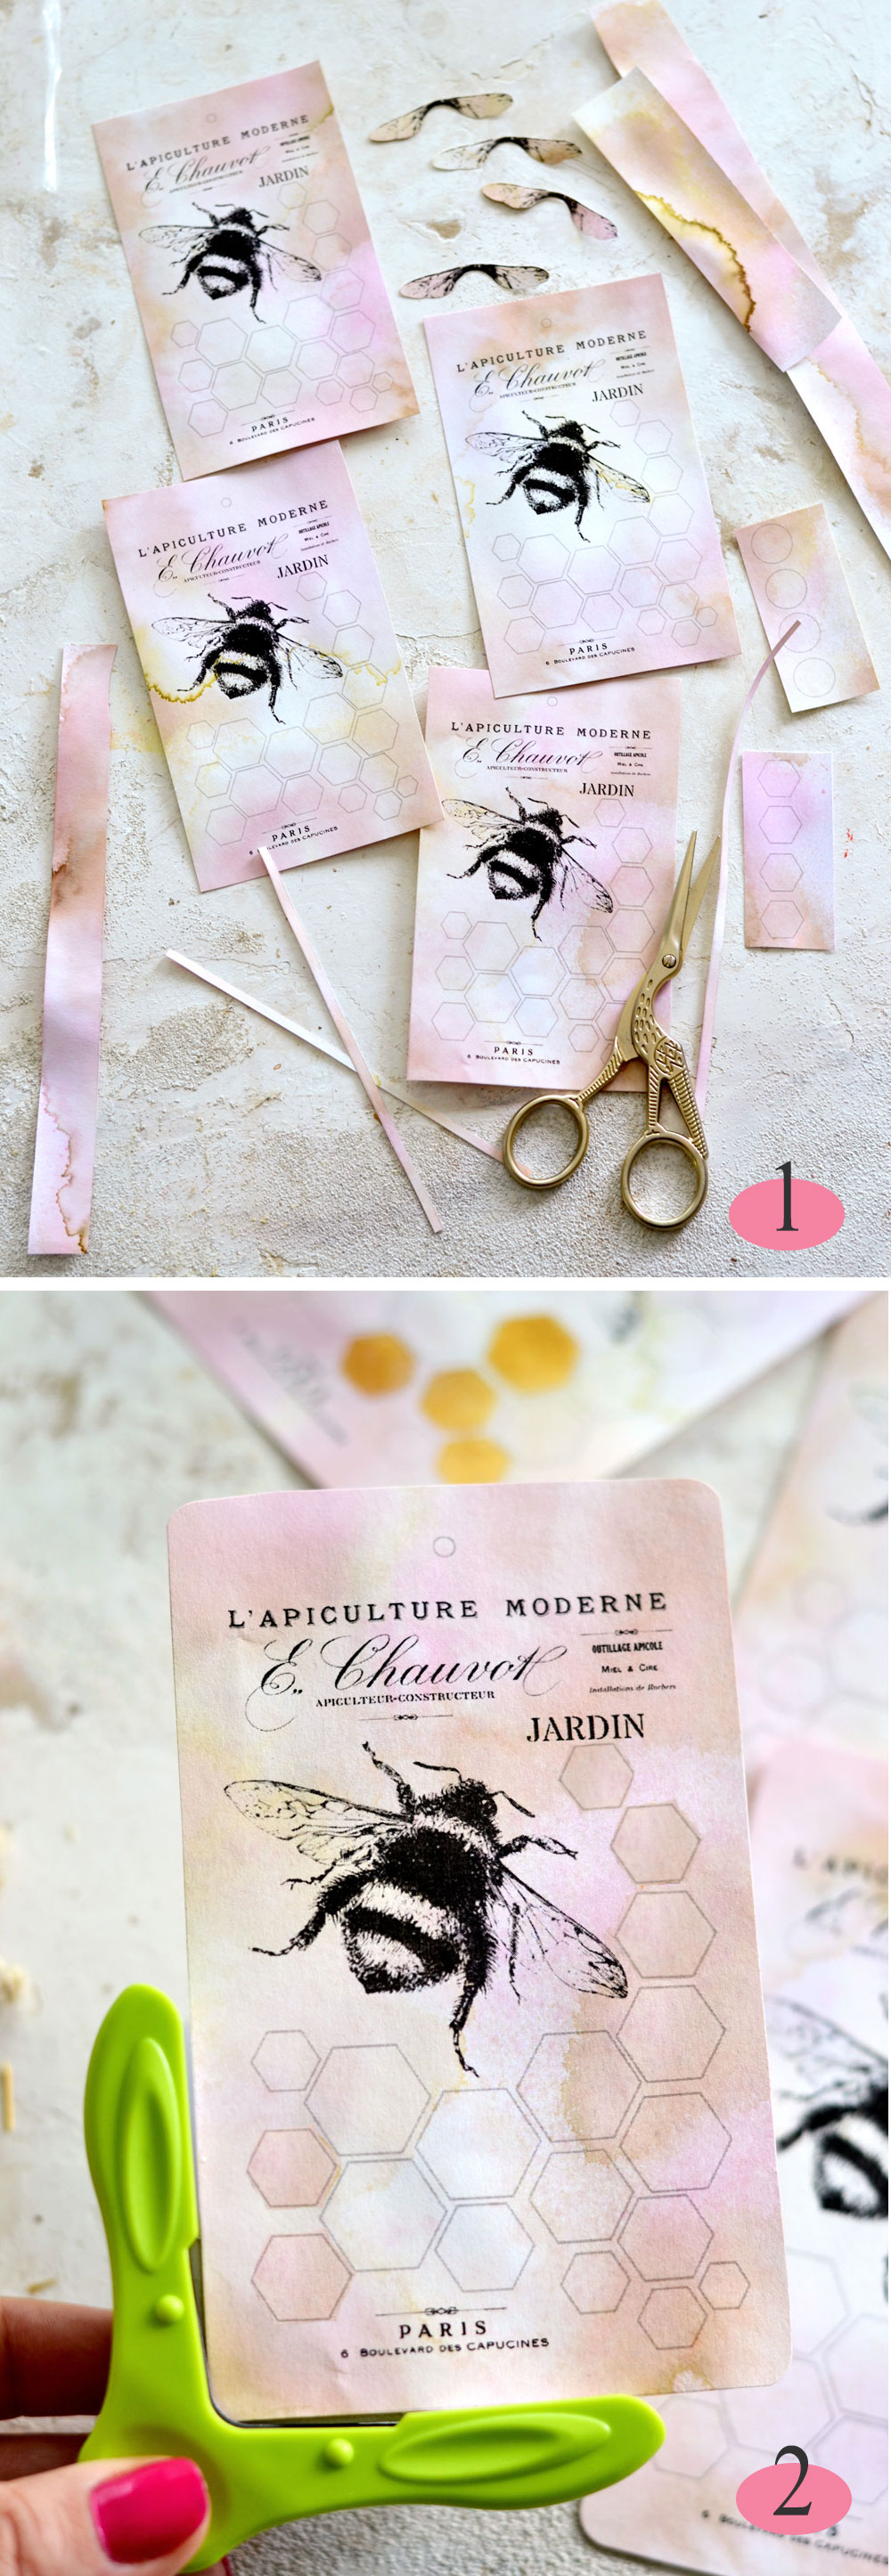
1. Use your scissors to cut each tag and each additional wing. As for the reinforced holes, I thought it would be easier to paint them first, while still being ‘attached’ to the page.
2. As an optional step, you can use a corner puncher to round the edges, if you want. You could also use scissors and try to evenly round the edges, I really love a nicely rounded edge!
P.S. I actually followed the cutting corners step later on this project, but now it would be the ideal time do it.
Acrylic paint and nail polish painting
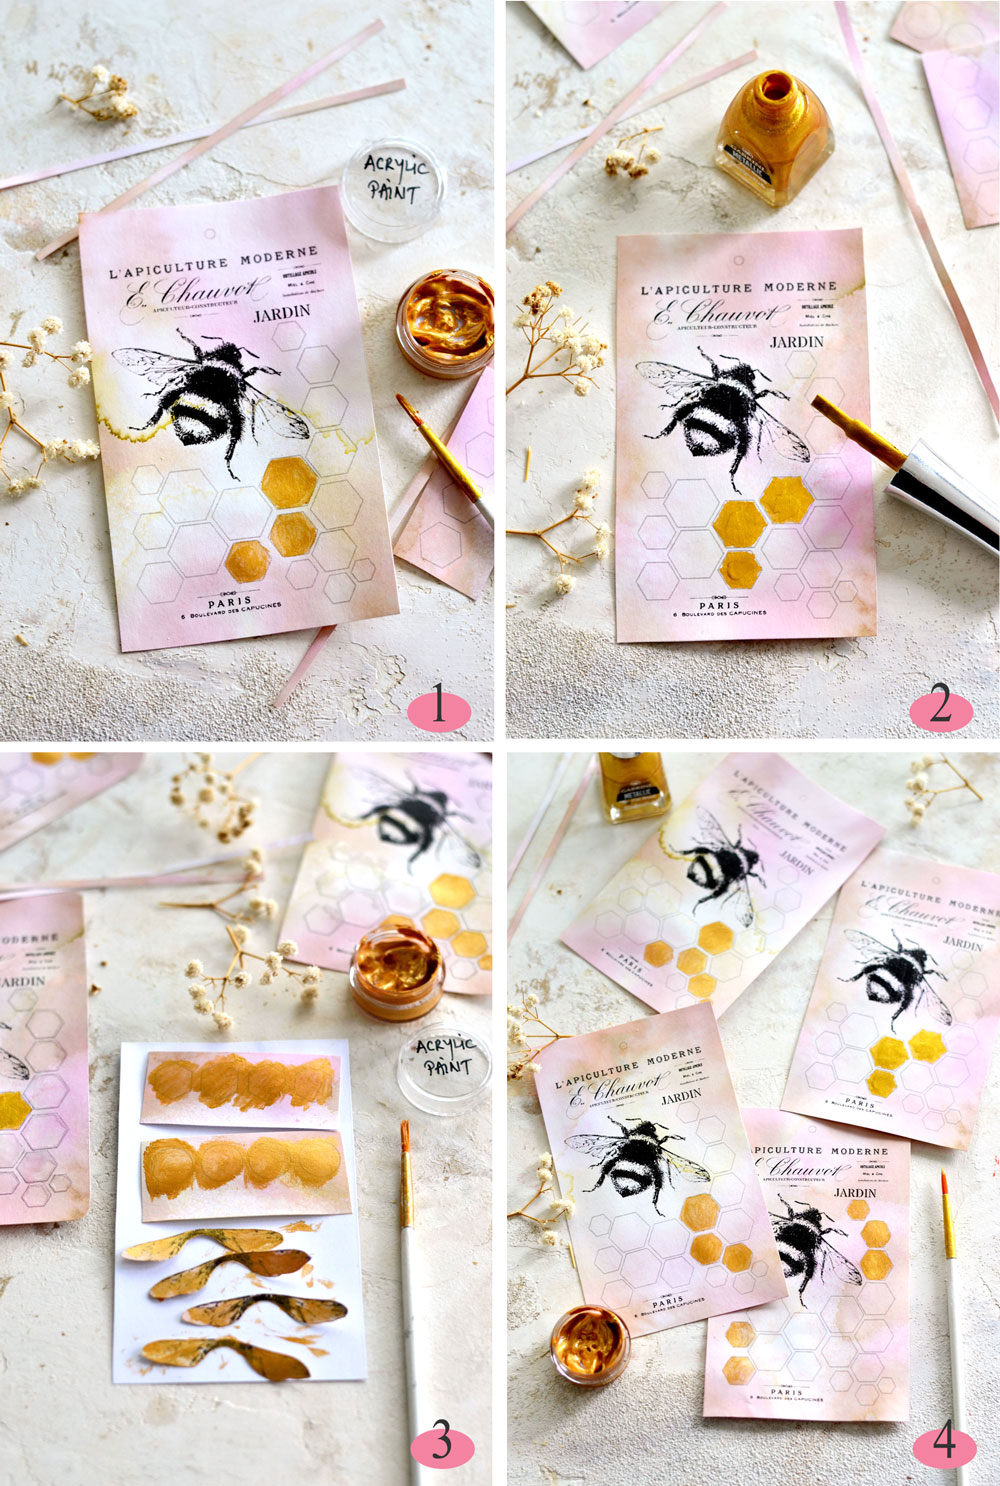
At this stage I had fun with metallic acrylic paint and metallic nail polish and painted some of the honeycomb’s hexagons, along with a few of the other additional elements. The whole painting idea was to add a little bit more interest and depth to the tags. You can use other metallic ‘paints’ like calligraphy ink or liquid gold leaf, even metallic watercolors. I painted the hexagons in unpaired numbers (3, 5, etc.) because human eye is more visually attracted to these kind of numbers.
1. I used a small brush and a little bit of acrylic paint on some of the tags following a somehow random unpaired numbers pattern.
2. I followed the same unpaired numbers pattern and I painted other tags using my gold nail polish. I thought that the brush that came with the nail polish bottle was OK-sh for actually applying the ‘paint’ and I loved the almost raised effect I was able to create. The nail polish has the tendency to dry quickly on paper, so don’t worry if it looks gloopy in some areas, it will nicely complement the whole vintage final look.
3. I went with diluted acrylic paint over the additional wings and the reinforced holes. When diluted, acrylic paint is more transparent than nail polish and I wanted to still be able to see the original design.
4. I really loved how my tags started to look!
Distressing the edges
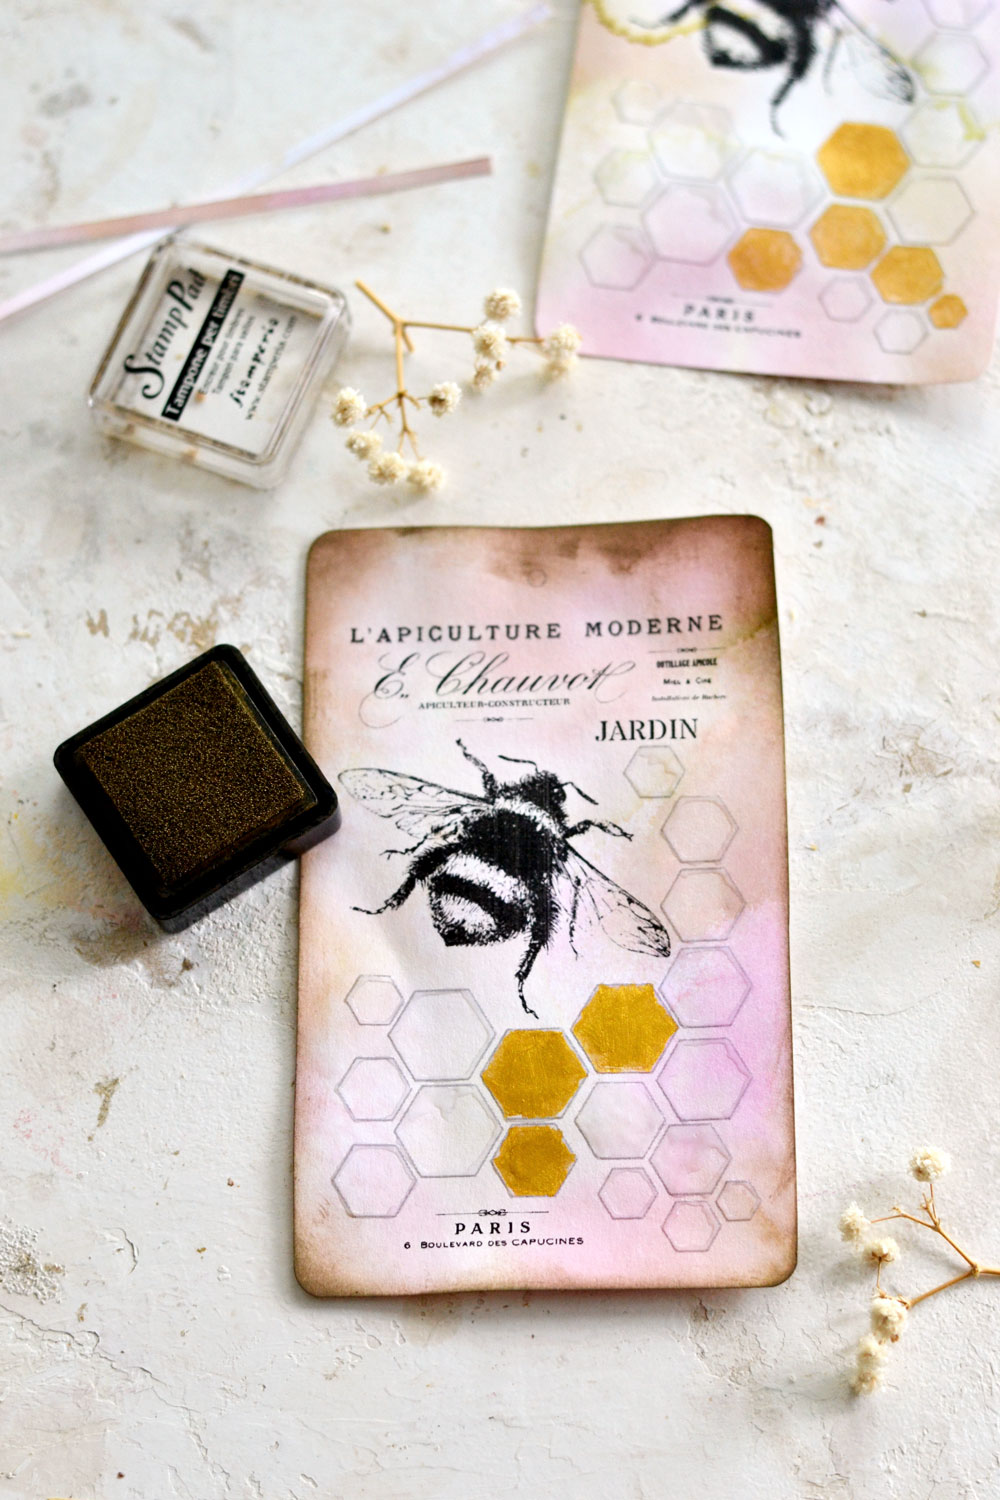
At this stage you could also add more of that beautiful vintage vibe to the tags by distressing the edges. Use your favorite distress inks or a regular ink pad (I used a mini cute one) and go all over the edges, insisting on the corners. I always say that the level of distressing is a personal choice and I actually had this part in mind while designing the tags. So you’ll have plenty of room on the edges to experiment and go as crazy as you want!
P.S. (again) I actually completed the distressing of the edges step later on this project, but now it would be the ideal time do it.
Applying the gold foil
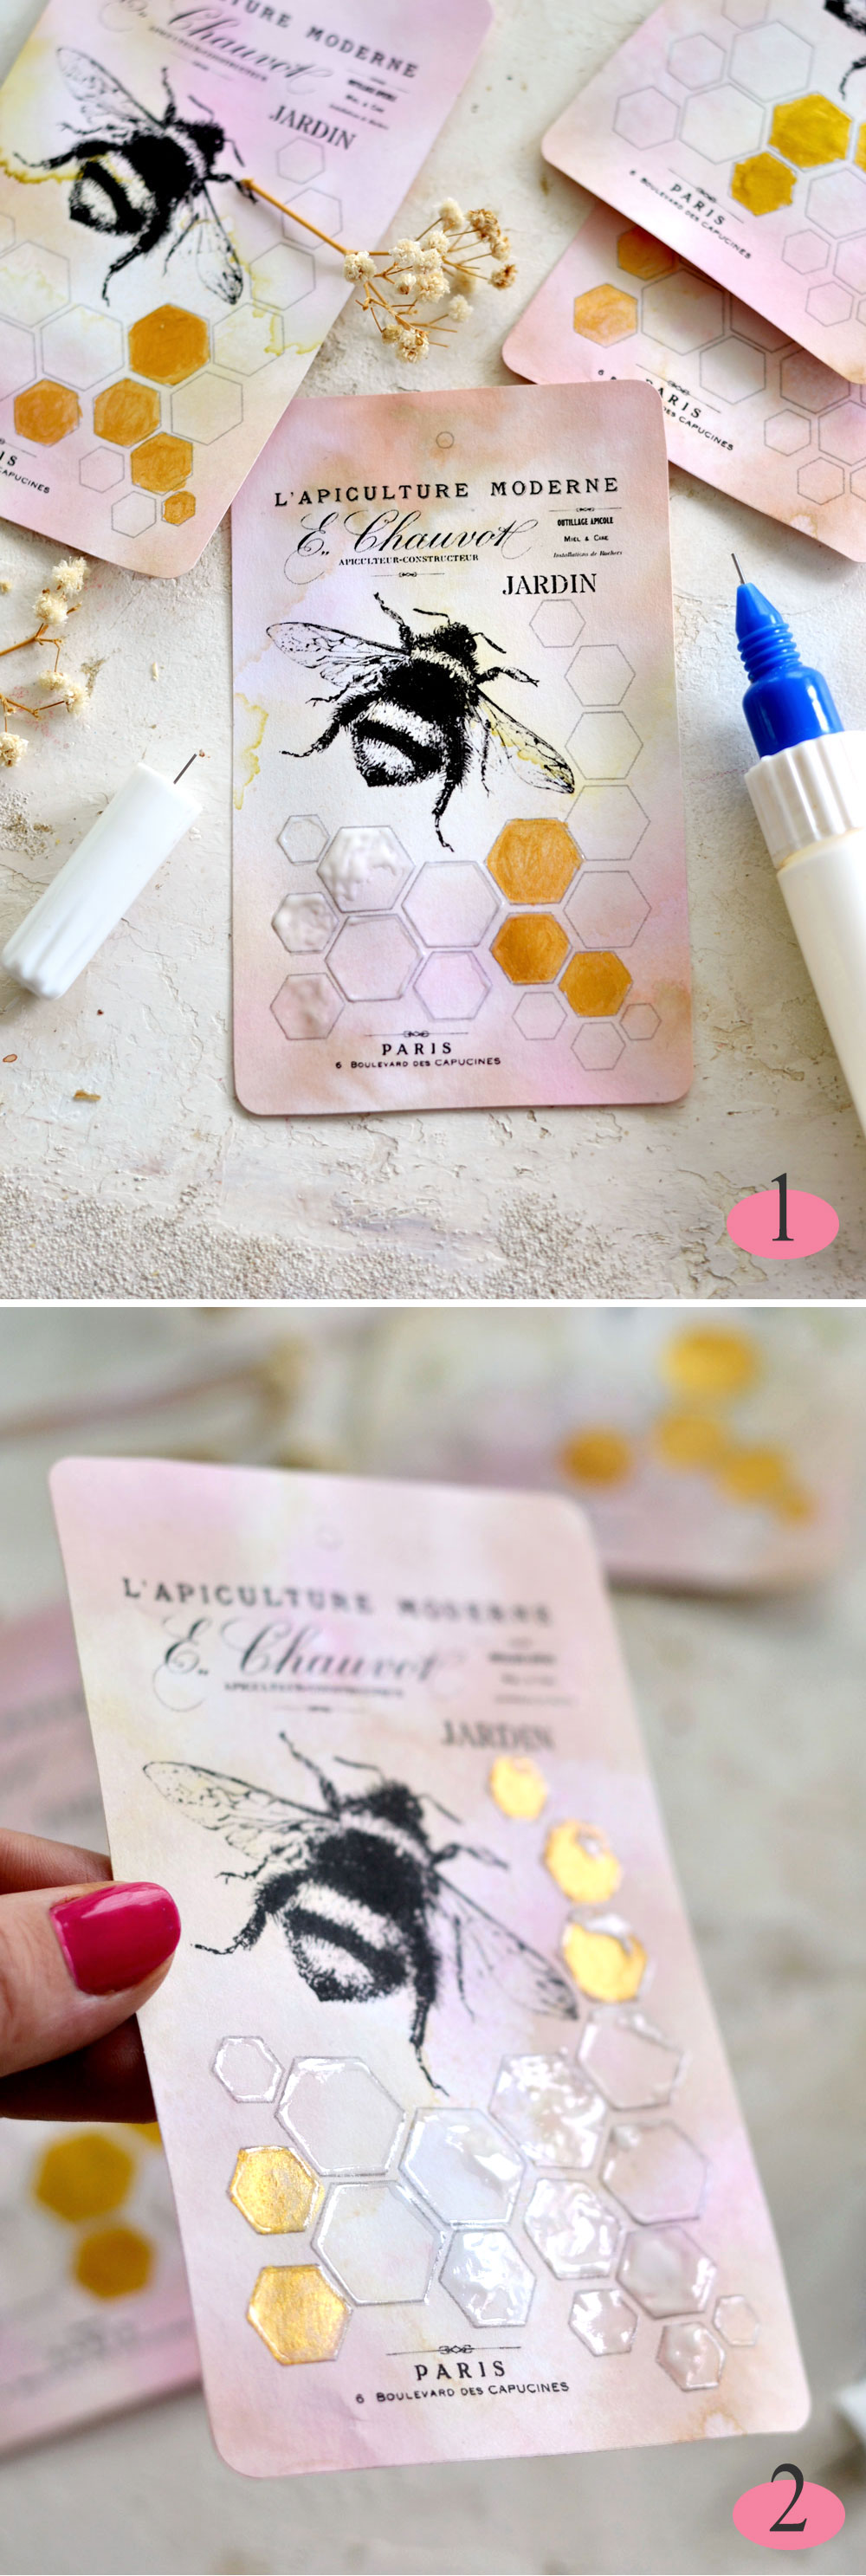
To apply the gold foil you will need a fineline glue applicator and a gold foil glue. These two little things (along with gold foil, obviously) are some of my all time favorite tools, because they can give you so much room for experimenting with gold foil in your own terms! You can draw any design that you want, let it dry, then apply the gold foil. How amazing is that?!
For this project I decided to create a gold foil edge all around each hexagon, while also completely or partially filling some of the hexagons with gold. Fine straight lines are usually more difficult to achieve when using this fineline applicator, but I didn’t mind the small curvy lines or all the other small imperfections.
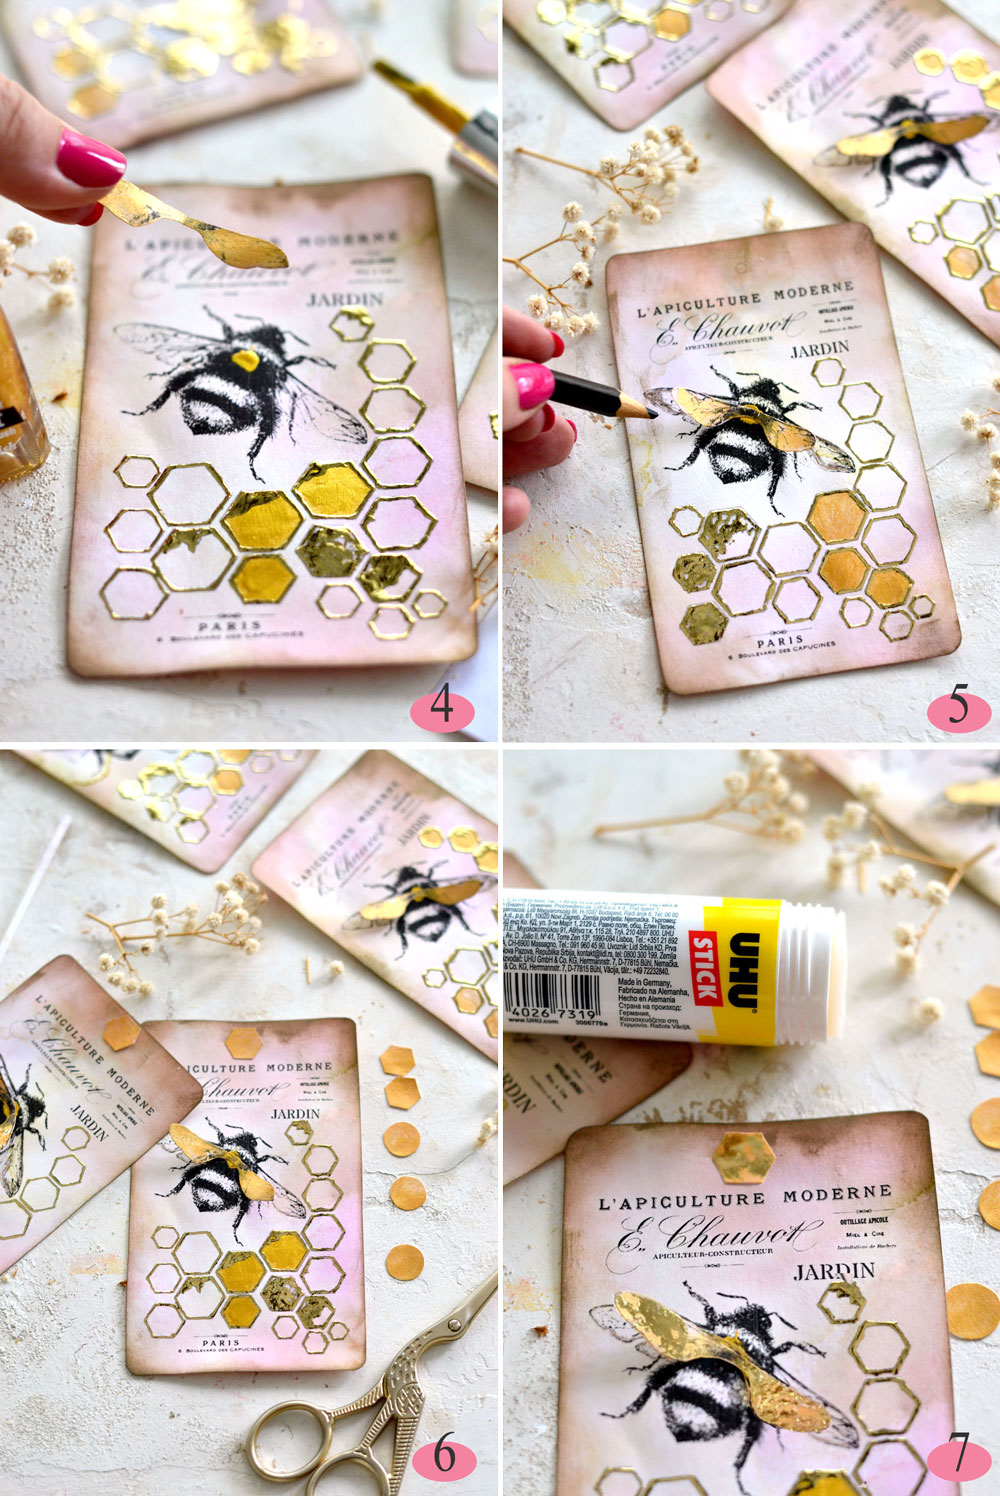
1. Start from the left and gradually go all over the edges of each hexagon with your glue applicator while also partially or completely filling with glue some of them, as you go. You will basically ‘paint’ with glue on top of each line of the honeycomb and fill the honeycomb design as you want. I created on some of the inside areas of the hexagons a dripping effect, so they would look like dripping liquid honey gold afterwards!
2. Carefully tilt the tag and check if all your lines are filled. Let the glue dry (as for the manufacturer’s instructions) – the glue will be white when you will apply it and will turn transparent and tacky after drying.
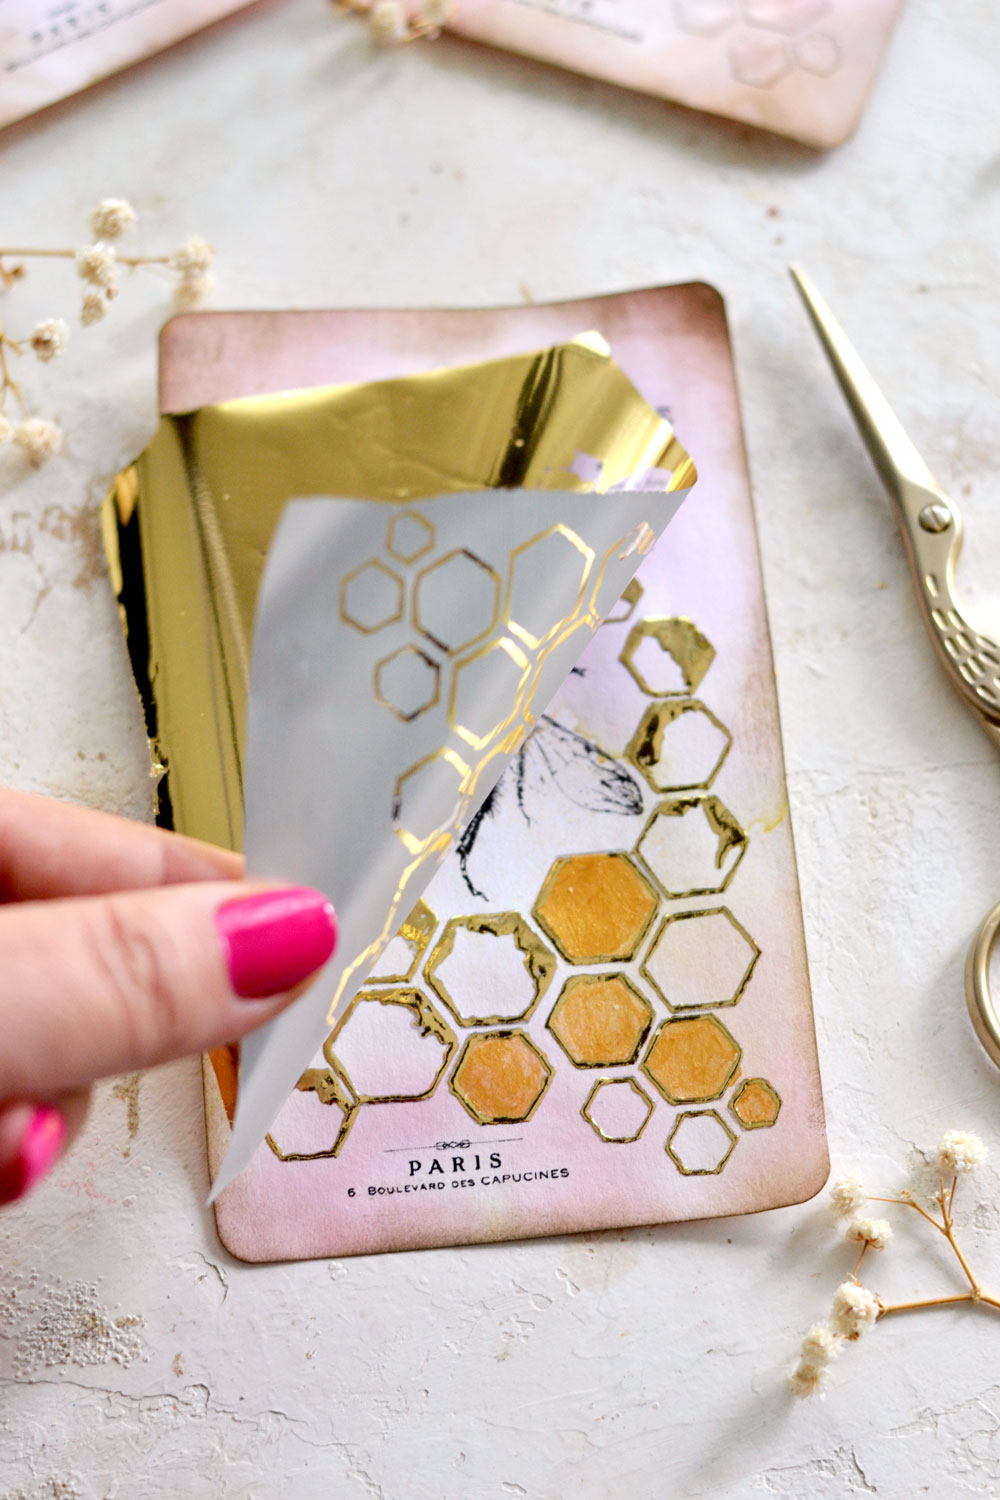
3. Cut a piece of gold foil, a little bit larger than your design and carefully place it on top. Press the foil with your index finger on top of each element that you ‘painted’ earlier with glue, then carefully lift the foil starting from one of its corners. Prepare to be mesmerized, this gold foil stuff is really stunning!
Follow the same step for al the tags and let yourself be surprised each and every single time!
The small details:
4. As for our final touches, you know you need to let your bees fly! Glue the additional wings on top of each bee.
5. You can also use a colored pencil (I used a dark brown) to draw and highlight the contour of the original wings on the tags.
6. You can choose to use (or not) the reinforced holes – I thought that the hexagon shapes really complemented the whole honeycomb concept so I used paper glue to attach them to the tags.
7. And speaking of paper glue – even some paper glues will work with applying the gold foil, creating an irregular, almost vintage effect. So far I had success with Staedtler and UHU sticks, you just apply a small amount of glue on the paper, press the gold foil on top, then unpeel it. I had the idea of using this trick on top of the wings and on top of the reinforced holes after applying them on the tags, but it would be ideal to do it before applying them. It will make your life so much easier!
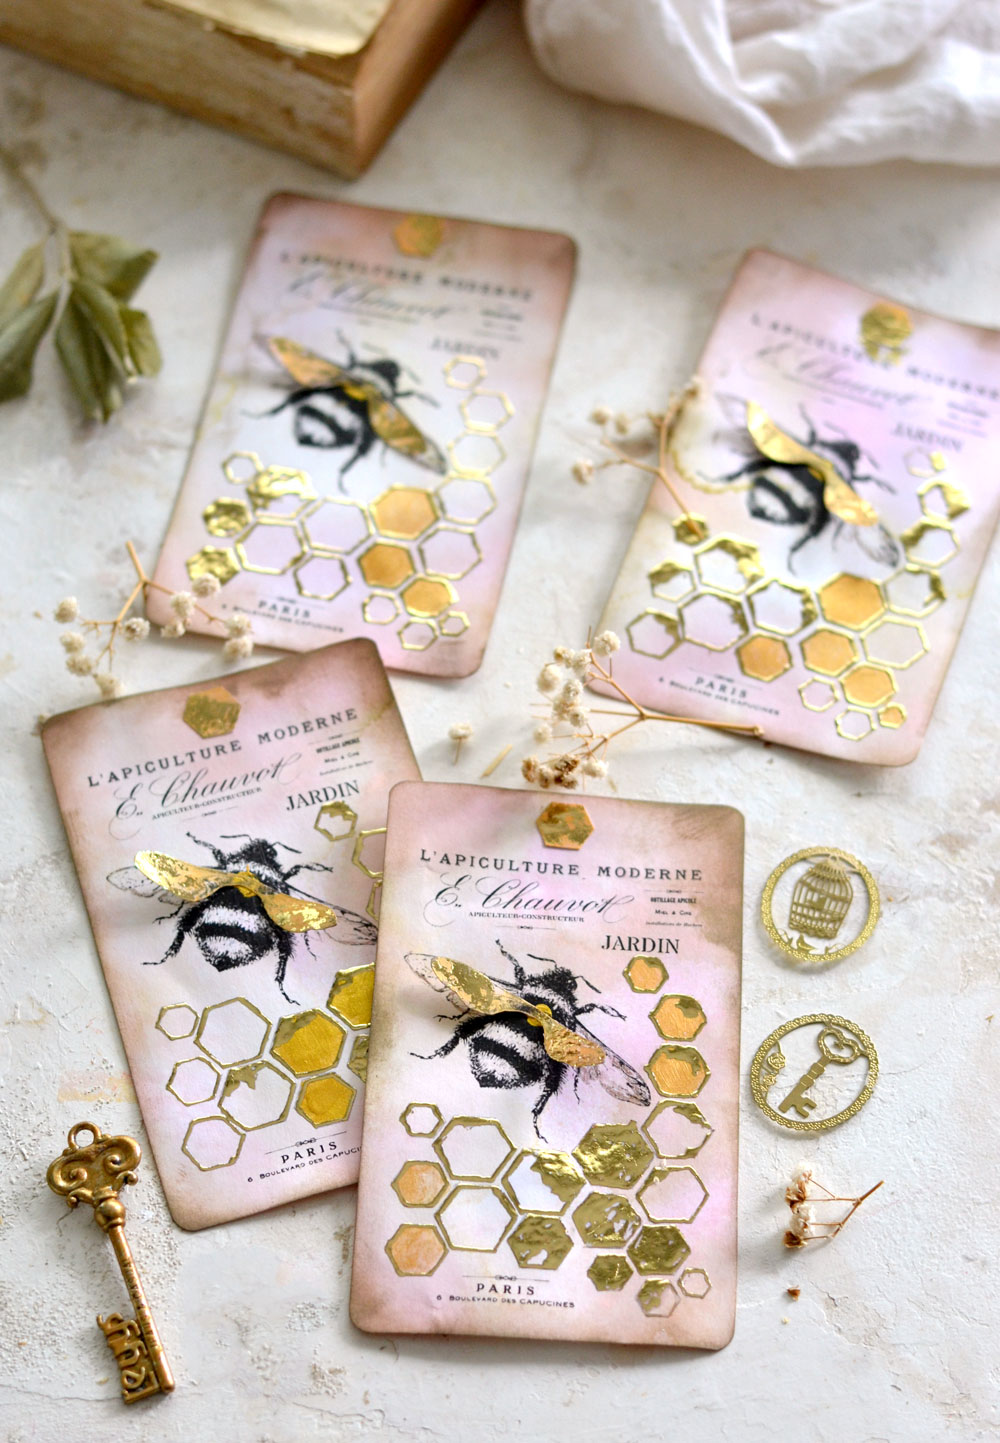
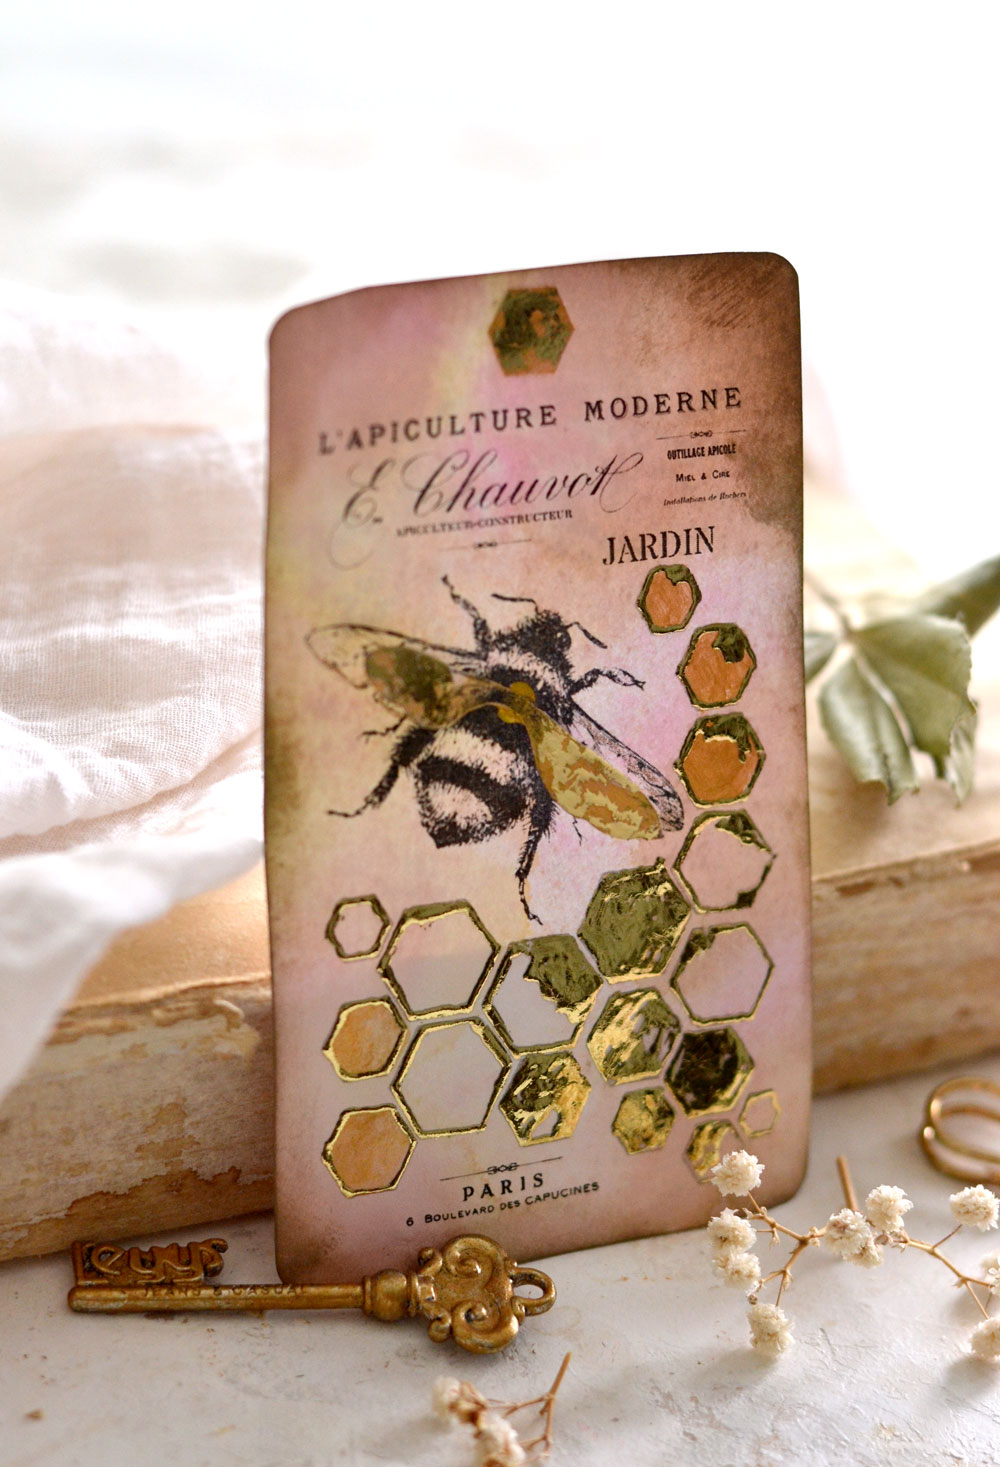
I’m really loving the final, simply gorgeous look of my Gold Foil Honeycomb & Bee Tags! You can punch the reinforced holes at this stage … if you don’t have a problem (like I did) in actually locating your puncher in the first place. My ‘well organized’ craft supplies might need a little bit of TLC!
The tags can be used in so many different ways, I’m sure you are already contemplating millions of ideas! Use them as classy gift tags, embellishments on your presents or find unique ways of incorporating them into your home decor – use them to decorate recycled jars or bottles, hang them on your drawers or use them as mini signs along with a grungy stash of vintage books.
You could also easily use them as a chic addition to your junk and art journals – or any other creative projects that you have going on. 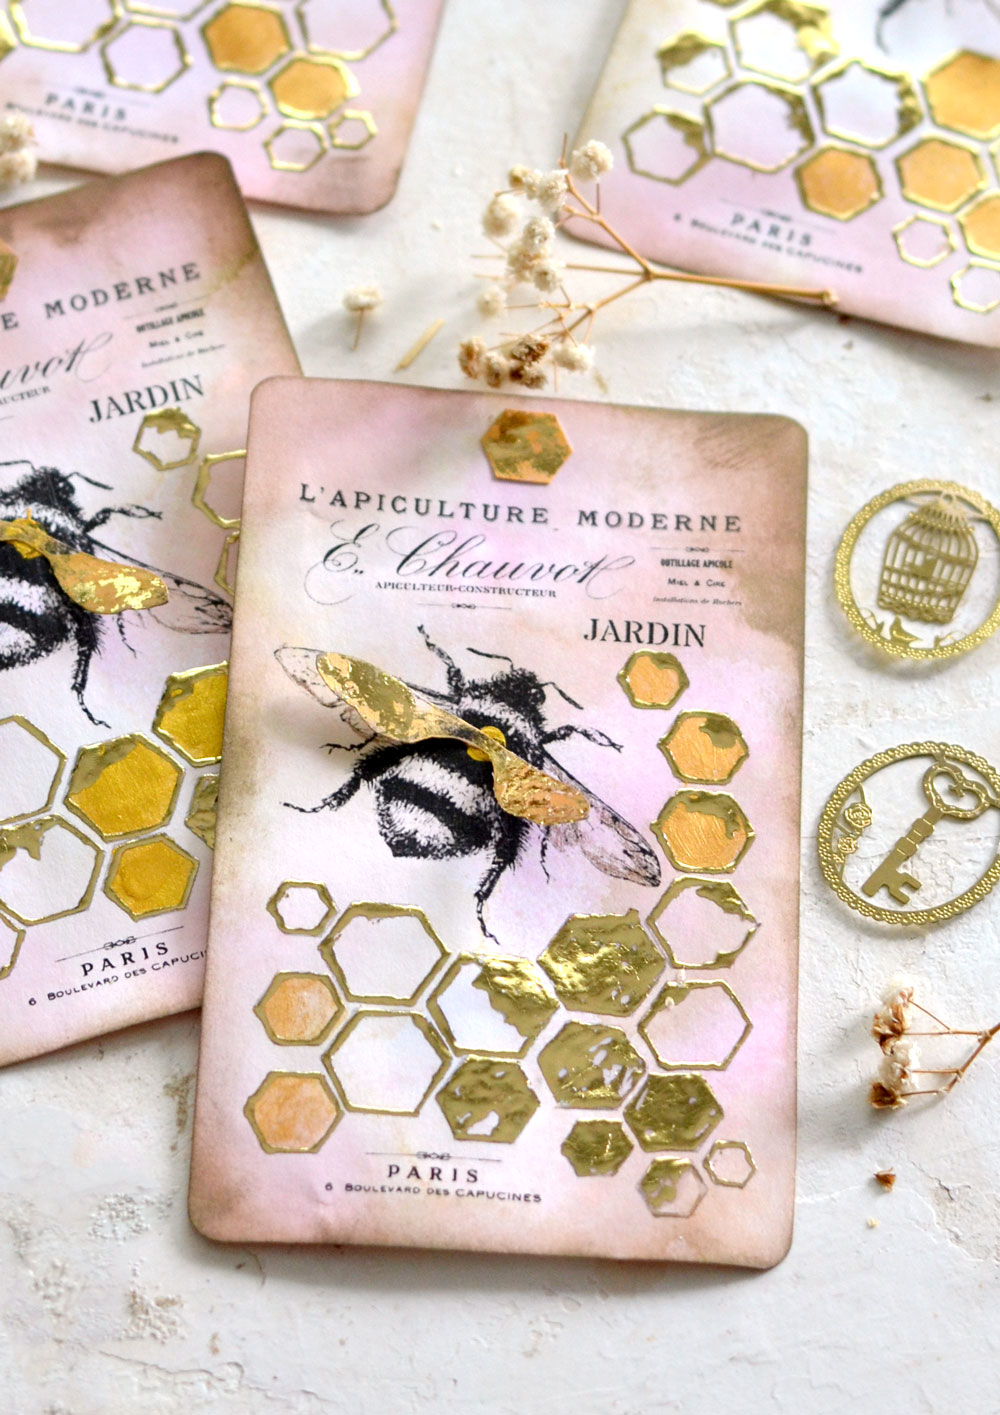
The thing with metallic gold foil is that it ALWAYS manages to fascinate you with its shimmering beauty! It captures the light in so many beautiful ways, while creating different and unexpected gorgeous effects. It ALWAYS manages to spark my creativity, I hope it will have the same sparkling effect on you too!
I hope you enjoyed learning this DIY Bee Tags. You may also like DIY Blue Delft Journal Tags HERE.
Happy crafting,
Diana / Dreams Factory



Donna says
Just gorgeous.
Karen Watson says
🐝
Sherlene Mats says
So darn cute!
Karen Watson says
🐝
Laura says
These are beautiful! Thank you for the smile you put on my heart this morning.
Karen Watson says
We’re glad you liked this one Laura! 🐝
Nancy Wethington says
Beautiful!
Karen Watson says
🐝
Cynthia Murphy says
I really love all your ideas. I have tried many of them and have fun making them.
Karen Watson says
We’re so glad you have been enjoying Diana’s beautiful projects Cynthia!
peggy gatto says
What a great idea!!! Thanks
Karen Watson says
I’m glad you liked Diana’s cute Tags Peggy!🐝