DIY Halloween Garland and Project
I originally wrote this post, and designed this DIY Halloween Garland, way back in 2009! I still think it’s pretty cute and would still be fun to use in Halloween decor today, as it does have a Vintage look to it, so it’s pretty timeless really. I’m dusting off this old post and updating it a bit. The Printables are now stored on this site, at one time they were not and then they were not accessible for awhile (so sorry!), but the links to the PDF’s should work just fine from here on out, fingers crossed! Now back to the original part of this post…
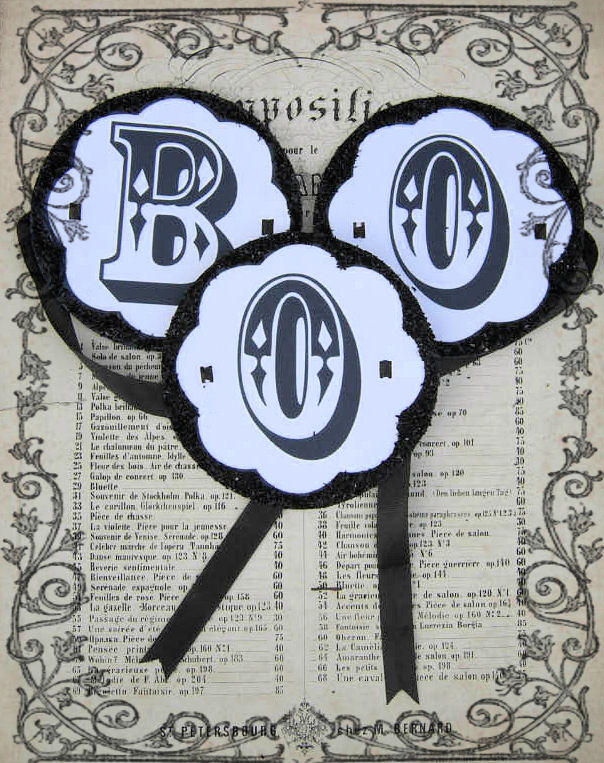
This post is an easy Halloween Printable Garland and craft project with a free printable! I first designed and made this fun Halloween Boo garland as a display prop for my shop, and thought you guys might like to make one as well. It’s so quick and easy that you probably don’t need instructions, but I created some just in case. You can find the supply list and step by step instructions below.
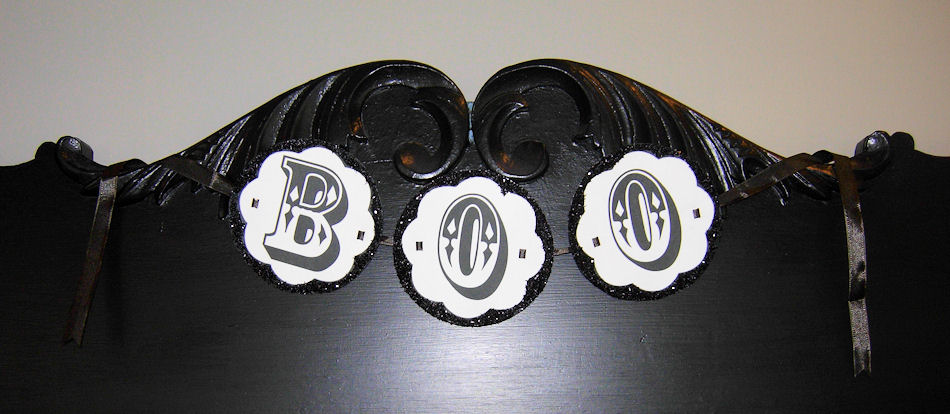
Supplies to make the Free DIY Halloween Garland
This project can be made in just a few easy steps you will find a list of the materials that I used below:
Materials:
1)Plain white card stock
2)Black Glitter (I used glass glitter here)
3)Ribbon or Vintage Seam Binding
4)Glue
5)Hole Punch
6)Scissors
Instructions for Printable Garland:
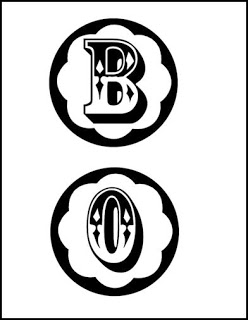
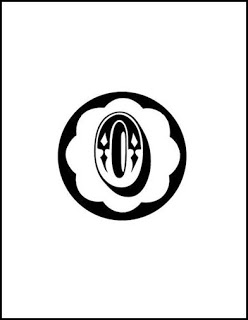
Step 1) Print out the 2 template pages (The links for PDF files are below)
Step 2) Cut out the images.
Step 3) Use a hole punch to add holes to the sides of images. I used a ribbon punch, which gives you 2 little slits to weave the ribbon through.
Step 4) Apply the glue to the black decorative border. (I like this glue the best for glass glitter as it really helps to keep the glitter from shedding)
Step 5) Sprinkle on glitter (You could make this project without the glitter and it would still be sweet)
Step 6) Let the glitter dry completely.
Step 7) Thread some ribbon, or you could use seam binding, through the holes.
It’s quite a simple project, but it is pretty cute I think. And the great part is that you can whip these up in a snap, so if you are in a pinch for time and find yourself needing some last minute Halloween decor than this might just fit the bill.
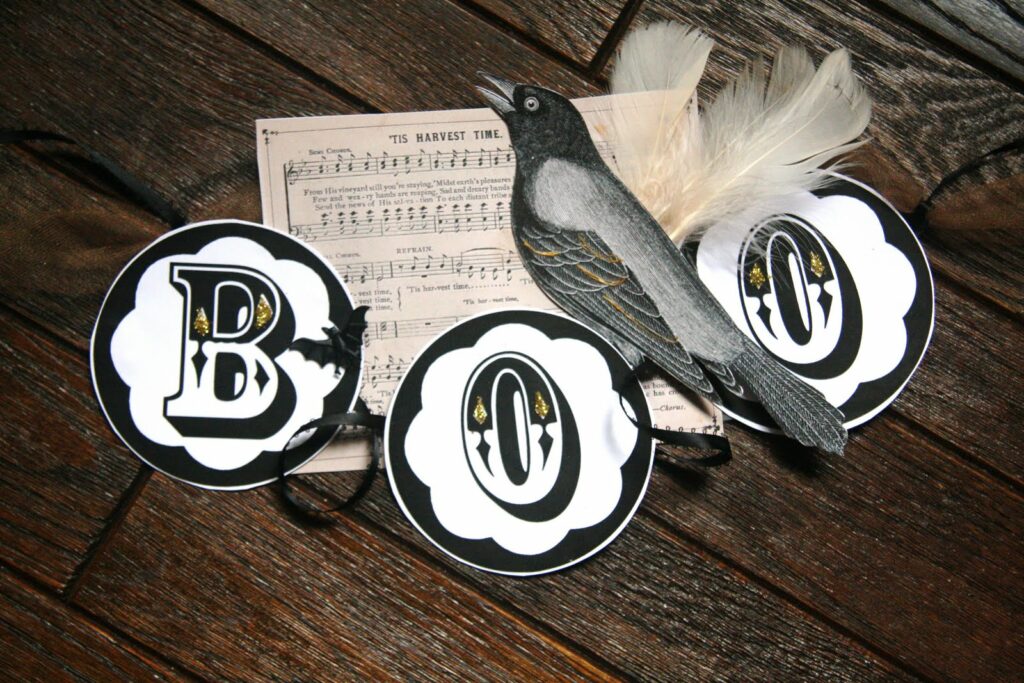 Here’s a photo of the very same Garland as made by reader Jen at Mimi Bella Boo. I love how she added that Crow image to the mix and the little Gold highlights on both the letters and the Bird. Nice touch!
So that’s all there is to it. I hope you enjoy creating this fun DIY Halloween Garland at your house! You might also like my Printable Halloween Candle Wraps HERE.
Have a safe, and Happy, Halloween!
Karen


Terri W. says
I’ve used these letters SO many times – used them today, in fact! I’ve resized them, put them on cream, on white, and today on kraft backed with black glitter paper, and they always look great. Thanks for these, and for all the many images you make available!
Karen Watson says
Yay!! Thank you Terri. I love that these are still being used after all these years. Great ideas about the different ways that you have customized them too! 🎃
Anonymous says
Thank you so much! I was recovering from gallbladder surgery & made a couple of these for my cubicle & a couple friends.
These are the cutest things & they really cheered everyone up!!!
Shari Replogle says
Karen that is adorable! Thanks for sharing with us.
~Shari
Leanne says
I love this. Thank you so much for sharing this. I can’t wait to make it. I’m having a giveaway today. Stop by if you get a chance and enter to win.
Micki says
Wow, awesome. I used this on a card. I hope that’s ok as I resized the letters. I’m so glad I found your blog….. thank you so much.
PS: The card is here: http://www.artfulxpressions.net
Junie Moon says
I absolutely love this project! Thank you so much for sharing it and I will indeed give it a try myself.
Lisa says
Thanks! This is super cute!!
Hugs, Lisa
Karen- The Graphics Fairy says
I’m so pleased that you all enjoyed this one, I will probably do more of this type of thing in the future.
Also, just wanted to day welcome to the newcomers here!
Karen