Homemade Birthday Card Ideas
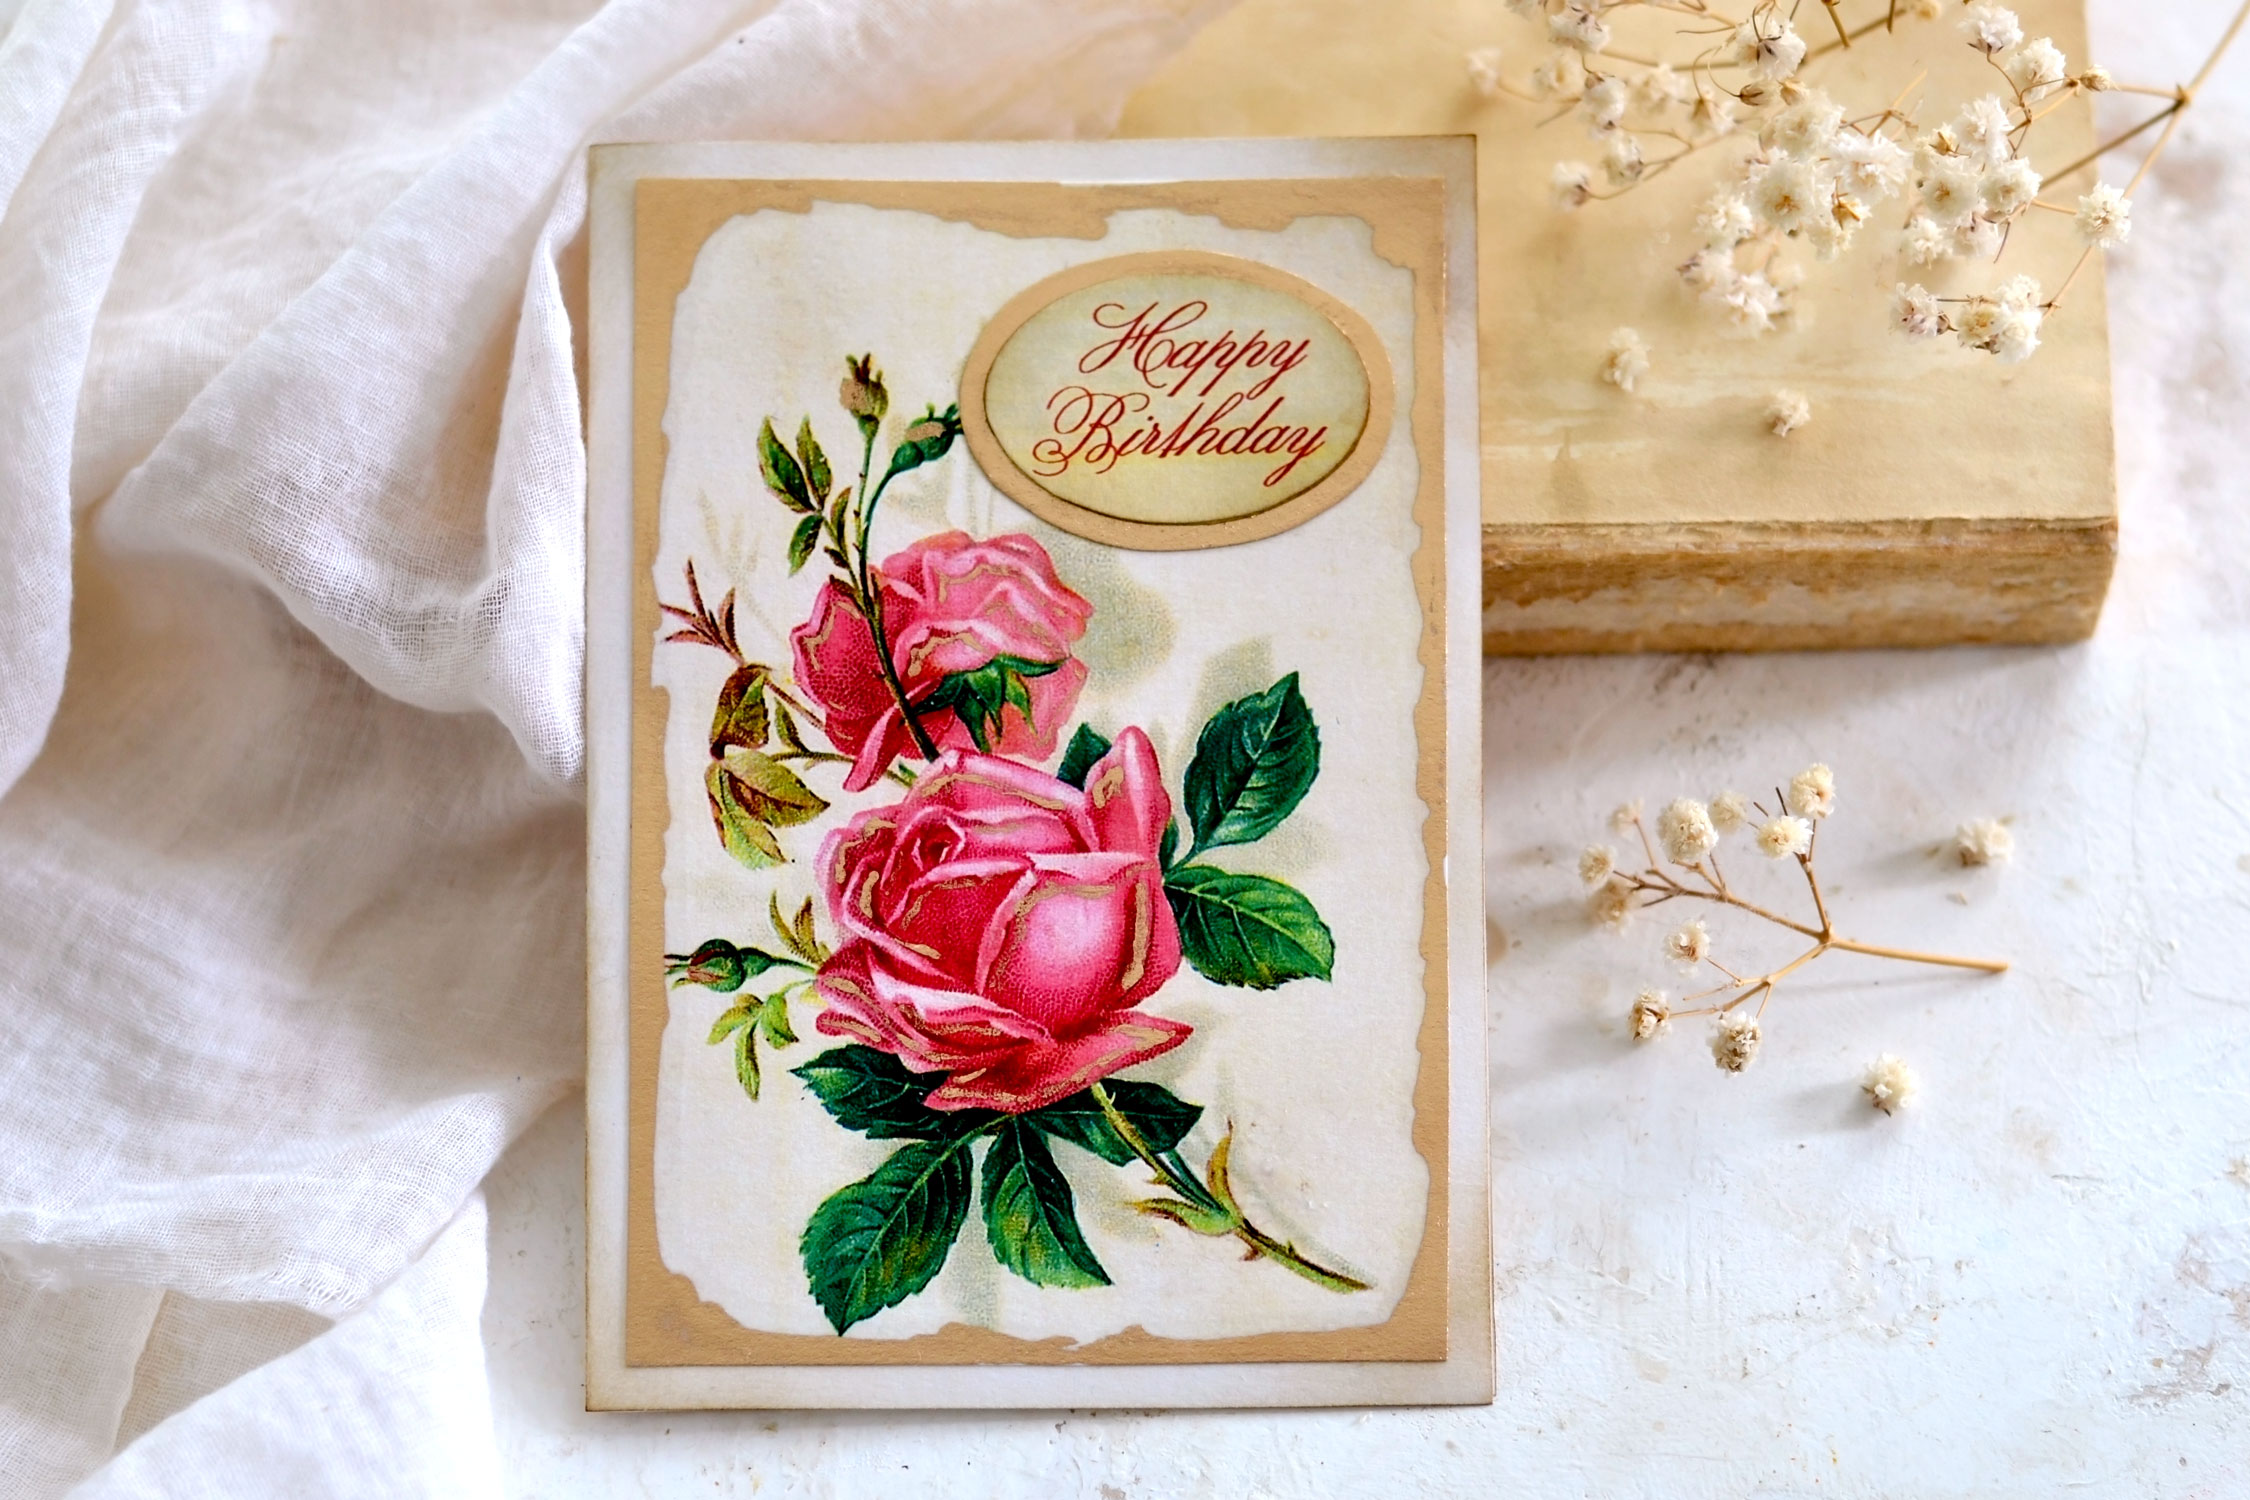
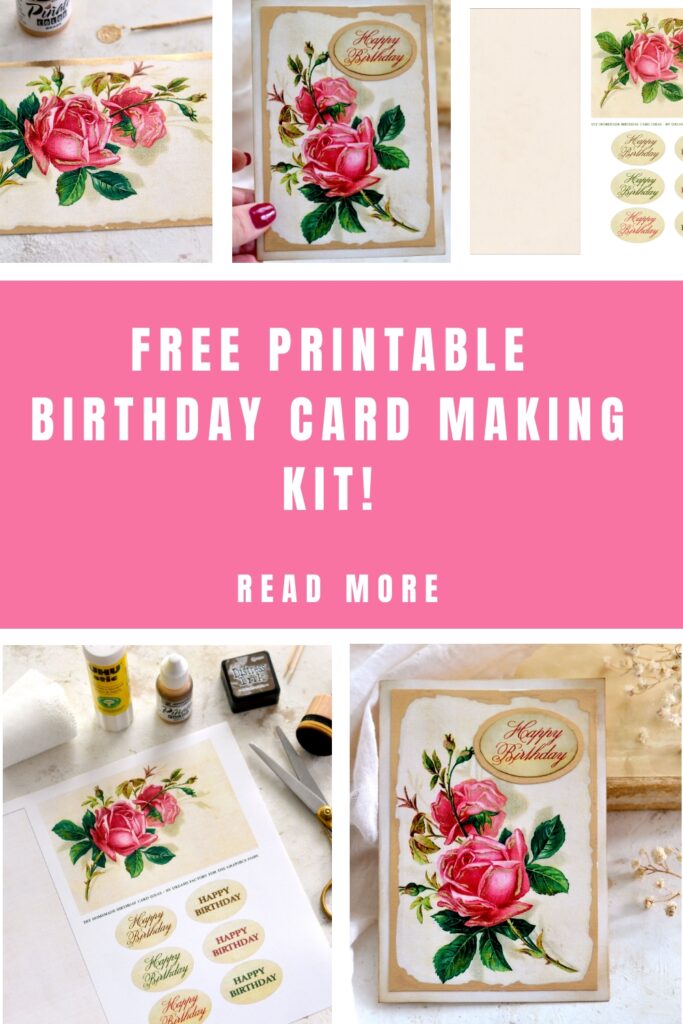
Hello Graphics Fairy friends! I’m Diana from Dreams Factory and I’m happy to be here again to share another DIY project with you! I had some Homemade Birthday Card ideas that I thought you would enjoy. Today we will be making this gorgeous Pink Rose Birthday Card, which will be perfect for gifting to family or friends! I usually like to keep my projects quick and easy, but I also want to challenge myself to try new techniques whenever possible.
So today I thought why not try experimenting a little bit and use alcohol ink. The final results are absolutely amazing – if you love this perfectly imperfect gilded look, you should definitely give this DIY project a try!
Alcohol ink usually requires a special type of paper like Yupo that has a nonporous surface and lets you create abstract-looking designs. It can also be used on other hard surfaces like metal, glass, ceramics, resin, leather or polymer clay. But I actually wanted to see if it can be successfully used on a rather (in this case) unconventional surface like cardstock paper and I was really happy to see how gorgeous it turned out. If you are planning on experimenting on your own, make sure you make a few tests beforehand, alcohol ink will react differently to different types of paper depending on how absorbing those papers actually are.
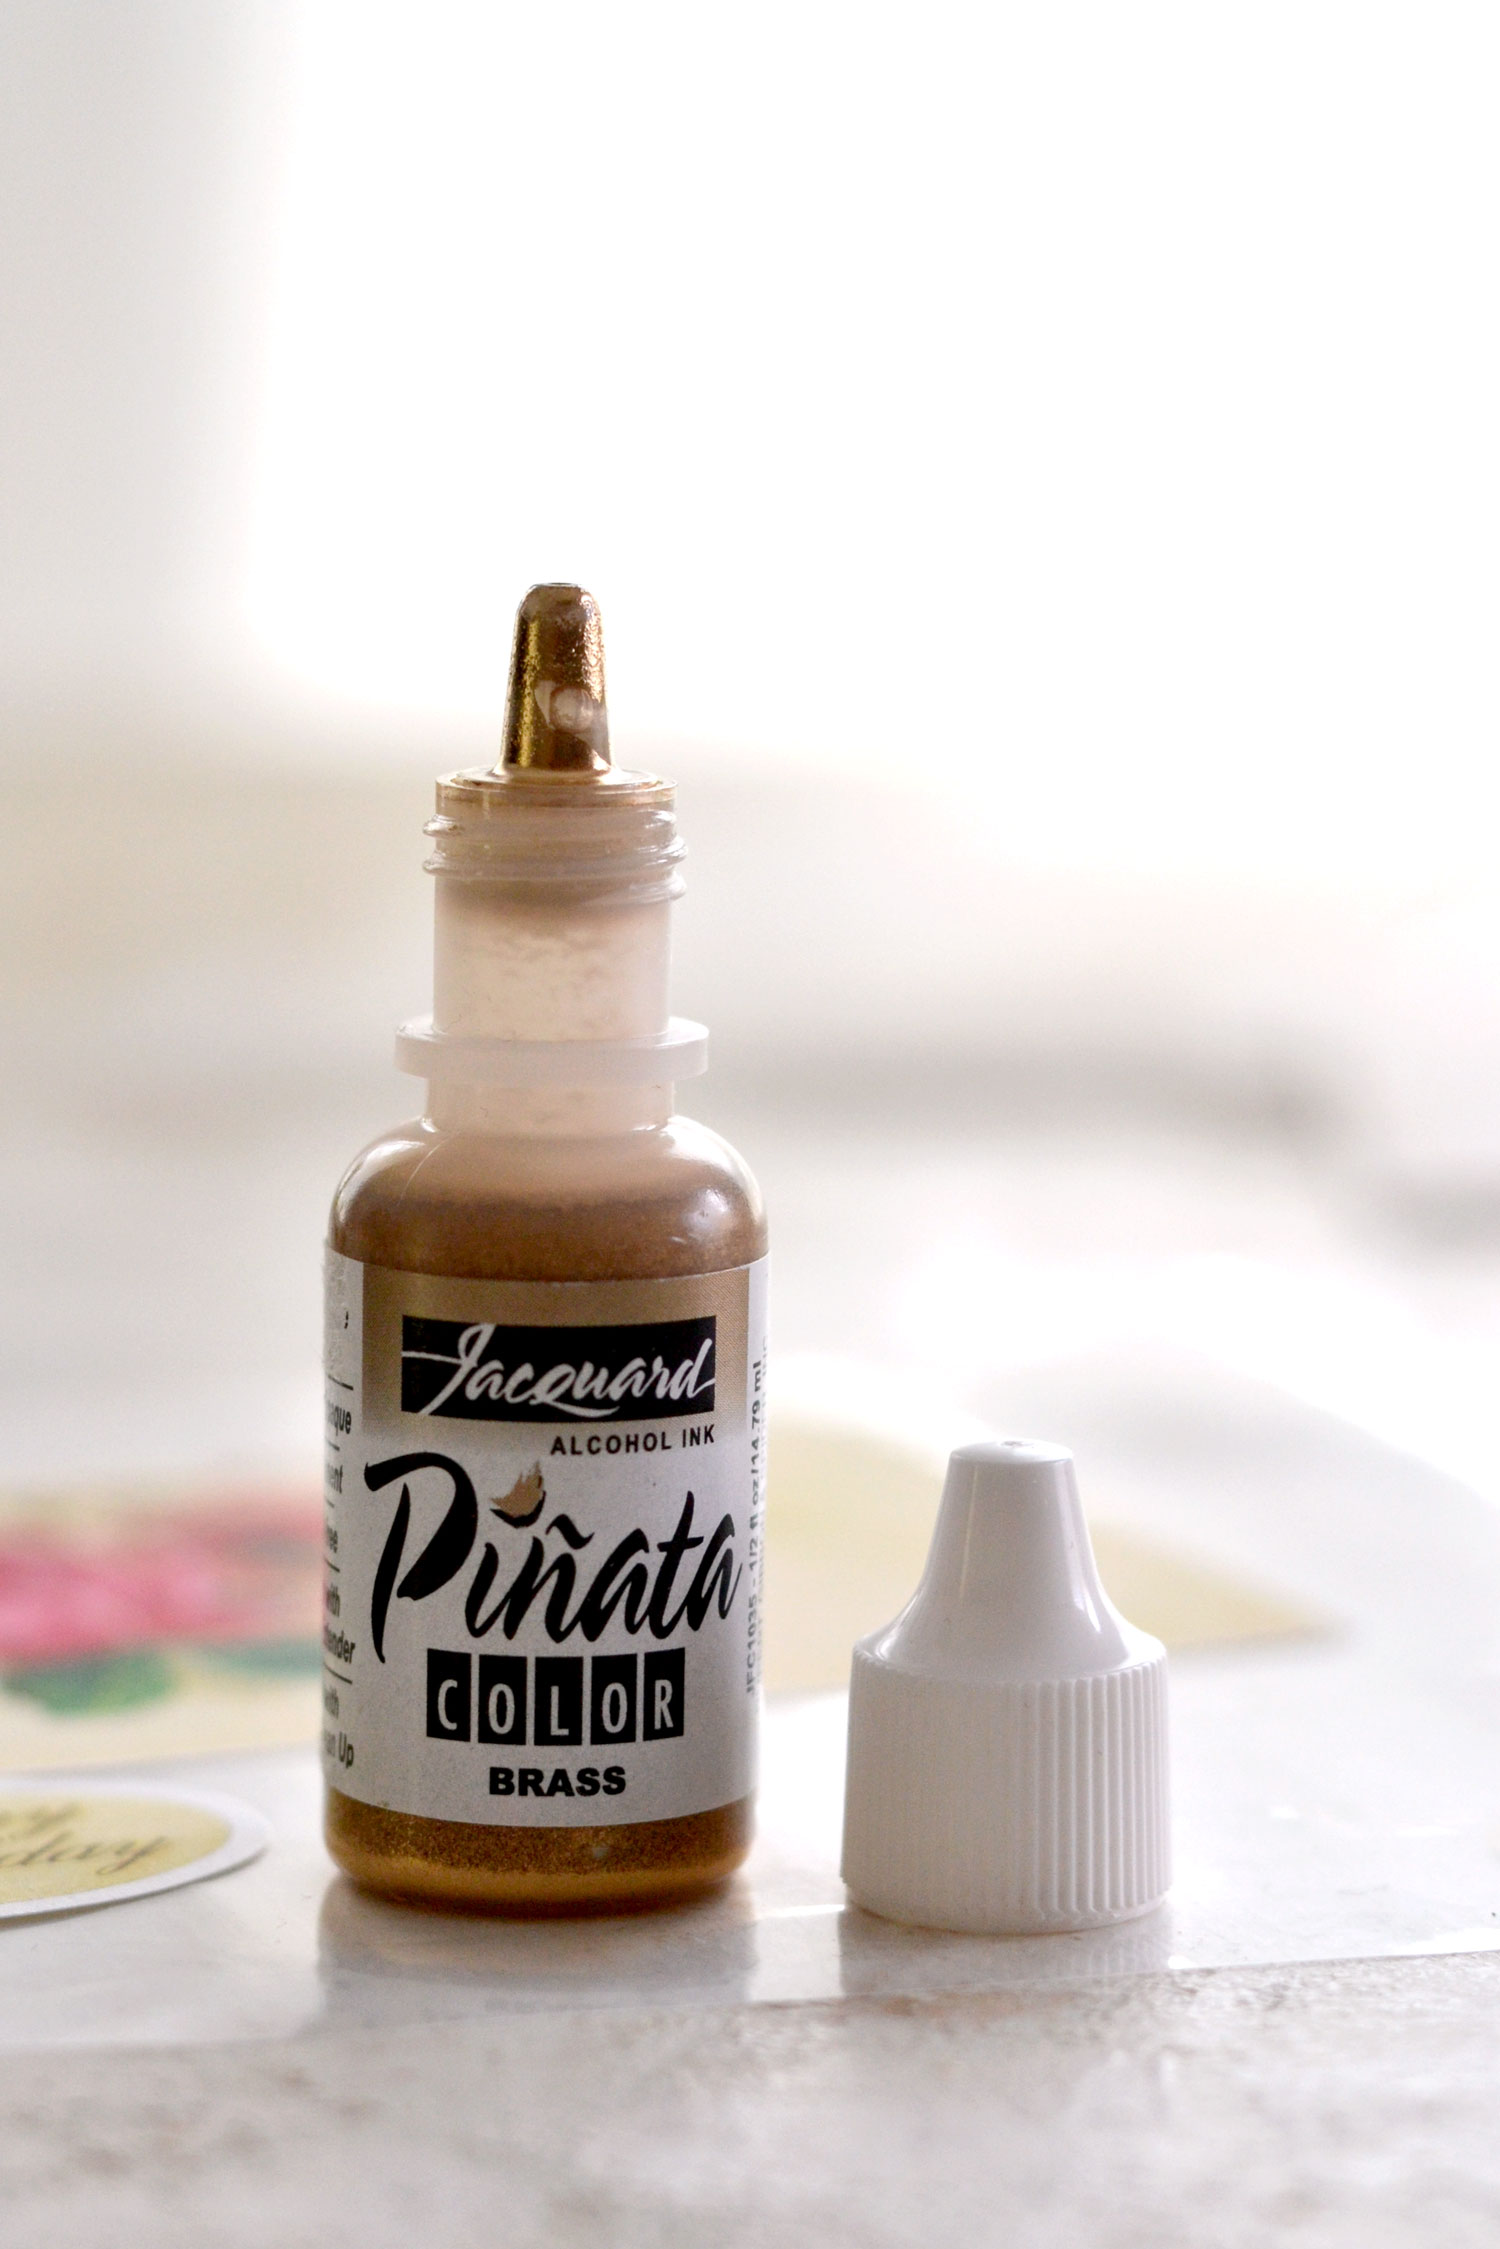
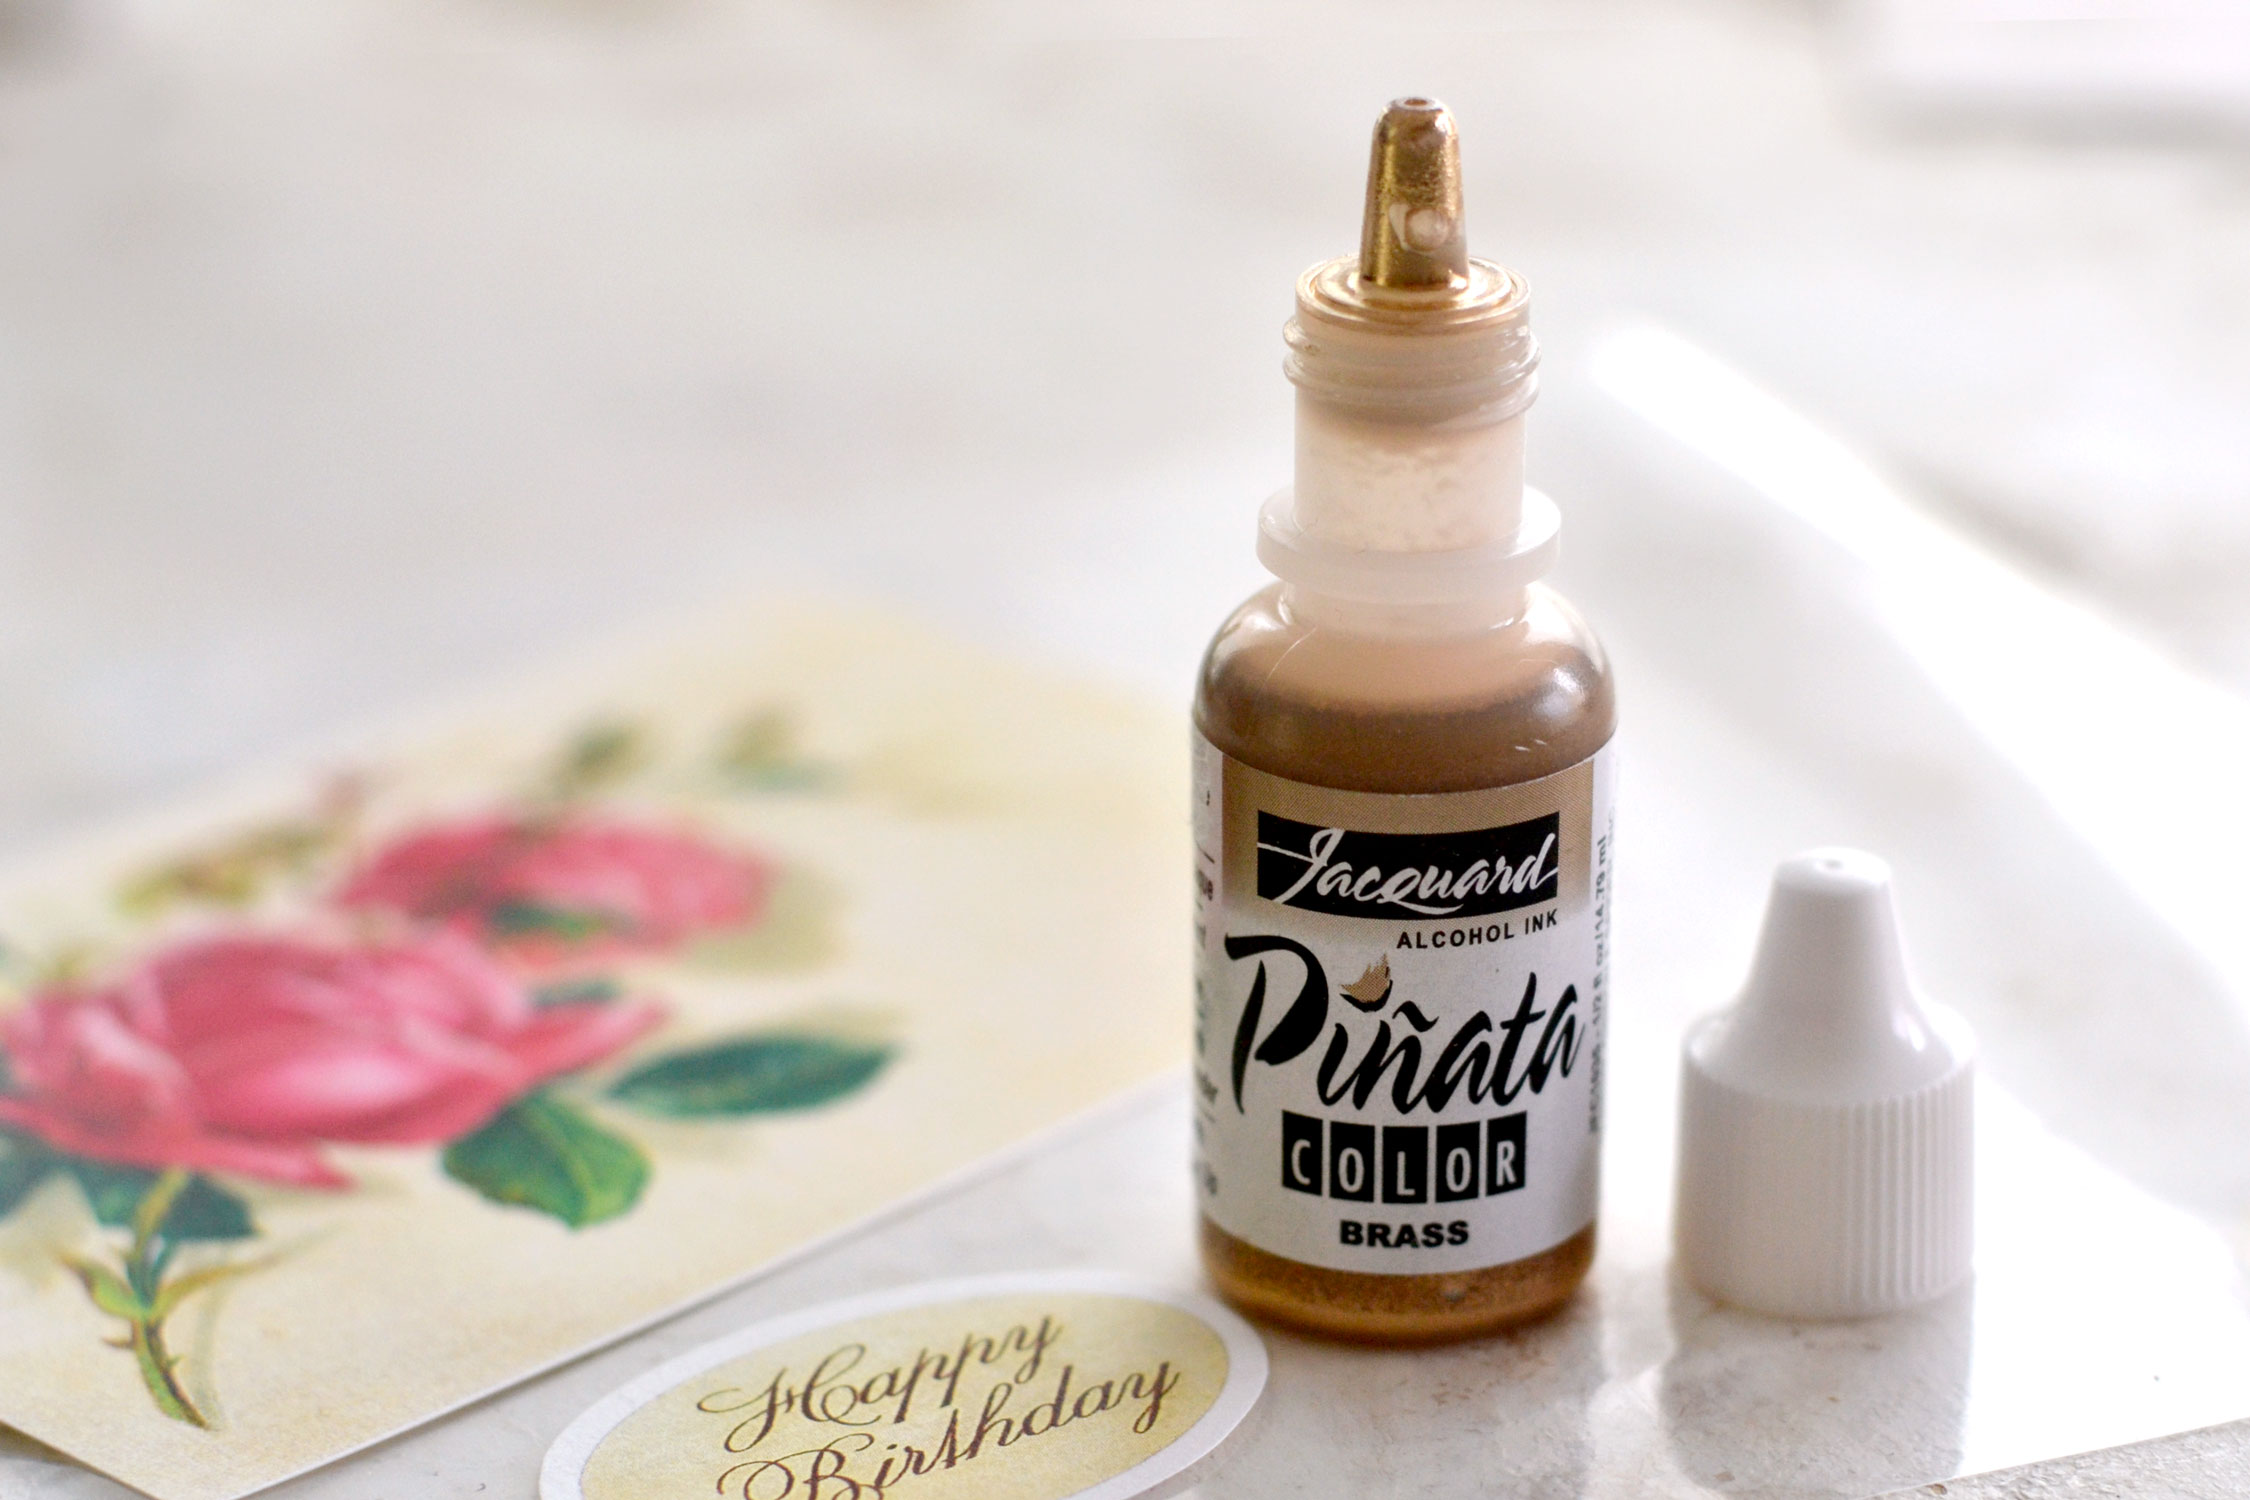
The main reason I actually wanted to try this experiment was because I fell in love with this gold alcohol ink called Pinata Brass from Jacquard! I accidentally (or not) discovered it while perusing Pinterest for gold-related projects and I knew I need to give it a try. The shine is absolutely stunning and I love that it has more of a dull color, as opposed to gold, which has more of a yellowish tint. If you don’t have this exact craft supply you can definitely give this project a try with another gold alcohol ink, but if you can find the one that I’m using I guarantee you will absolutely fall in love with it!
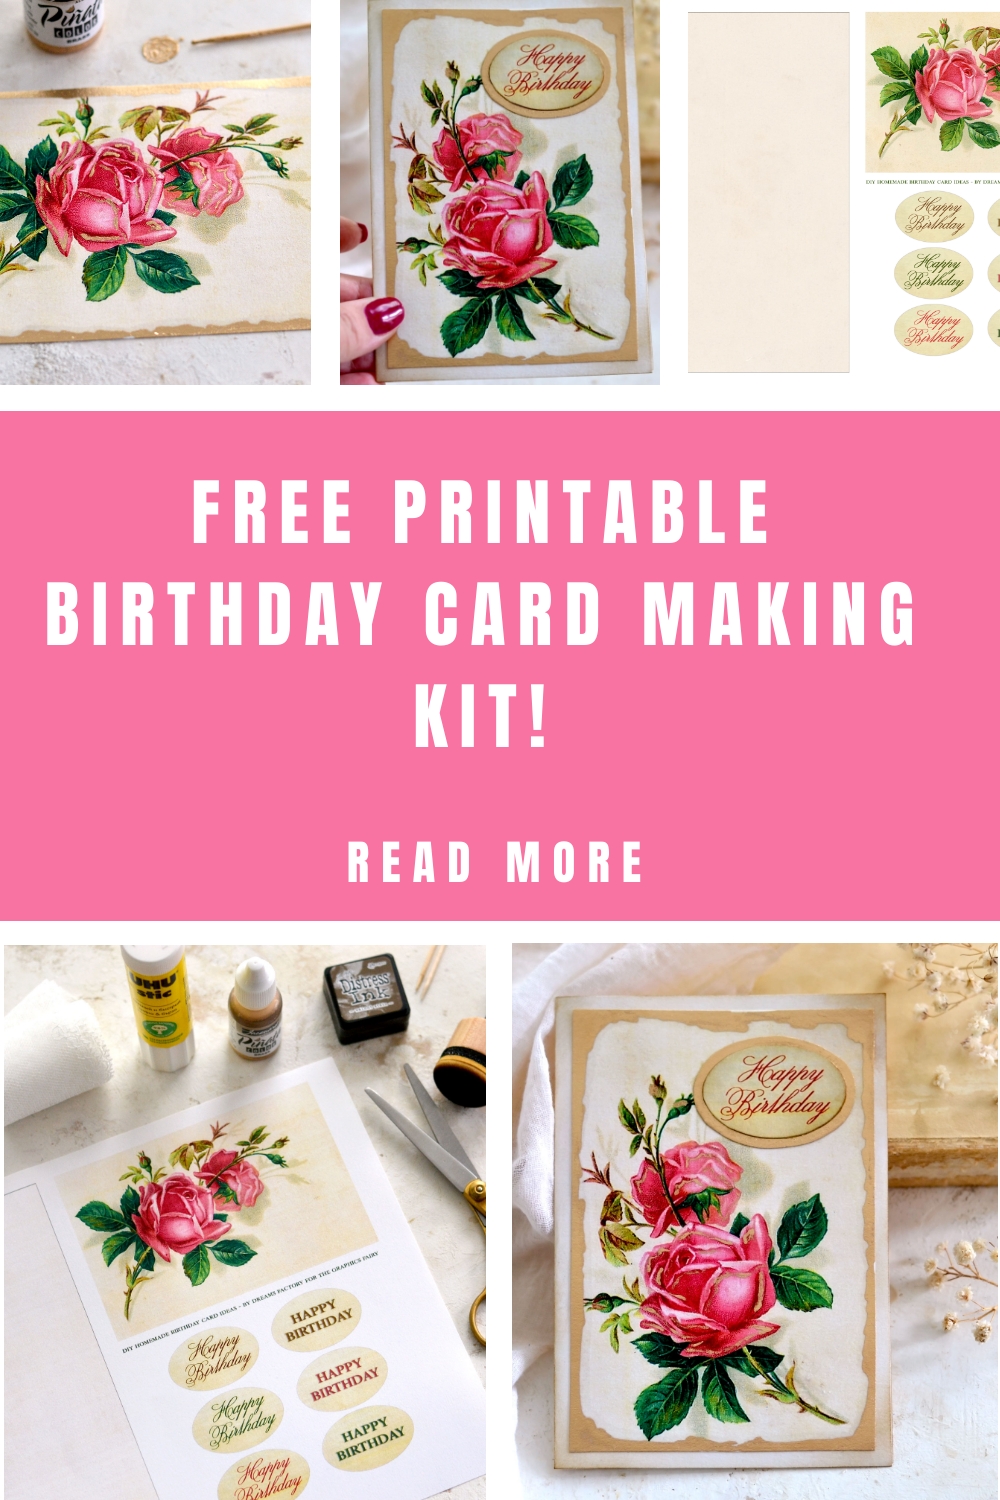
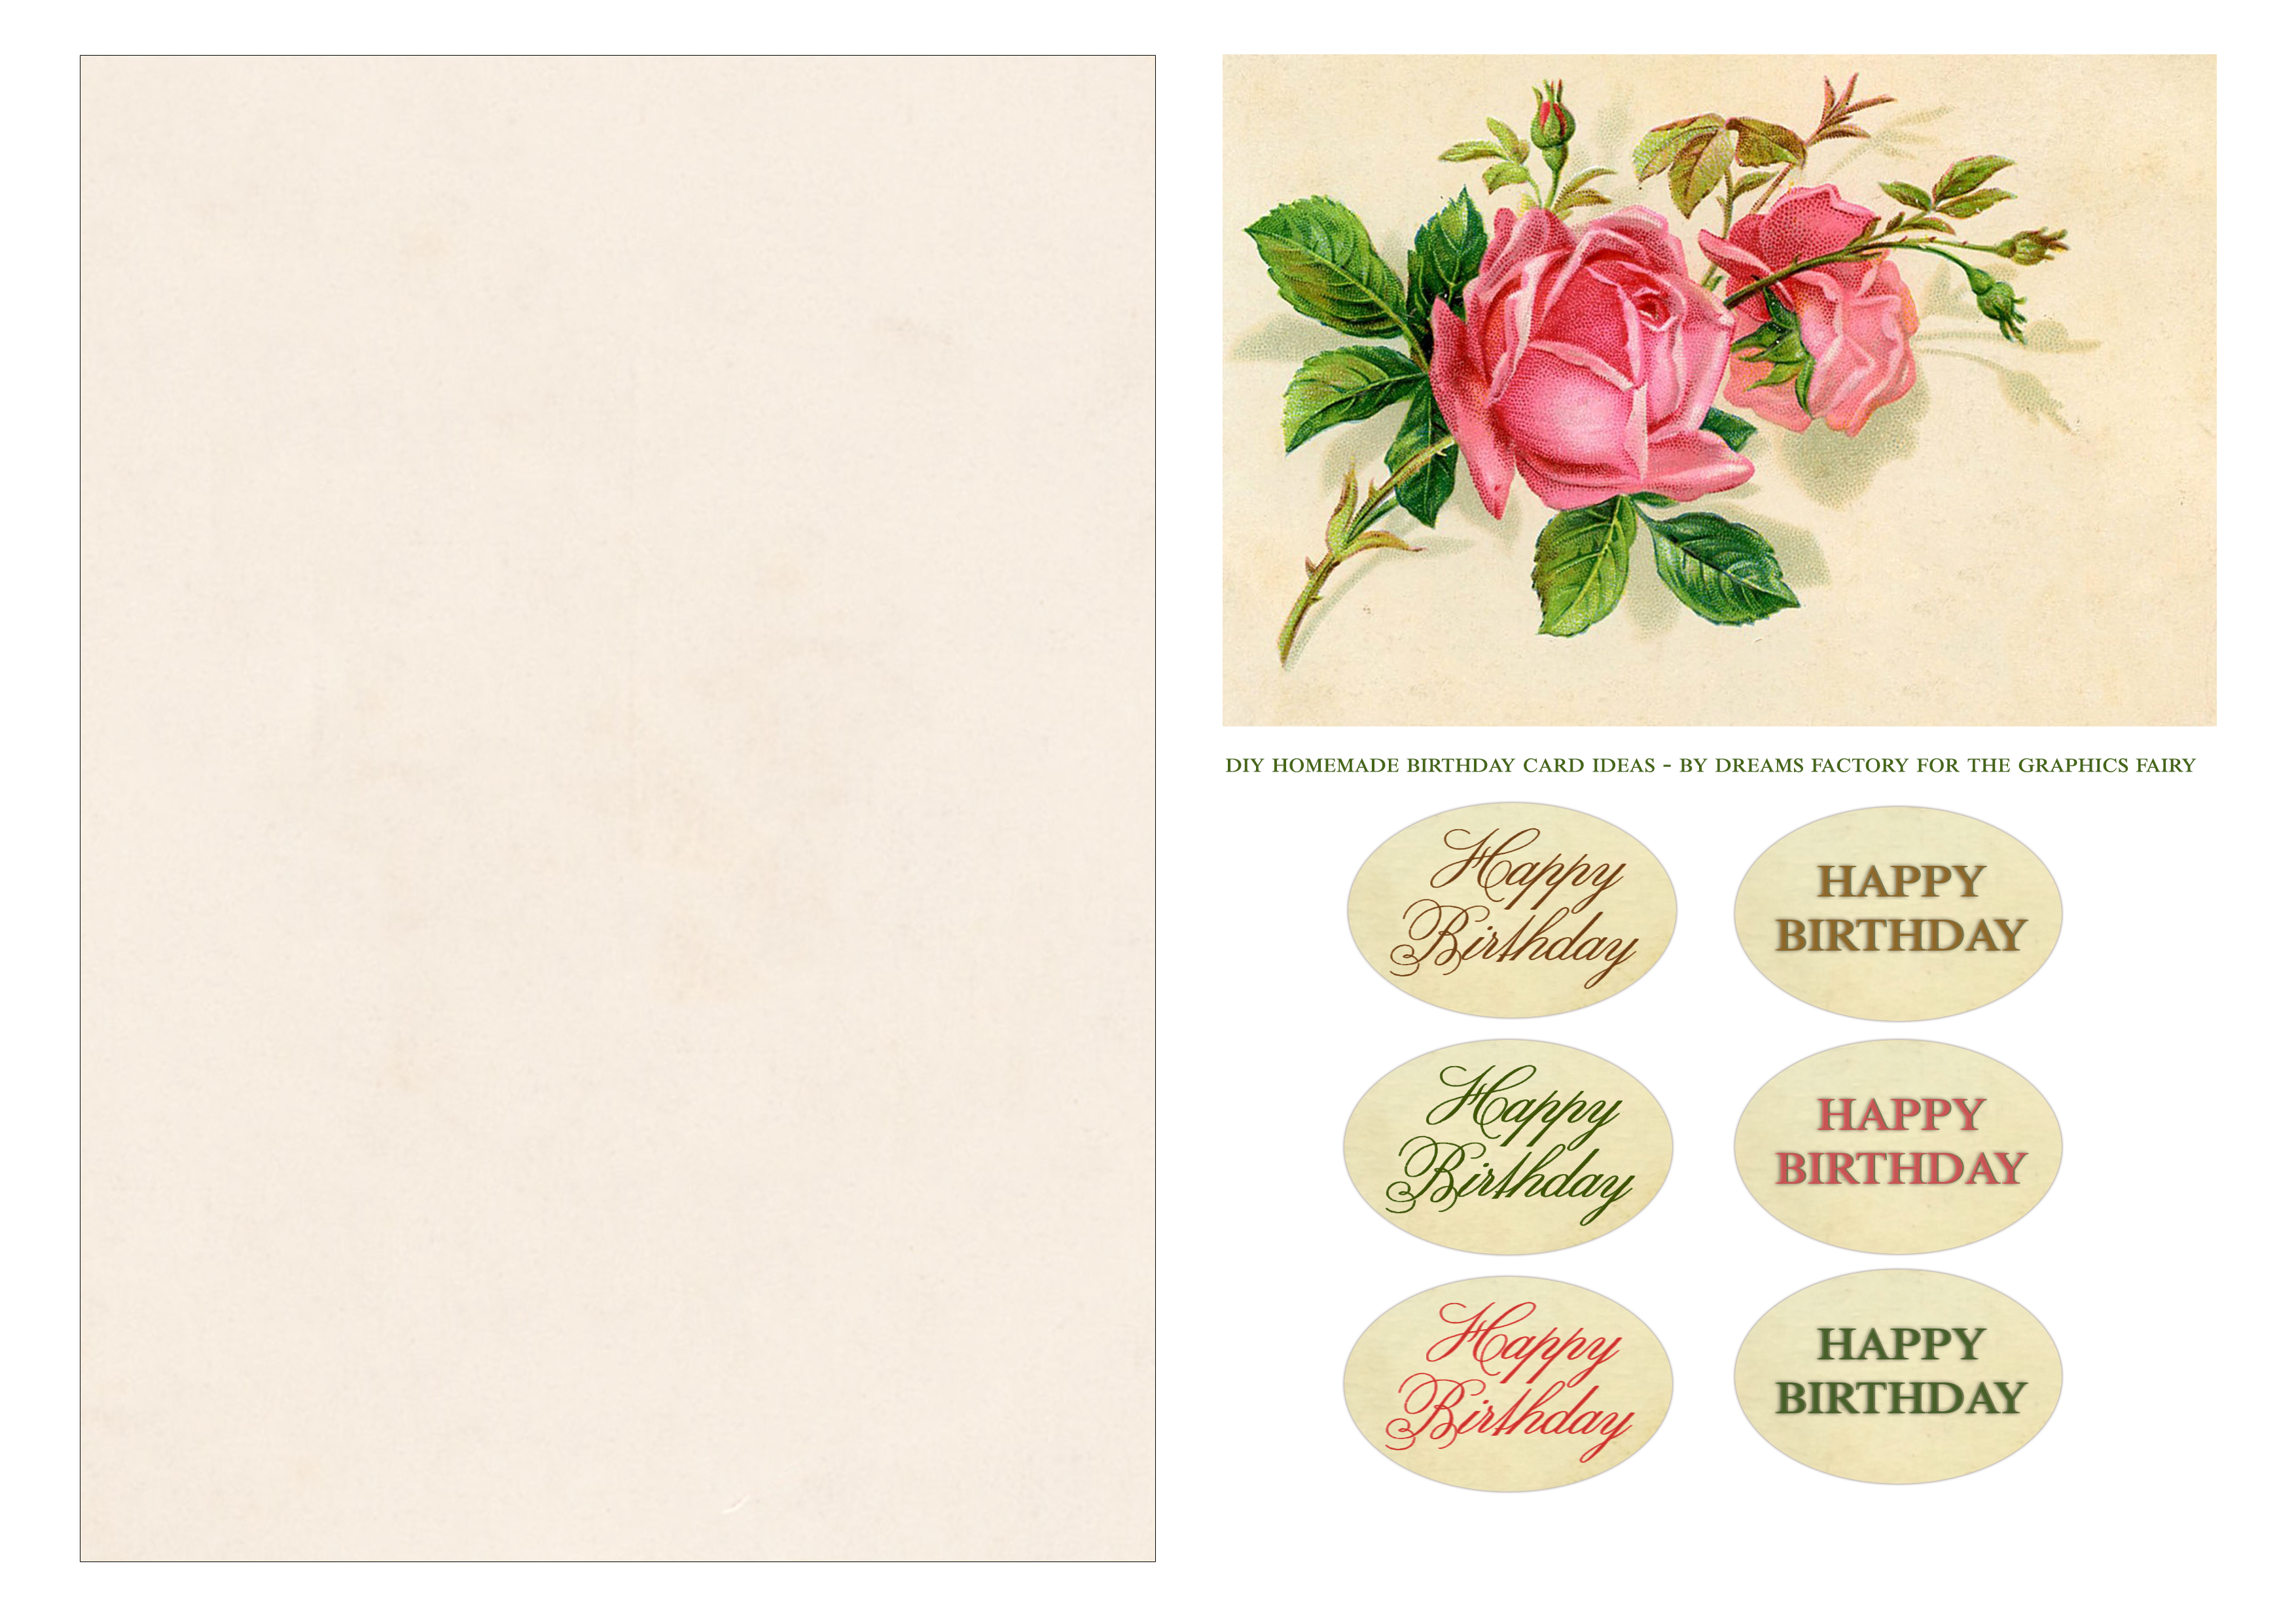
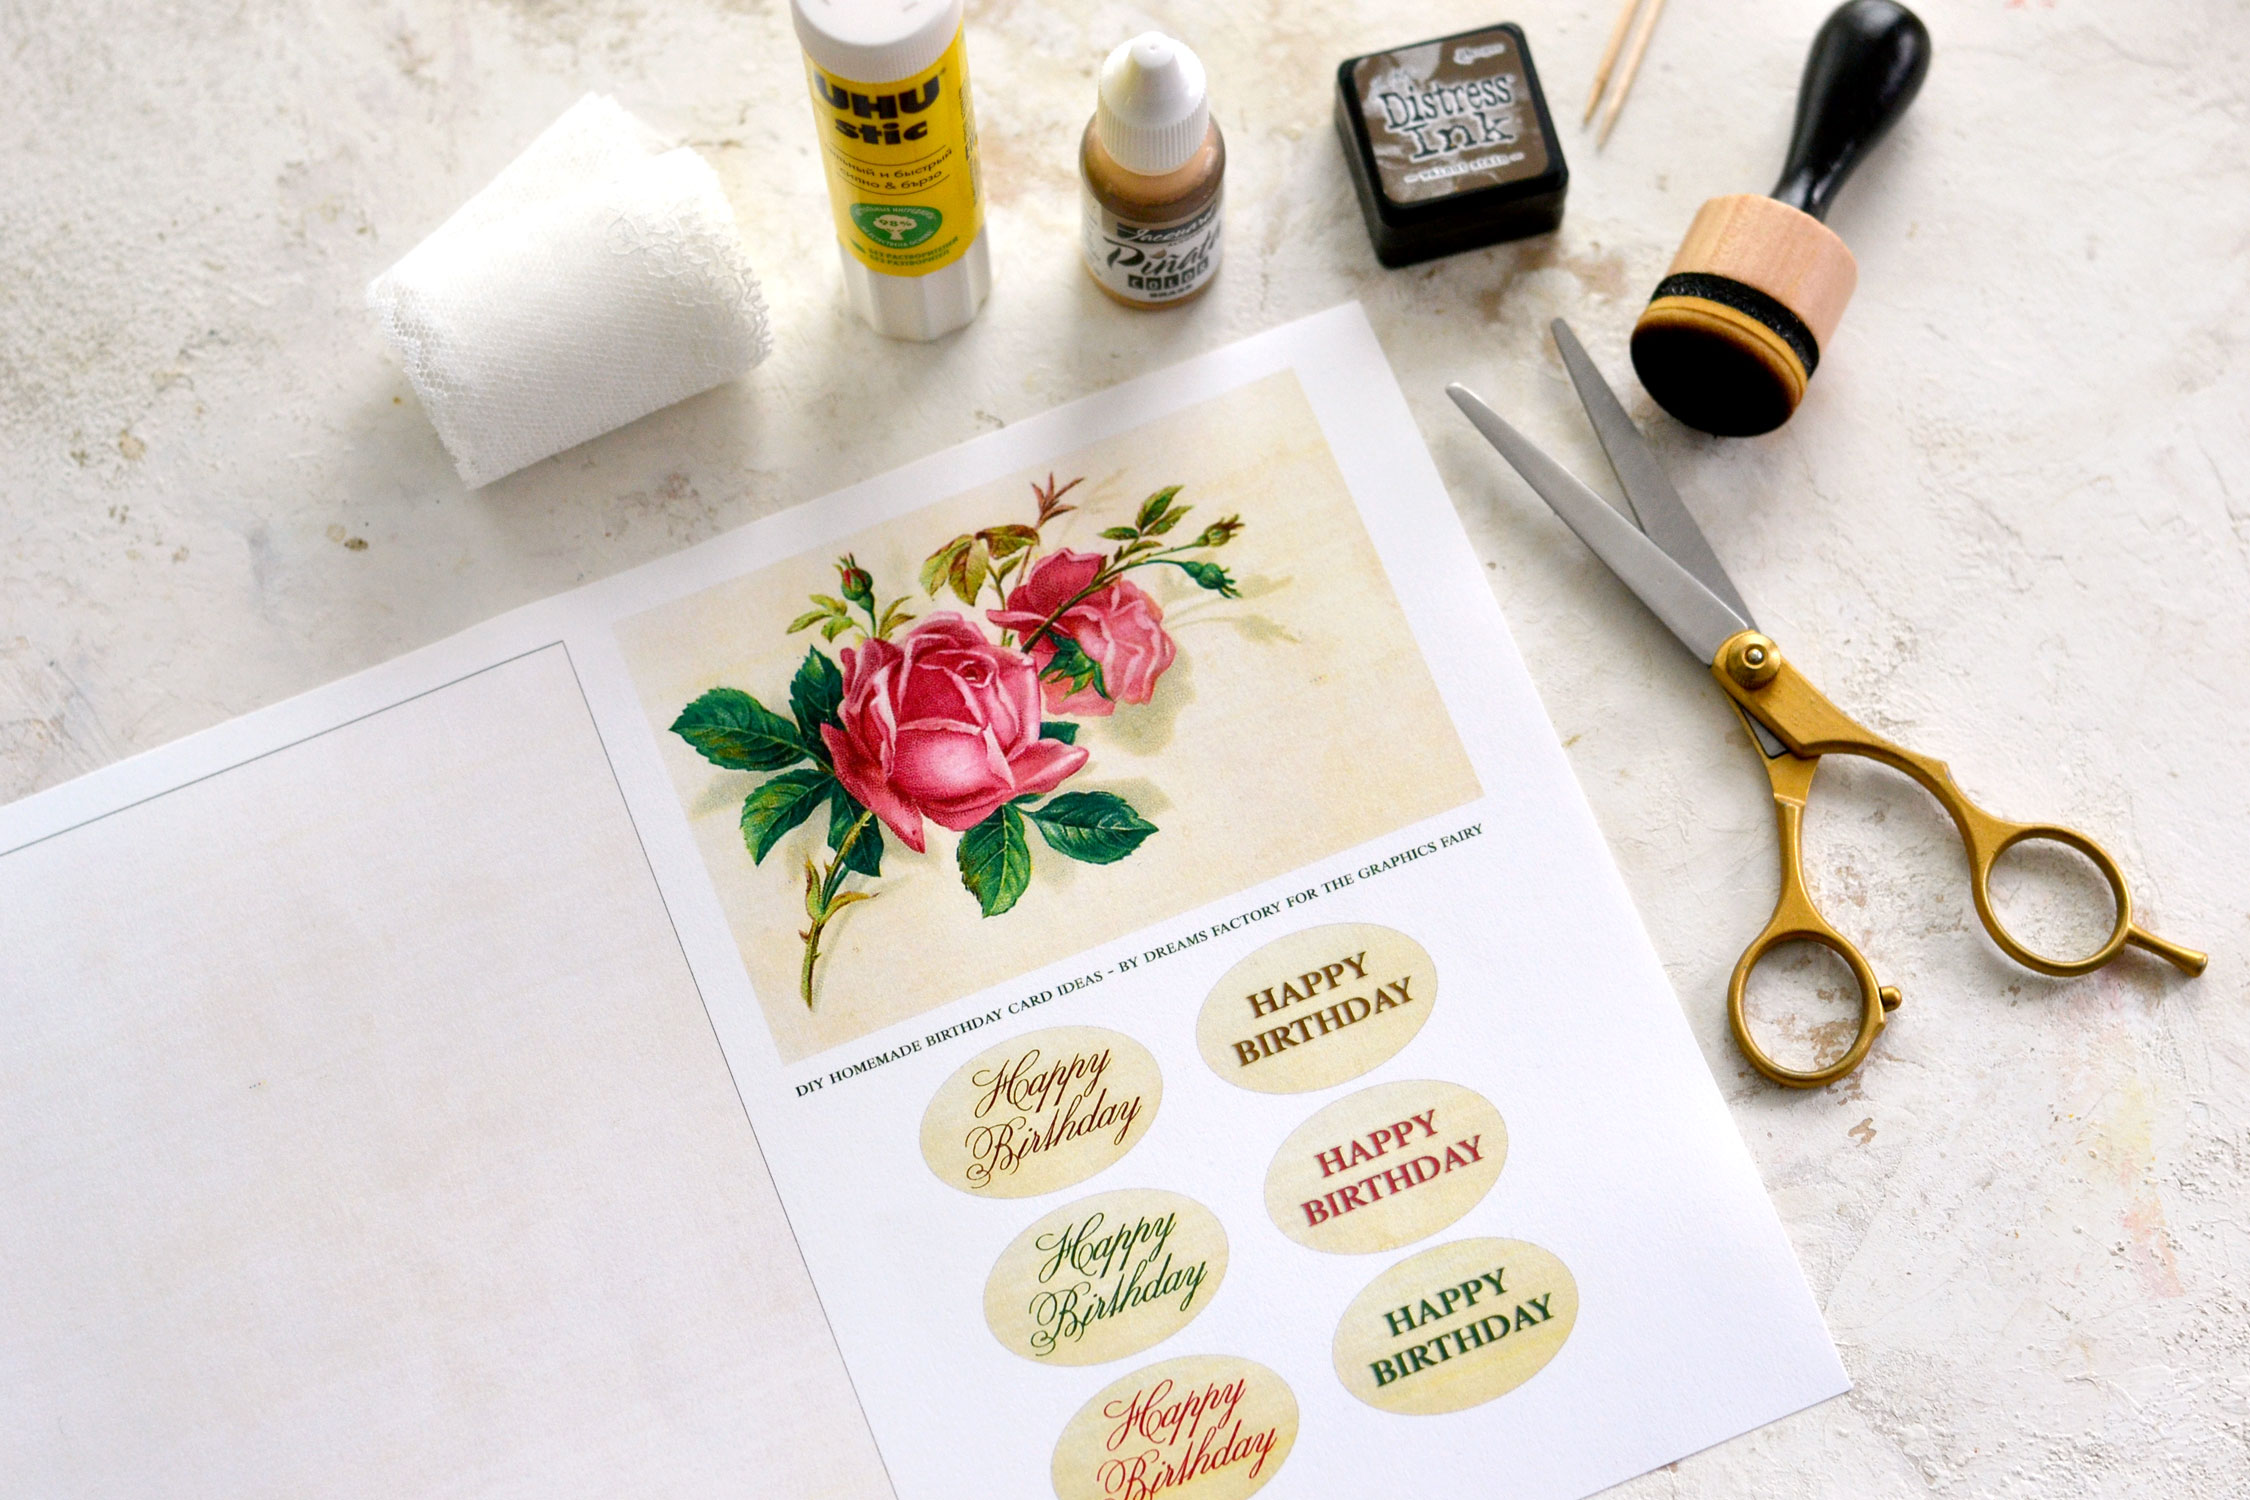
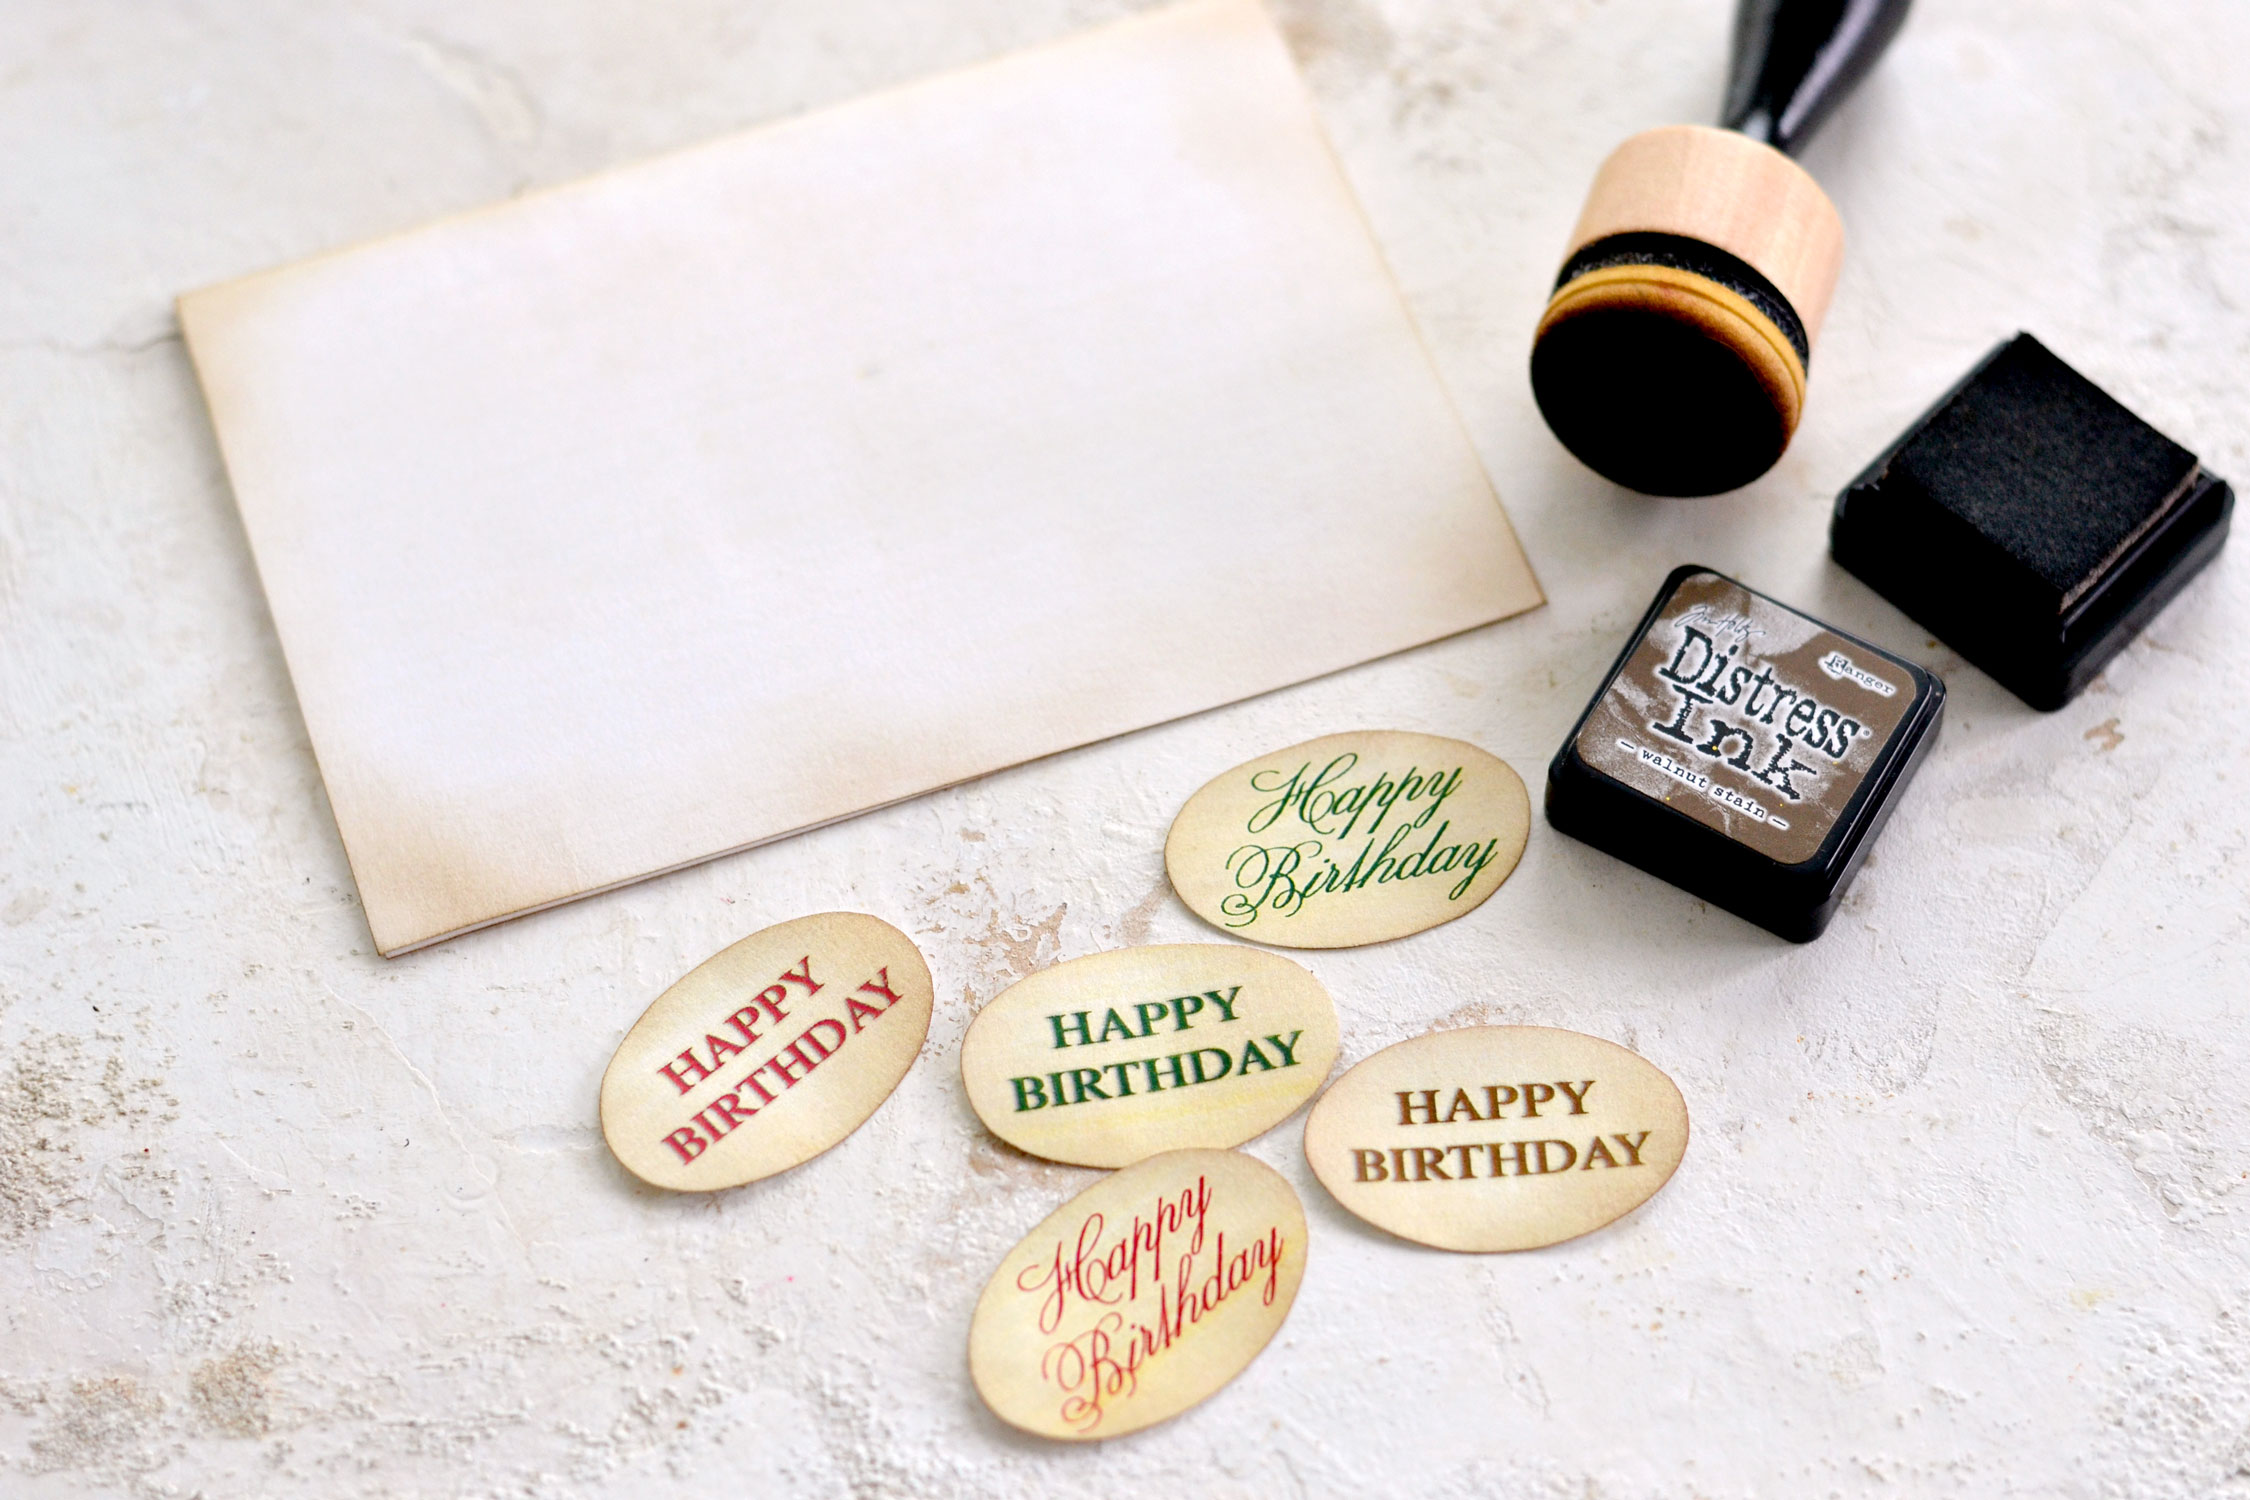
The printable that I created for you today features a simple, but really beautiful pink rose. I decided to keep things simple because I wanted you to be able to gift this birthday card to everyone, so I had more of a universal overall vibe in my mind while designing it. You will find the top card image with the rose and a base card that has a slightly vintage vibe. I’ve also included a few oval Happy Birthday wishes in different colors and fonts from the same color palette as our rose – you can just choose your favorite!
Free Printable Cardmaking Kit:
—-> Click HERE to Download the Full Size Printable PDF <—-
Homemade Birthday Card Ideas Supplies:
- cardstock paper
- home printer
- scissors
- mini distress inks
- blending tool with foams
- Mod Podge or any other craft or paper glue
- bone folder
- gold alcohol ink (or use gold acrylic paint, gold watercolors or gold gouaches)
- plastic sheet or a non-absorbent surface
- skewers
- lace (optional)
Step by Step Instructions:
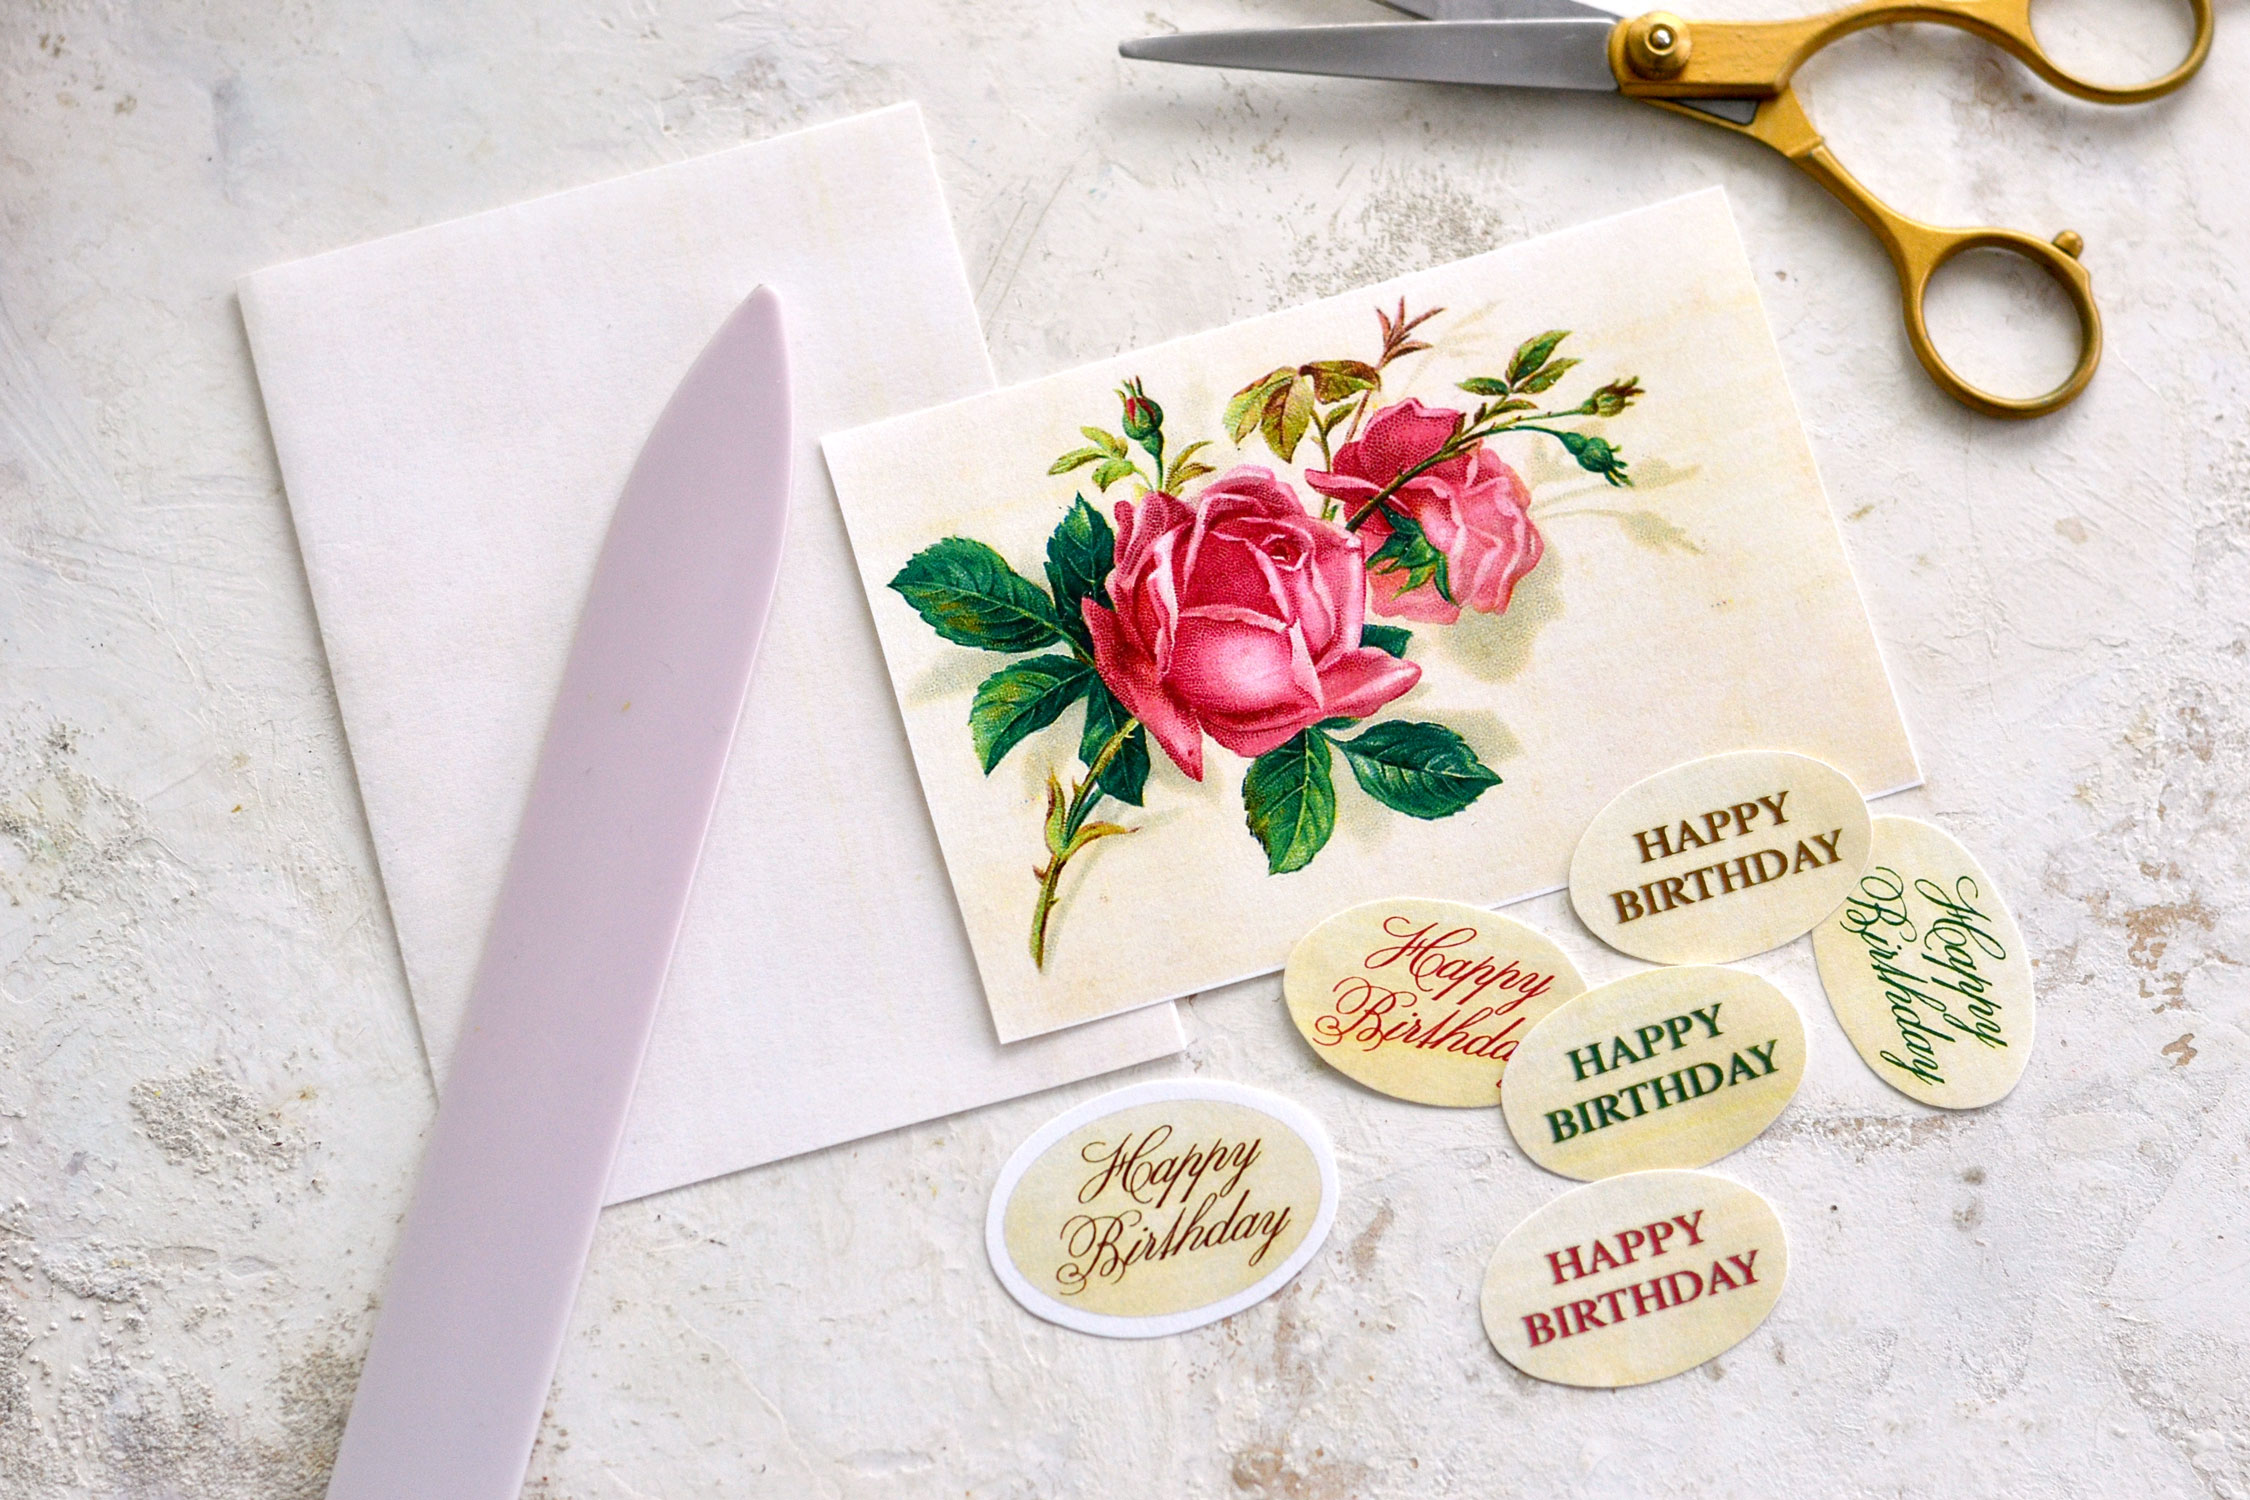
Start by cutting all the paper elements and removing their borders. If you want, you can leave a little bit of extra space on the edges of one of the birthday wishes while cutting it – it can be easily turned into a mini background for another one of our wishes.
Use a bone folder to fold the card base in half.
Place a plastic sheet on your table to protect your working surface and make sure you shake the gold alcohol ink really well before using it.
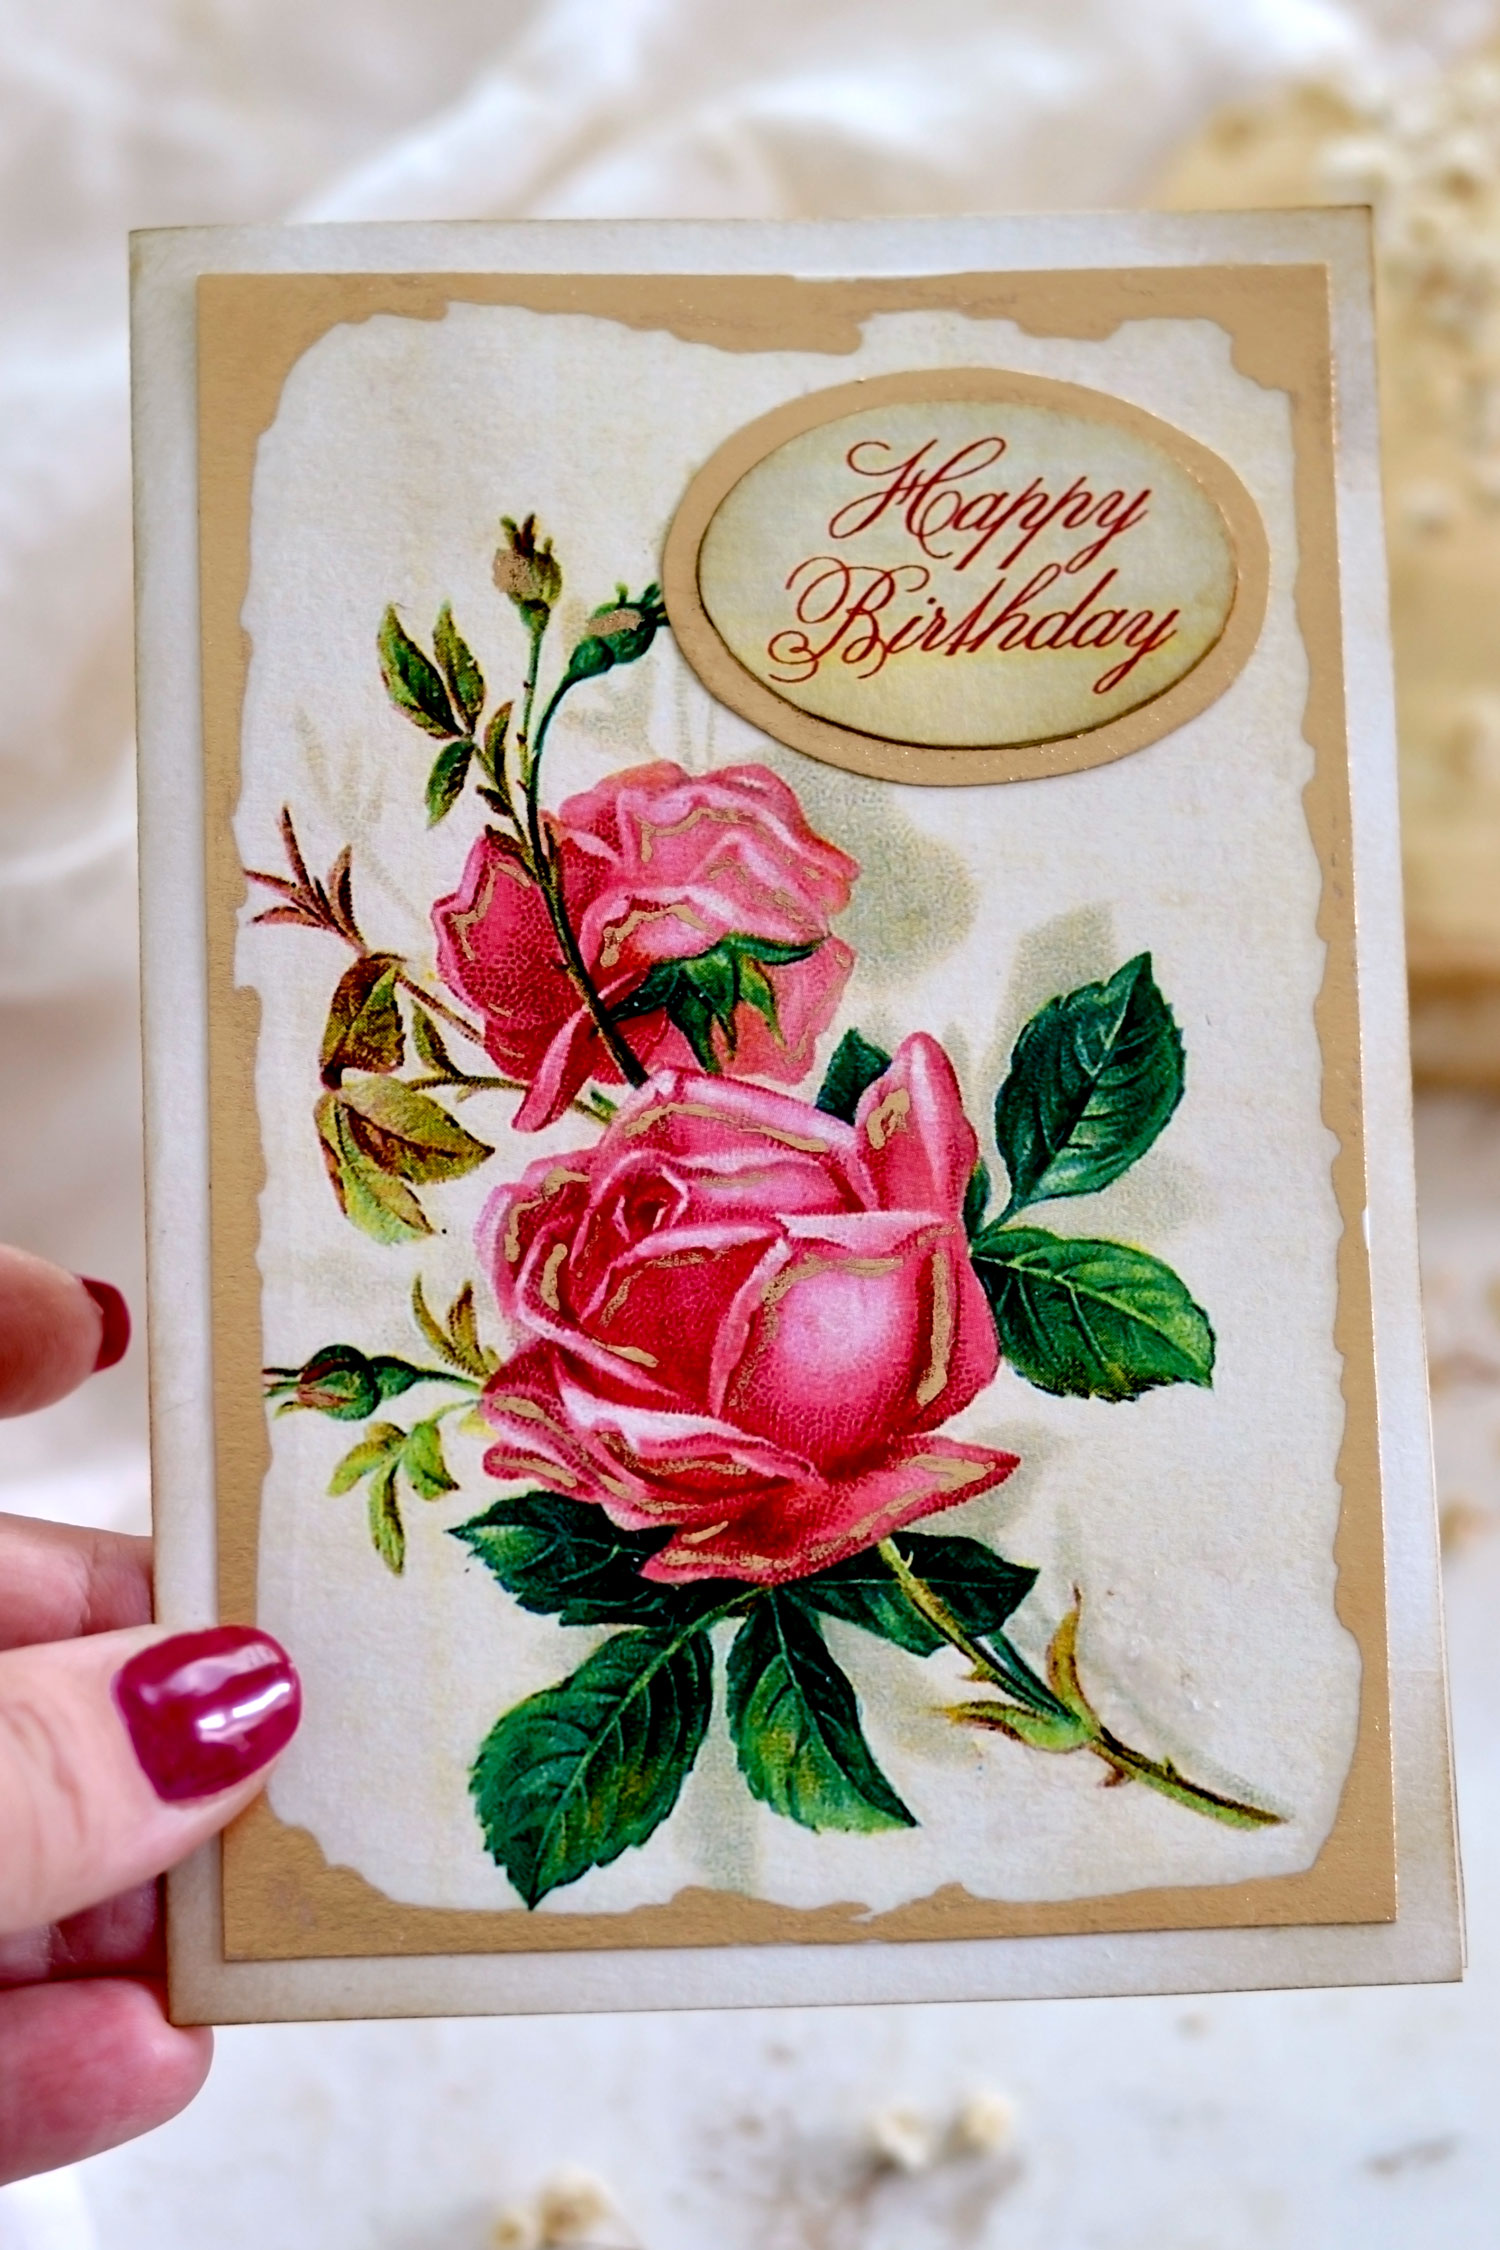
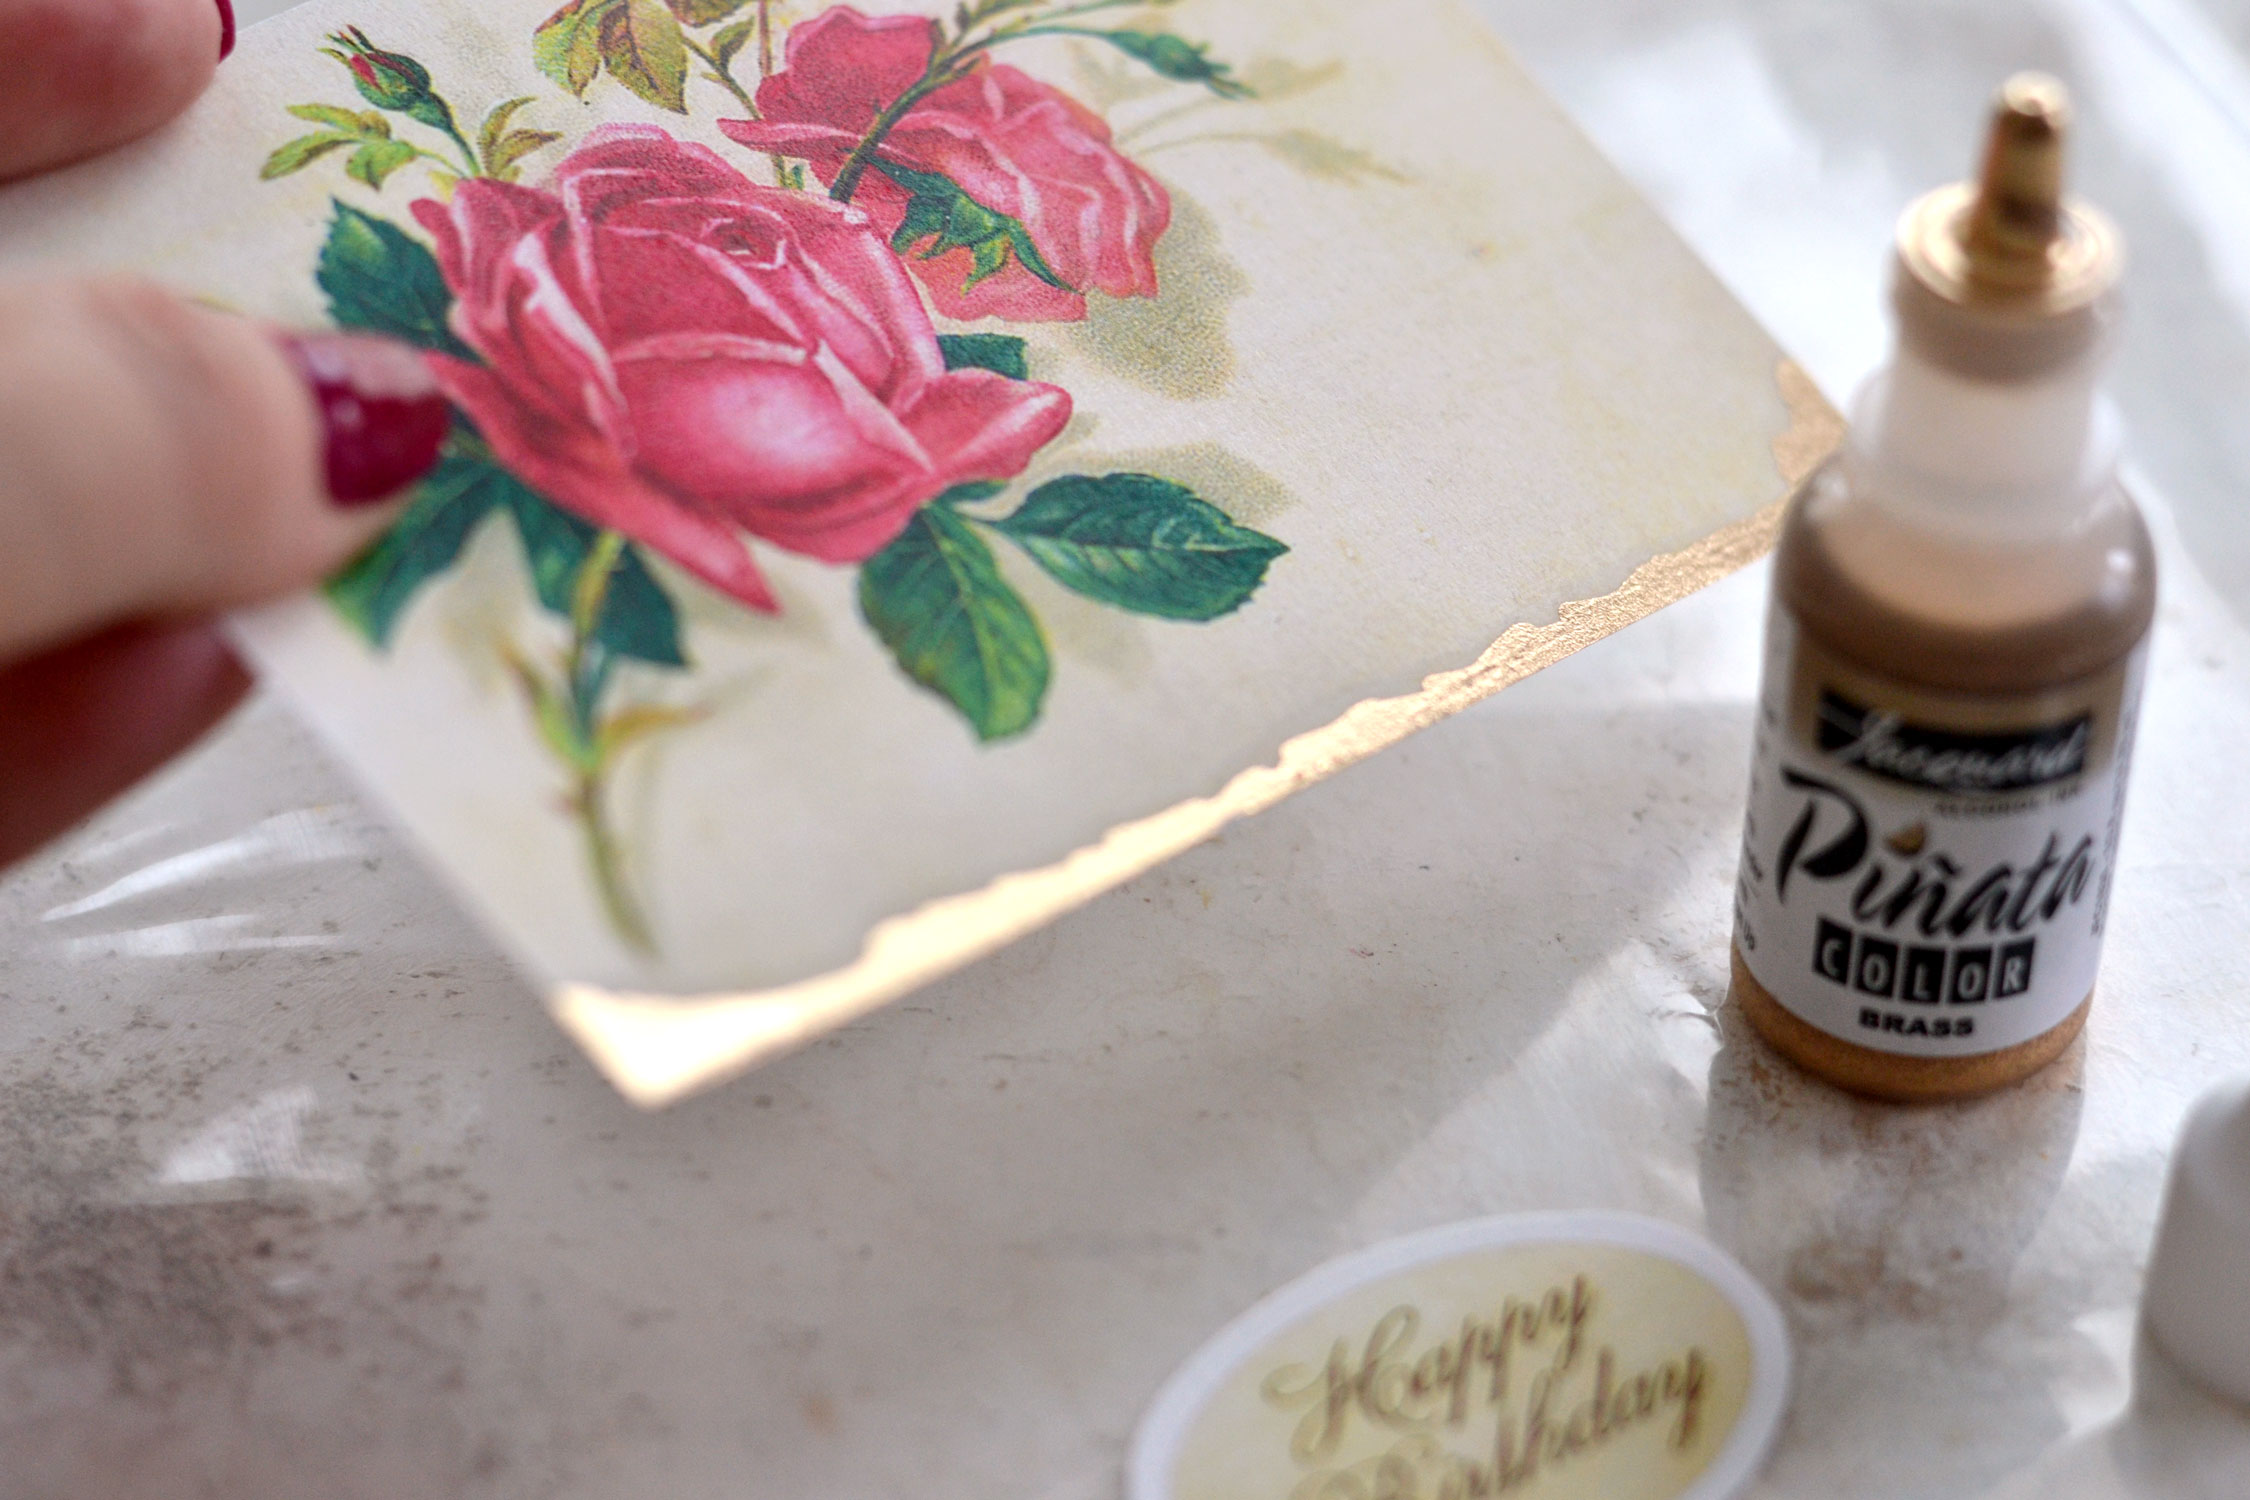
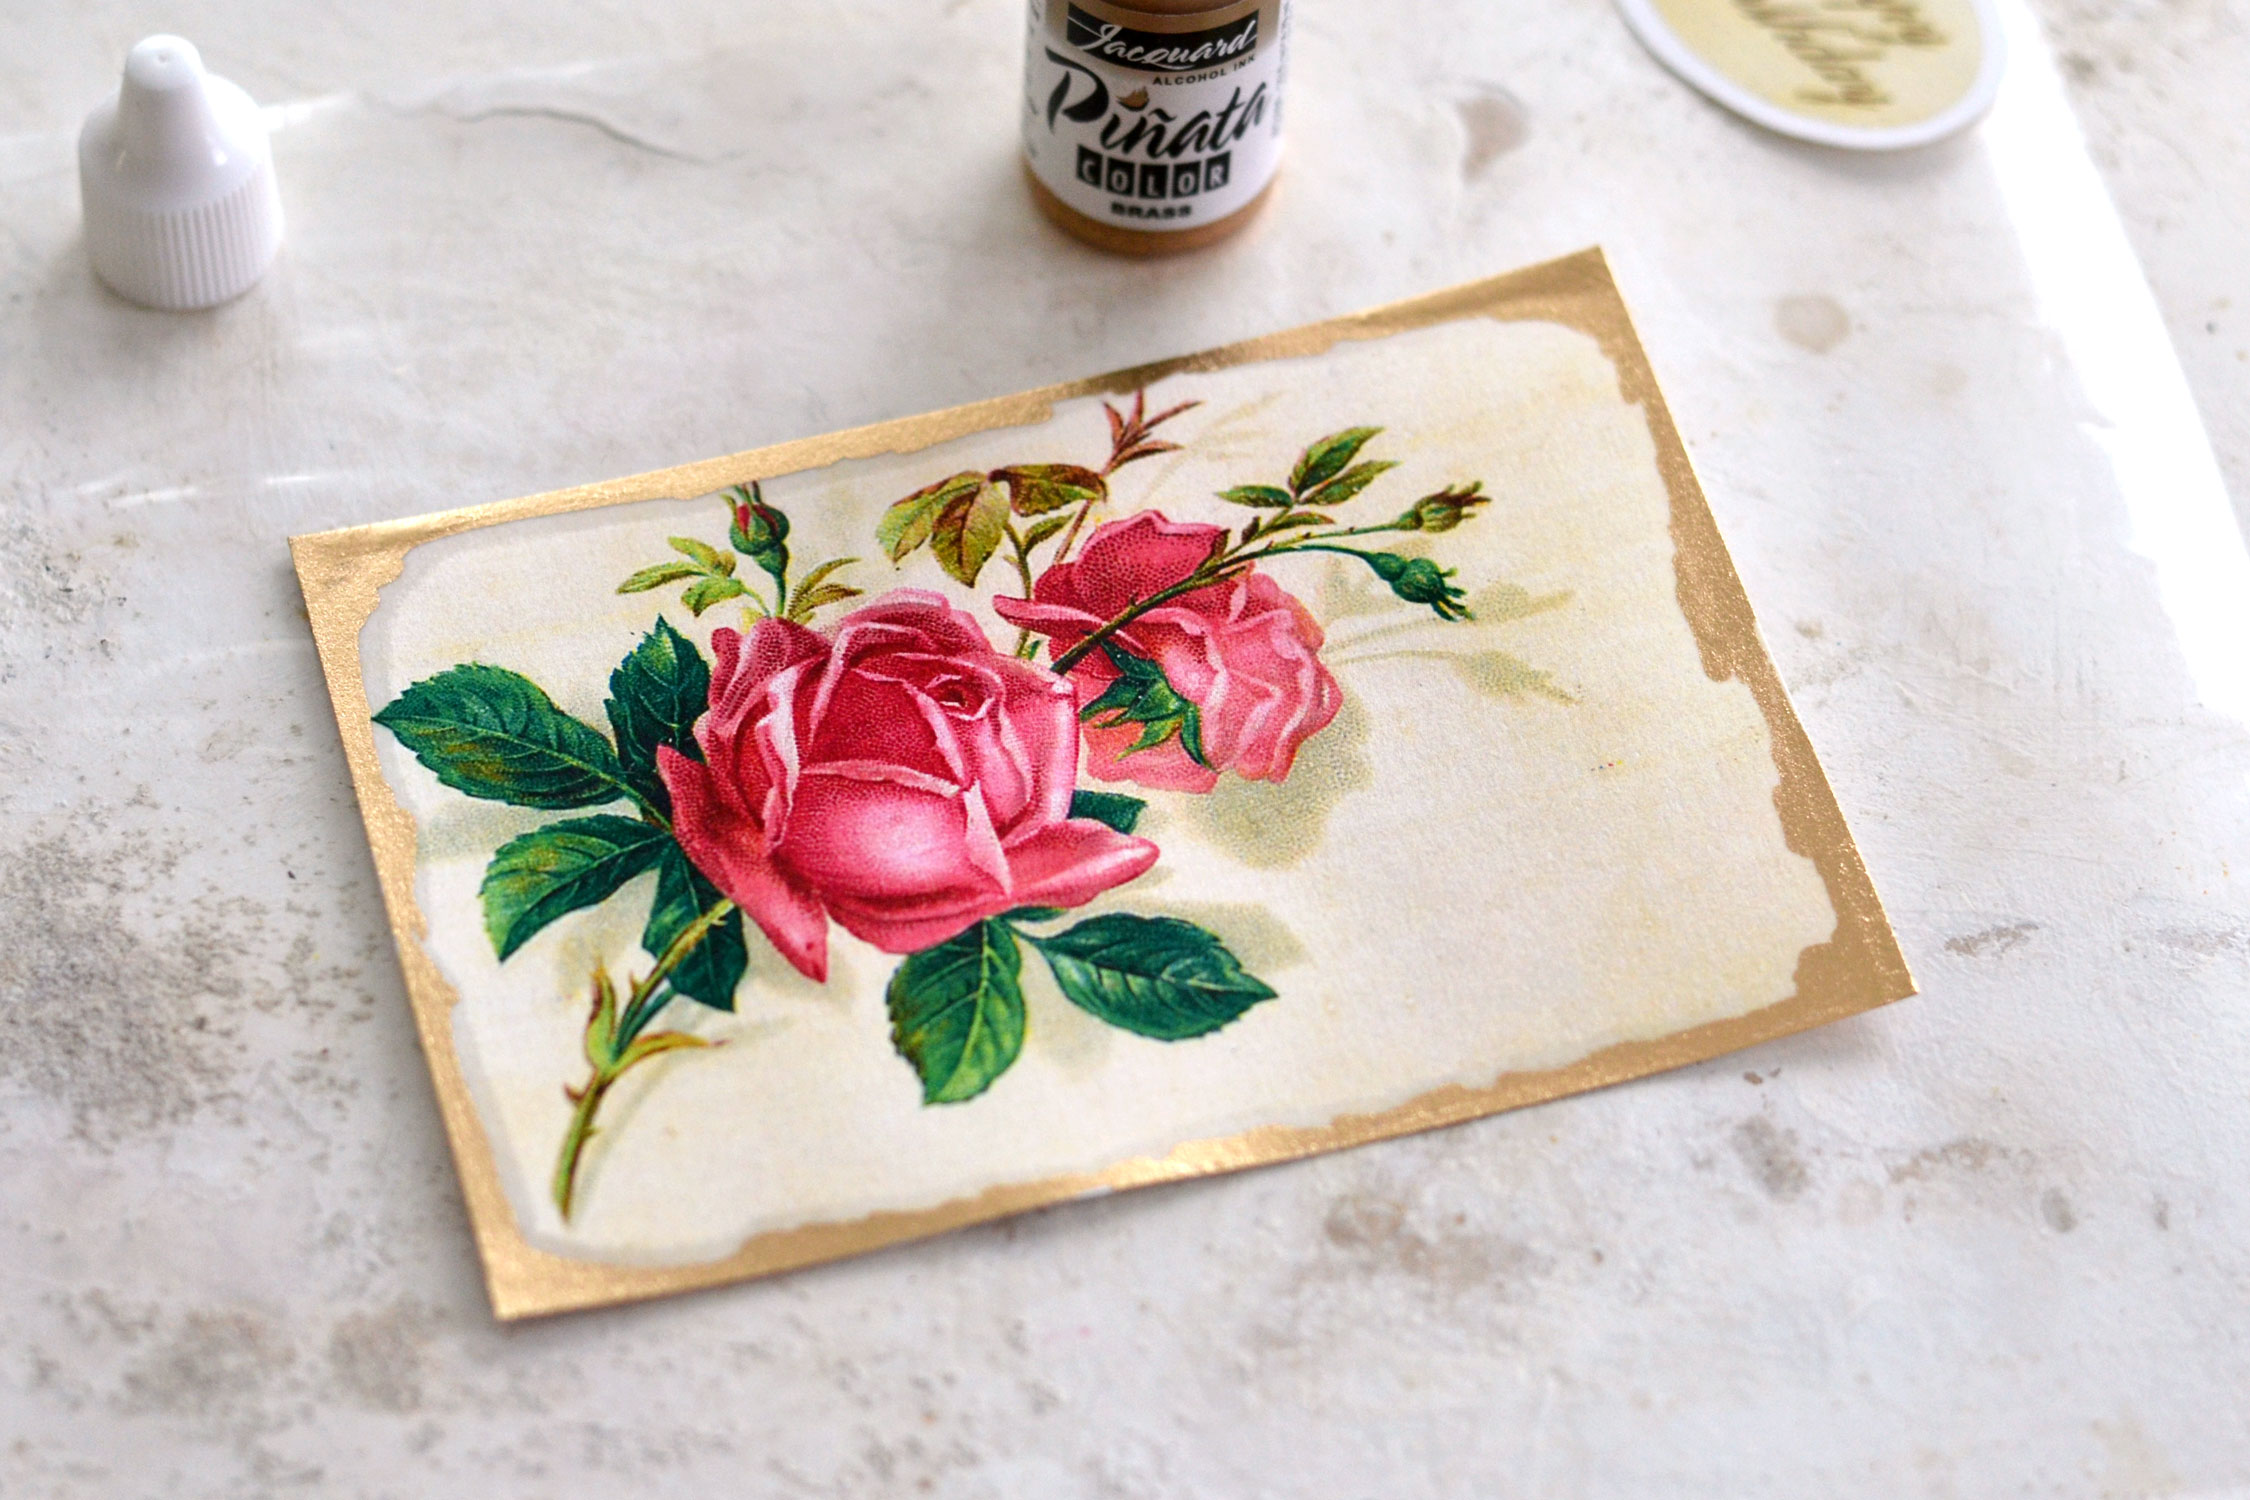
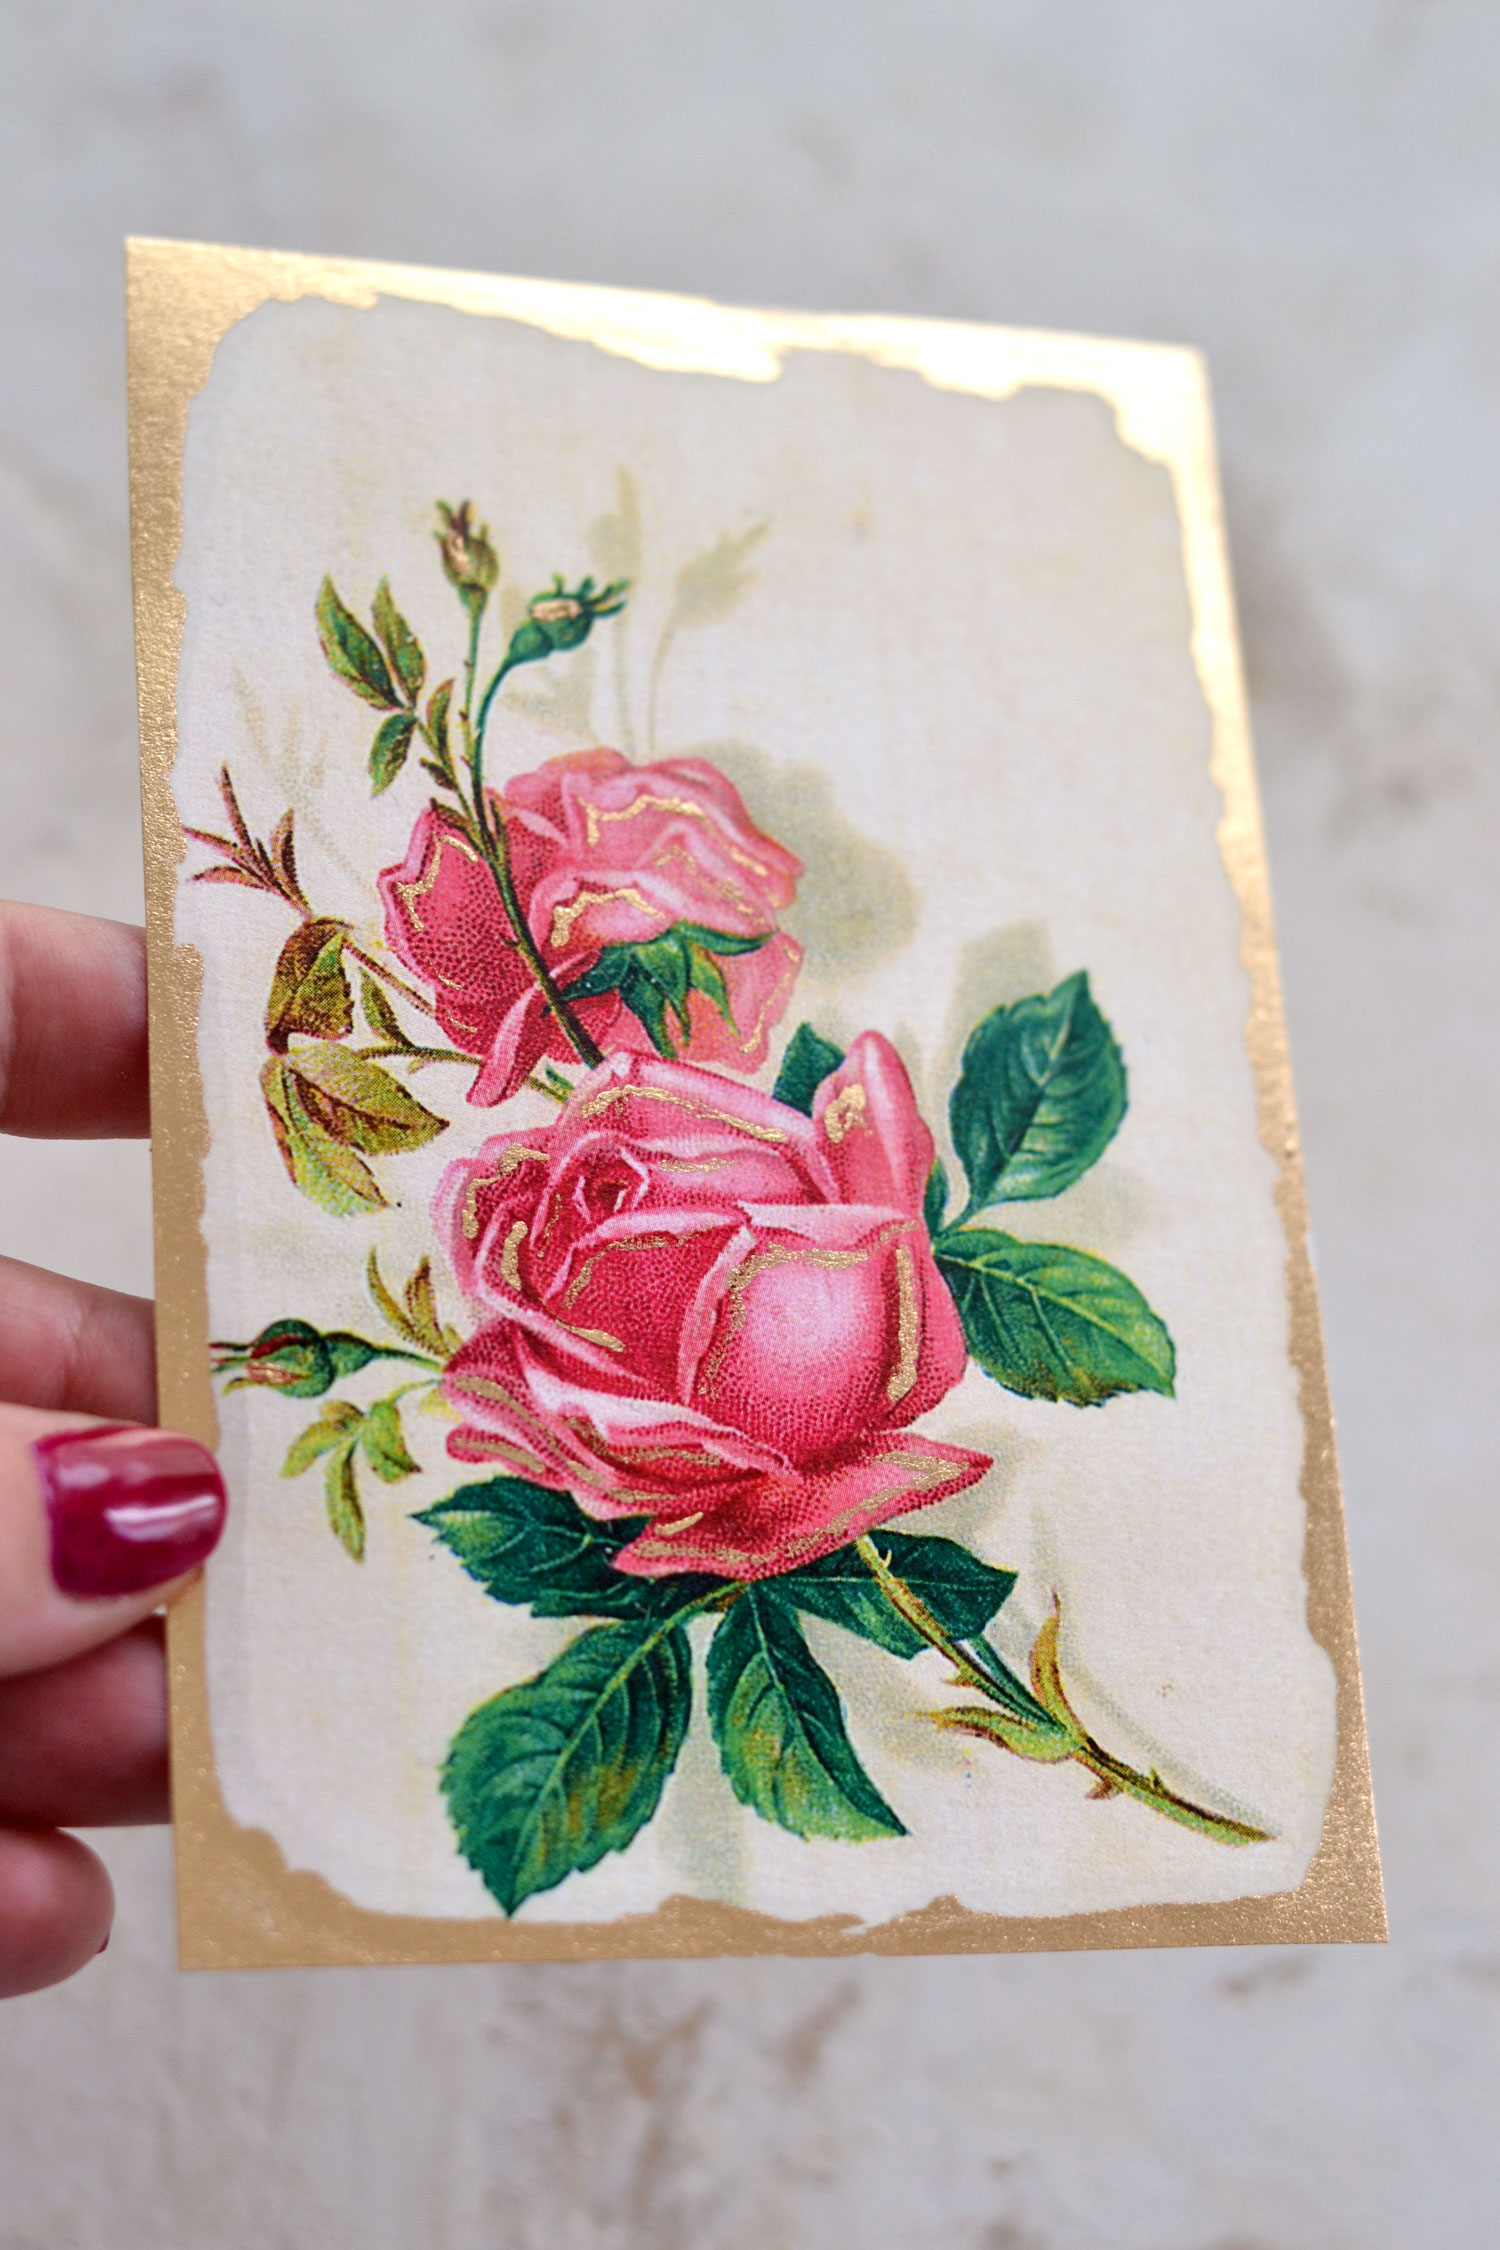
Take the card top with the pink rose in your hand and use the gold alcohol ink to create an irregular line around one of the edges. I like to start with one of the corners, then gradually work my way around the edges using the tip of the bottle as an improvised brush.
Try not to add too much gold ink in one spot, but ‘brush’ enough so you completely cover the edges. If you do add too much, just use your improvised brush (your bottle’s tip) to disperse it on the paper. Create irregular don’t-think-too-much gold strokes to give the edges a more organic feel.
Let the paper dry on your table and try to not touch the gold with your fingers, it will easily wear off at this stage.
As you can see in the image below, there is a small alcohol border that just shadows your gilded edge but it will dissipate almost completely after drying.
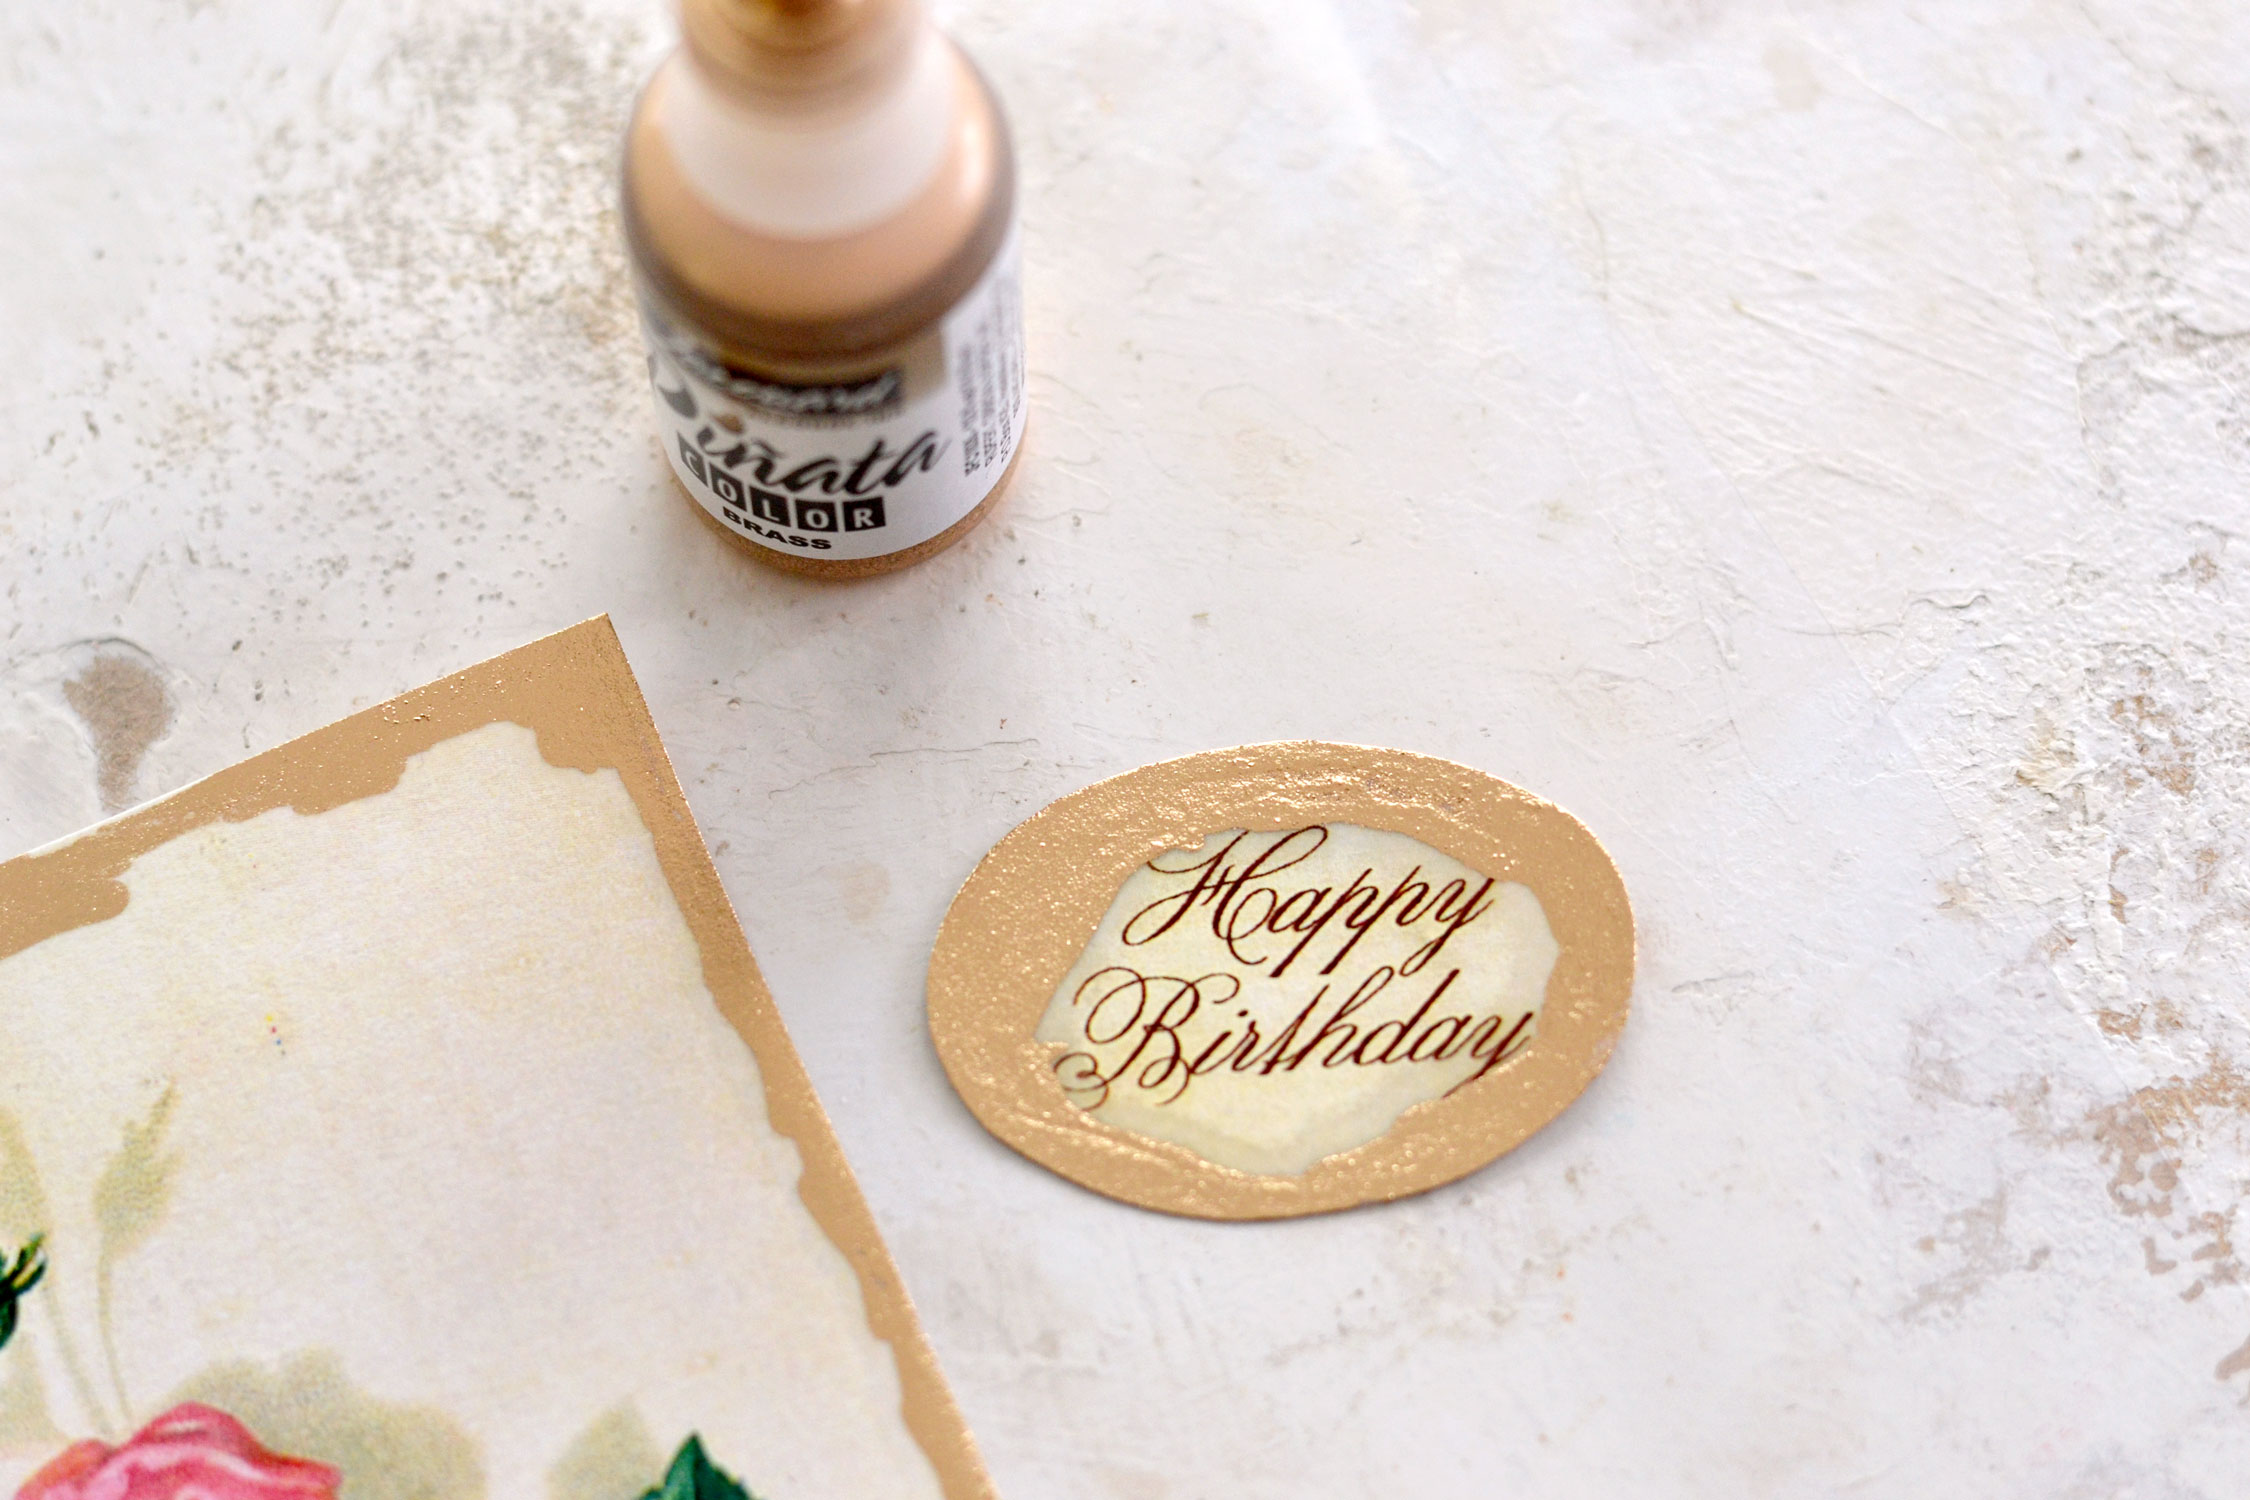
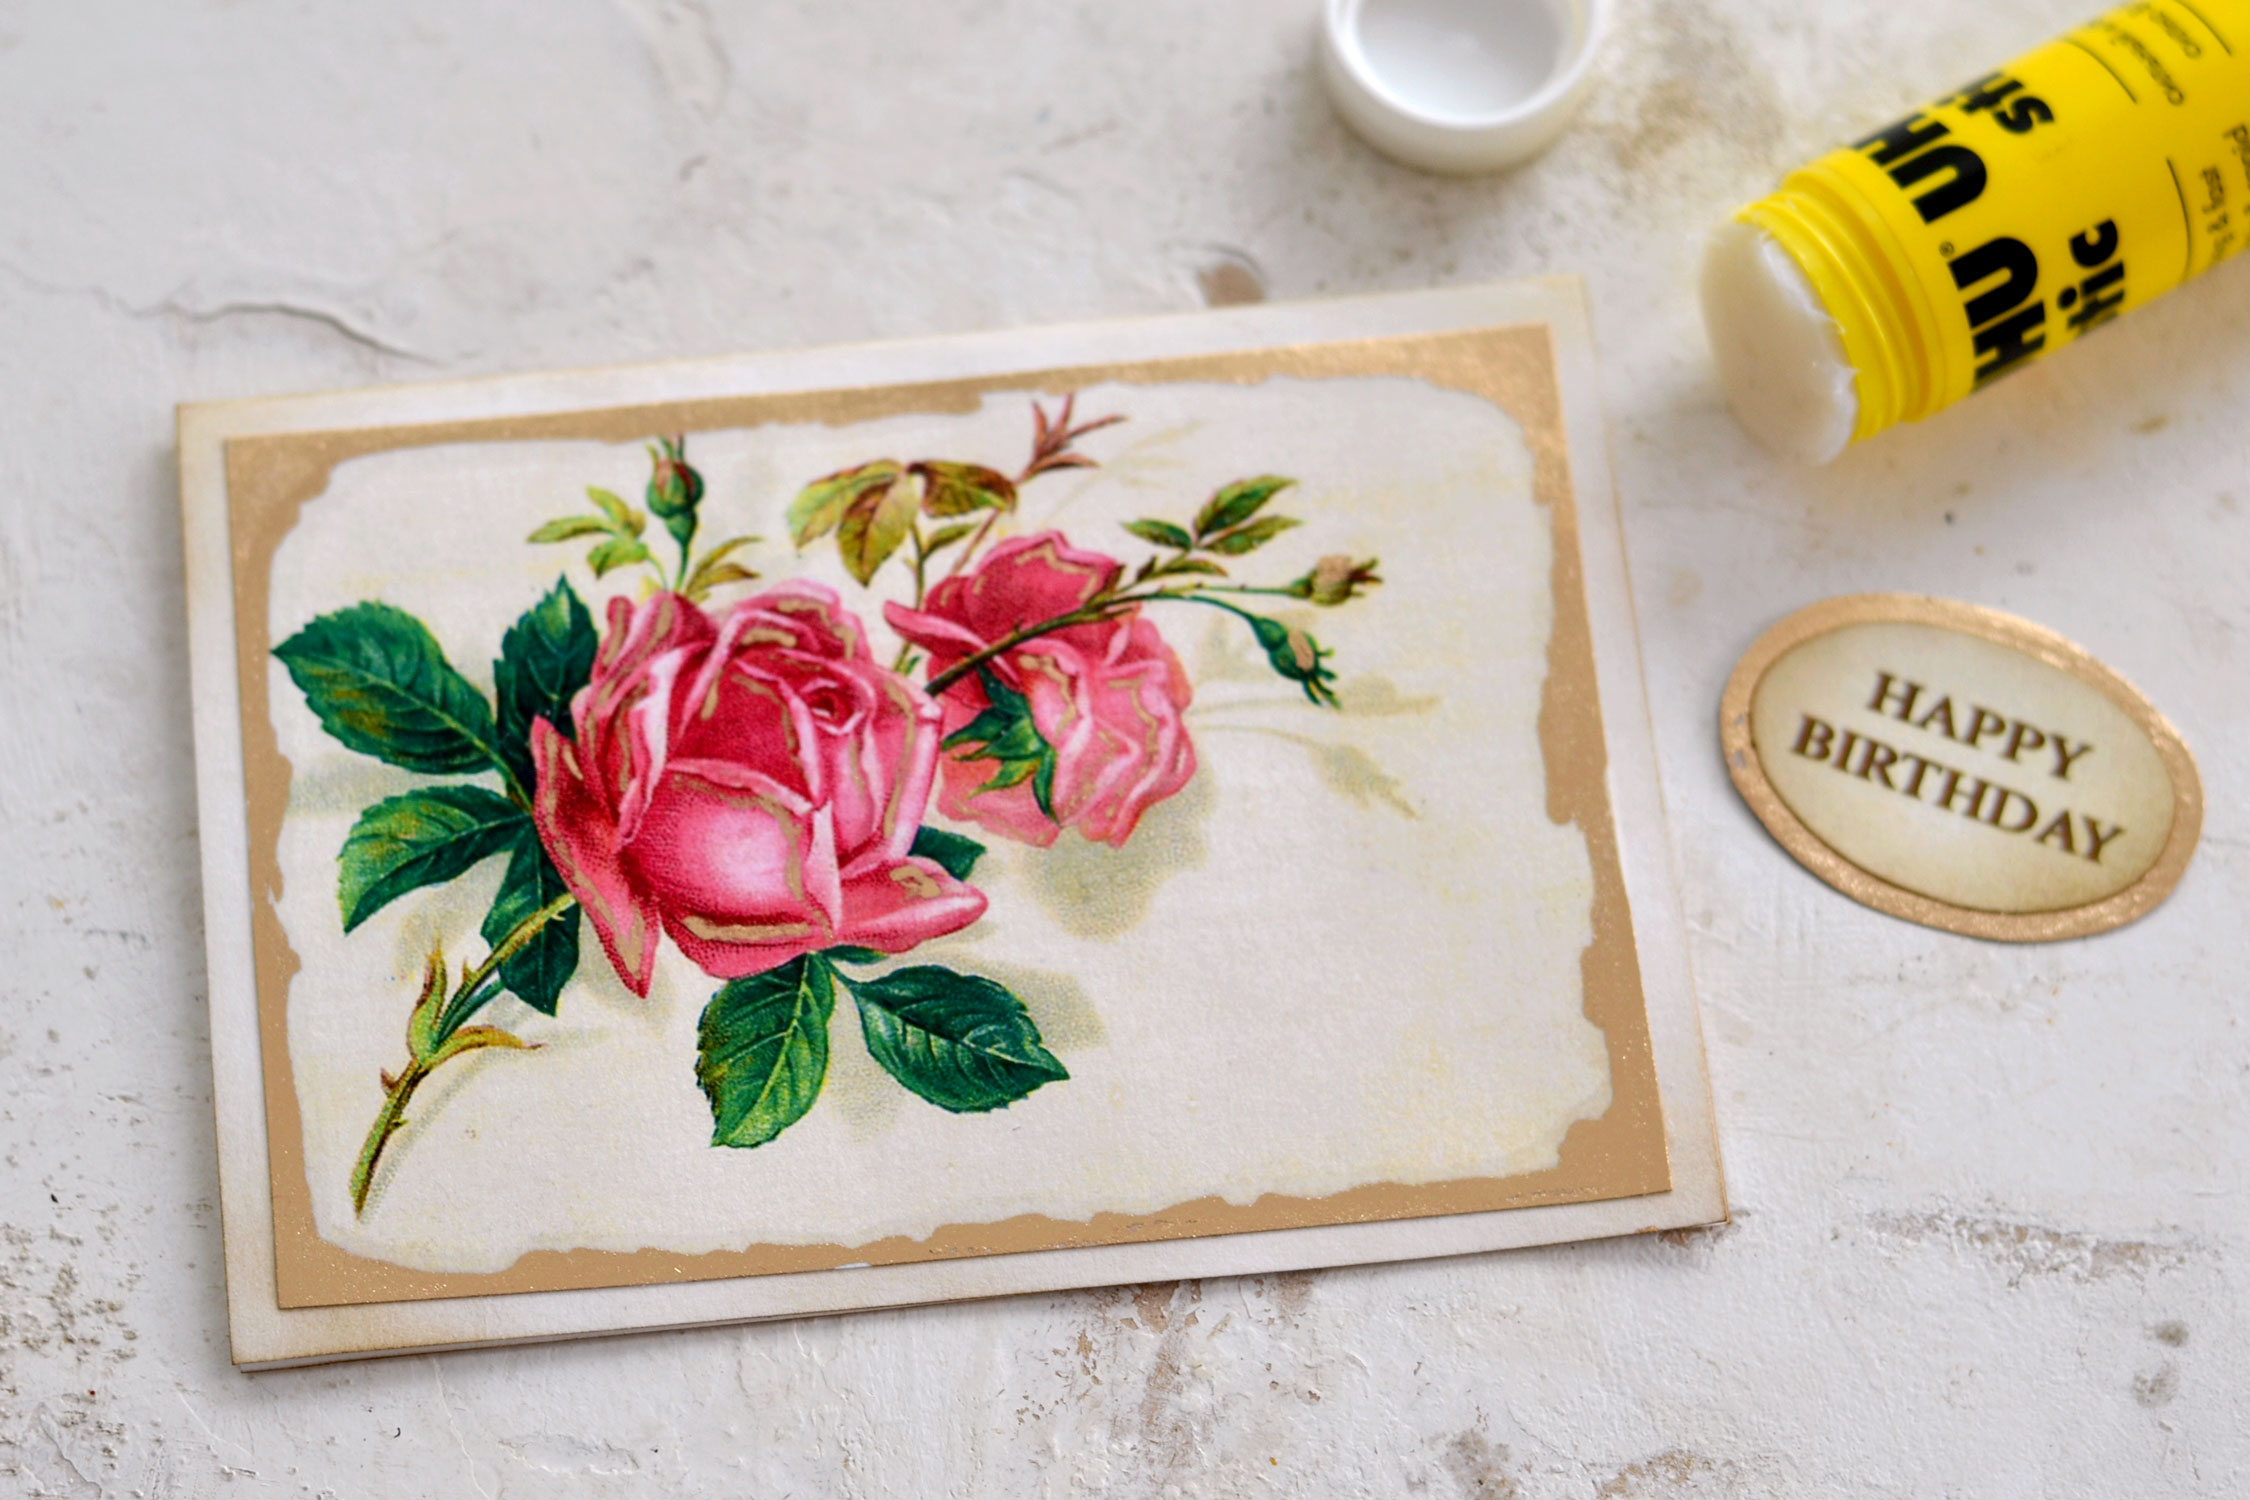
Don’t forget to also paint with gold alcohol ink the edges of our small oval that we decided to use as a mini background. Don’t worry about its design, it will be covered by another birthday wish that we will place on top.
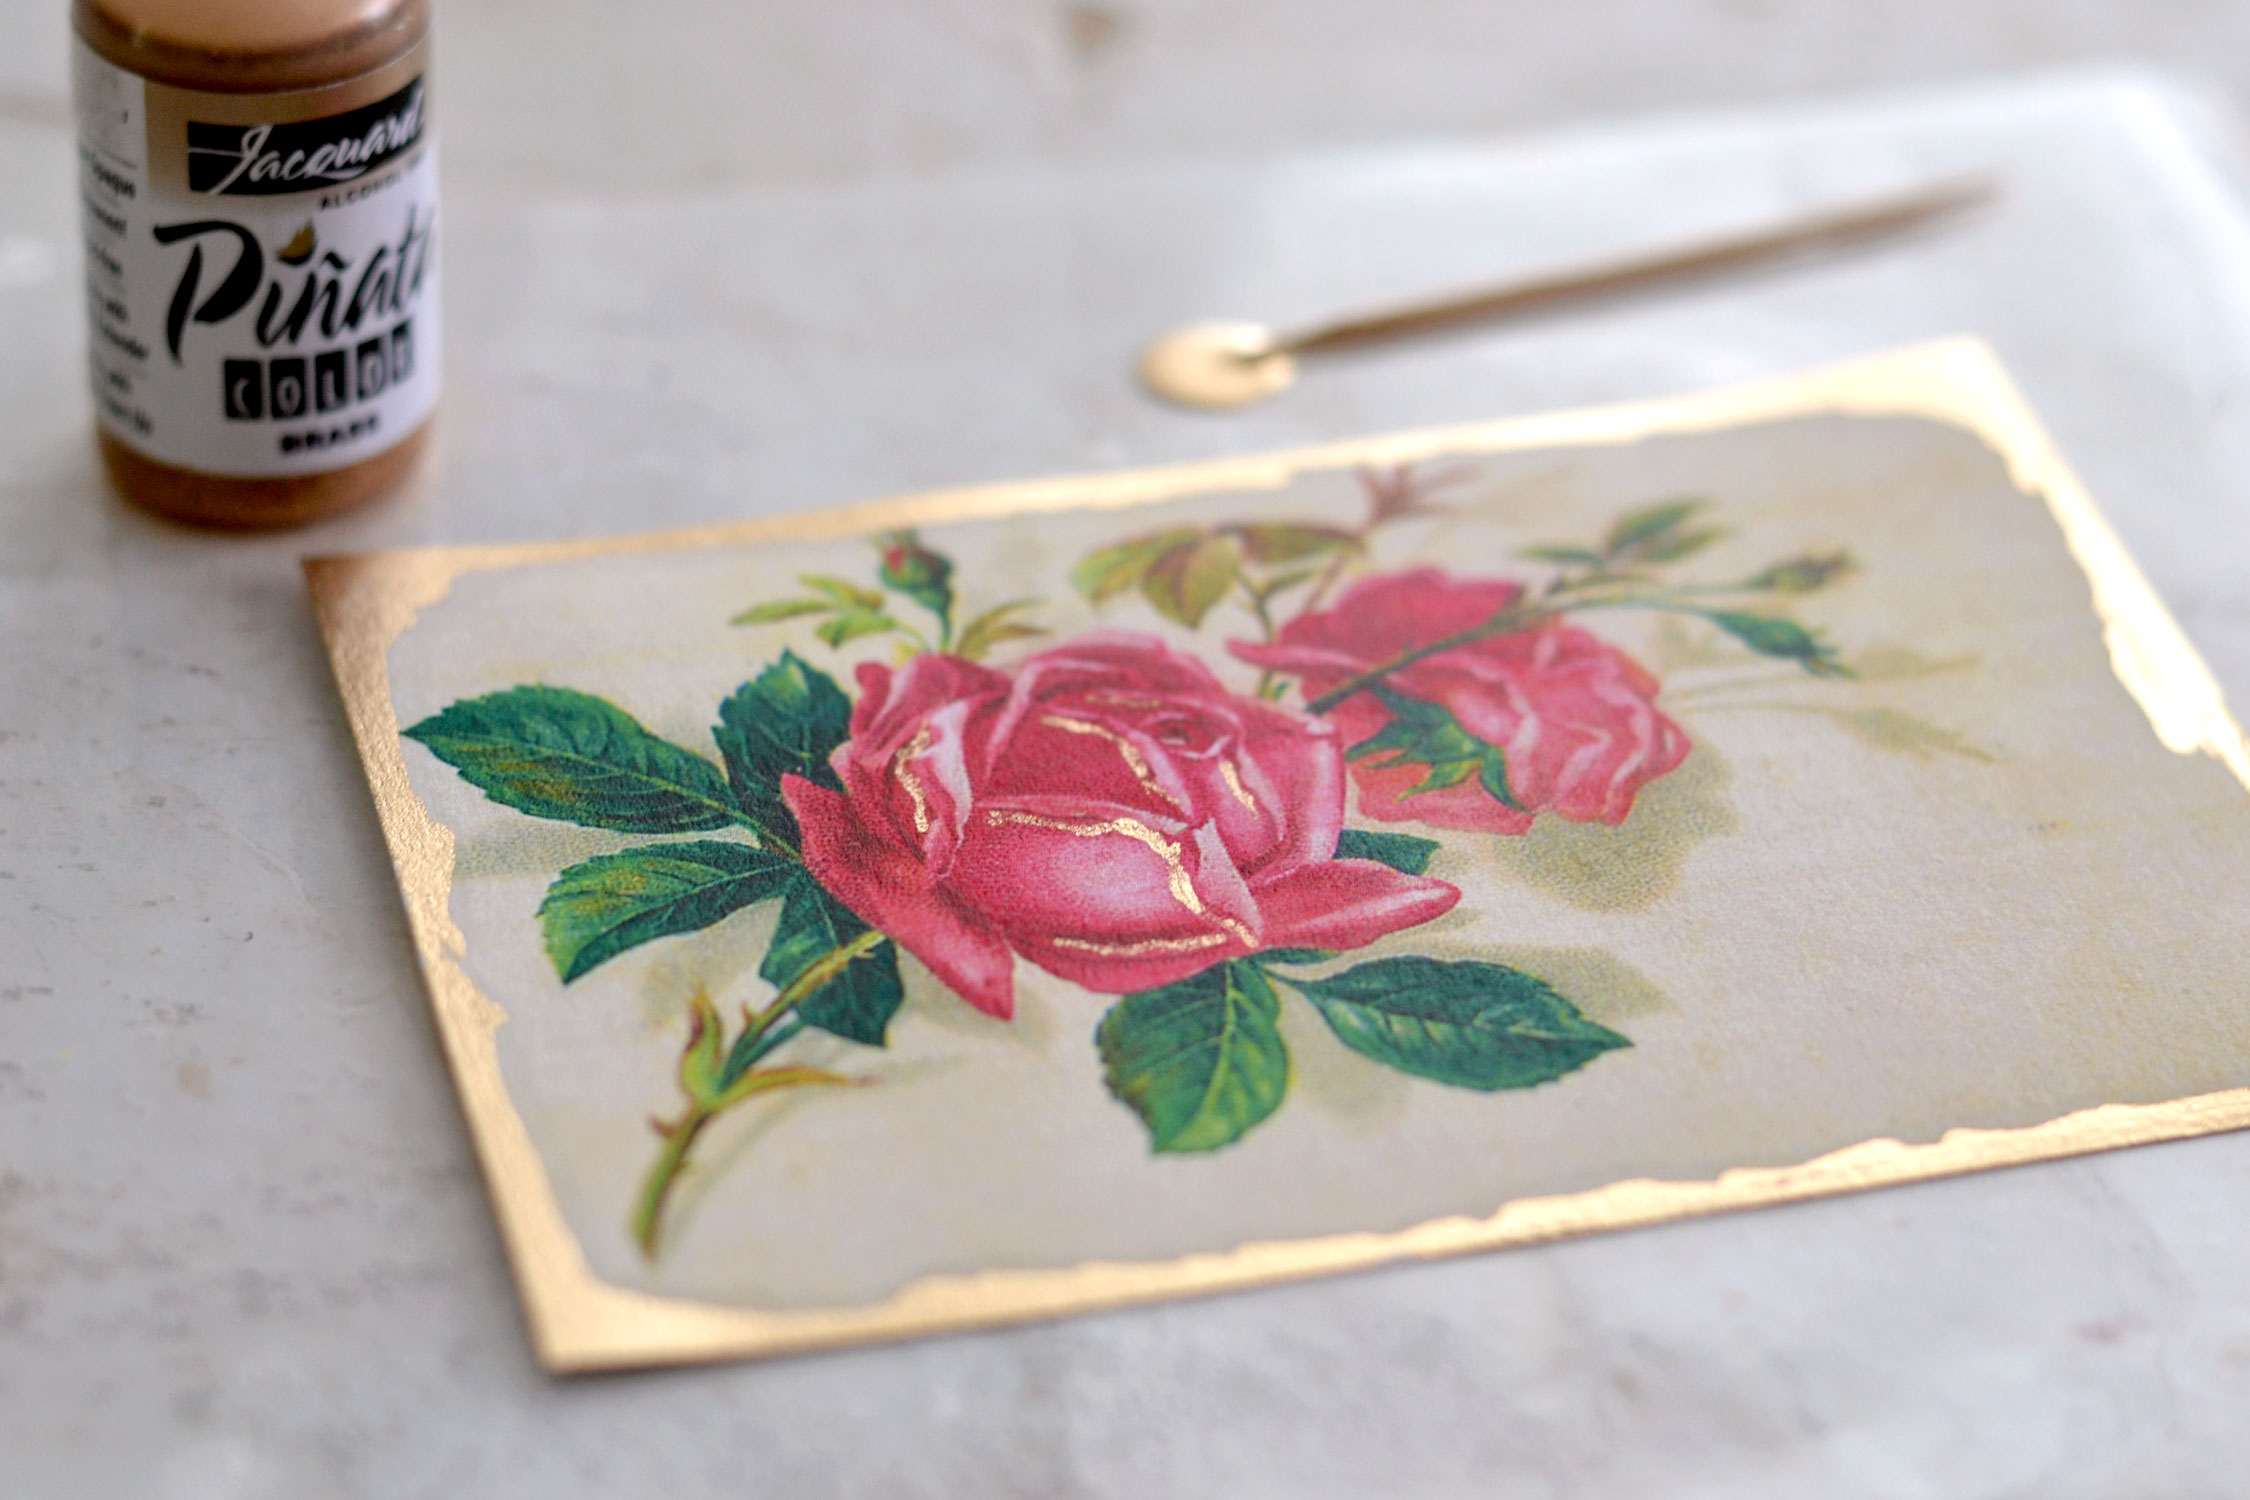
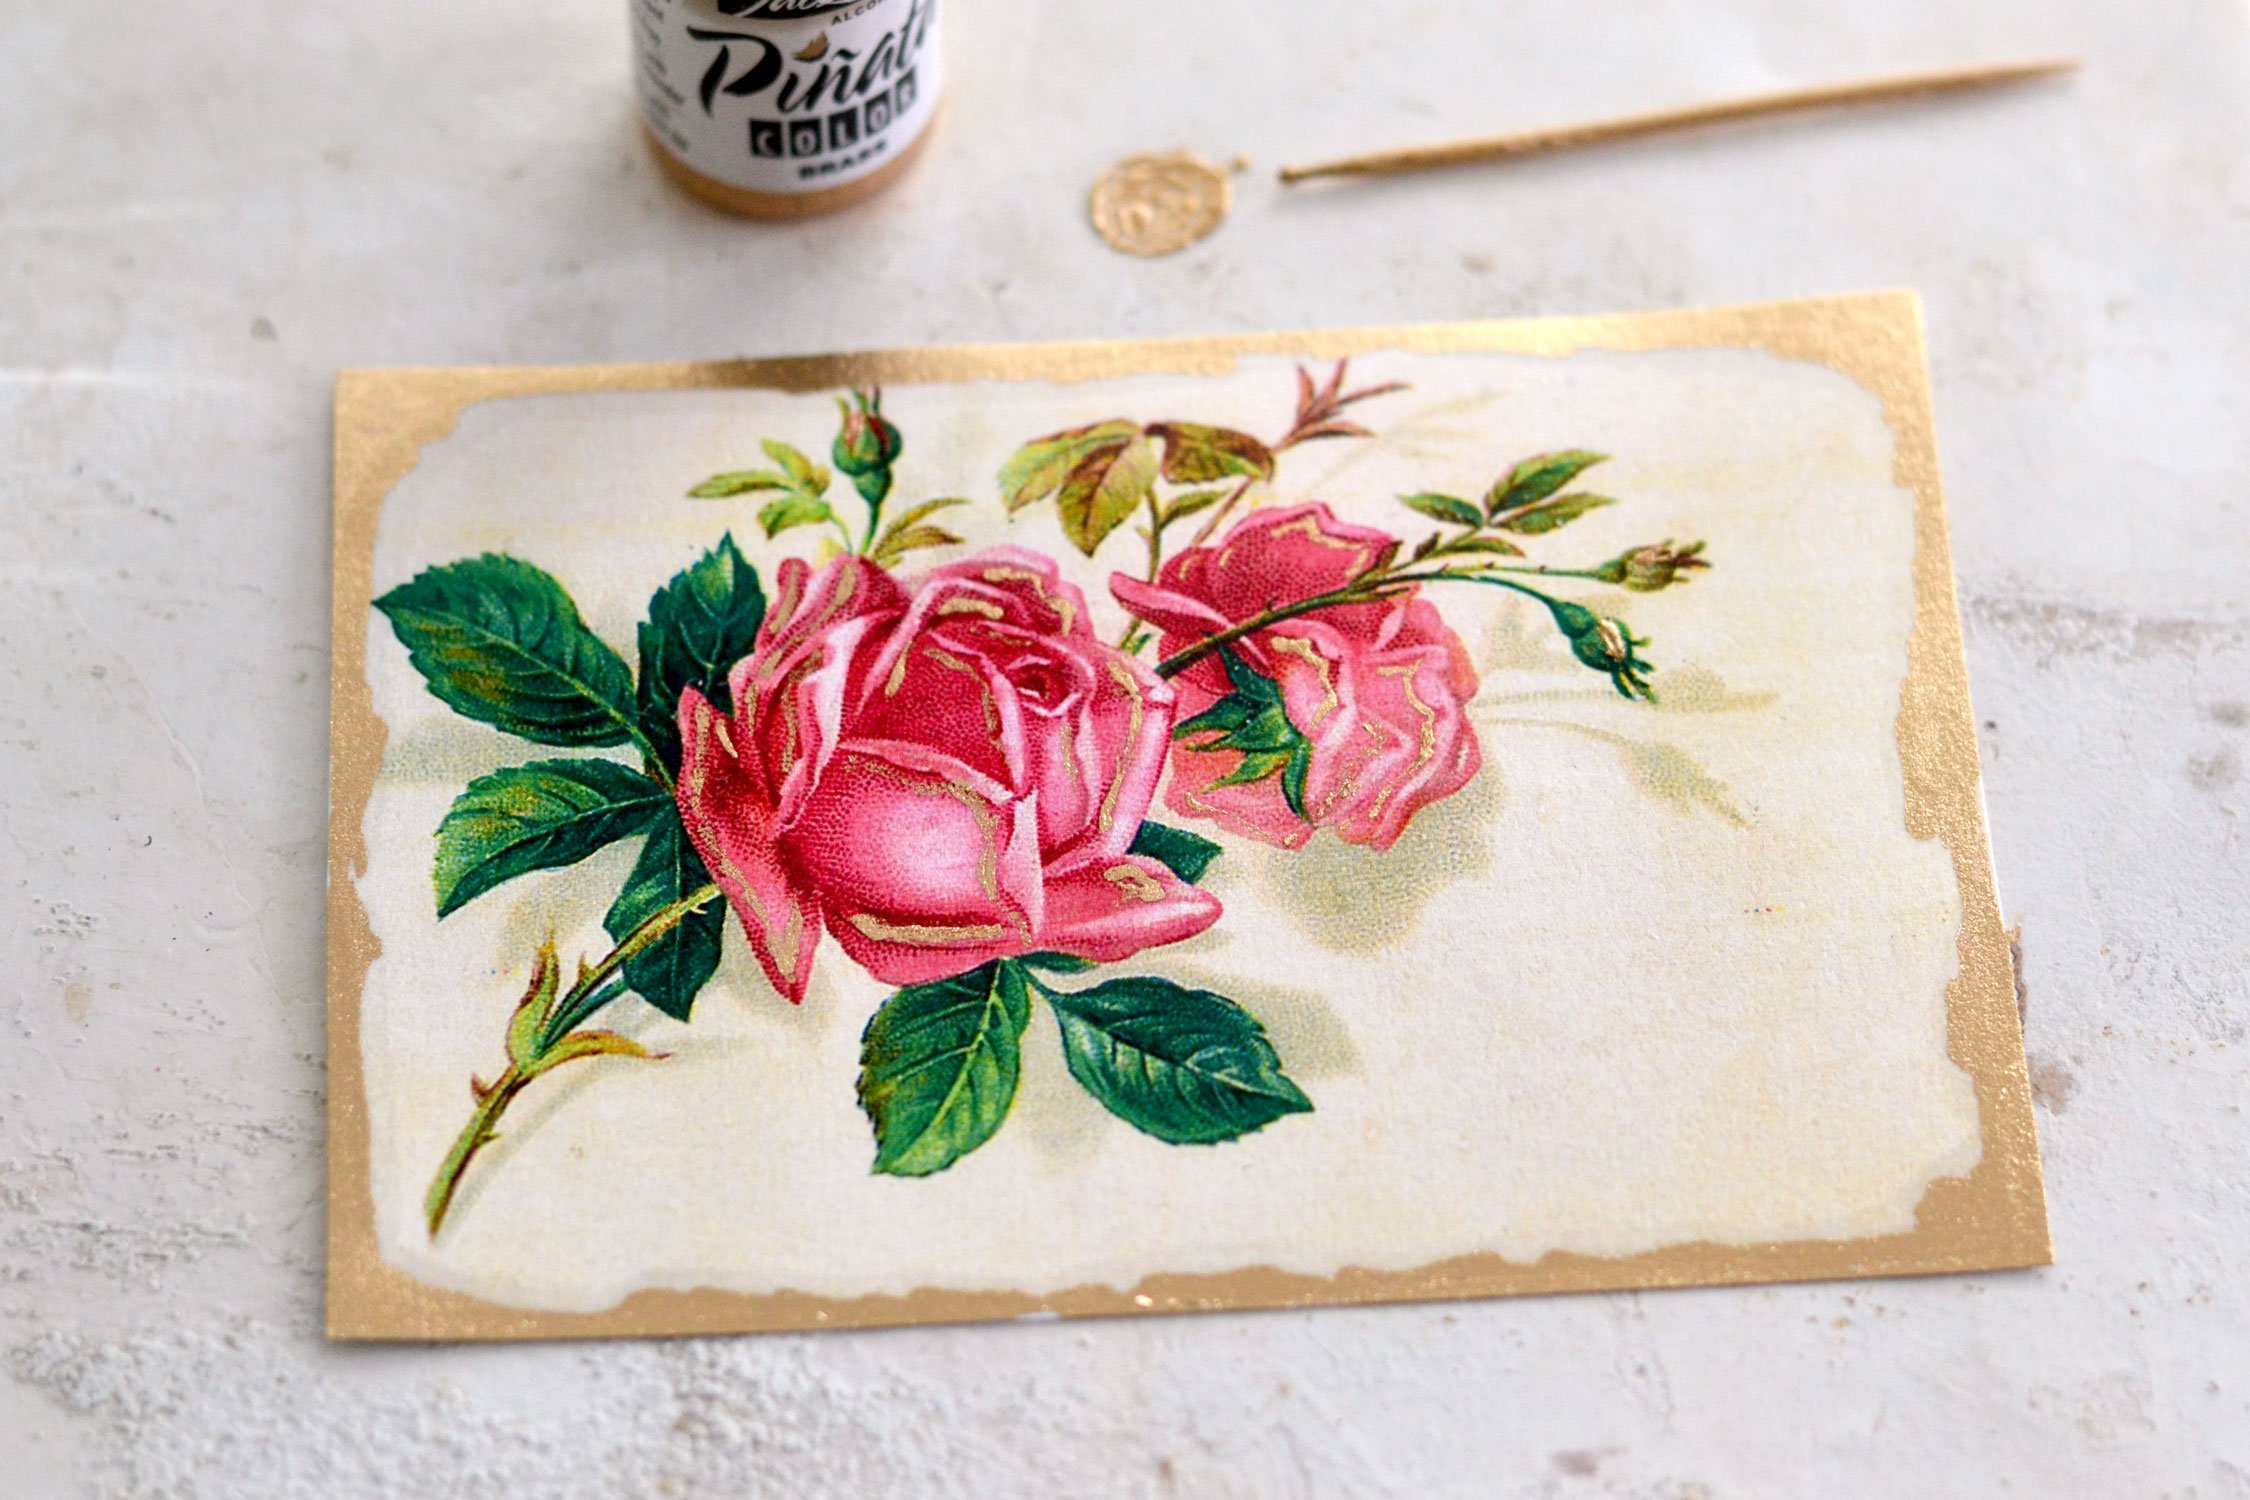
If you want, you can also try adding a few golden highlights on top of the roses. I added a drop of gold alcohol ink on my plastic sheet and then I used a skewer to paint the details – I wanted the details to be really thin and irregular, so I can continue creating that almost organic feel.
When it comes to adding these small golden accents I usually apply the gold near the lines and the shadows of the image and not directly over them. I feel this way you get to accentuate these parts without compromising the overall look of the design.
You can see that depending on the lighting, the gilded details will be more or less visible, but equally stunning!
You can use brown distress ink if you want to give the card base and the oval wishes more of a vintage vibe, but if not, you can just skip this step.
Now you can assemble the card, start by gluing the rose image on top of the card base.
You can also decide which of the Happy Birthday elements you will love to use and glue one of them on top of our gold mini background.
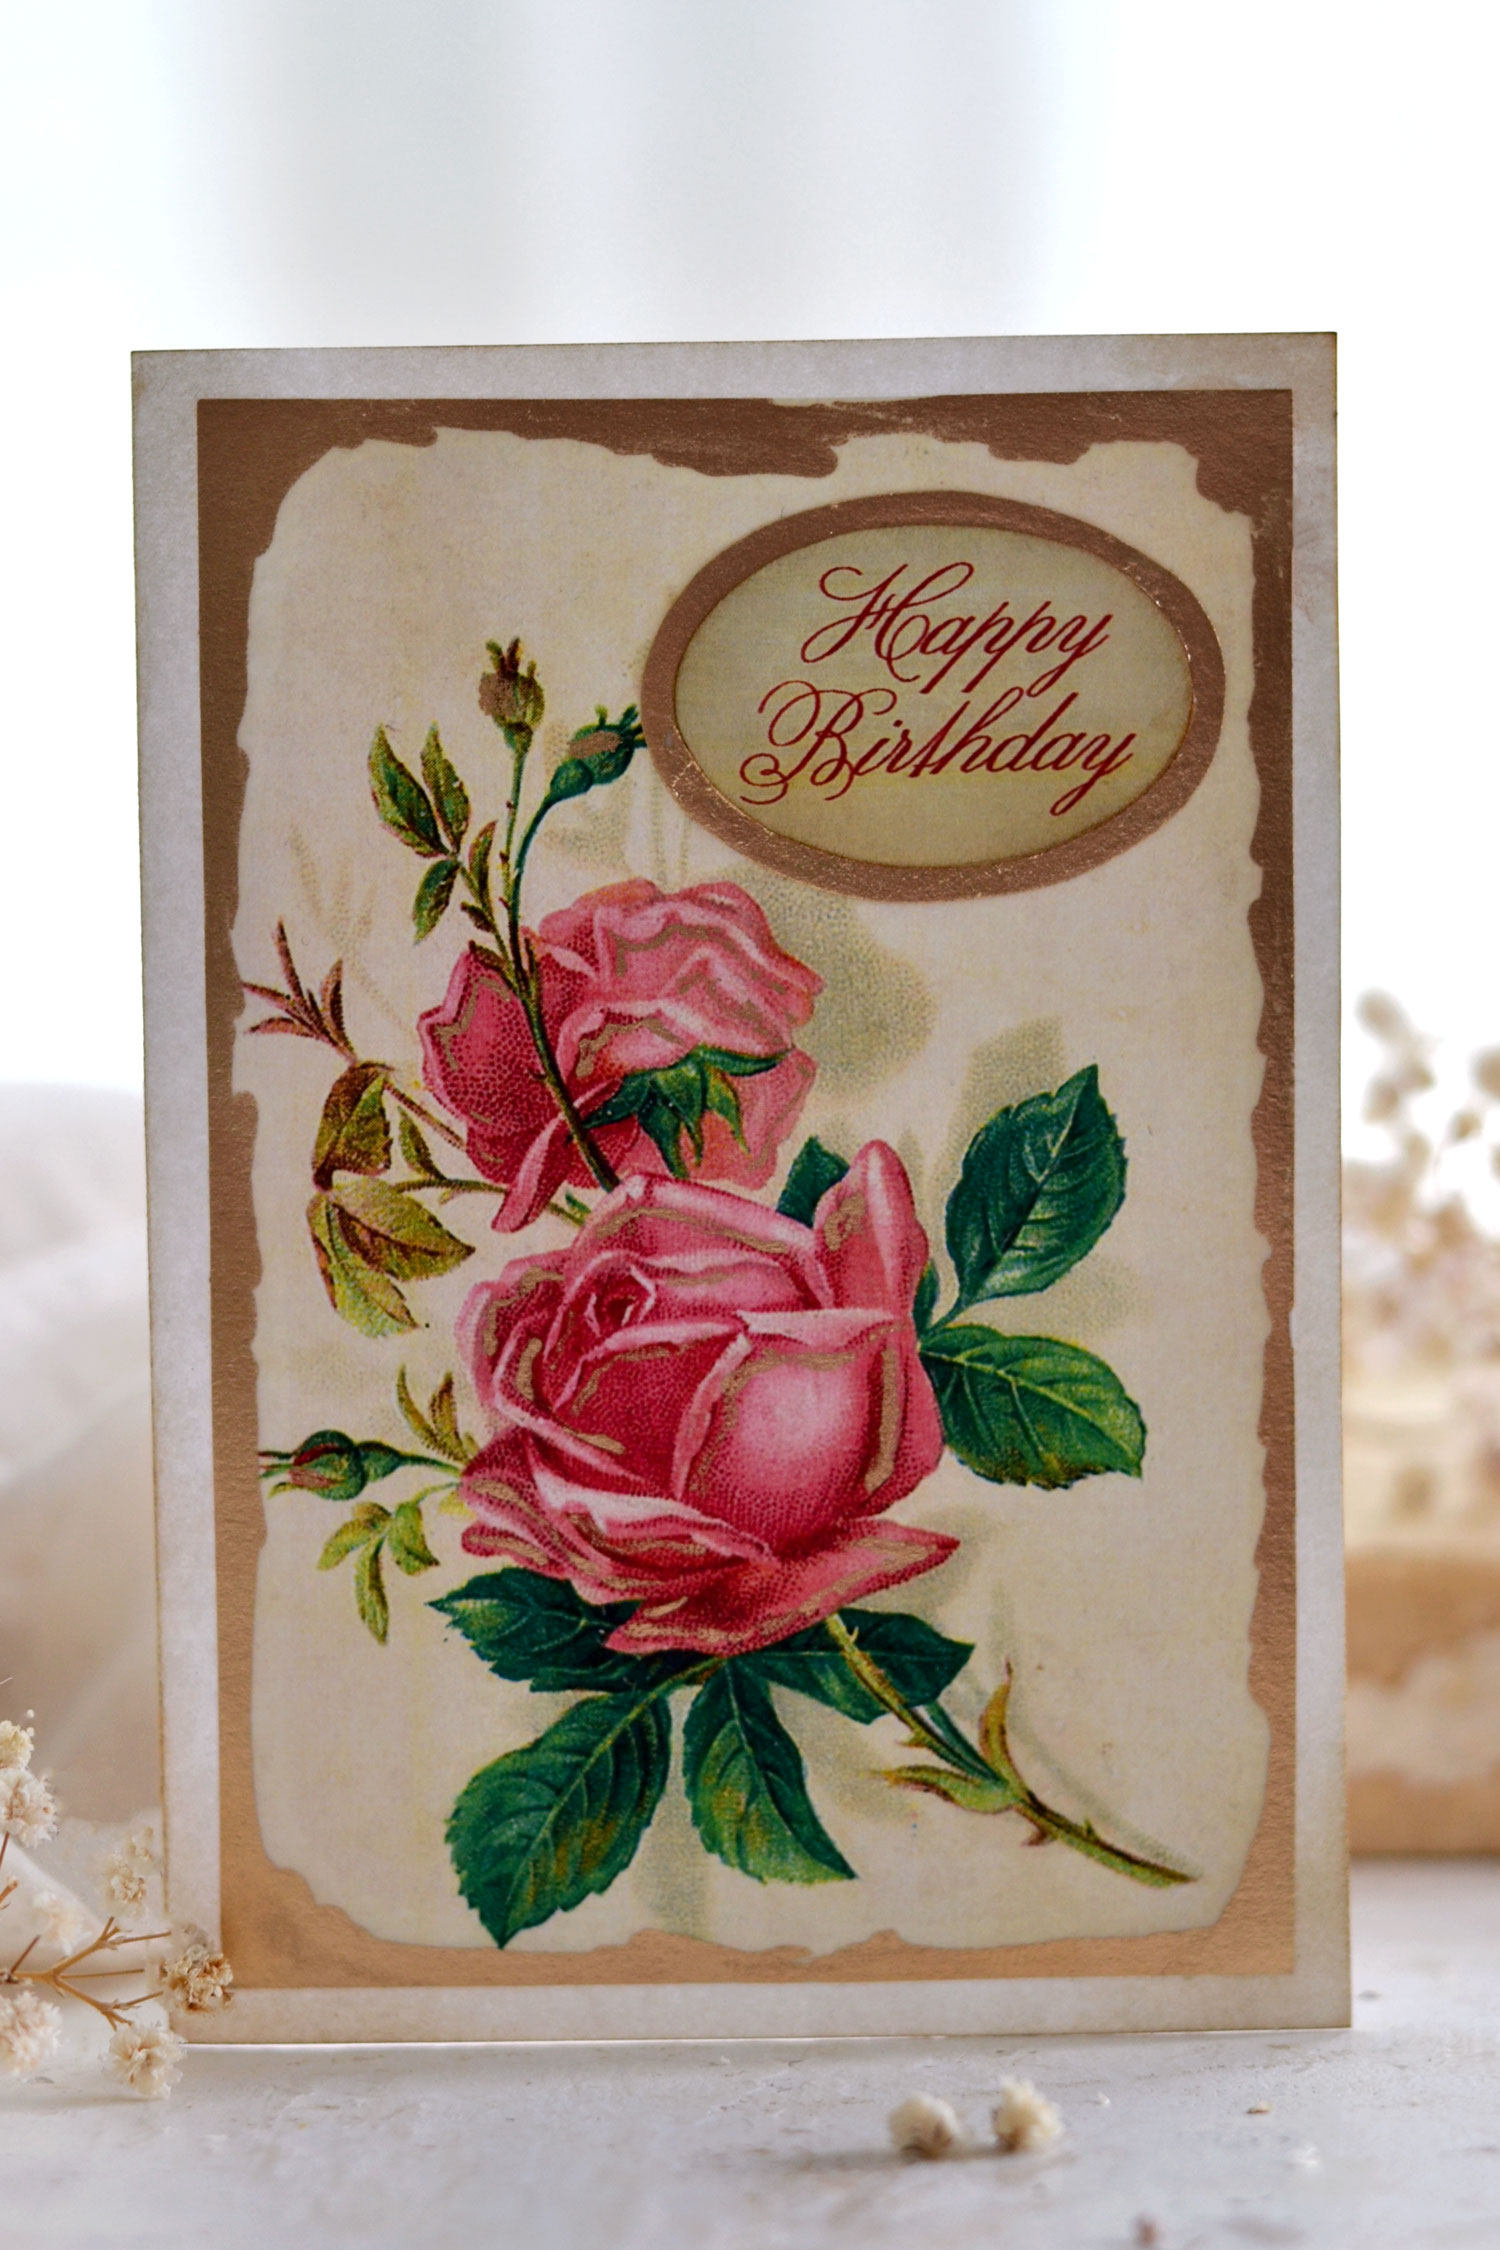
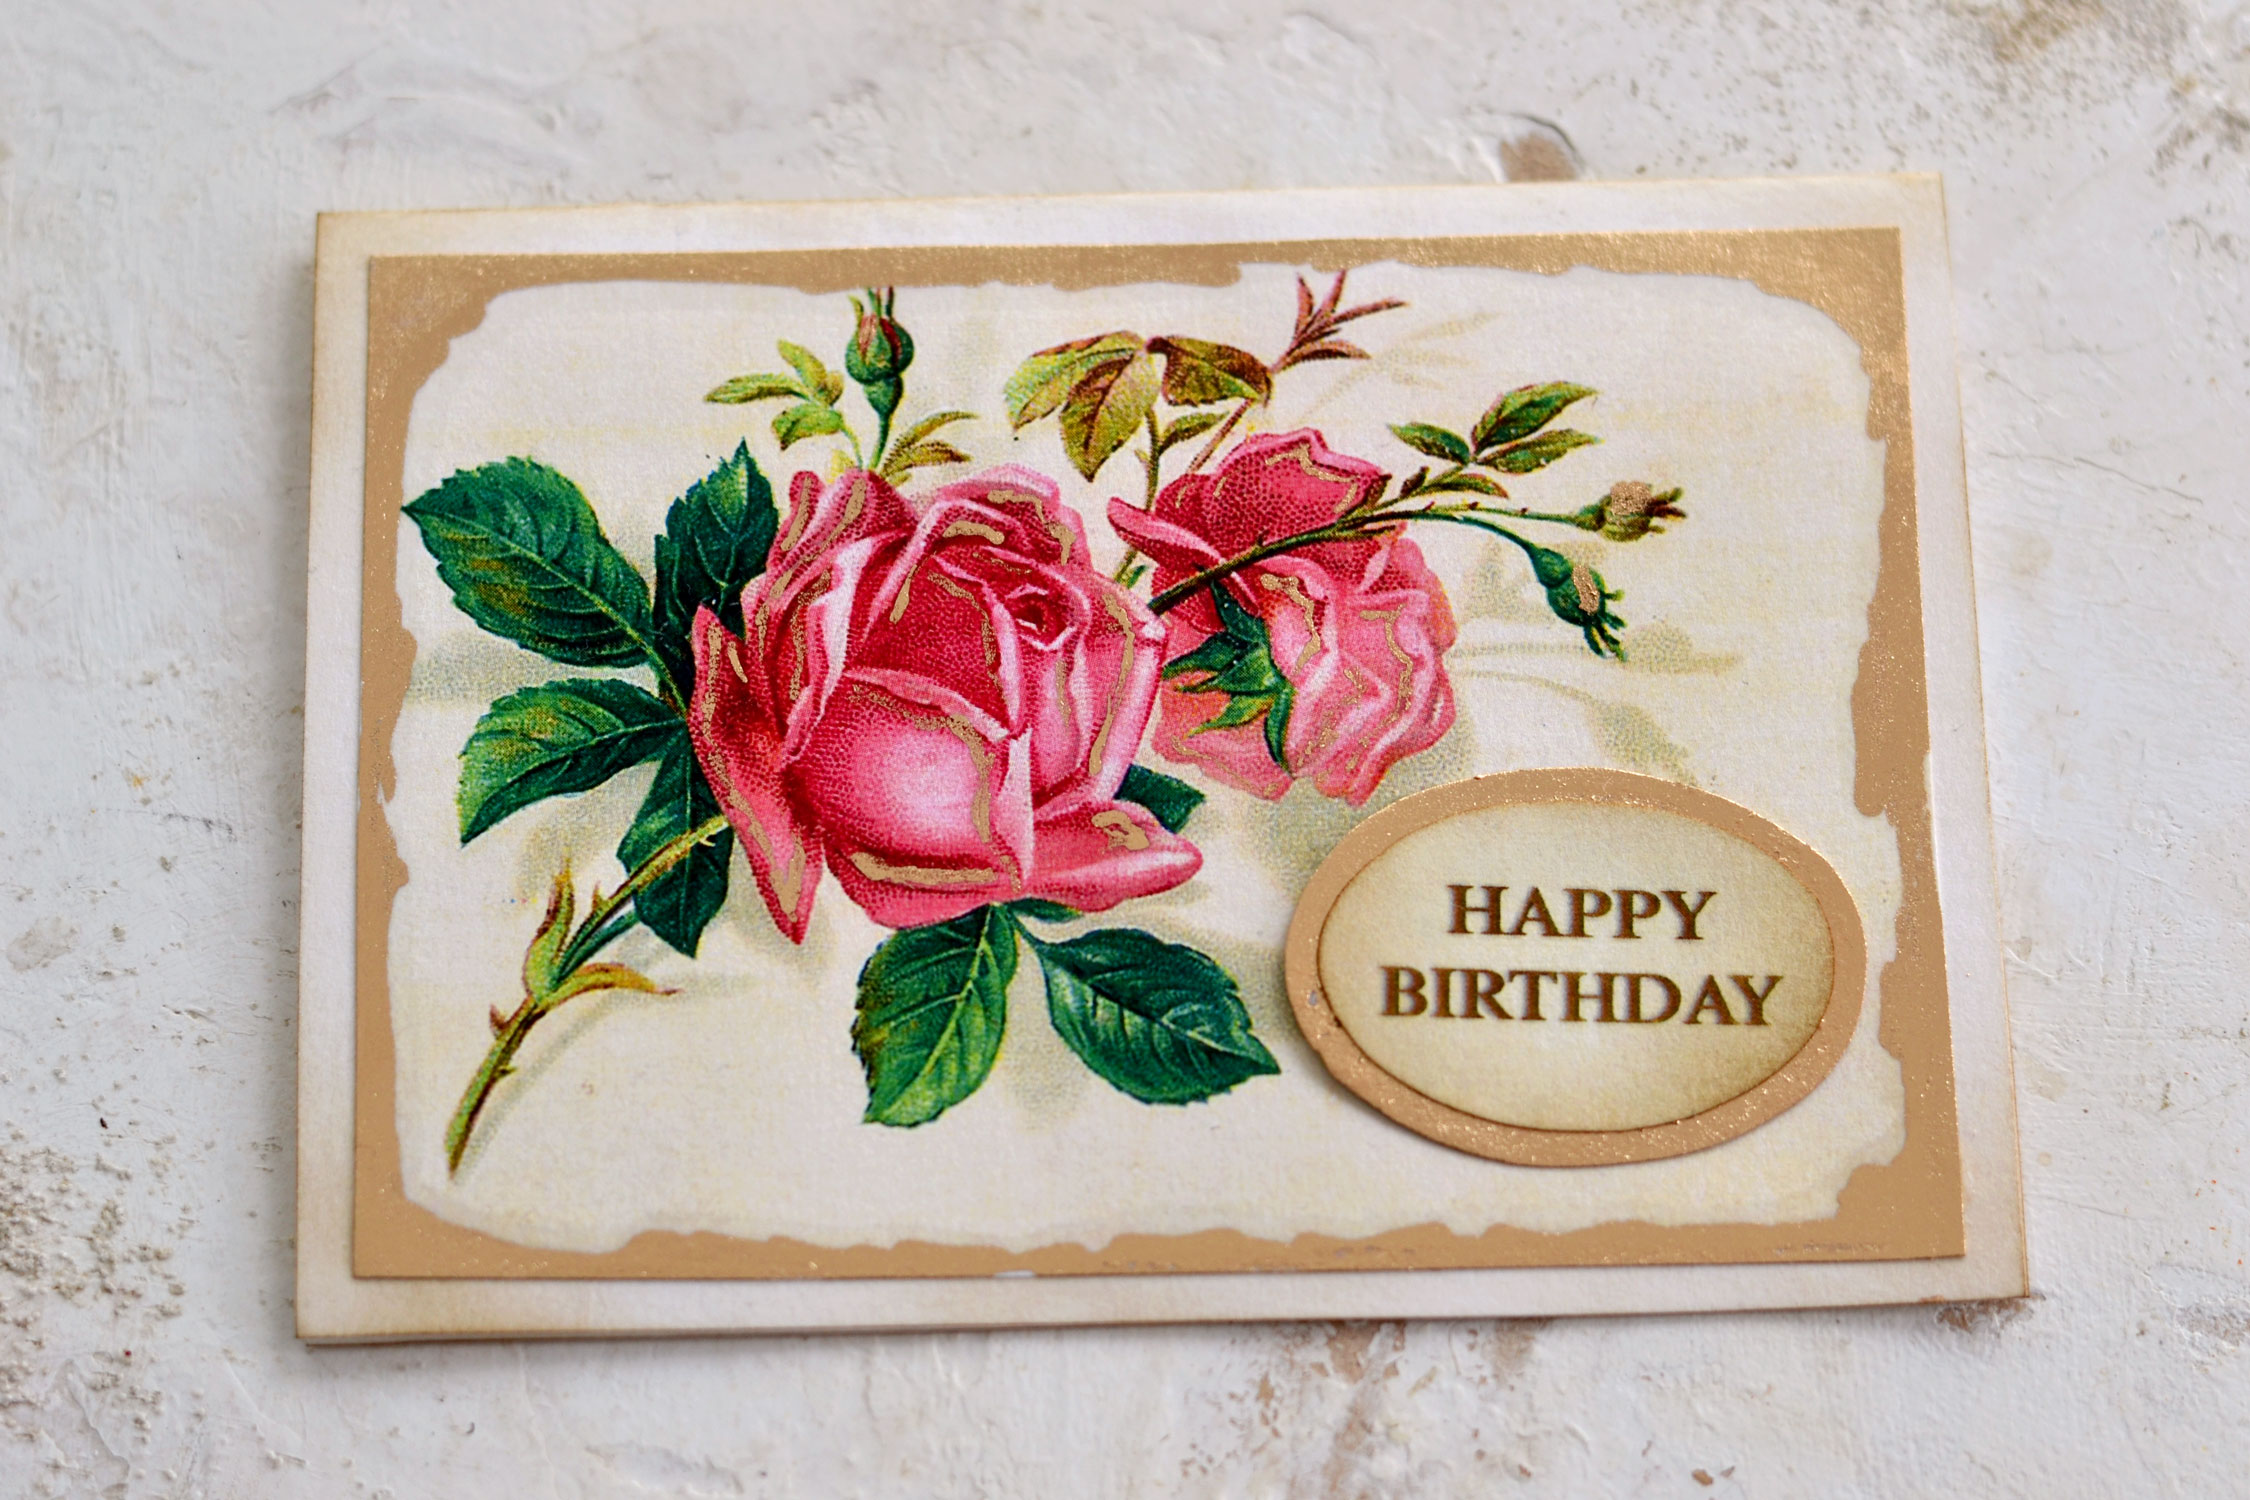
At this stage, you’ll have one more decision to make and that is whether to use the card like this and glue the Happy Birthday oval wish horizontally as you see in the image below, or vertically, as I did.
I know I mentioned lace in the supply list, but I actually decided not to use it because I thought it would give a too Shabby feel to my card. But if you want, you can use a scrap piece of lace folded like a small fan and glue it on top of the stems so that the roses look like a 3D bouquet.
I initially decided to use this regular Happy Birthday oval wish for my card, but then I changed my mind and just glued this beautiful calligraphy writing on top! That happens sometimes and it’s OK, you just need to follow your inspiration for the moment to make your final piece. Gluing another calligraphy oval on top actually created more dimension, so you can intentionally do that too if you want to create a raised effect to highlight the birthday wishes even more.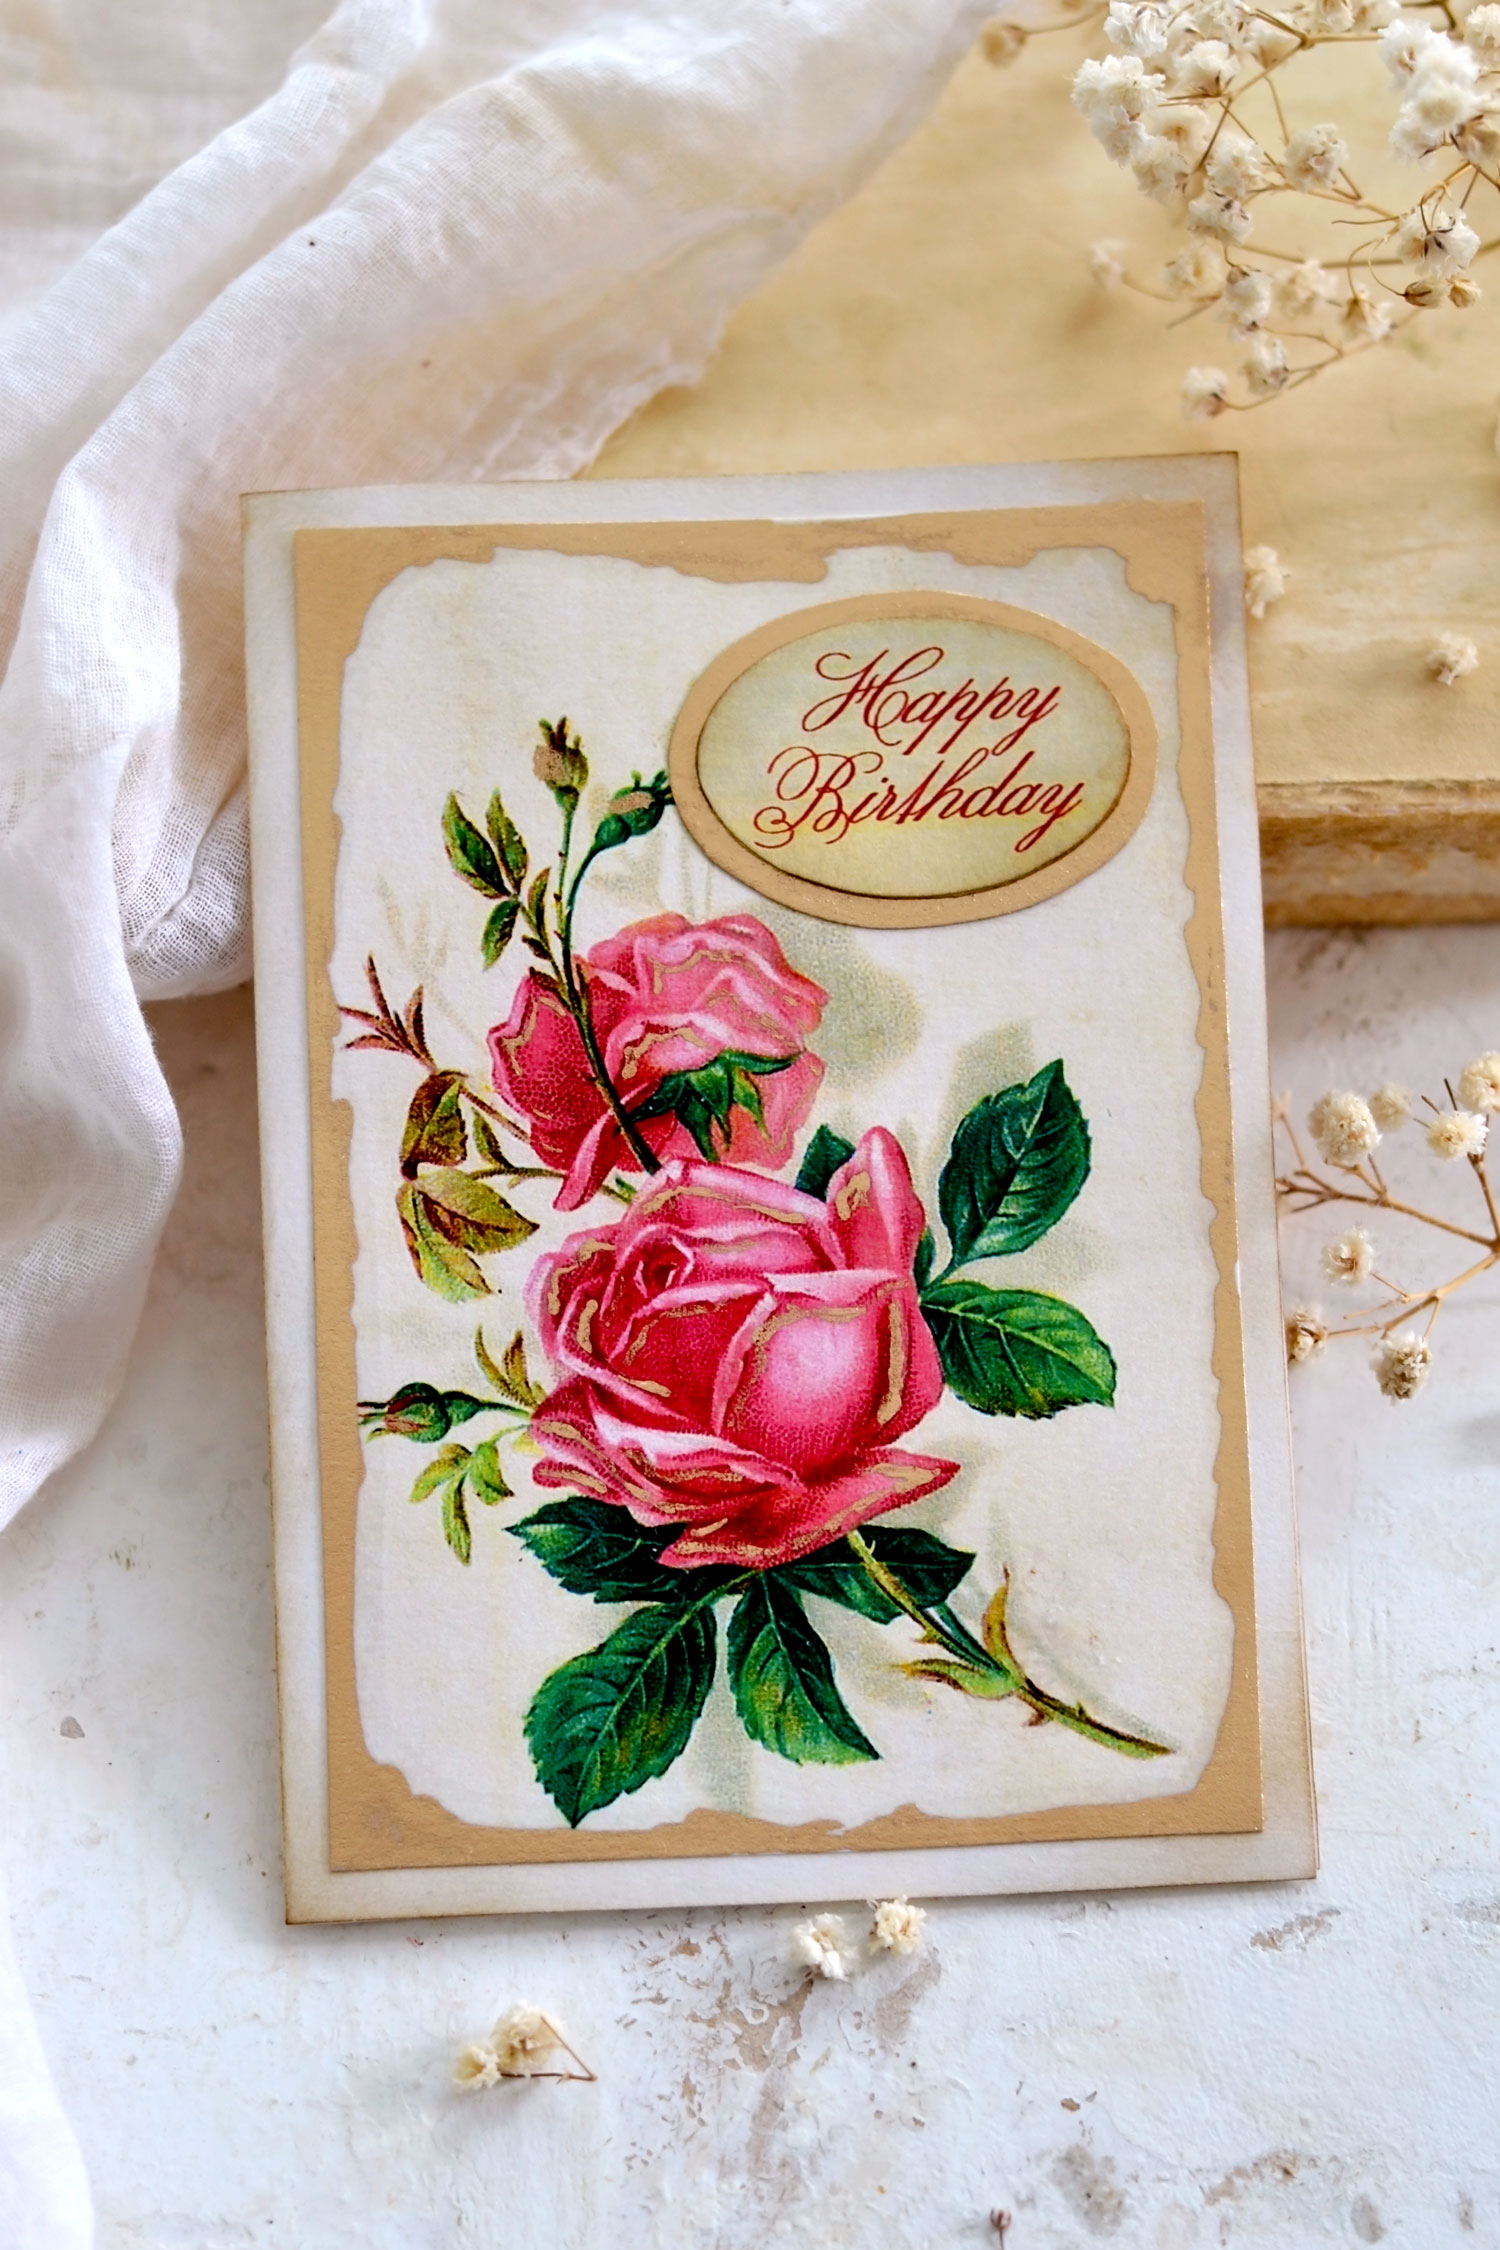
You can use this technique to quickly create a gilded effect on your junk journals pages, tags or other paper creations, just don’t forget to make a few tests before so you can check how a specific paper reacts. If you want your paper to be less absorbent, you could experiment even more and use some gel medium or some acrylic spray before using the alcohol ink this way.
I would say that playing with gold alcohol ink on cardstock paper was a fun experiment! You might not get perfect results, but you will be able to imprint your card with that lovely handmade feel that will only bring character and uniqueness to your final piece!
I hope you will love this project and decide to give it a try! And if you like me, love all things gold, you’ll feel like you’ve just discovered a secret formula that lets you pour this stunning liquid gold on top of your creations anytime you want!
 You might also like my Free Cardmaking Kit for Dad’s HERE or my Hydrangea Birthday Card Kit HERE.
Happy crafting,
Diana | by Dreams Factory


Cyndy says
Very pretty card. Thank you for the graphics.
I like the gold touches. You have inspired me to experiment!
Karen Watson says
I’m so glad you enjoyed Diana’s project Cyndy!
Connie Griffin says
will be interesting to give it a try on cardstock, looks lovely!
Karen Watson says
Have fun creating these pretty cards Connie!