Housewarming Card Ideas
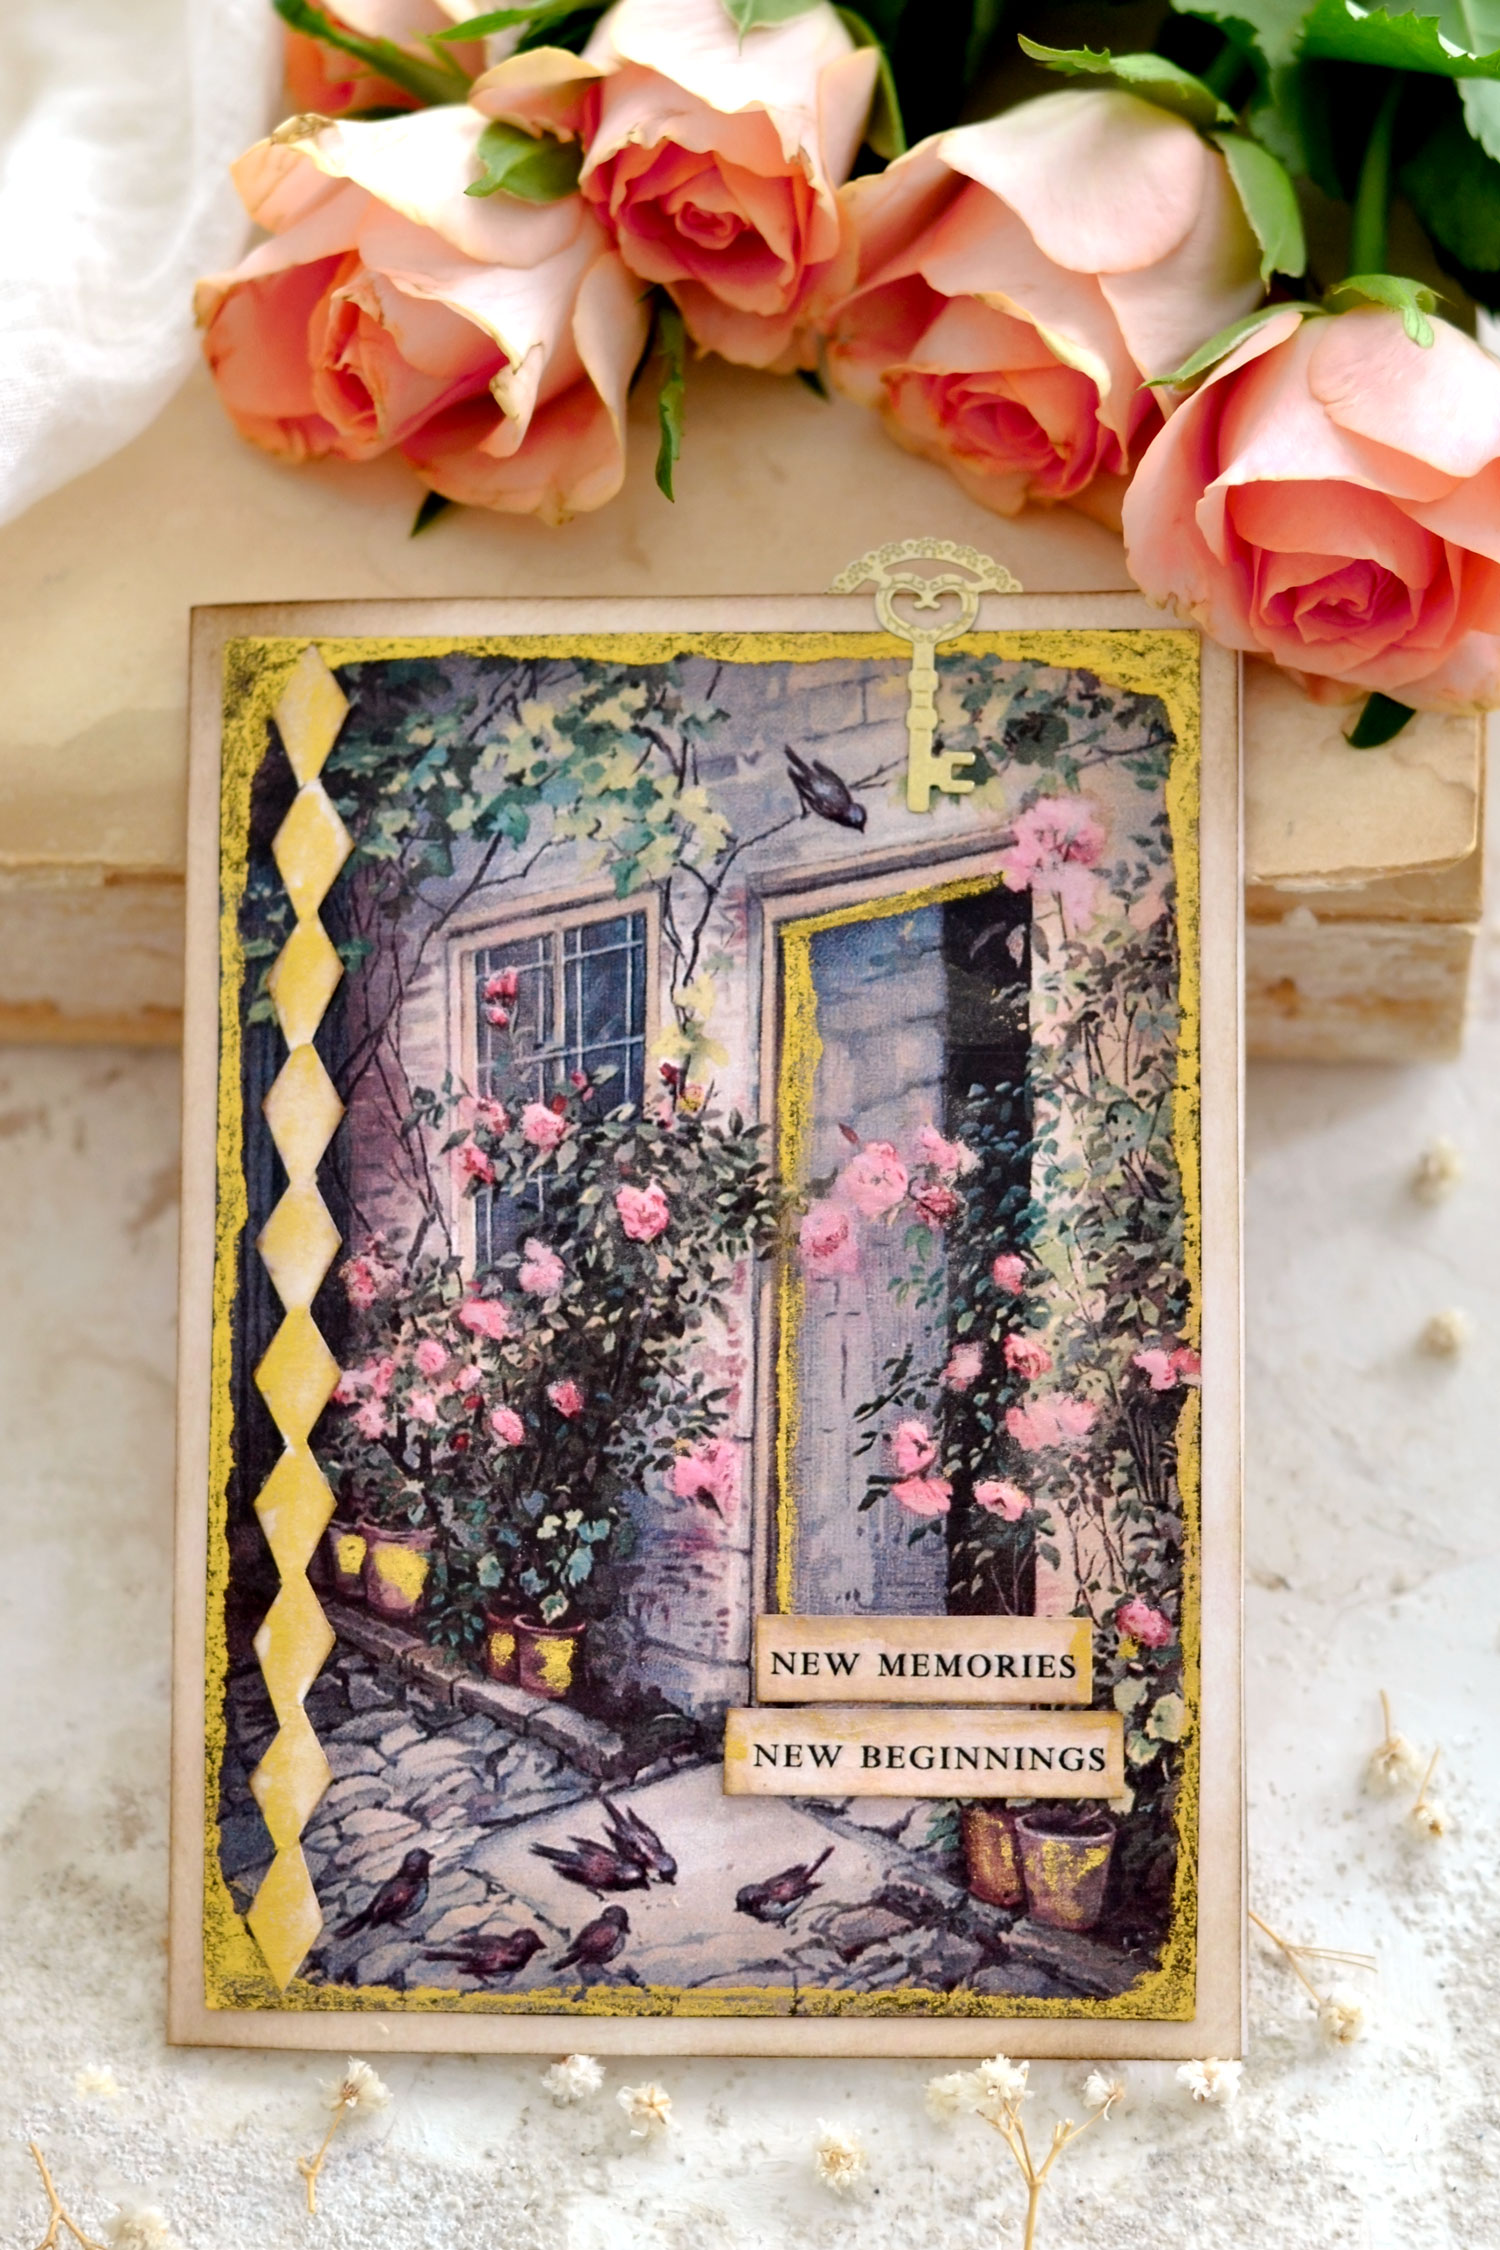
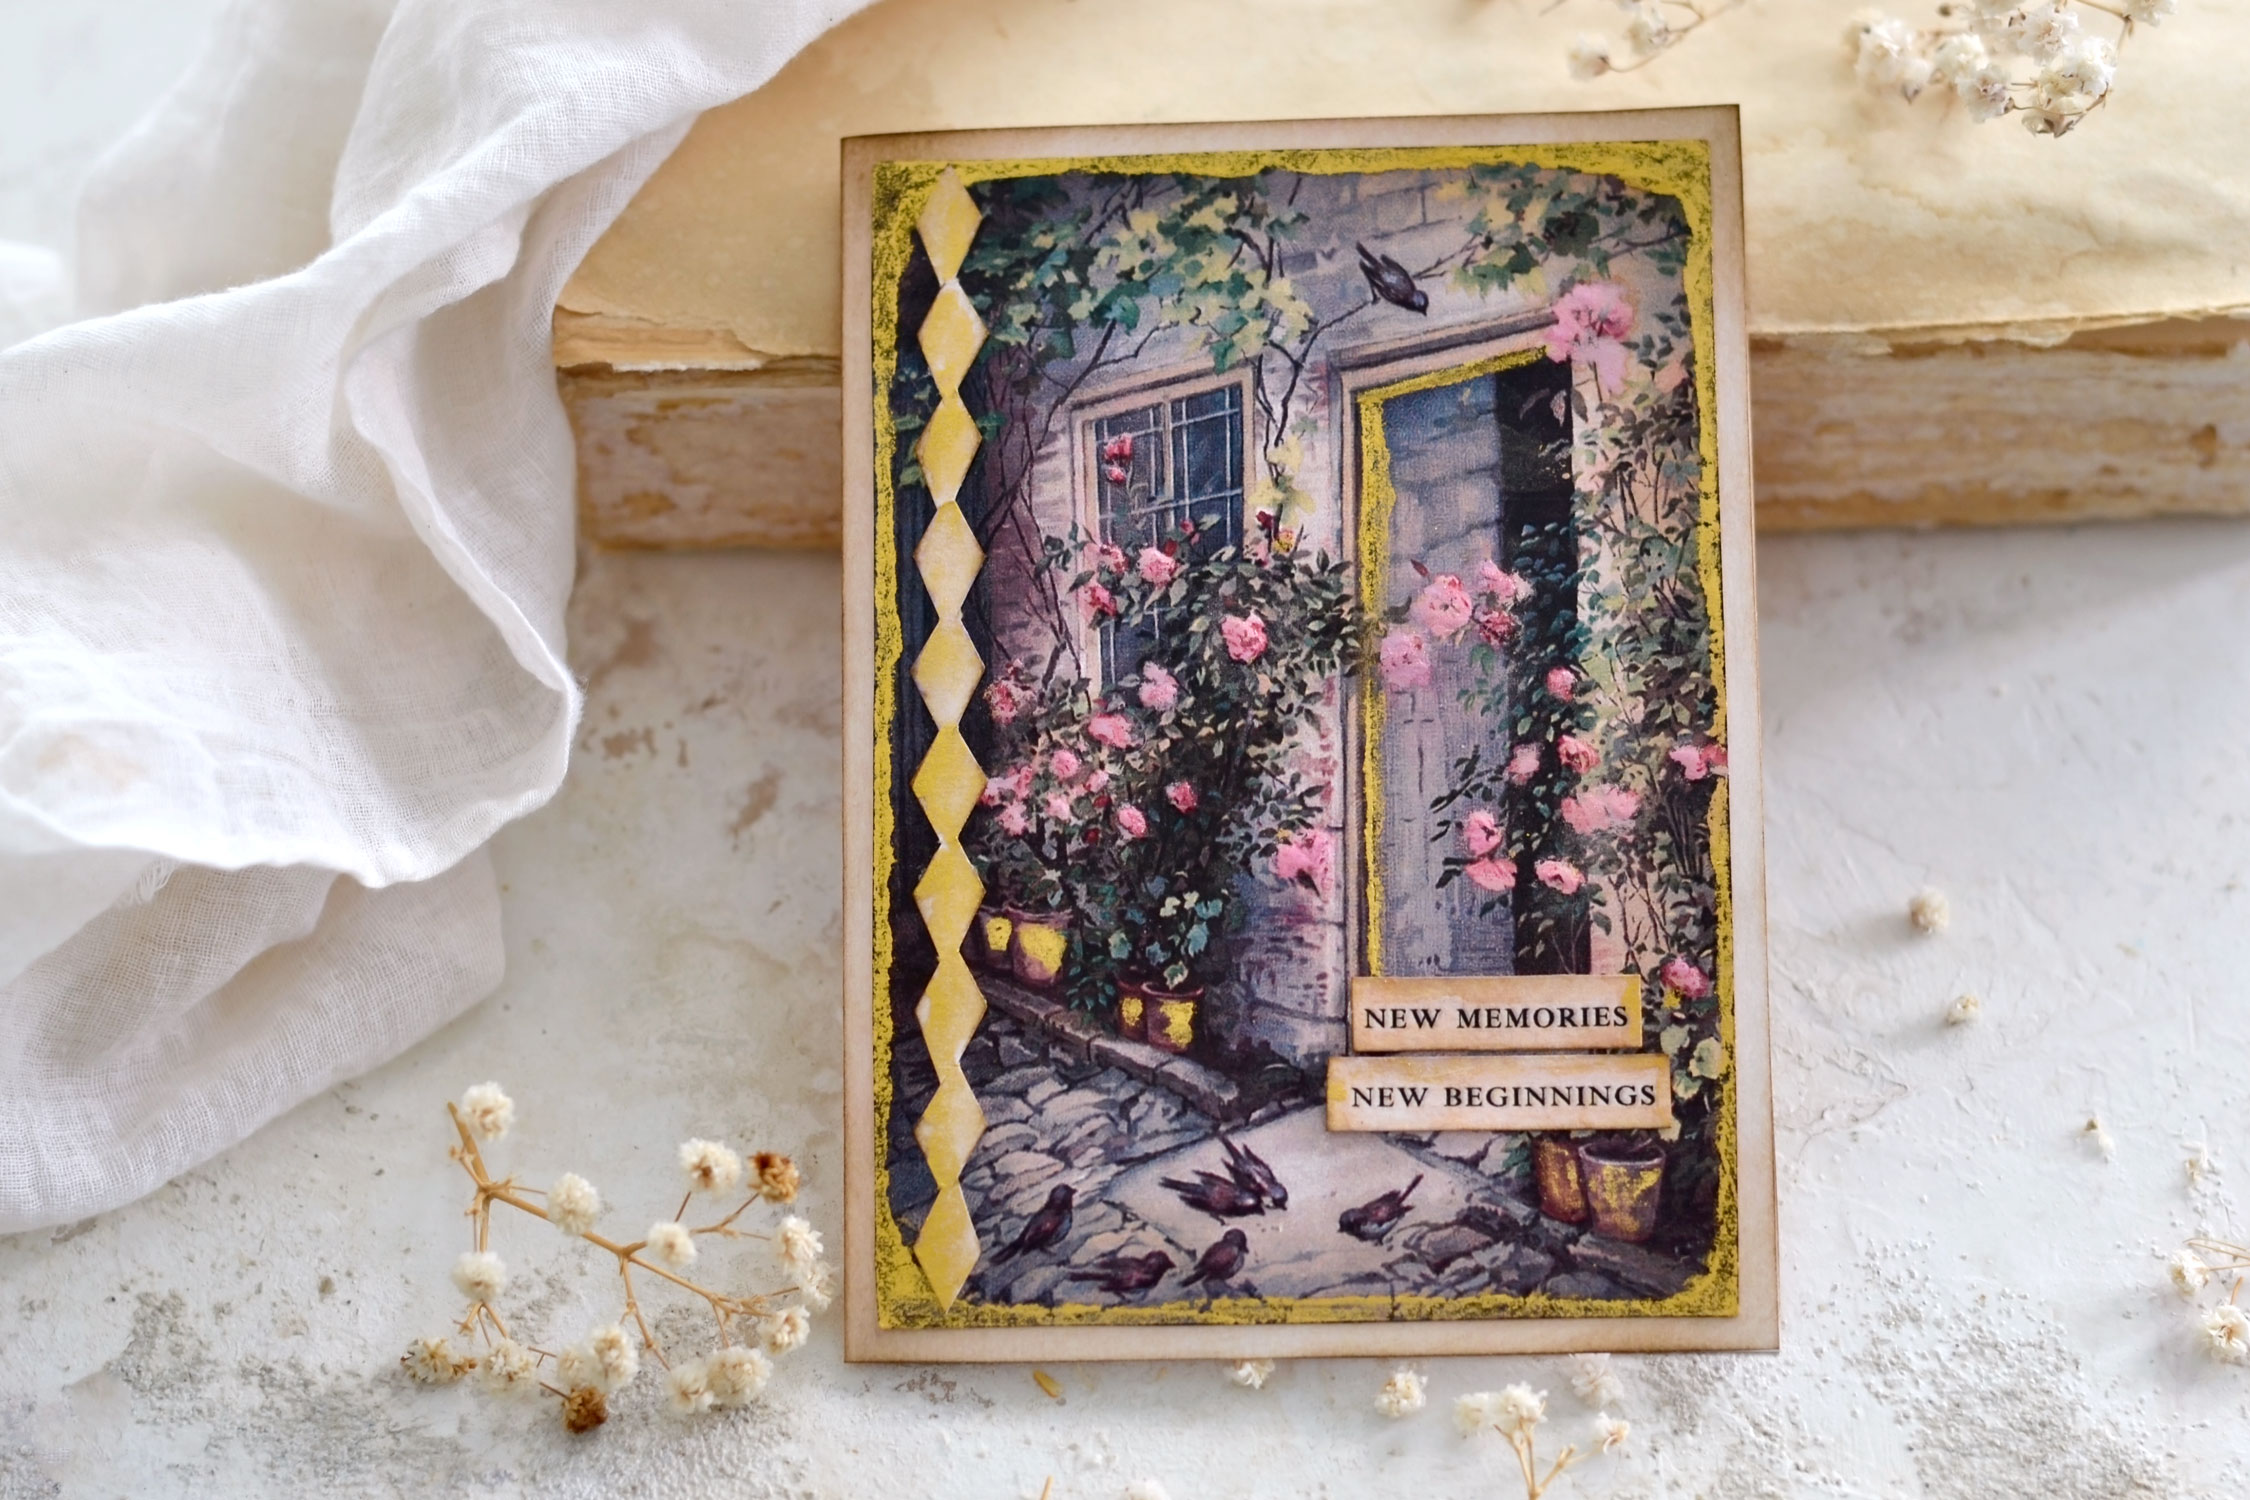
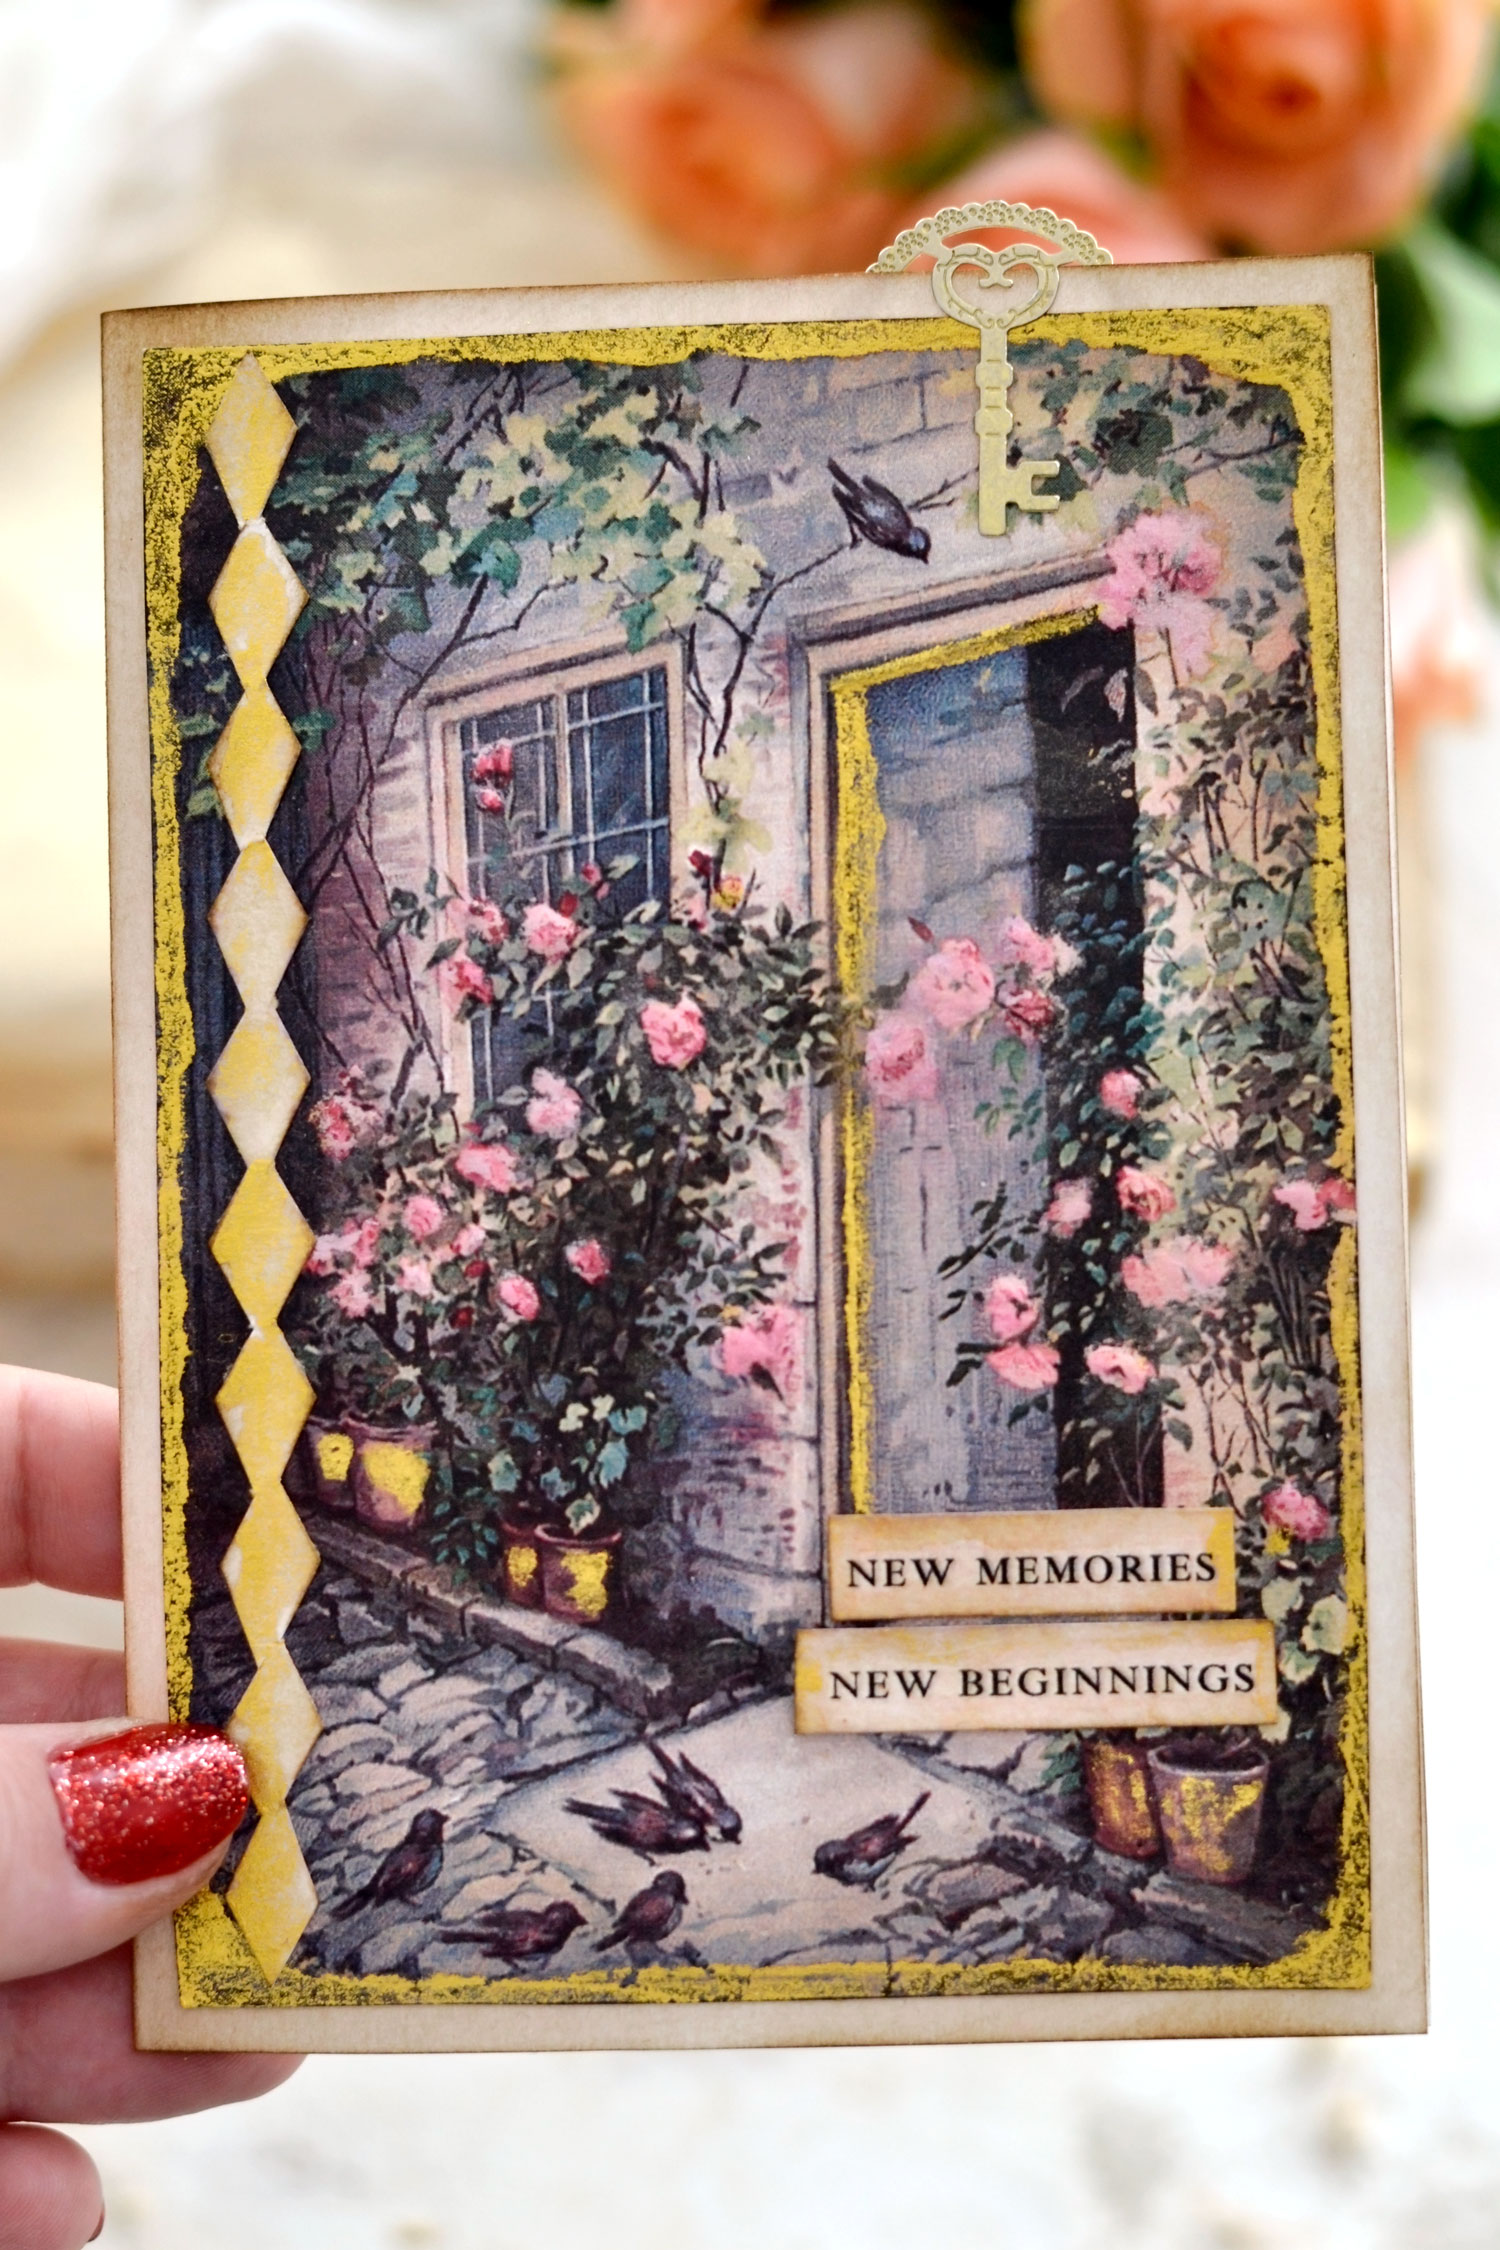
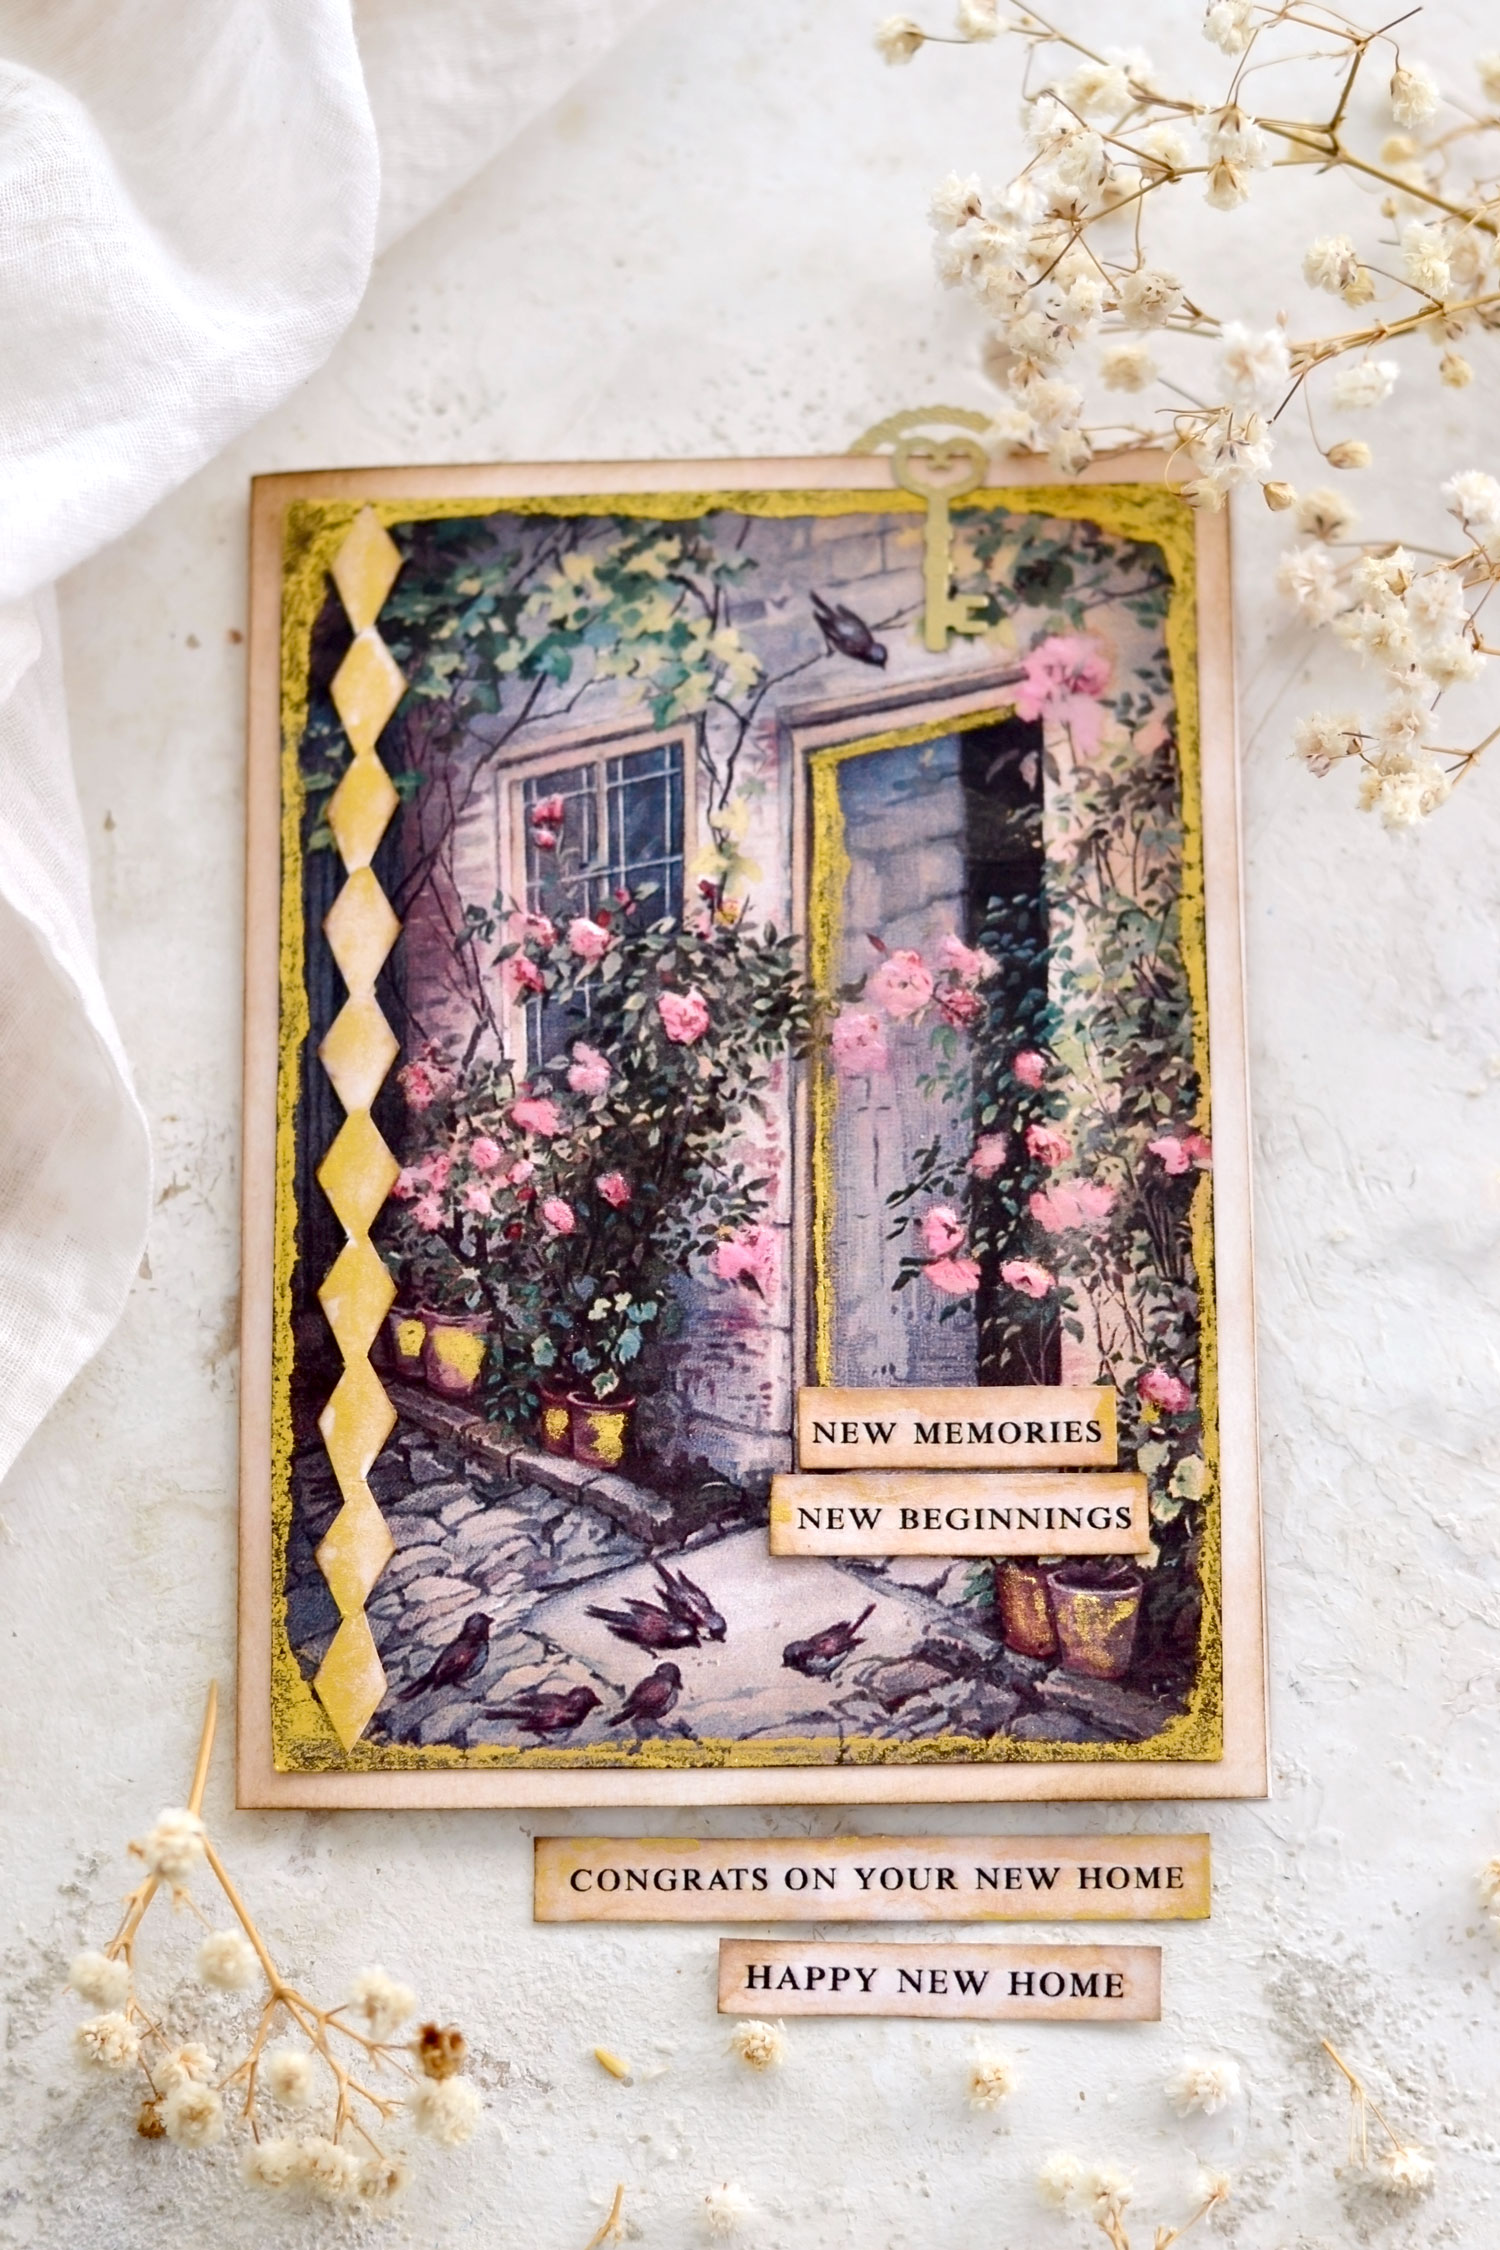
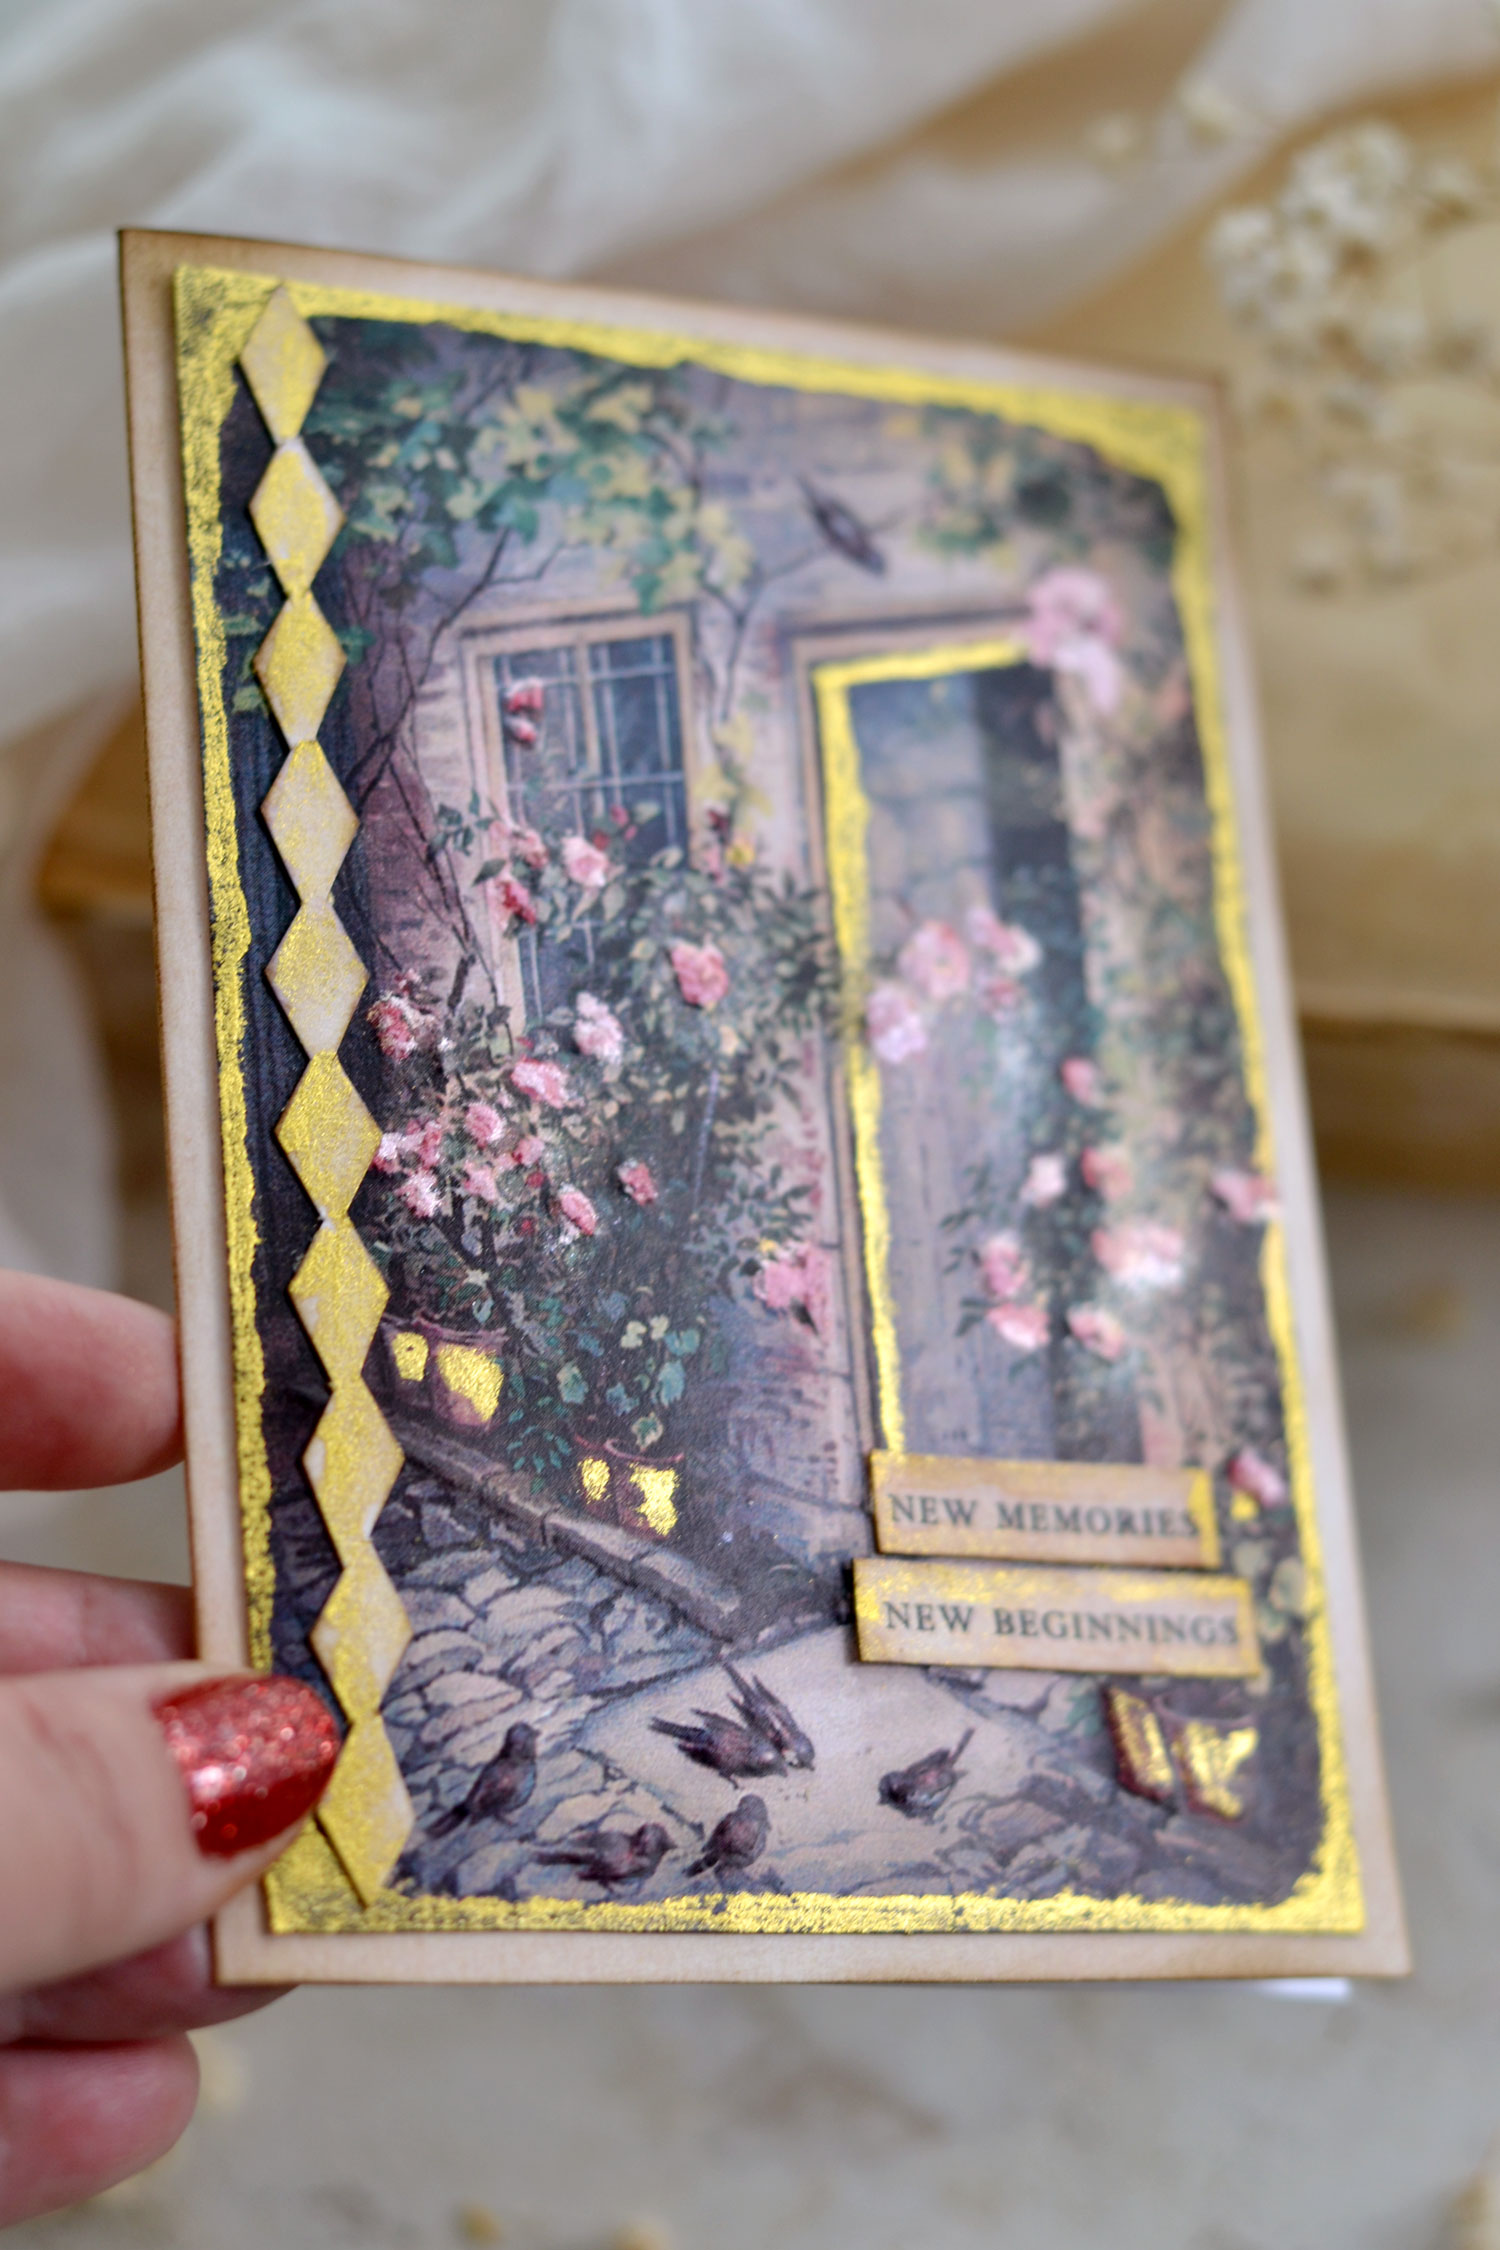
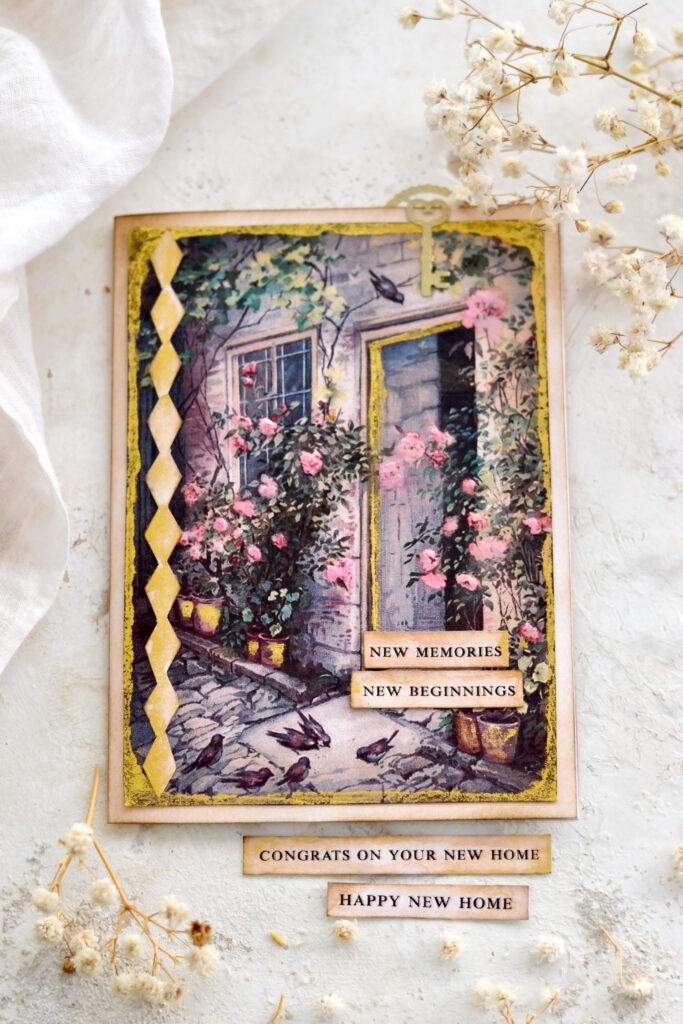
Hello Graphics Fairy friends! I’m Diana from Dreams Factory and I’m happy to be here again to share another DIY project with you! Today I will show you how to make this lovely Housewarming Card, with a vintage vibe, that can be a small but well-thought gift for someone moving into a new house. I went with this gorgeous cottage with climbing roses and I used an embossing stylus to bring more dimension to our image. I added a few golden touches along with some pink pearlescent effects on the roses, just to bring more life into our card.
I wanted to keep things simple with this card because the image itself is so amazing on its own that I feel it doesn’t really need too many embellishments. It somehow manages to successfully capture the idea of coziness and can be easily paired with your preferred housewarming wishes.
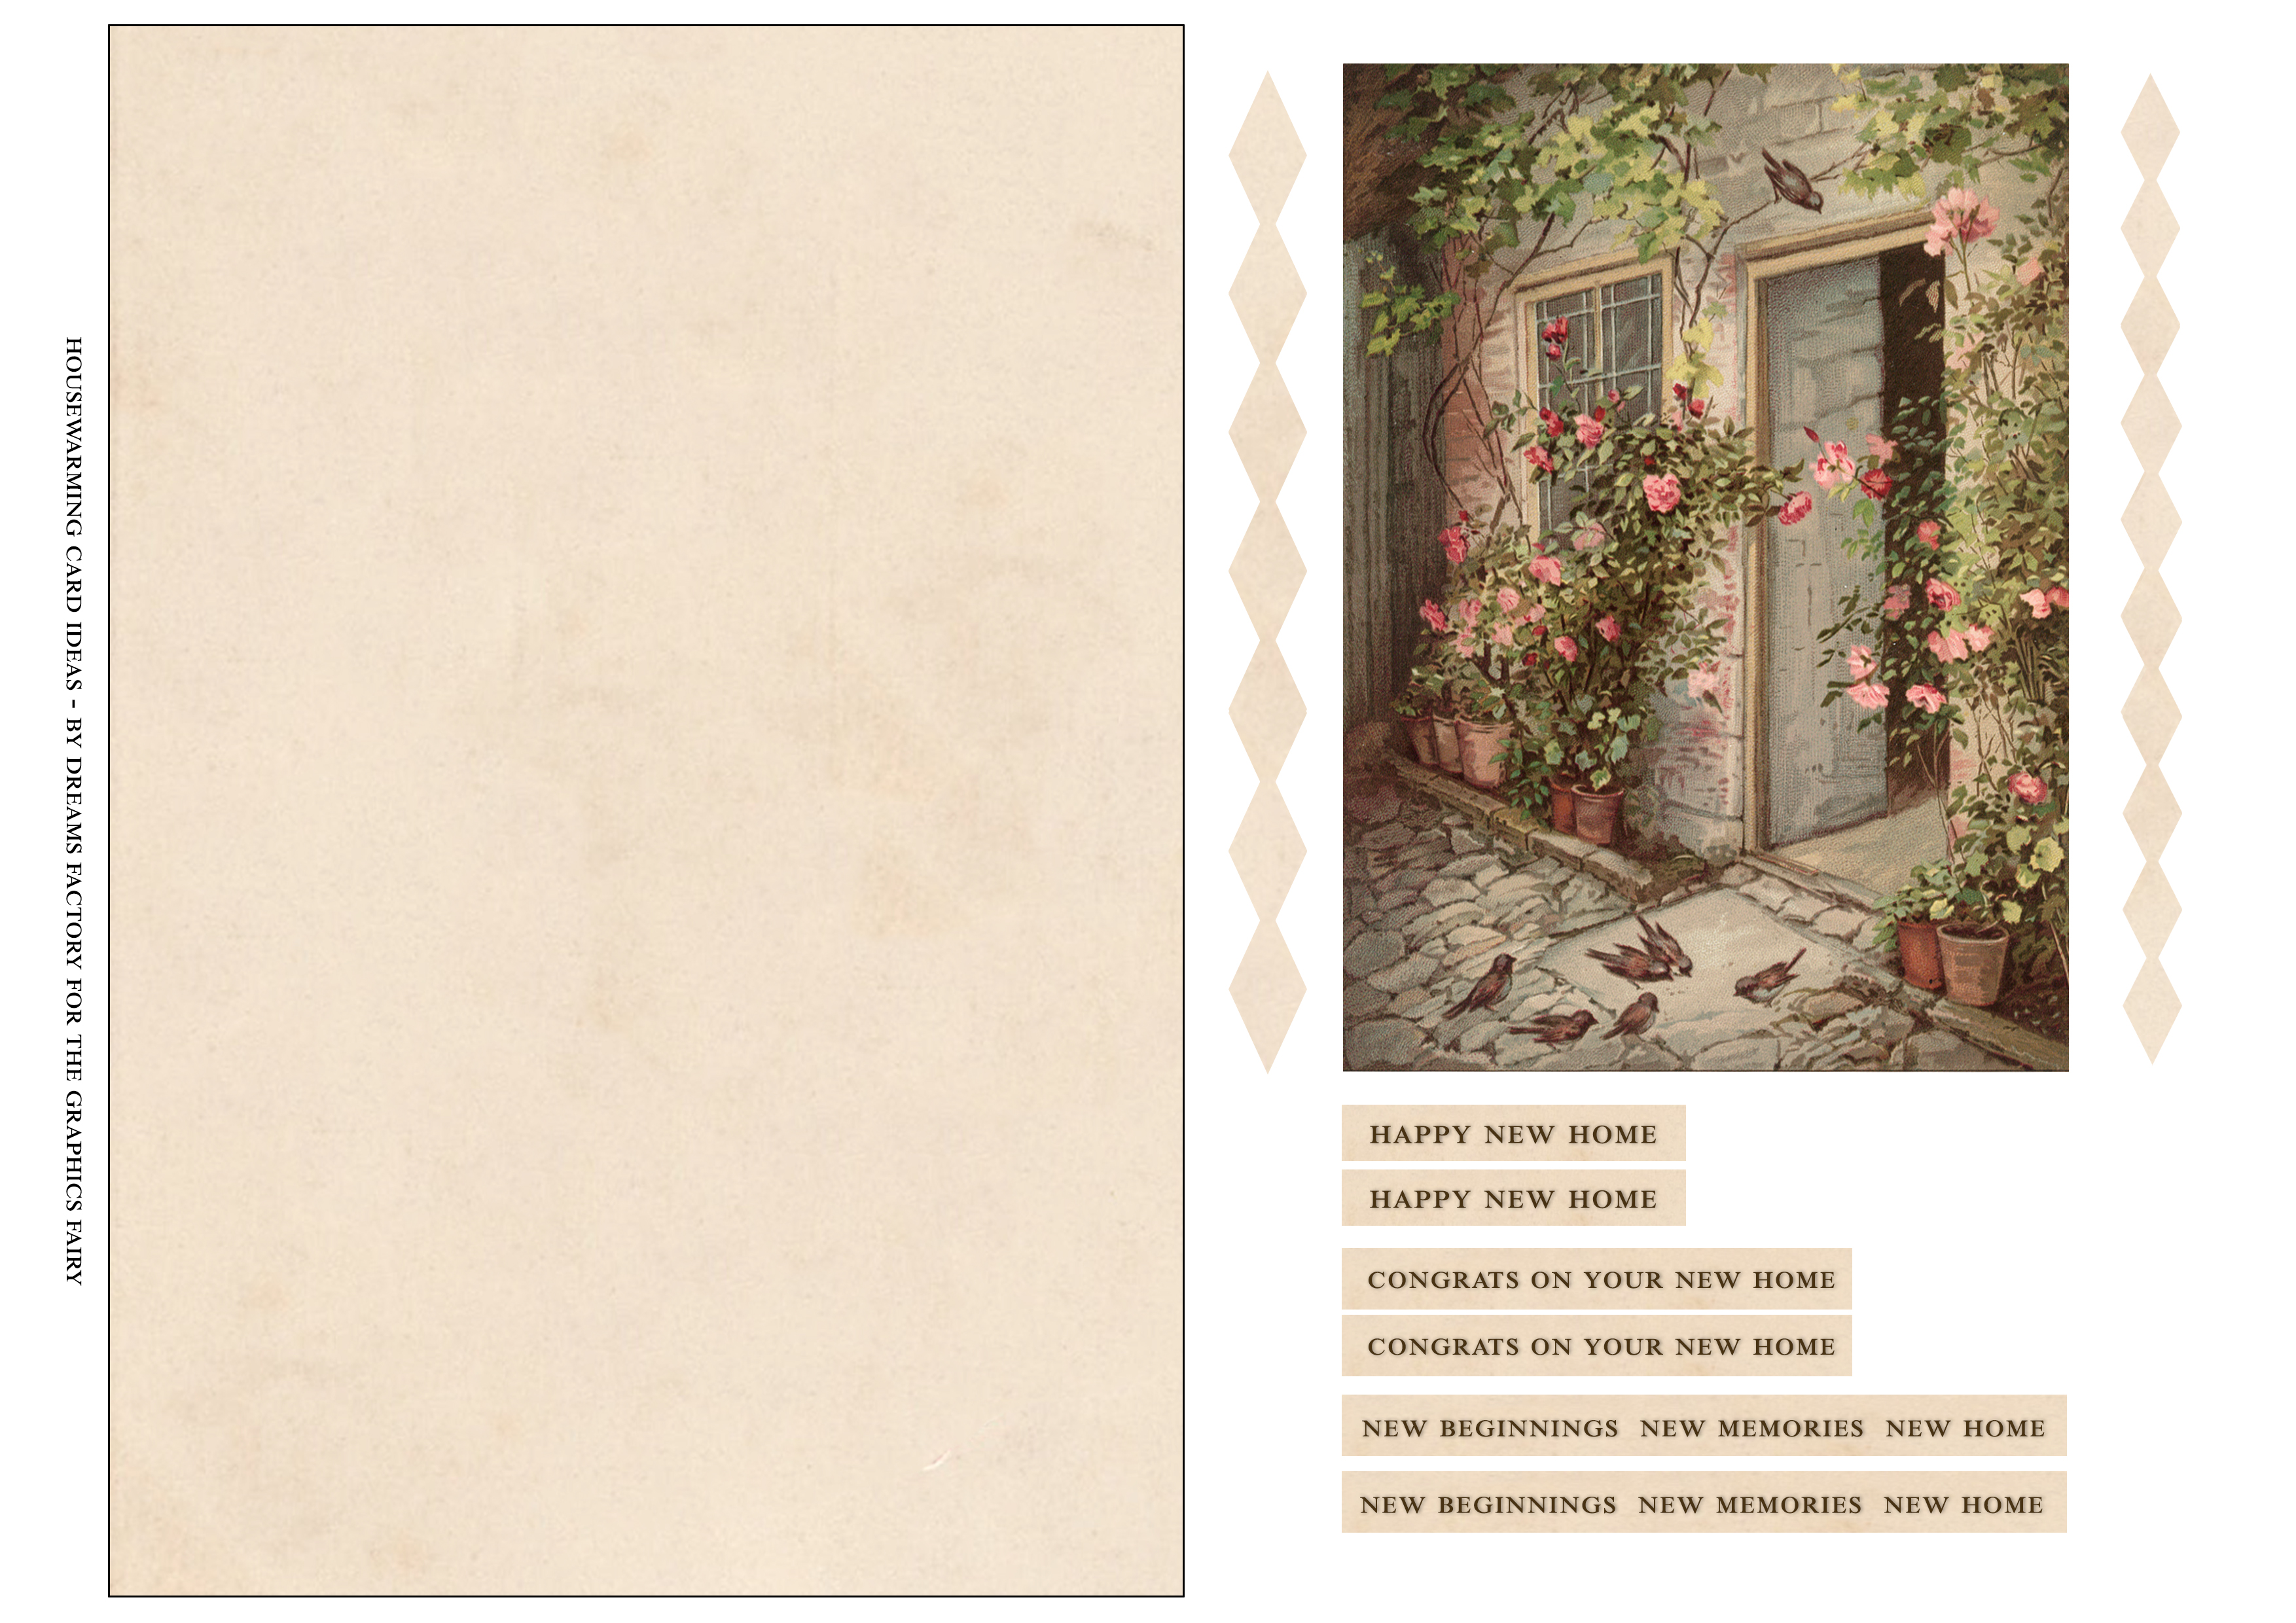
Housewarming Card Ideas Printable
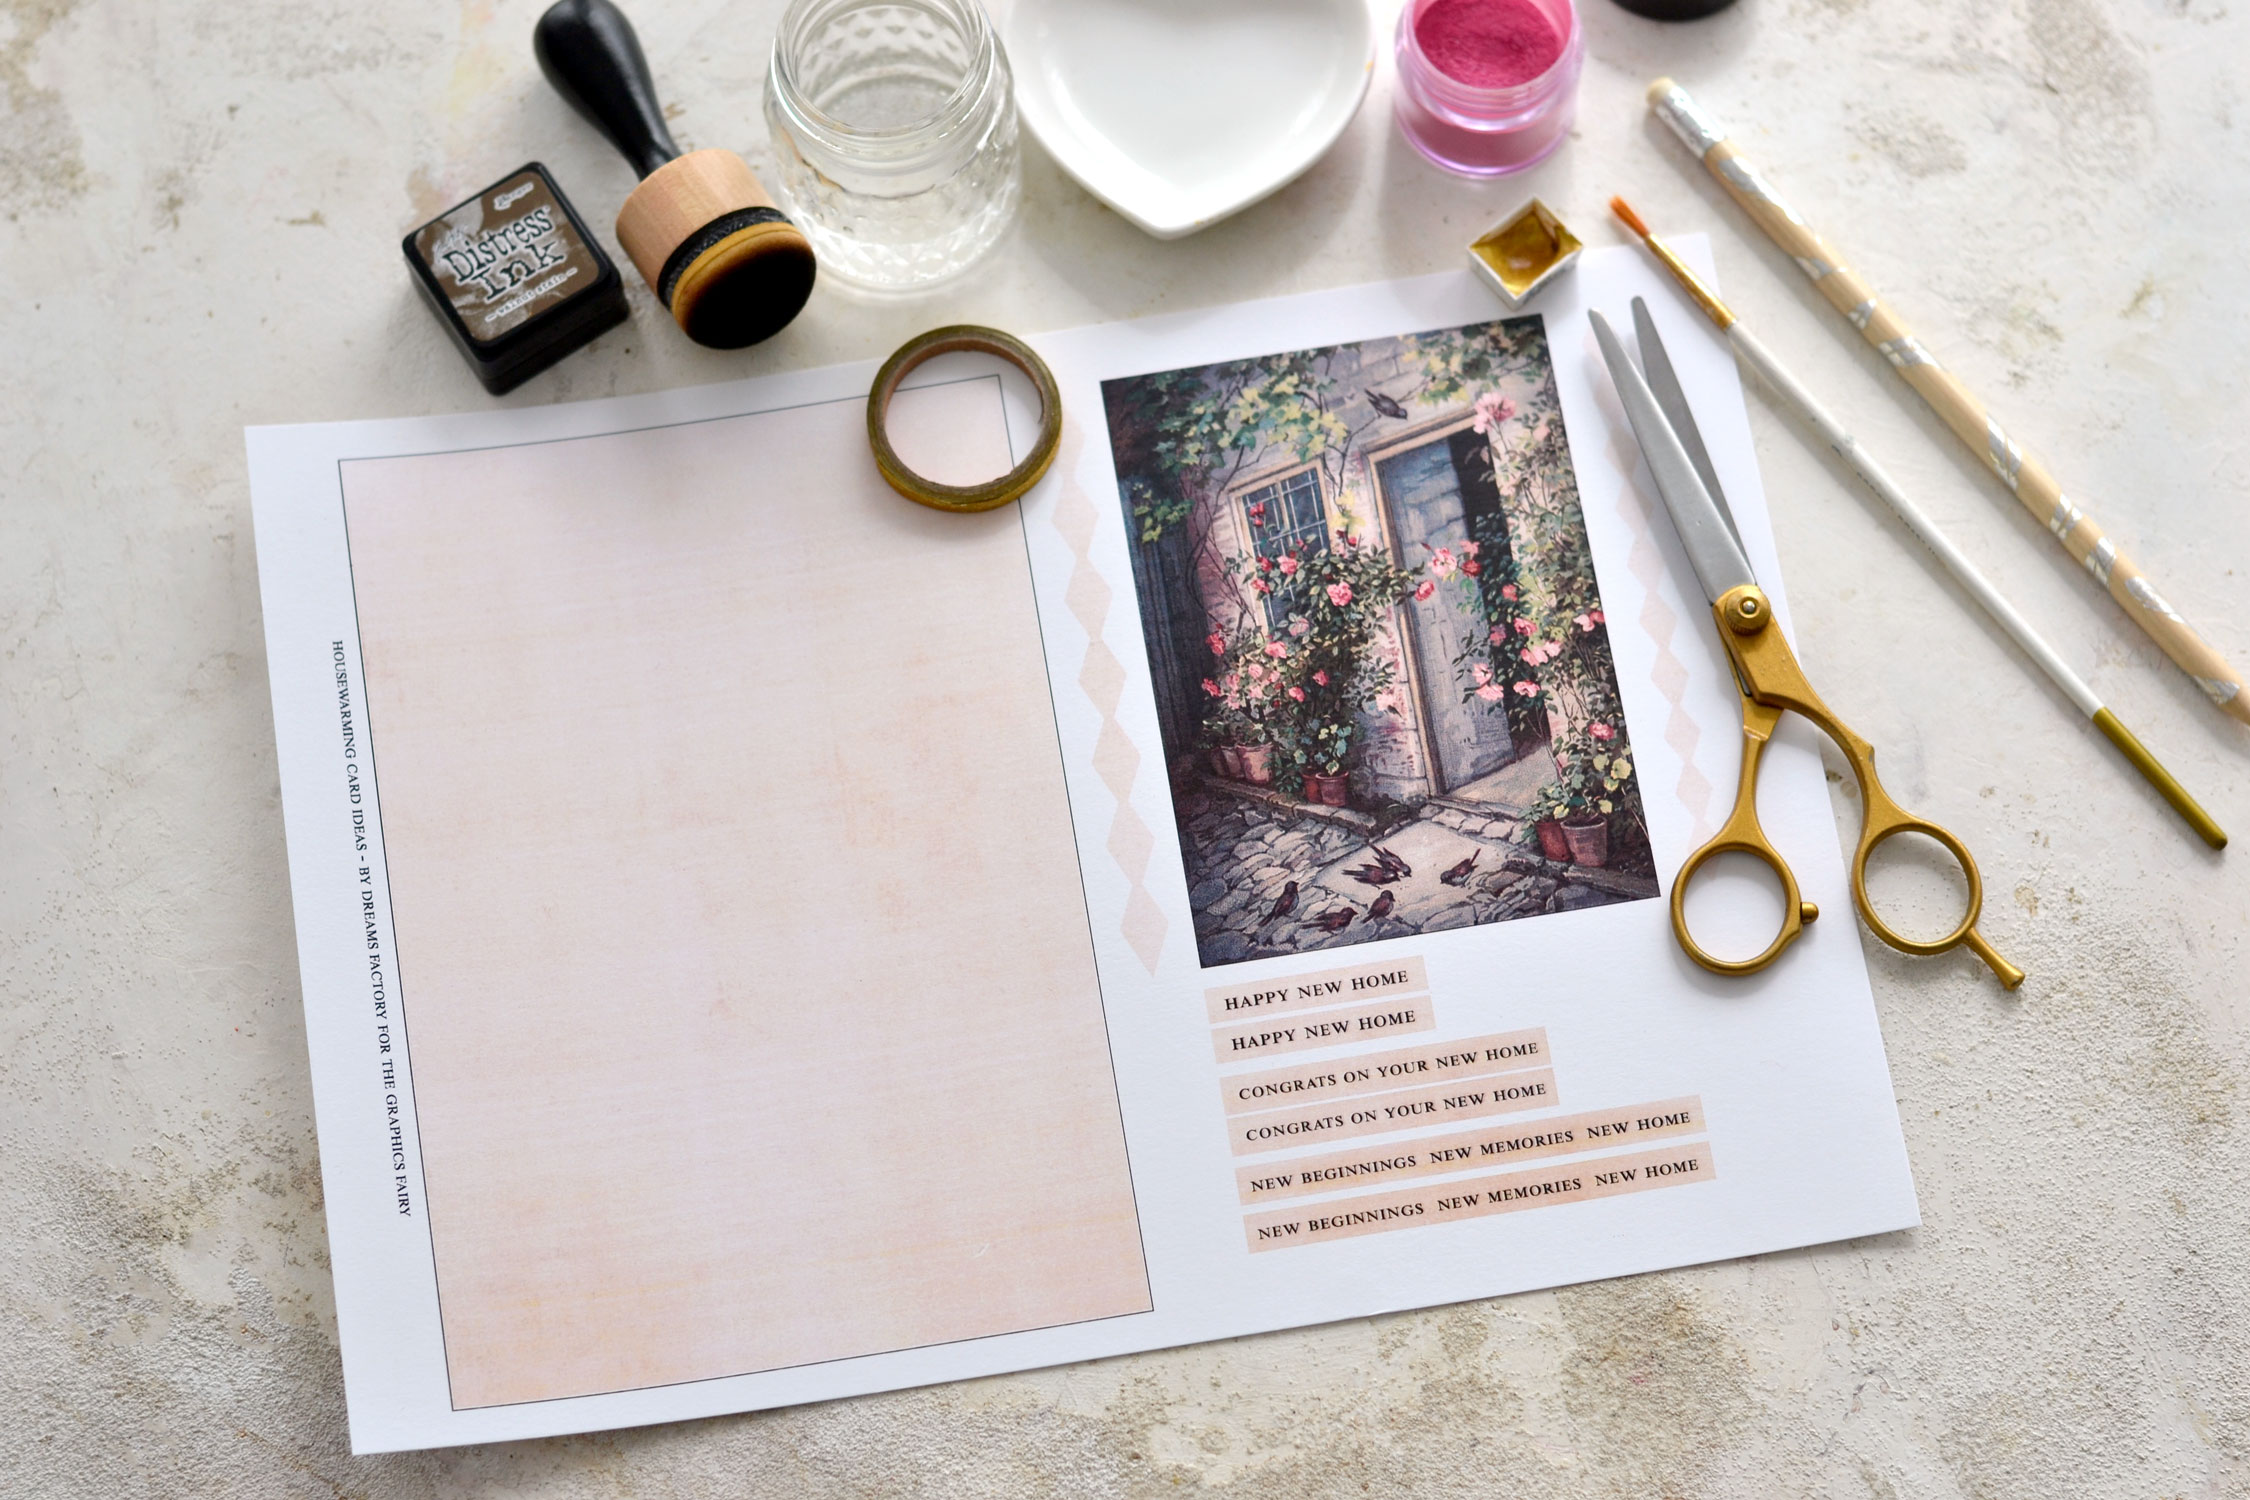
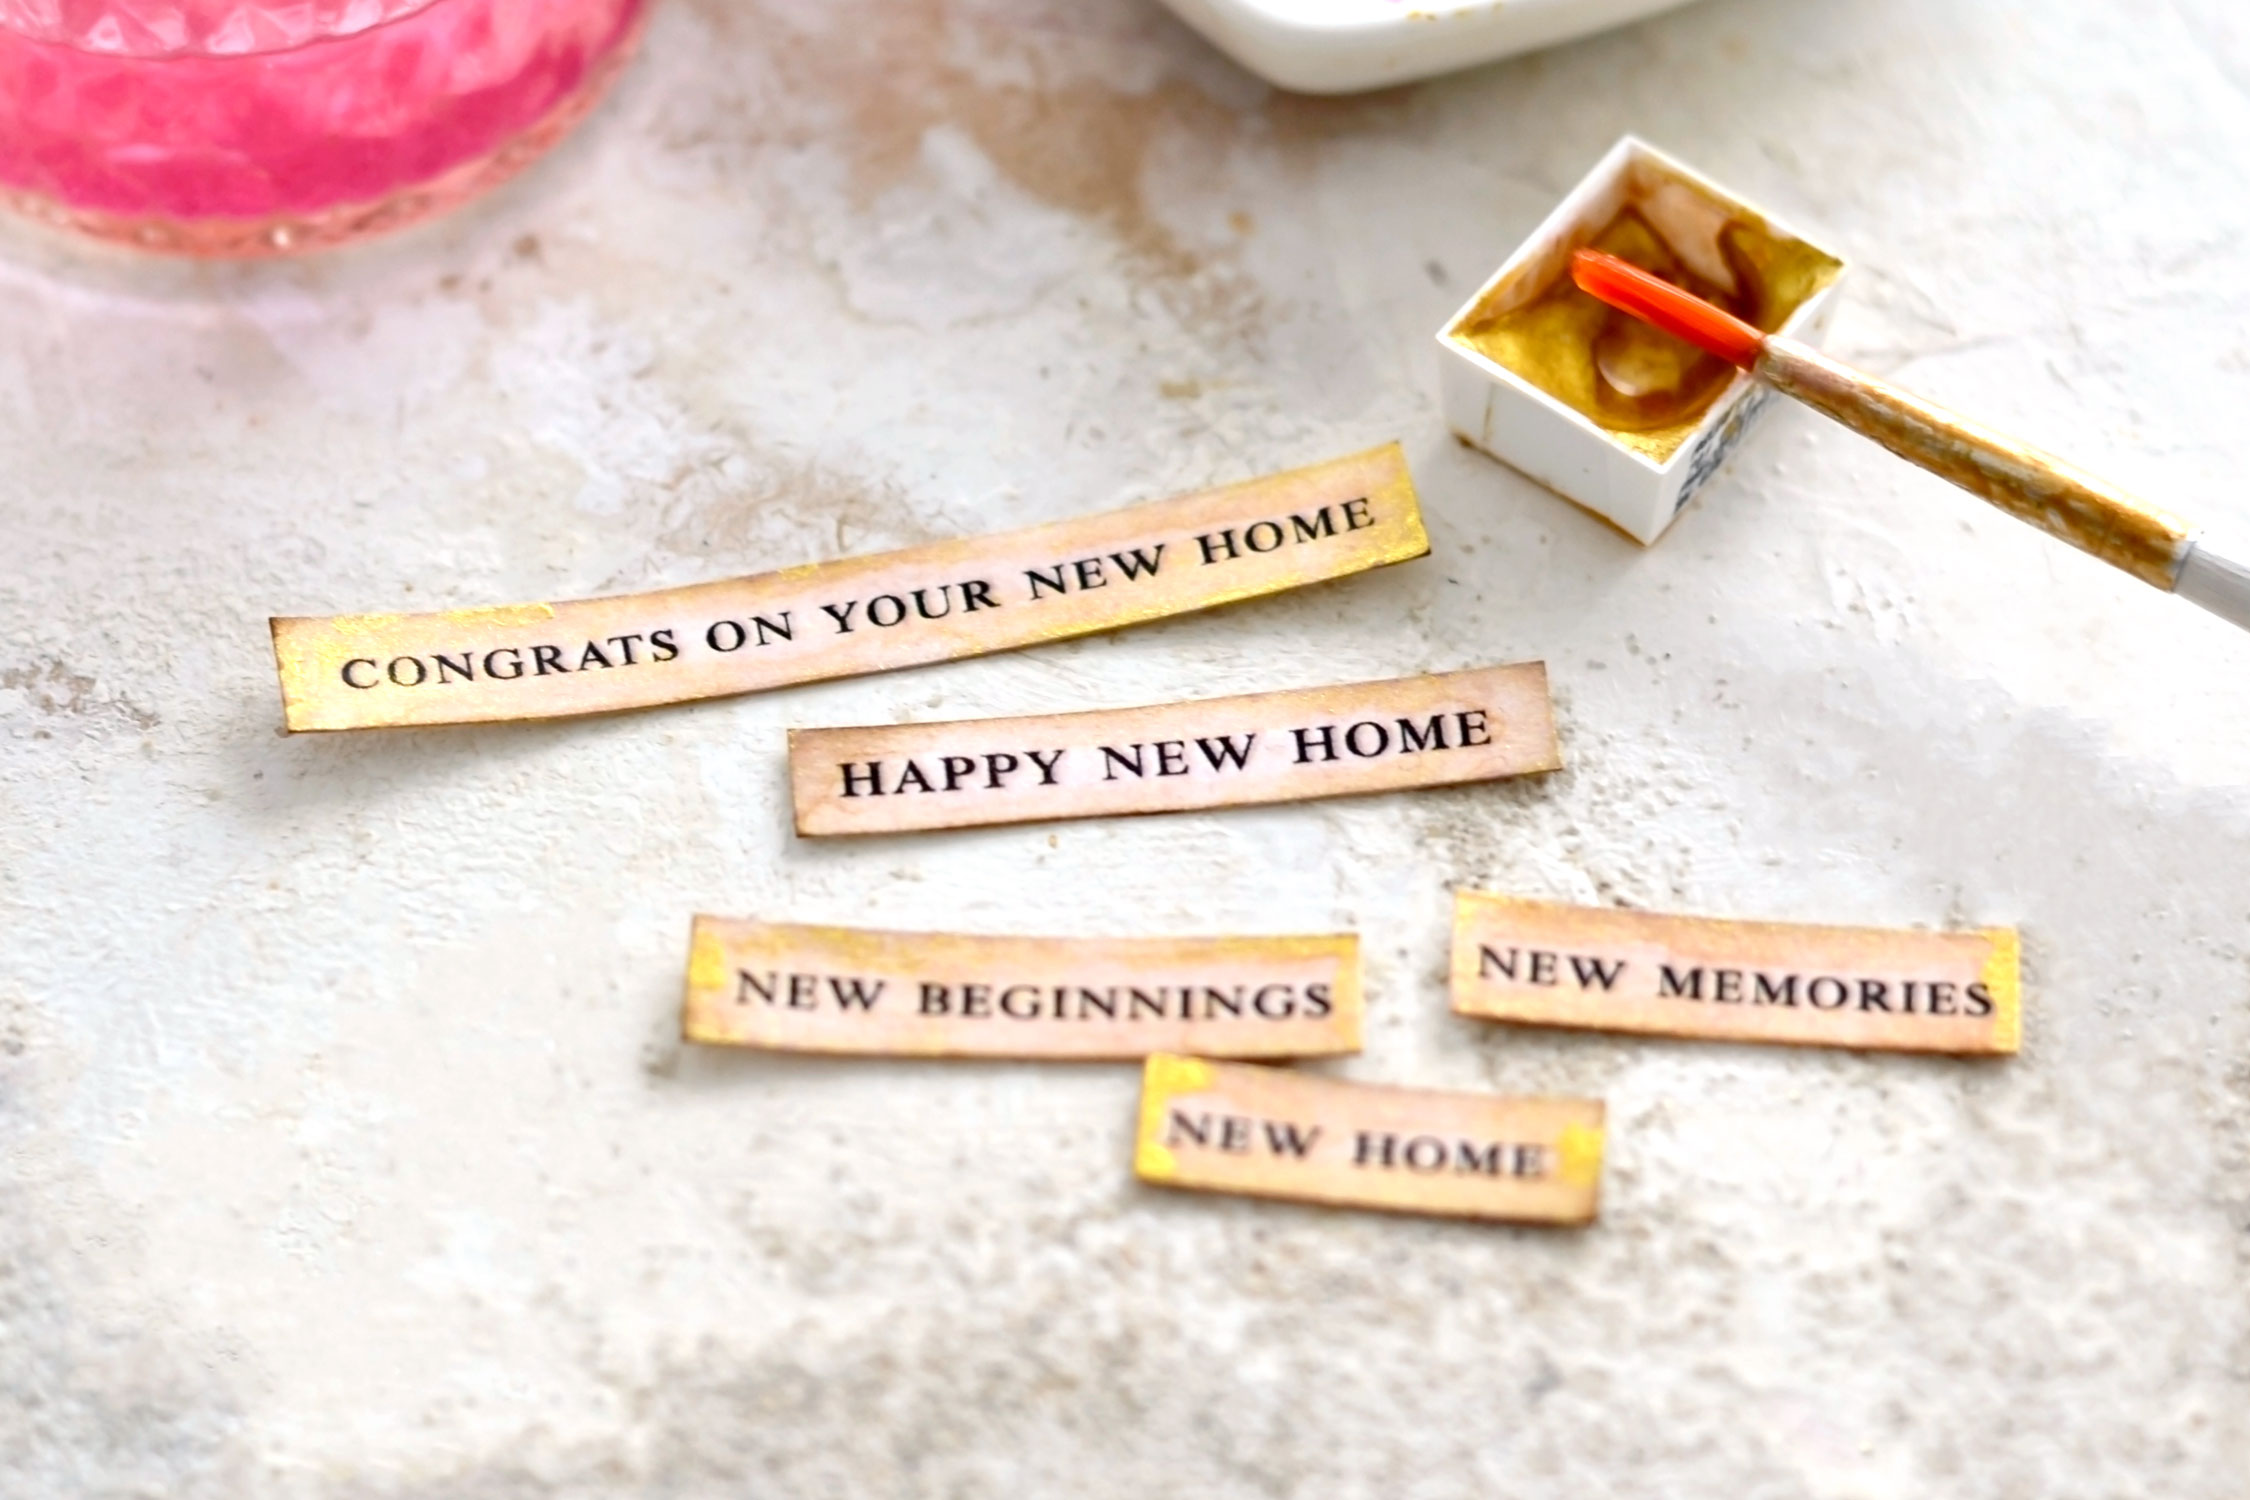
You can find the lovely printable that I’ve created for this project below, just save it on your computer and print it when in need! I’ve included 3 housewarming wishes that you can choose from: Happy new home, Congrats on your new home and New beginnings New Memories New Home. The last one can be used as it is or can be cut into smaller sections and used as I did.
I’ve also included a diamond-shaped column (in two different sizes) that can be used as an embellishment, it looks really beautiful especially when painted in gold!
—-> Click HERE to Download the Full Size Printable PDF <—-
Housewarming Card Ideas Supplies:
- cardstock paper
- home printer
- scissors
- mini distress inks
- blending tool with foams
- Mod Podge or any other craft or paper glue
- bone folder
- gold watercolors or highly diluted gold acrylic paint or gold gouaches – you can use metallic gold, copper or bronze
- brush
- pink mica powder
- embossing stylus tool
- pencil
- window or lighting box (to trace the design)
- old book
Step by Step Tutorial:
The full detailed instructions are below. Hope you have fun making this card!
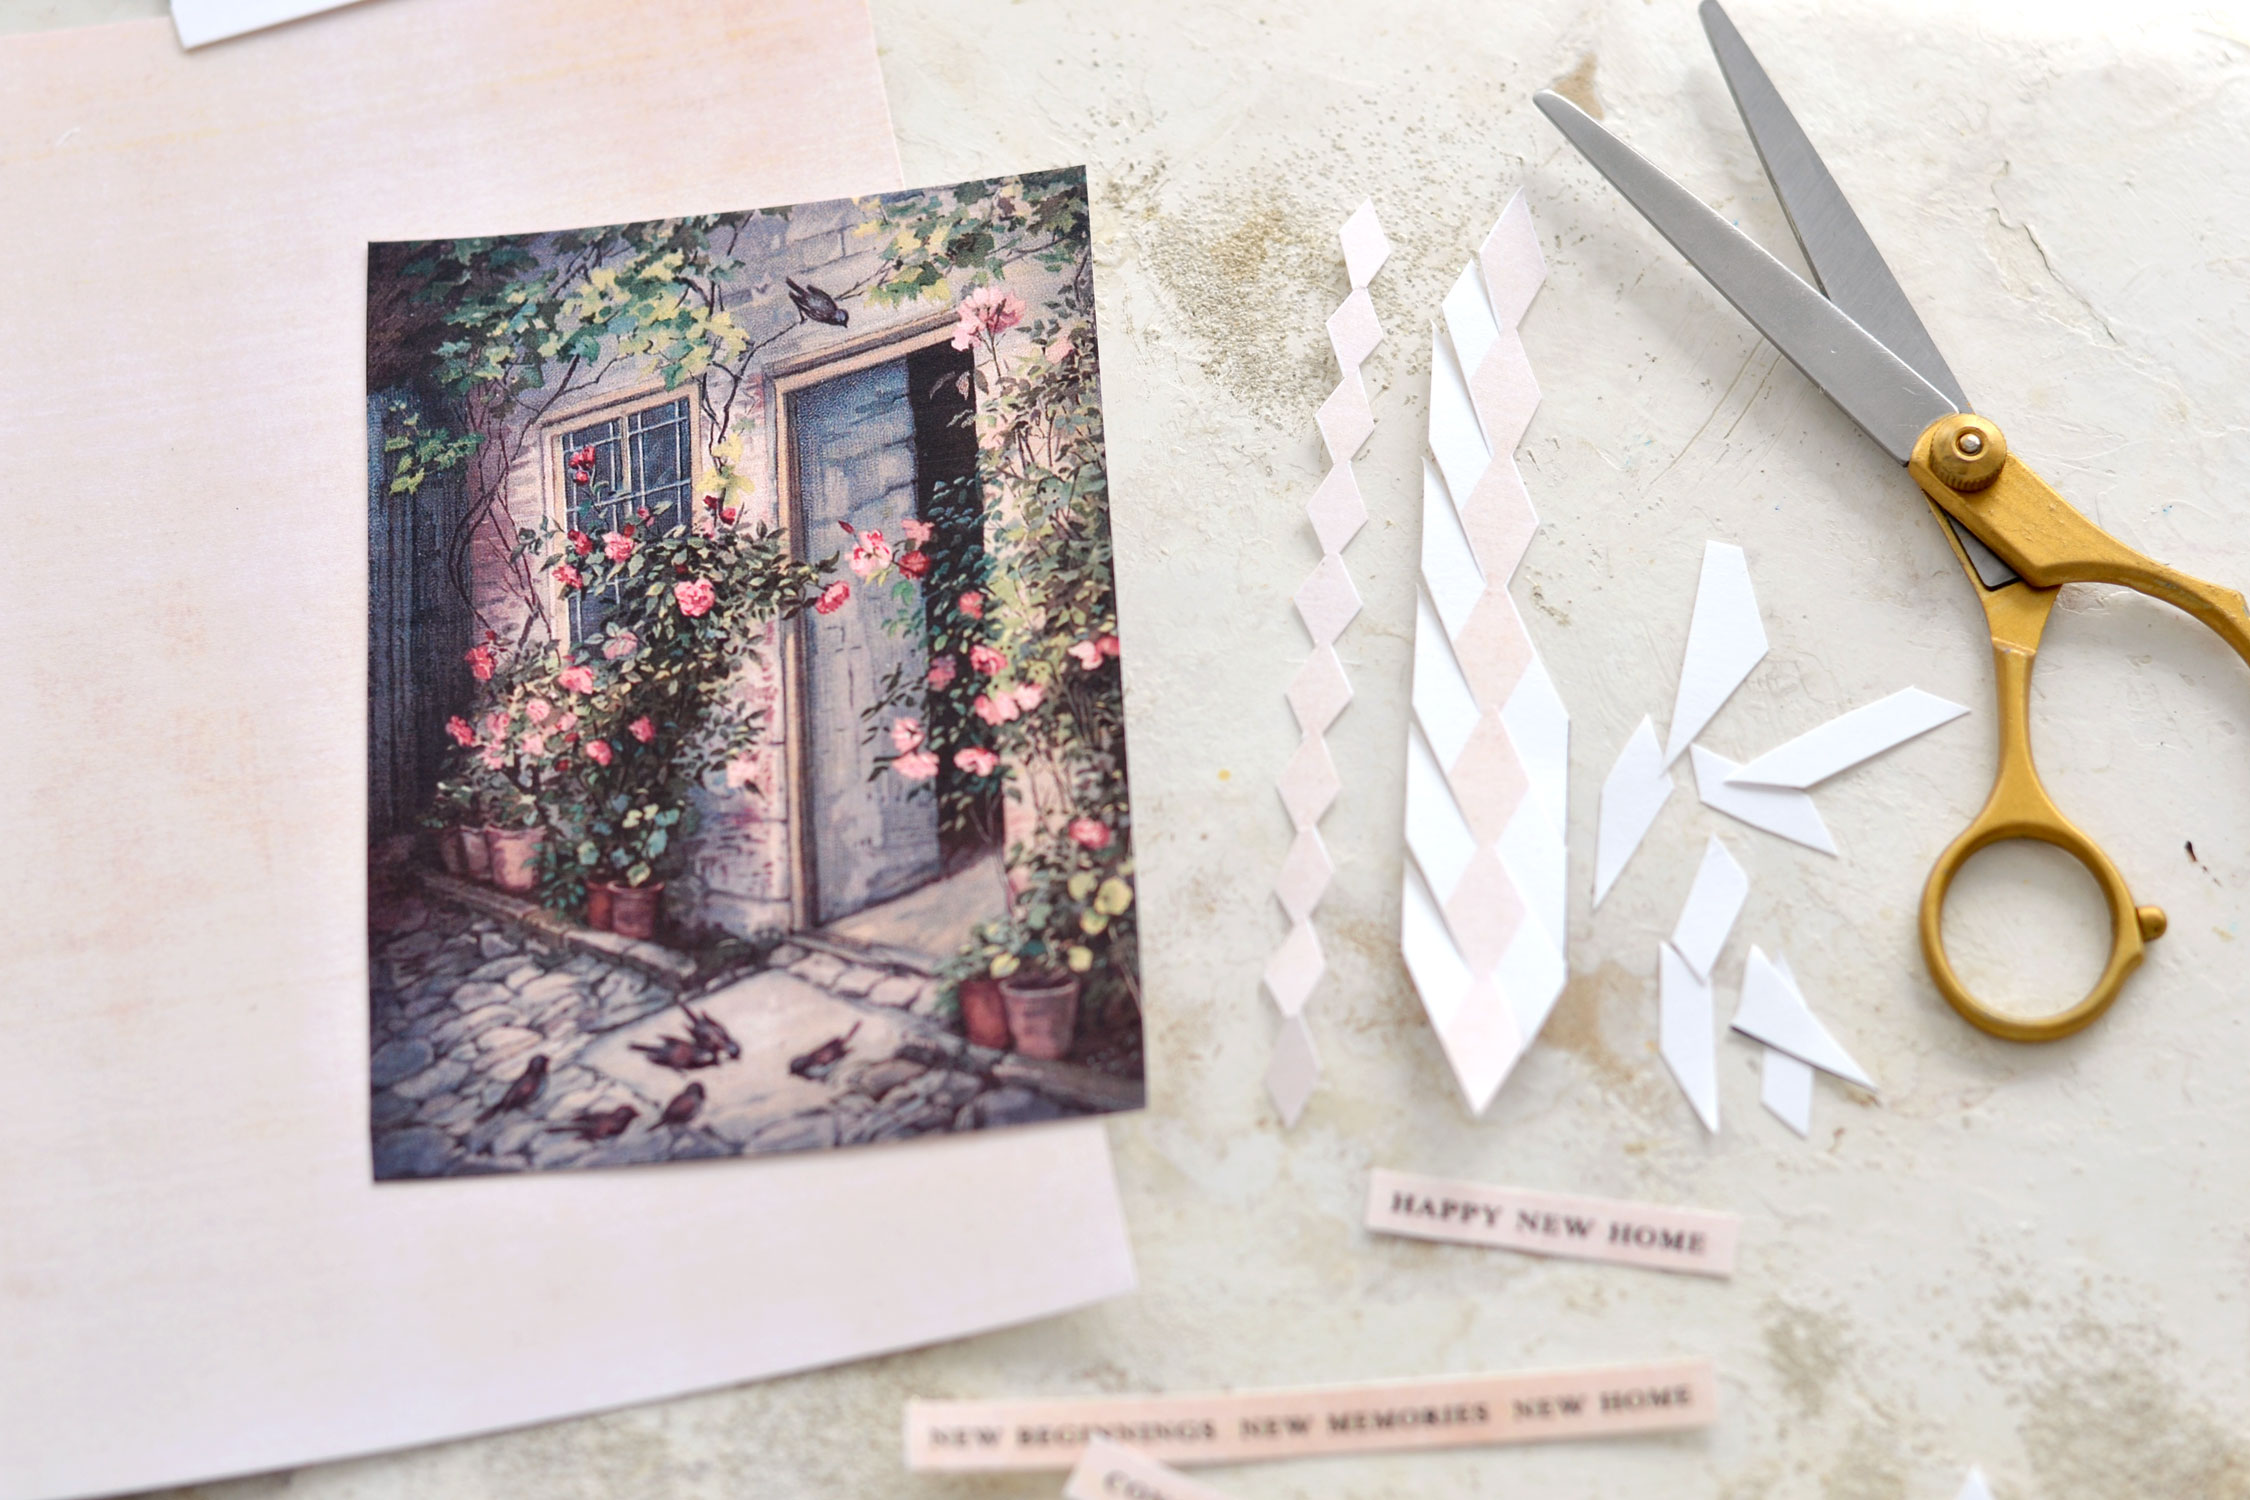
Cut all the separate elements of the card. You’ll need to be a little bit careful when cutting the columns, I found it easier to cut all the parallel lines on the sides, then go in with all the other lines in the opposite direction to cut the final shape.
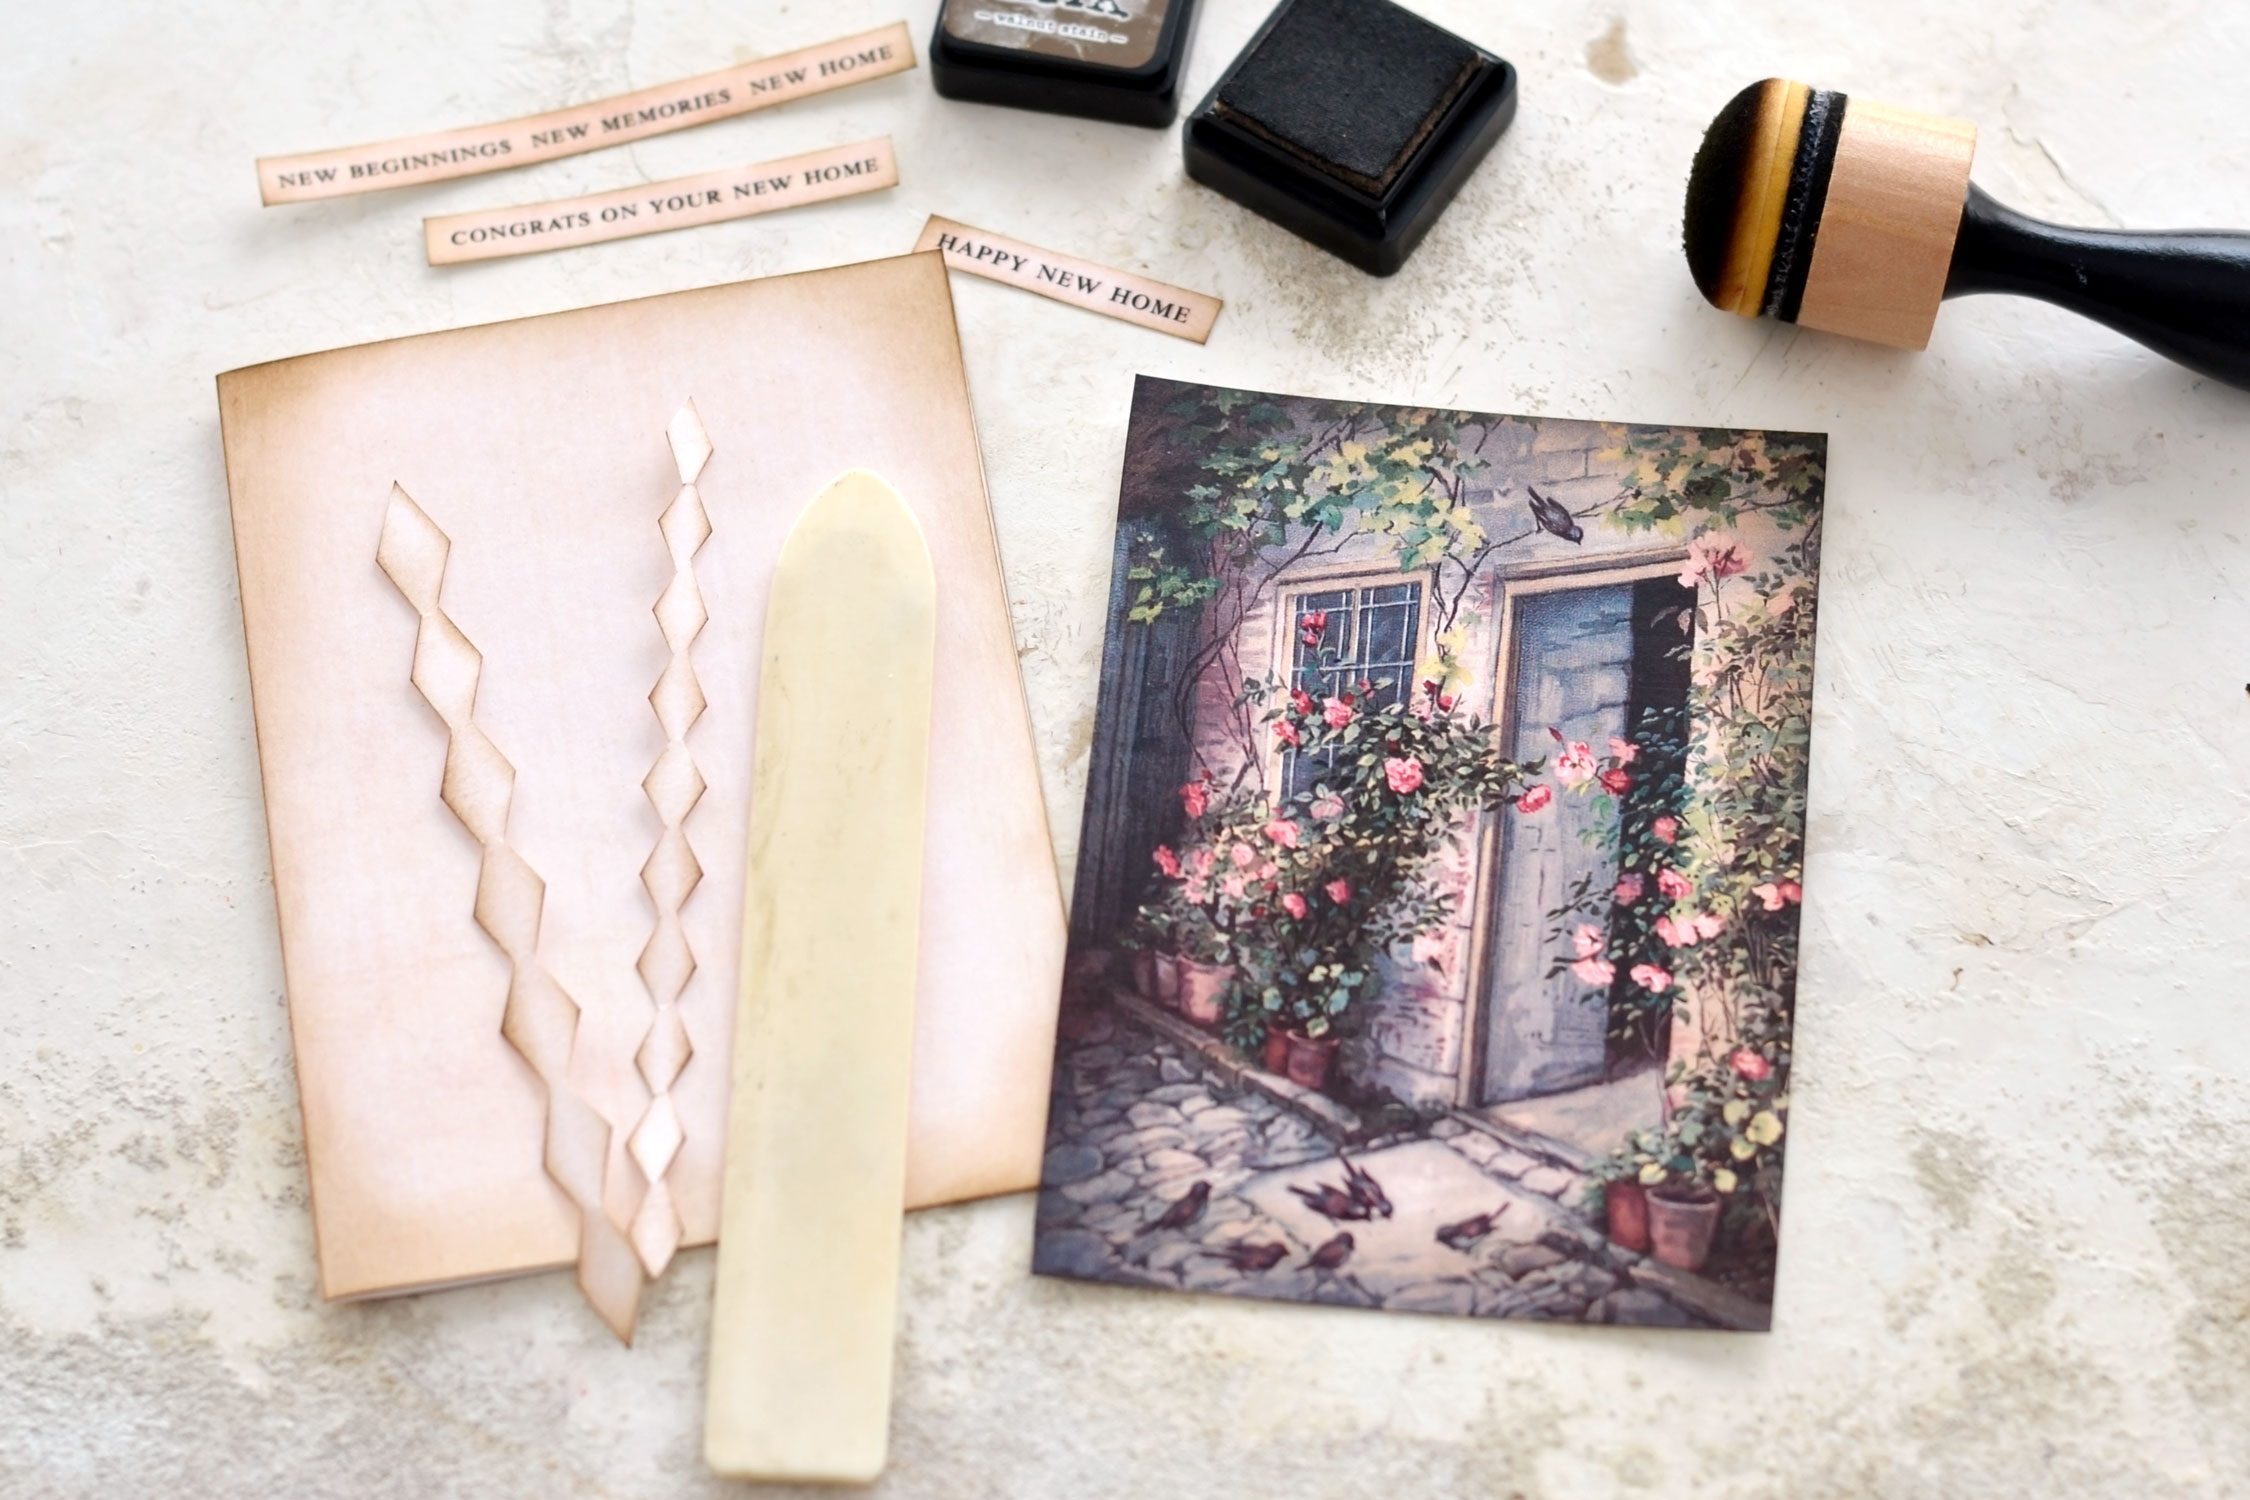
Fold the card base in half – use a scoring board or a bone folder and a ruler.
Use distress ink on the edges of all the elements to give the paper a vintage look – I like using brown Walnut Stain for this, but you can use other colors if you want.
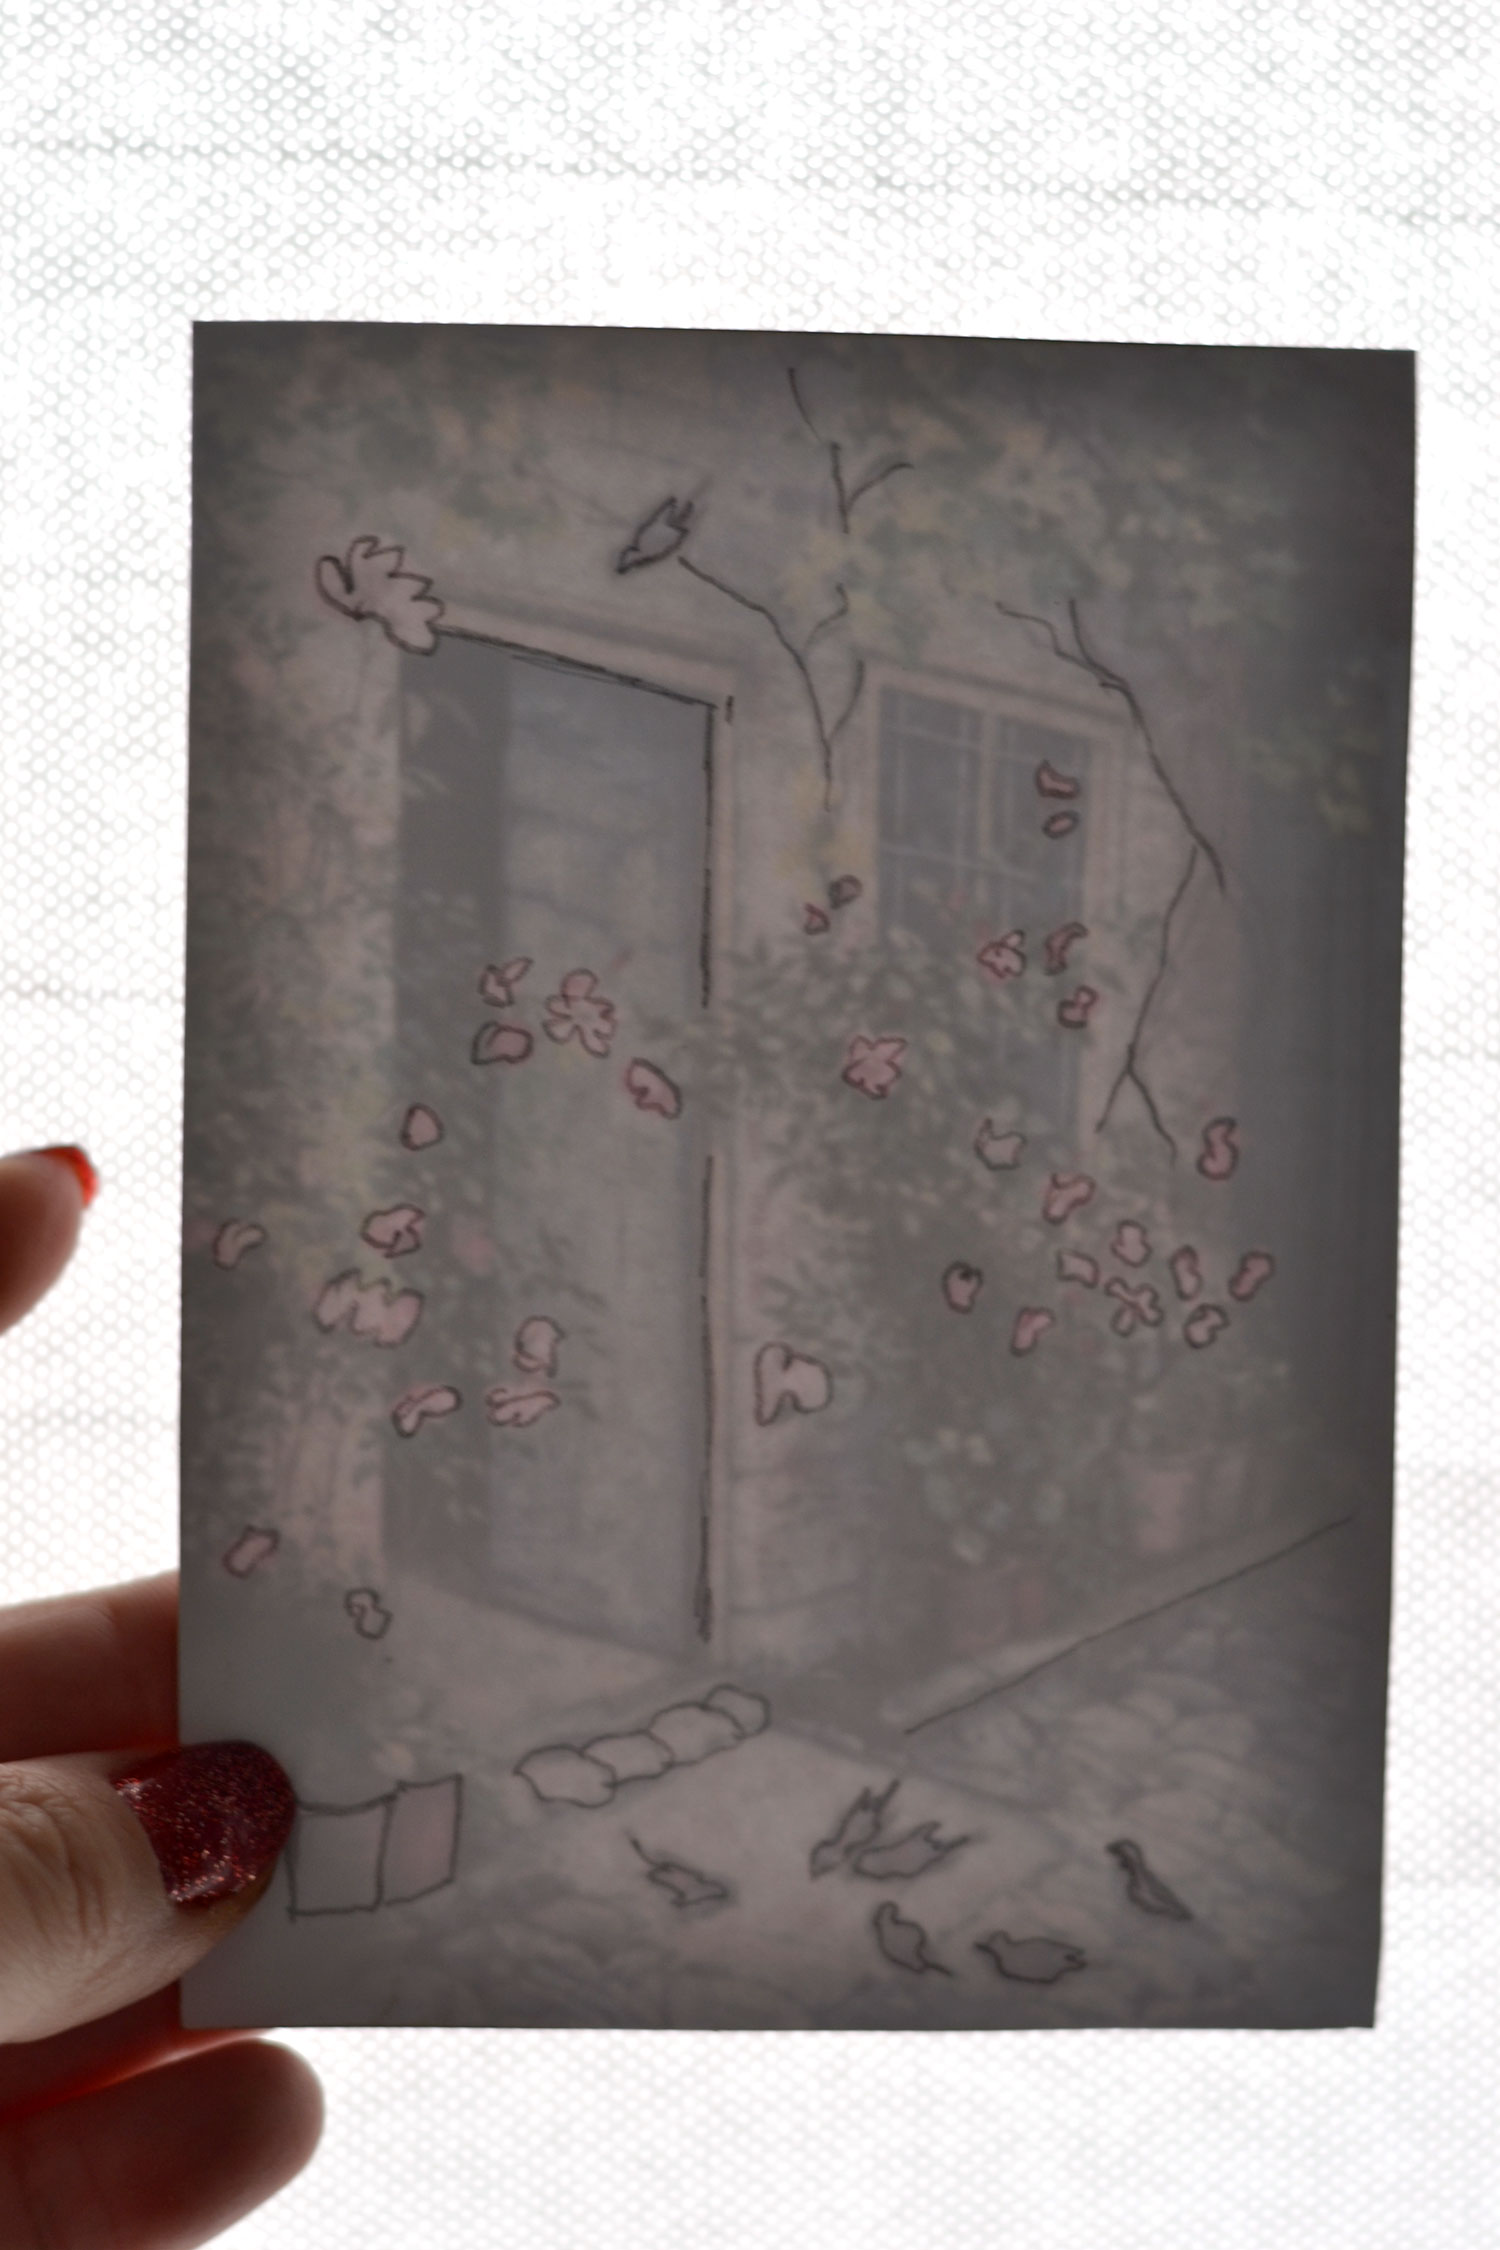
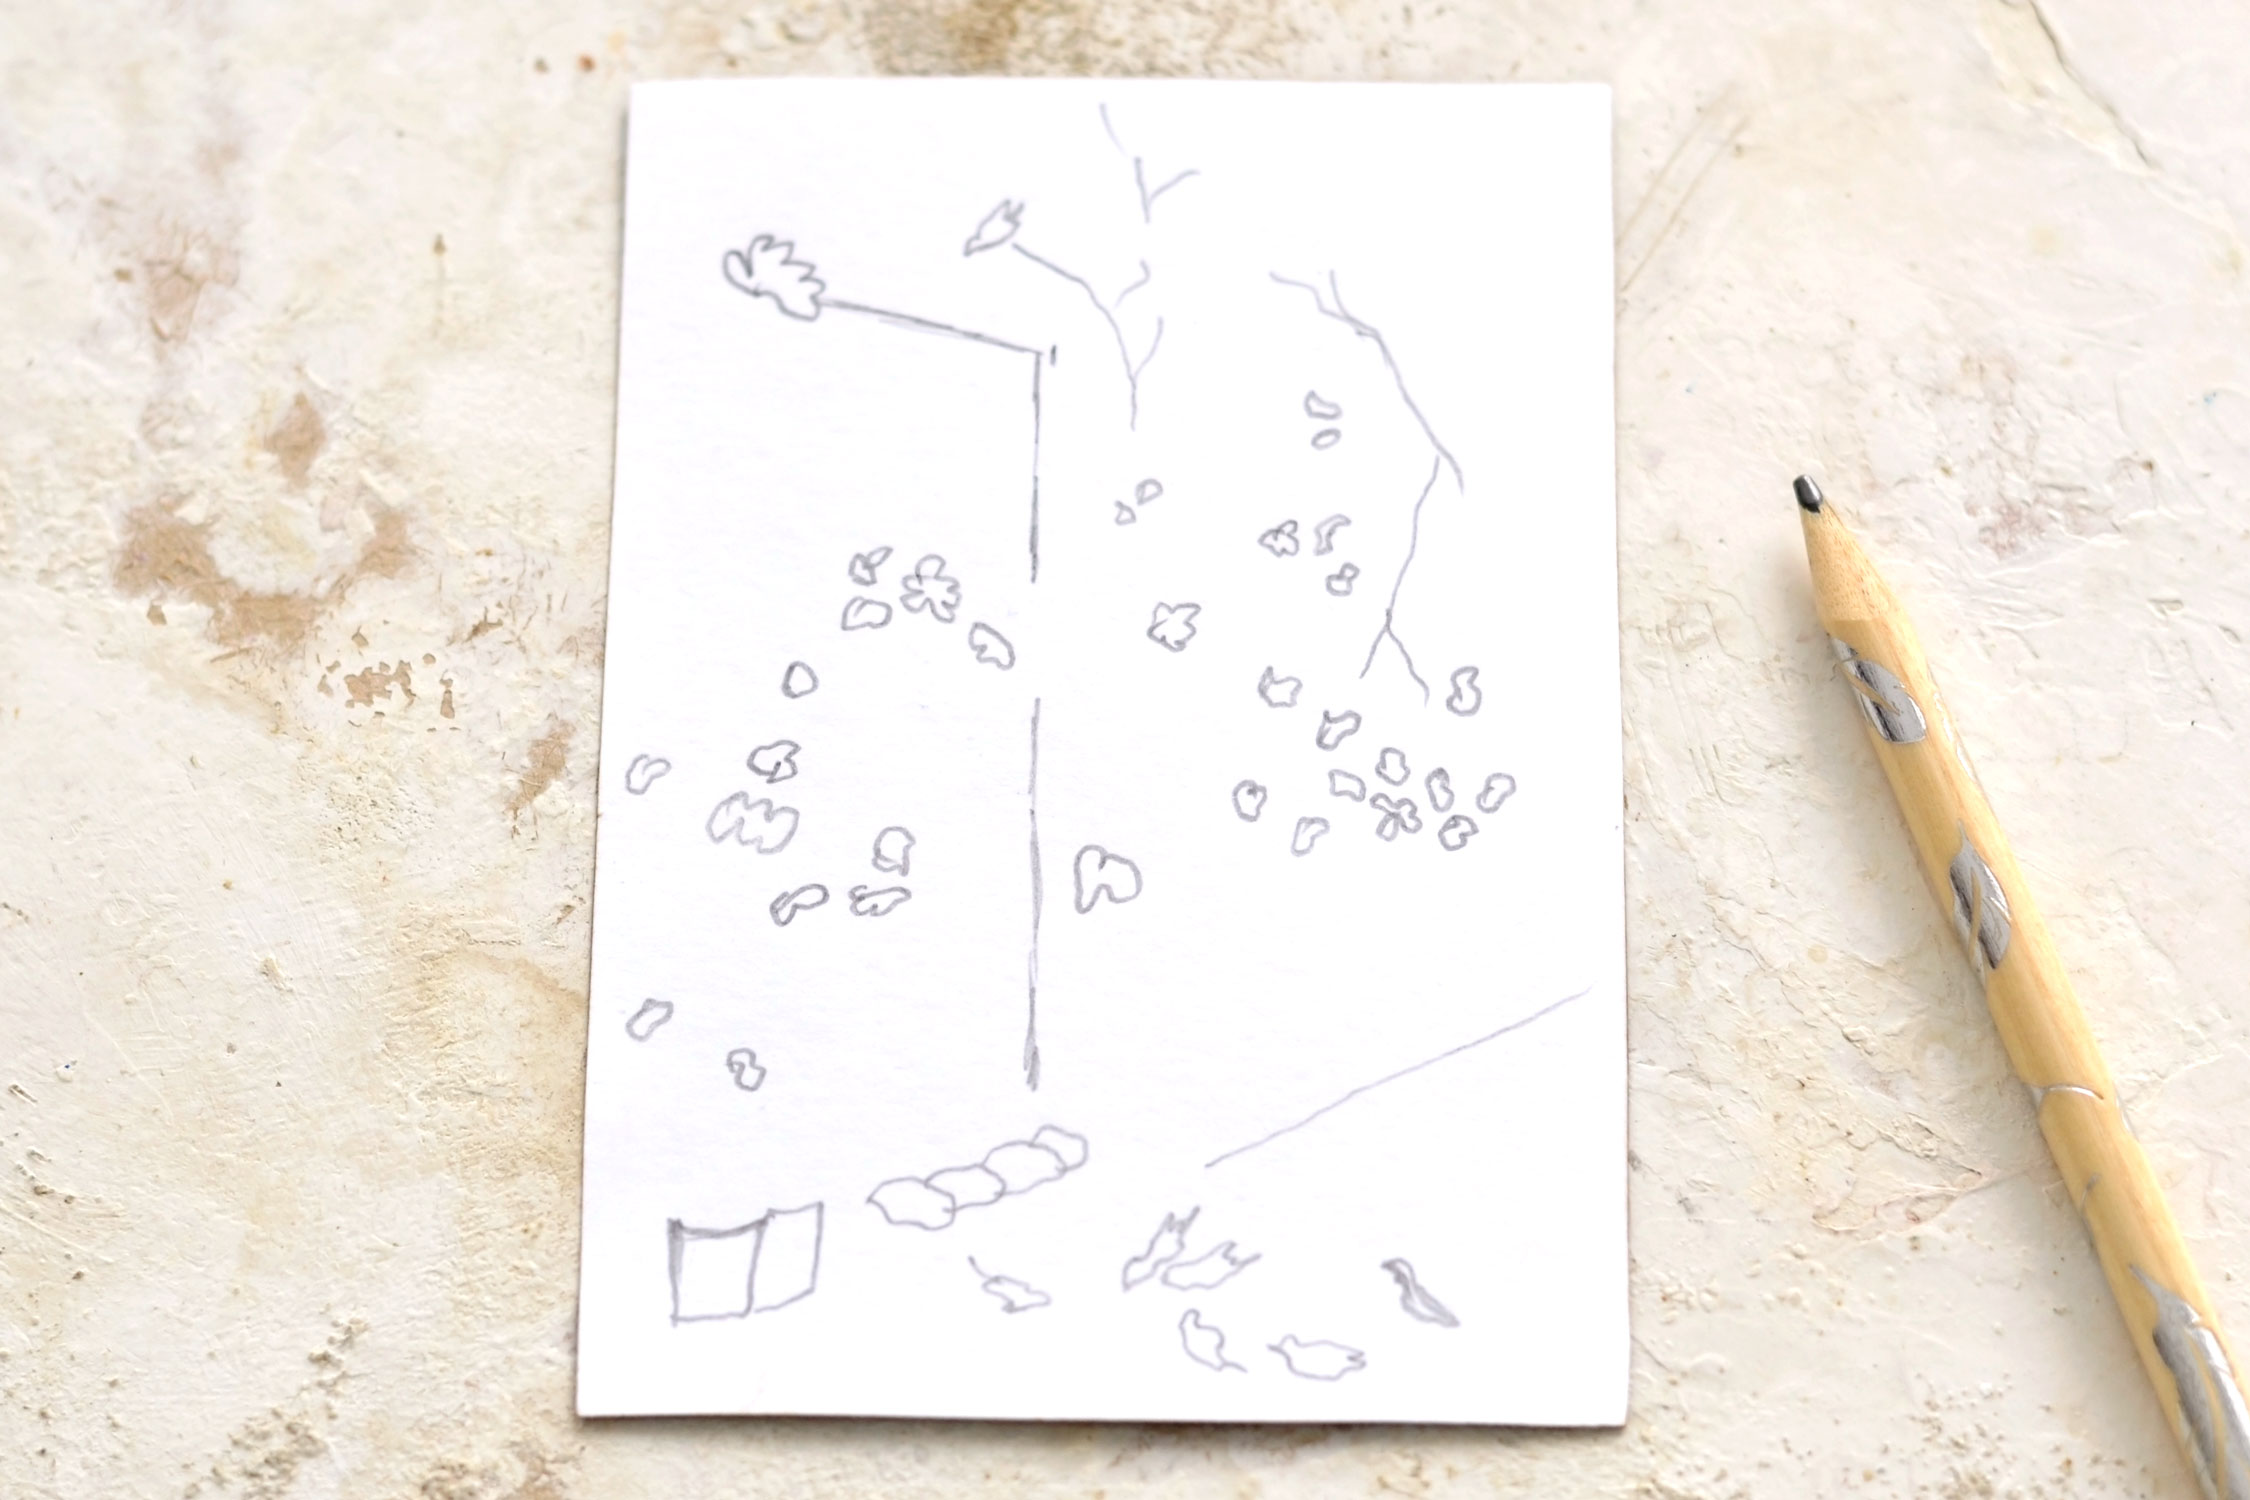
Now for the fun and easy embossing technique! Start by placing the reversed printed design on your window (you can place it directly on glass or on top of some sheer shades), then use a pencil to trace the shape of the roses. You can trace other elements from your image, I also traced some of the birds, some of the pots and even some of the branches. Oh, and some of the pavement, just try to look for elements that will help make your image more alive.
If you have a lighting box, that would be great to use instead of the window, but don’t worry to make them perfect, you only need to draw rough silhouettes.
This is how the back of your image should look like after tracing the elements with your pencil.
Now go find an old book, we’ll use the pages inside to create the chic embossing effect! You could also use a silicone mat or some fabric, but you need to be careful because if they are too soft you might run the risk of tearing your paper while embossing it. Make a few tests before even when choosing your embossing stylus, one that has a really small tip will be too sharp and might scratch or even tear your paper.
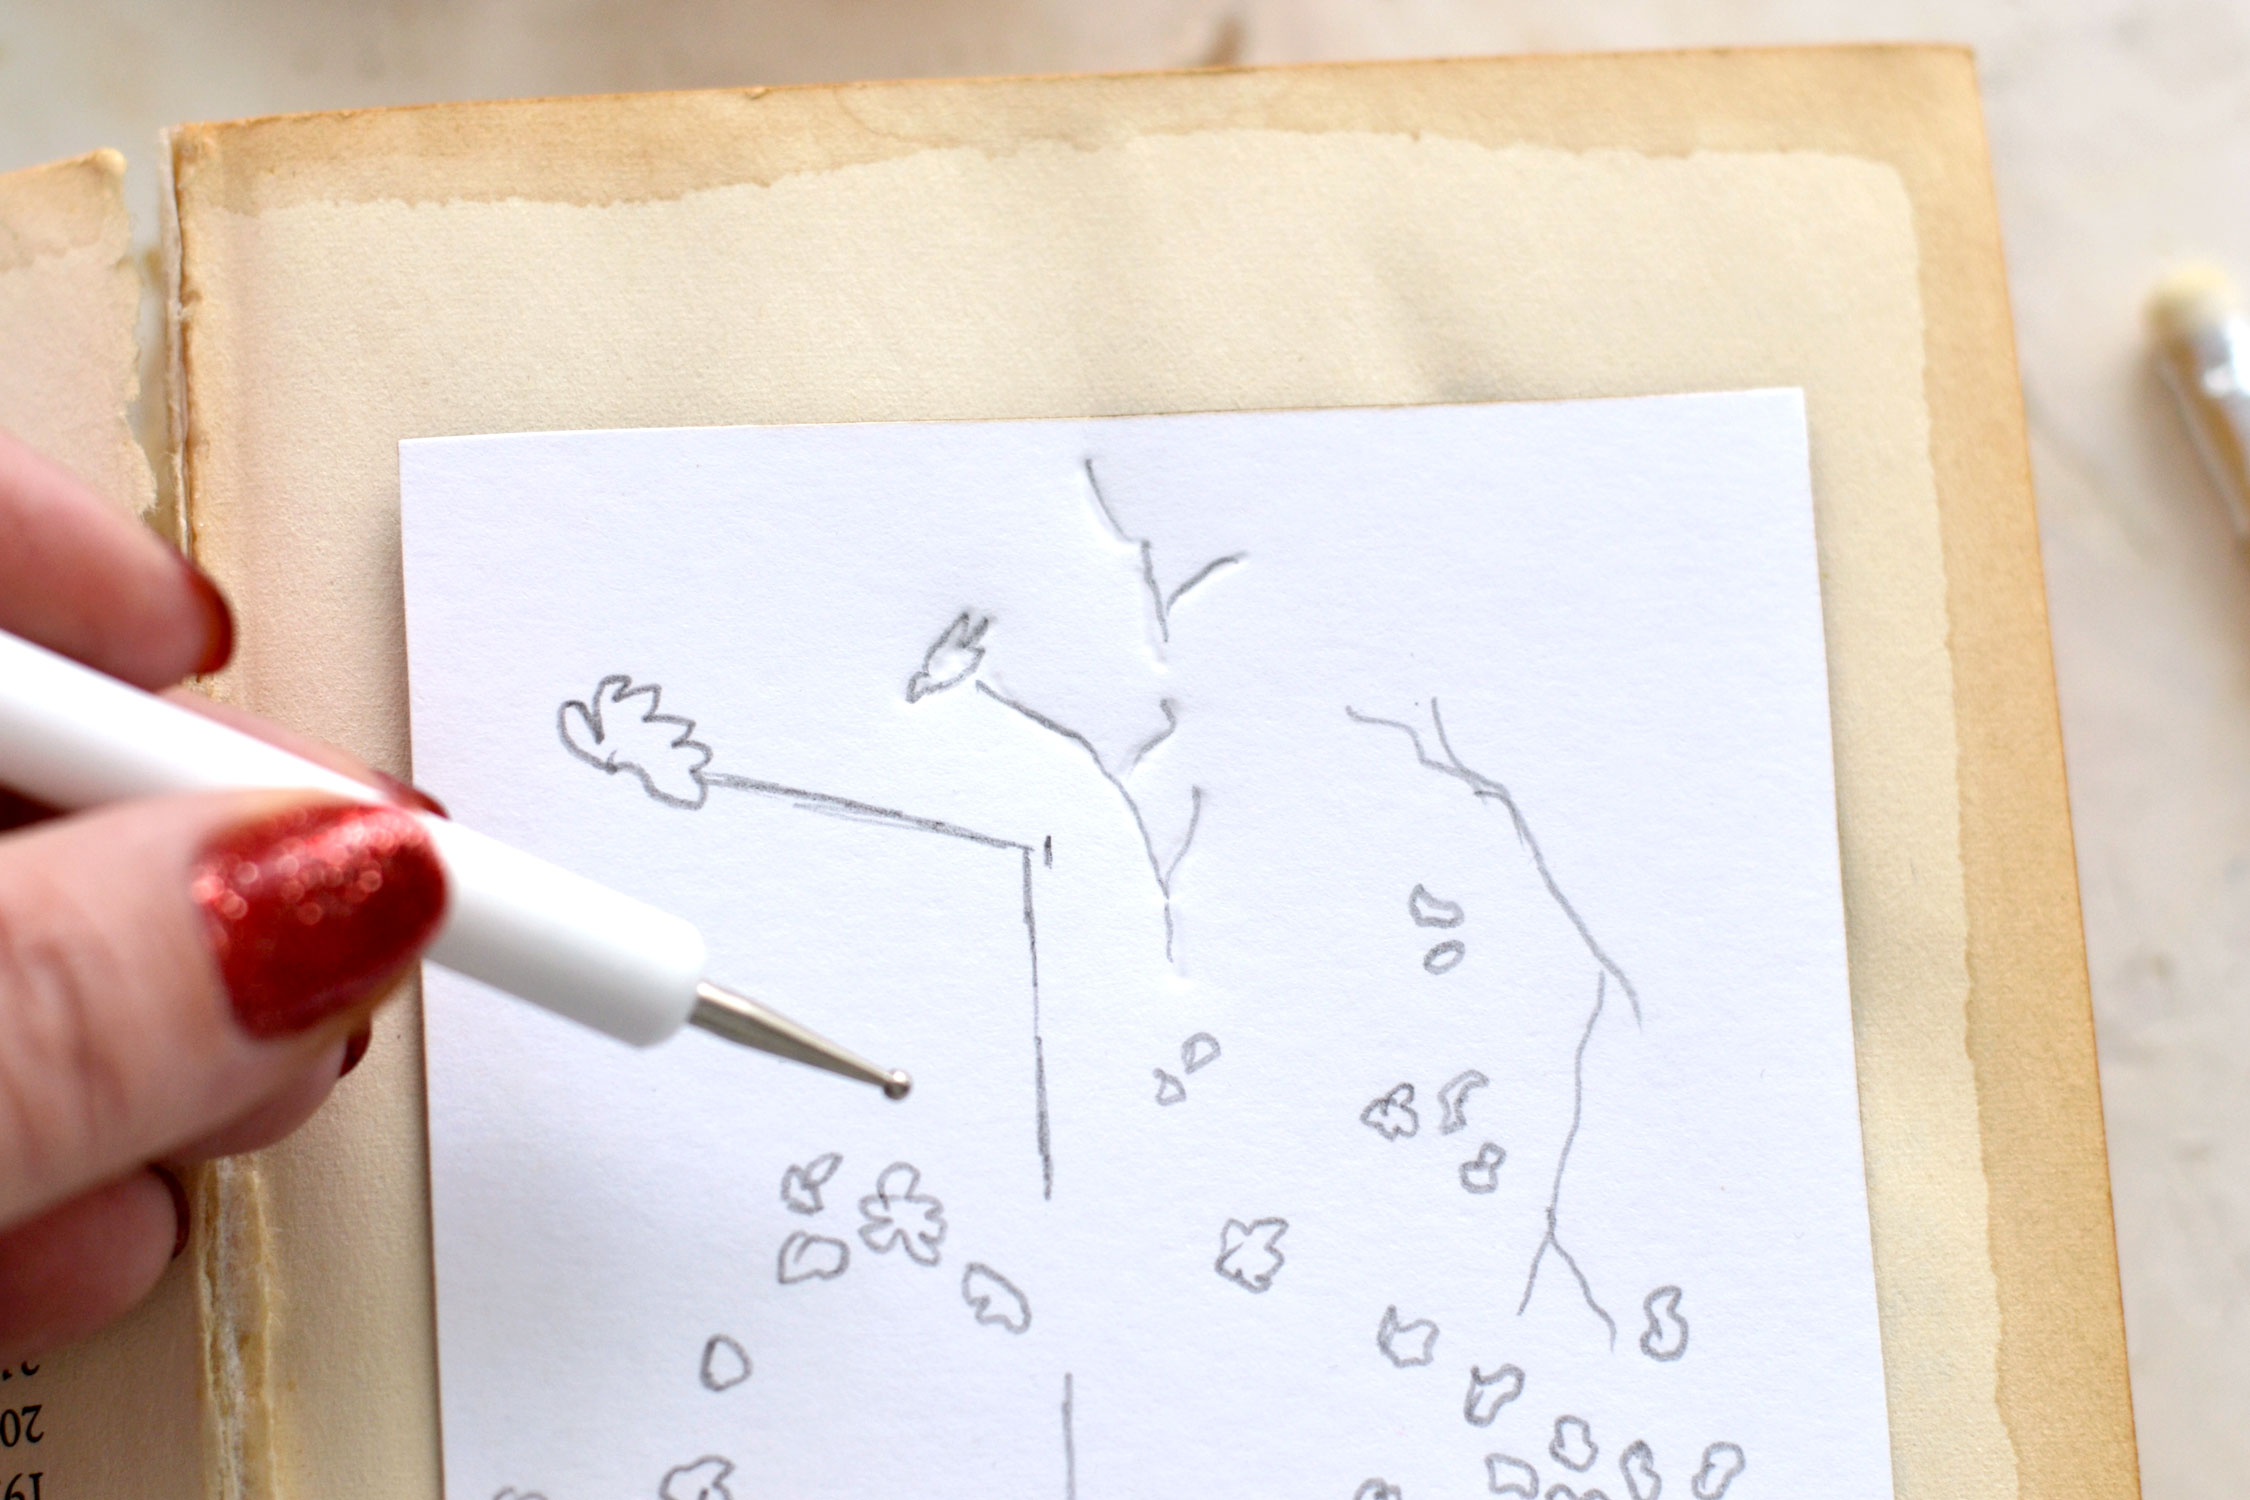
So place your card with the design facing down on your book, you’ll need to be able to see the pencil marks that you traced on the back. Go all over the traced lines with your embossing stylus while applying some pressure. Trace the silhouette of your elements first, then use your stylus to ‘color’ inside the lines. Again, the tracing doesn’t have to happen in a perfect way, you will still be able to get a lovely raised effect on the opposite side without worrying too much.
The pressure you apply on the back of the card will create a lovely embossed effect on the front of the card. This will also leave a small indent on the pages of the book (that’s why it would be preferable to use an old book), but it’s nothing too serious.
You can flip your card from time to time to check your progress and determine if you need to go over some of the details once more.
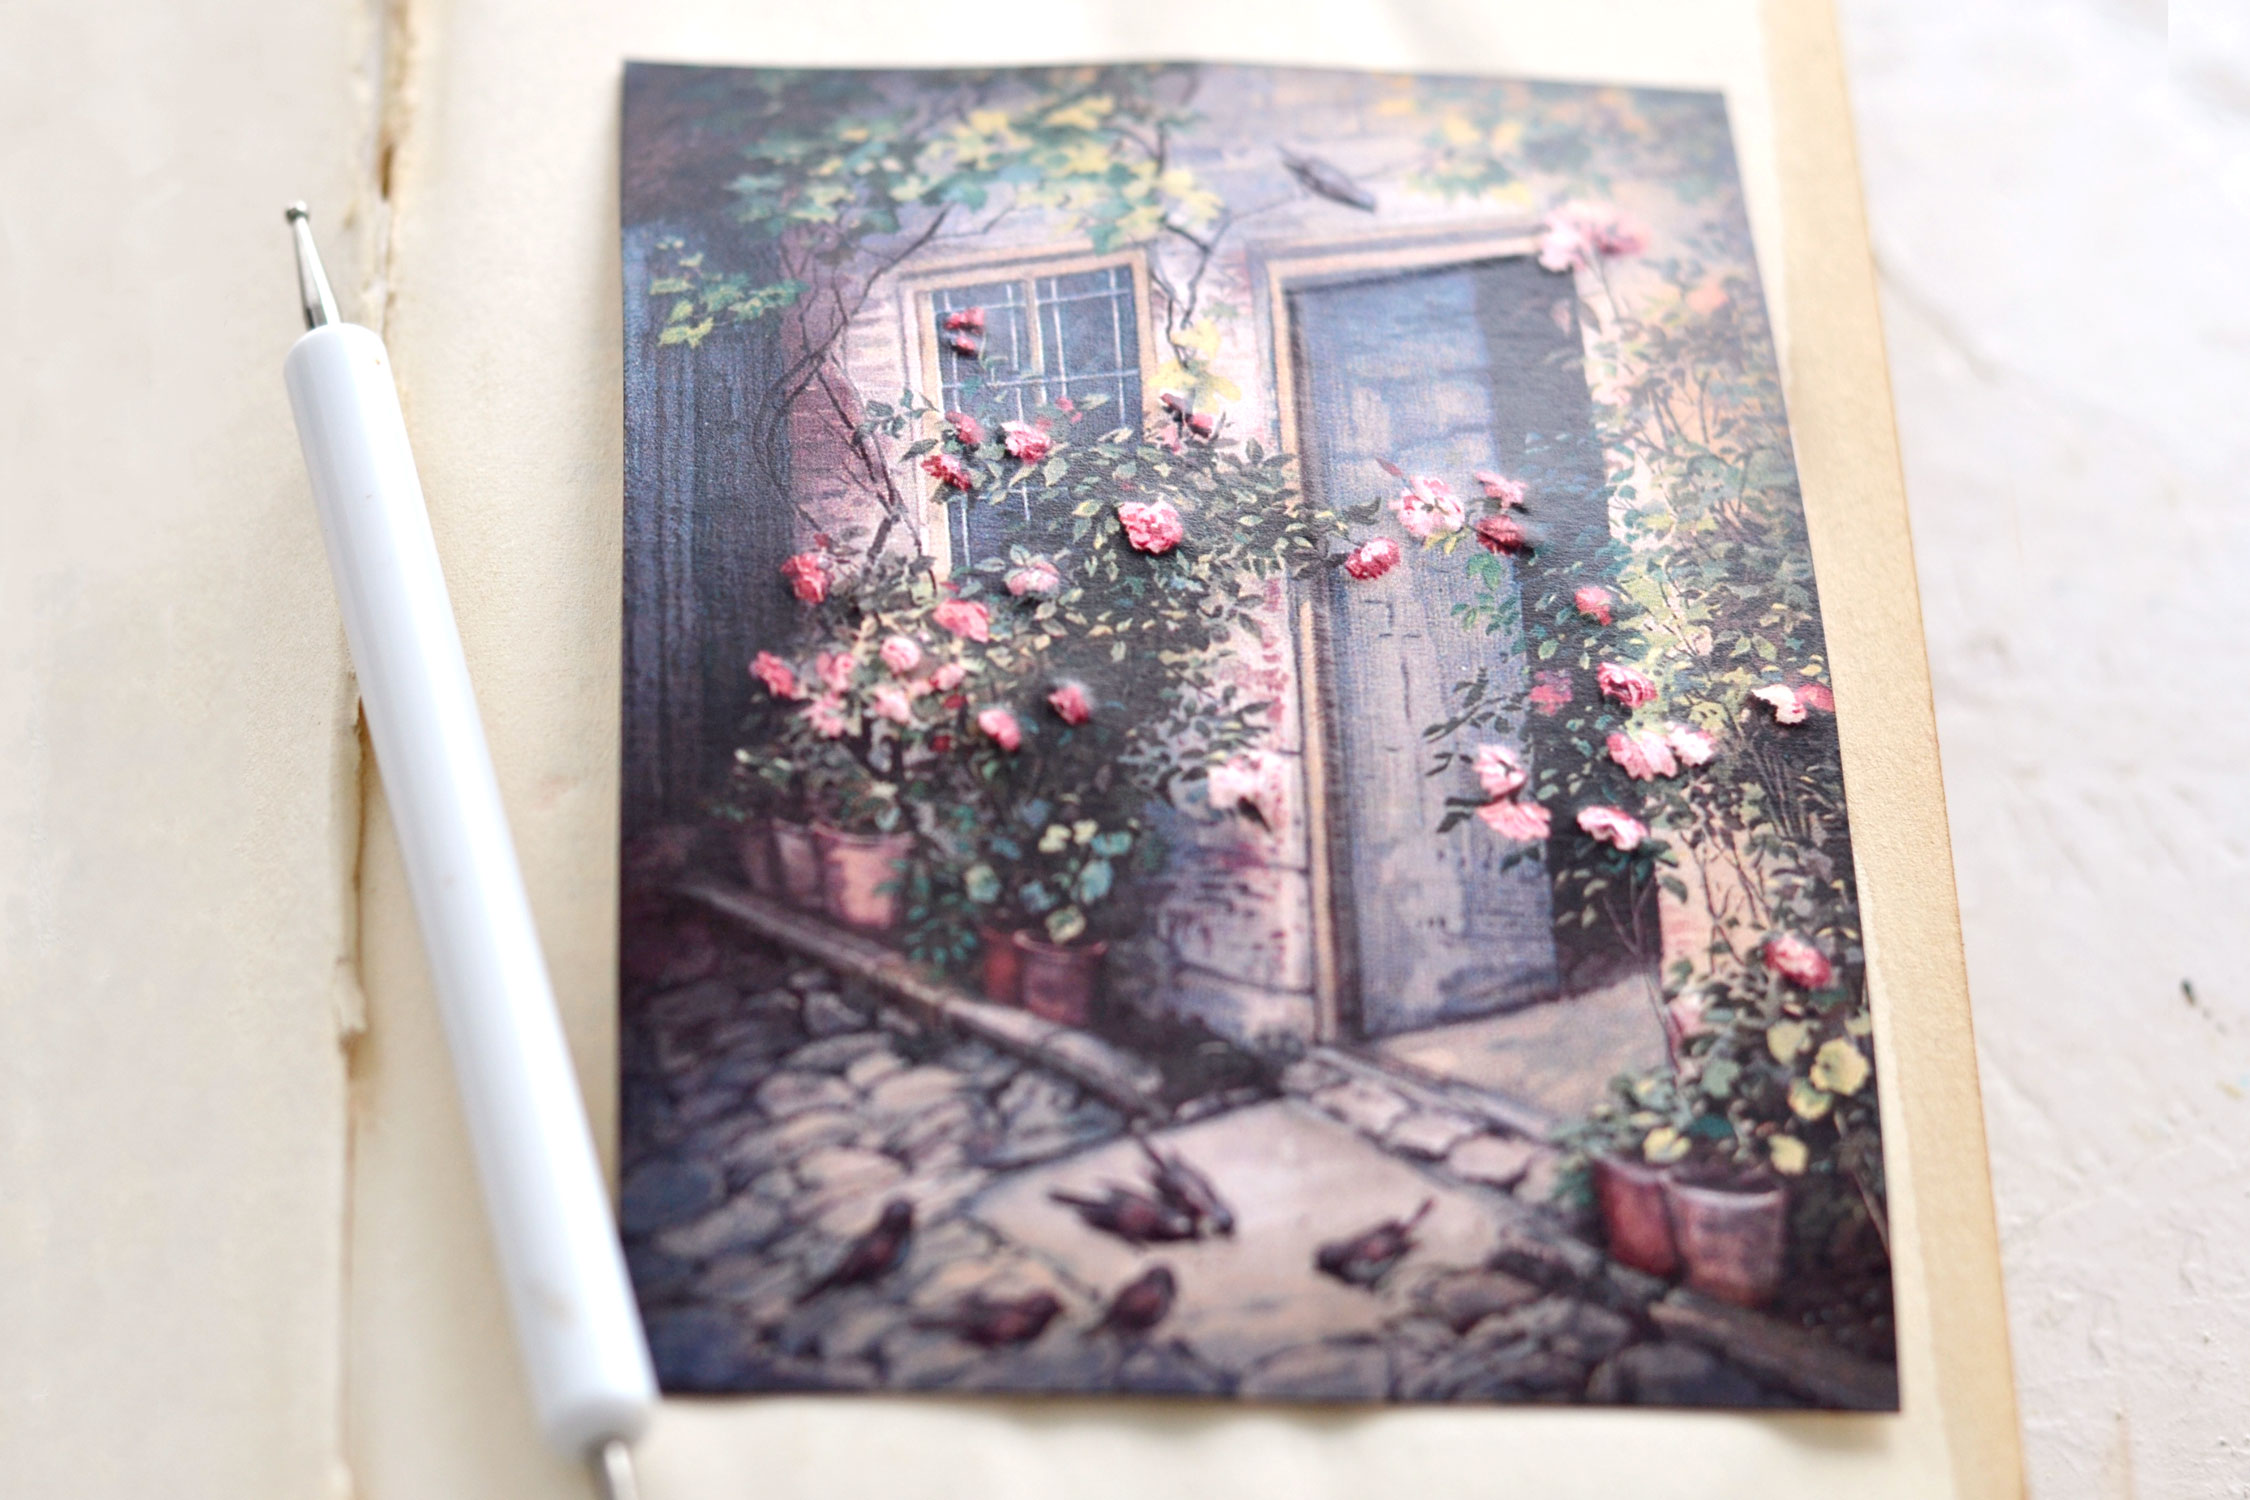
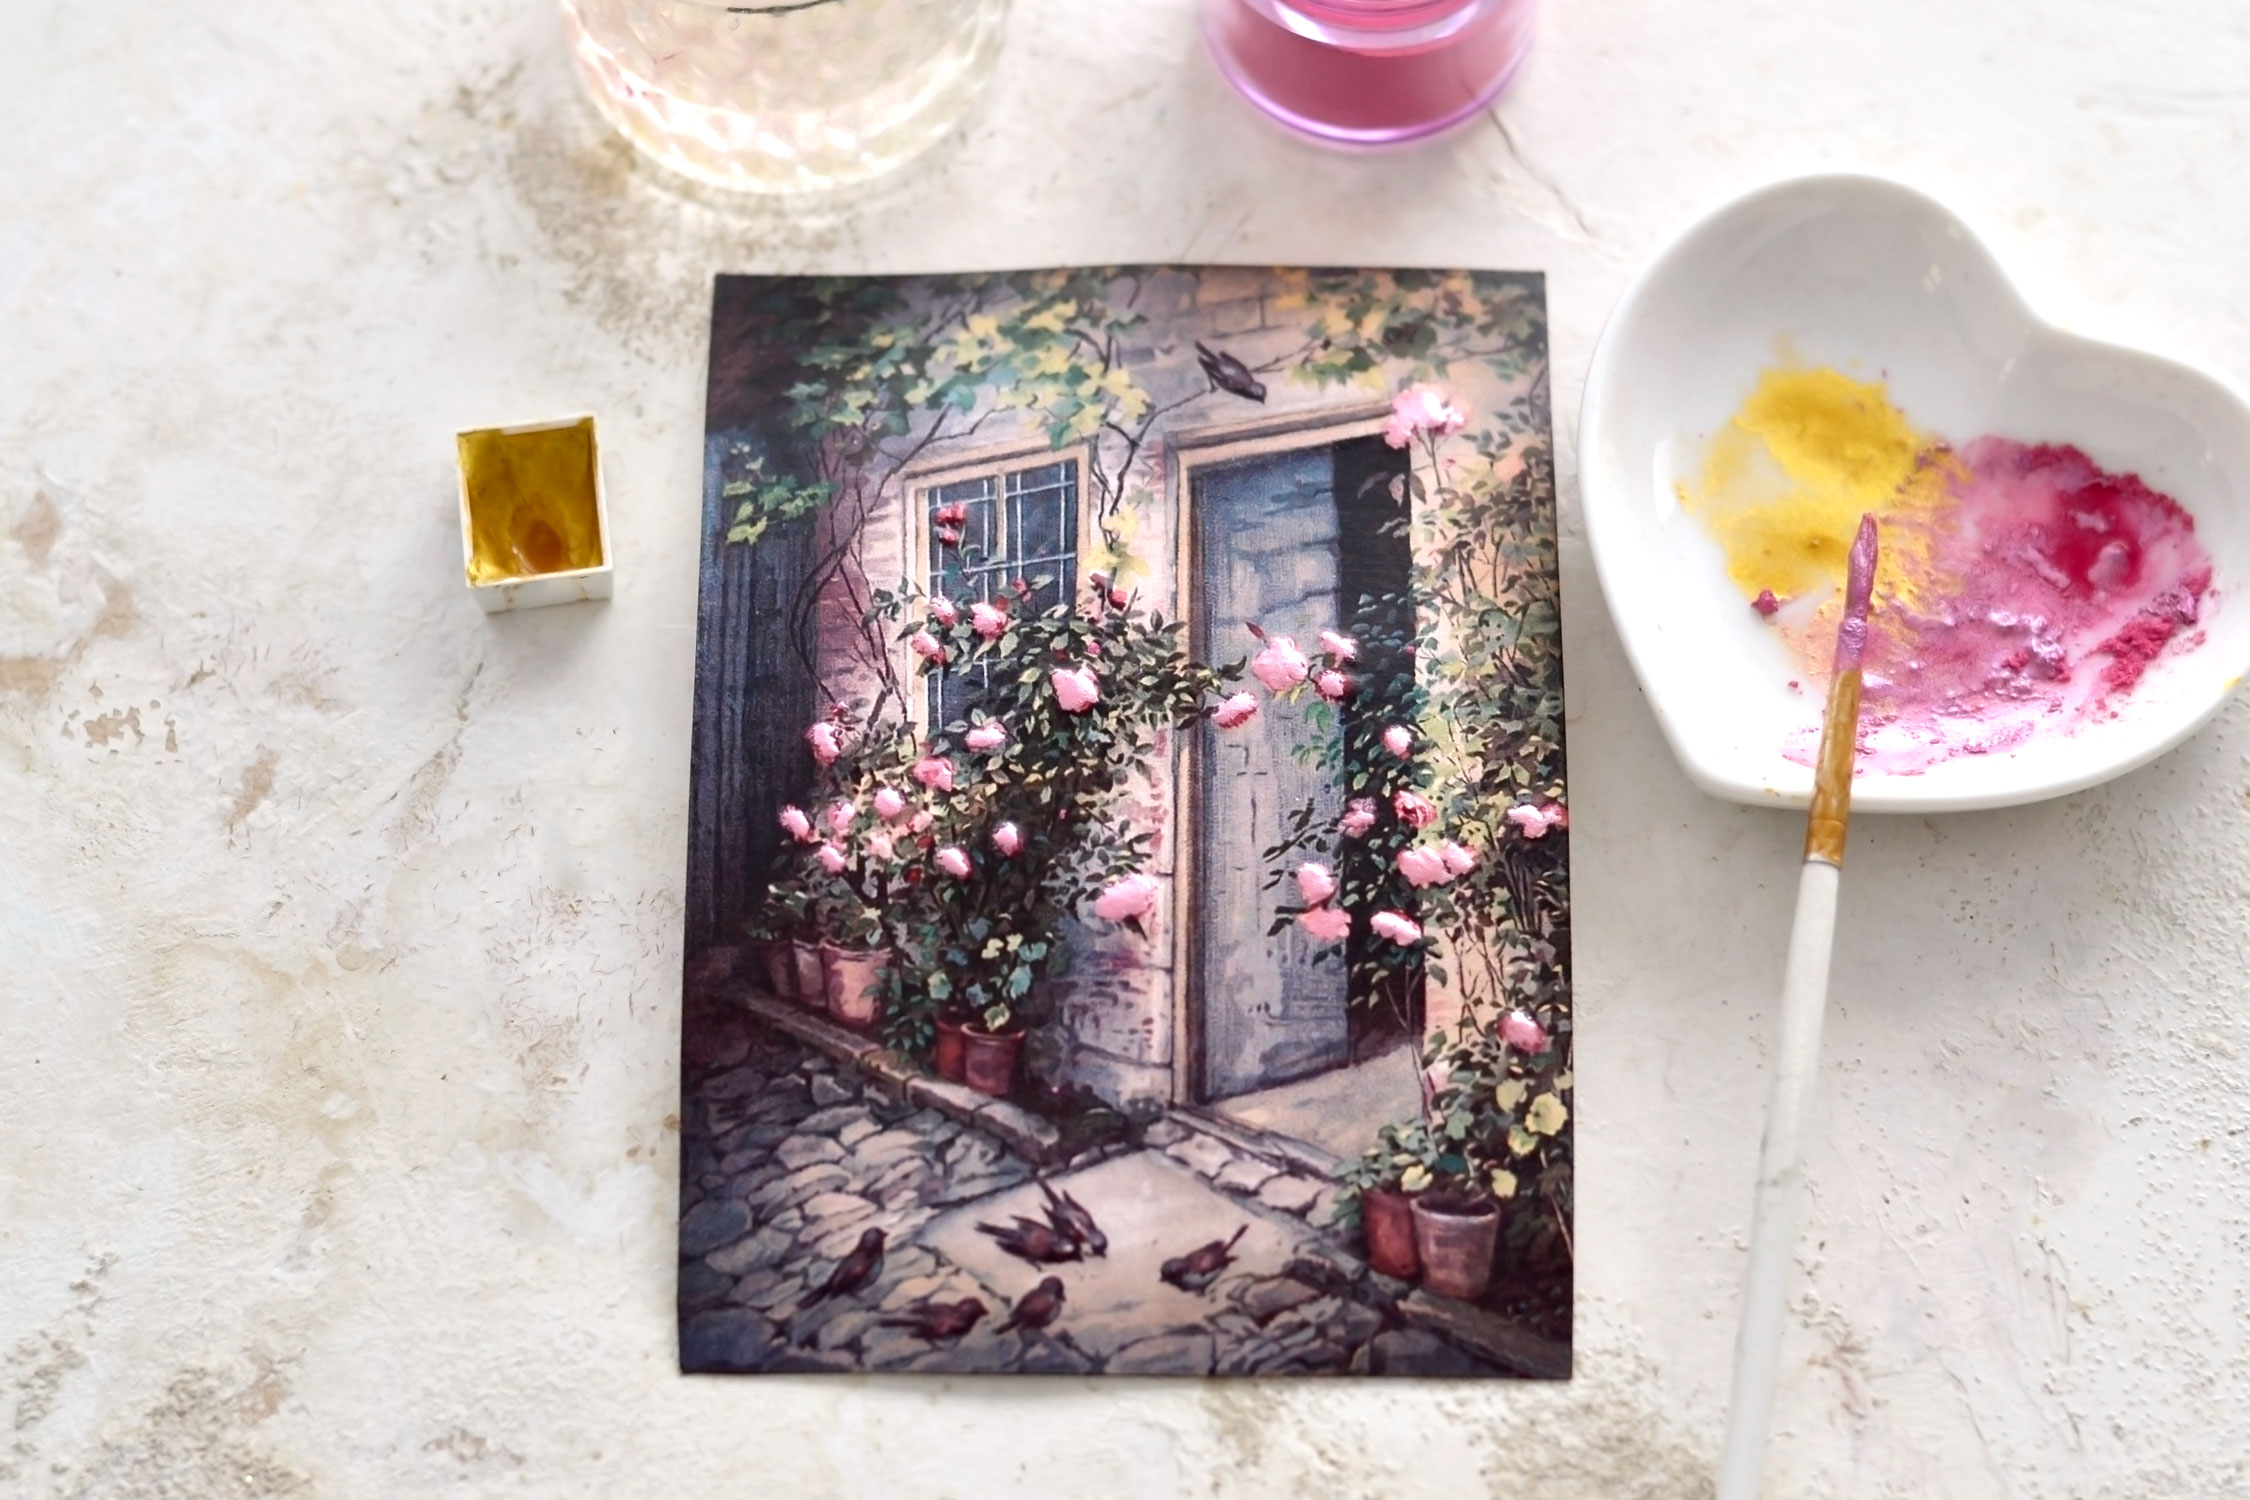
The embossed effect is quite visible and instantly brings so much life to our project!
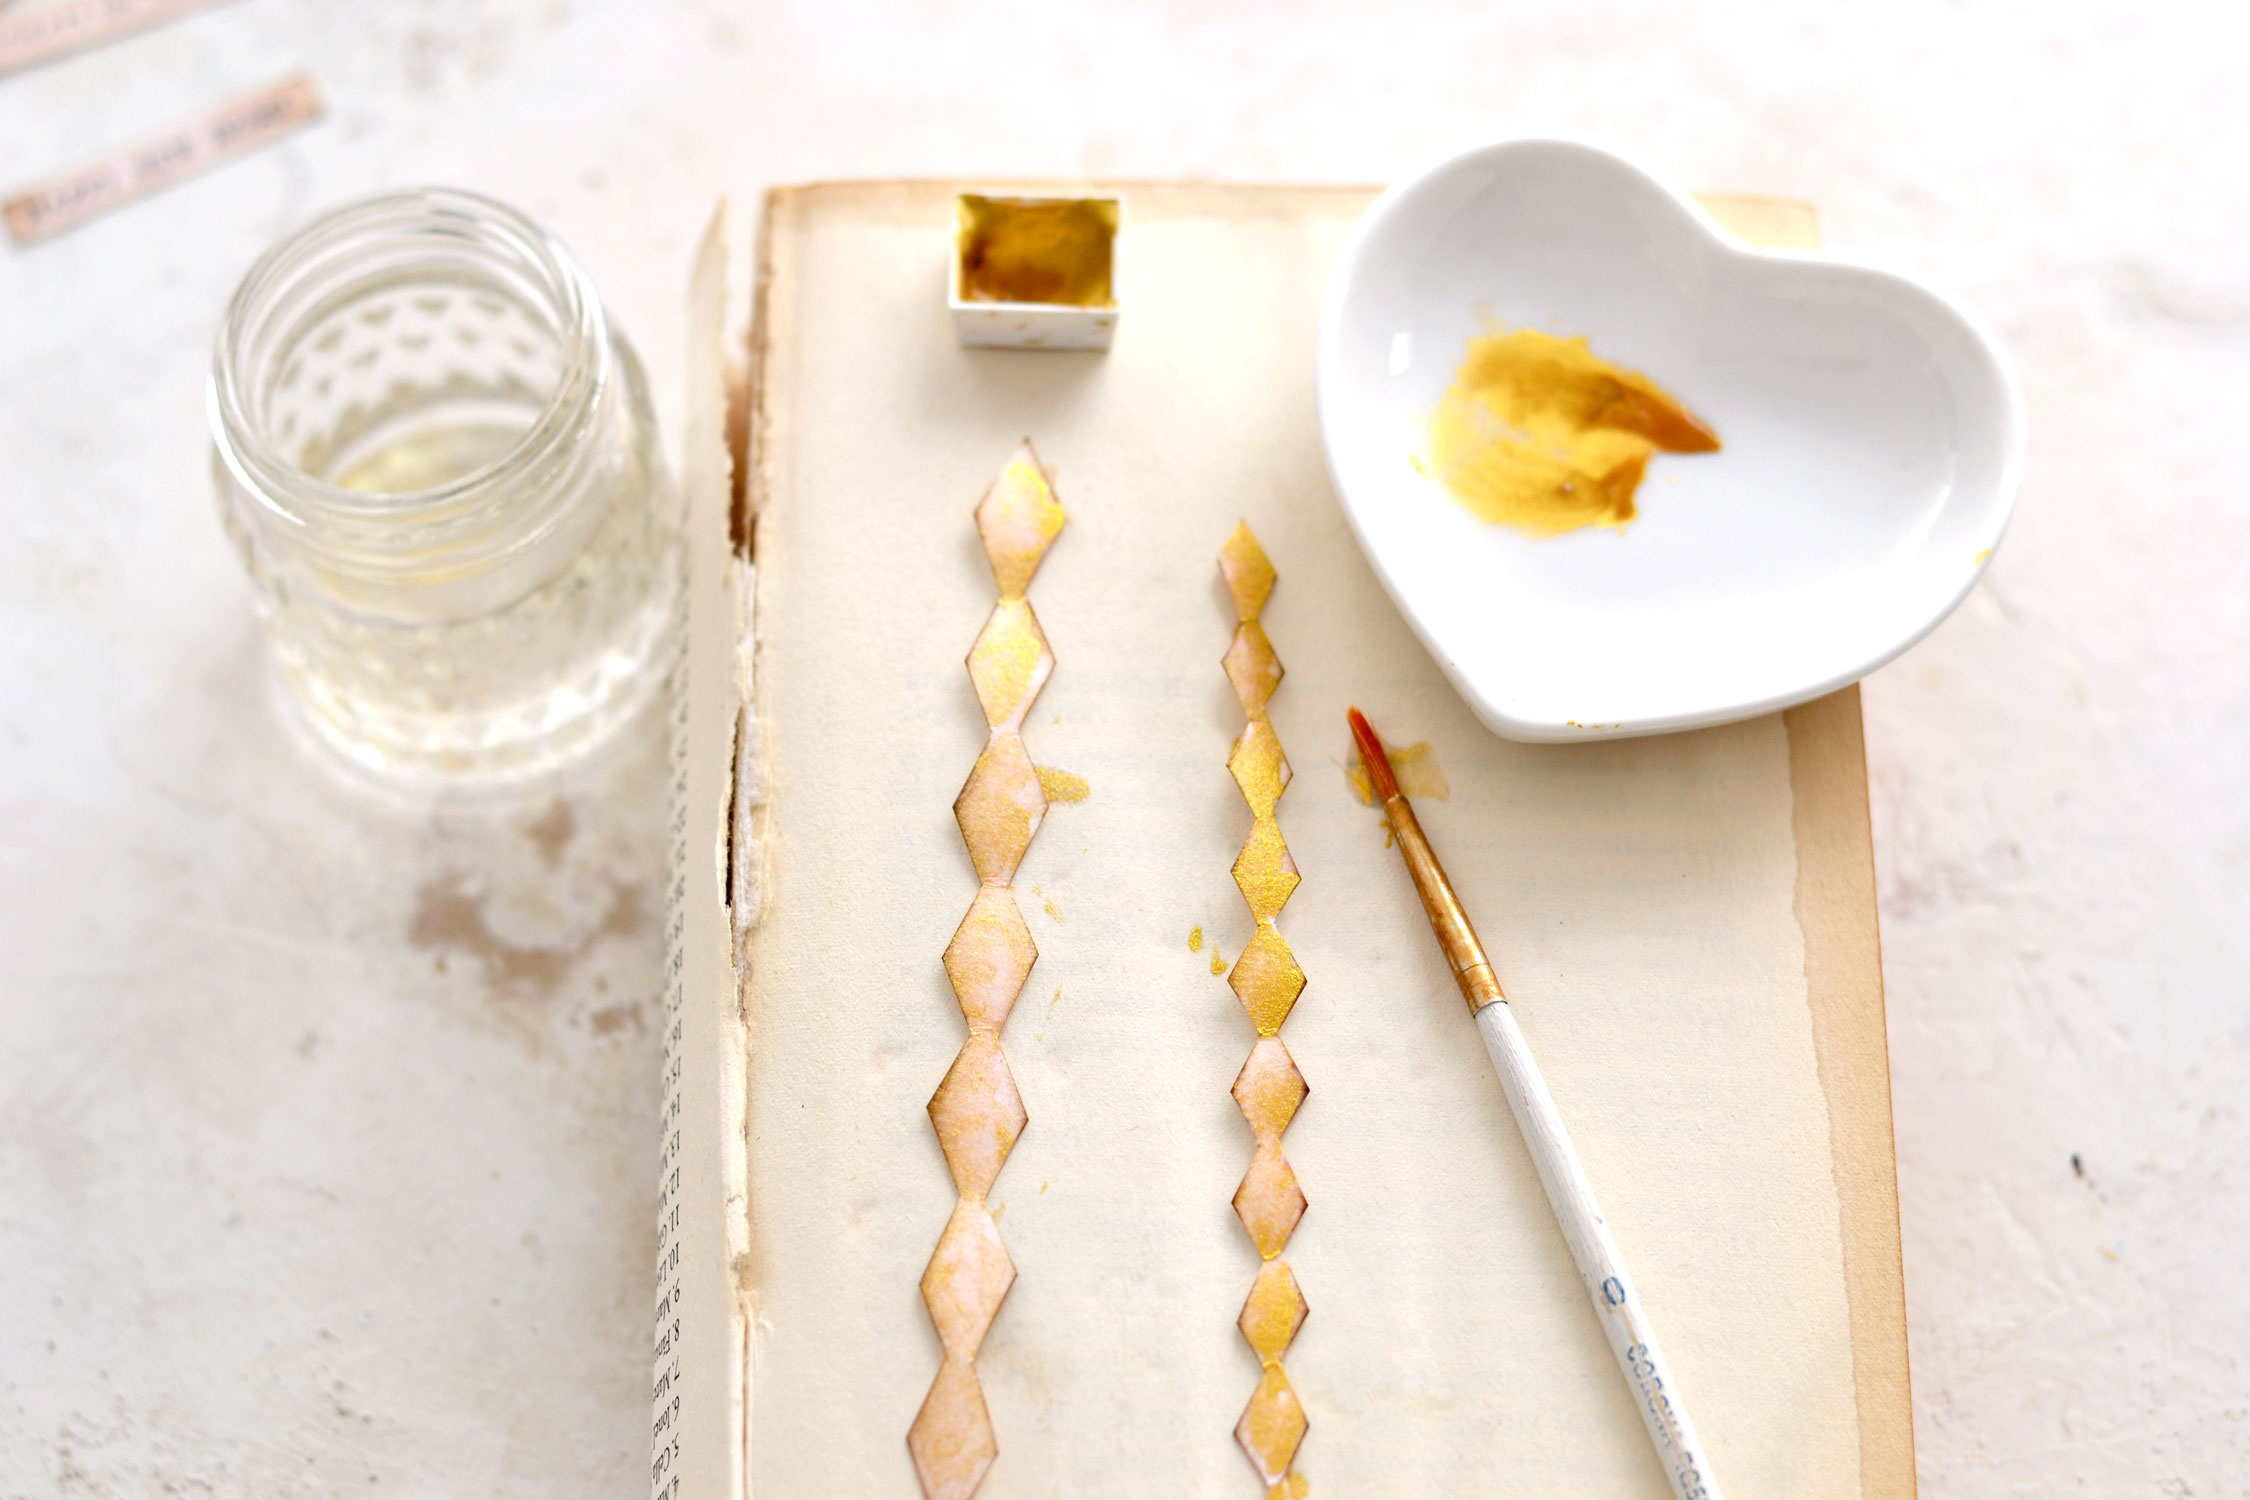
I brushed gold watercolors and water onto a small plate (that I turned into my improvised palette) and painted the two columns. I wasn’t sure which one would I use, so I just painted them both!
Then I mixed some of the gold paint that was already on my palette with some pink mica powder because I wanted to add some pearlescent touches to my roses. Use a small brush and try to keep a rough shape of the roses in mind while painting, but don’t worry too much, they don’t have to be perfect.
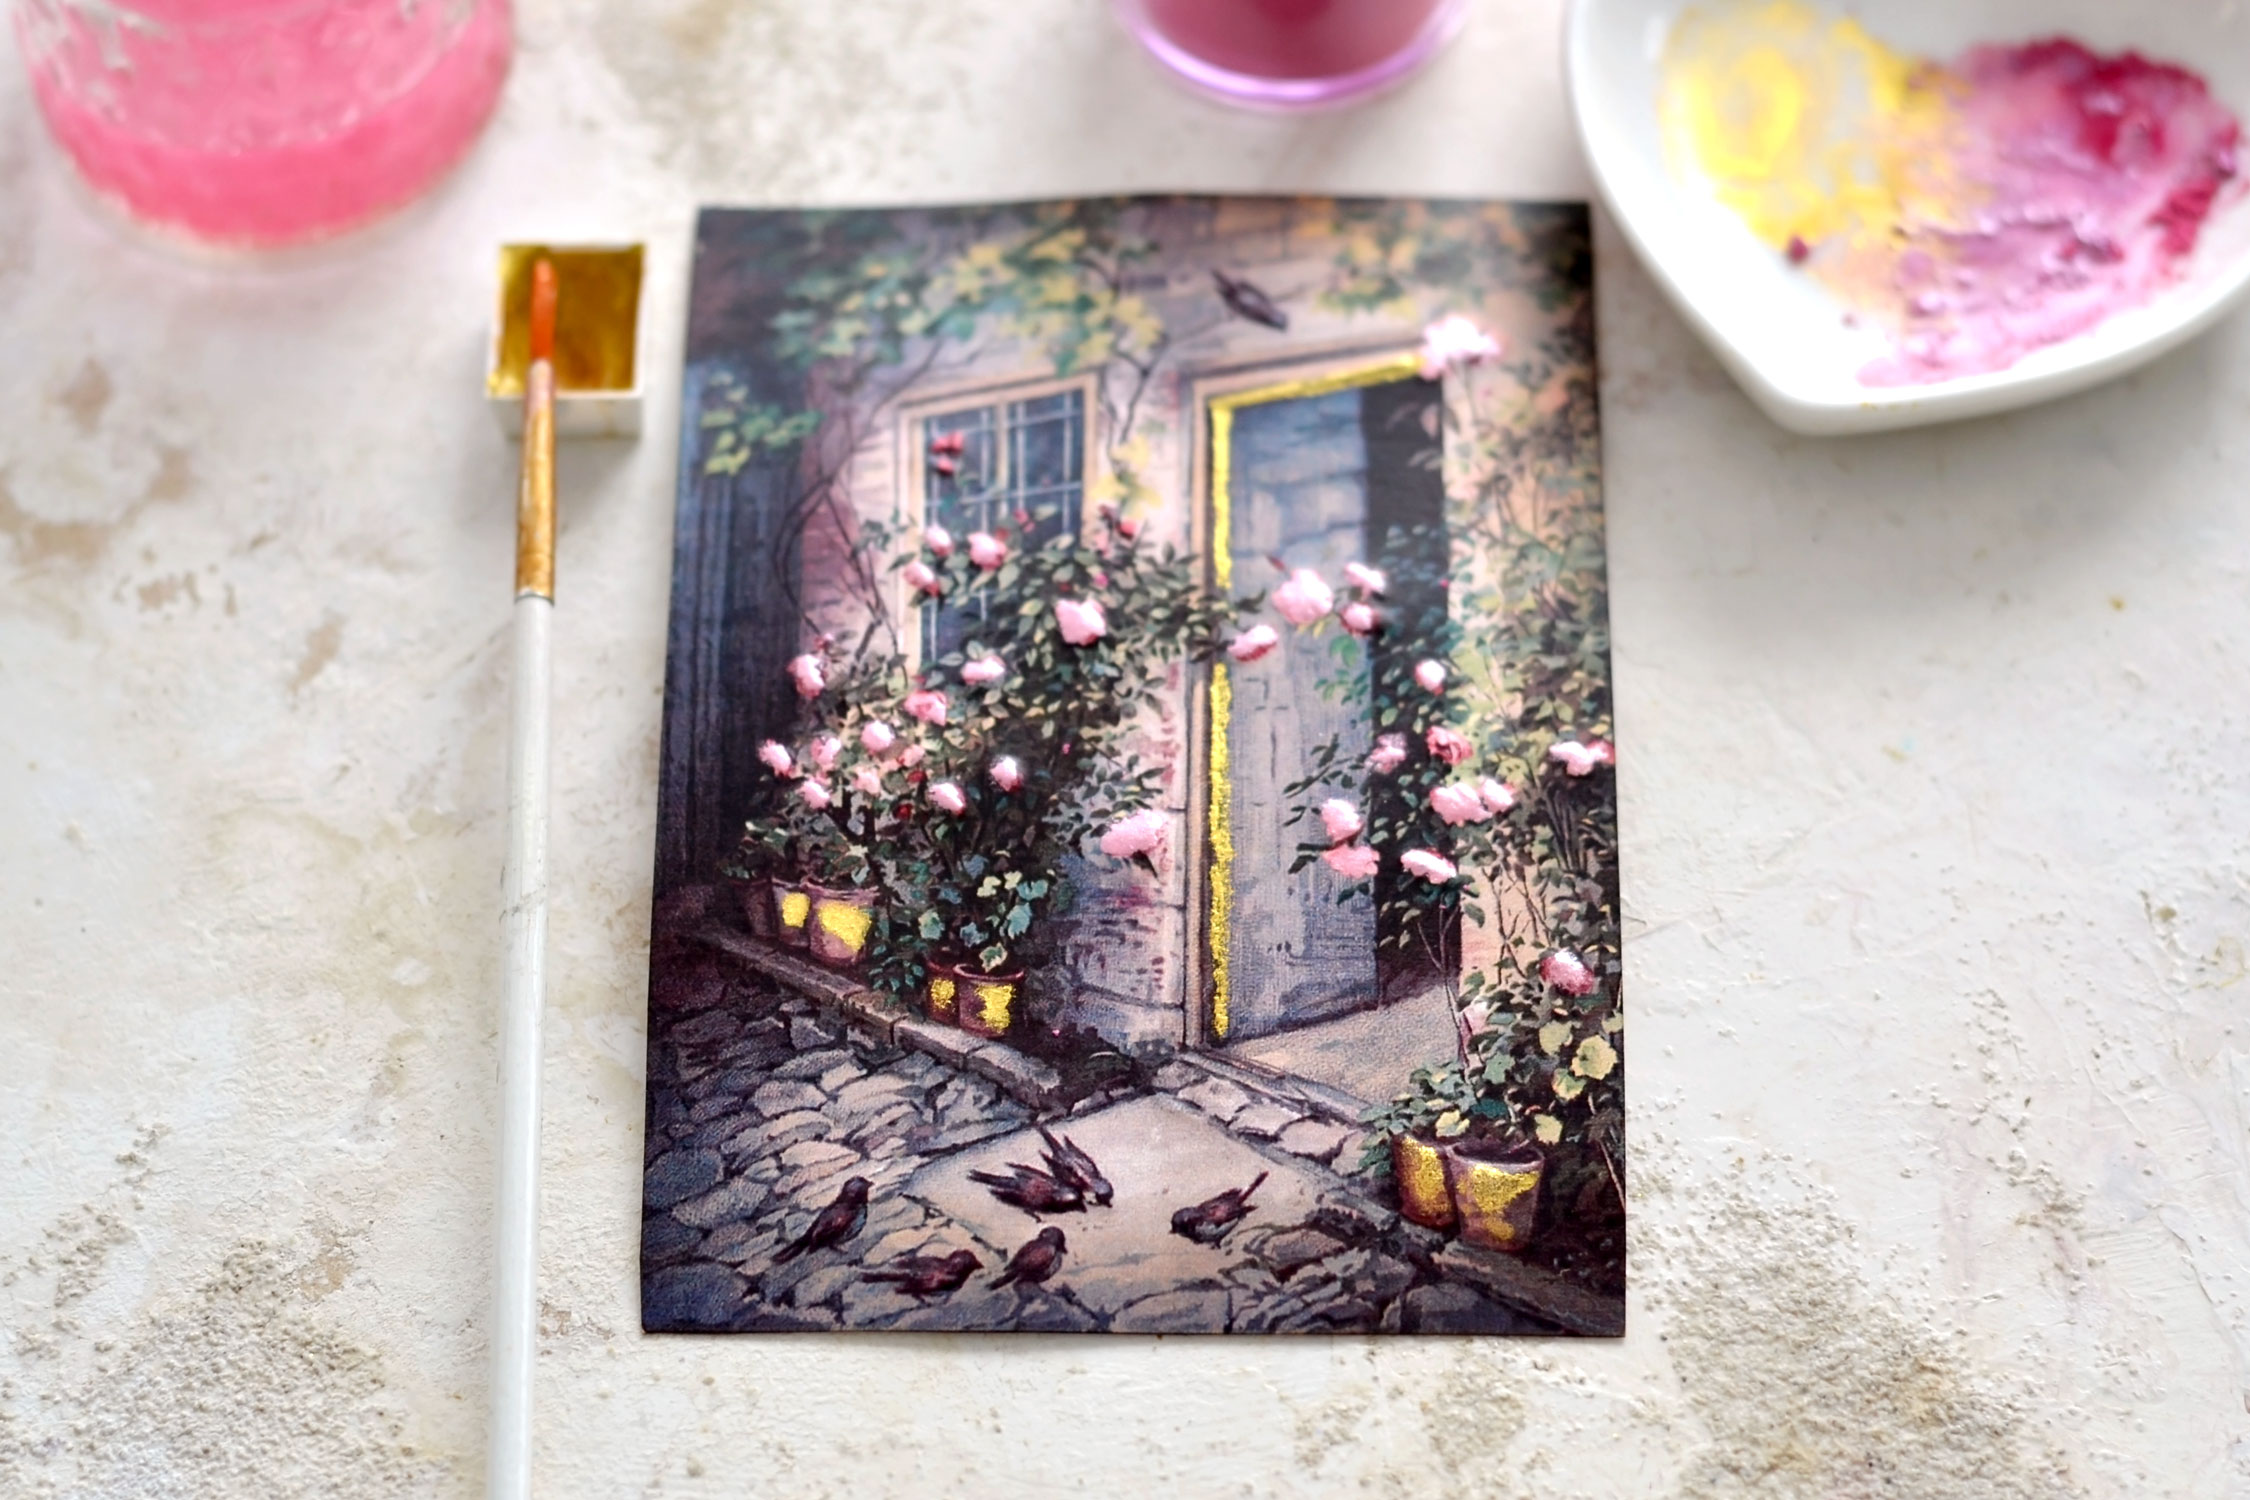
Add some golden touches here and there if you want – I first painted two gilded lines on the door to draw attention to it and a few irregular brush strokes on the terracotta pots.
You can also create a quick golden contour on this top image of our card using some more of that lovely gold paint.
A little bit more gold on the edges of your sentiments and you are almost done! Just let everything dry thoroughly before assembling the card.
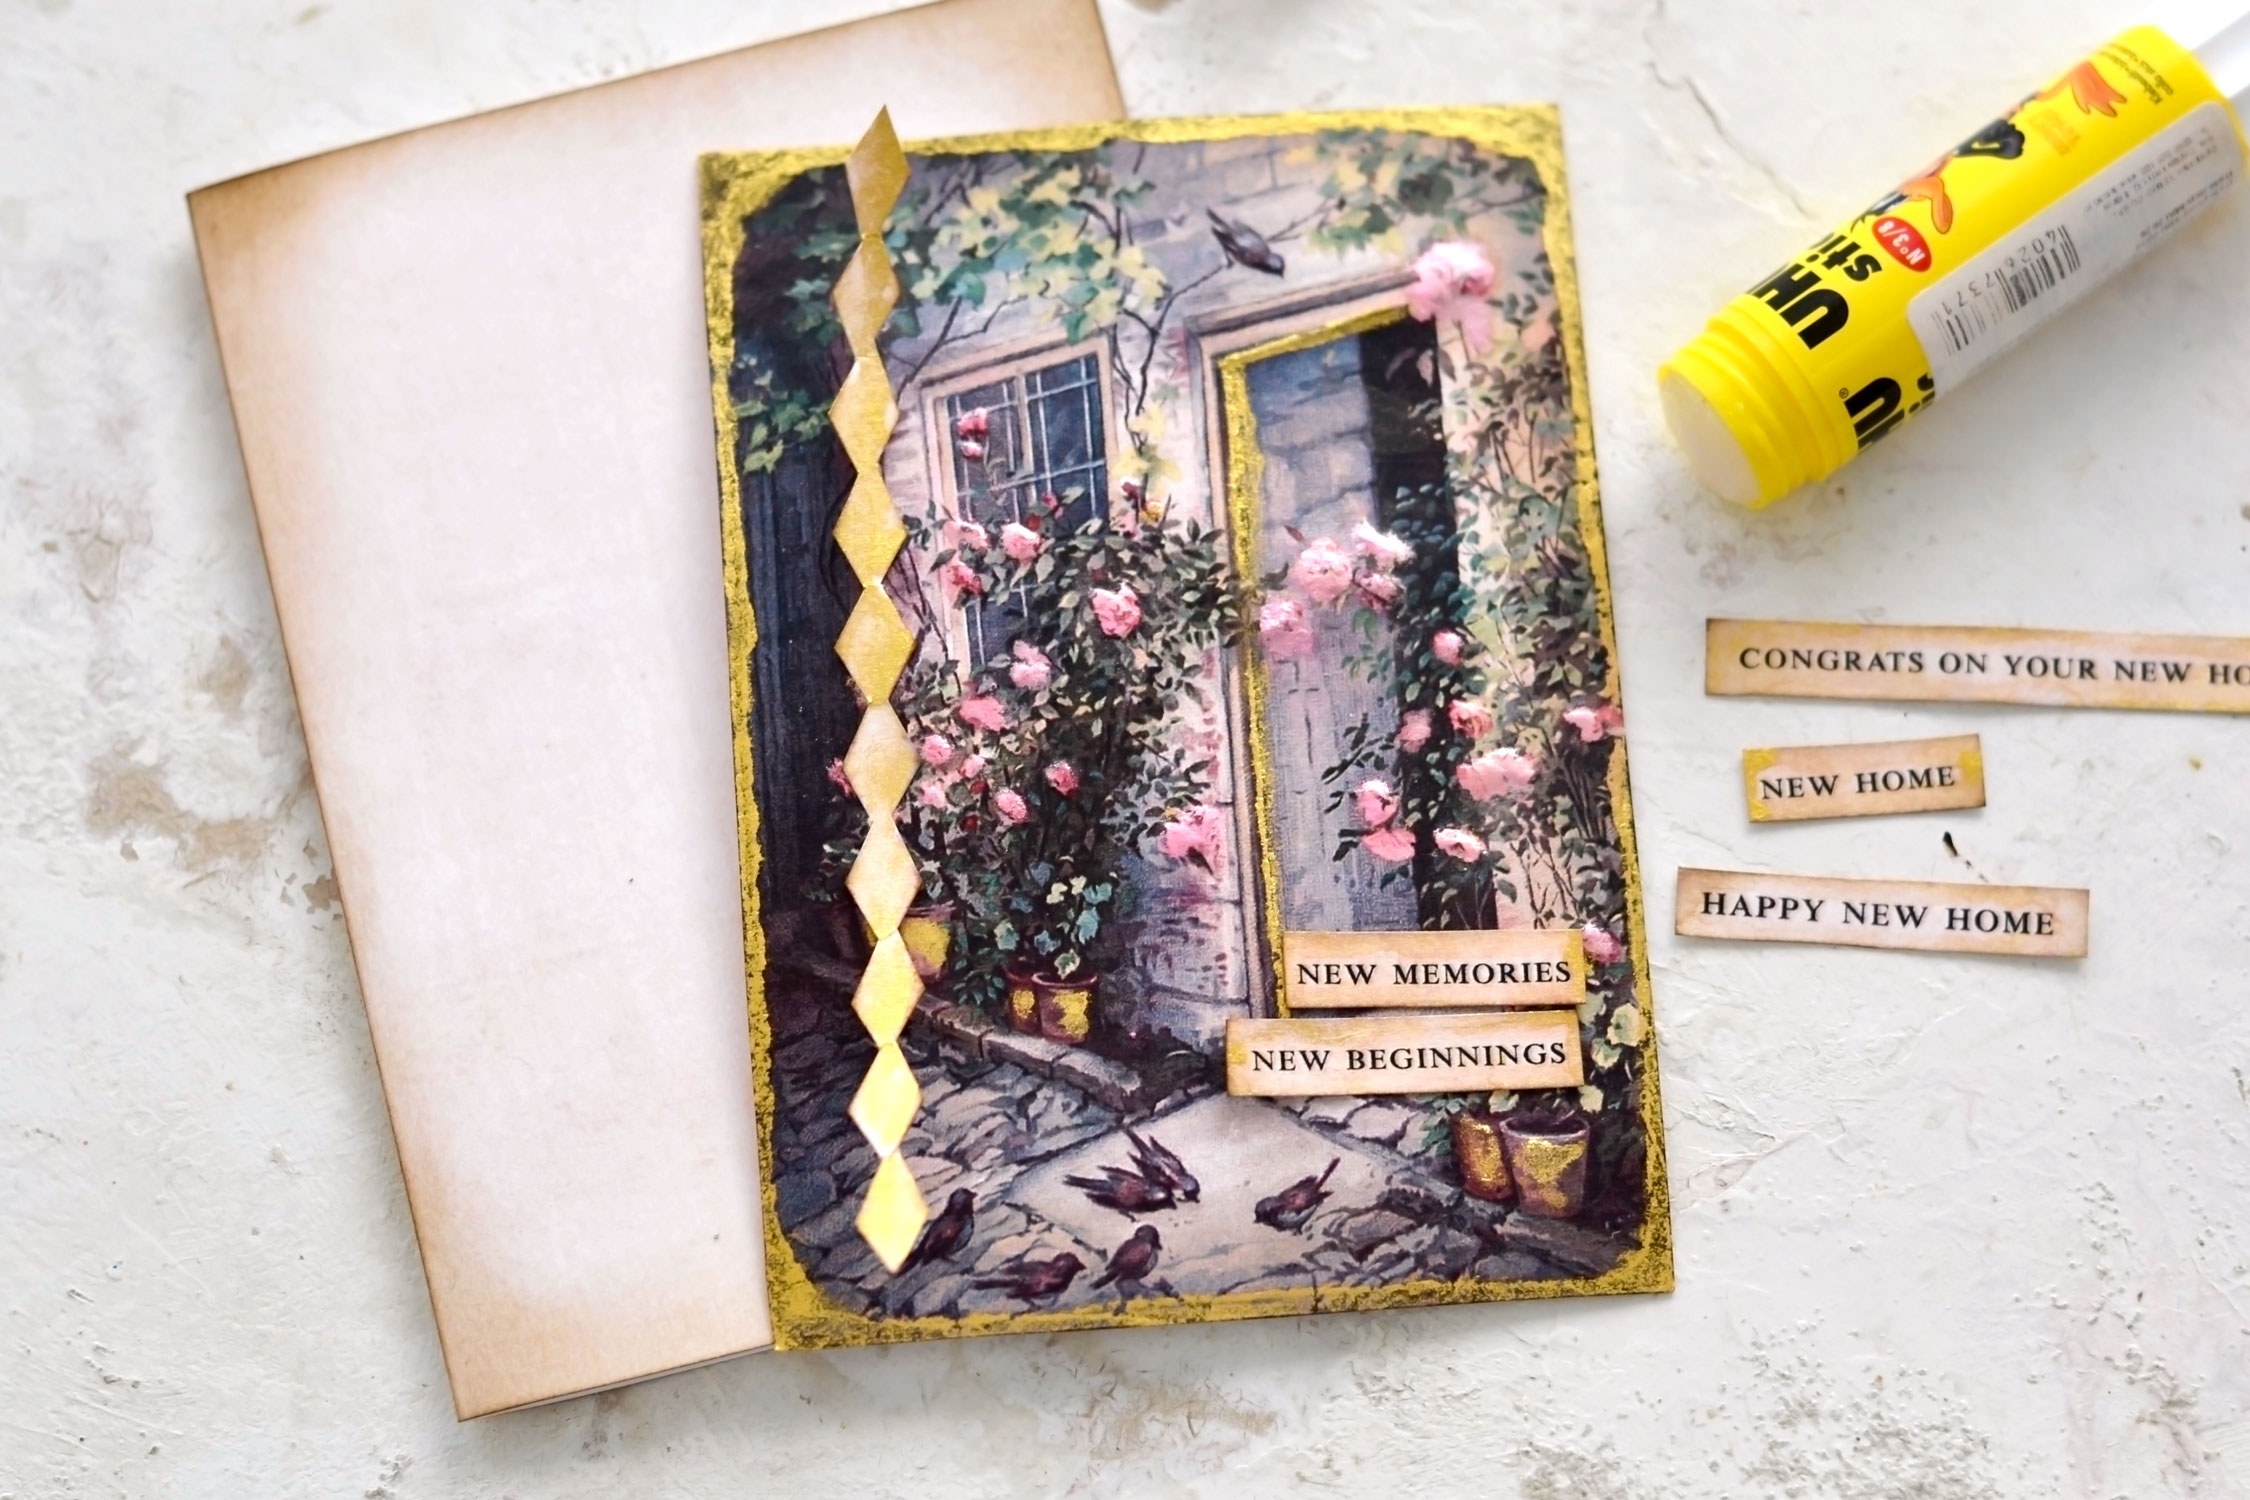
Partially place the elements on your card before gluing them, then use paper glue to hold them in position.
Your card is now ready for its new home!
I’m really loving this beautiful image, the gold and pearlescent touches are truly bringing everything to life, don’t you think? Not to mention the quickly embossed elements, who says you need special machines to emboss when you can easily do this technique without too much fuss?
I really love the New Memories / New Beginnings wishes that I selected for my card, I feel they capture really well the new house excitement! The gold framing of our door emphasizes even more the idea of a new house because it instantly draws attention to that area.
You can pair this beautiful card with one of those super chic gold key bookmarks that adds even more character to our housewarming idea. A bouquet of roses will turn this into a complete, heart-warming gift, no matter if you choose pink roses to perfectly match your card or go with pink-orange shades (like I did) to mix things up.
 I hope you enjoyed this charming Housewarming Card ideas project! You might also like this Floral Card Decorating Ideas Kit HERE and this Handmade Birthday Card for Dad Project HERE.
Happy crafting,
Diana | by Dreams Factory


Connie Griffin says
Wow that is gorgeous
Karen Watson says
I’m glad you enjoyed Diana’s beautiful project!
Daphne says
Gorgeous card and great tutorial. Thank you!
Loretta Houben says
This is just SO COOL! I love the embossing technique. Thanks!
Karen Watson says
Have fun making this lovely card Loretta!
Debbie says
This is such a simple concept but it adds so much WOW to this card and would to so many other projects as well! Thank you Diana so much for sharing this project and the free printable! You are truly a gifted creator!
Karen Watson says
I’m so glad you enjoyed Diana’s lovely card Debbie. Have fun using these techniques!