How to Put Tissue Paper in a Gift Bag
Hello Graphics Fairy friends, I’m Diana from Dreams Factory and I’m happy to be here again for another one of our creative sessions! Today we are switching things a little bit as I will share a really quick tutorial with you, I will show you how to put tissue paper in a gift bag! This is a fast and fun wrapping tip that is so easy to make it just stays with you forever.
Once you’ll get the hang of the easy steps, you will be able to quickly add a little bit of extra charm to any gifts that you will be sharing with your loved ones. And we will have the shortest supply list as we will only need two items for today’s project – a gift bag and some sheets of tissue paper … you don’t even need scissors!
Choosing the right gift bag is more of a personal preference. I usually like going with simple white or kraft paper gift bags but sometimes I just go with the prettiest design that I can find! I’m a visual person so I just pick the one that speaks the most to me or I try to find a specific one targeting the giftee’s preferences. It would be best to keep the nature of your gift in mind, this way you’ll be able to choose a specific theme and basically turn the whole gift into a concept.
So for example if you are maybe planning on gifting a few DIY No Sew Lavender Sachets to your bestie who absolutely loves Lavender, try to also include a few dried Lavender sprigs, a Lavender inspired gift tag, why not a Lavender essential oil and of course, a lavender gift bag! This will only show you put some extra care into your special gift and trust me, these small details will make all the difference! Your gift will be so much more appreciated!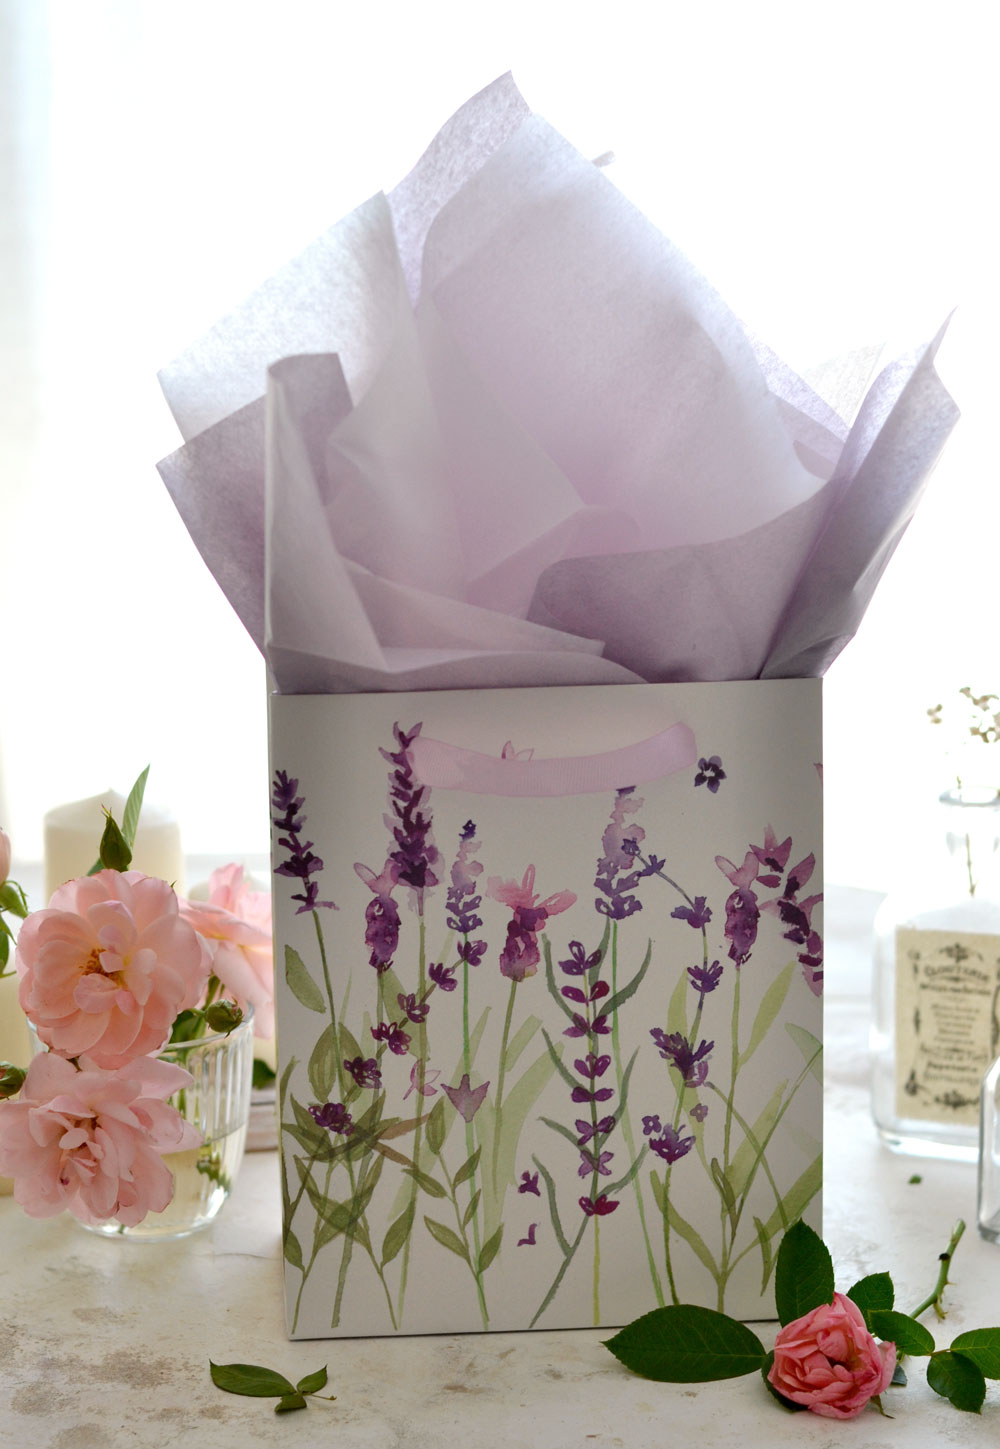
As for the tissue paper, you can use white, which is the most common one or you can choose any other colors. Try keeping this whole conceptual idea in mind again, it would be best to go with colors that would complement your gift bag’s color or your gift bag’s design. For example, you can choose white tissue paper for a white gift bag, but you can also choose a pink one for a gift bag with pink roses. Or a purple tissue paper for a gift bag with lavender flowers. Even metallic tissue paper for a gift bag with metallic touches. You can also mix two (even more) tissue papers that have a different color, just go with a color palette that is complementing your gift bag design. You can keep the favorite colors of the recipient in mind when making your selections. 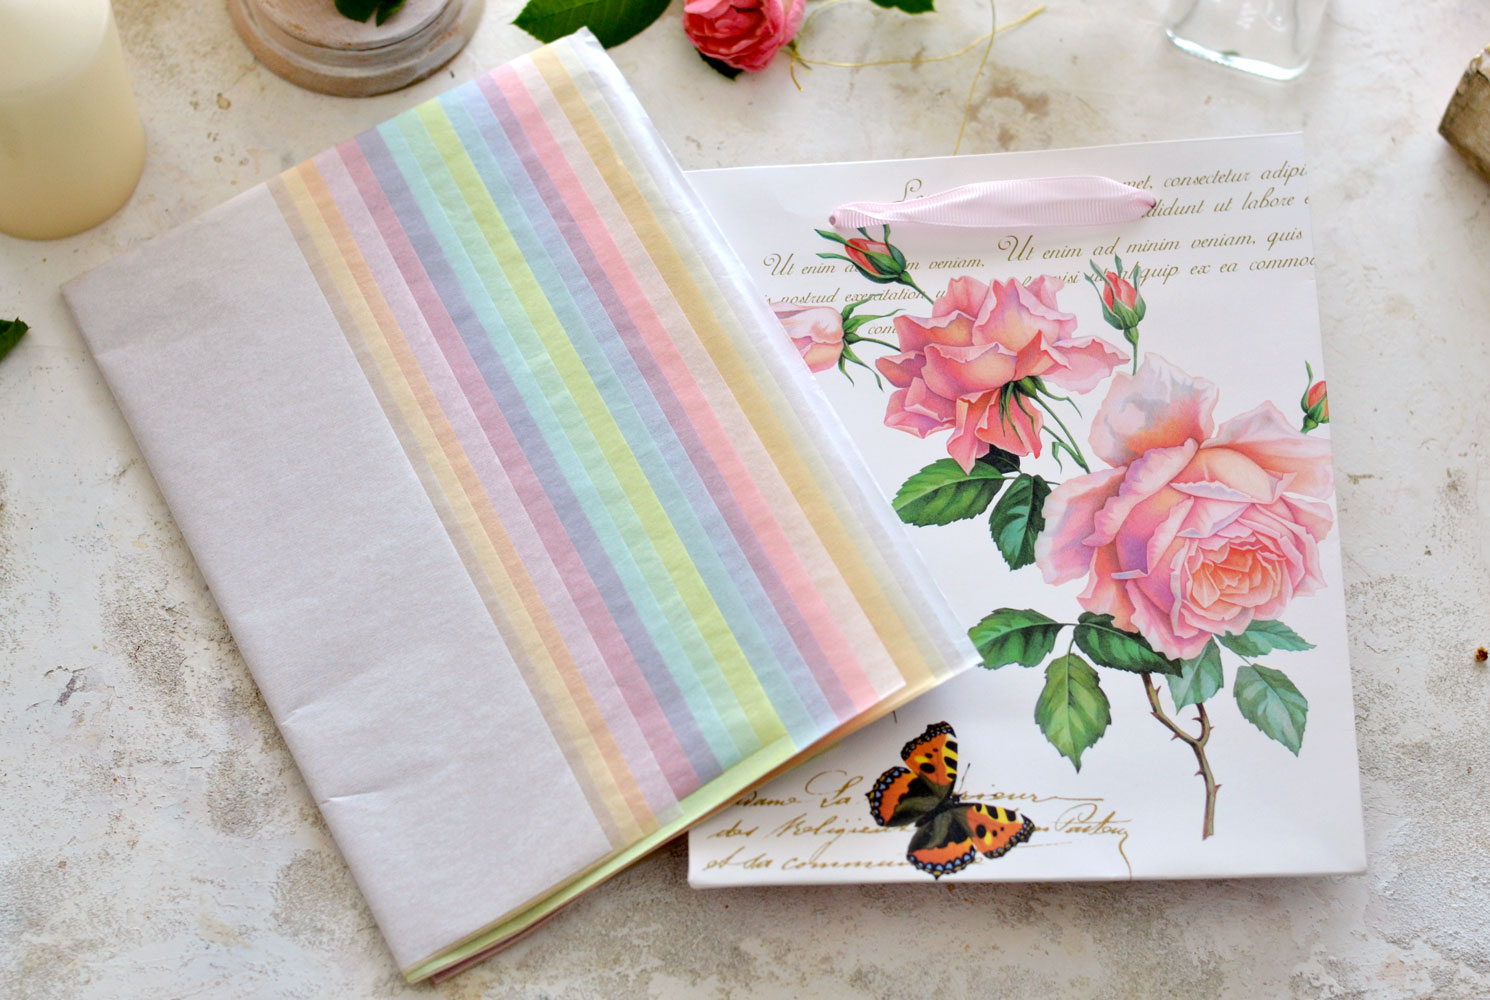
SUPPLIES
- gift bag – choose your favorite
- tissue paper – white, colored, metallic
How to put tissue in a gift bag step by step instructions
1. Place one or two pieces of tissue paper flat on your table or flat surface. Choose one color or go with two (or more) different colors.
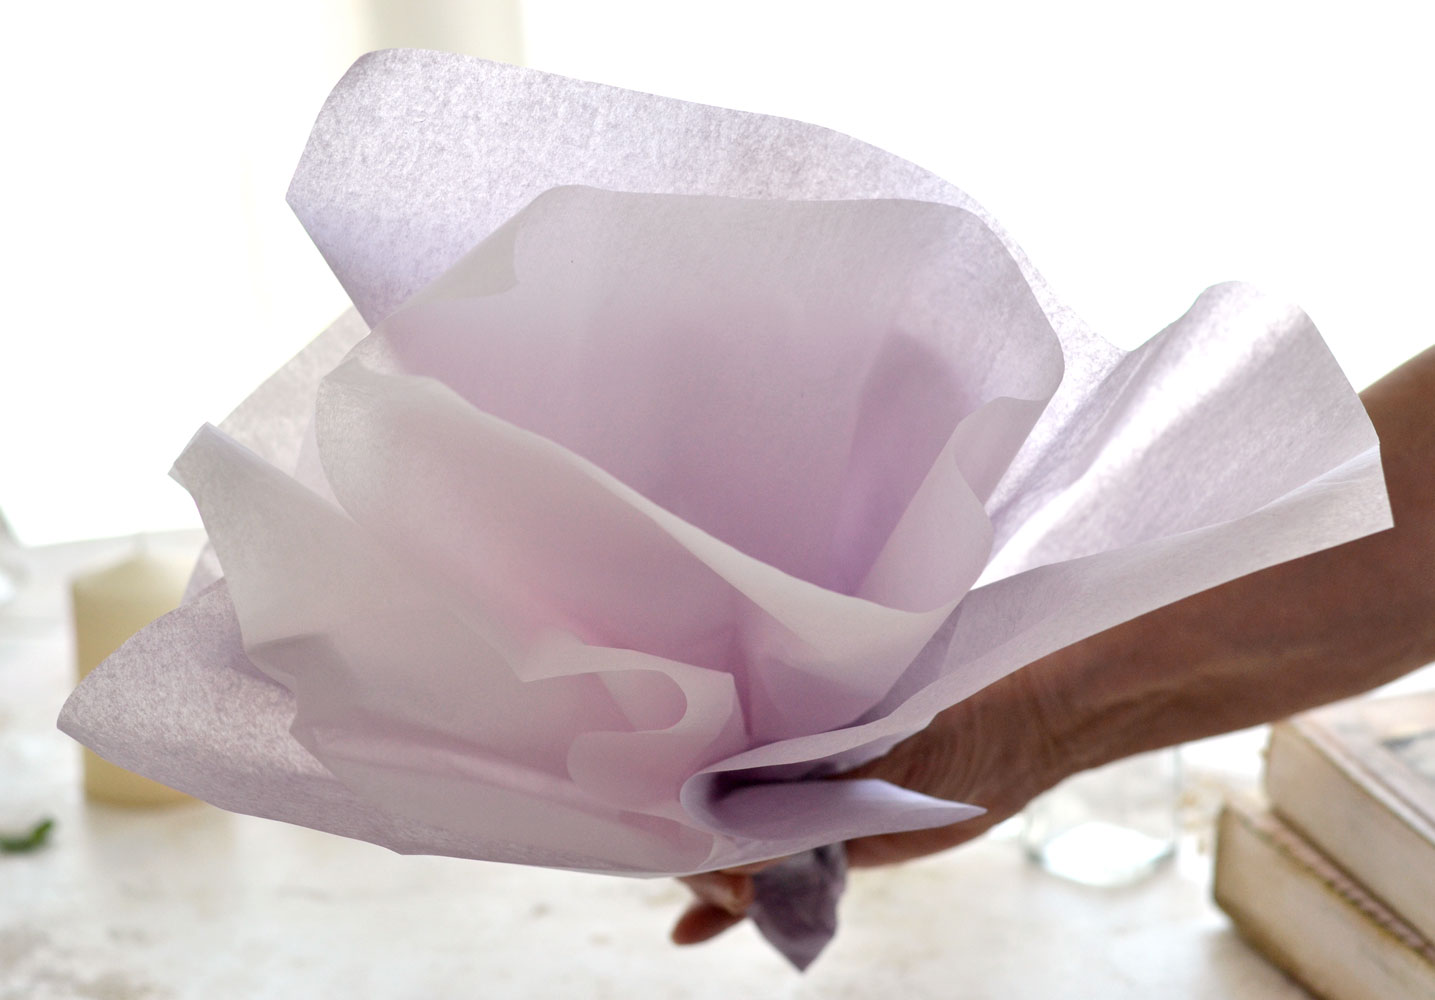
2. Pinch the center of the paper and lift it at the same time.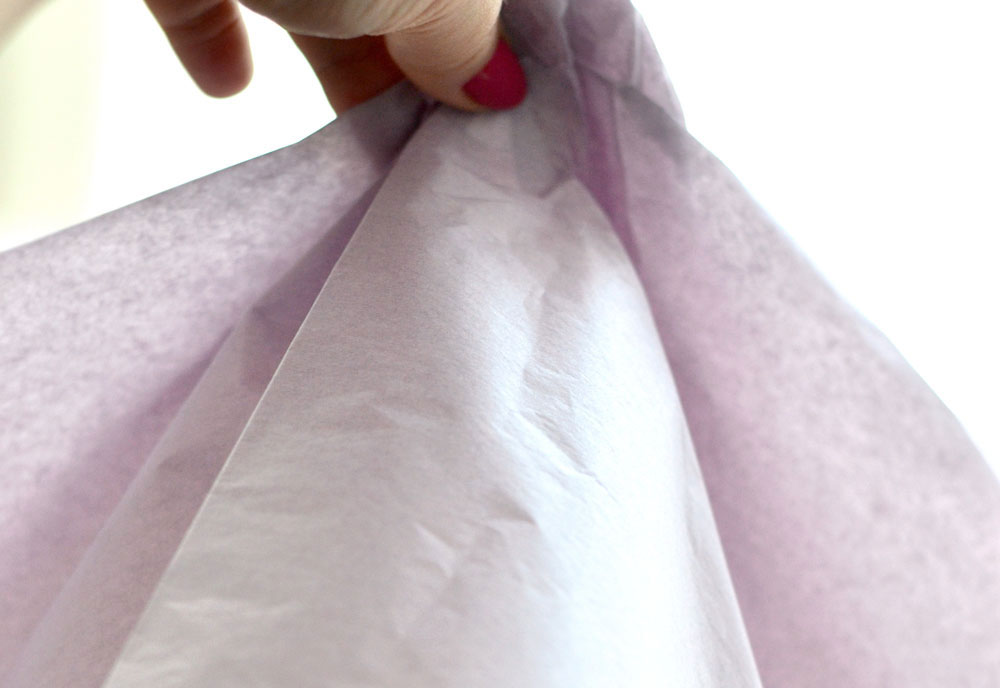 3. Flip it over and hold it in your hand like a flower bouquet between your thumb and forefinger. My mom was visiting that day so she hold this one for me while I was photographing it – thanks, mom!
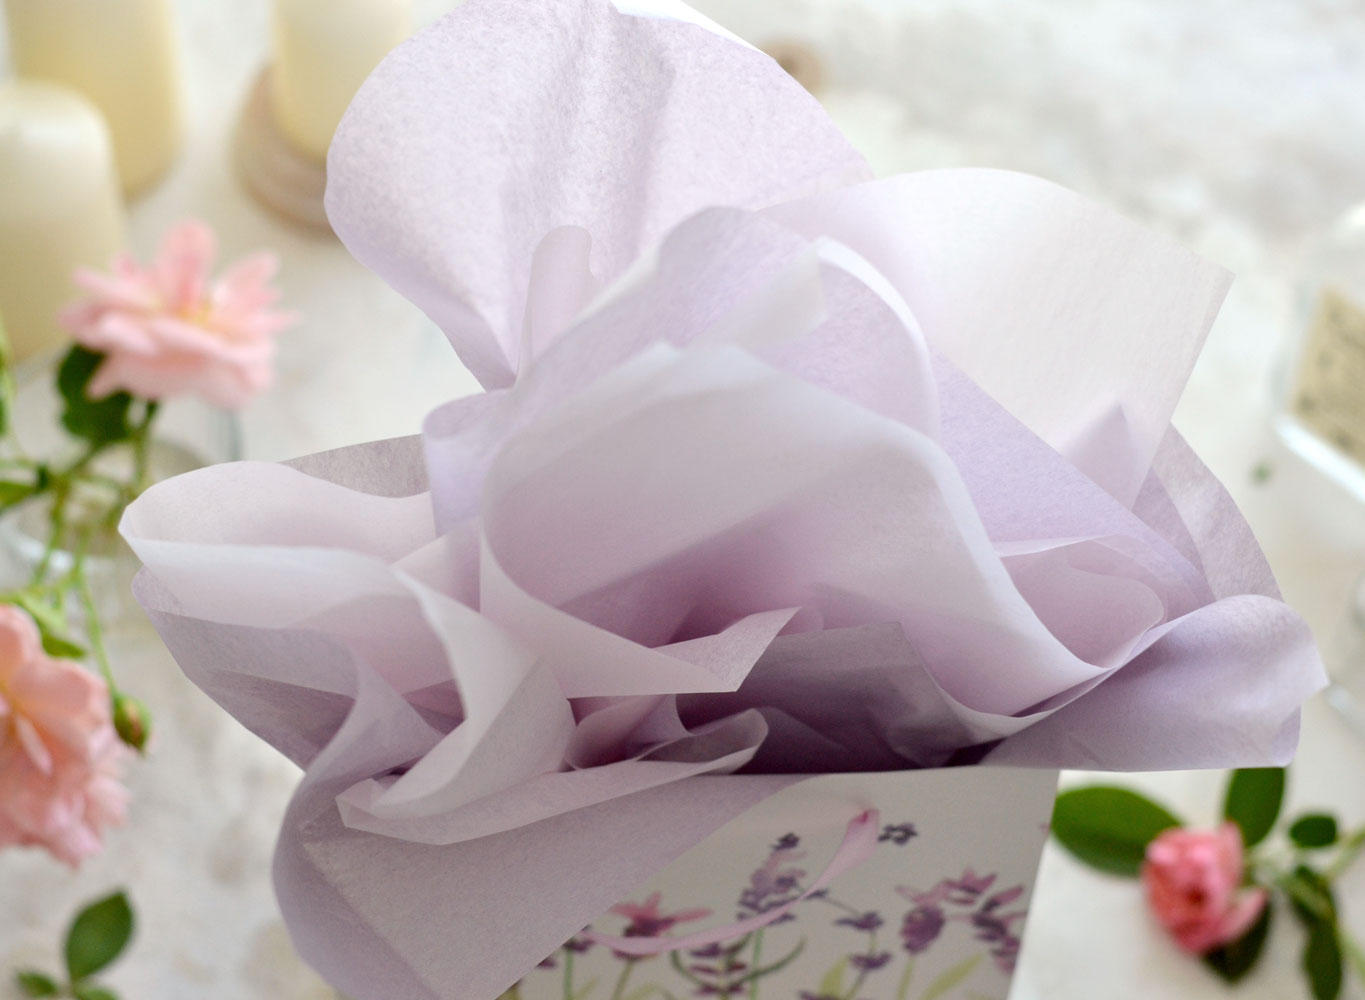
4. Carefully insert the pointed end of the tissue paper ‘bouquet’ into the gift bag and fluff it up on top to further beautify it. Depending on your gift bag’s size and the gift that you’ve already placed inside at the bottom of the bag, you will have a smaller or larger amount of tissue paper showing on the top – I’m going for a ‘reveal more on top’ look for mine.
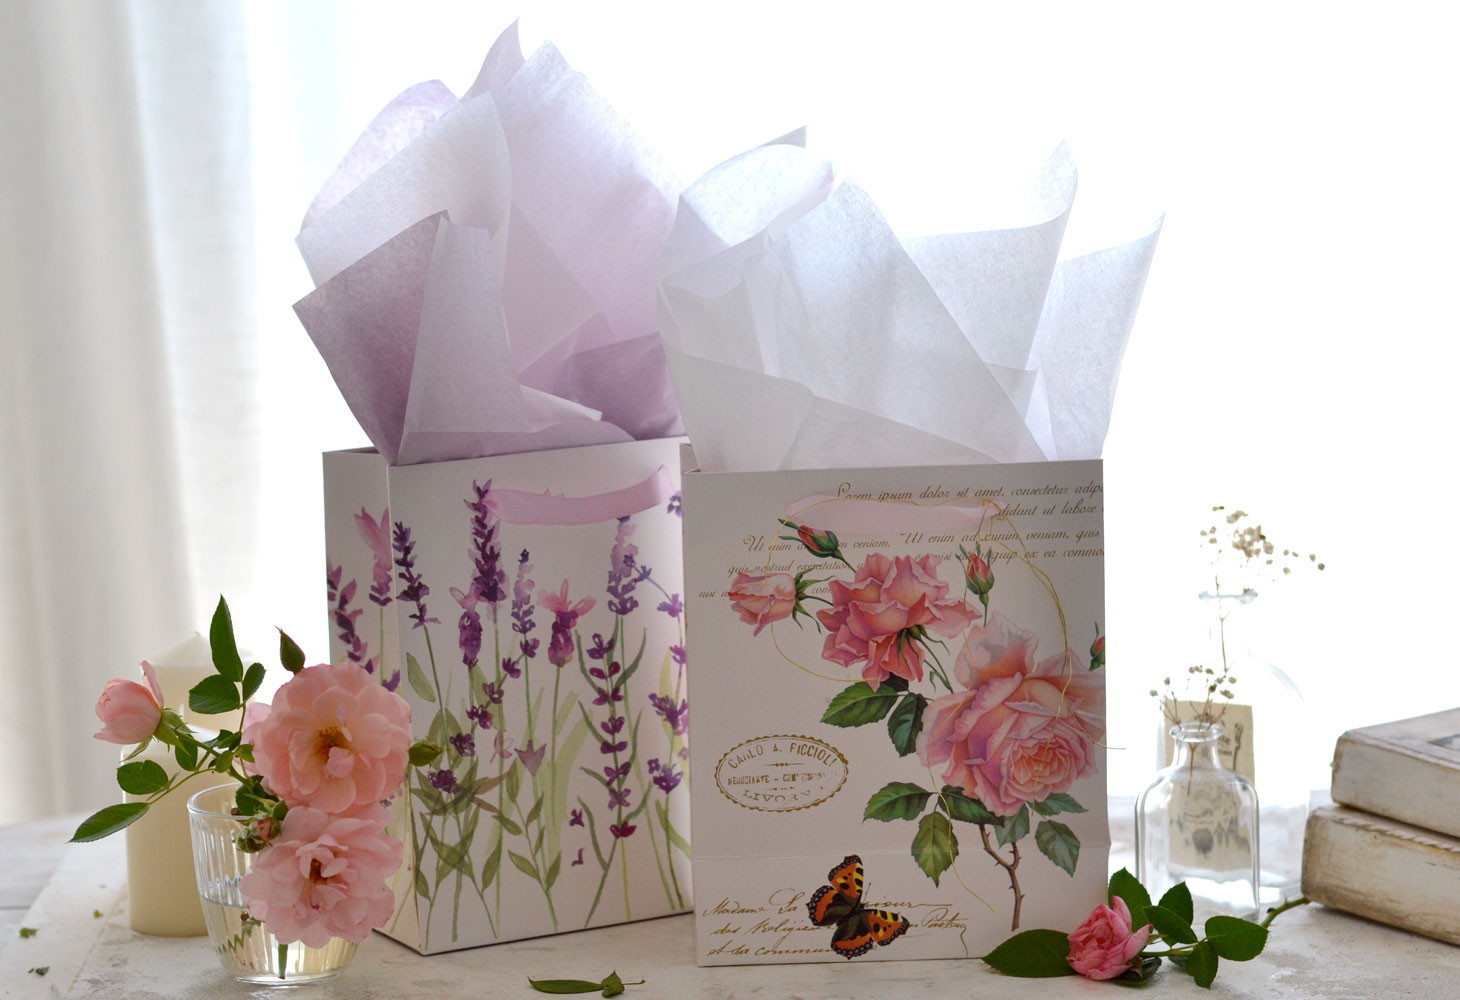
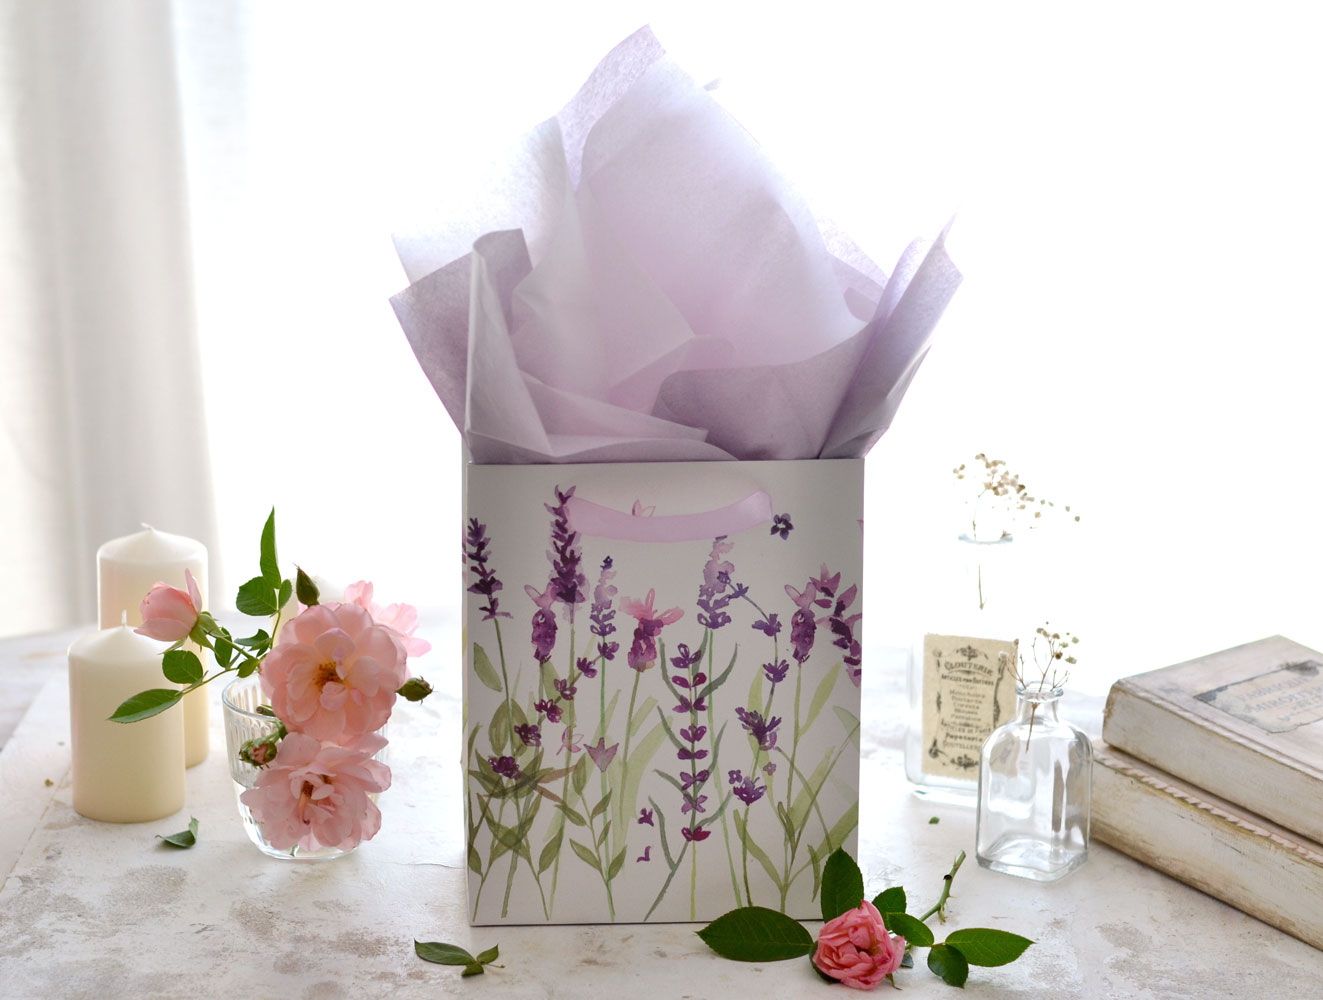
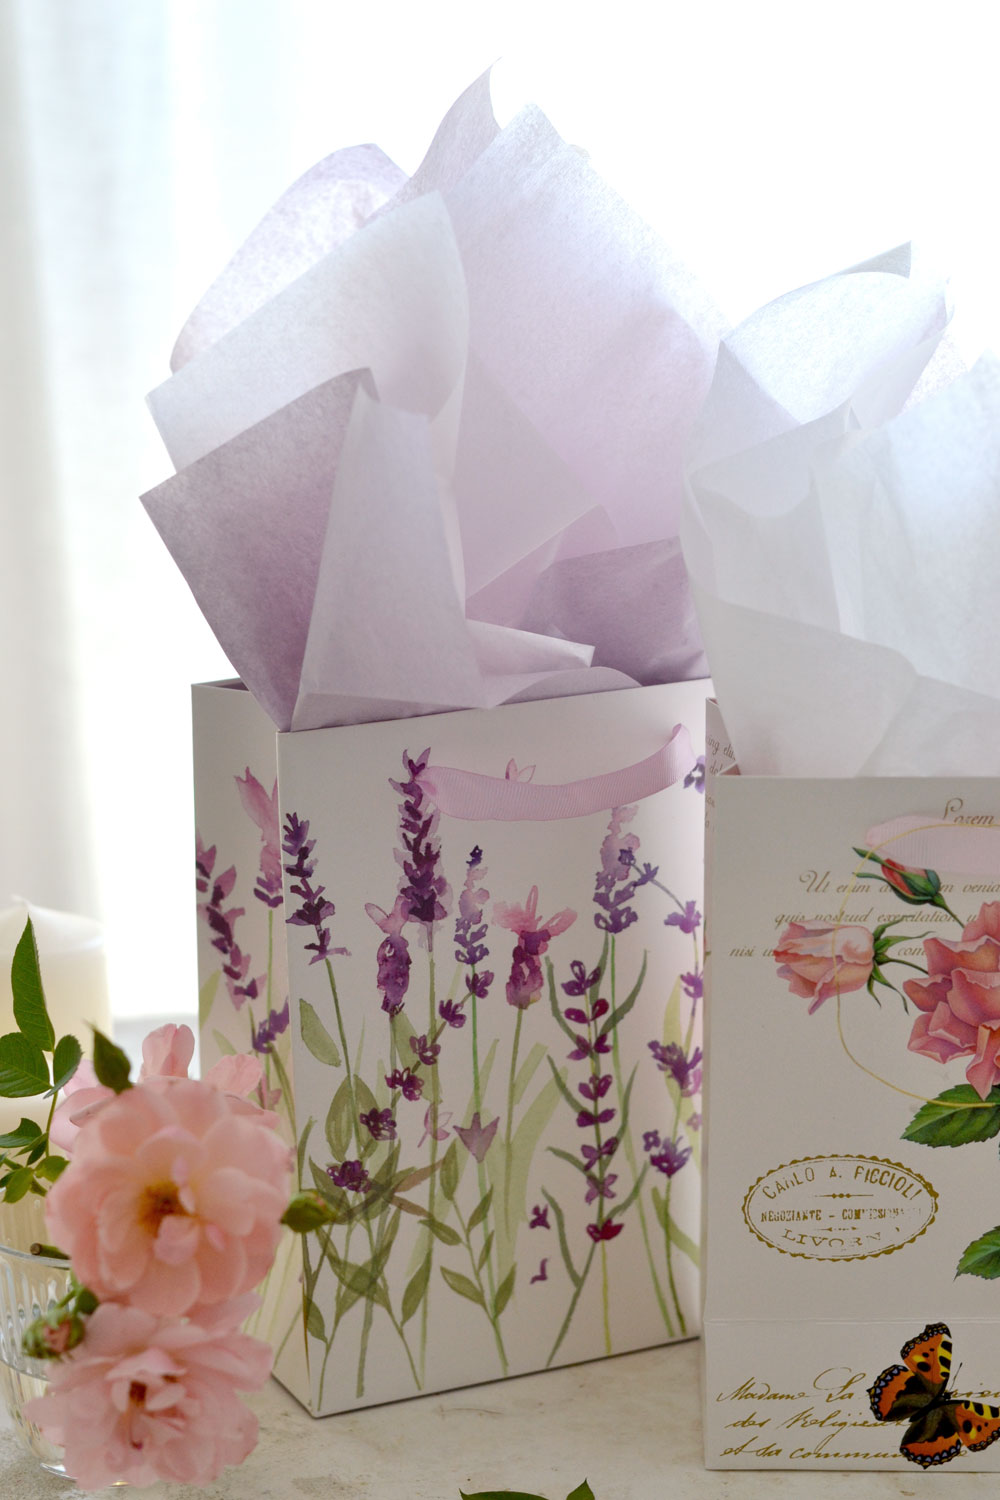
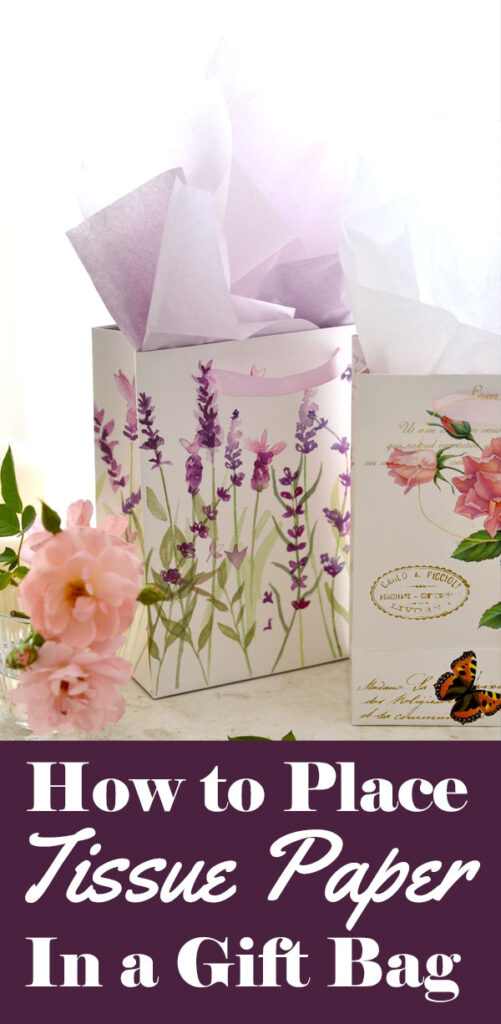
I went with a mix of purple and white tissue paper for my lavender gift bag.
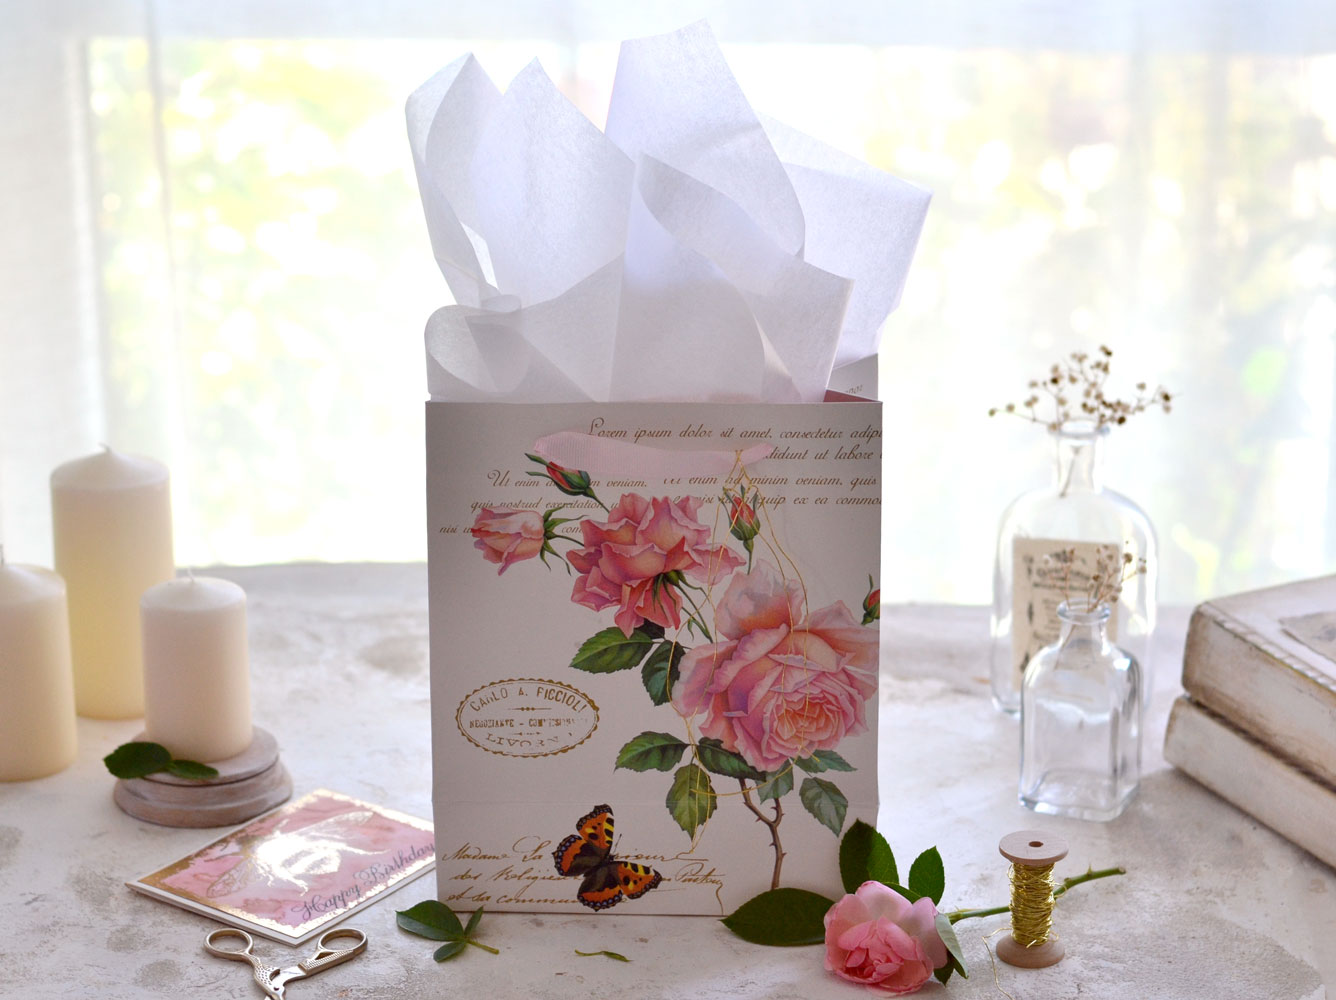
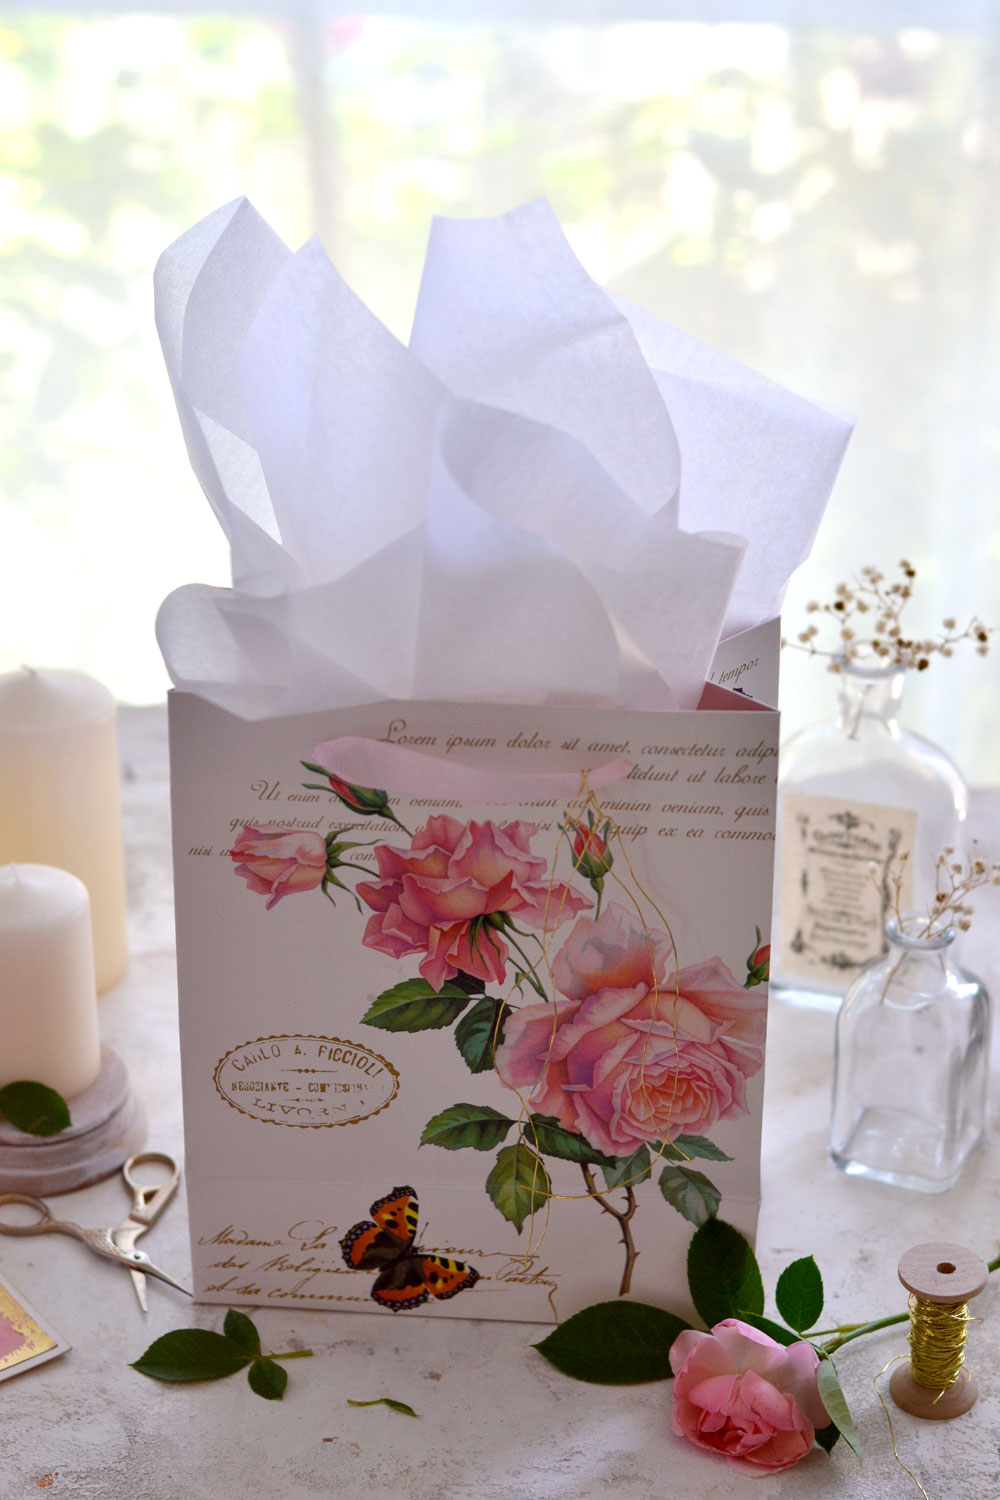
And white tissue paper for my rose gift bag. I really loved them both, such a quick and easy way to add that WOW factor to your gifts, don’t you think?
You can also include a Birthday Bee Card decorated with gold foil, bees work amazingly with any type of flowers. I painted the birthday cards pink using my DIY Spray Inks so we are keeping the whole garden concept cohesive here, but also our color scheme. I could have also used pink tissue paper or a pastel green.
I know that finding the right gift bag at the right time can be challenging sometimes, I’m sure you will agree with me on this one. When picking out a bag for your friends or family members Birthdays, Weddings, Anniversary or Christmas you want something special. I was fortunate enough to find these gorgeous rose and lavender bags in a gift shop near me – they are produced by a British company called Lesser & Pavey. I instantly fell in love with them and I knew they would make the perfect universal gift bags to have around! Yes, I would definitely classify flowers as universal when it comes to gifts in general, they are usually loved by everyone!
But what if your gift is much more specific and you cannot find the right gift bag for it? Don’t worry, you can always put your creative hat on and just decorate the bag yourself! Here are a few things that you can try:
- draw what you want – there are tons of tutorials these days just waiting to be discovered
- paint what you want – you can use watercolors, gouaches, acrylic paint or even coffee, depending on the look you are envisioning
- stamp the gift bag using your favorite stamps – you can use them like that, or you can further color the stamped images
- use some of these image transfer techniques -> learn 23 image transfer methods
- print your favorite images using tissue paper and then decoupage them on the gift bag -> learn how to print on tissue paper
Of course you can always add bows or ribbons, or other little embellishments, to the handle of the bag as well if you want to. I hope you’ll give these how to put tissue paper in gift back tips a try next time you are making a special gift for someone you love! I think it looks just as a pretty as a wrapped gift but it’s faster and easier.
How to Make DIY Gift Bags Video:
You might also enjoy this video showing how to make your own custom Gift Bags!
Happy crafting,
Diana | Dreams Factory
