How to Make a Pop Out Birthday Card
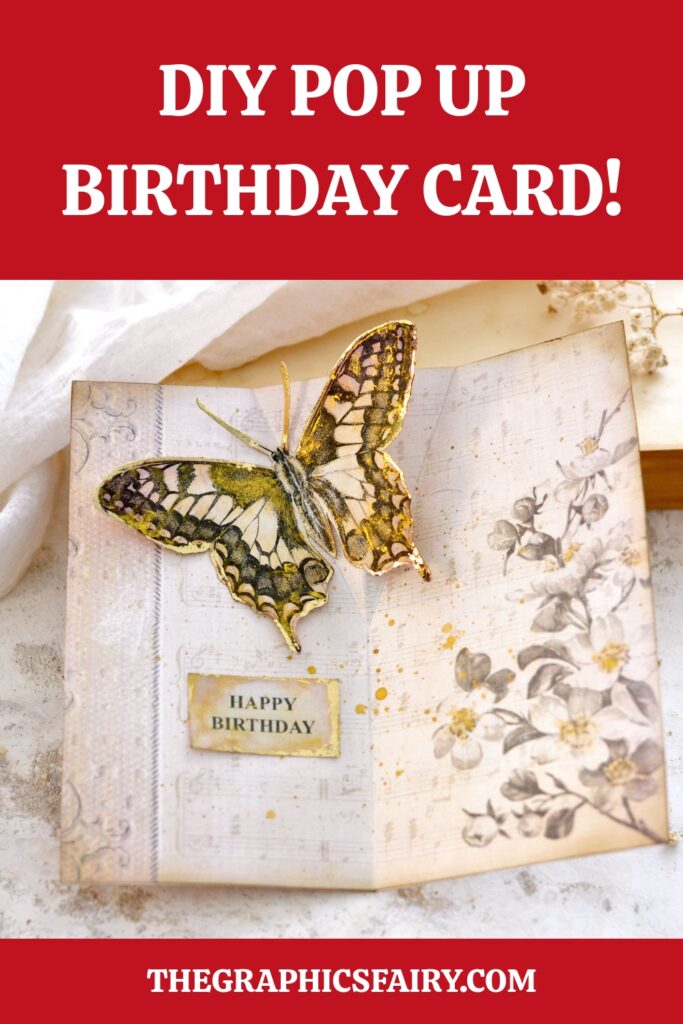
Hello Graphics Fairy friends! Diana from Dreams Factory here, ready to share another DIY project with you! Today I will be sharing how to make a pop out birthday card, a gorgeous project that it’s really easy to make. We will be using gold again to decorate both the interior and the exterior of the homemade card because let’s be honest, you can never go wrong with gold! And the included templates make this project a breeze.
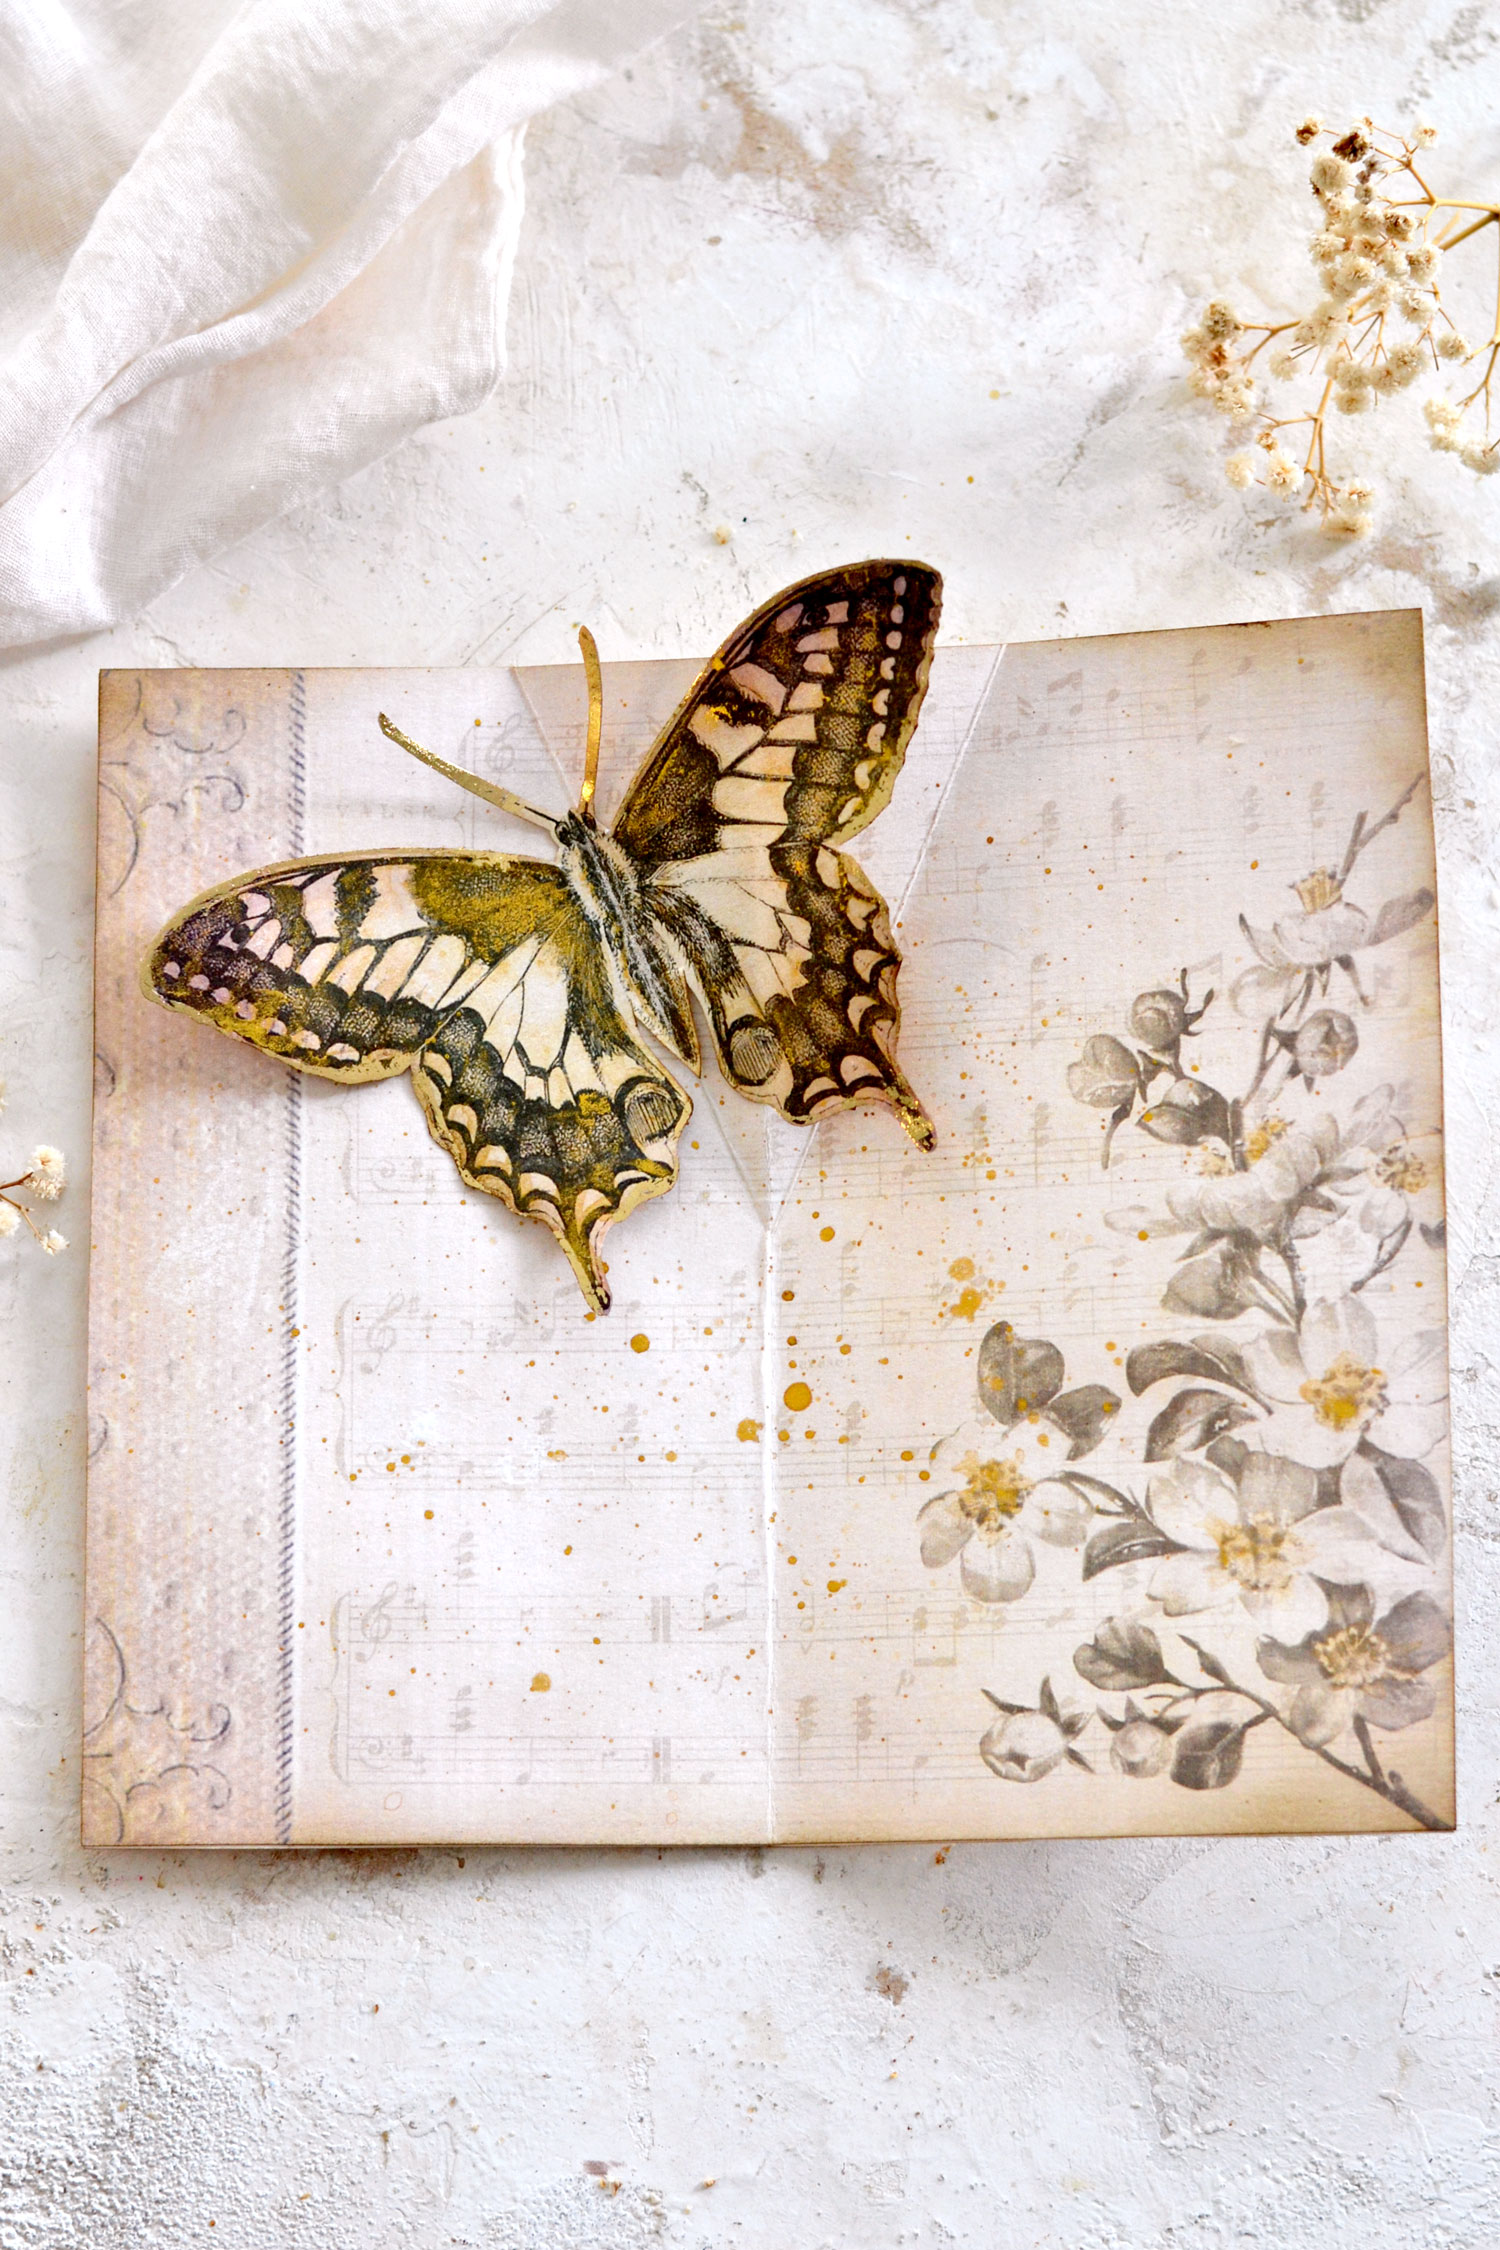
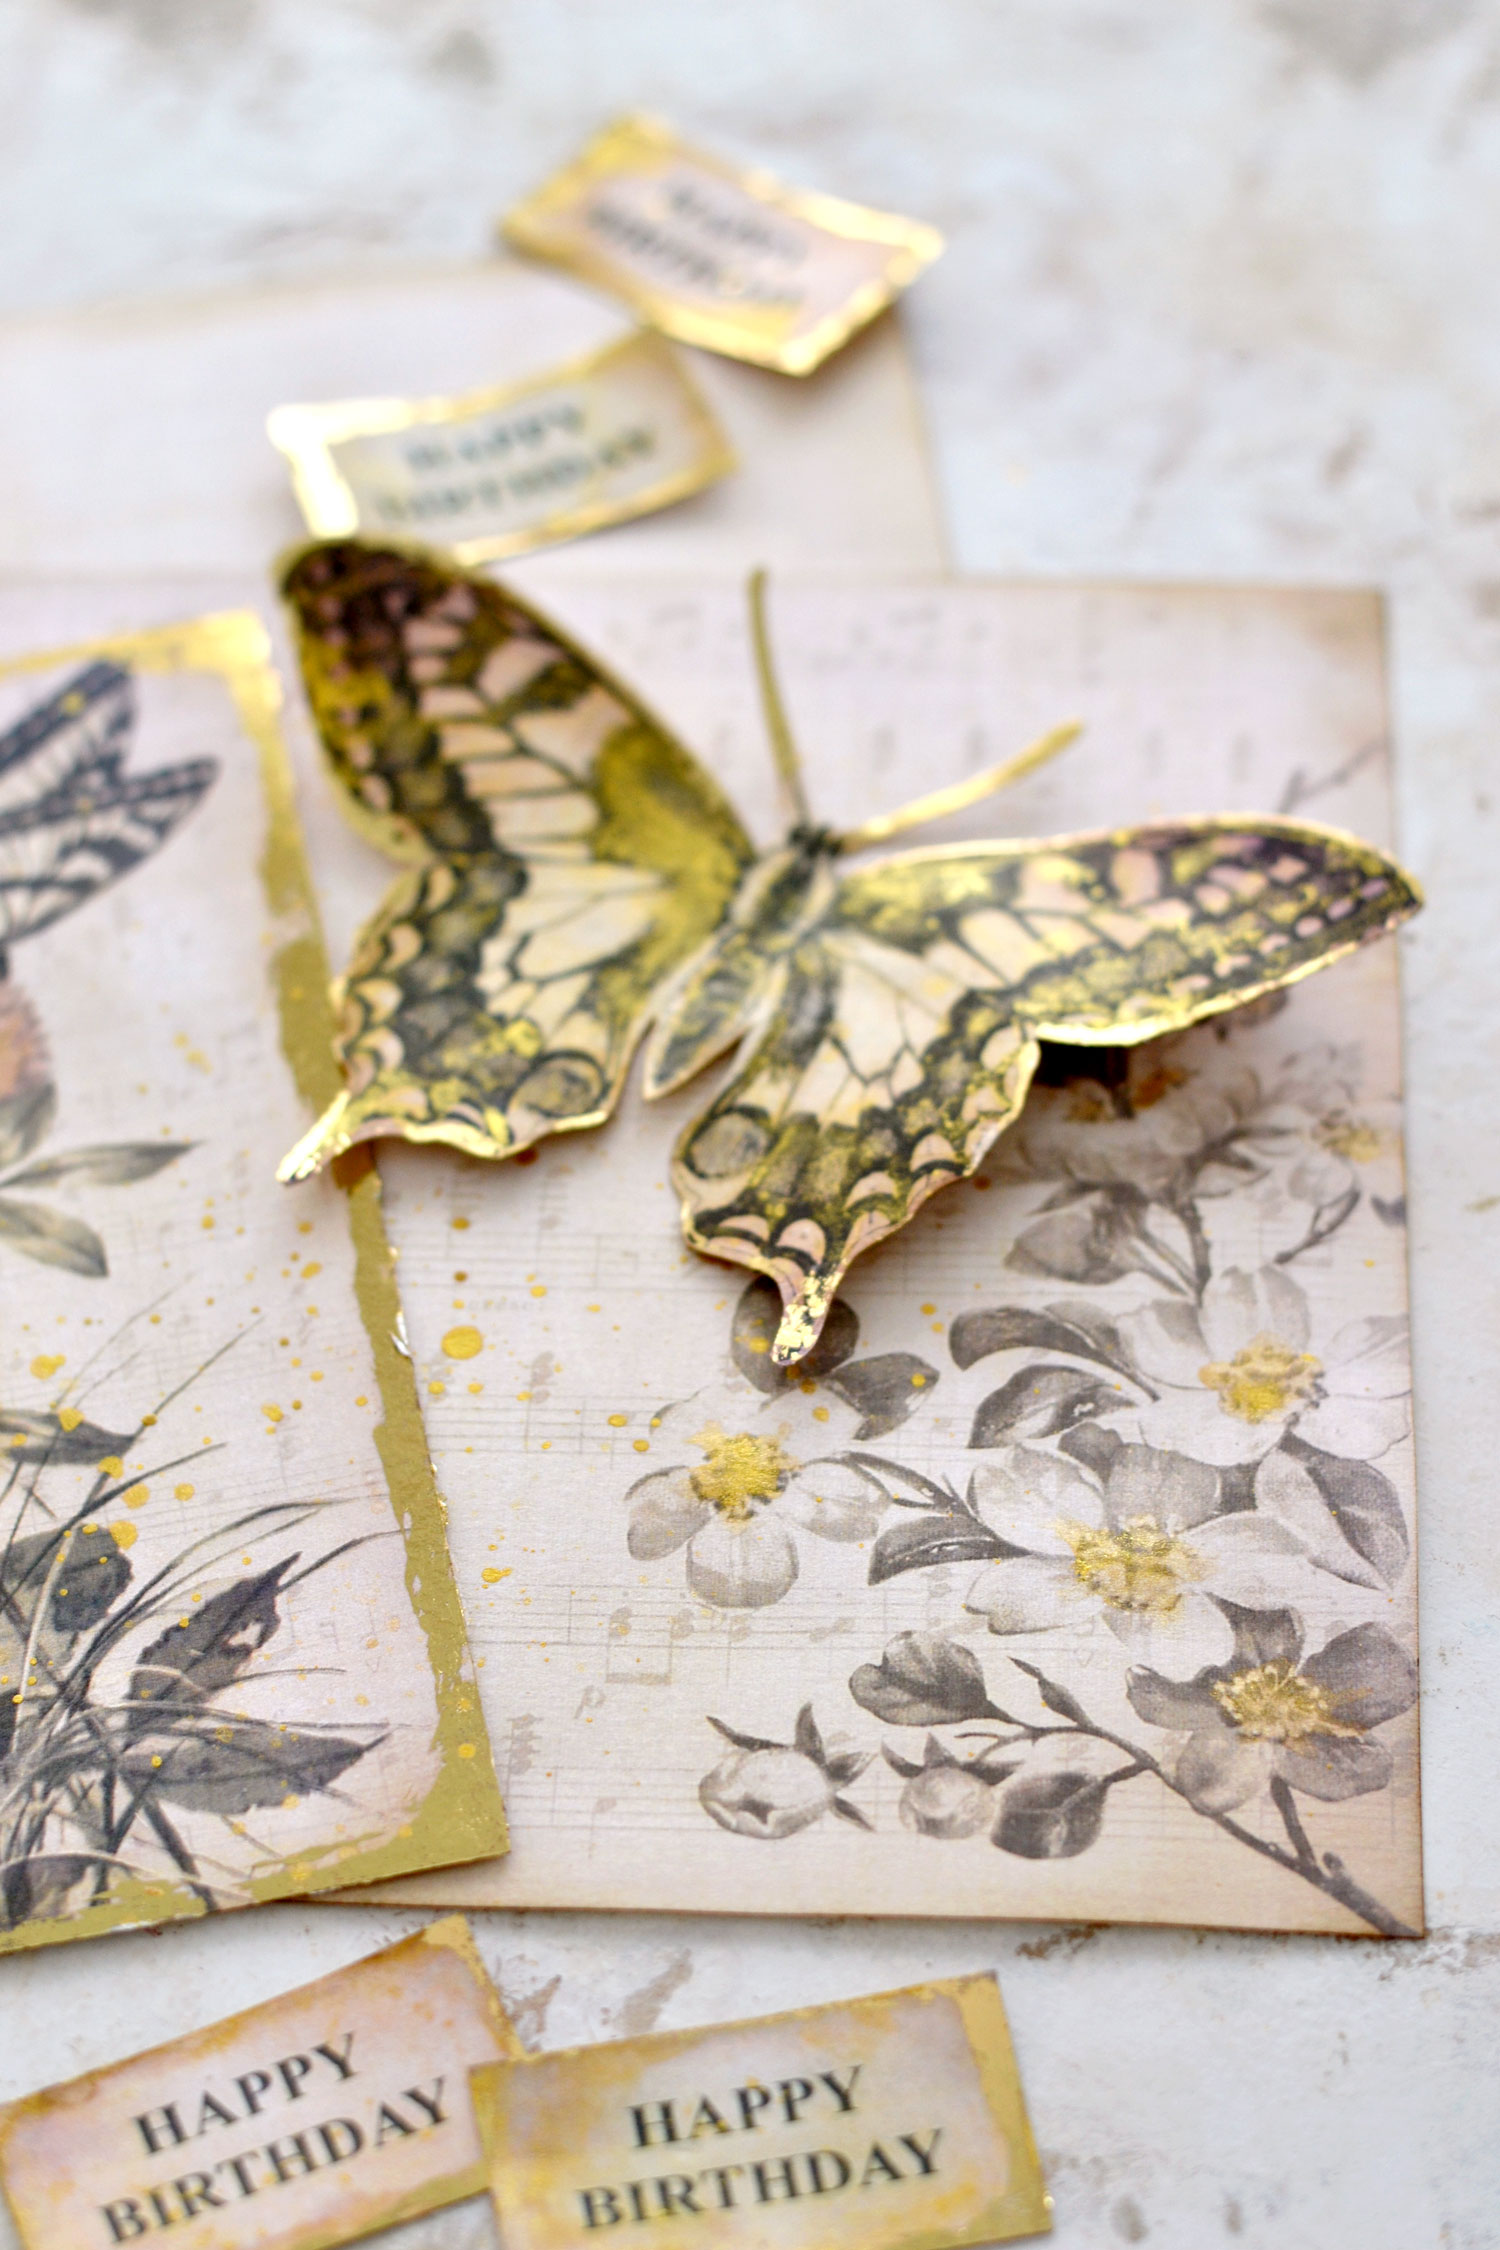
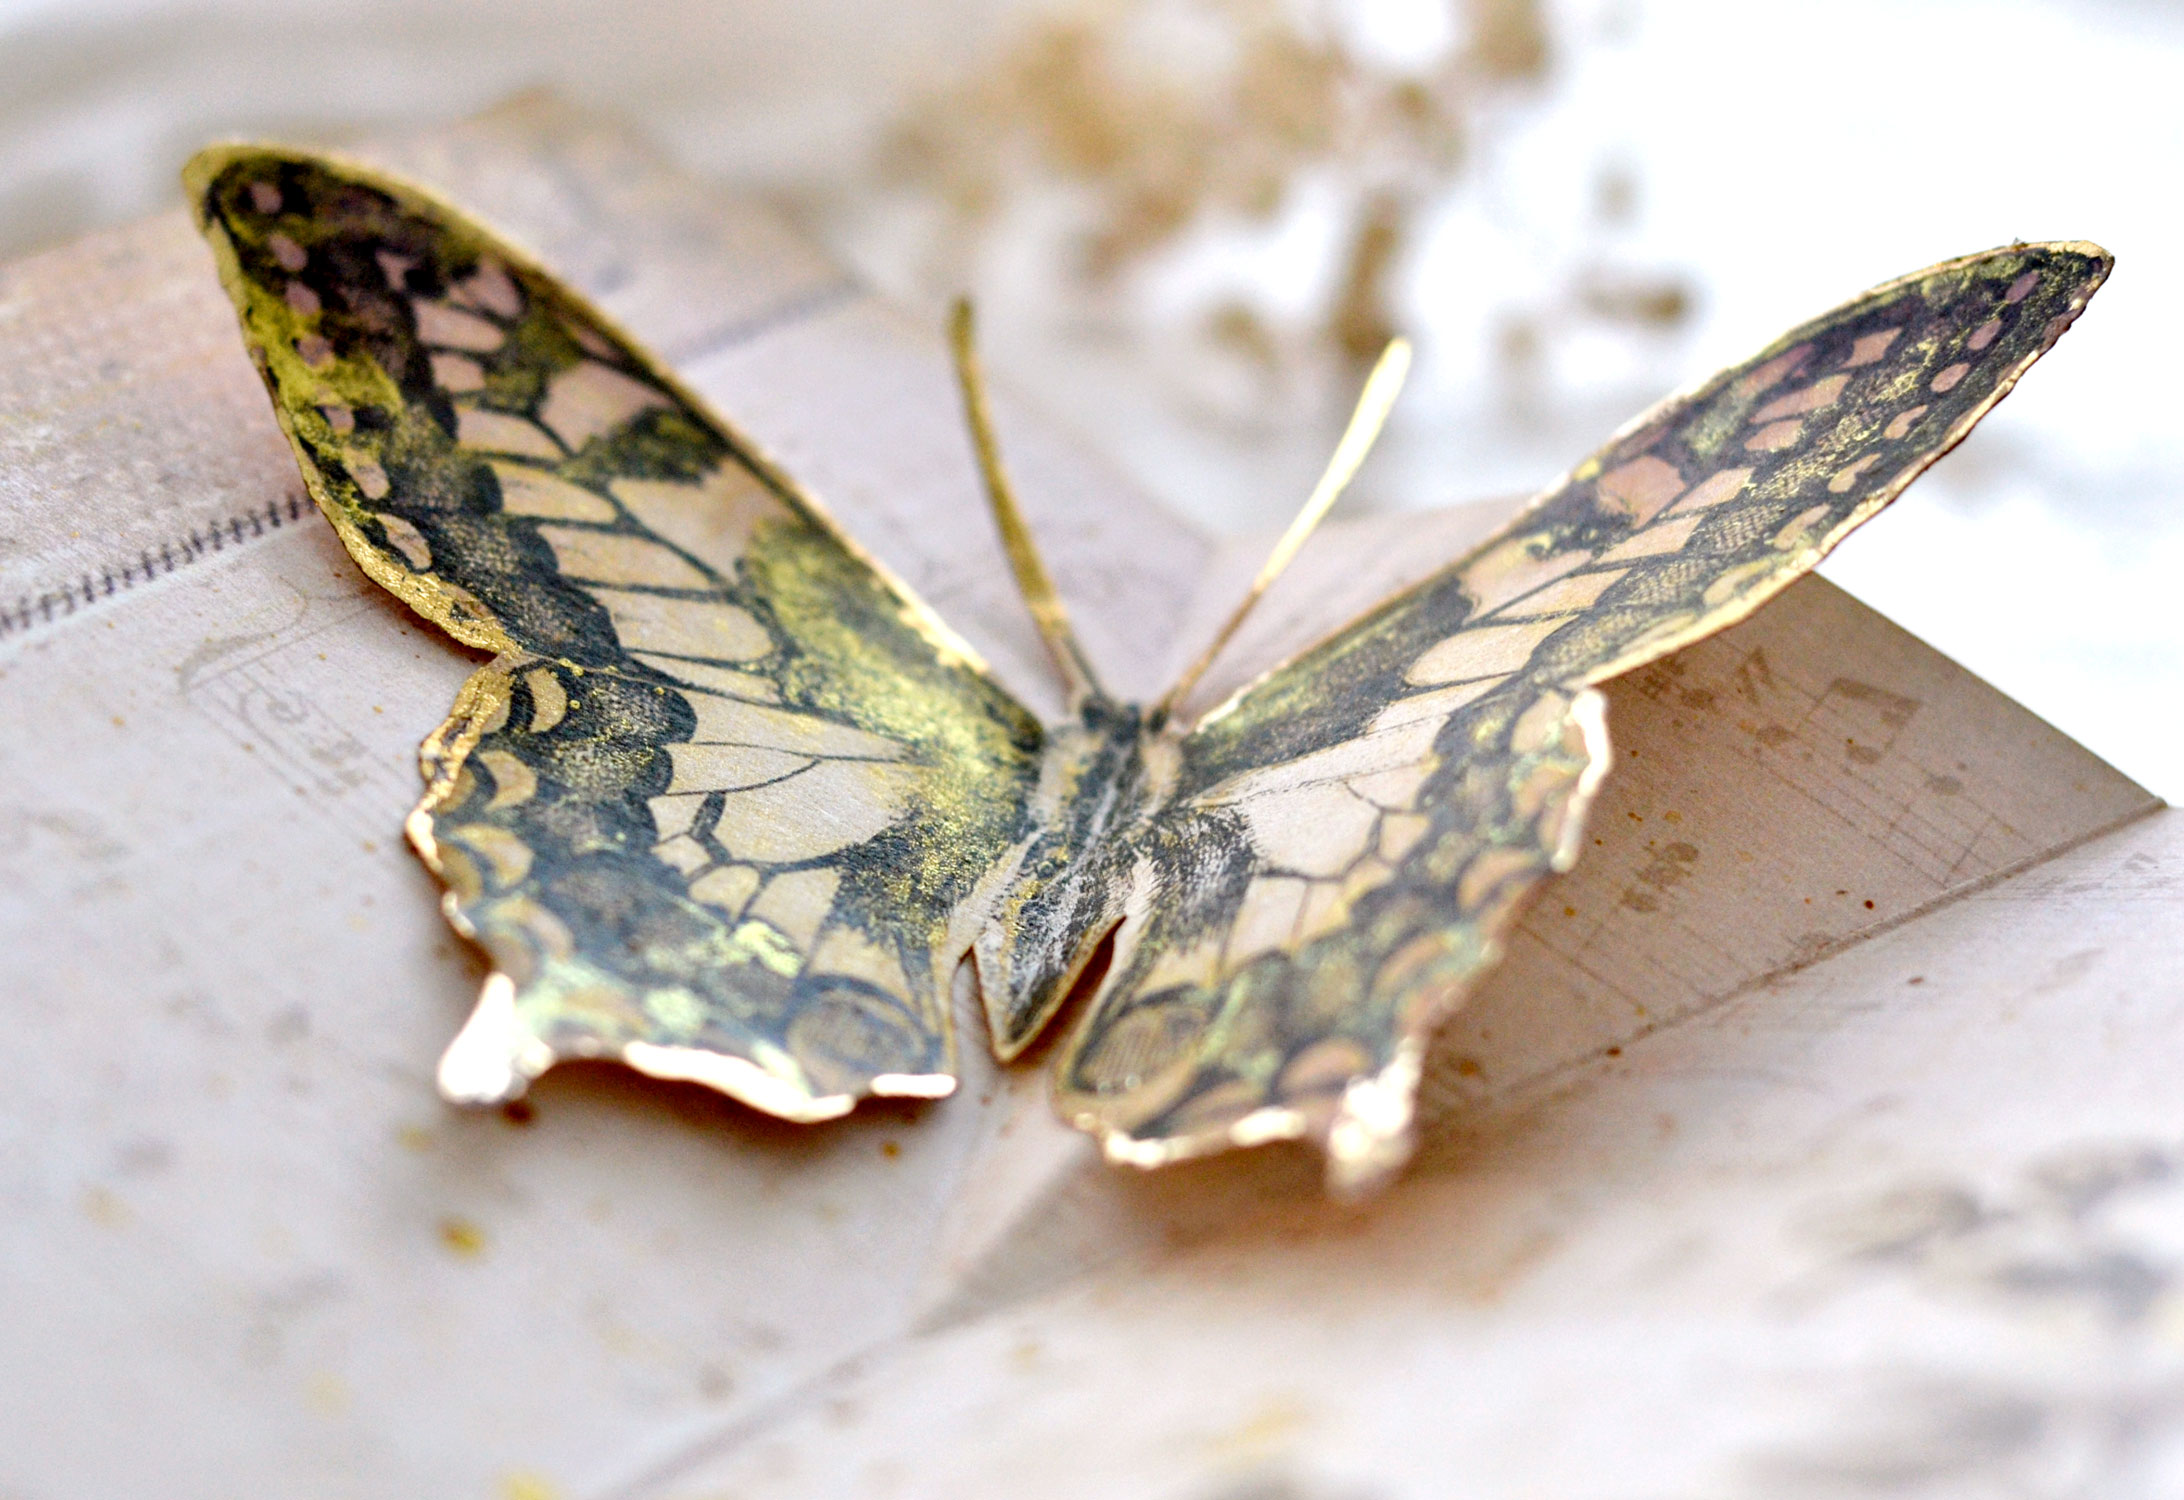
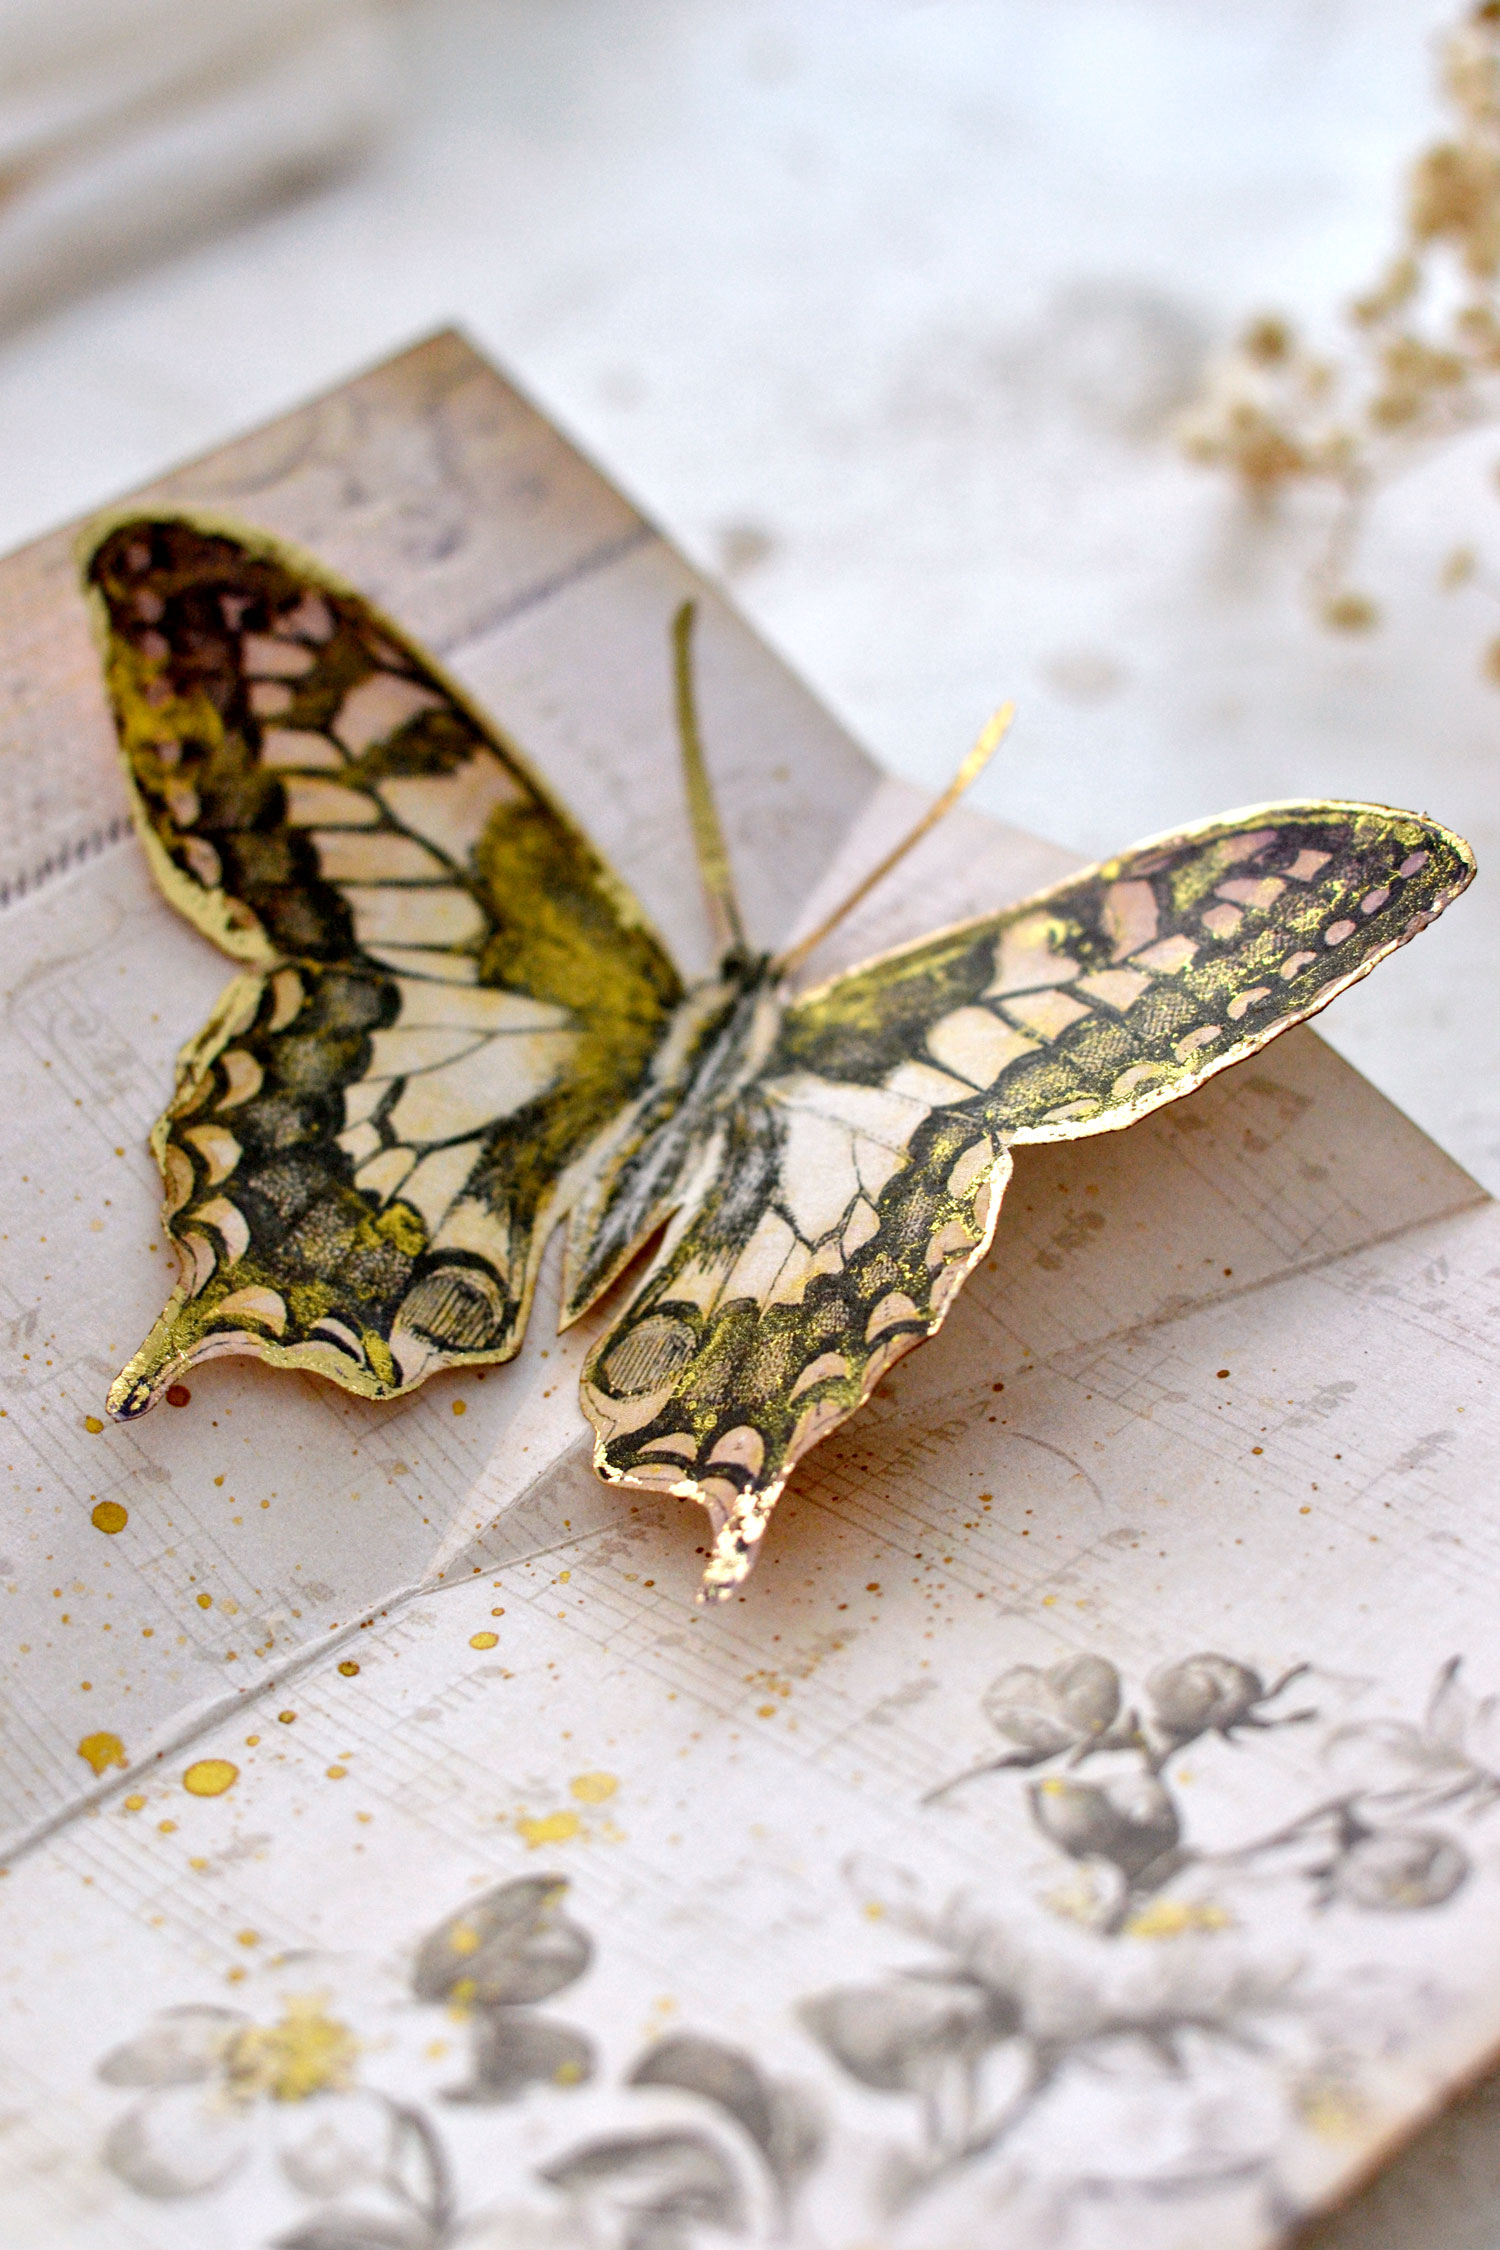
The pop-up part might actually turn out to be your favorite part, once you’ll learn this easy technique you’ll just want to apply it everywhere! And you know what? You should! I even encourage you to do just that, this technique is so much fun! I used this gorgeous, oversized butterfly as our star today, I feel like it was just the perfect choice for a project like this.
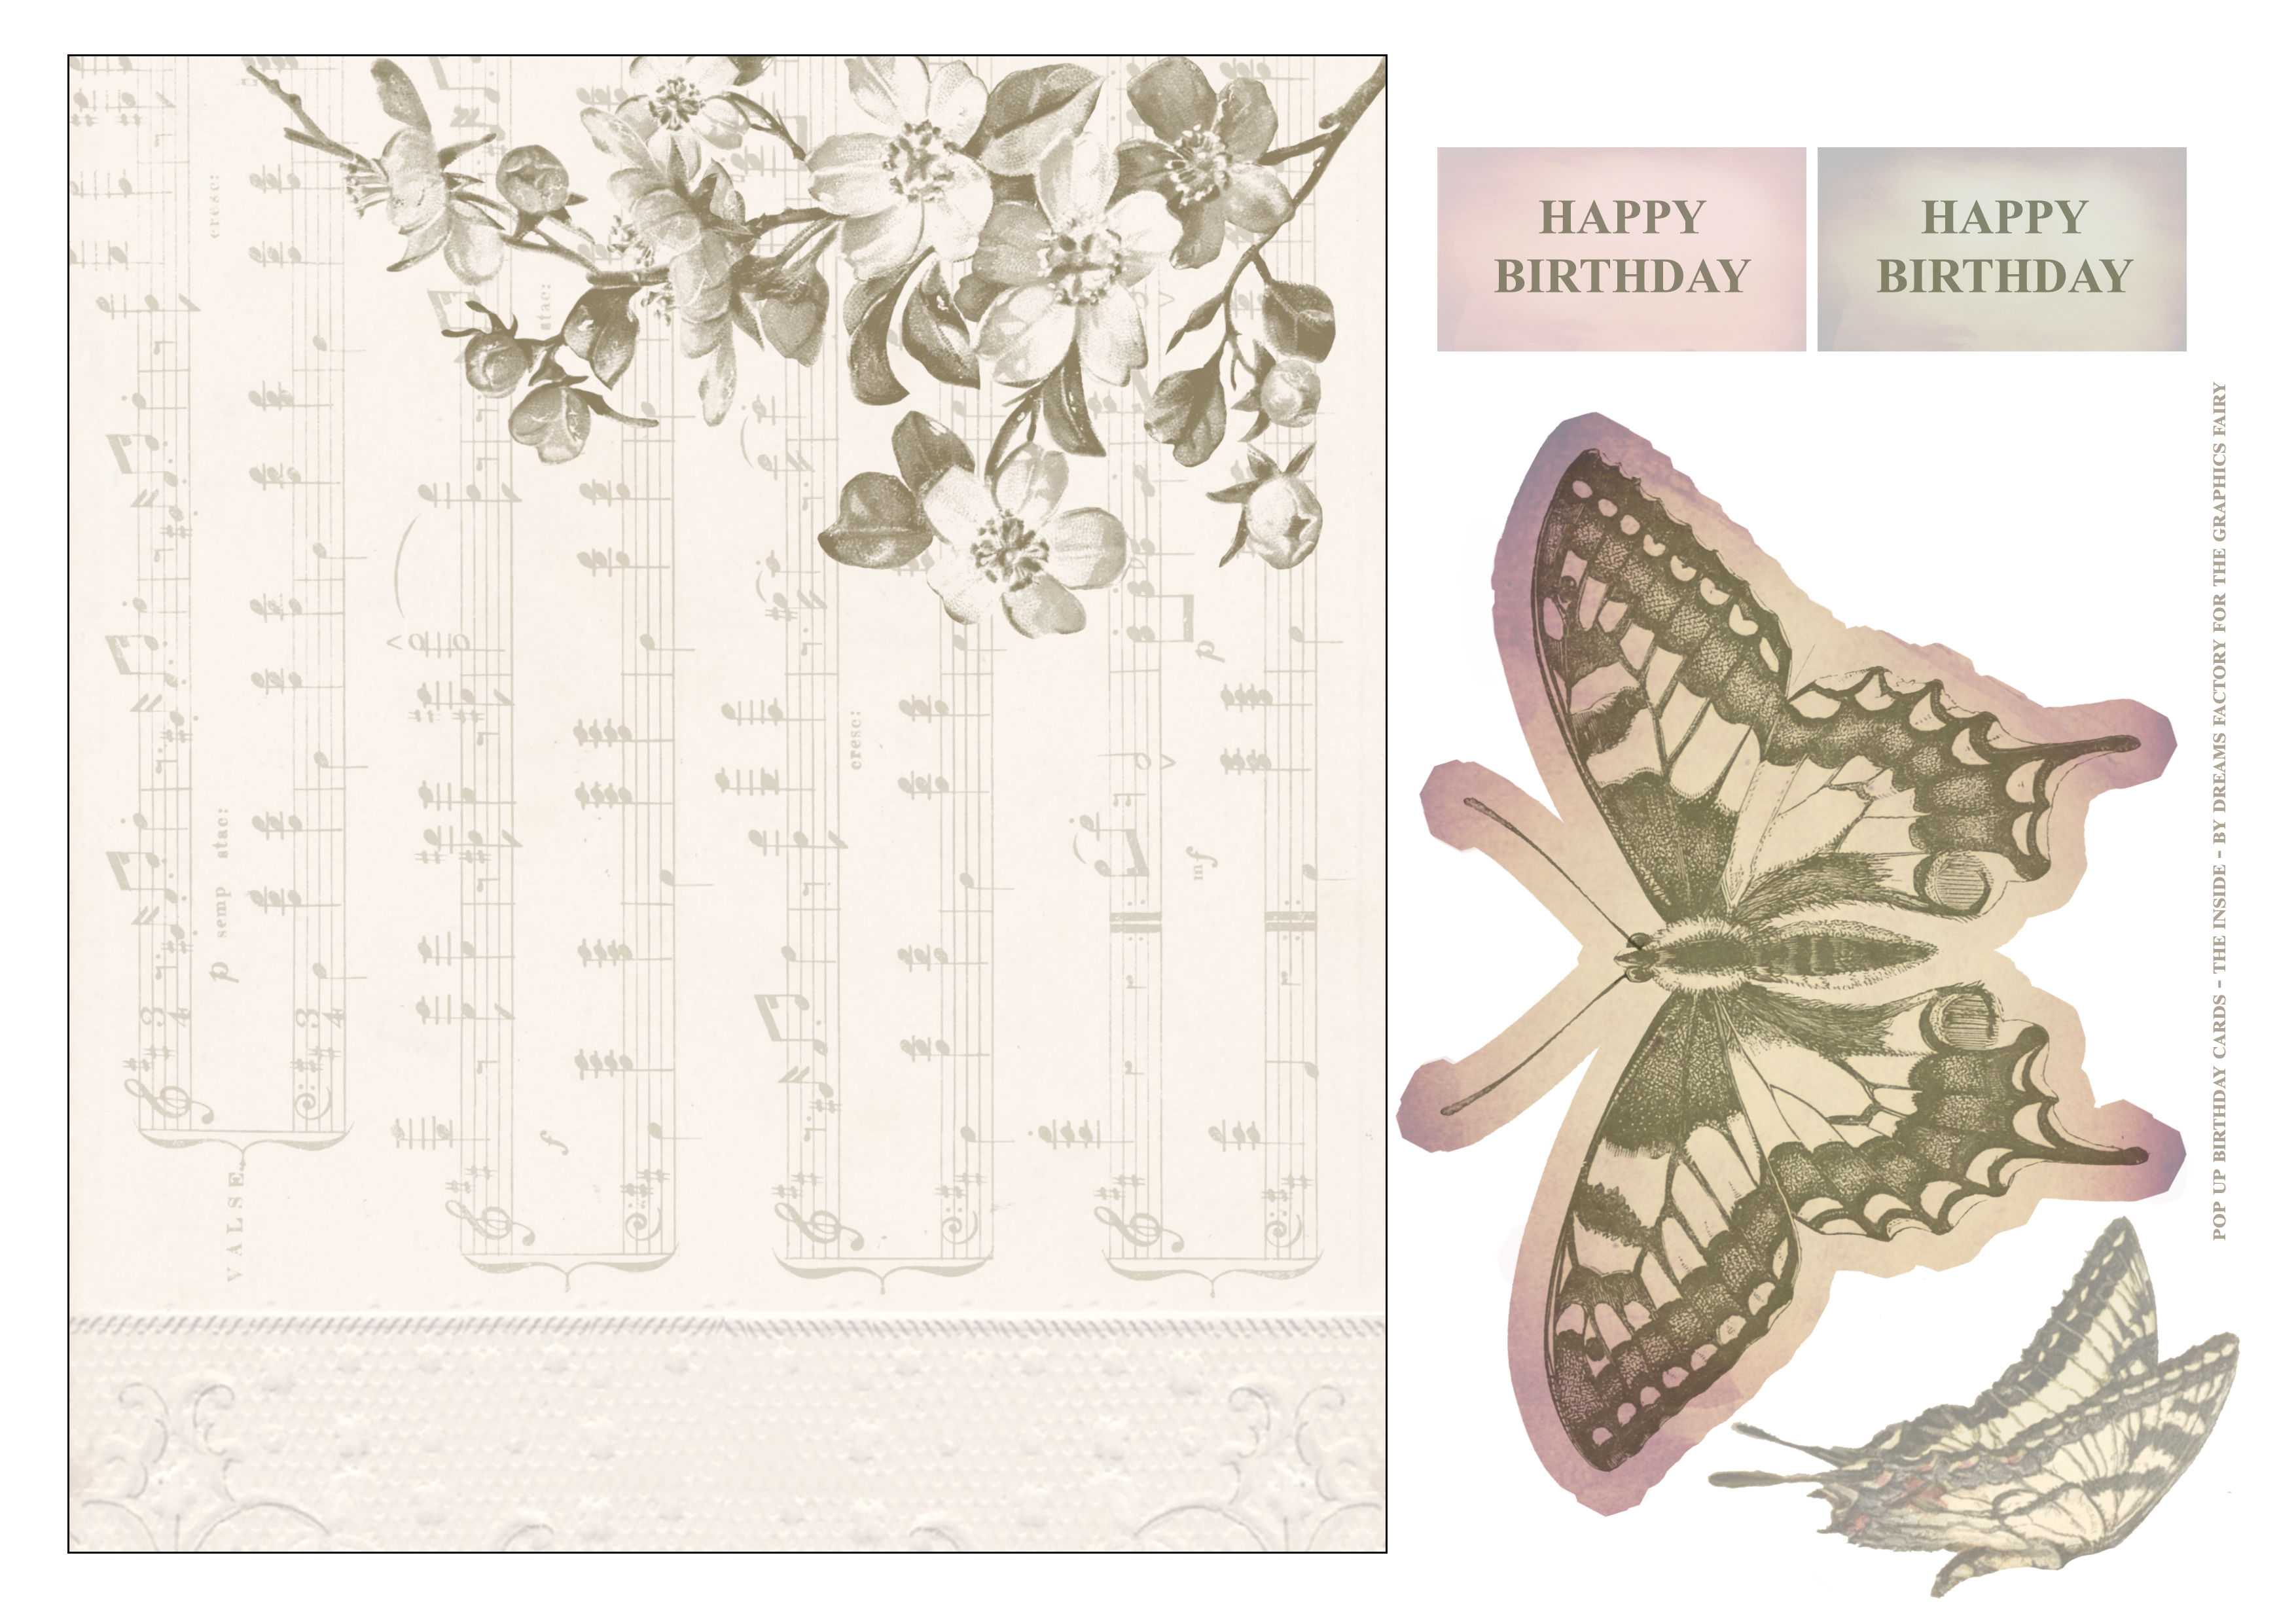
I also included a smaller half butterfly on one of the printables, we will use this element on the cover of our card as a 3D element.
P.S. I had to put the smaller butterfly on the printable for the interior of the card because I couldn’t squeeze it in with all the other elements that we will be using on the exterior.
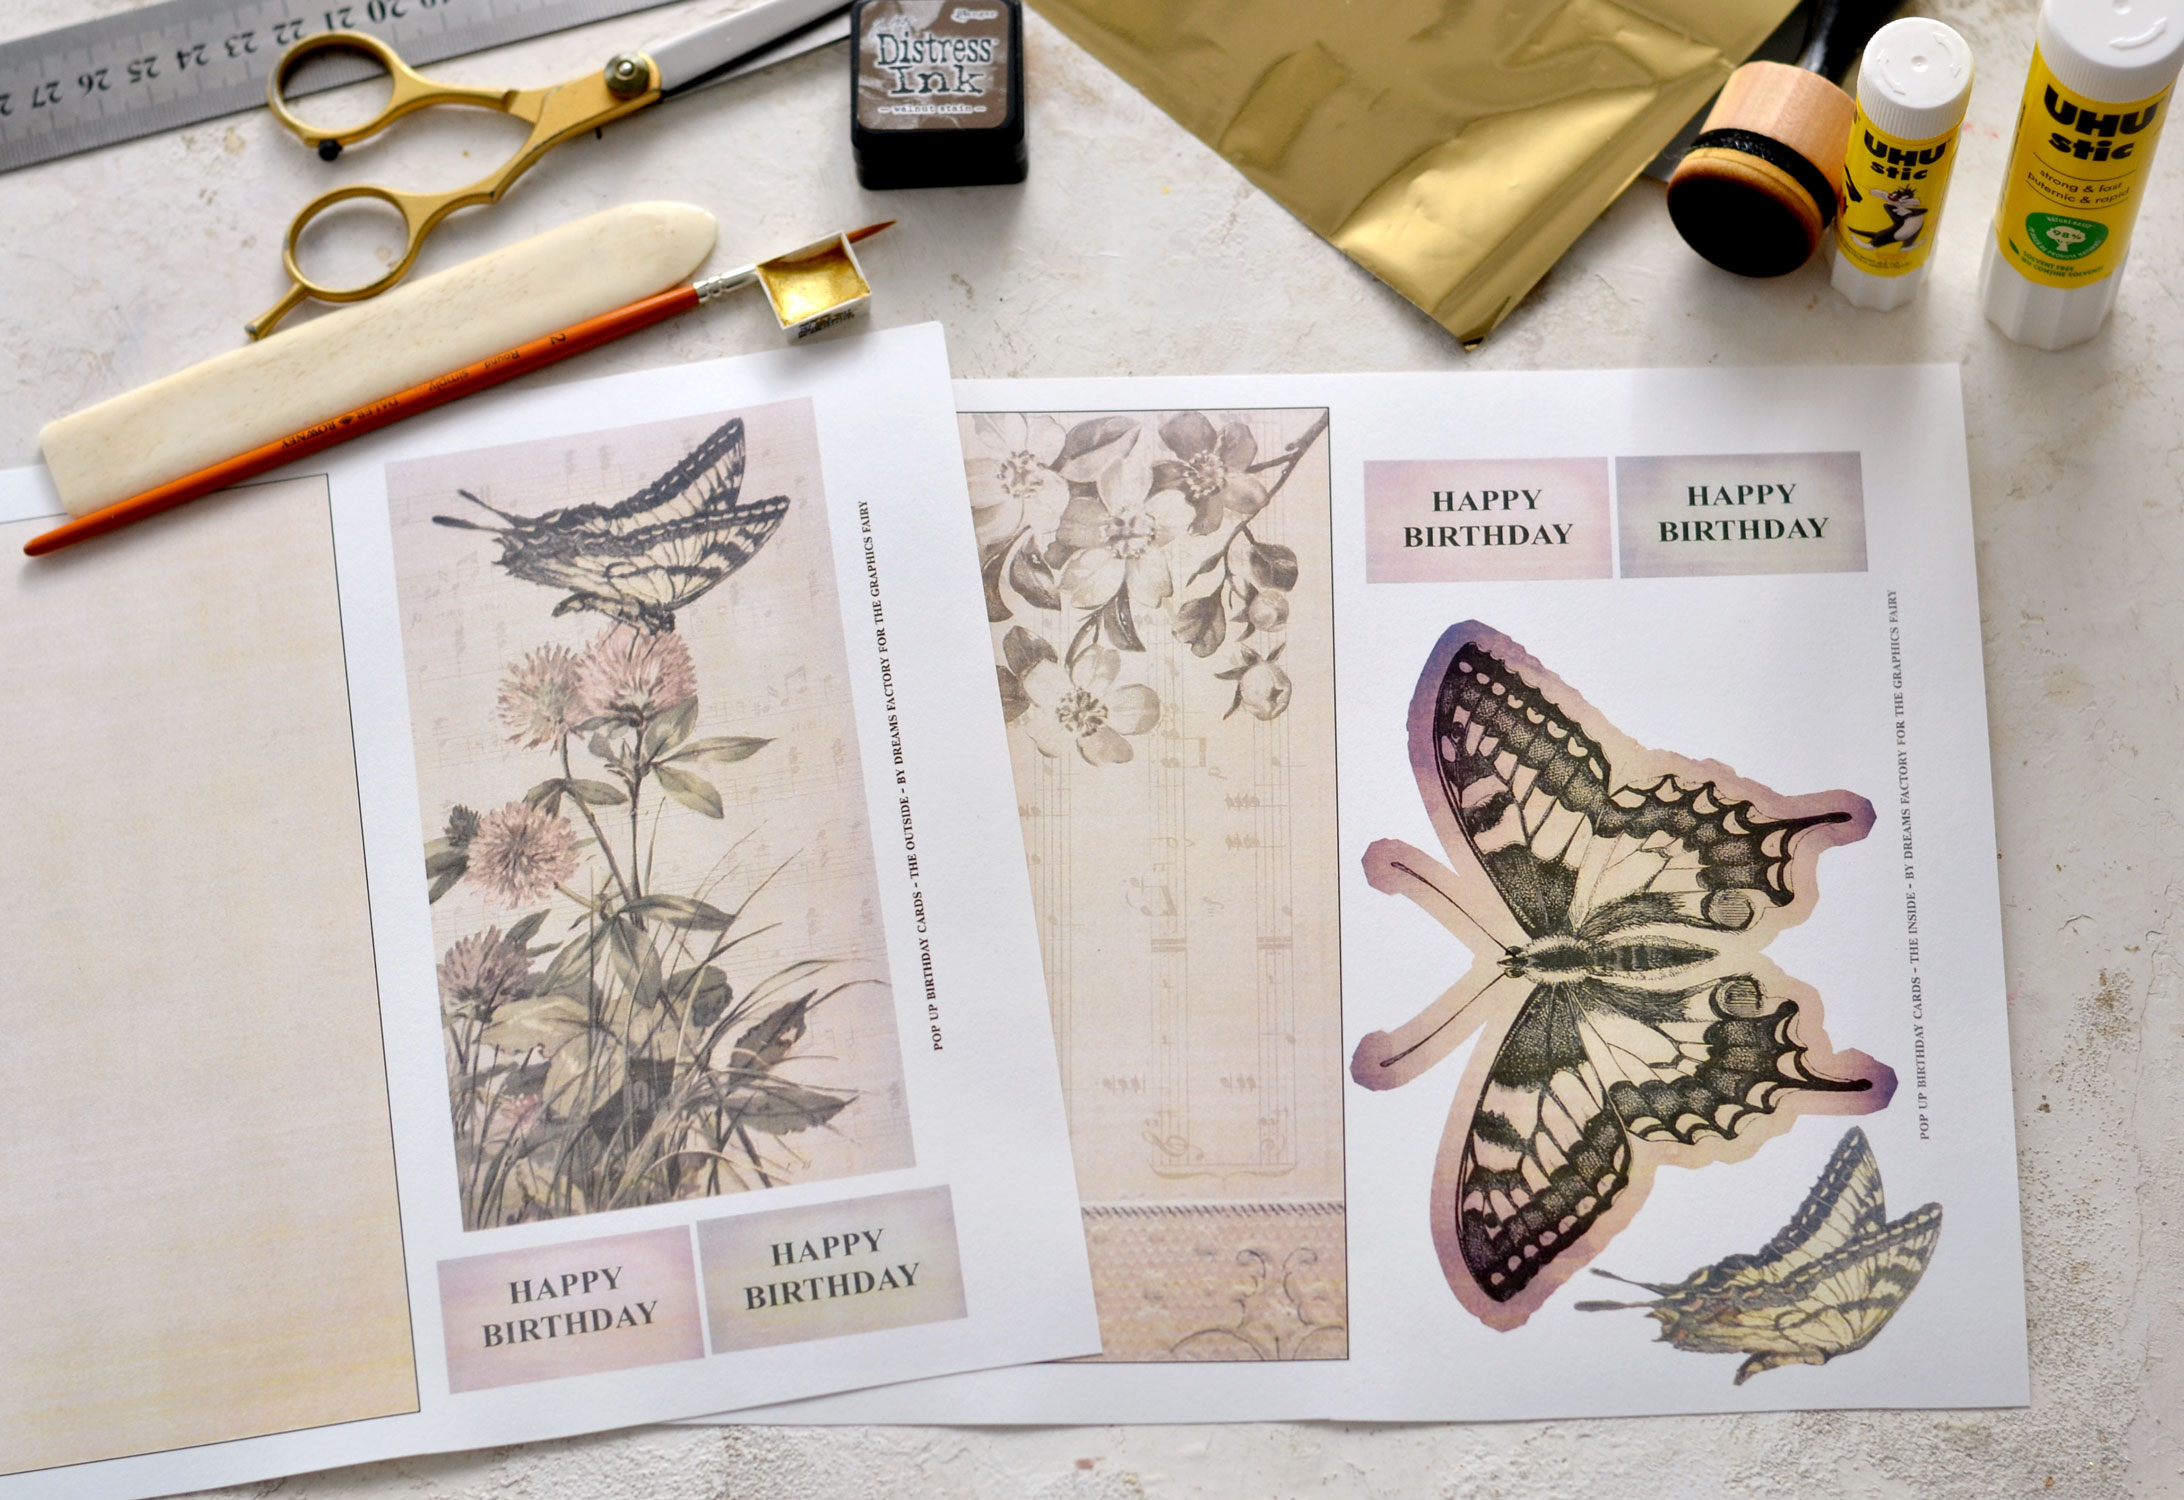
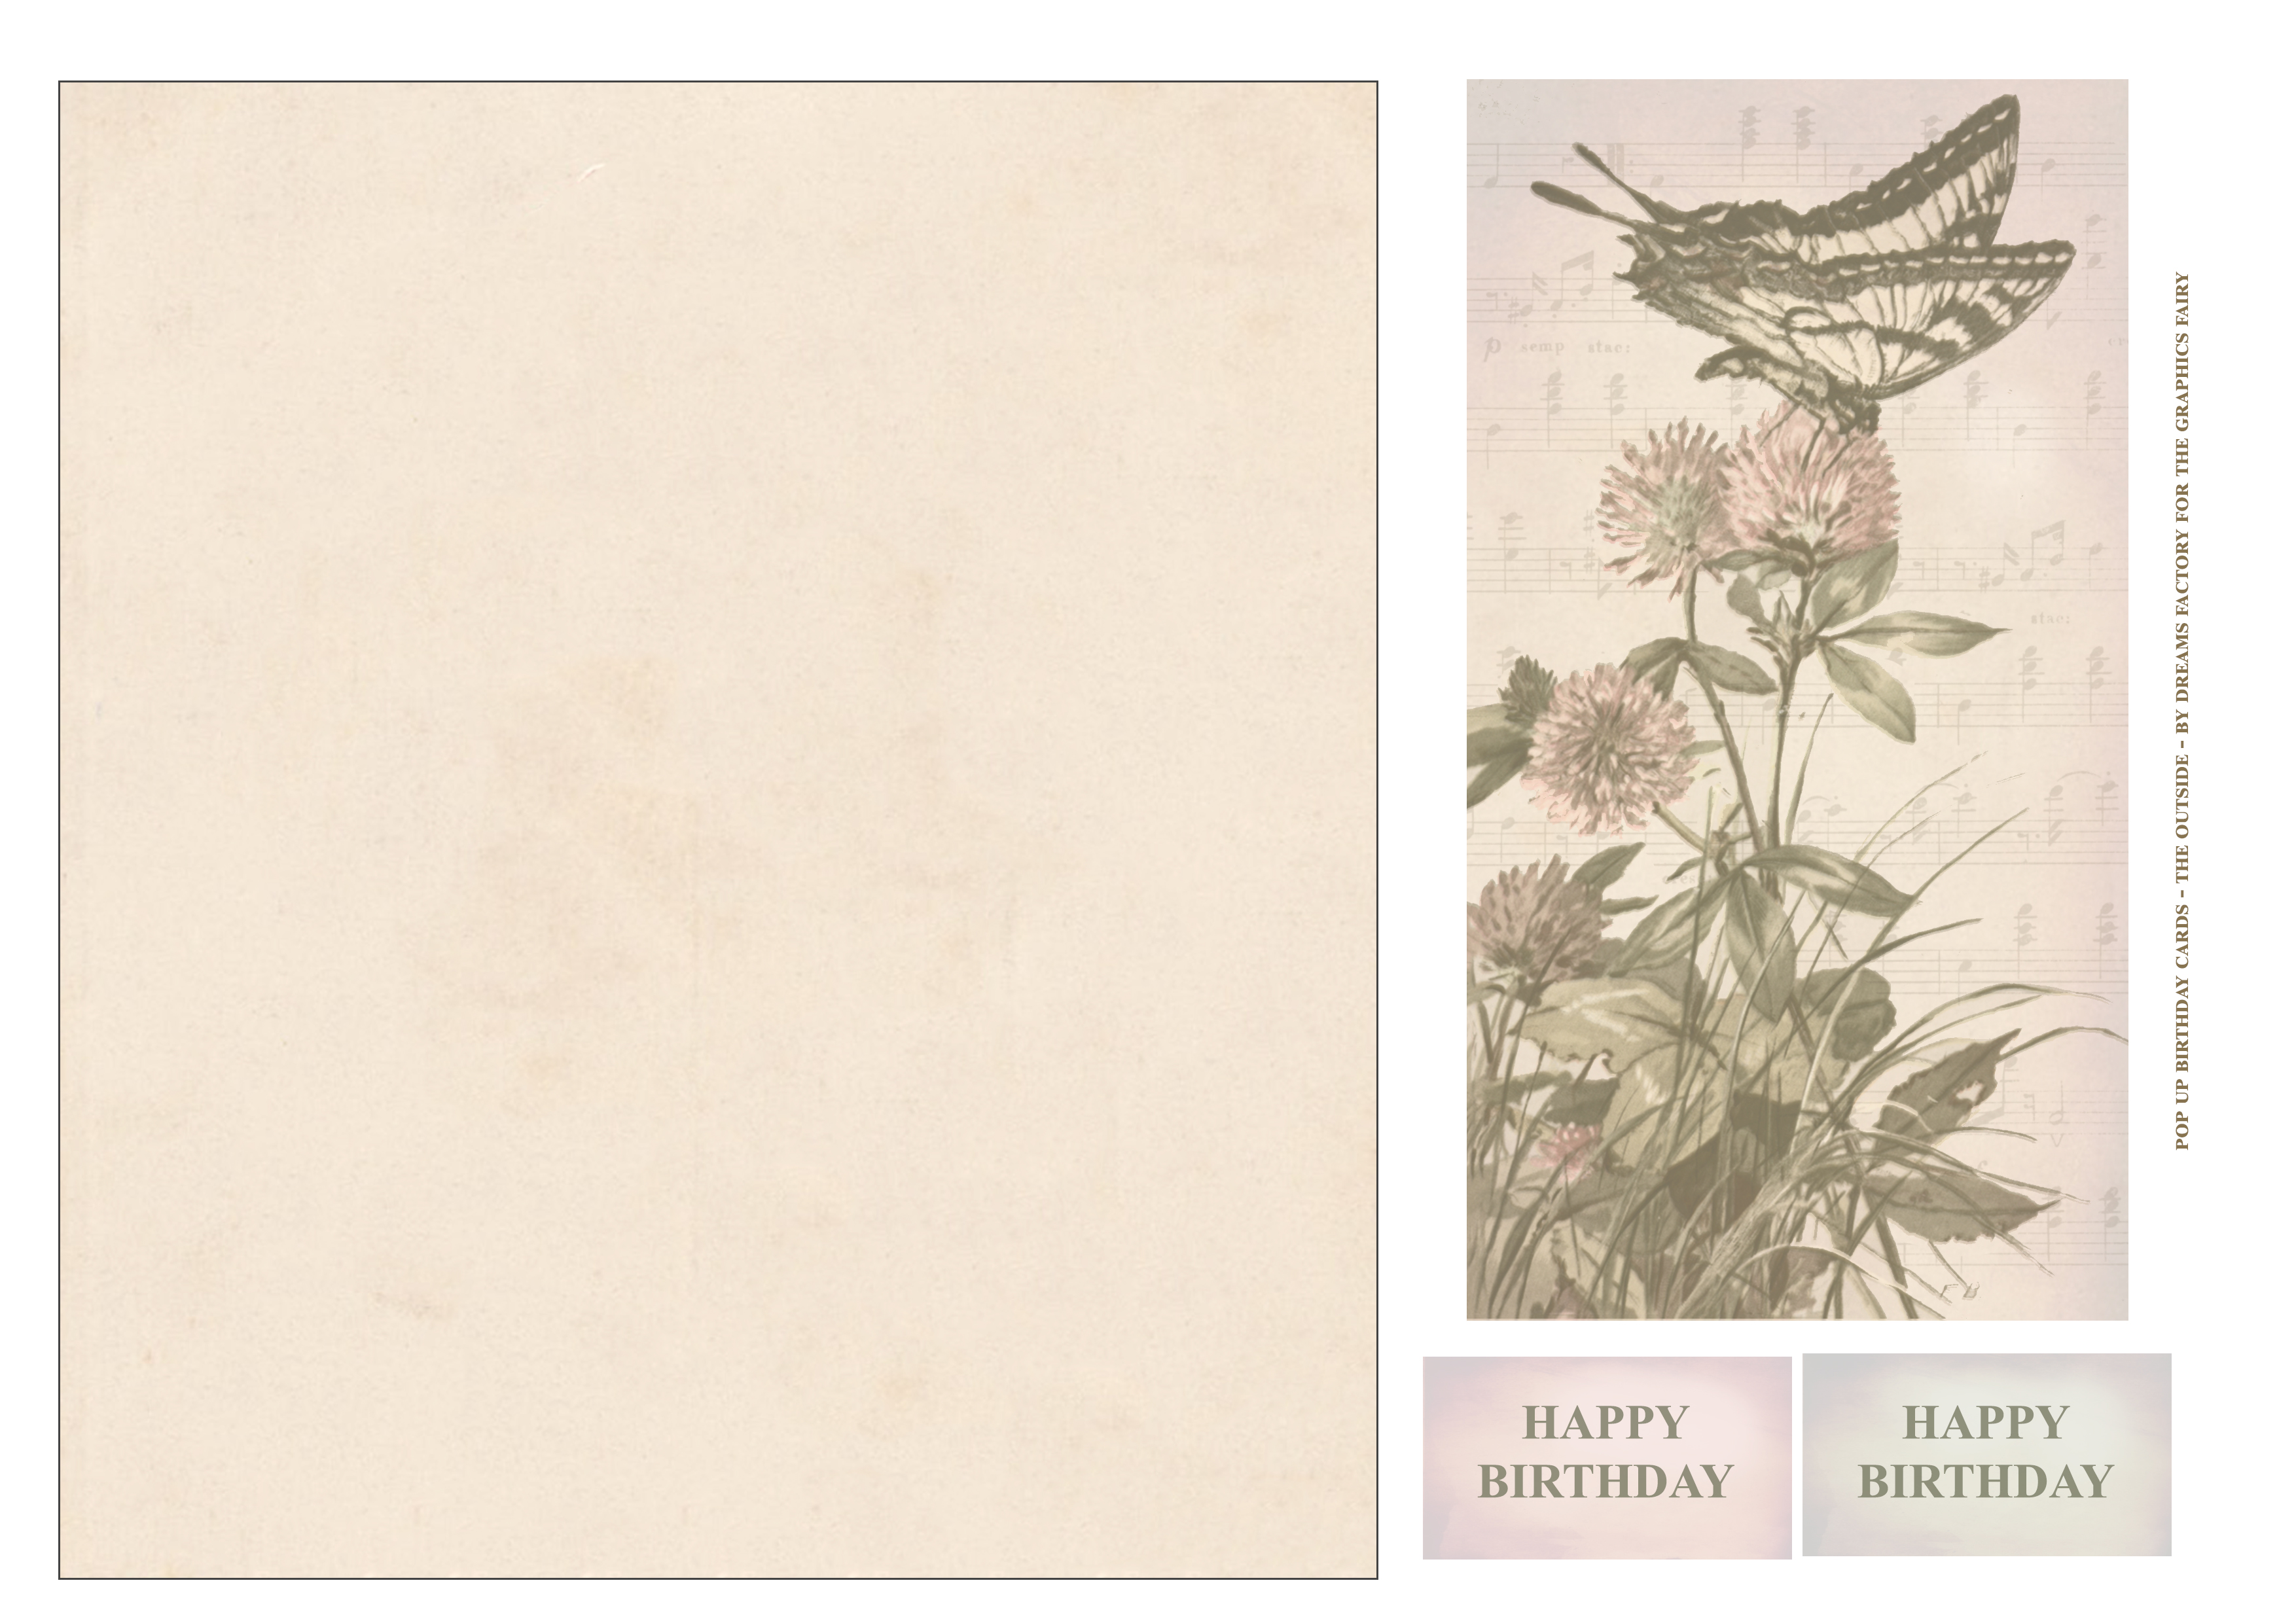
As always, I’m sharing the printable that I’ve created especially for you so you can easily recreate this project on your own. There are actually 2 printables, one for the outside – the top of our card and one for the inside – the one with the pop-up mechanism. You will need them both to create this specific project, but of course, if you like one of the printables more than the other you can definitely use your favorite in other projects too or adapt them to any occasion simply by changing the sentiments.
Free Printable Card Kit
—-> Click HERE to Download the Full Size Printable PDF – the outside<—-
—-> Click HERE to Download the Full Size Printable PDF – the inside<—-
Pop Out Birthday Card Craft Supplies:
- card stock paper
- home printer
- scissors
- bone folder
- mini distress inks
- blending tool with foams
- gold foil
- gold foil glue OR UHU glue stick OR Mod Podge (check the post for more details)
- gold watercolors or highly diluted gold acrylic paint or gold gouaches
- small brush
- a plastic sheet or a non-absorbent surface
 Tutorial Instructions:
Let’s get started with the simple instructions!
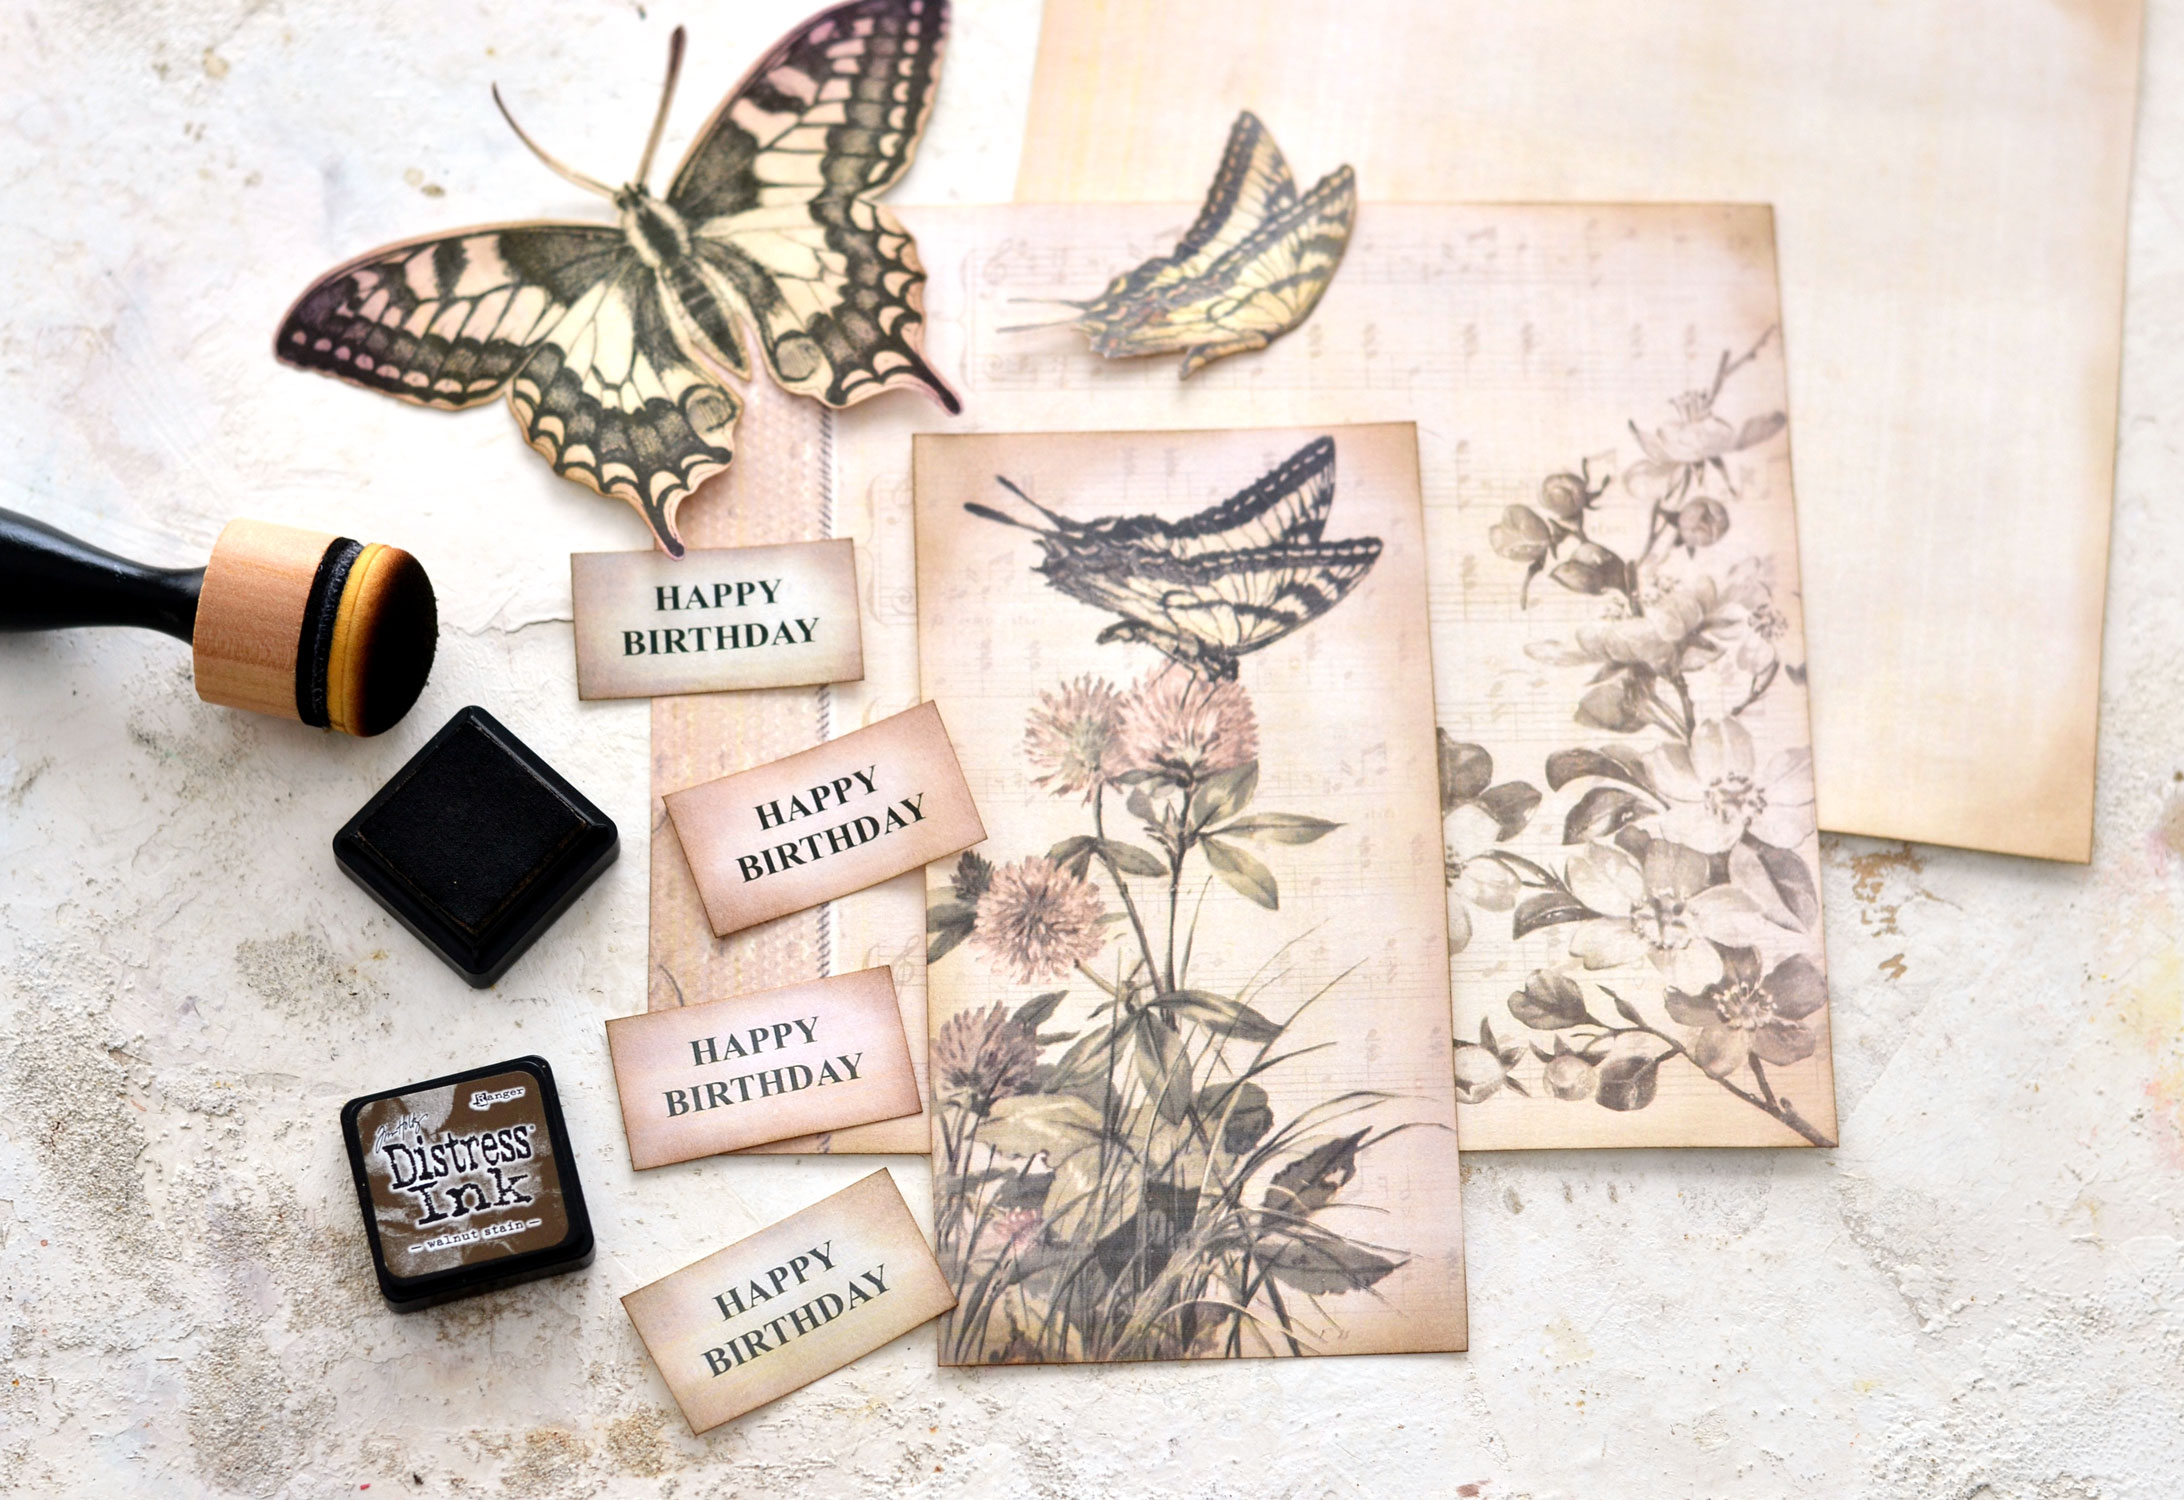
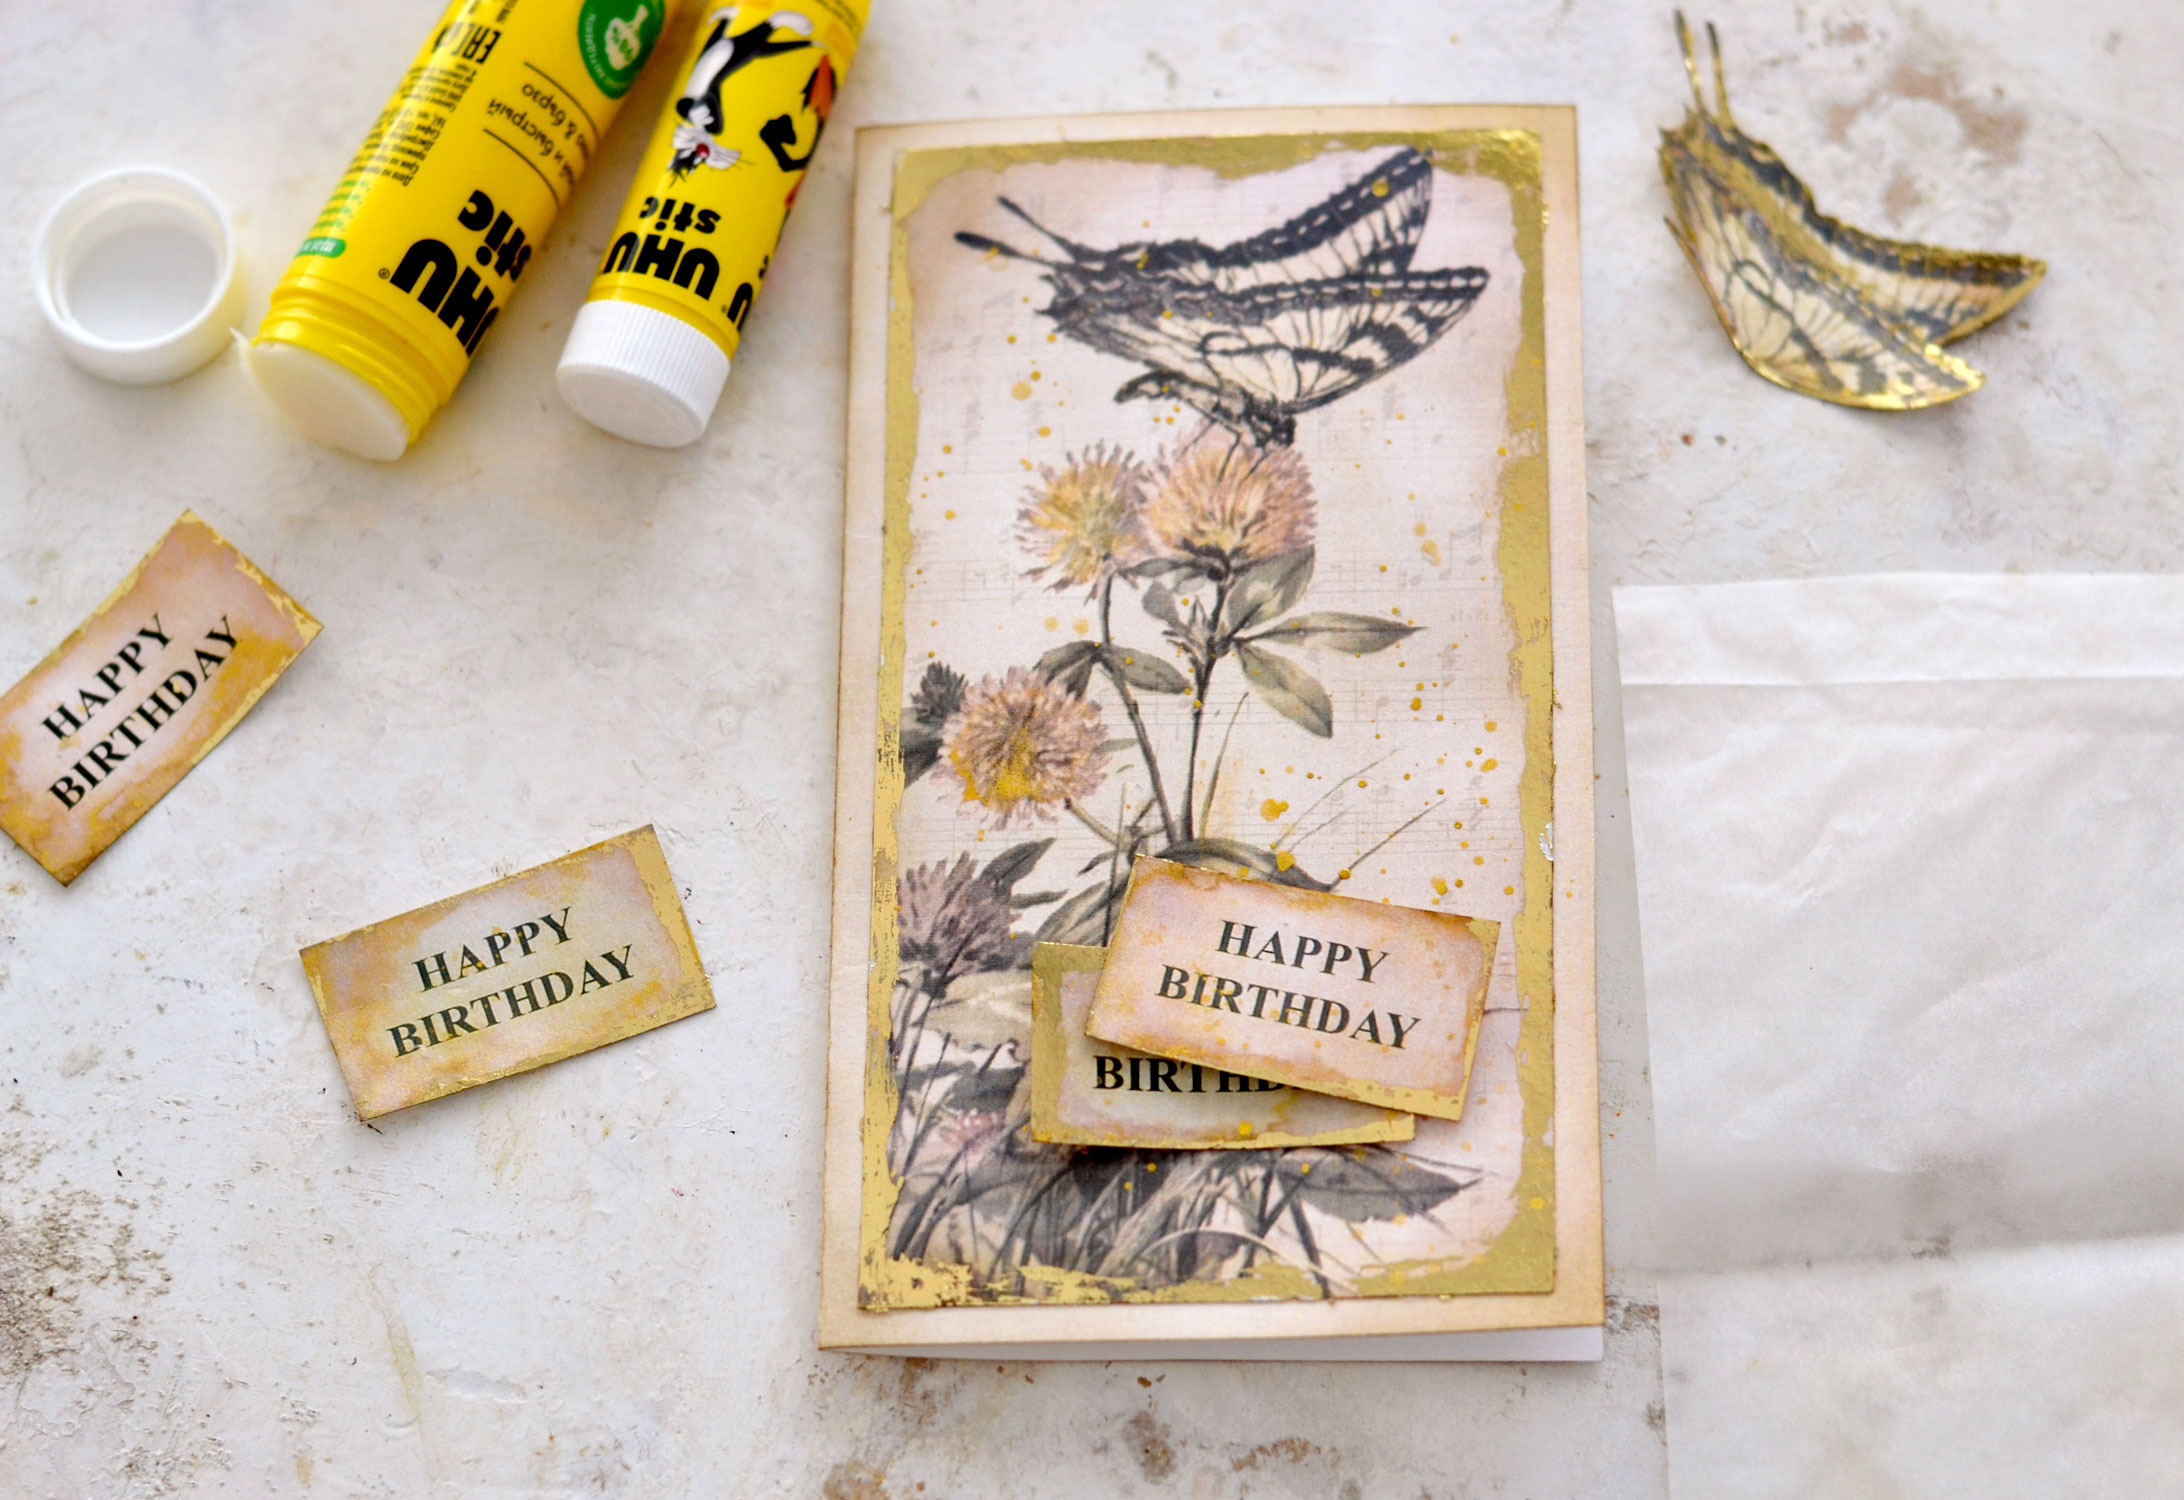
Download and print the 2 free printable template, then use your scissors to cut all the elements. You will find a vintage border outside the oversized butterfly, you can choose to completely remove it or keep some part of it. I included 4 Happy Birthday wishes, you can use the one that you like the most on the cover of our card and one on the inside if you want.
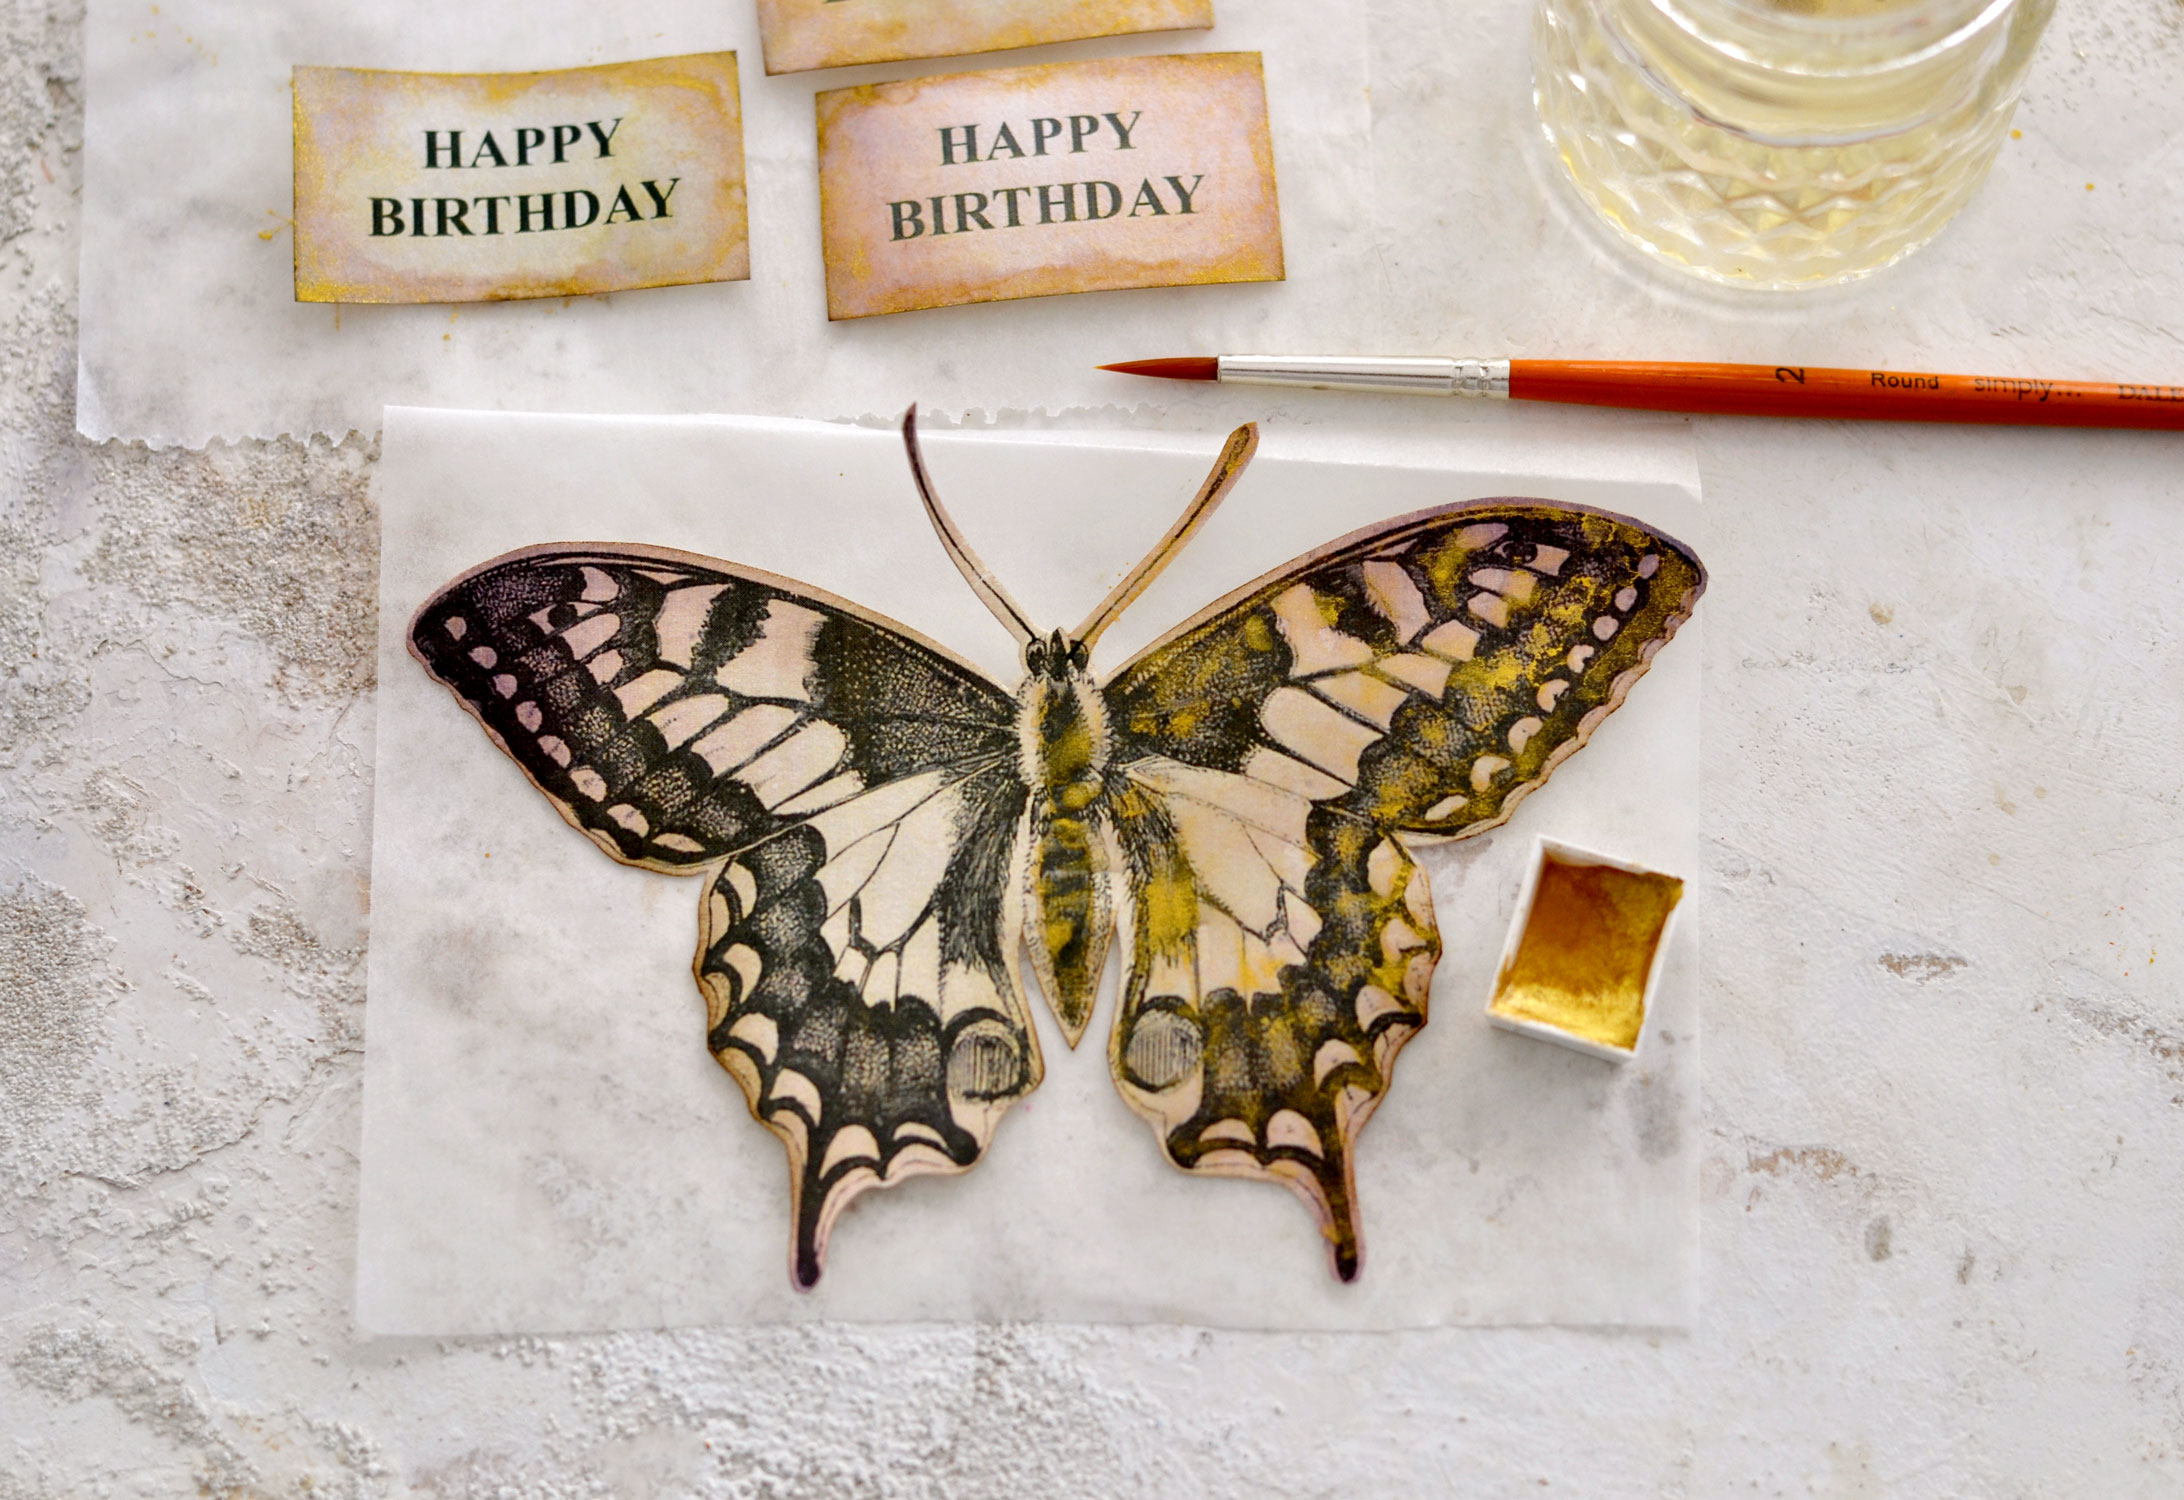
I used gold metallic watercolors to paint some of the paper elements. Because we are using cardstock paper, which is quite different than watercolor paper, we’ll need to use a moderate amount of water so we don’t break too much of the fiber in the paper. You’ll need to find the right balance – not too much but not too little also – just enough to give gold watercolor paint a place to play and create interesting highlights. You need to let everything dry thoroughly before moving on to the next steps.
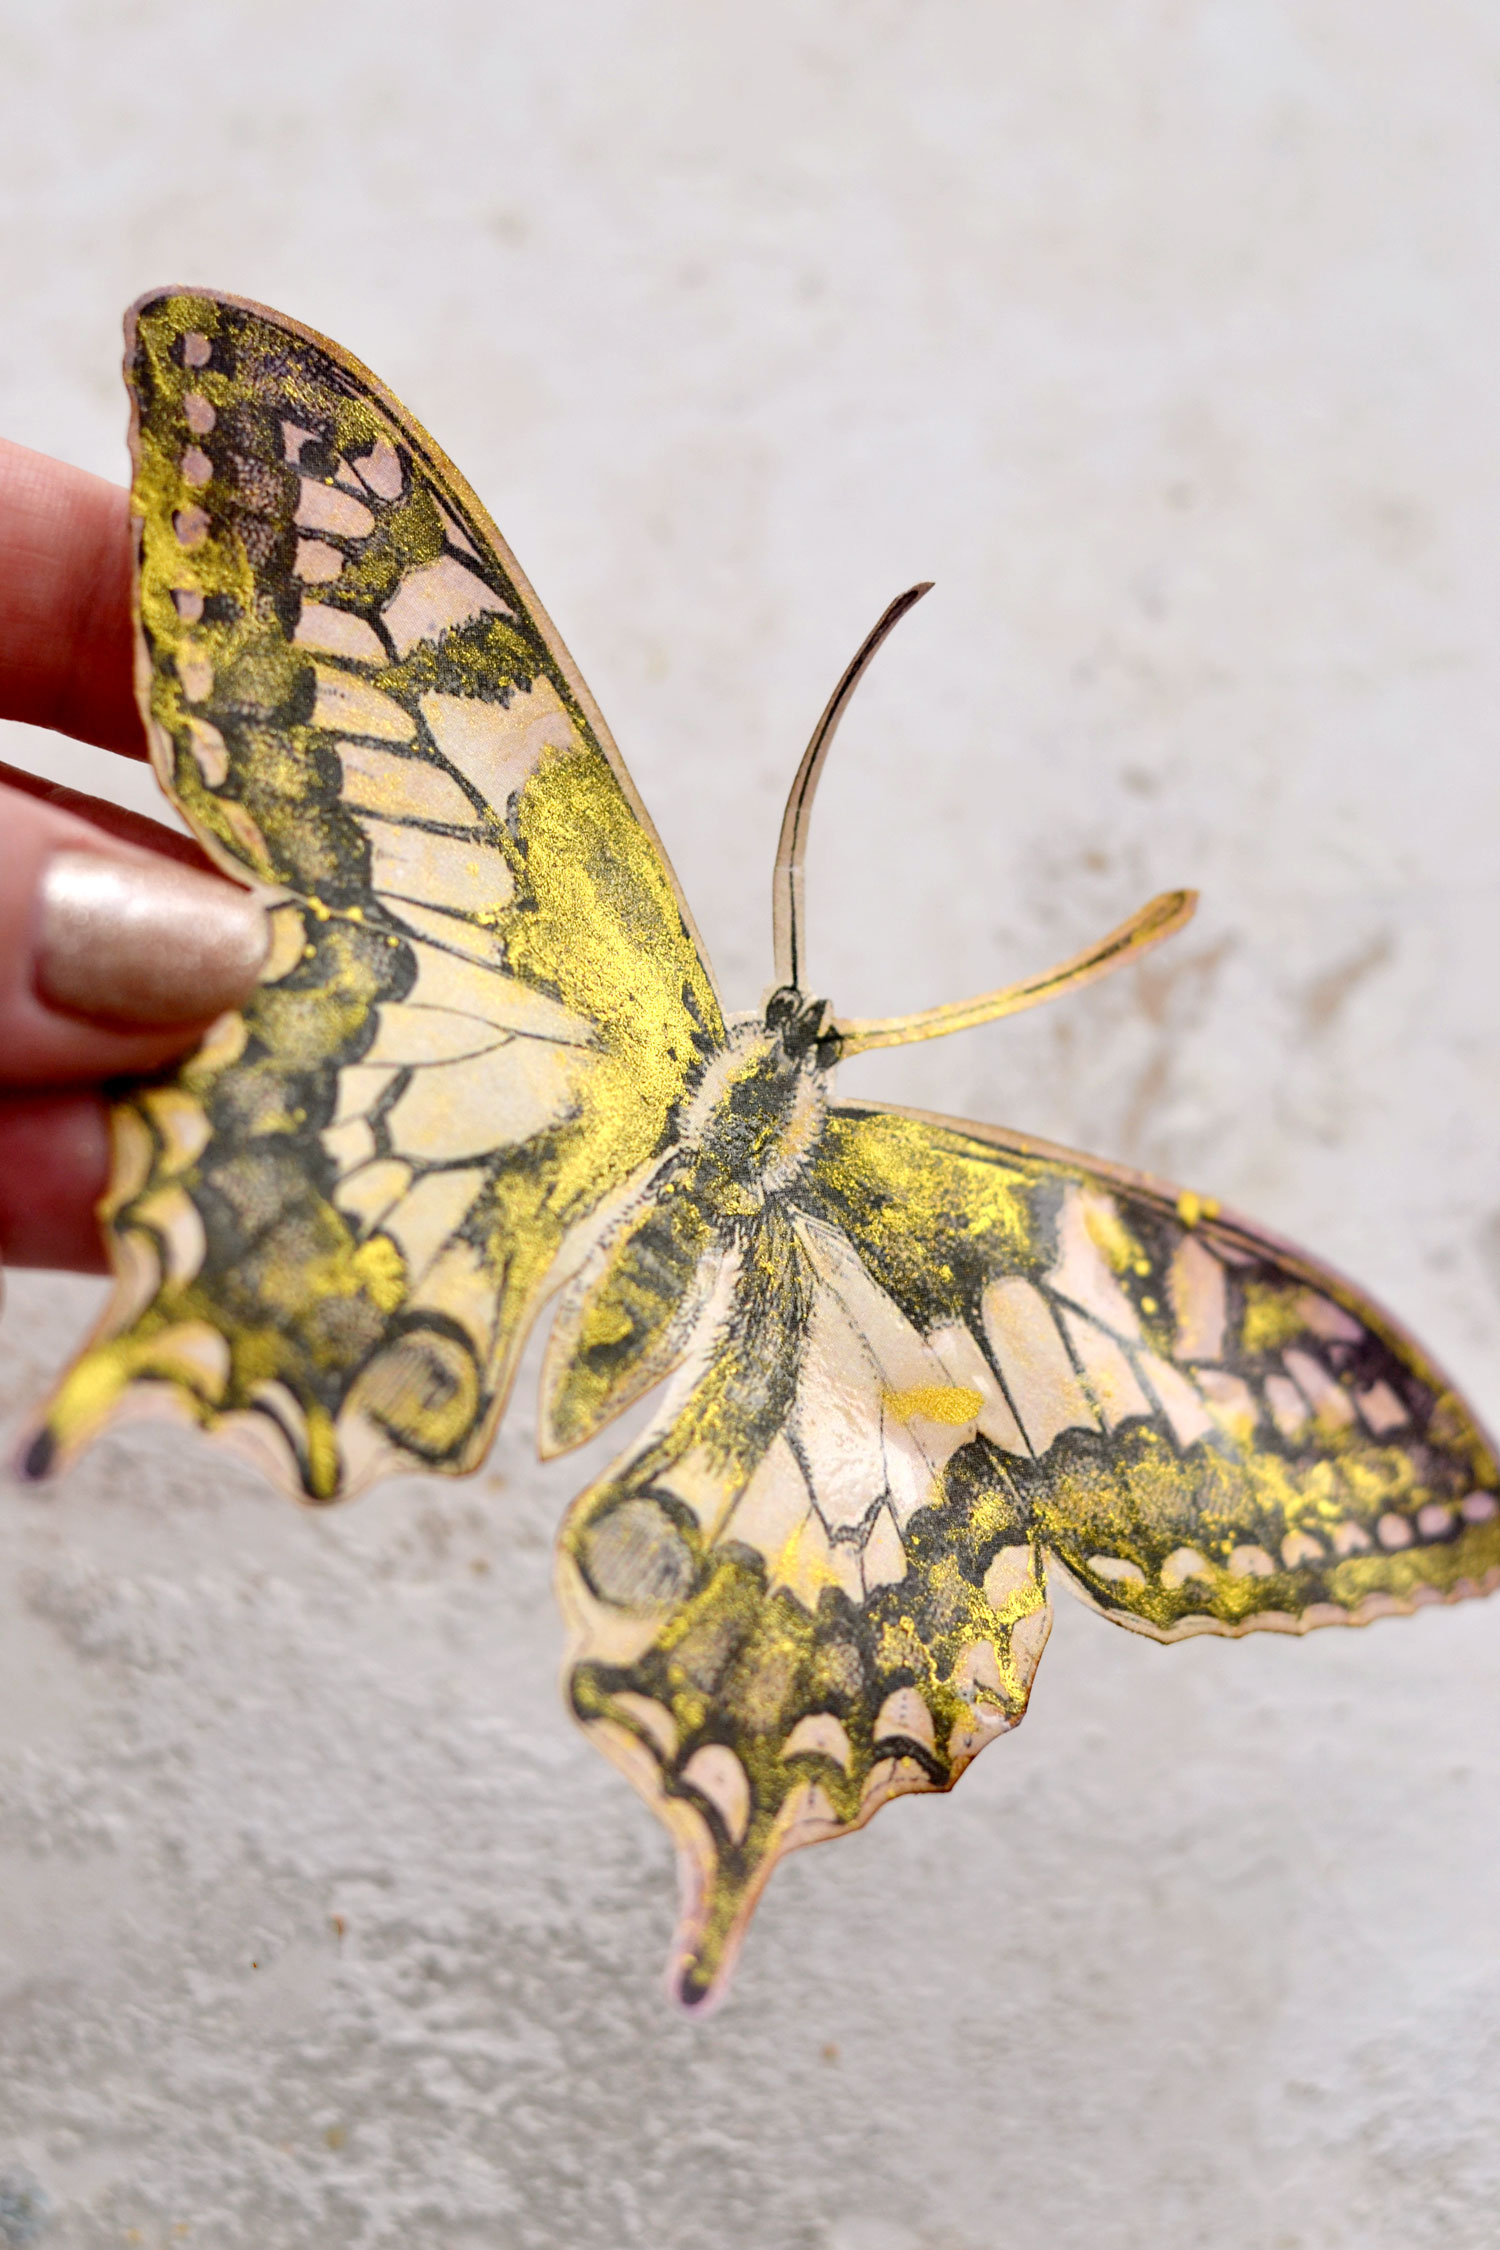
I painted the edges of the Happy birthday sentiments with this gorgeous paint and I added enough water just to make it swirl and create a beautiful abstract effect. For the large butterfly, I loaded my small brush with water and paint and went all over the black details. I wanted to only add some golden touches on top of the design rather than trying to completely cover it. Try not to be too specific and add more water to some of the areas to create a more organic effect.
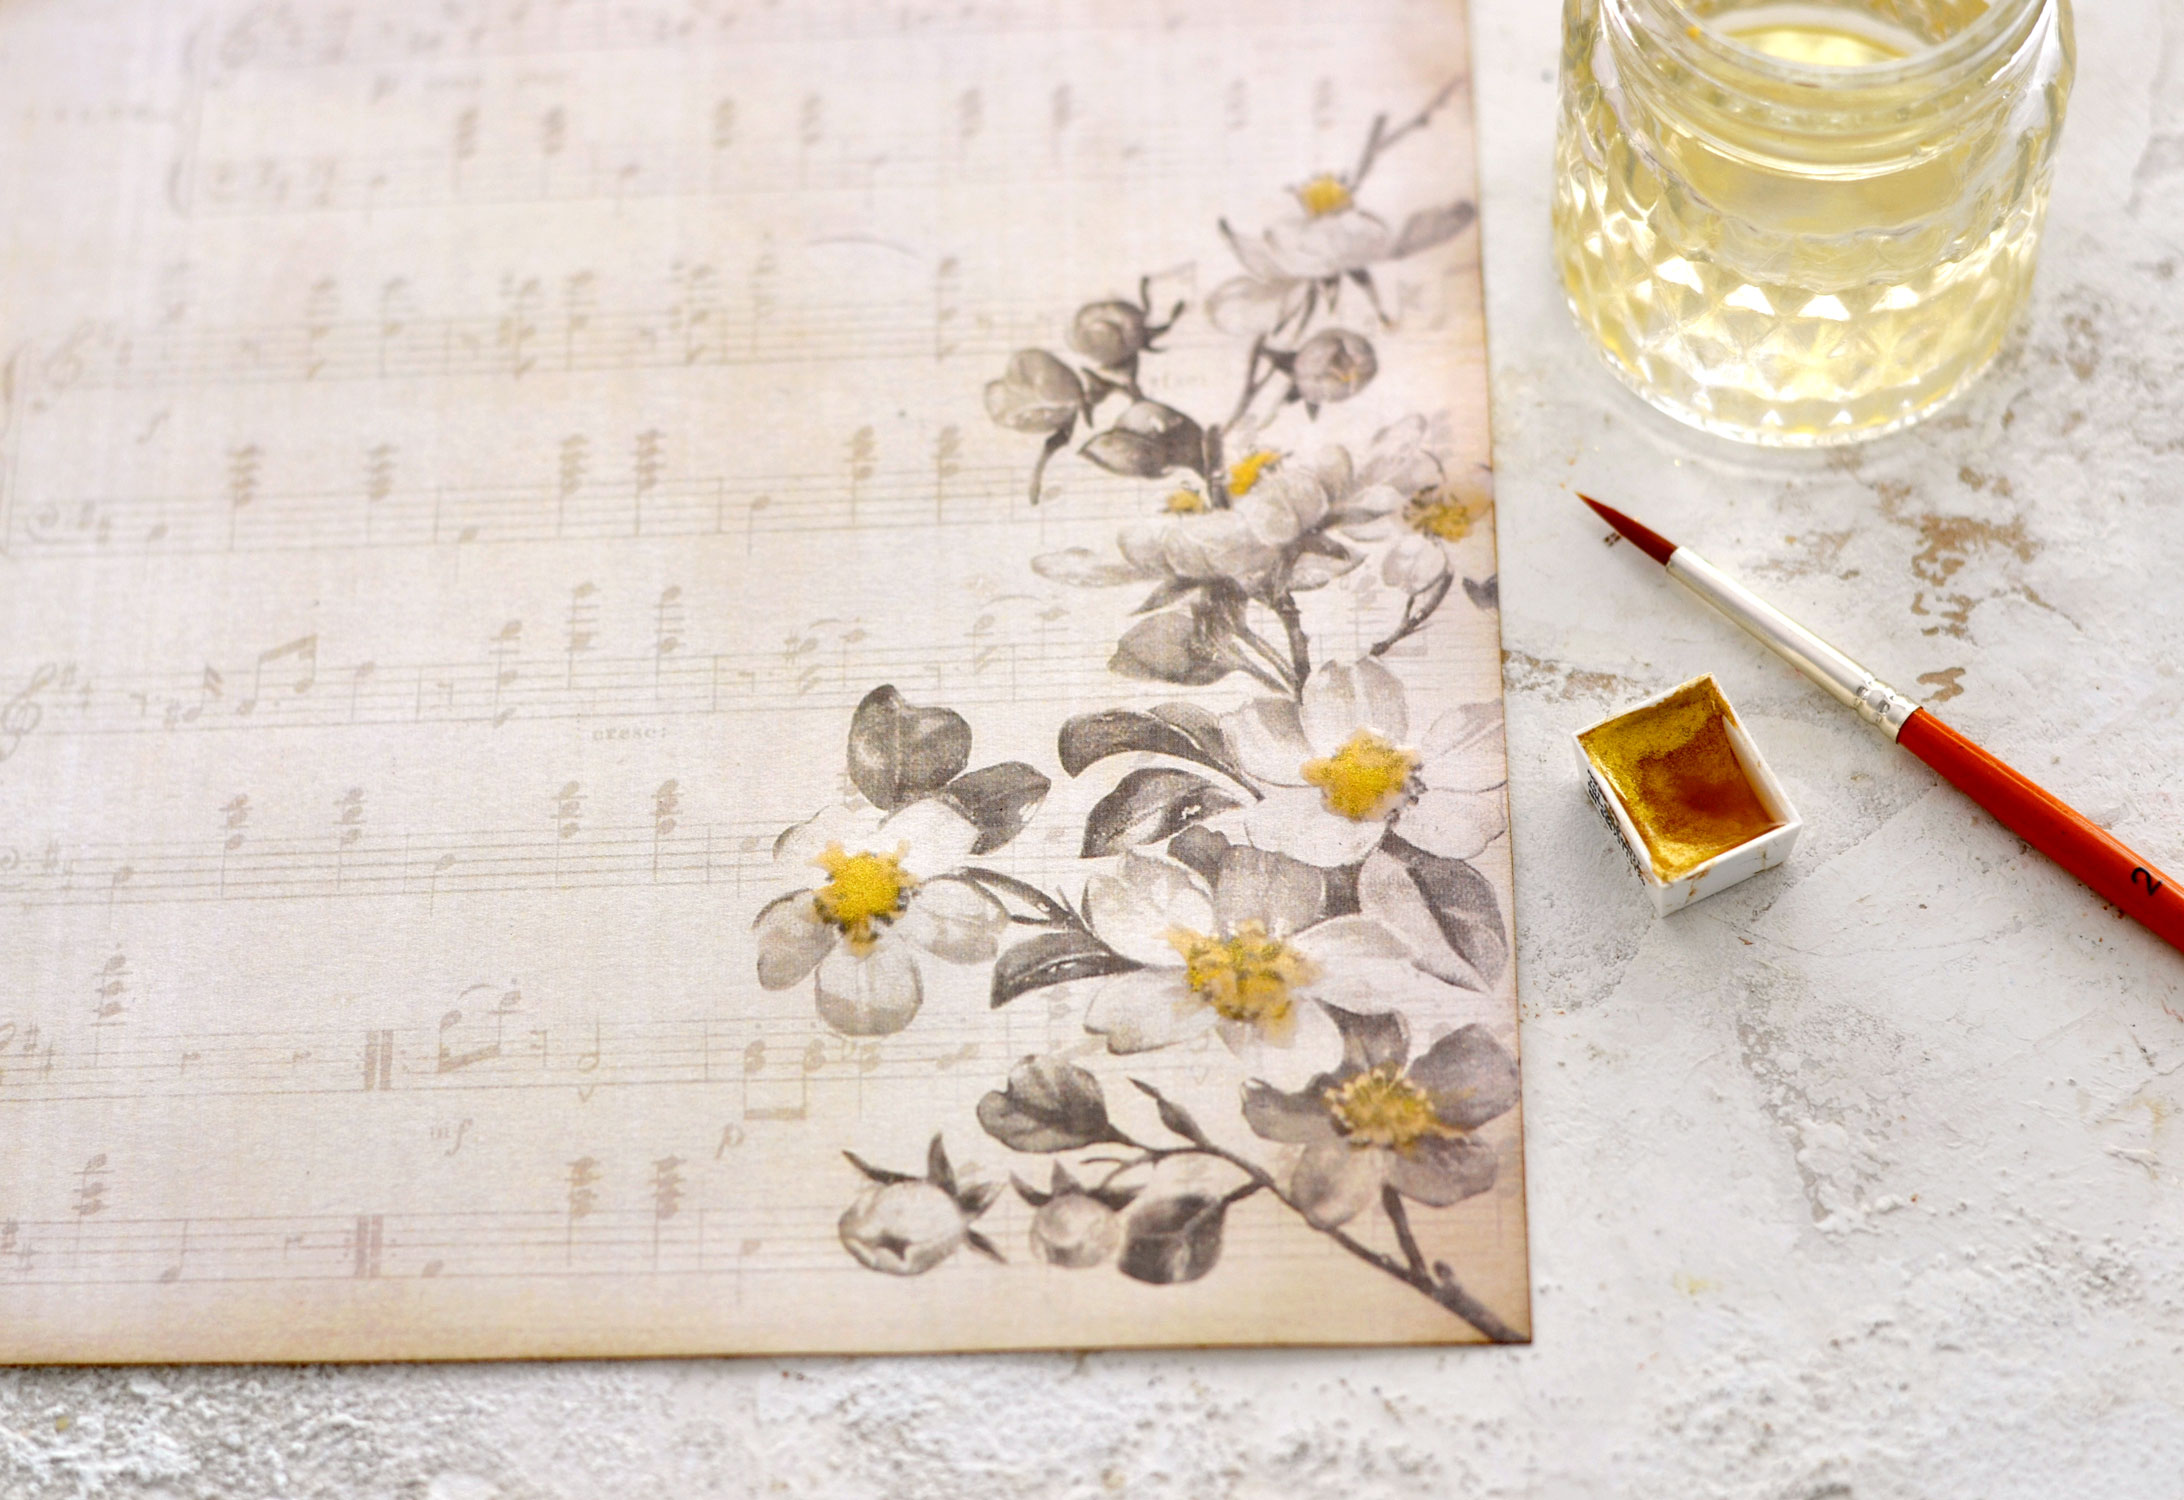
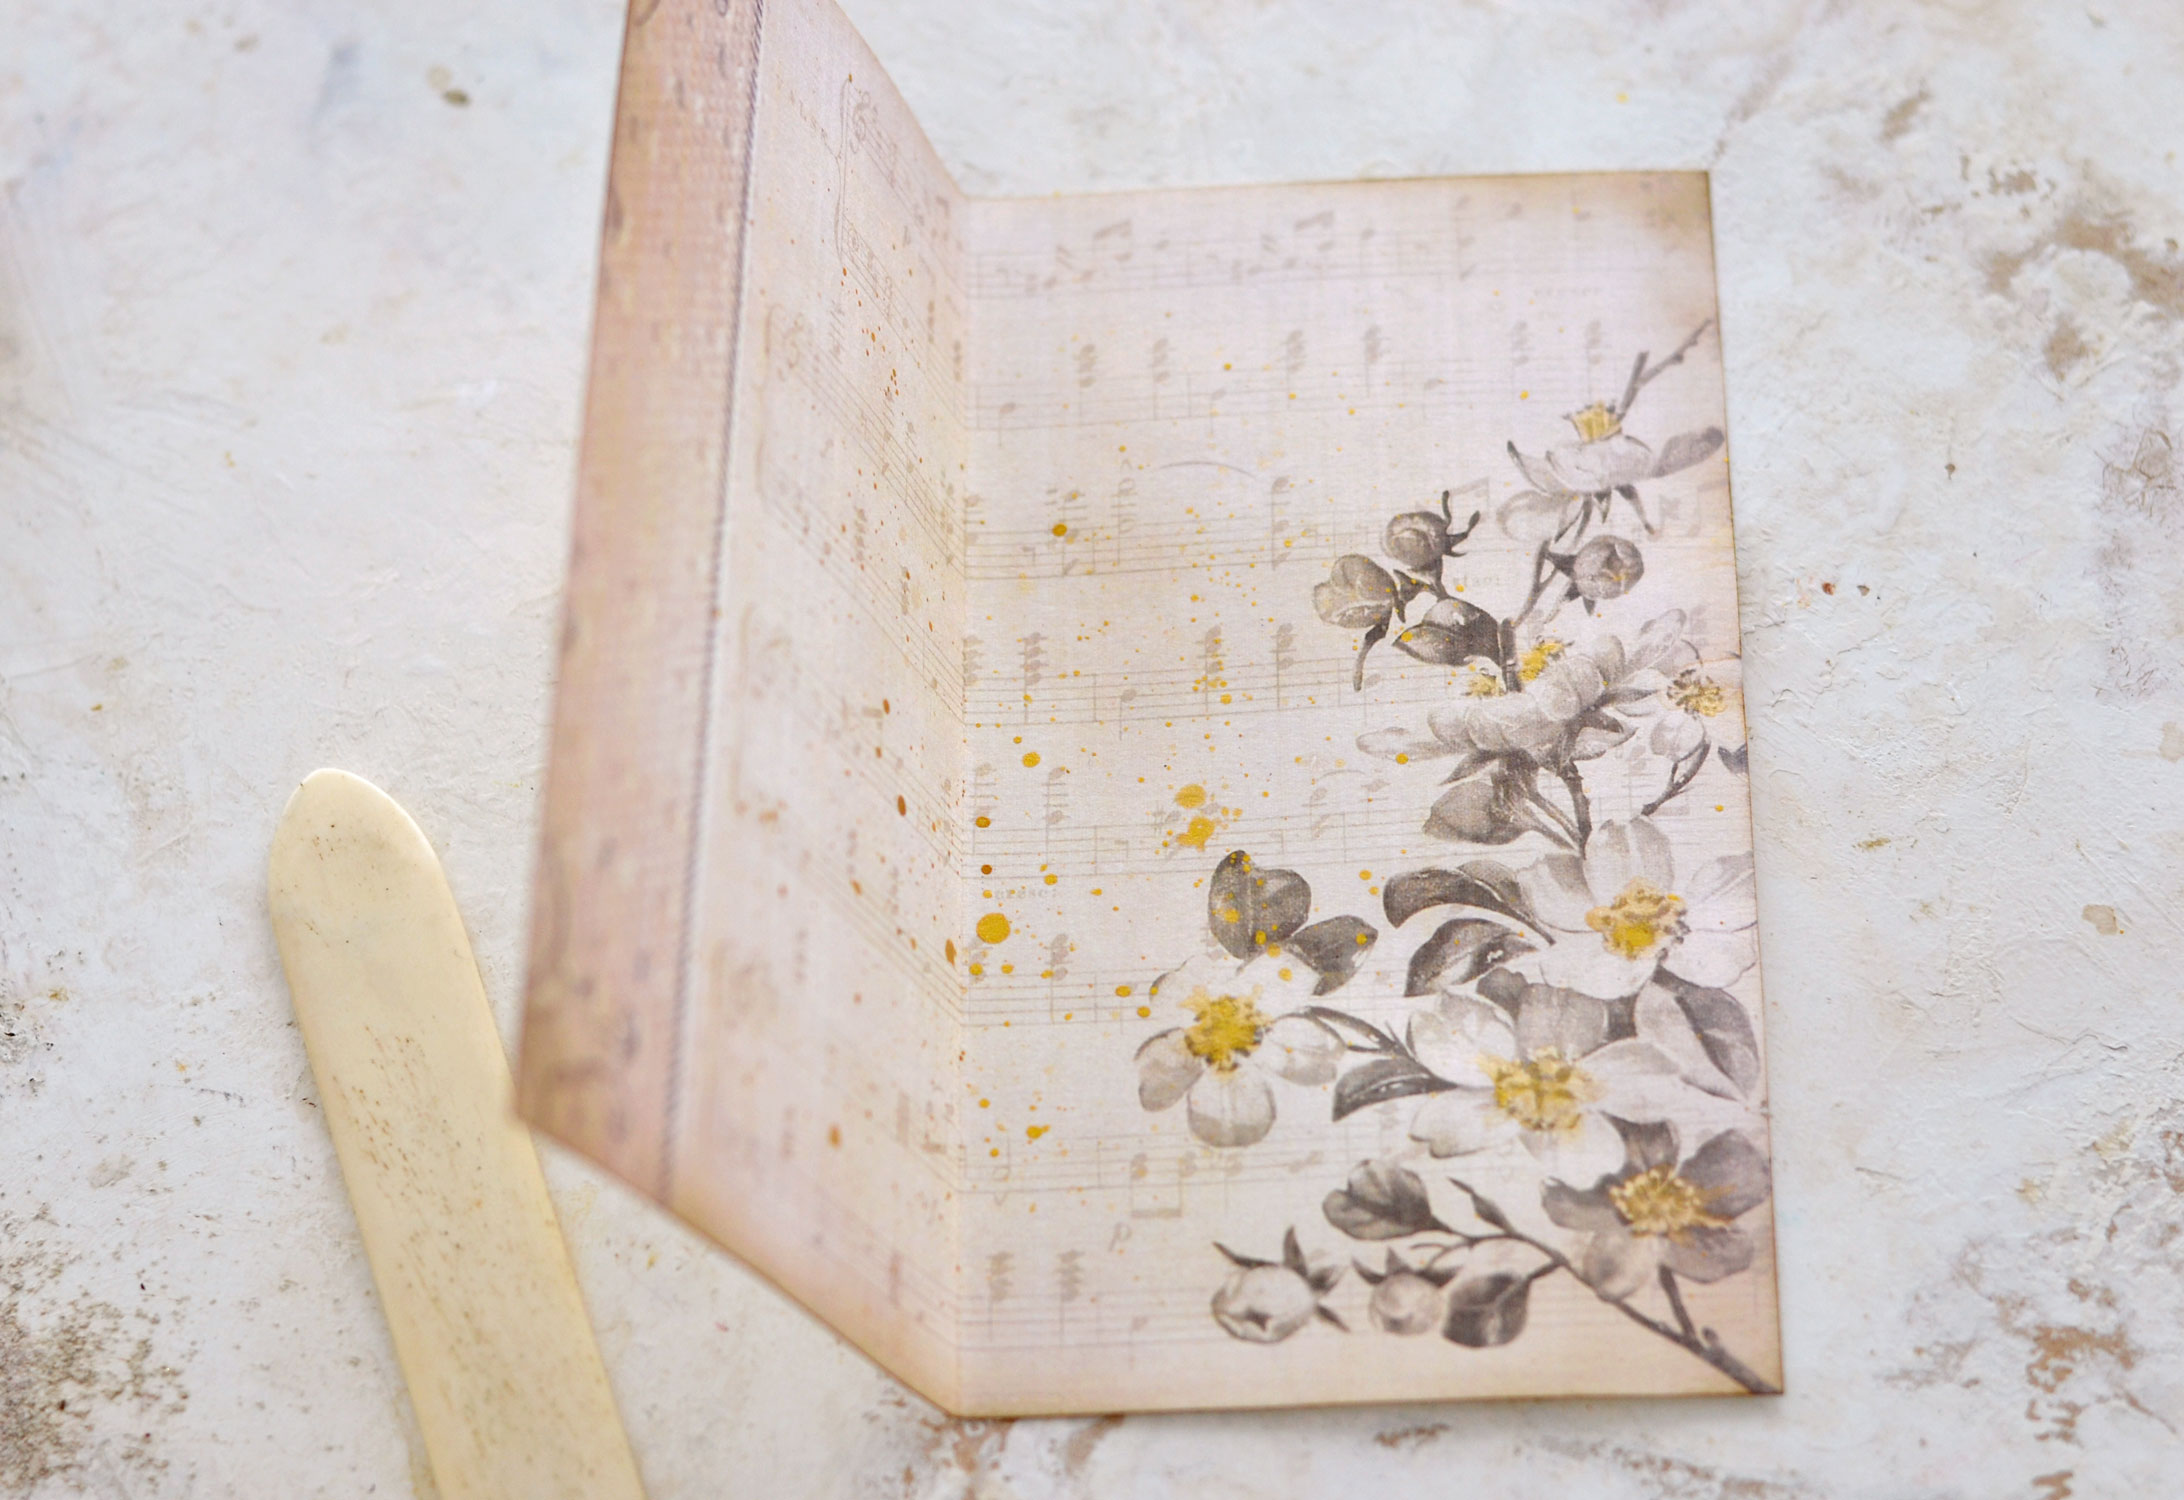
You can add some golden touches to the butterfly card printable that we will be using inside, these blossoms are really charming, don’t you think?
My oversized butterfly is looking amazing! The paper will curl a little bit after the paint dries, but all these warps will just add more character to our elements.
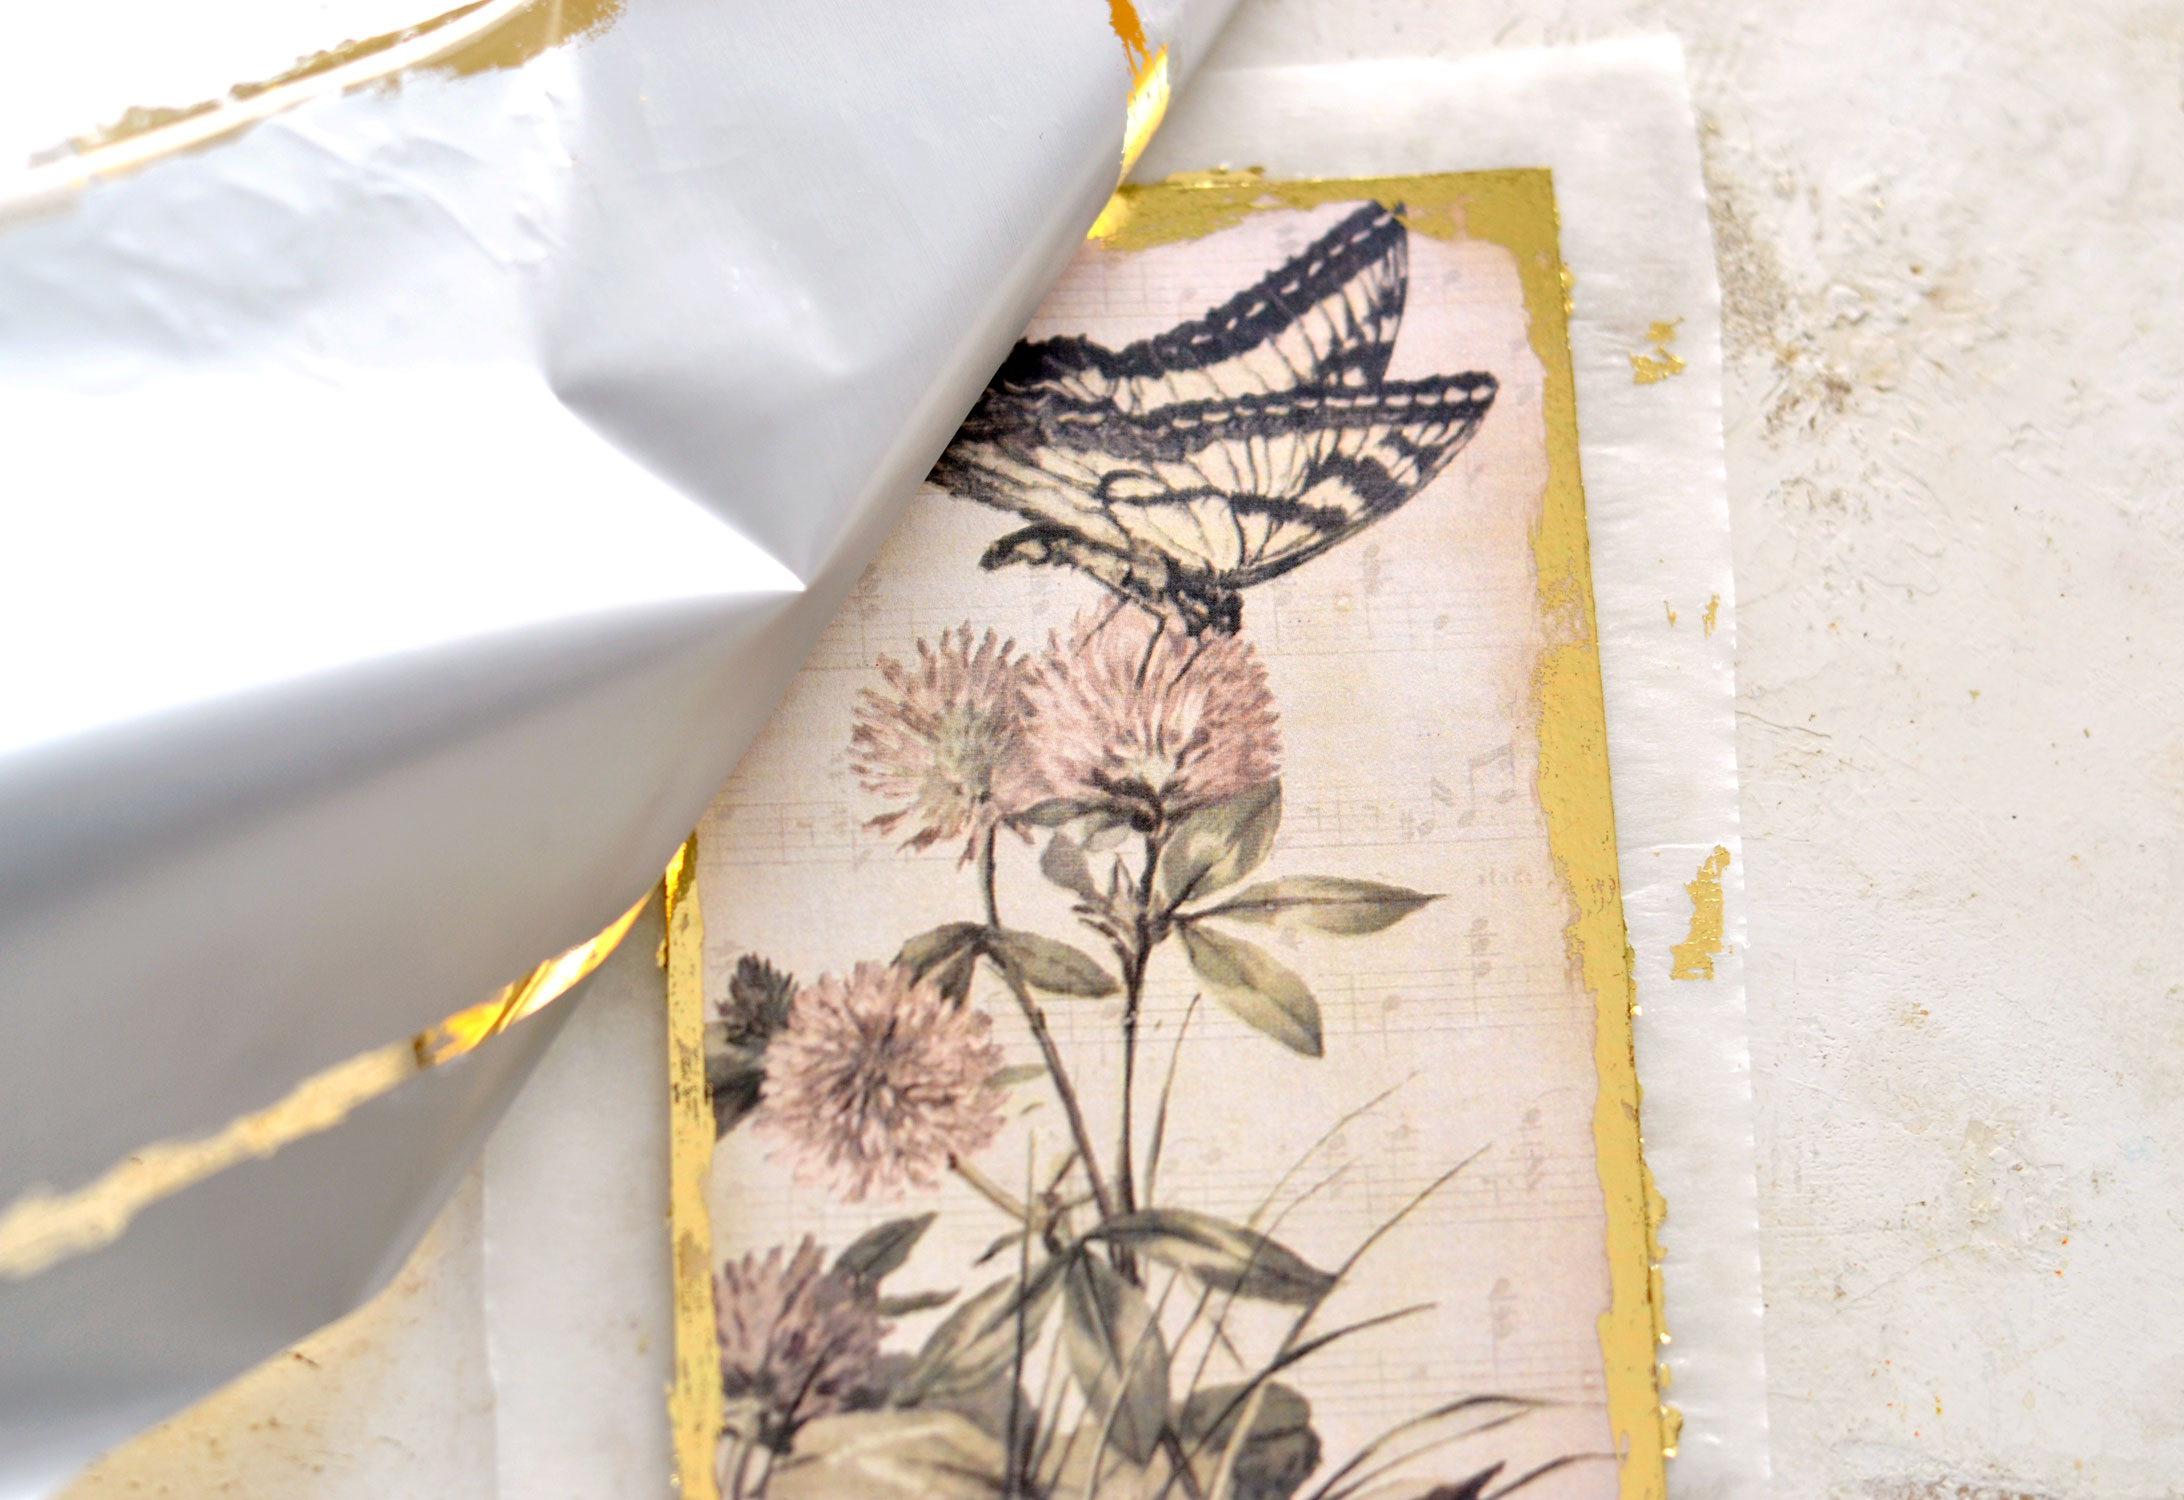
While I was waiting for the paint to dry, I went with a UHU stick glue all over the edges of our top card design and I immediately placed some gold foil on top. This foil is usually heat activated or used with foil glue, but I find it works great with UHU stick glue and Staedtler. Especially for vintage projects like this one when you don’t need perfect finishes and small imperfections are welcomed. I like to use baking paper under the design while applying the glue, then I place the foil on top, and burnish it with my index finger. I usually let it sit with the foil on top for a few minutes, just to make sure the glue had a chance to dry. You can also try this gold foiling technique with Mod Podge – but in this case, you will need to leave the foil on top a little bit more, Mod Podge doesn’t dry so quickly.
I also added a little bit of gold foil to the oversized butterfly – following its shape, but also on the sentiments – going all over their edges. Then I added some gold watercolor splatters on the inside printable and on the top floral card.
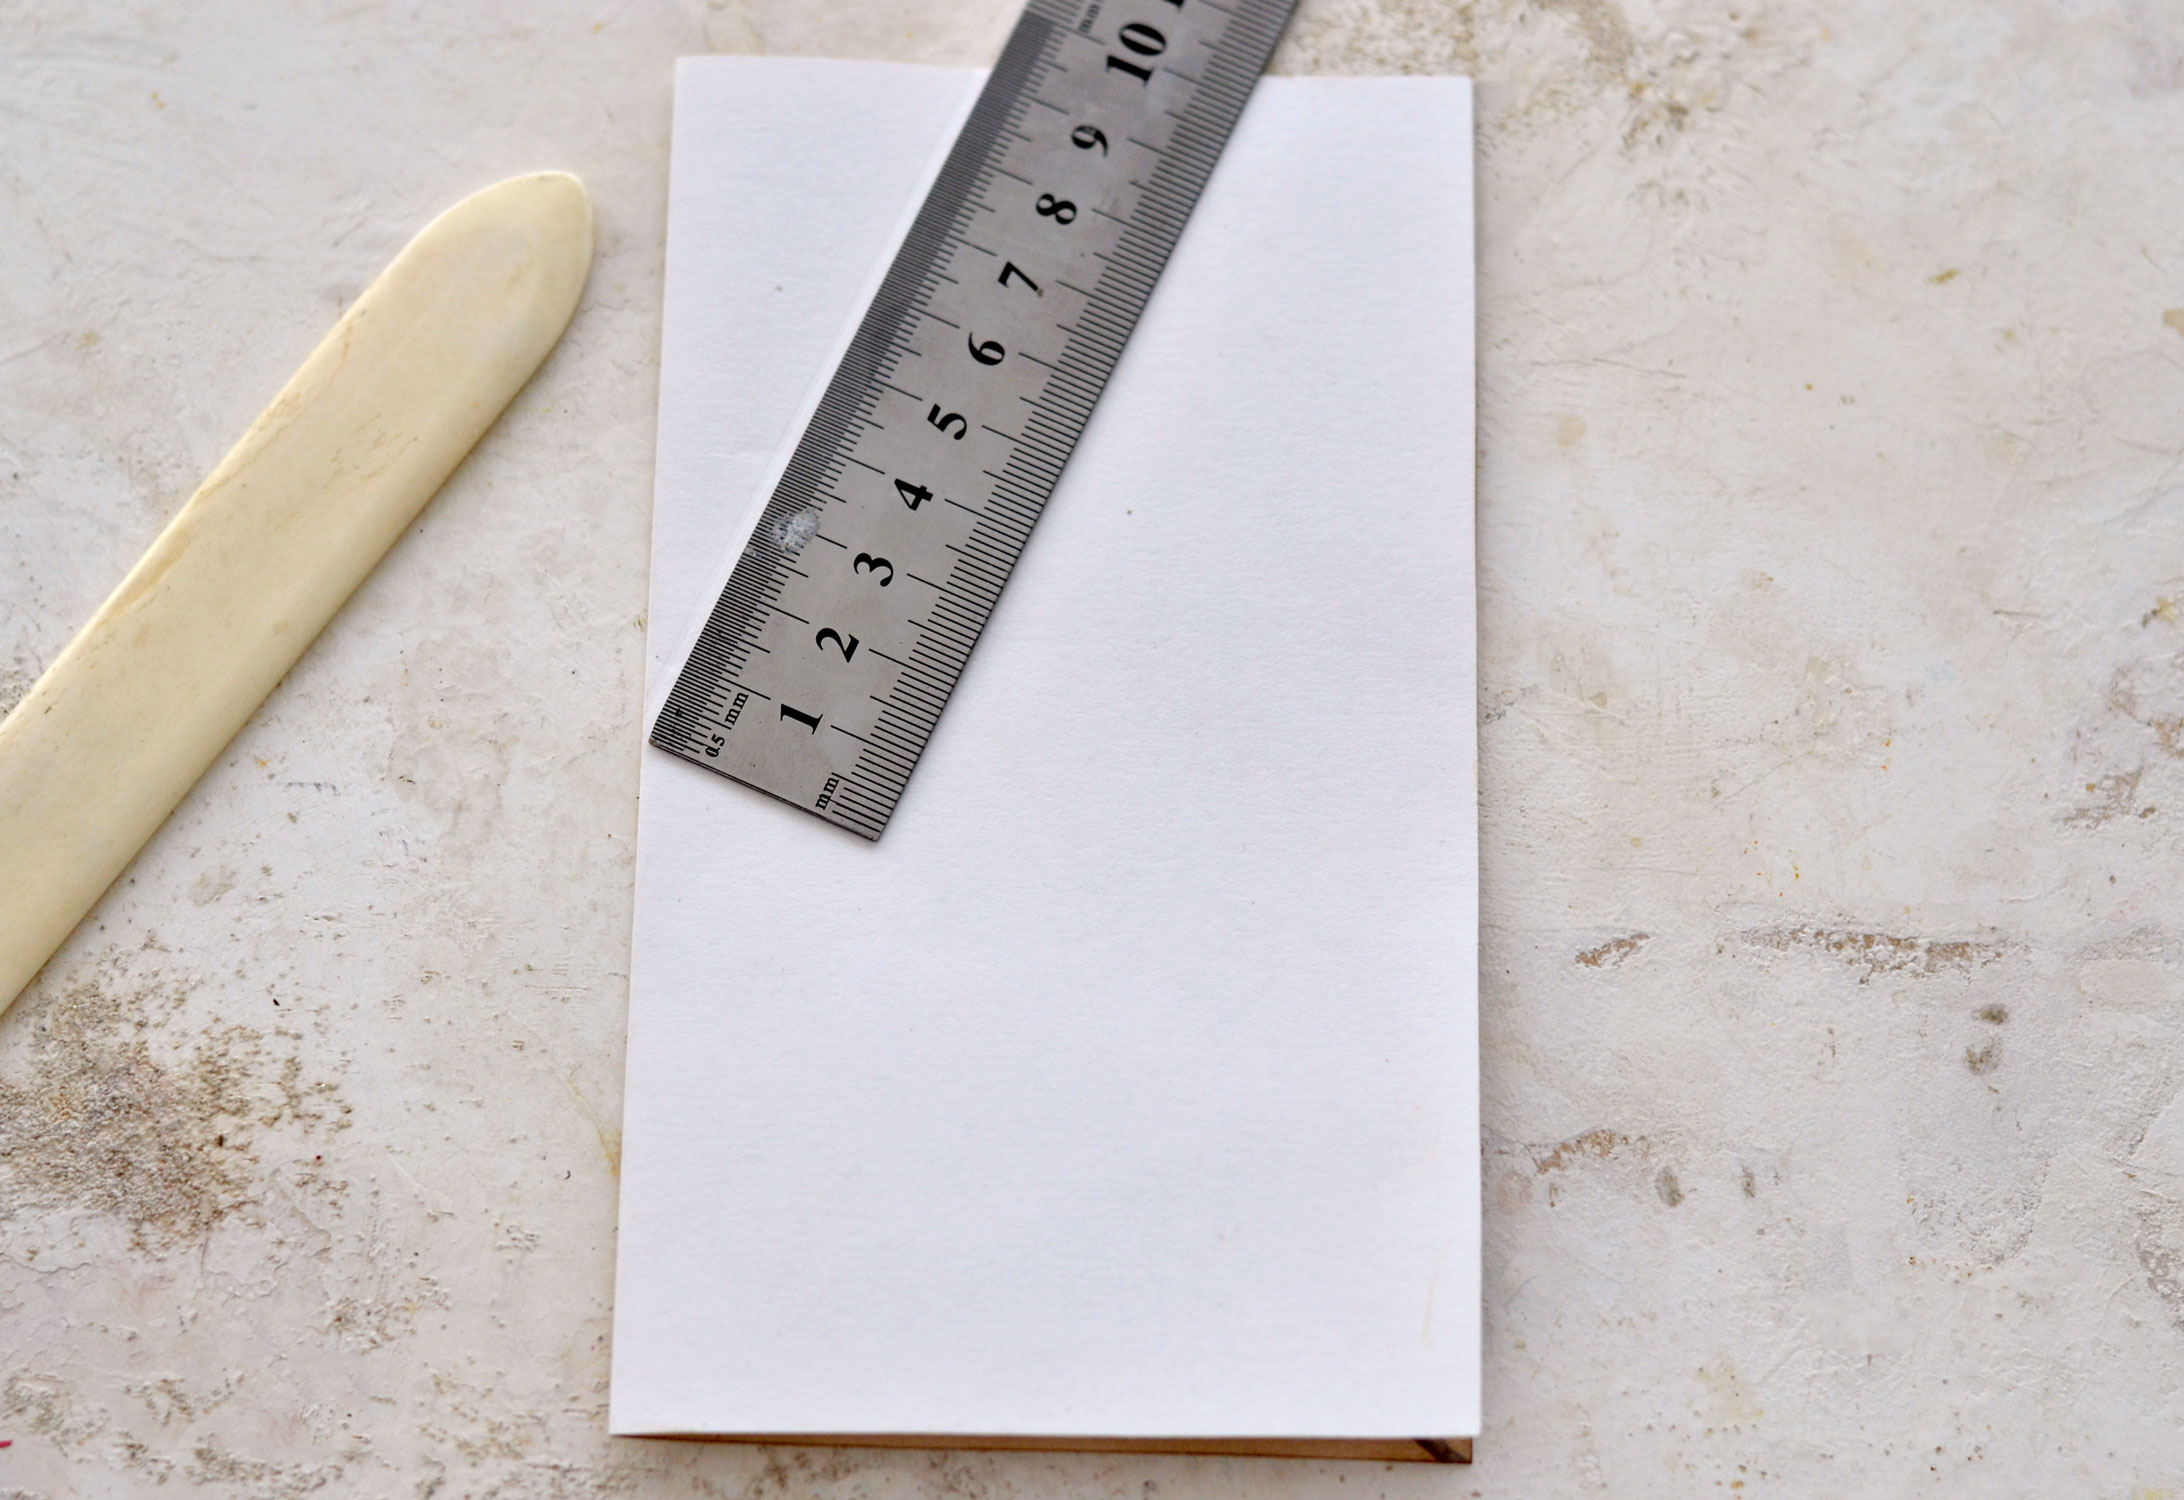
To assemble the card, you’ll need to first fold the simple vintage background card base in half. Please check to see the orientation of your card base first – just place the floral design on top, you should only have a small space around the edges. When folding this element, the vintage background design should be on the outside and the back of the paper should be on the inside. Use a ruler and a bone folder to score the paper (or use a scoring board), then burnish it to create a clean line in the middle.
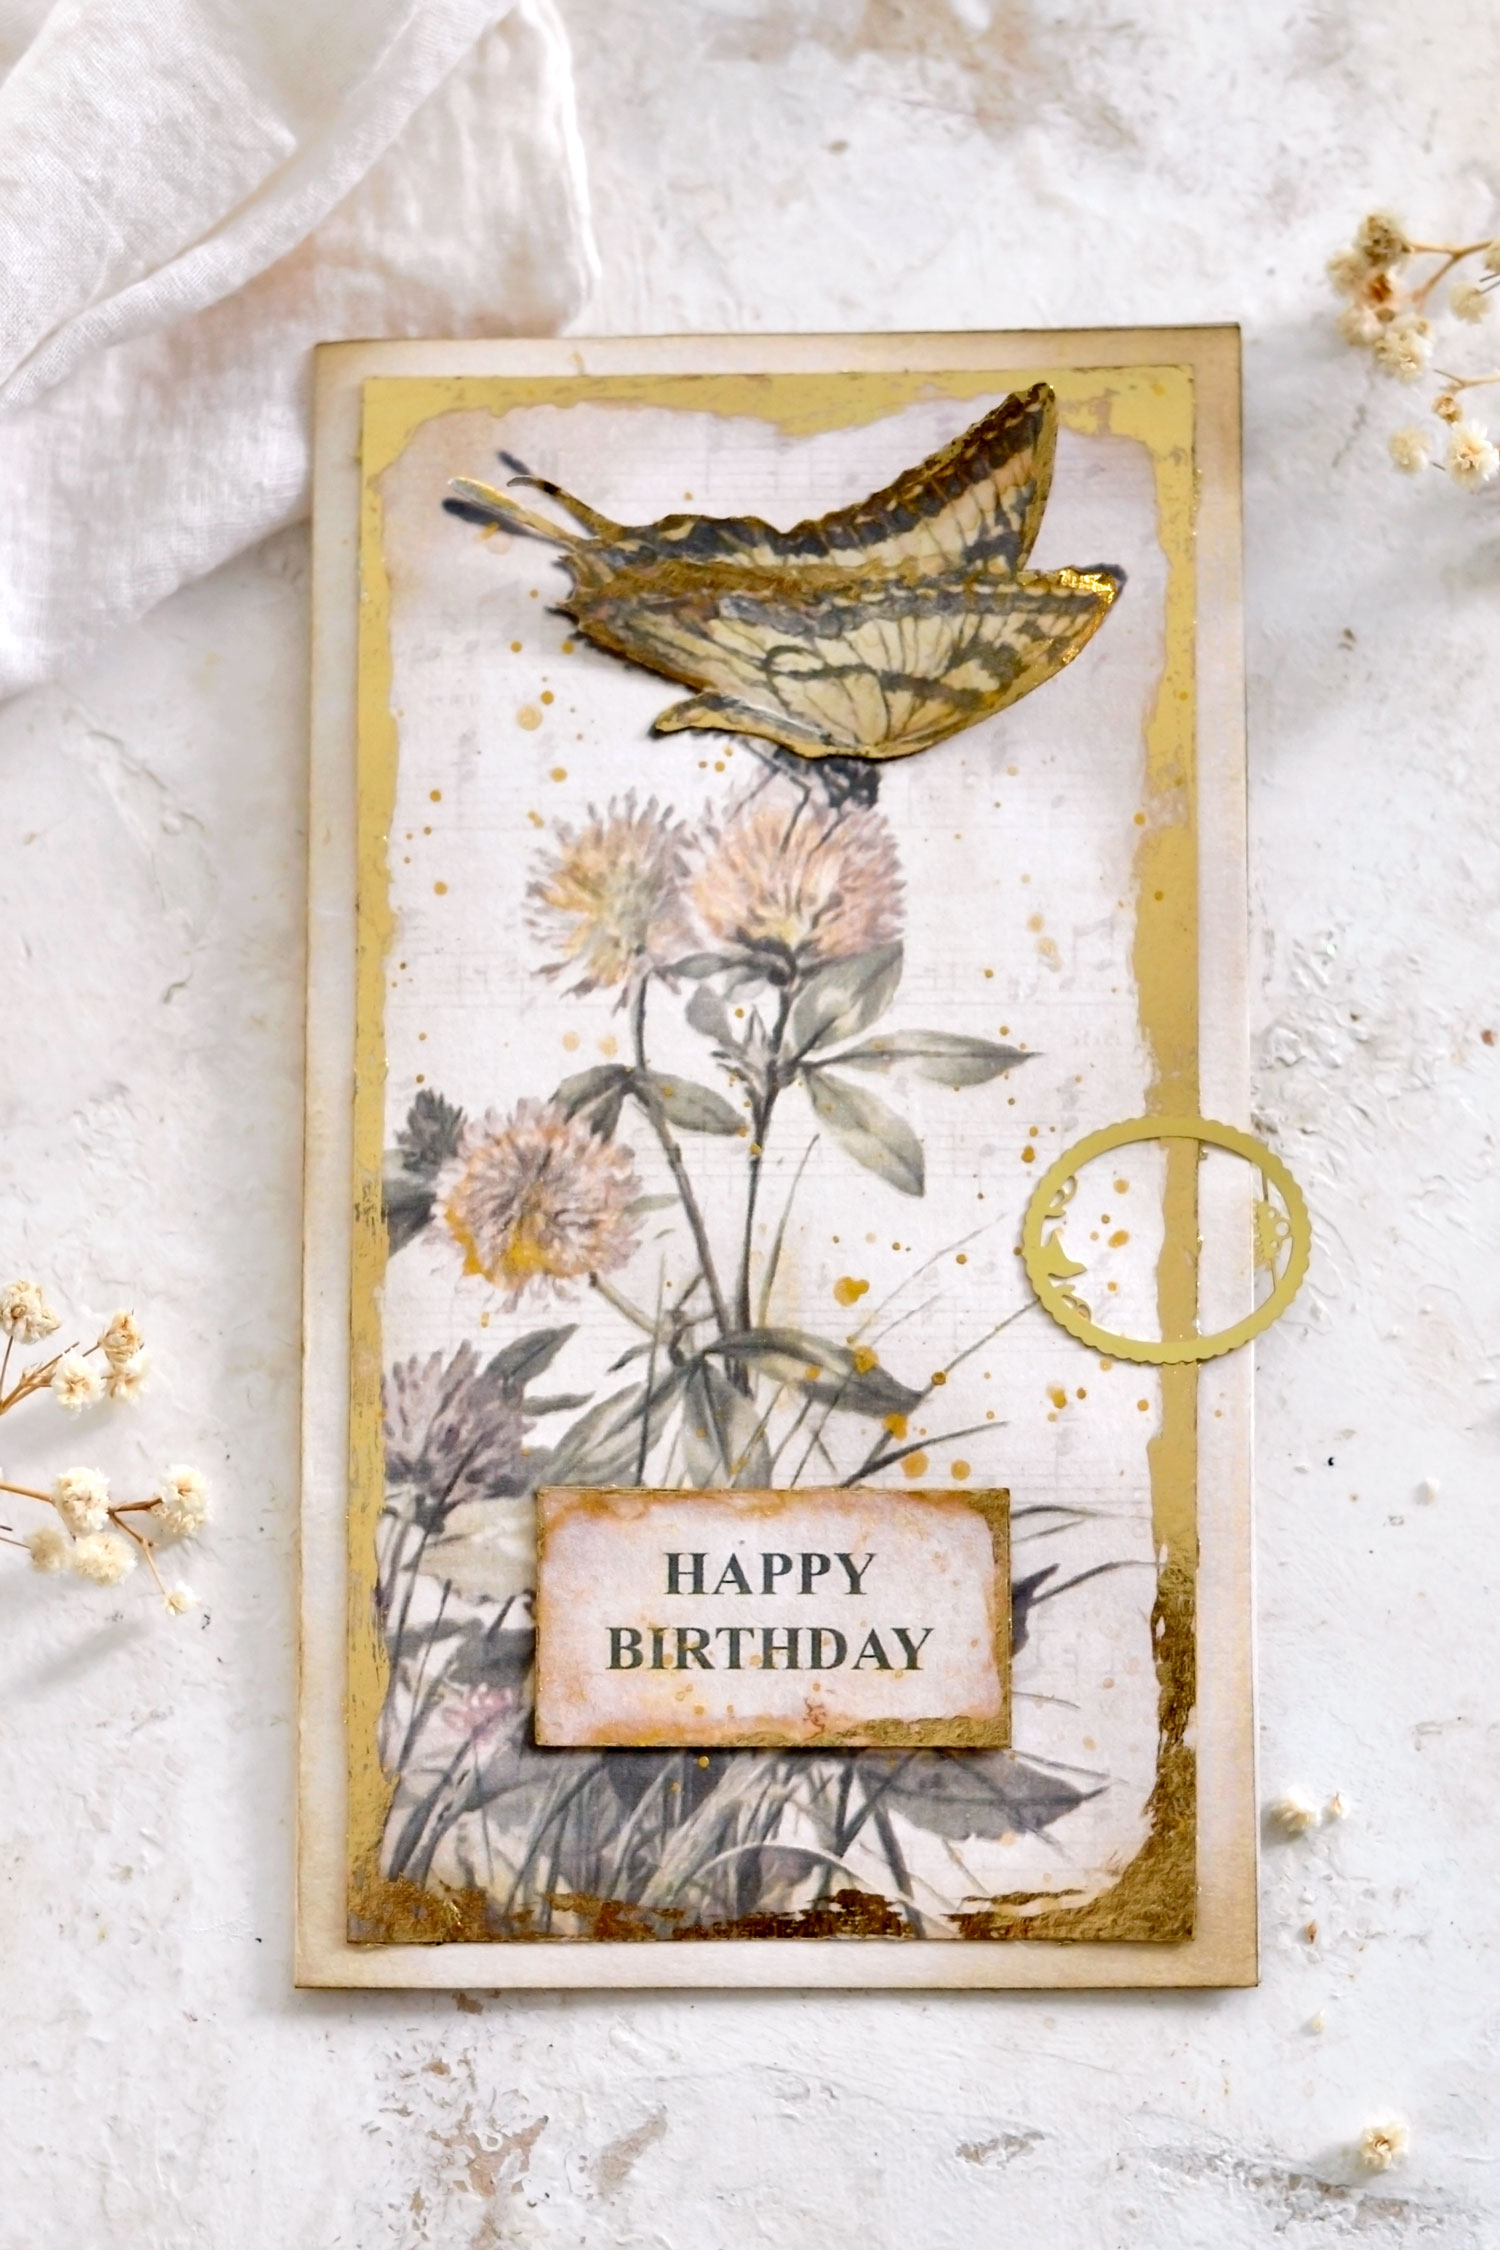
Put some glue on the back of our floral design, then air-center it and carefully place it on top of the folded card. Decide on the color of the sentiment that you would like to use and move it around the page until you find the best spot. I actually decided to overlap two sentiments, just to create a small raised effect and add some dimension (you could also use some foam tape instead). You can add some gold foil all over the edges of the additional smaller butterfly, but don’t apply it just yet – we’ll be adding it later on, after creating the pop-up mechanism on the inside.
To create the diy pop-up mechanism just place the gorgeous collage with the music notes and the blossoms on your table, then use a ruler and a bone folder to score it. This time, the printed design should be inside after folding it in half and the back of the paper on the outside.
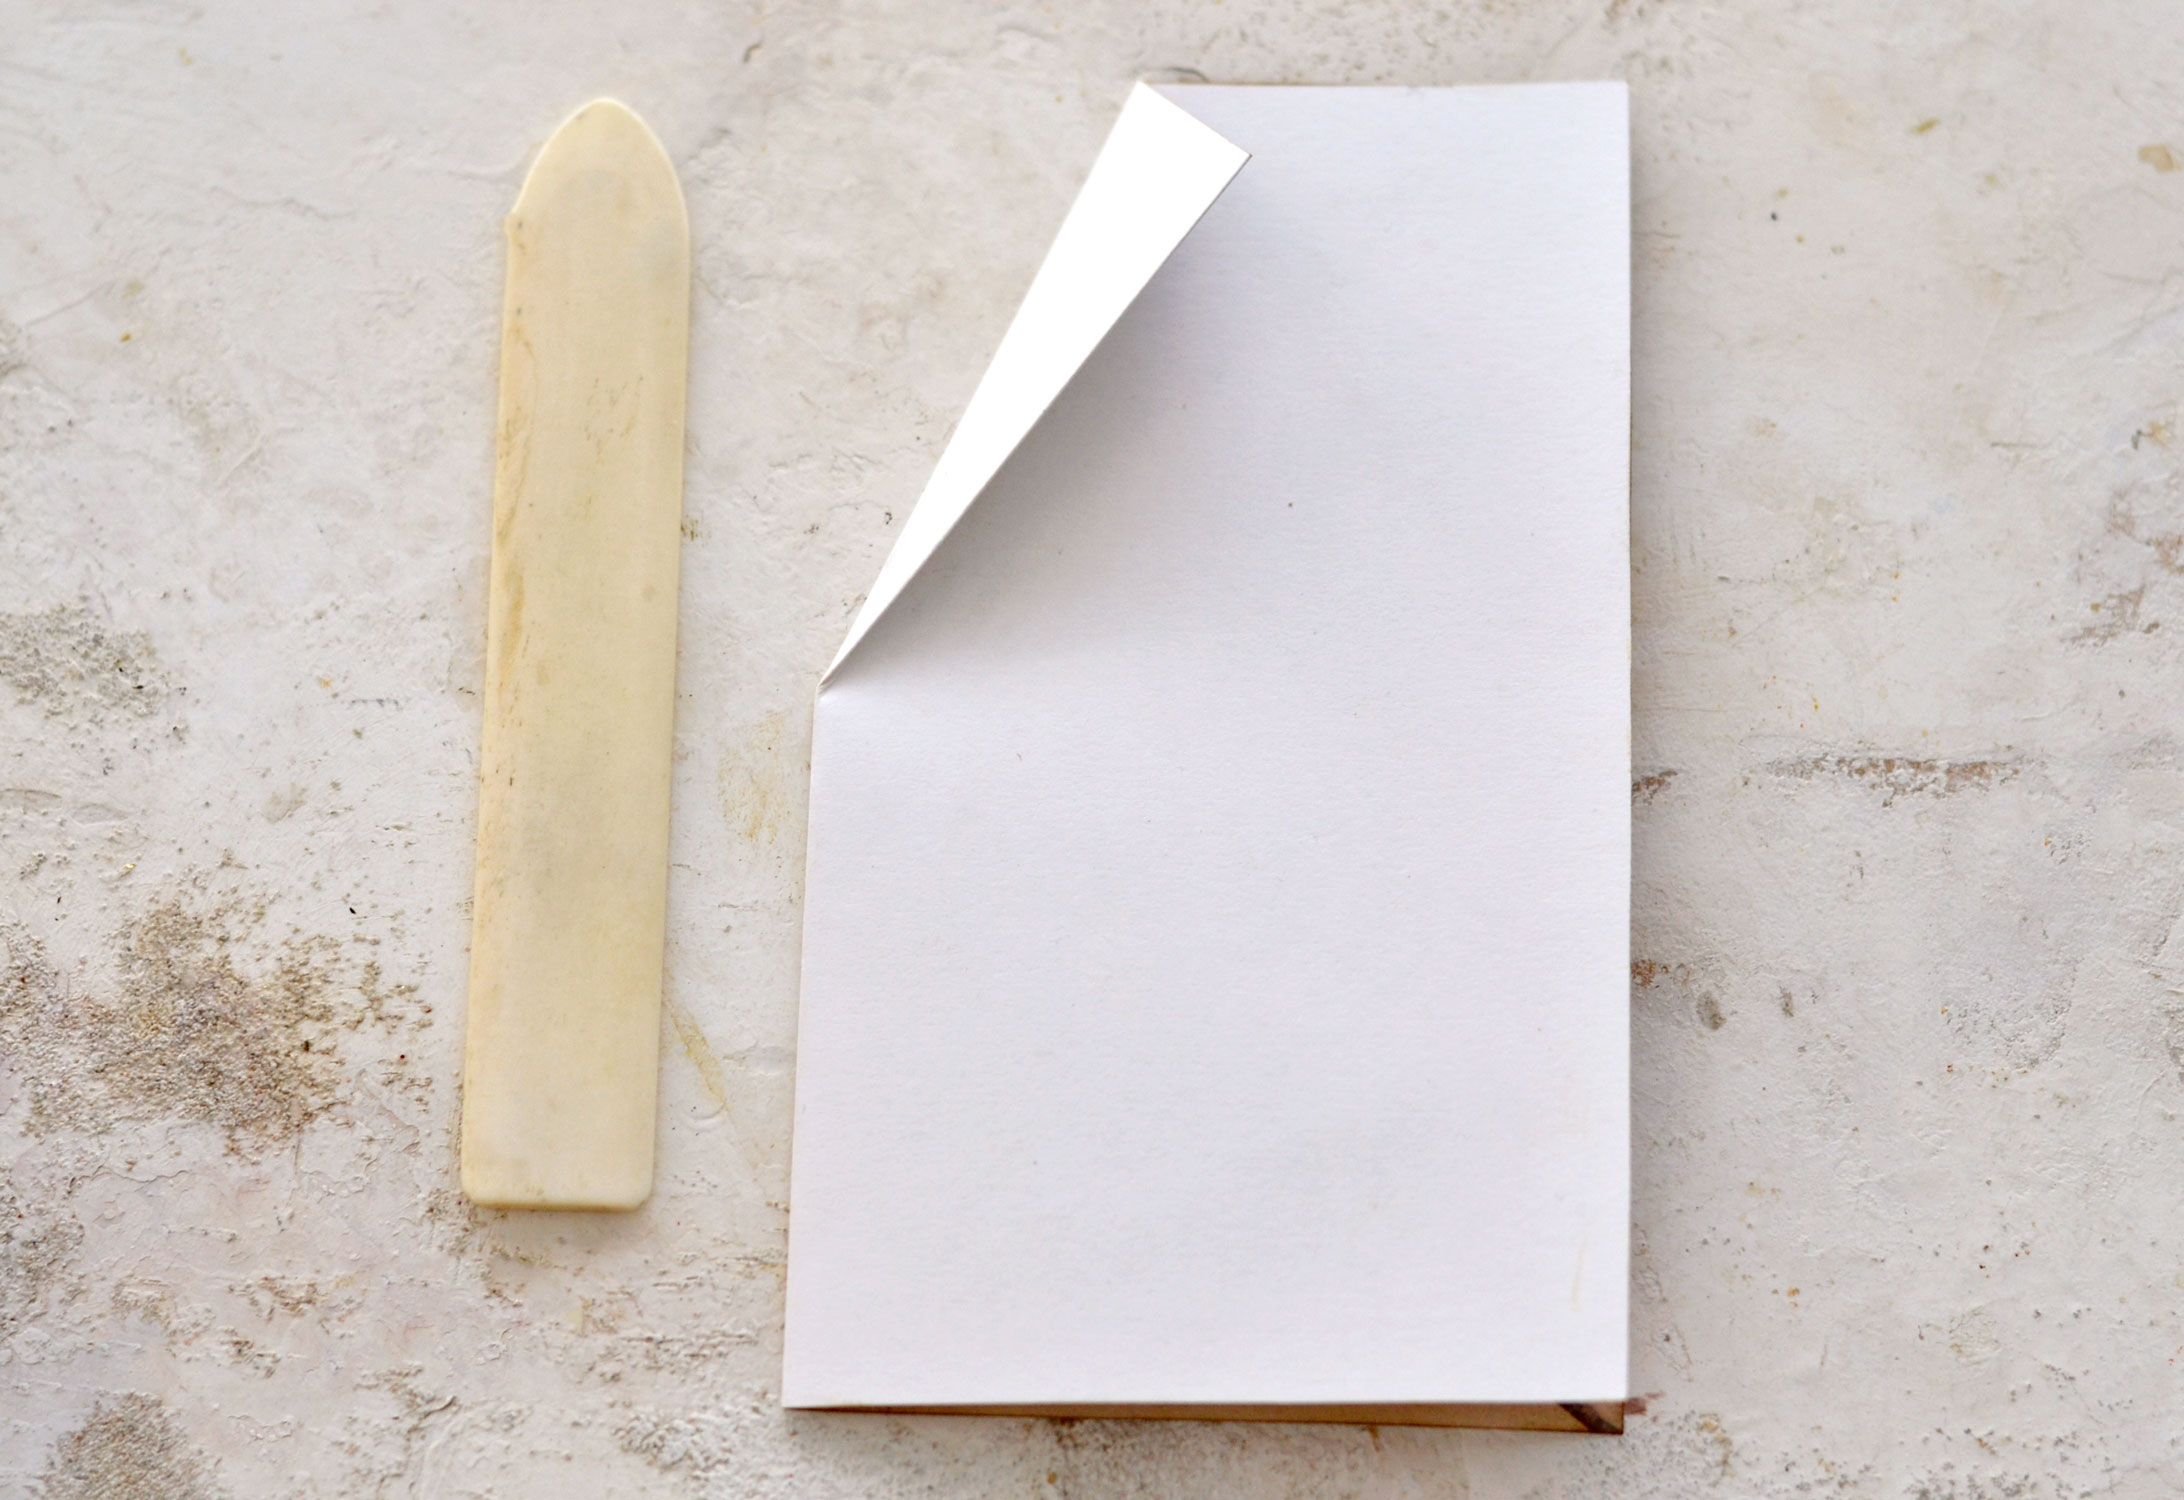
Place the folded-in-half paper on the table, then use a ruler and a bone folder to score a triangle in the top left corner – on the side where the fold is. The triangle should have around 1 inch on the top and 2 1/2 inches on the left side, but don’t worry if it’s not exactly like this – this process is quite forgiving.
Following the scoring line, fold the triangle towards you and use your bone folder to burnish it.
Then unfold it and fold it again towards the back. Again, use your bone folder to burnish it.
Unfold it again and then use your fingers to press the middle part towards the interior. You might need to pick it up from your table to perform this move. We are basically rearranging the position of our triangle and we are moving it to the inside to create a little flap!
It should look like this on the outside, just give it another bone folder burnish on both sides.
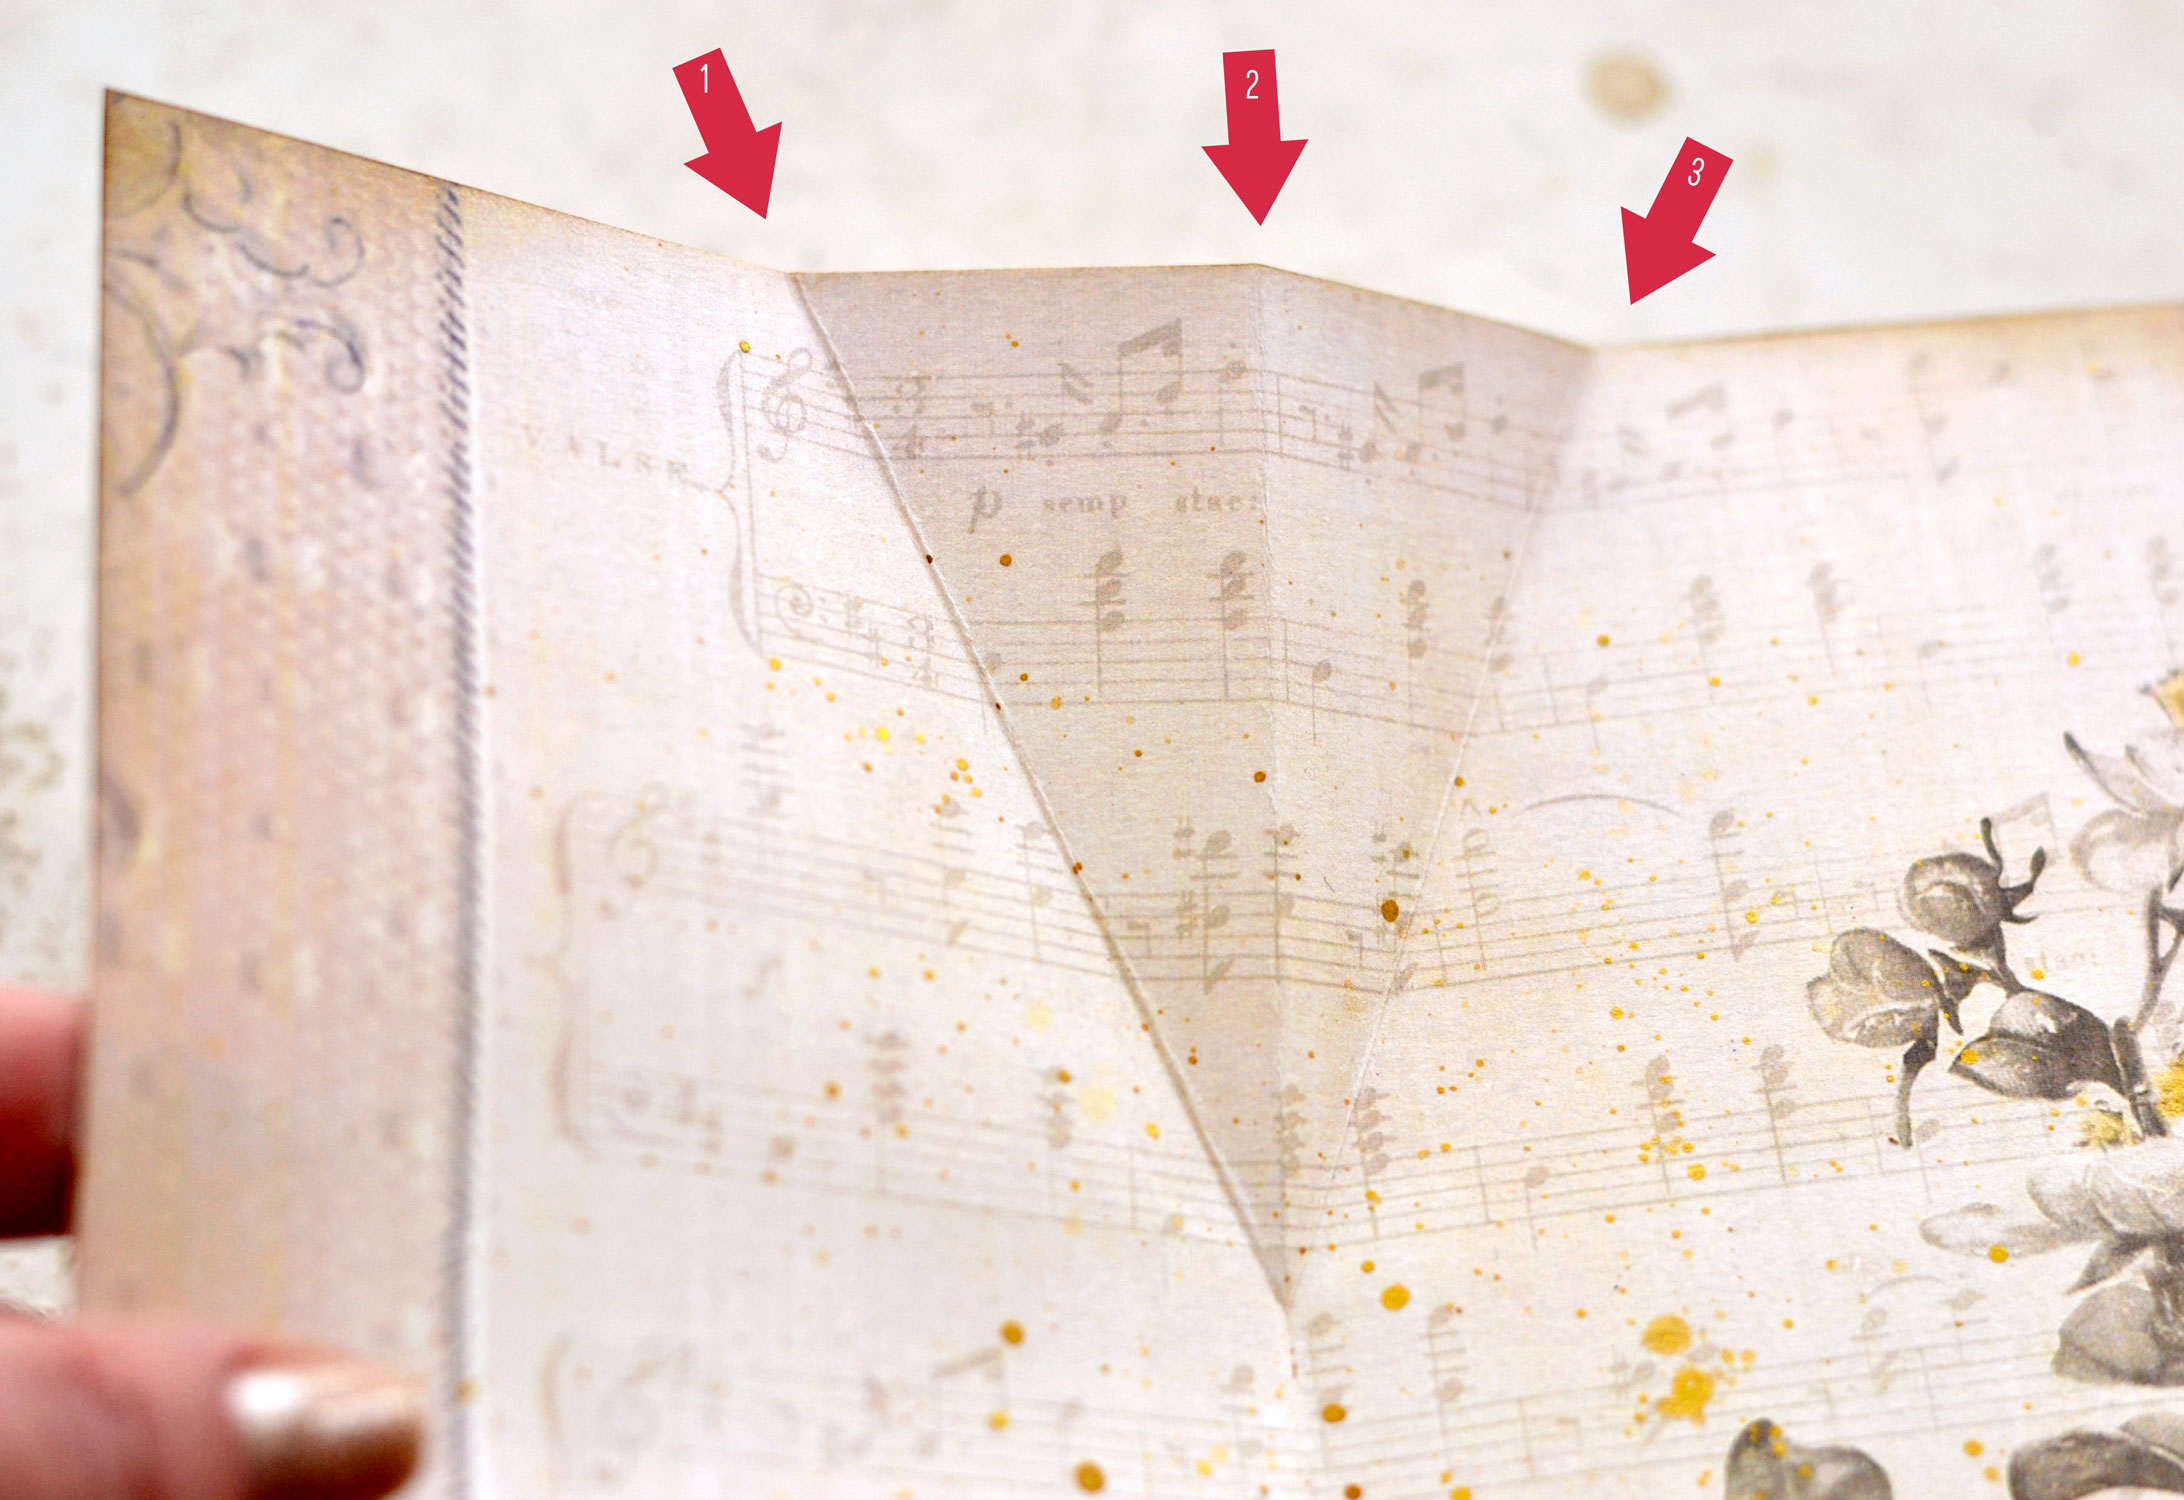
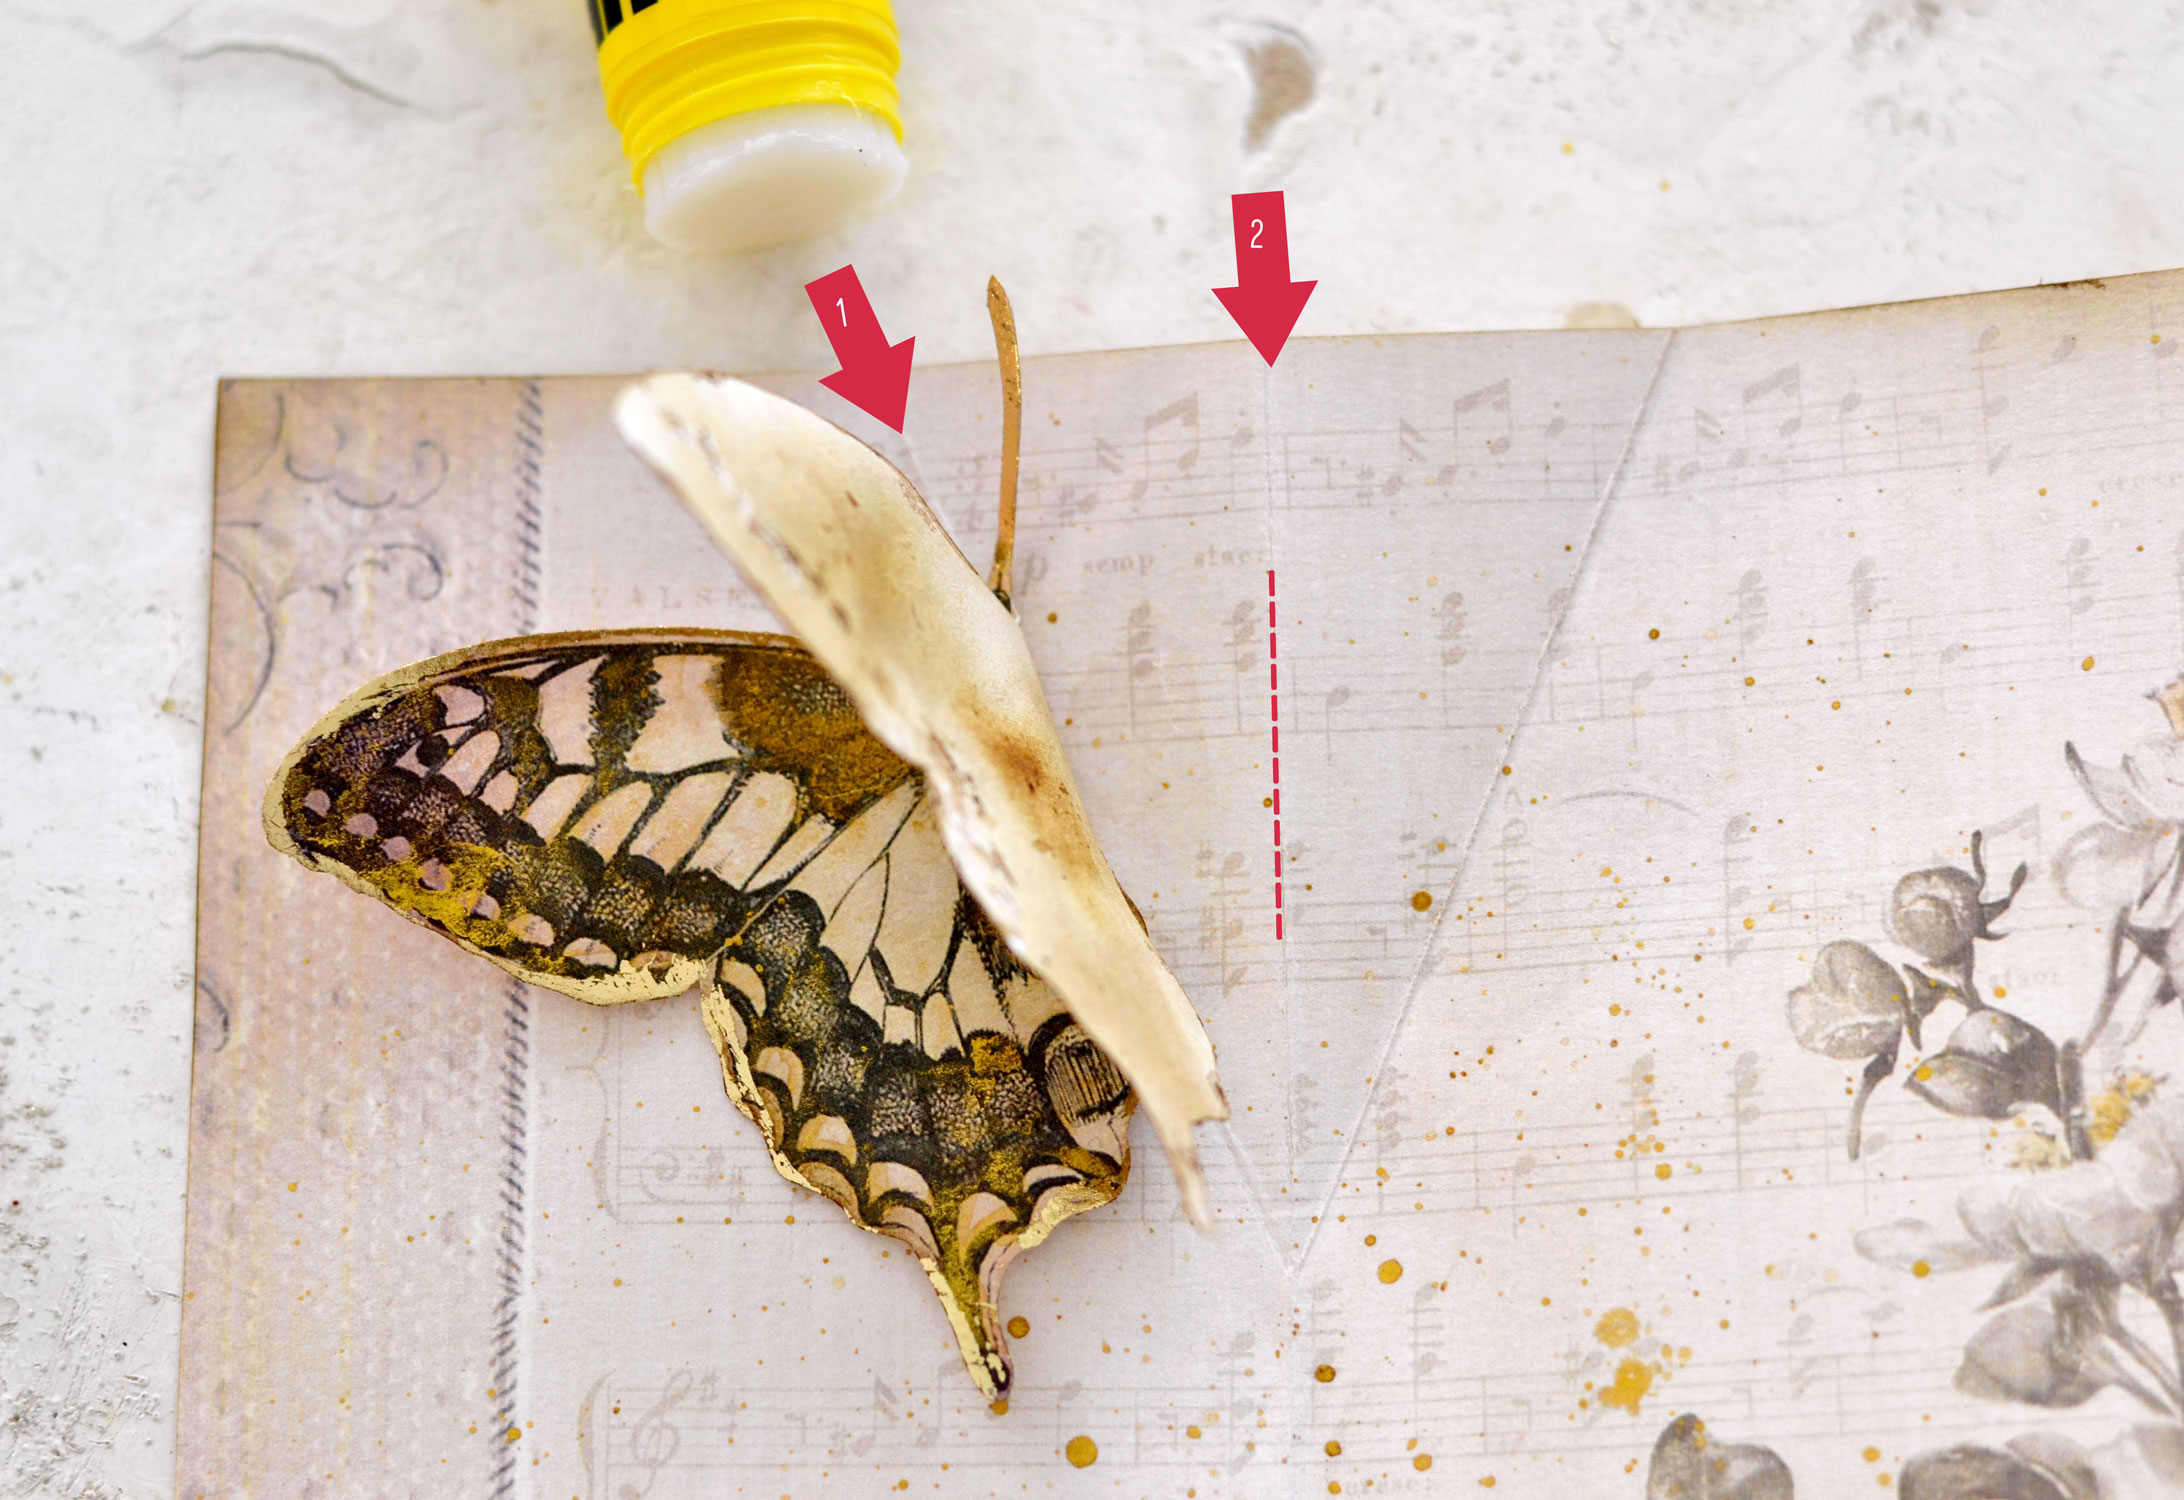
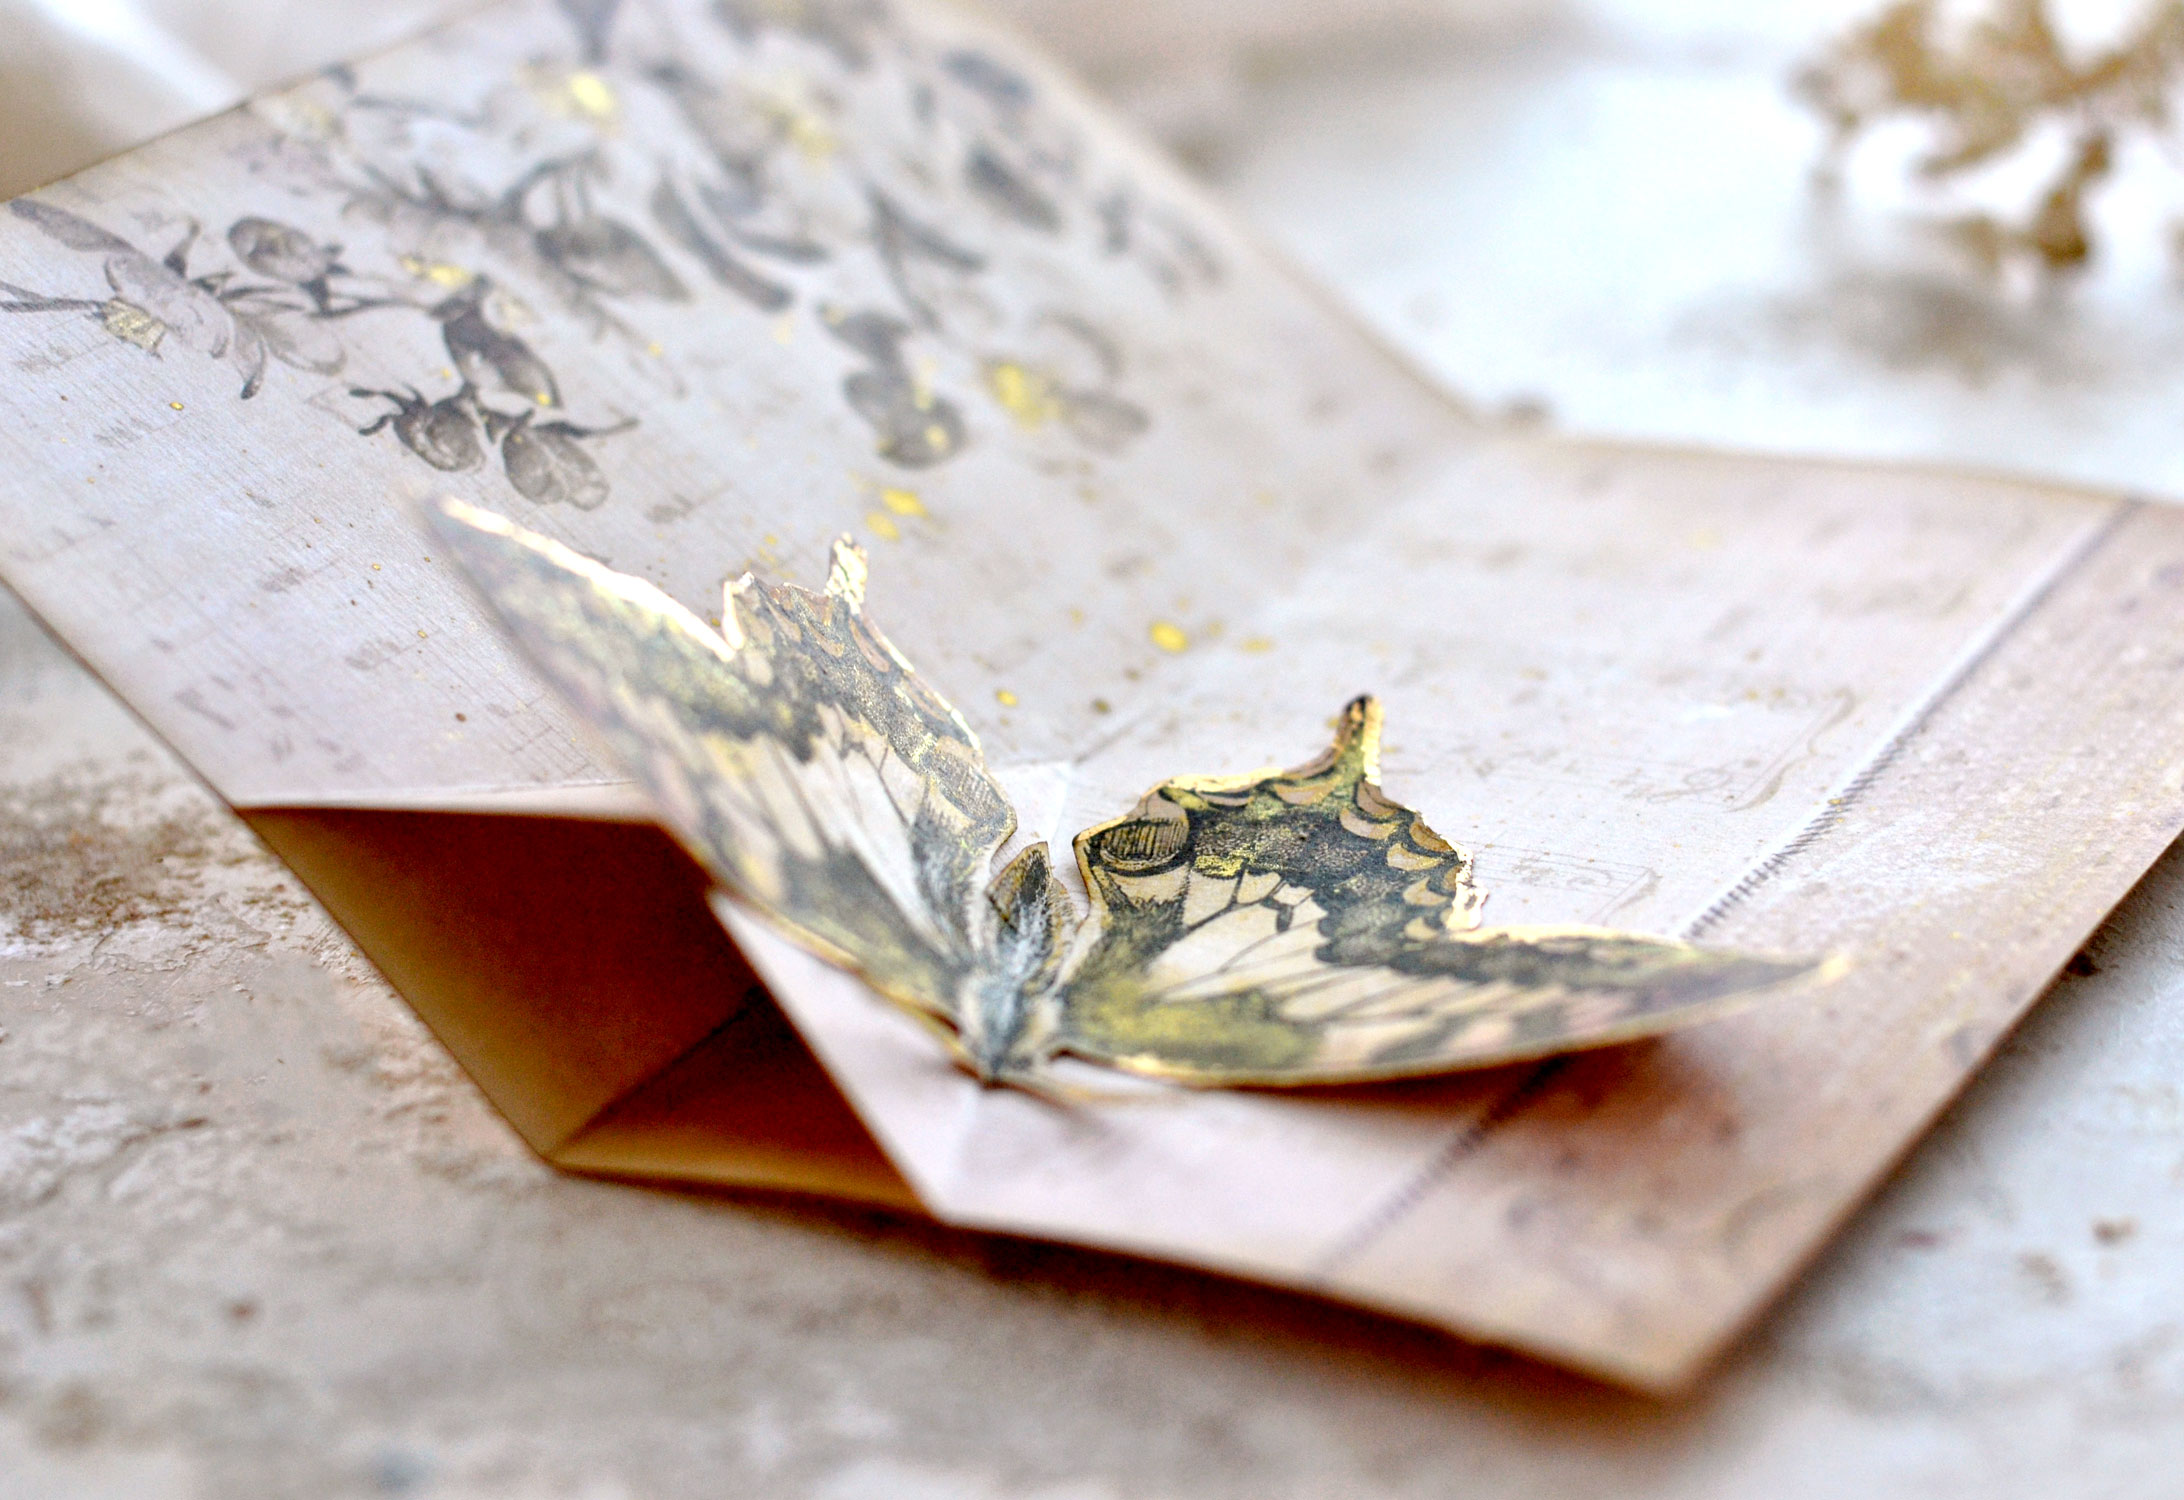
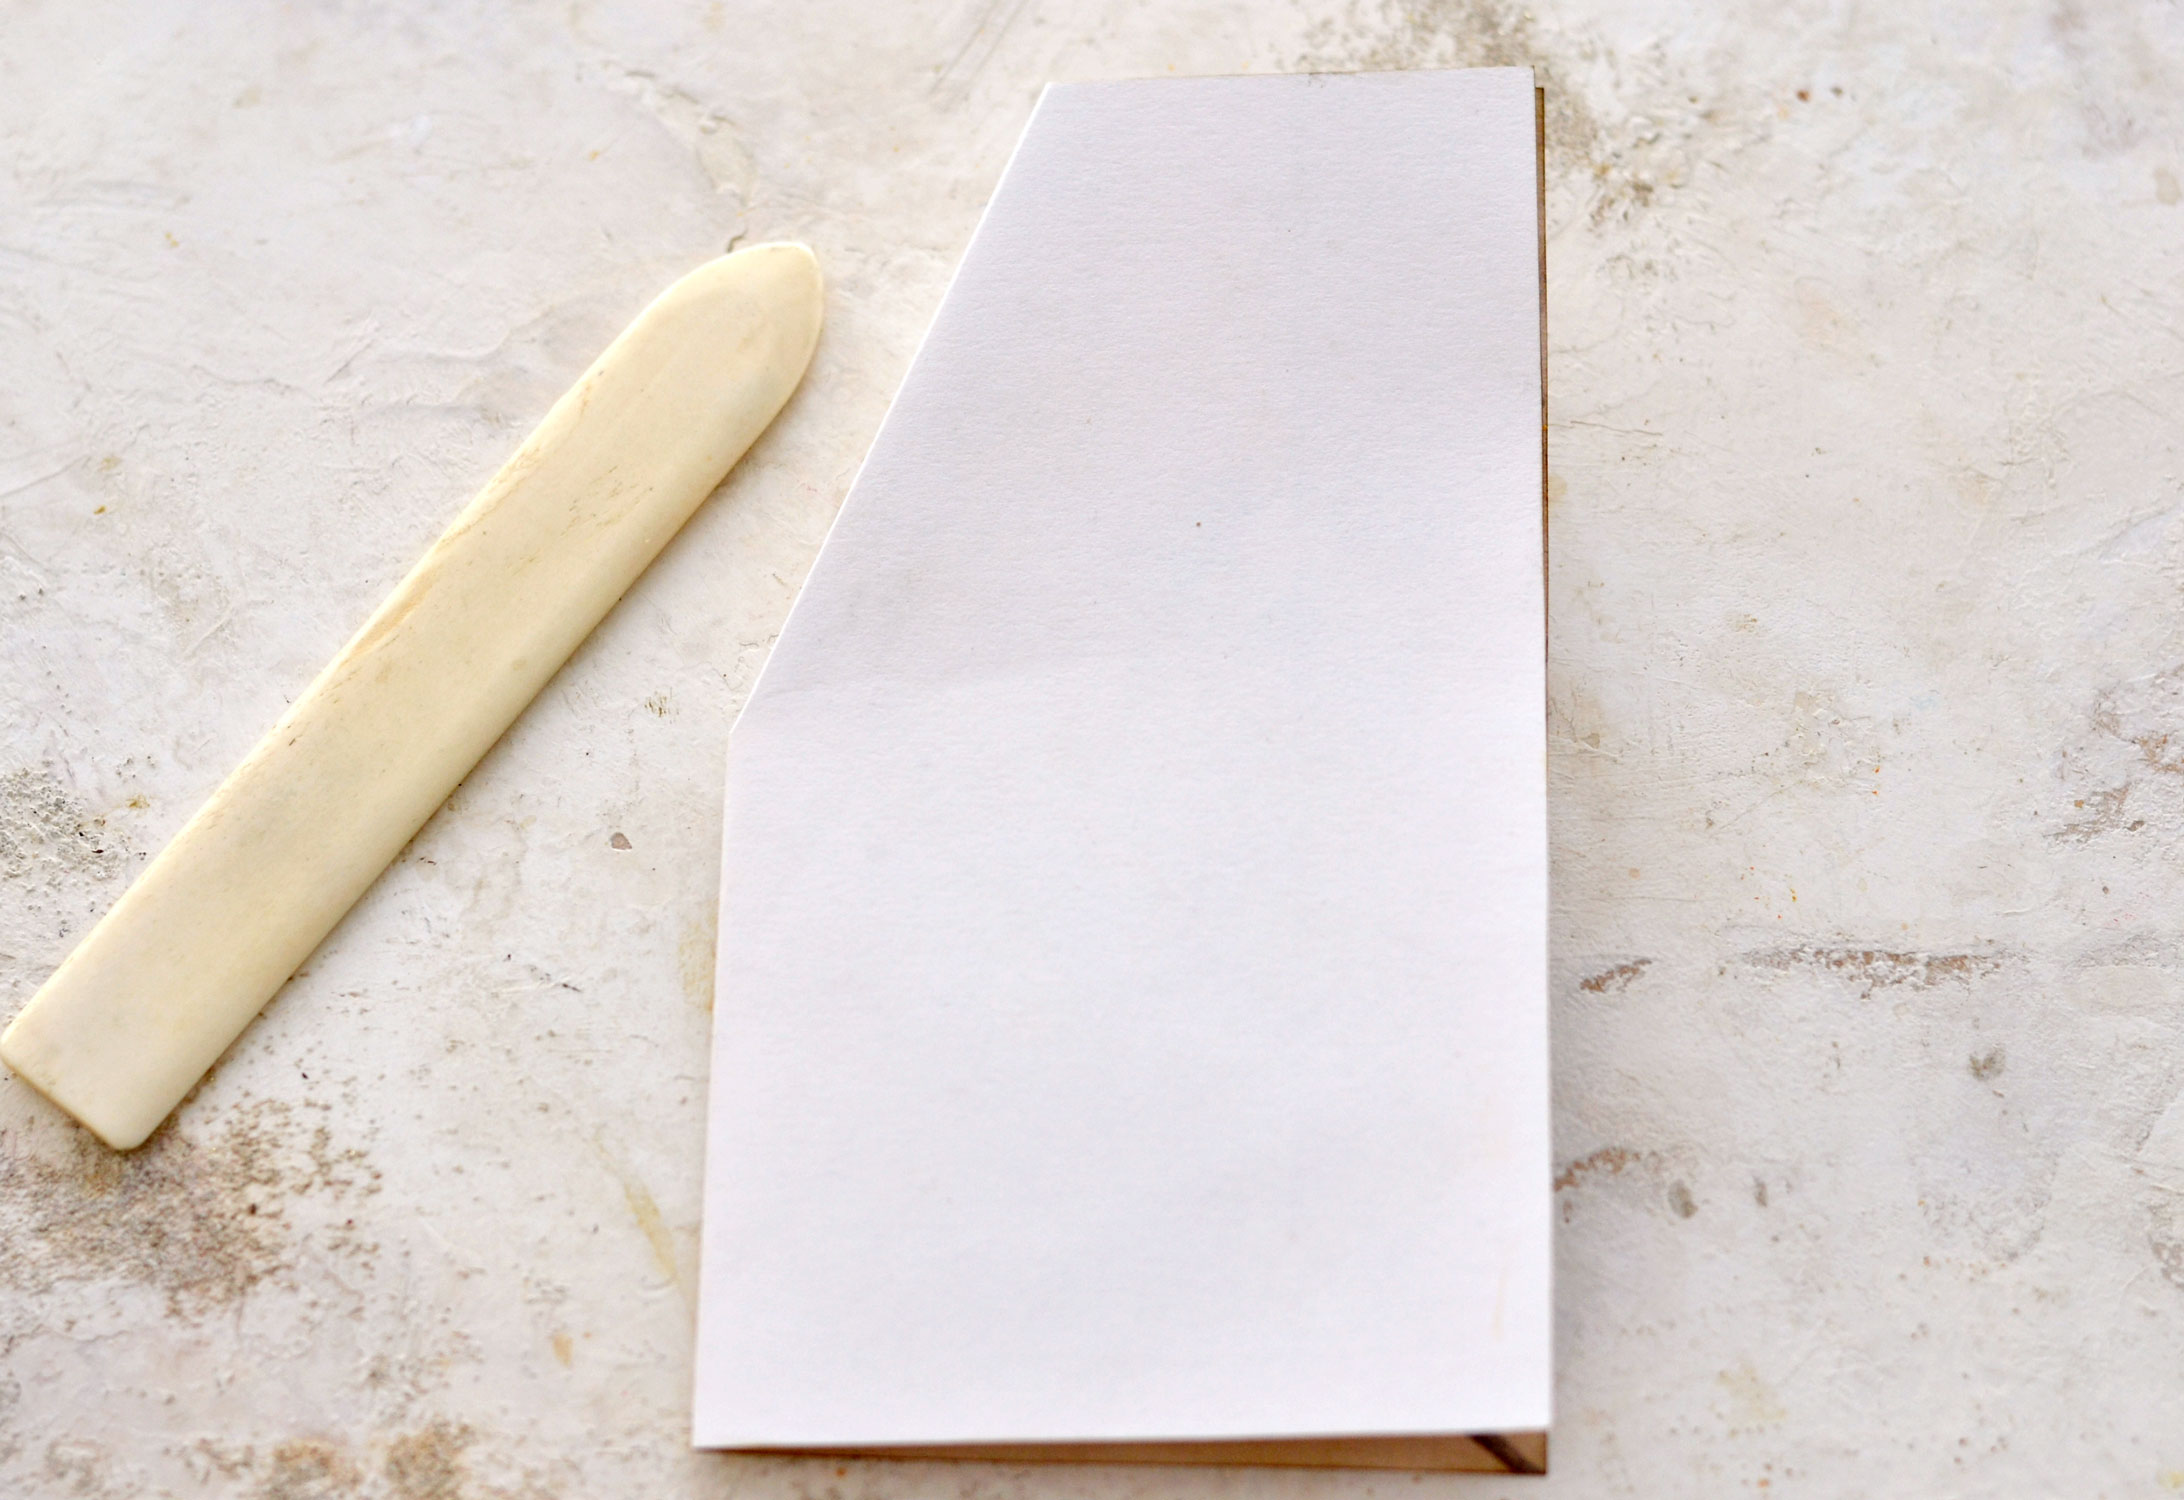 And when you open the white paper, it should look like this. Your triangle should be popped up toward the interior, it will now look like a double triangle. I highlighted these 3 lines so you can better understand the process – we will be gluing one of our butterfly’s wings between the 1 and 2 lines. The section between 2 and 3 should always stay glue free so we don’t have any problems with our mechanism.
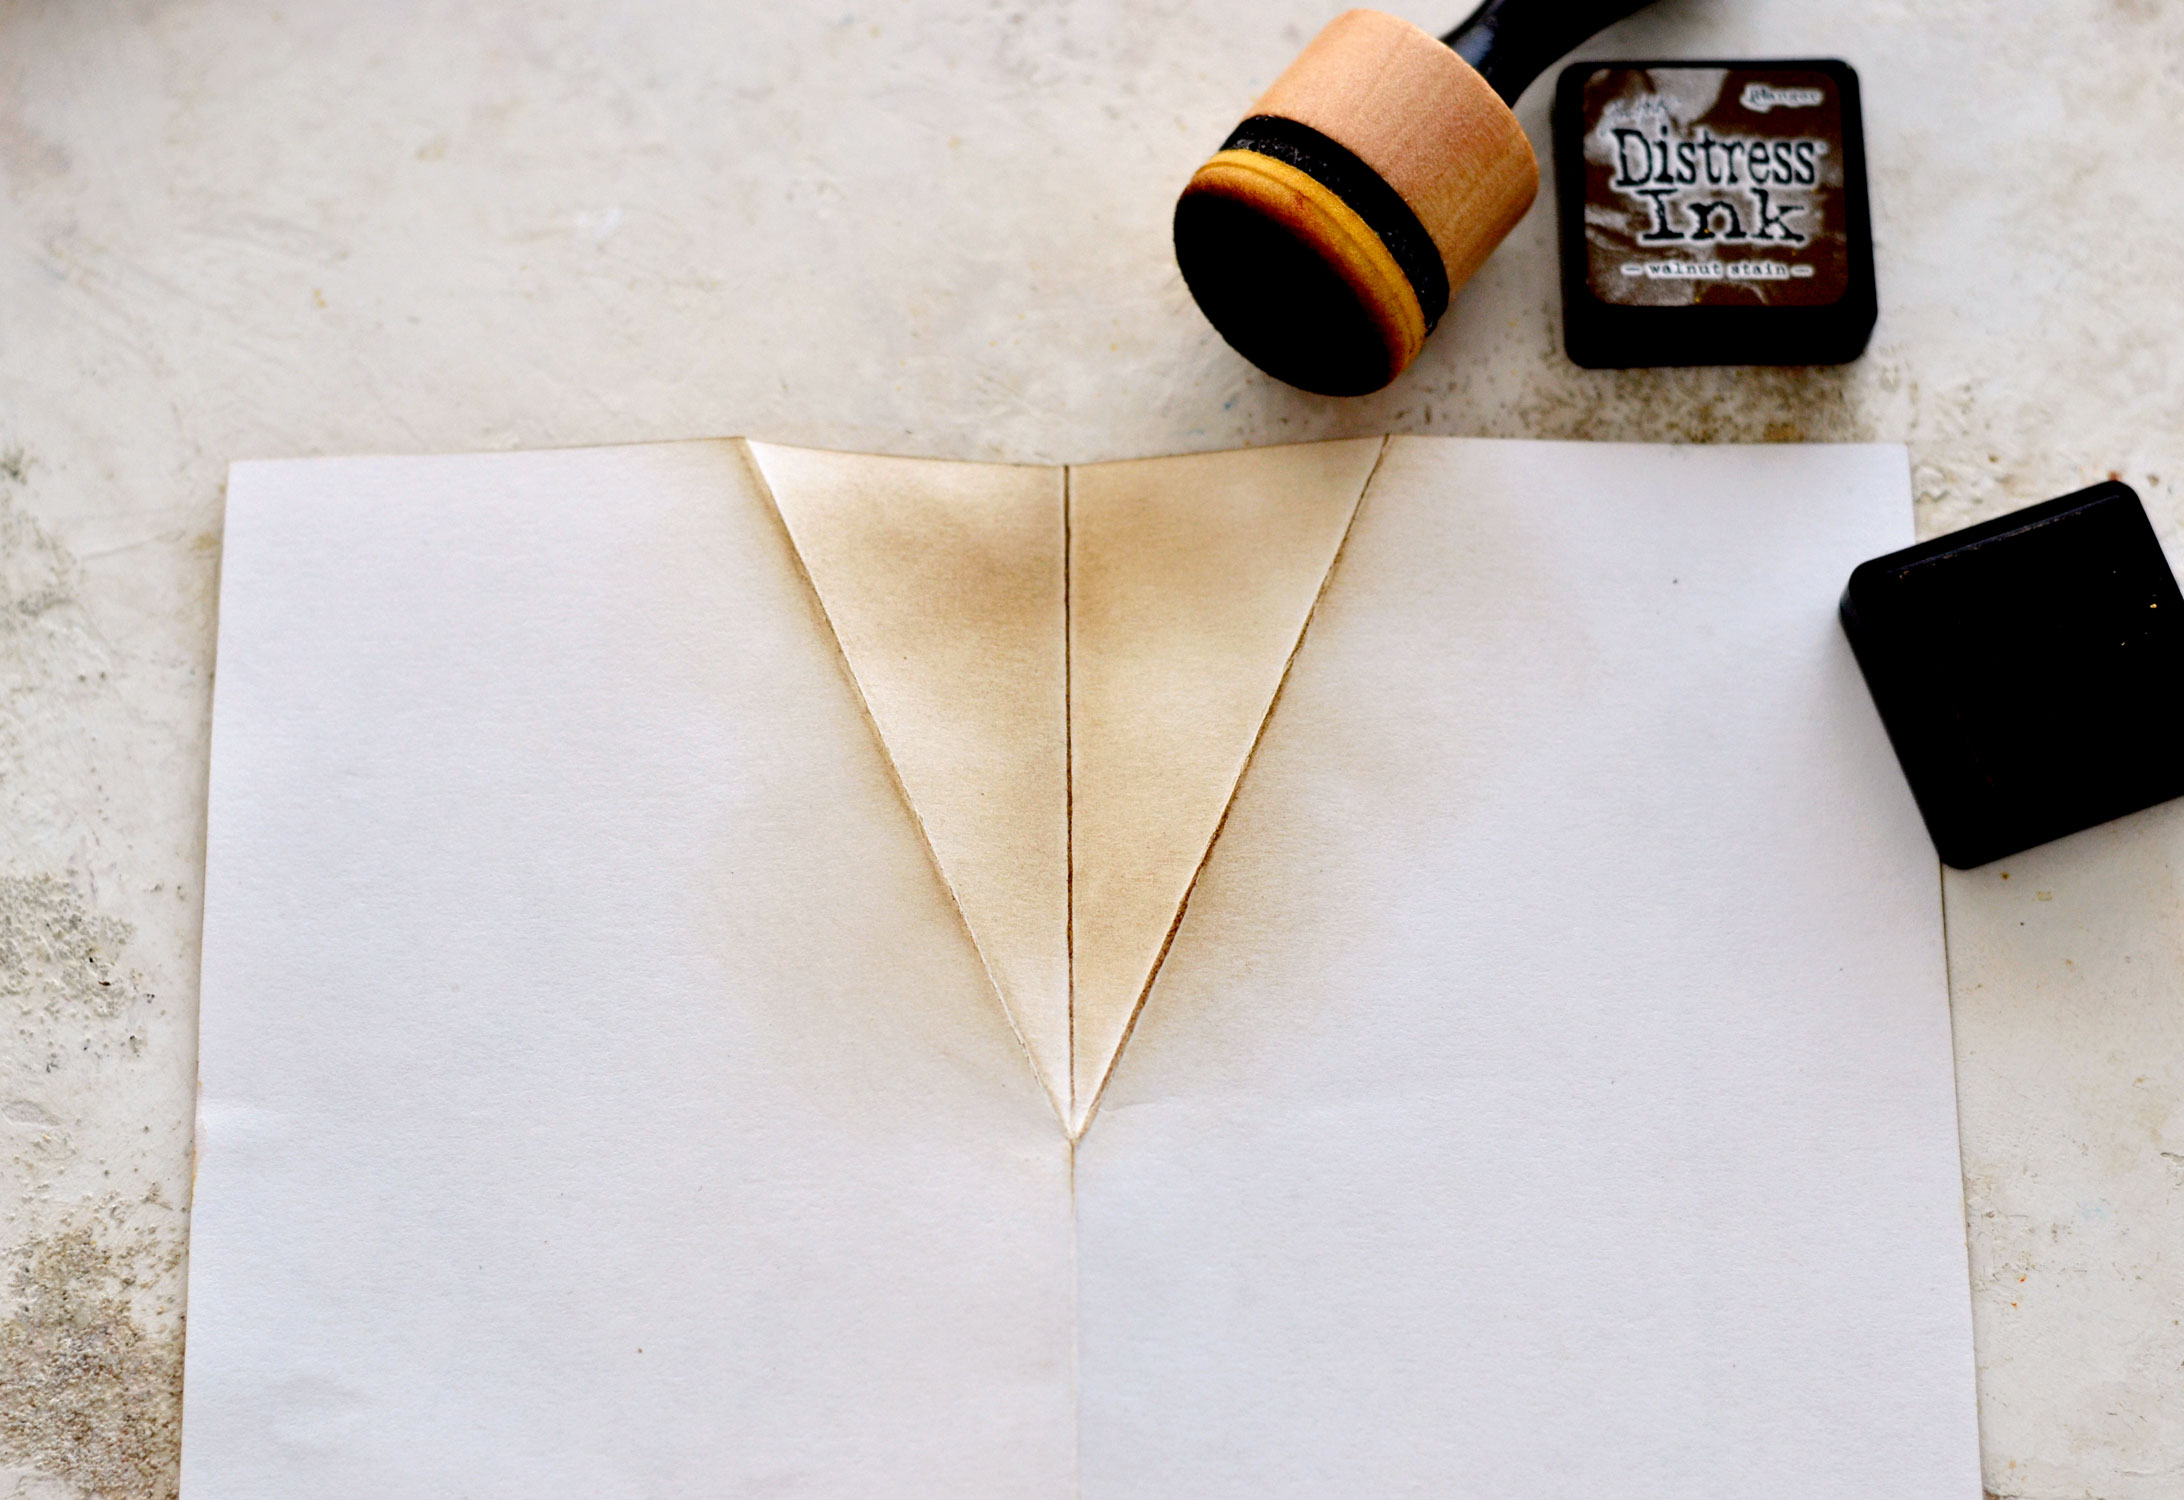
You can use distress ink to give the back of our folded edge triangle a little bit of distressing, this part will be slightly visible on top when we will be popping up our card.
Now flip the inside card base and place it on top of the outside card base, the two of them should perfectly overlap. Use glue to adhere these two pieces together, but first, make sure you also distress the area that is overlapping our triangle shape on the back of our outside card base.
To add our gorgeous oversized butterfly to our mechanism, simply fold the butterfly in half first. It’s best to use your bone folder to create a clean line, but you can also just use your fingers as I did.
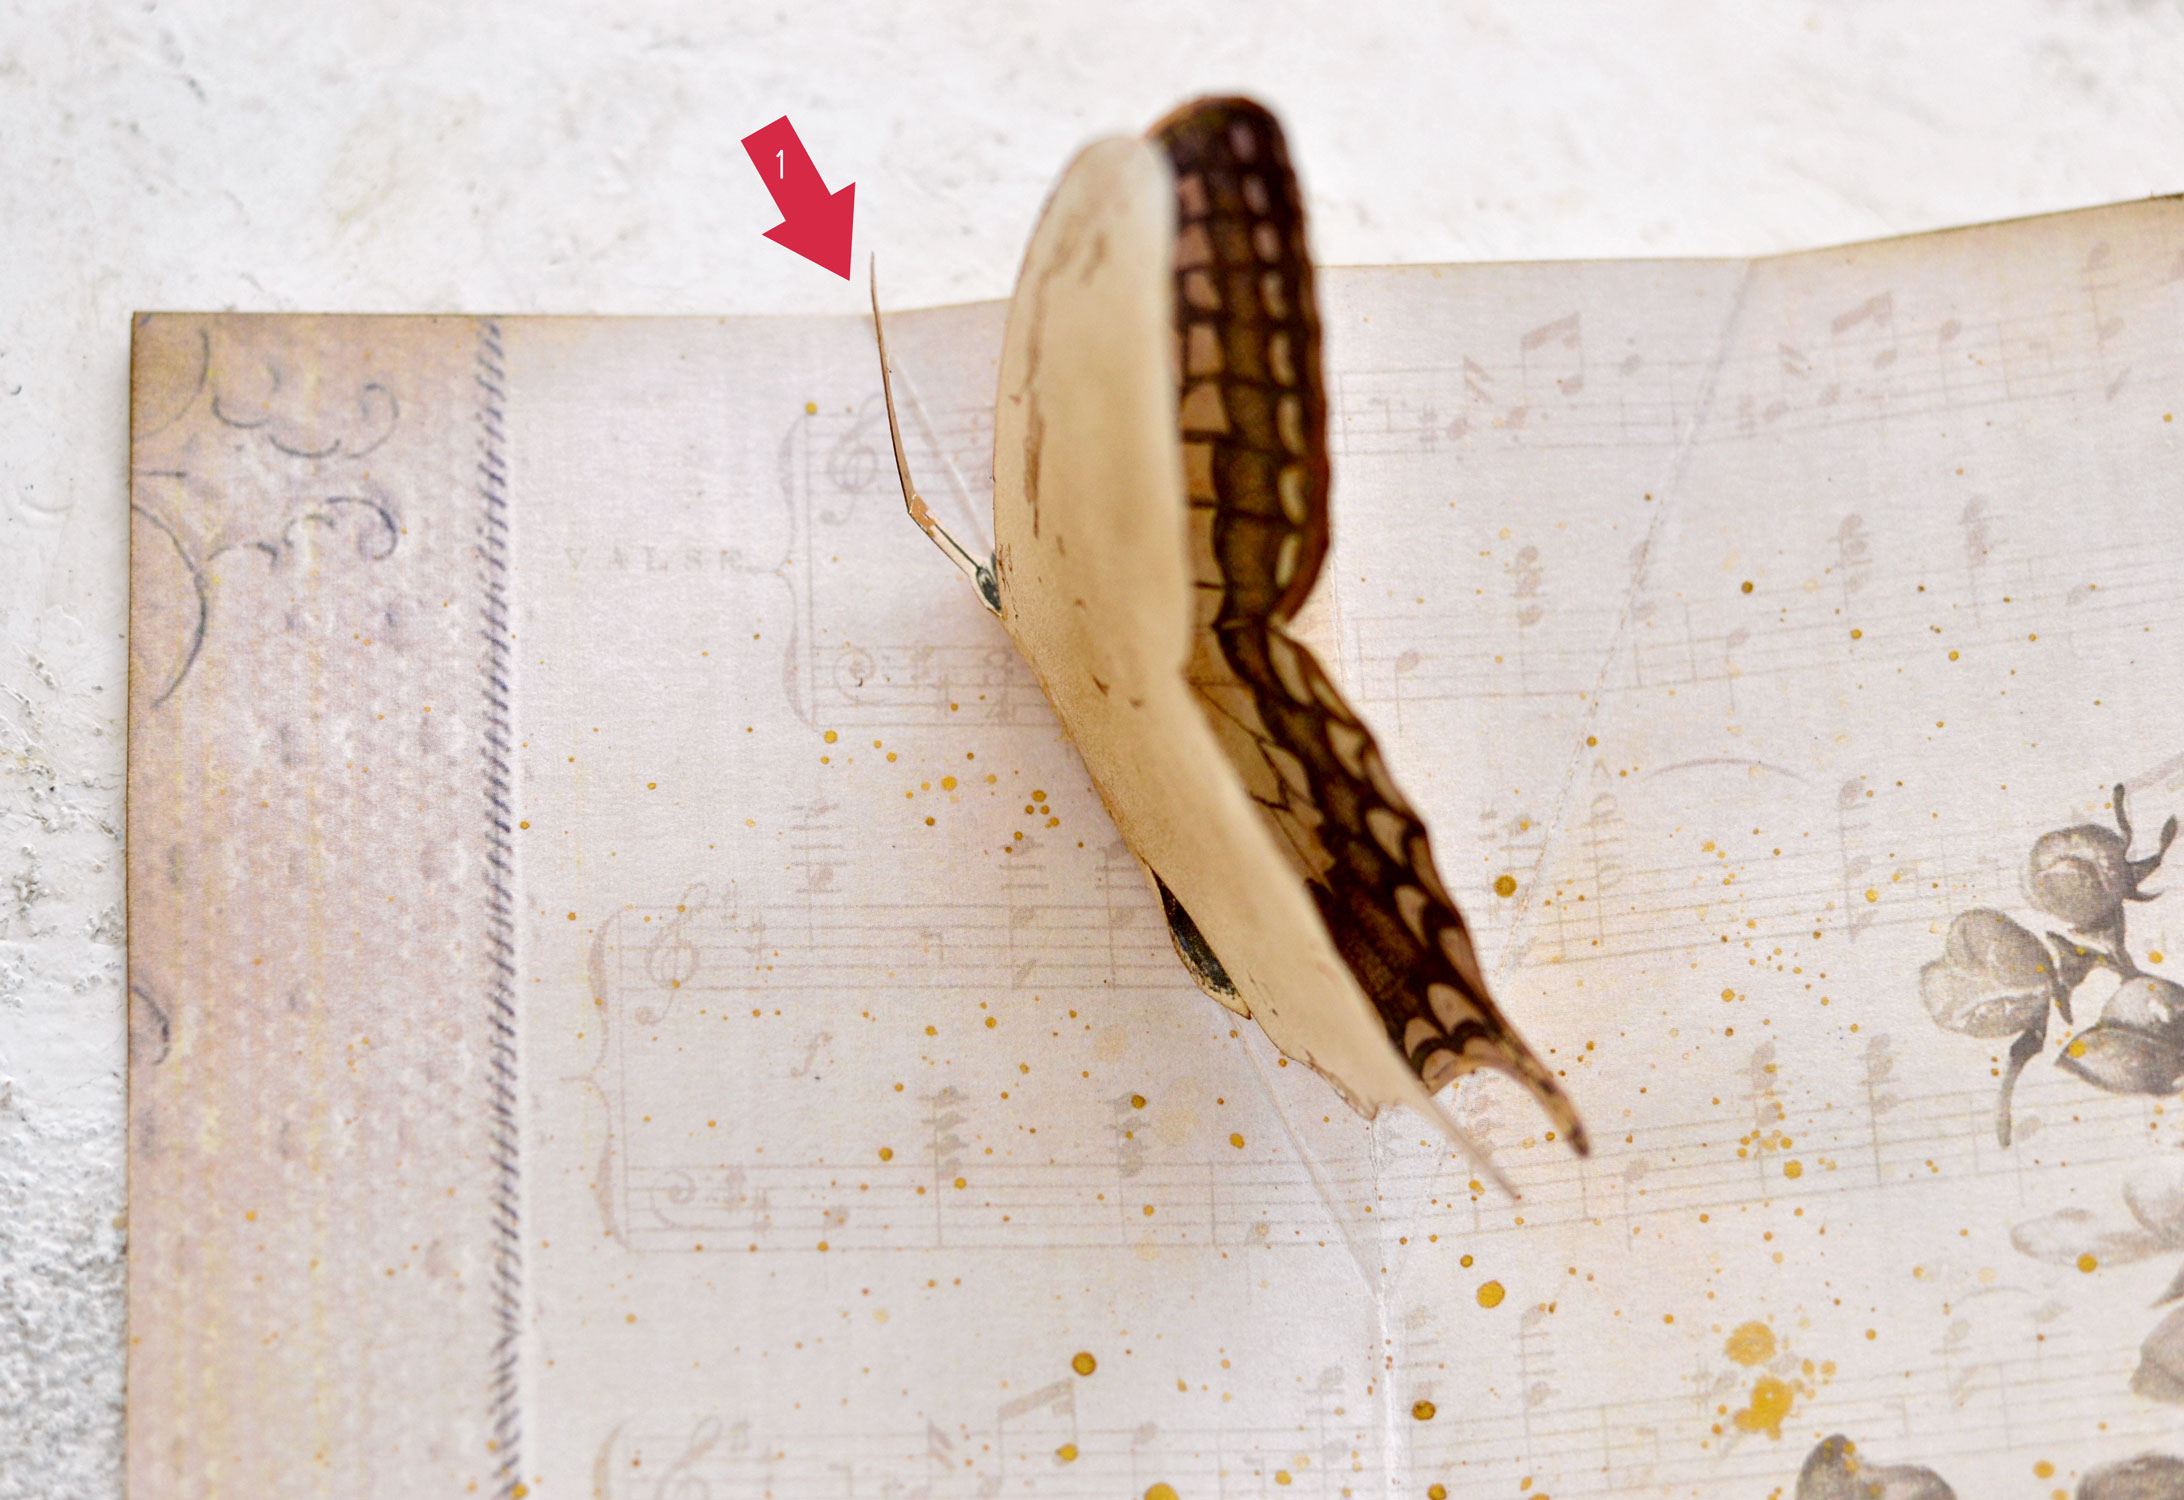
Apply glue underneath the butterfly’s body, then position it in the middle of the 1rst line and glue it.
Gently lift the right wing of the butterfly and apply glue on the back of the wing – but only on the section that is overlapping the paper between the 1 and 2 lines highlighted in red.
This part is actually the most important part because it will adhere the butterfly wing to our cool pop-up mechanism.
Again, really important – don’t add any glue outside the 2nd line area because the pop-up mechanism won’t work!
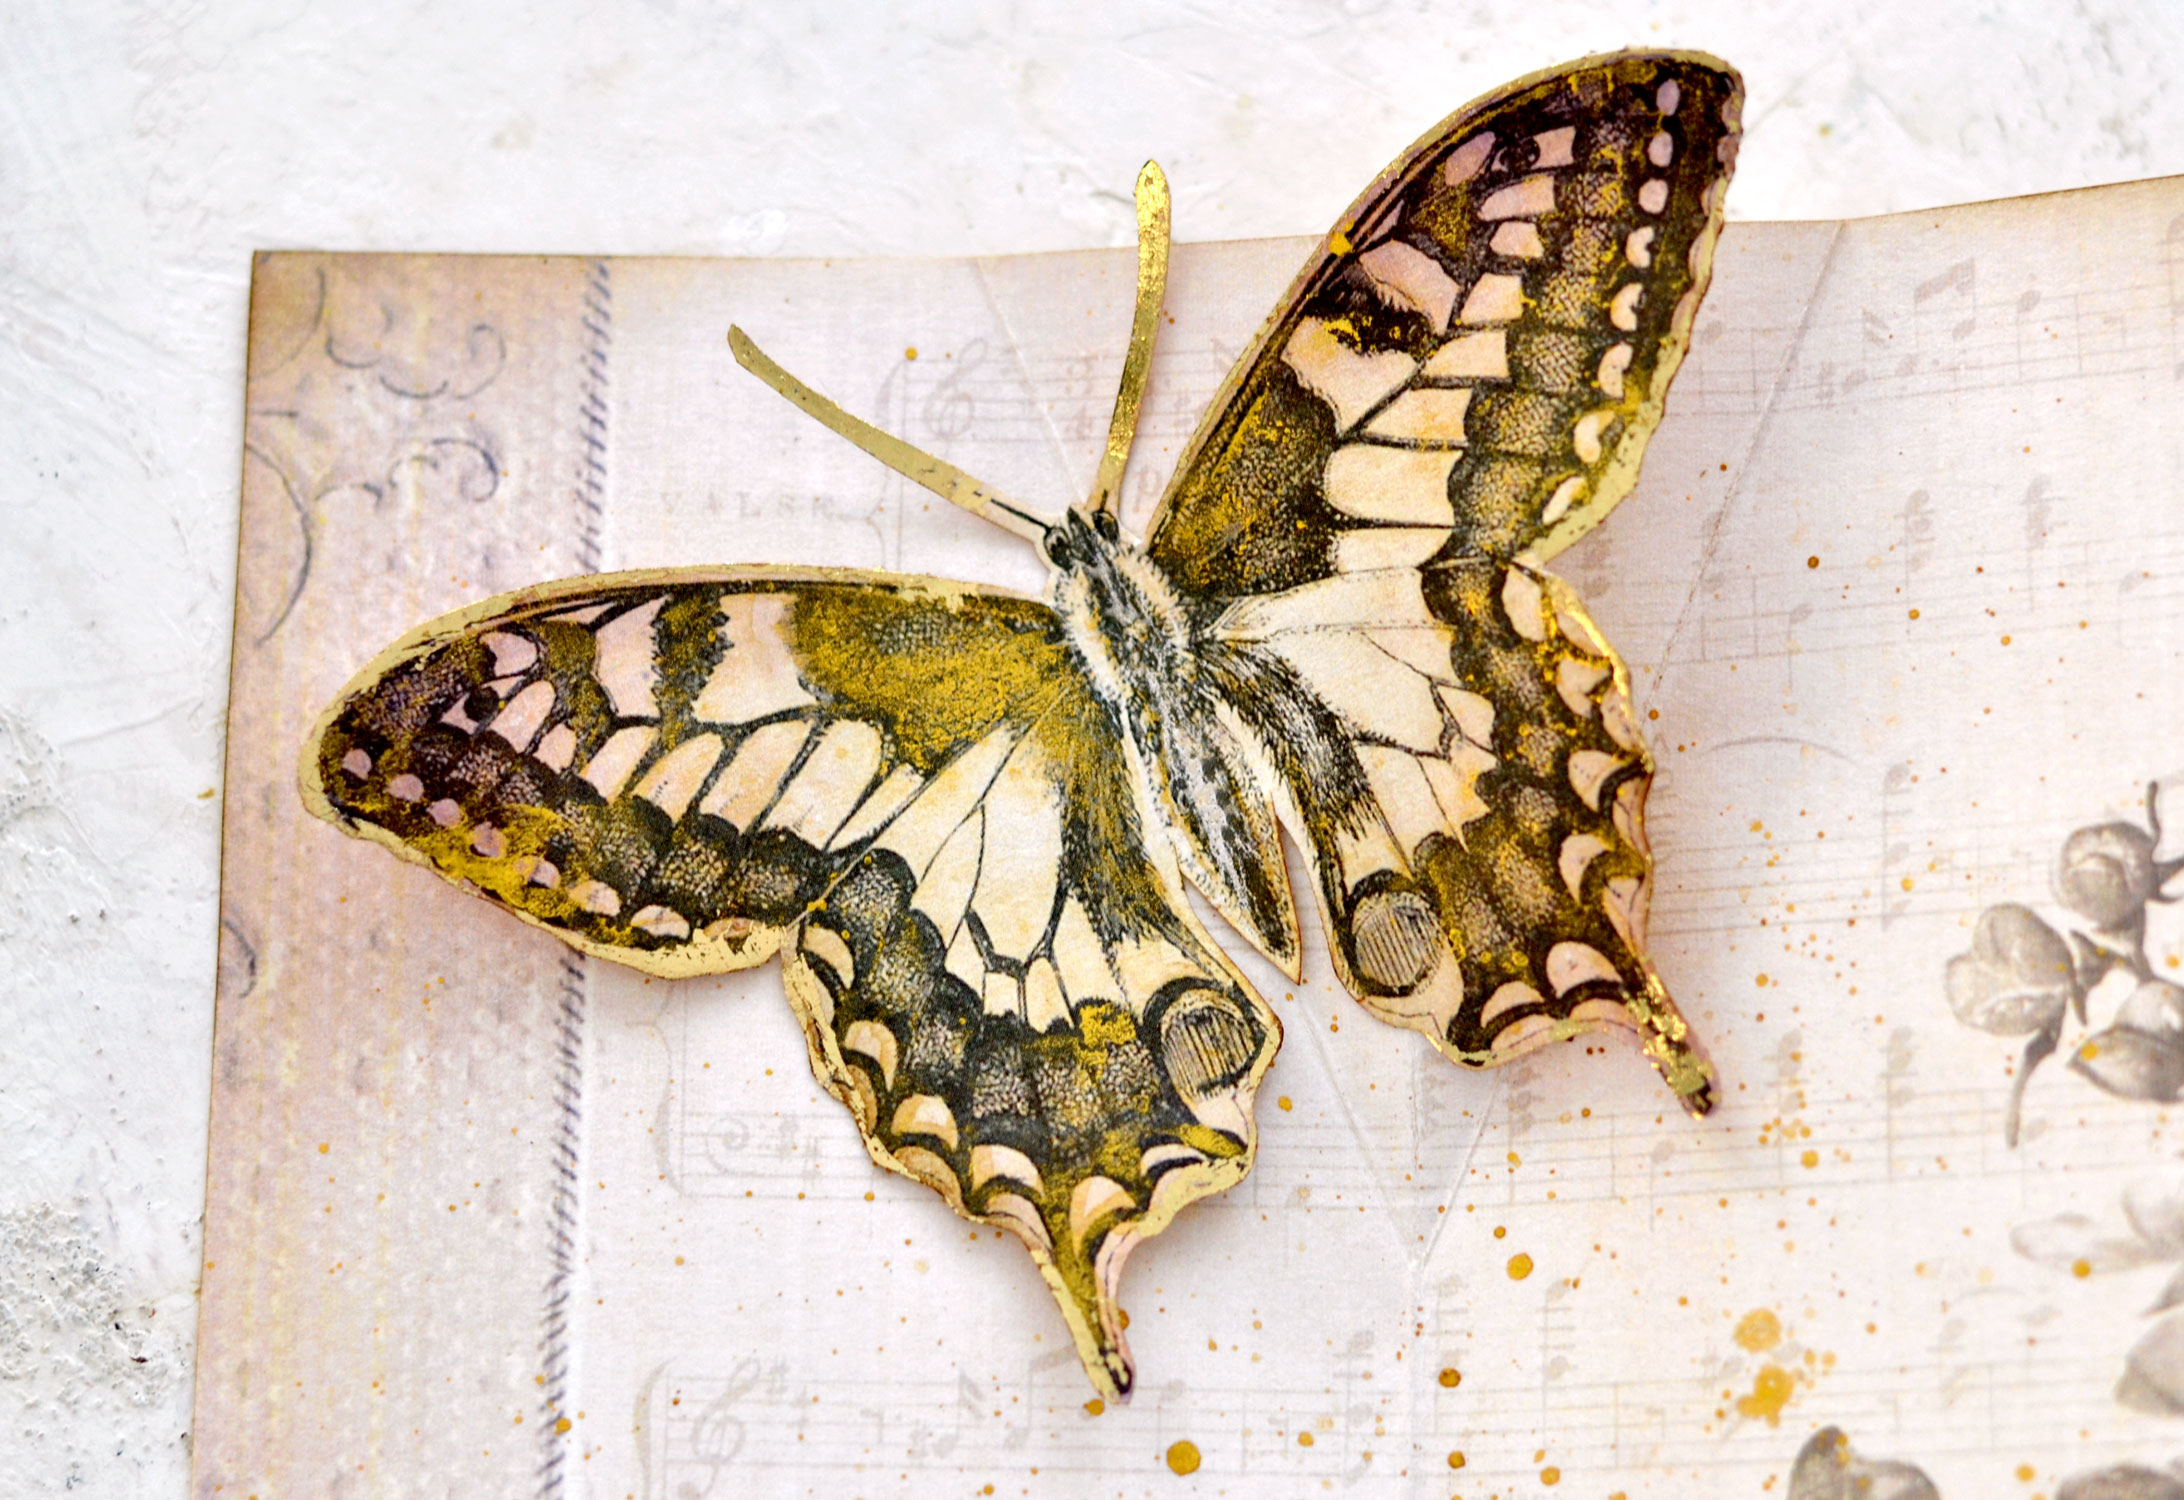
Flatten the butterfly and press the glued area with your fingers so that it perfectly adheres to the paper. Check again so there is no glue outside the 2nd line.
Gently lift the left wing now and also add a small amount of glue in that area, as close as you can to the body of our butterfly, just to secure it on the page.
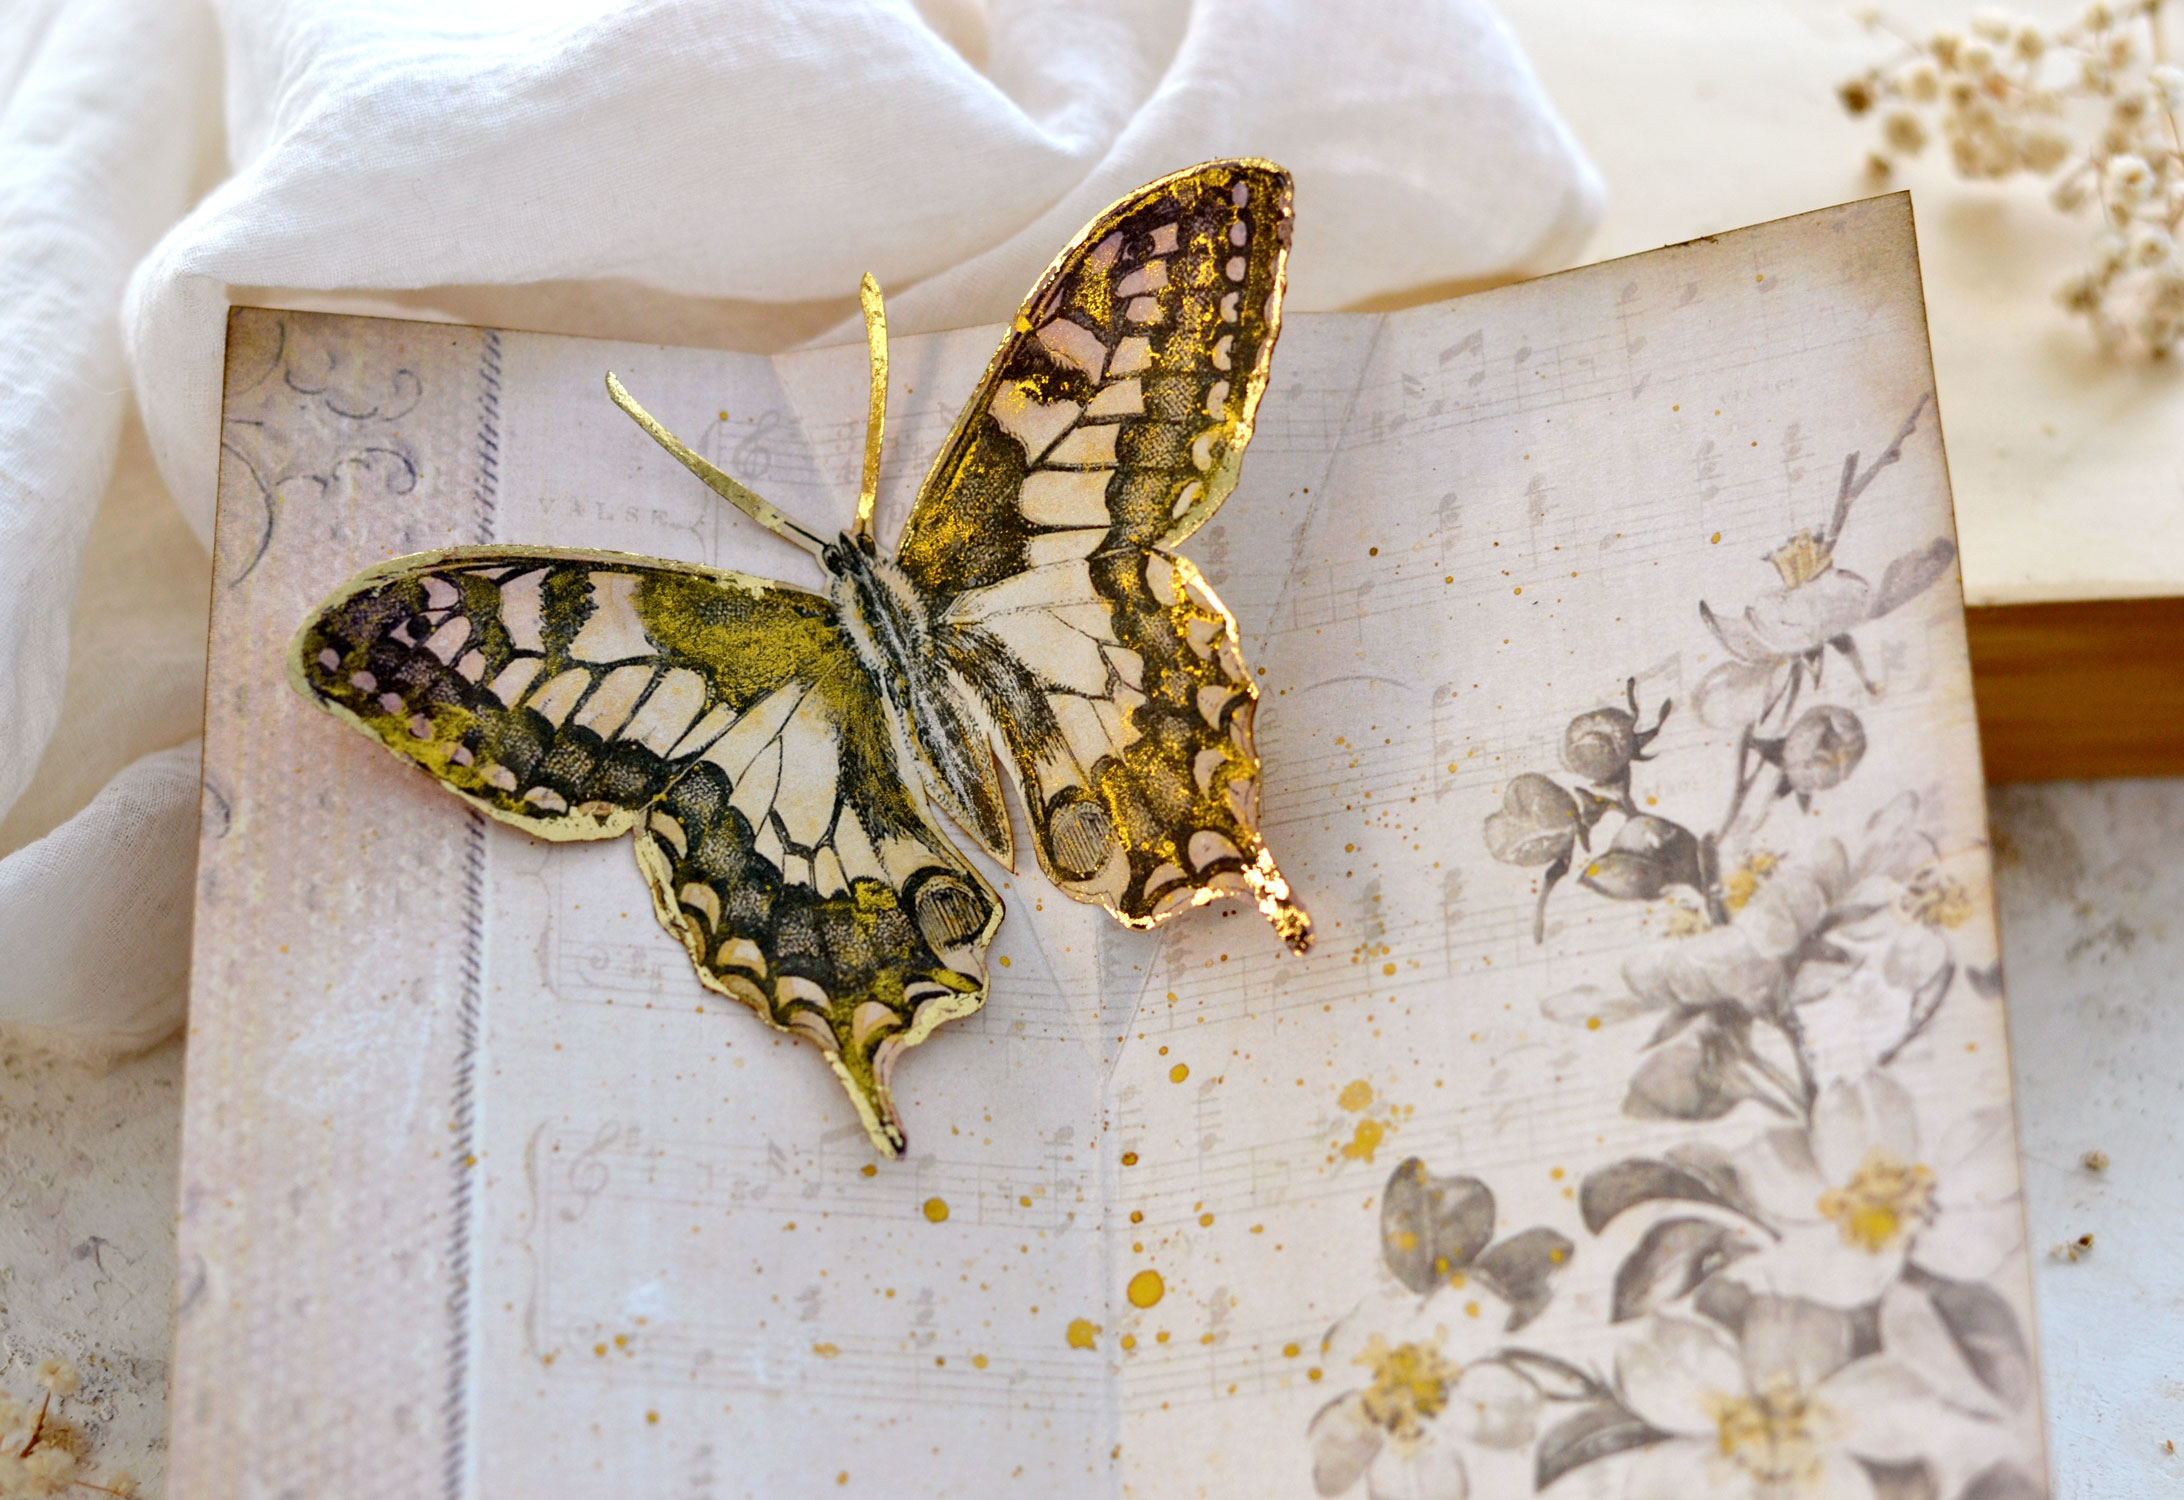
Press it again with your fingers and depending on the glue you are using and how fast it dries, you should be able to successfully close and open your pop-up card! And your oversized butterfly looks like it’s ready to fly!
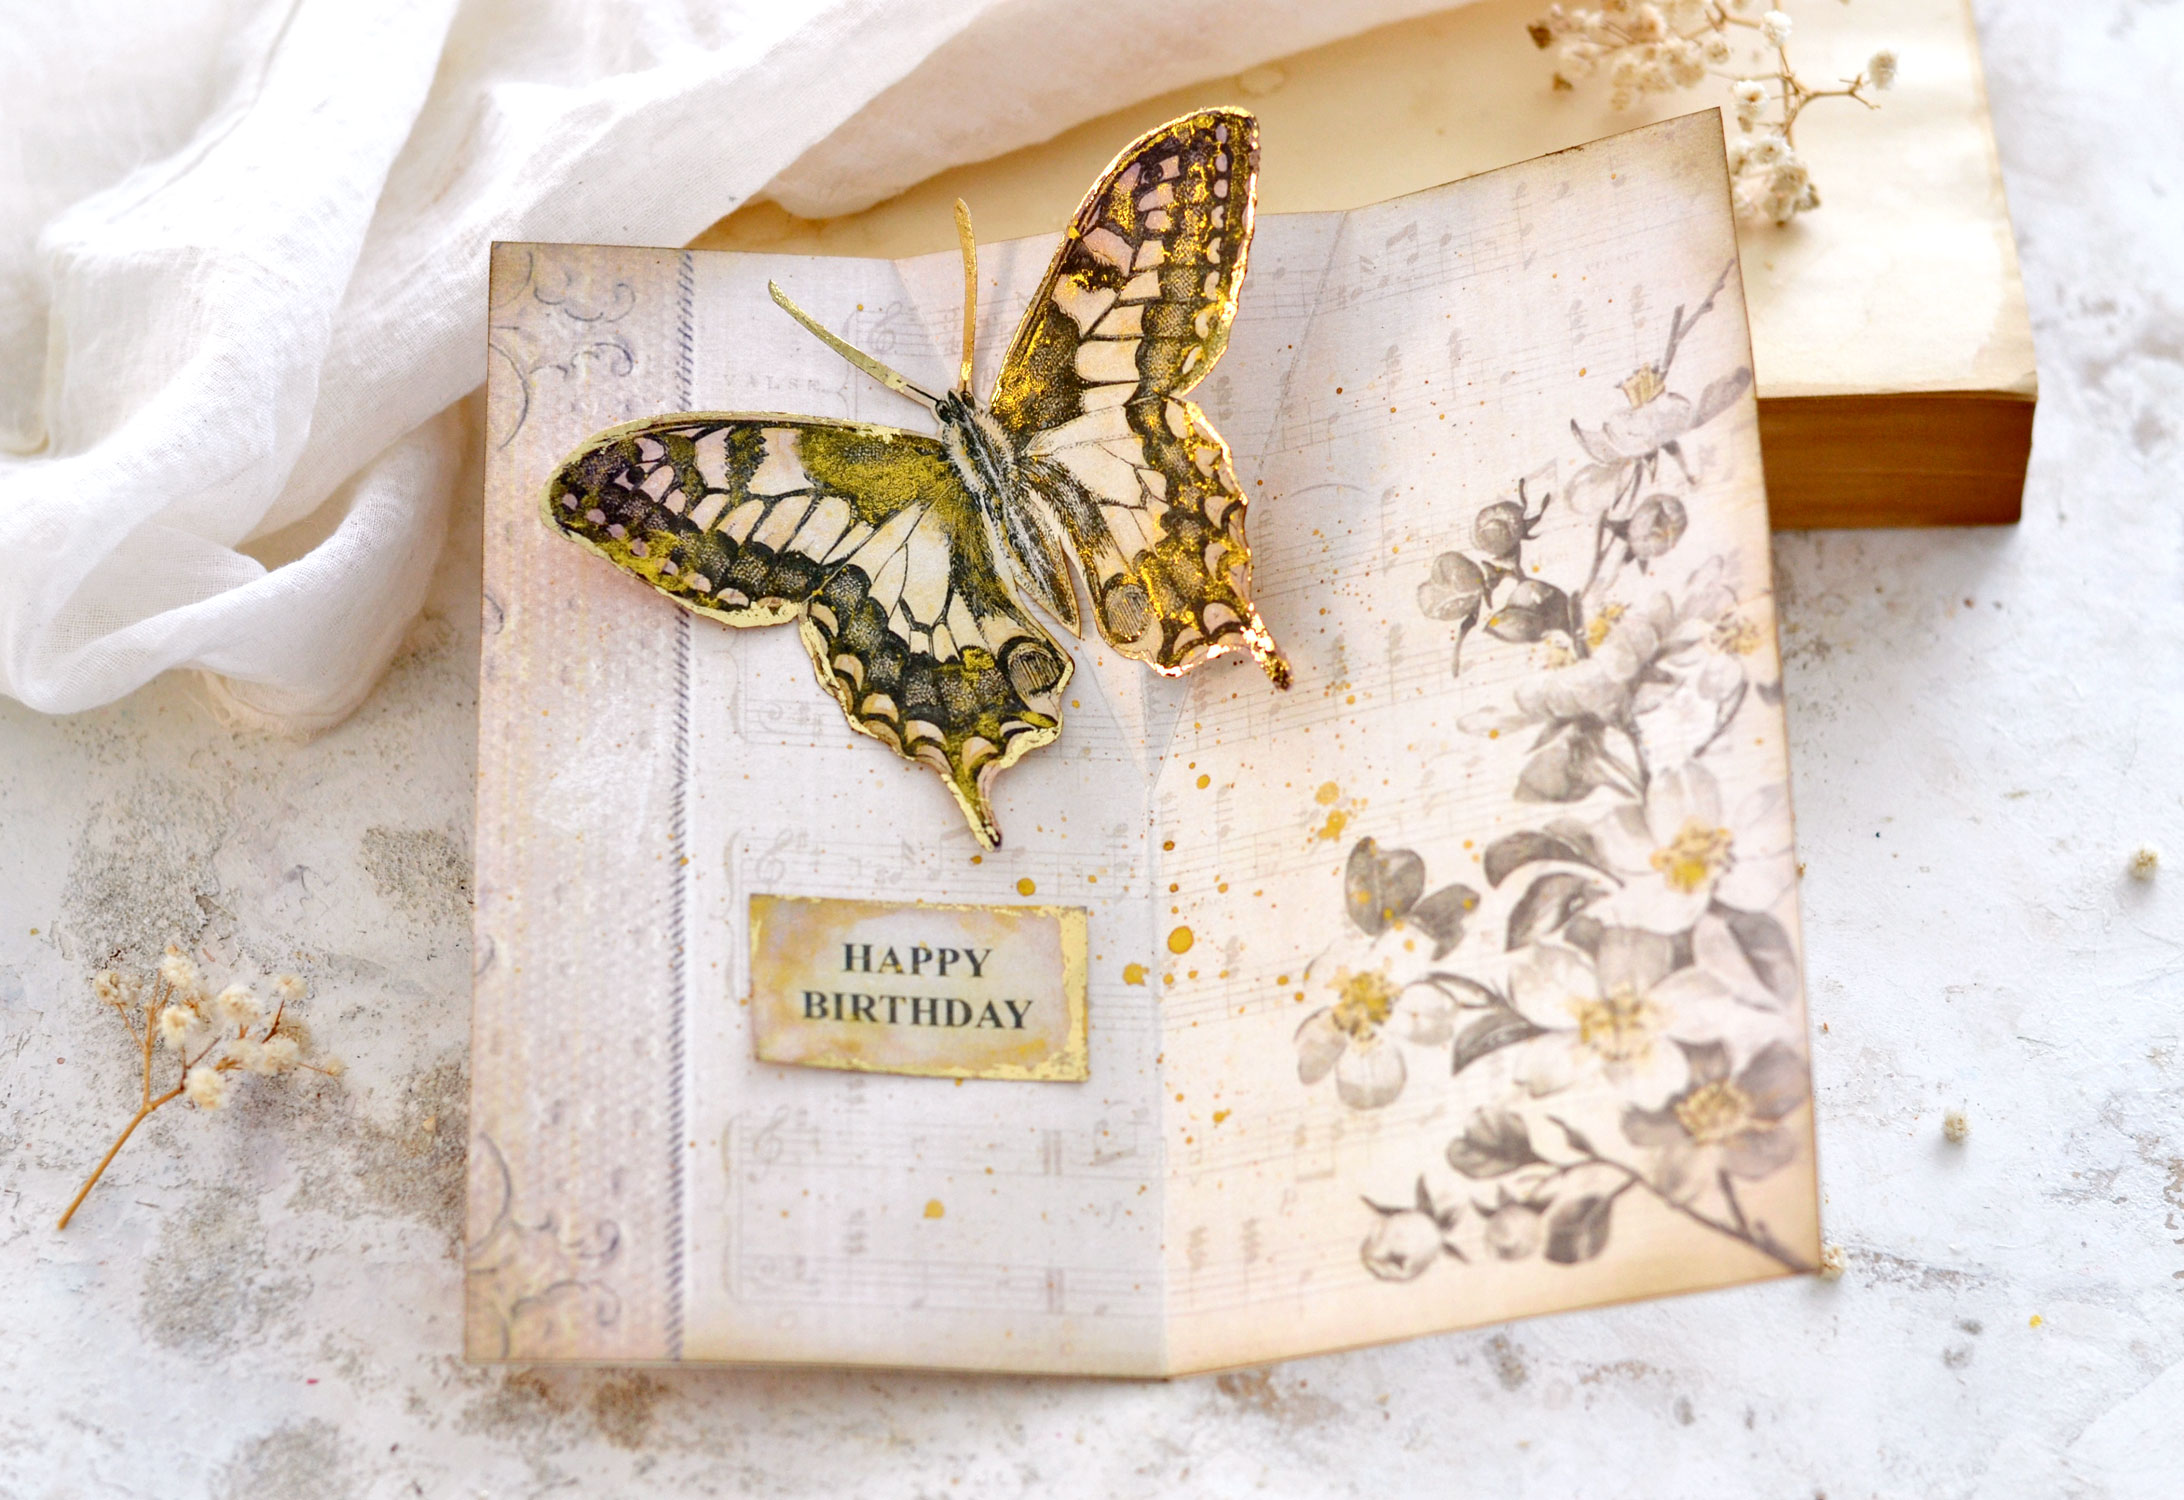
As you can see, the right wing of our gorgeous butterfly is clearly positioned outside the top edges of our card when the card is fully opened.
But when you close the card, because of our handmade, perfectly crafted pop-up mechanism the butterfly just folds back its wing, bringing it inside.
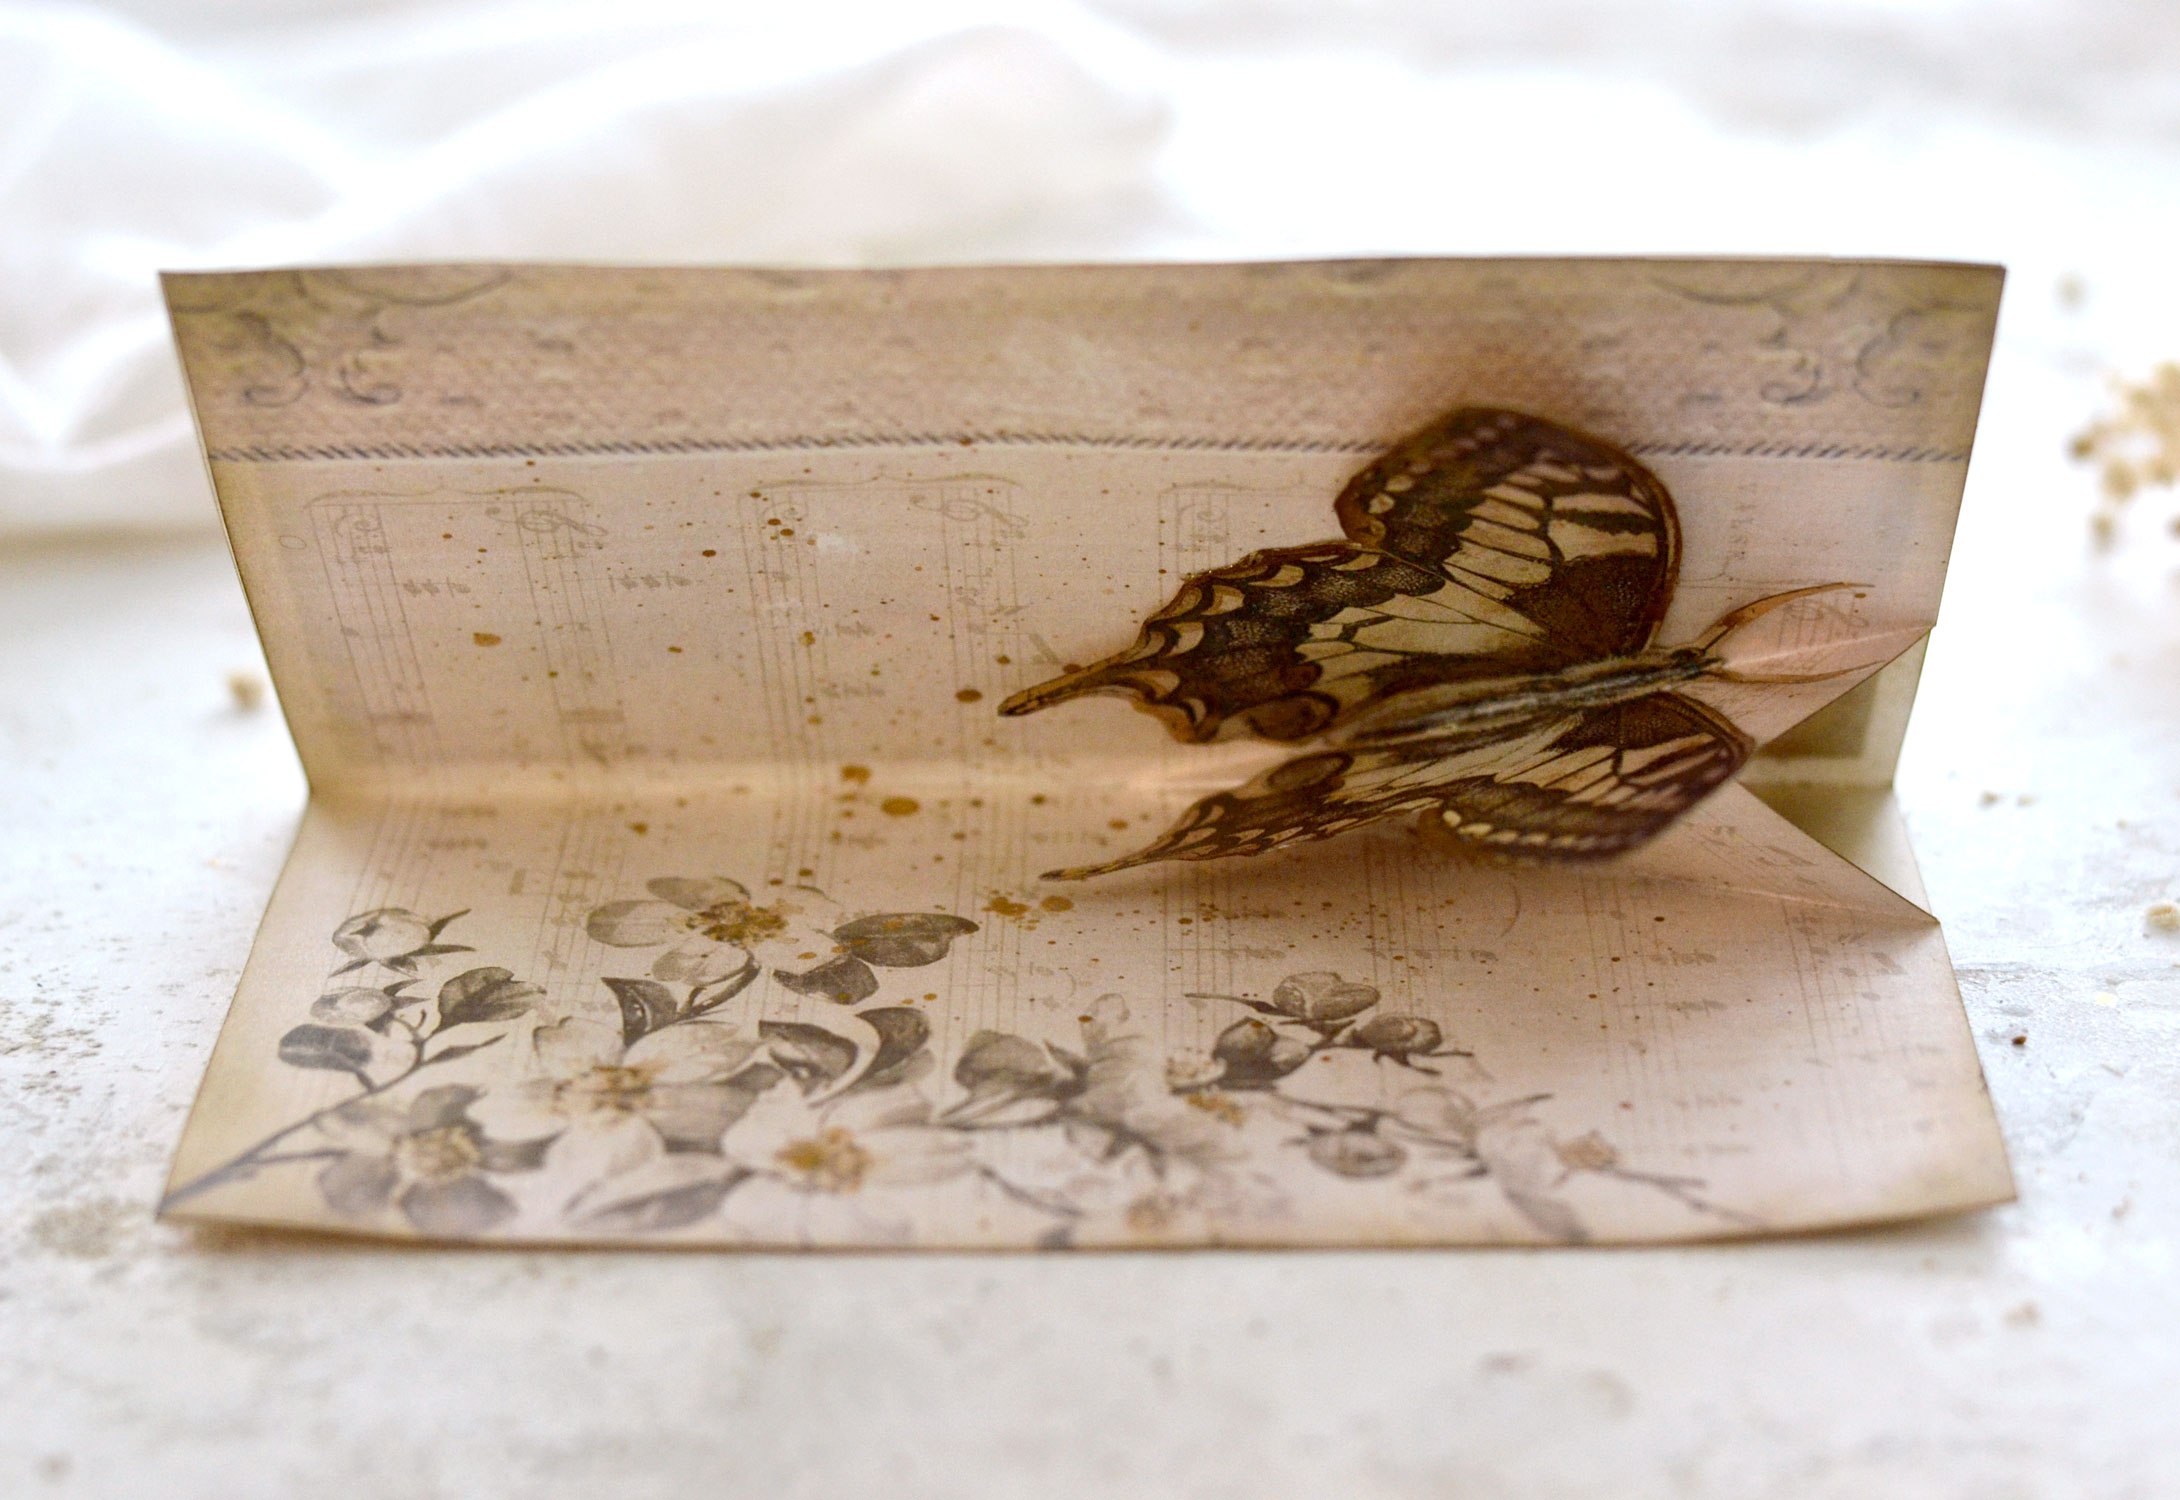
It’s quite a mesmerizing performance on behalf of our butterfly – if we can call it that! And here is a closer look at how our pop-up birthday card looks from the top – when opened. You can clearly see from the top view the two areas on the back of our card bases that we distressed earlier on – those two distressed sections will be visible when popping up the card.
It’s so great that you can’t really tell what waits for you inside, because when the card is completely closed, there’s no sign of our oversized butterfly! Pretty amazing, right?
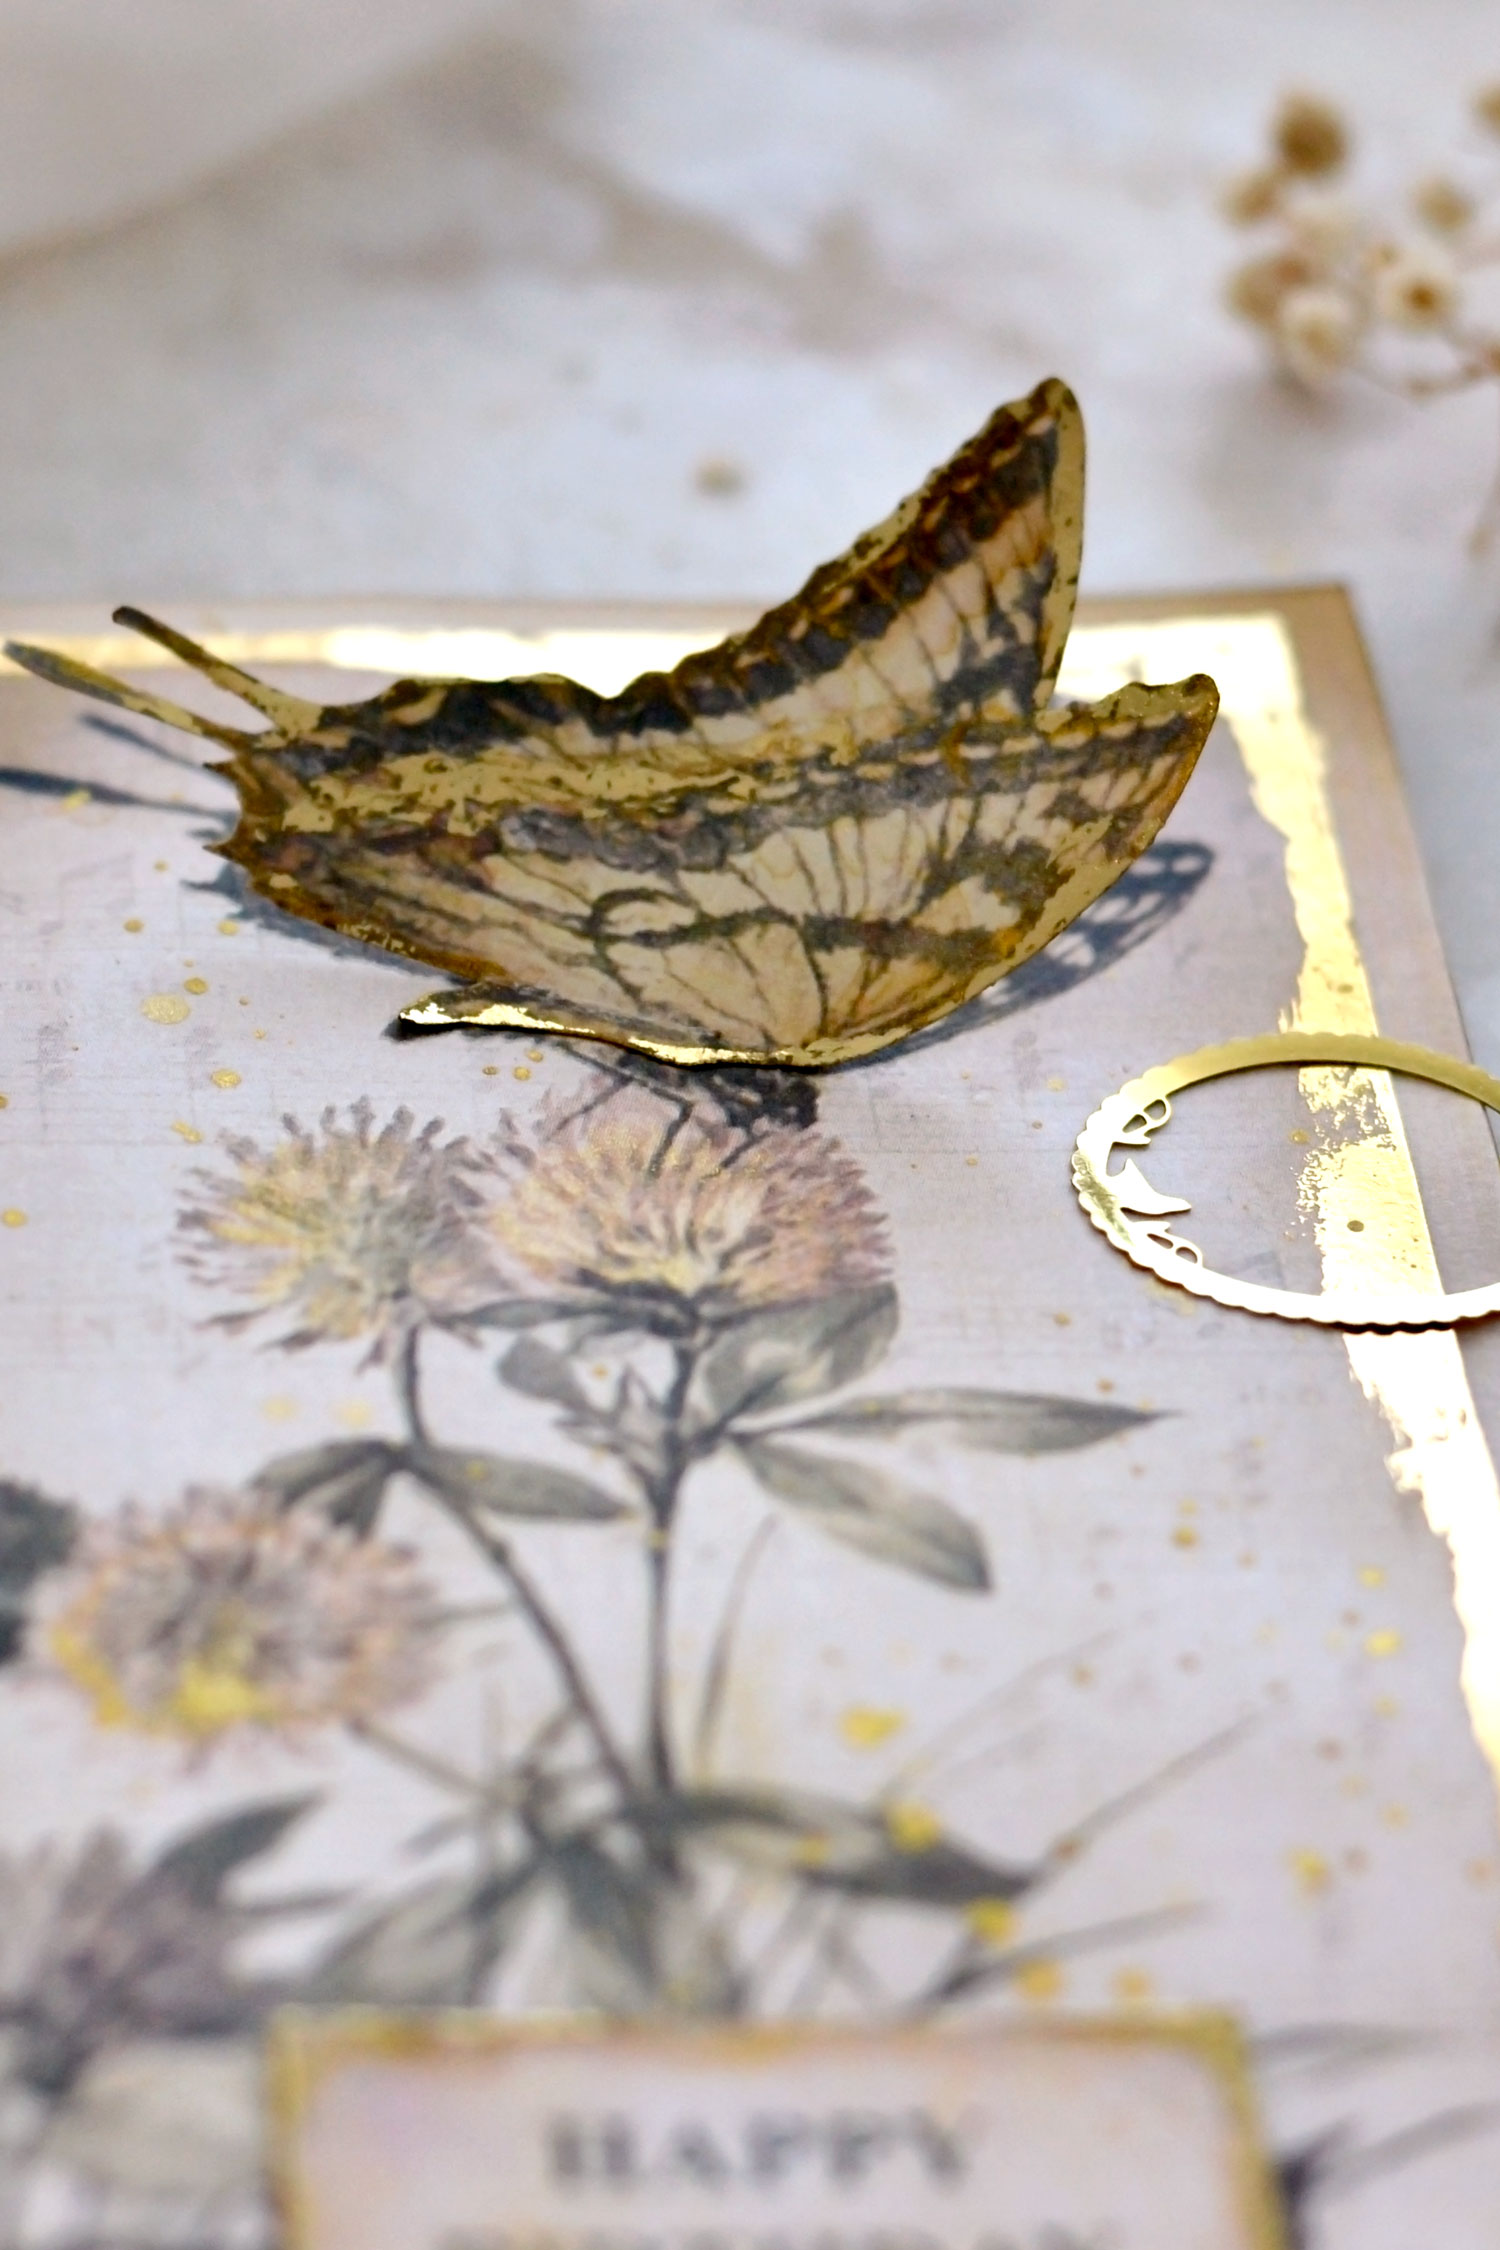
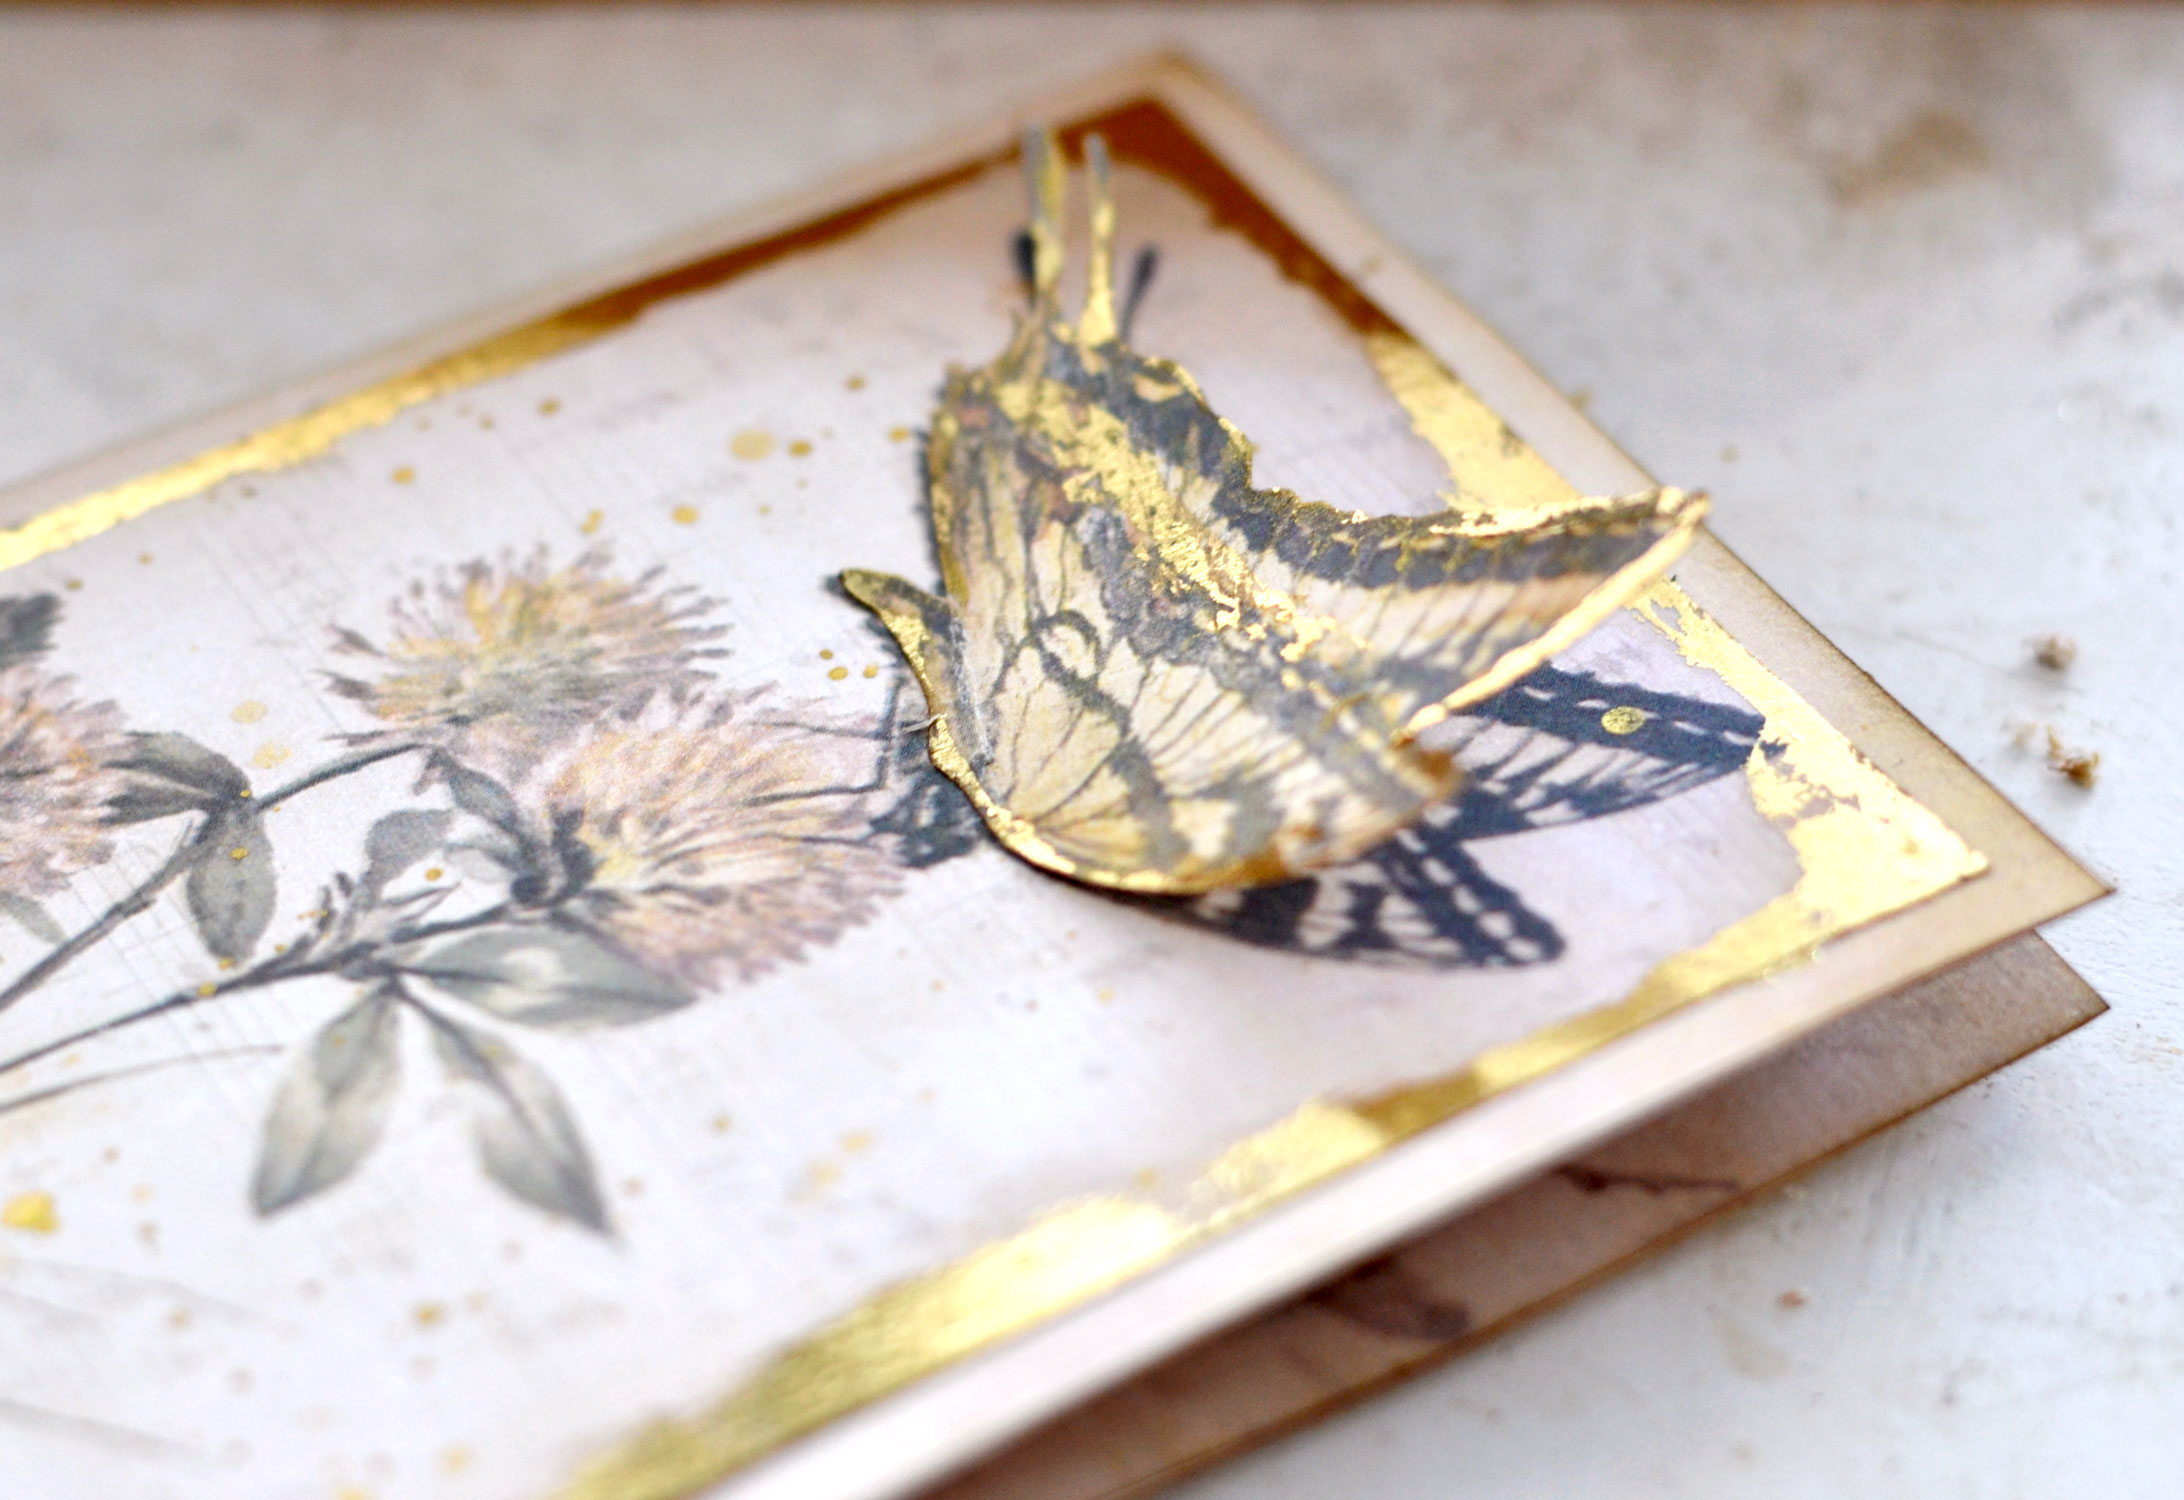
And of course, now that we tackled the pop-up mechanism (and managed to do such a great job!!!), we can proceed to finish the exterior of the handmade birthday card. We need a tiny bit of glue to adhere the body of the additional butterfly on top of the one that we already have on the cover. Just fold the lower part of the butterfly and only glue that part, leaving the wings unglued.
This will create a charming 3-D effect on the cover too, which is absolutely gorgeous on its own!
You can further decorate or embellish the pop-up birthday card as you want, you can even add one of the sentiments inside. As you can see, the process itself is not complicated at all and once you understand the basics, there is really no turning back. You’ll just want to use it on all your cards from now on – I know I will!
The pop-up element adds so much character to our card, it’s like a magical secret gift that is well hidden inside. But it is just waiting to be discovered! And admired!! I feel like both the gold foil and the gold watercolor add so much dimension to our oversized butterfly, making this whole pop-up concept even more glamorous – if that was even possible.
What’s even greater about this pop-up idea is that it can be easily adapted to your junk journals or even other creative projects. You can replace the butterfly with other images like bees, dragonflies, flowers or anything else that you can think of. So I hope you will give it a try and simply fall in love with it, as I did! I’m sure the recipient will love their beautiful greeting card made by you! You could add a gift card inside if you like or perhaps pair it with a Birthday cake.
I hope you enjoyed learning how to make a pop out happy birthday card! I think it’s a great beginner’s project. You might also like another beautiful Card Making Kit HERE or this lovely Mother’s day card HERE.
Happy crafting,
Diana | by Dreams Factory





Christine Duffy says
Wow, that is so lovely and your tutorials are great, easy to follow and make sense. I have never made a pop up card despite card making for over 20 years so this is going to be fun. Thank you very much.
Karen Watson says
Have fun making your first pop up card Christine!
Connie Griffin says
Beautiful, and love the surprise inside, the gold touches are so pretty!
G'ma Pat says
Thank you, thank you. I’m making my cousin a junk journal for her 90th birthday, and have been at odds about how to end it. I’ve been looking at birthday cards but none seem just right. This, I think, will be perfect.
Karen Watson says
Oh my goodness, what a wonderful gift that will be for your cousin! Have fun making this pretty card.
Debs says
Wow. This is stunning Diana. I can’t wait to try this. many thanks for this. Debs. 😊
Karen Watson says
Have fun making Diana’s lovely card project Debs!
Elizabeth Rose says
So elegant, & great instructions – thank you Diana!
Karen Watson says
Have fun creating Diana’s lovely card Elizabeth!
De says
Thank you. Beautiful card. I love the graphics fairy.
Karen Watson says
I hope you find time to make one of these De!
pauline v purdum says
Love this one, will make some to fit various sized pockets in my journals. Thank you
Karen Watson says
Great idea Pauline!