DIY Laundry Bag
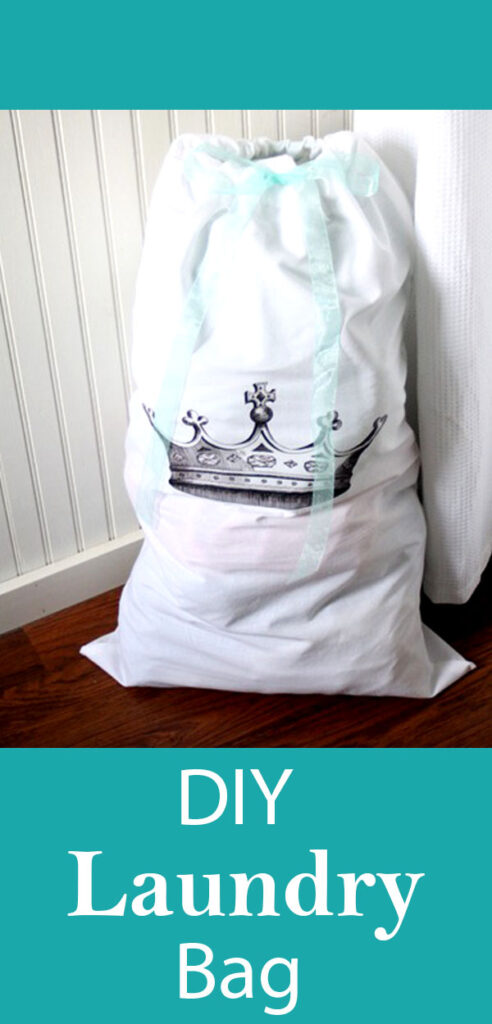
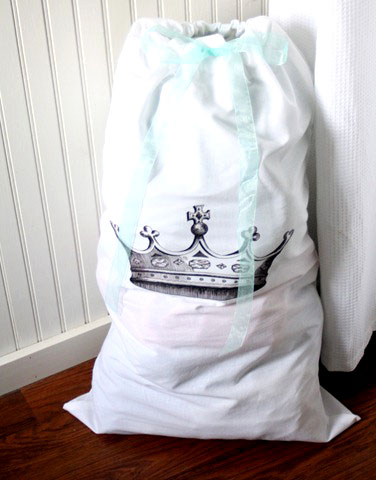
Happy Friday to ya! It’s time for another tutorial, and this week I’m sharing a pretty simple sewing project: a French Inspired DIY Laundry Bag. There are a lot of steps, but if you can sew a straight line then you can make this project. It really is pretty easy. And it can be a cute gift idea as well. I used a French Crown for this project, but you can use whatever motif that you like on the bag. Let’s get started!
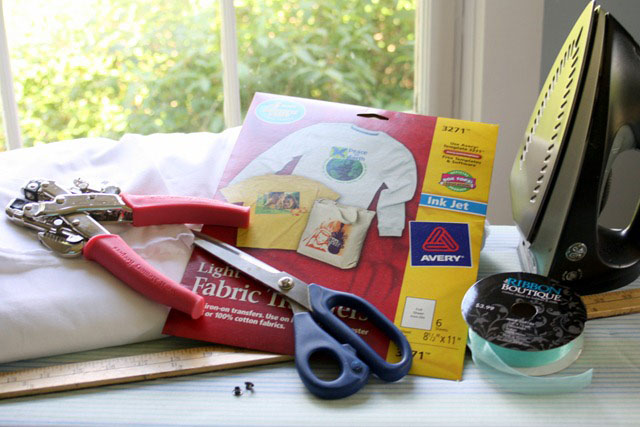
Supplies for DIY Laundry Bag
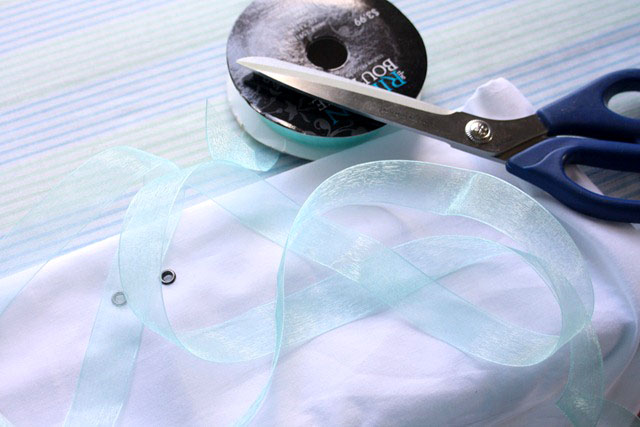
You’ll need these materials:
- about a yard of muslin (or the fabric of your choice)
- iron on transfer paper for light fabrics
- ribbon
- grommets
- thread
And these tools:
- sewing machine
- iron
- grommet maker
- printer & computer
- yardstick
- scissors (fabric & paper)
- Disappearing Ink Fabric Pen
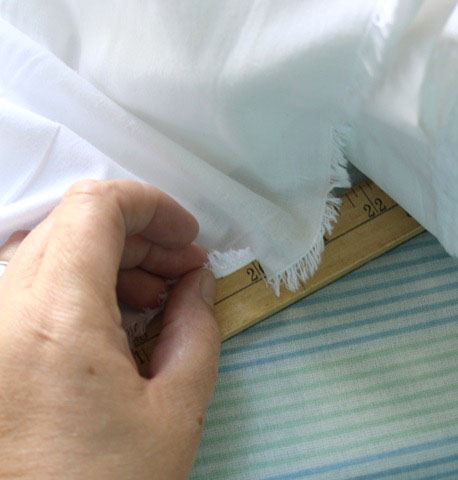
Let’s get started! First you need to cut your piece of fabric, approximately 20 inches wide by 72 inches long. If you use 90 inch muslin, you can use less than a yard of fabric to make it, cutting across the width. If you use a different fabric, then purchase 2 yards and cut it length wise. I snip a little cut, then rip it across. Ripping keeps the piece straight, which is easier than trying to cut and measure. It’s the lazy girl way!
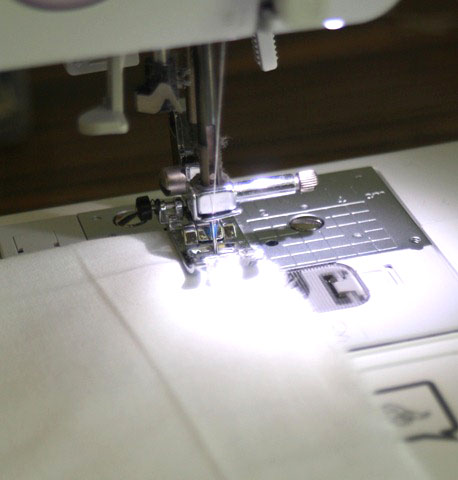
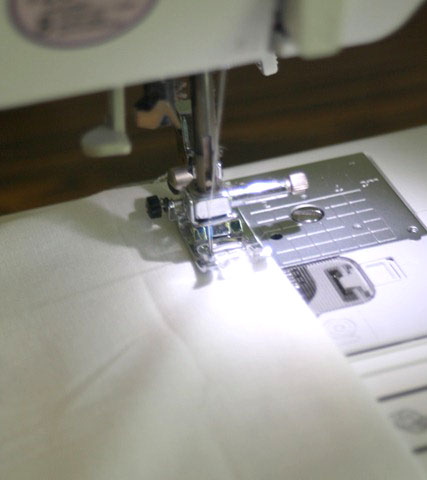
Once you have your piece cut…. errrr…. ripped, then fold it in half like a hamburger, so you’ll have a 20”x36” folded. Sew a seam down each side, as close to the edge as possible.
Leaving the bag right side out, sew another seam about 1/4 inch side the seam, or slightly larger. You want to make sure that your stitch is past the edge of the fabric on the inside. When you turn it out right and iron again, you’ll have a finished seam.
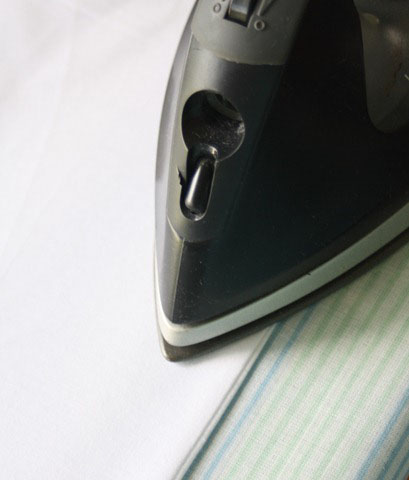
Iron the side seams the same way as the first seam, then turn a cuff 3 inch into the inside of the bag and iron it flat. Once you have the first turn, do a second, so you have an edge completely turned in (like the cuff on your pants.)
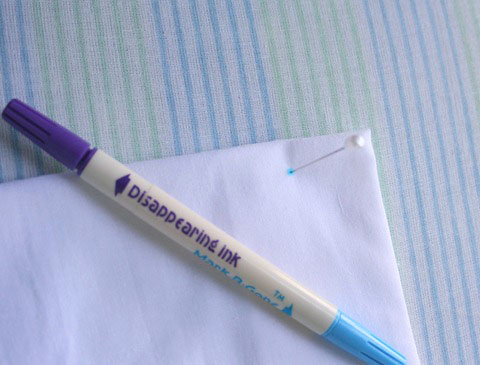
Fold the bag so that the seams are together, so you can find the middle of the front. Once you have the center fold, go in an inch or so and make a small mark with a Disappearing Ink fabric pen. Put a straight pin through the dot, then turn it over and make another mark on the other side where the pin pokes through. Now you have your grommet marks!
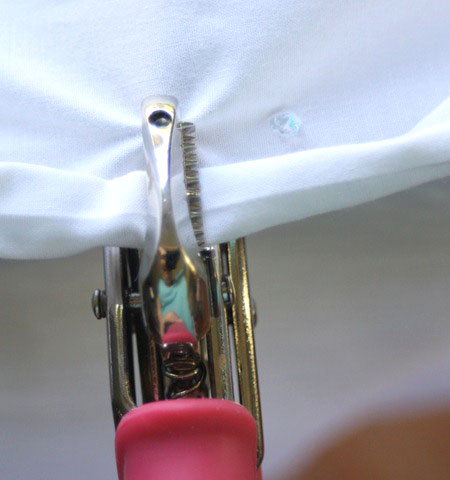
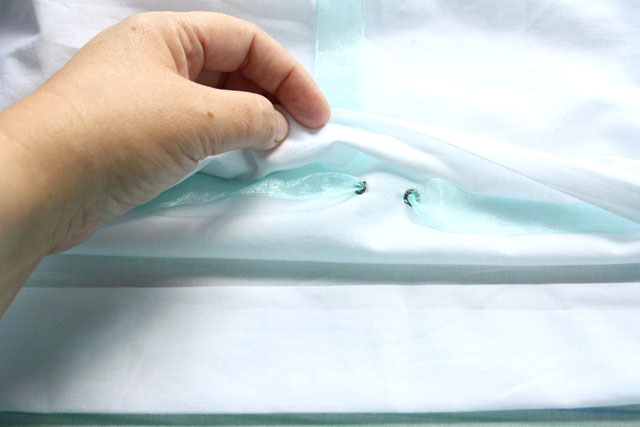
Carefully pull back the ironed hem, so you only have one layer of fabric (the outer most layer), and use your grommet maker to punch through the marks to make your holes. I punch then trim with scissors to get a clean cut. Next, use the same grommet pliers to insert the grommets into the holes and secure them.
Now it’s time for the draw string. Cut a piece of fabric about 2 yards long. I used gossamer ribbon, but you could use grosgrain or even jute twine. Anything that will act as a drawstring for your bag works great!
Thread the ribbon through the grommets, with the tails going out the outside of the bag. Loop the ribbon through the ironed seam, and tuck it as close as possible to the top of the seam. It will take a little work to get it to all flat, so be patient!
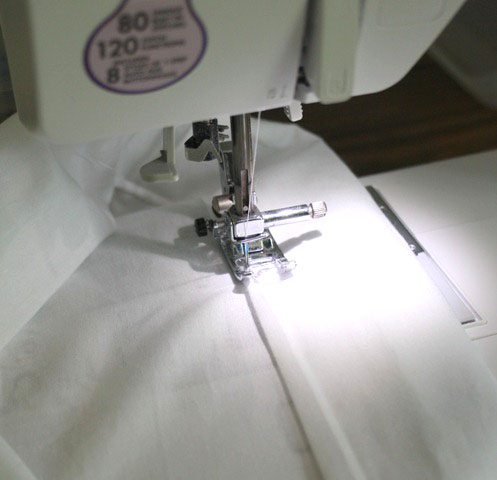
Sew a stitch around the bottom of the hem, working from the inside of the bag. Make sure that the side seams lay flat to keep it all smooth. Once this seam is finished, so is your bag!
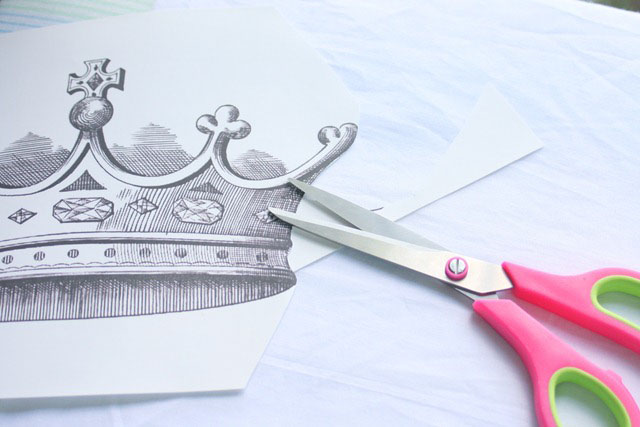
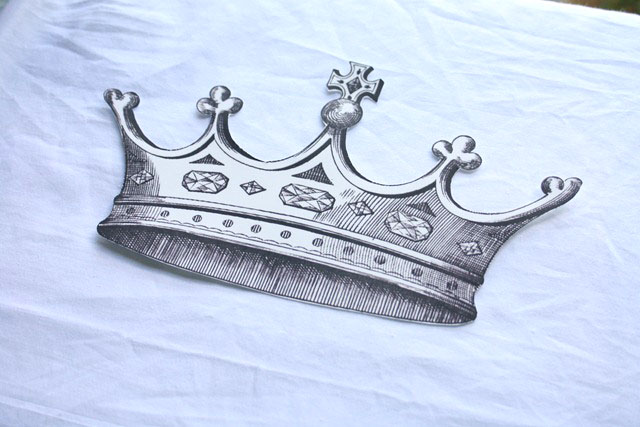
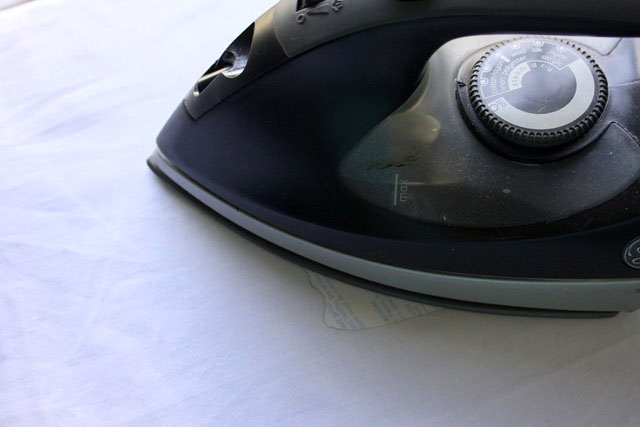
Print out the Crown Graphic HERE onto the iron on transfer. If you are printing words, make sure that you print them in reverse! I trimmed right on the outline of the crown, so it would cut out the shadows of the graphic.




Kitchen clocks uk says
Your method of telling everything in this piece of writing is
actually good, every one be capable of simply understand it,
Thanks a lot.
Anonymous says
Truly when someone doesn’t know after that its up to other visitors that they will help, so here it takes place.
My page :: acting out culture 2nd edition
promdress1 says
Louis Vuitton Online Shop Deutschland bieten Vielfalten Louis Vuitton Taschen zu niederigen Preisen an. Einen gro?en Rabatt von Louis Vuitton k?nnen Sie hier finden!
DolphinA says
Wonderful!!! ^.^
Chenia says
I love it 🙂 Thank You :)))
Céline says
C’est très beau ! J’aime beaucoup la couronne !!!
It’s very beautifull ! I love the crown … And your blog than I often visit …
Hooked on Decorating says
I love this! Wonderful job!
Kathy @ Creative Home Expressions says
Beautiful, Gina! I love the crown graphic you used.