Glitter Picture Frames DIY
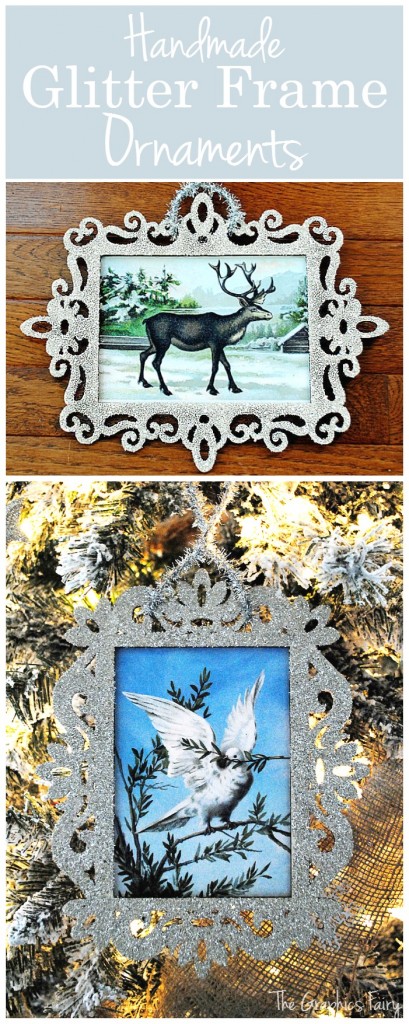
This is an easy Tutorial for making some lightweight DIY Glitter Picture Frames that you can hang on your Christmas Tree! These ornaments can be made with any sort of pictures that you like inside. I used Vintage Graphics from my site, but you can customize however you like. Use them to frame up your kids, or grandkids, artwork… or frame up photos of family and friends, these would all be special pieces that you will treasure for years to come on many Christmas Trees in the future!
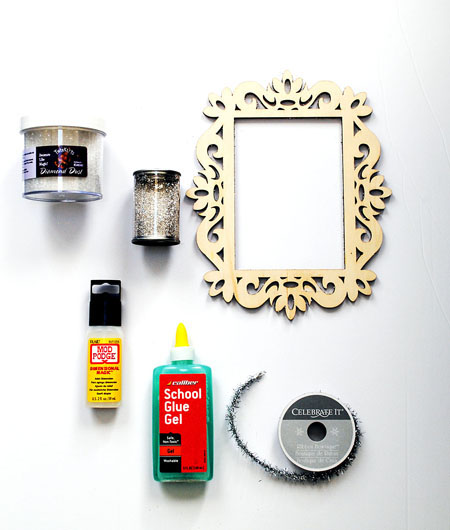
Supply List for Glitter Picture Frames DIY:
- 11″ x 9″ Laser Cut Wood Frames (these are slightly smaller than the ones that I got at Michaels)
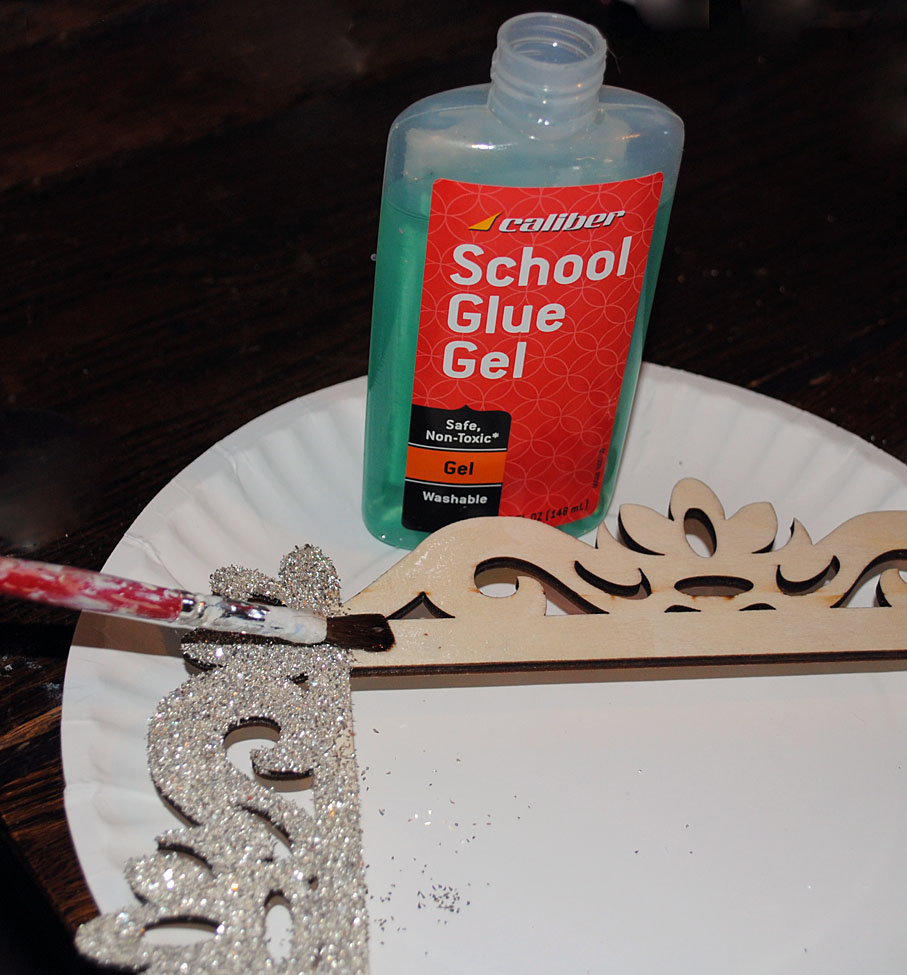
- School Glue Gel
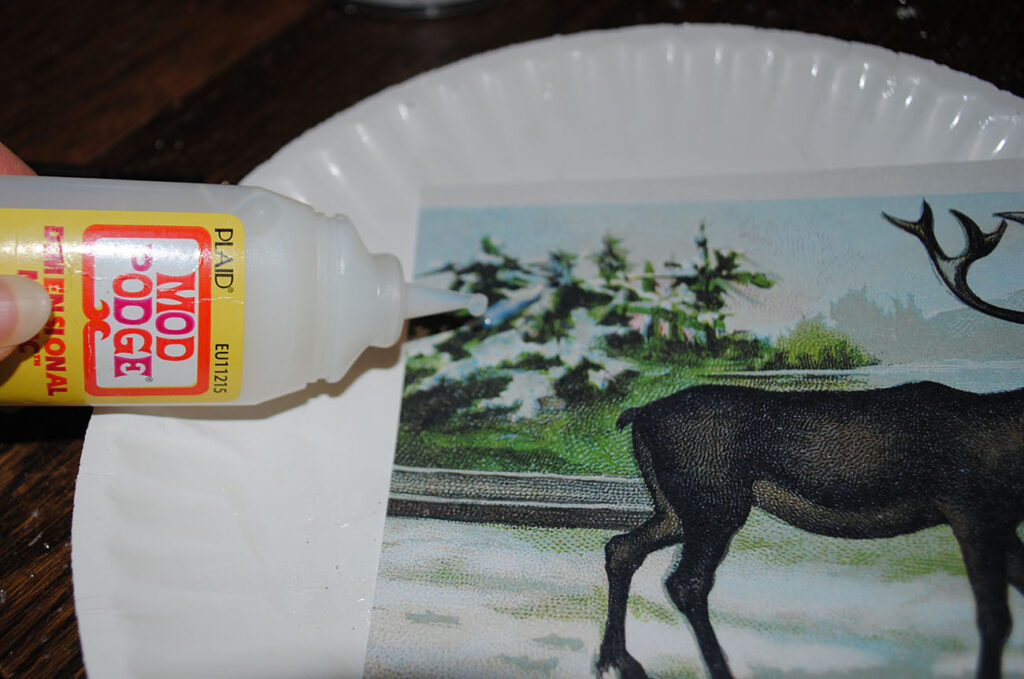
- Mod Podge Dimensional Magic
- German Glass Glitter
- Diamond Dust
- Tinsel Ribbon (from Michaels)
- Printable Graphics -printed on white Cardstock (see below)
Printables for the Project:
As I said above, you can use whatever images or pictures you like with these frames. But if you like the look of the ones that I used, you can grab the free Printables below.
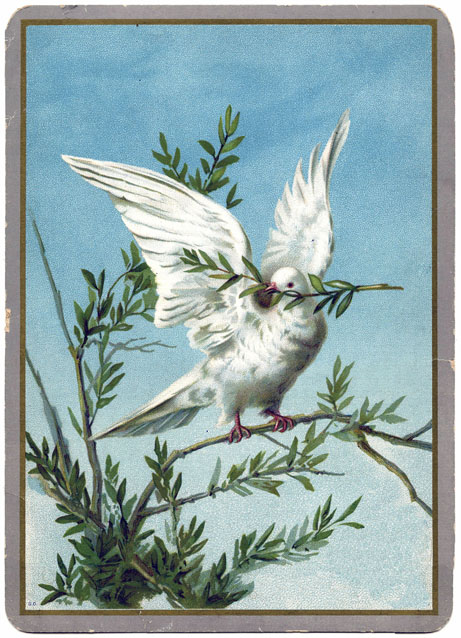
Click HERE for the Full Size Printable PDF of the Dove
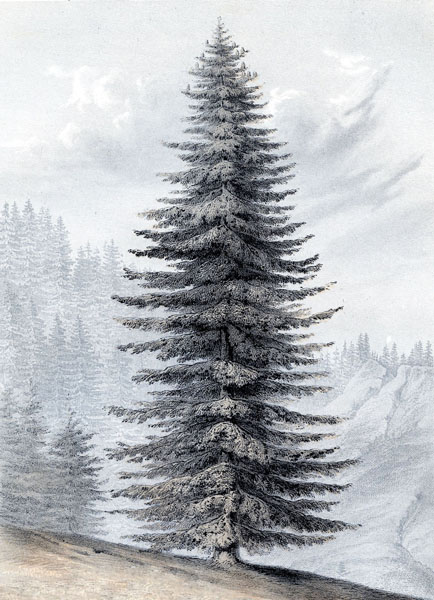
Click HERE for the Full Size Printable PDF of the Christmas Tree
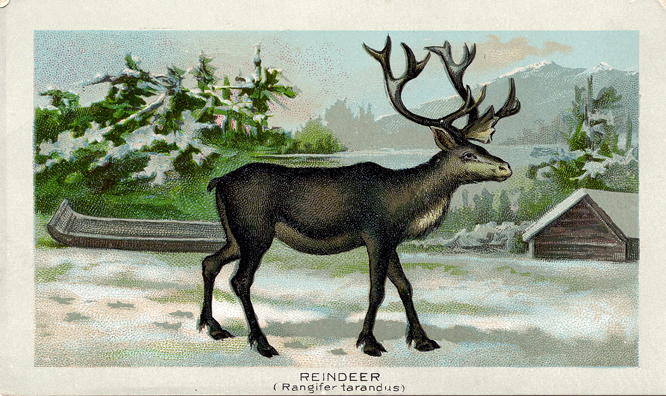 Click HERE for the Full Size Printable PDF of the Reindeer
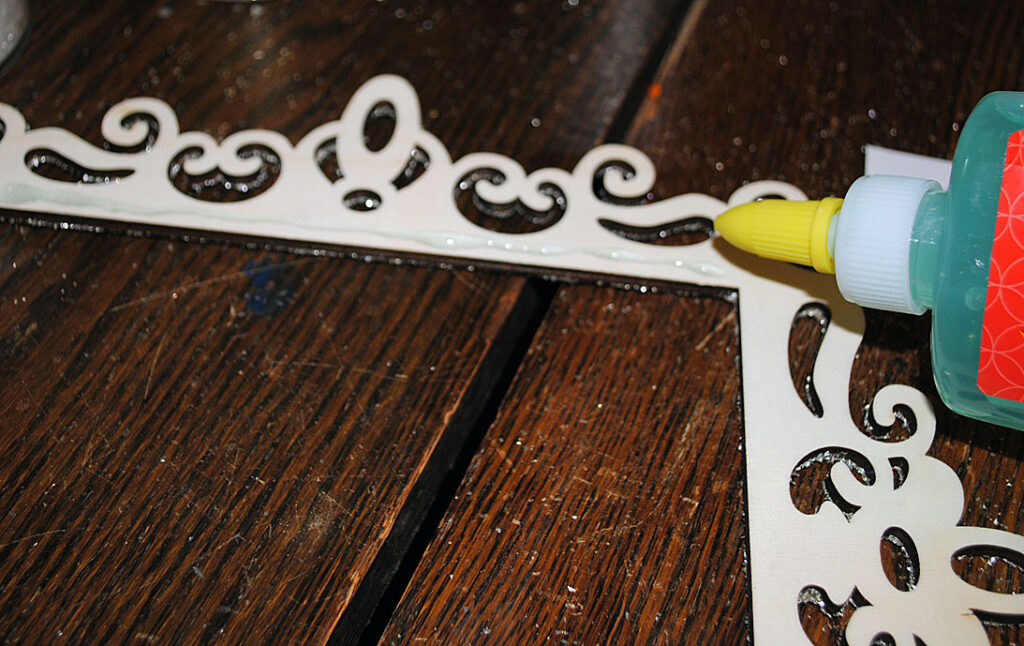
Step 1: Spread a layer of the School Glue Gel on the wooden frames.
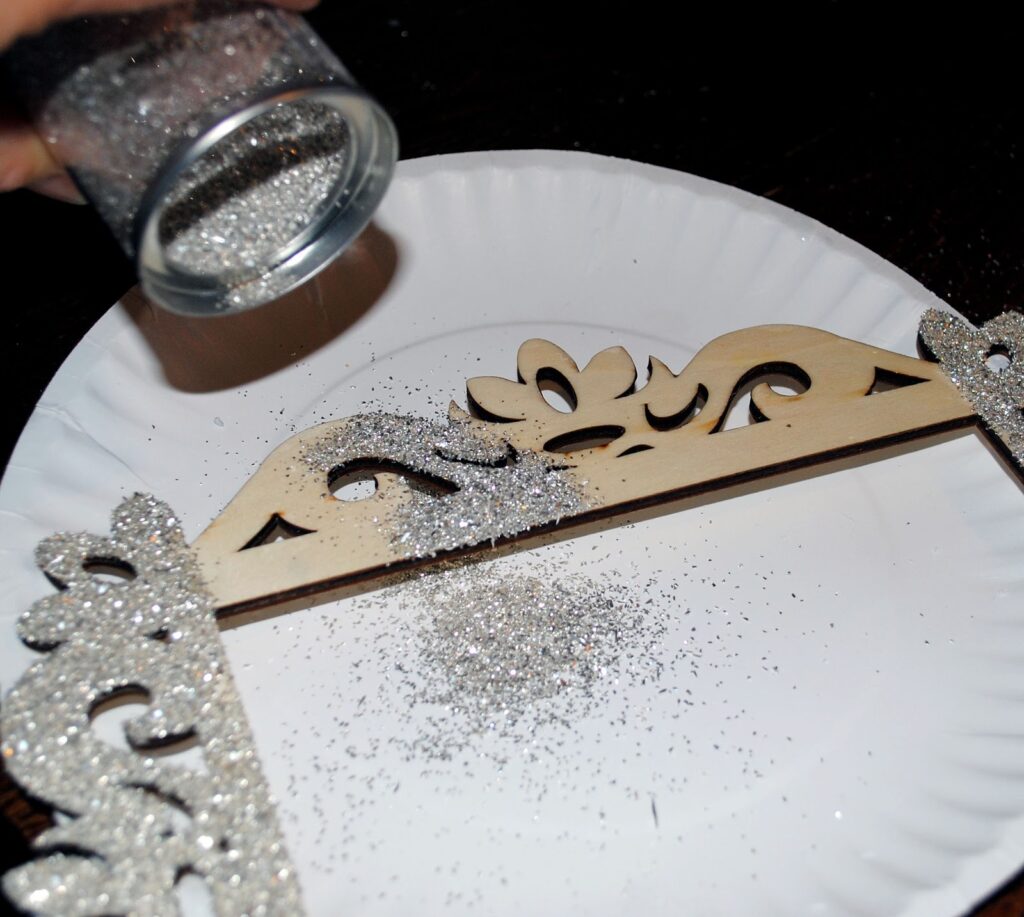
Step 2: Sprinkle the Glitter on to the frame and tap off excess. Allow to dry completely.
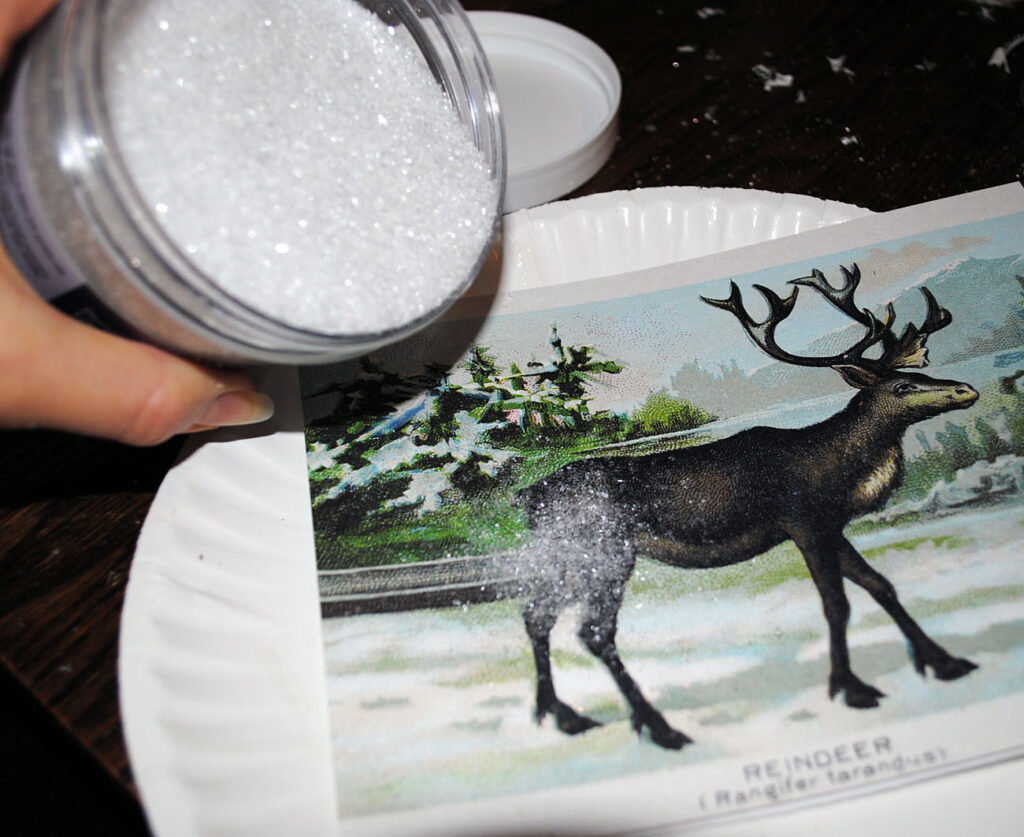
Step 3: Print out the Printables from above and trim them up to fit the frames. Then apply the Mod Podge Dimensional Magic to the areas that you want to highlight with a snow effect.
Step 4: Sprinkle on the Diamond Dust, to the areas where you applied the Dimensional Magic. And tap off the excess and let dry completely.
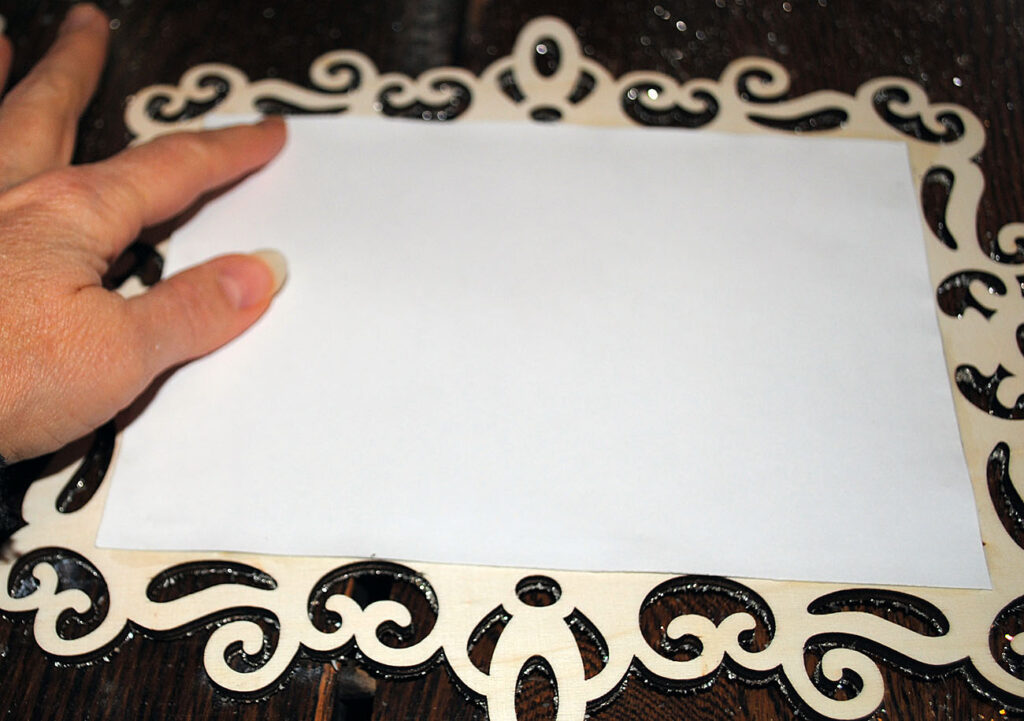
Step 5: Apply School Glue Gel to the back of the frame, just along the edge.
Step 6: Place your printed graphic face down, onto the glue and press firmly. Blot up any excess glue with a towel. Once it’s dry you can add a ribbon to hang it. I used some tinsel ribbon from Michaels, it was wired and easy to twist into shape.
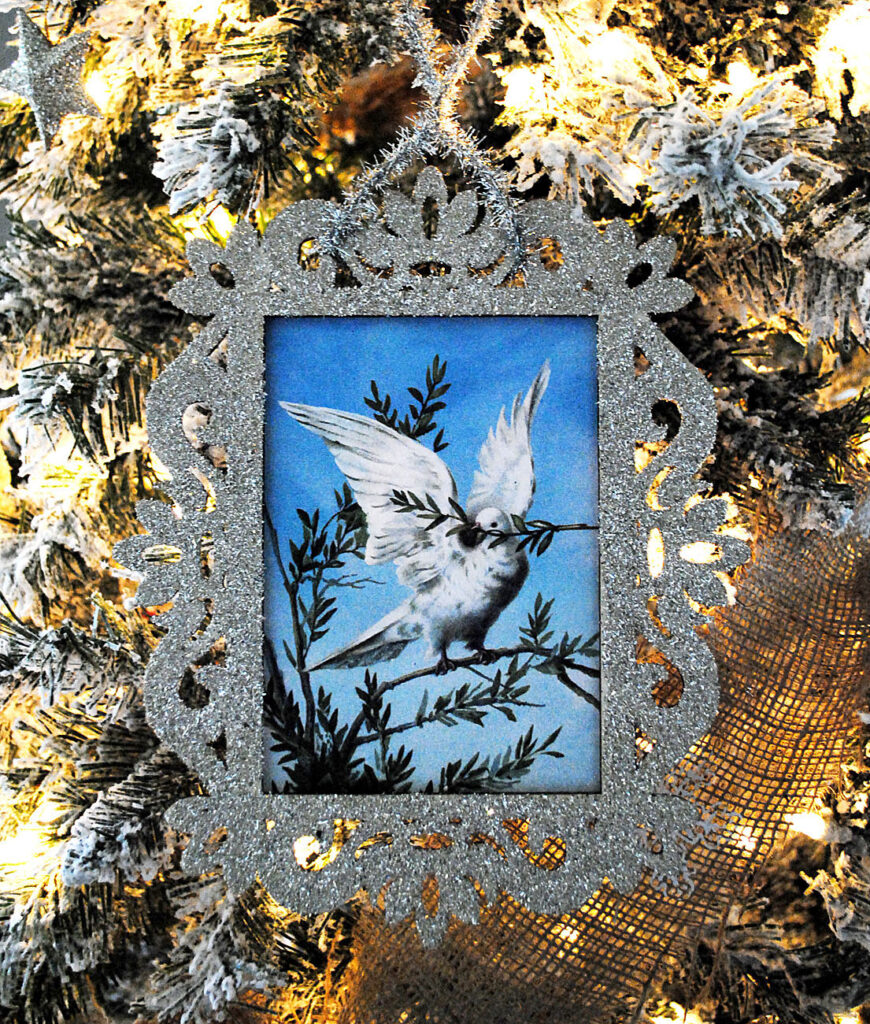
So pretty! This is the one that I did with the Dove …
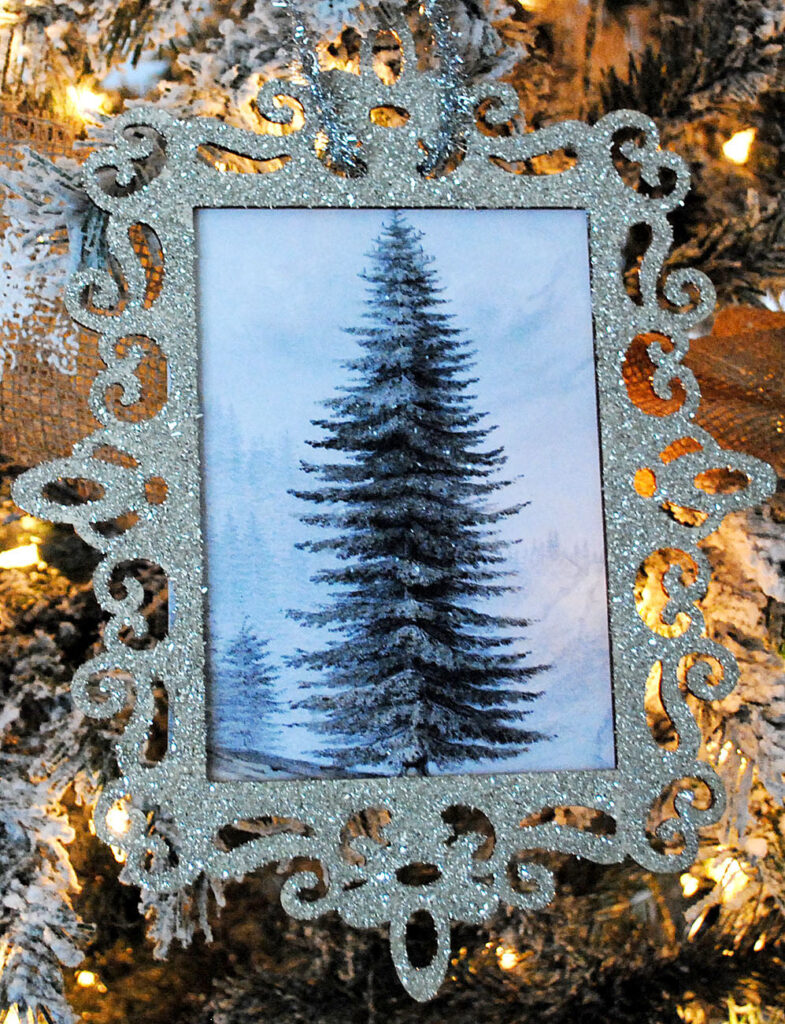
and here is the Christmas Tree version.
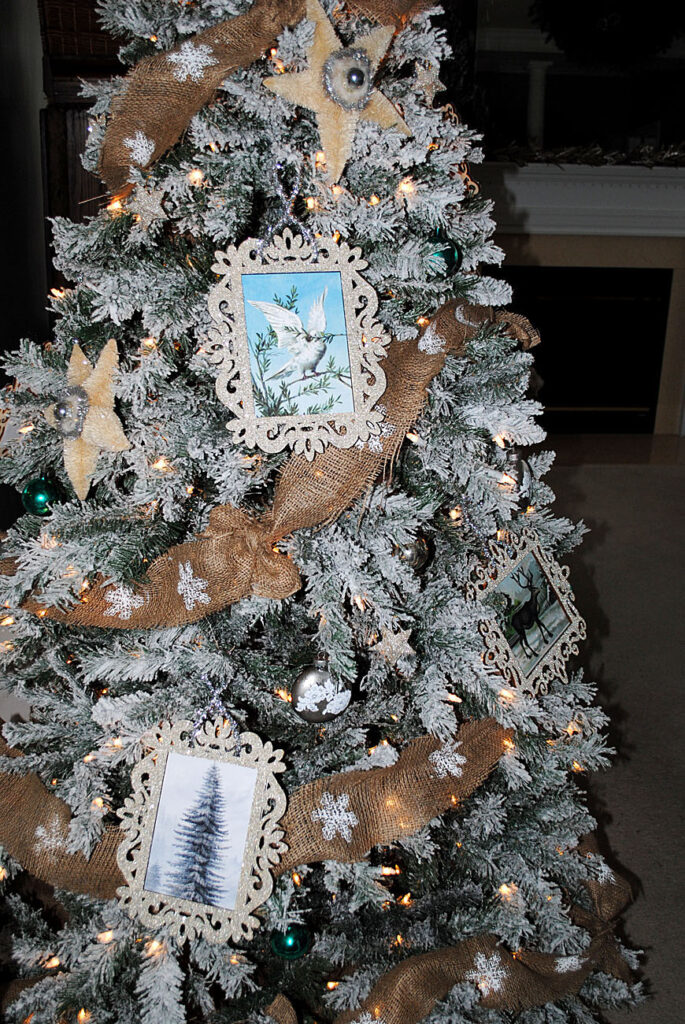
Here are all 3 of them on my Tree! You can’t really tell, but they are super glittery and really shimmer!! I hope you enjoyed this Glitter Picture Frame DIY and I hope you have as much fun making these as I did. You might also like to check out our DIY Paper Bag Stars Tutorial HERE, they are super pretty and would like nice with these ornaments!


fela4 says
Thank you Karen 🙂 I like your works so much. Best wishes to you.
Danni Baird @ Silo Hill Farm says
These are so pretty! I came by from Hometalk because I loved the deer…but..I can’t stop looking at that tree!
Karen Watson says
Thanks Danni! I used some of my favorite Christmas graphics on these. I’m glad you like the Tree too!
Pendra says
Watched the video of this the other night…really enjoy your tutorials! These are so pretty and I loved the images you chose, especially the Dove. I would have never thought of the school glue gel, thanks for the tip on that. Thanks for sharing your graphics and tips and keep these tutorials coming…it makes my day!
Crafty Hugs,
Pendra
Karen Watson says
I’m so glad you enjoyed it Pendra! I already have some more tutorials in the works, I’ve been crafting up a storm lately! haha
xoxo
Susan says
So simple and yet so elegant! Thank you for giving me some crafty inspiration.
Karen Watson says
You’re welcome Susan! Thanks for the sweet comment!
Trish says
Thanks Karen! I LOVE that tree image. I have never tried glue gel. I can imagine that it would grab the glitter better and it is on my craft ” to buy” list. Happy holidays and thanks again for your generosity
Karen Watson says
Thanks Trish! I think you’ll really like that glue, it’s so cheap and it works really well!
Ruffles and Relics says
These are so cute! They look lovely on your tree!
Karen Watson says
Thanks!!
ScrappyMama says
These are awesome images & projects!!!! Thank You sooooo much for sharing them with us! You have got to be one of the MOST generous bloggers out there…& of such awesome & amazing images!!! Every day, I look forward to opening my email from you to see what you’ve got for me today…I can’t tell you how much I enjoy & appreciate it all!!!!!!!
Karen Watson says
Aw shucks ScrappyMama, you’re making me blush! Thanks for the sweet comment!!
Anonymous says
Karen,
I believe ScrappyMama said it best! I don’t believe it could be said any better, so I will just say “I agree with ScrappyMama” and “Thank YOU.”
Karen Watson says
Thank you for your very kind comment!
cmoh says
Great tutorial thanks for sharing, and there are so many other things to do with this, I’m thinking Puprle glitter with my childs artwork inside!
Hugs
Caroline
Karen Watson says
Great ideas Caroline!!
marta mangos says
Bellissimo ! 🙂
Karen Watson says
Thanks Marta!