How to Transfer Image to Wood Furniture
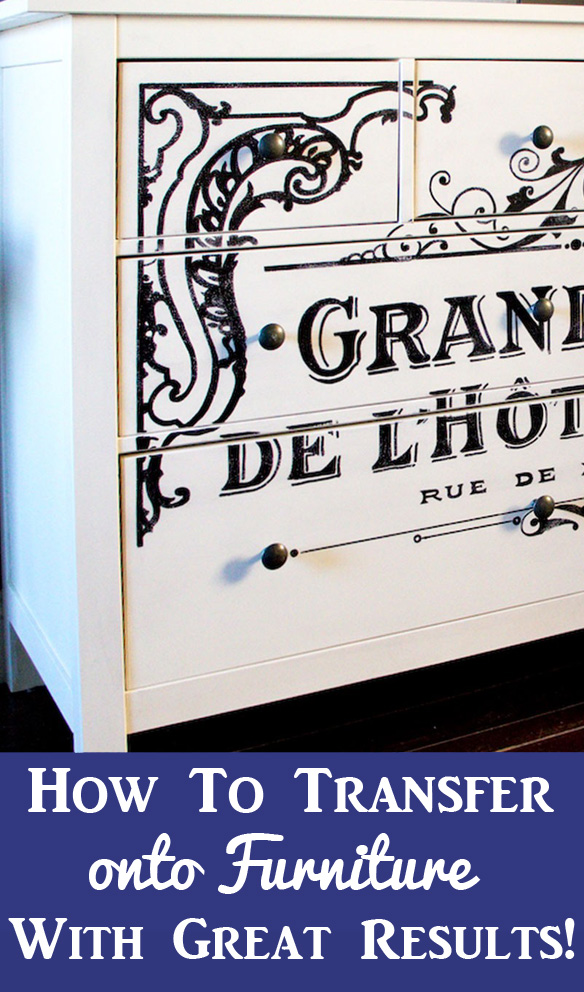
One of the Questions that I get asked most frequently is …”How can I enlarge your images so that I can use them on Furniture?” In this post I’m going to show you a simple, but effective method for doing just that! And it’s inexpensive too, no need to break the bank buying huge pricey stencils with this technique! This is a great way to get a marvelous custom look for your furniture, as you can really do whatever you like with this technique! So read on below to find out how to transfer an image to wood furniture.
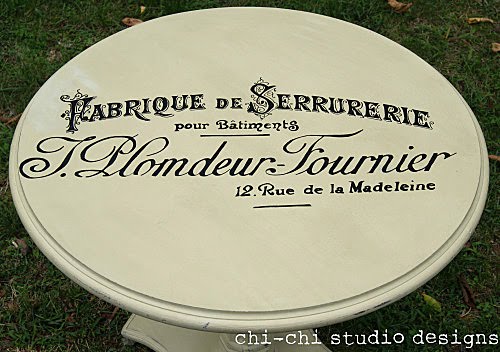
(An example of an image Transfer Table would be this gorgeous table by Chi-Chi Studio Designs!)
There are a few ways of doing this… you can use Photoshop to enlarge the image, or you can use an Overhead Projector. However I wanted to make a Tutorial for those of you that don’t have Photoshop or Projectors. Instead you can use a Free online site called BlockPosters.com!
First go to BlockPosters.com.
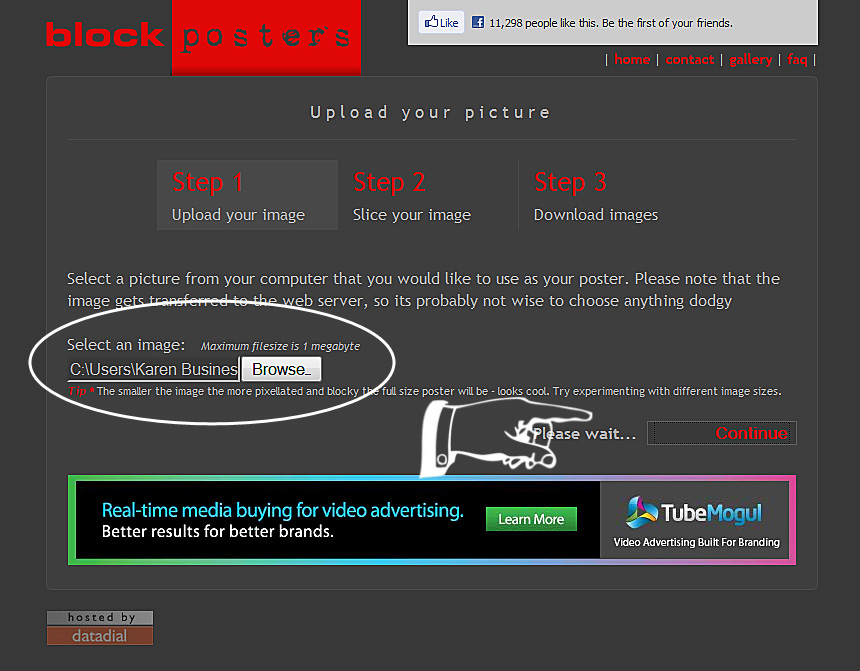
Proceed to Step 1: Just click the “Browse” button and select your file and then click “Continue”.
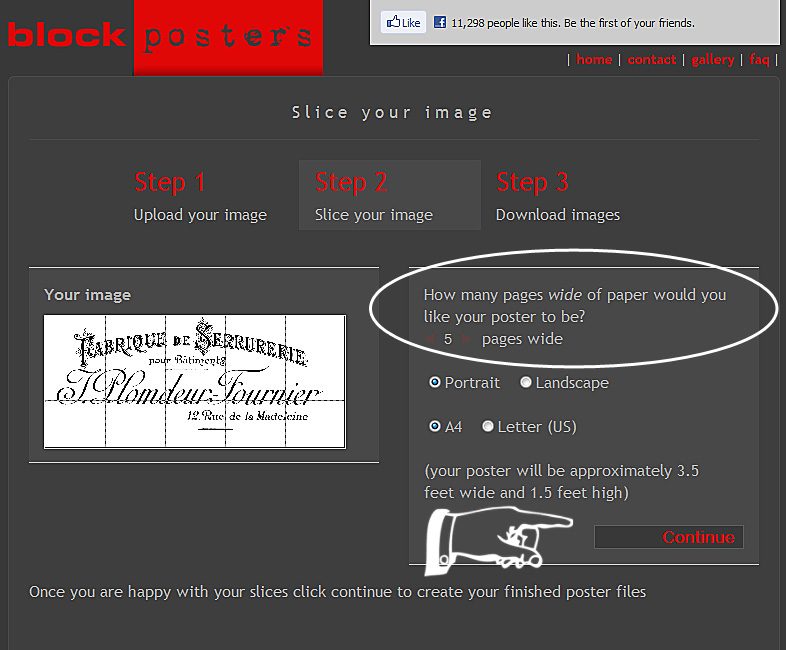
Step 2: Decide how many sheets of paper you would like the image to be spread out on. (You can lay out blank pages on your project and see how many you would like to use, according to the size that you desire.). Then use the arrow keys to change the number of pages. And select Portrait or Landscape and you will see the measurements on the screen. When you like the size that you see, click continue.
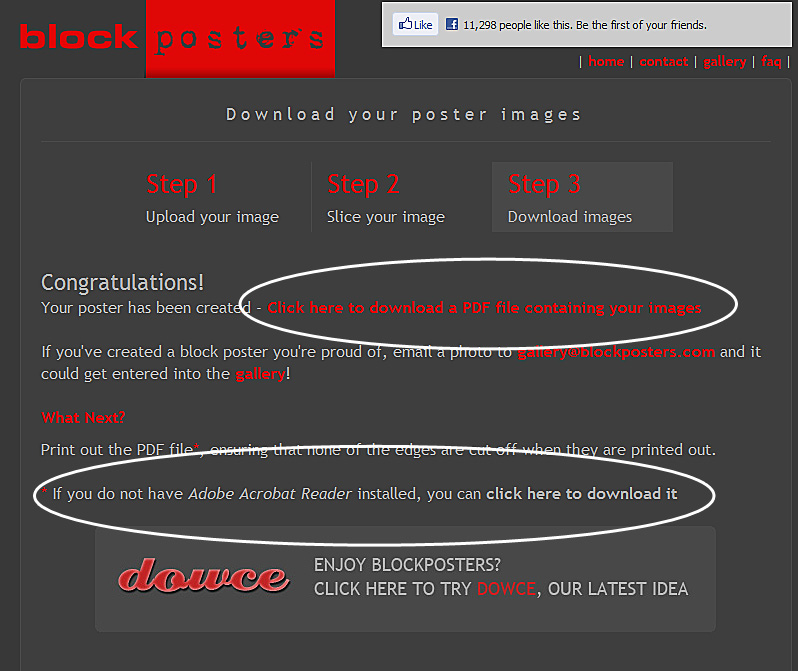
Step 3: Click on “Click here to download…”.
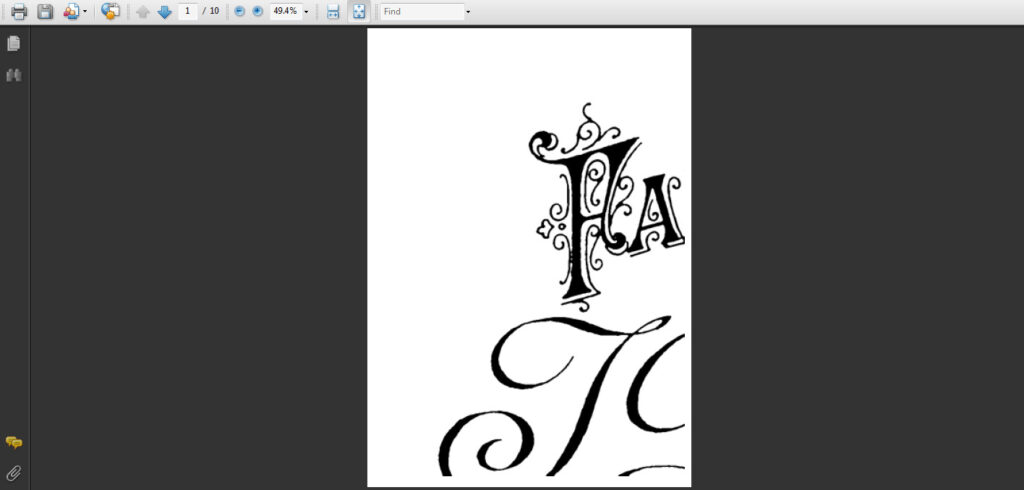
Step 4: Print out your pages!!! Yay! Now you have a large image that you can use for your transfer. (Of course you can also make Posters for your Walls too!)
Step 5: I cheated a bit here, because I found this awesome video from MyWonderfulWalls that shows you an excellent technique for transferring the image onto your Furniture piece, sign, wall or whatever your project is. The video shows the technique done on a Wall, but just imagine it’s a piece of Furniture instead, and you’ll get the picture!
How to Transfer Image to Wood Furniture Supplies:
*This post contains affiliate links for your convenience
For transferring you will need:
2)Ball Point Pen
To Paint your letters you will need either:
1) A small round brush & some paint or Paint Markers
After your done, you may want to seal your piece with your favorite clear sealer or wax to protect it.
To see some Typography Transfer Images that you can use in your projects, click HERE.
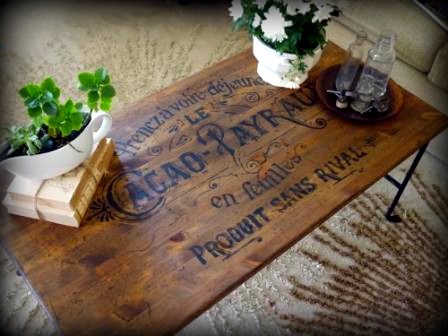
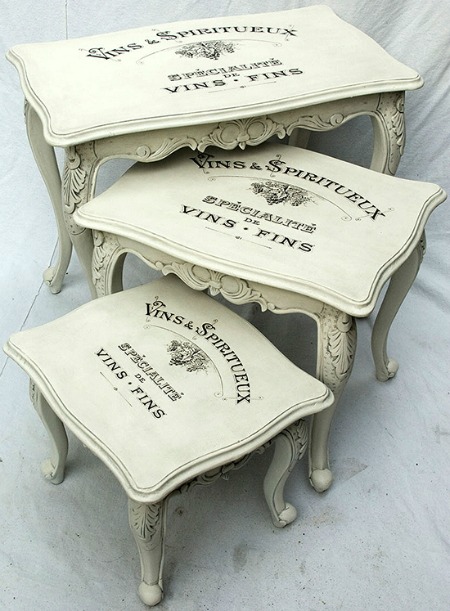
Here are a two more gorgeous examples from my readers:
I hope enjoyed learning how to transfer image to wood furniture today, and that you get to make some lovely pieces of your own!
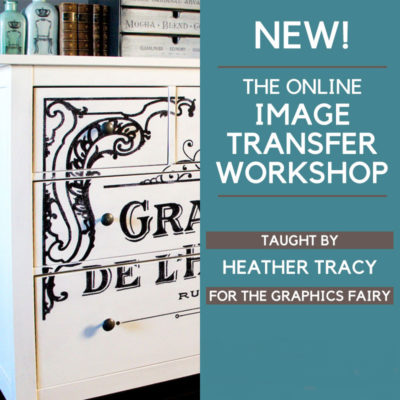 You might also be interested in our Online Image Transfer Workshop HERE where our instructor Heather Tracy, really dives deep into transfer methods for nearly every type surface, including detailed instructions for Furniture and Mirrored Glass!


Lisa says
Unfortunately the BlockPosters tool is an issue for image transfers because it does not allow you to ‘mirror or reverse the image’; at least not that I am aware of.
decoratewithalittlebit.com says
Thank you for this tute! it was so helpful. Hopefully, I’ll have a finished project to link up with you on a Monday in the very near future… Little Bit from http://www.DecorateWithaLittleBit.com
Anonymous says
This is so awesome. Thank you for putting this together. I really appreciate it.
Anonymous says
Love your blog!
Vicki
http://www.oldvicdonaldsfarm.com
Anonymous says
Hi,
We are having problems with blowing up your typography sets. Whenever we go to blockposters and have them blow it up to say 5 pages X 5 pages whenever we go to print it, the letters are like a bunch of little squares, it is not clear at all. Any idea of why this is happening or what we can do about it?
Thank you
Klem says
Hi,
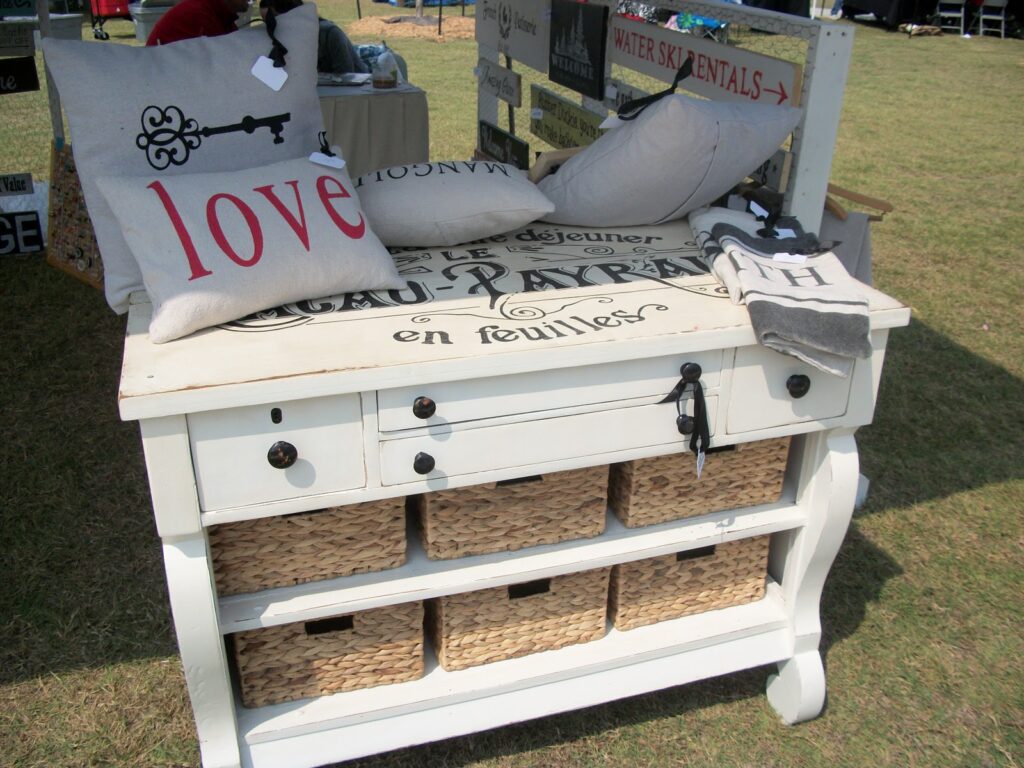
I have been trying to locate the graphic used on the white table with the baskets on your site (three mango seeds used and red hen). Could you let me know what it is called? My search hasn’t turned anything up.
Thanks
Theresa @junk2jewels-diy.blogspot.com says
I just figured out the chalk/paint marker transfer method, and then I read this! lol I wish I had read more sooner, just got so excited to start using the transfer! Thank you!!
Brandy Spears says
Best tip ever!
Anonymous says
Большое спасибо!
Anonymous says
glad i came across your site 🙂 have a table i wanted to put image on and had no idea where to start i now know how to enlarge and hopefully transfer onto table top when im ready. One question if i enlarge it using this program will the wax paper method work the image i want to do has to much detail to hand paint 🙂
Anonymous says
I am so happy to find your site today! I am in love!
Anonymous says
Wow!!!!!!!!!!!!!!!!!!!!!!!!
memamah3 says
thank you so much for sharing these tips.. im a beginner at pretty much all of this and i am absolutely ecstatic to learn all this stuff.
crafthead says
Thanks for such wonderful ideas and the graphics are fabulous. Since all the graphic files are in pdf format, how can you convert them to jpeg to upload to the blockposter site. It would not accept them as pdf and it won’t allow me to change the file. Any advice?
Anonymous says
On the graphics fairy website, when you choose the graphic, Instead of (or in addition to) saving the pdf – click on the graphic and then when it comes up, right click on the object and “save as” – it will automatically save it as a jpeg or similar “picture” file. I do it all the time all over the web. Hope this helps.
Shelley says
Awesome! I can’t wait to try this.