How to Transfer Image to Wood Furniture
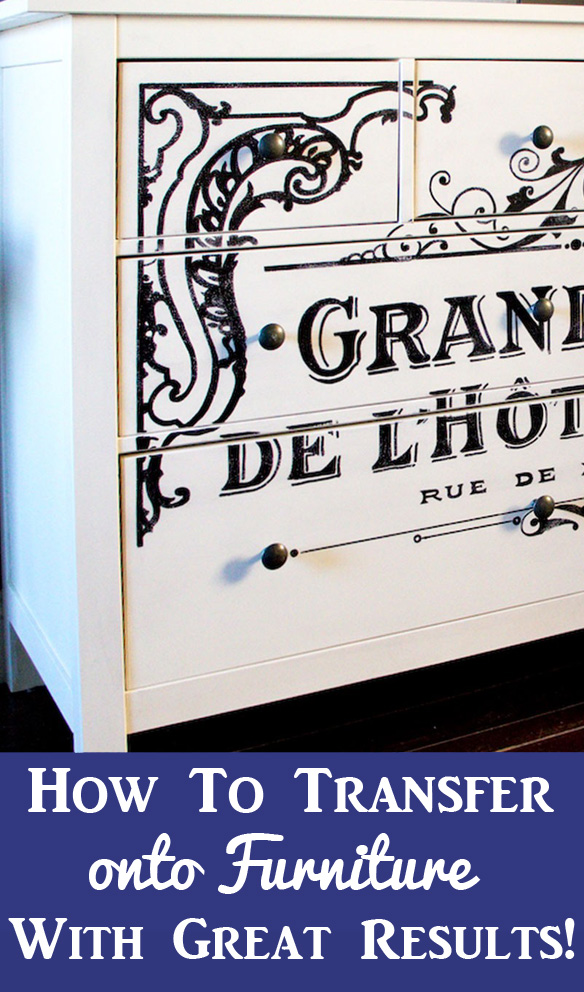
One of the Questions that I get asked most frequently is …”How can I enlarge your images so that I can use them on Furniture?” In this post I’m going to show you a simple, but effective method for doing just that! And it’s inexpensive too, no need to break the bank buying huge pricey stencils with this technique! This is a great way to get a marvelous custom look for your furniture, as you can really do whatever you like with this technique! So read on below to find out how to transfer an image to wood furniture.
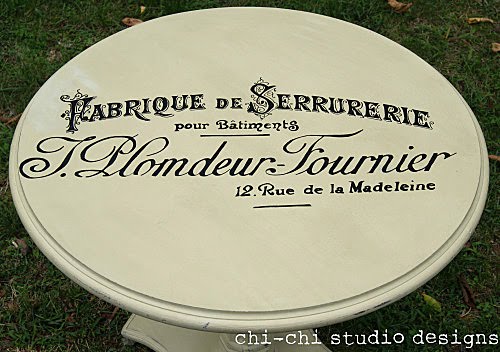
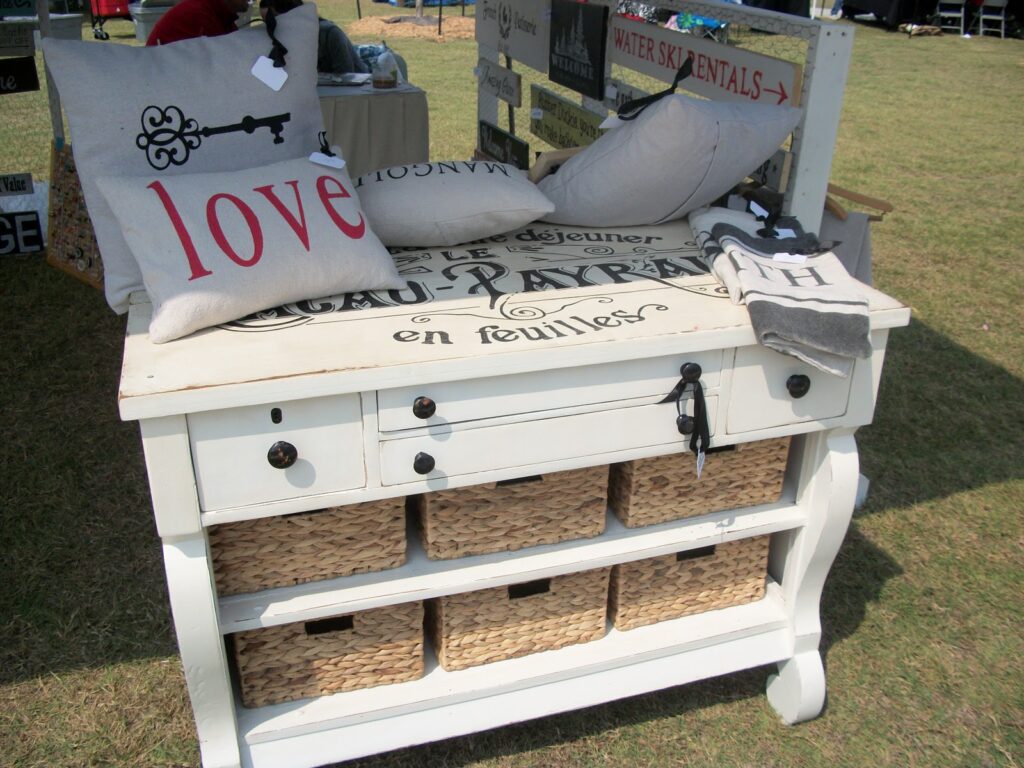
(An example of an image Transfer Table would be this gorgeous table by Chi-Chi Studio Designs!)
There are a few ways of doing this… you can use Photoshop to enlarge the image, or you can use an Overhead Projector. However I wanted to make a Tutorial for those of you that don’t have Photoshop or Projectors. Instead you can use a Free online site called BlockPosters.com!
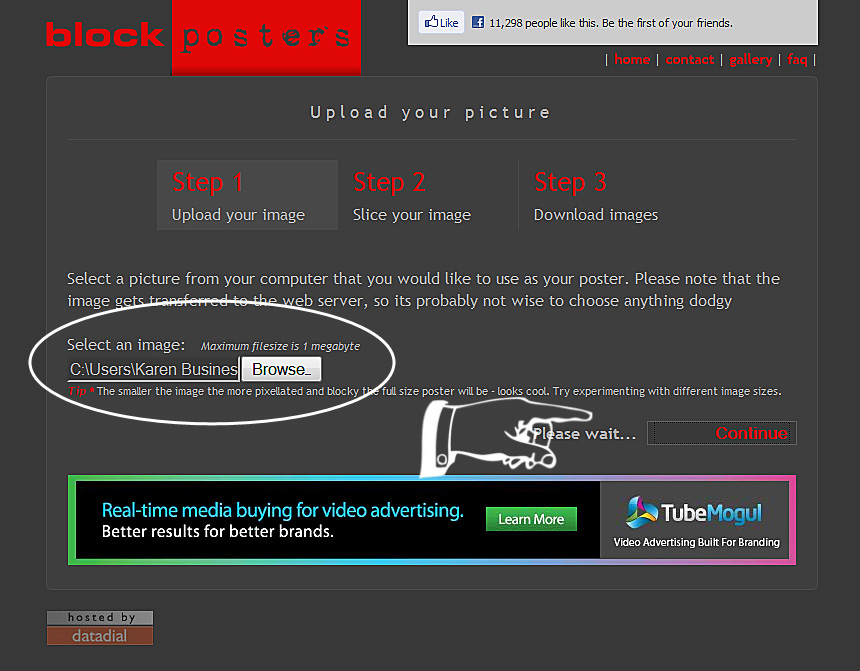
First go to BlockPosters.com.
Proceed to Step 1: Just click the “Browse” button and select your file and then click “Continue”.
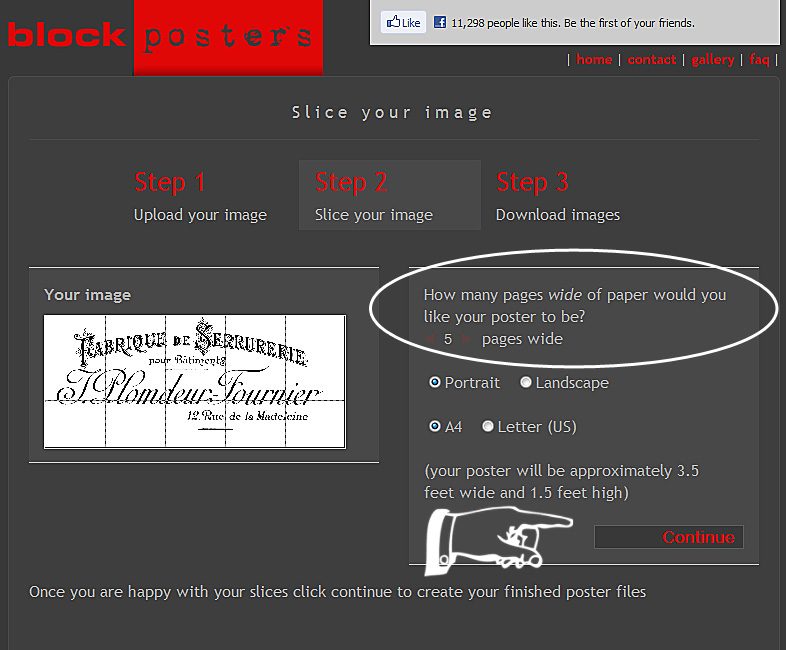
Step 2: Decide how many sheets of paper you would like the image to be spread out on. (You can lay out blank pages on your project and see how many you would like to use, according to the size that you desire.). Then use the arrow keys to change the number of pages. And select Portrait or Landscape and you will see the measurements on the screen. When you like the size that you see, click continue.
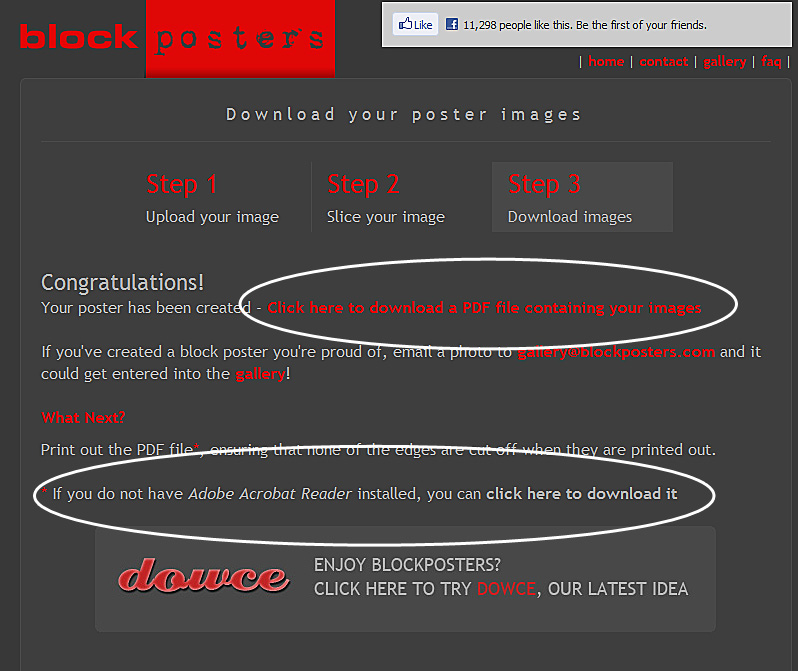
Step 3: Click on “Click here to download…”.
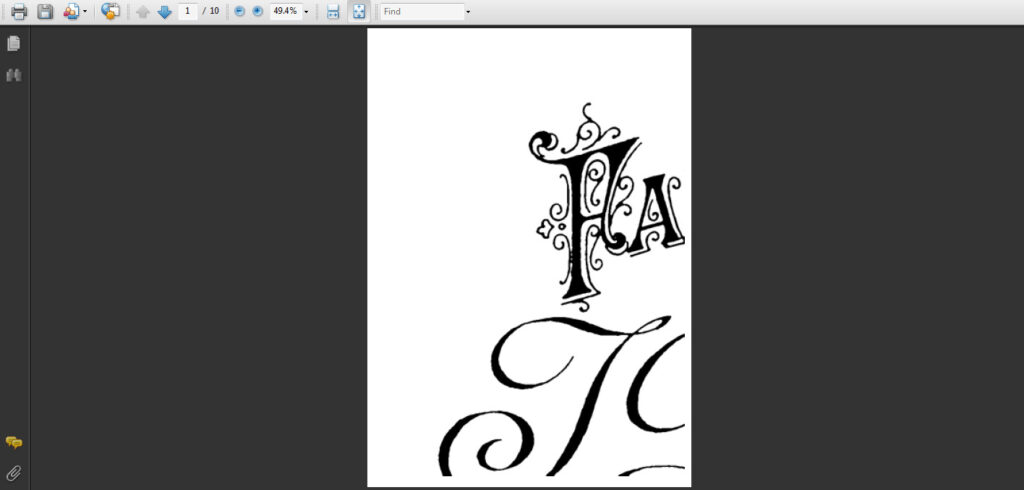
Step 4: Print out your pages!!! Yay! Now you have a large image that you can use for your transfer. (Of course you can also make Posters for your Walls too!)
Step 5: I cheated a bit here, because I found this awesome video from MyWonderfulWalls that shows you an excellent technique for transferring the image onto your Furniture piece, sign, wall or whatever your project is. The video shows the technique done on a Wall, but just imagine it’s a piece of Furniture instead, and you’ll get the picture!
How to Transfer Image to Wood Furniture Supplies:
*This post contains affiliate links for your convenience
For transferring you will need:
2)Ball Point Pen
To Paint your letters you will need either:
1) A small round brush & some paint or Paint Markers
After your done, you may want to seal your piece with your favorite clear sealer or wax to protect it.
To see some Typography Transfer Images that you can use in your projects, click HERE.
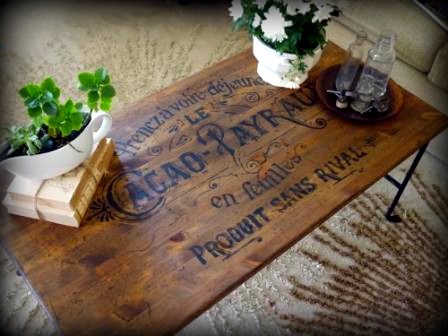
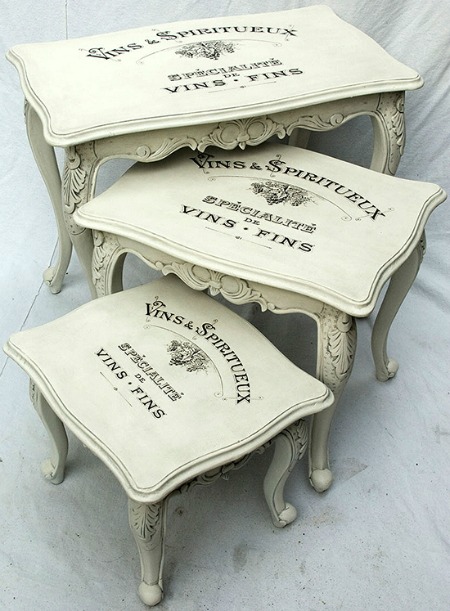
Here are a two more gorgeous examples from my readers:
I hope enjoyed learning how to transfer image to wood furniture today, and that you get to make some lovely pieces of your own!
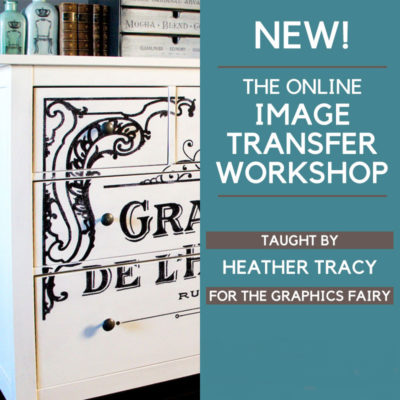 You might also be interested in our Online Image Transfer Workshop HERE where our instructor Heather Tracy, really dives deep into transfer methods for nearly every type surface, including detailed instructions for Furniture and Mirrored Glass!


Patty Eaton says
Block Poster now charges to not that their image on the print. BOOOOOO
graphicsfairy says
Oh no Patty 🙁 Thank you for letting us know!