Have you tried using Aging Powders on your furniture projects yet?
If not, you are in for a treat.
These wonderful products will take your next project to the next level, and impart a touch of ‘farmhouse’ to almost anything!
How to Use Furniture Aging Powders
Hey, Graphics Fairy Friends – it’s Heather from Thicketworks. Today, we’ll be taking a good look at one of the ways you can enhance your next furniture project: Aging Powders!
This post was sponsored by the wonderful creative team at Heirloom Traditions Paint. Yay!
Don’t know about you, but I adore the trend toward aged, funky furniture finishes. There’s something about a bit of distressing and rust that just warms my heart.
If you enjoy this look, you’ll be glad to learn about the line of Heirloom Traditions Aging Powders. These products can add a touch of rustic love to just about anything. They were formulated for furniture projects, of course, but I can envision so many different crafting applications, too.
Today, we are focusing on furniture, but we’ll be looking at other uses in upcoming posts!
I have to start this off by apologizing. Yep. I used a whole big bunch of products for this make-over. I apologize…sometimes I get carried away.
It’s important that you know that you don’t need umpteen products to get an awesome rusty look.
Nope.
Just two. That’s right.
Seriously – If you want to do something elaborate, with multiple layers of goodness, by all means go ahead.
But if you just want to experiment with a bit of Rust around the edges, go for it!
Okay, end of apology. Now, on to today’s project.
Supplies:
- Heirloom Traditions Ultra Guard Primer
- Heirloom Traditions Chalk Type Paint: Alexandrite
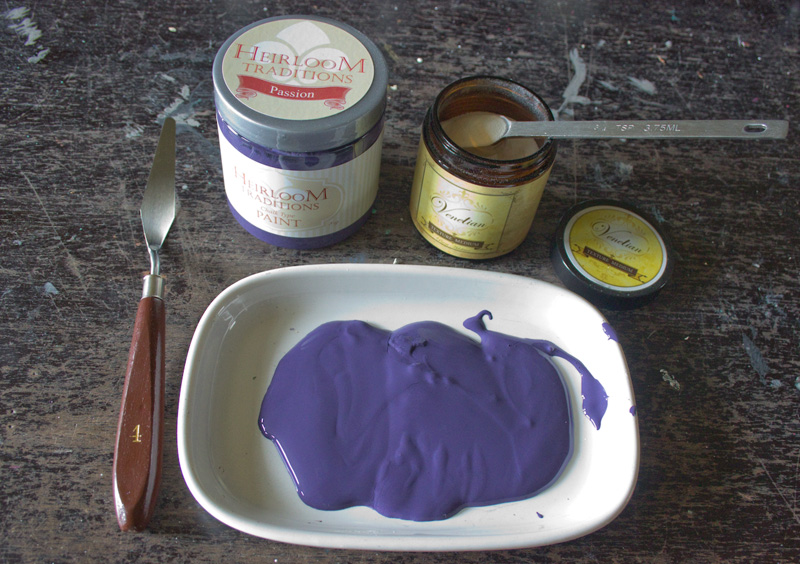
- Heirloom Traditions Chalk Type Paint: Passion
- Heirloom Traditions Venetian Texture Medium
- A palette knife
- Metallic Masters Gilding Patinas: Golden Glimmer & Copper Penny
- Heirloom Traditions 1Gel Decoupage and Transfer Medium
- Heirloom Traditions Rust Dust
- Heirloom Traditions Ancient Agings Powder
- Heirloom Traditions Spray Wax: Peacock
- Heirloom Traditions Spray Wax: Eggplant
- Heirloom Traditions Spray Wax: Dark Umber
- Heirloom Traditions Water Based Top Coat
- Decorative paper of your choice (I used wrapping paper from the Dollar Store)
- Stencils of your choice
- A sanding block
- A brown paper bag, without any printing on it
- Assorted paint brushes, mixing containers, etc.
I know – that’s quite a list. It didn’t seem so large when I was creating the project!
Okay, first things first. Select your victim make over candidate!
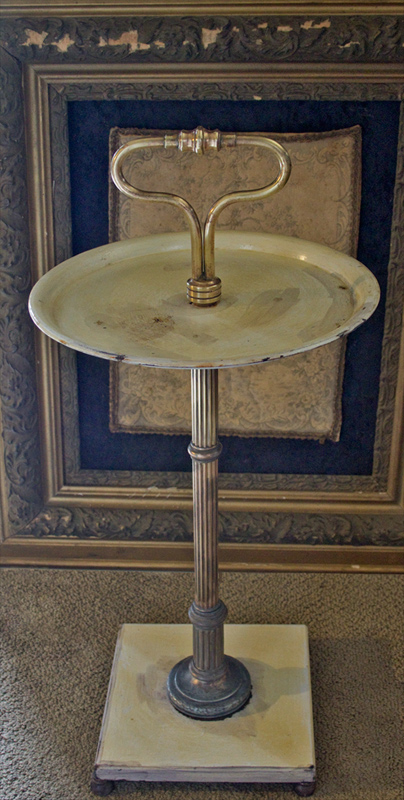
Here’s mine:
My Grandfather had one of these, and I couldn’t resist when I found it at a yard sale. As you can see, it has some rusting issues. Ironic, no?
But, it’s one thing to add a bit of faux rust to a project, and quite another to have ‘free-range’ rust creeping over your finish. I prefer a bit of control over the process, myself.
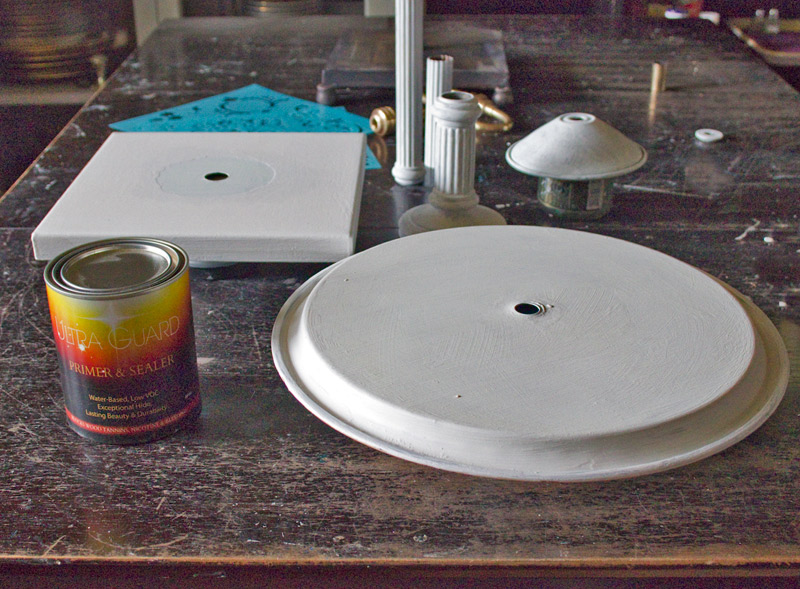
So – Ultra Guard to the rescue. This has quickly become my favorite primer. One or two coats, and most stains and tannins are stopped dead:
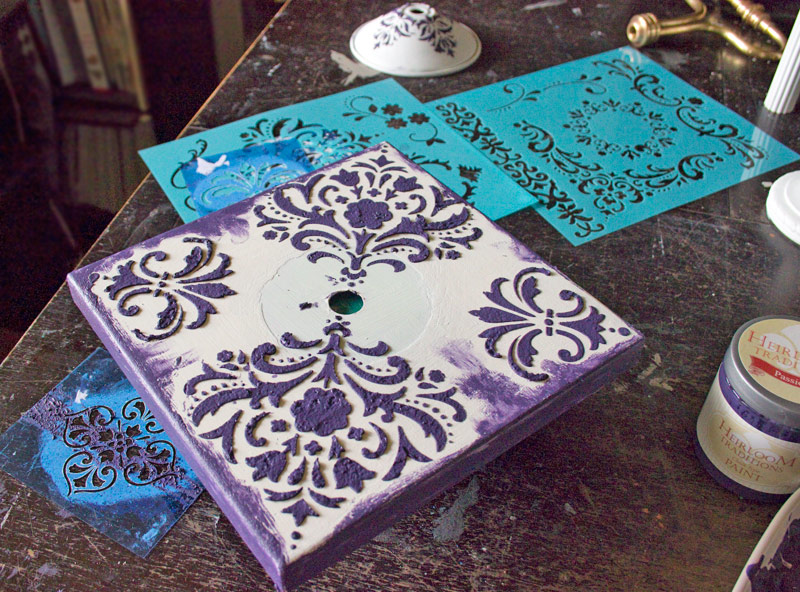
Next, half a teaspoon of Venetian Texture Medium mixed into 4 tablespoons of Passion Chalk Type Paint and we have the perfect consistency to create raised texture through a stencil.
Use a palette knife, and swipe the thickened paint over the surface of the stencil, before carefully lifting the stencil away.
Note: wash your stencil, etc. right away.
Allow the raised stenciling to cure overnight.
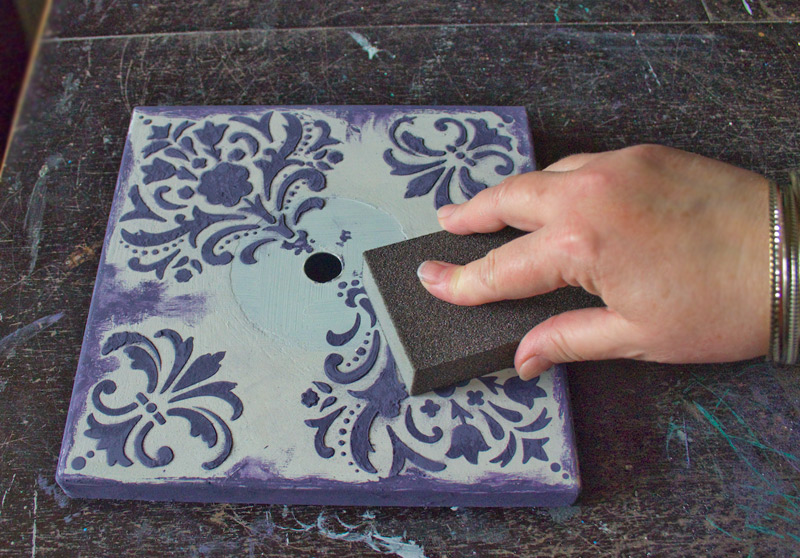
When it is thoroughly dry, smooth the surface with a sanding block:
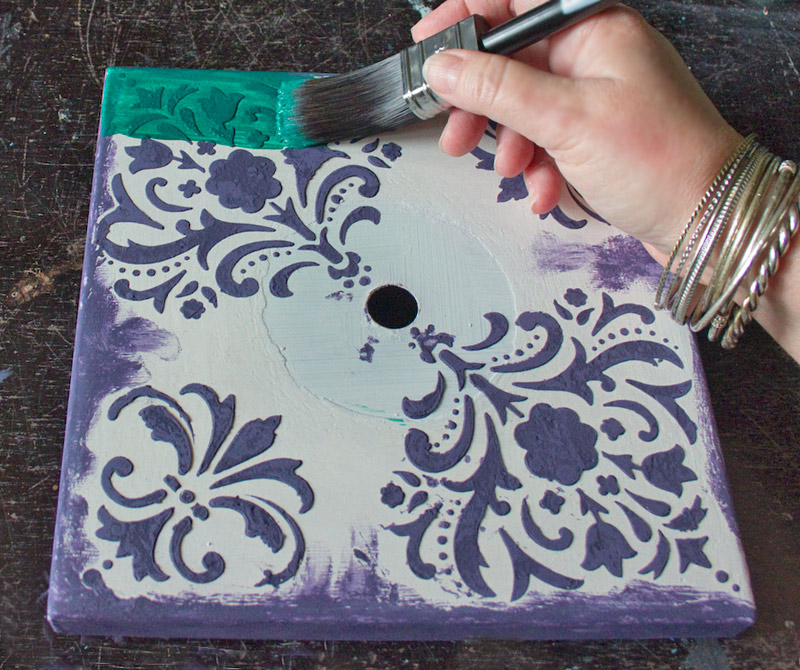
Paint two coats of Alexandrite Chalk Type Paint right over the surface of the stenciling…and over the entire piece.
Allow the paint to cure. Overnight is best.
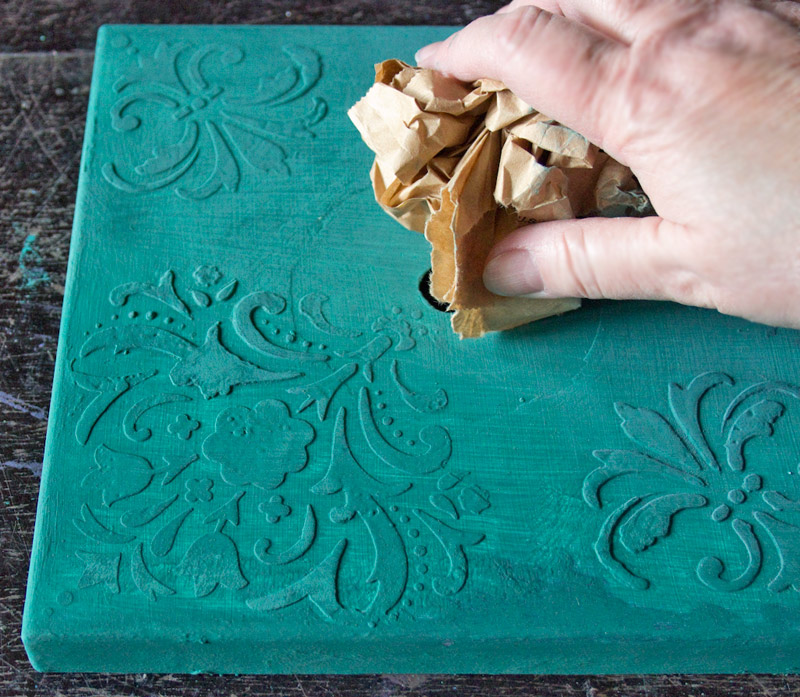
Buff the surface of the piece with a crumpled up brown paper bag.
This will enhance the color of the paint, and creates a beautiful soft sheen.
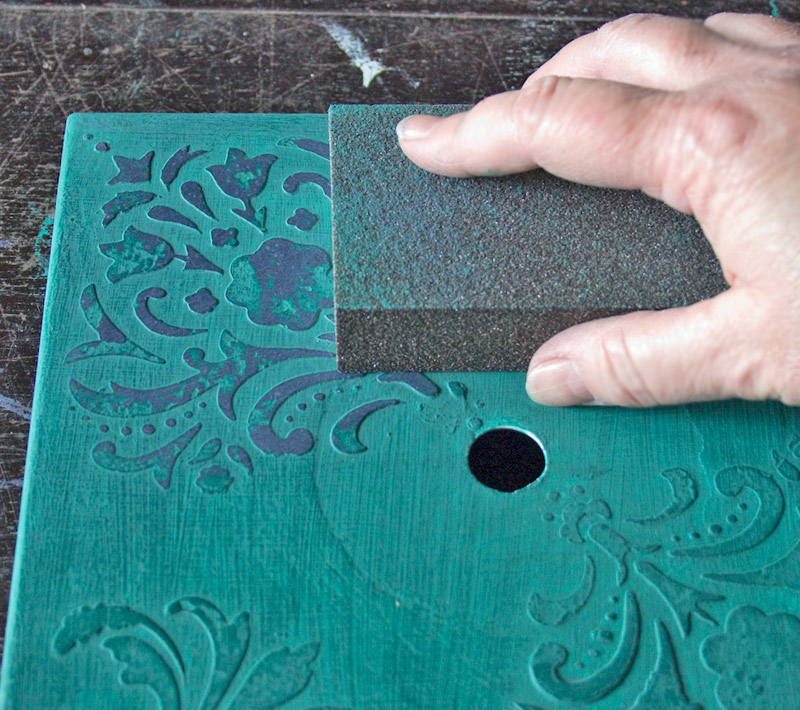
Carefully sand the paint off of the raised surface of the stenciled motifs, revealing the deep purple texture medium:
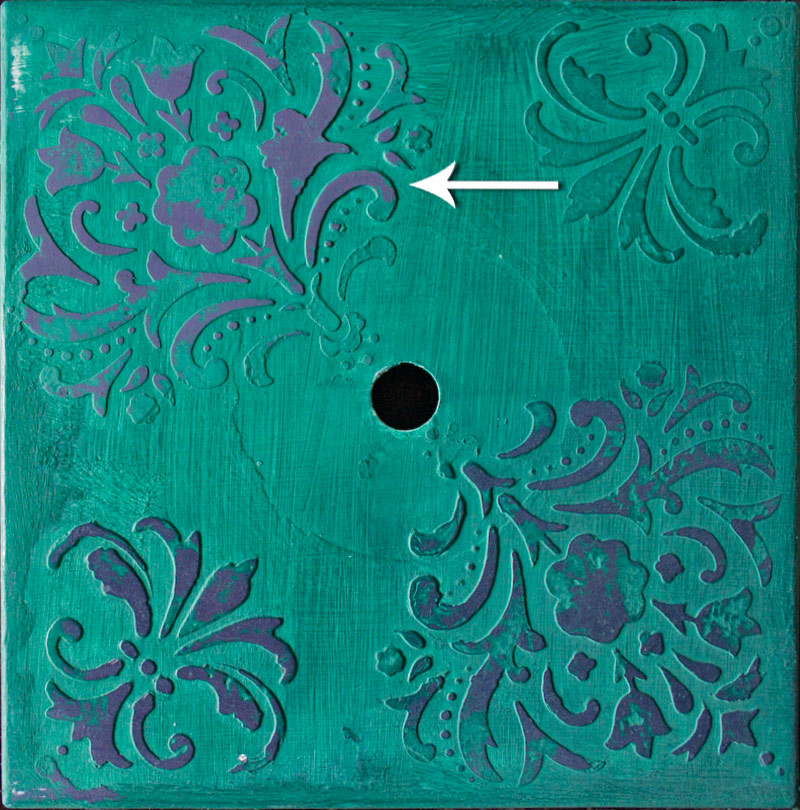
Here’s an example of the difference that buffing with a paper bag creates.
The motif in the upper left of the picture has NOT been buffed yet.
The motifs in the lower half HAVE been buffed. See the richness of the buffed surface?
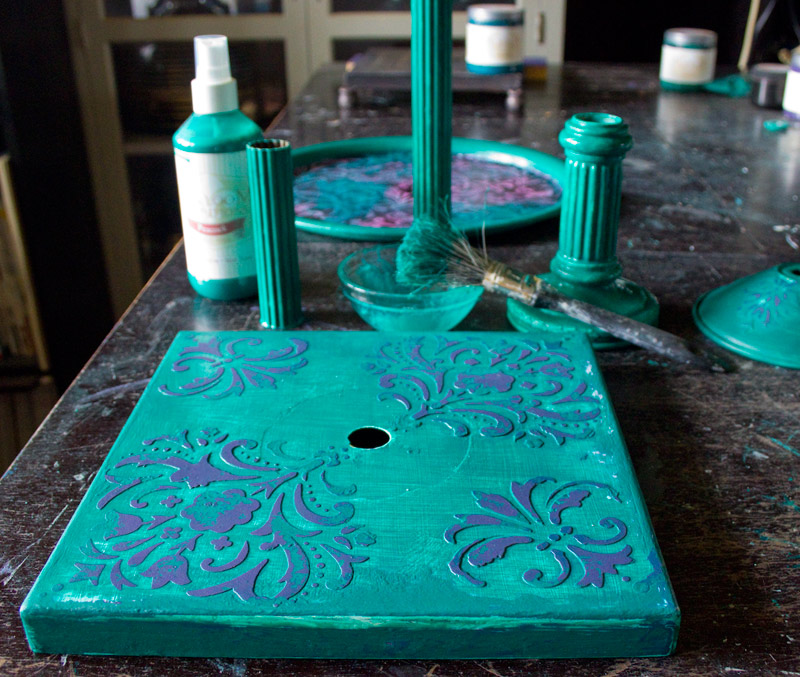
Add a layer of Peacock Spray Wax to the entire piece, and wipe it back with a damp cloth to reveal the purple tones.
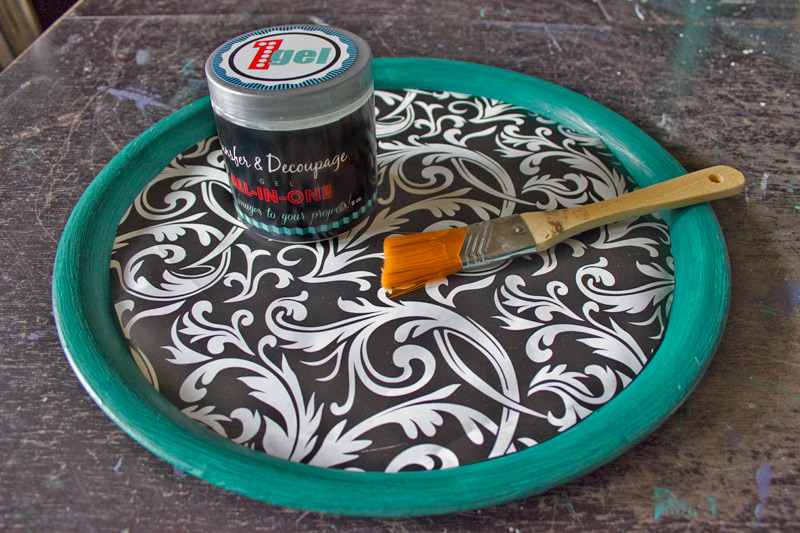
Add decoupaged paper that has white in the design – this will help to showcase our Spray Wax colors.
1Gel Decoupage and Transfer Medium is an excellent choice for the decoupage process:
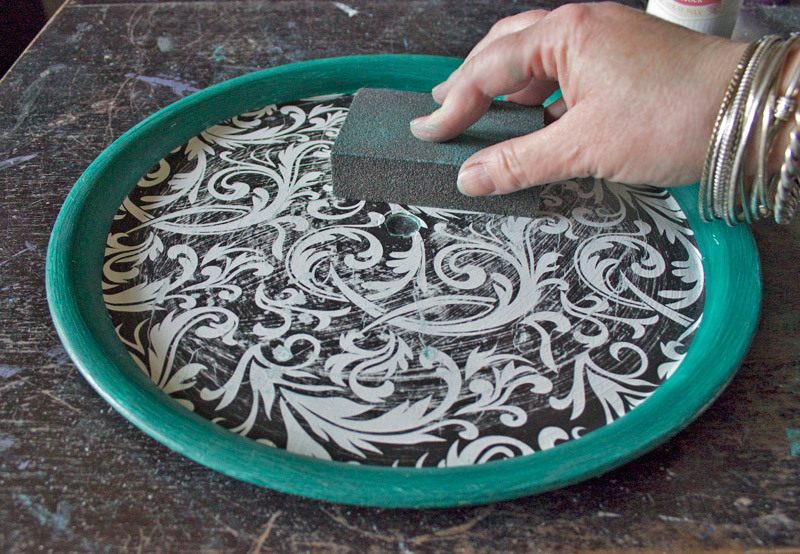
When the 1Gel has cured, rough up the surface of the paper with a sanding block.
This gives us a bit of distressing, and ‘breaks’ the surface of the paper, making it more receptive to colorant.
Wipe the dust away.
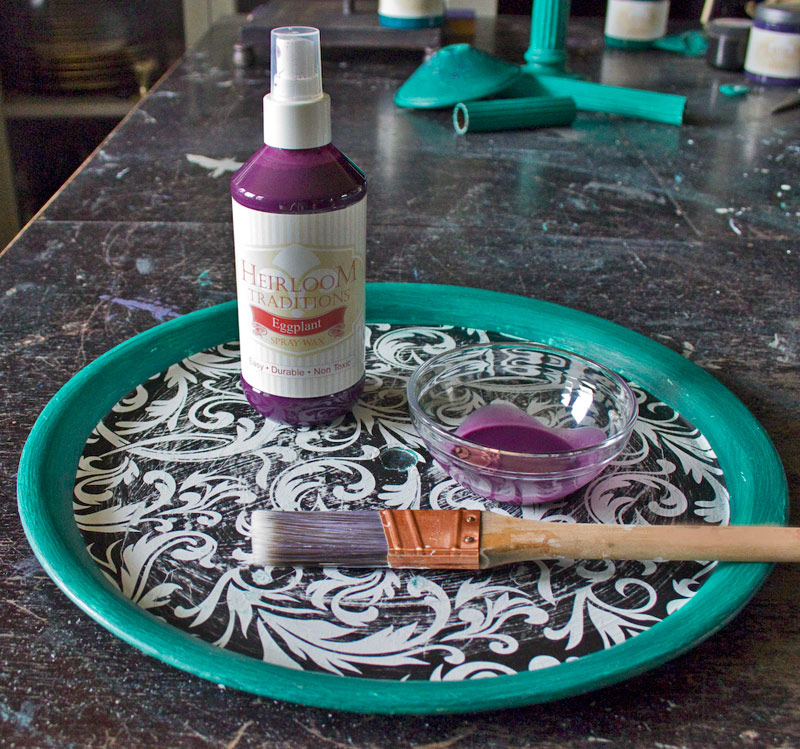
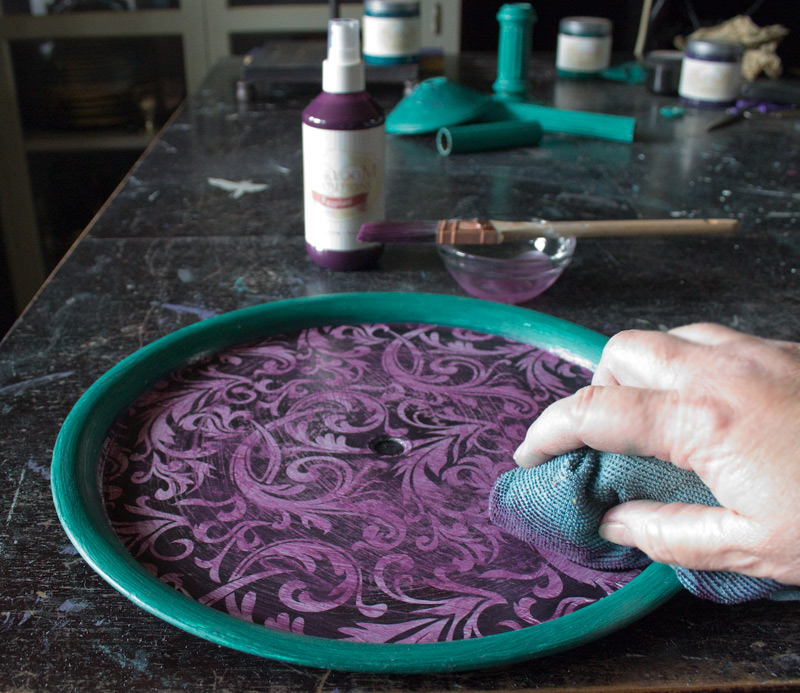
Spread a layer of Eggplant Spray Wax over the paper:
Wipe it back with a damp cloth. Alternate Peacock and Eggplant Spray Wax over the surface of the patterned paper, until you like the look.
Continue with a layer of Peacock over the entire piece, wiping back to reveal the colored motifs.
Add touches of Dark Umber Spray Wax to darken areas of the piece, and add an antique vibe.
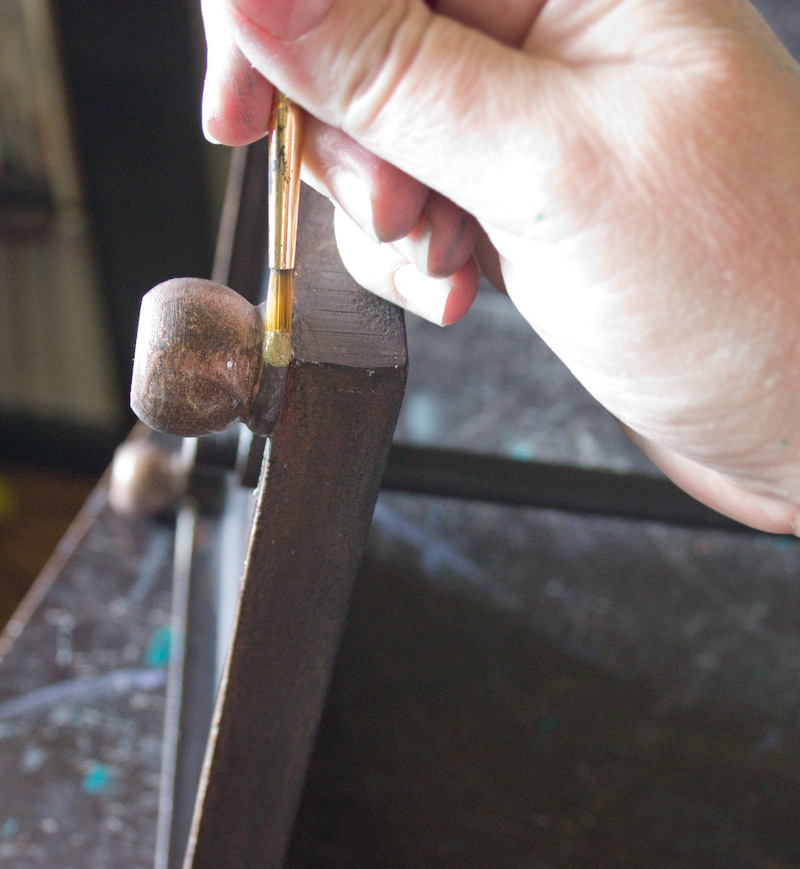
Add Golden Glimmer & Copper Penny Gilding Patinas to selected details:
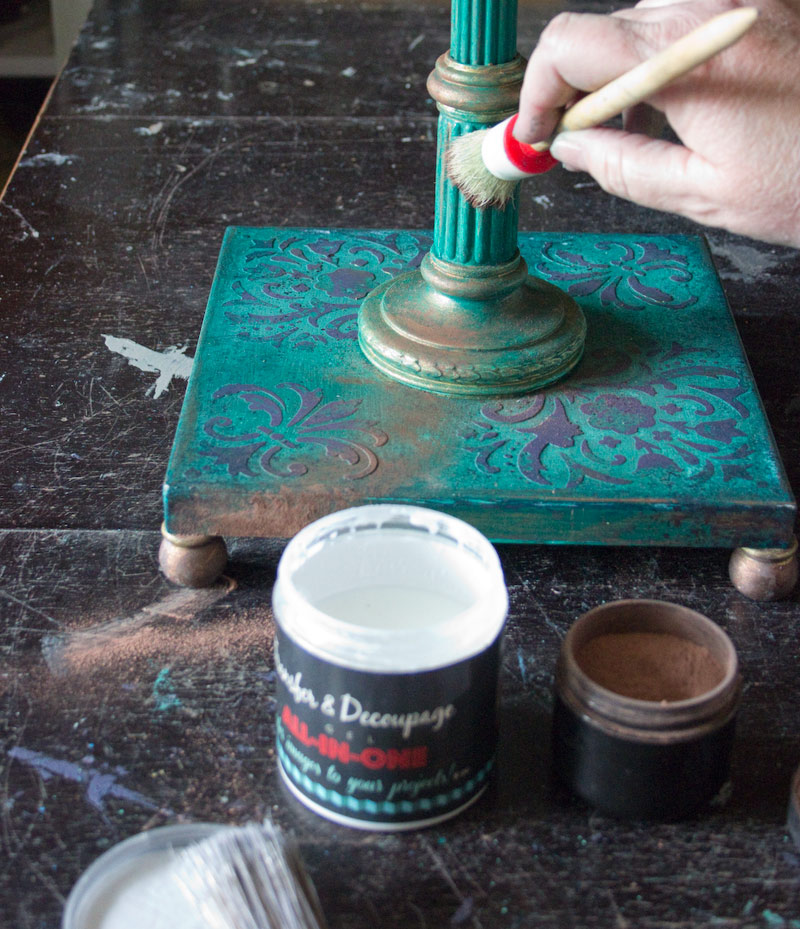
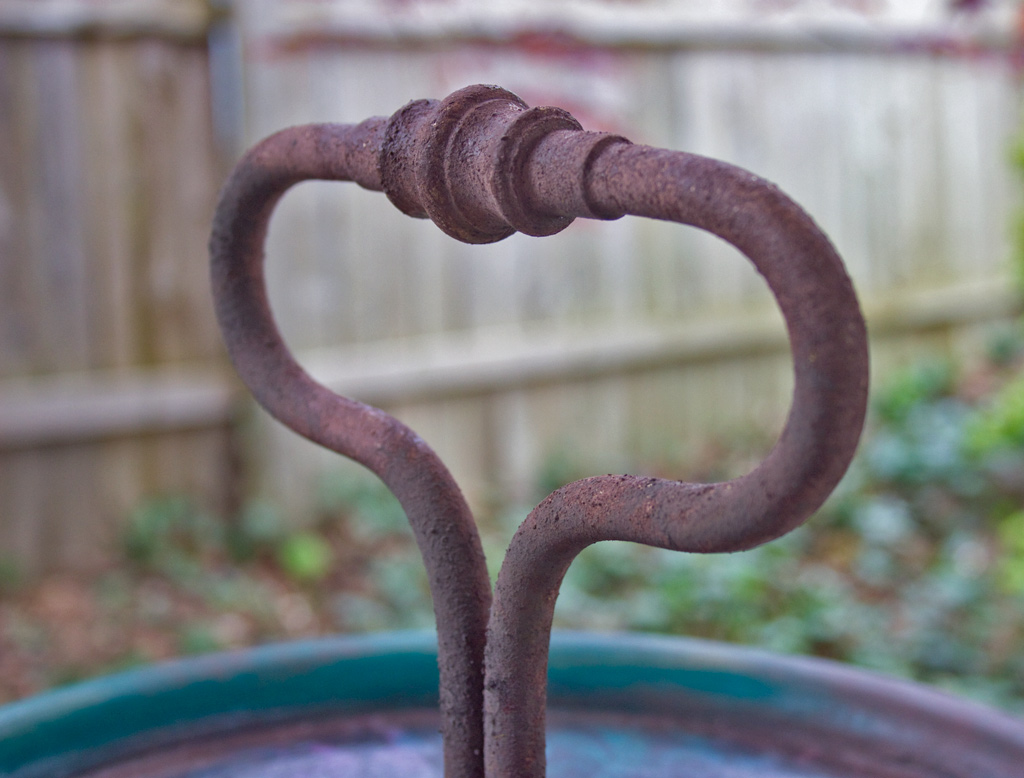
Dab 1Gel wherever you would like to add a bit of “rust”.
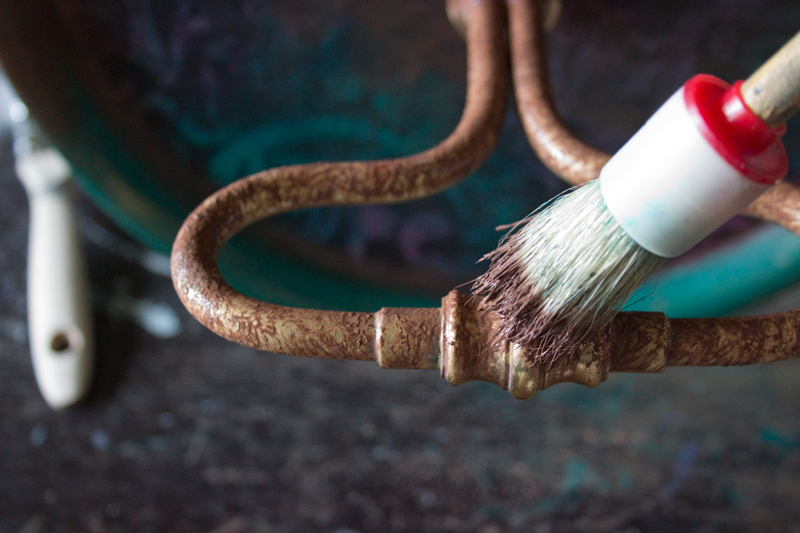
Dip a brush into the Rust Dust and tap it onto the 1Gel.
Alternate between Rust Dust and Ancient Agings Powder for a more varied look.
Apply the 1Gel and Aging Powders wherever you wish.
The entire shiny brass handle was treated this way.
Allow one coat to dry, then re-apply for a heavier texture.
Apply a coat of Water Based Top Coat to protect the decoupaged area:
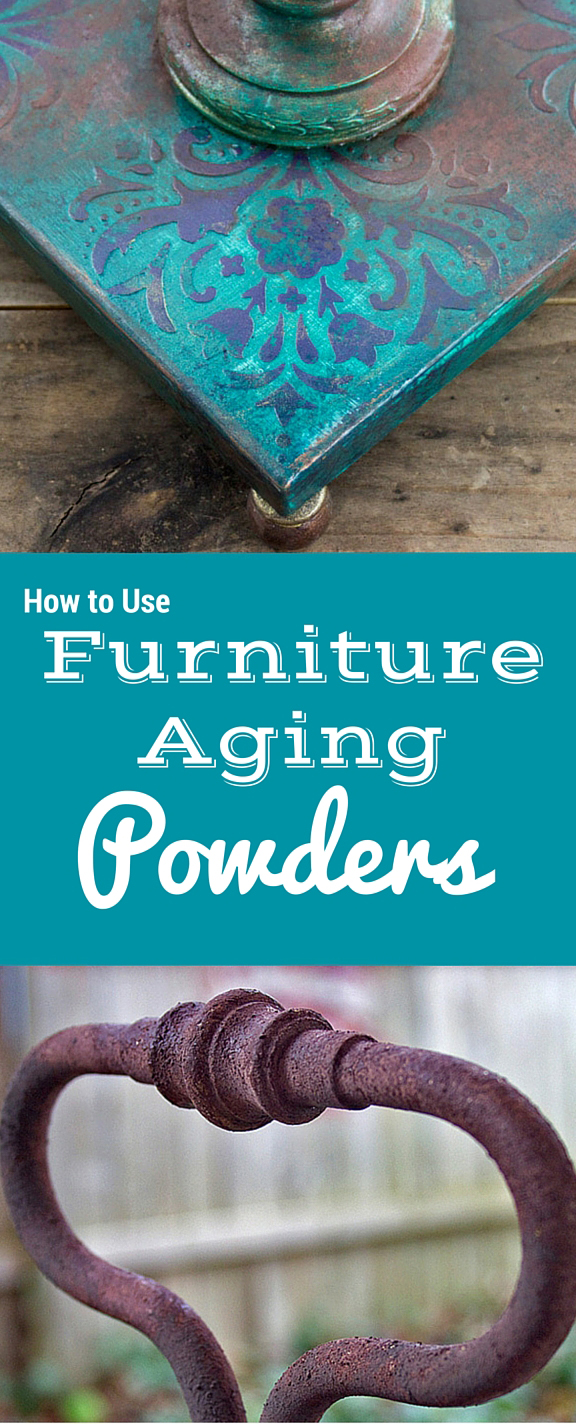
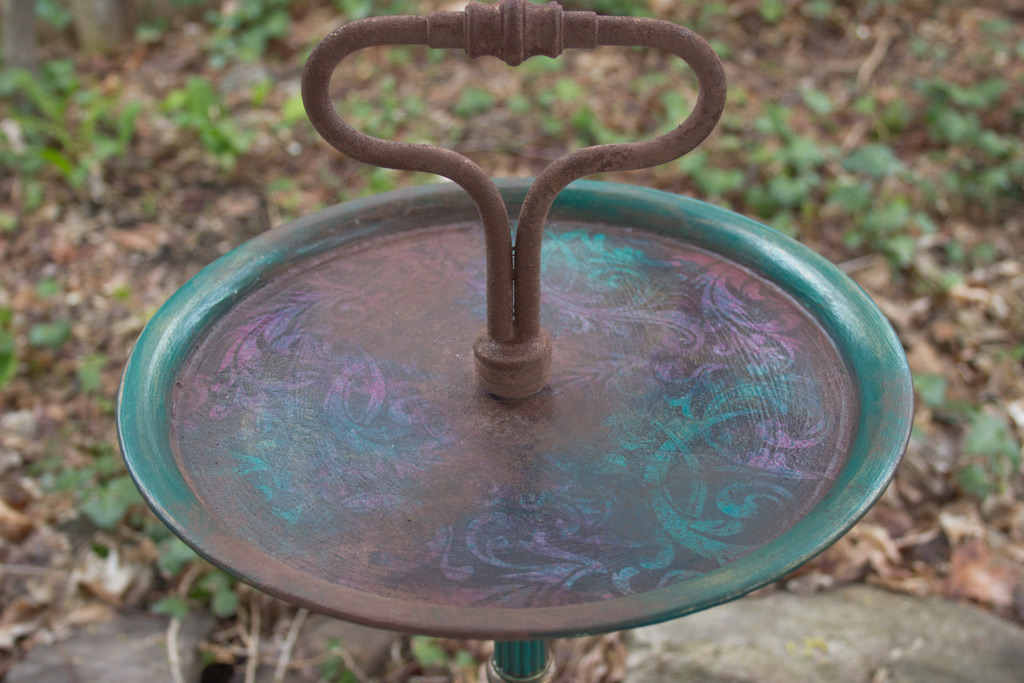
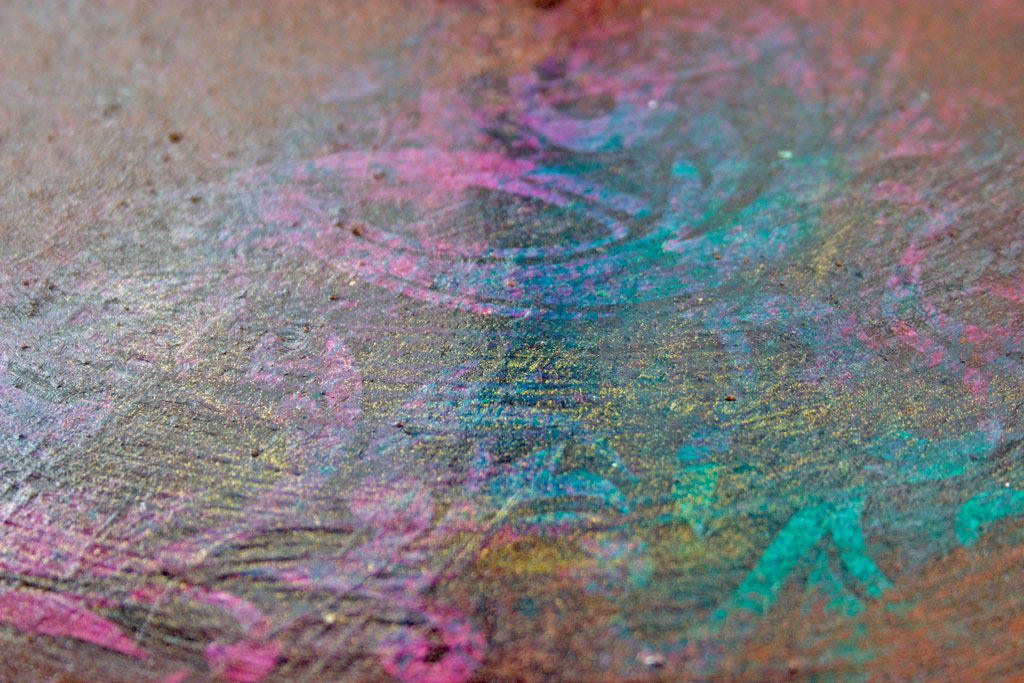
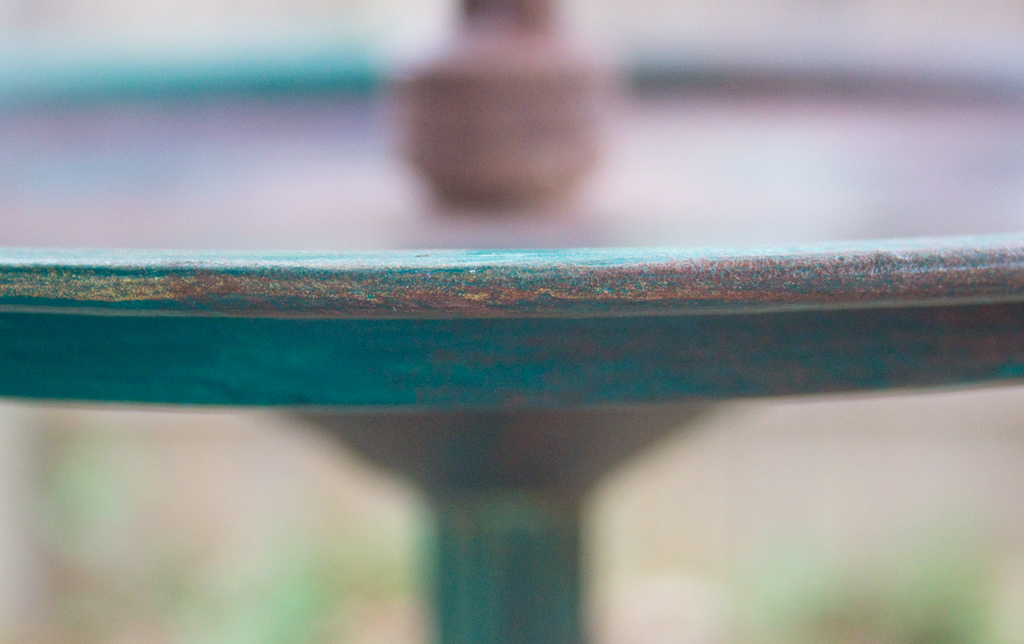
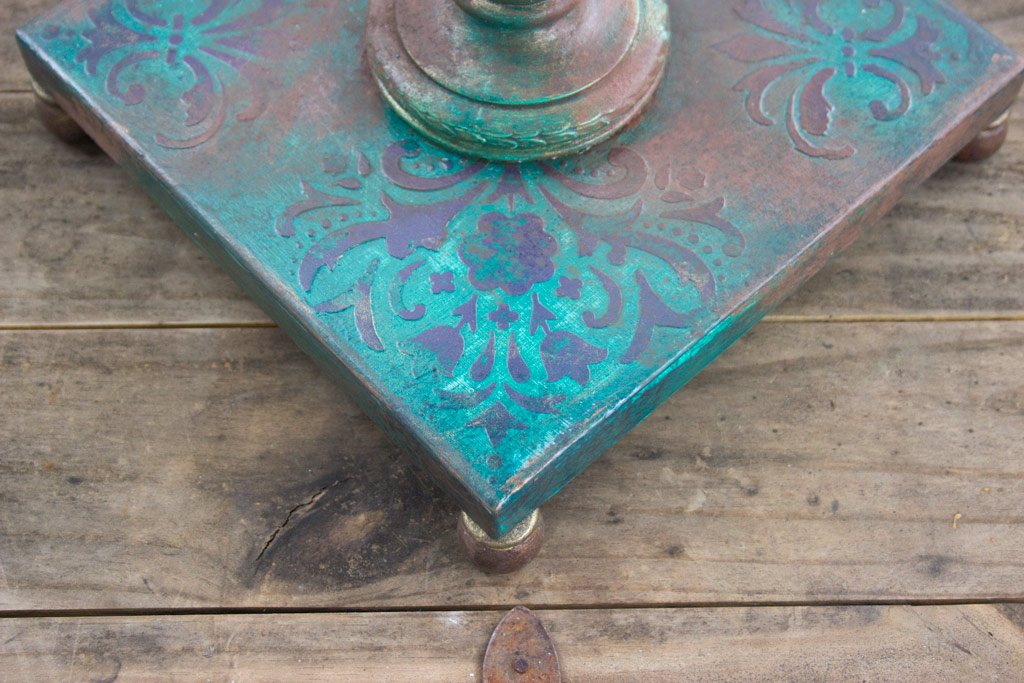
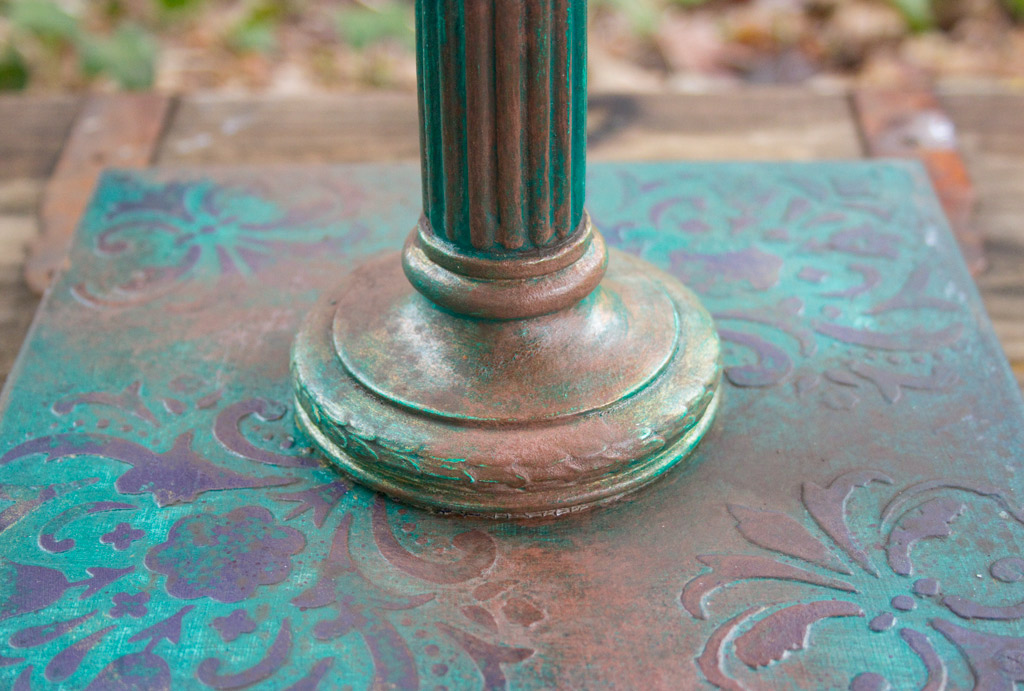
Decoupage, Spray Wax, Rust Dust & Ancient Aging Powder, and a touch of Golden Glimmer all sealed by Water Based Top Coat result in this surface:
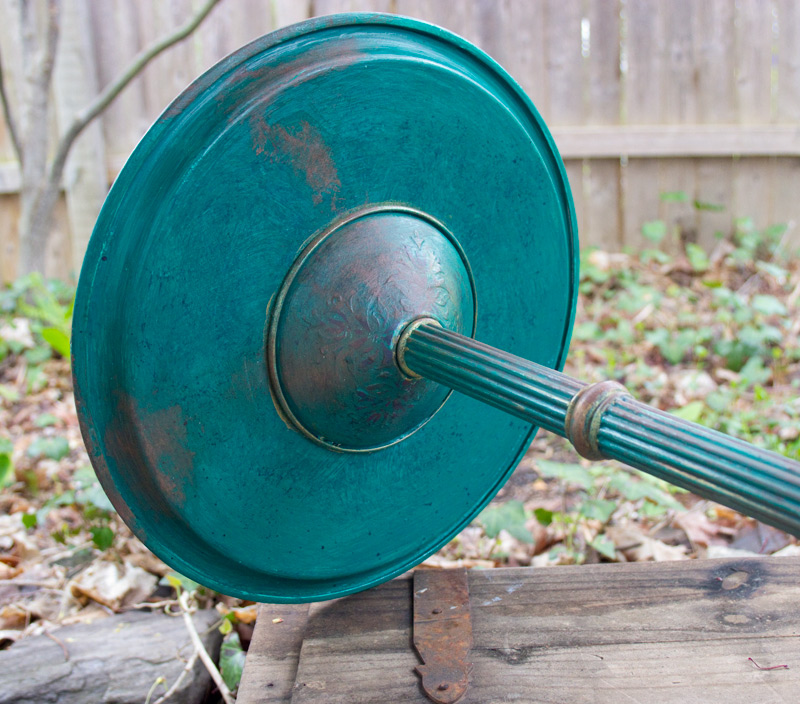
A glimpse of the underside:
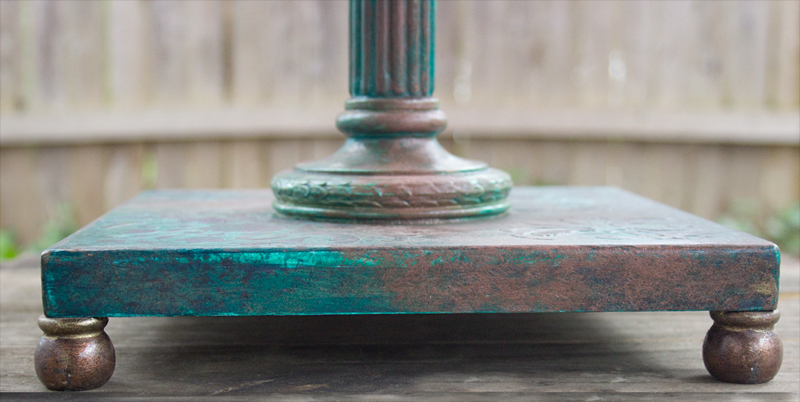
The mixture of matte and metallic creates interest wherever the eye travels.
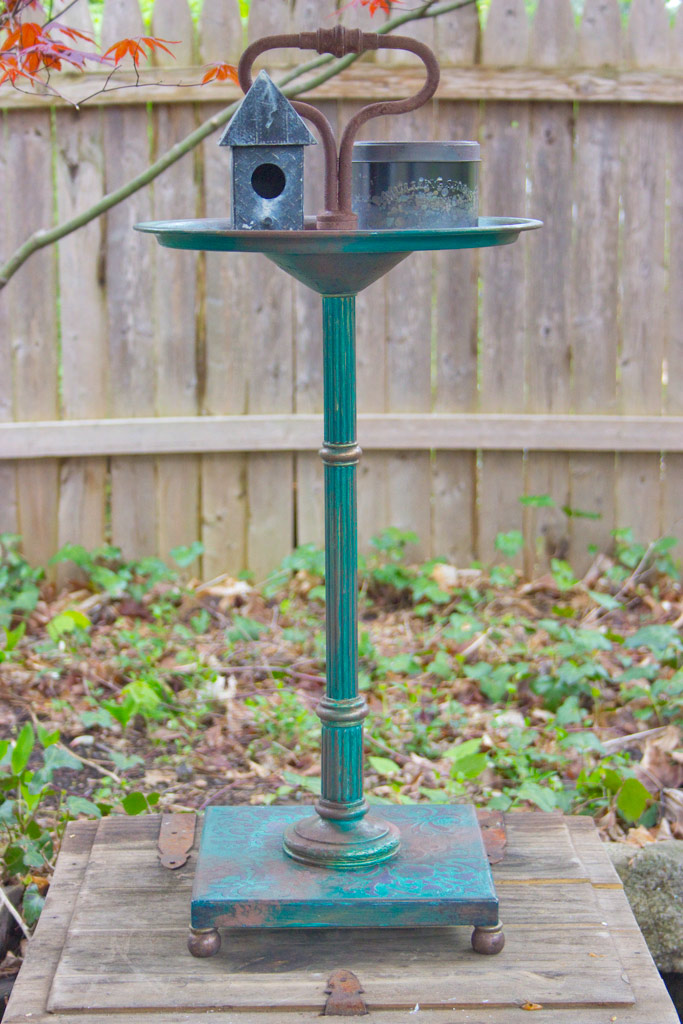
This quirky little stand has now found new life as a rusty but glamorous home decor accent piece:
Touches of Copper and Gold Gilding Patinas, applied with a fingertip:
It’s the layers that give this finish such charm:
This just makes me happy:
I adore the way that Heirloom Traditions Aging Powders add a real sense of history to a piece.
For more information on Heirloom Traditions Products, please visit www.heirloomtraditionspaint.com
* Full Disclosure: Heirloom Traditions supplied their products to be used in this project, and they sponsored this post – however, I supplied the elbow grease, rescued furniture, design concept, and experimental insanity! All of which reflect my own point of view, regardless of affiliation…
Thank you so much for visiting The Graphics Fairy today. I hope you enjoyed this project using Furniture Aging Powders, and that you feel inspired to add a bit of history to your next furniture project!
Anytime you want to explore the more bizarre side of crafting, come visit me at Thicketworks – the door is always open.
Take Care,
Heather
PS: you might like this recent experiment:


Susan Morris says
I really love your work.
I have been trying to get on your email list but something isn’t working.
Each time I put in my email it says to check my account for notification etc, but nothing is coming through on my hotmail account.
Please can you look into it for me as I’m feeling very inspired !
graphicsfairy says
Thanks so much Susan! Have you checked your Spam folder? Hotmail is well known for sending us to Spam, sometimes it doesn’t even get there, the best thing to do is add me to your contacts/address book, [email protected] and that way you will get the confirmation email for sure. Please let me know if that doesn’t work and I will somehow get you added 🙂
Jes says
Almost forgot how amazing this little stand turned out. I have a secret… I’ve NEVER played with our aging powders. That will changet in the near future. Thanks for the consistent inspiration.
graphicsfairy says
Go for it Jes!
Holly Giselle Purcell says
Hello! I love your techniques and your detailed explanation of your process! Thank you for that! I’m left with a couple of questions about the vintage item itself… what is this piece of furniture called, when/where was it manufactured, and what was its primary uses? It seems like a handy little side-table–one that you can move as you need it with the handle grip right on the top. I’d like to learn a little more about it. Thanks!
Heather Tracy says
Hi Holly! Thank you for your kind words…Like you, I was intrigued by this item from the moment I spotted it. It is very reminiscent of a type of Vintage Ashtray Stand popular at the turn of the last century. It was created by Herco Art Manufacturing, of Meriden Connecticut, a foundry that seems to have specialized in this type of brass/bronze item. I’m afraid I can’t shed much more light on it’s origin or intended purpose. My Grandfather had one very like it stationed next to his easy chair, and it has fond associations for me.
Rupa says
Heather, you keep hitting it out of the park every time, you are definitely the queen of paint techniques! So many I have seen in such a short time span unlike some that may come up with one new technique every couple of months. Your are a “faux finish” machine that cranks out projects that are a sight to behold! I honestly thought that the first pic of the curved handle was a real life rusted piece you were showing for comparison! Told ya, Mother Nature is in awe of your handy work. Love love love all your projects, even if some of them they are product intensive for some of us.
Heather Tracy says
Sweet Rupa – thank you so much, that is so kind of you. I adore creating unusual finishes, and sharing them is such fun. I do realize that not everyone will have the desire to create the number of layers involved in something like this, but we ALL can have fun playing with the Aging Powders – they couldn’t be simpler. Stay tuned for more projects that will be a bit less ‘over the top’, and won’t involve so many different products and processes! 🙂 Hope all is well in your world, my friend!
Rupa says
I look forward to any and ALL of your posts! Even the posts that are product intensive, I feel that we can scale it down by using SOME of the techniques and use what we have as substitutes, although the results may vary. Each post is an inspiration and a testament to your talent!
Heather Tracy says
Hello Rupa – thank you again for being such a source of encouragement and support. I love creating, and I love sharing the madness! Hope you’re having a wonderful day!
Seth says
Amazing transformation here. Thank you so much for taking the time to walk us through the entire process.
Heather Tracy says
Wow. WOW! Thank you so much, Seth, for taking time from what must be a very busy schedule to stop by and leave such an encouraging message. Wishing you all the success in the world with your wonderful lines of Mixed Media Dies and Embossing Folders, Stamps and more!
Tracey says
Glorious colors woman!!! You have become the queen of eye candy!!!!
Heather Tracy says
I have a hungry eye, and this finish helps to satisfy that hunger. Thank you Tracey, for your kind words. Aging Powders add such fun to the process…