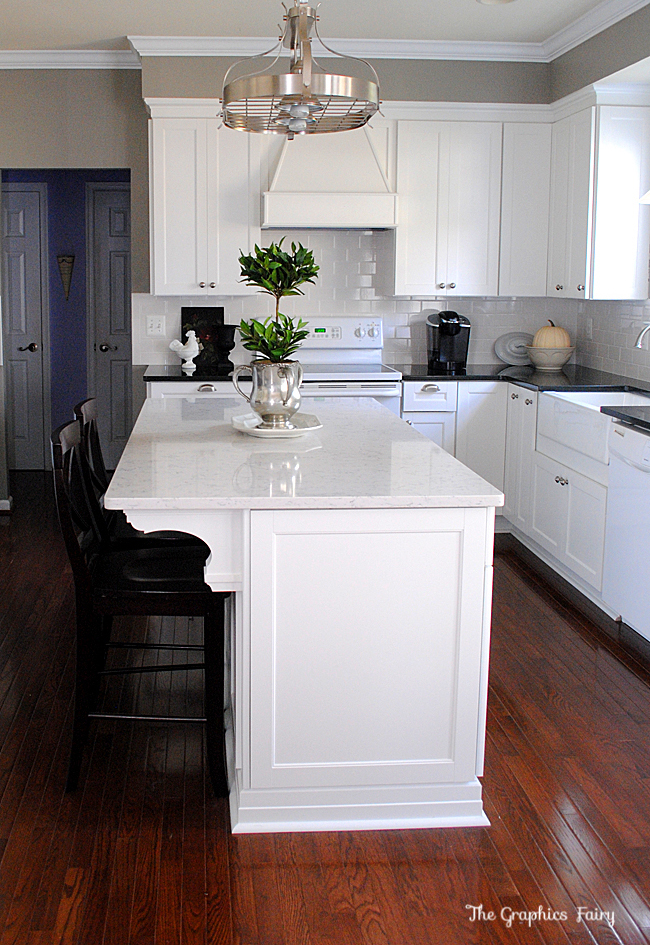
 Well, the big day is finally here! I’m so excited to share our Kitchen Renovation, from Home Depot, with you guys! Woohoo!! You may recall from this post, that I selected the Martha Stewart Cabinets. The style that I picked out was Ox Hill and the color was Picket Fence, which is really a fancy name for White! I went with the Full Cabinet Replacement option, which was generously provided by Home Depot! I now have my dream kitchen and what a huge difference it makes!
 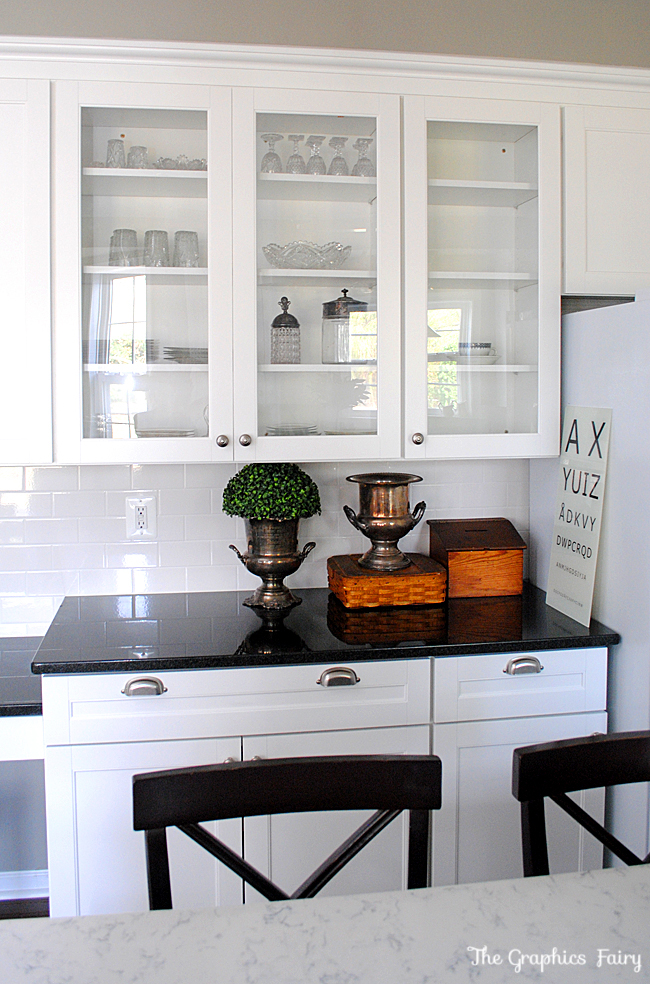 The cabinets are gorgeous and very well made!! I opted for 3 glass door cabinets, to break things up a bit. I haven’t really decided what I’m going to put in them yet, for now they hold my Grandmother’s antique glassware. I went back and forth between the frosted glass or the clear, in the end I’m glad I went with the clear, but it’s nice to have options to choose from.
 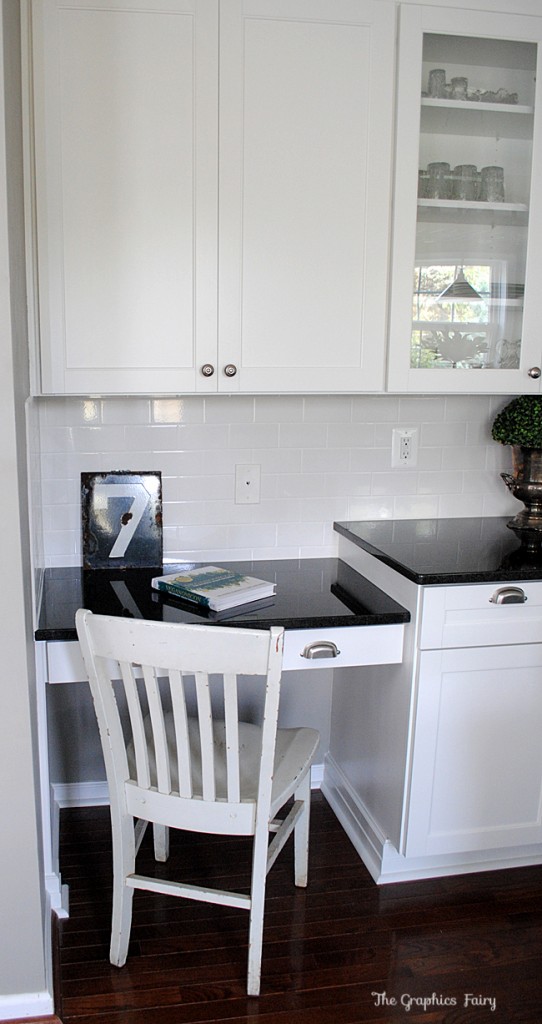 We had a desk before, and I do use it, so I had another one put in. The Granite around the perimeter of the kitchen is Absolute Black Granite, also purchased from Home Depot. It’s really lovely, so nice to have the real thing after all those years of faking it with the black formica that used to be in here.
 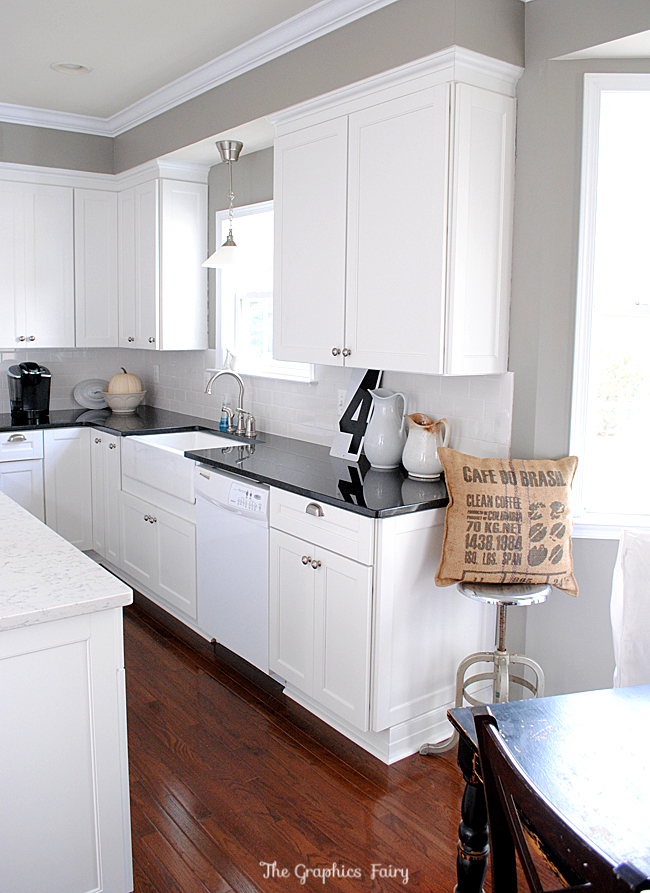 The cabinets are soft close, which means no noise when they shut! Love that!! We have some “slammers” in our house, they slam cabinets, Front doors and toilet seats. They can no longer slam things in the kitchen! Or at least not cabinets anyway. Ha!
 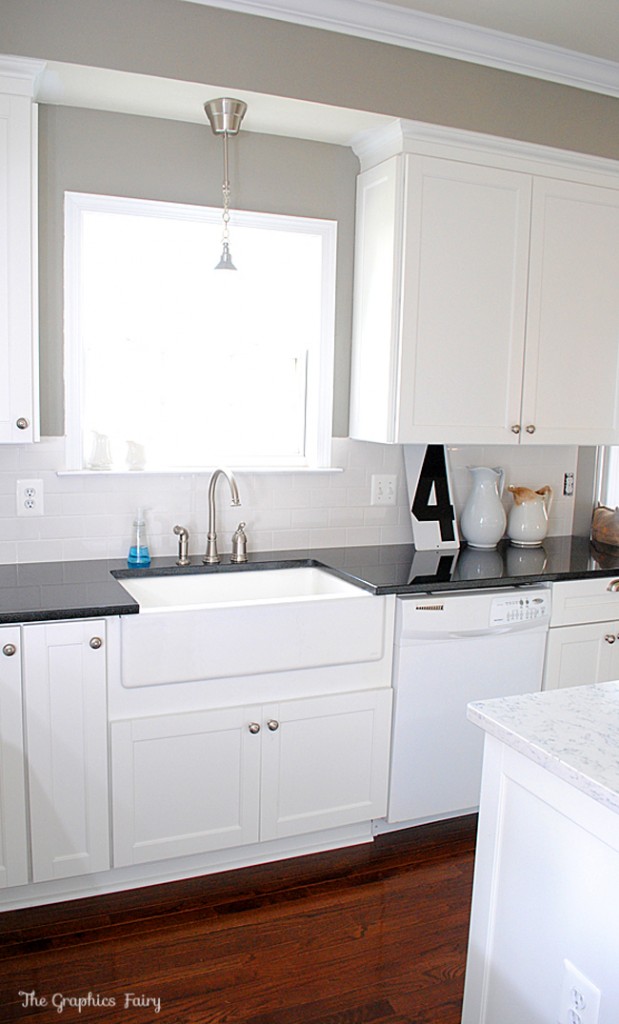 The old sink wasn’t going to work with the new kitchen, which I was secretly thrilled about, because it meant I could finally get the Farmhouse sink that I’ve always dreamed of having! I adore it! Love the new faucet too!
 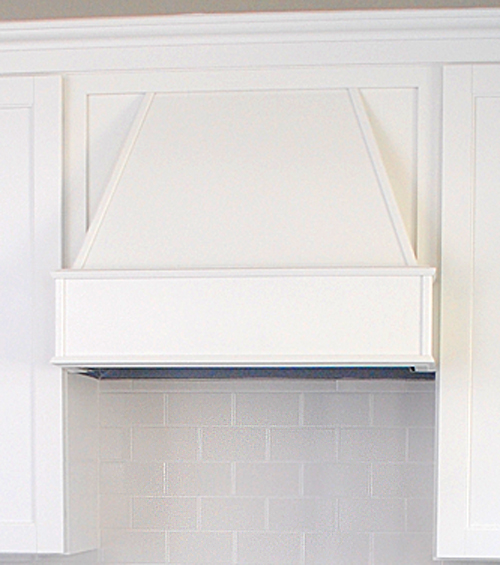 The new wooden hood is not only beautiful, but it’s functional too! During the reno, we learned that our old cheapy hood didn’t actually vent to the outside. It was really just a fan, that blew a little air on top of the stove. Ugh! The contractors that Home Depot sent out, were able to find a solution for us, and they ran a vent up inside of the sofit and out of the house. You would never know it was there and now it works so much better. I love that they were able to figure out the perfect solution for us. You may notice that we have new tile too. Still white… but we traded out the square tiles that we had, with Subway Tile.
 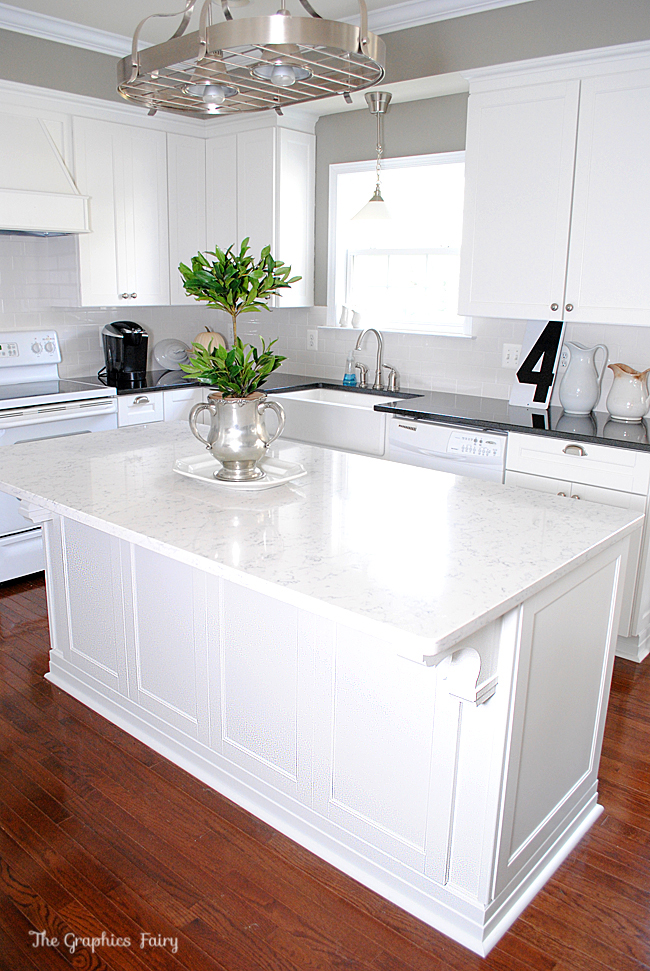 I think the Island may be my most favorite part of the whole kitchen! I am so in love with this island!! It’s paneled all across the back and sides. I had them add 2 of the gorgeous Martha Stewart Corbels, one on either end. I saved a little money, by not having a third put in the center, they installed metal supports in the center instead to hold the weight of the Countertop. You can’t see the supports unless you are under the counter. On top of the island is the Silestone that I picked out called Lyra. It looks very similar to Carrera Marble, without all the headaches that you get with real marble. I did a lot of research on it, and real marble is apparently a huge pain to live with in the kitchen. With the Lyra Silestone we got a similar look, that’s very easy to care for.
 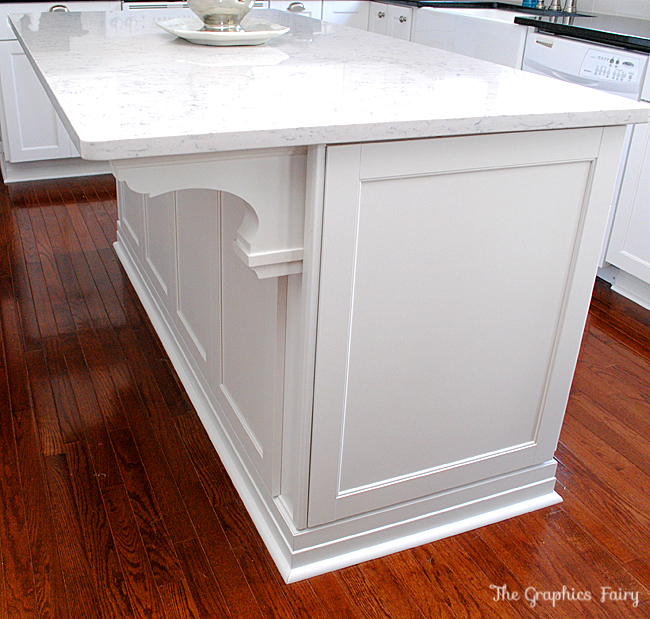 The baseboard trim on the island is gorgeous too! Here’s a tip … this island came with toe kicks, but I wanted it to look more like a piece of furniture, than kitchen cabinetry. Did you know you can have your contractor build out the island, so that you no longer have toe kicks? If you talk to your kitchen designer about it, they can add that to your plan. I’m so thrilled with how it turned out!
 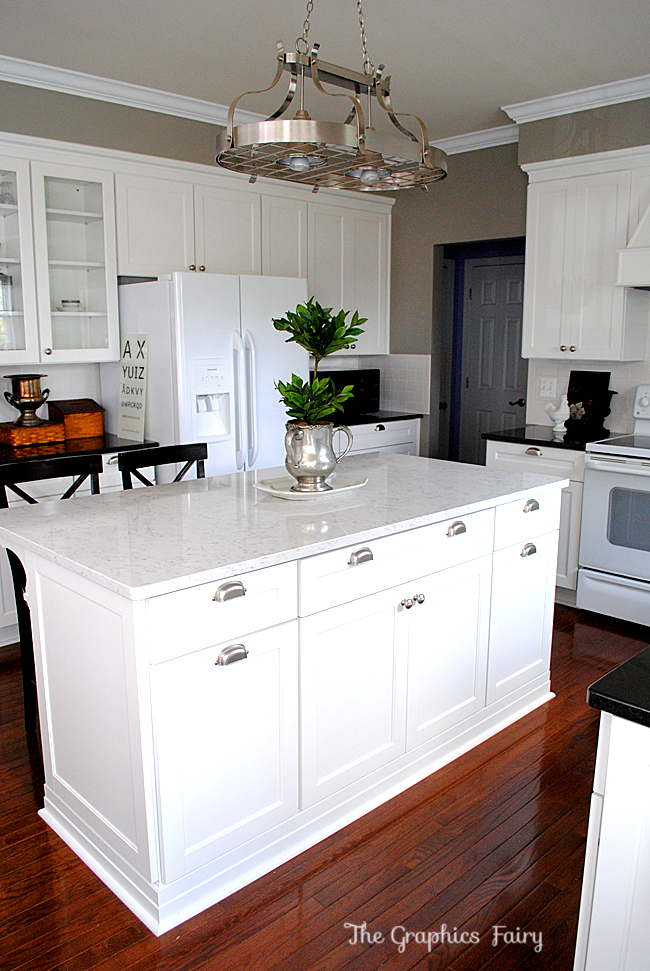 Here’s the front, so pretty right?!! Here’s another tip… the cabinet on the lower left side is actually a pull out trash drawer, which is why it has a cup handle. The cabinet on the lower far right side, is a regular cabinet door, that would normally get a knob. For symmetry sake, I had them put a cup handle on that door as well. All of the hardware is also from the Martha Stewart collection at Home Depot.
 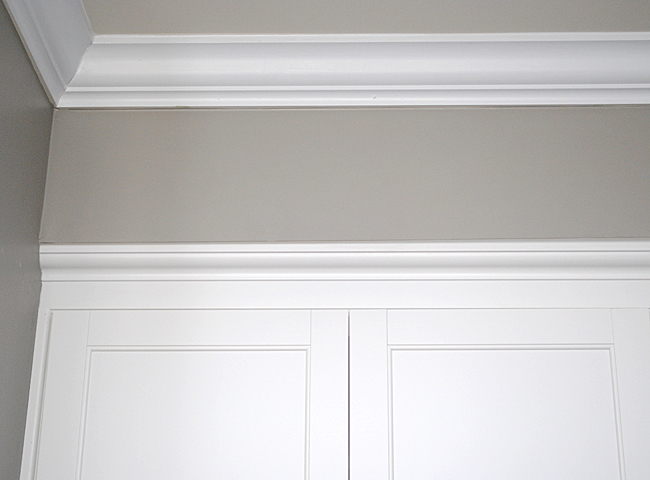 Here’s a close up of the crown molding, I love how it echos the crown molding at the top of the ceiling!
 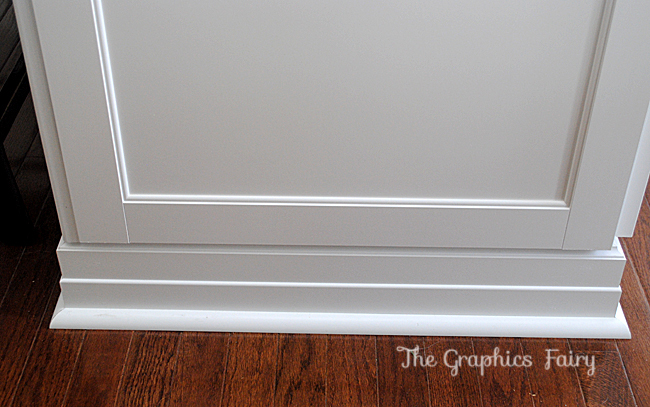 And a close up of the baseboard molding. The baseboard is on all of the cabinets and adds so much detail. It’s really lovely!
 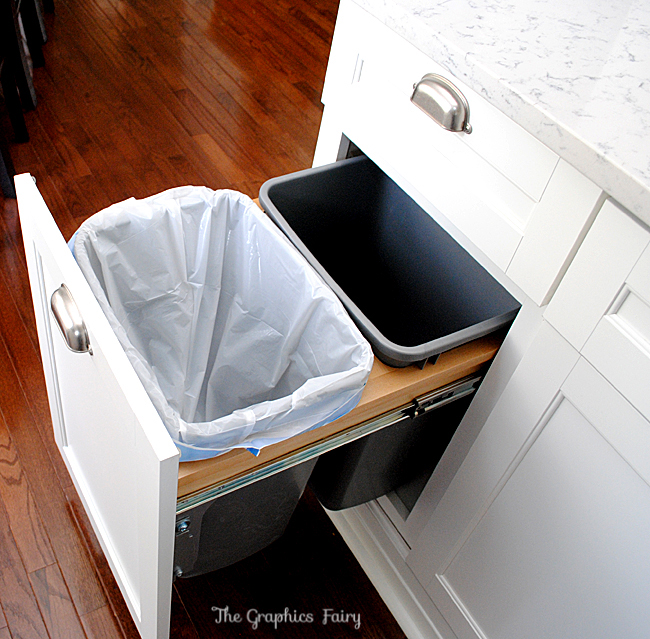 You may recall, in my last post, that I was super excited about the pull out trash drawer that also has a bin for recycling! It’s really handy!
 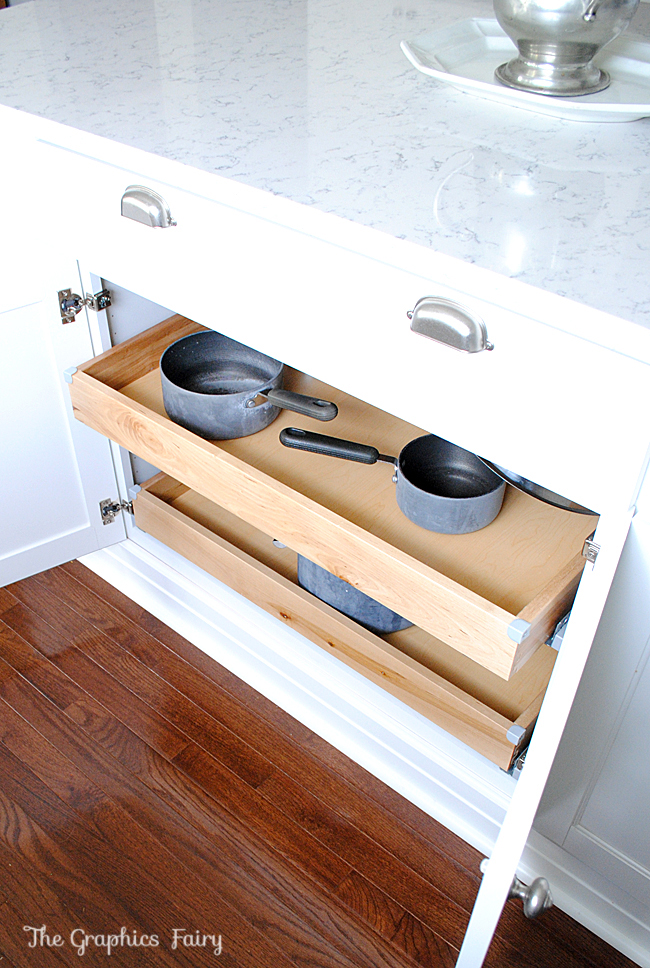 Here’s another tip. When you meet with your kitchen designer, ask them if they have any special offers running. We were able to get 4 free pull outs, for inside of our drawers. It’s really nice to slide them out and see everything you have in there. Even if my pots and pans do look a little sad and worn!
 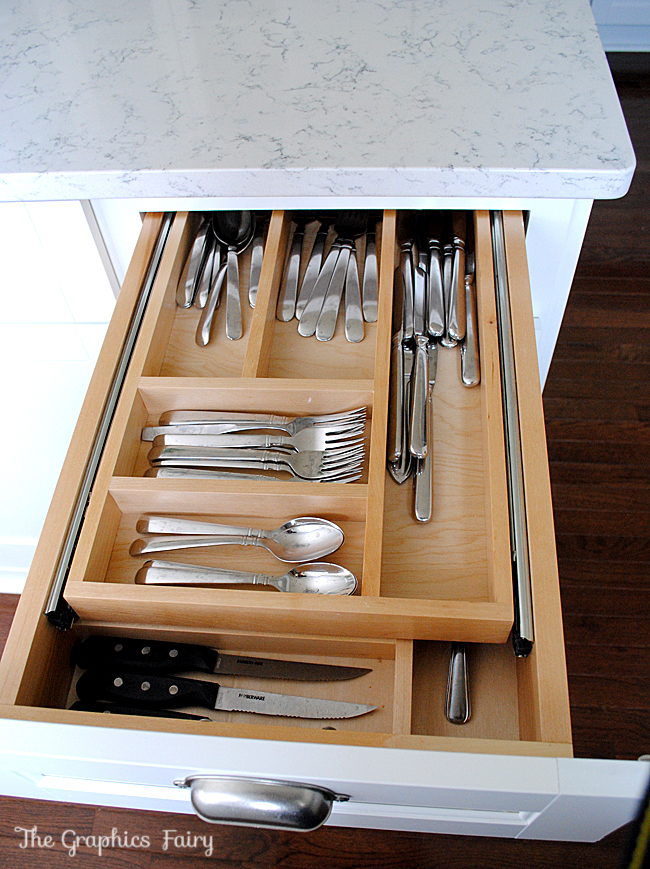 I opted for the kitchen utensil drawer and I didn’t even realize that it was 2 drawers in one, so handy!
 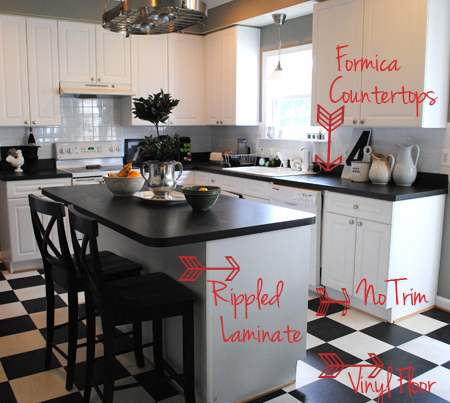 Here are the photos of the old kitchen.
 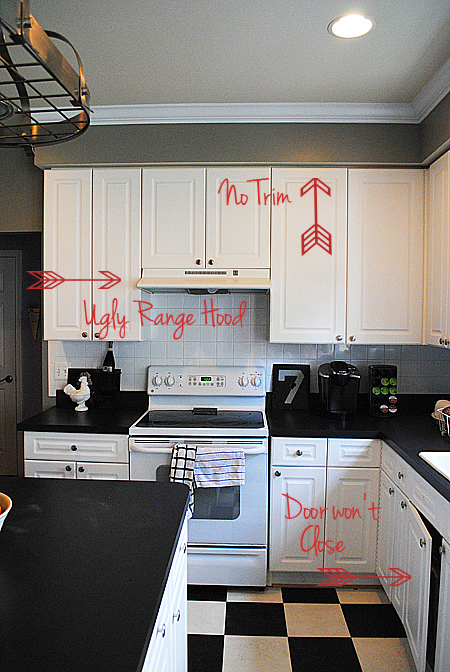 And another one. You can see more photos HERE.
 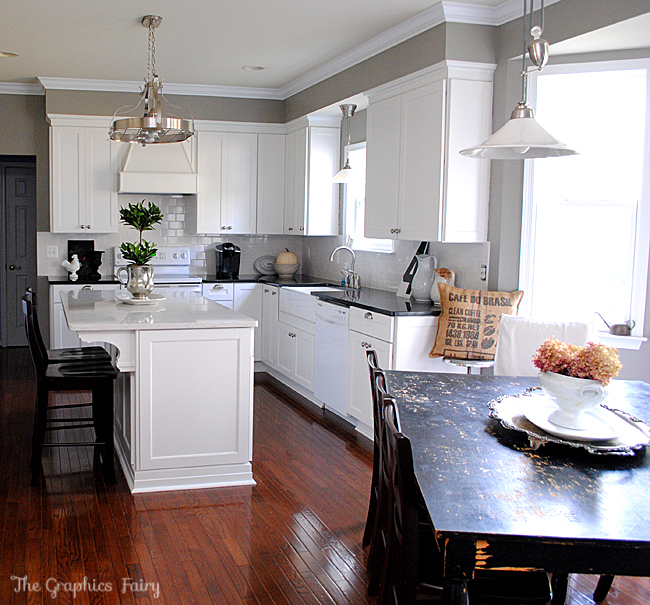 I forgot to mention the wood floors, I love them too! They are Bruce Hardwood in Saddle and they match the other hardwood in our home perfectly. We are so thrilled with how everything turned out and everyone that we worked with at Home Depot was fabulous. All of the guys were courteous and professional, they arrived on time every day and worked hard all day long. I actually had to make the floor guys take a break for lunch!! I would for sure hire them again, to do more work in our home. I consider myself a somewhat handy person, I love painting rooms and furniture, I can use a power drill and a sander, but there are some projects that I’m just not able to tackle on my own. It’s nice to know that at Home Depot I can do as little or as much as I’m able too. I can buy the supplies there and do some things myself or I can opt to have them do the work for me! As far as the time line goes, it all went much more quickly then I thought it would! It takes about 4-6 weeks to get the cabinets in, after ordering them. And then it took about 4 weeks, to have all of the work done. Here’s what we had done, in order of when it was done: 1) The old cabinets came out (1 day) 2)The hardwood floor went in (2 days) 3)The cabinets went in ( about 3 days maybe?) 4)Countertops were measured (the cabinets have to be in first)(1 day) 5)Doors, trim, hardware etc. went in (not sure how long, a couple of days, other things were being installed at the same time) 6)Counters were installed (it only took 1 day to install them, but it takes 7-10 days for them to come in after templating) 7)Sink was installed (1 day) 8)Backsplash was tiled and grouted (2 days) Total time for all of that, was about 4 weeks! I’m sure that time can vary somewhat, by how many other jobs they have going at the same time, the size of your kitchen, and what all you are having done. Still I thought it was pretty amazing. One of my girlfriends had her kitchen done last year by a custom kitchen company, and they took 6 months. Yikes! Can you imagine?! If you’re thinking about updating your kitchen, Home Depot has 3 ways to help you out! The services that they offer include Replace, Reface and Renew. With the Replace service, they remove your old cabinets and replace them with gorgeous new ones (like mine!). The Reface option, works with the bones of your old cabinets and refaces them with new doors, trim, veneer etc. And the Renew option takes your existing cabinets and refinishes the wood.






Jason says
Hi, can you tell me what type of crown molding you used above your cabinets (both right above the cabinets and at the ceiling). Thanks! love the kitchen.
graphicsfairy says
Thanks Jason but I no longer live in this house and do not remember, it was from Home Depot though so maybe that might help 🙂 Good luck!
Poulin Design Center says
this kitchen is soooo Gorgeous! and It is so modern and clean looking. I’m really impressed.
graphicsfairy says
thank you!
Poulin Design Center says
Wow! You really did a beautiful job! I love how bright & fresh everything looks. you are amazing and very inspiring. thanks for sharing with us, and keep sharing more blogs.
graphicsfairy says
Thanks so much!!!