How to Trace with your Laptop, or Tablet, as a Lightbox!
Hello, Graphics Fairy friends, Diana from Dreams Factory here, ready to share a really exciting tutorial with you! Today I will be showing you how to trace with your laptop, or tablet, as a lightbox and make your own DIY Tracing Paper Sketch Birds! You know I love a good experiment, so today I thought it would be fun to show you how easy it is to make your own sketches from an image, even though you don’t know how to draw or sketch!
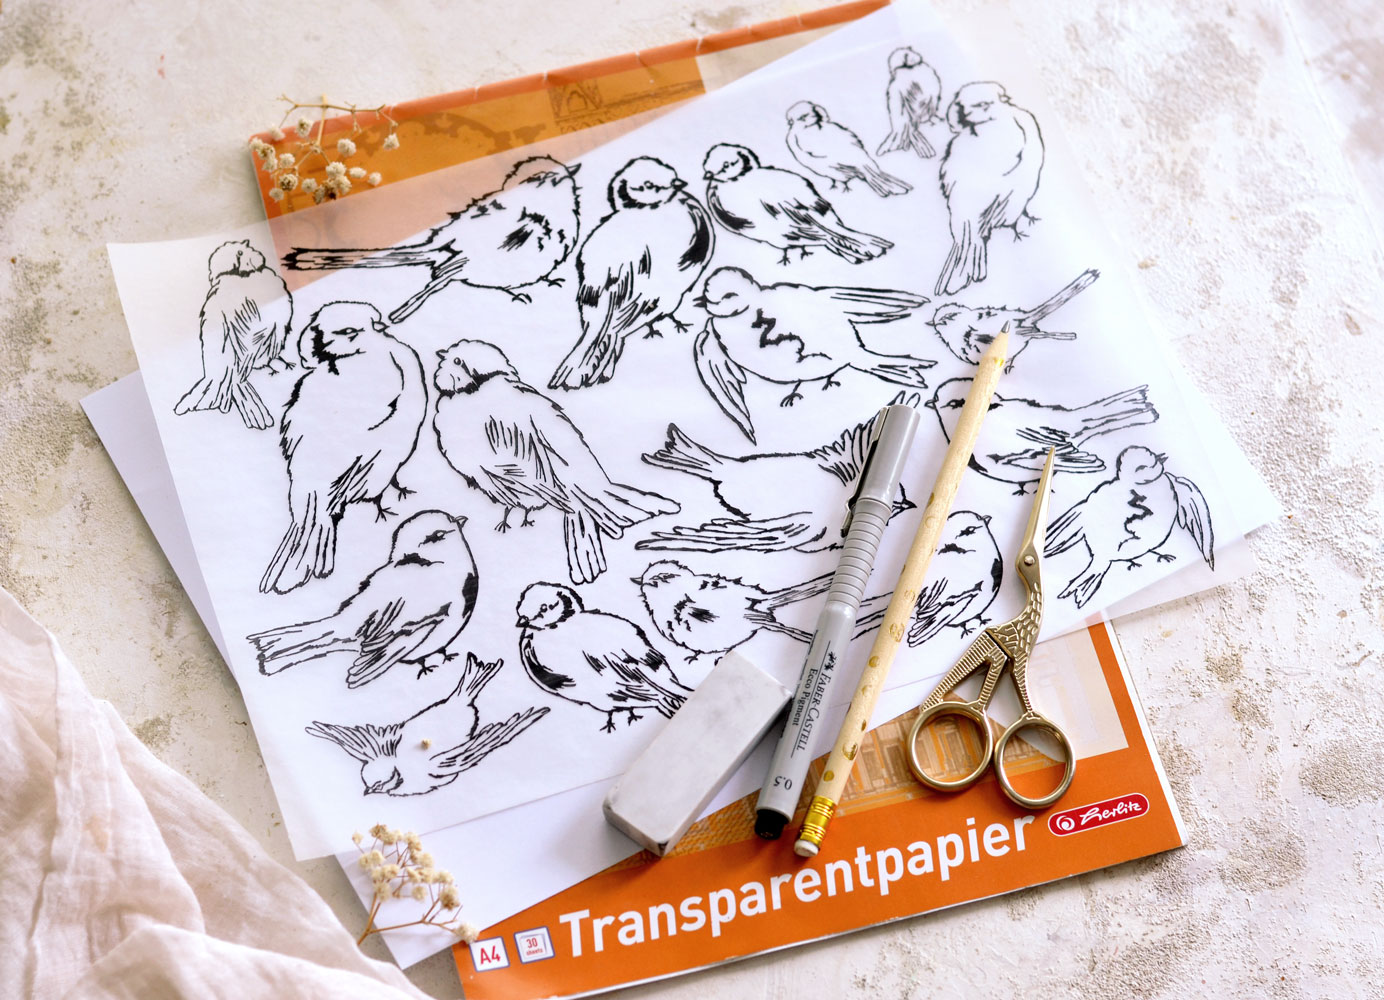
I created these super chic and lovable bird sketches beforehand and my initial idea was to show you how to print them on tracing paper and include them in your own projects. But I LOVED making these sweet little birds so much I knew I just HAD to show you how to actually make these yourself!
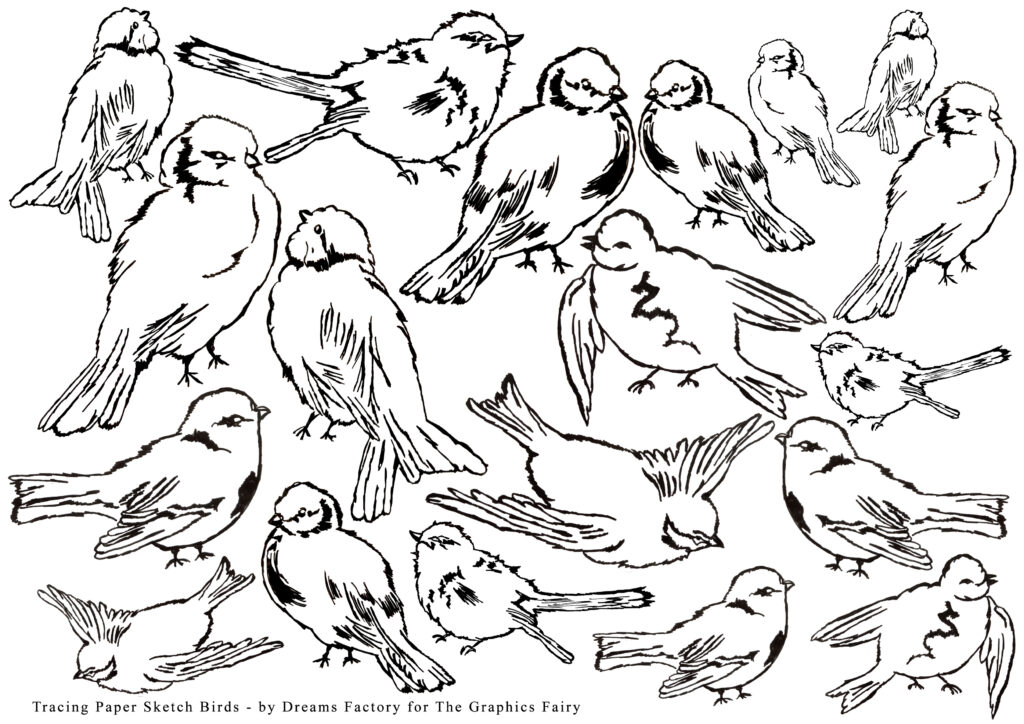
Of course, to make things a little easier, I’m also sharing the printable with the bird sketches that I’ve made, just in case you need to print these birdies ASAP. But please, for the sake of experimenting and maybe trying something new, go ahead and sketch your own, I promise you will love every single one of these cuties!
—-> Click HERE to Download the Full Size Printable PDF <—-
The supply list is not too long today, it’s really amazing how only a few ‘ingredients’ will make magic happen! Our key ingredient for today is definitely tracing paper, I will show you how to use it to trace and sketch the birds, but also how to print on it using a laserjet printer.
Let’s get started!
SUPPLIES TO MAKE YOUR OWN BIRD SKETCHES
- original bird images from The Graphics Fairy – I used these: 1 2 3 4 5
- tracing paper
- your laptop or the printed versions of the original bird images
- a regular pencil
- a fineliner ink pen – I used the 0.5 mm Ecco Pigment from Faber Castell
- scanner or phone camera
- Photoshop or another photo editor (Picmonkey, Canva)
SUPPLIES TO PRINT AND USE THE BIRD SKETCHES
- laserjet printer
- tracing paper or tissue paper to get a translucent background / regular paper, cardstock paper, sticker paper to get a white background
- scissors
- Mod Podge or craft glue to adhere the bird sketches
HOW TO MAKE YOUR OWN DIY TRACING PAPER BIRD SKETCHES WITH YOUR LAPTOP AS A LIGHTBOX
You have a few options right from the beginning:
– you can either print the original images from The Graphics Fairy and use them as your model OR
– use your laptop as your lightbox to trace and sketch the images OR
– if you have an Ipad, you can use Procreate to trace the images there using your Apple Pencil – this way you’ll create digital copies of your sketched images
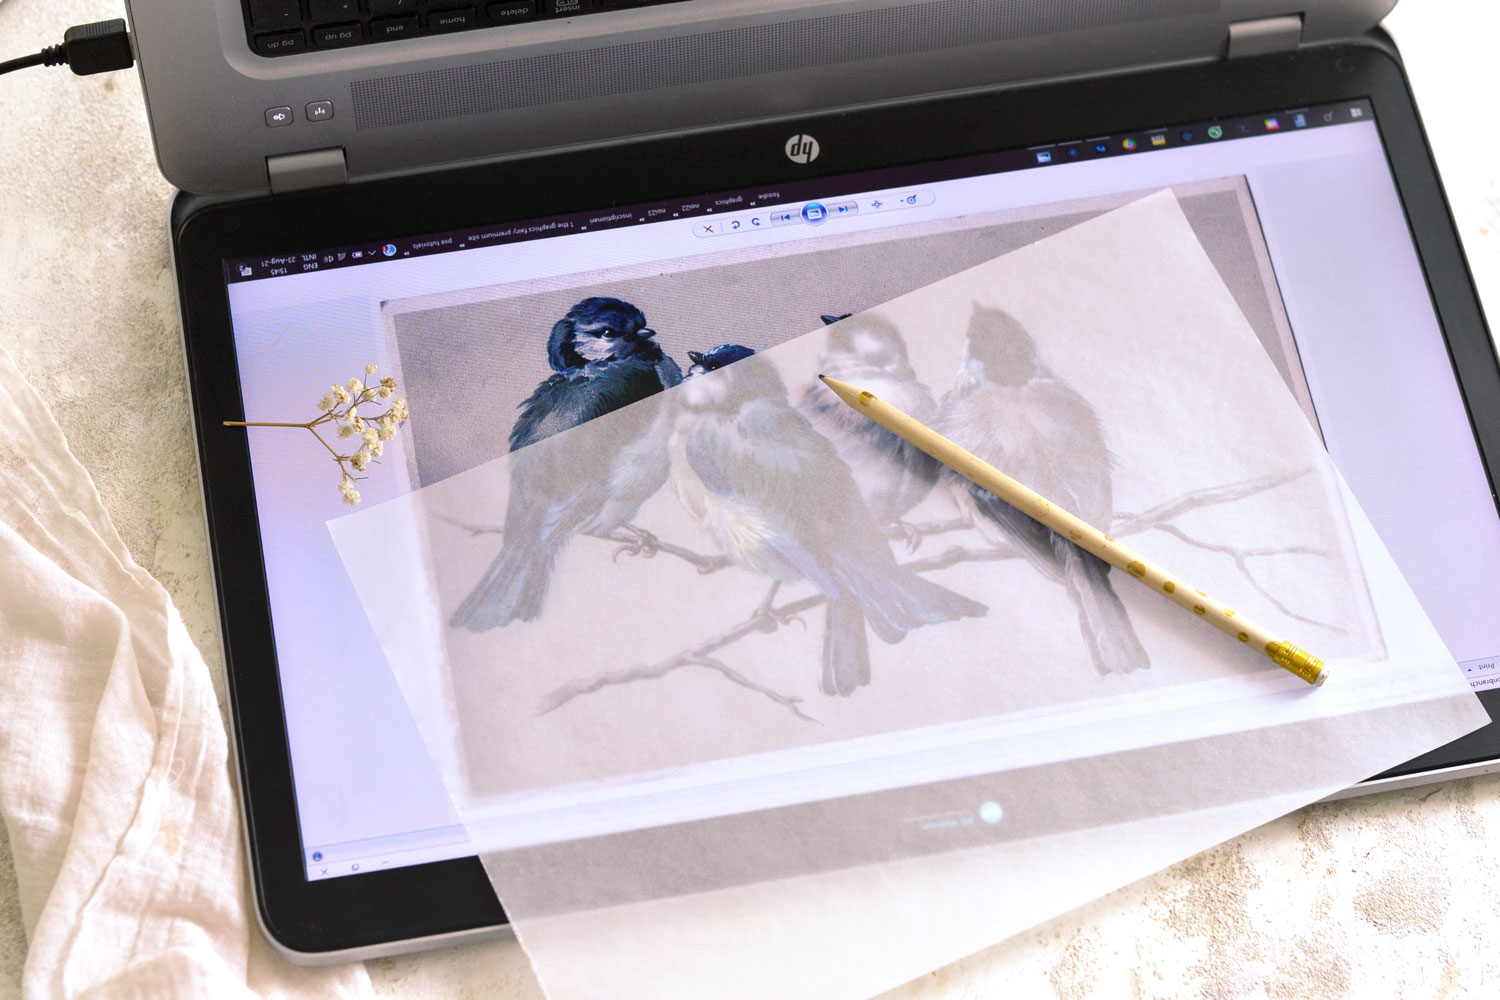
1. I decided to use my laptop to trace and sketch the images, I thought it would be so much easier to make the images smaller or larger, depending on what I needed. I rotated the images on my laptop first, then simply flipped the laptop and placed it -with the screen laying flat – on the table. I prepared a piece of tracing paper and a sharp pencil and I was ready to rock and roll!
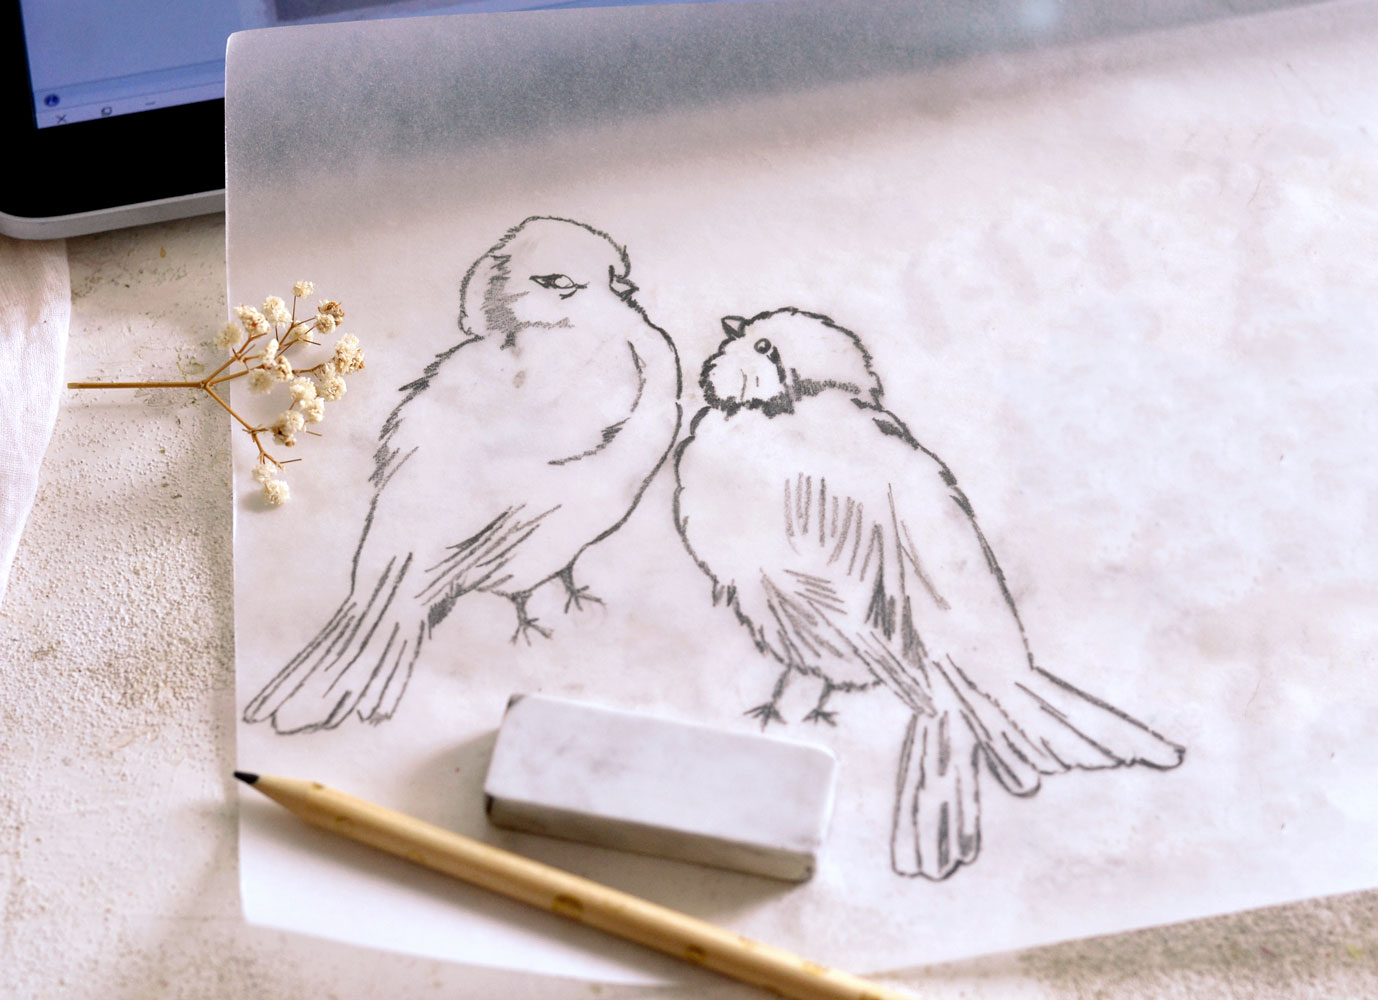
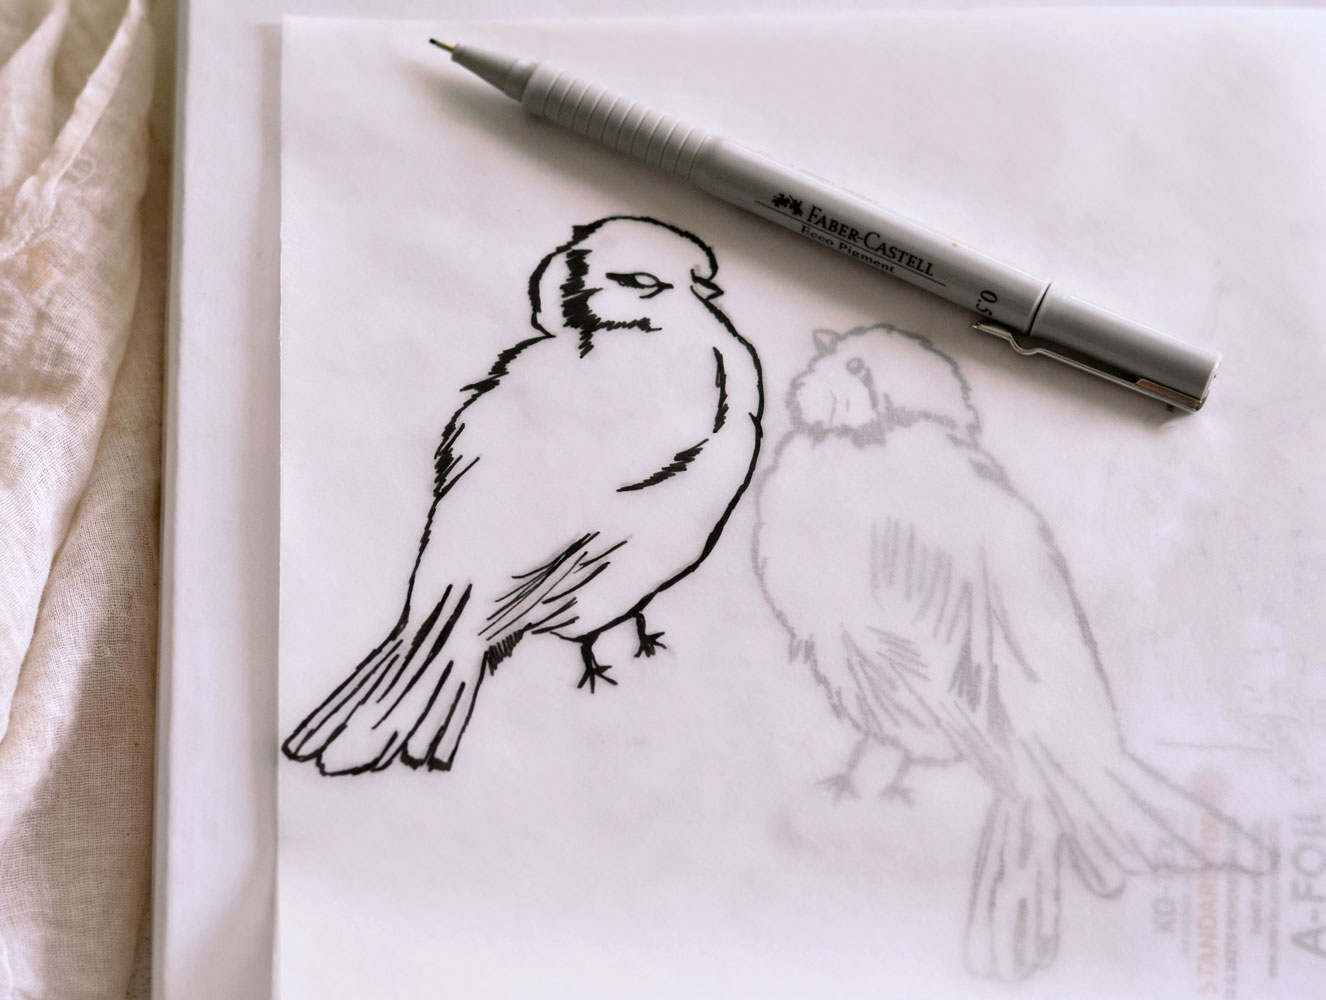
2. Place your tracing paper on top of your laptop image and start tracing your first bird. I chose birds that had a lot of beautiful details and a lovely ‘fluffy’ shape. The translucency of the tracing paper really worked to my advantage, because I was able to see and trace all these lovely details. I started with tracing the contour of the bird and tried to preserve all the small details that made it unique. I tried to sketch irregular, imperfect and feathery contour details using small zig-zag or rounded pencil strokes, rather than tracing lines that were too sharp or plain. You can go as detailed as you want, but I mostly insisted on the wings’ feathers details and then traced a few scribbles to make some shadows and add more interest. As a general rule, when tracing your bird, try to clear your mind and sketch rather quickly than slow. This might not make any sense now, but once you’ll start, you’ll see how this will help you not to think too much about the process itself and just let everything flow naturally. Don’t be afraid to make mistakes, small imperfect strokes here and there will make your birds truly unique! If you make visible mistakes, just keep your eraser close by and erase, then start again until you are happy with the results.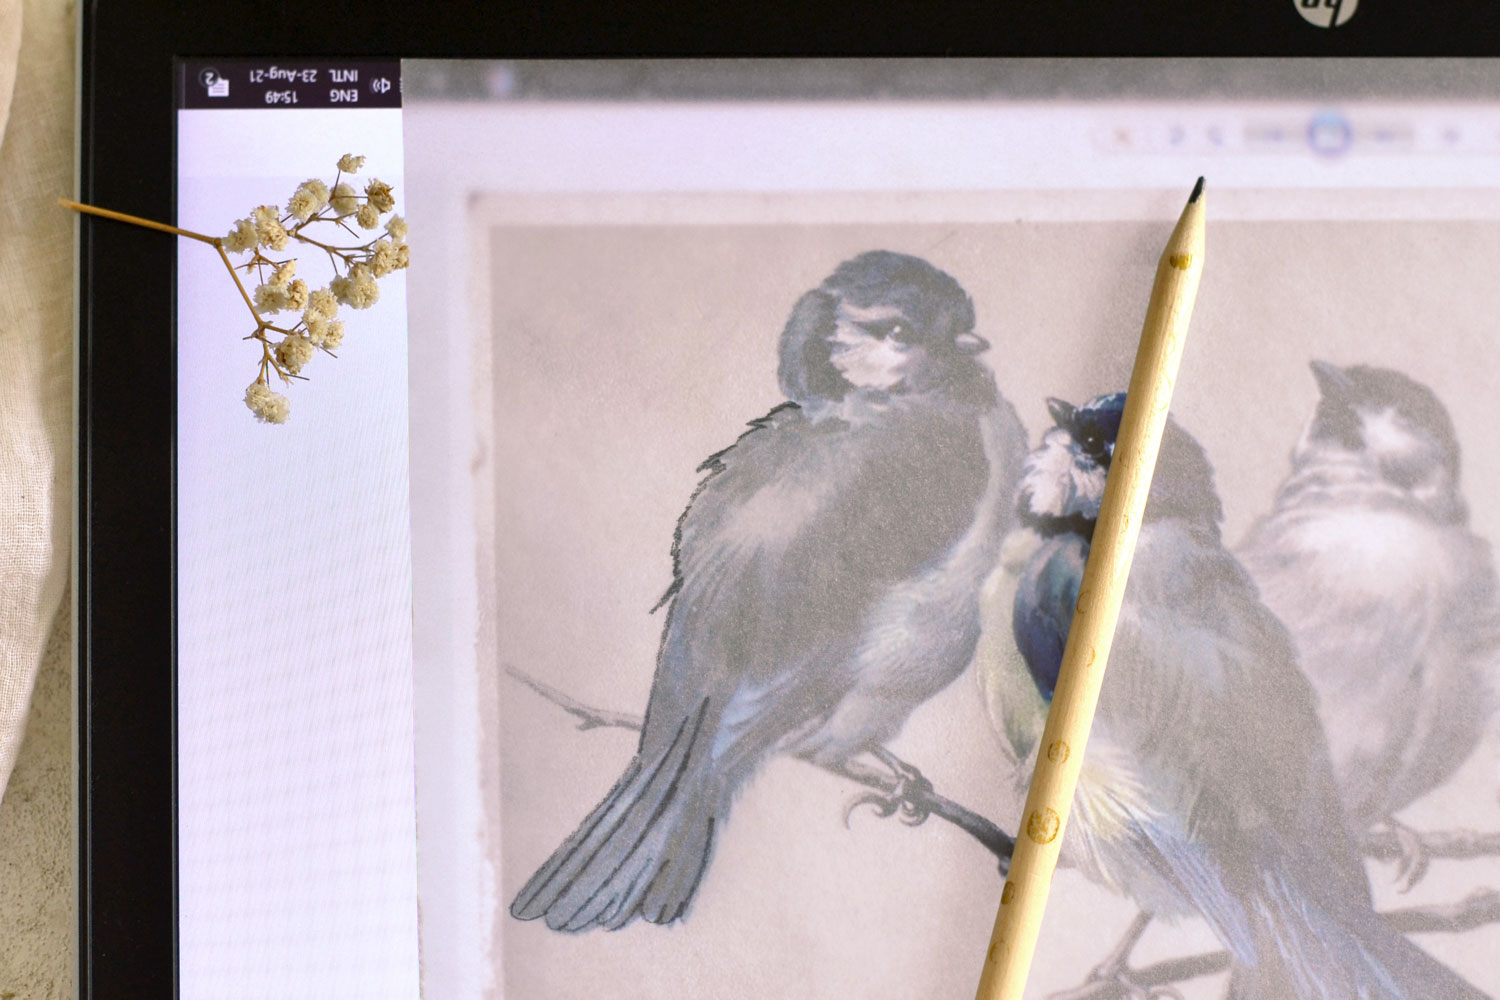
If you have two birds that are slightly overlapping, you can sketch them as they are or you can sketch one bird, then move your tracing paper a little to the side to trace them separately. I did that here with these two stunning birds and I had to recreate on the tracing paper the part that was overlapping.
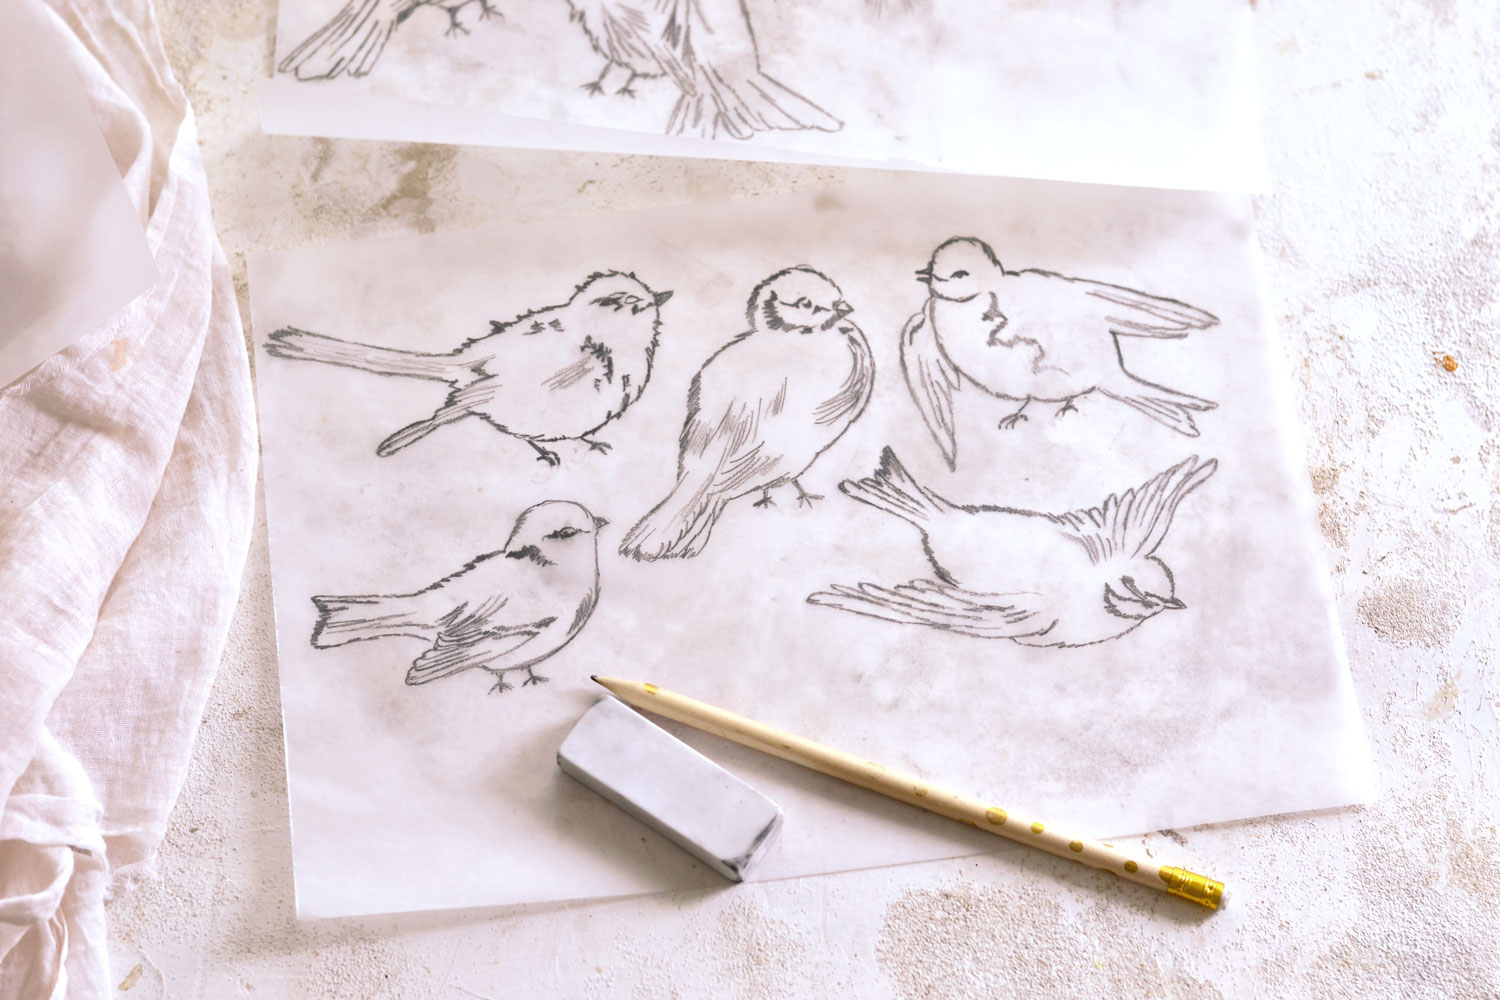
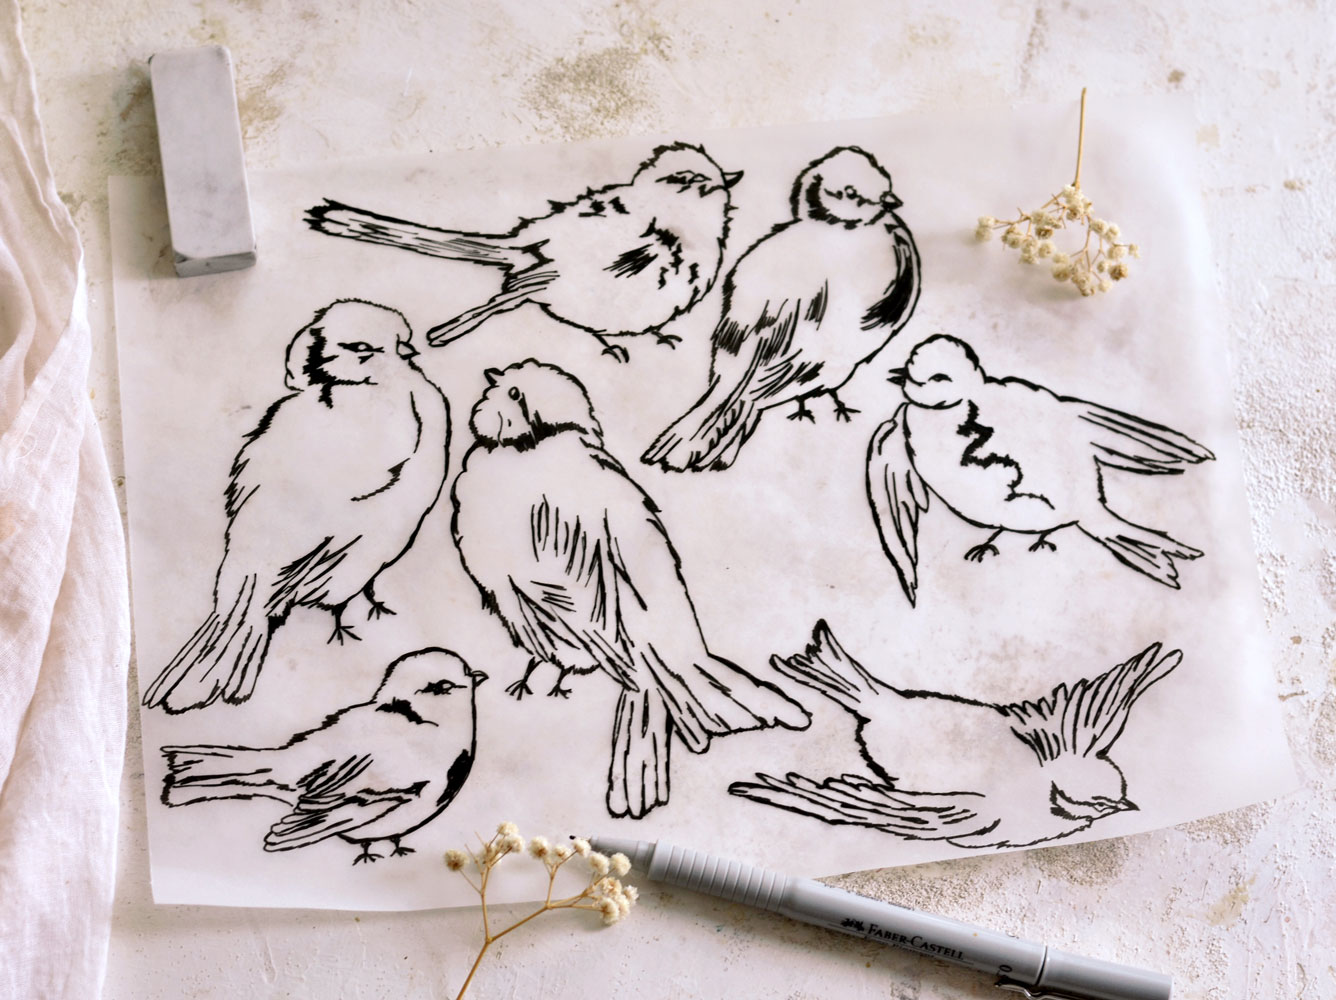
3. You can follow the same steps to sketch all the birds that you want! You can trace them on the same tracing paper or on several ones, depending on the sizes of your birds. I sketched a total of seven different birds (on 2 sheets of tracing paper) and I have to confess I had a really hard time stopping on seven! A really, really hard time, they were so much fun to make!
I had a little bit of a hard time sketching the legs of the birds because I wanted something a little different than the original images. On the original images most of the birds were sitting on branches and I wanted a more general ‘stay on your feet’ feel! So I ended up erasing all the legs that I initially sketched and just made some super simple ones instead.
4. When you are happy with your pencil bird sketches, you can use your fineliner to trace everything once again, as your final images of the birds. You can choose to trace directly on the tracing paper that you used for pencil sketches or you can use a new piece of tracing paper. I did the latter – I placed a new piece of tracing paper on top and did my pencil sketches there.
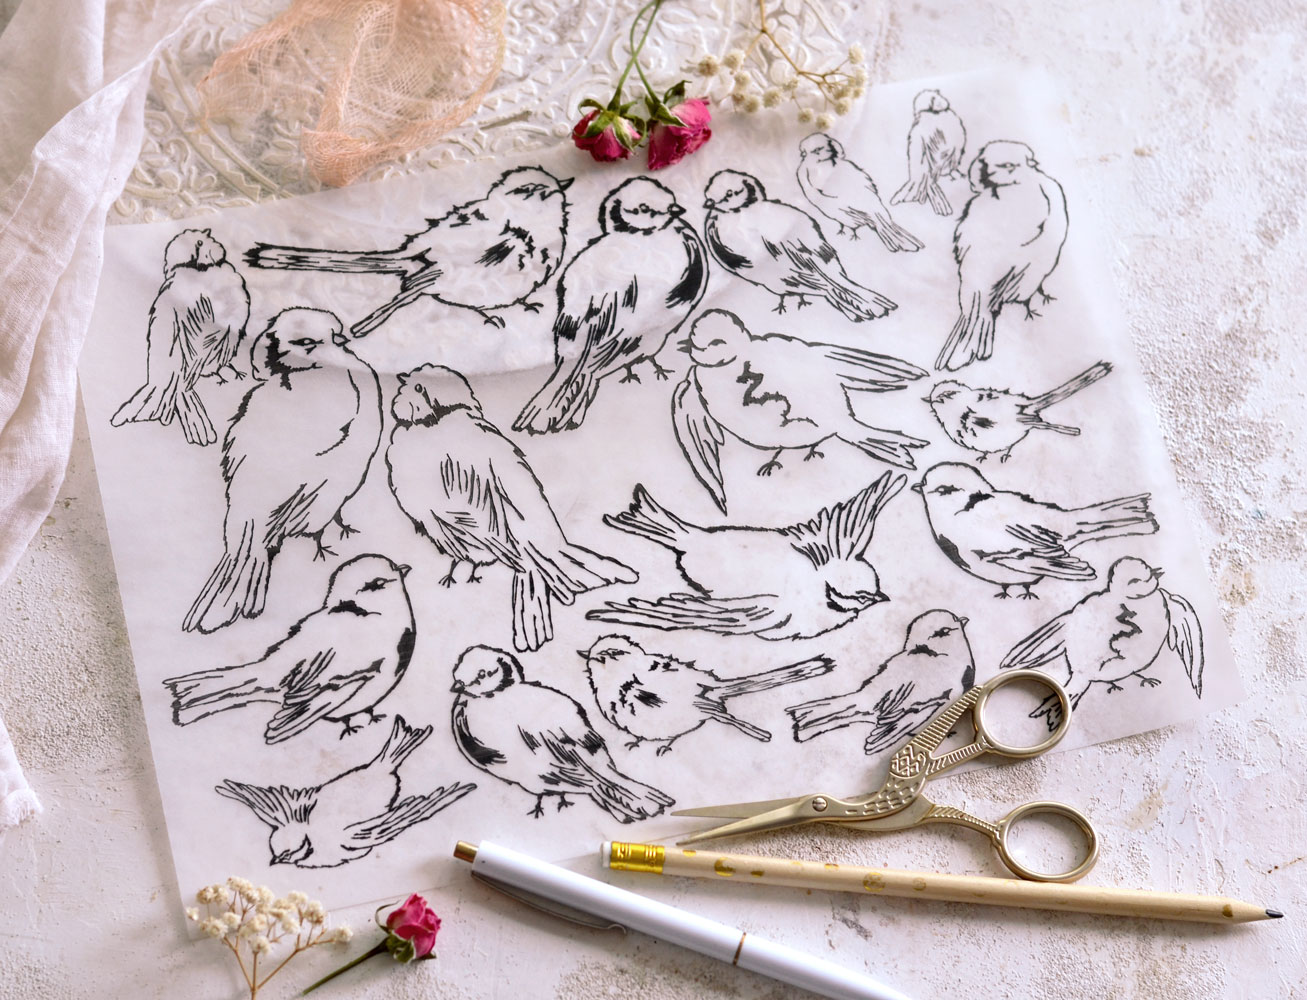
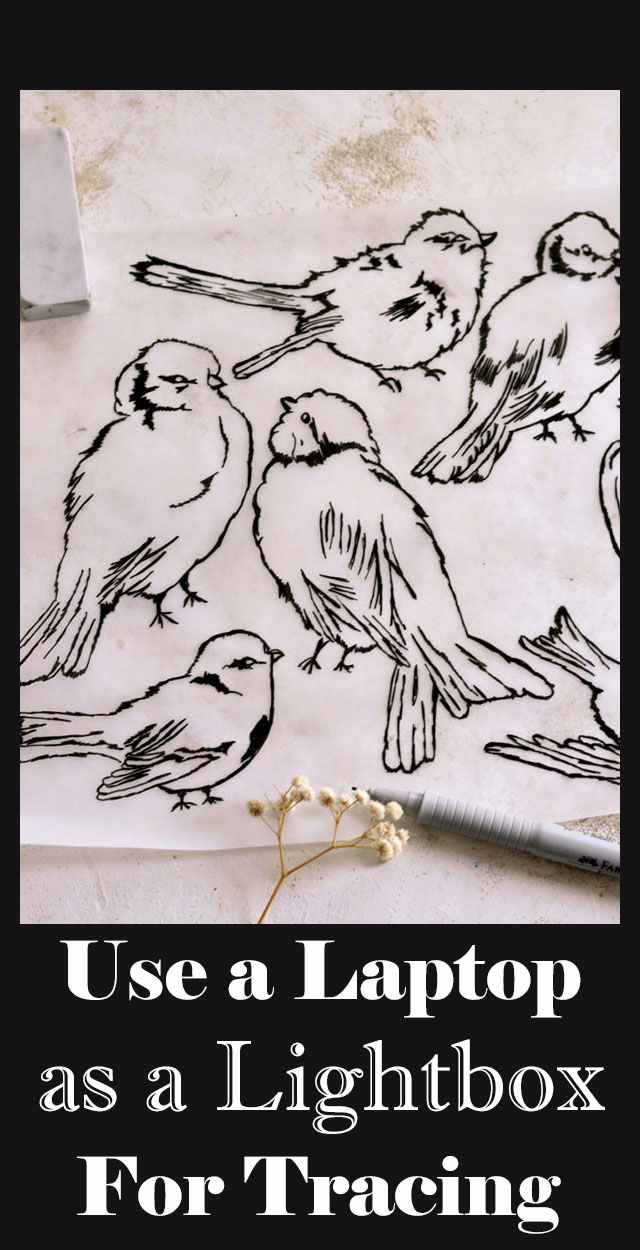
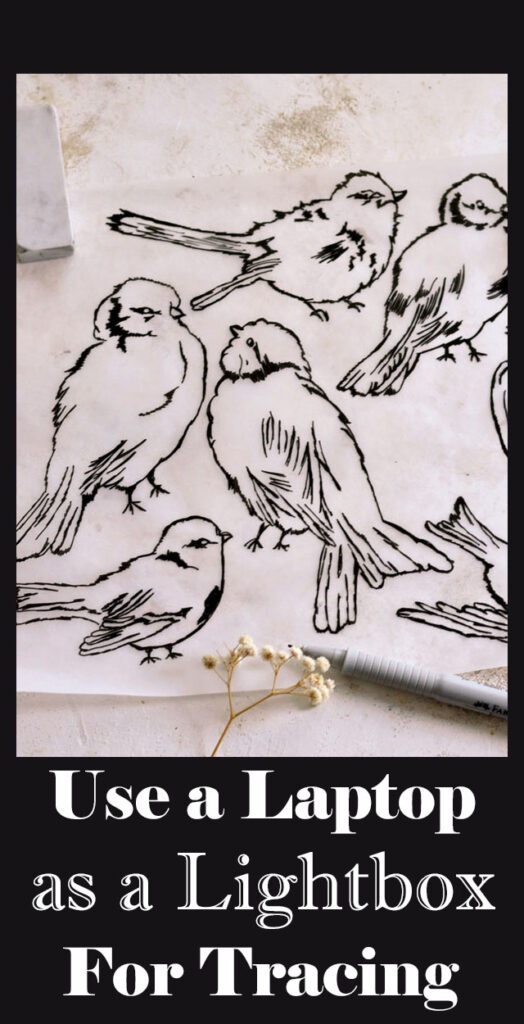
5. This time, I was able to fit all my ink bird sketches onto one tracing paper sheet and I can’t even tell you how much I LOVED how they all turned out!
At this stage, if you used a waterproof ink, like the Faber Castell fineliner that I used, you can simply cut them free (hehe) and use your new simply gorgeous DIY Tracing Paper Sketch Birds in your wonderful projects!
Of course you can try this tracing and sketching technique on ANY other images from The Graphics Fairy, there are endless possibilities for sketching your favorite flowers, botanicals, fruits, insects, animals, just let yourself be inspired and sketch, sketch sketch!
6. But if you want to be able to use these beauties more than once, you’ll need to take things a little bit further and create a digital printable copy of the sketches that you created. Use your scanner to scan the whole page or use your smartphone’s camera to photograph each sketch. I used my phone (I don’t have a scanner) and placed a white sheet of paper underneath to create a white background and get a better contrast. Place your sketches near a window when photographing them, natural light will help you get better overall images and you won’t have to make too many edits afterwards. I transferred each bird sketch to my laptop, then used Adobe Photoshop to make some changes (I deleted the white background and created a new Level layer where I changed the shadow input to around 50, then the highlights input to around 160). In the end, I was left with individual images for all the sketches that I’ve made and I was able to place them in a printable, changing the sizes and flipping them around.
Now you have your own printable on your computer, ready to print! Over and over again!
HOW TO PRINT AND USE THE DIY TRACING PAPER BIRD SKETCHES
7. Now you can use your own printable or just use the one I’m sharing with my own sketches, at this final printing stage, you can use regular paper, cardstock paper, sticker paper or even kraft paper to print them, the choice is all yours. These gorgeous birds will look stunning anywhere, no matter the type of paper you are using!
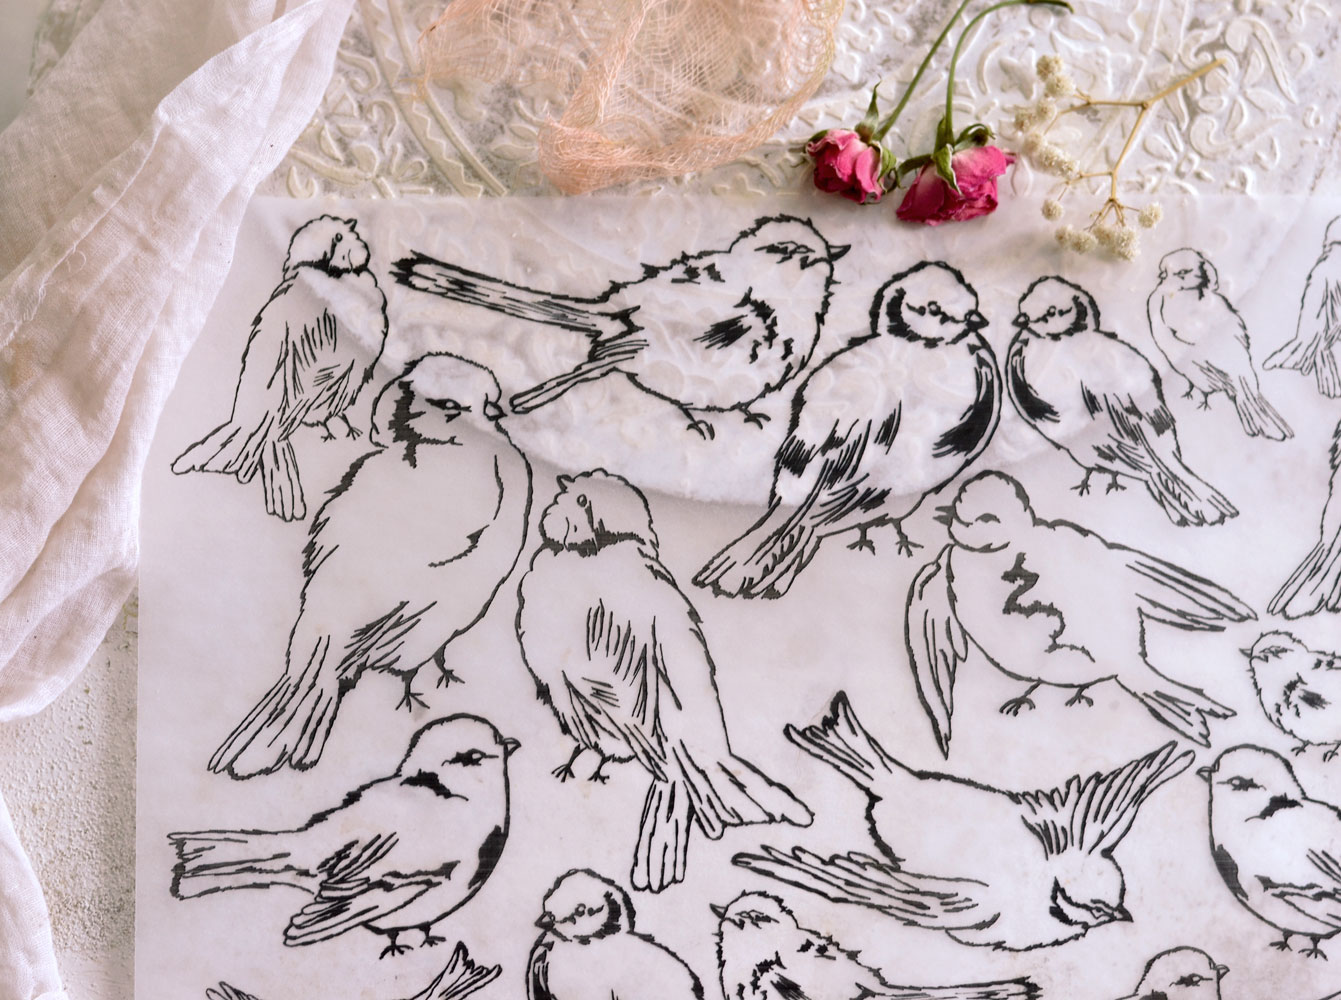
Just remember that you’ll need to use tracing paper (tissue paper will also work) if you want to get this beautiful translucent background. It was surprisingly easy to print on tracing paper, I just selected the ‘Light 60-74 g’ type of paper on my printer before printing and fed the tracing paper through it – depending on your printer, this setting might be slightly different.
I would suggest printing several copies of these DIY Tracing Paper Sketch Birds, even fussy cutting them all, this way you’ll have plenty to choose from, when in need!
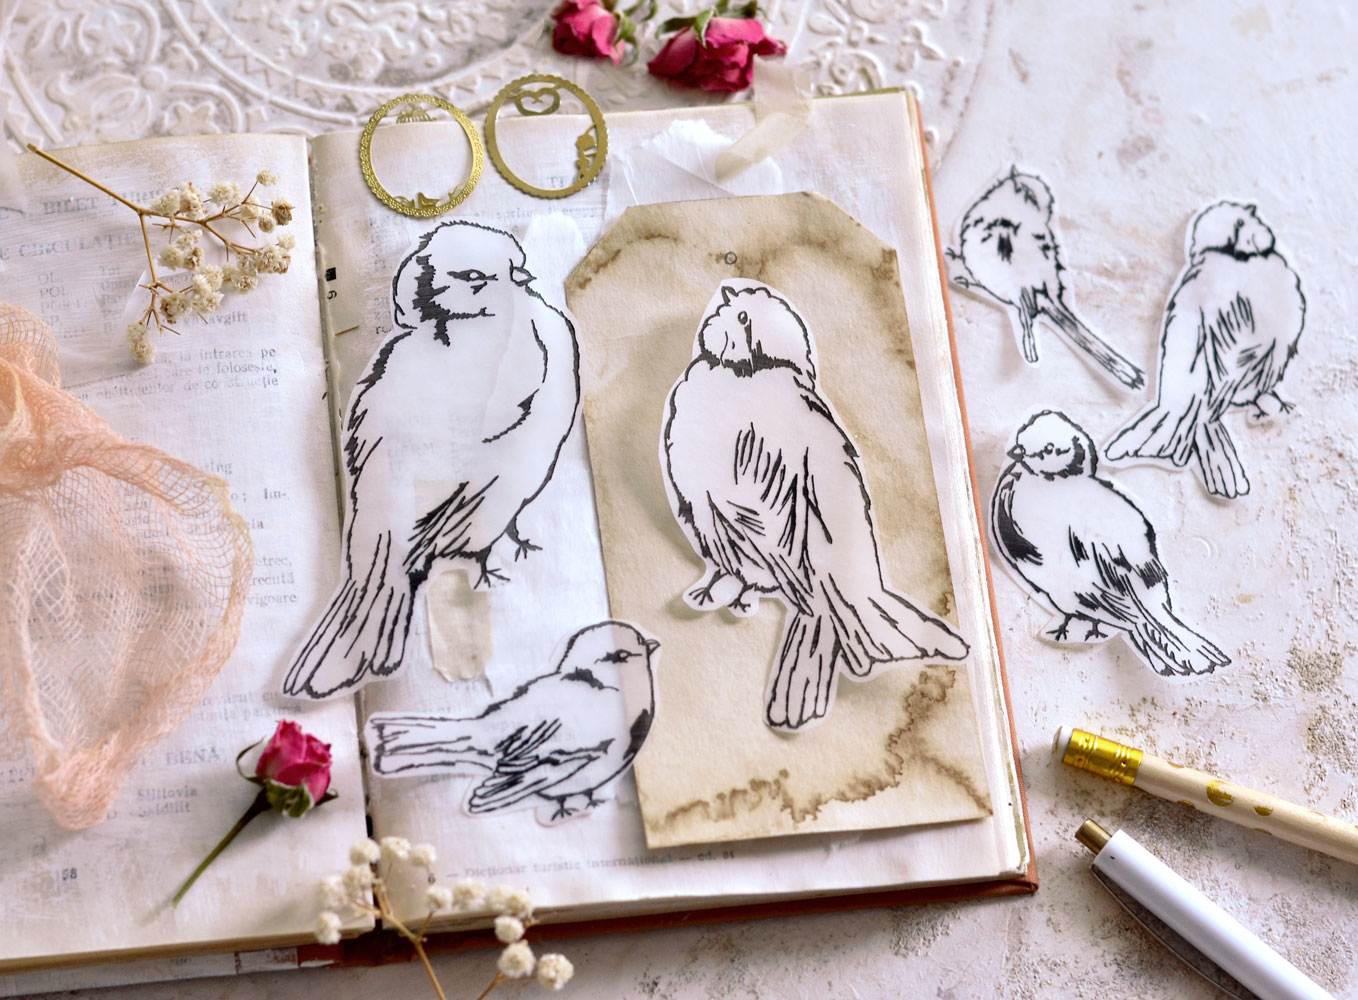
You can use the sketch birds on millions of projects, the sky is really the limit! The birds will look different, depending on the background you are using underneath. Here I used a simple white gesso background and a coffee-stained tag.
Because tracing paper is not actually designed for printing or crafting, we are kind of improvising as we go with this! If you decide to glue DIY Tracing Paper Sketch Birds on paper or any other flat surfaces, the tracing paper will curl and warp quite a lot, when in touch with the glue (I used Mod Podge and a brush to apply it). Move quickly to glue the sketch birds where you want, then use your fingers to smooth the surface and remove any air bubbles. Don’t worry if you see the white glue underneath, the glue will turn clear after drying.
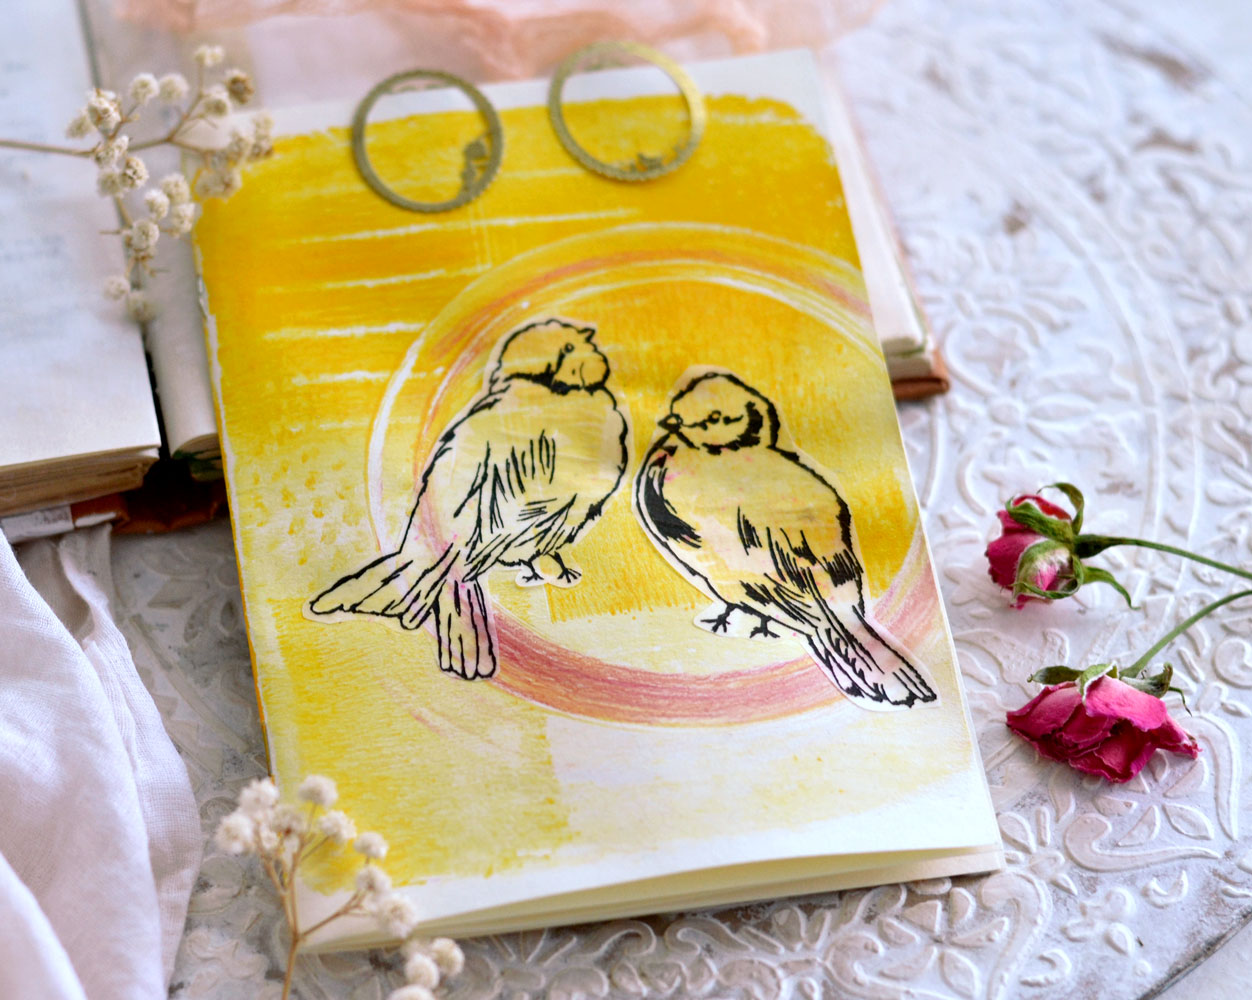
Here I glued two of the lovely sketched birds on one of my DIY 5 Minute Notebooks, you can see that the cover is still a little bit warped, even after drying. But that’s not a big problem, I’ll just place the notebook under some heavy books to flatten it again.
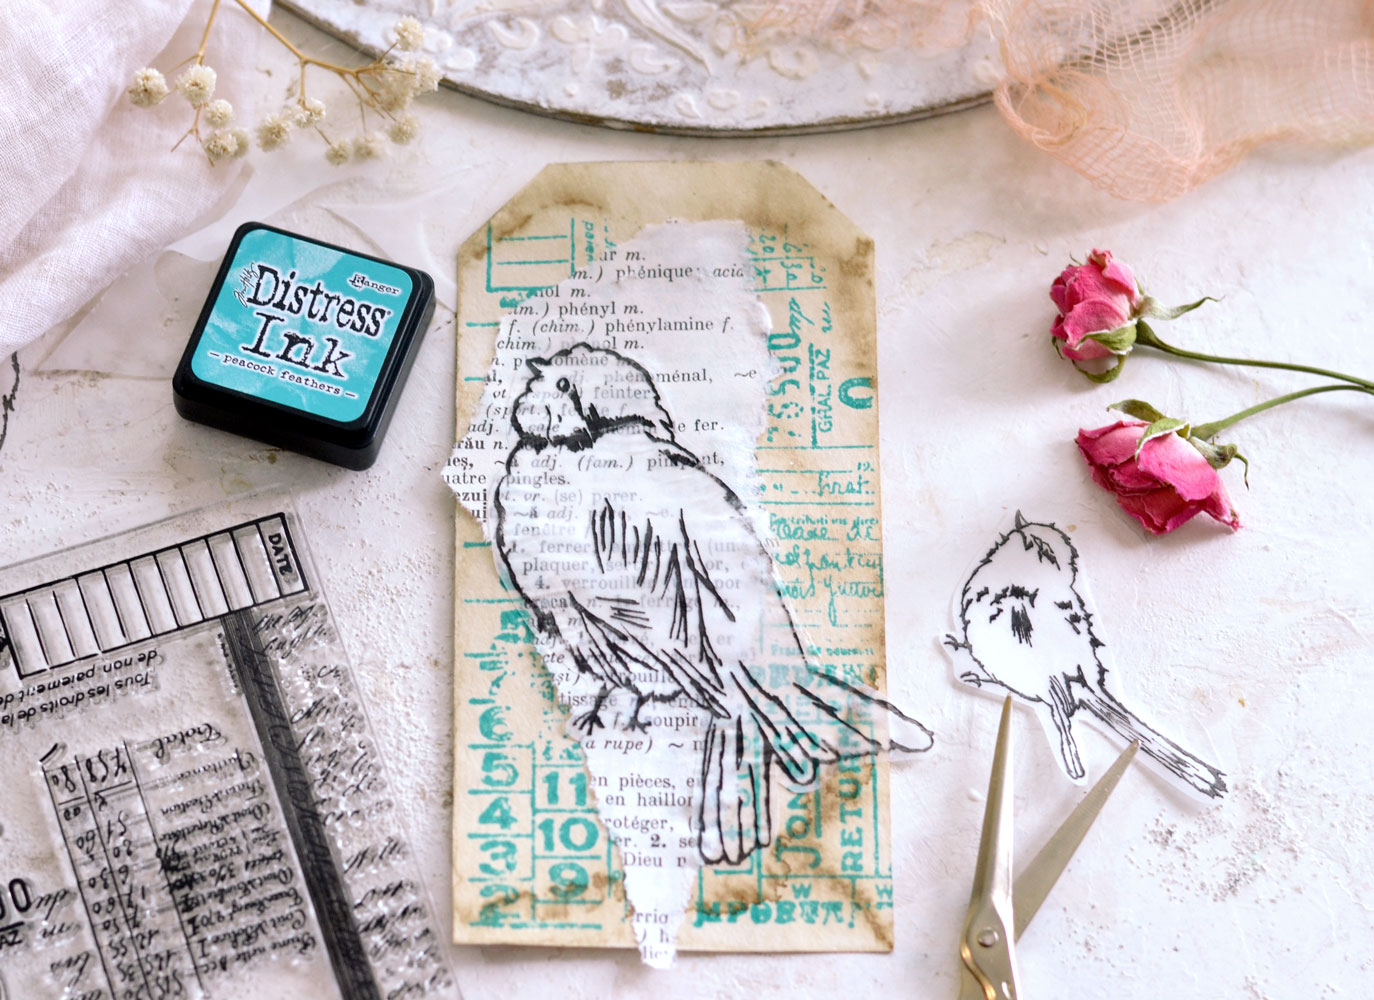
You can get really creative with these sketched birds, here I used a coffee-stained tag, a stamp and some distress ink to create a quick but beautiful background. Then I glued a scrap piece of paper from an old dictionary and placed another sketched bird on top! Easy peasy!
If you decide to completely cover with adhesive the back of your tracing paper bird, before gluing it on your surface, the edges will perfectly blend into the surface, after drying.
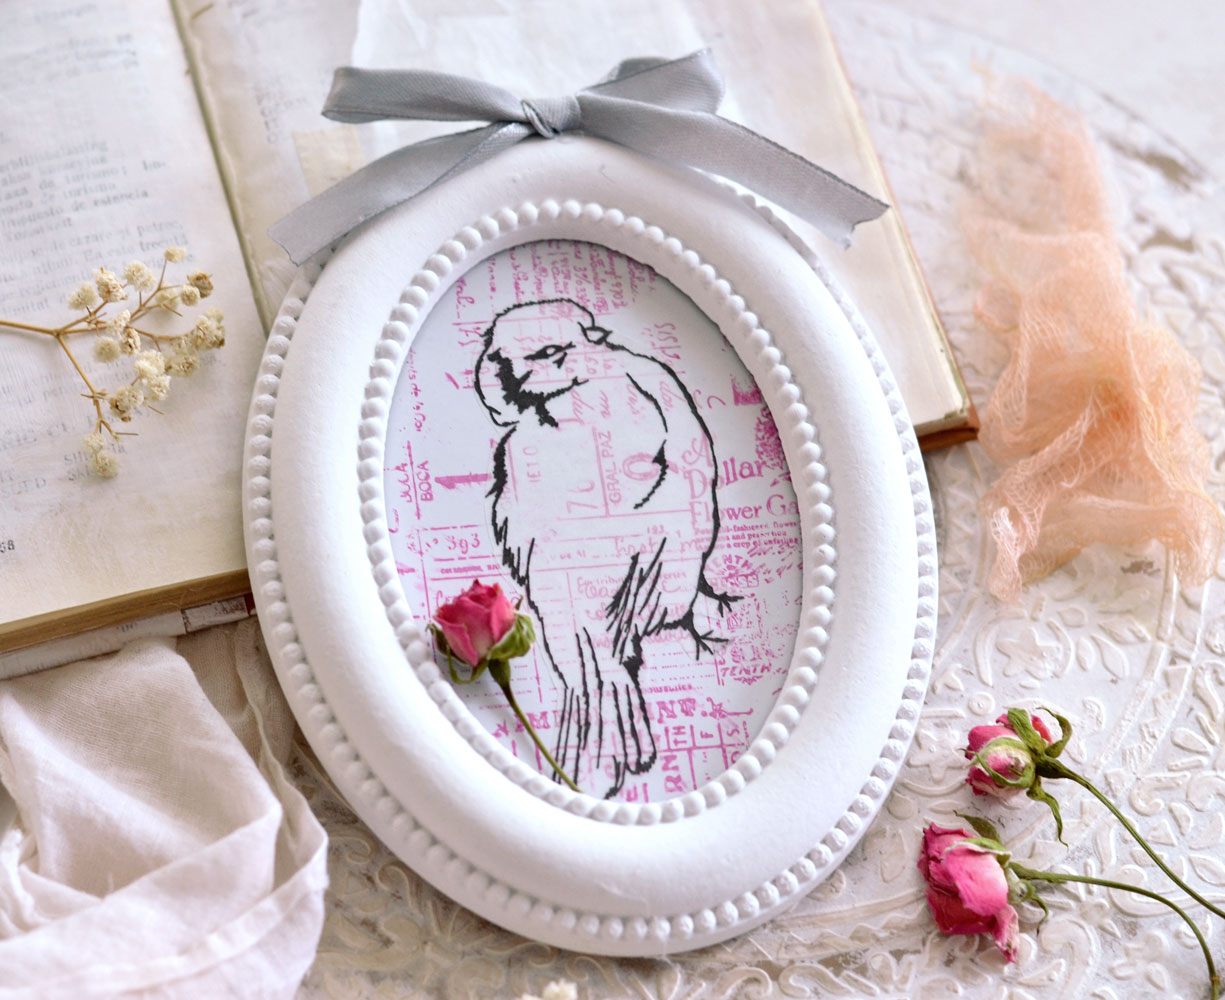
As a final idea on how to use these sketched birds, how about using them as lovely decorative pieces in your home? I recently bought this beautiful small oval frame and quickly stamped with pink distressed ink the back of the paper that came with it, then placed (not glued) one of the birds on top. I arranged everything under the glass and voila! All done in under 2 minutes! I hope you had fun learning how to How to Trace with your Laptop, or Tablet, as a Lightbox!
And I hope these gorgeous sketched birds will give you the freedom to fly (pun intended) to new territories and creative adventures! You’ll have so much fun with these, no matter if you decide to take the long road and create your own bird sketches using tracing paper, or take the short route and just print my printable on tracing paper! You might also like How to Print on Tissue Paper with your Home Printer HERE.
Happy crafting,
Diana / Dreams Factory


Yvonne Jinks says
Thank you so lovely. Like you I have had problems with Mod Podge bubbling until I was introduced to a different process. I place the Modge Podge on the surface I want to glue an item to and let it fully dry. I often leave it over-night but really it does not take that long. The next morning I simply iron (with a cool iron) my embellishment to the Mod Podge- no bubbles. You can even go back later, if you find a ripple you had missed and simply iron it out. It is absolutely perfect with napkins or any type of very fine paper.
Thank you for a great tutorial
Karen Watson says
Thanks for the great tips Yvonne! Good to know!
Kimberly S says
Oh my gosh! This is such an awesome idea! Your tutorial was informative and I think I am off to find my tracing paper and have a play. Thanks for sharing!
Karen Watson says
We’re so glad you enjoyed it Kimberly!
Cat says
Hi, When I have tried this previously on an ipad the image moves around as i draw on it as it picks up my hand resting on this. Any Ideas of how to stop this?
graphicsfairy says
Hi Cat, this was a post by one of our writer’s here at TGF, you can find Diana over at her site Dreams Factory, here is a link to her site, she might be better able to help you with this 🙂 http://bydreamsfactory.com/
Diana says
Hey Cat, you’ll need to go to Settings – General – Accessibility – turn on Guided Access.
Go to the photo that you want to trace, then quickly hit the home button 3 times and when Guided Access appears make sure you turn off Touch – hit start and add your iPad password (or set a new one) when a new window prompts you to. That’s it! This will ‘freeze’ your screen and you’ll be able to trace and sketch everything that you want! Hope this helps, have fun! 😉
Ranae says
Would this be same steps for an android tablet?
Karen Watson says
Hi Ranae, I’m not sure. If you have one though give it a try and see if it works!
Deb says
Totally love this technique! Can’t wait to try it out,absolutely charming little birds x
Karen Watson says
We’re so glad you enjoyed it Deb! Have fun using Diana’s technique!
Abby says
Thank you Diana!! This was a wonderful tutorial. I use procreate a lot, so will probably try that way. Lots of good ideas here. Much appreciation.
Karen Watson says
Have fun creating some of these sweet birds Abby!