DIY Dry Erase Board
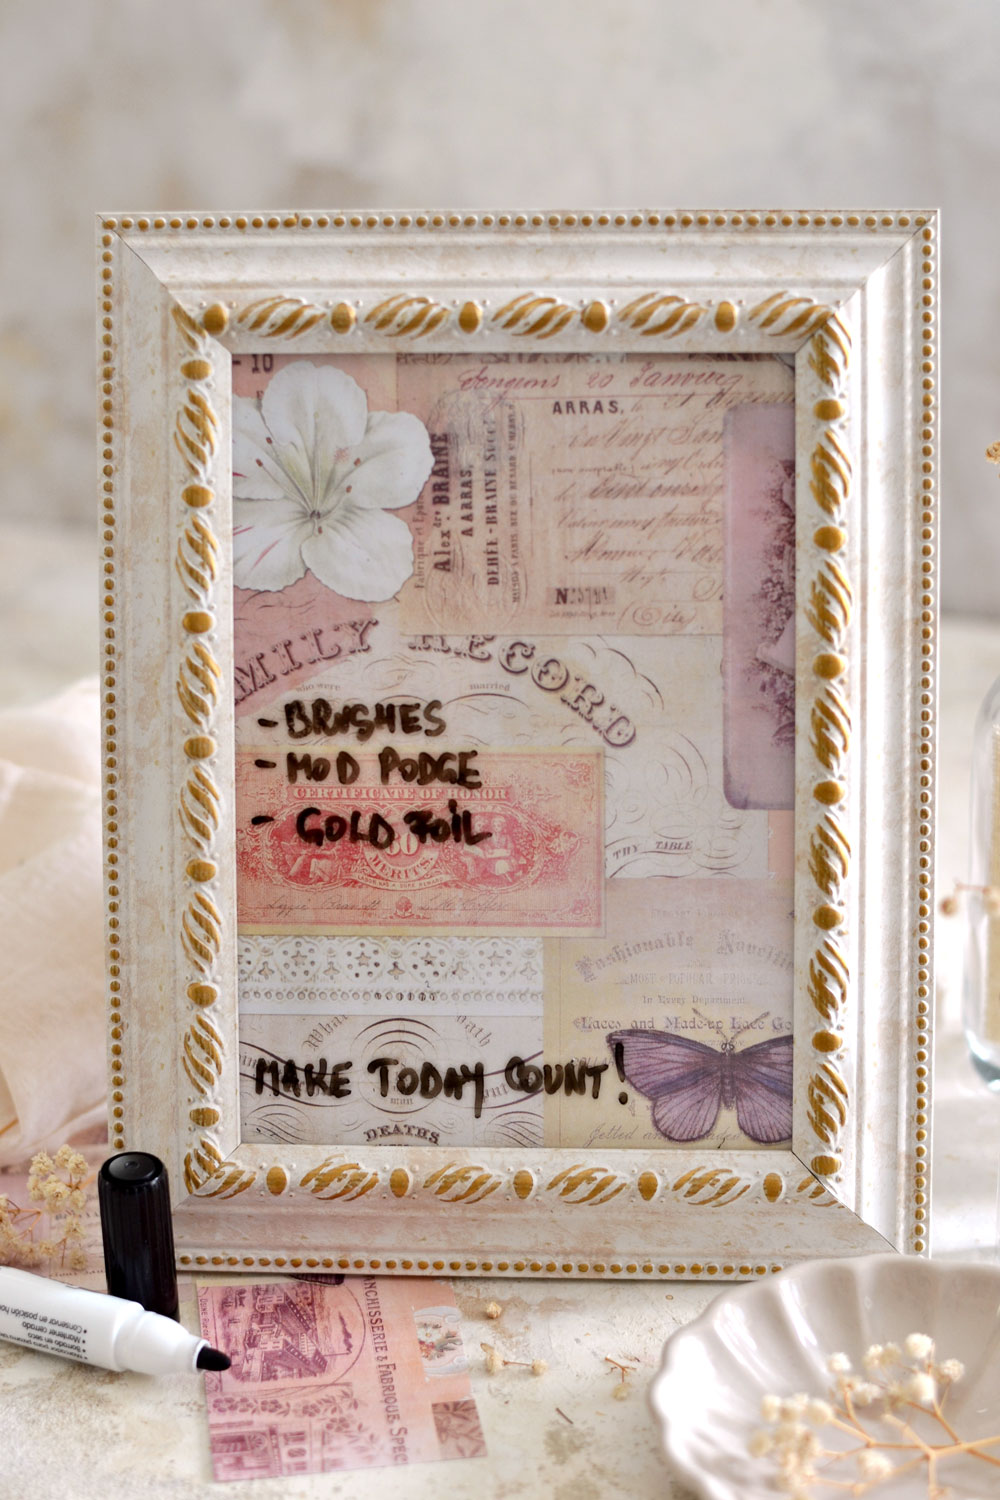
Hello Graphics Fairy friends! I’m Diana from Dreams Factory and I’m happy to be here again to share another DIY project with you. Today I will be showing you how easy it is to make a gorgeous DIY Dry Erase Board using a photo frame and a pretty print! This is a quick and easy project that can be ready in 5 minutes, you basically just need to print your image, frame it and you are good to go! If you have ever wondered how to make a dry erase whiteboard then this post is for you!
There are a few things to consider while choosing your image and deciding how to frame it, depending on how you are planning on using your diy whiteboard afterward. I will also show you a cool trick that you can try if you want to bring more sheerness to your image, especially if this is a little bit too vivid to use. And lastly, I will share what marker to use and how to actually wipe the dry erase board after writing on it.
DIY Dry Erase Board Supplies:
- your preferred image or collage
- regular printing paper or cardstock paper
- home printer
- scissors
- a lovely picture frame
- pencil
- whiteboard marker
- makeup disks
- tissue paper (optional)
- Dry erase markers
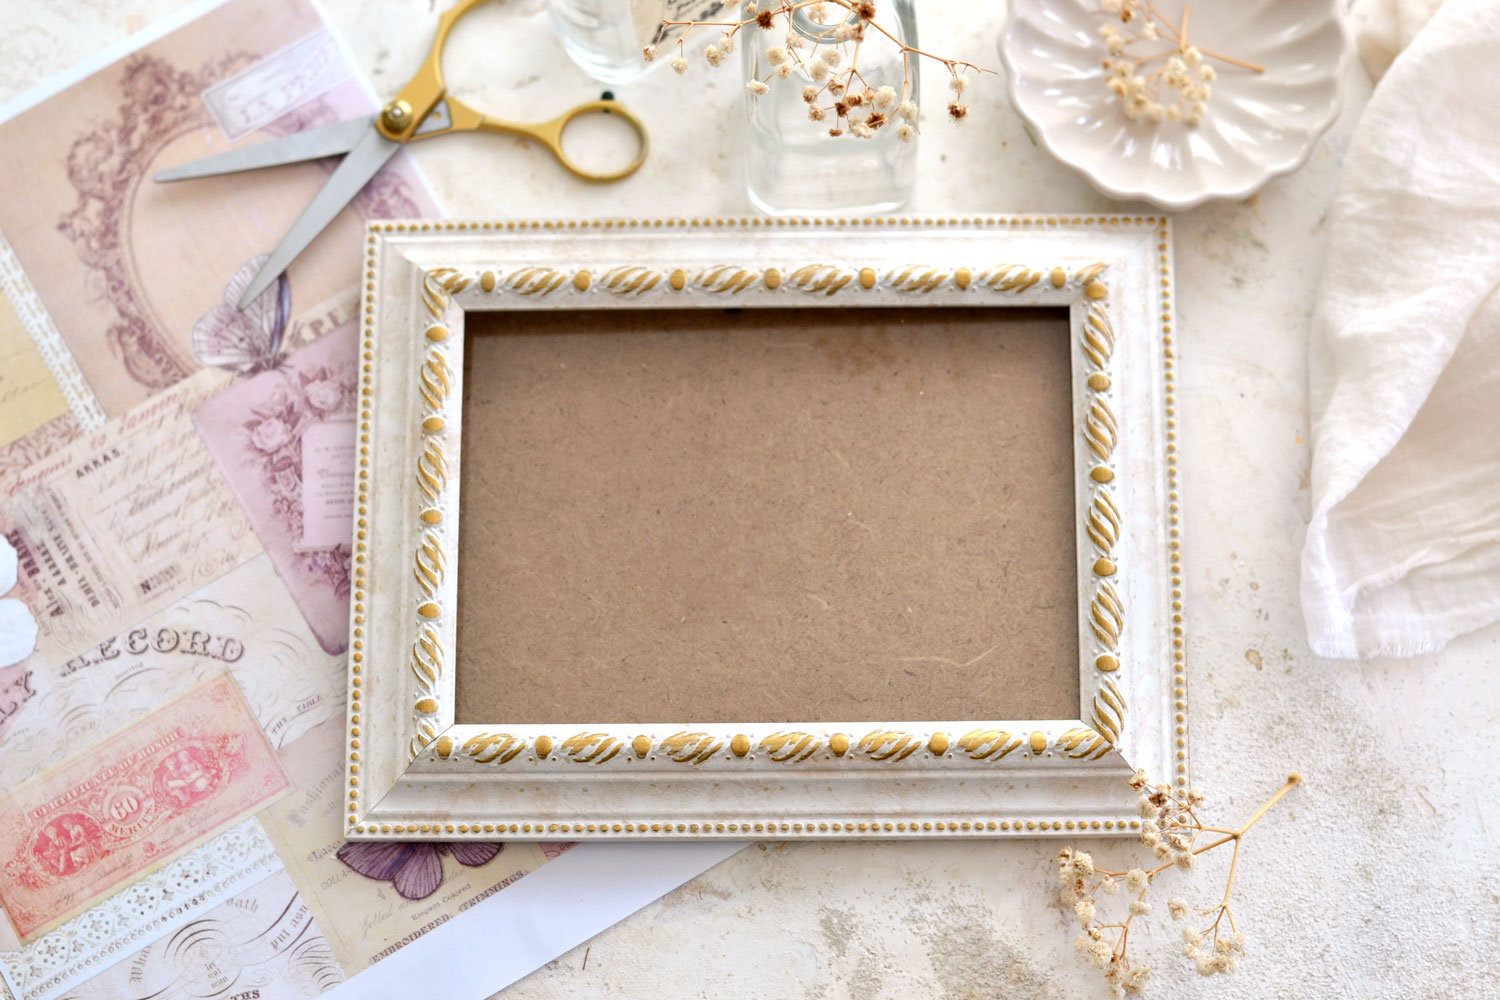
First, choose your frame! It can be something simple that you already have around or something with a lovely decorative pattern from your last thrift store visit!
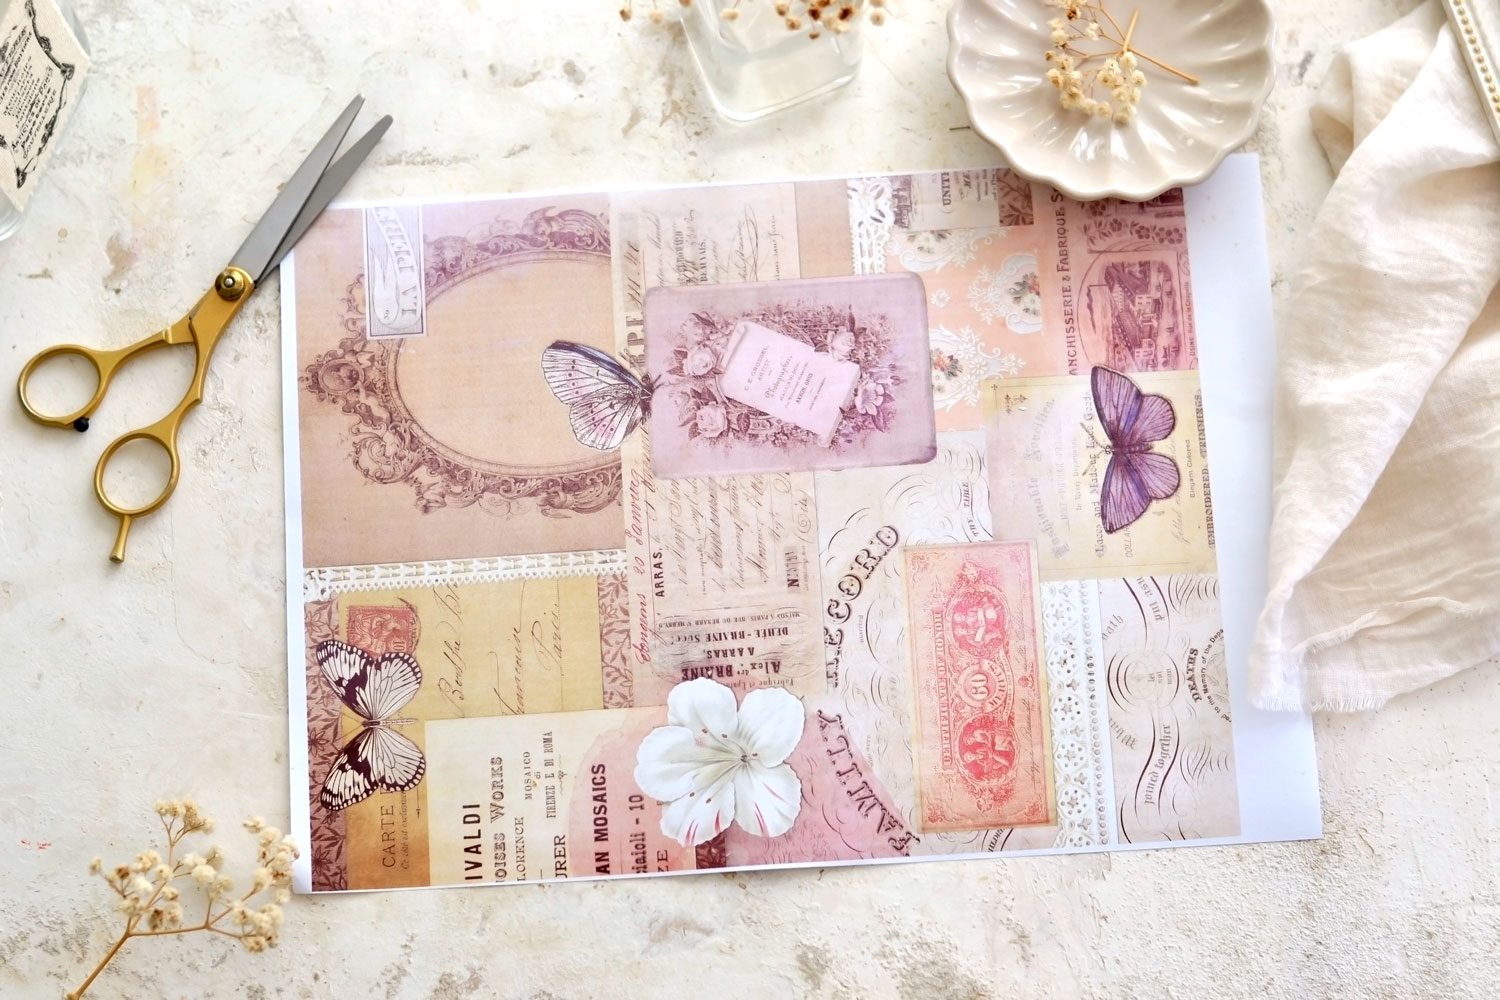
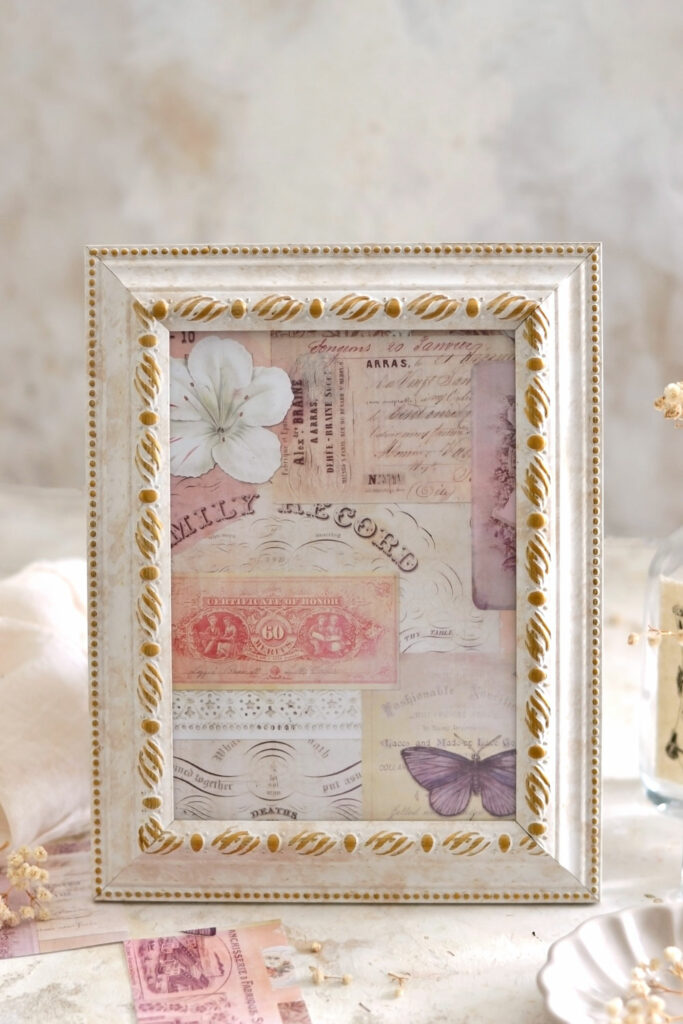
You can use any type of image for this project, choose something that speaks to you the most, this way you can turn a simple project like this into something that you really love! I’ve decided to use this gorgeous collage from the Mini Ephemera Bundle from the Premium site, I feel like this beauty has a little bit of everything. I love all the elements separately but also how they all look together. It’s a really elegant and beautiful collage, don’t you think? If you wanted to jazz it up even more you could embellish it with washi tape.
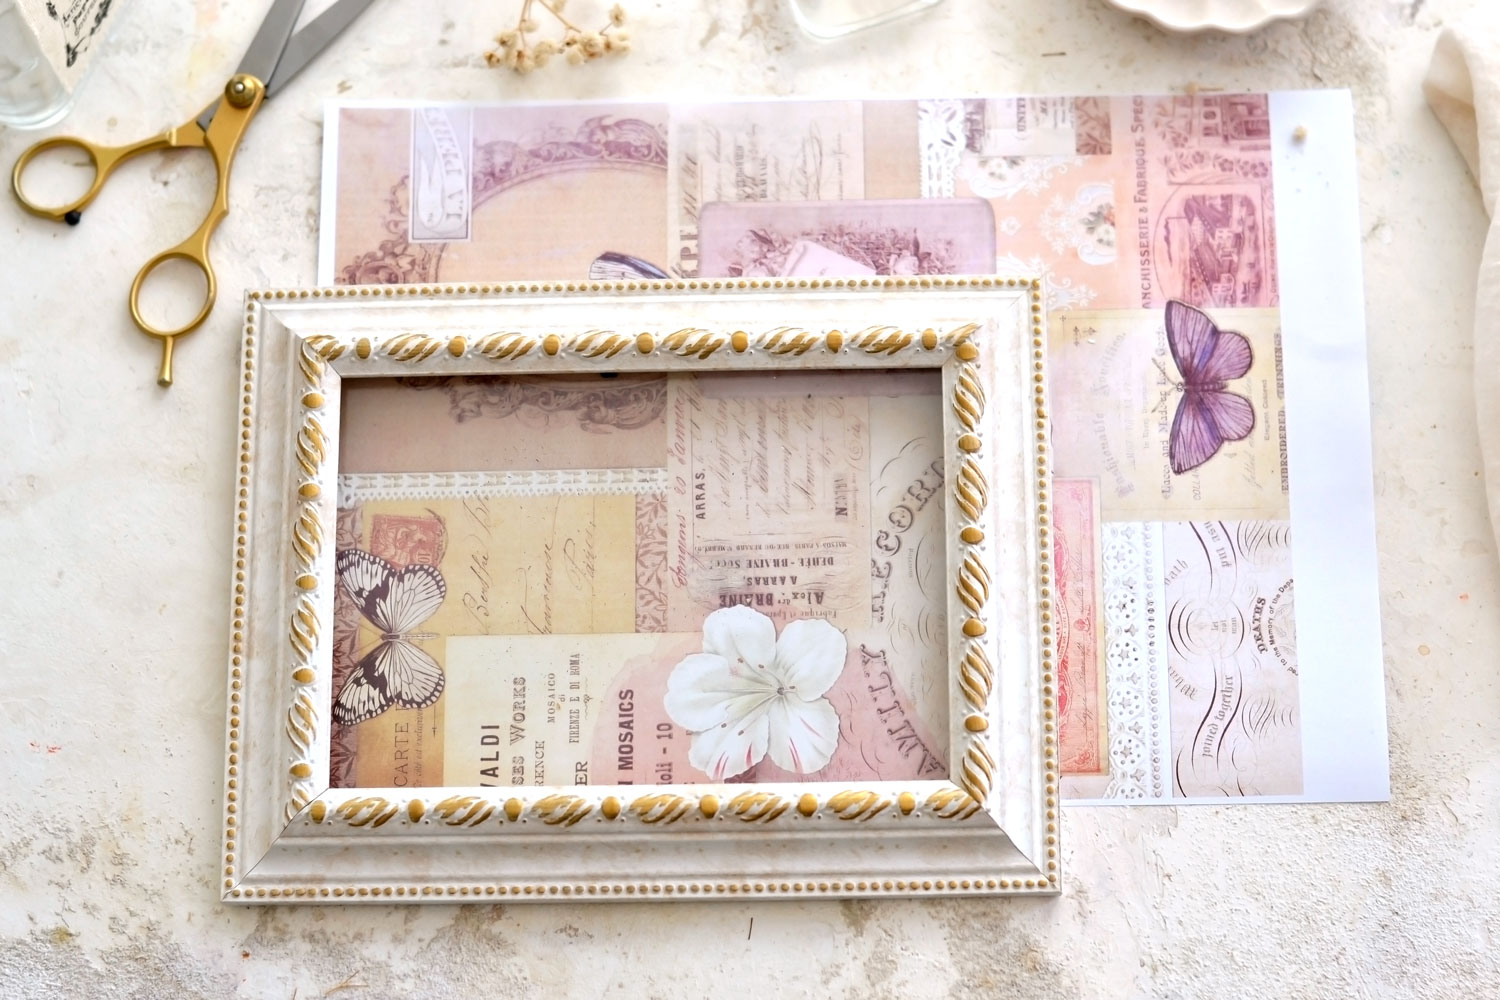
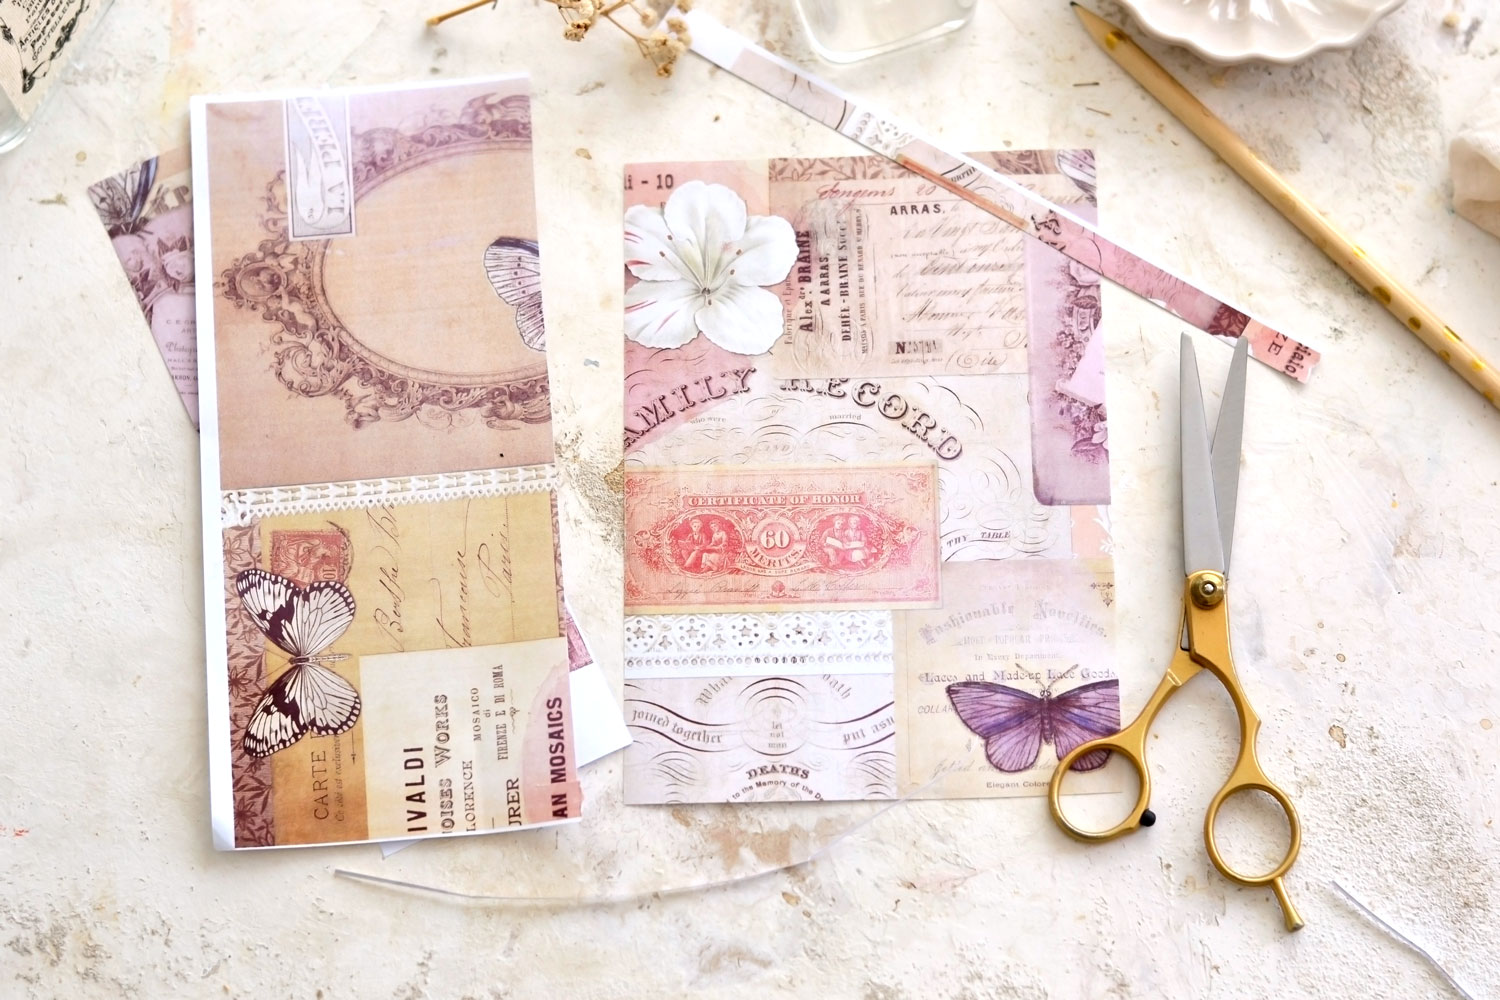
Print the image on regular paper and place it on your table. Remove the backing on your photo frame and place the frame on top of your image. Move the frame around the image, trying to ‘encapsulate’ into your frame the section that you love the most.
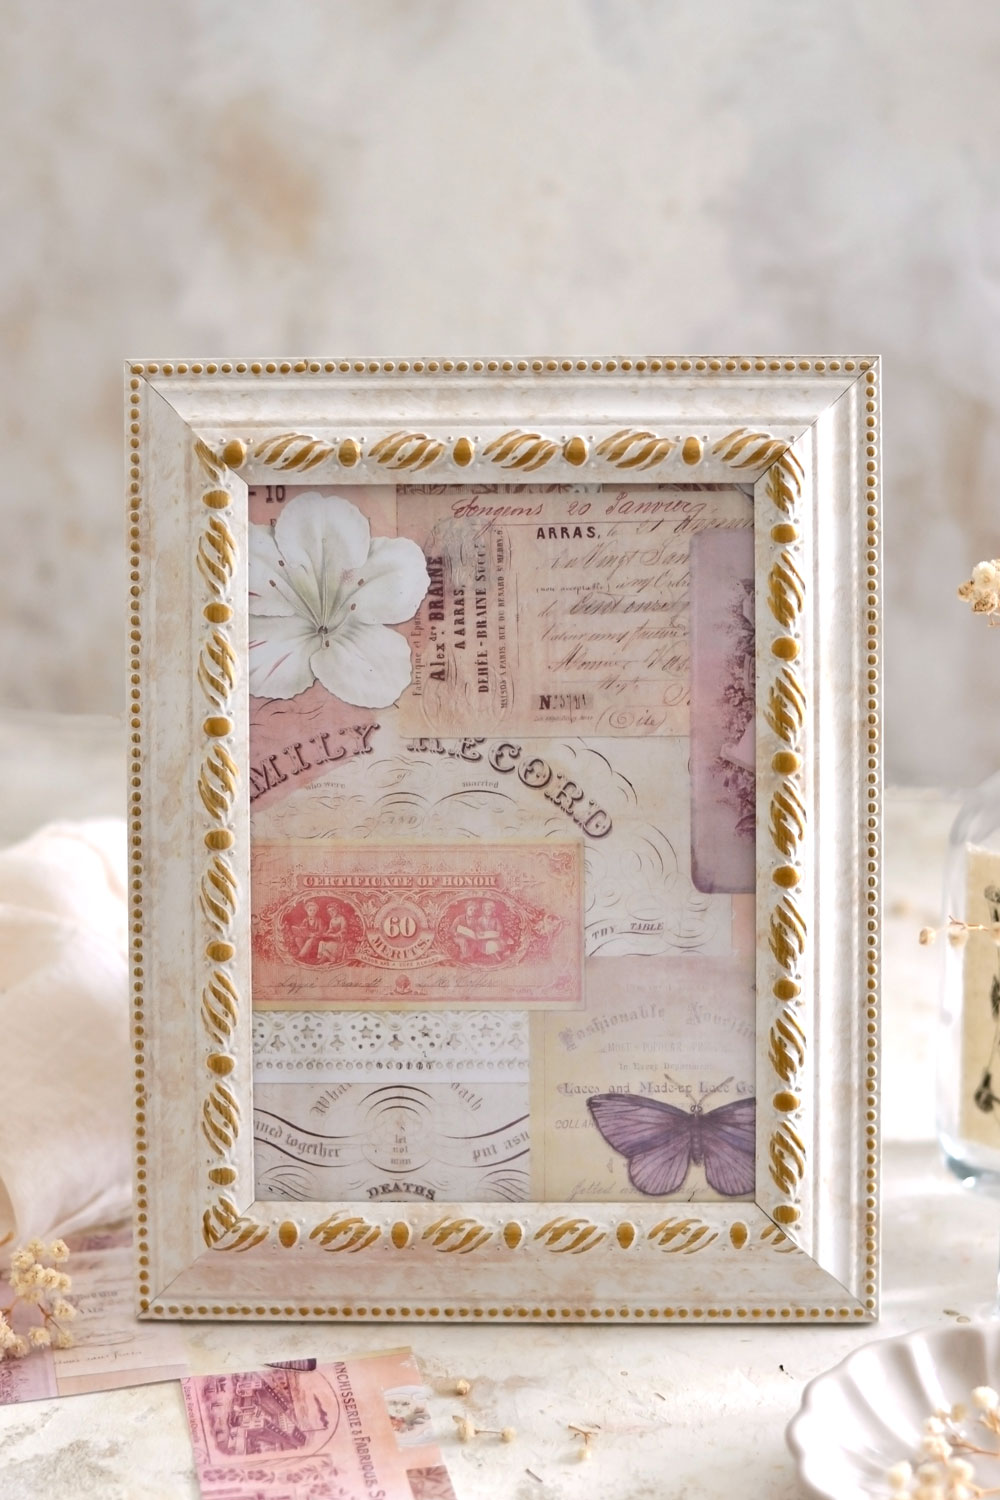
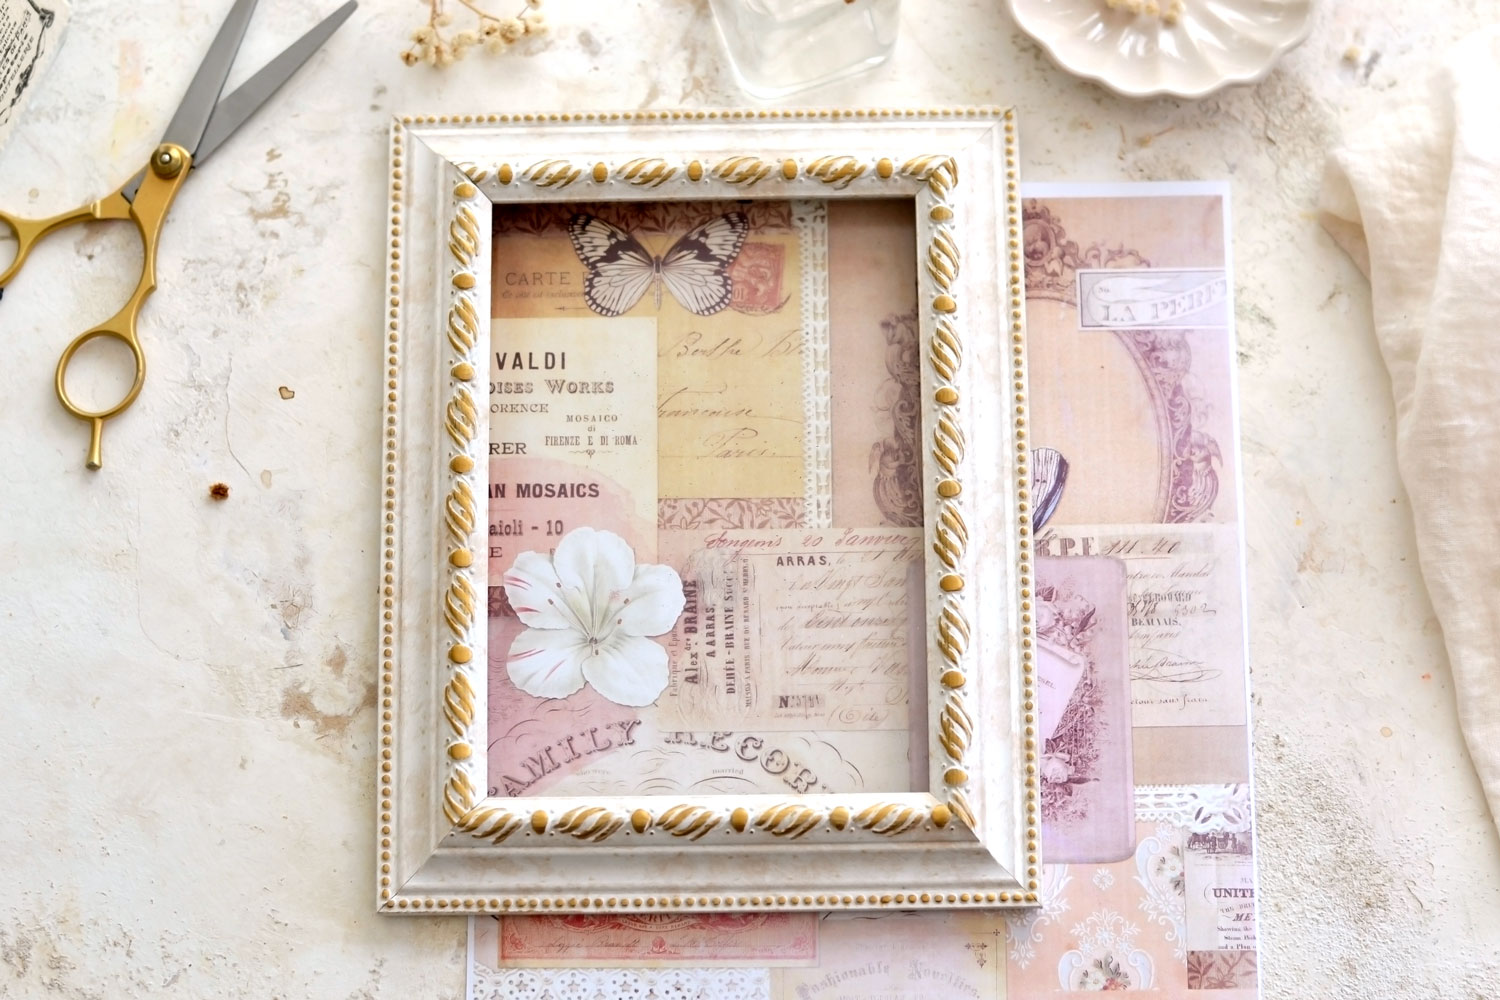
The best thing about this collage is its versatility – this is actually one of the things that made me choose it in the first place! You can simply rotate the image once to try other sections on the vertical!
So keep this in mind while searching for another image and deciding on your final section – it would be best to choose one that can be used both on the horizontal and on the vertical.
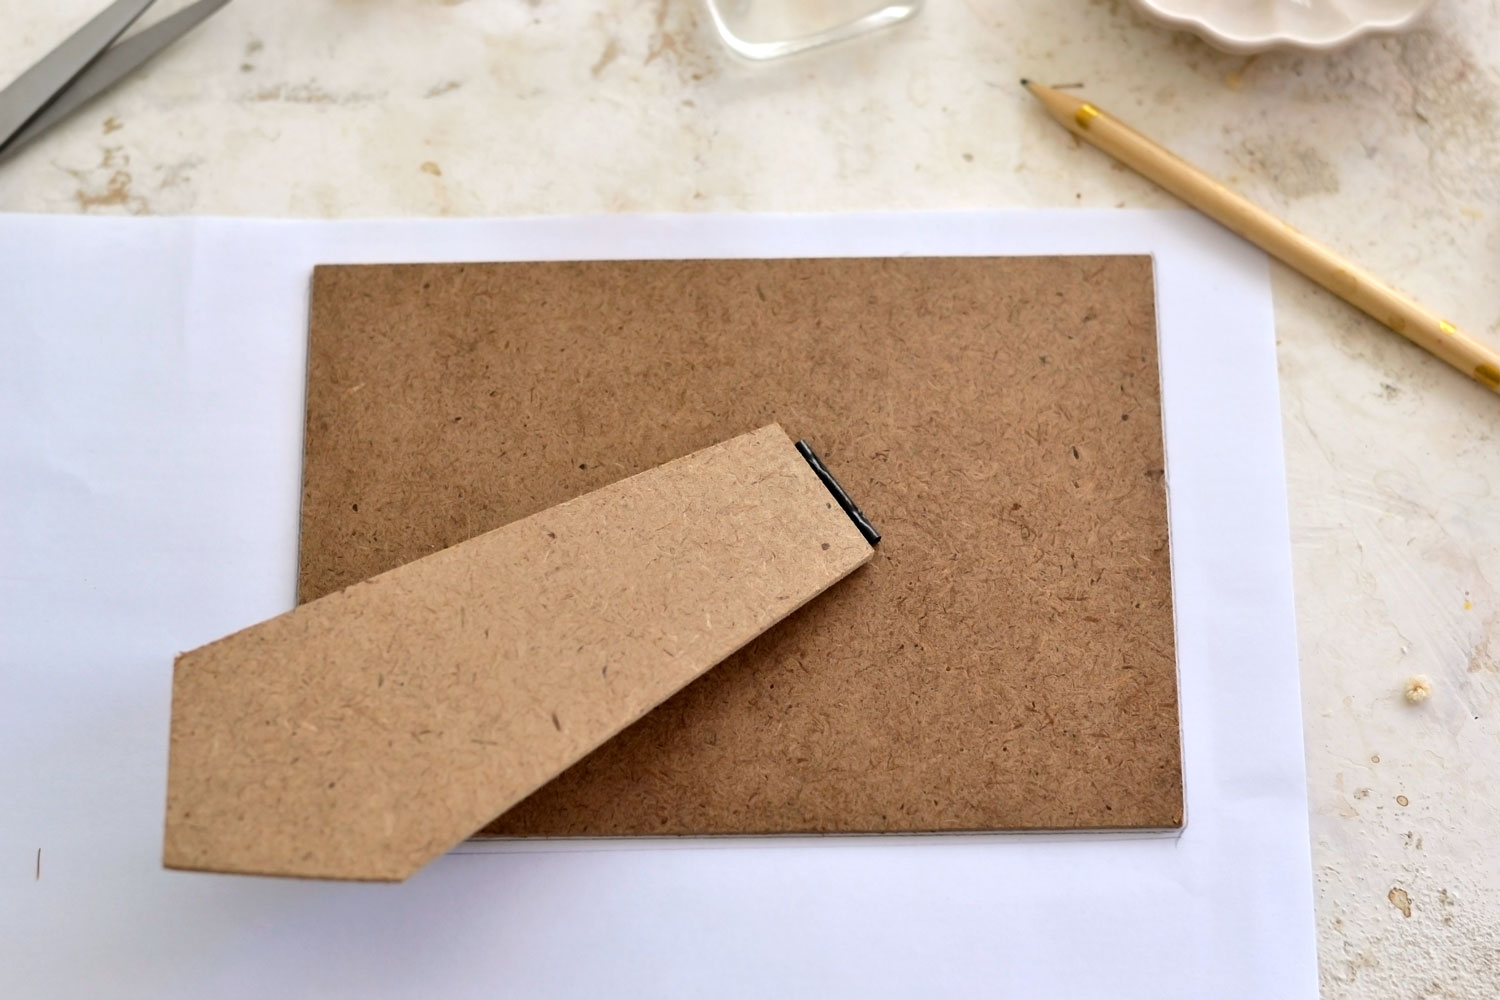
When you’ve managed to decide which section to choose from your image, flip the image over and place the backing of the frame on top. Use a pencil to trace the section that you want.
Cut the section using your scissors. Don’t throw away the leftover scrap pieces from your collage, they can be used in other future projects.
Now comes the cool trick that I mentioned at the beginning of the post! Are you ready? Here it goes!
If you feel like this image or the image that you’ve decided to use is a little bit too vivid to use in a project like this, cut a piece of tissue paper to the same size and place it on top! This will bring that lovely sheerness tissue paper usually provides, but also even more charm to your final erase board. You will still be able to see your design, but it won’t be as vivid as before.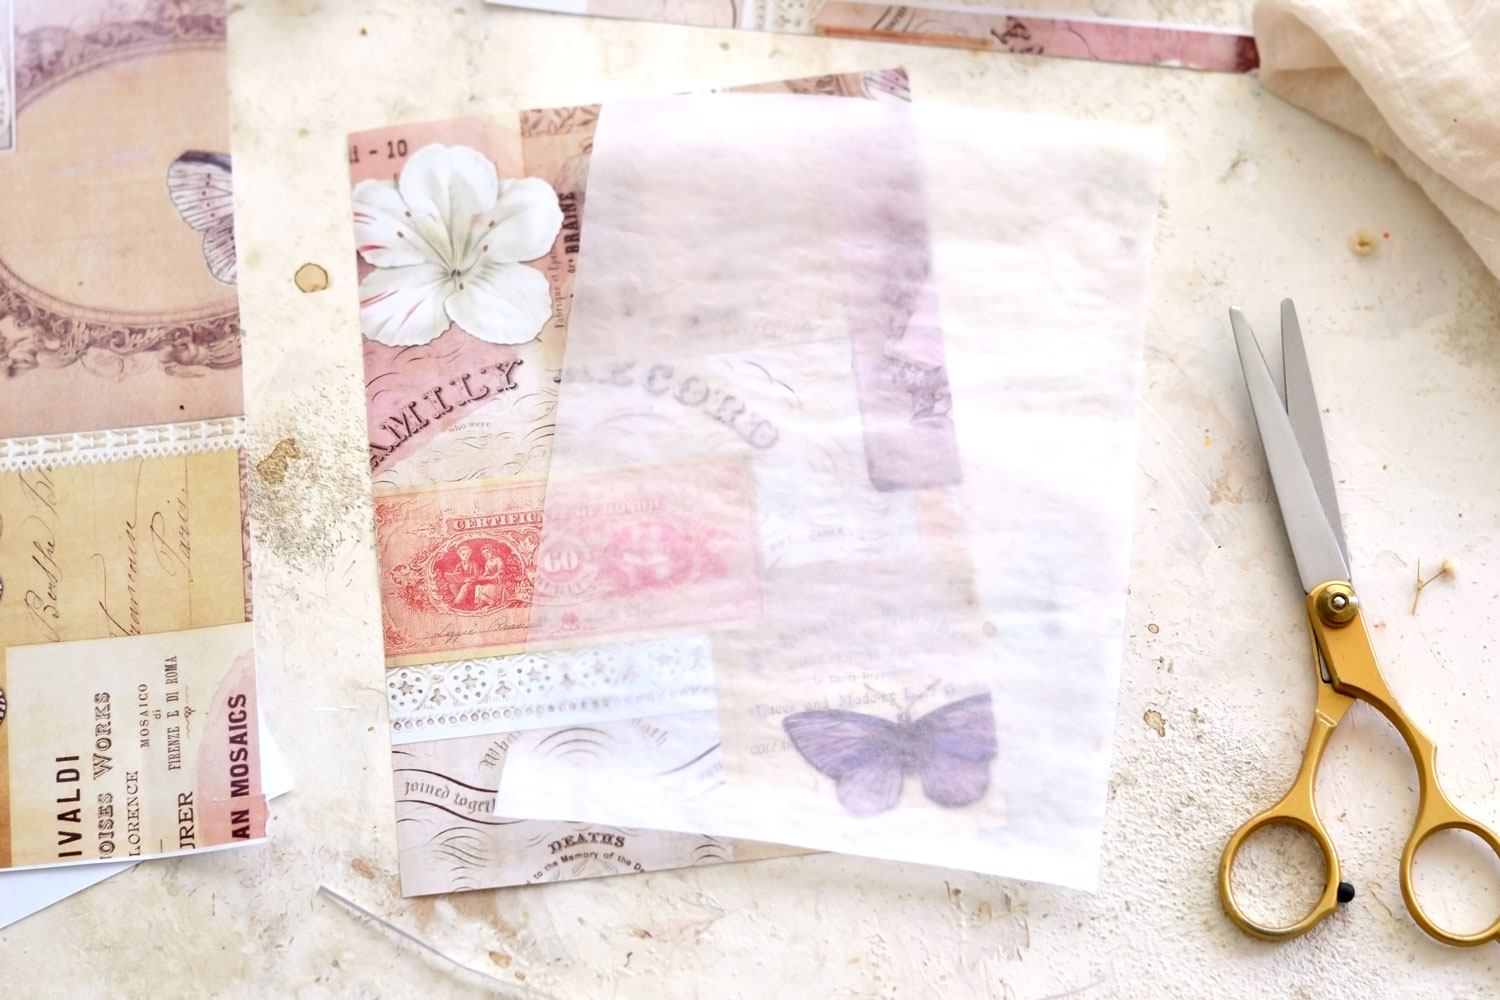
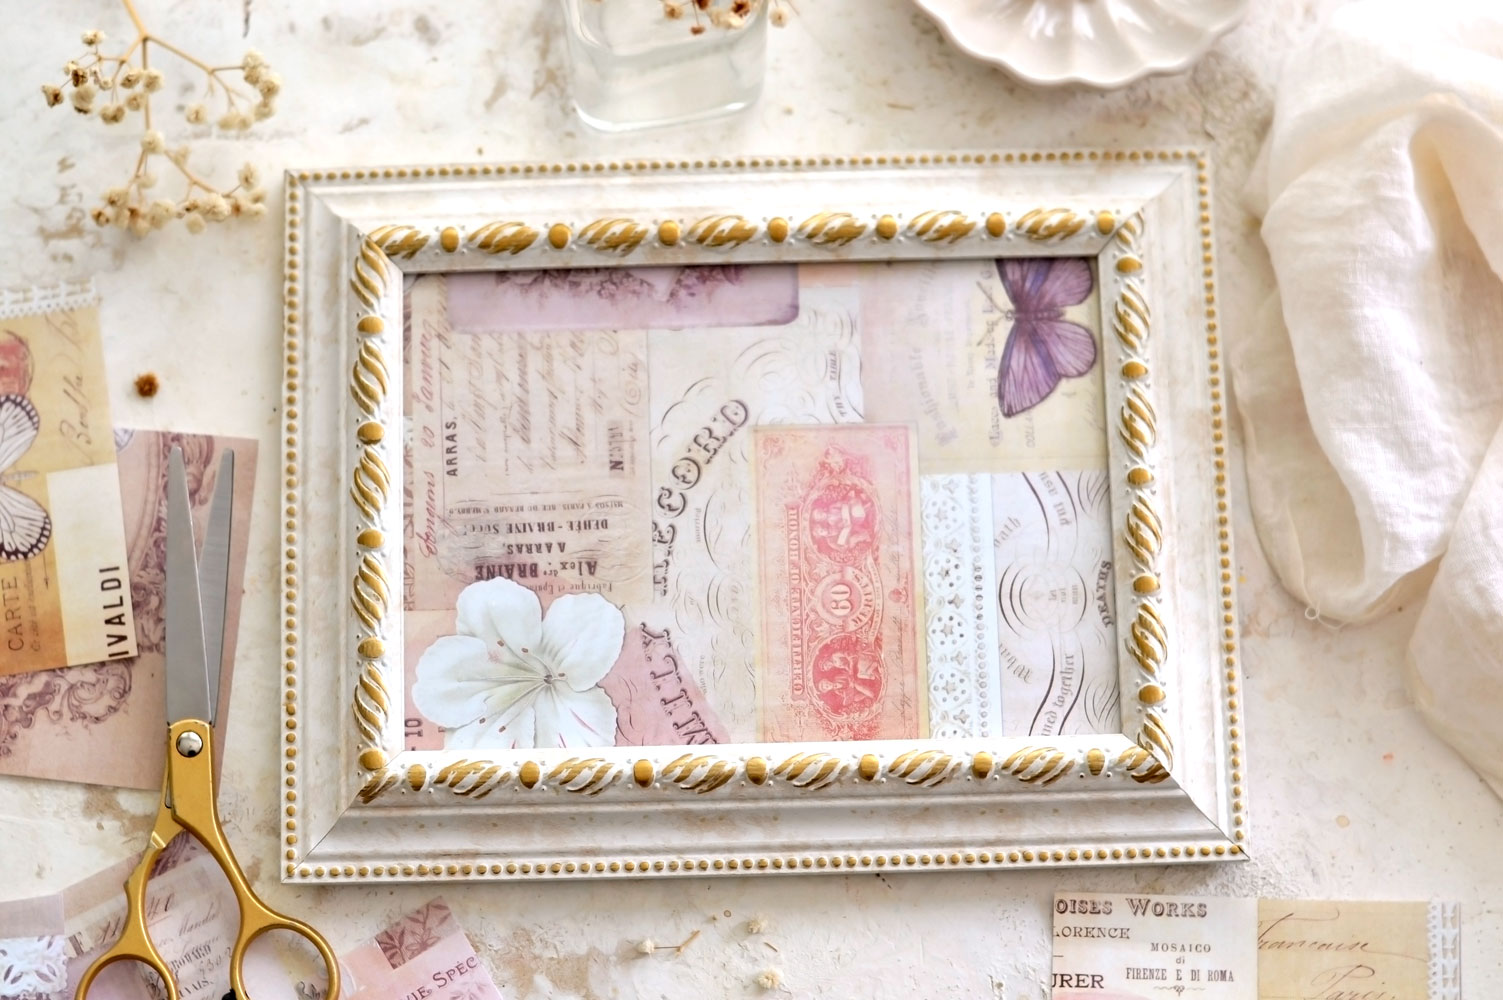
Place everything inside your frame. Don’t forget to add the glass too, it’s our essential piece that will turn this frame into a whiteboard.
I’m sure you will agree with me that this is one quick, but oh-so-gorgeous final piece!
As an additional step, you can further decorate your frame if you want! I already did that last night – I used a small brush to add some liquid gold leaf over all the details of the frame. It was quite a relaxing process!
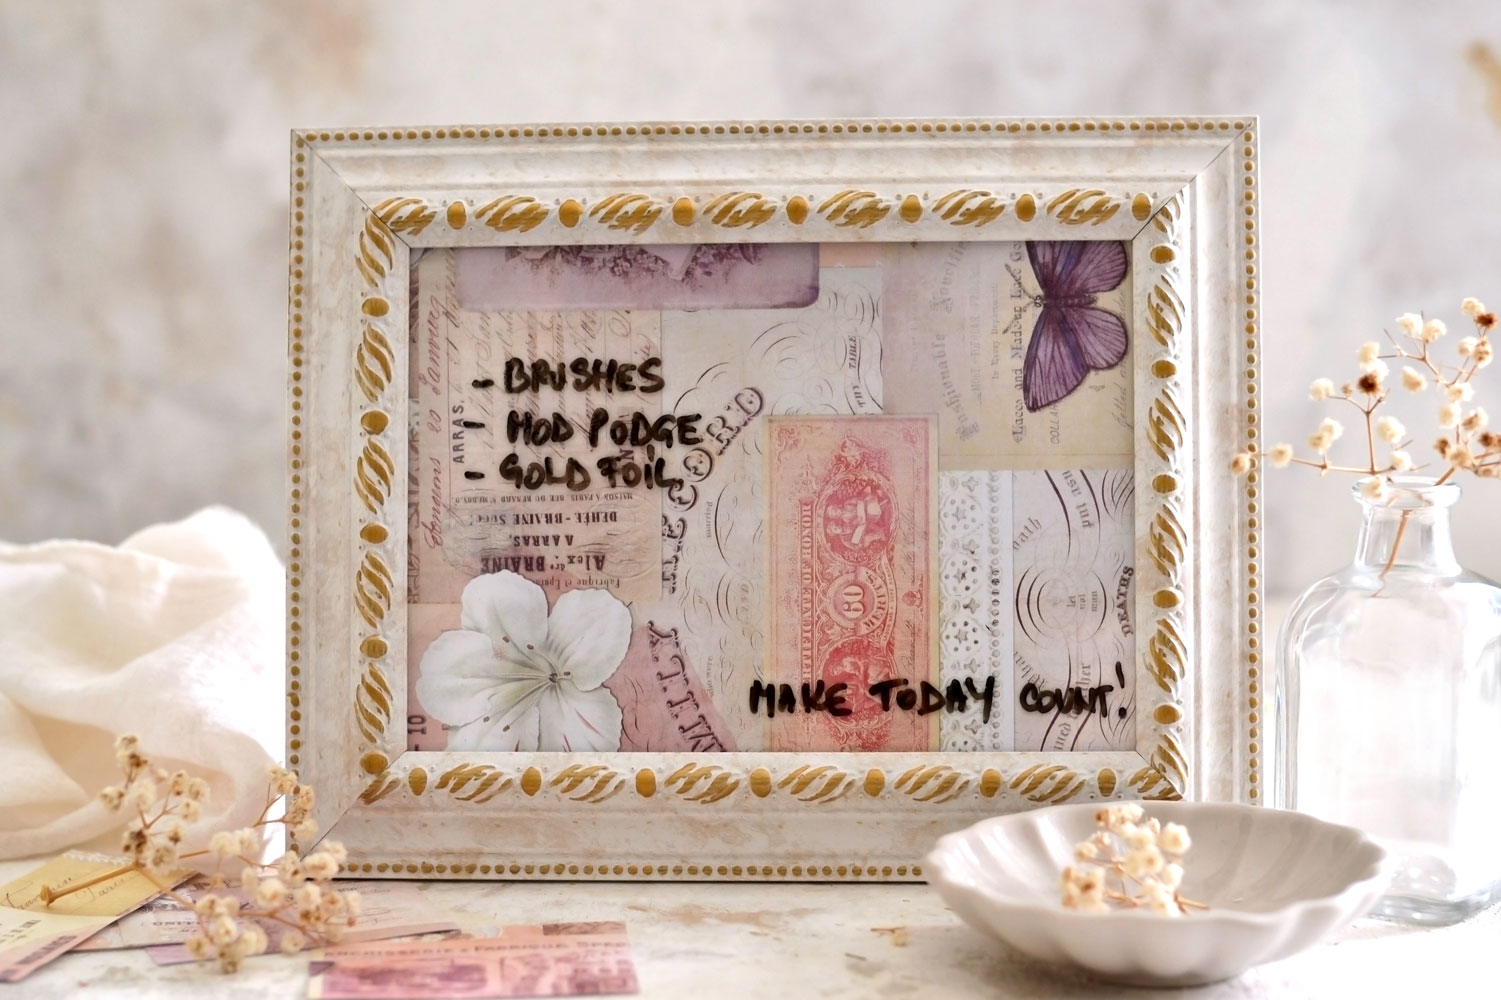
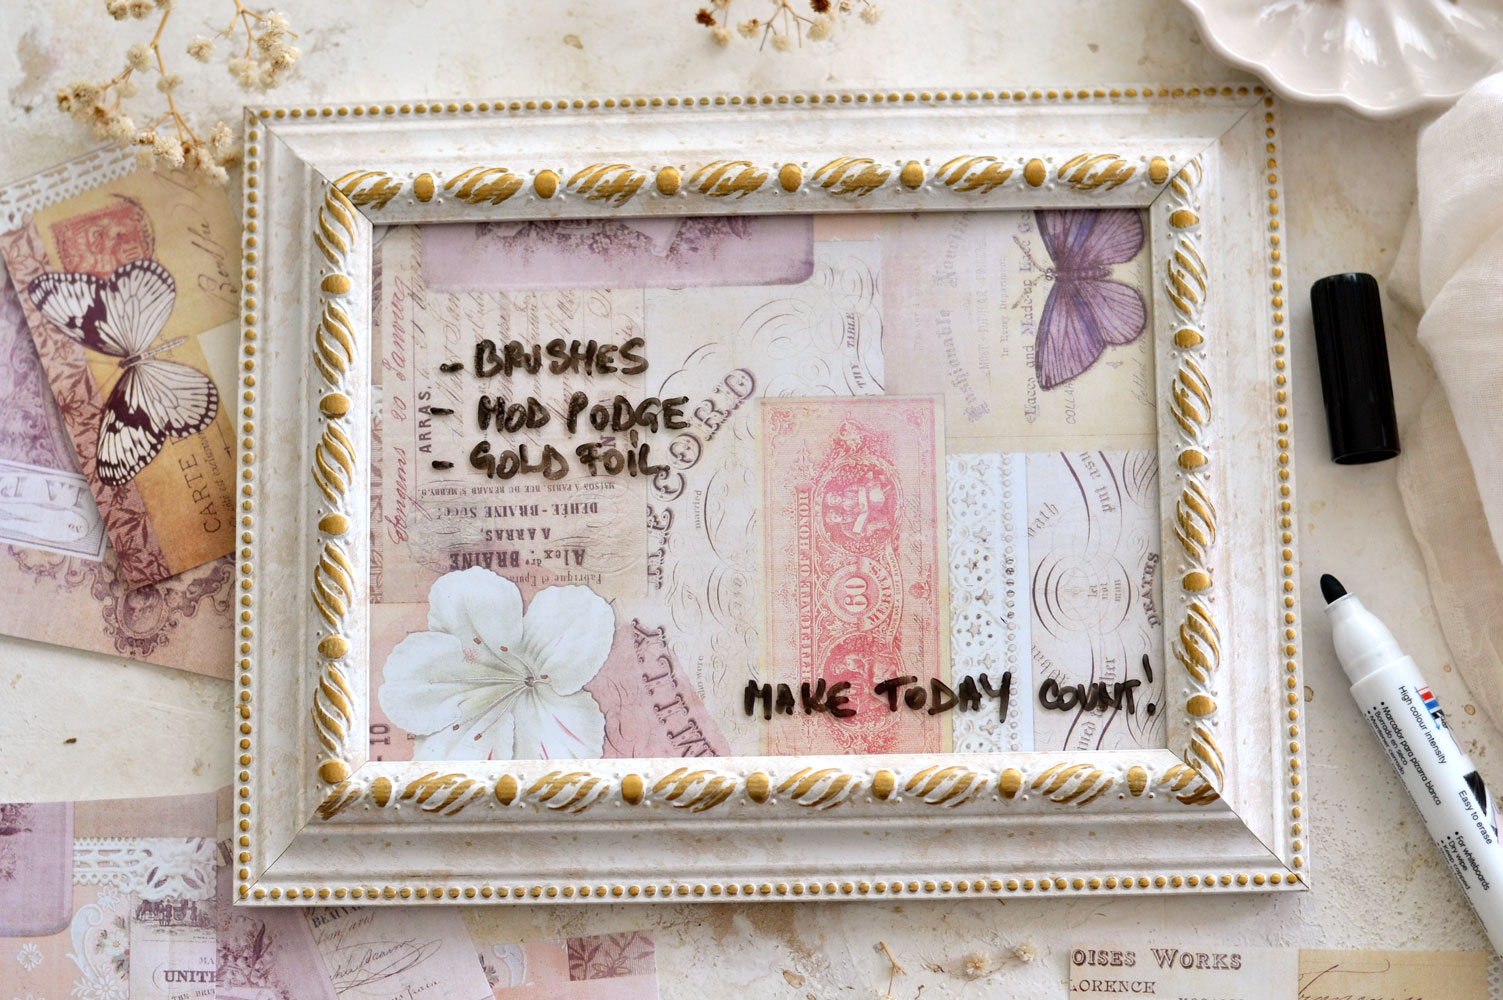
You can place this beauty anywhere in your home, it will double as a stunning decorative piece, but also as a memo board. Whatever you want it to be!
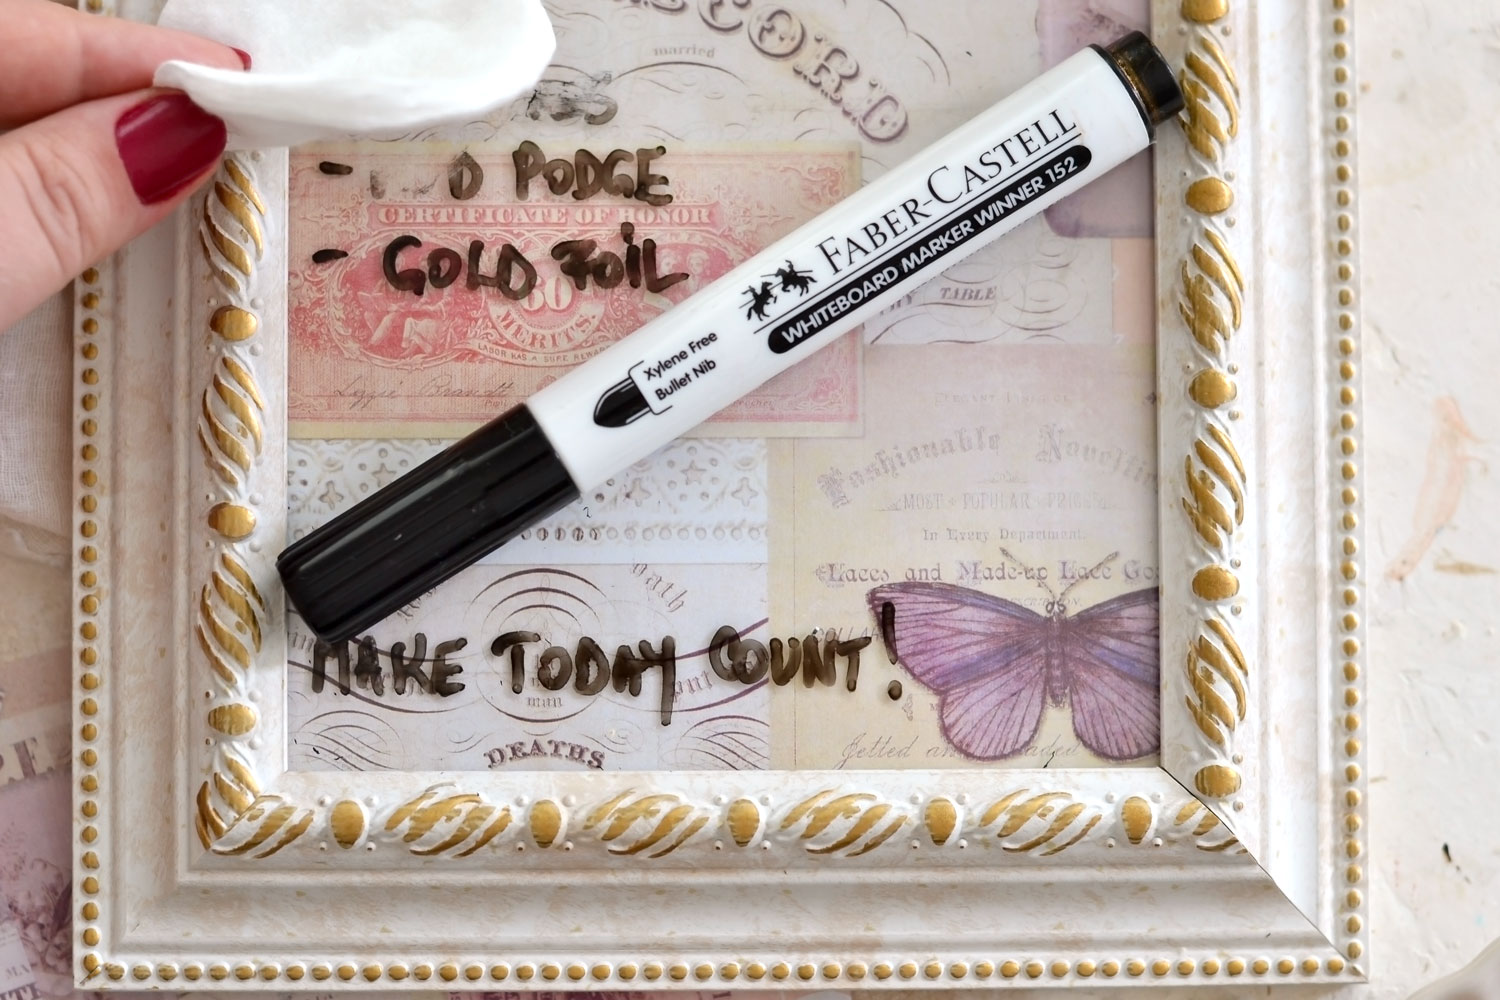
I’m using a whiteboard marker from Faber Castell to write on glass today and one thing that I’ve discovered is that you don’t really need a special tool or eraser to wipe it off. Just a regular makeup remover cotton disk, or even a clean rag or damp cloth, will do the trick and you’ll be able to dry erase everything when you want! No glass cleaner needed. OK, the truth is you can even wipe this thing off with your finger, but let’s just stick with the makeup disks or the felt here to keep things tidier!
P.S. I’m not sure if all whiteboard markers can be easily wiped from glass this way, make a few tests before and see how it goes.
And speaking of tests, there is one thing that you could also try – a permanent marker! I know it might sound odd, but you can actually write on glass using a permanent marker or sharpie too! You will need some sort of alcohol (like isopropyl alcohol, vodka might work too) to wipe this type of marker off – only use these in a well-ventilated area. I’m not really a fan of isopropyl alcohol and I try to limit its use as much as possible, but yet again, we can experiment with things that we already have around to see how things are going.
You can hang this gorgeous frame on your wall or just place it on your table. You can turn it into a shopping list for your craft supplies in your atelier or why not, your kitchen. You can even strategically place a few of them around your home and leave messages or inspirational quotes for your loved ones, all in a chic style!
I hope you’ll love this quick and easy project, and that you will make your own dry erase boards. You can customize them to match your decor or even change out the print for different seasons or holidays! Also this wipeable board can be easily turned into a chic gift for friends and family!
You might also like my DIY Notepads Tutorial HERE!
Happy crafting,
Diana / Dreams Factory




Bonnie says
What a cool idea!! And it can be customized to tastes and seasons and sizes.. Love it!
Karen Watson says
Yes, exactly and so easy to change out too! I’m glad you enjoyed Diana’s tutorial Bonnie!
Patty says
If you use a permanent marker (sharpie too), you can scribble over the writing with a dry erase marker and it cleans off the permanent ink.
Karen Watson says
Really? Great tip! Thanks for sharing Patty! 😊
Kelly says
tried this and the mod podge stains… does not wipe clean
Laurie1203 says
Ok, forgive my ignorance. I’m fairly new to crafting but I noticed you had Mod Podg listed but on the directions I didn’t see where you used it. Did I miss a step somewhere?
The Cottage Market {Andrea} ♥ says
Hi there : ) not to worry! It says to cut out the some matching garland and decoupage it to the spray painted marker : ) Hope that helps. take care : )
Deb~Paxton Valley Folk Art says
What a brilliant idea, never would have thought of it! Thanks for sharing.
jusaweecatnap says
Neat idea. Love the simplicity of it, and the idea of choosing just the right image for your needs.
The Cottage Market {Andrea} ♥ says
Yes…we are writing on glass : ) With dry erase markers, you can just wipe and re-use. : ) enjoy!
pennygirl says
Andrea…are we writing on the glass? And thank you sooooo much for inspiring us with your projects. You are an Artist after my own Heart. Continued Success.
pennygirl says
This comment has been removed by the author.