How to Make Popsicle Stick Bracelets
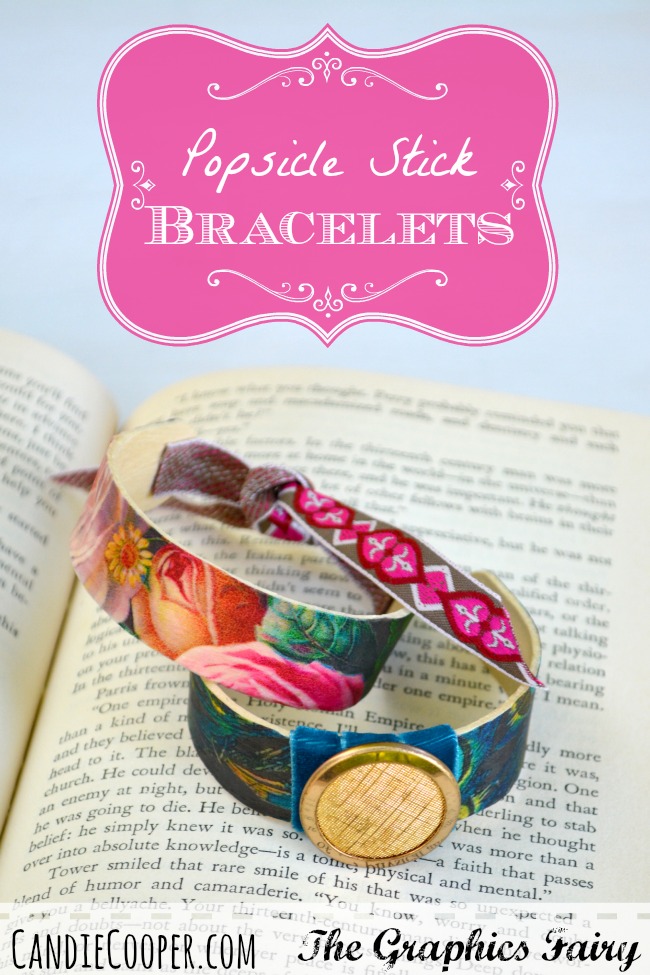
This is an oldie but goodie! My friend Candie Cooper originally created this fun project, showing how to make Popsicle Stick Bracelets back in 2014 and I’m dusting it off to give it some new life. I think it’s a super fun project for Summer, which is prime Popsicle eating time! Plus it’s a fun one to do with the kiddos or grandkids, while they are home from school. They also make really cute gifts, so maybe your family can get a jump on Christmas by creating some of these now to give at the end of the year. I love that you can customize the bracelets with any color or design that you like and I think you could make quite a few of these pretty quickly, which is always a treat. Candie is well known Jewelry making expert and author, who has written numerous published jewelry books, so she is the perfect instructor for this tutorial. So nice to have an expert to teach us .. right?! Now I will let Candie take over in her own words below.
Hello there! It’s Candie from CandieCooper.com. I hope you’re having a great week!
If you’ve hung around the Pinterest-sphere for any amount of time, chances are you’ve seen folks making bracelets from craft sticks. Karen and I thought it would be fun to make some a la Graphics Fairy style, using some of the pretty images found on the site. Here’s how to make them:
Popsicle Stick Bracelet Tutorial Instructions
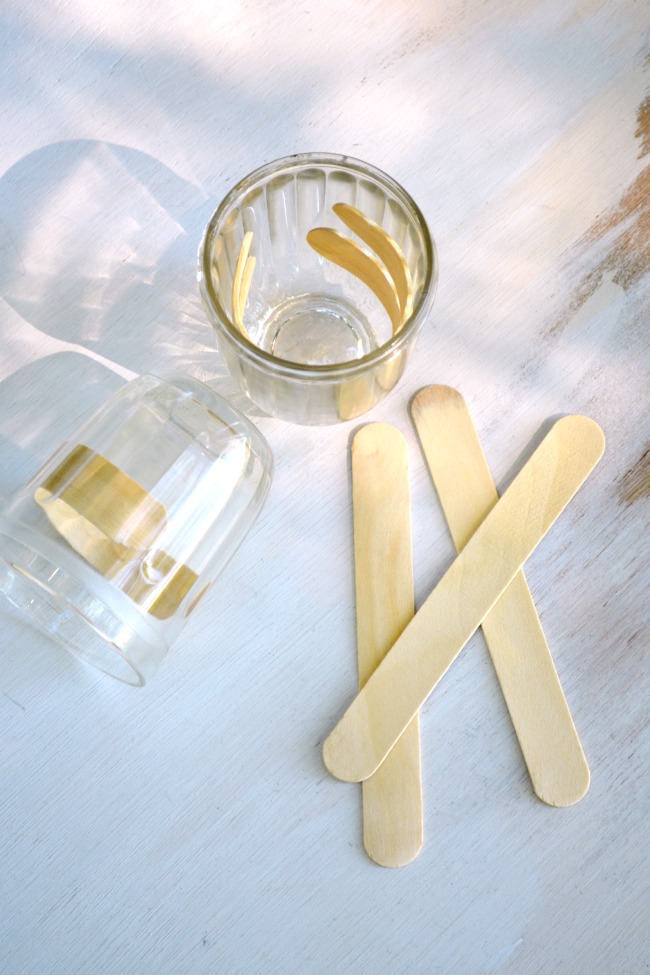
First, grab some popsicle stick/craft sticks/tongue depressors at the craft store. (Or eat a few Popsicles and save the sticks!) Bring a pot of water to boil and drop in the sticks. (If you are creating this project with kids, it’s best for the adults to deal with the boiling water part) To be on the safe side, boil more sticks than you need in case some split, crack etc… Boil for 5 minutes, turn off the pot and let them soak in the hot water for 30 minutes.
Gently roll the stick around and into a glass or jelly jar to dry. If your sticks aren’t bending easily, bring the water back up to a boil and repeat the process.
Let the sticks dry for a day. I actually dried mine overnight and then, because they were in a heat safe container, put them in the oven at 200 degrees for an hour to finish drying them.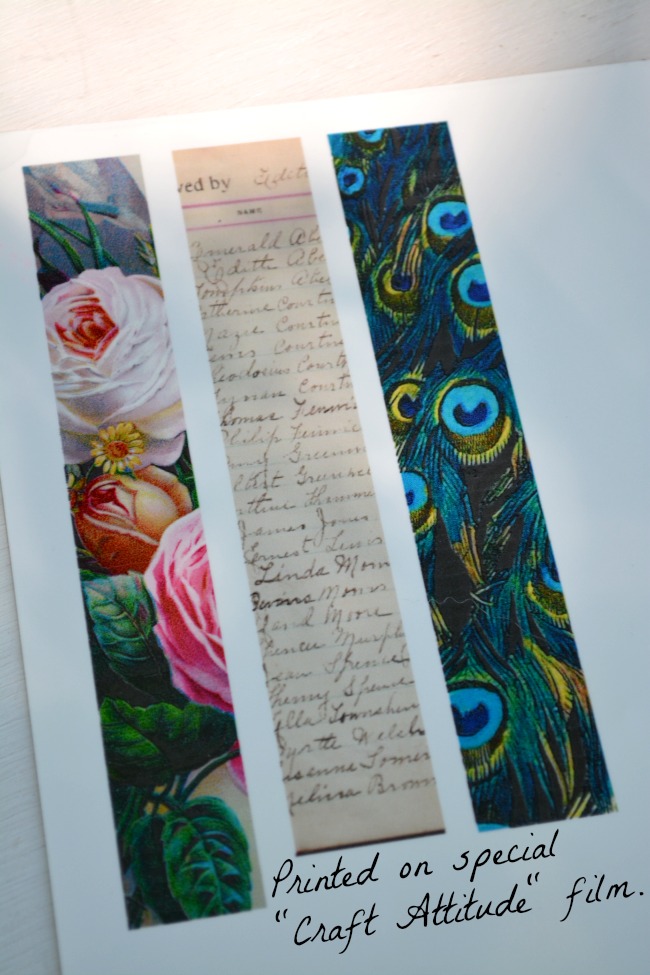
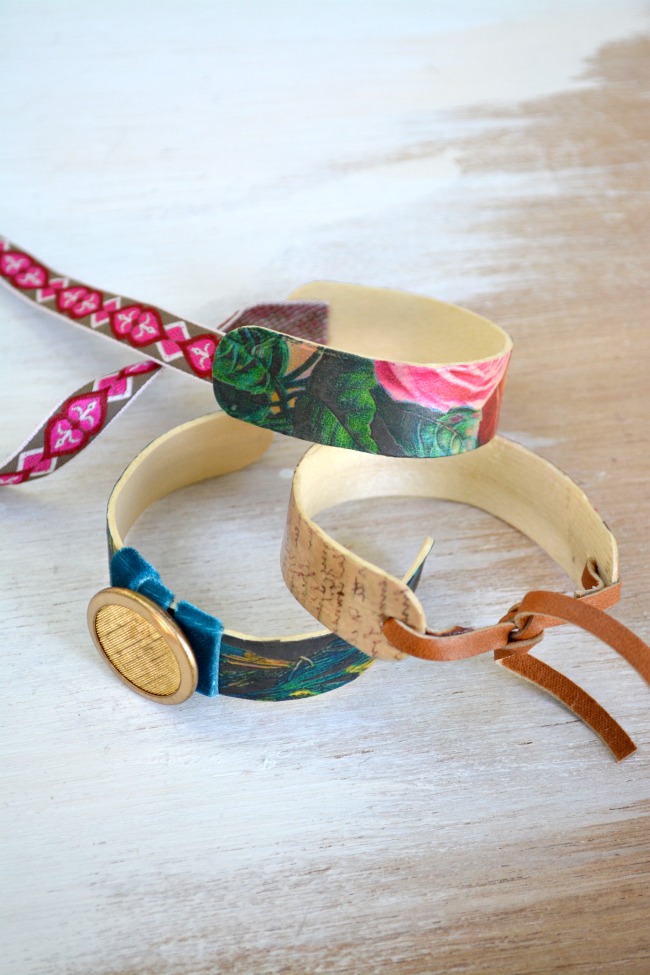
Remember that magical film, Craft Attitude HERE? I printed my graphics onto that so the wood surface would show through on the bracelets. I used a Script Ephemera piece, flower, and peacock and then cropped them down, enlarged, and so on to get just the right section for the bracelet using Word. See the categories to the right to pick some of your favorite images.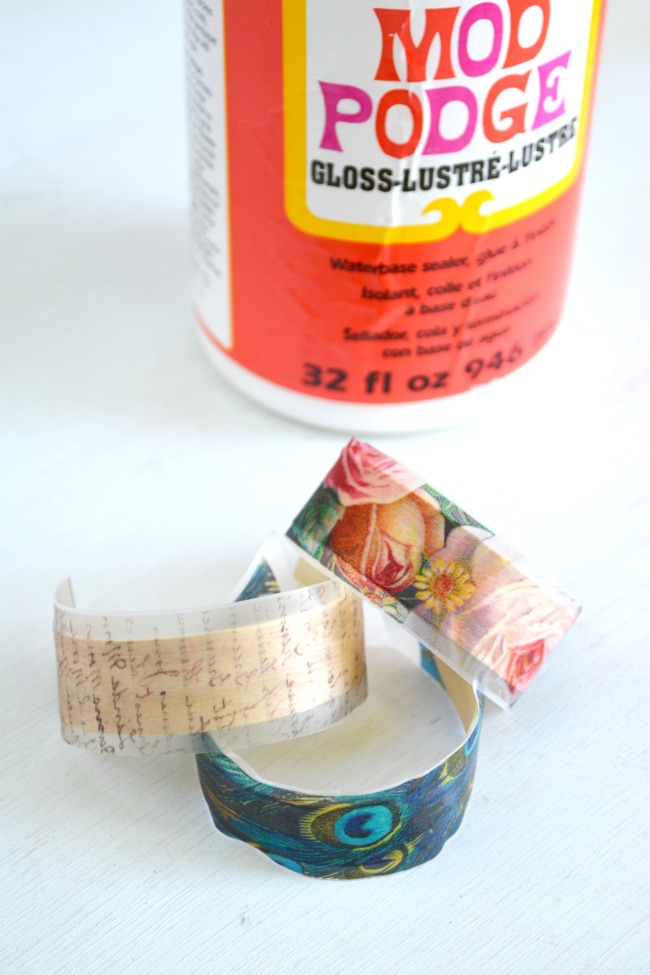
Paint a layer of Gloss Mod Podge onto the wood bracelet and put the printed side of the image down. Smooth out and leave to dry.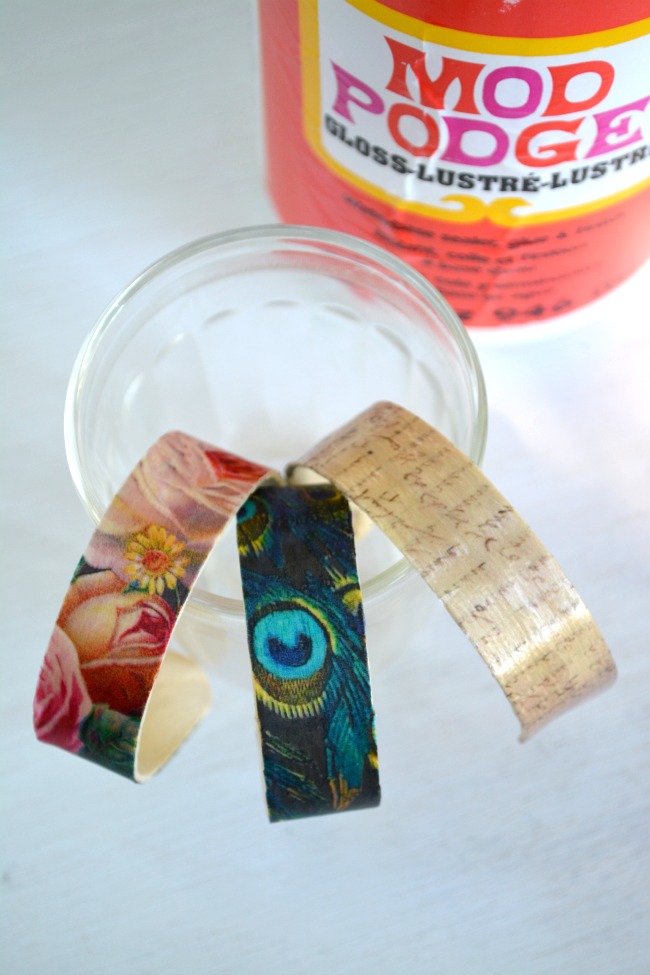
Trim away the excess film. Optionally, you can seal the CA film with Mod Podge (see the bracelet on the far right). This is key if you want to add flat back crystals and other embellishments. You can also seal with Matte Mod Podge if you like the flat look better.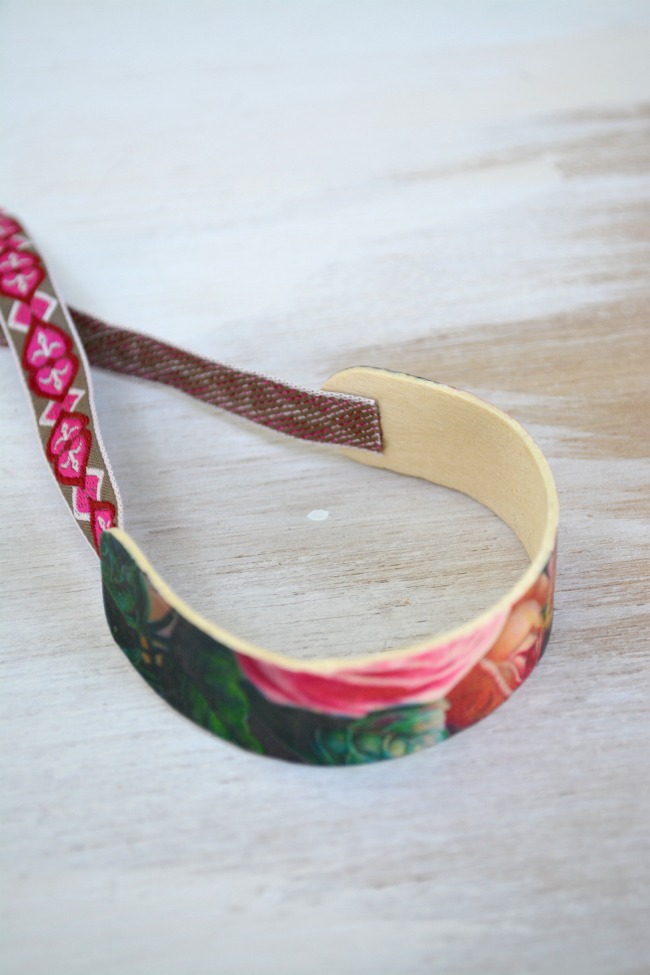
Because the openings in the bracelets can sometimes be wide, it’s good to add a closure like this ribbon. Not to mention it adds an extra touch of sass! I simply hot glued the ribbon to the inside and cut it so I could tie it in a loose knot. A bow also looks sweet.
If you have a drill handy, you can drill holes in the stick before adding the image. Leather looks good with more rustic images. And just for fun, you can embellish the tops of the bracelets with ribbons and buttons if you like. 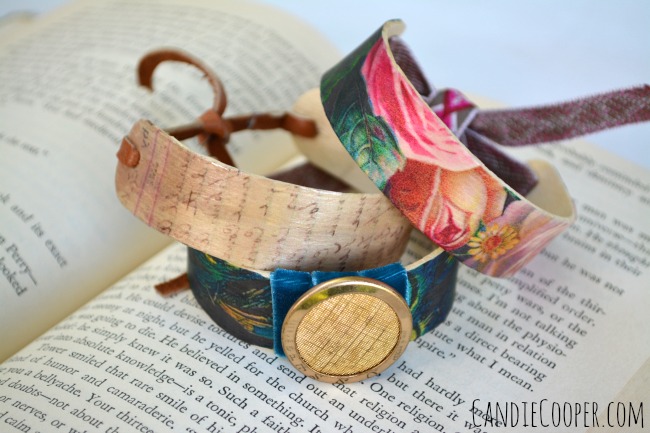
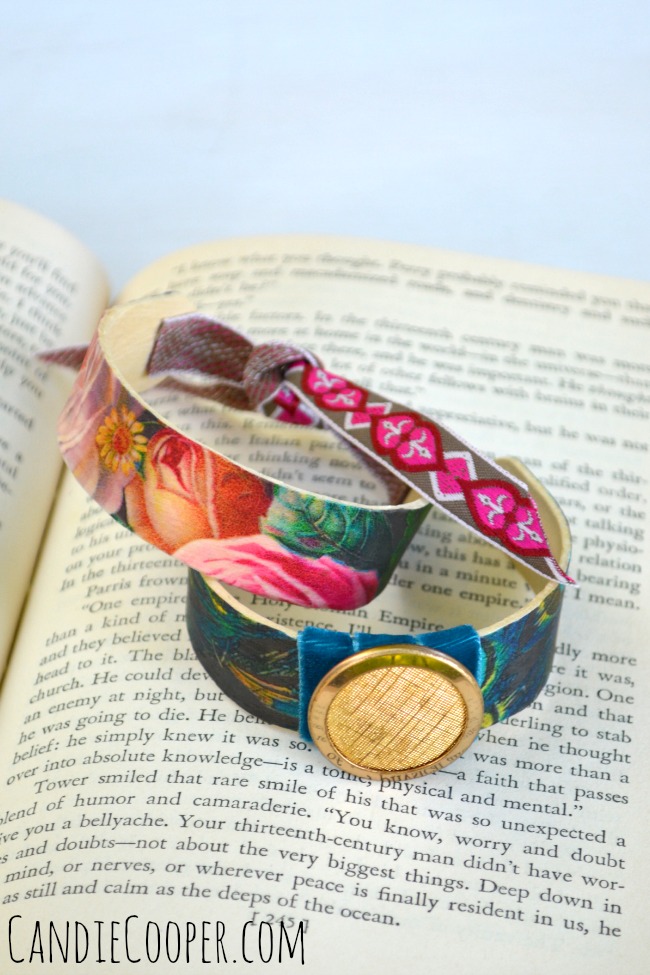 The flower one is so my favorite! I hope you enjoyed learning how to make Popsicle Stick Bracelets today.
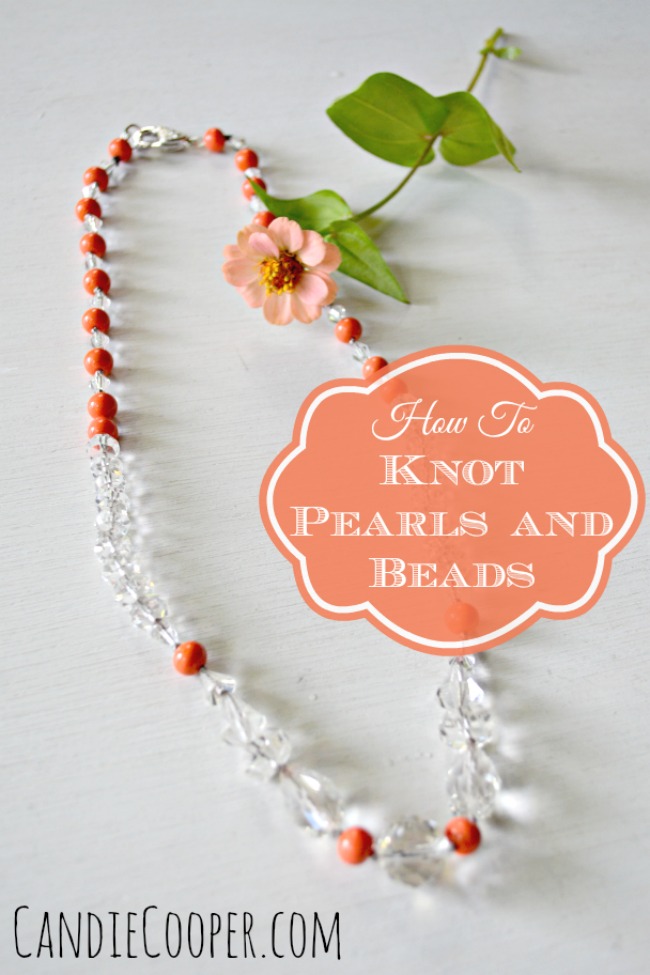
Since I feel like I’m in pretty good company on loving all things vintage, may I share with you a tutorial I recently did on my blog? It’s all about knotting antique bead necklaces! Like the one’s from your great-grandma you’ve been hanging on to.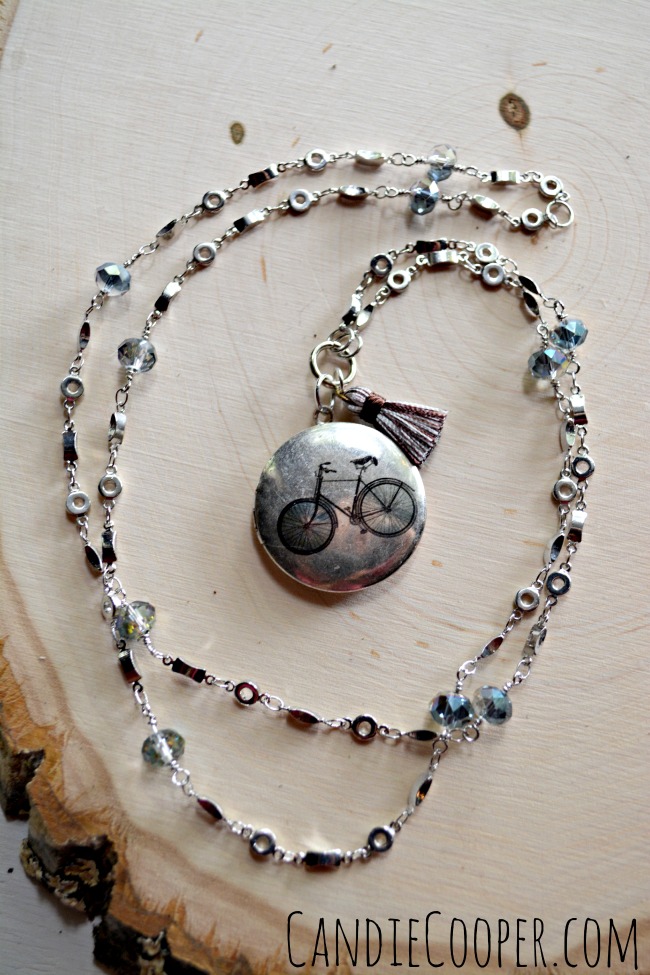
Here’s a really easy beginner project that would make a fun gift idea! You could easily find a blank locket and decoupage your own image from the Graphics Fairy site to it.
All the Best!



Julia Arnold says
Thank you I love this idea!
Karen Watson says
I hope you have fun making these Julia!
Lisa T says
Do you have to use a laser color printer? Would an inkjet color print smear or run with the Mod Podge?
Karen Watson says
Hi Lisa, Unfortunately I just realized that they are no longer making this product. Such a shame! You could still create the bracelets and then decoupage them, with printed paper and with Mod Podge. The Mod Podge should seal it, but you could also use a spray sealer to set the ink on your printed paper.
peggy gatto says
what a fun idea, thank you!!
graphicsfairy says
So glad you liked it!!
Mandi says
If you have a good hole punch you may be able to use that instead of a drill 🙂
graphicsfairy says
Good thinking Mandi 🙂
Jenna says
Does the drilling not cause the popsicle stick to crack or break?
Karen Watson says
Hi Jenna, I’m not sure, this one was written by Candie Cooper. You can click through to her blog and ask her.
Linda Deal says
Jenna, start with a small drill bit, 1/16 or 1/8 in. Work up 1/16 in. at a time. 3/16 to 1/4 in. is probably large enough for this project.
Rachel says
Not if you are using a Dremmel on its lowest speed. Works perfect. 🙂
Monique U. (A Half-Baked Notion) says
So cool! Must try covering them with a thin layer of decorative polymer clay 🙂
Suany says
I really want to try this! My polymer clay bracelets always feel like they’re going to break and this might be a good “backbone” for it.
Roberta S says
Thank you for sharing your great projects with us! I love your work, and your projects are never too intimidating to try. You are very generous!