Mod Podge Photo Transfer Medium
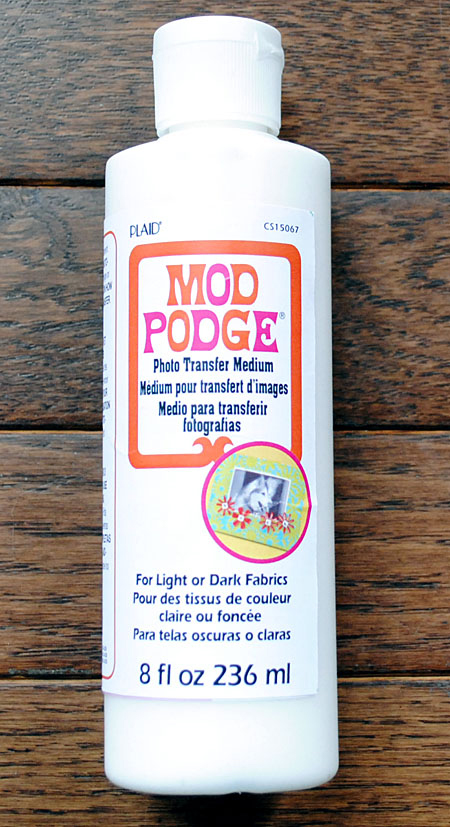
I also got to play with a new product from Plaid too, it’s called Mod Podge Transfer Medium!
Mod Podge Photo Transfer makes it easy to personalize any project with your favorite images or photos!
Supplies for Mod Podge Photo Transfer Medium Project:
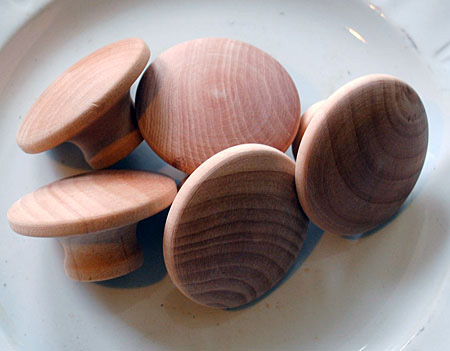
2)Wooden Knobs (I got mine at Lowe’s, they’re just under 2″ wide)
3)White Paint (I used flat, but I think semi gloss would be better)
4)Foam Brush
6) Sponge
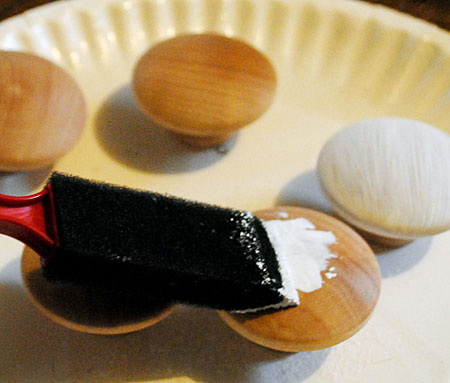
Step 1: Using the Foam Brush, apply several coats of white paint to the knobs, until they are fully covered.
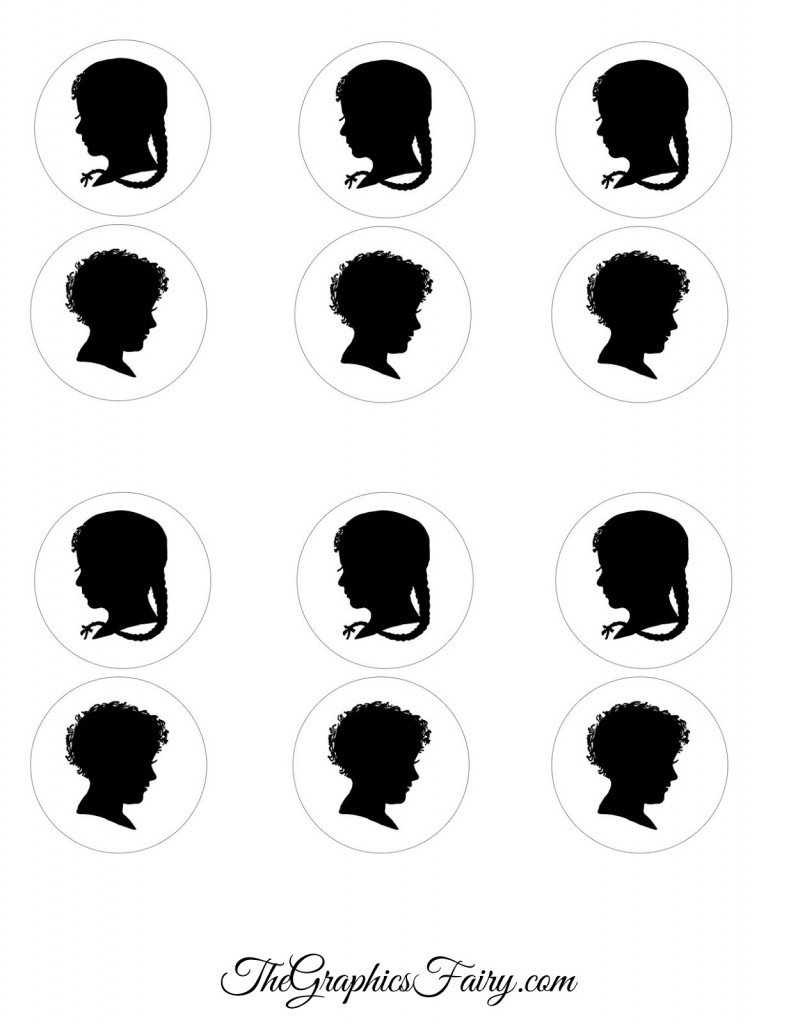 Click HERE for the Full Size Printable PDF of the Silhouette Children
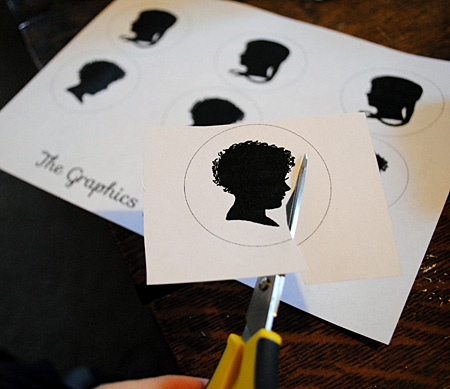
Step 2: Download the Printable and, using your home printer, print it out onto plain white printer paper. (I used an inkjet printer but note that the manufacturer recommends dry toner prints)
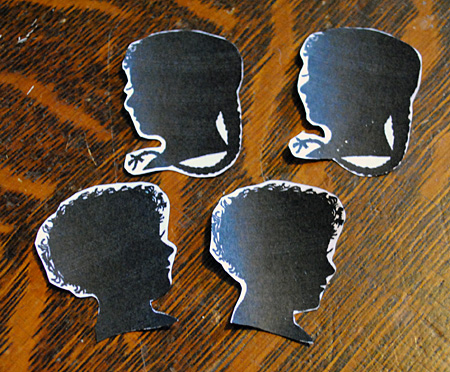
Step 3: Trim out as many of the Silhouettes as you need, trimming as close to the image as possible.
The white bits will transfer as well, but since we are applying them to white knobs, it won’t matter as much.
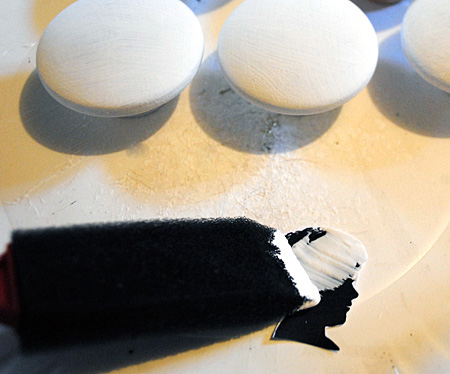
Step 4: Apply a thick coat of the transfer medium, about 1/16 of an inch thick. You want the image fully covered, so that you can barely see the image through it.
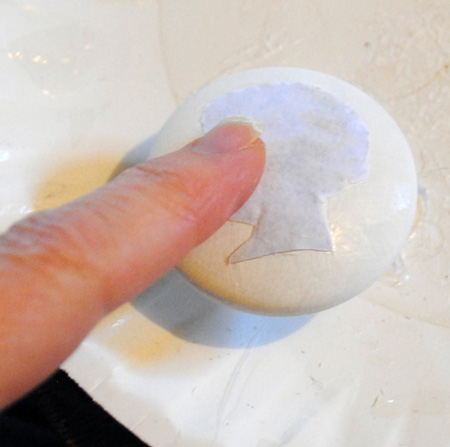
Step 5: Place the image face down, so that the wet side is pressed against the knob. Pat lightly to adhere, try not to squeeze the medium out, if any does leak out, you can wipe it up with a cloth. Make sure your edges are stuck down firmly too! Next, you’ll need to let it sit for 24 hours.
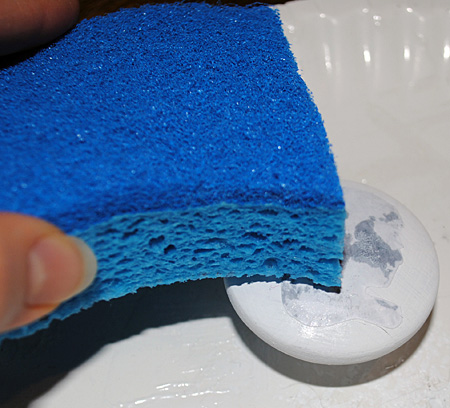
Step 6: After the 24 hours is up, using a wet sponge, dampen the transfer. Then let it sit for 2 Minutes.
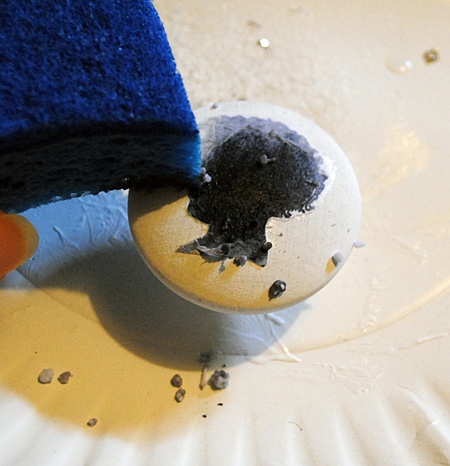
Step 7: After the two minutes is up, come back with the damp sponge and start to rub lightly in a circular motion. Little paper balls will start to fall off and reveal your image. You will probably have to do this several times, letting it dry in between to see how much more you need to remove. Some of the ink did smear onto the white painted area, and I ended up touching it up with some more paint. I think this happened because the paint was flat, if the paint had been semi gloss, I’m pretty sure I would have been able to just wipe off the smeared ink. At any rate, it only took me a minute to touch up the paint so it wasn’t a big deal!
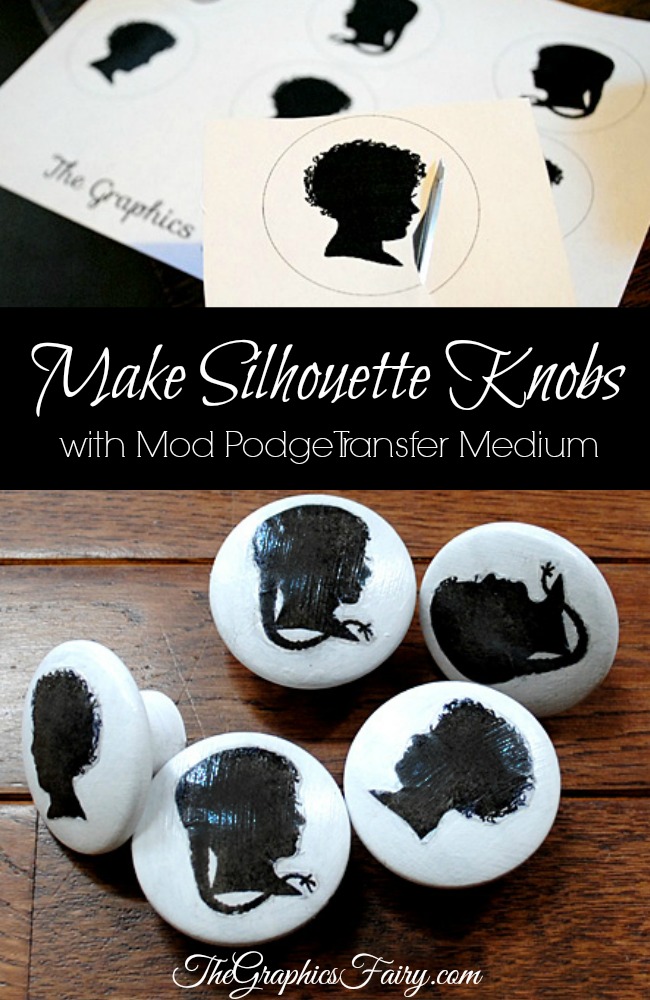
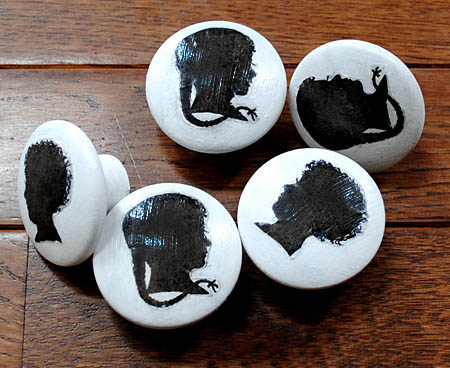
Step 8: Apply a coat of Mod Podge Gloss, to bring out the image even more and give it a sheen that makes the knobs look at bit like porcelain! (You could also use flat Mod Podge, if you don’t want the shine.) And there you have it, some cute knobs to dress up your painted furniture projects, or perhaps you could use them to make a coat rack for your mudroom!
I hope you enjoyed learning how to use Mod Podge Photo Transfer Medium and that you liked this little project!
Hello! Are you new to The Graphics Fairy?
Welcome, I’m so glad you’re here! Browse around to find thousands of Stock Images that you can use in your projects or designs! I post new Vintage images every day, as well as projects and DIY’s too! Need more info about my site? Try my FAQ page.


Brenda says
Would this technique work for larger images on larger pieces of furniture?
graphicsfairy says
Hi Brenda,
It sure would! There are tons of fun projects you could create with this method:)
SHACHAR RACHEL says
I LIKED IT
graphicsfairy says
Thanks Rachel!!
chrissy says
Do you think this would work with metal knobs just as well?