How to Make your own Embossing Folders
A Joyful Hello to all my Graphics Fairy friends! It’s Rebecca E. Parsons, aka Cre8tiva, sharing an easy and inexpensive Mixed Media tutorial with you – How make your own Embossing Folders! As you will soon learn, this is a total hack and a unique way to make your own custom designs to create textured papers for your art! WOW! I will give you step-by-step instructions that are oh so easy to do! This is also a fun family project to enjoy doing together.
Our DIY Embossing Folders Hack
This is definitely a hack of the embossing process that will have you jumping for joy… I hope! I am so excited to share this with you as it saves so much money to know that you can use your embossing machine in different ways. We will be using shapes from The Graphics Fairy, stickers and chipboard shapes that we buy, and shapes we cut out or stencil ourselves to create an embossed pattern on paper or cardstock. It is so simple, it was a ‘slap my forehead – why didn’t I think of this a long time ago’ moment for me!
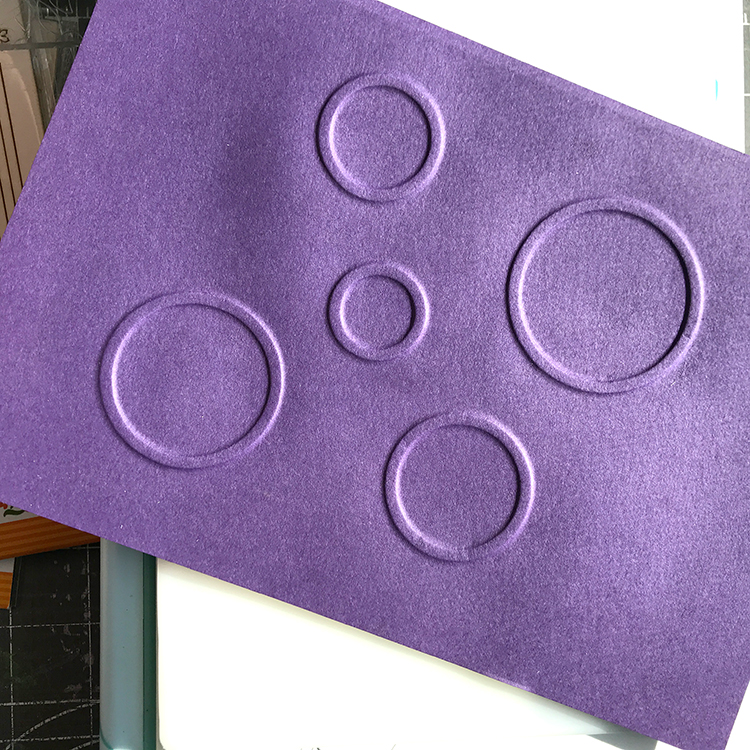
I need to be clear about what we are doing in this tutorial. Although it is possible to make your own folding embossing folder with a negative and a positive side, that is not exactly what we are doing today. As you will see, it is so much easier to make with our DIY version. You will still get a positive and negative impression on your papers.
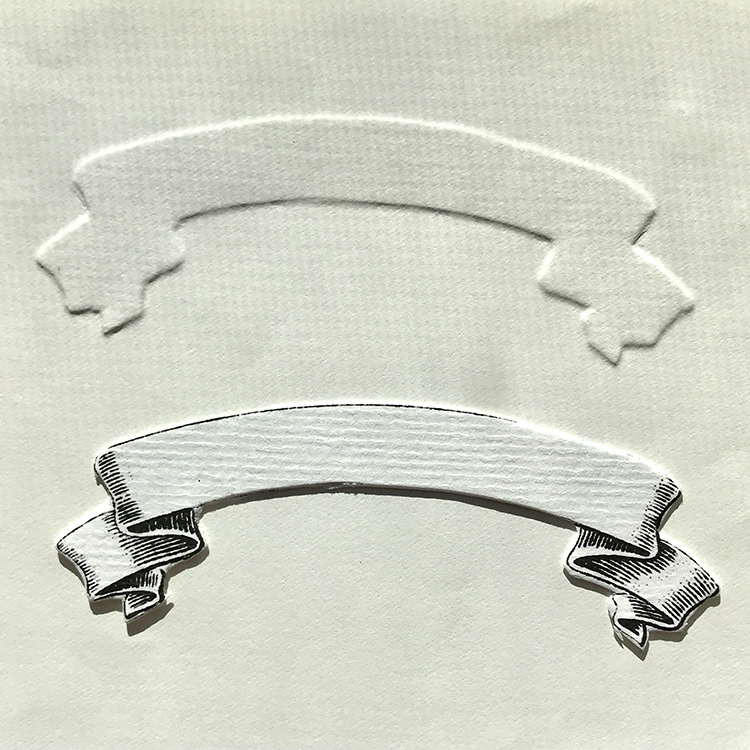
All of it started when I wanted to use one of our beautiful Graphics Fairy shapes to emboss a card. It was this fairly simple Ribbon Banner shown above. Certainly I could have ordered a pre-made banner embossing folder or run to my nearest craft store to see if they had one. Necessity is the mother of invention and creativity, so I printed this one out on heavy 80 lb. cardstock. I glued three layers of the cardstock together with the design on top. Then I cut them out carefully to get the depth I needed. Et voila!! It worked.
What Makes This a Hack?
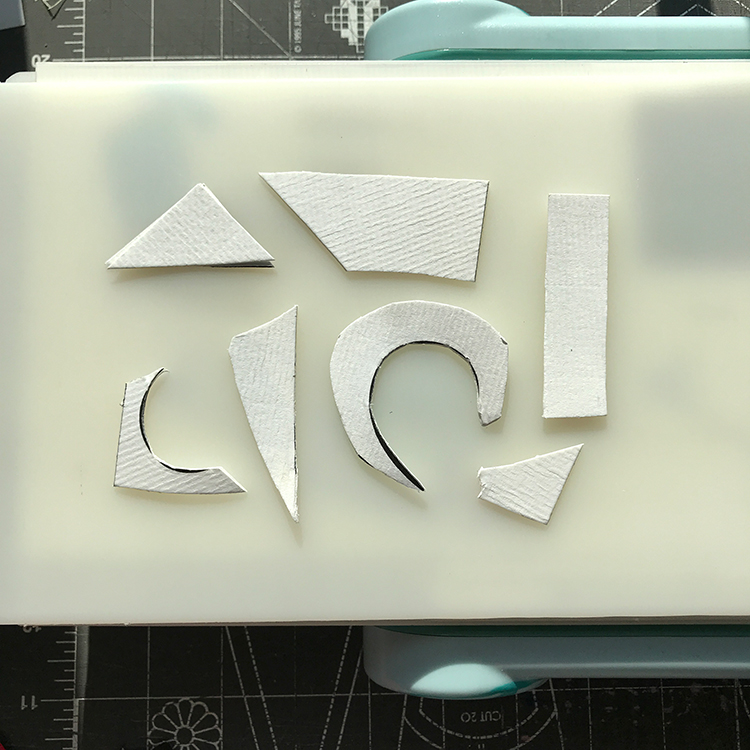
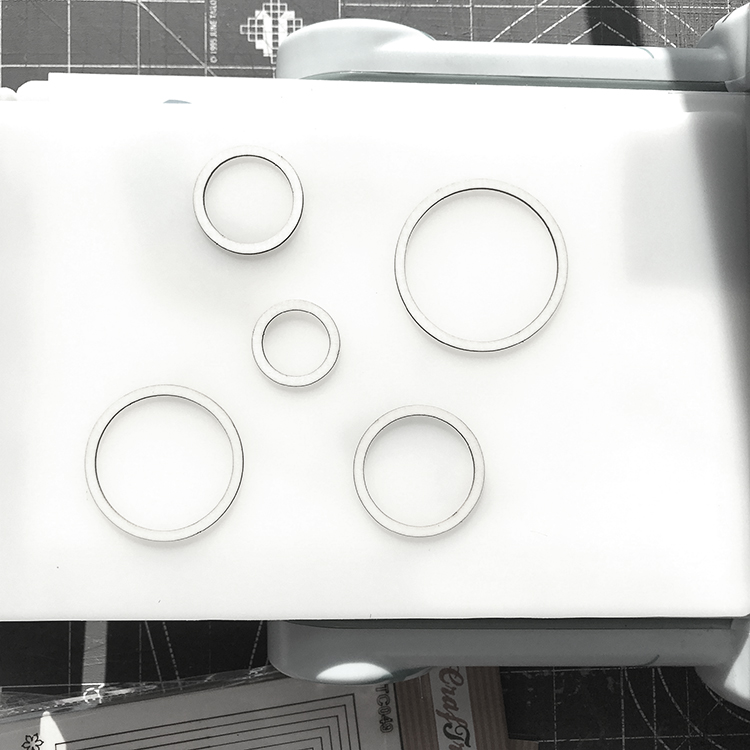
We will be laying the pattern pieces directly onto the Impressions Pad! (See random pieces on the pad above.) We will create a sandwich with the paper, plates, and a silicone mat. The Impressions Pad and silicone mat are critical components of this process. They come as an accessory called Sizzix Emboss and Transfer Set. The mat allows your shapes to gently squish the paper without tearing it. I also like to spritz my heavier paper or cardstock with a little water, just to soften the fibers a bit before I emboss.
Make Your Own Embossing Folders Supplies
Materials
Embossing Machine (manual or electric – I use a Sizzix Big Shot)
Paper or Cardstock to emboss (I prefer 60- 110 lb. paper or cardstock)
Design Elements (see Step 1 below)
Optional Fine Mister
Sizzix Emboss and Transfer Set – Silicone Mat and Impressions Pad for your embossing machine
Step-by-Step Directions
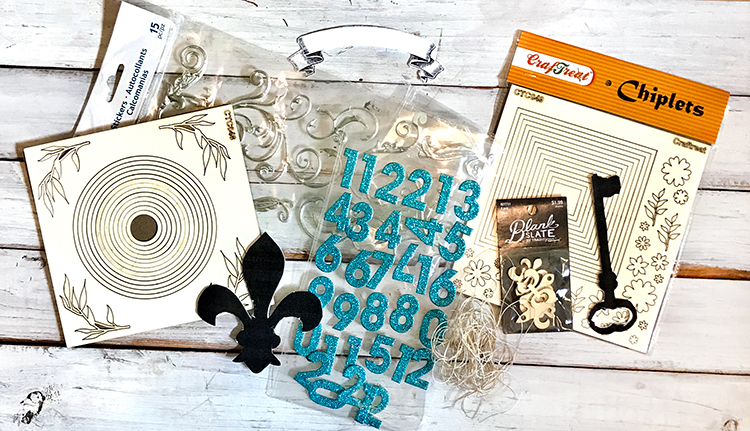
Step 1 – Decide on a Design: There are so many ways to get custom patterns for you to make your own embossing designs. Here are a few of my faves:
- Cut a shape from a TGF image (silhouettes, frames, banners, etc. work best)
- Precut chipboard shapes (there are a bizillion of them and they are fairly inexpensive)
- 3-D Stickers and small Post It Shapes
- Cut a shape or design with your Cricut or Cameo, etc.
- Cut a design with a manual Die Cutting Machine
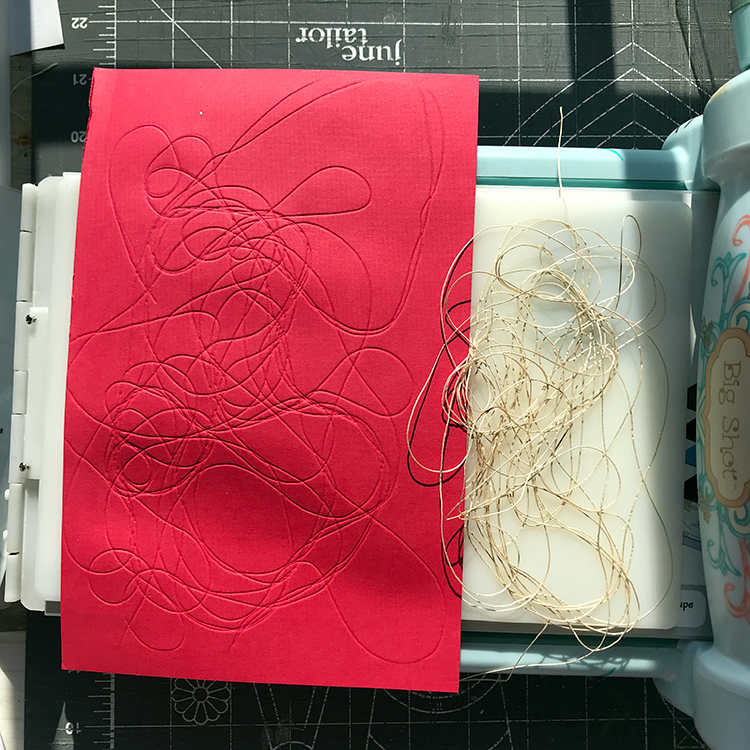
- Heavy string (for lace making) or twine
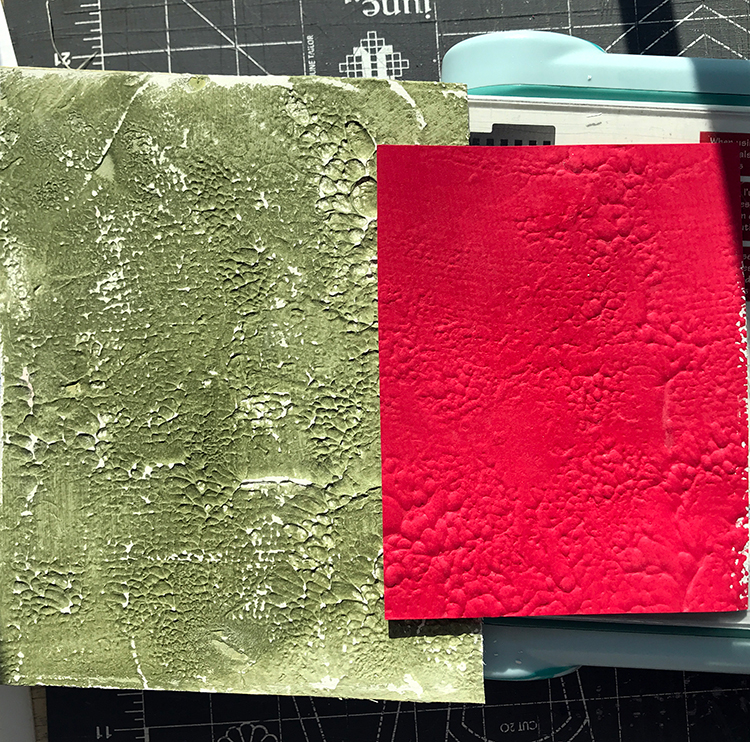
- Stencil a design with a texture medium (let dry thoroughly before embossing)
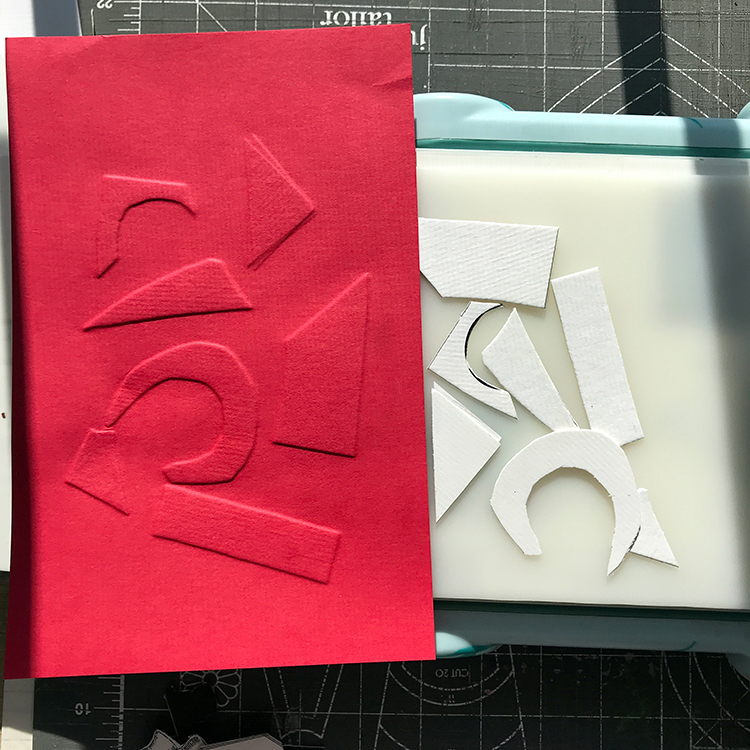
- Random cut out shapes (thickness should be equal to 2 layers of a cereal box)
- Other thin, flat items you may find at home like rubber shelf paper or felt shapes)
- Possibilities are endless
Step 2 – Arrange Design on Embossing Machine Platform: TIP: I found the white Impressions Pad that comes with the Sizzix Emboss and Transfer Set is the best surface to arrange your design. It has a slight texture that keeps things in place fairly well. Be creative and come up with something pleasing to your eye. Be aware that the shapes might move around a bit. Be okay with imperfect. (NOTE: You can also glue your design onto a sturdy piece of cardboard to keep it from shifting. Just be aware that the edge of your cardboard will emboss as well.)
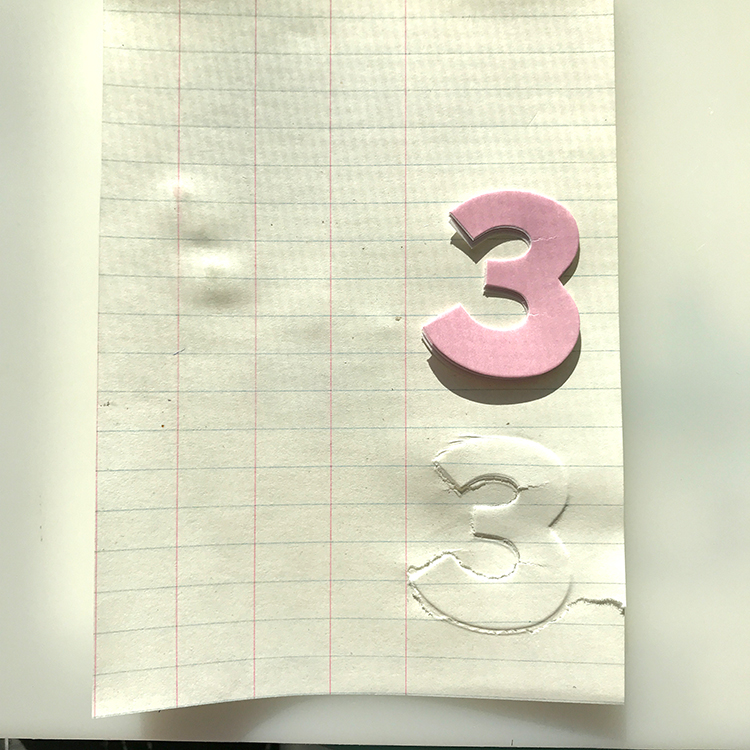
Step 3 – Spritz (Optional): Spritz your heavy paper or cardstock lightly with water to relax the fibers. You do not want it soaking wet, just slightly damp. I spritz once for paper and once on each side of cardstock with a fine mister. This is totally optional. Your design will probably emboss without wetting the paper. (NOTE: Thin and fragile papers should not be dampened! They will tear!!) You can use old papers and book pages as long as they are not crumbly. If the paper is of great value, just be careful and make a well thought out decision. (Below is a number 3 Post It Sticker that tore this vintage ledger paper.)
Step 4 – Emboss: I use a Sizzix Big Shot for my embossing tasks. The ‘sandwich’ you will make for this technique is as follows:
- Multi-Purpose Platform
- Impressions Pad
- Your DIY embossing design
- Paper or Cardstock to be embossed
- Silicone Mat
- Top Plate
NOTE: Different machines have different plate and platform depths. You may need to add another plate or remove one depending on your machine. This part is a trial and error process, but won’t slow you down too much.
Your design elements may embed themselves into your papers. That is fine. You can carefully remove them with your fingers. (See below)
DIY Embossing Folders Hack Gallery
Here is a gallery of designs which I have created. I hope that your imagination will be sparked with ideas.
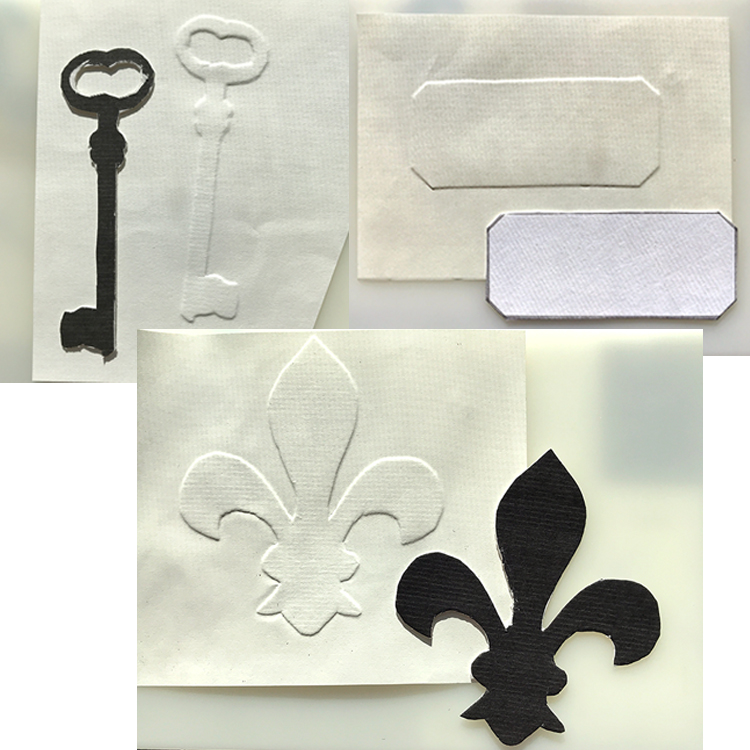
Designs from TGF images (FUN!!! so many to choose from…) I included the badly cut out skeleton key below so you can see that even a not so good fussy cut pattern still embosses well! I like TGF silohouette designs best.
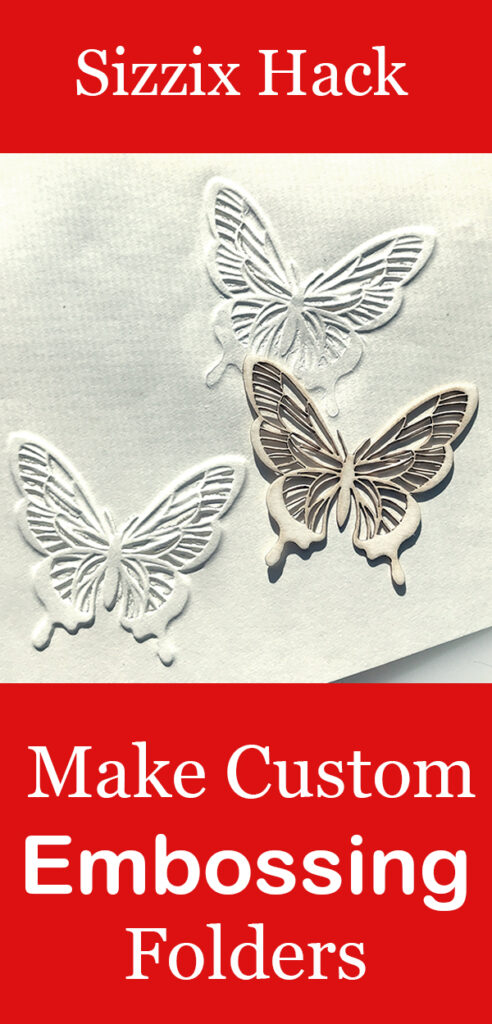
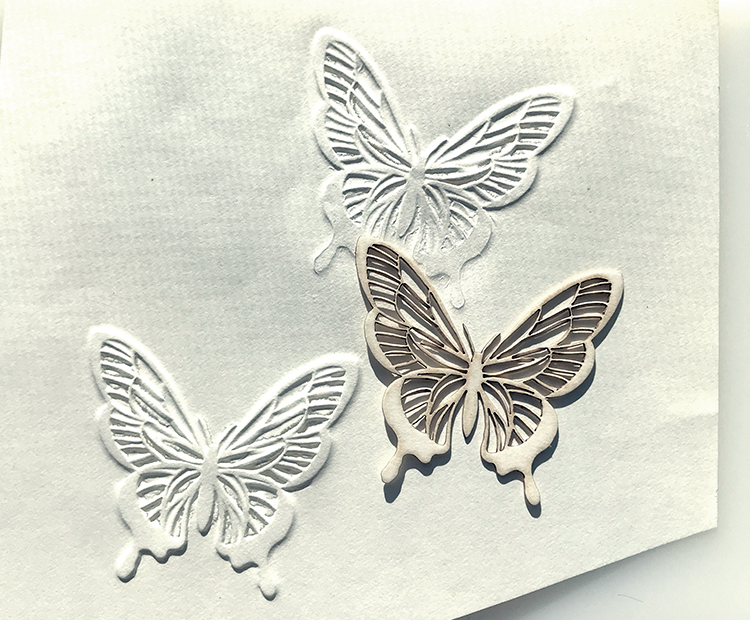
Designs with Chipboard (NOTE: Intricate chipboard designs can sometimes tear the paper a bit, but I love the look.) Below the top image was done without spritzing the paper. The bottom butterfly was spritzed. You can see that it has a crisper look.
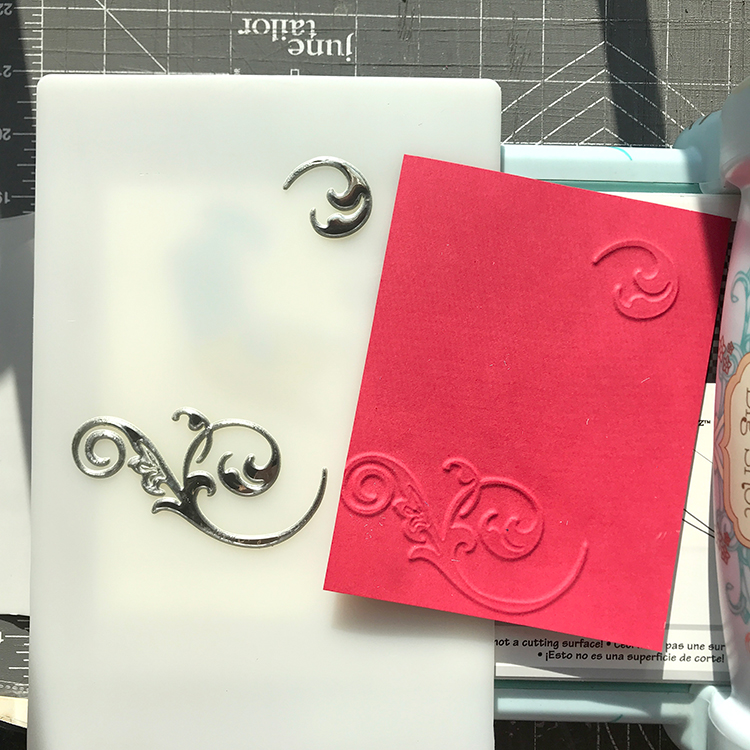
Design with Stickers (Endless possibilities here)
Design with String (Swoon worthy)
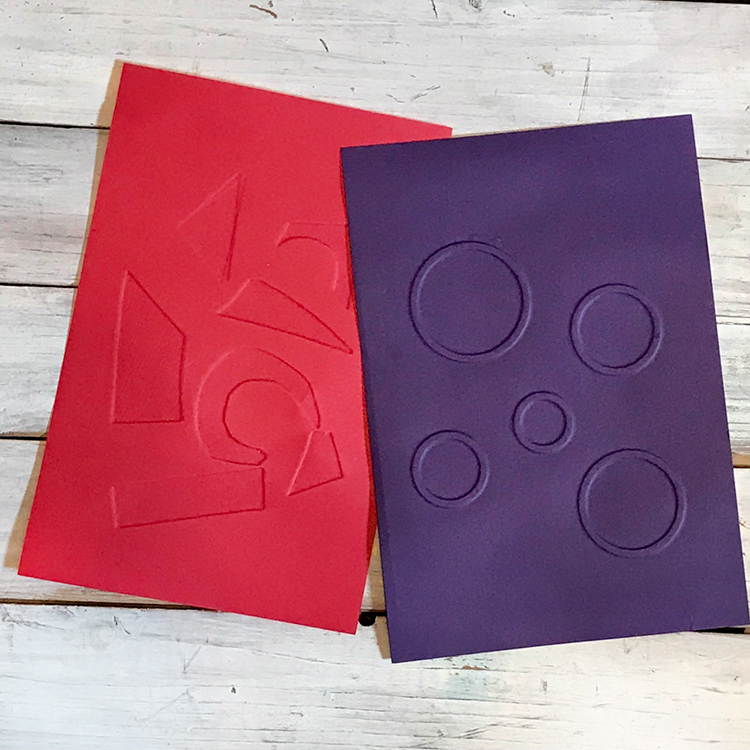
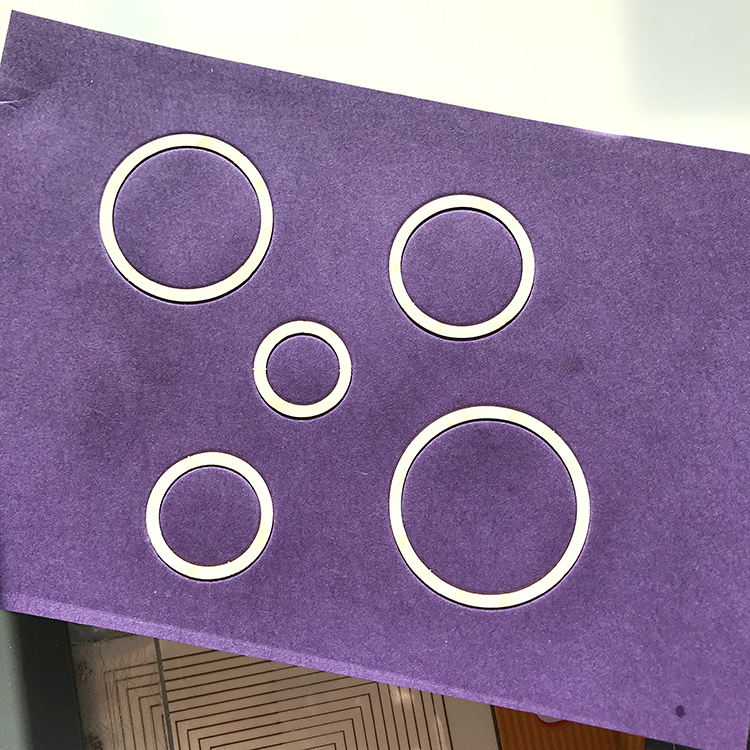
Design with Random Shapes (a great way to use your scraps)
Design with Stenciled Textured Sample (One of my faves always)
That was FUN!!! I hope that you enjoyed learning How to Make your own Embossing Folders with me!! When I am not exploring with new and old Techniques for Mixed Media in my Graphics Fairy sandbox, I also create Photoshop Elements tutorials and craft project tutorial videos over on The Graphics Fairy Premium Membership site. You can find even more of my books, junk journals, mixed media art, classes, and whimsical shenanigans on Rebecca E Parsons Dot Com.


Jenni says
THANK YOU for this! I bought a Big Shot years ago but haven’t even used it yet, although I have bought dies from time to time, but it still sits unused. I think I’m a bit afraid of it. I don’t know if I have all the parts…plates, etc. that I need. I appreciate you telling me about the soft plates, but I just don’t know what I need. I read where I should have magnetic plates, but I am unsure of what to get and what the appropriate sandwich is for just routine die cutting. Would you please help me to know what things I should have in order to make this work? I would be most appreciative!
graphicsfairy says
Hi Jenni, our friend Rebecca wrote this and is so knowledgeable and amazing at so many things, you can contact her directly at RebeccaEParsonsDotCom. and I am sure she’d be happy to help:)
Sue Walsh says
Rebecca shares so many great tips and tricks, love this one!
graphicsfairy says
Thank you Sue! Yes, Rebecca is amazing!!
Michelle Flynn says
I love the one with the texture paste
graphicsfairy says
Thanks Michelle, so glad you liked it!
Boo says
Love the one with the string. Sooo cool..
graphicsfairy says
So glad you liked it 🙂
Vicki miller says
I find that with this method, the card compresses overtime. I actually use old x rays and recycled acetate which I cut (I use a laser cutter, but scissors or a craft knife will work). I also spray the paper or card to be embossed witha thin film of water, this softens the paper a bit and gives a better imprint.
graphicsfairy says
Oh wow Vicki!! Thanks so much for sharing your technique!!
Ruth Ann Bryant says
This is awesome. Thank you.
graphicsfairy says
Thank you Ruth Ann, so happy you liked them!