Moon Craft Ideas
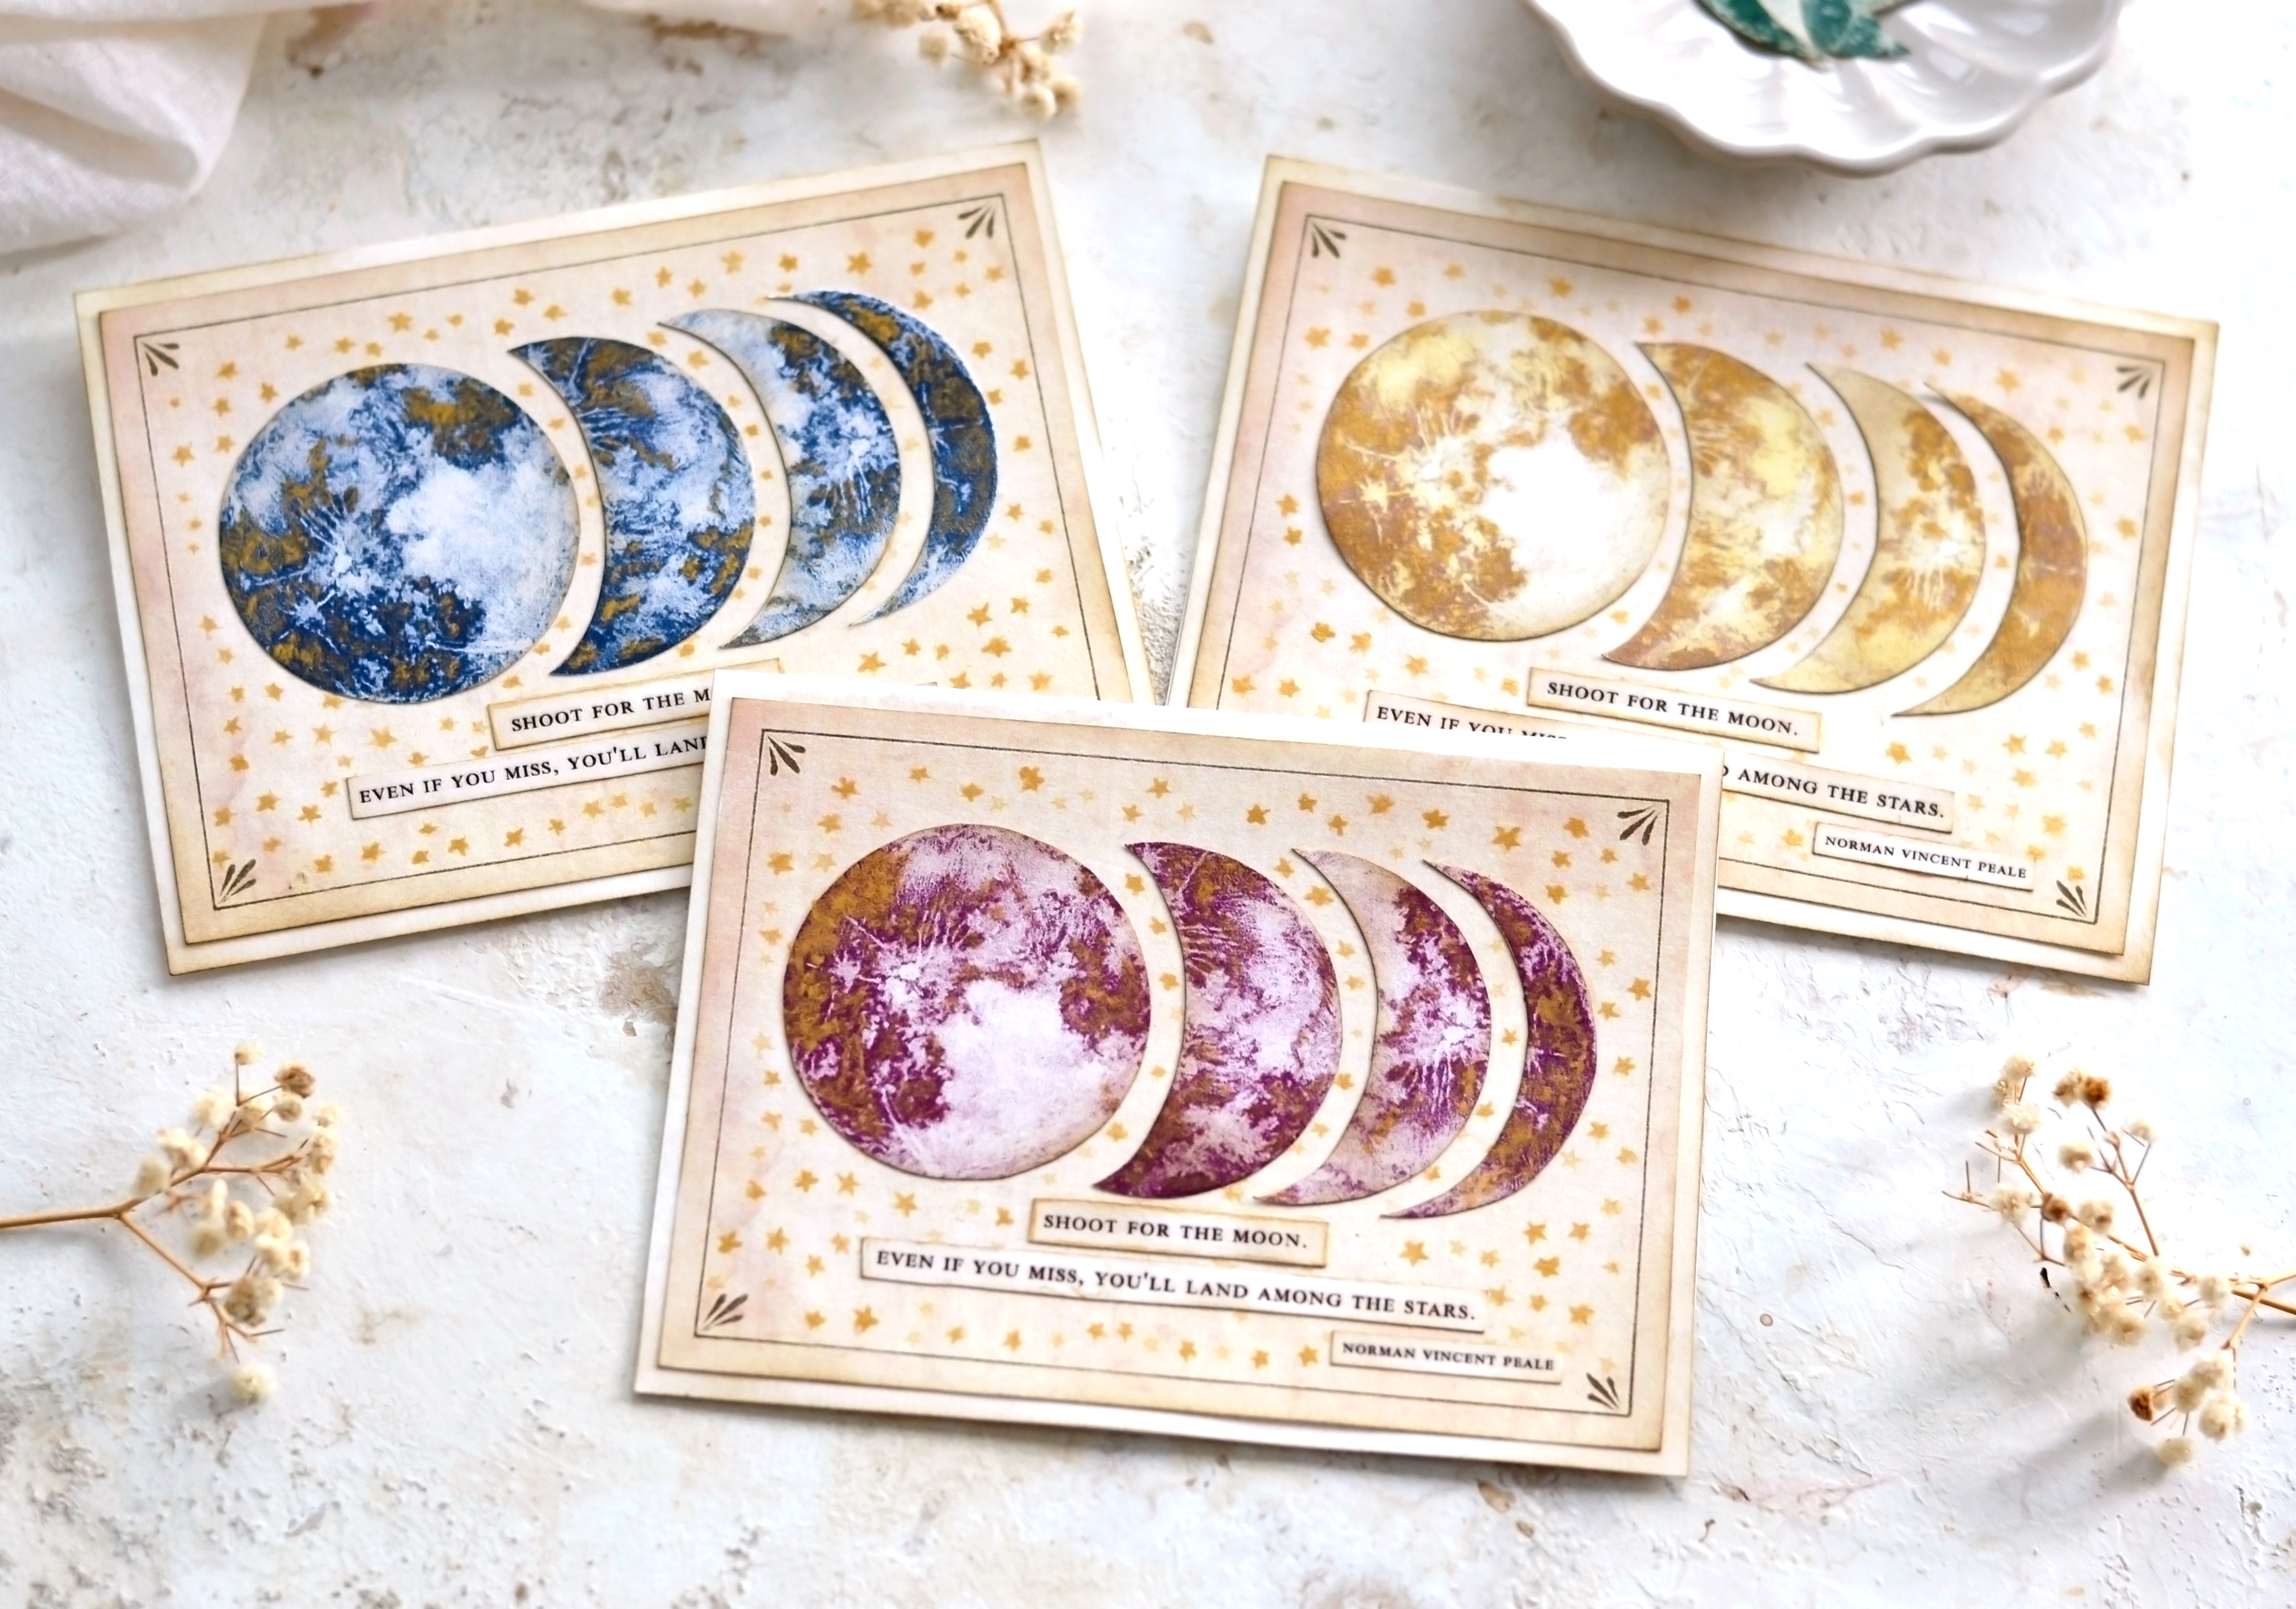
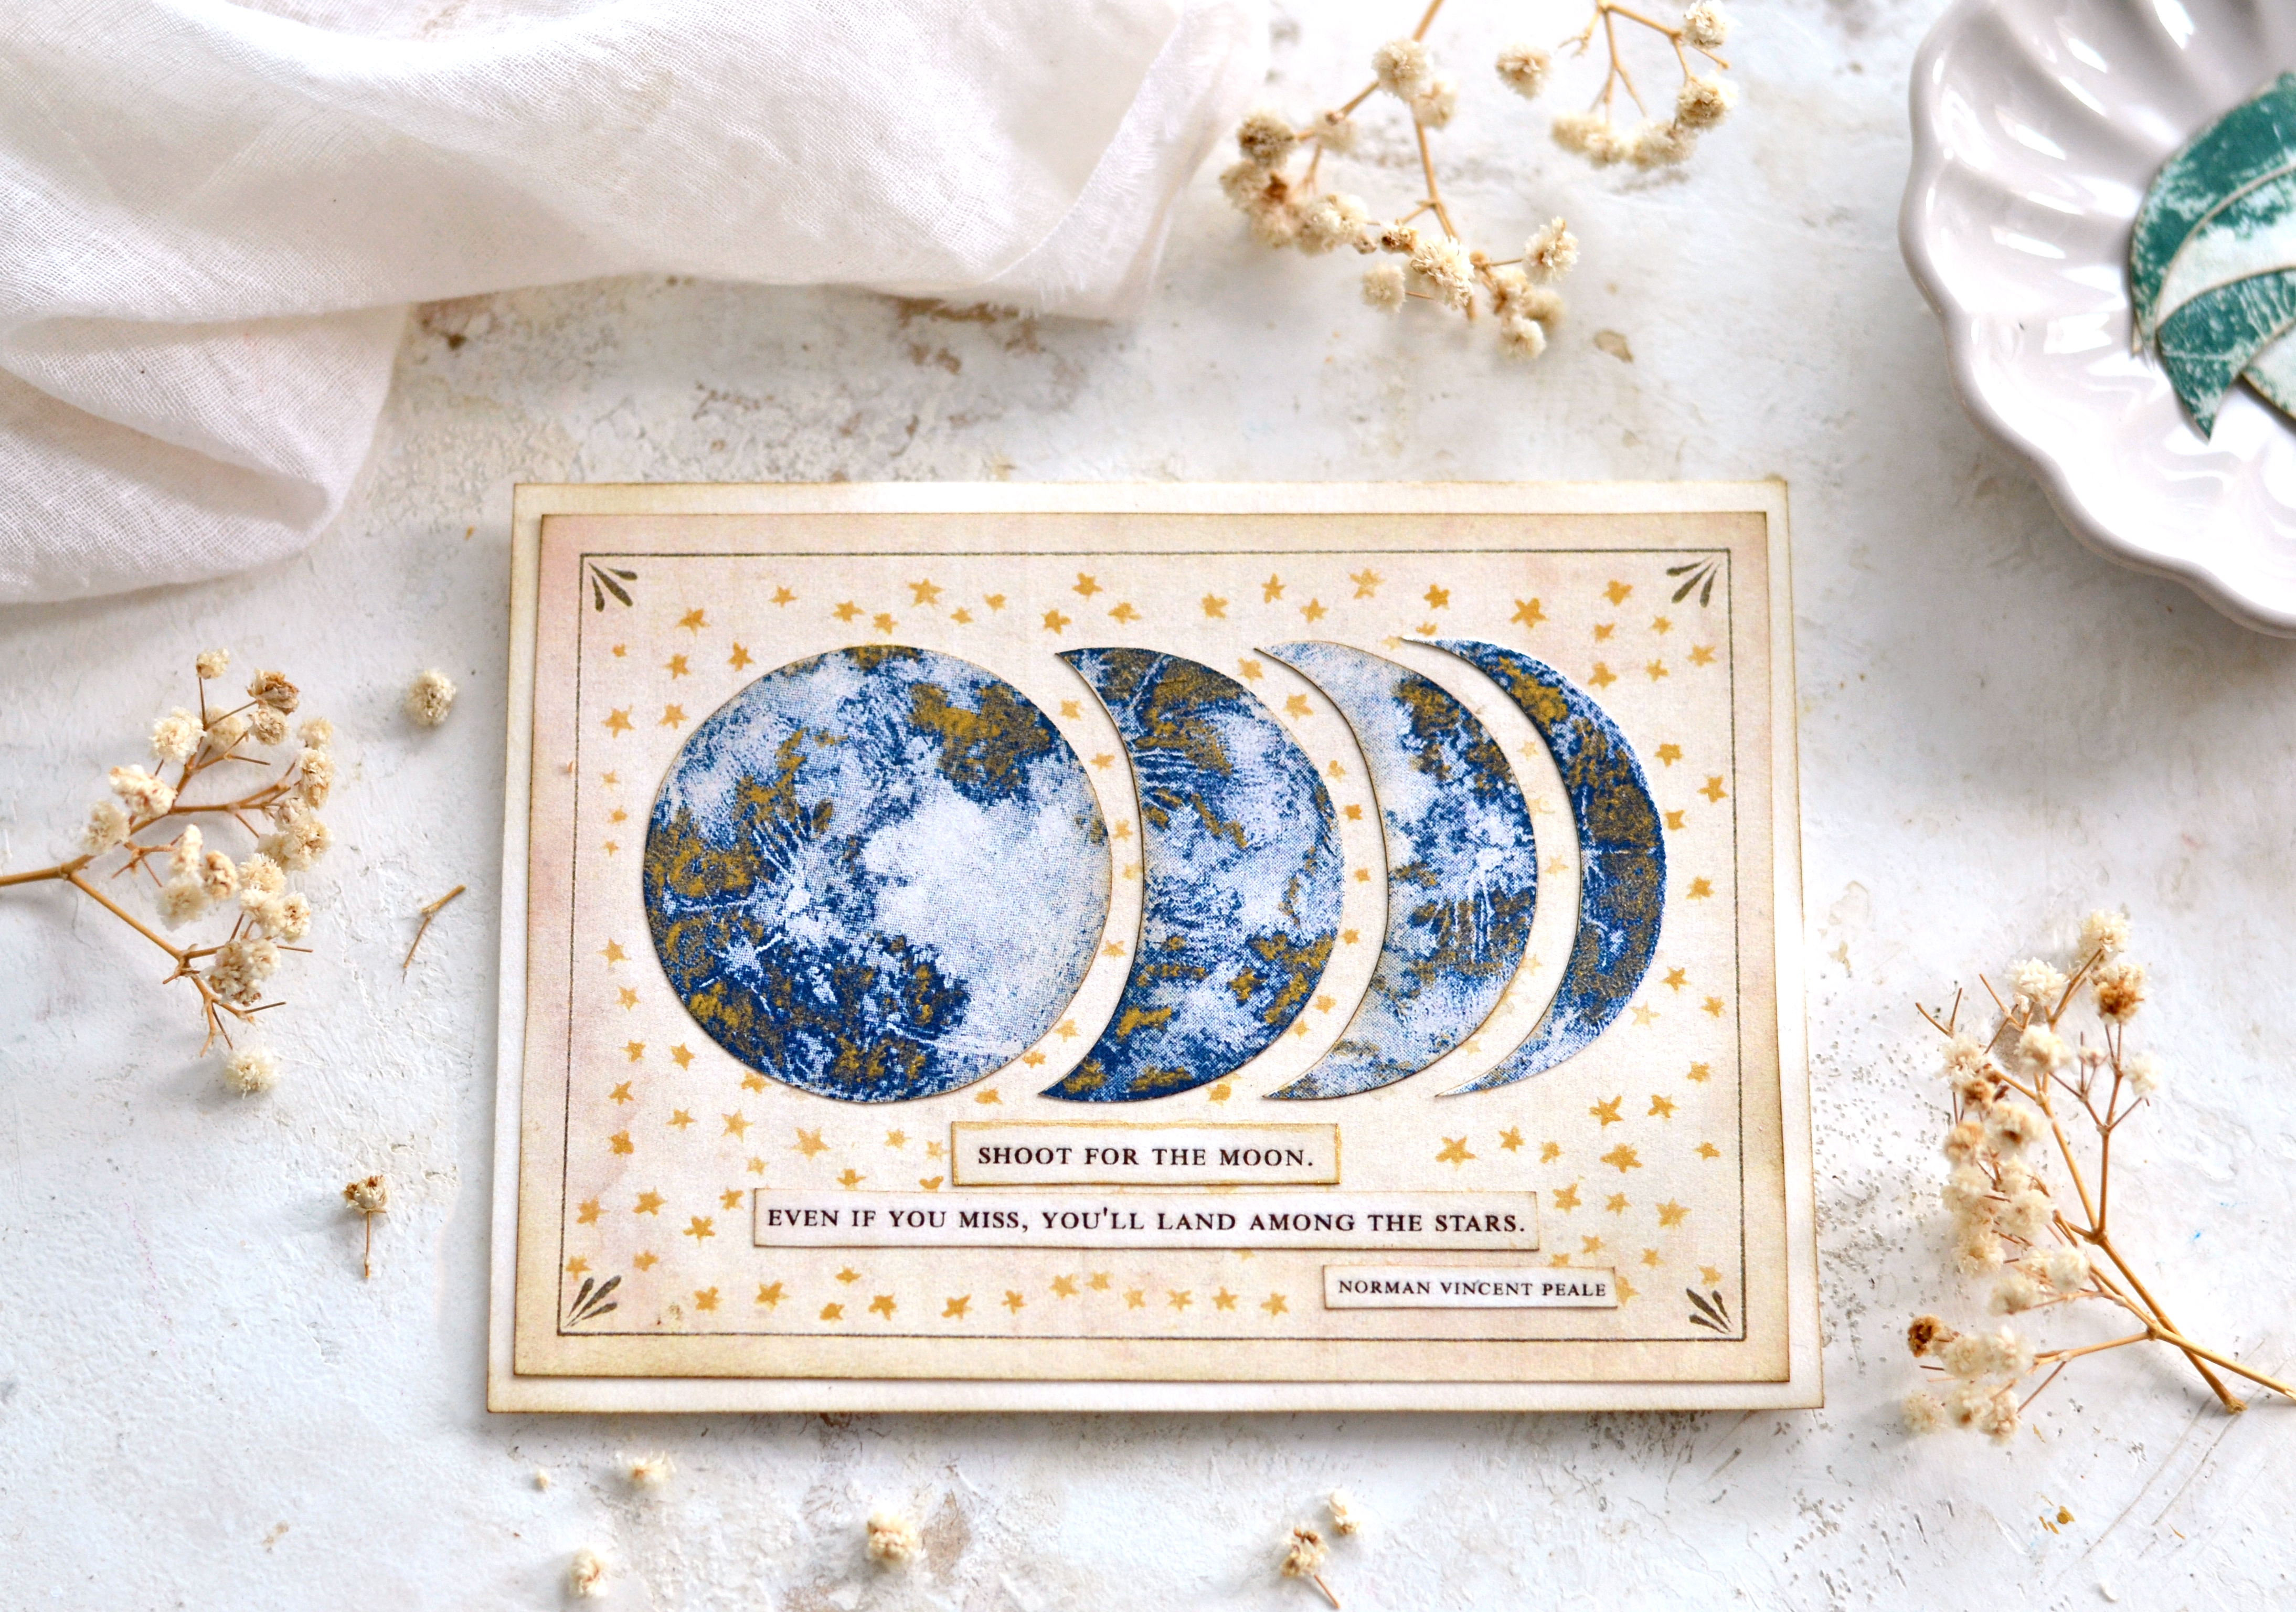
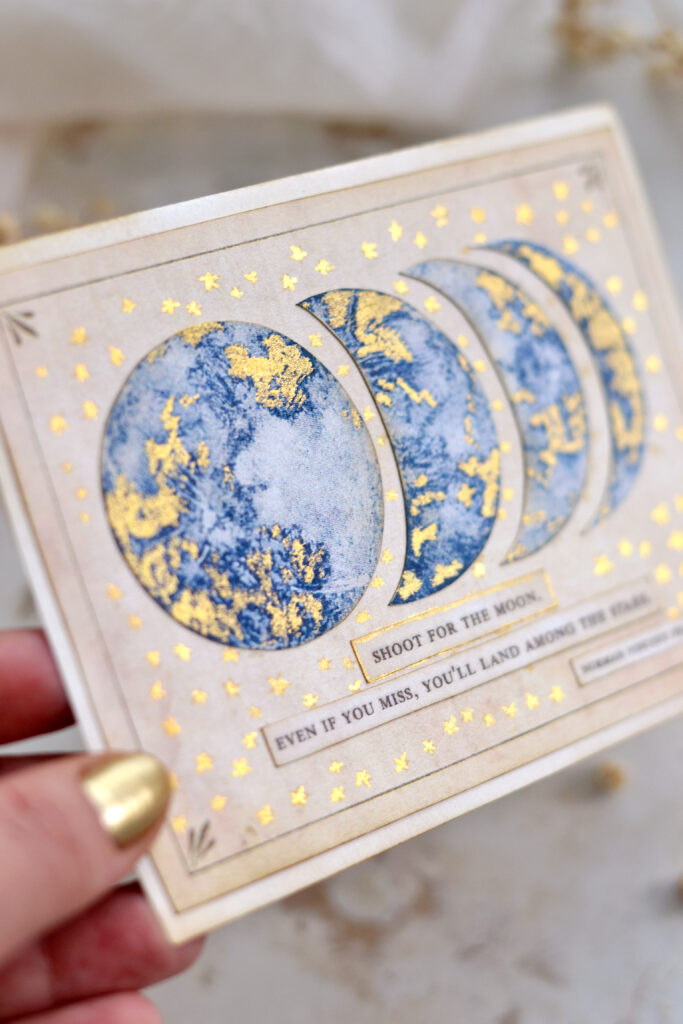
Hello Graphics Fairy friends! I’m Diana from Dreams Factory and I’m happy to be here again to share another DIY project with you! Today we will be making a super chic moon craft project, I will be showing you how to make these gorgeous Vintage Moon Phases Cards. You will see how easy it is to make it using the moon phases free printable that I’ve created. The only really difficult part will be to choose your favorite colors because these stunning moons come in four different color variations, but hey, if you can’t really decide, just use them all!
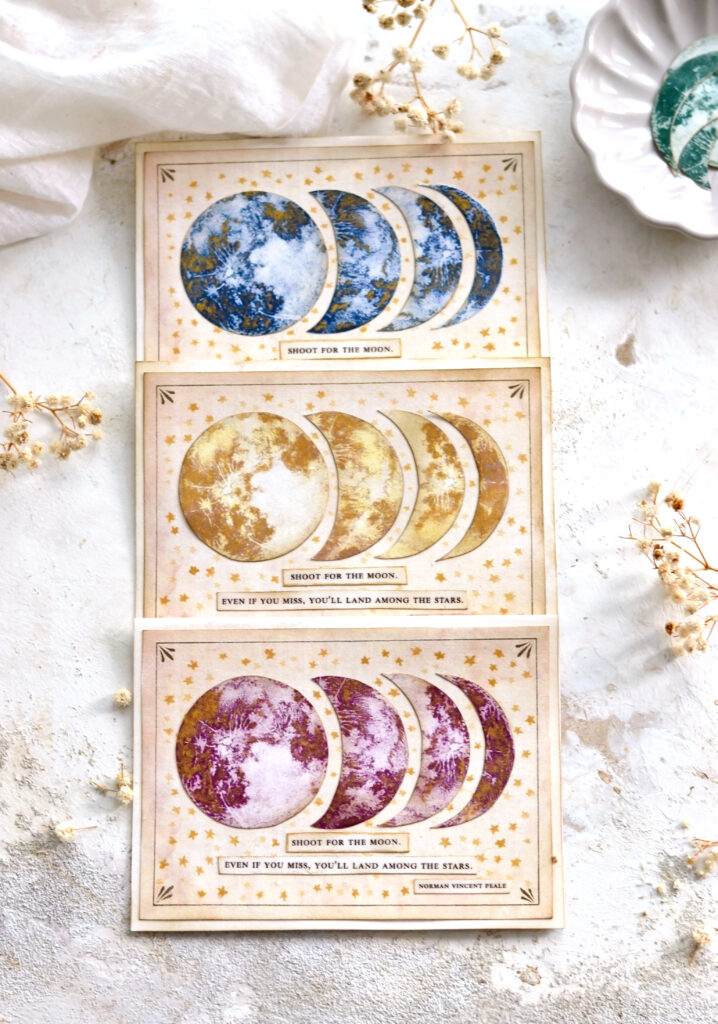
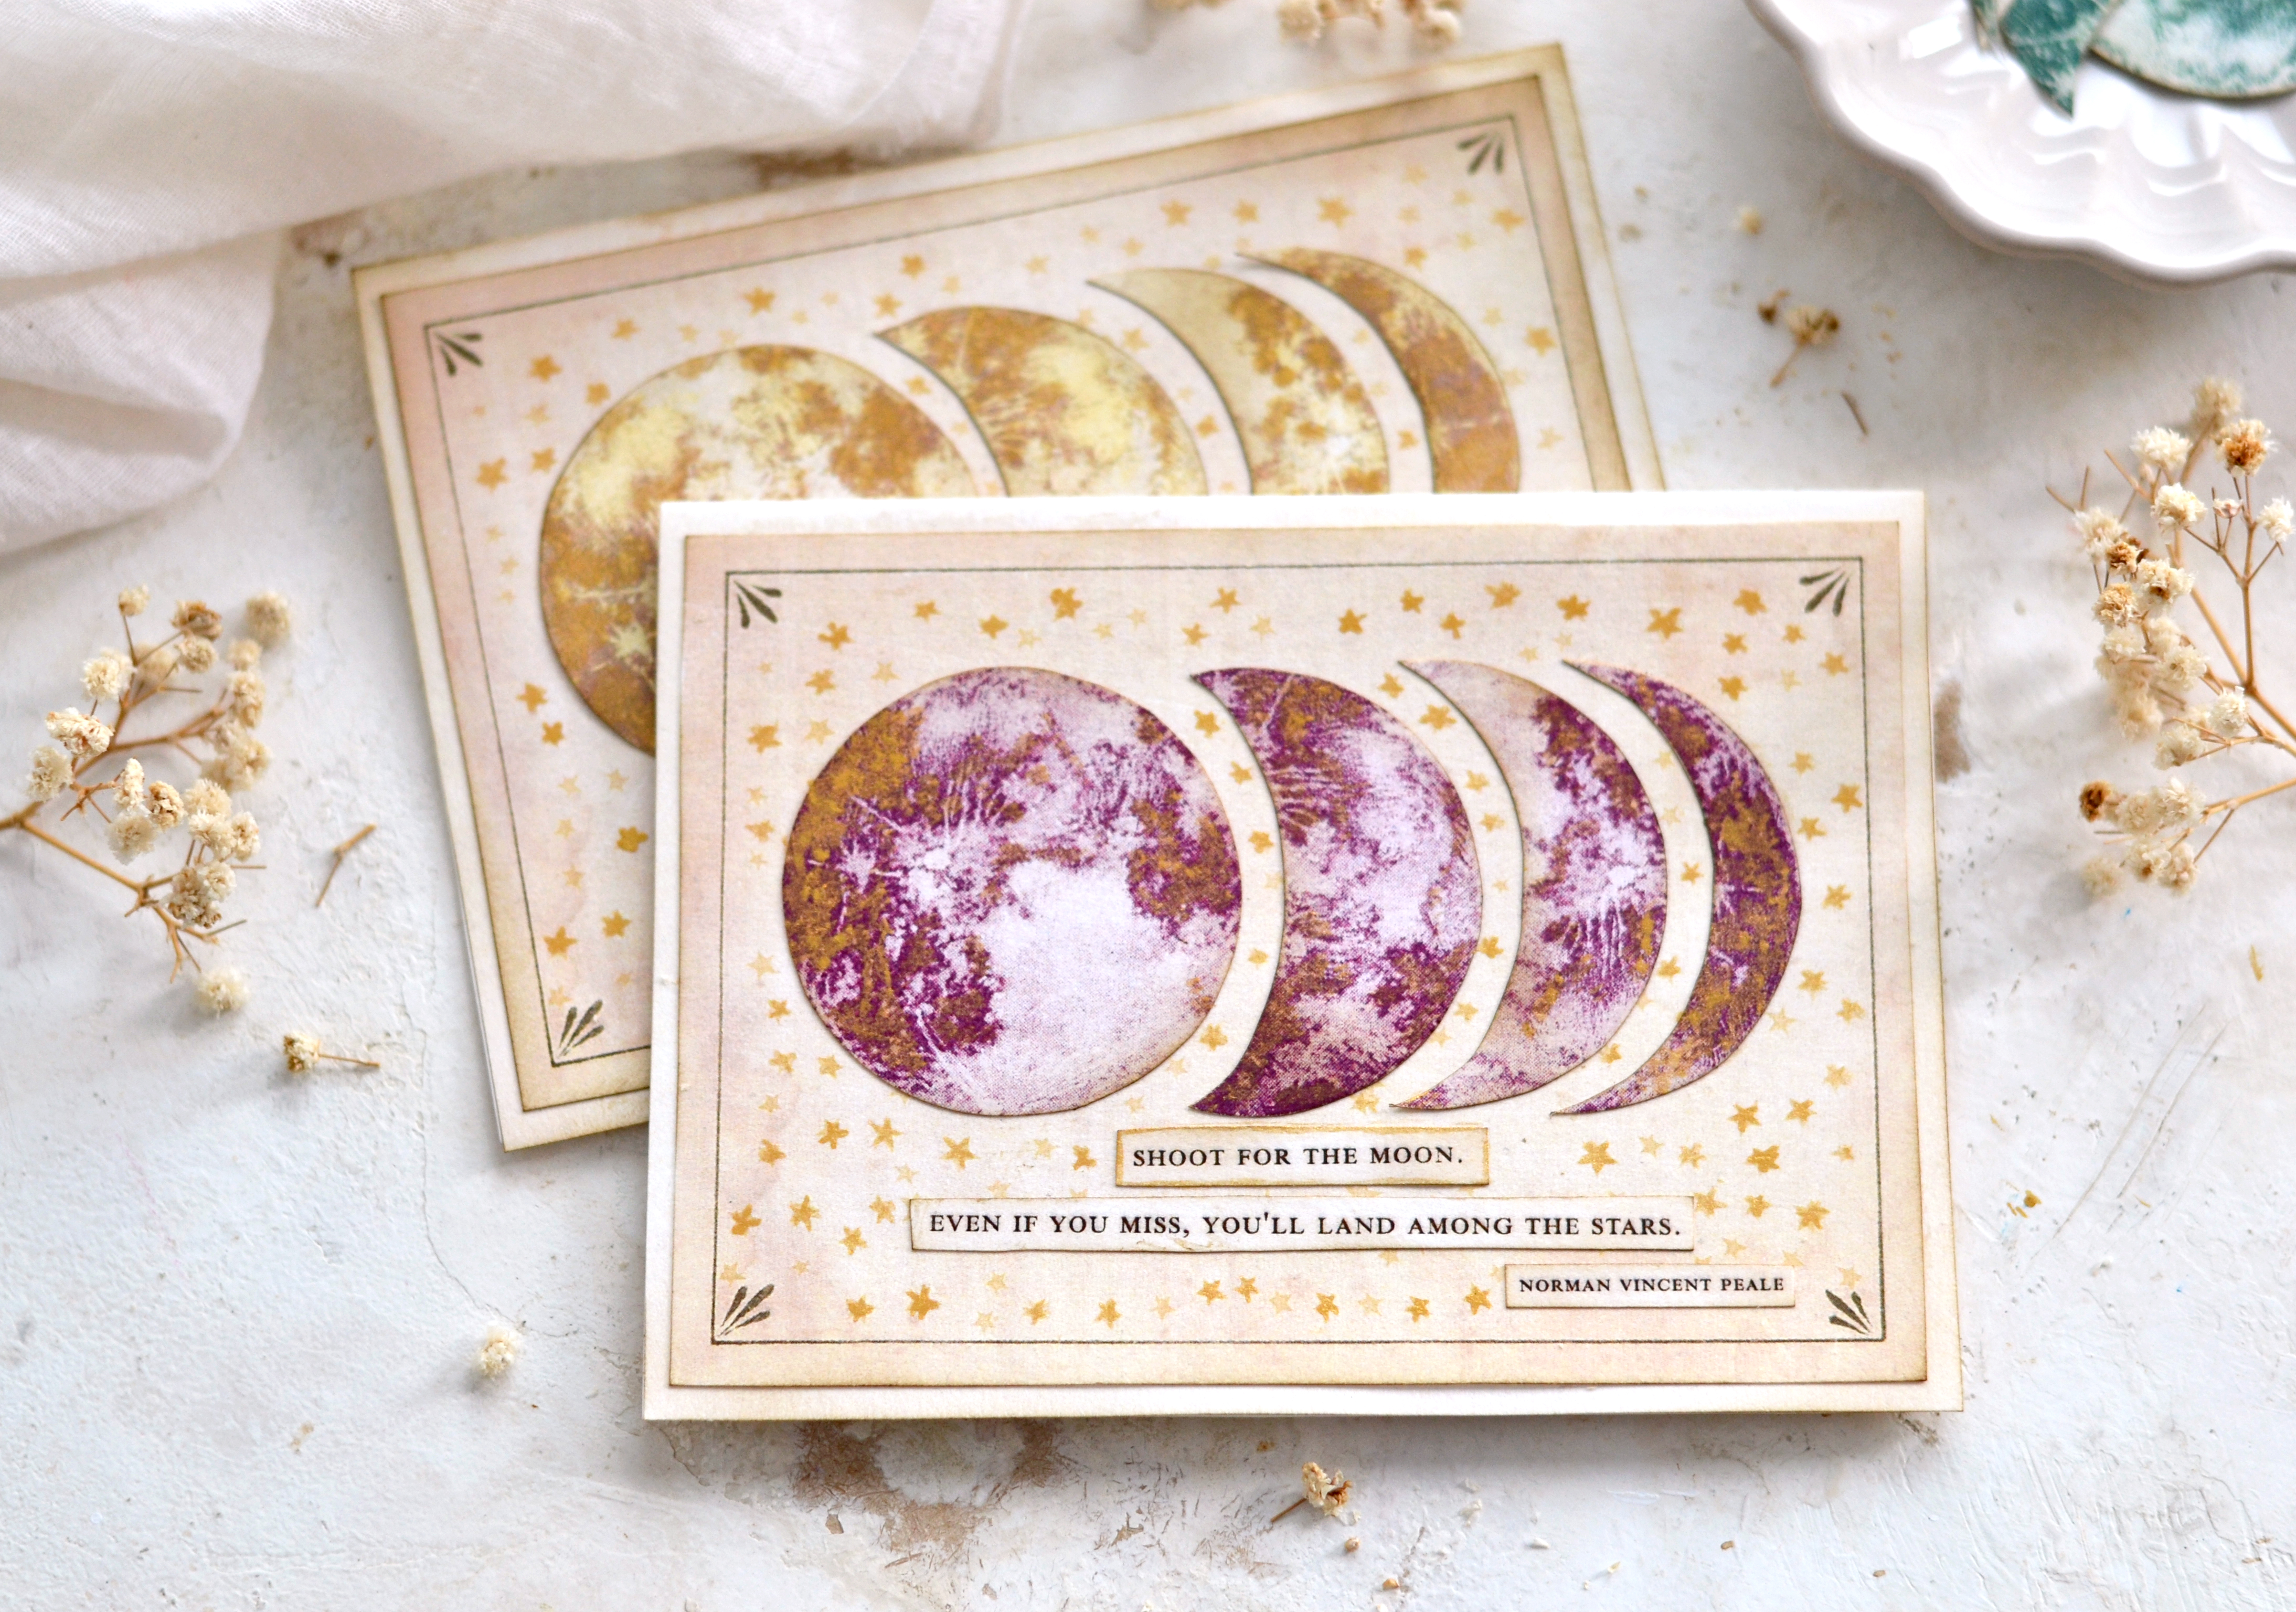
I went with blue, yellow and magenta as my color choices today, but now I wish I would have followed my own advice to make even a fourth version with the green one.
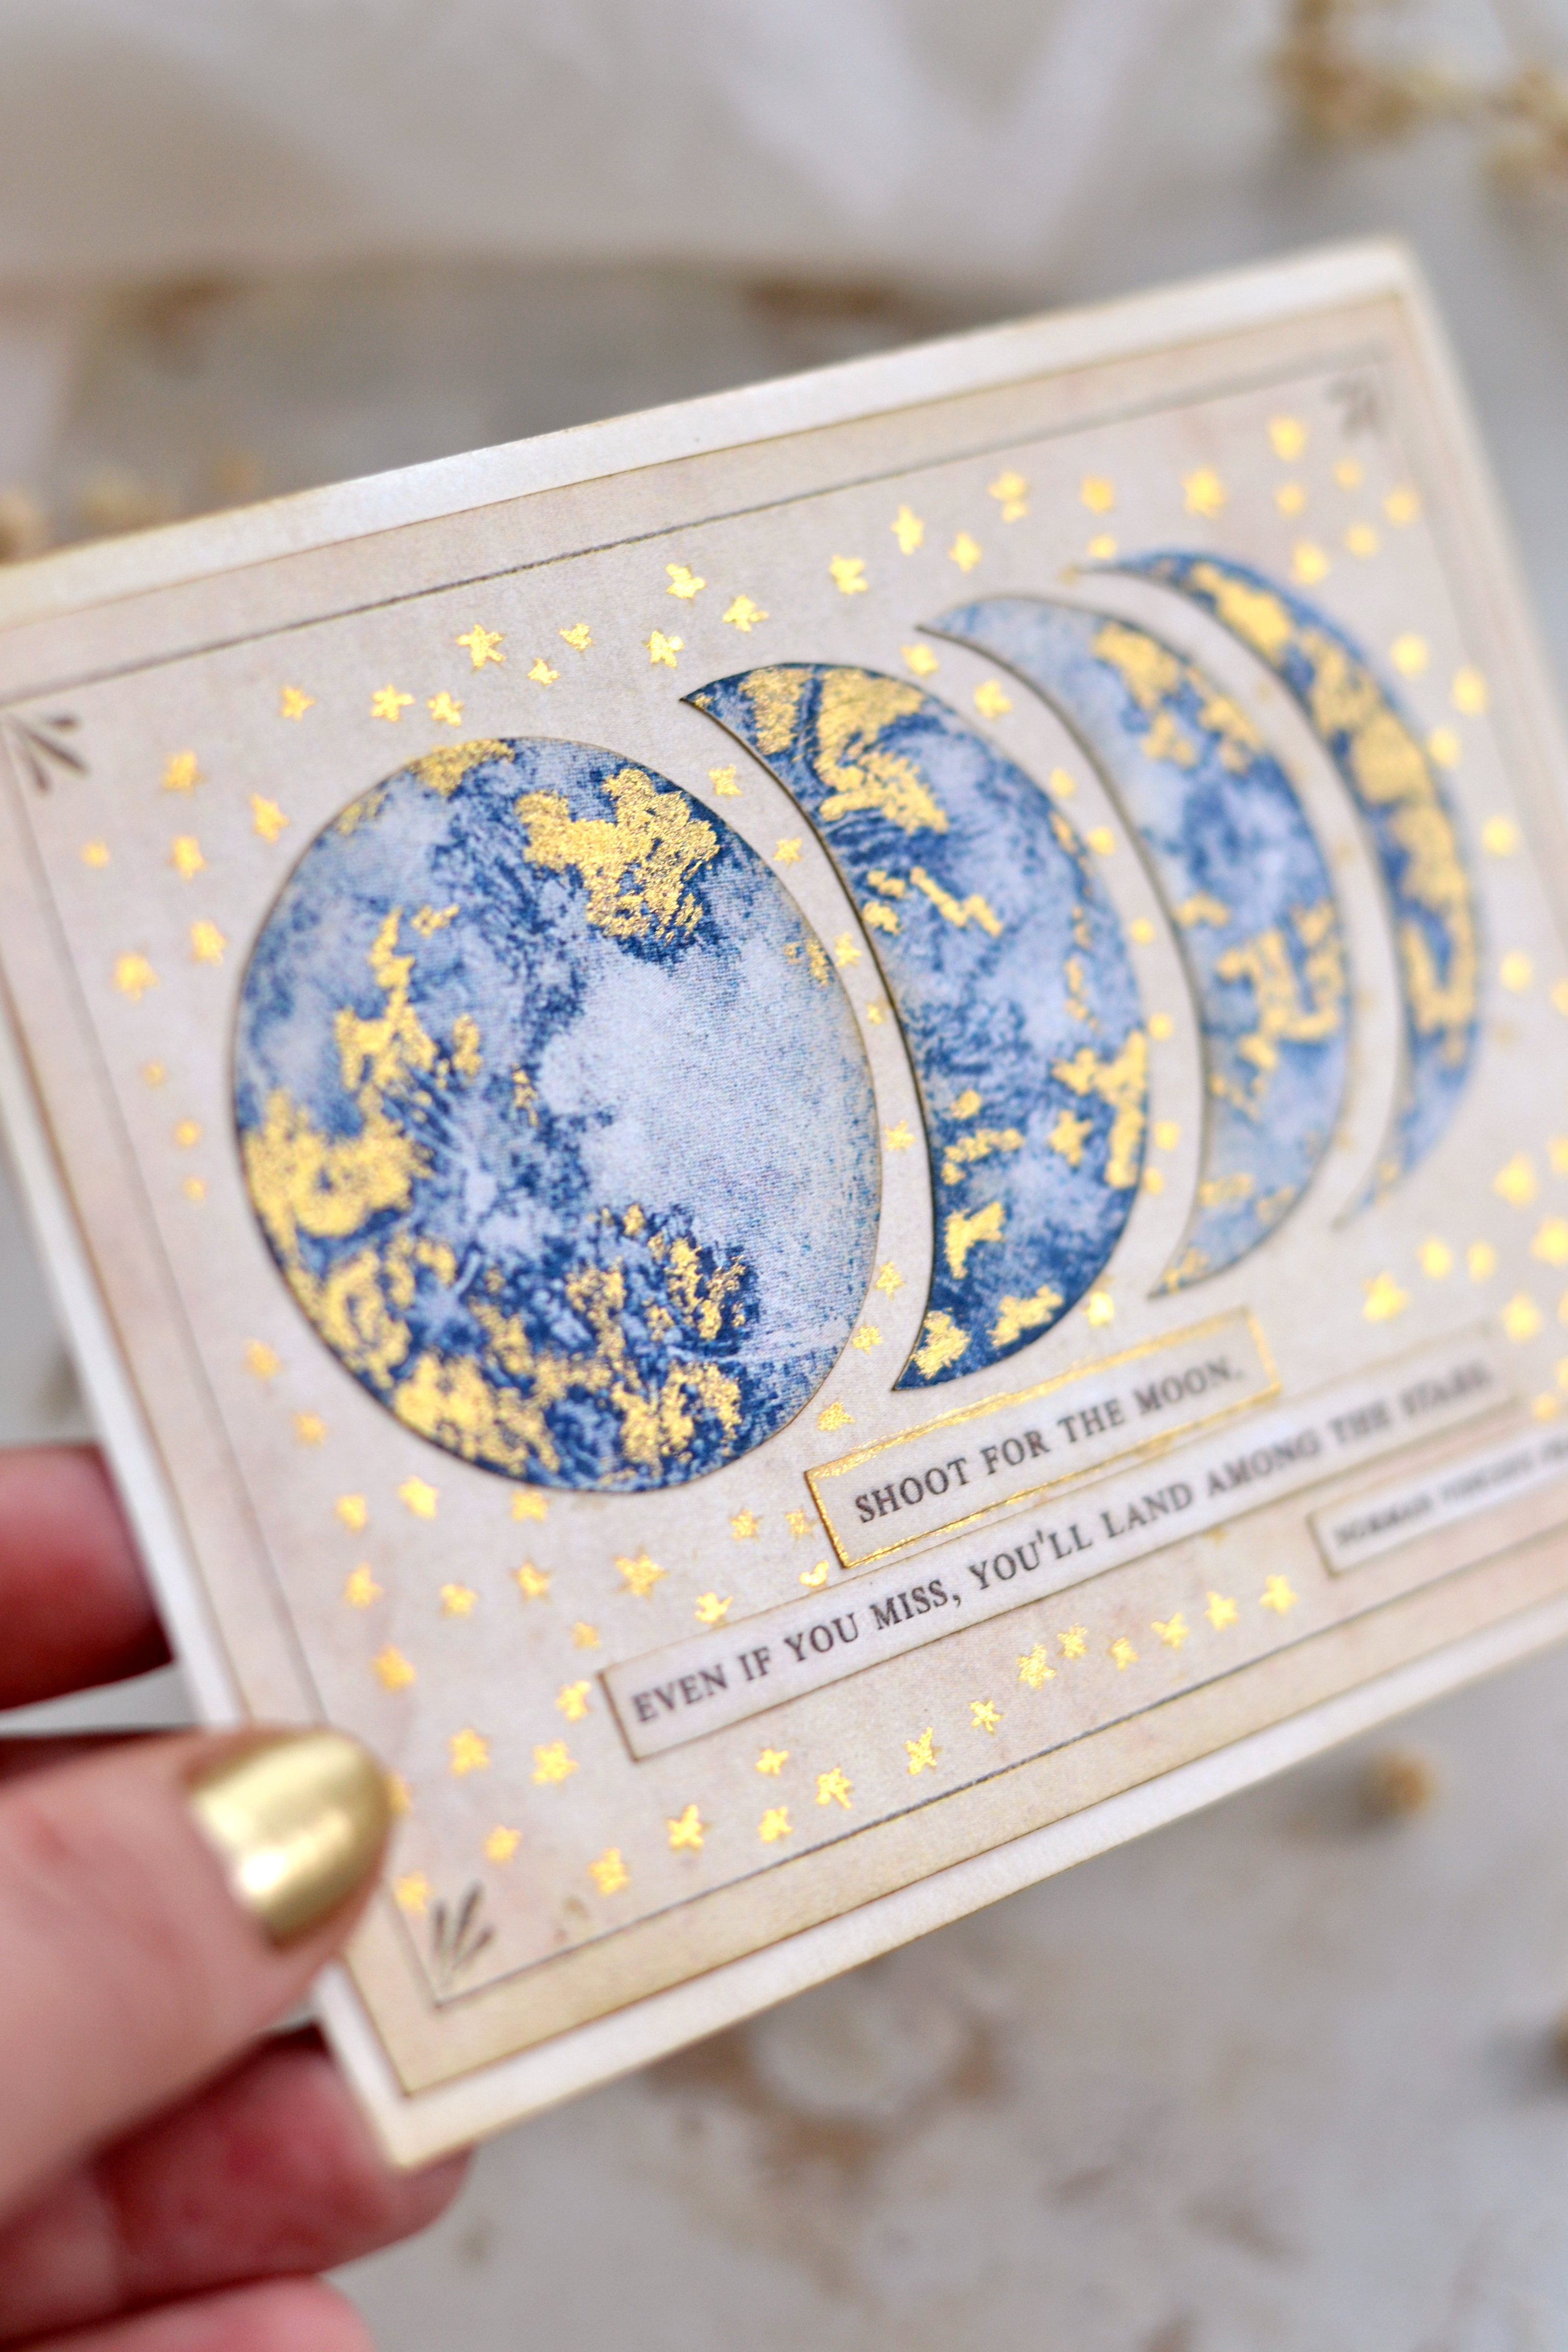
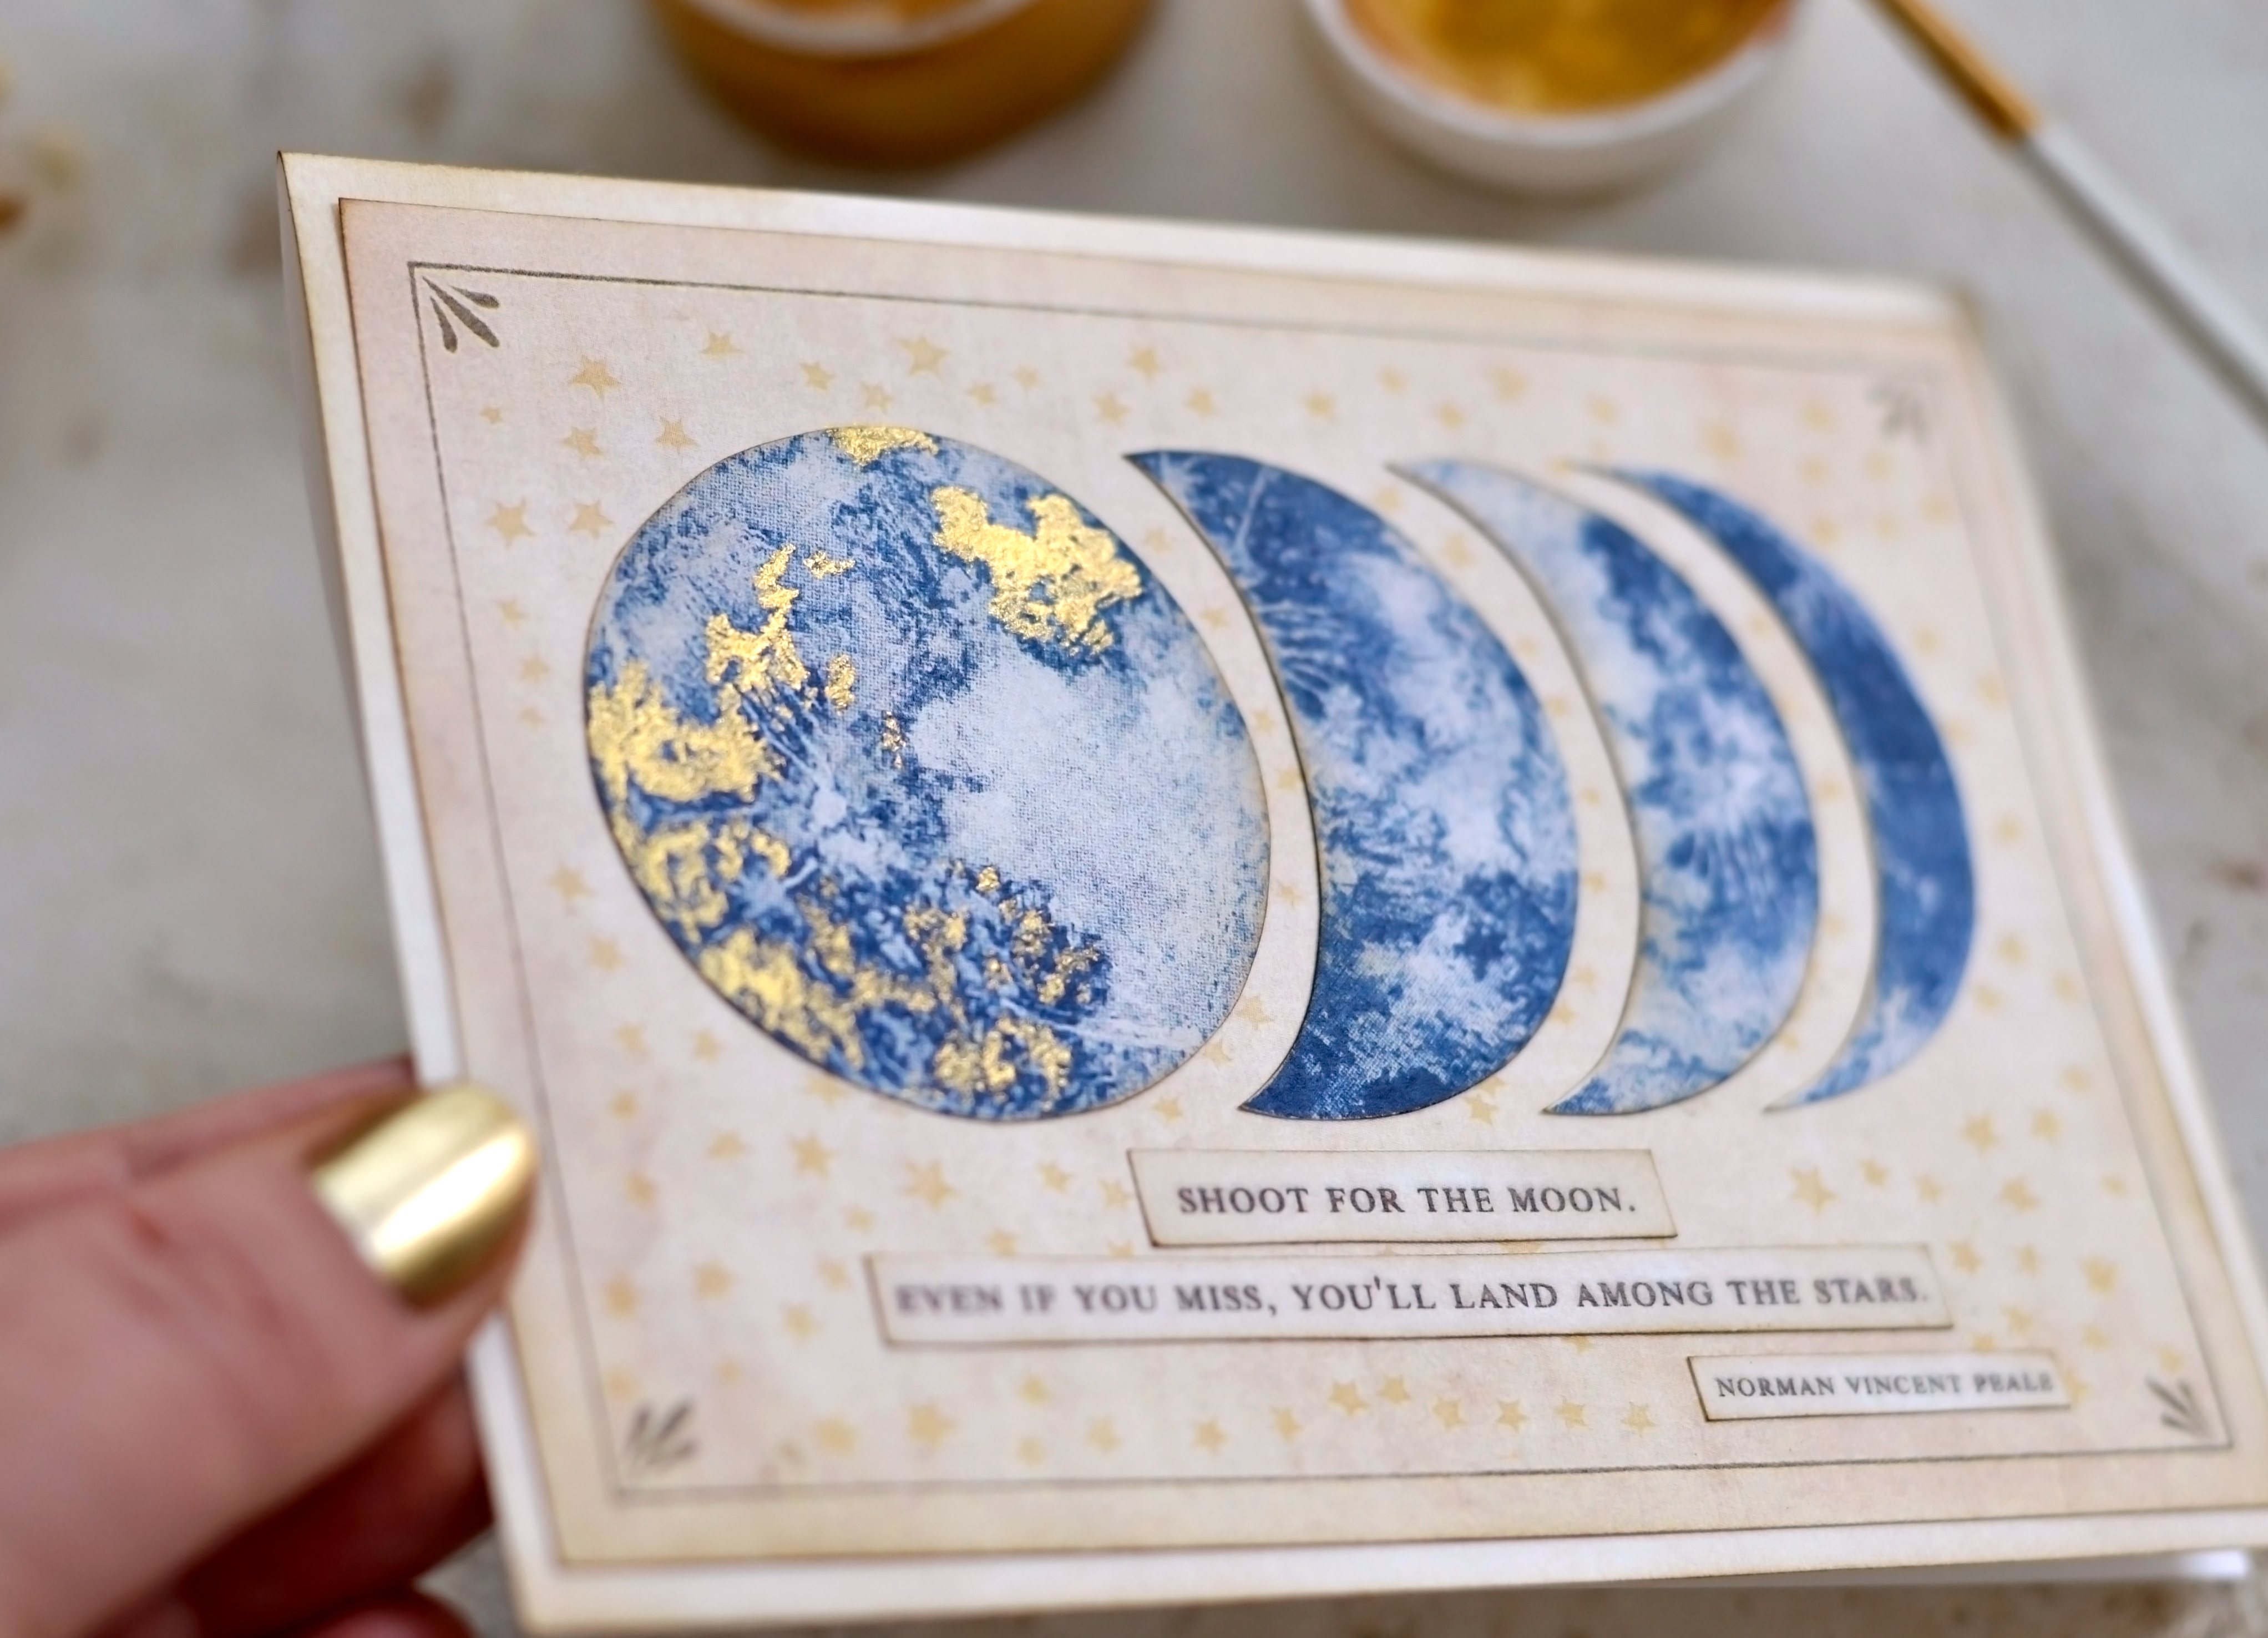
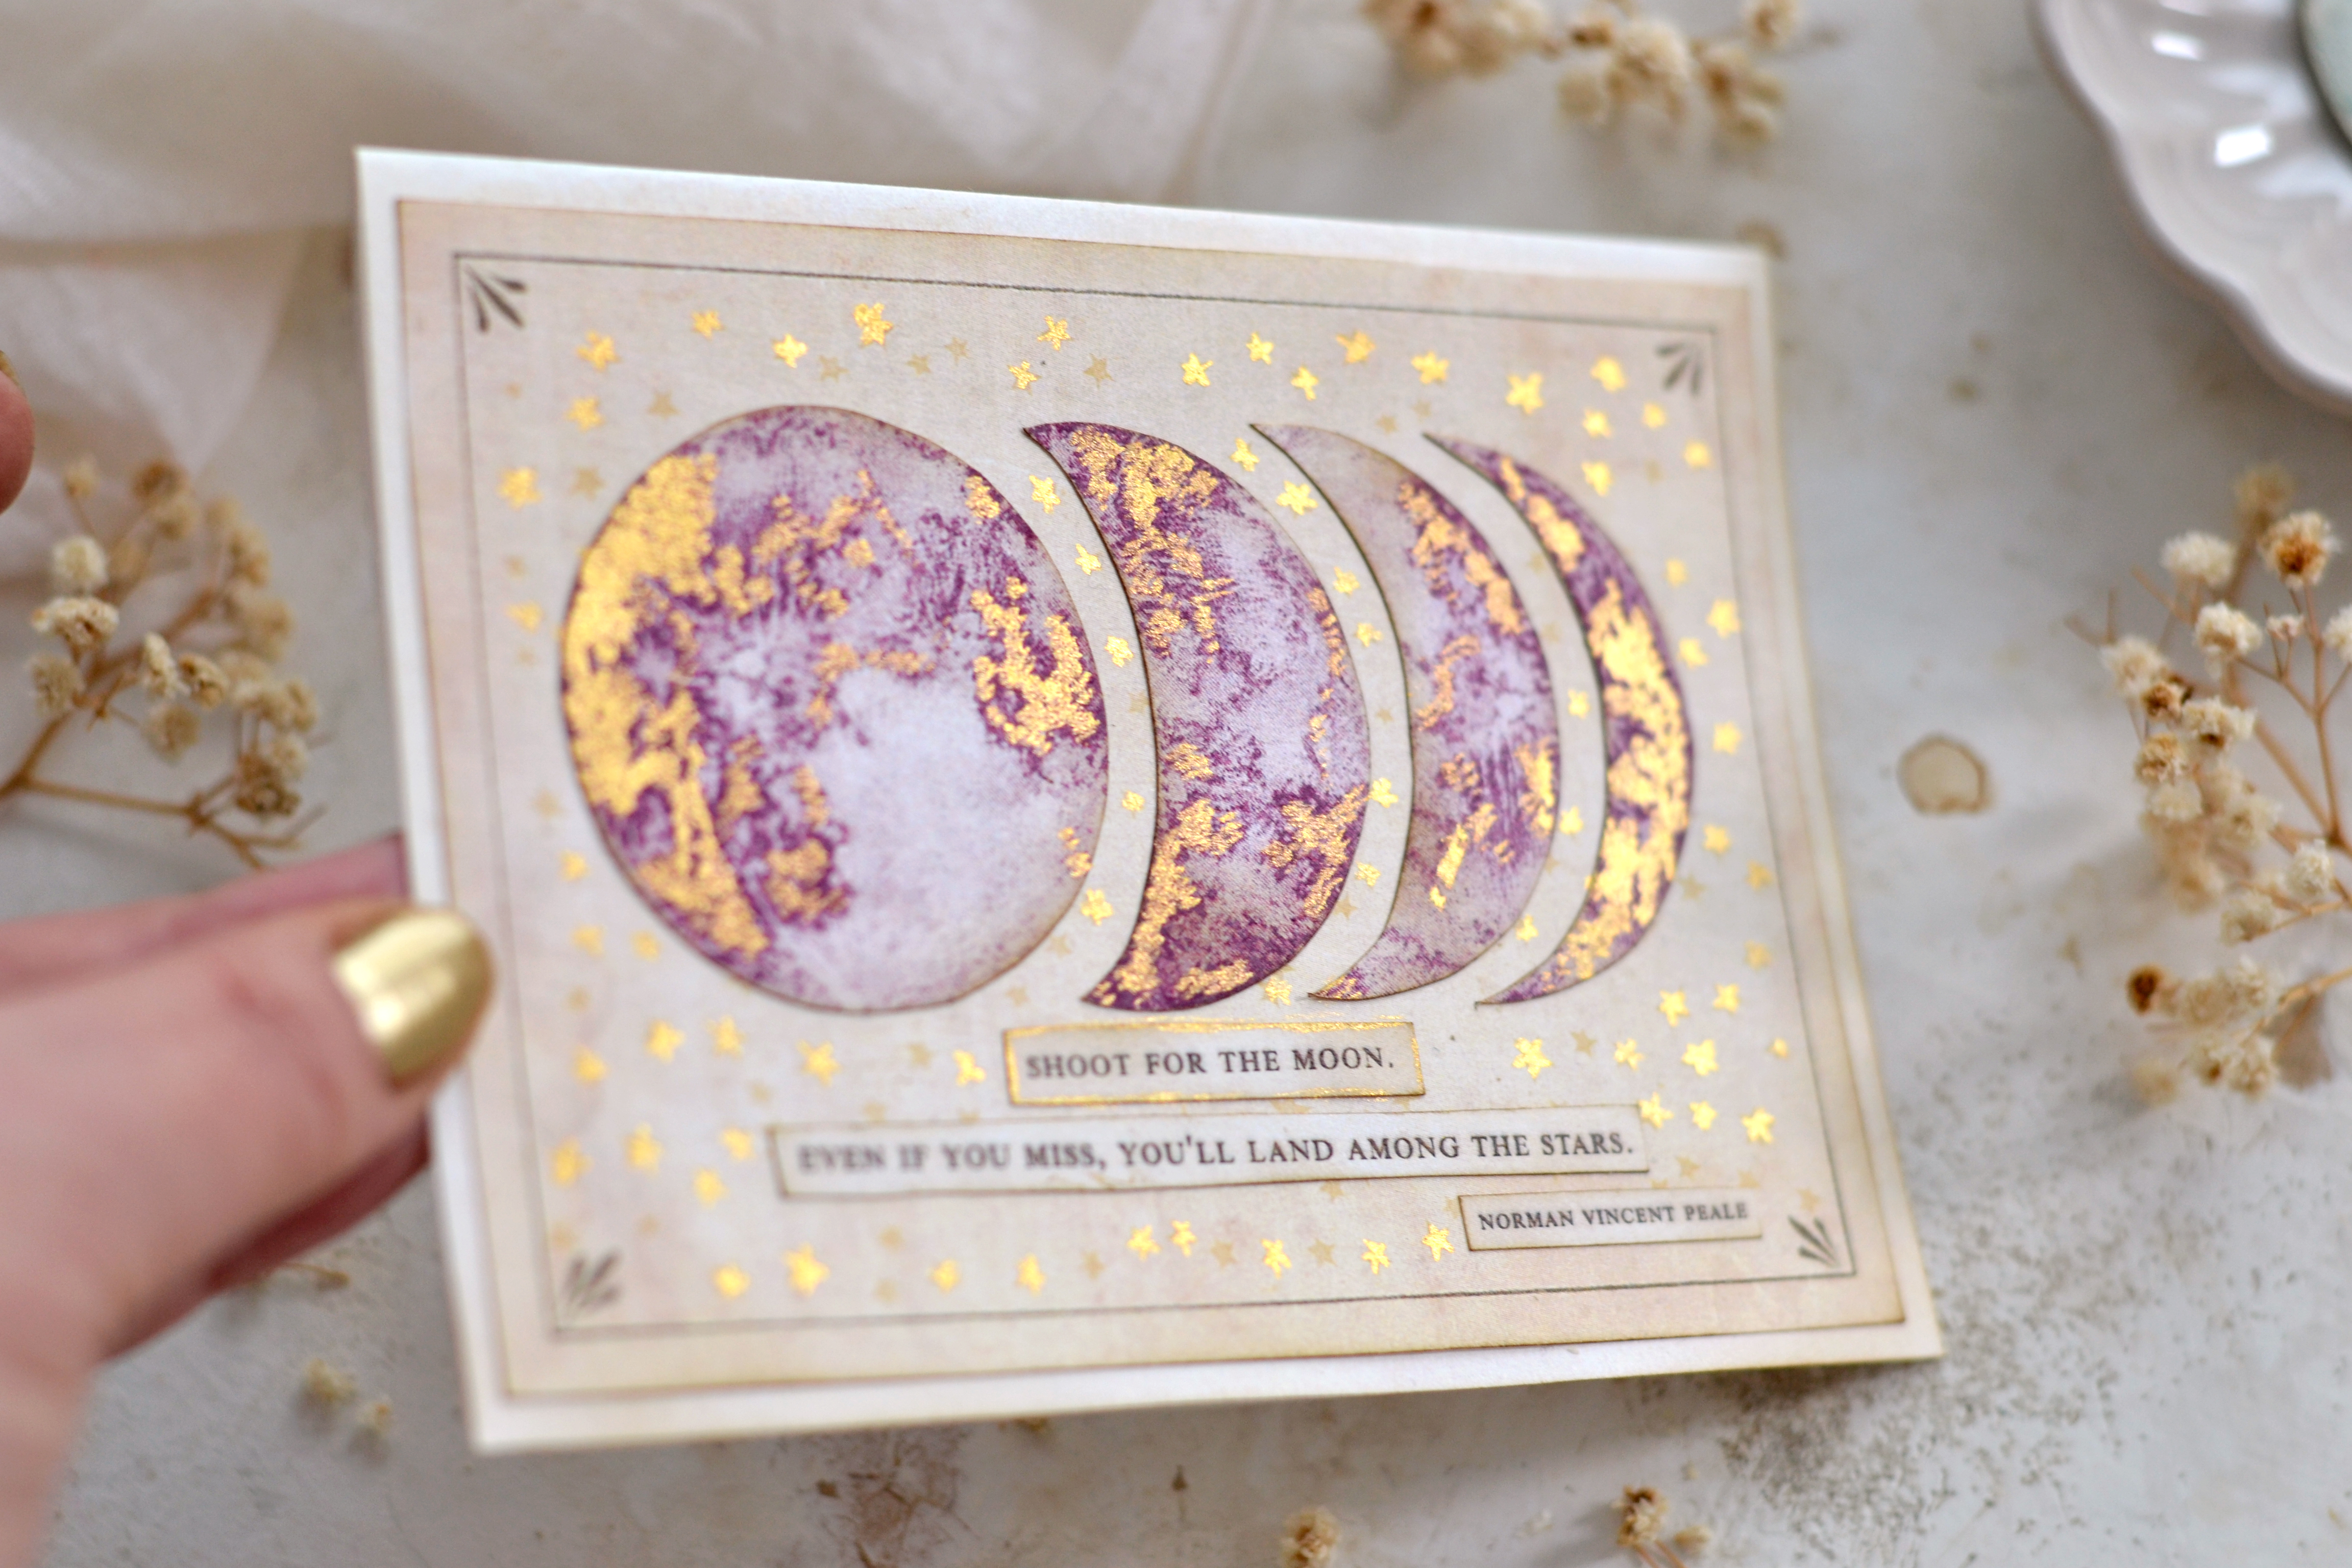
As a final touch, I’ve decided to add a little bit of gold! Gold has the power to bring that nice element of surprise in such a subtle and elegant way, don’t you think? You don’t always see it’s there, but once you tilt your paper, you are able to admire it in all its glory.
Moon Craft Printable Cards:
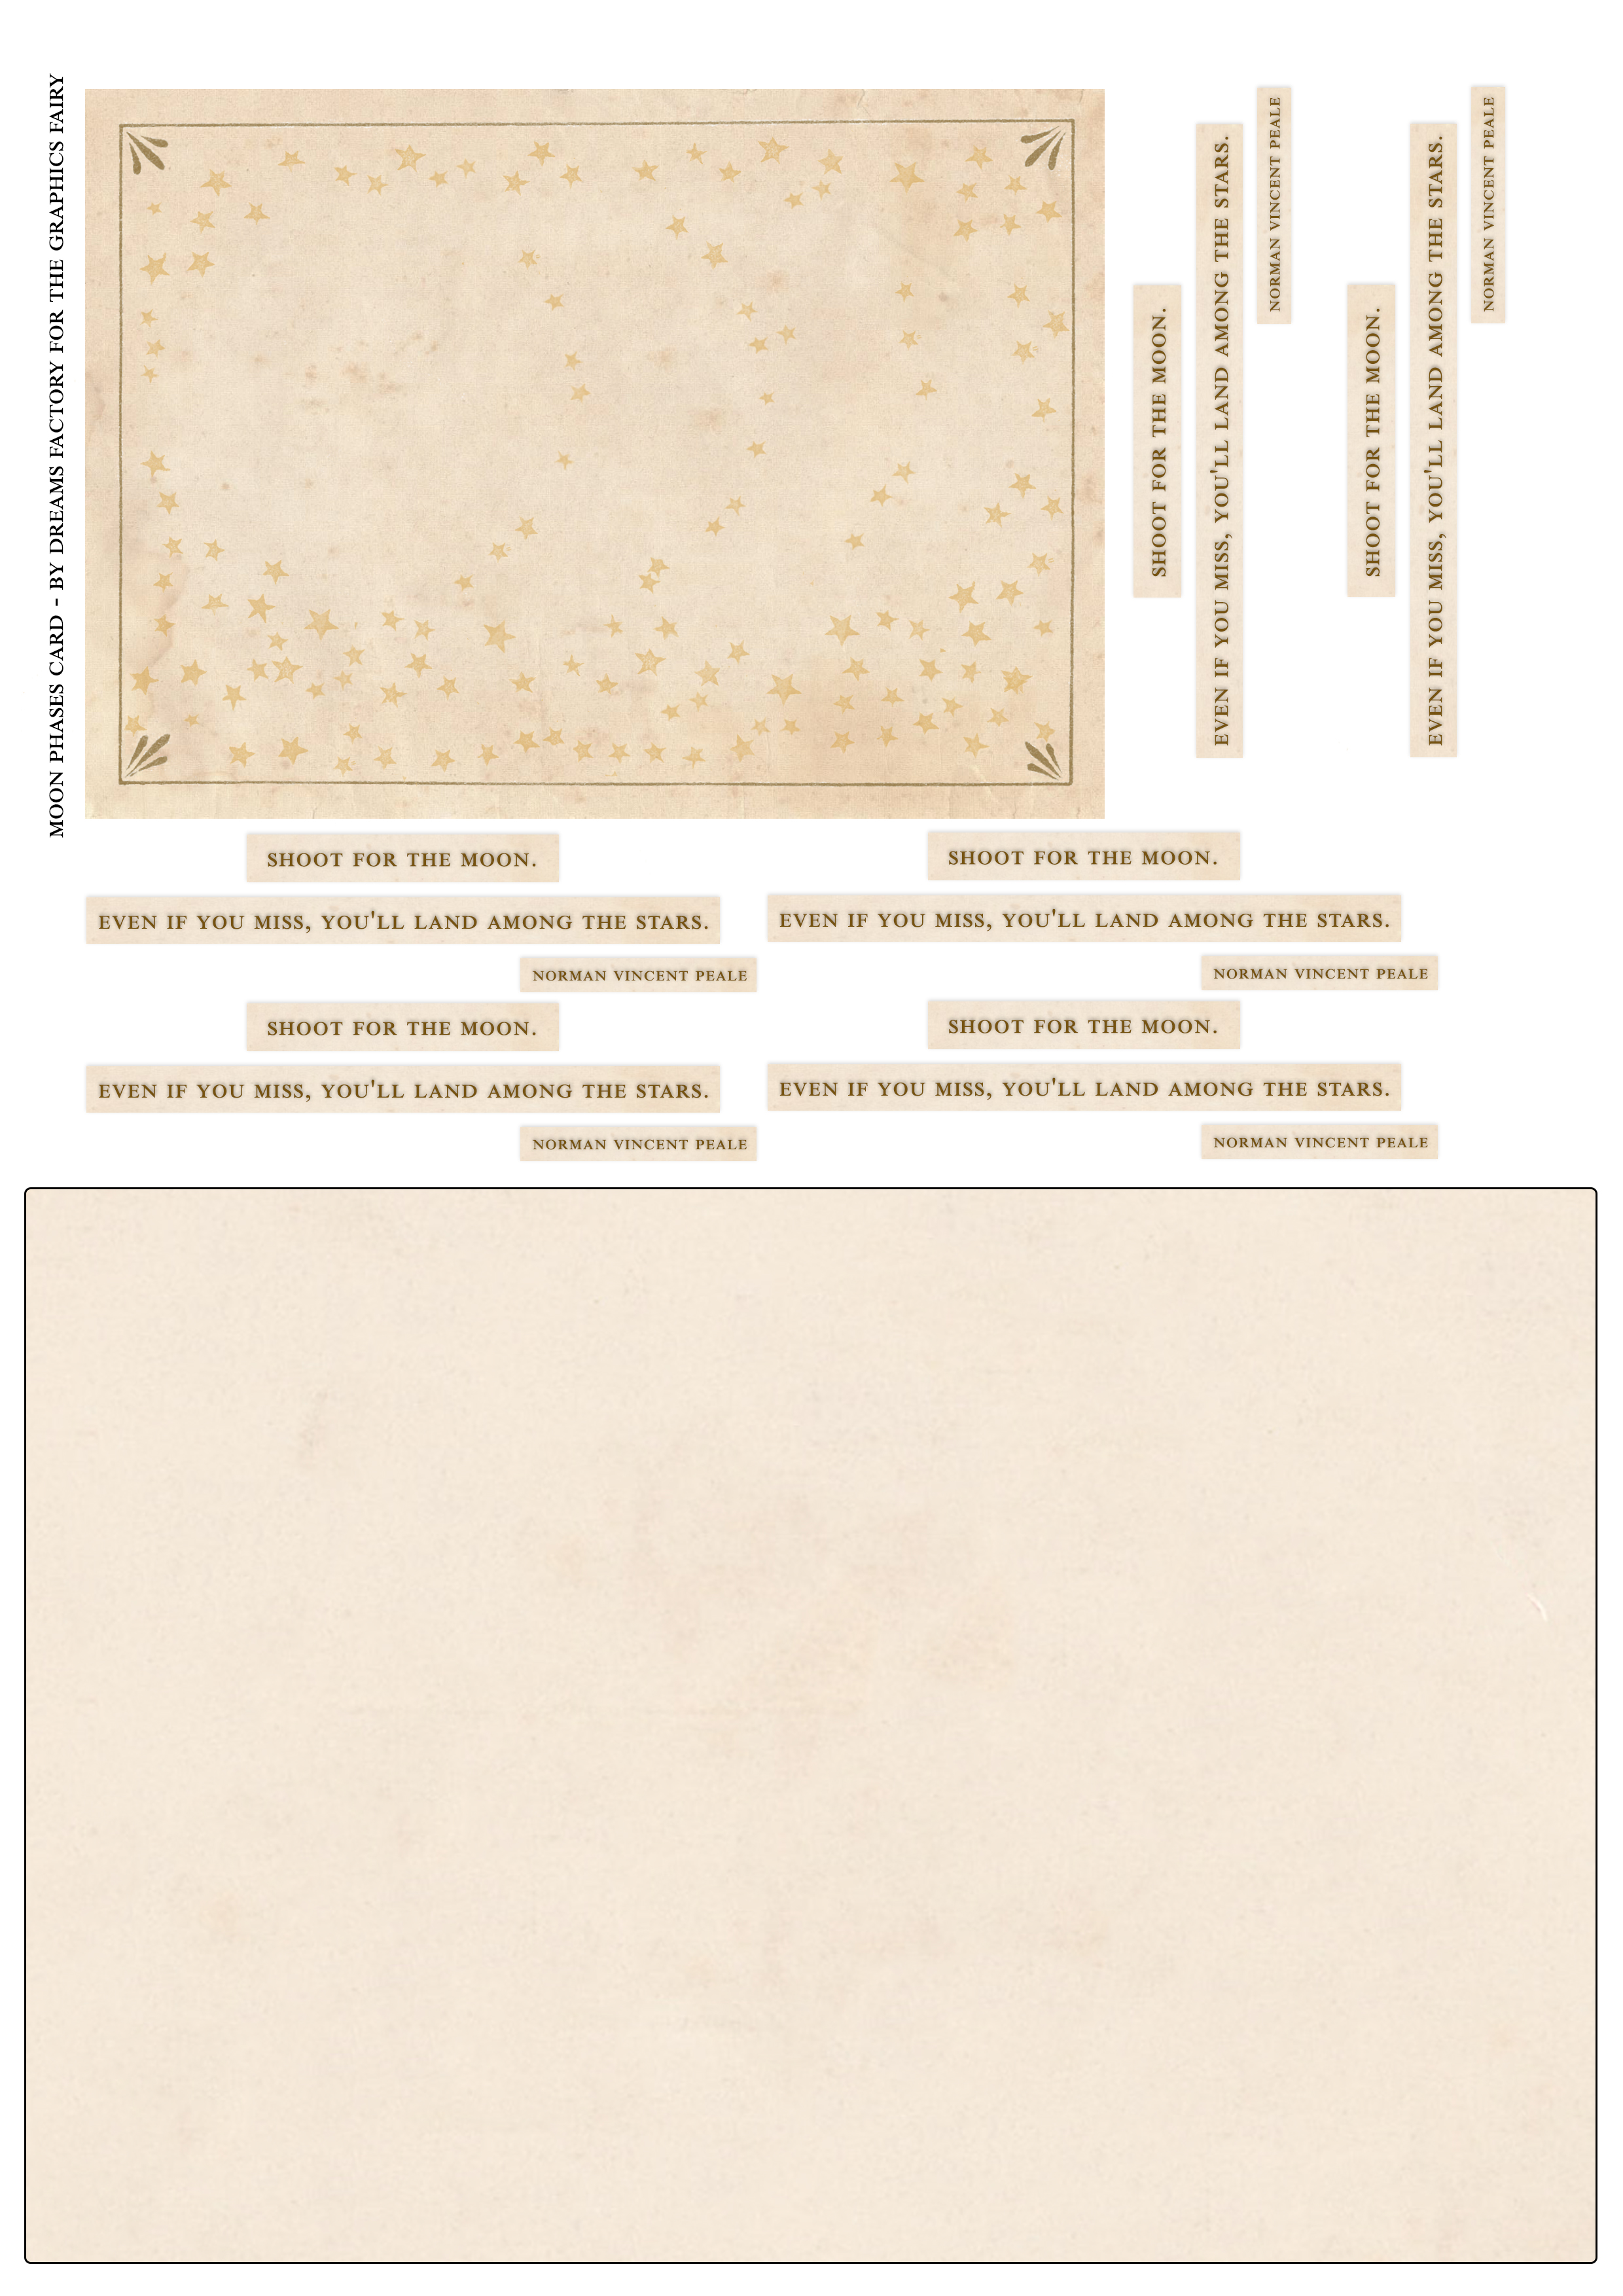
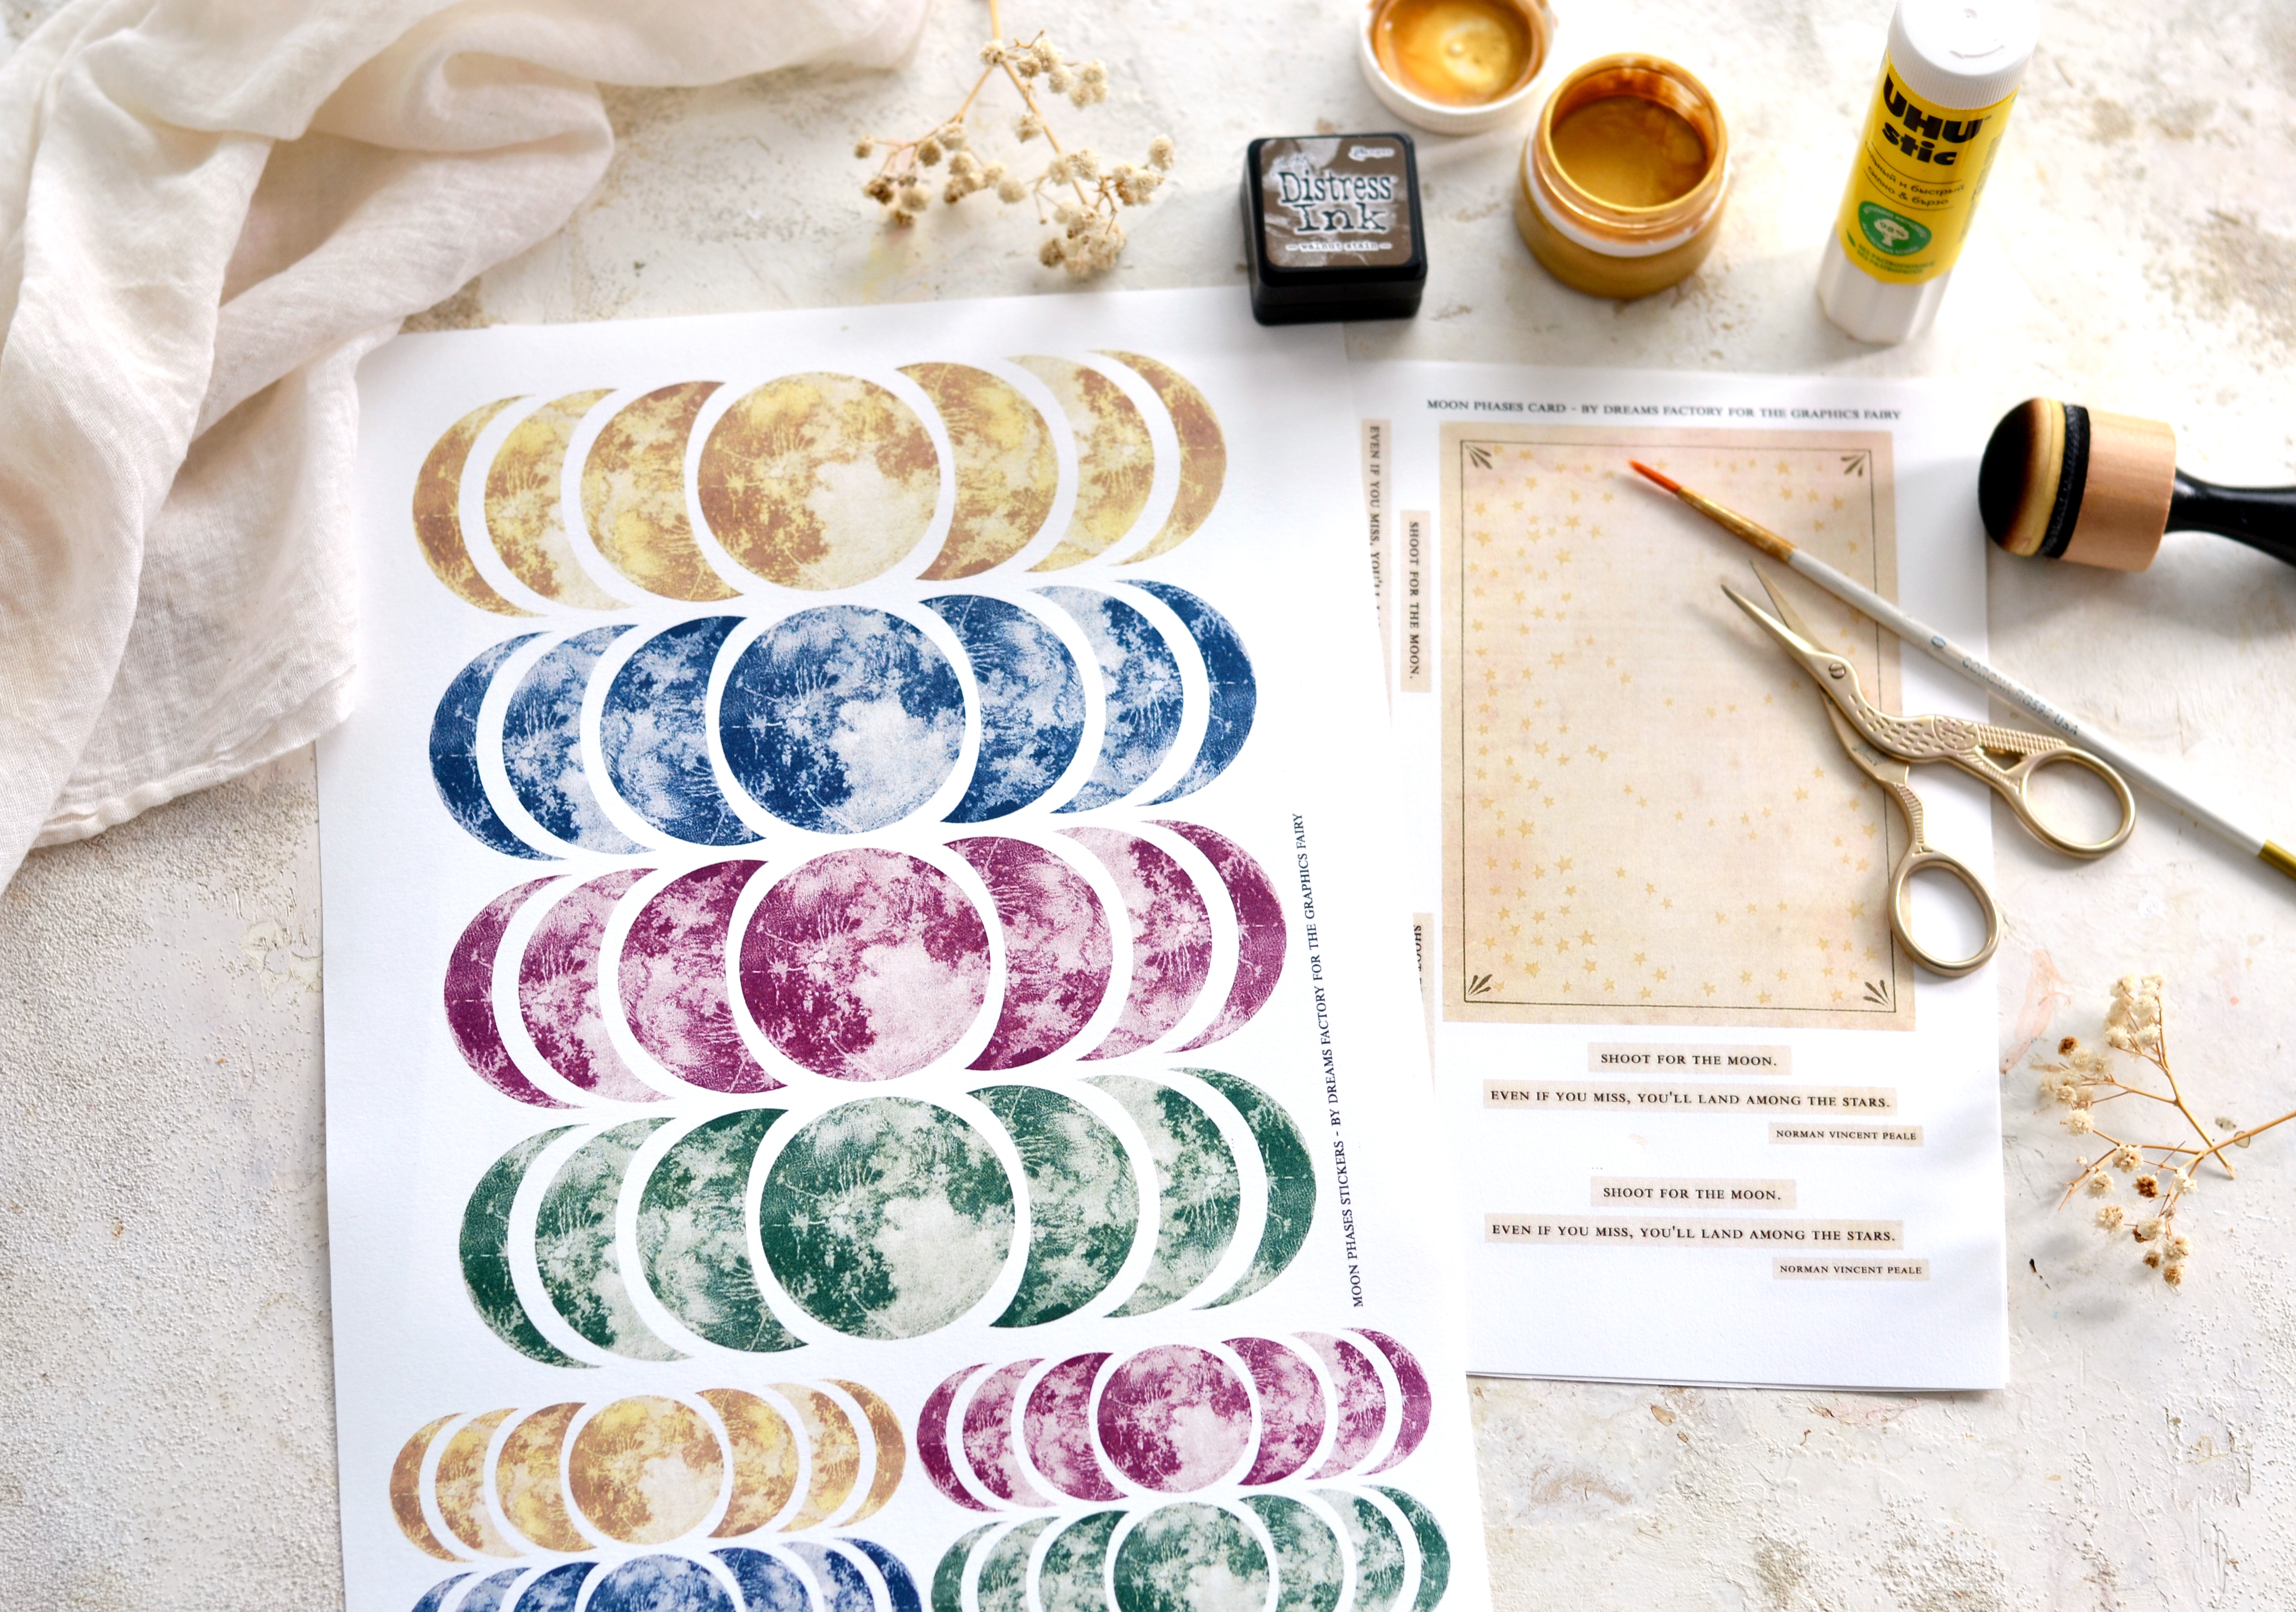
There are actually 2 printables that will help you create the moon phases cards, you will find below:
- a printable with the base and the top for the cards – I’ve also included this lovely quote: ‘Shoot for the moon. Even if you miss, you’ll land among the stars’ by Norman Vincent Peale; you’ll need to print this printable 1 time to make 1 card, just print it as many times as you want if you are planning on making several cards
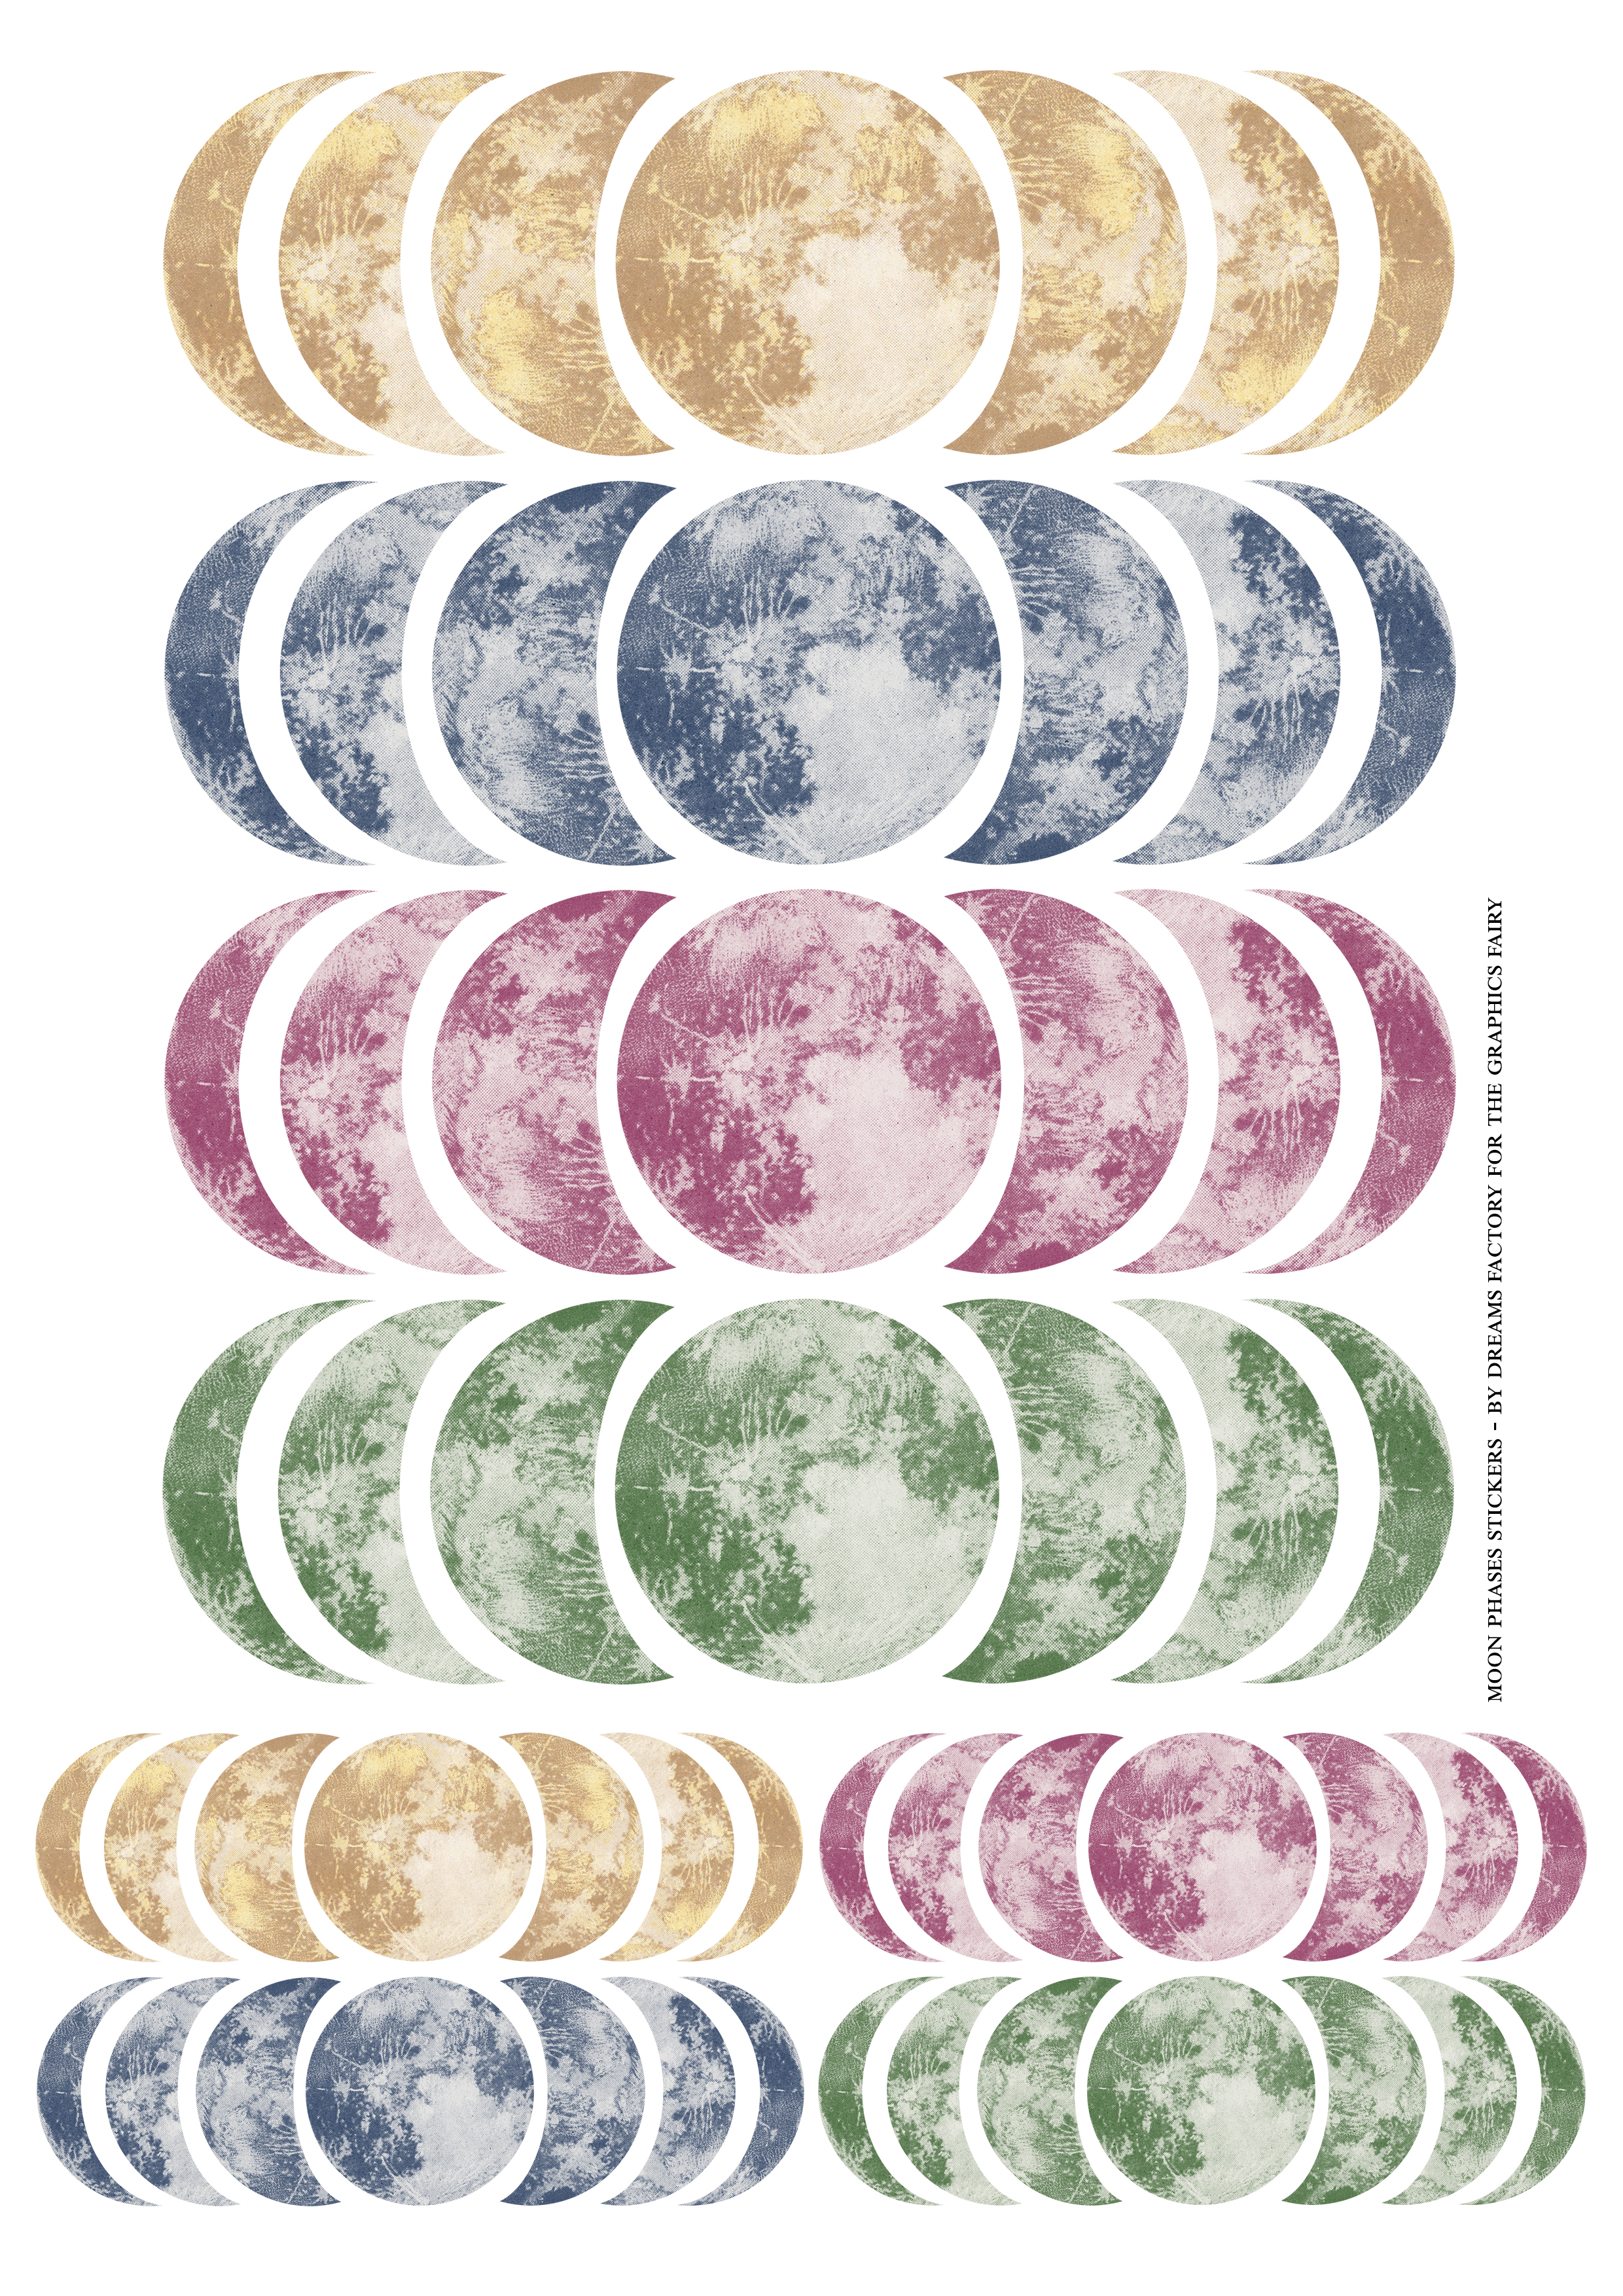
- a printable with the colored moons – you’ll need the large versions of the moons for the cards and I’ve also included on the same printable a few smaller versions that can be used as stickers in other creative projects; you’ll need to print this printable 1 time and you will be able to make 4 different colored cards.
—-> Click HERE to Download the Full Size Printable PDF – the base <—-
—-> Click HERE to Download the Full Size Printable PDF – the moon stickers <—-
DIY MOON CRAFT CARDS SUPPLIES:
- cardstock paper to print the card printable
- cardstock paper OR sticker paper to print the moon printable
- home printer
- scissors
- bone folder
- mini distress inks
- blending tool with foams (I prefer the domed ones)
- glue stick or any other paper glue
- gold acrylic paint OR gold watercolor paint OR gold gouache (I used gouache)
- a small brush
- a fine tip small brush
Instructions:
Start by printing the two printables on cardstock paper.
Keep in mind that if you are planning on making several cards, you’ll need to print the card template printable several times, depending on how many cards you are making – I’ve printed mine 3 times to make 3 cards.
If you prefer to use sticker paper to print the moons, you can definitely do that!
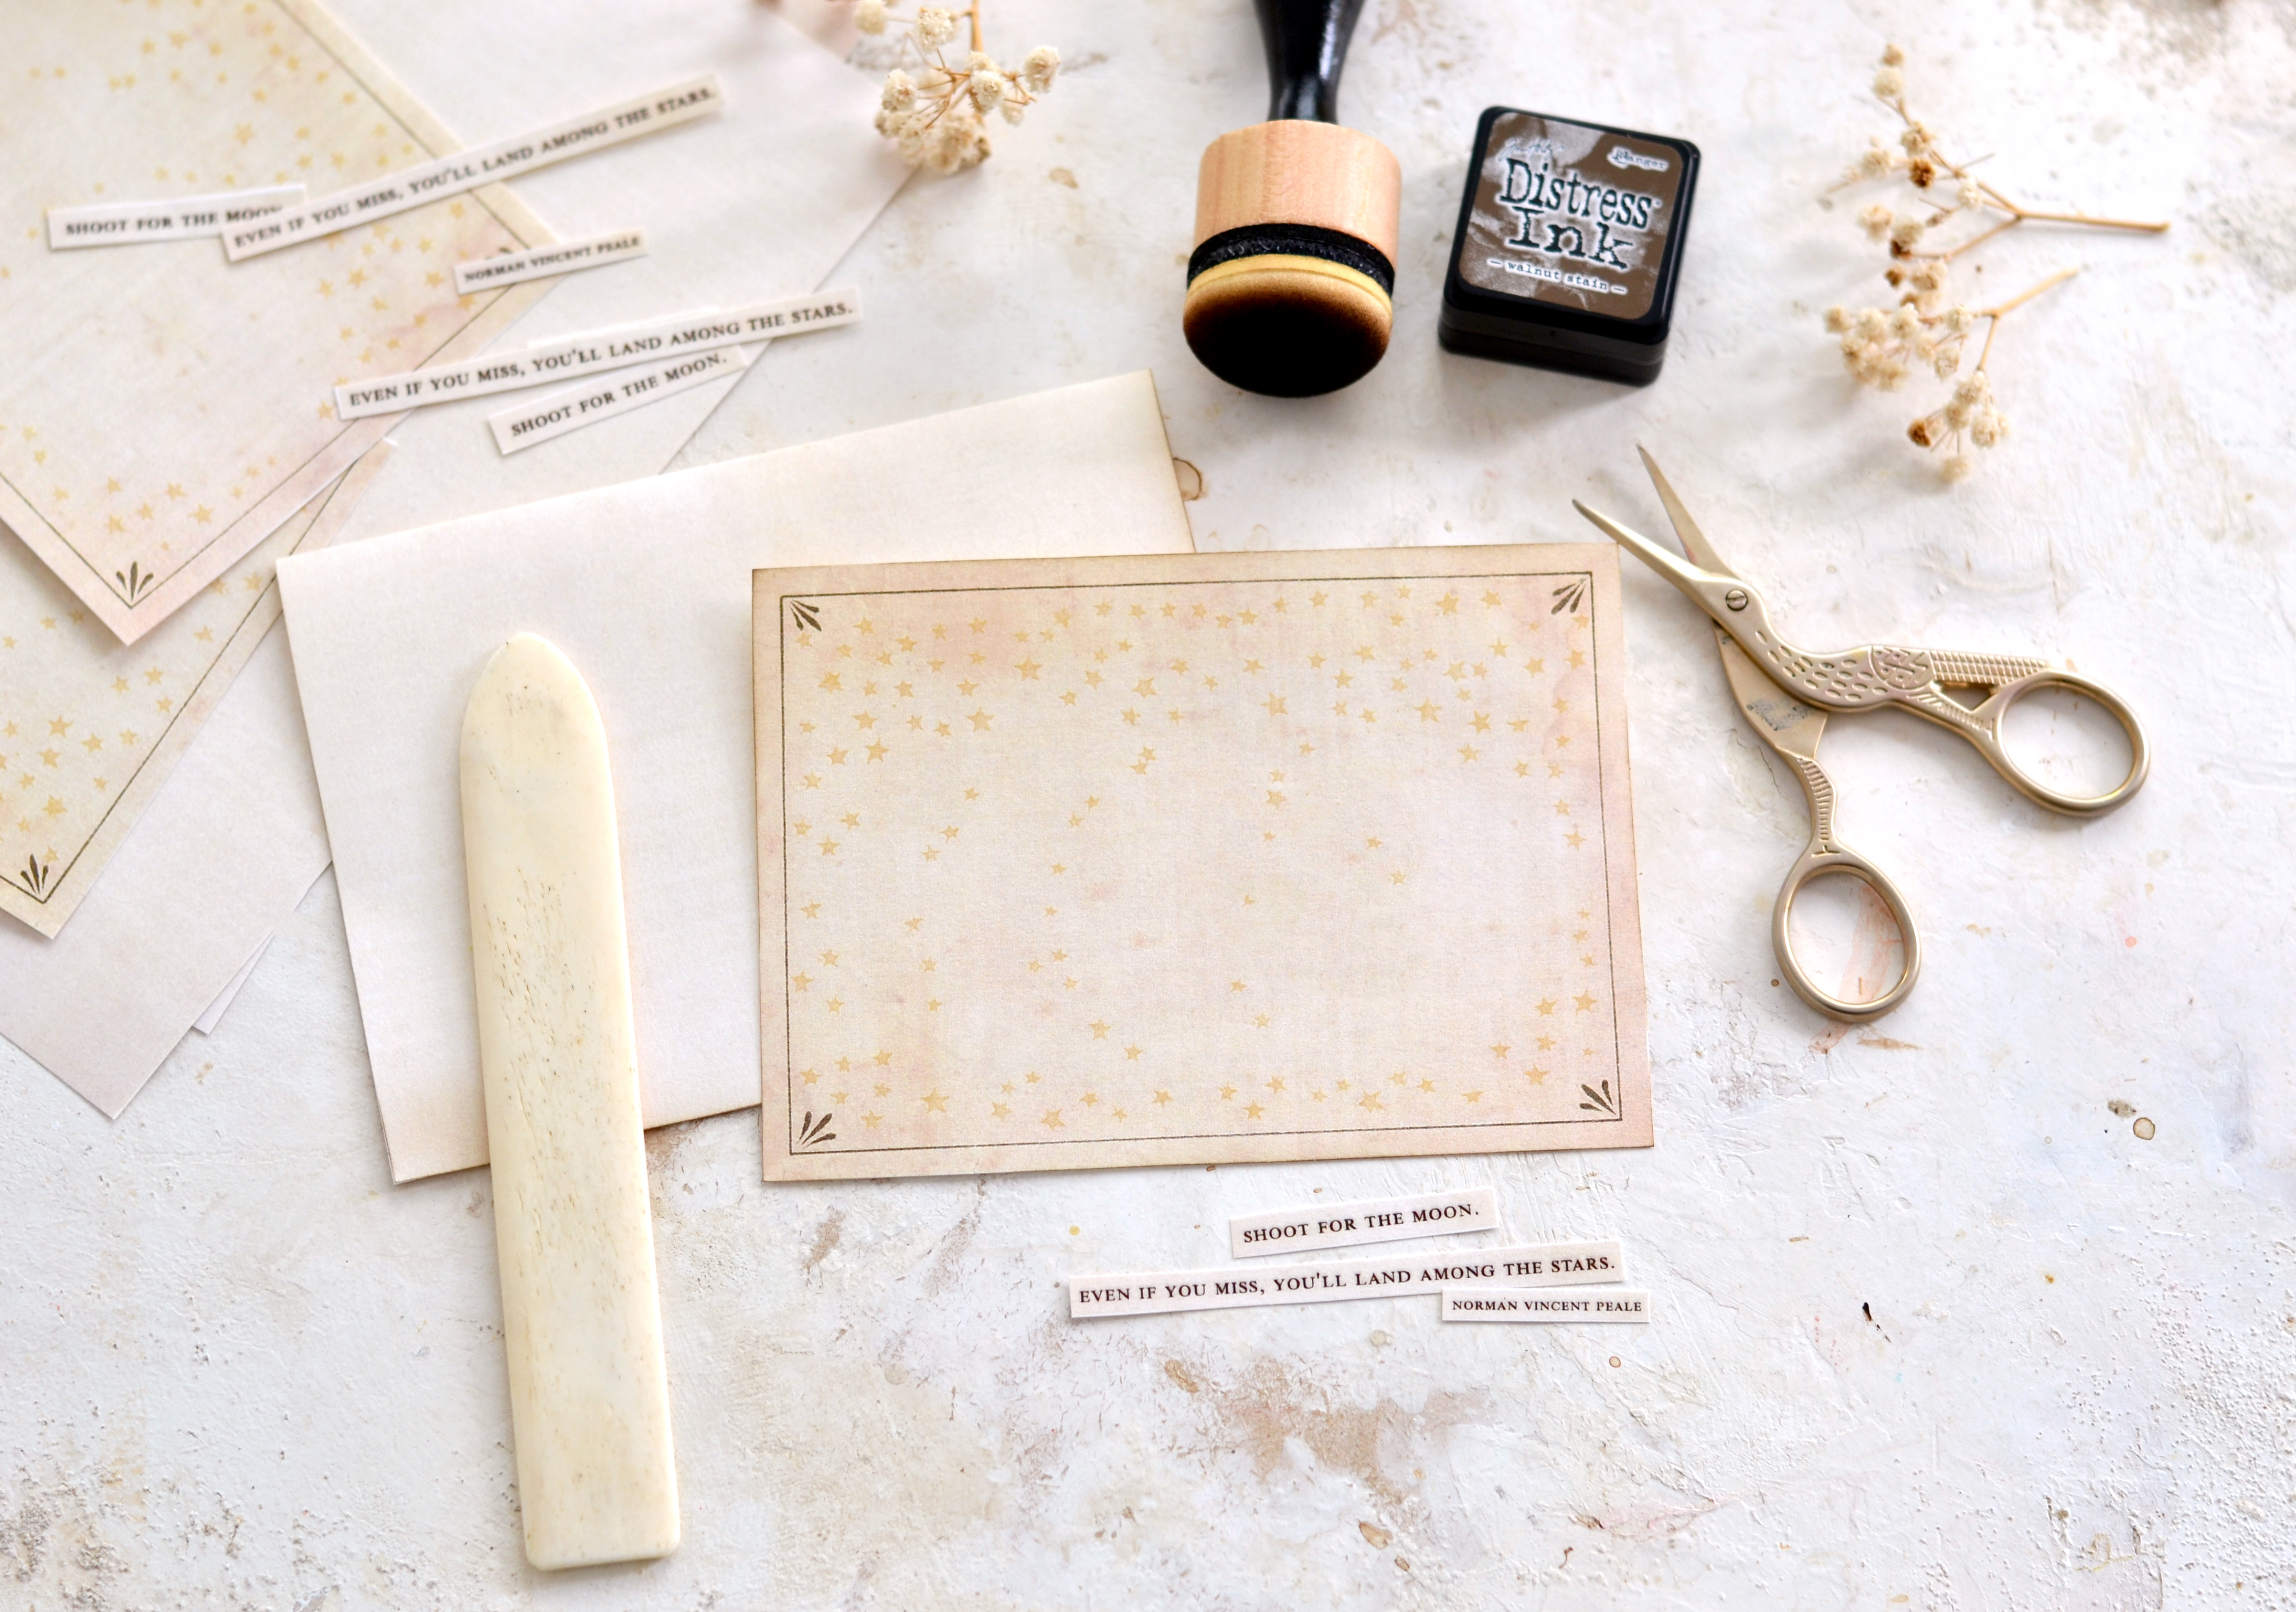
Use your scissors to cut the quote, the card top and the card base. Fold the card base in half using your fingers or if your cardstock is heavy, use a bone folder to get a clean line.
If you want to distress the edges and give the paper a worn look, use your favorite distress inks – I used Walnut Stain.
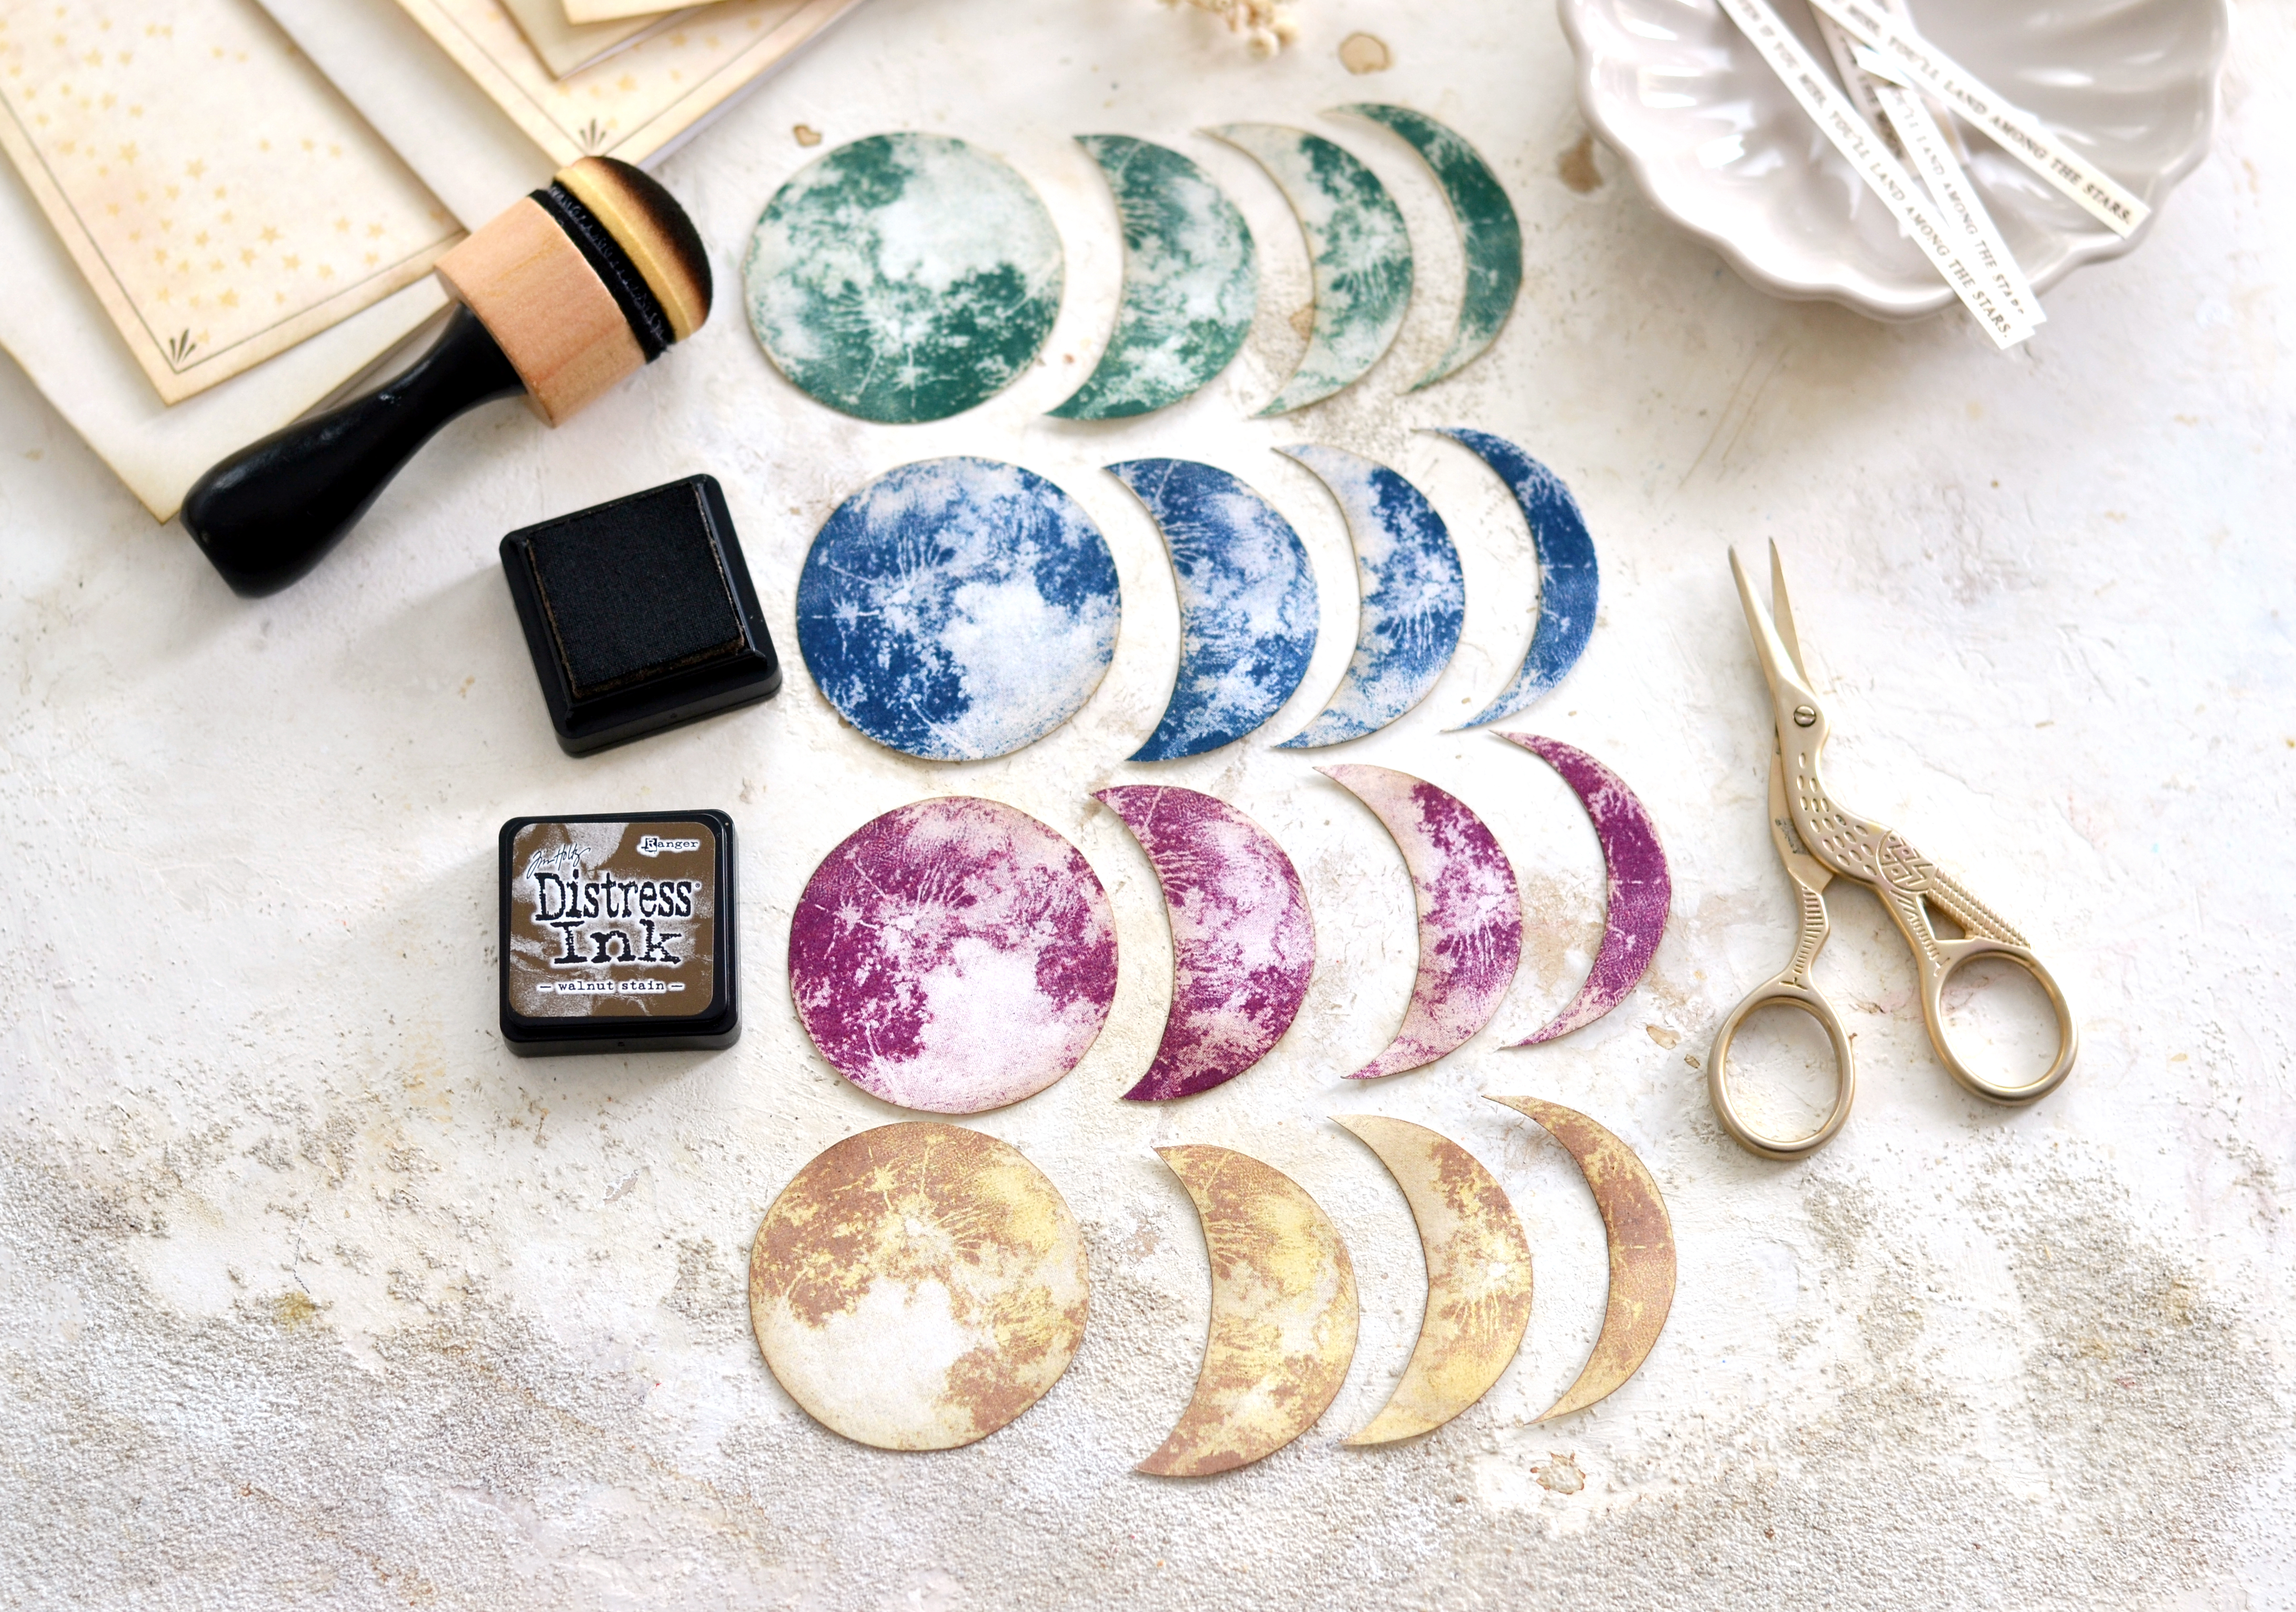
Decide on which colors to use on your cards. Tough decision, I know! You will need the full moons and the three other phases that can be found on the left/right side of the full moon. I’ve decided to cut all the colors at this stage because I couldn’t really decide which ones I love the most. The best part is that the leftover moons can be used on other projects afterward, so it’s great to have them around!
Distress the moons.
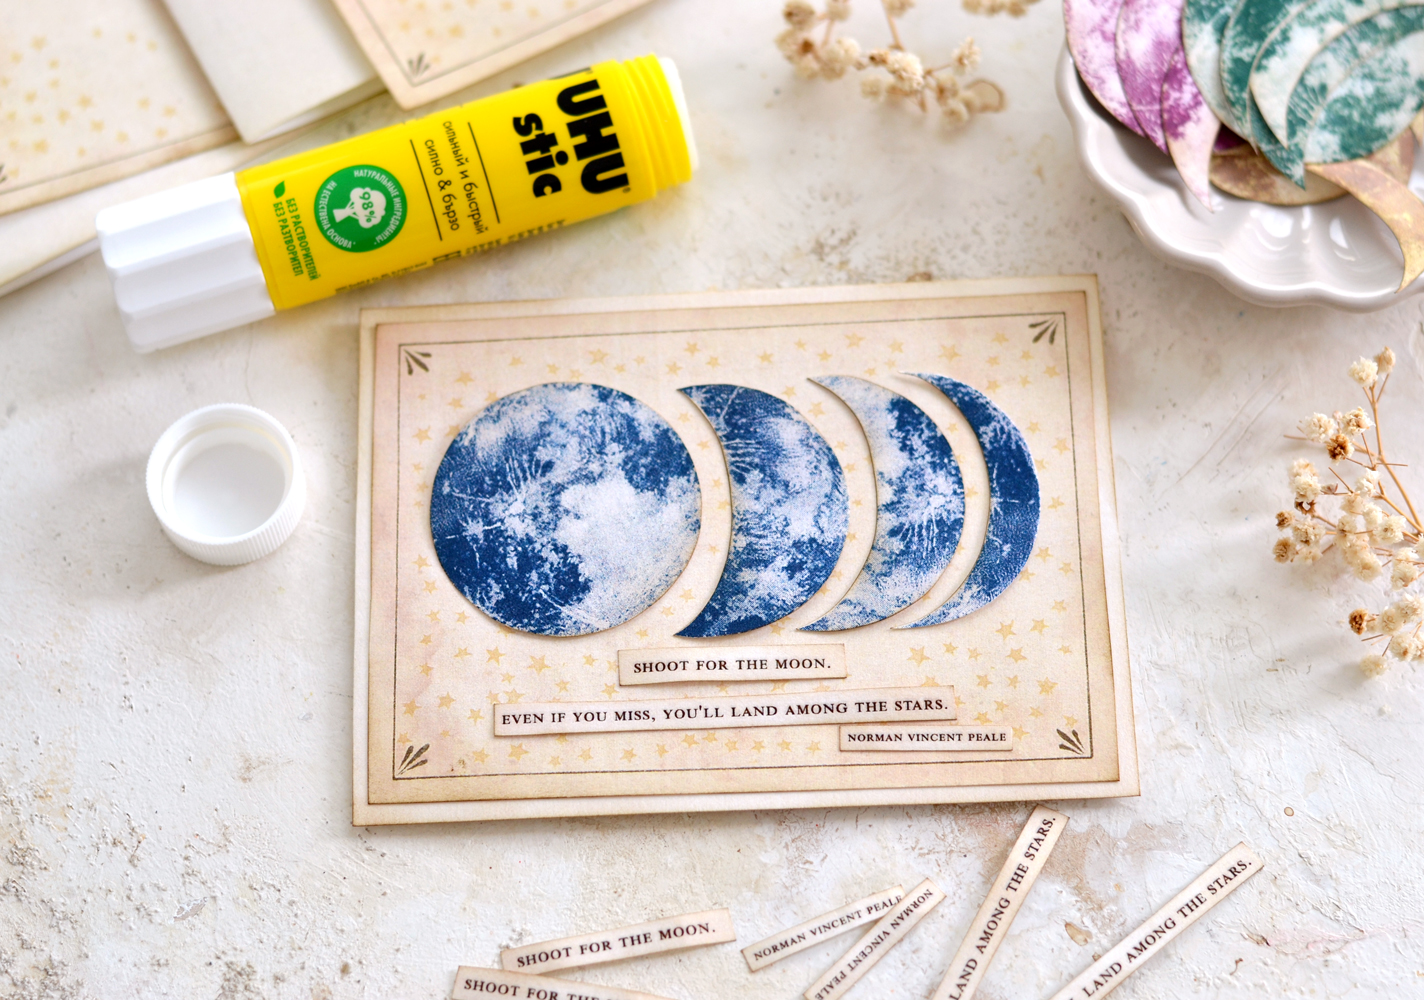
Use paper glue to adhere the top to the base. If you look really closely at our starry card, you will be able to see the blank spaces where to place the moons. I literally moved the stars for you and left some marks on the sky!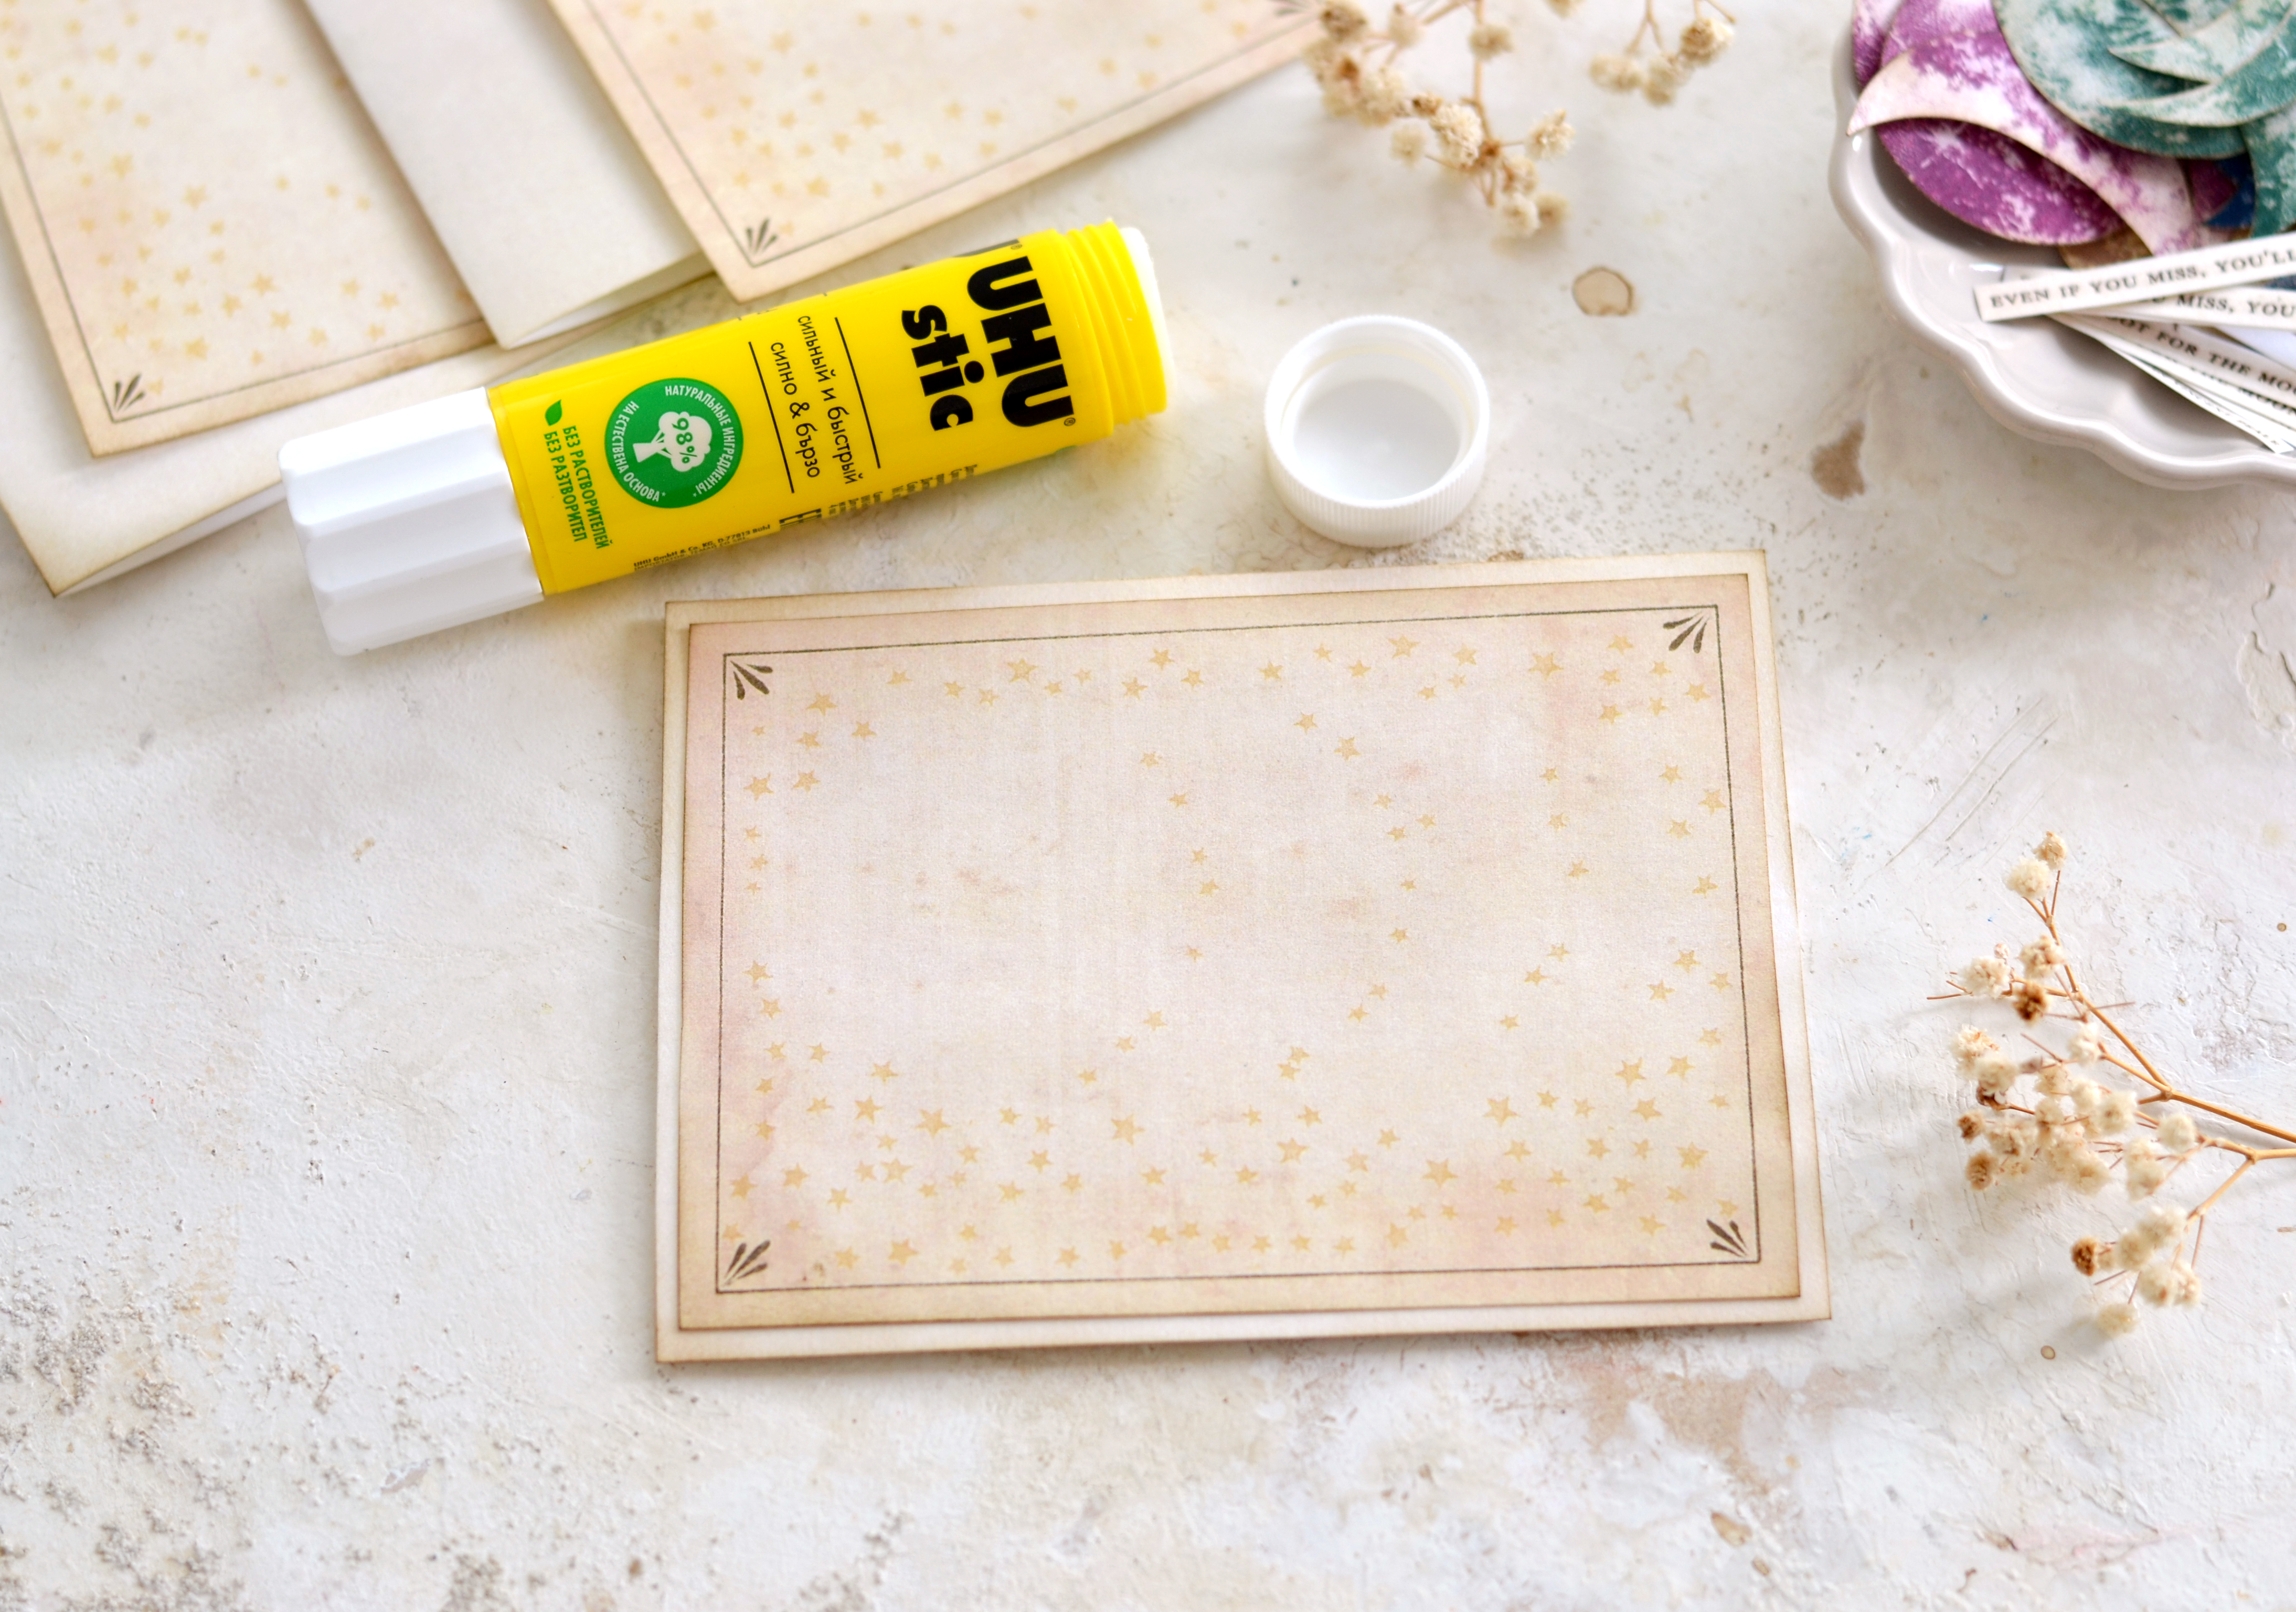
Place the moons and the quote sentiments on your card without gluing them at first. Arrange them so you get a sense of how the card will look, then permanently glue them using your paper glue of choice.
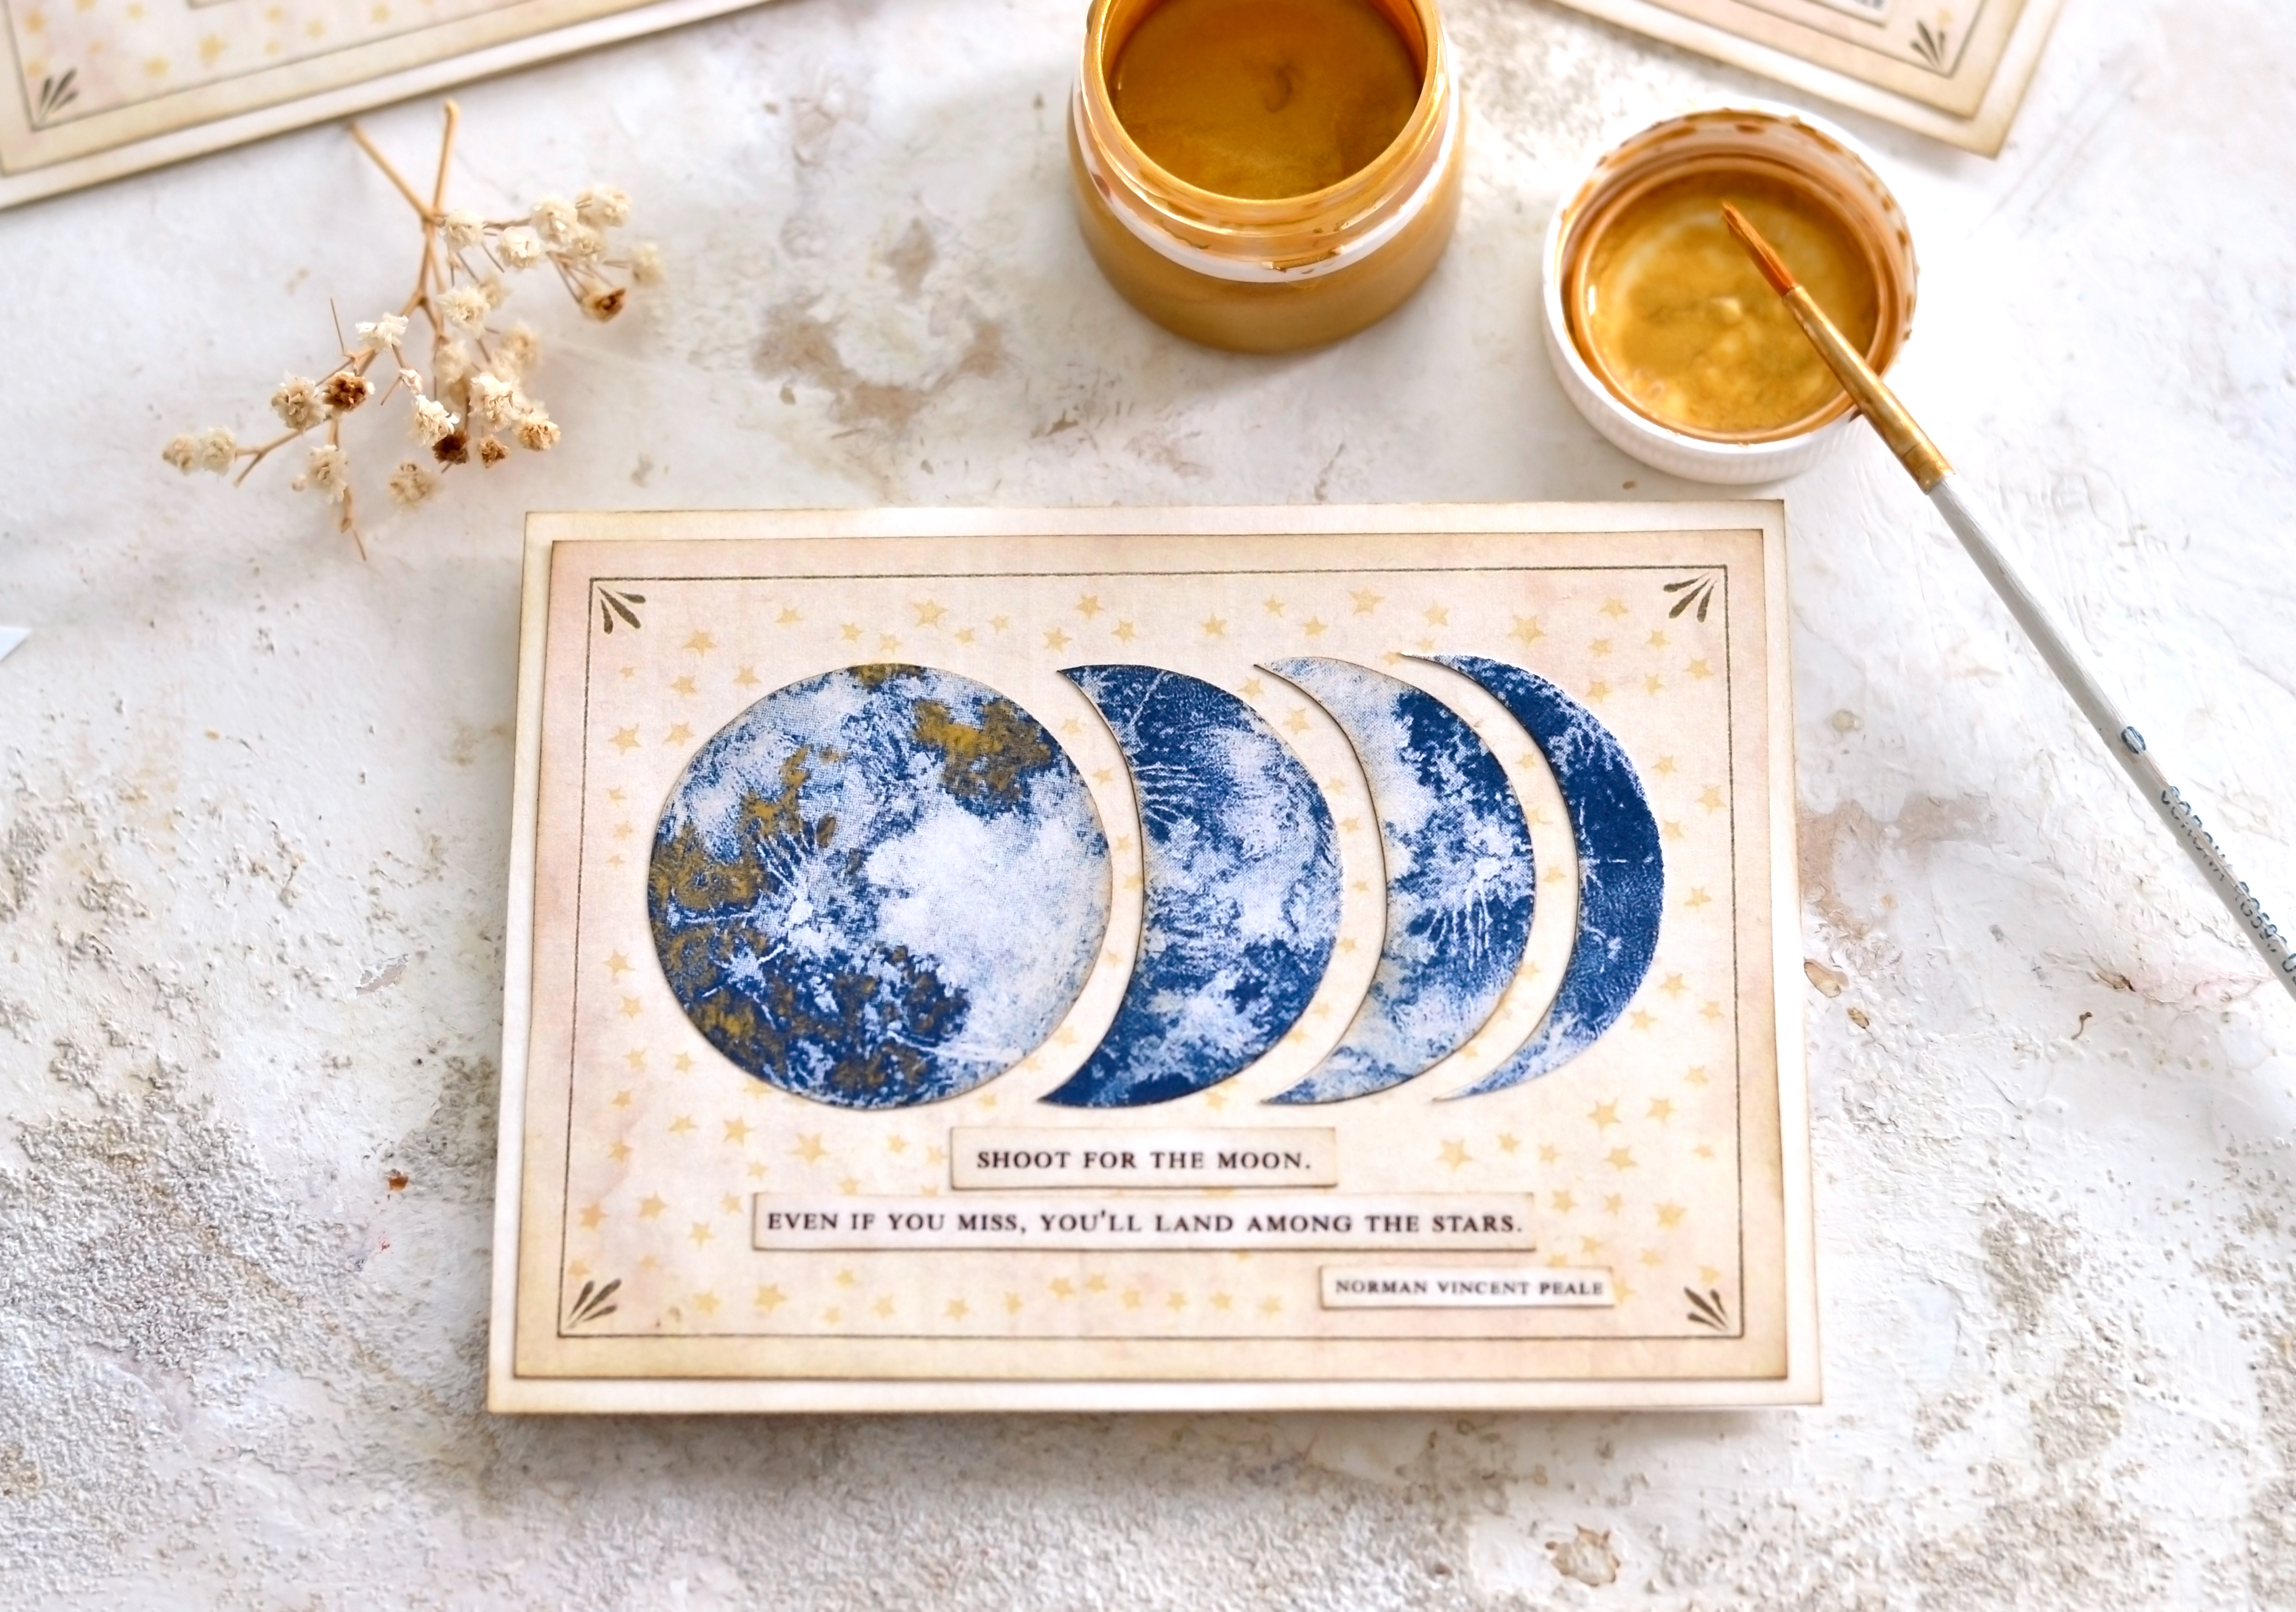
To add that nice golden surprise, you’ll need to use a small brush and a tiny bit of paint – I used gold gouaches today. I added a drop of water to my lid, then just used the paint that was already there to paint all the cards.
There is a trick that you can use to get that organic feel that will make our moons shine like they are actually made out of pure gold. The trick is to use a dabbing motion instead of just brushing the paint with regular brush strokes! It’s pretty cool once you get the hang of it, just use a tiny amount of paint and dab dab dab! Also, really important – you will only need to dab the gold paint over the darker surfaces while also keeping the design of the moon in mind! We are basically gilding the dark side of the moon, how cool is that?
Try not to completely cover the darker surfaces with paint, we still need to be able to see the design underneath. Tilt your paper from time to time to get a better view of your work so far. OK, a little happy dance would also be understandable at this point, you have just created this absolutely gorgeous piece of a golden moon!
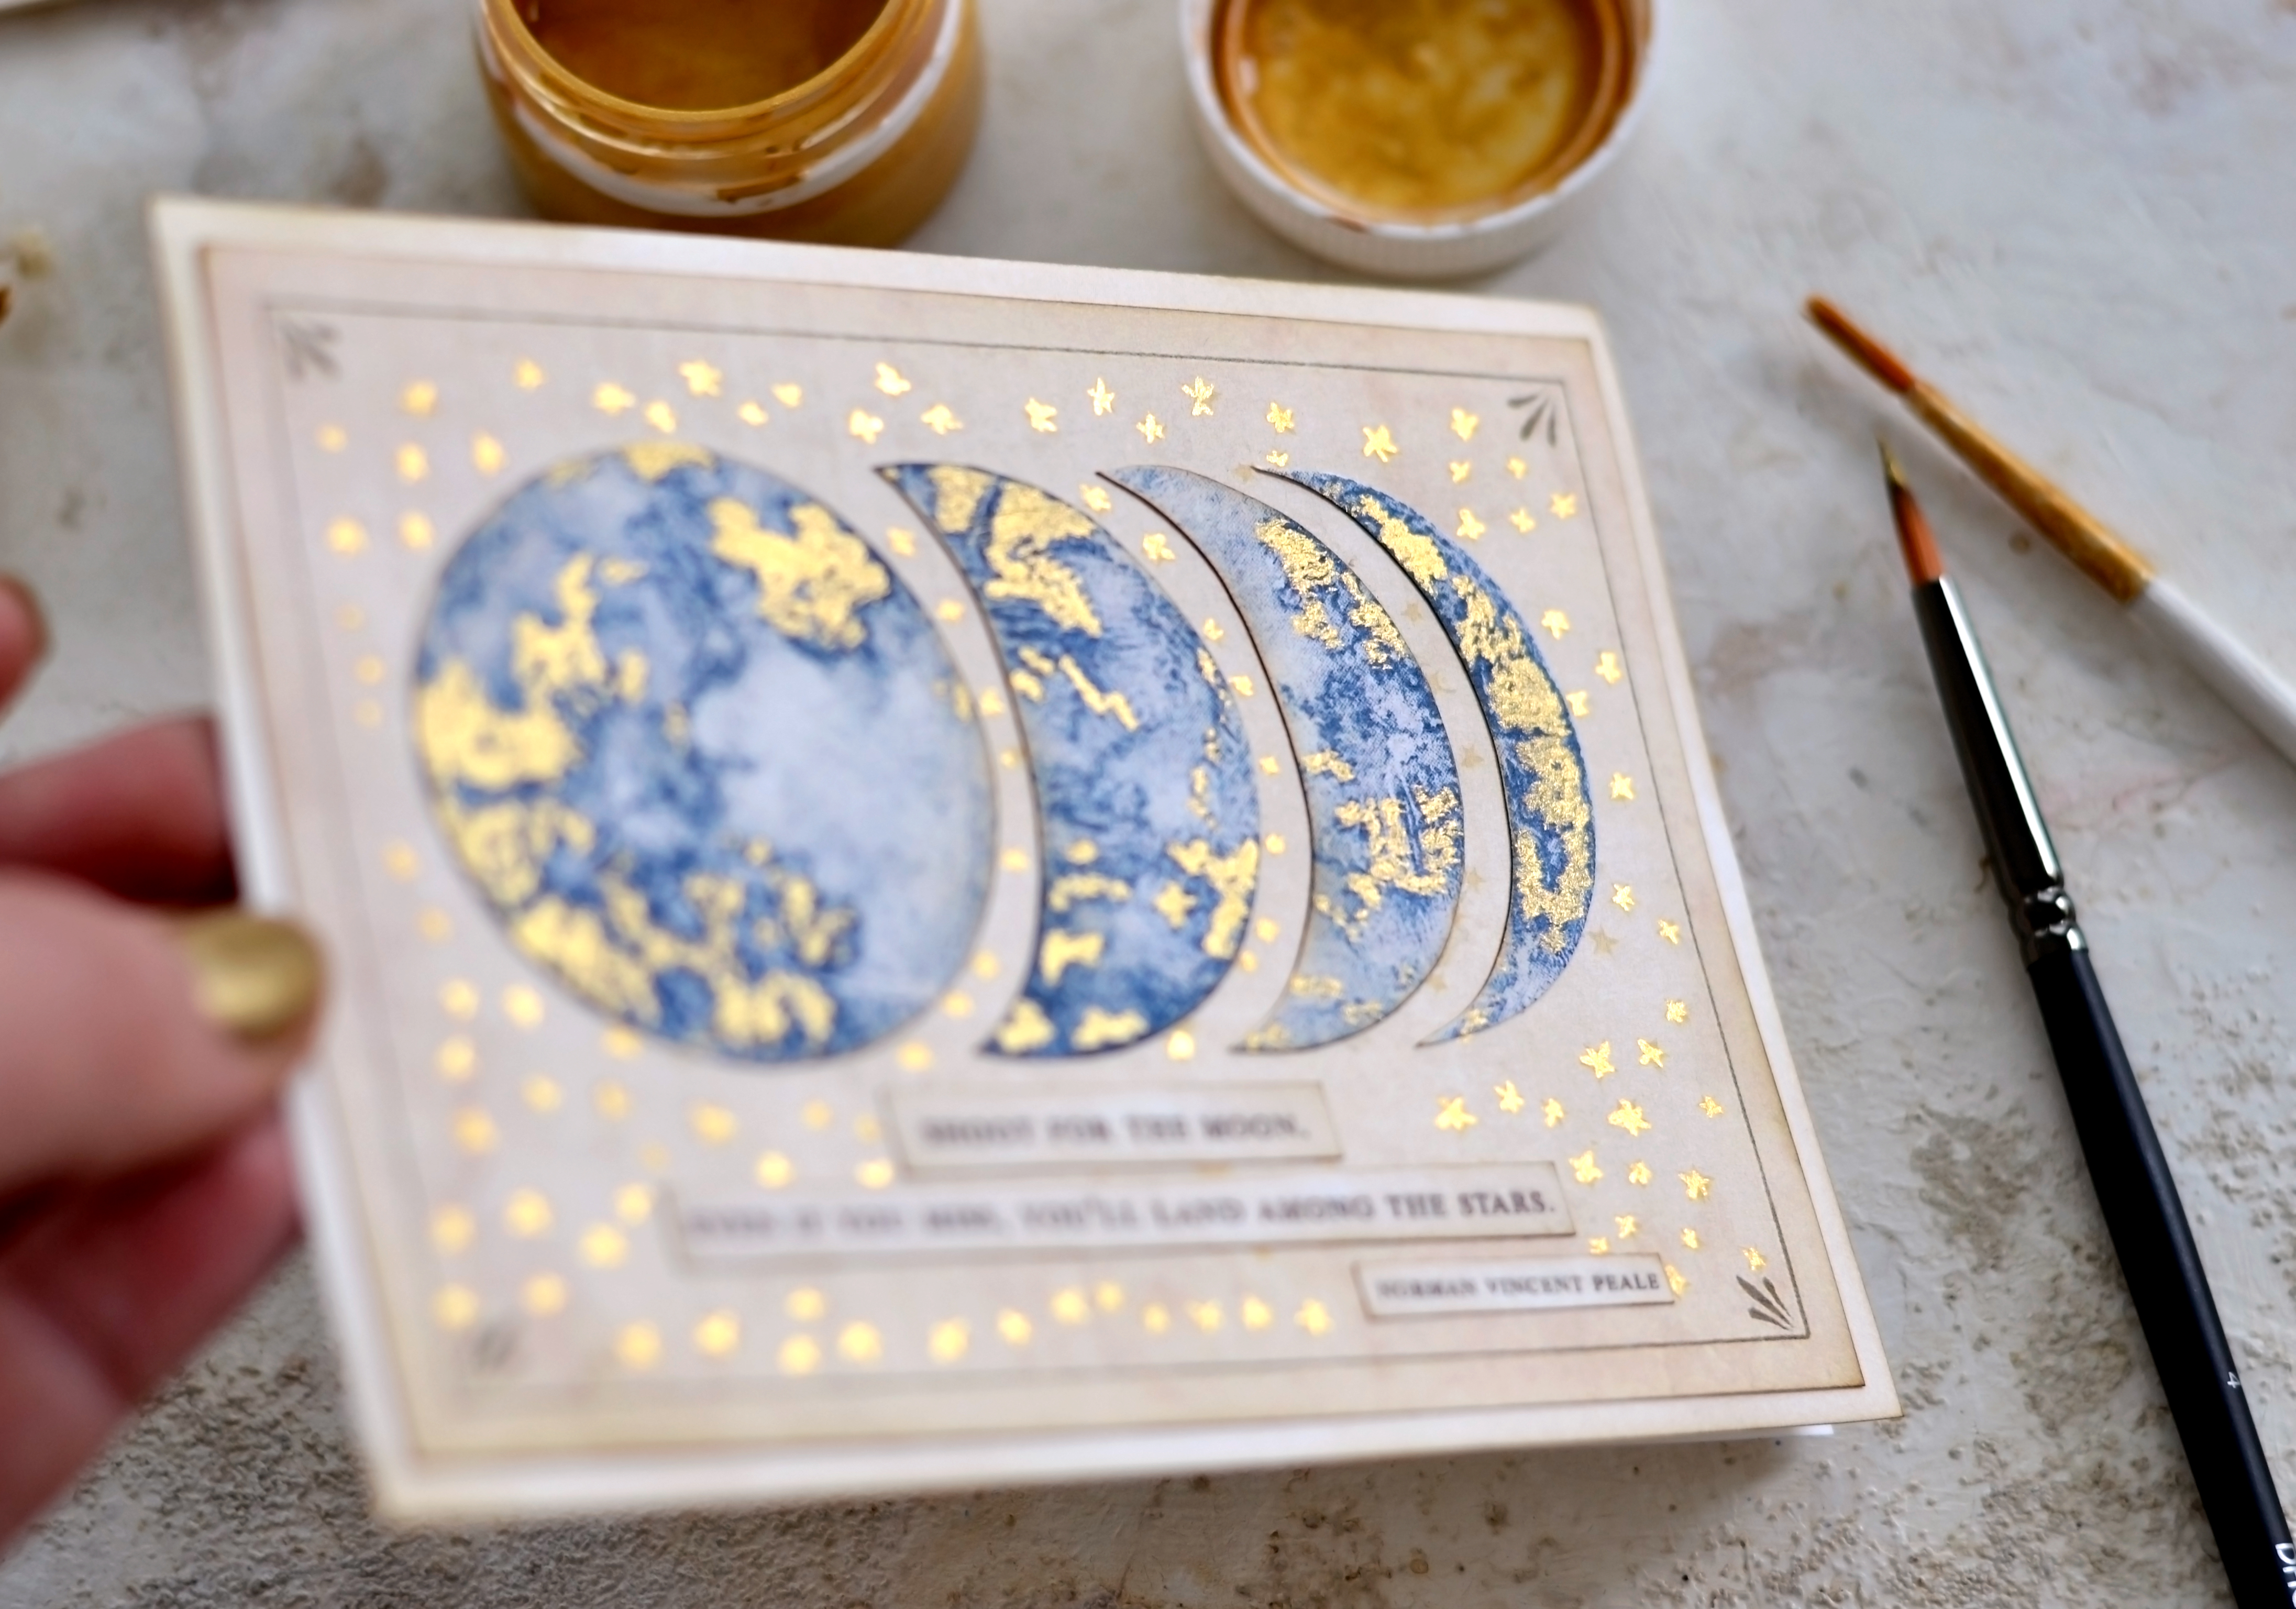
Dab some more gold on the other moons, then use a really small brush to add some gold over the small stars if you want! You can use gold on all of the stars or you can choose to only paint a few.
Another option would be to add some more gold to gild the edges of the quote lines, I only brushed some on the first one.
What a gorgeous result with such a small effort on our part, right? I guess gilding the little stars will take a little bit of time, but painting tiny objects, especially when using gold can be quite relaxing! Or at least it is for me!
I couldn’t stop tilting and admiring these beauties over and over again, no wonder gold has such mesmerizing powers!
Don’t forget that you can also use these stunning moon phases images as stickers and include them in other creative projects! It would be great to have these ready so you can include them in your moon-themed junk journals, but I’m sure you’ll come up with other creative ideas to use them. Maybe you could turn them into tags, bookmarks or home decor collages, I’m keeping around a few gold-free versions, just in case I need to match them with other metallic paints like bronze or copper in the future.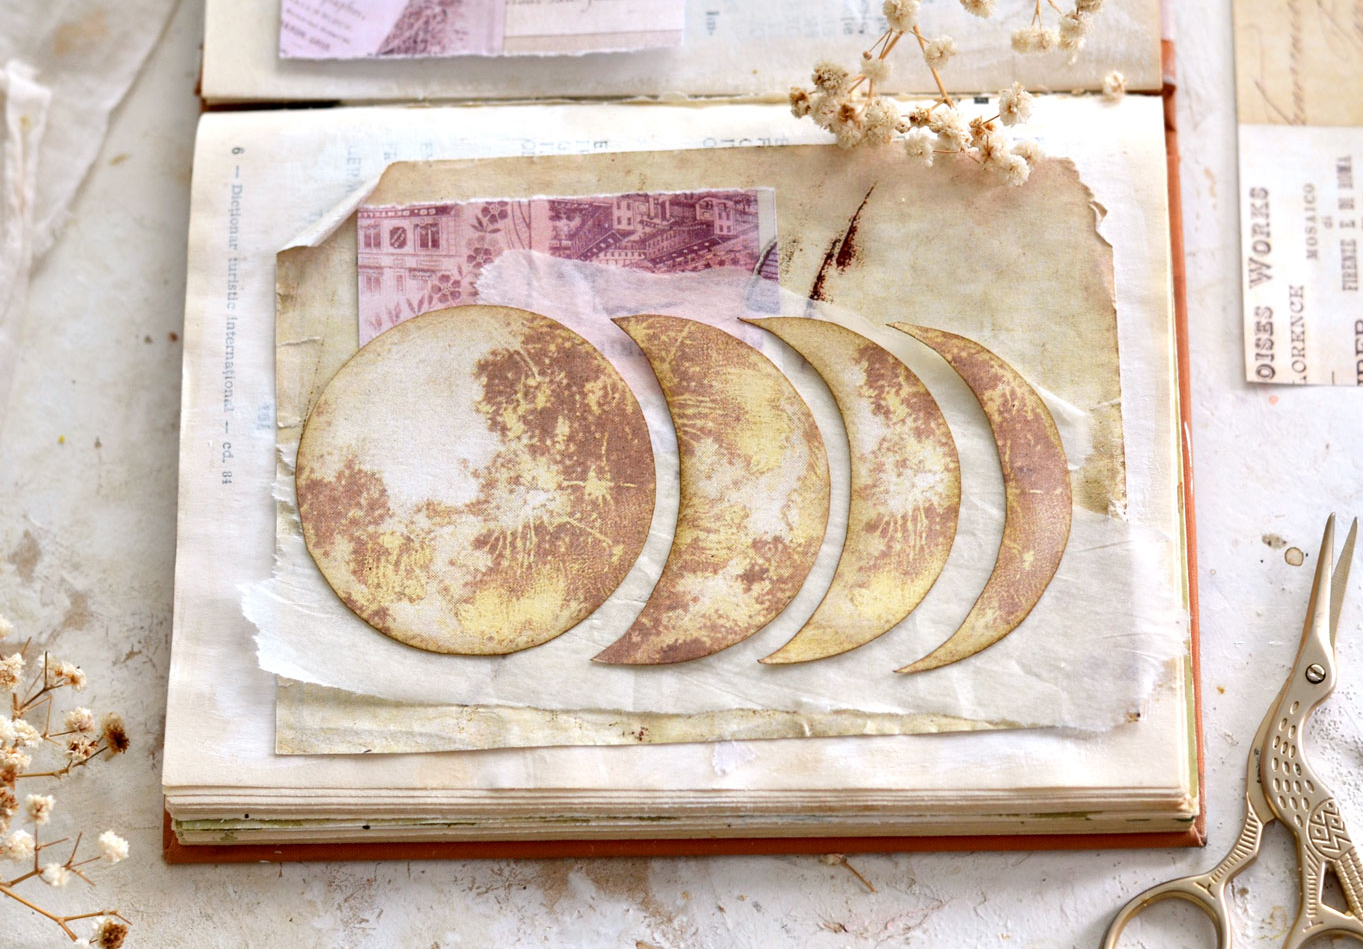
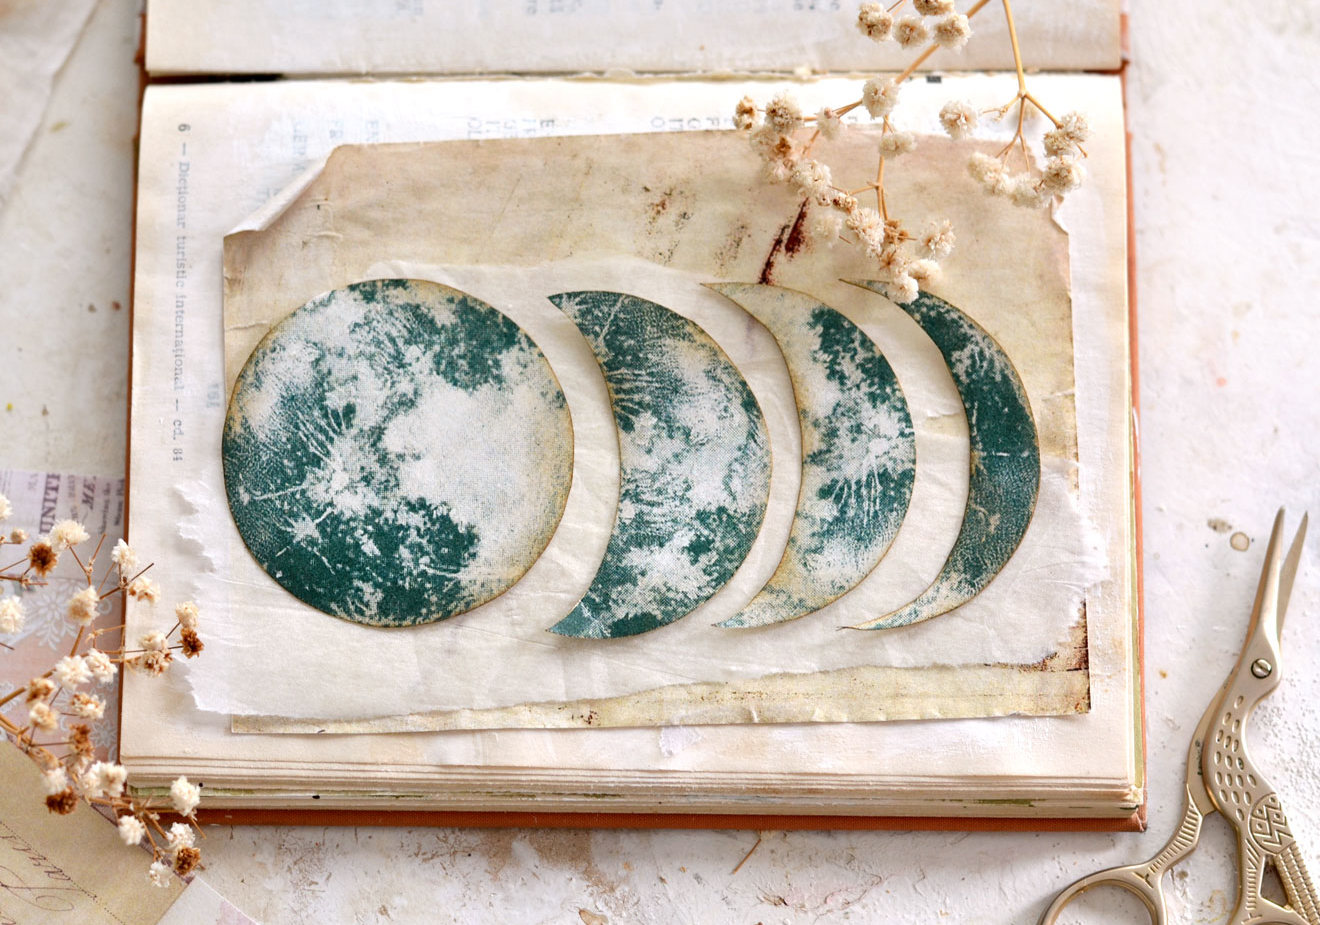
Here is the green version, looking absolutely gorgeous, even if it didn’t get the attention it deserved today.
You could also mix some colors, these vintage moons look really beautiful together, don’t you think?
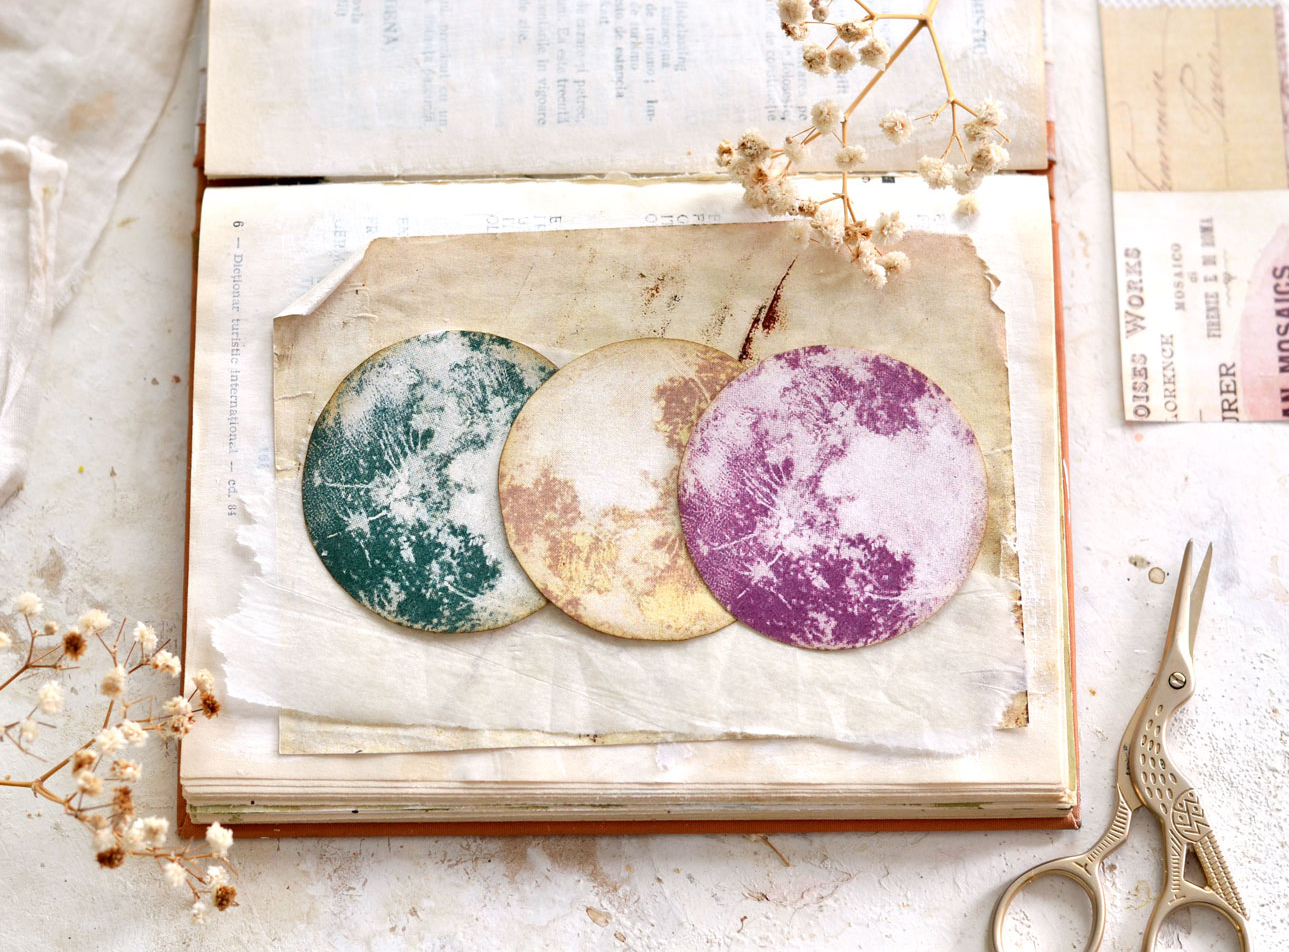 The moon phases cards will make the most beautiful gifts on their own with all their hidden-in-plain-sight golden touches that are just waiting to be admired!
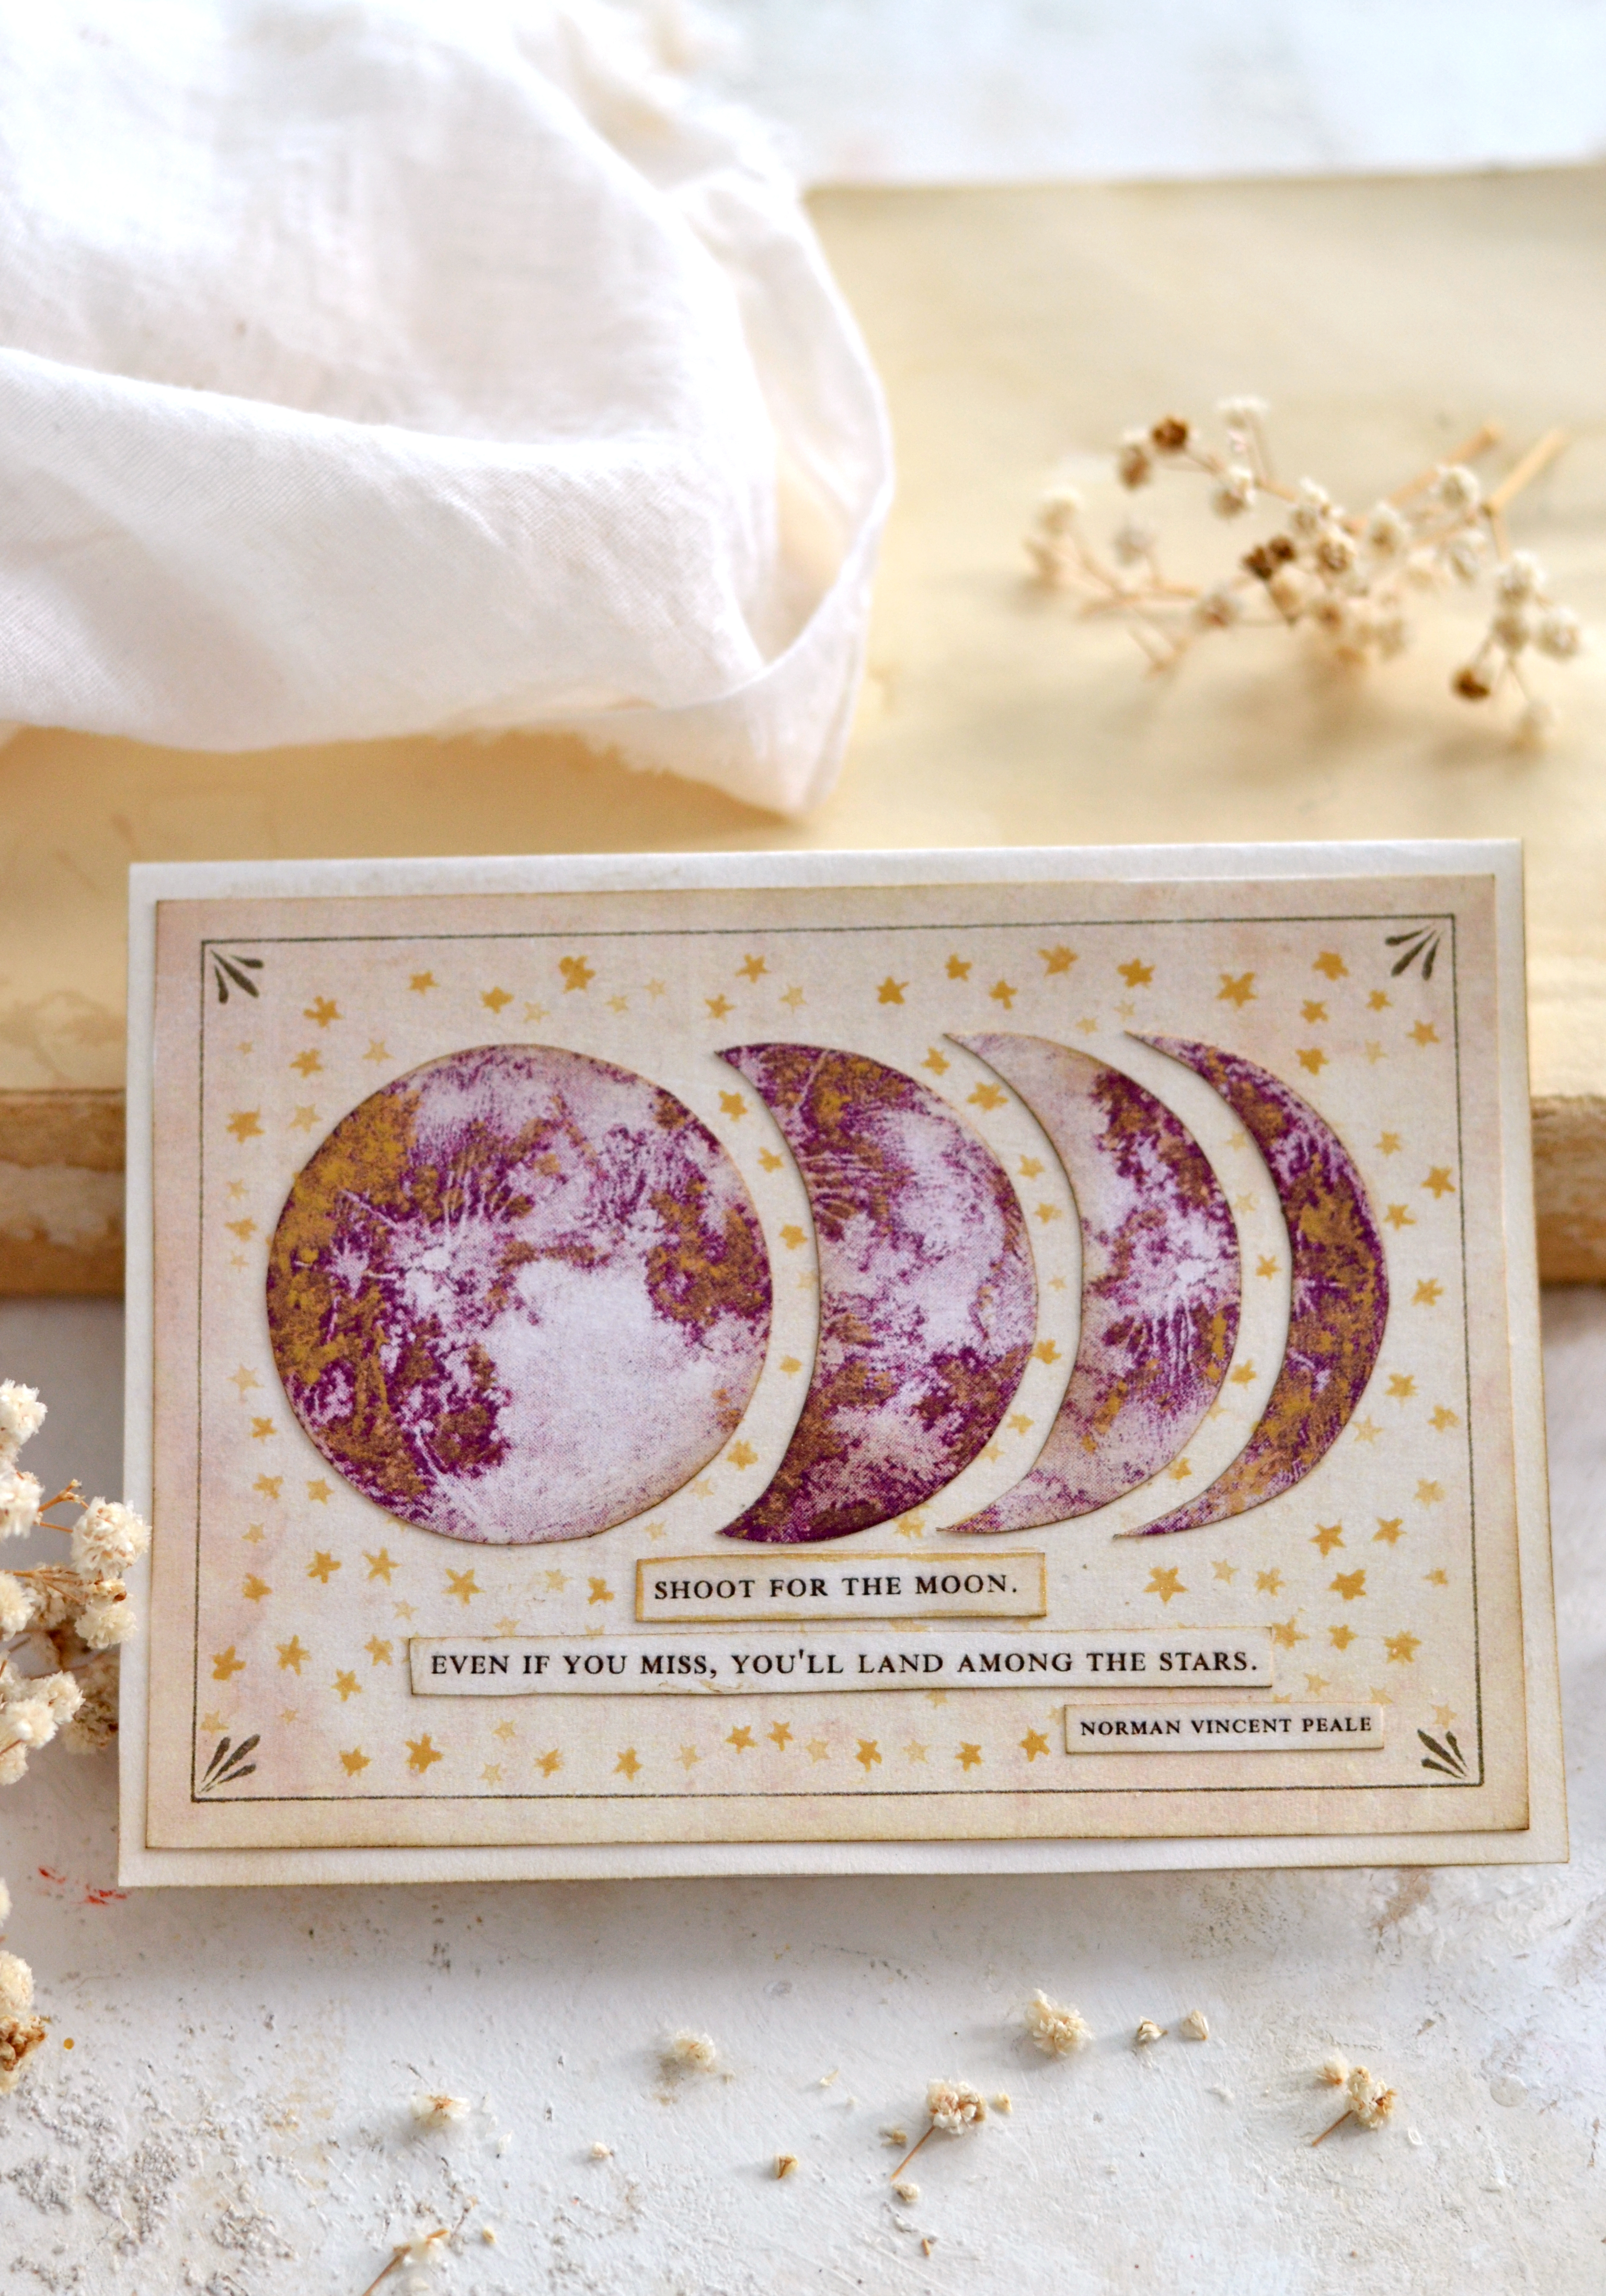 I hope you’ll love this Moon Craft project and decide to give it a try! You might also like How to Make a Pop Up Butterfly Card HERE.
Happy crafting,
Diana / Dreams Factory


Cheri Murray says
Oooooooo these are gorgeous…and just in time for me to make an anniversary card for my kids who love all things moon related! Thank you so much
Karen Watson says
Aw, how sweet! Have fun making these cards Cheri! 🌛
Bev Wilson says
These are beautiful, Diana! I really love the touches of gold on the stars and moon phases – AND your fingernails 😀 <3
Karen Watson says
Aren’t they lovely Bev? I told her the same thing about her nails when I first saw the post … too funny! 😂
cjwright says
Love these! They’ll definitely come in handy for my work, too. Thanks for sharing.
Karen Watson says
Yes, these are perfect for you Auntie Moon! 🌛